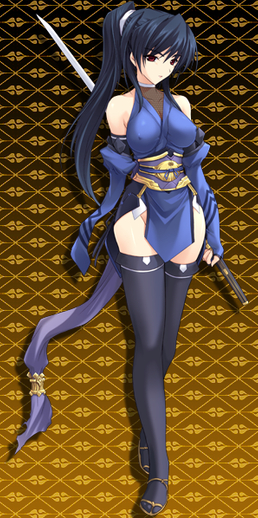
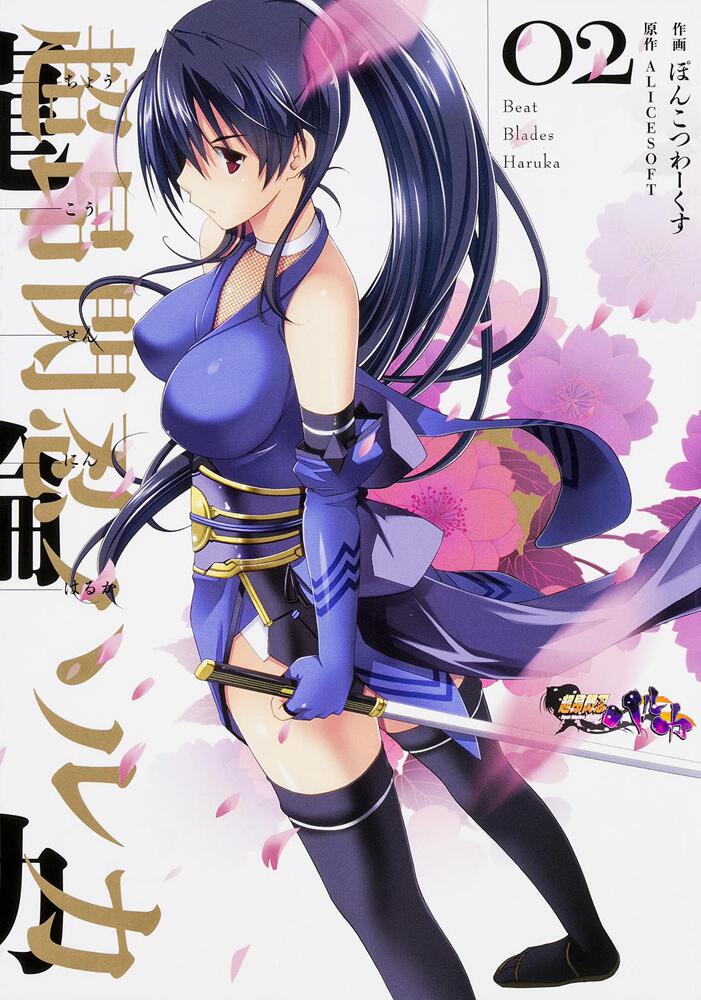
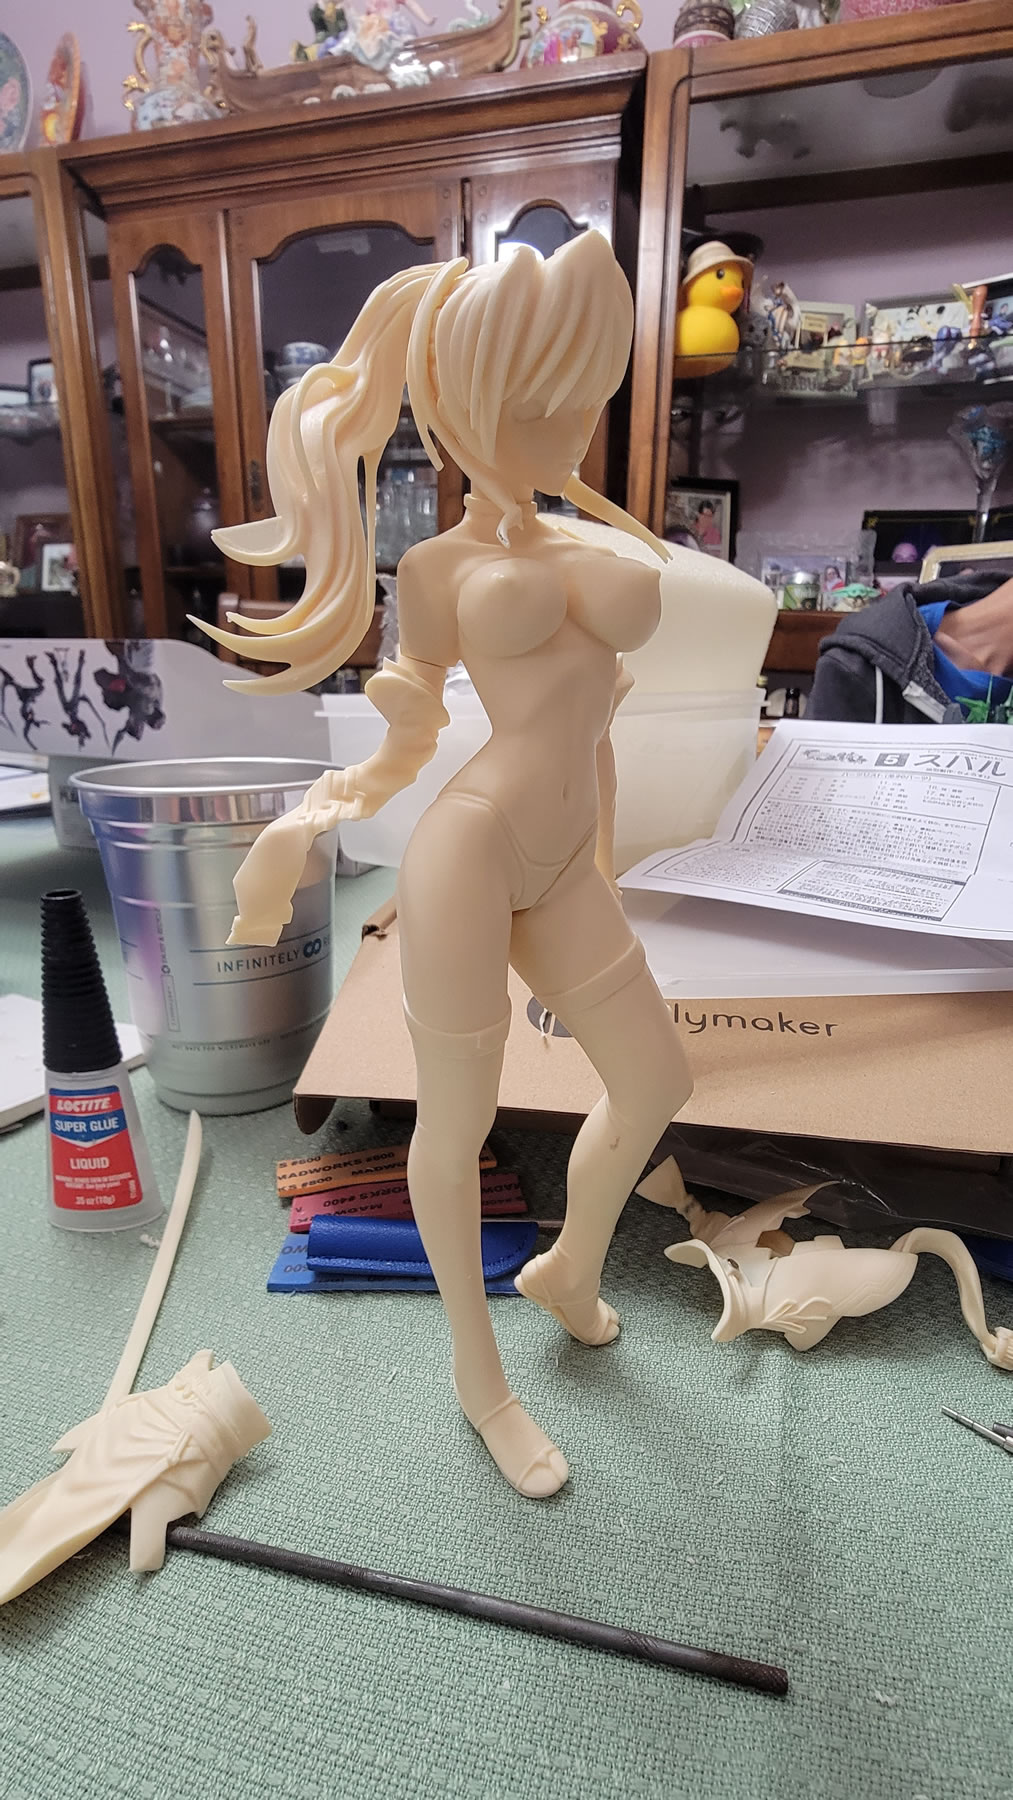
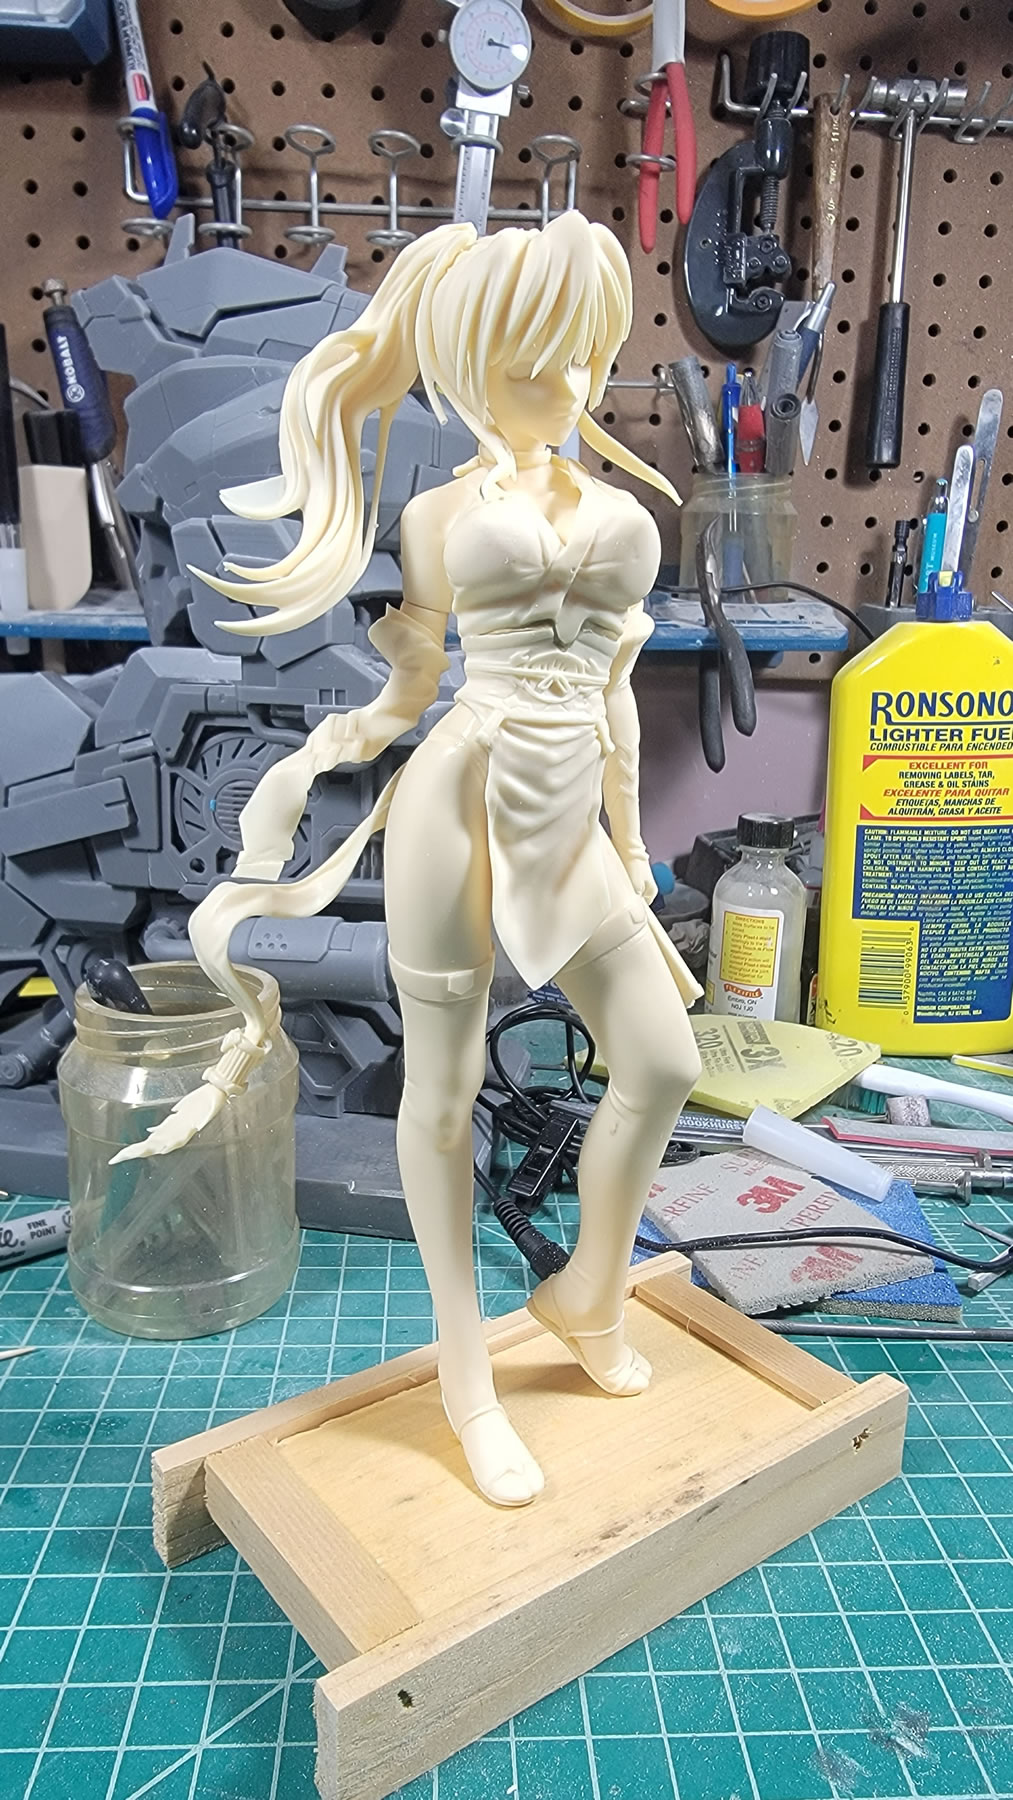
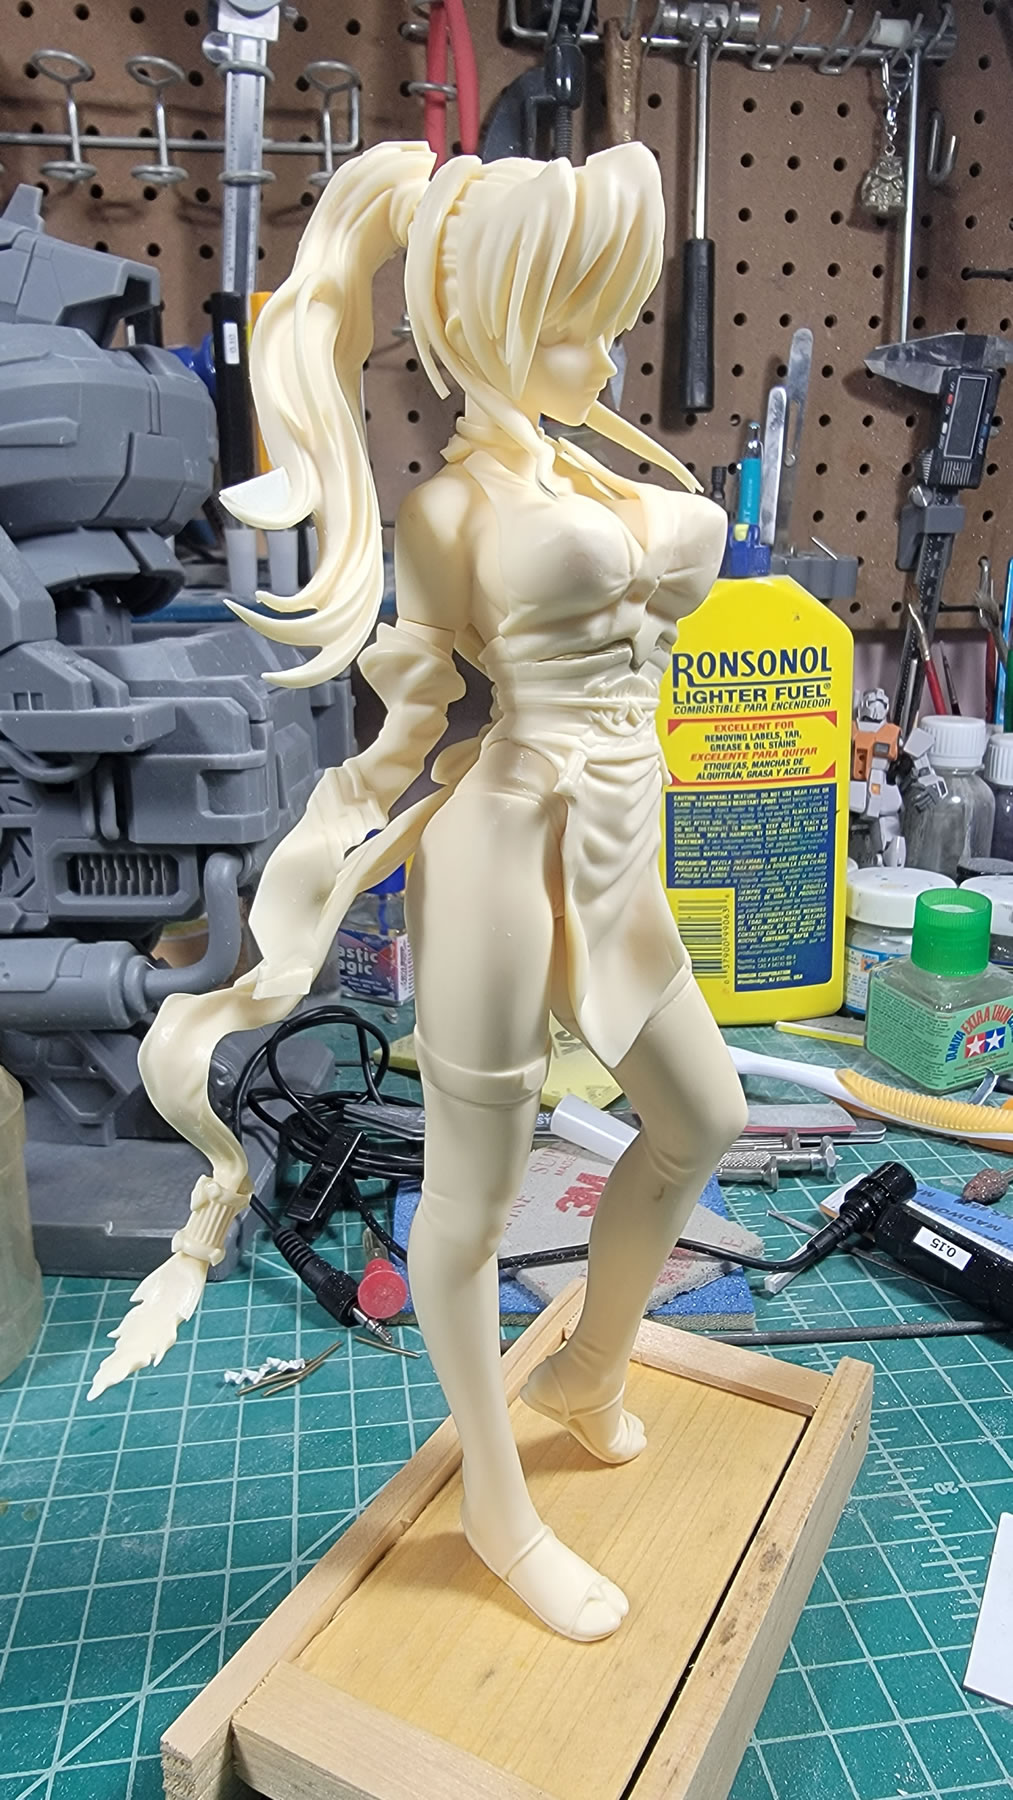
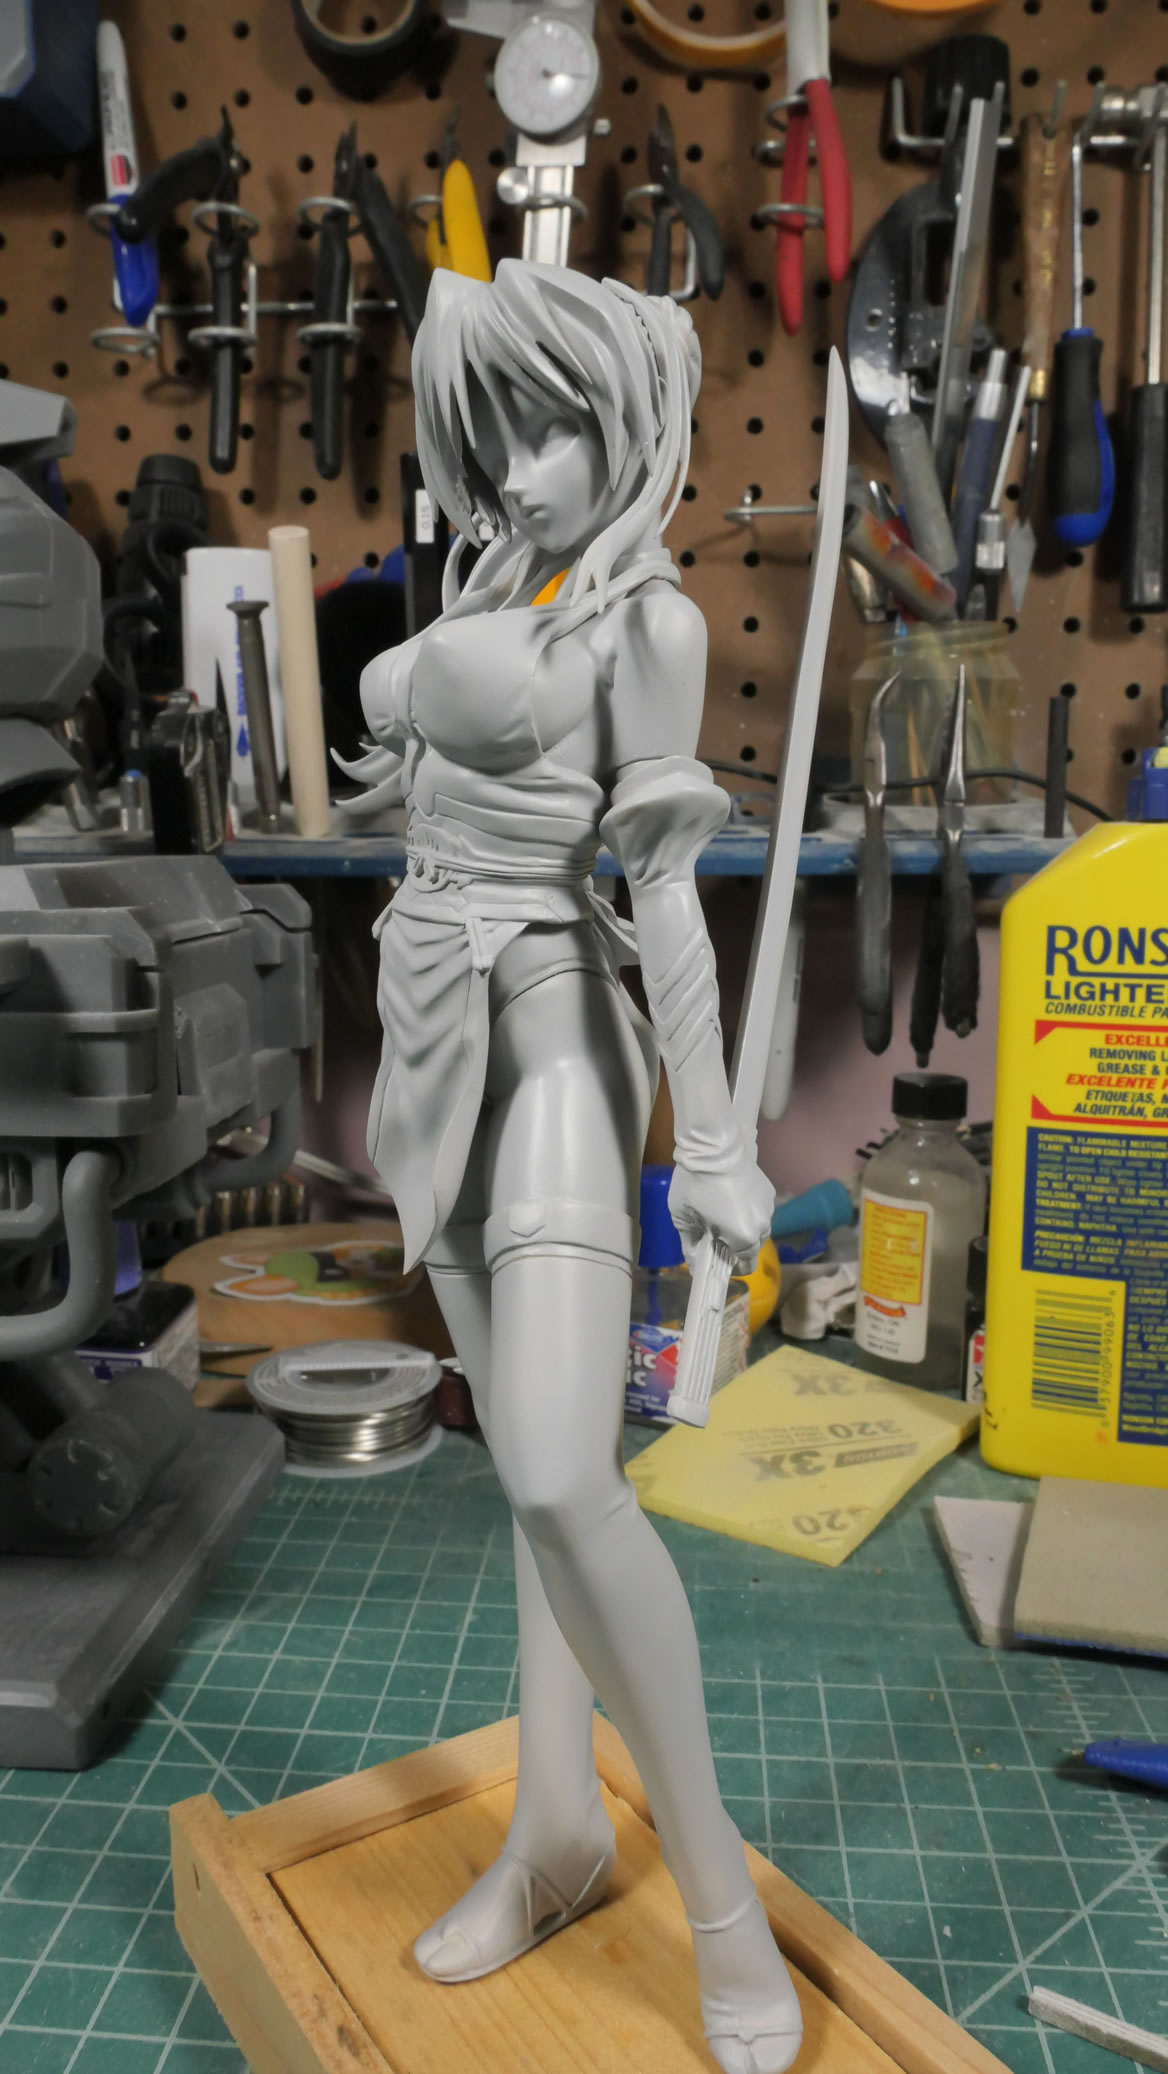
This is a kit from 2008, well, the original was from 2008 out of the C3X Chara Hobby show sold in a small production run by Volks. The character is from Choukou Sennin Haruka and is one of those ecchi choose how to molest the characters kind of games. She has the options for before and after a battle from the game for which I guess she loses her right arm/hand. It makes for a better looking pose than with the sculpted hand. Here are some reference pictures:
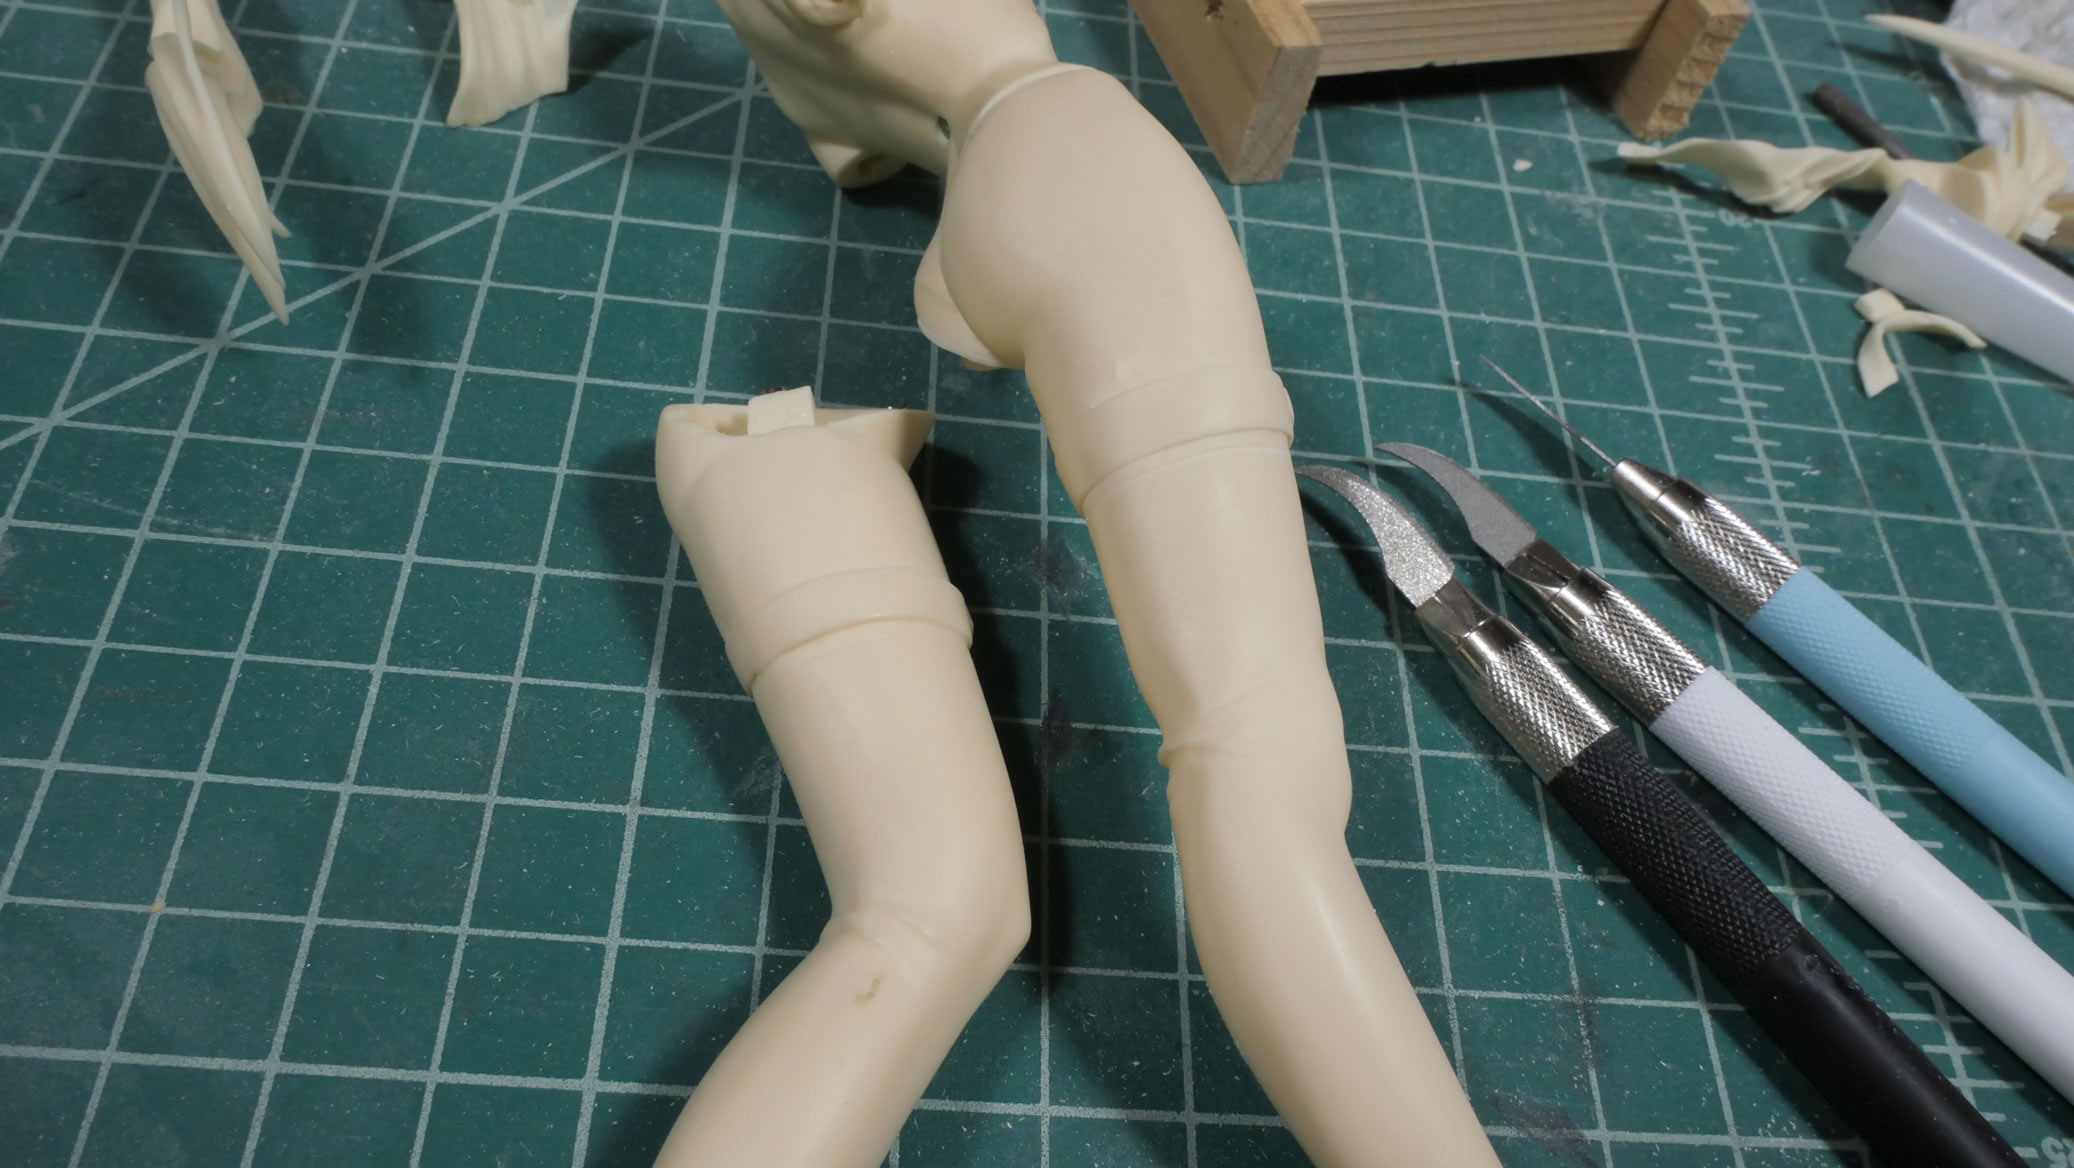
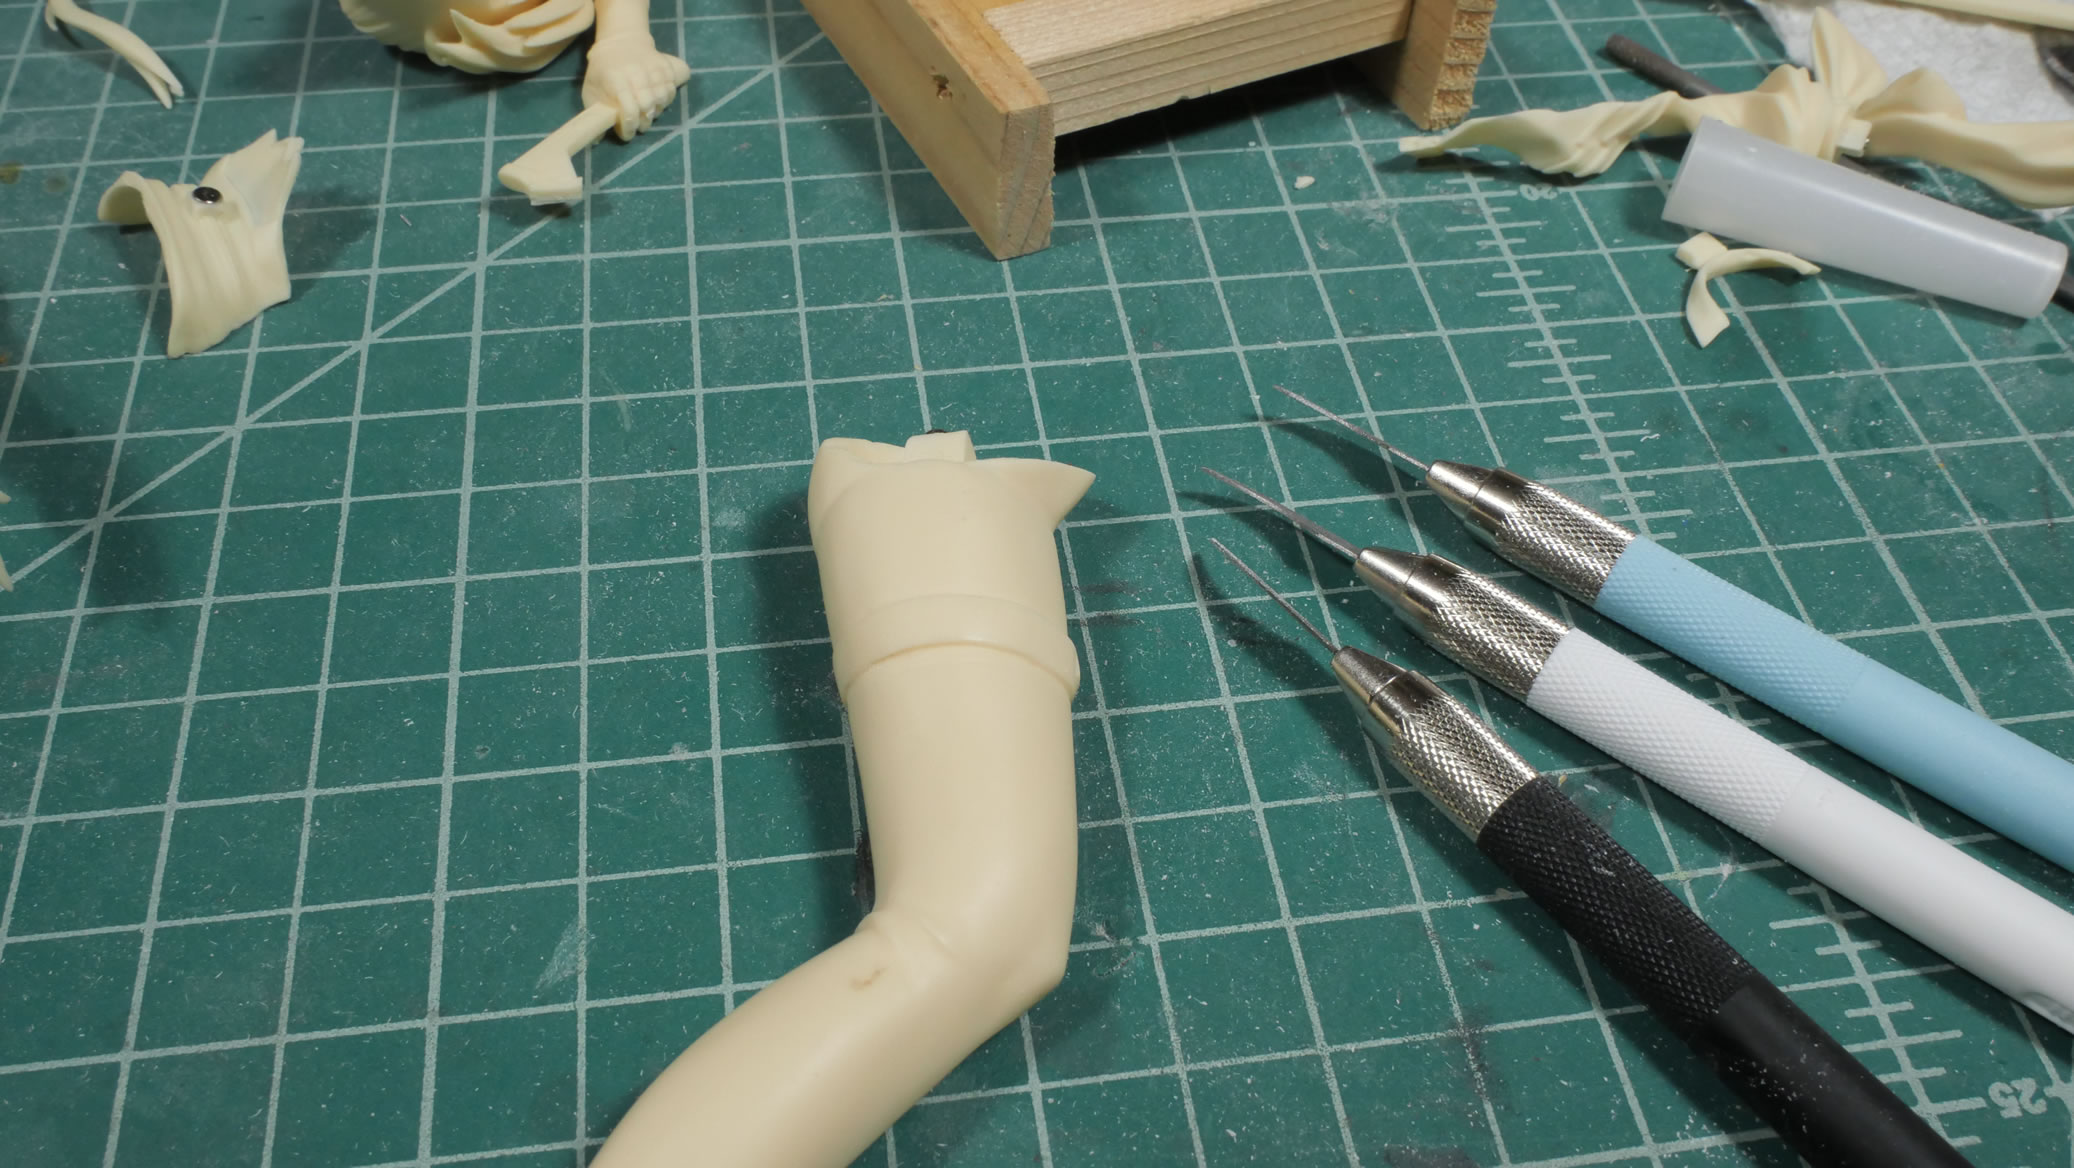
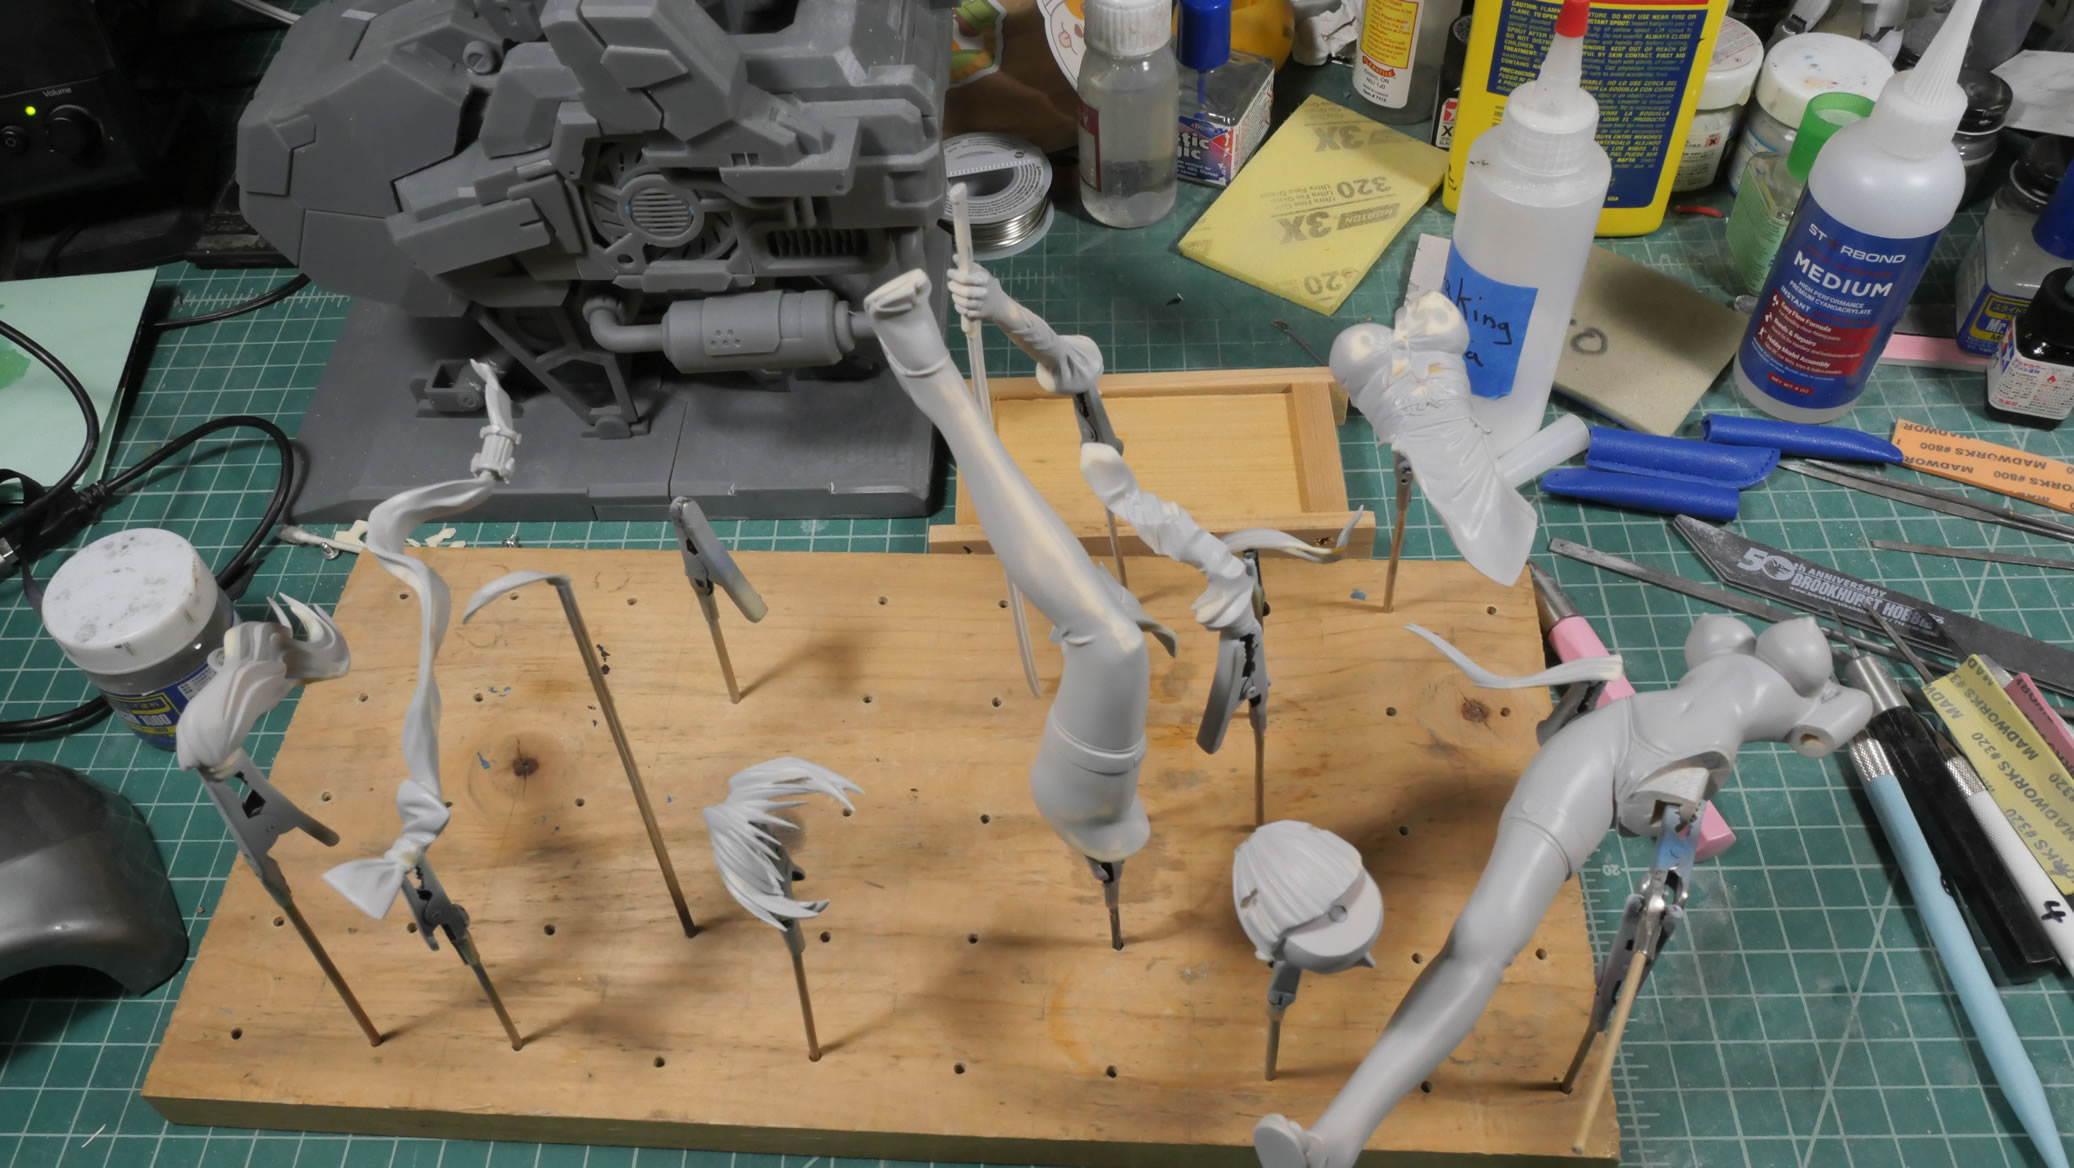
This is a recast from that kit that I picked up around 2011. I think I pinned up the kit when I first got it and that’s about all I did. I feel like working on something fairly easy, so I picked a figure kit. I got a set of new tools that I want to try out on the kit. Step one was to remove all the old pins and redo everything
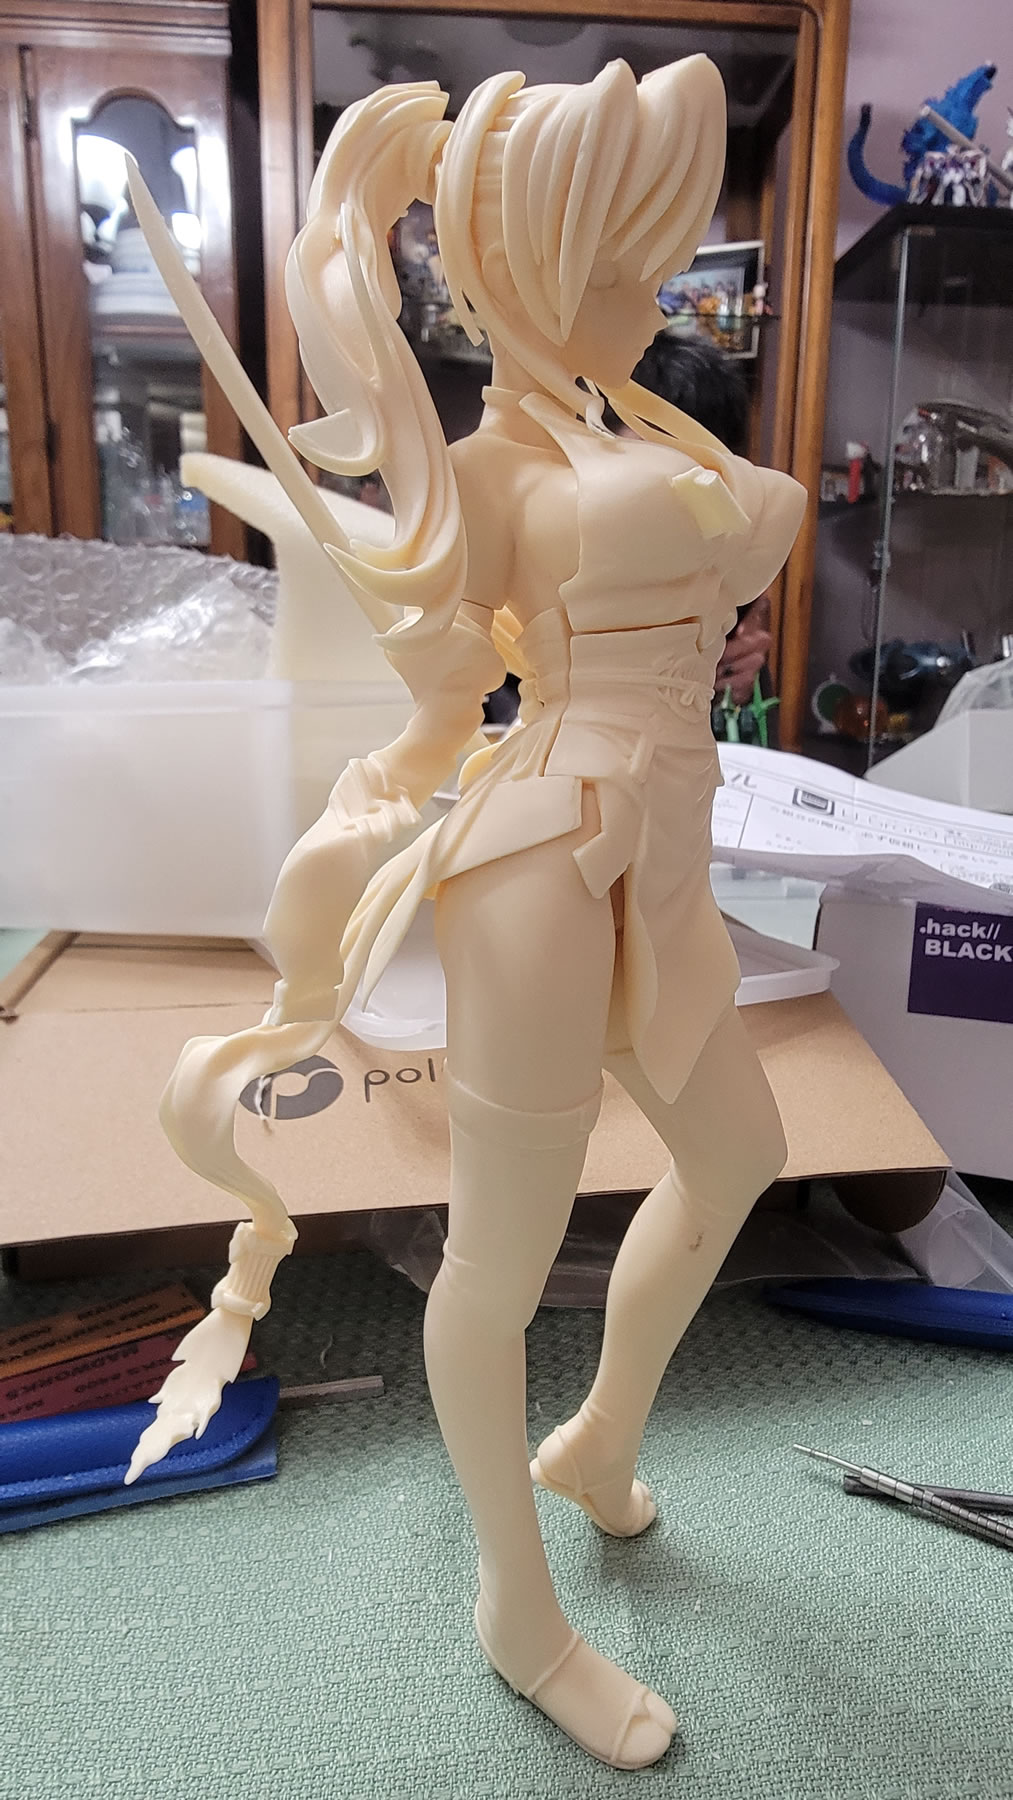
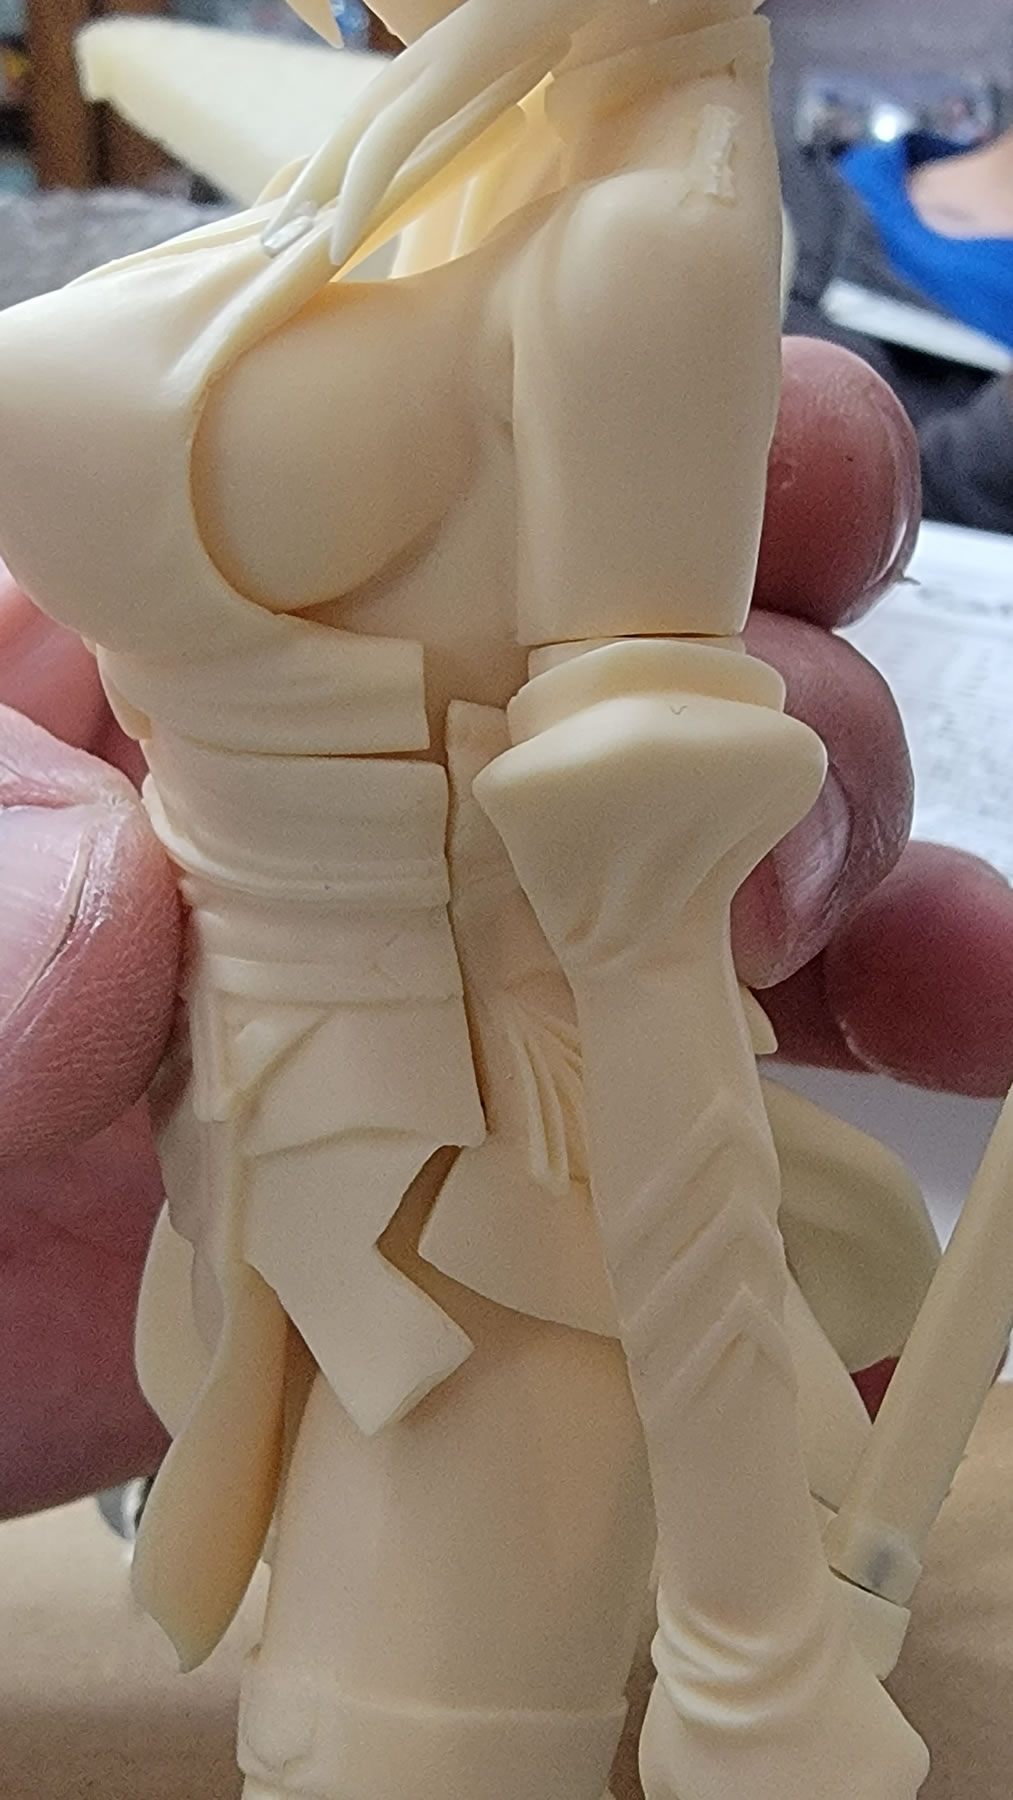
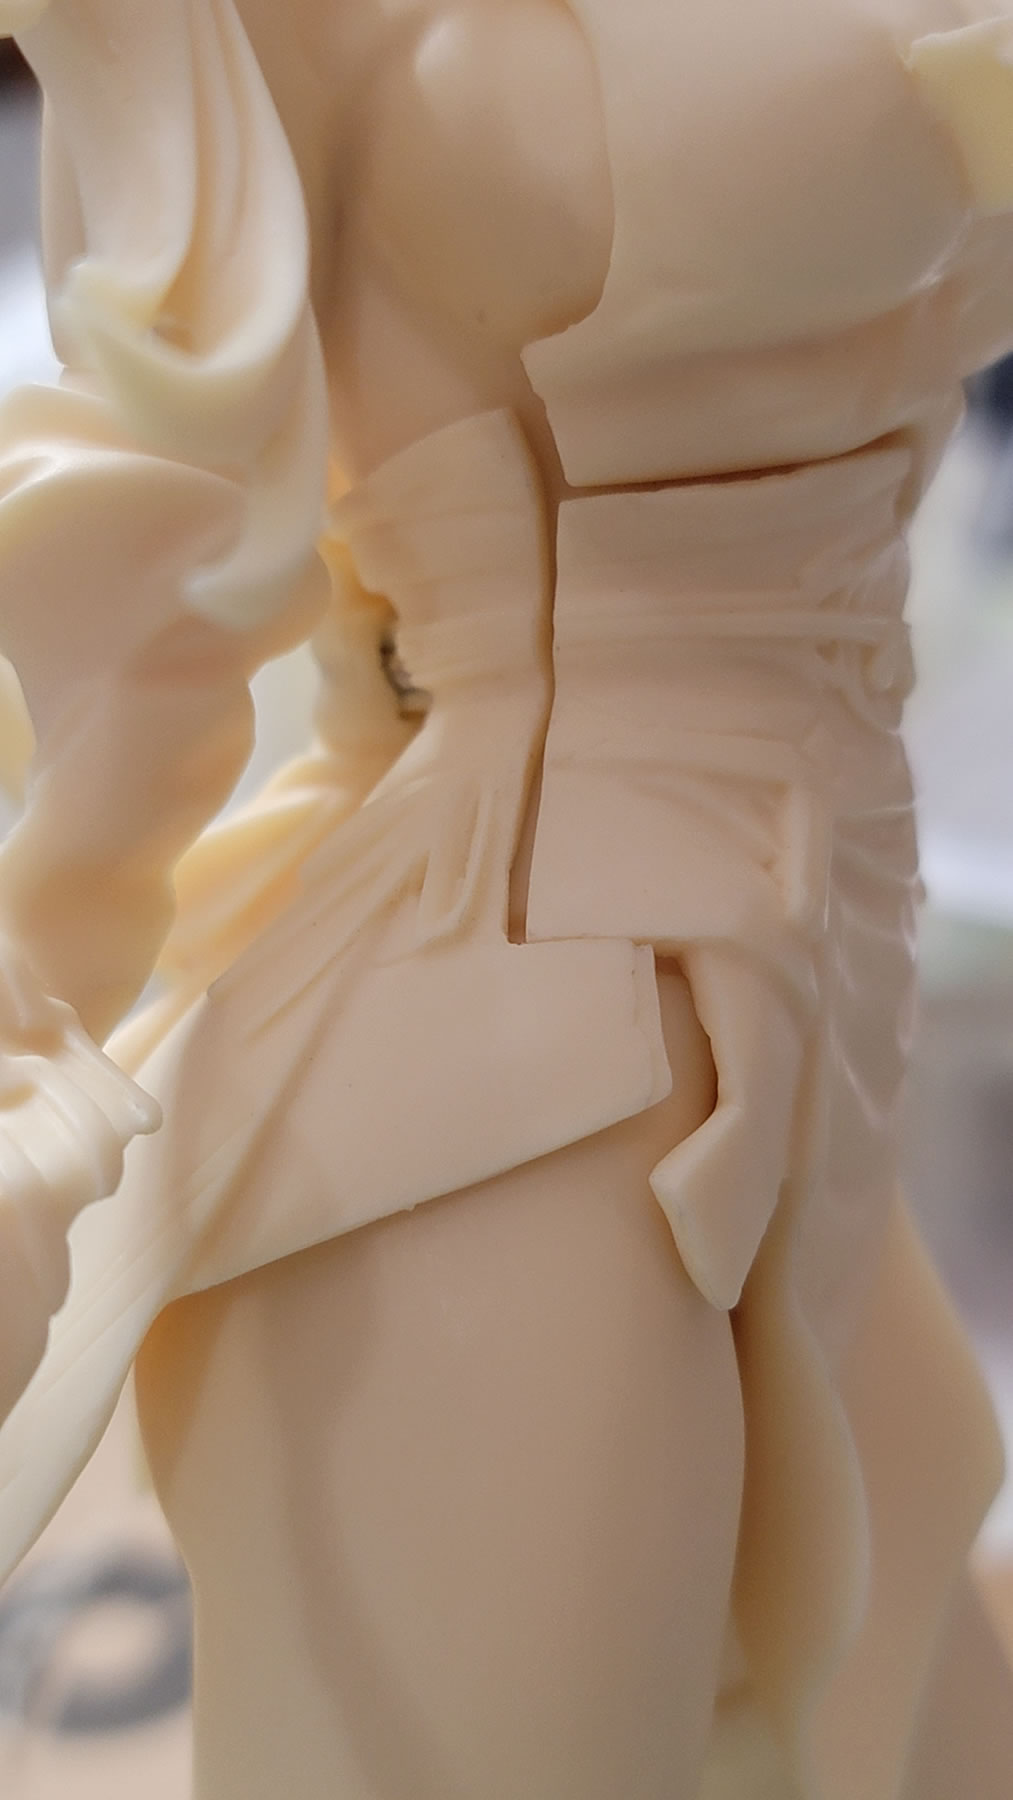
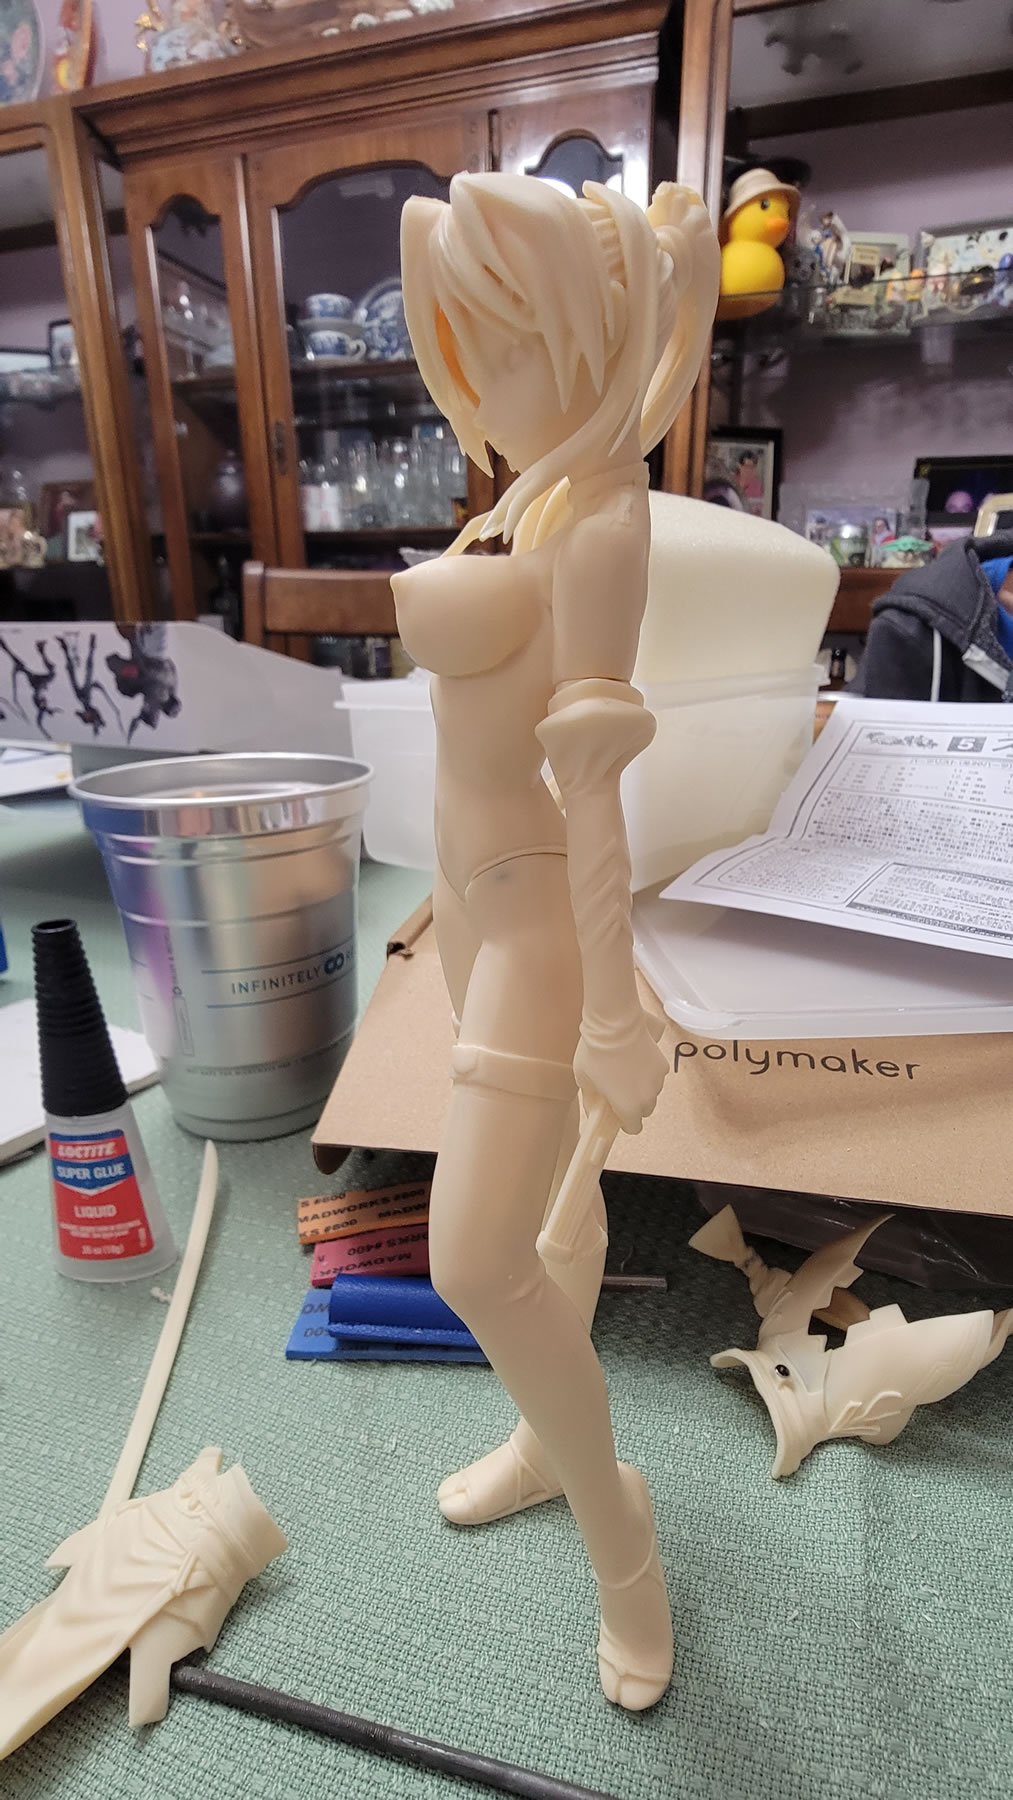
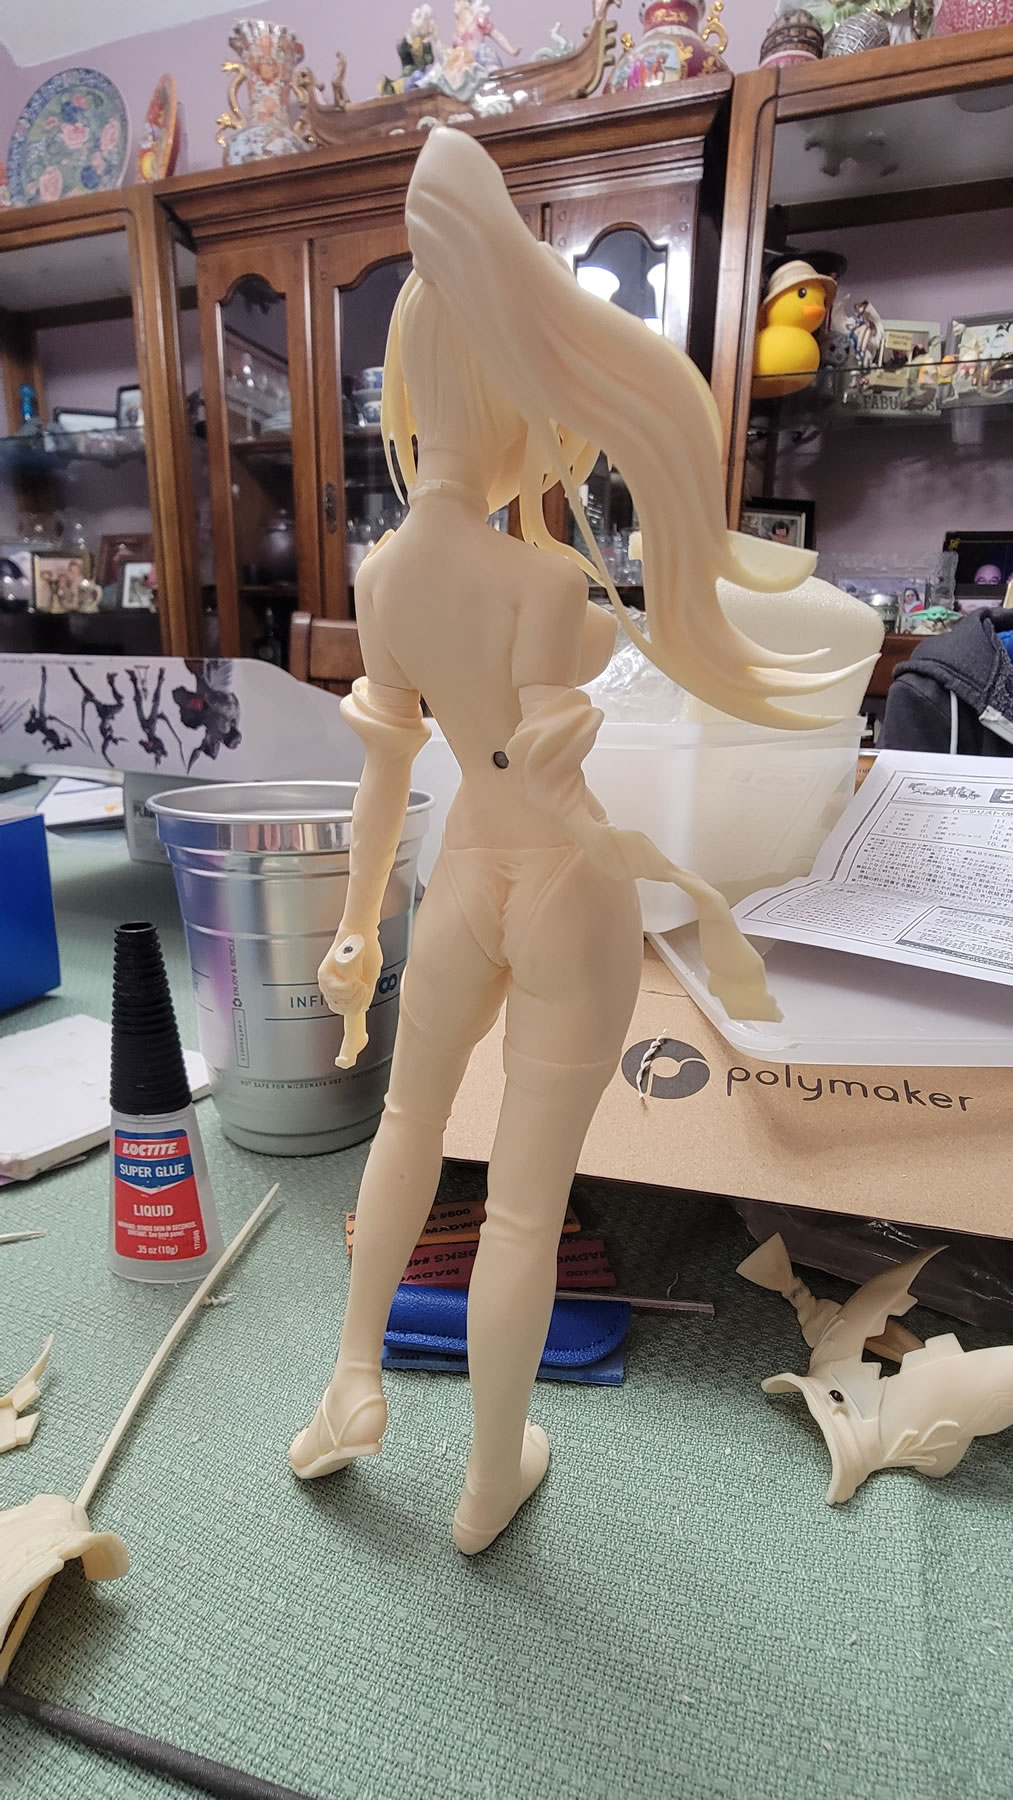
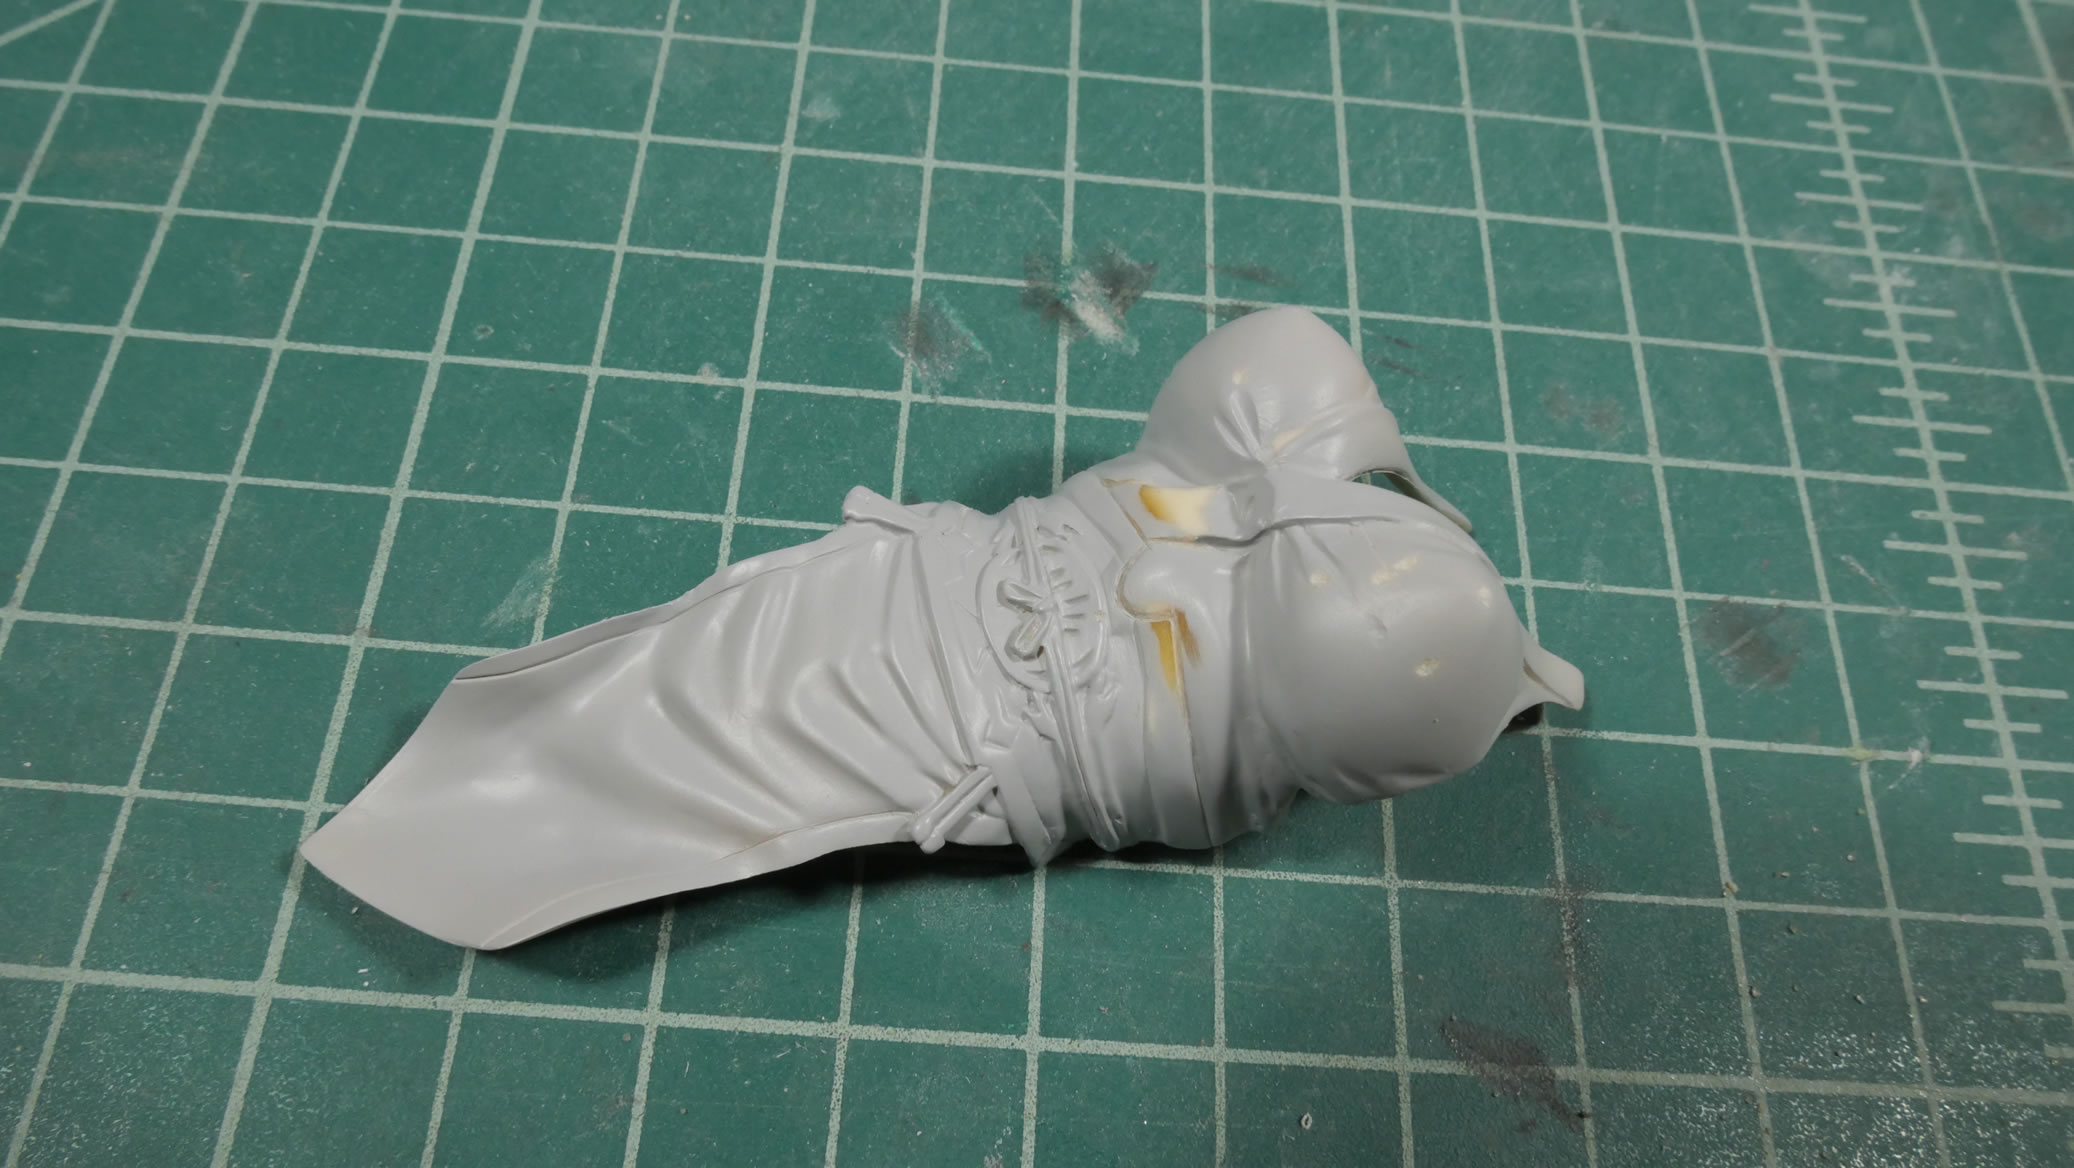
Once everything is aligned, I get all the glory of this recast. I’ve built original Volks kits, so I know the alignment issues are not from them. This has got to be some shrinkage in the molds, misaligned molds or even squishing the molds while casting. All sorts of almost a partial fit can be seen. Nothing lines up in the three clothing pieces. See reference images above…
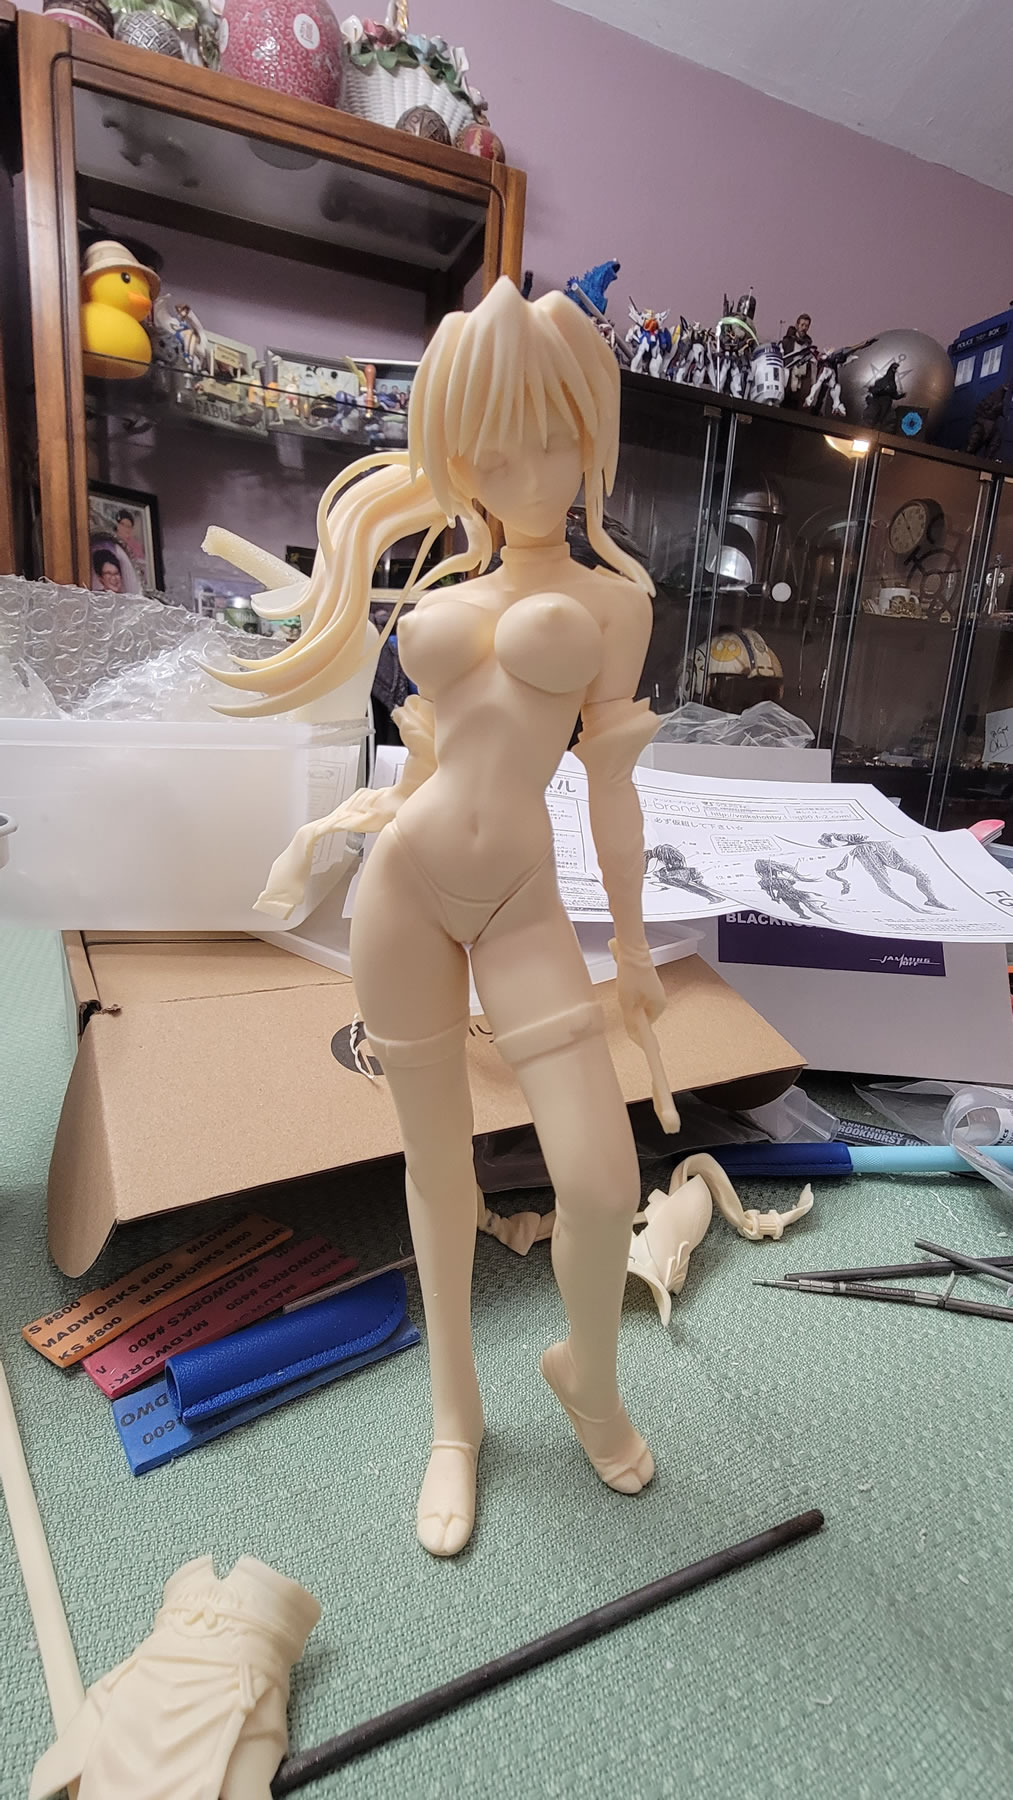
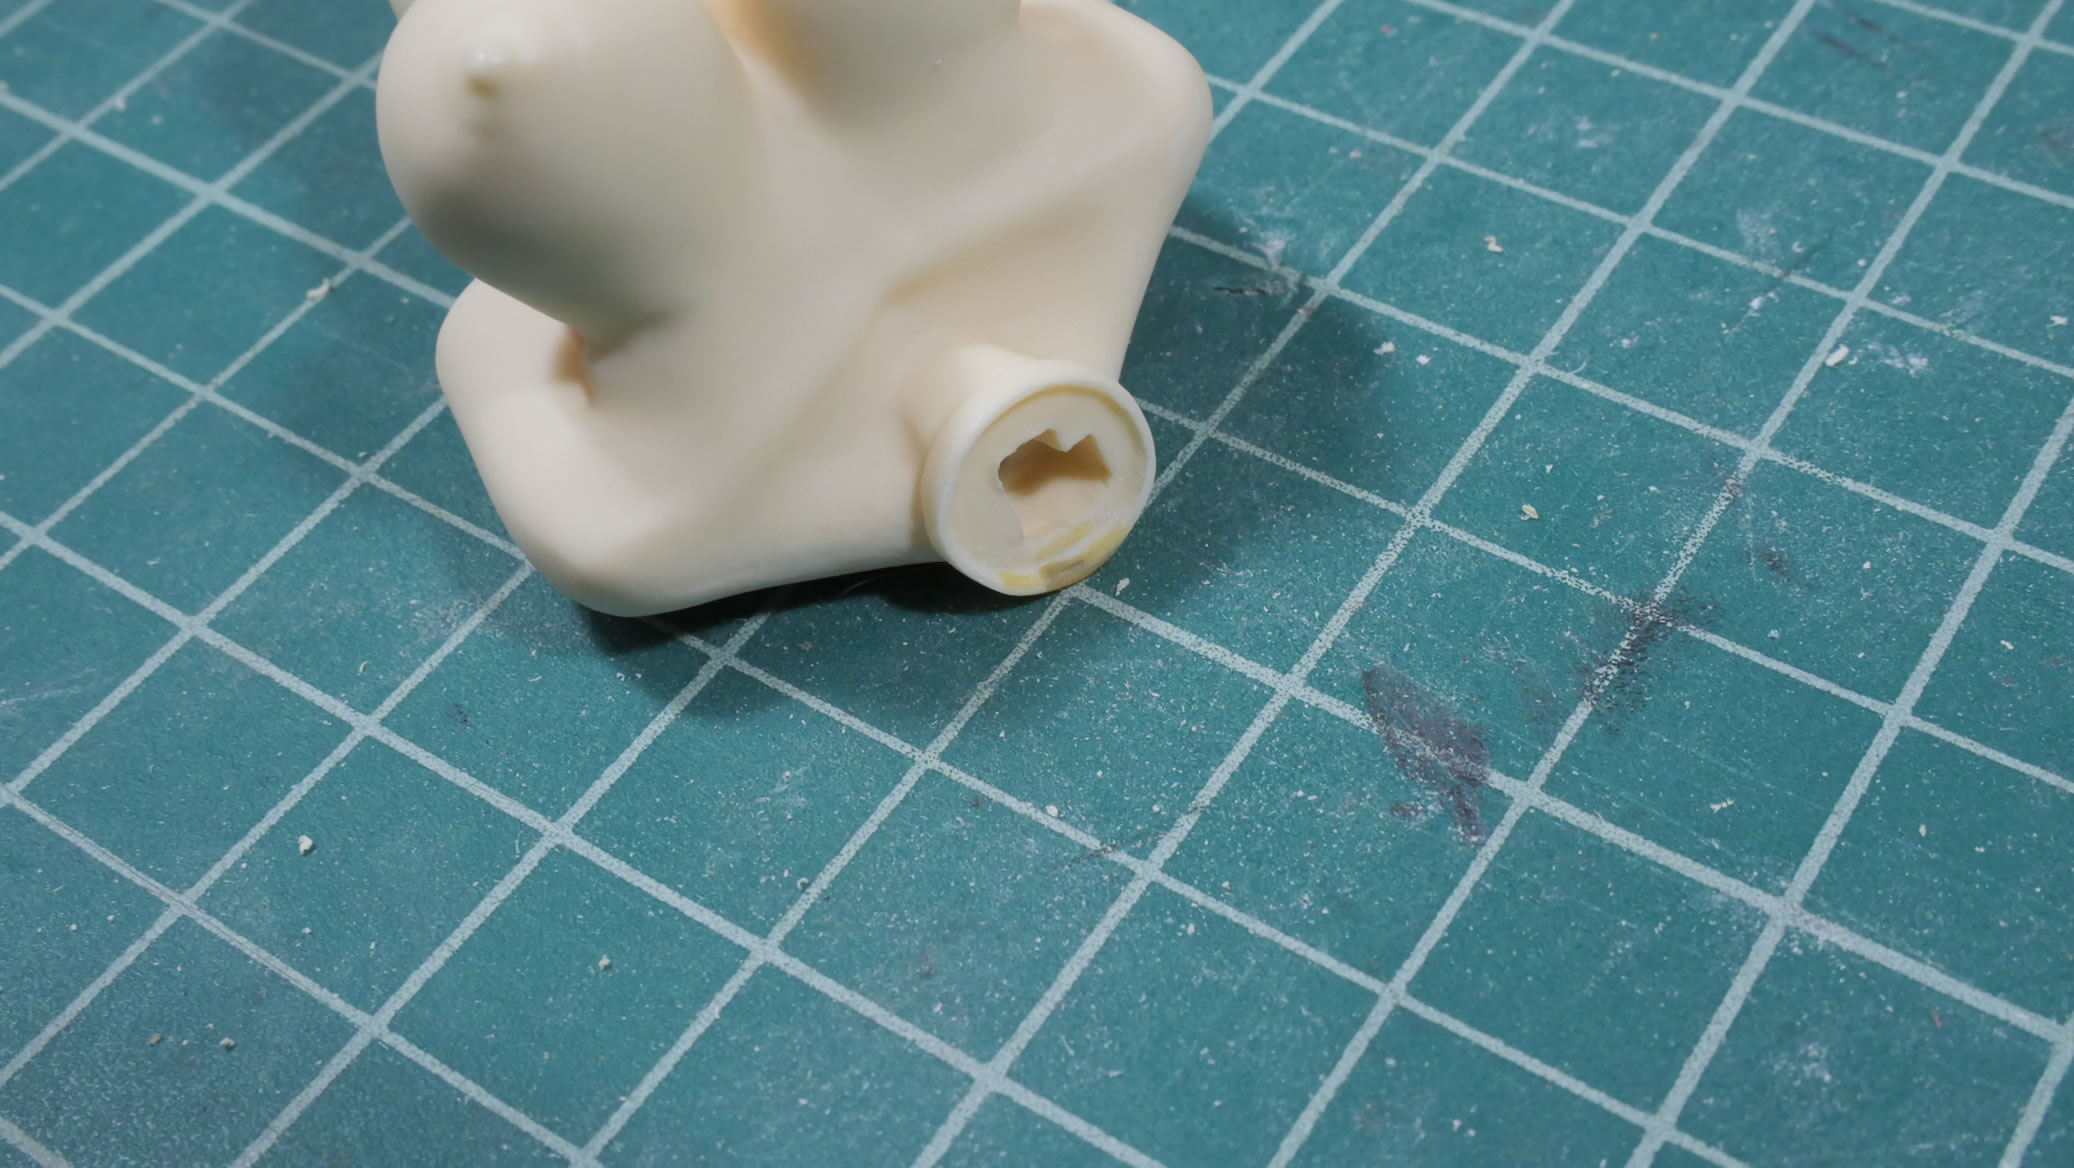
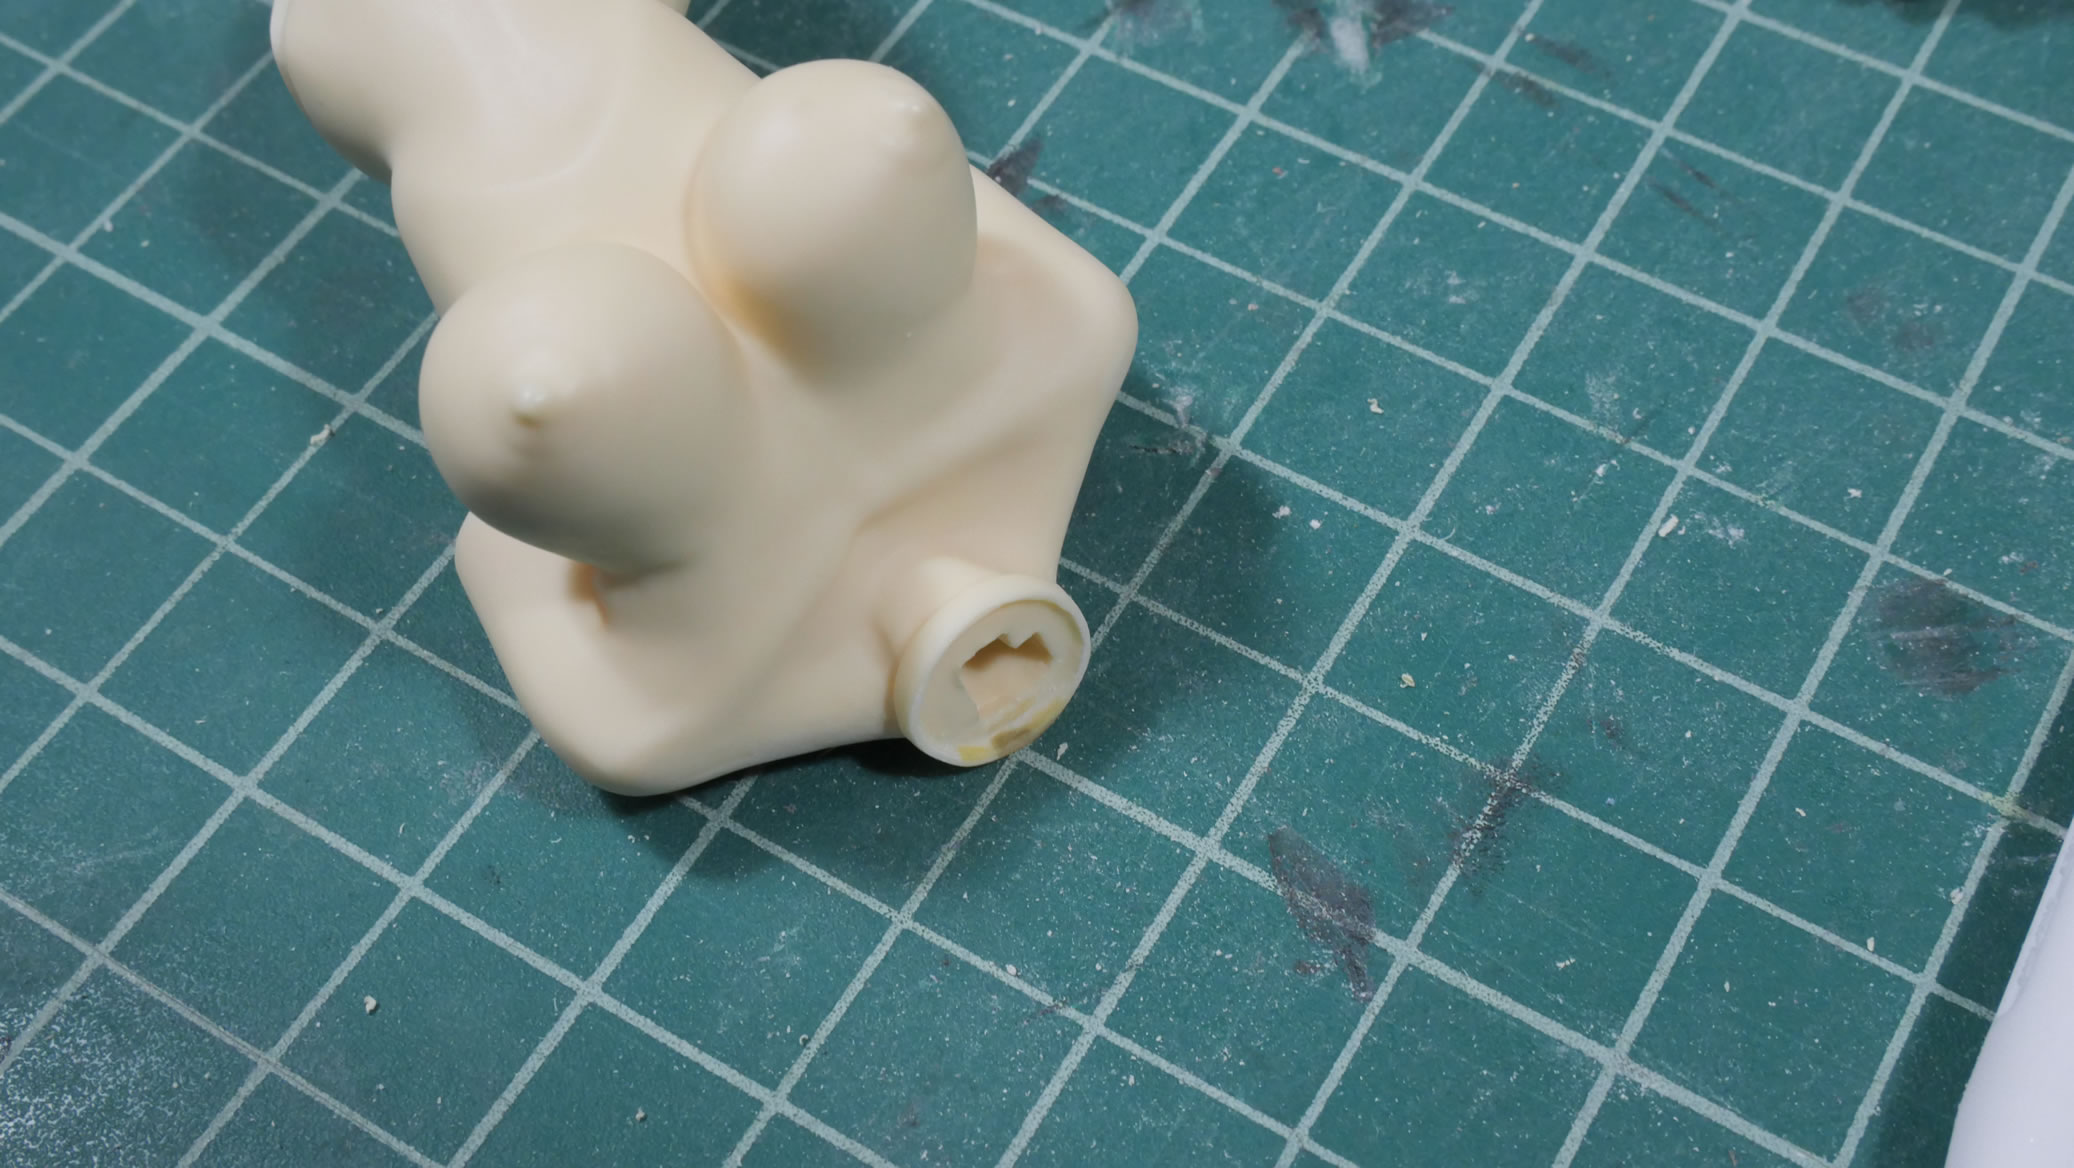
Option B, we go nude. Just throw out the clothes. This kit really only lends to building with the clothes or without as making it removable will still have a horrible seam, but it can be done. I just don’t like that there isn’t a natural break, so the visible seam would annoy me.
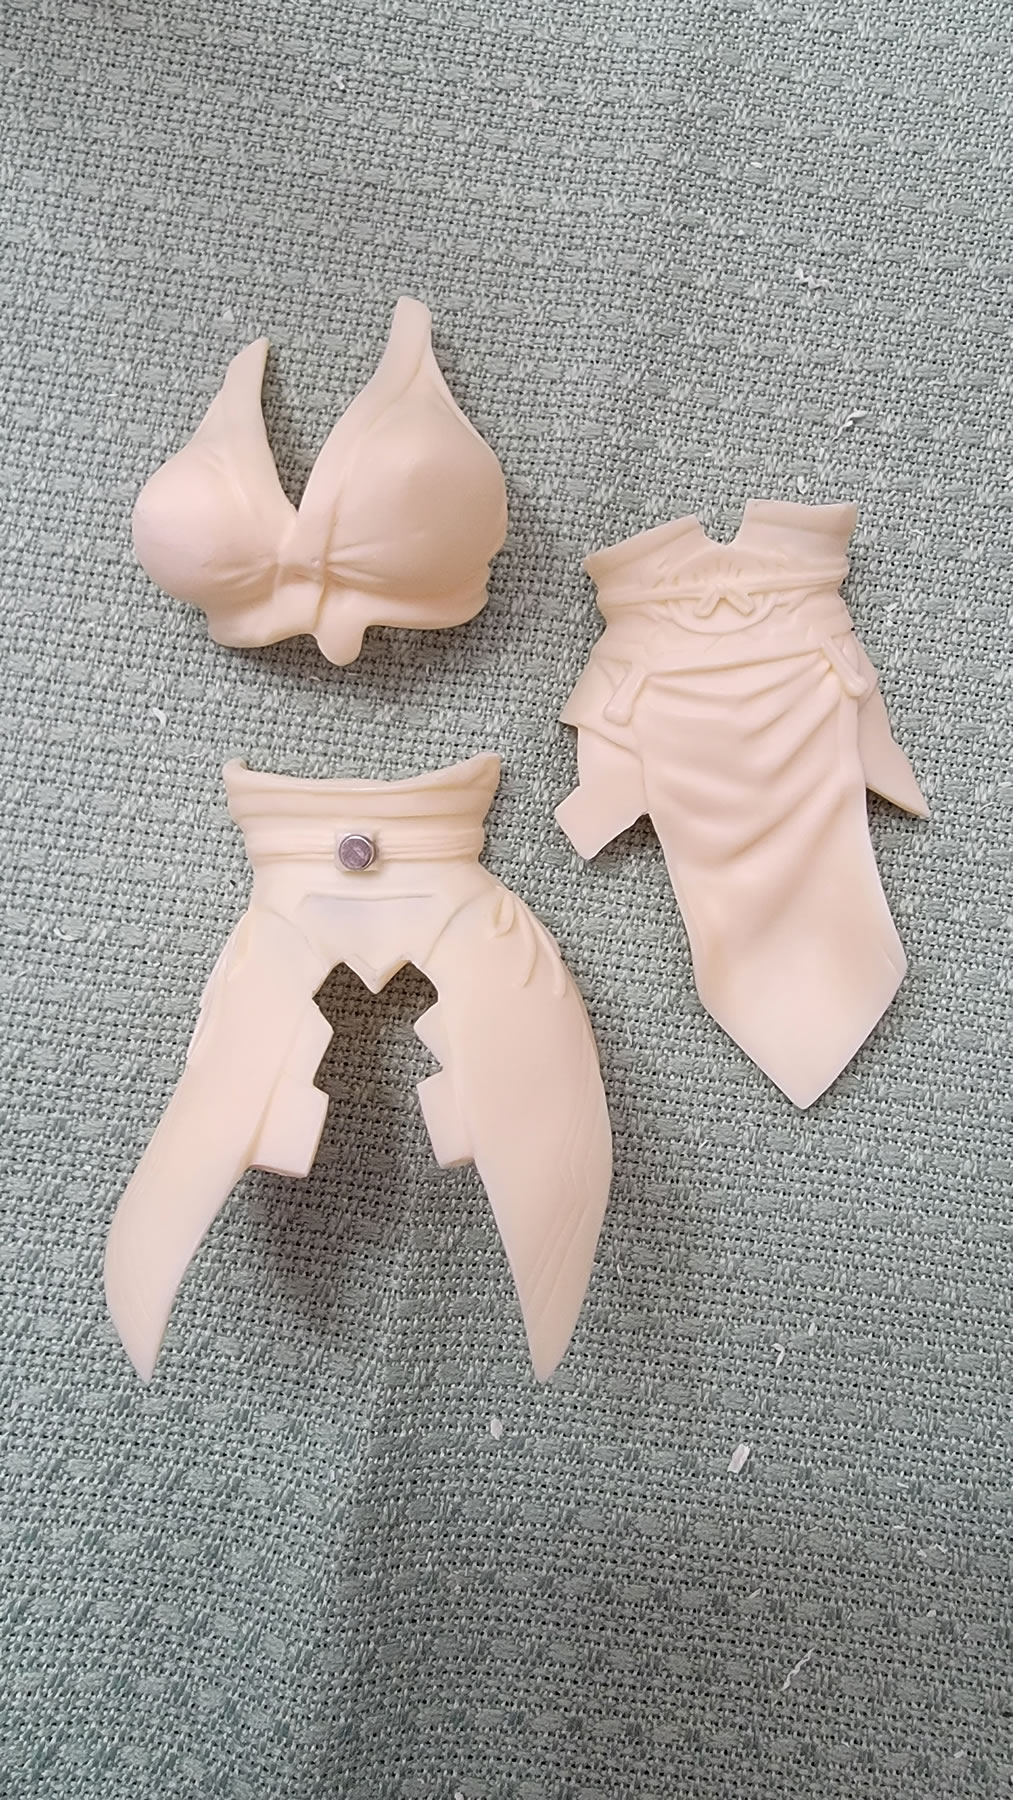
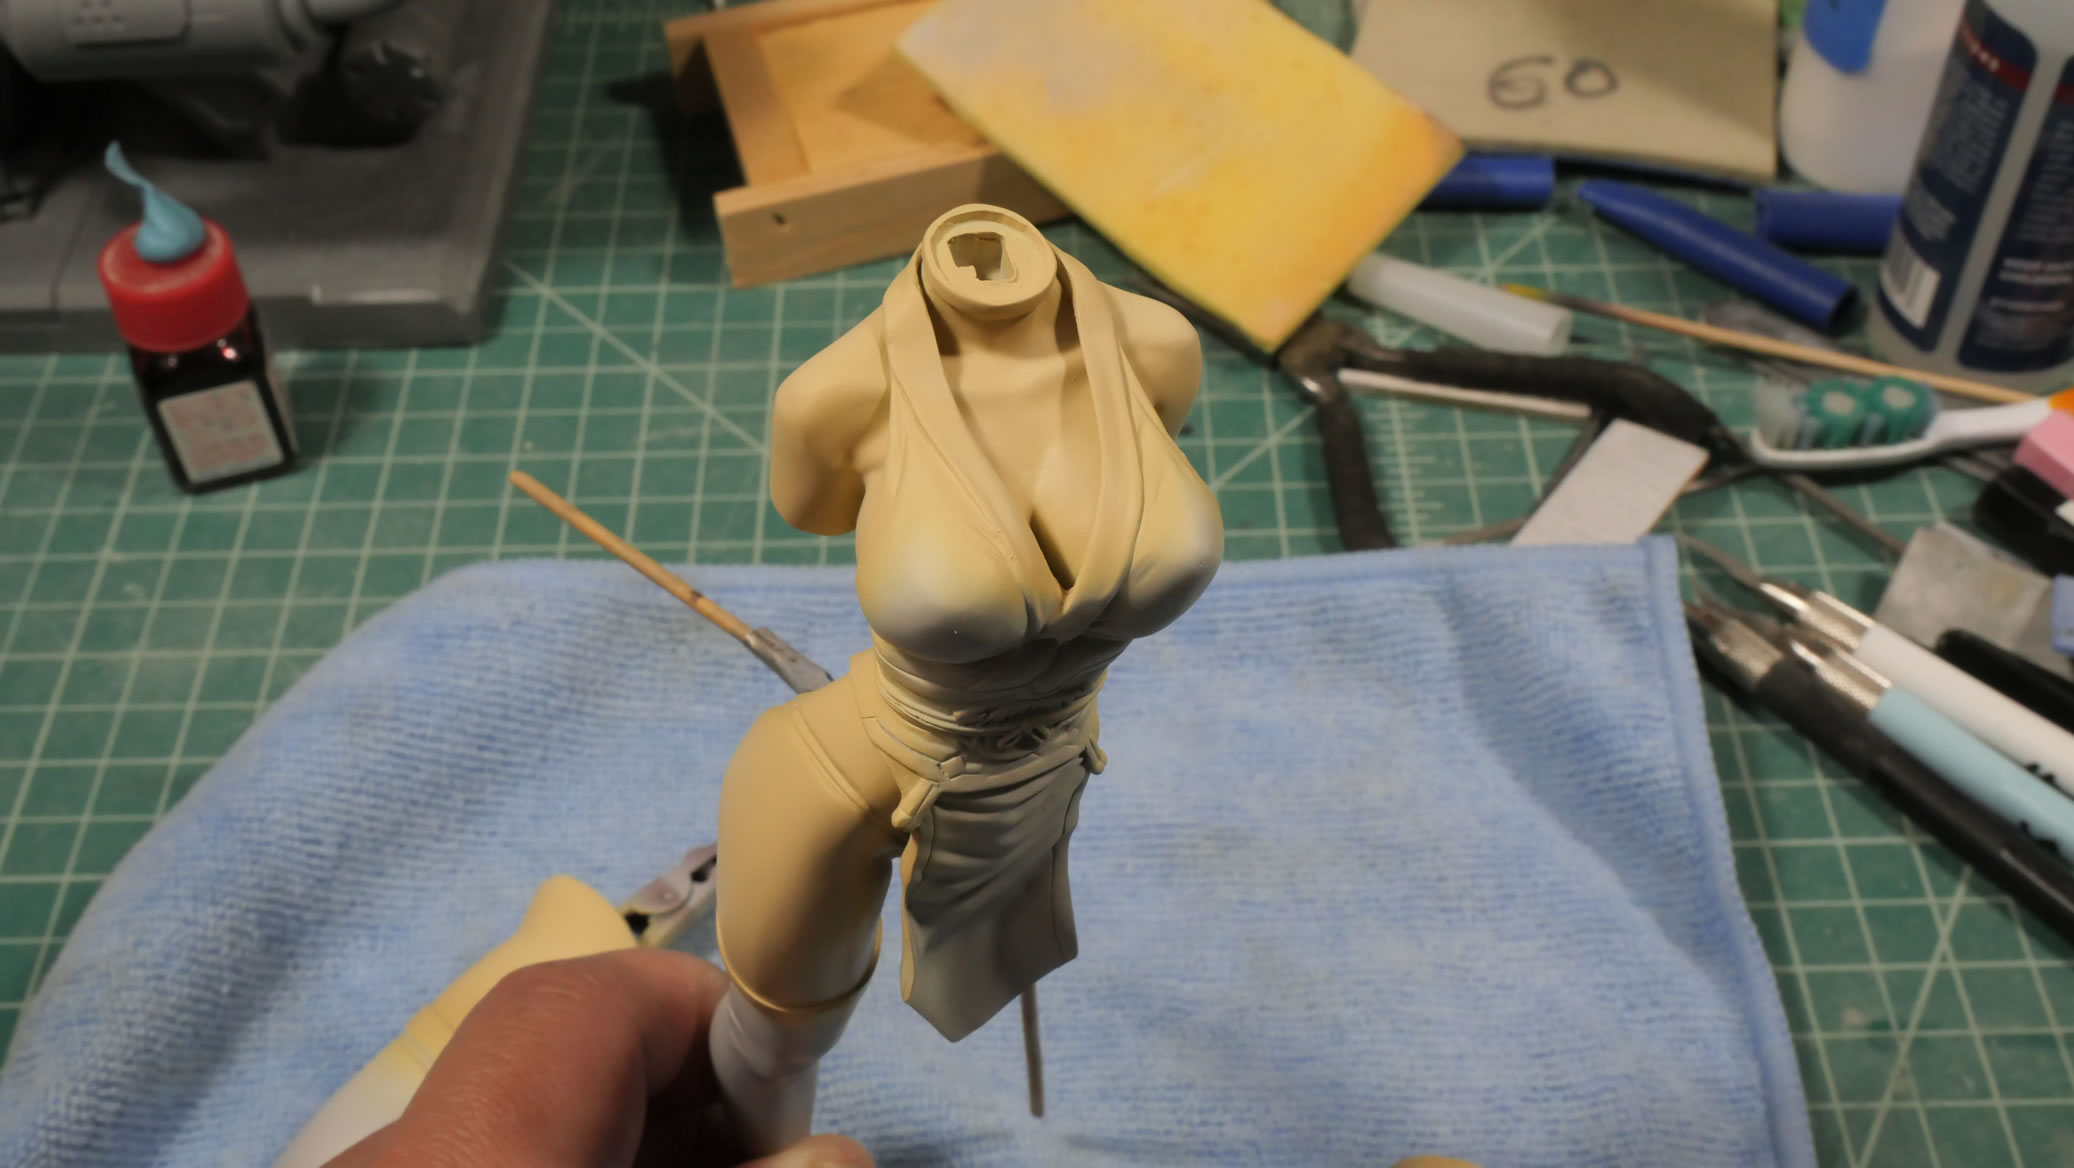
Here are the three clothing pieces that are the problems.
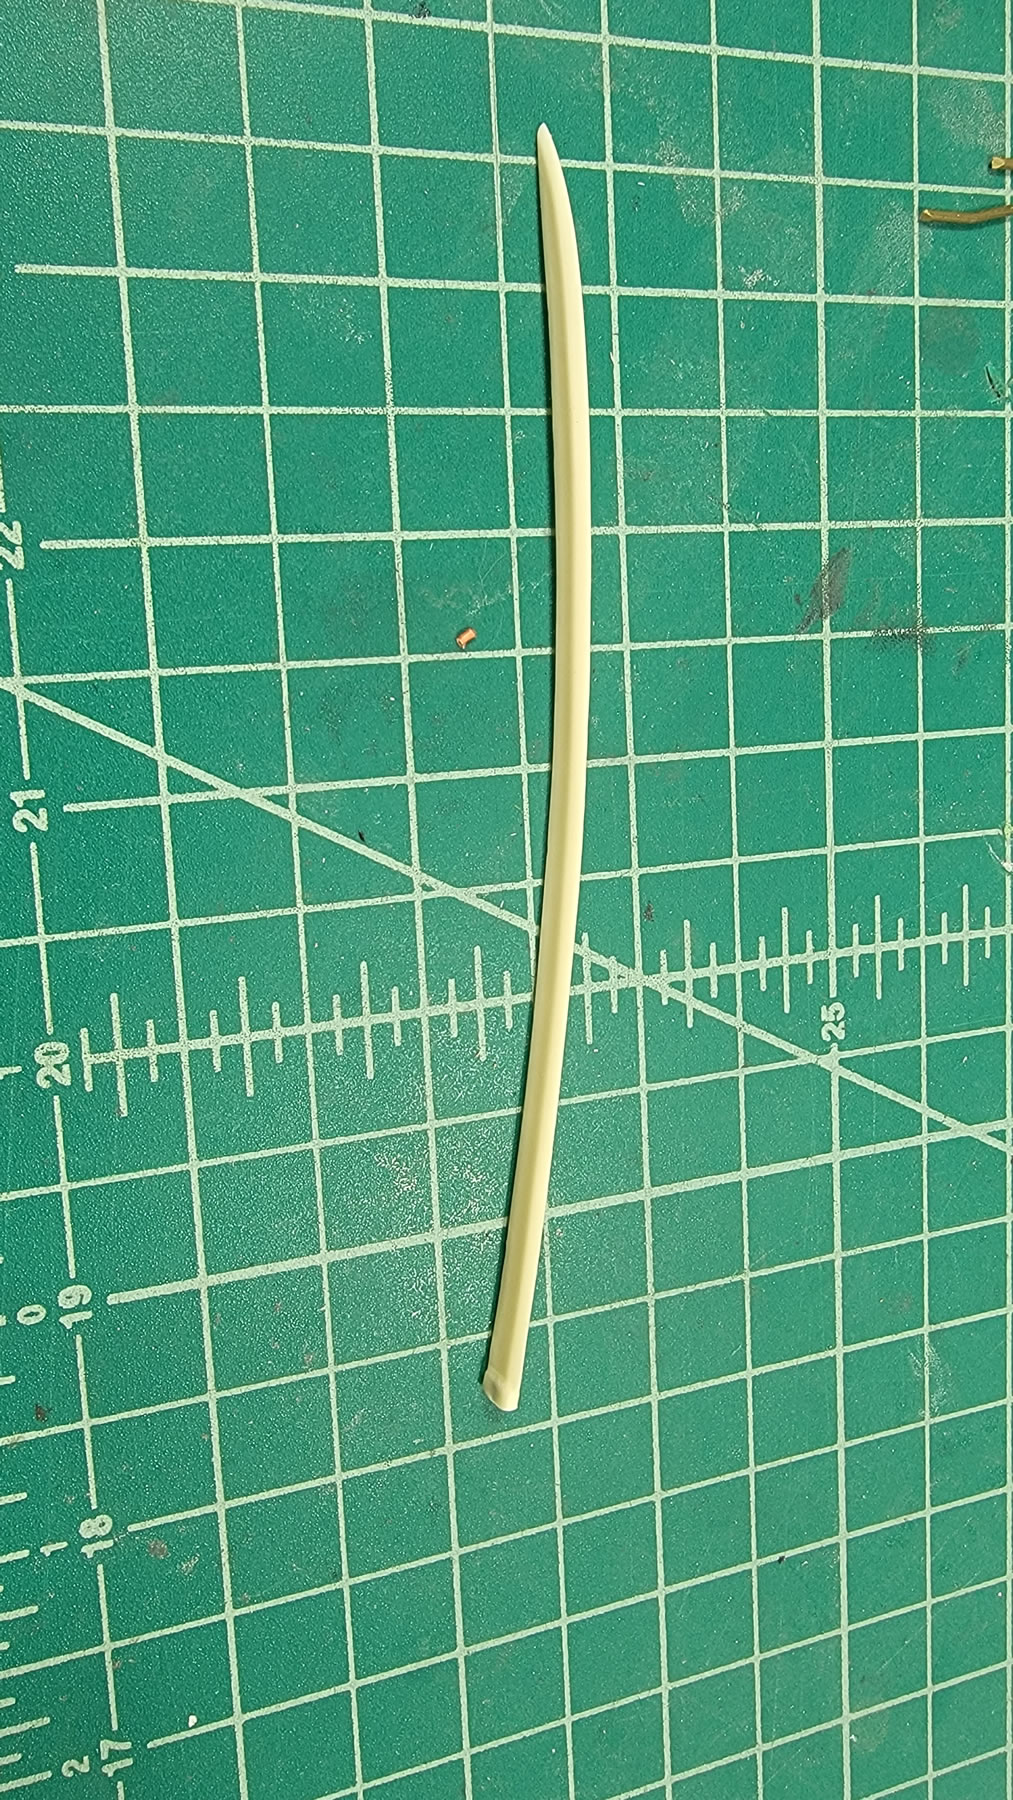
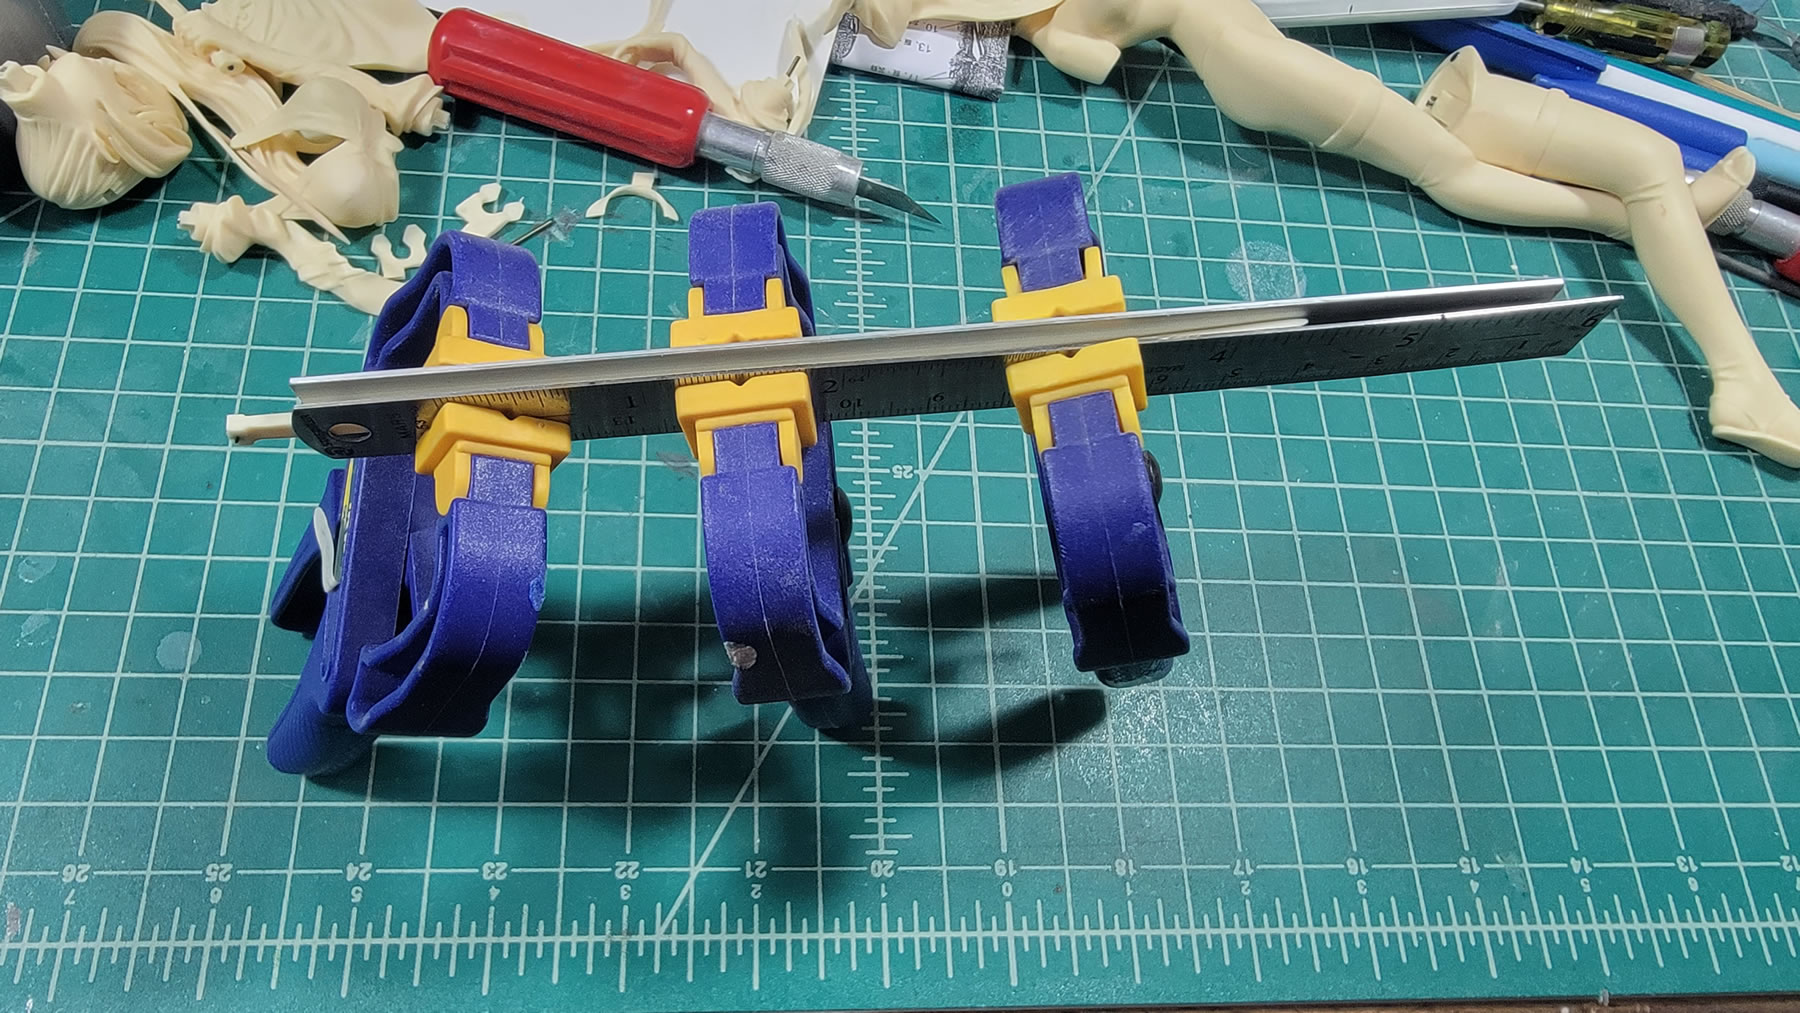
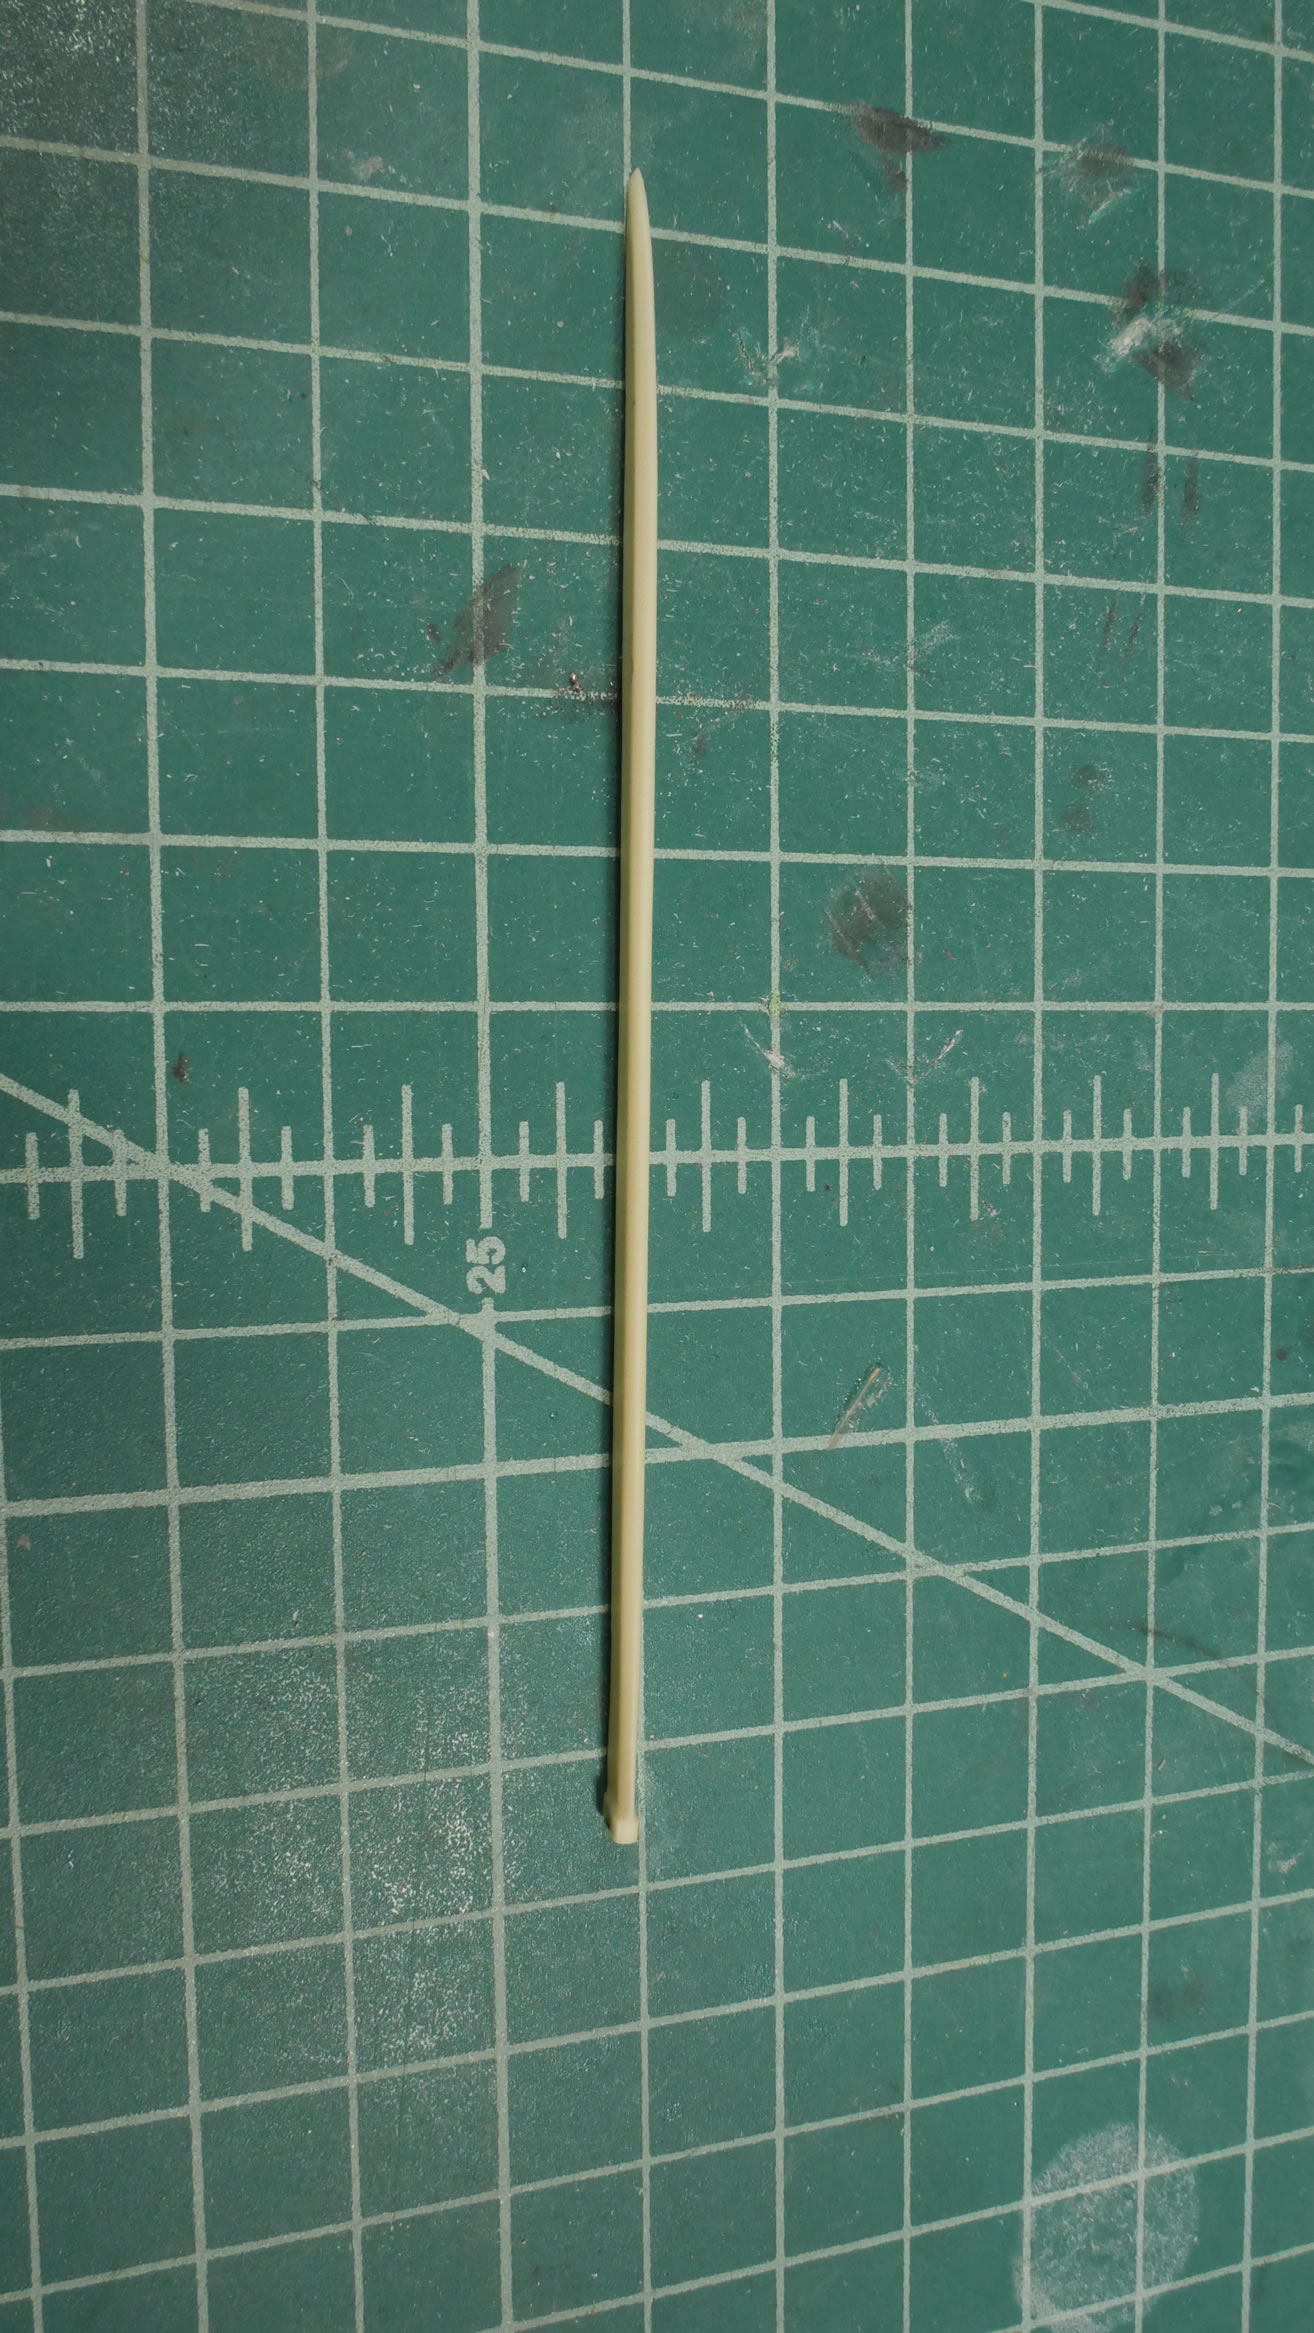
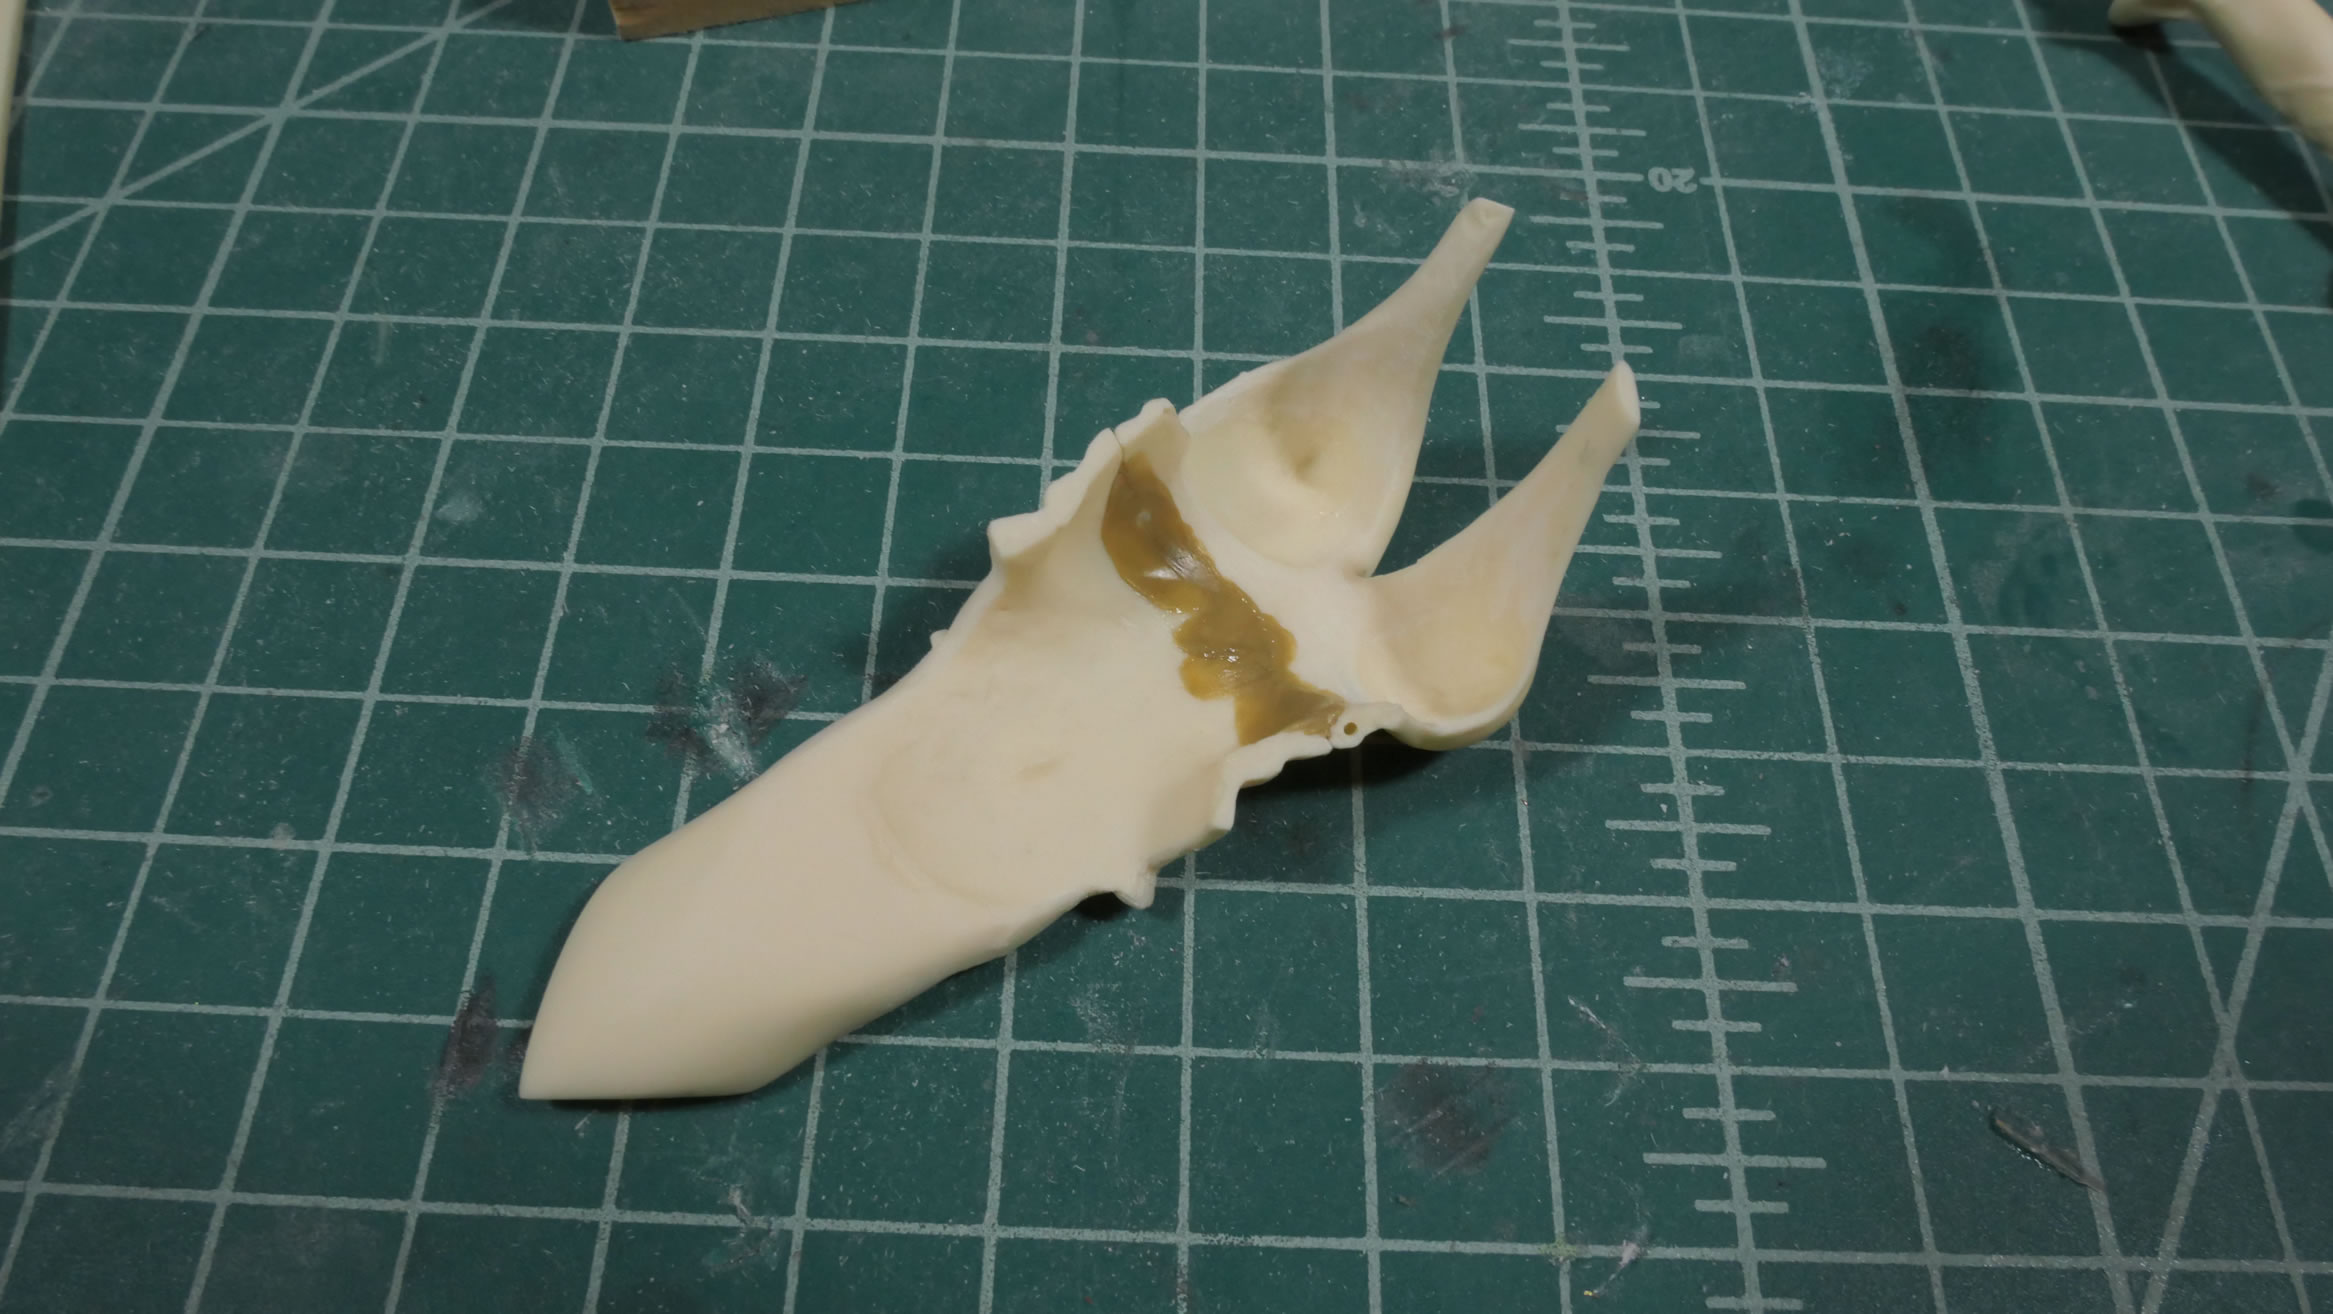
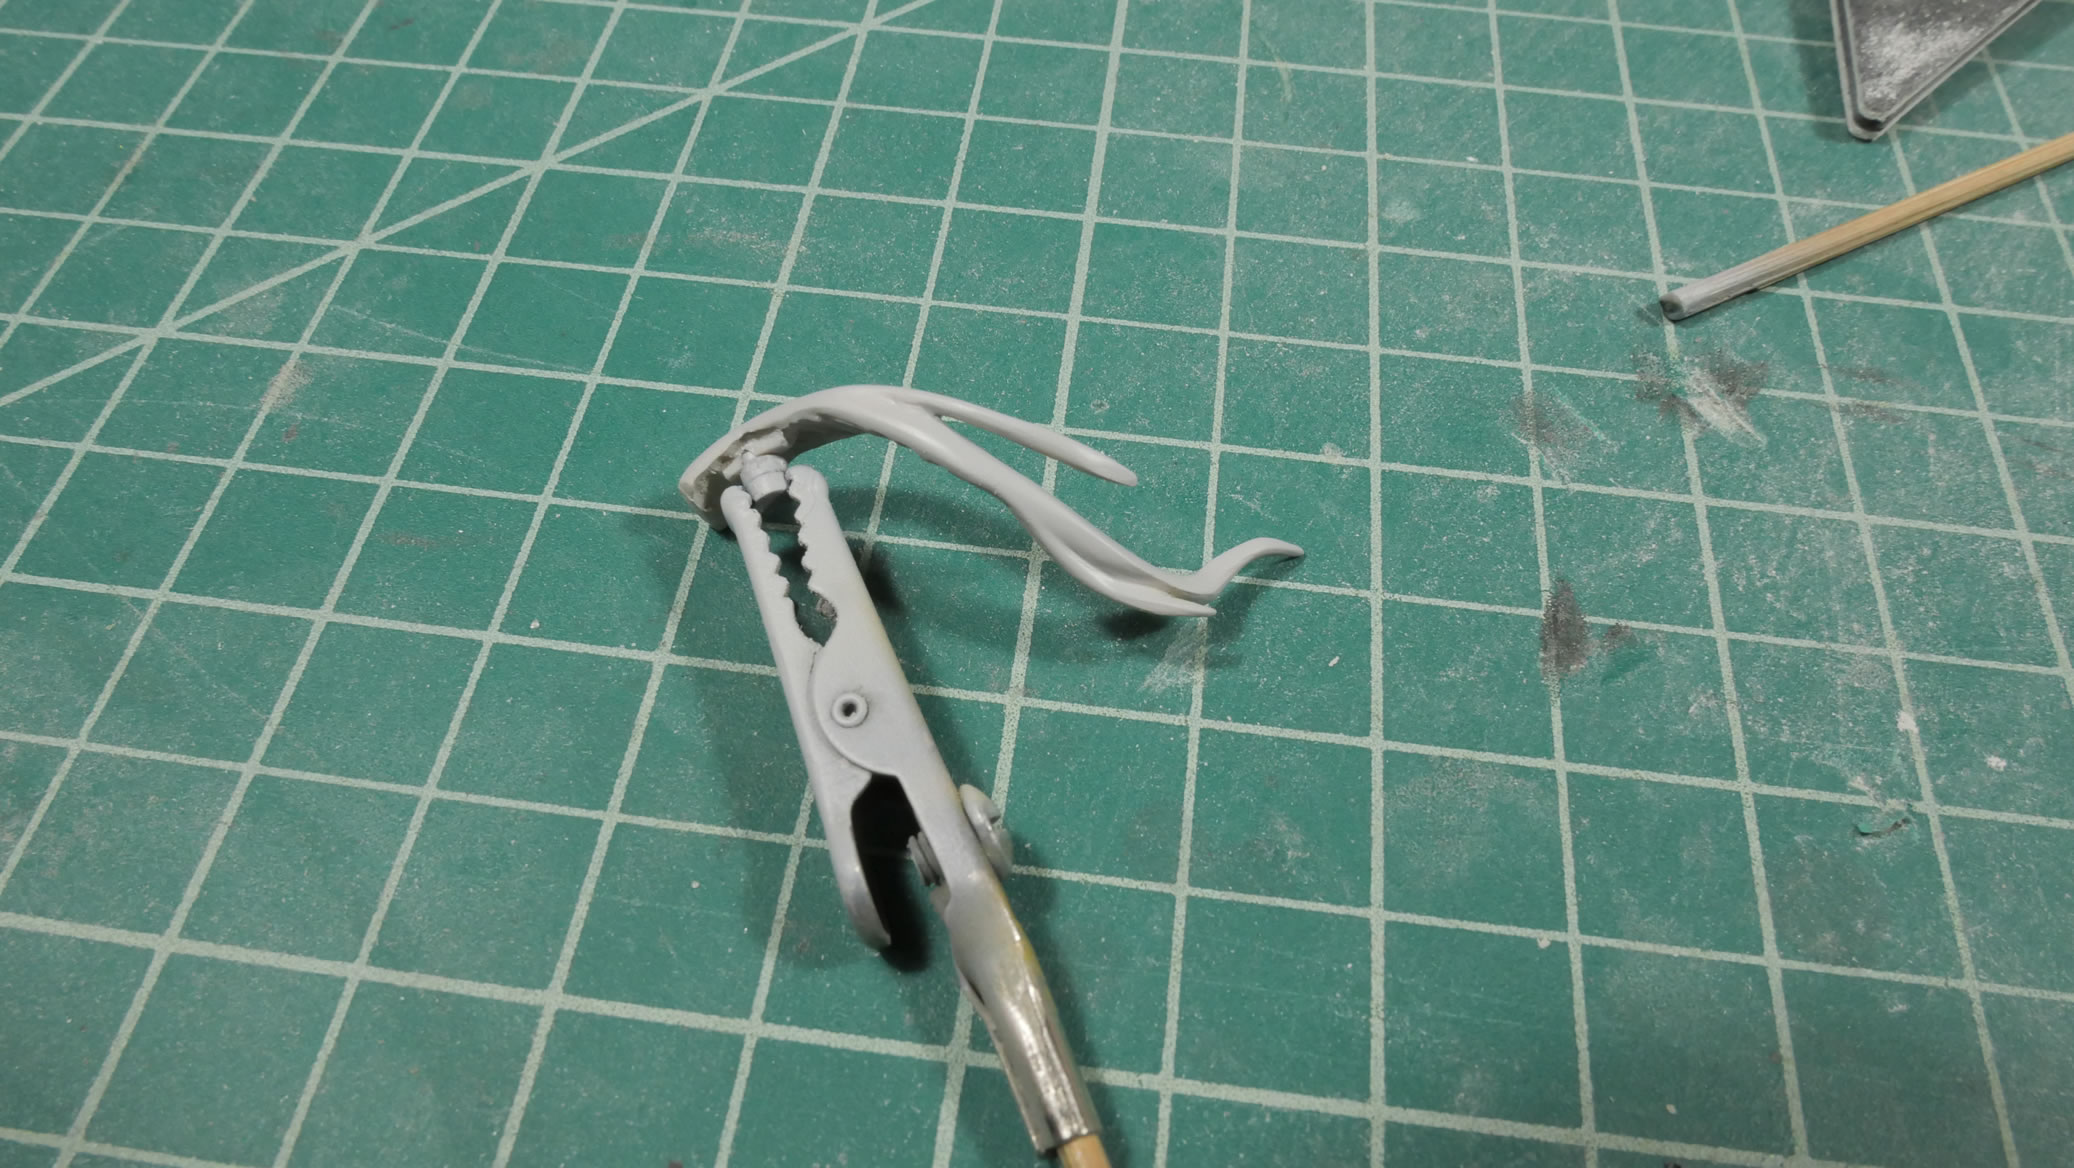
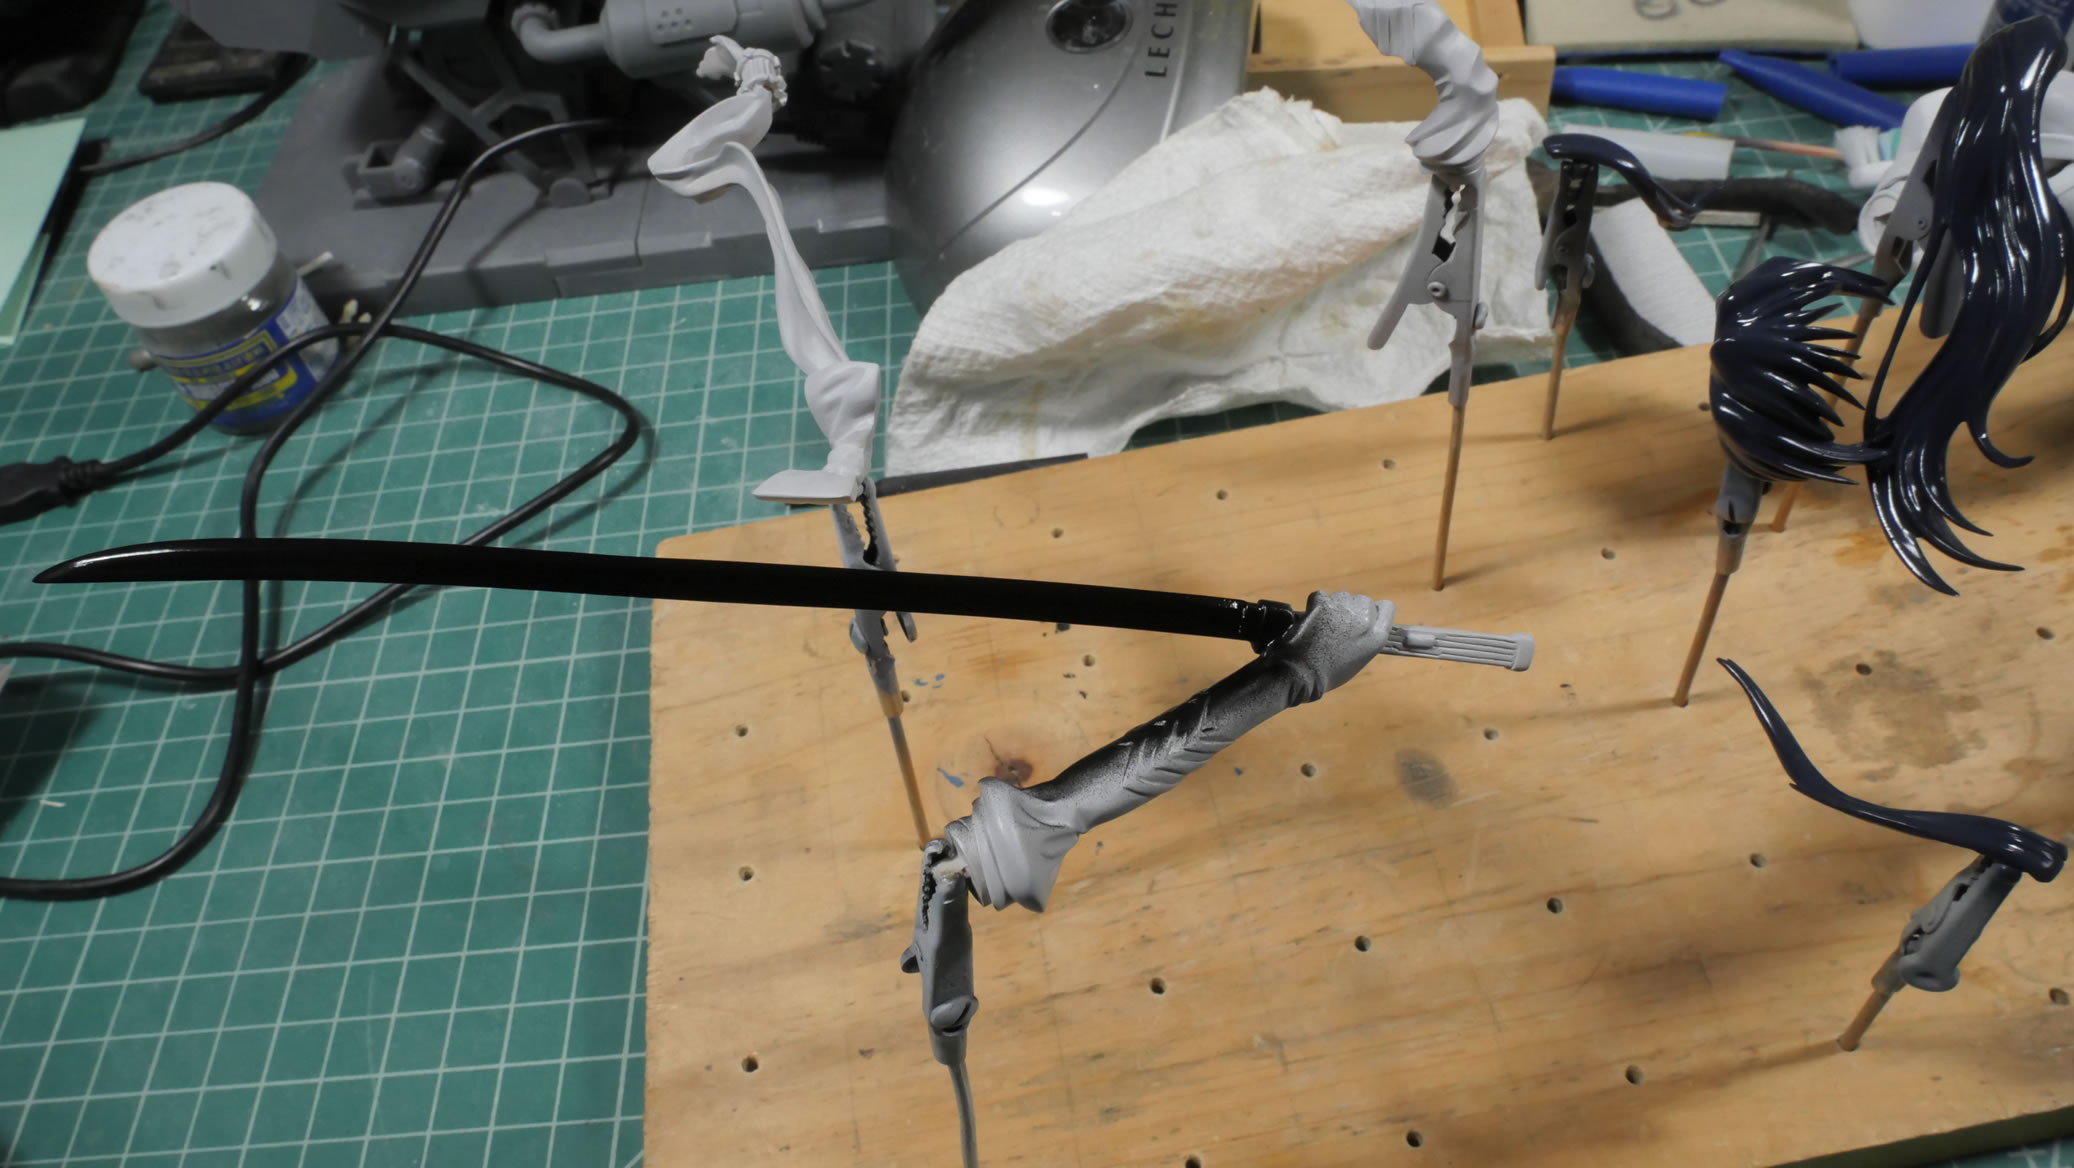
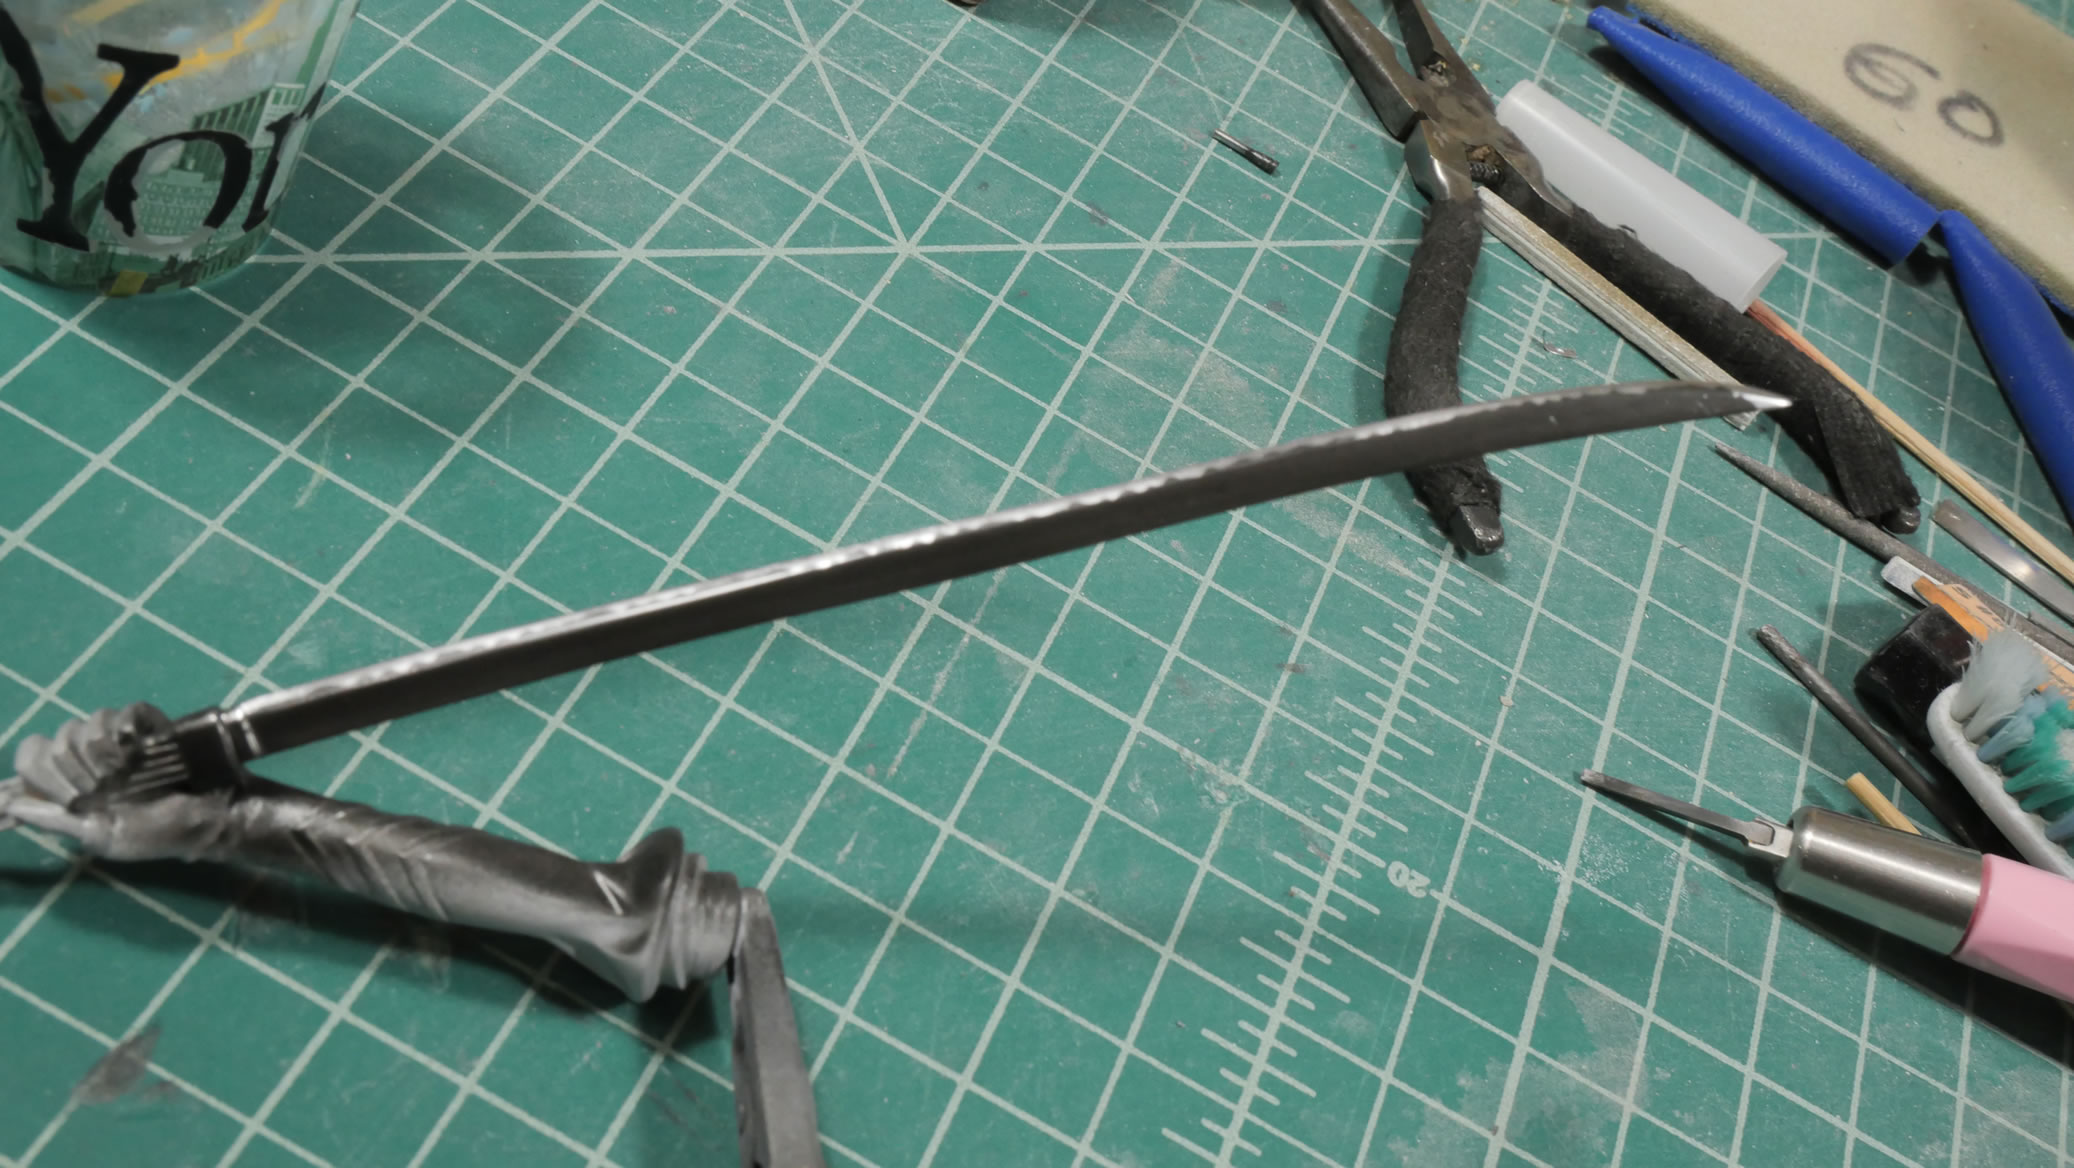
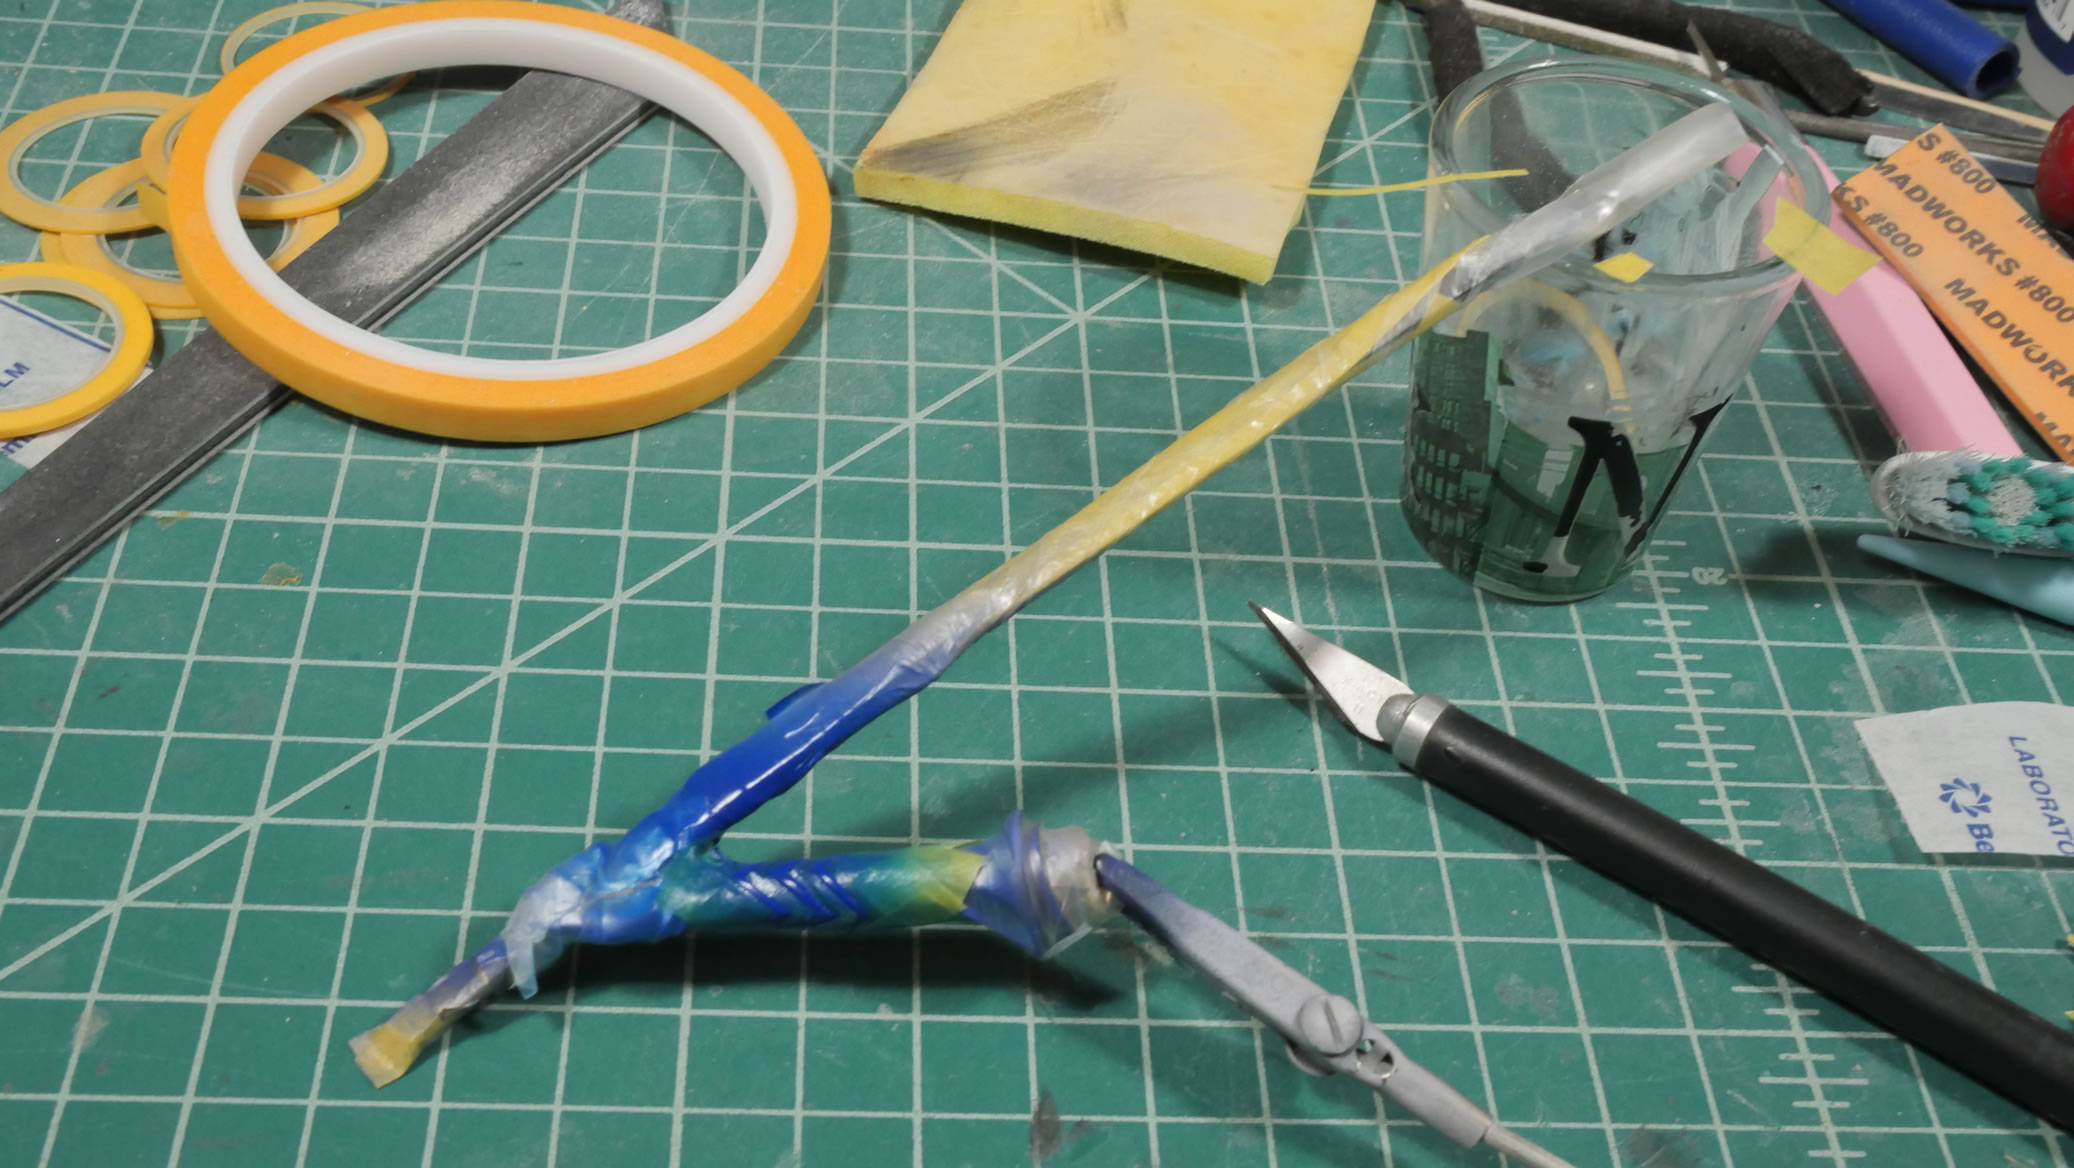
Letting the ideas marinate a bit, we move on to the sword. Typical issues with resin is warping or bent/curved parts. This is easily resolved with two metal rulers, plastic clamps, and the dehydrator set to 150 degress F and cooking the whole assembly for 2 hours and letting it naturally cool back down to room temp. A few hours later, the sword is straight.
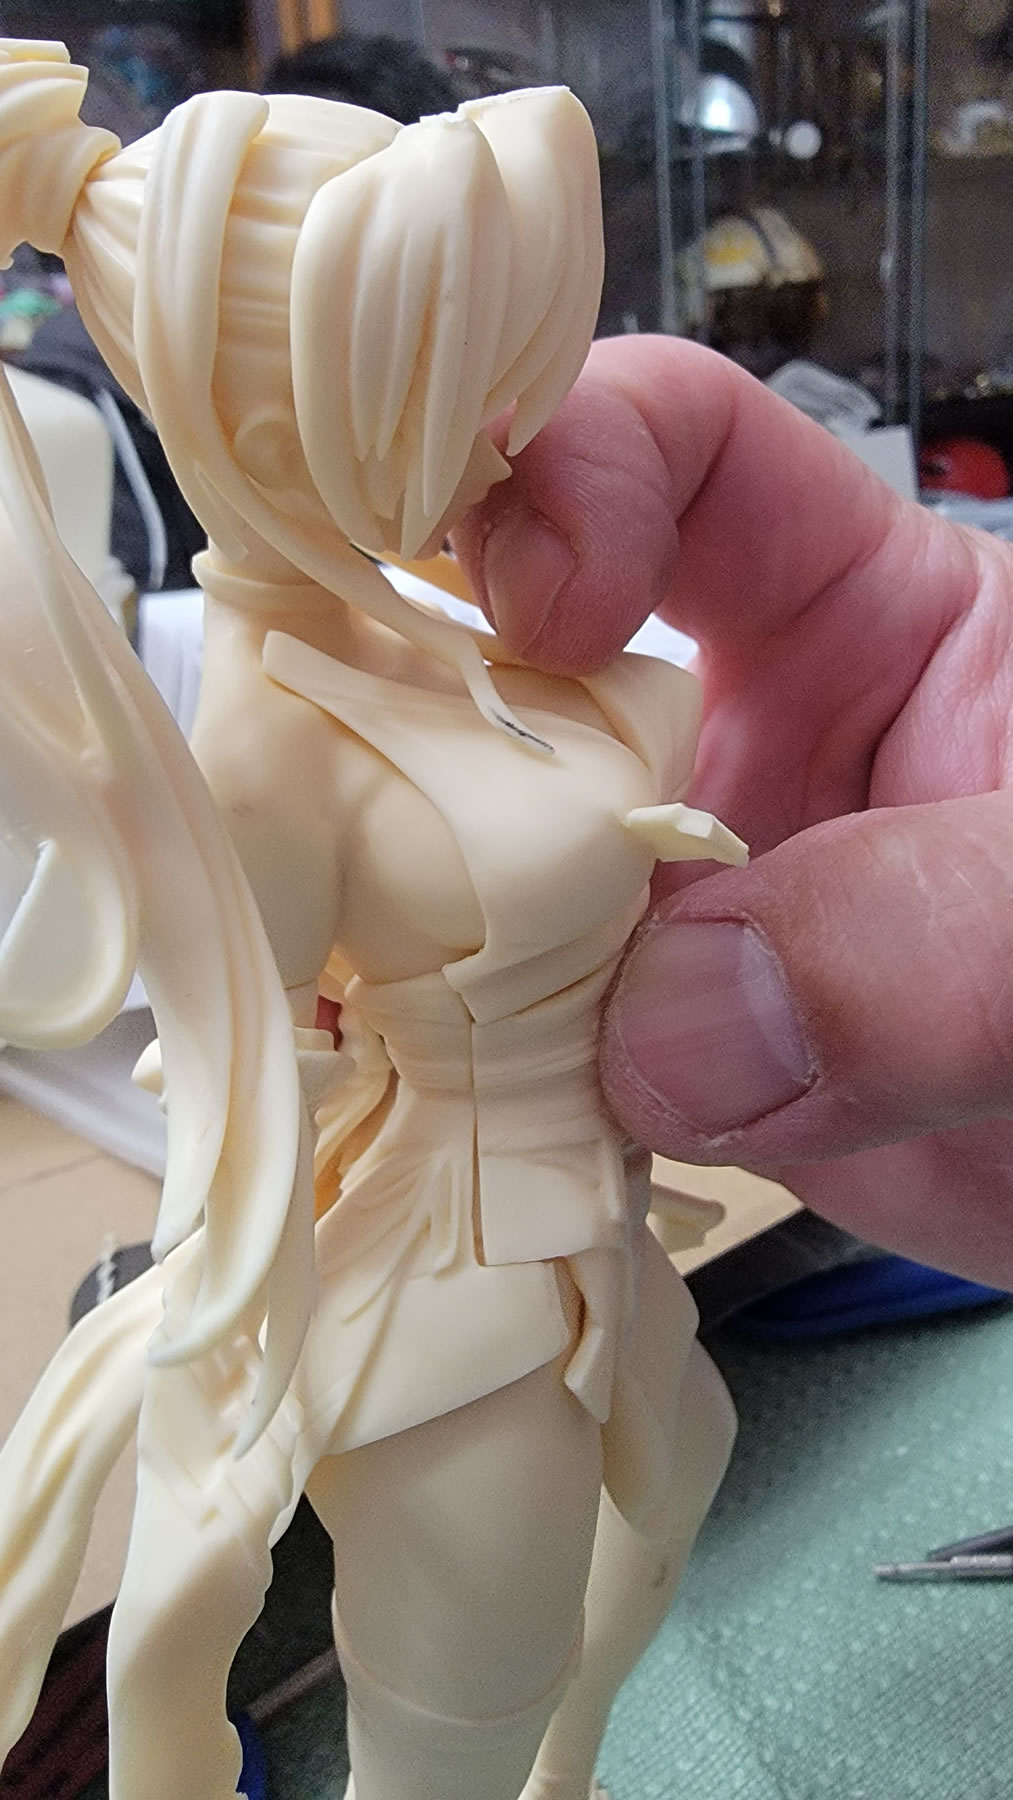
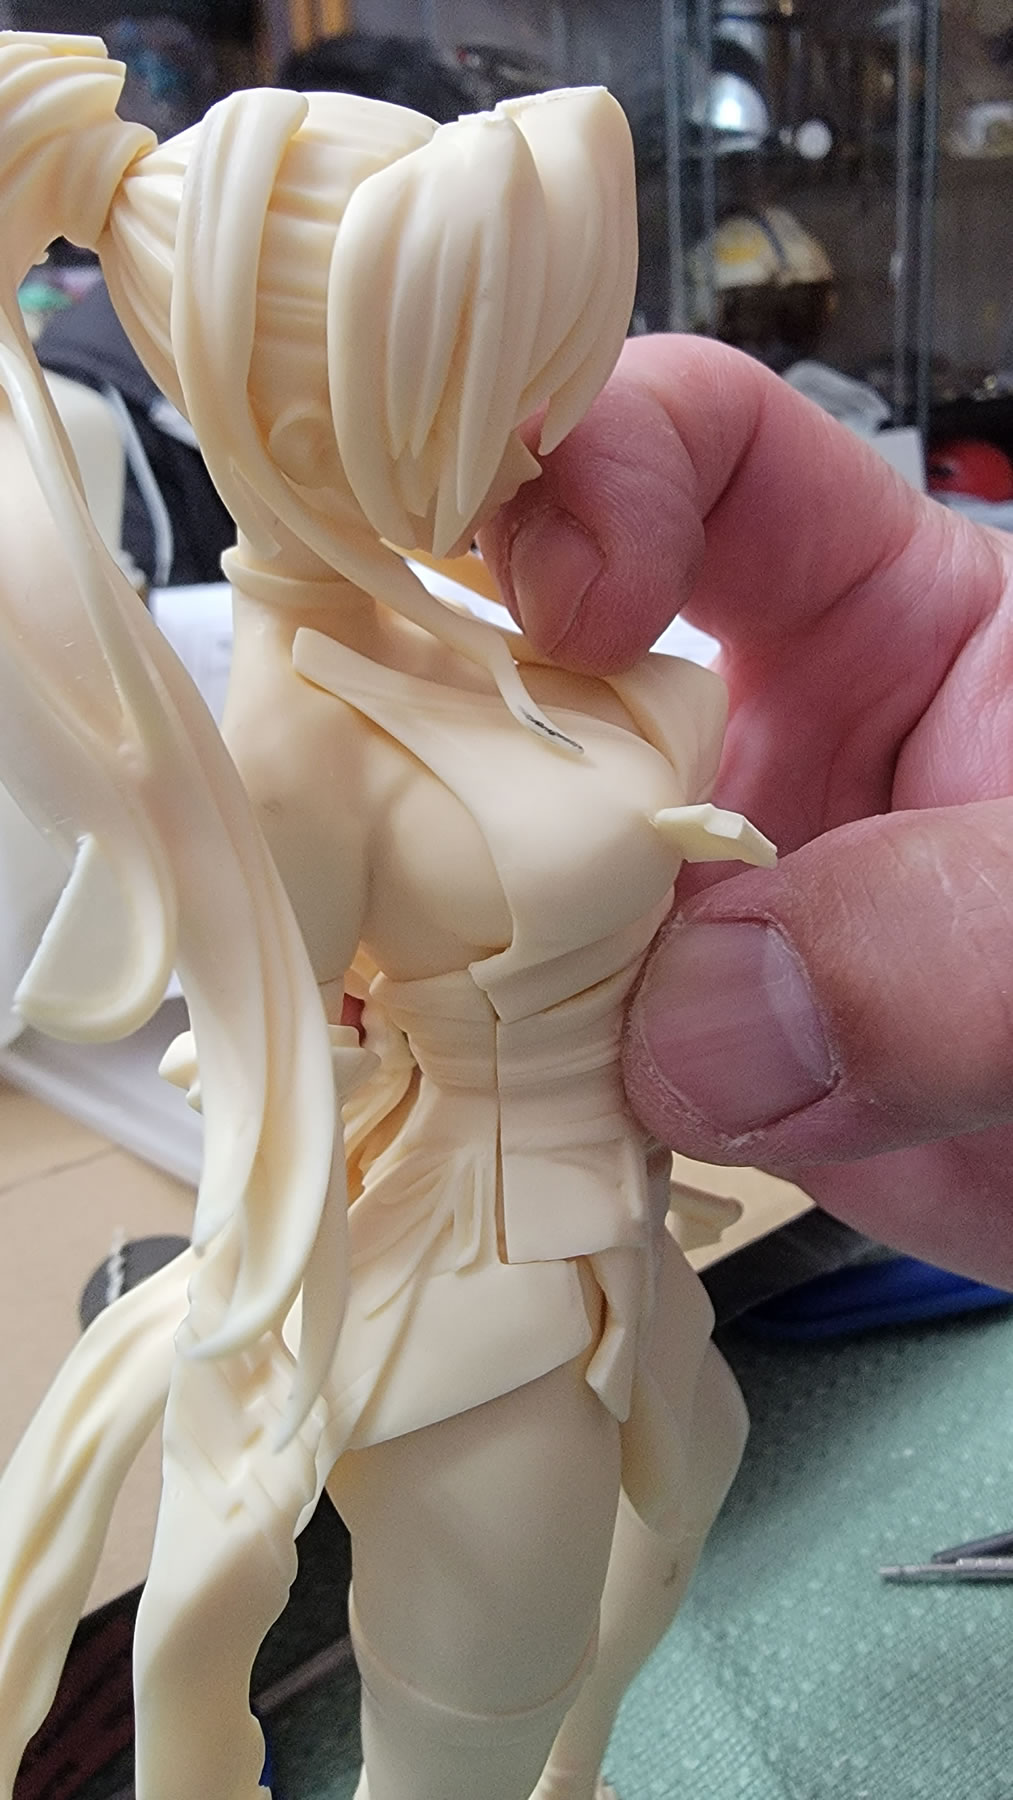
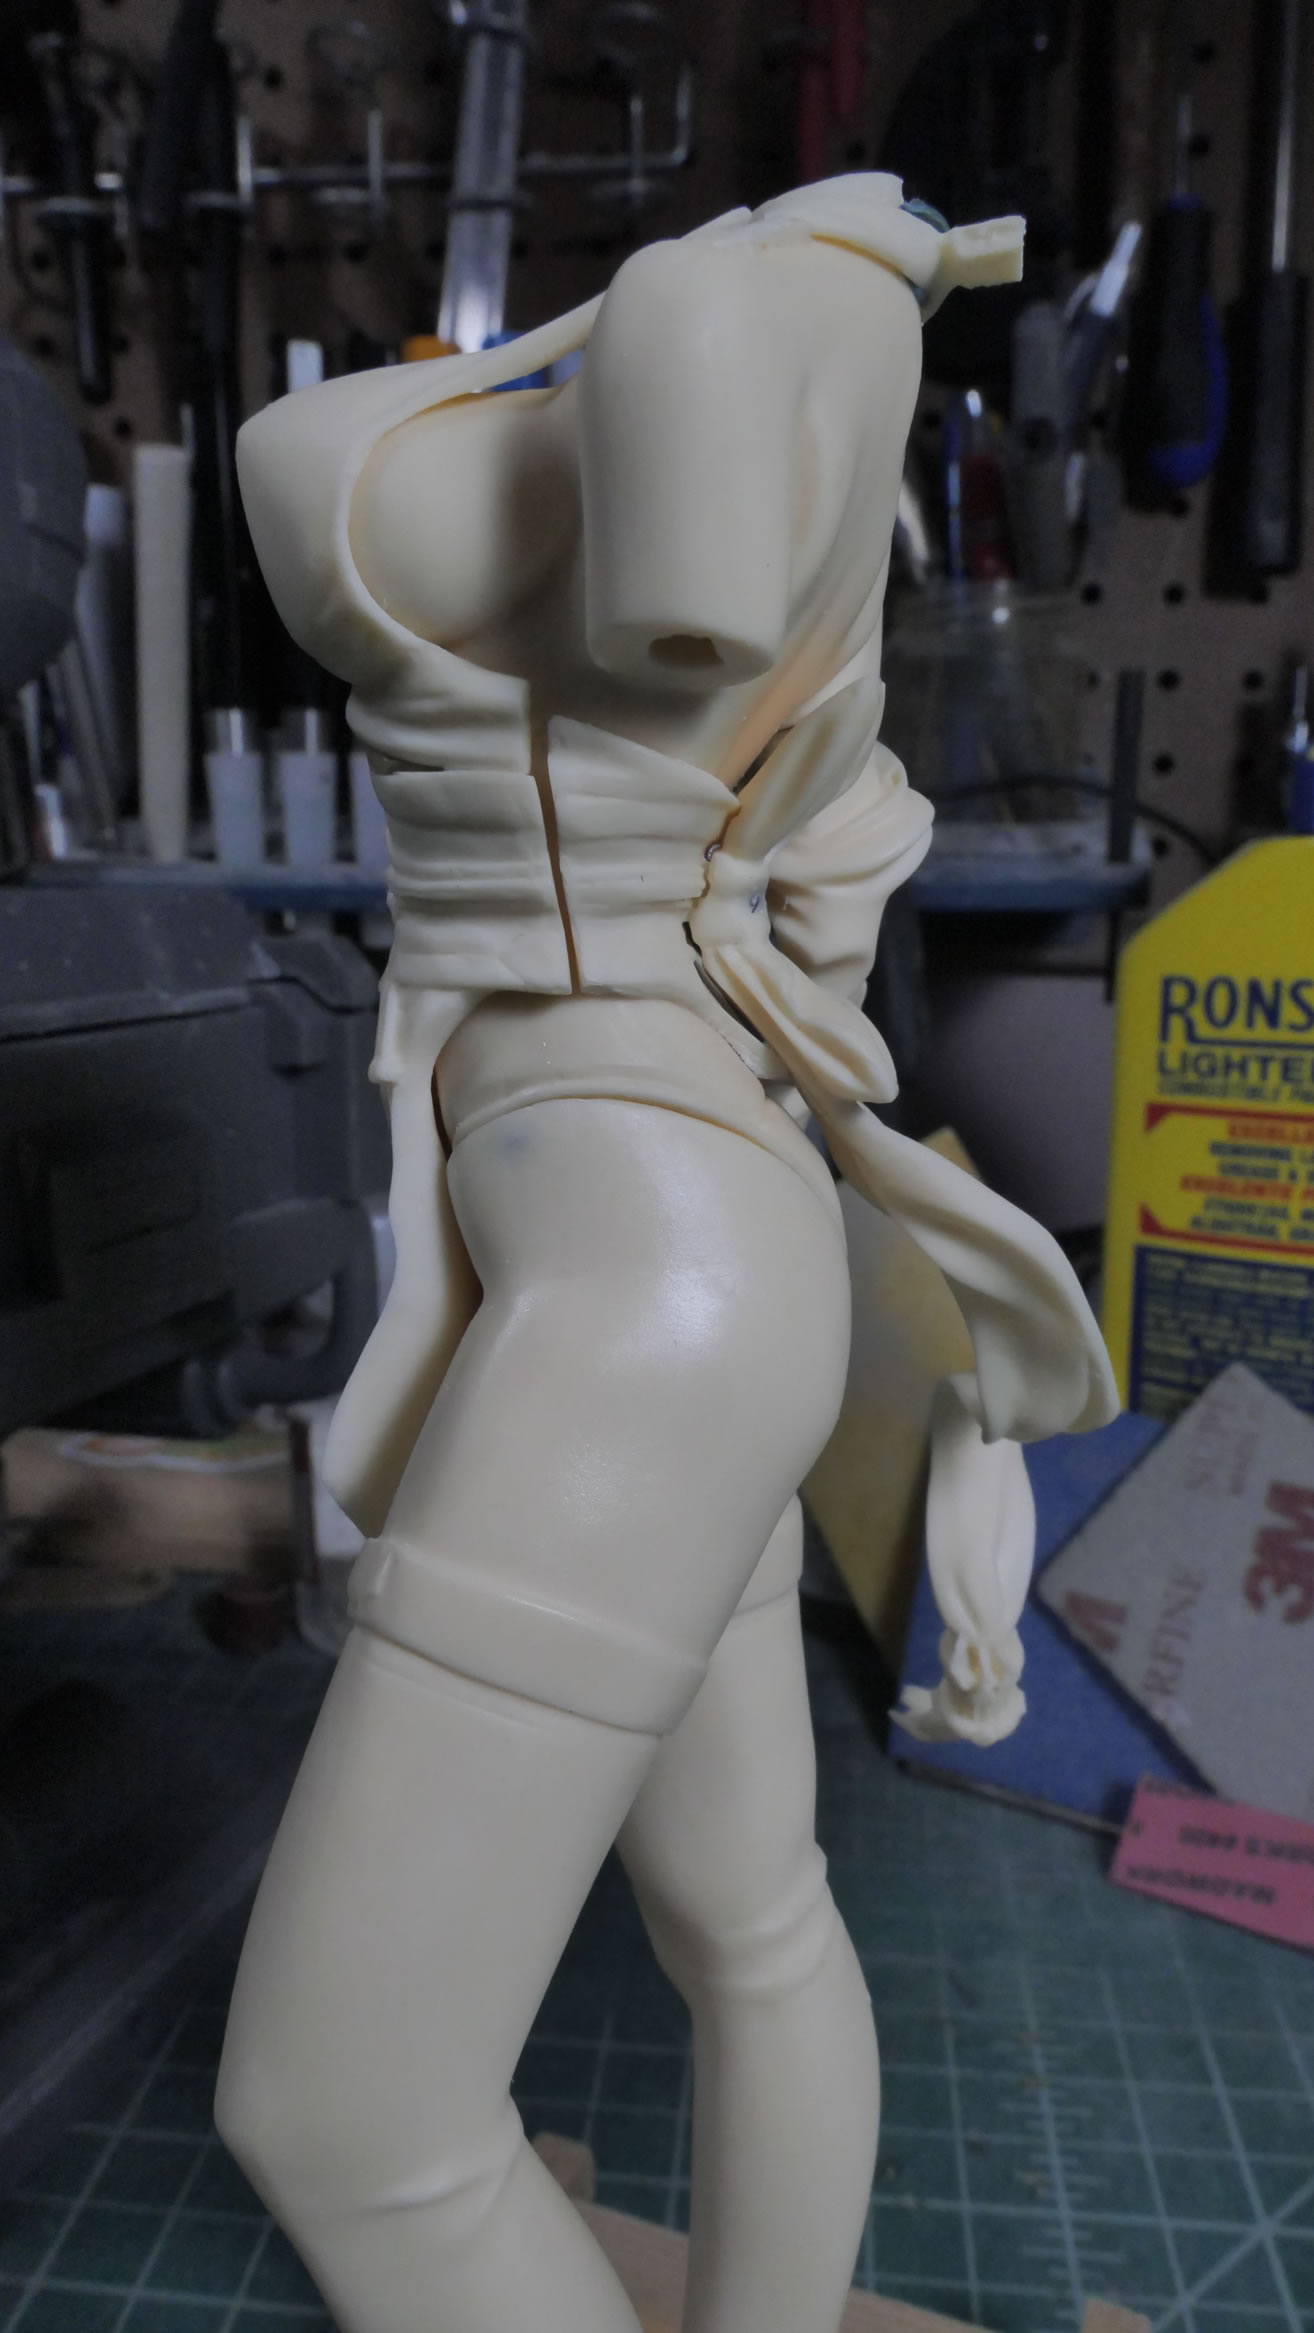
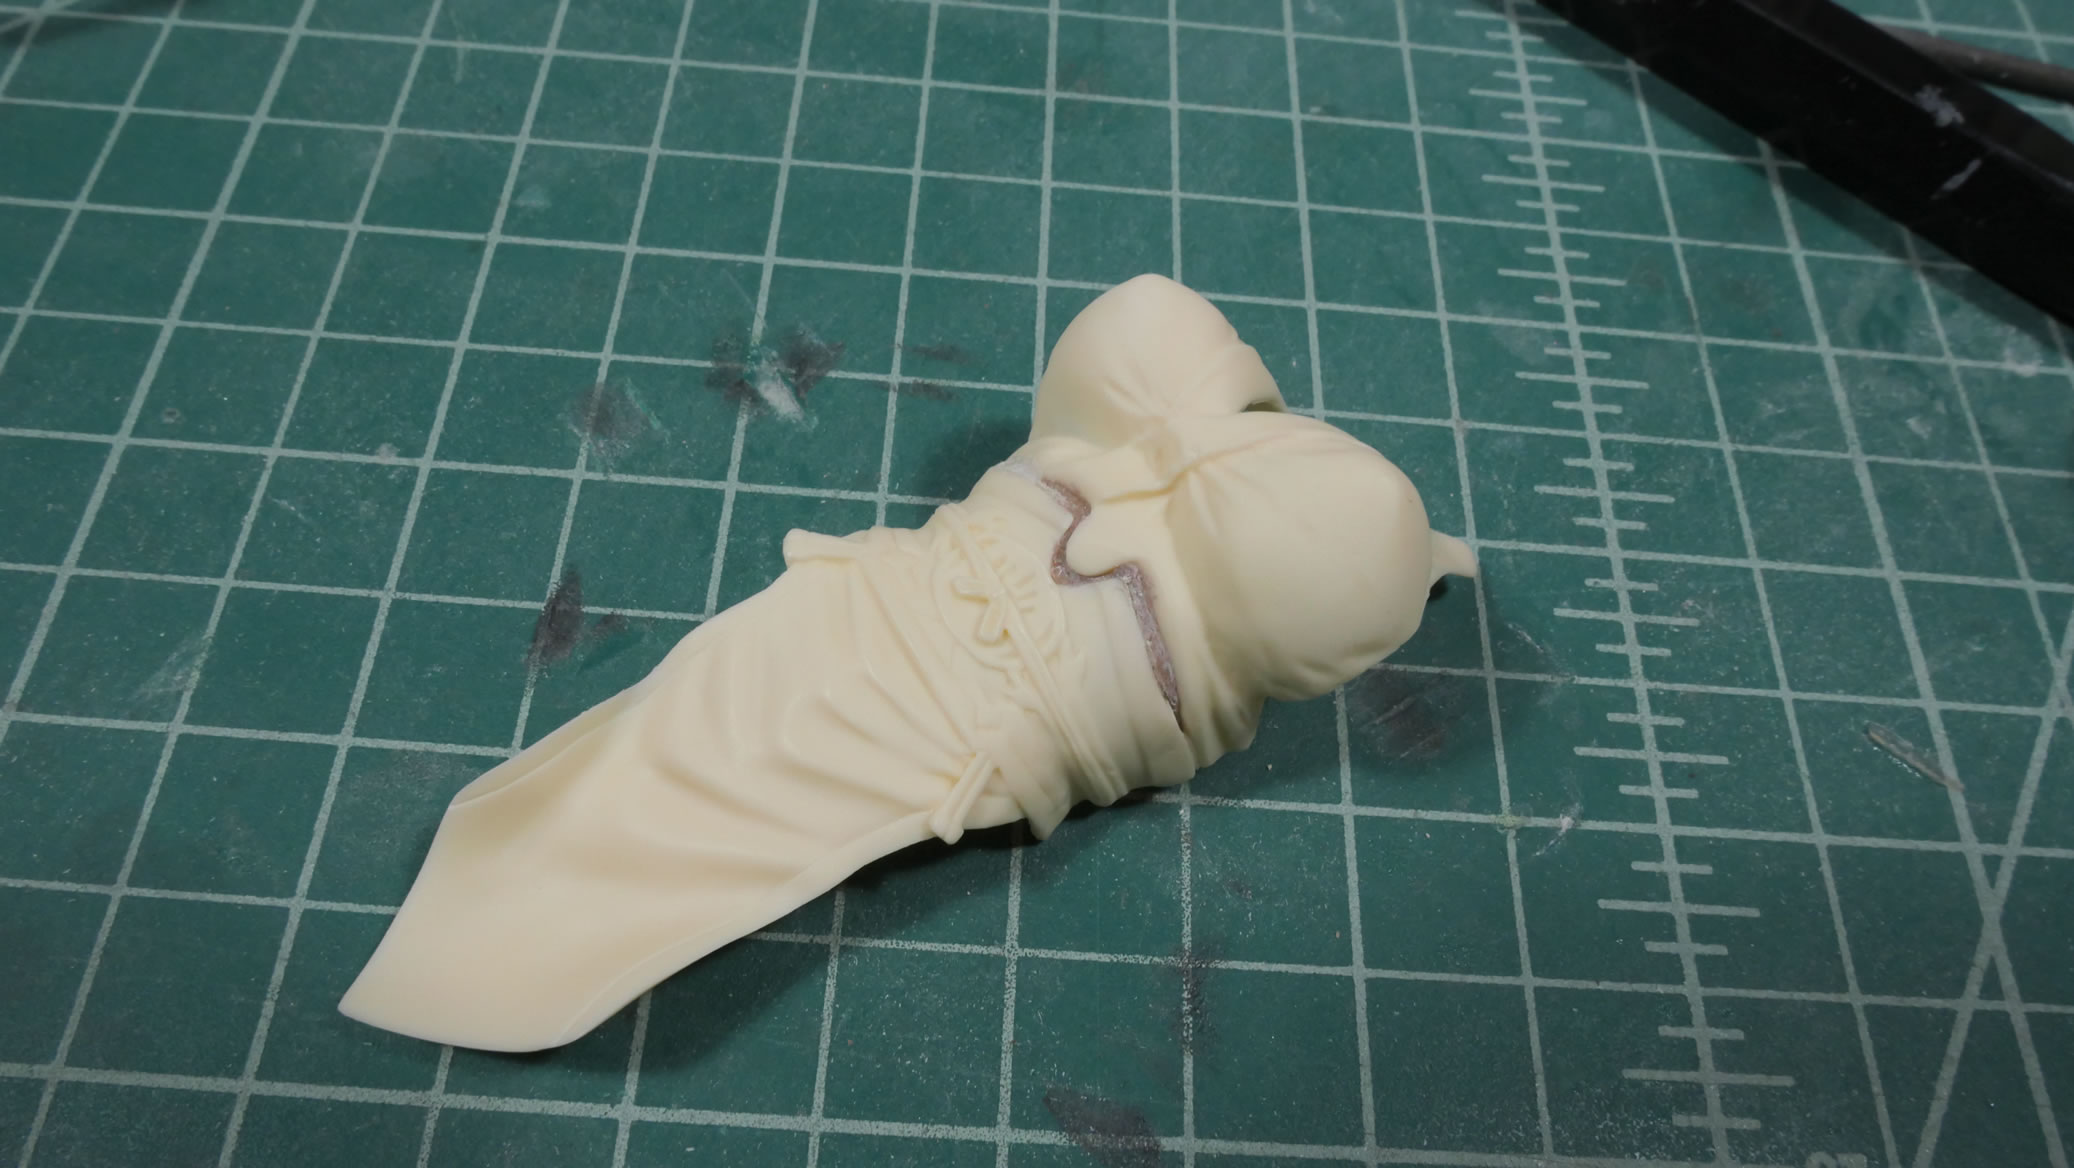
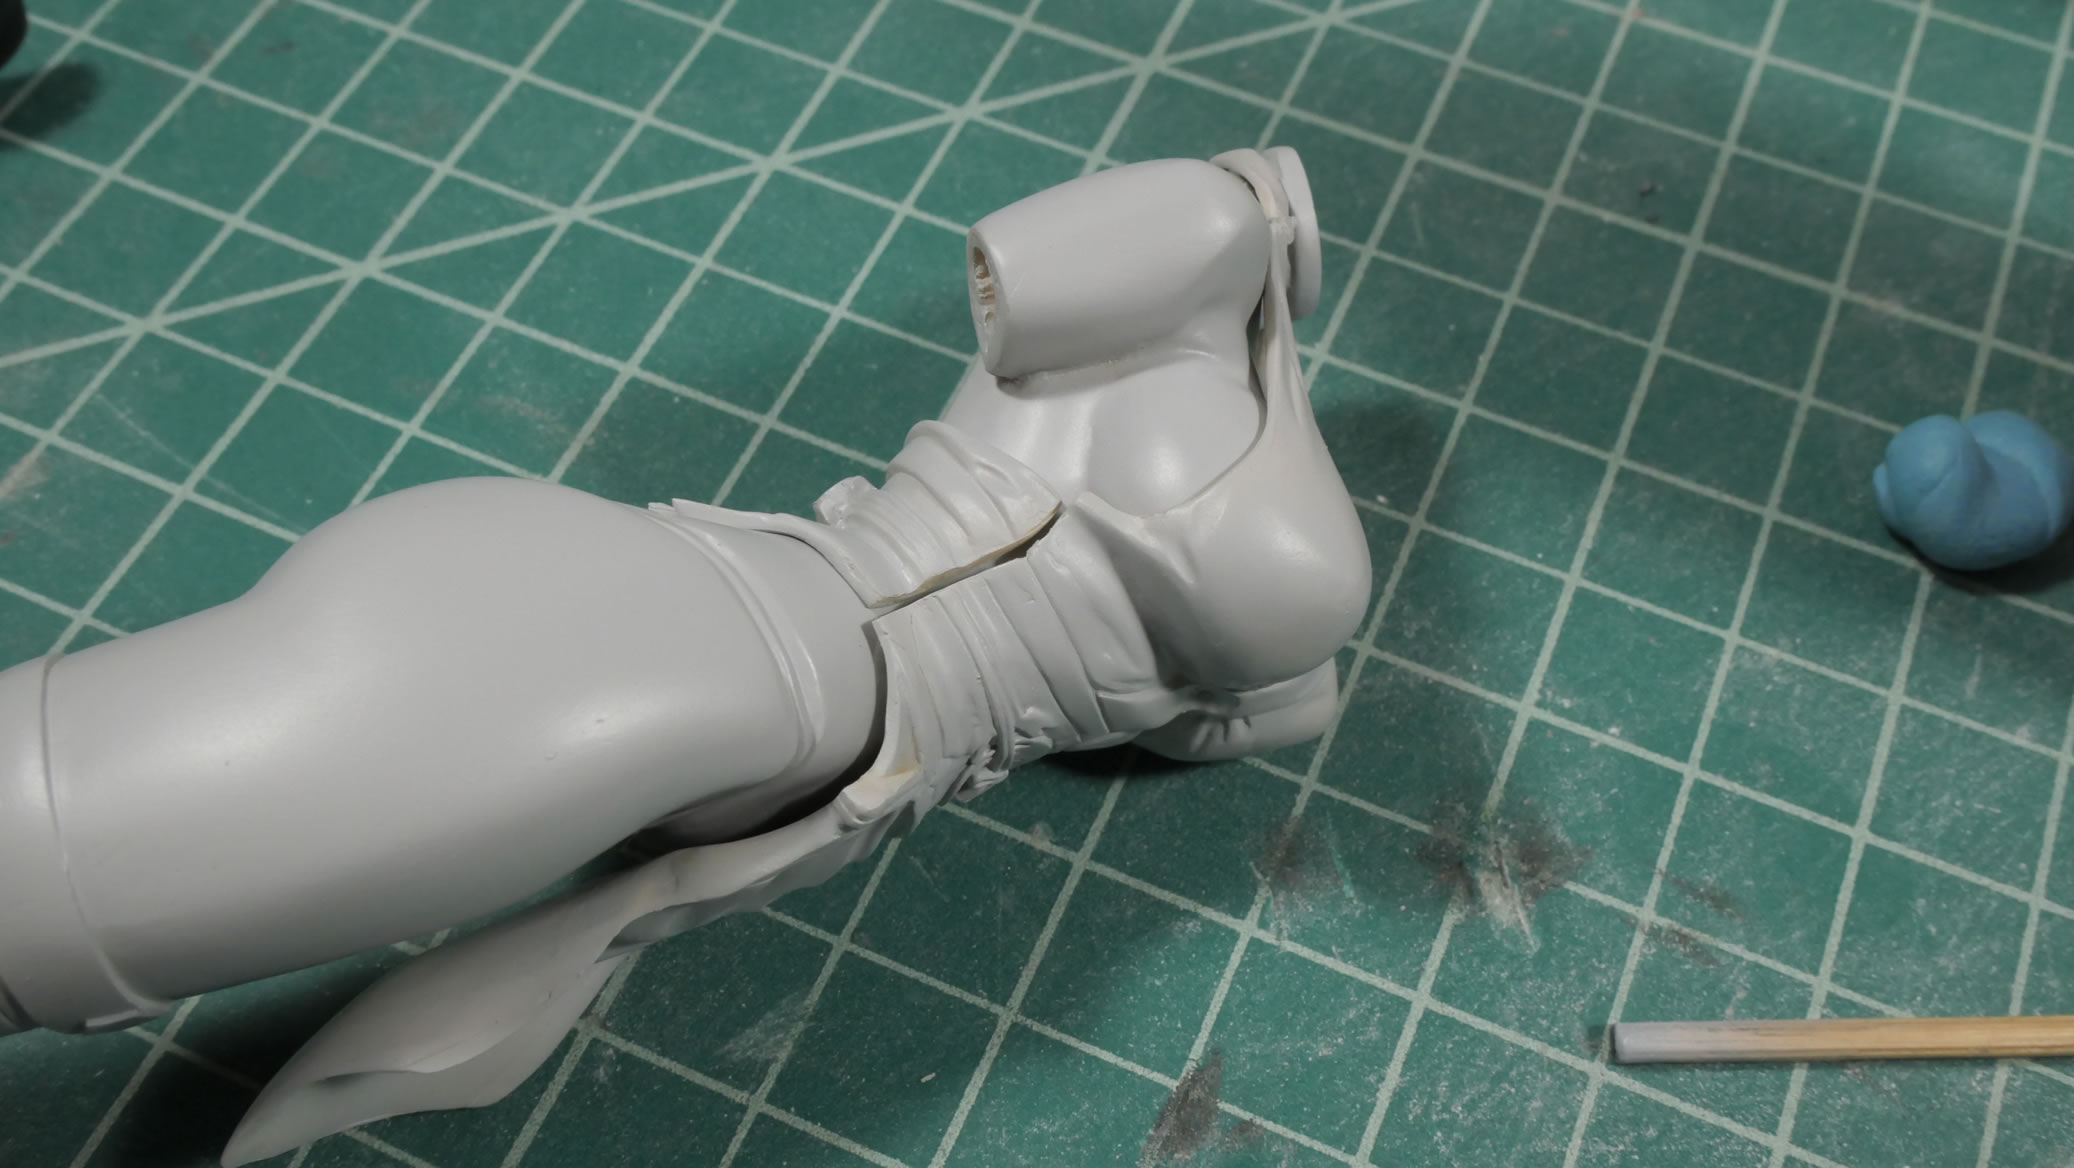
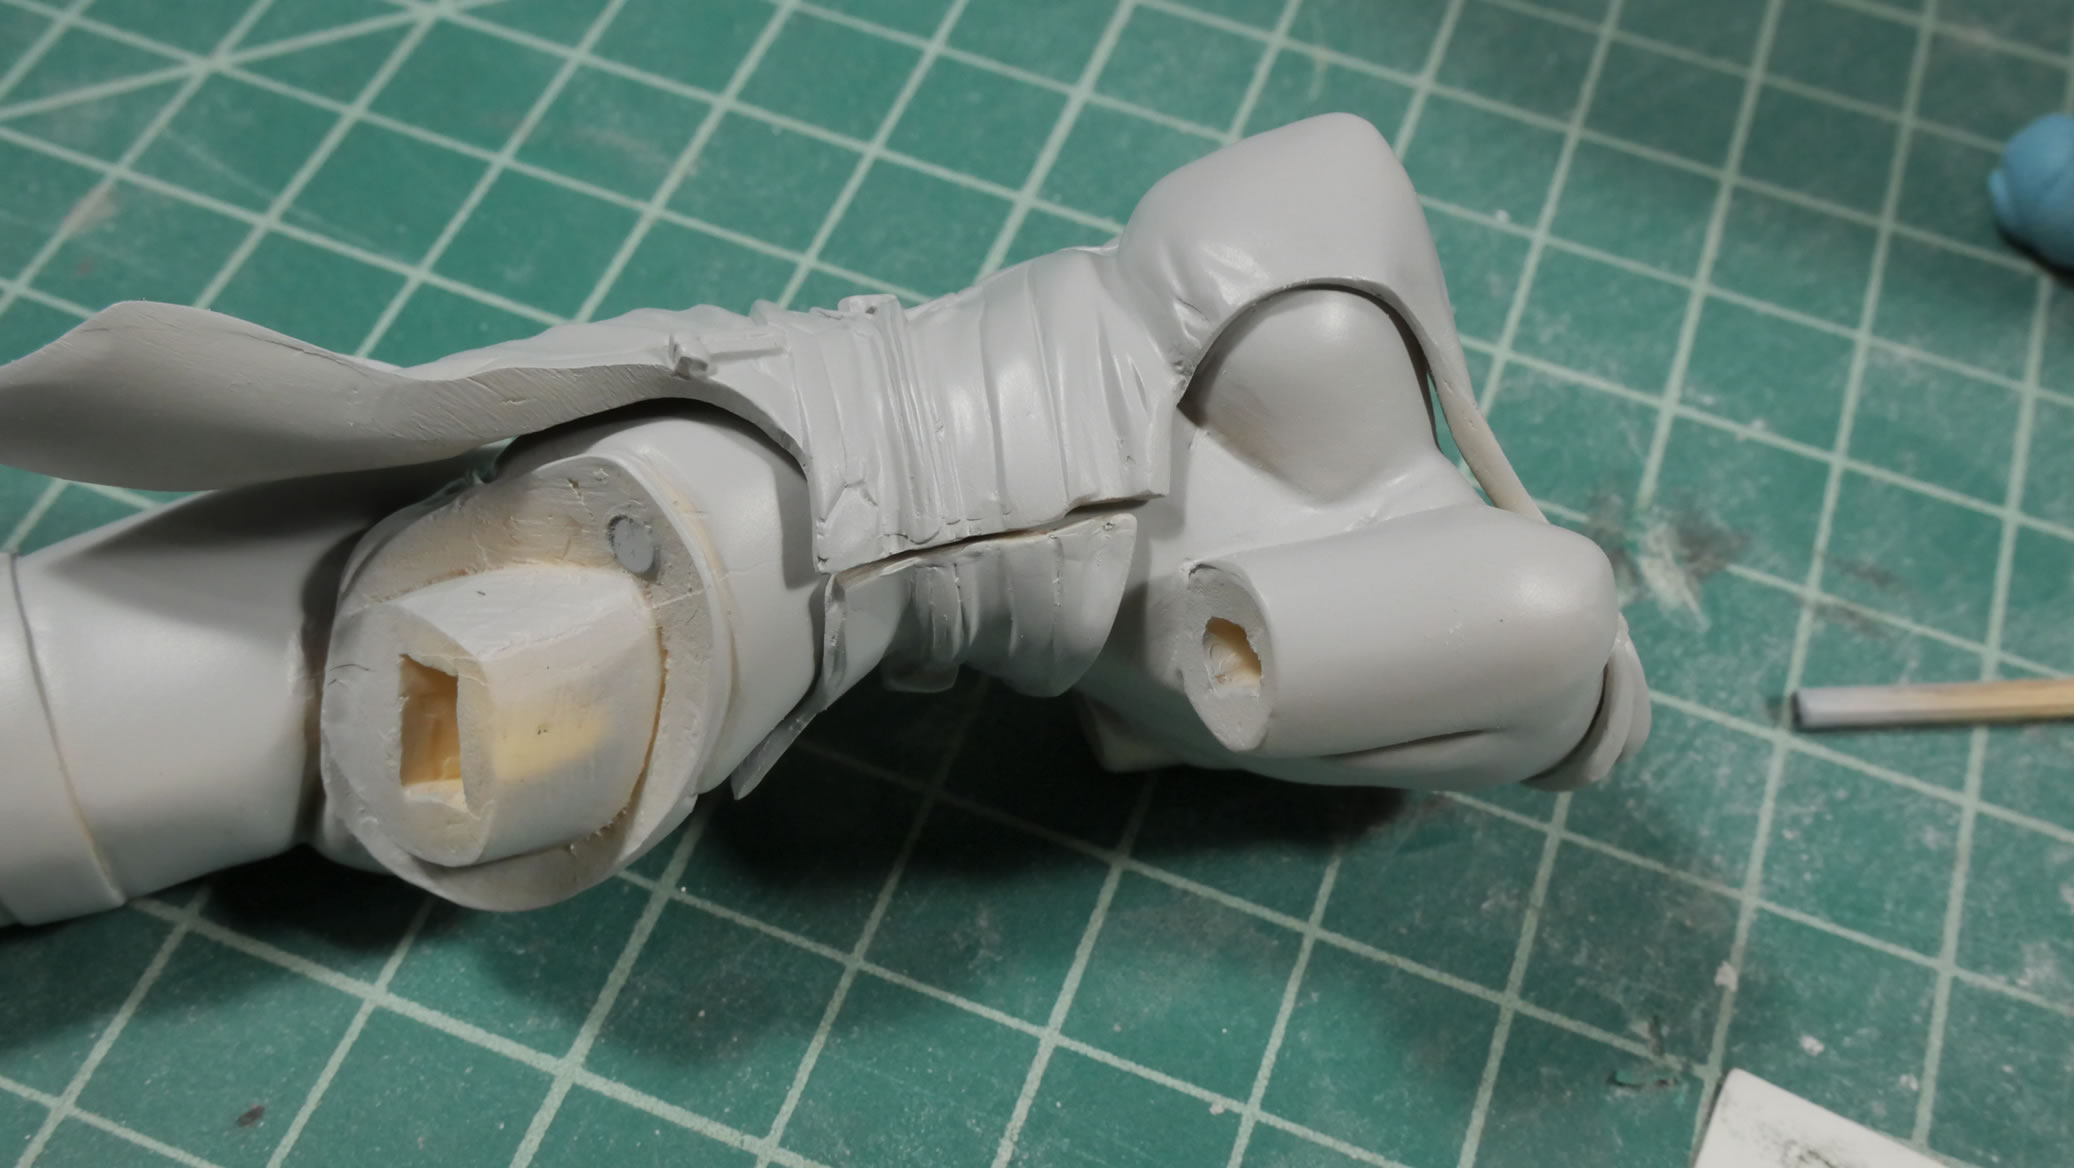
Looking at the assembled front clothes, there are massive gaps between the top and bottom pieces too. Recasting result. But if you look closely, you see my option C.
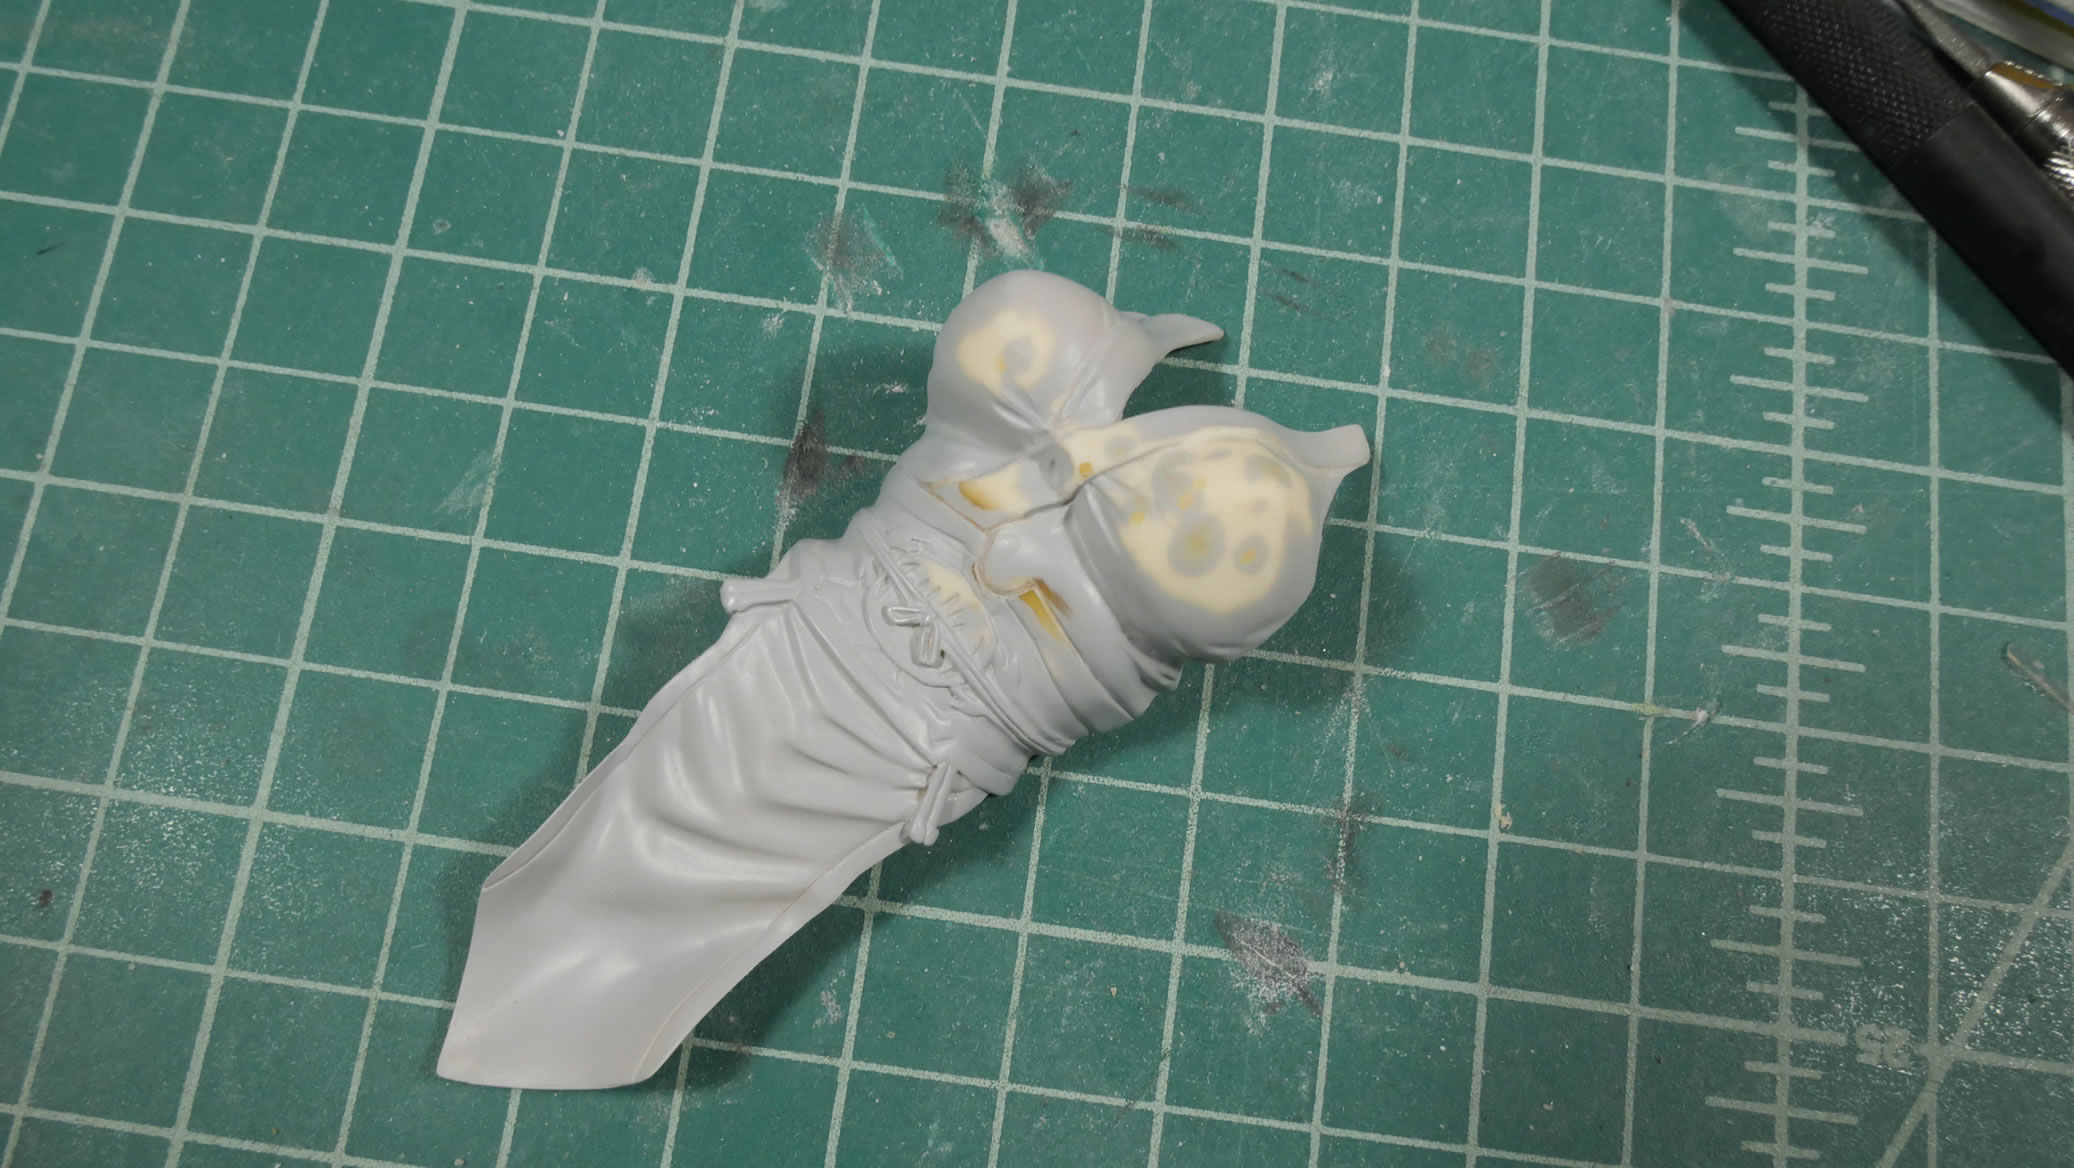
Option C: trim off some of the front and rear skirt areas so I don’t need to deal with so much sculpt and gap filling. Bonus is that I get to show off the panties and booty. She’s not quite nude, but now a little more scantily clad.
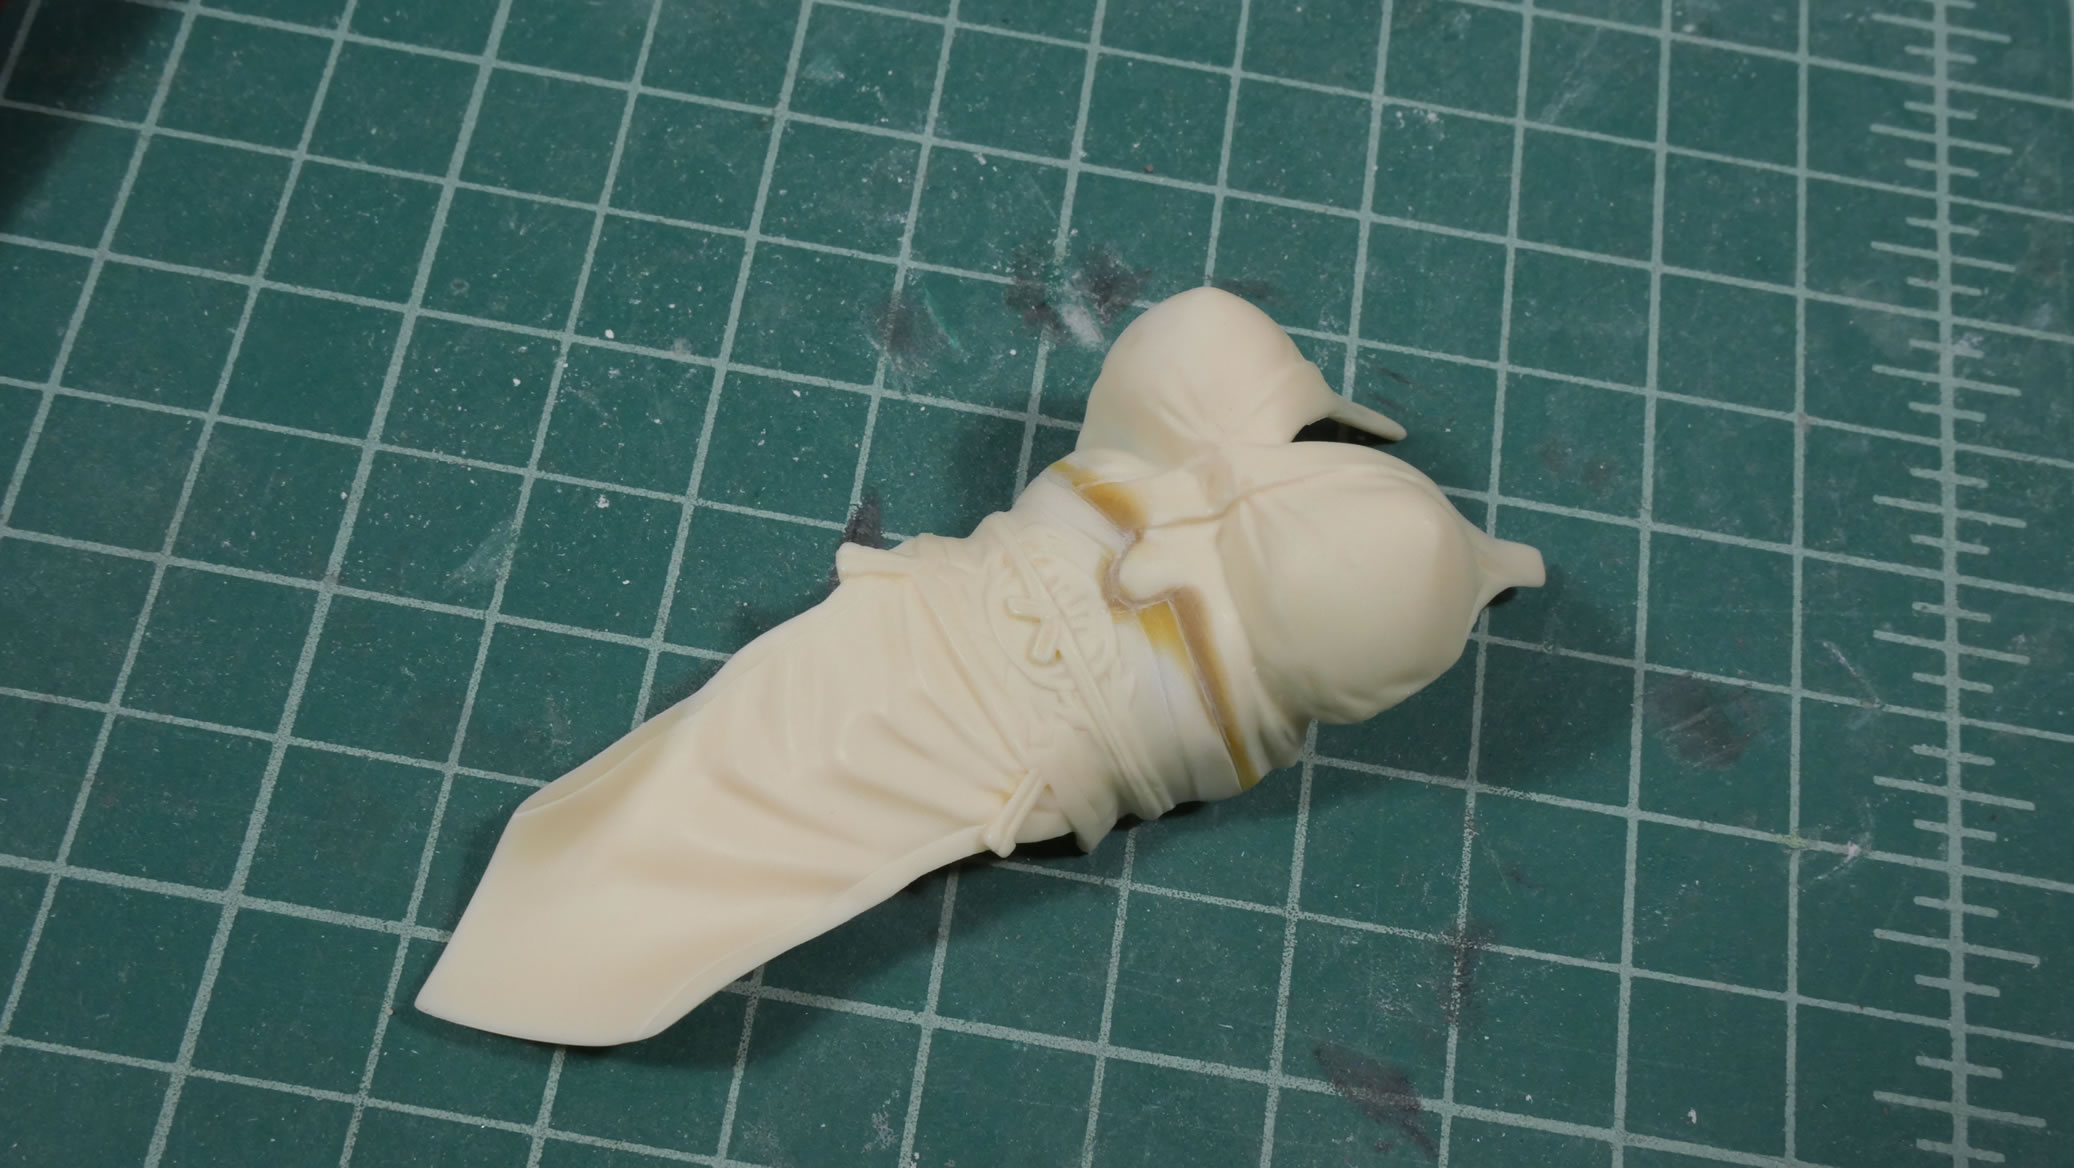
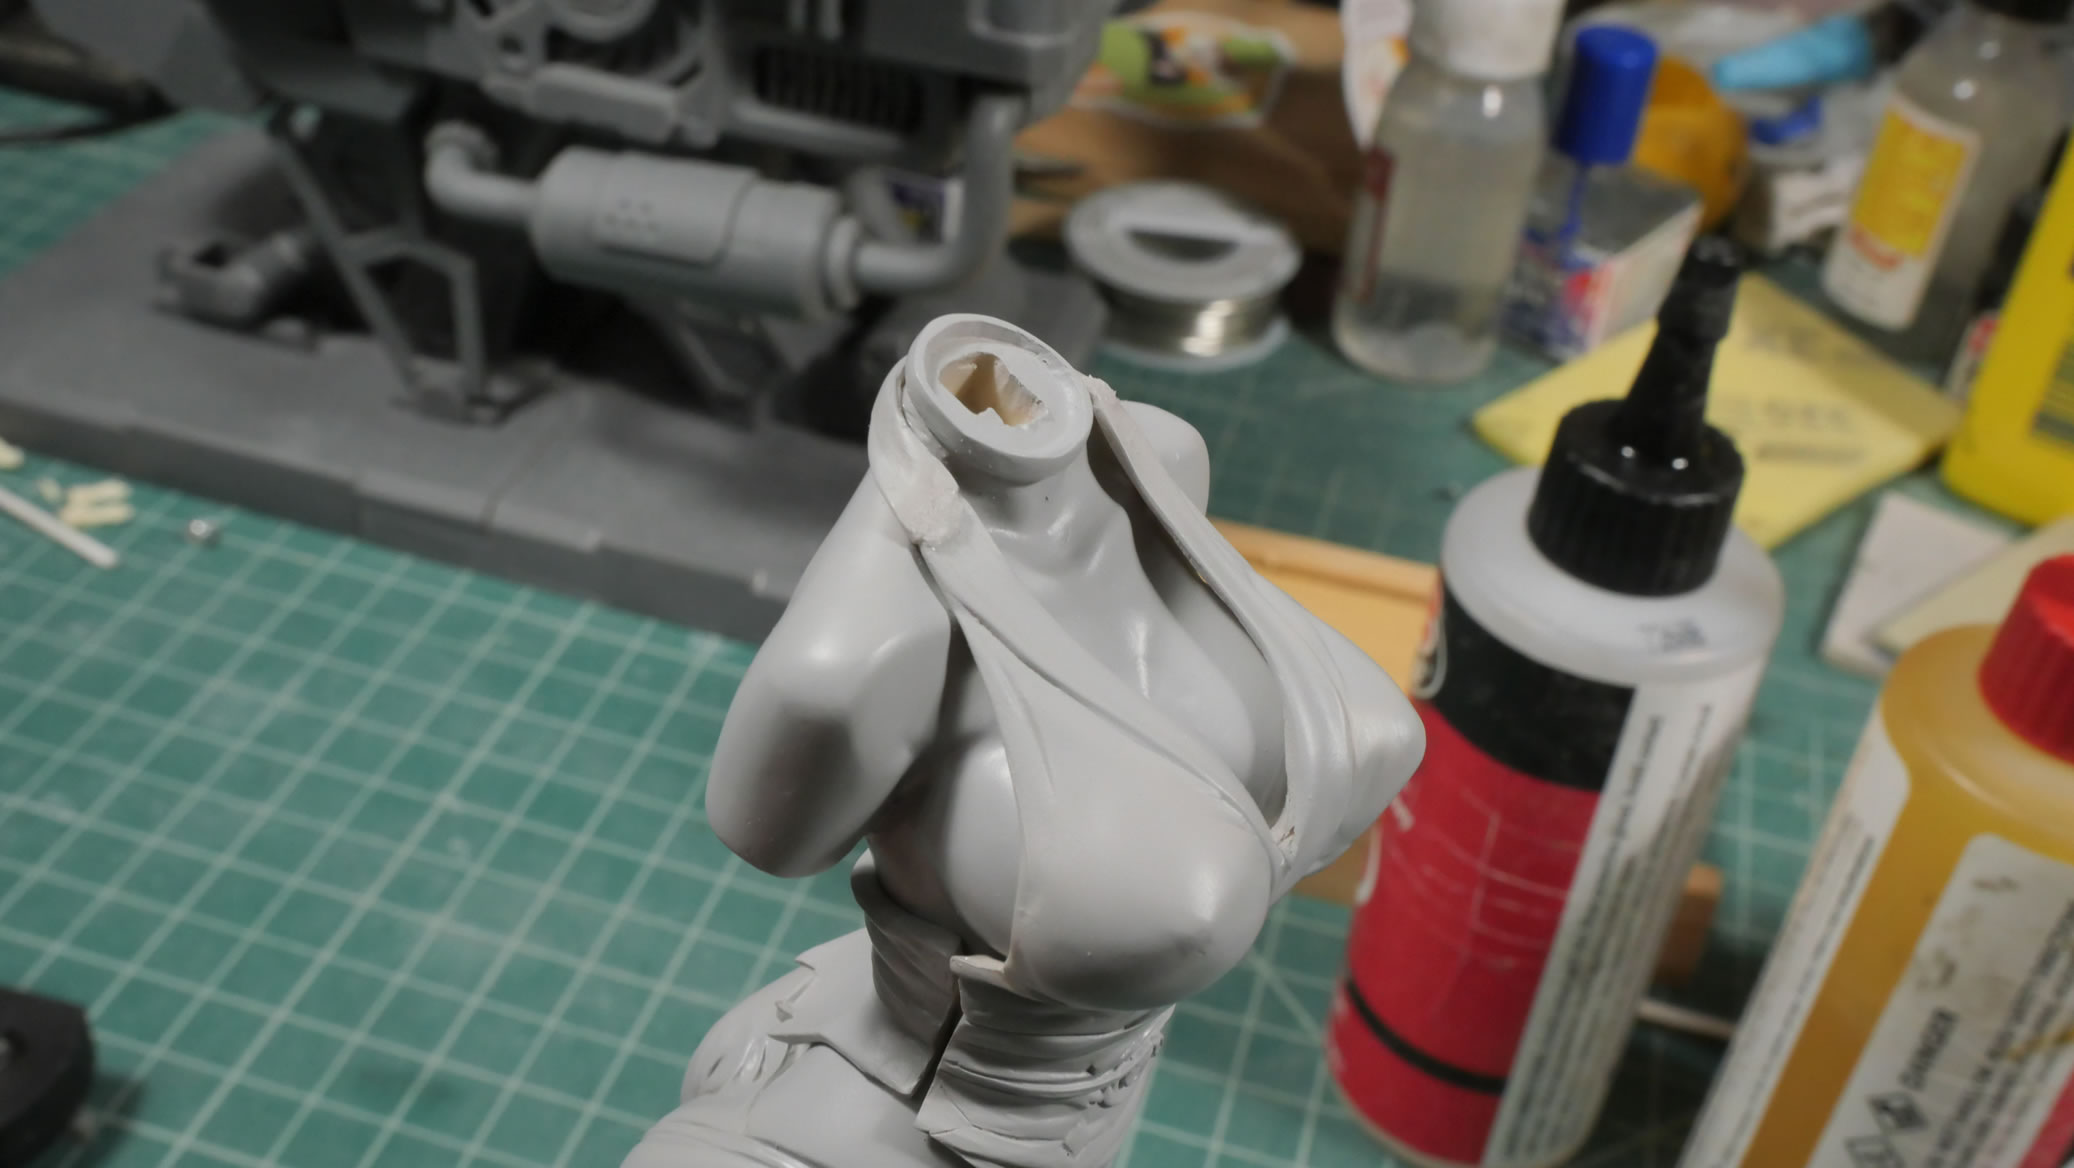
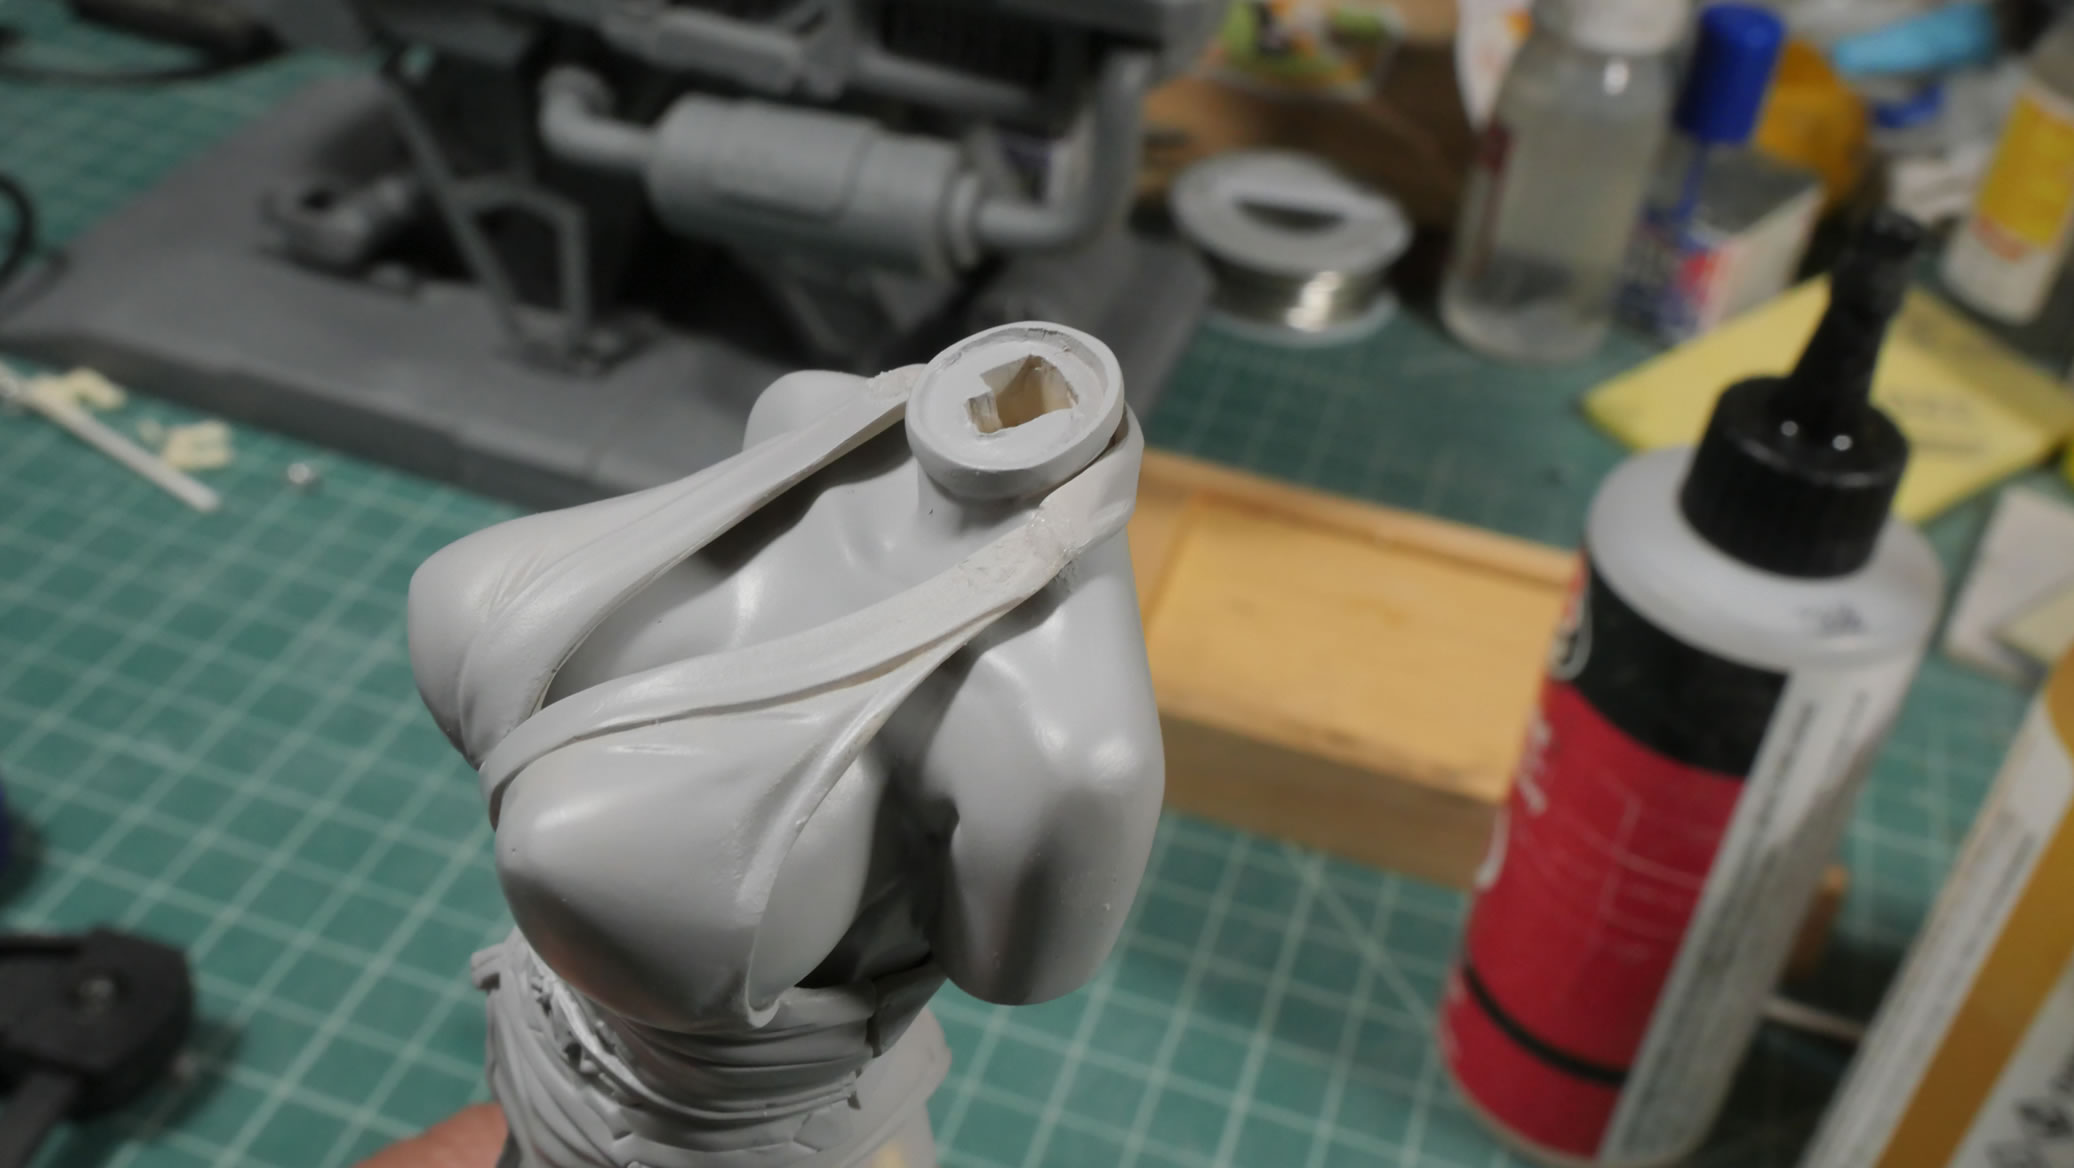
The front dress part is tack glued and epoxy putty is pressed in from the back to fill in the front gaps. Once this cures, I’ll be using light curing putty to finish the sculpt.

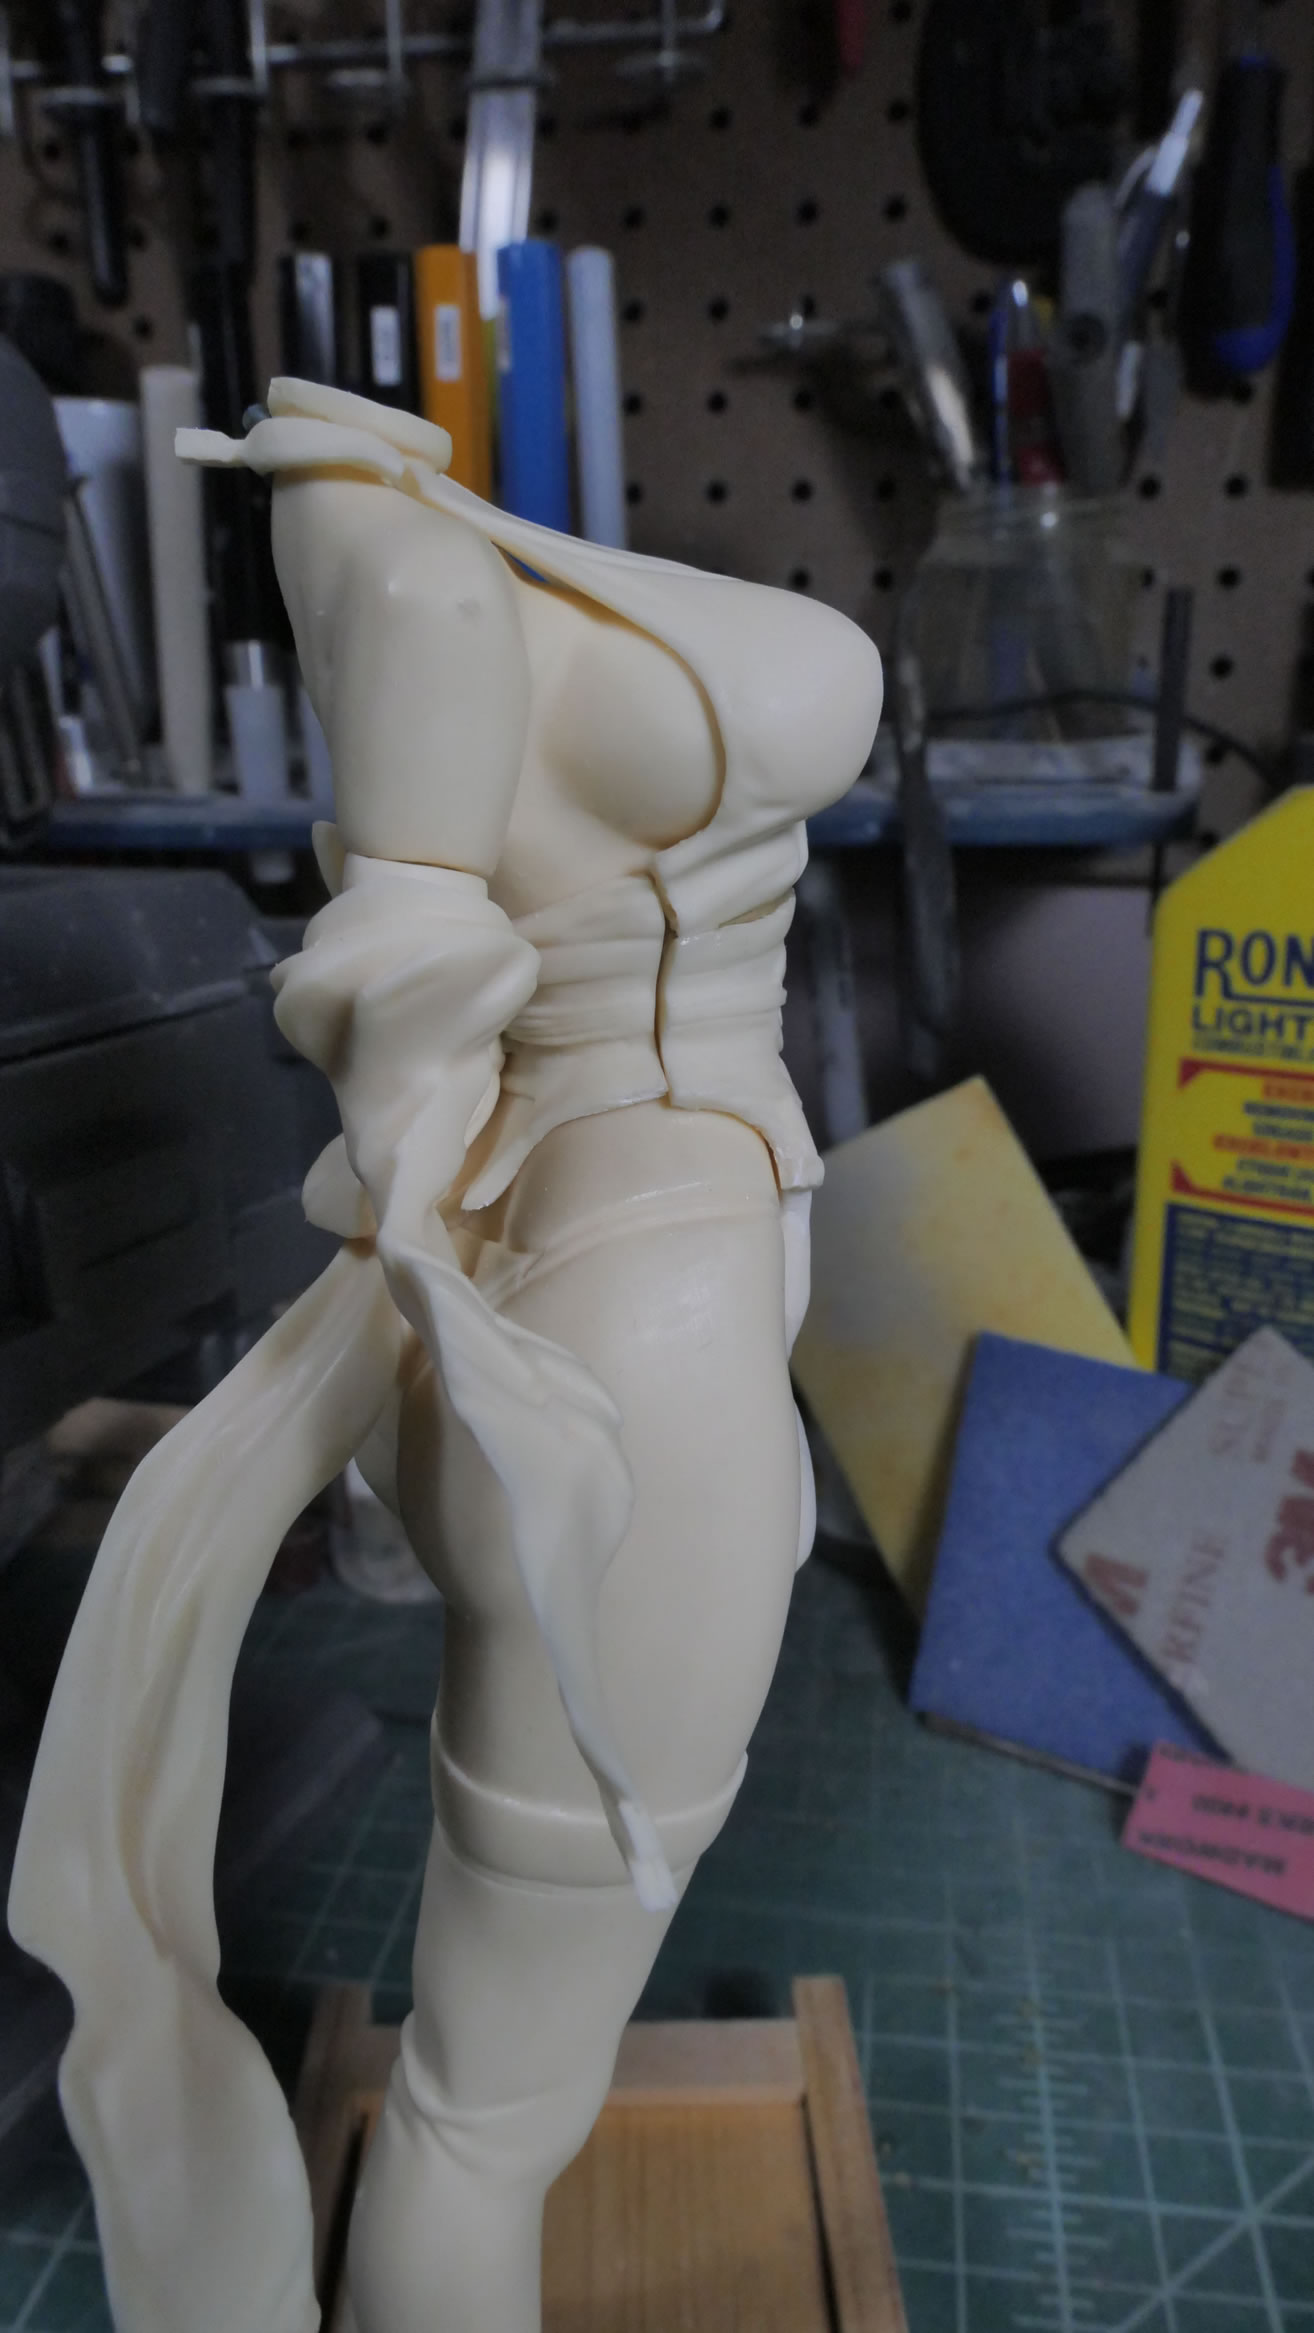
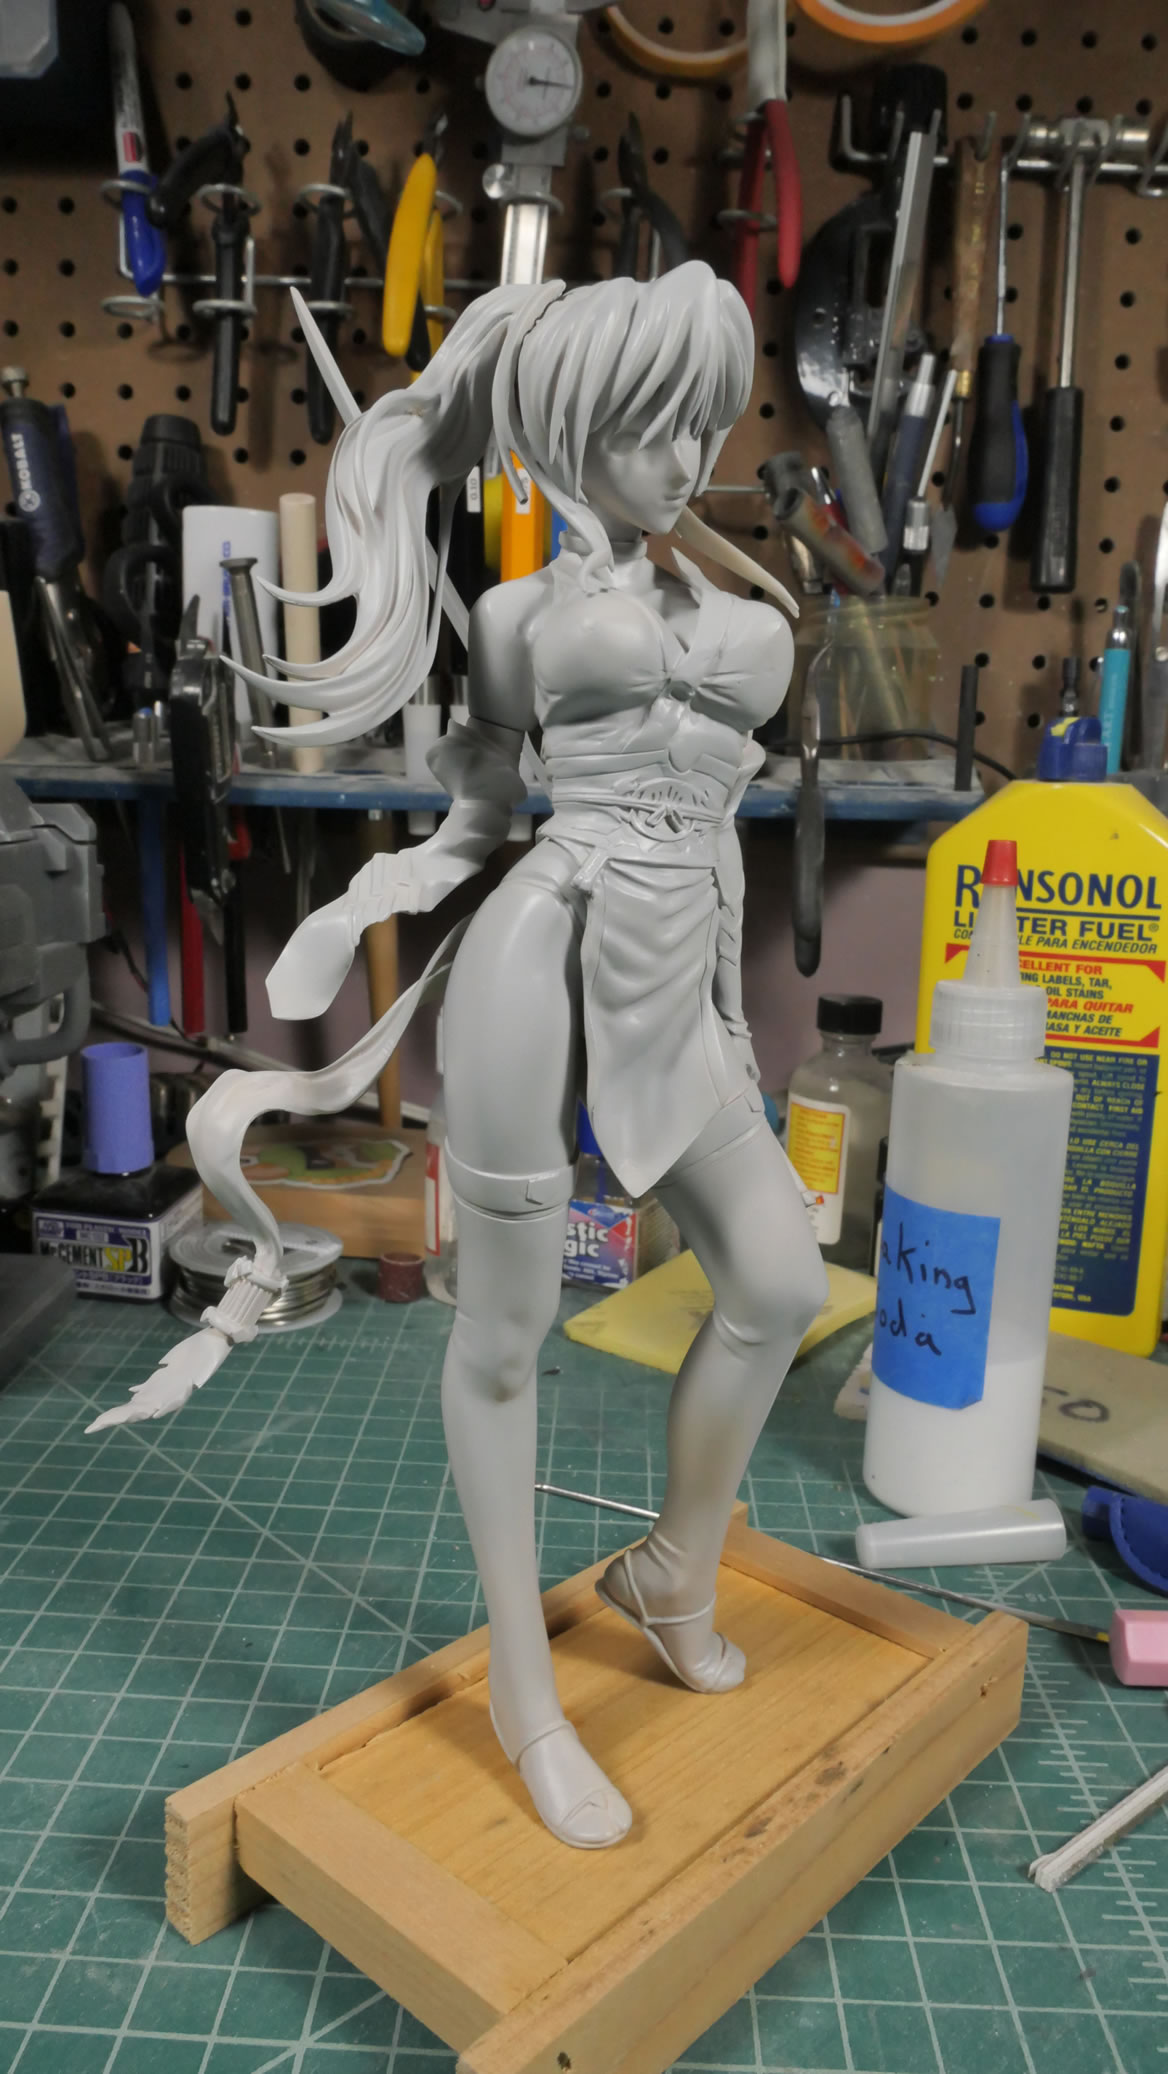
Now that the front and back dress are trimmed, the gap and alignment issue is more feasible.
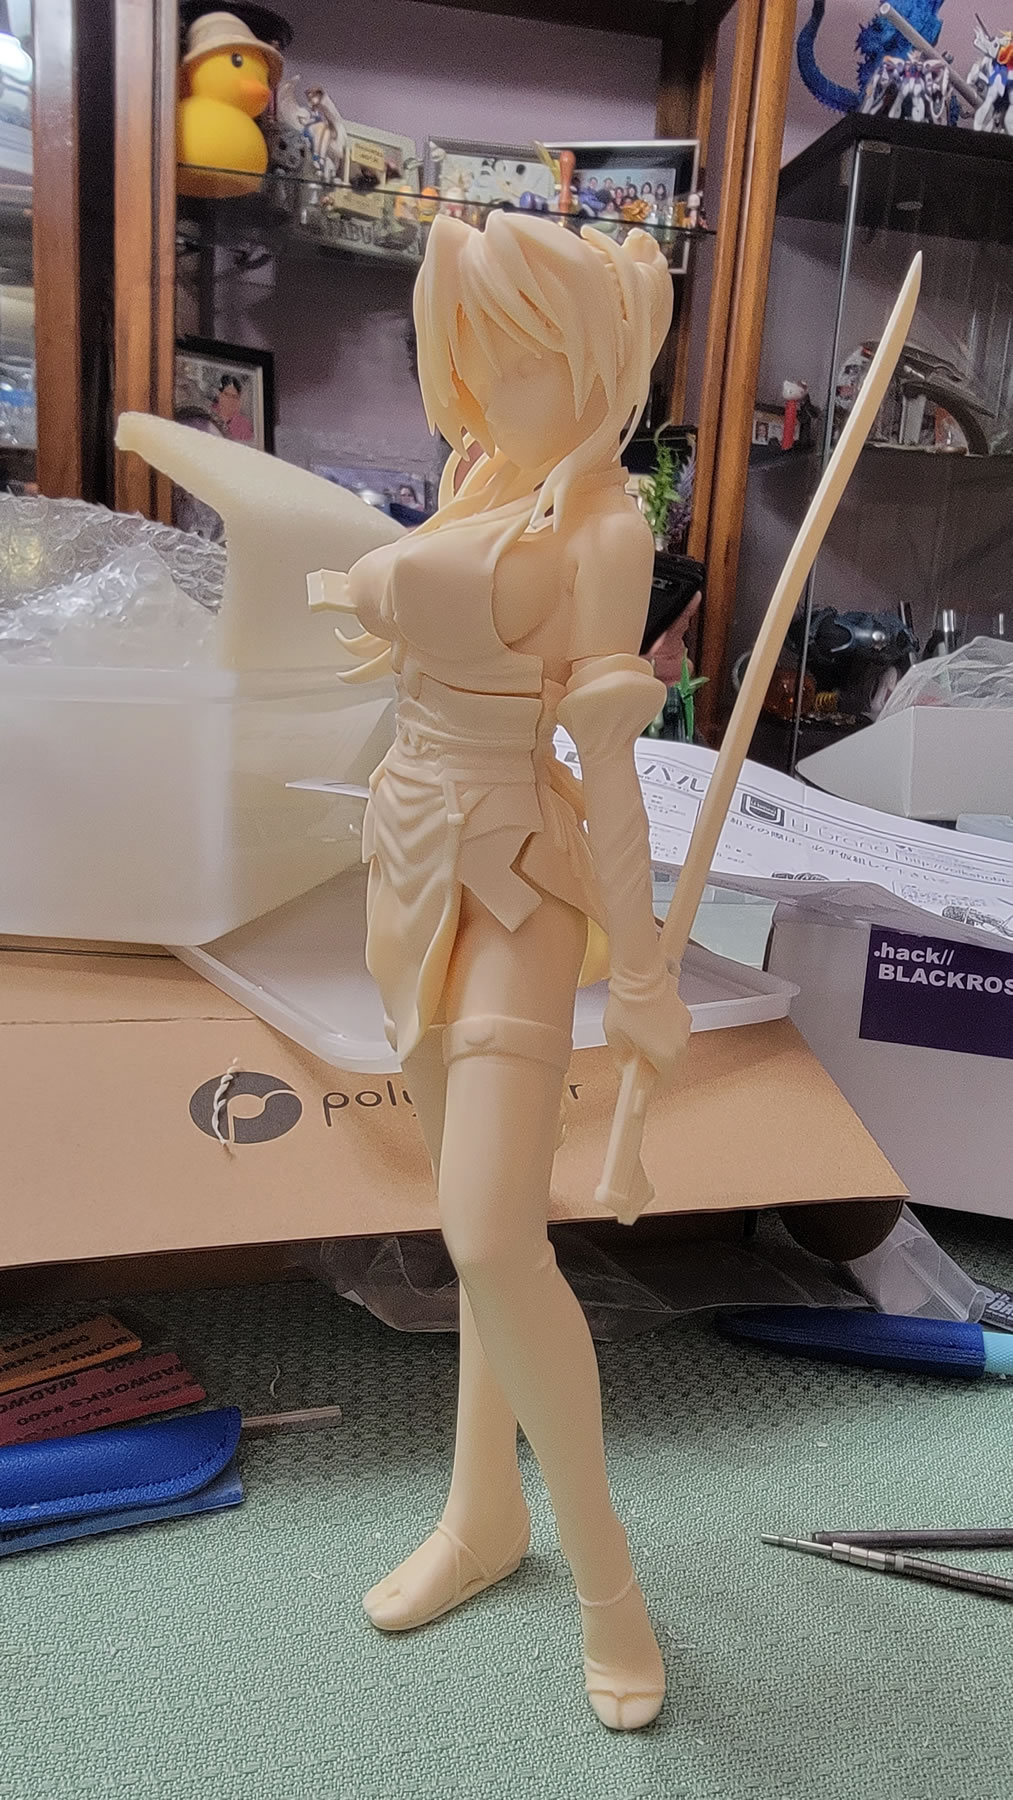
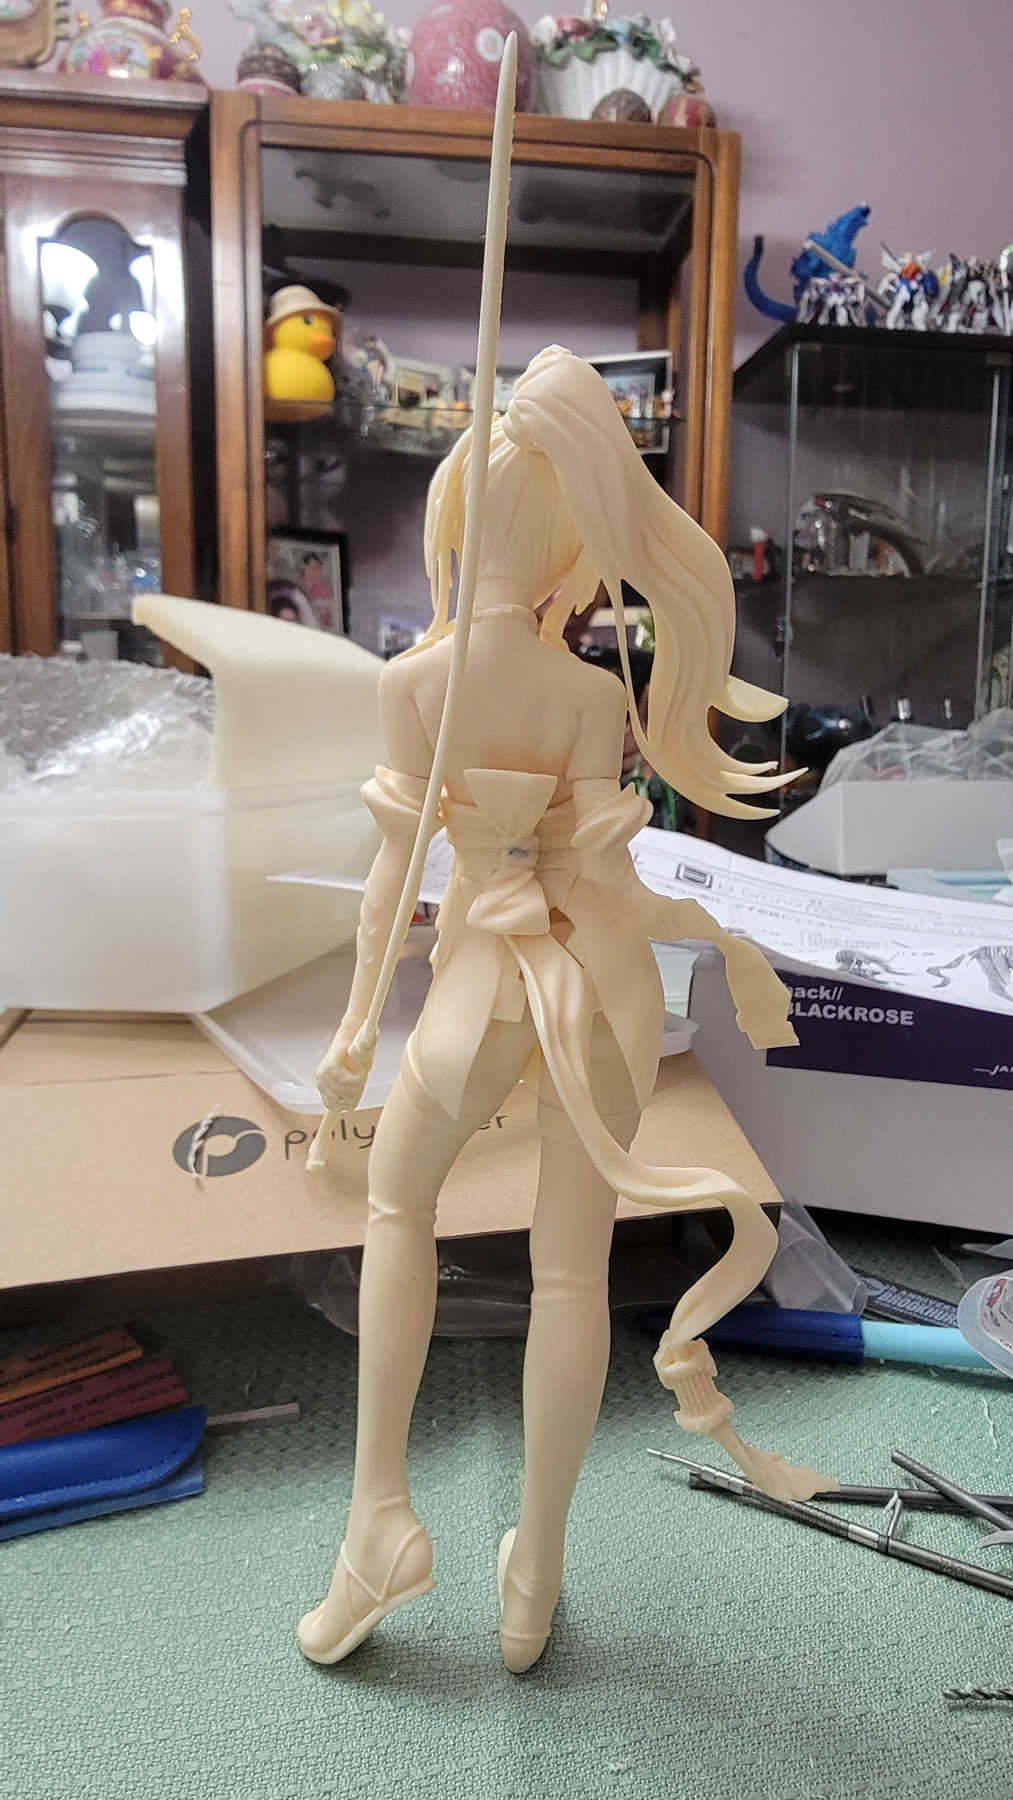
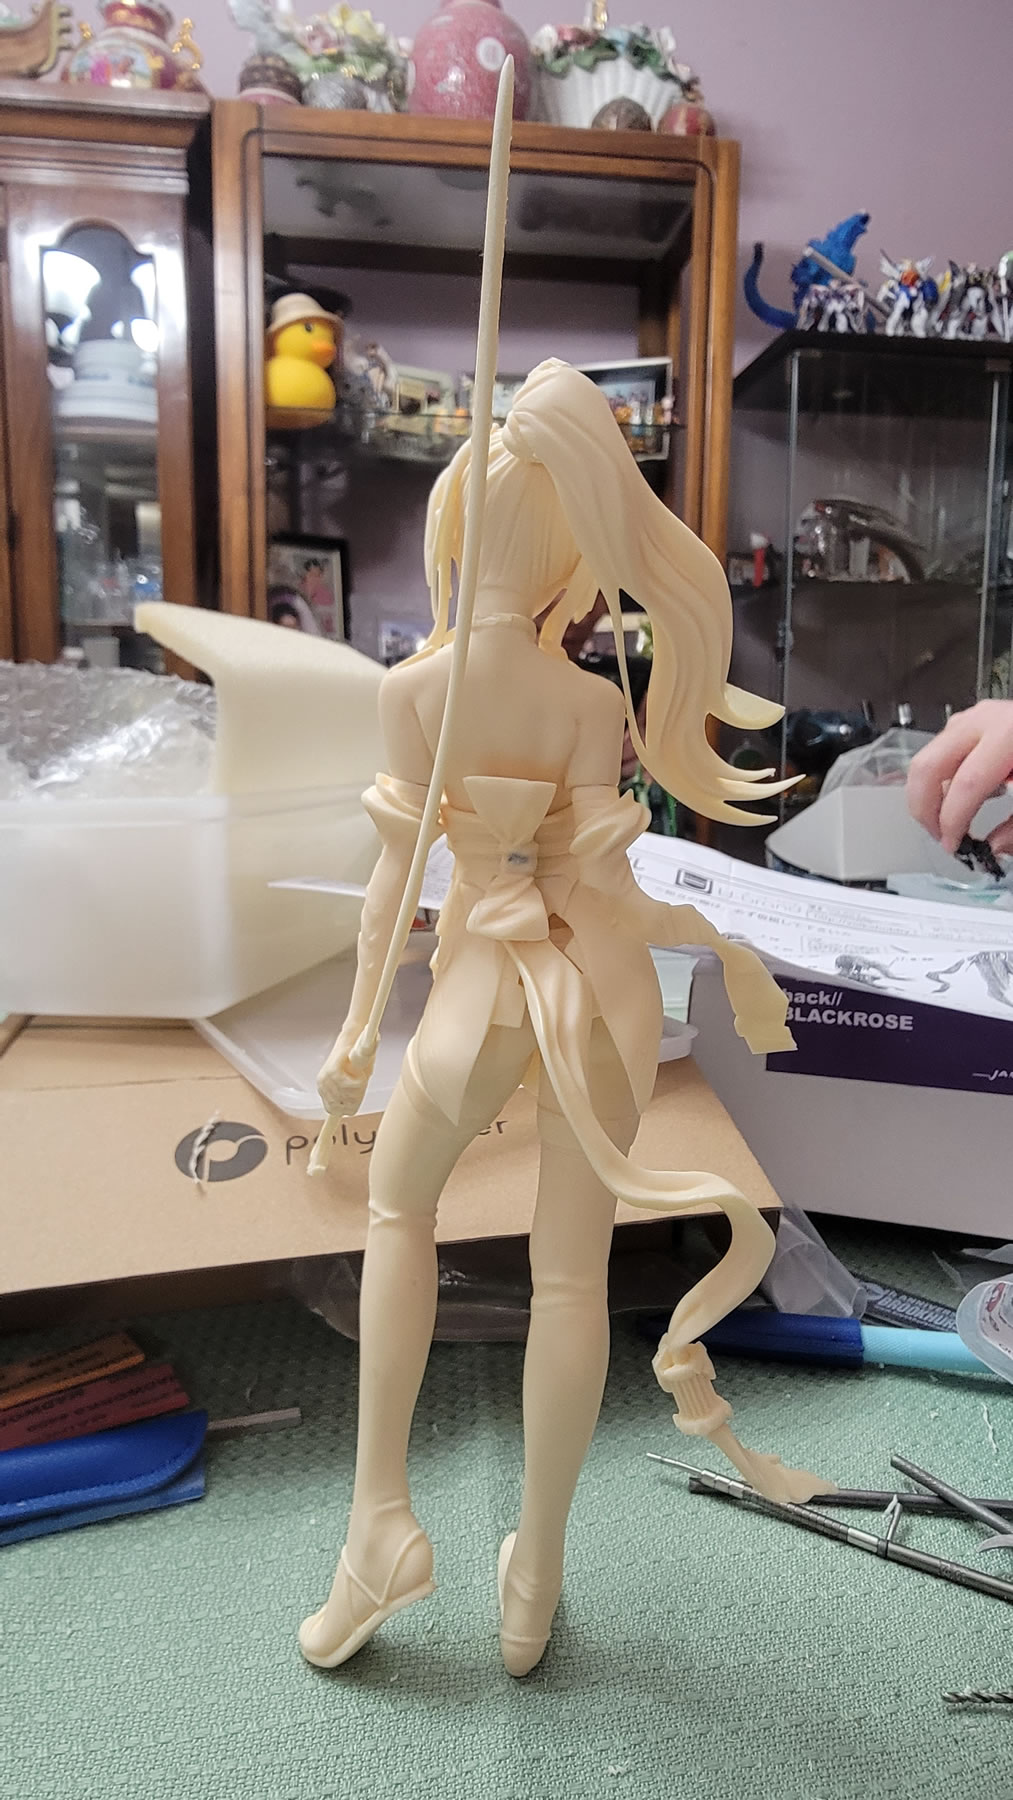
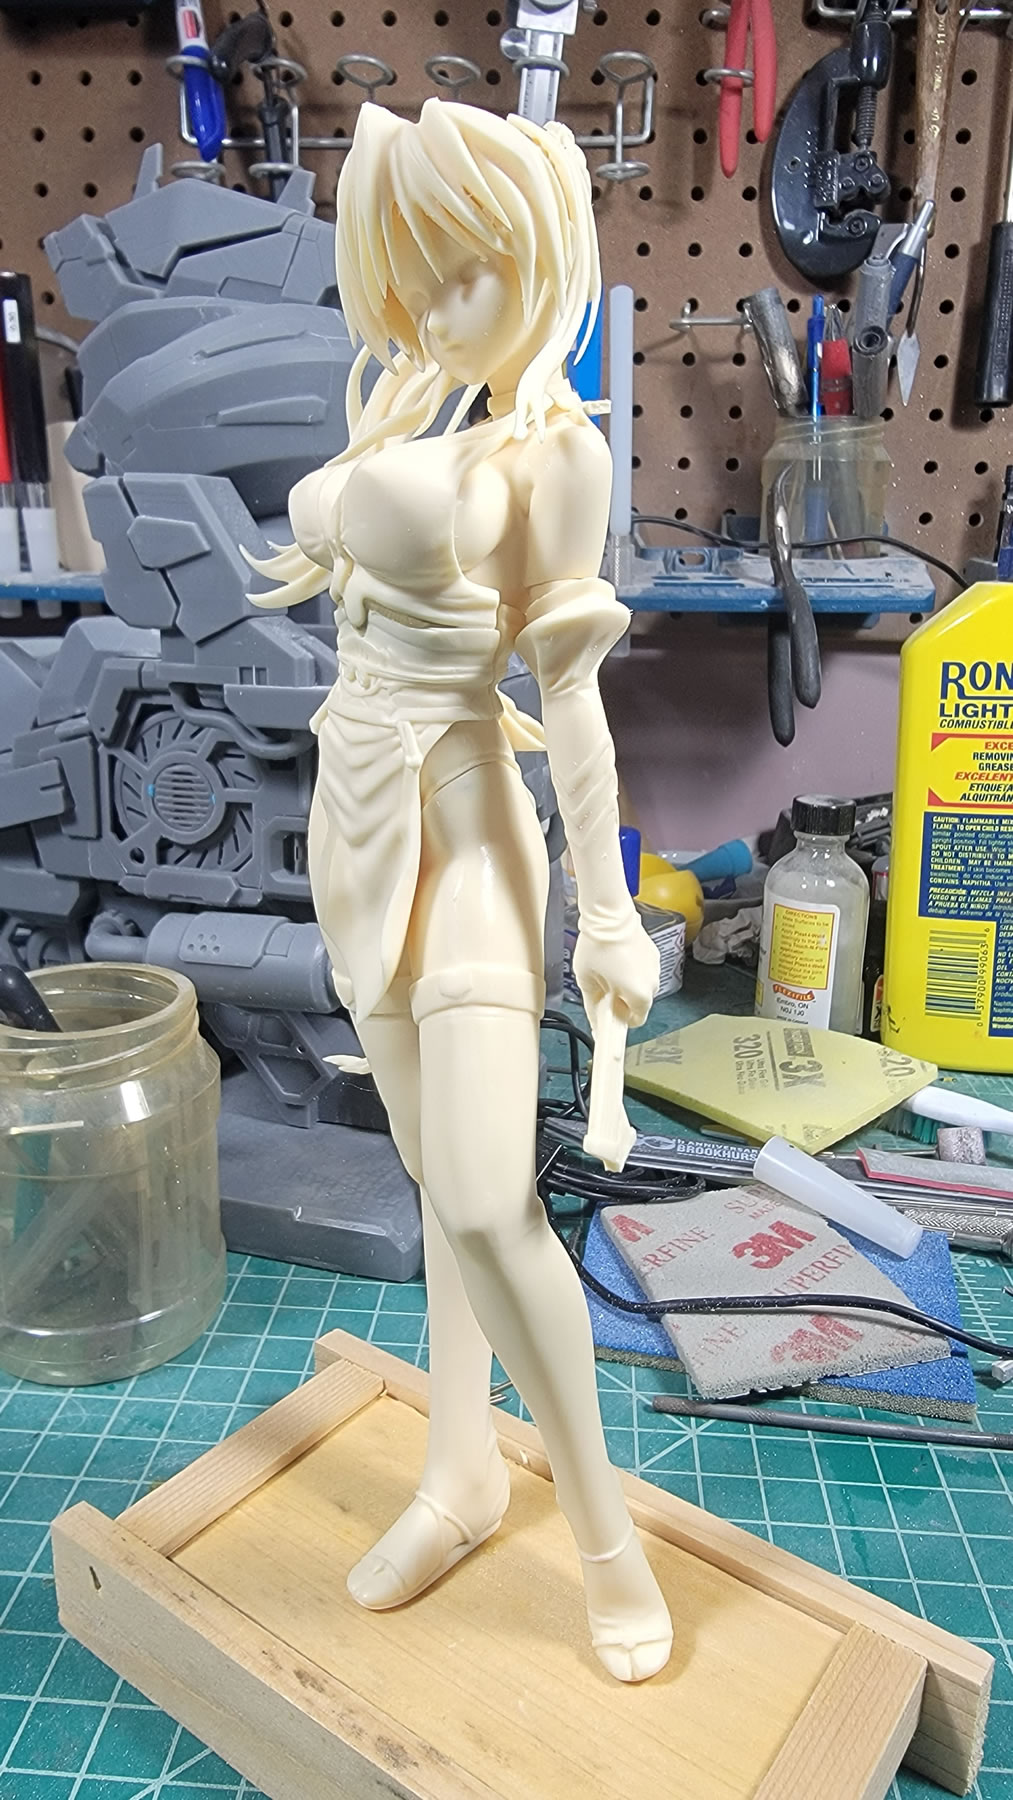
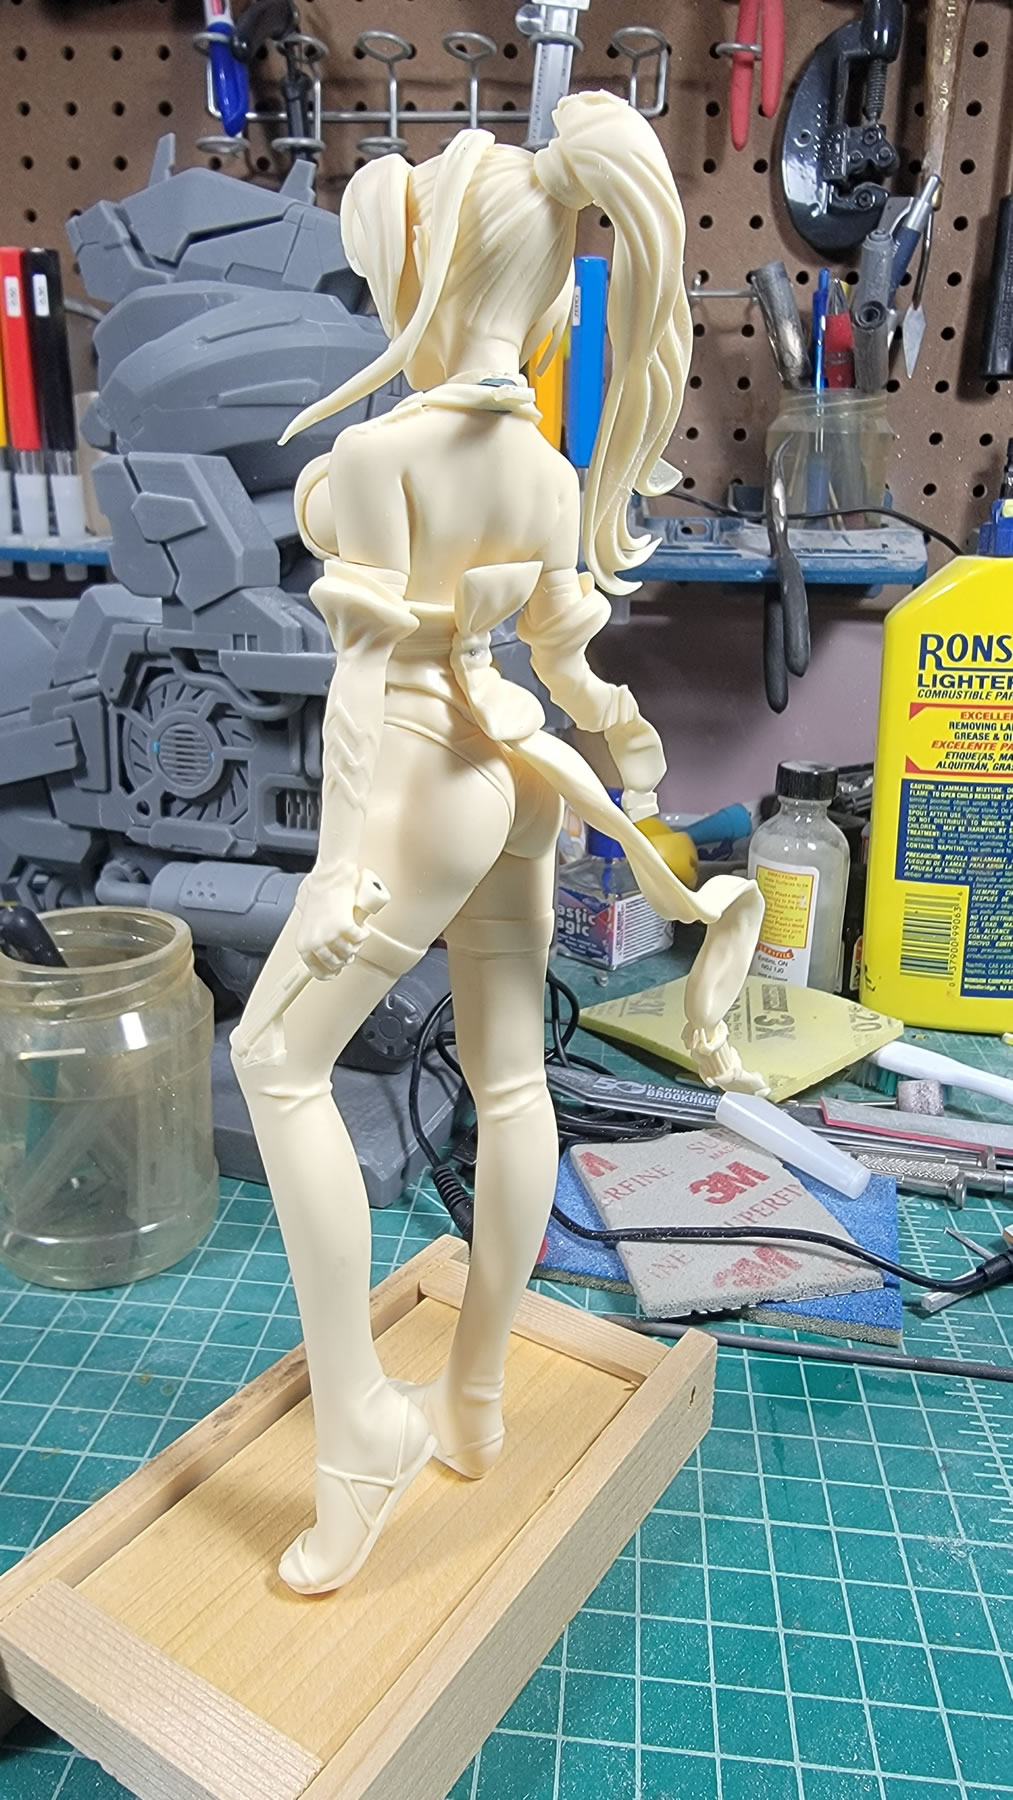
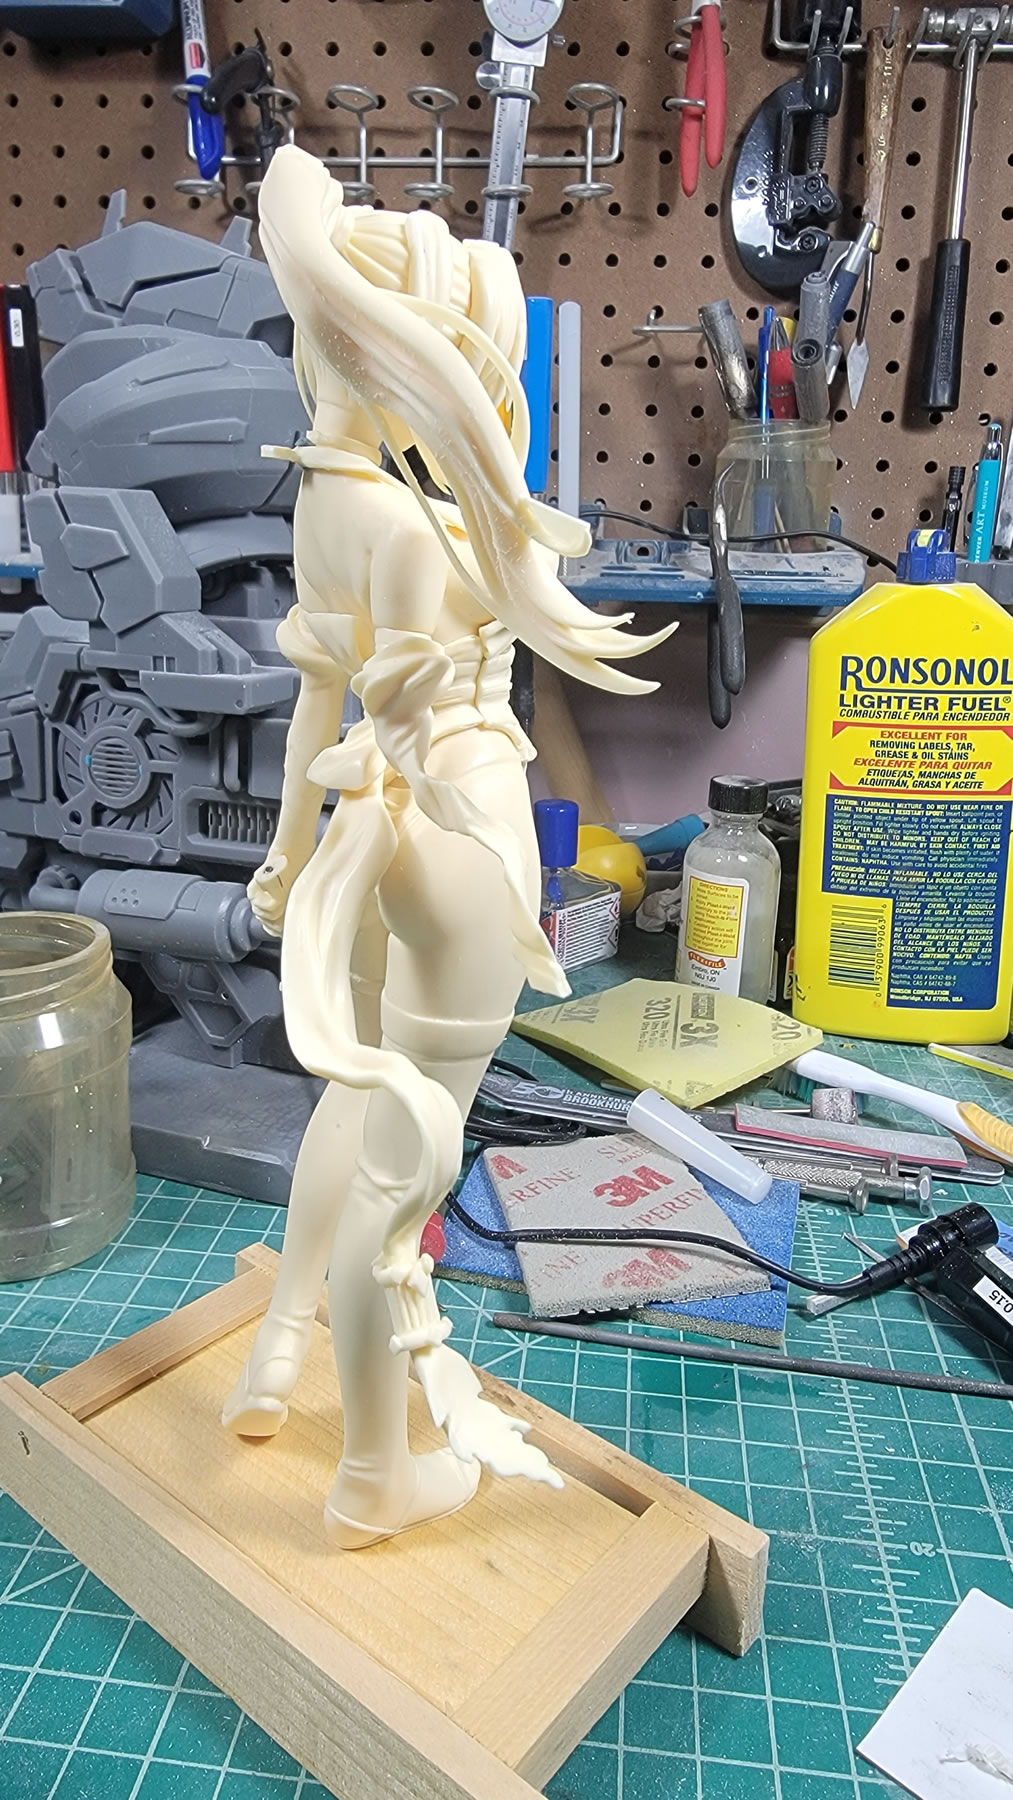
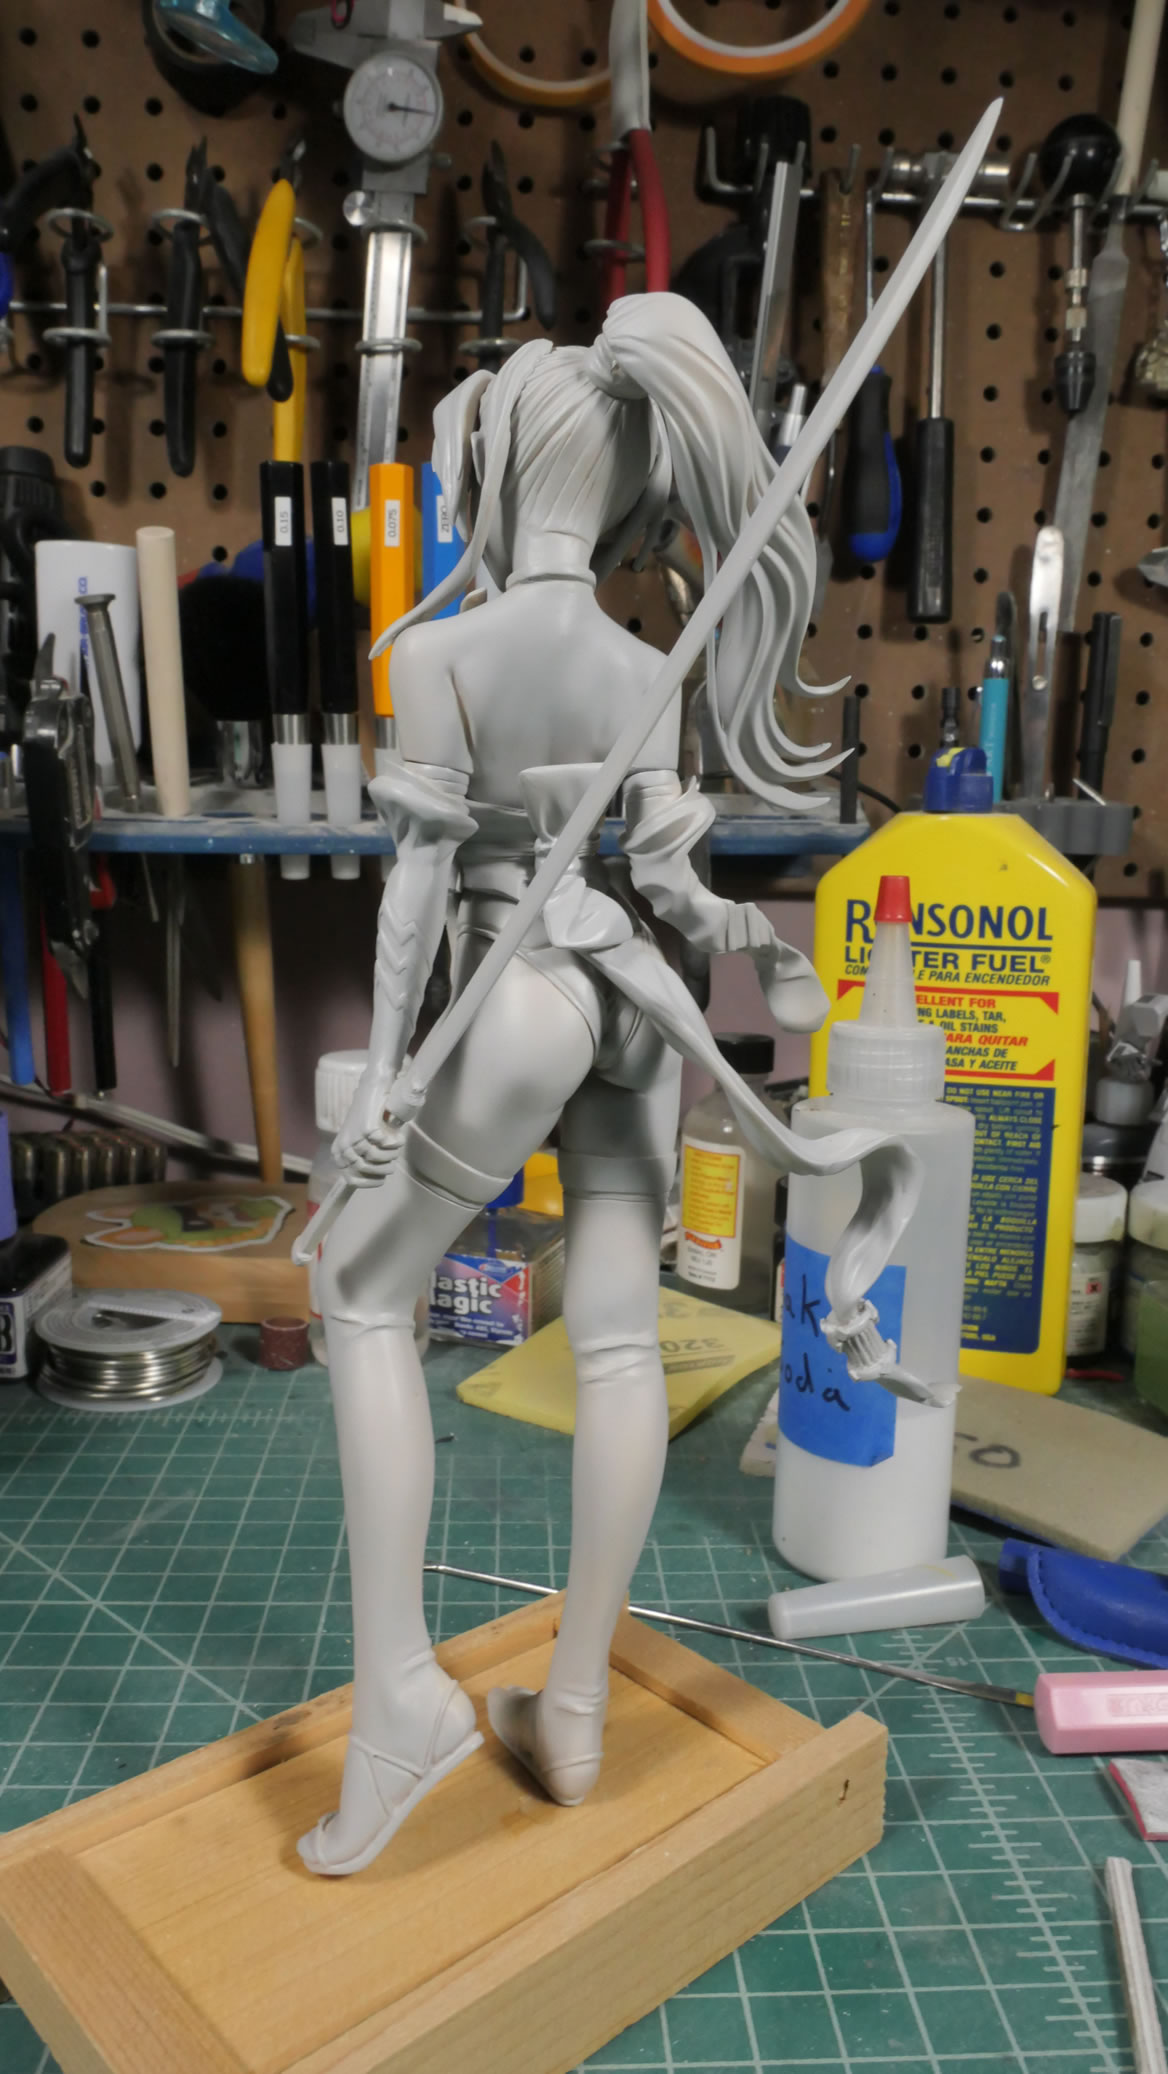
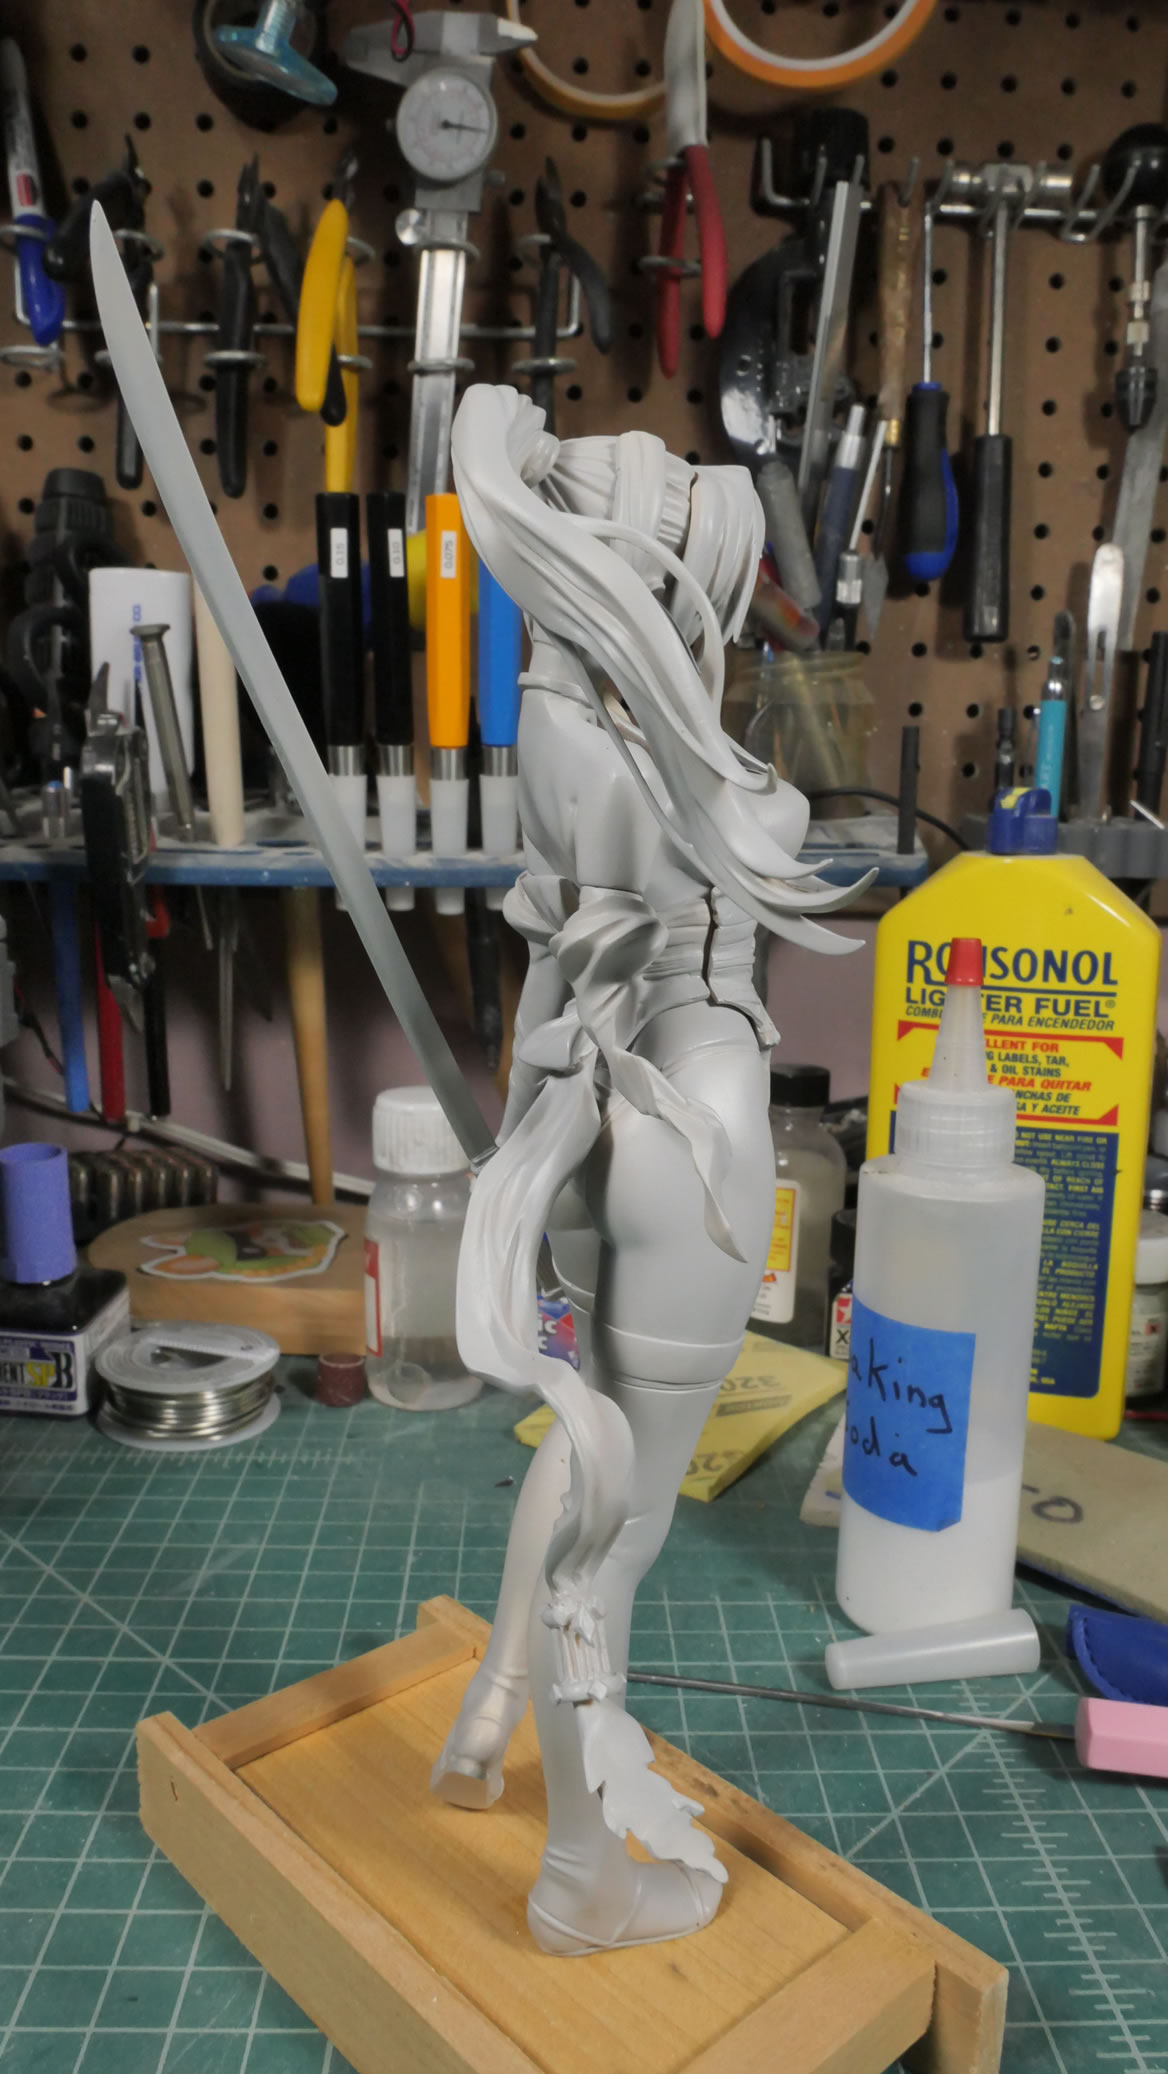
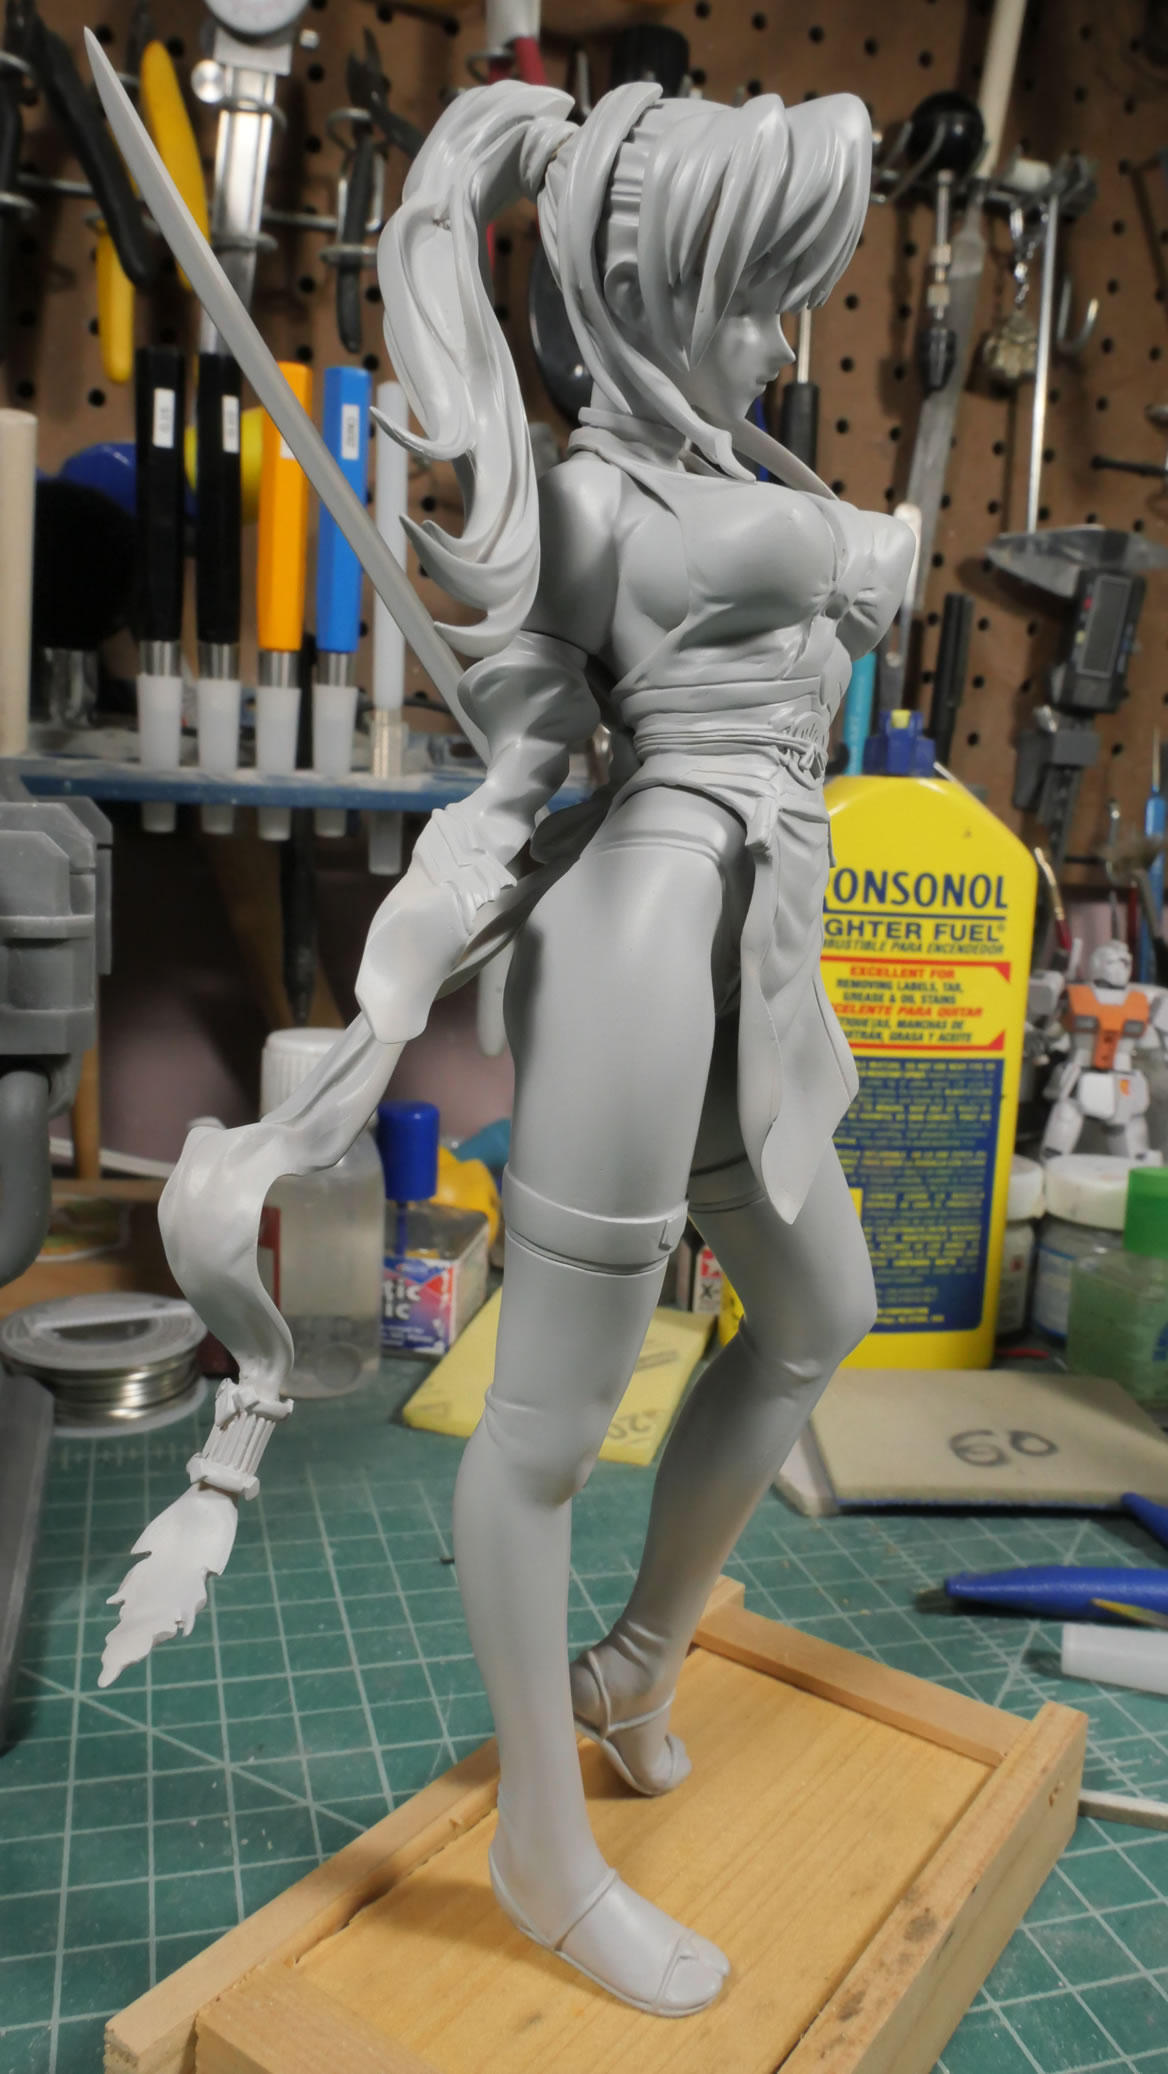
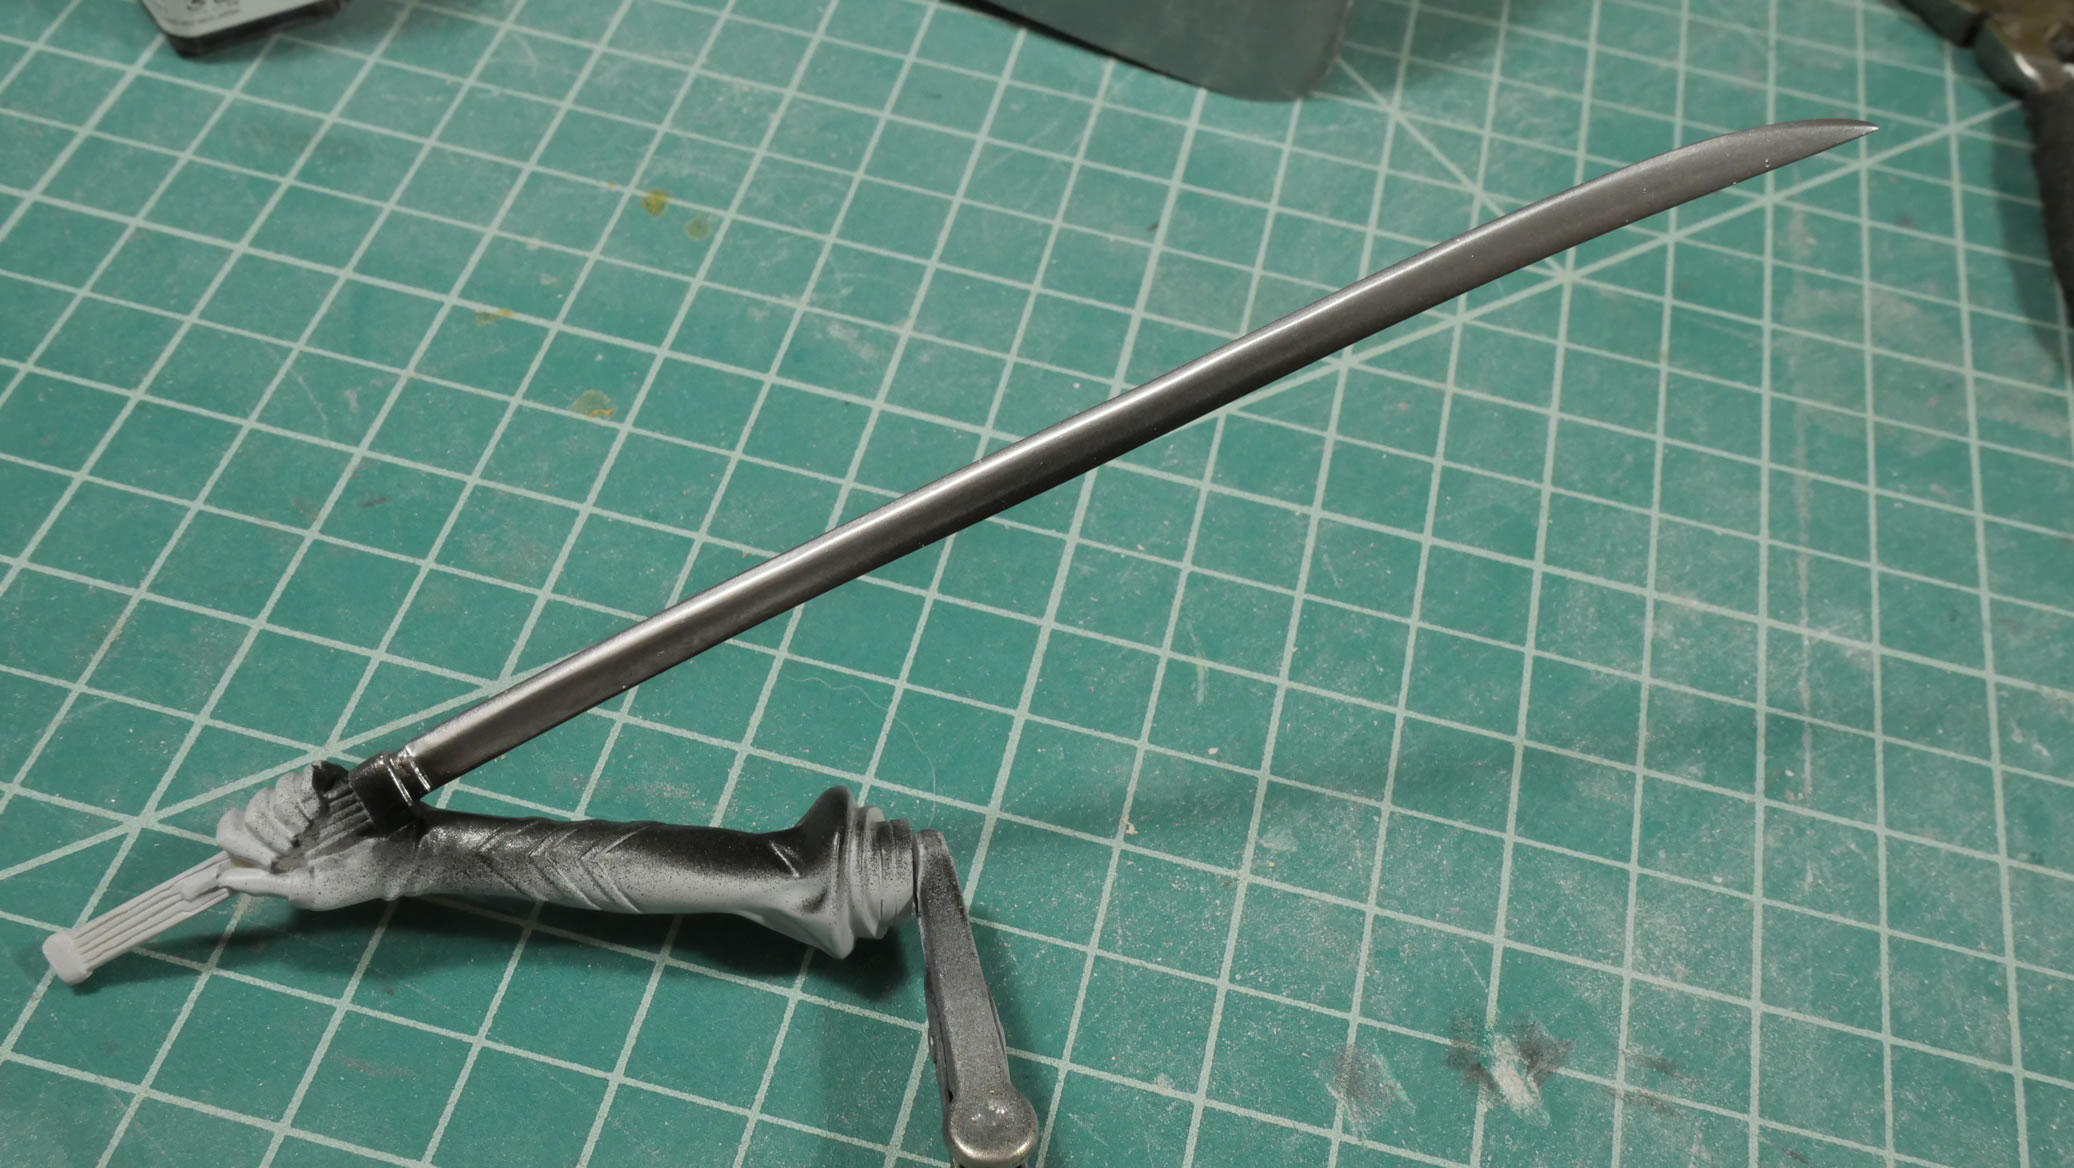
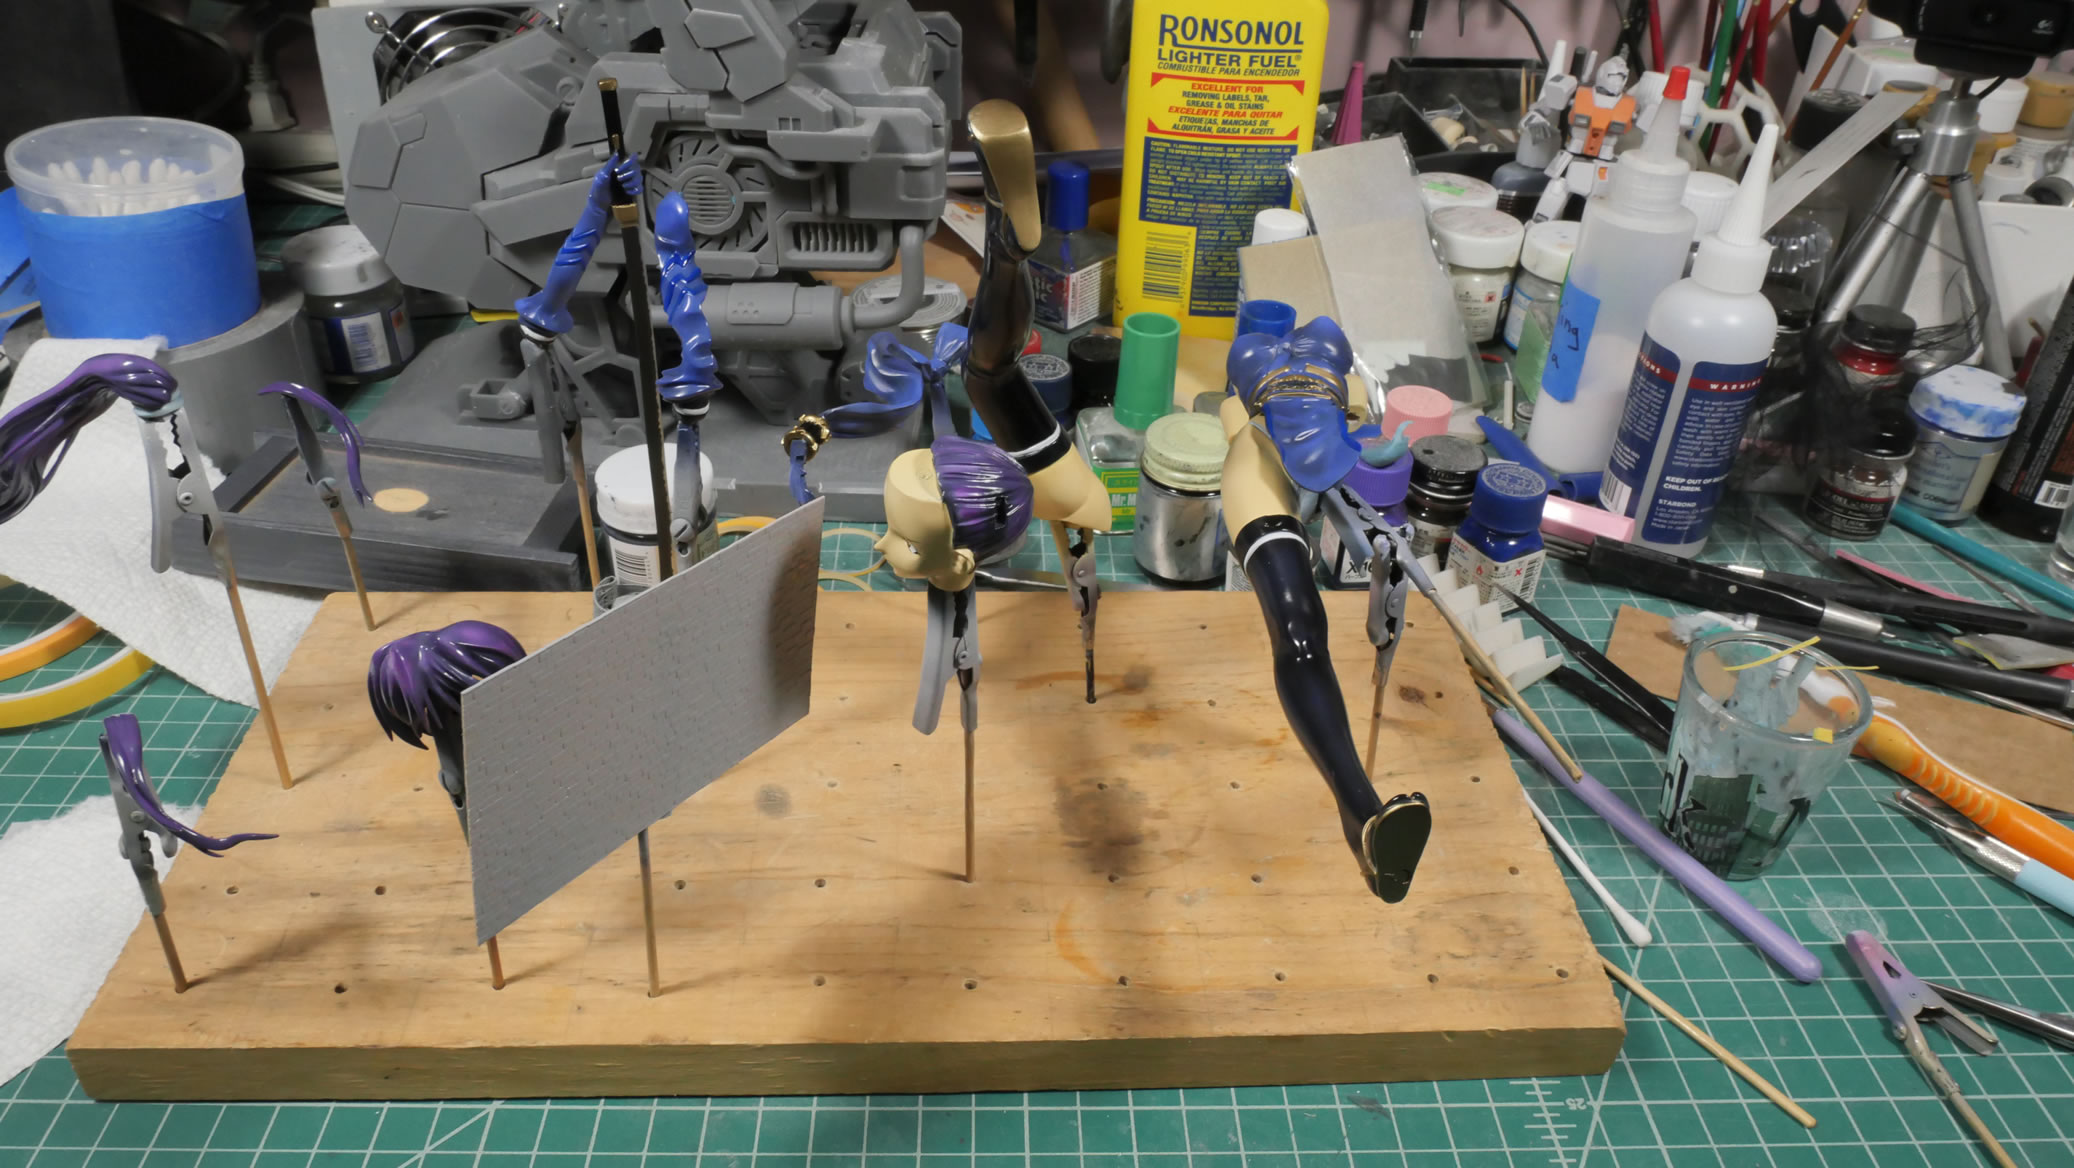
Once more set of turnarounds with the straightened sword in hand.
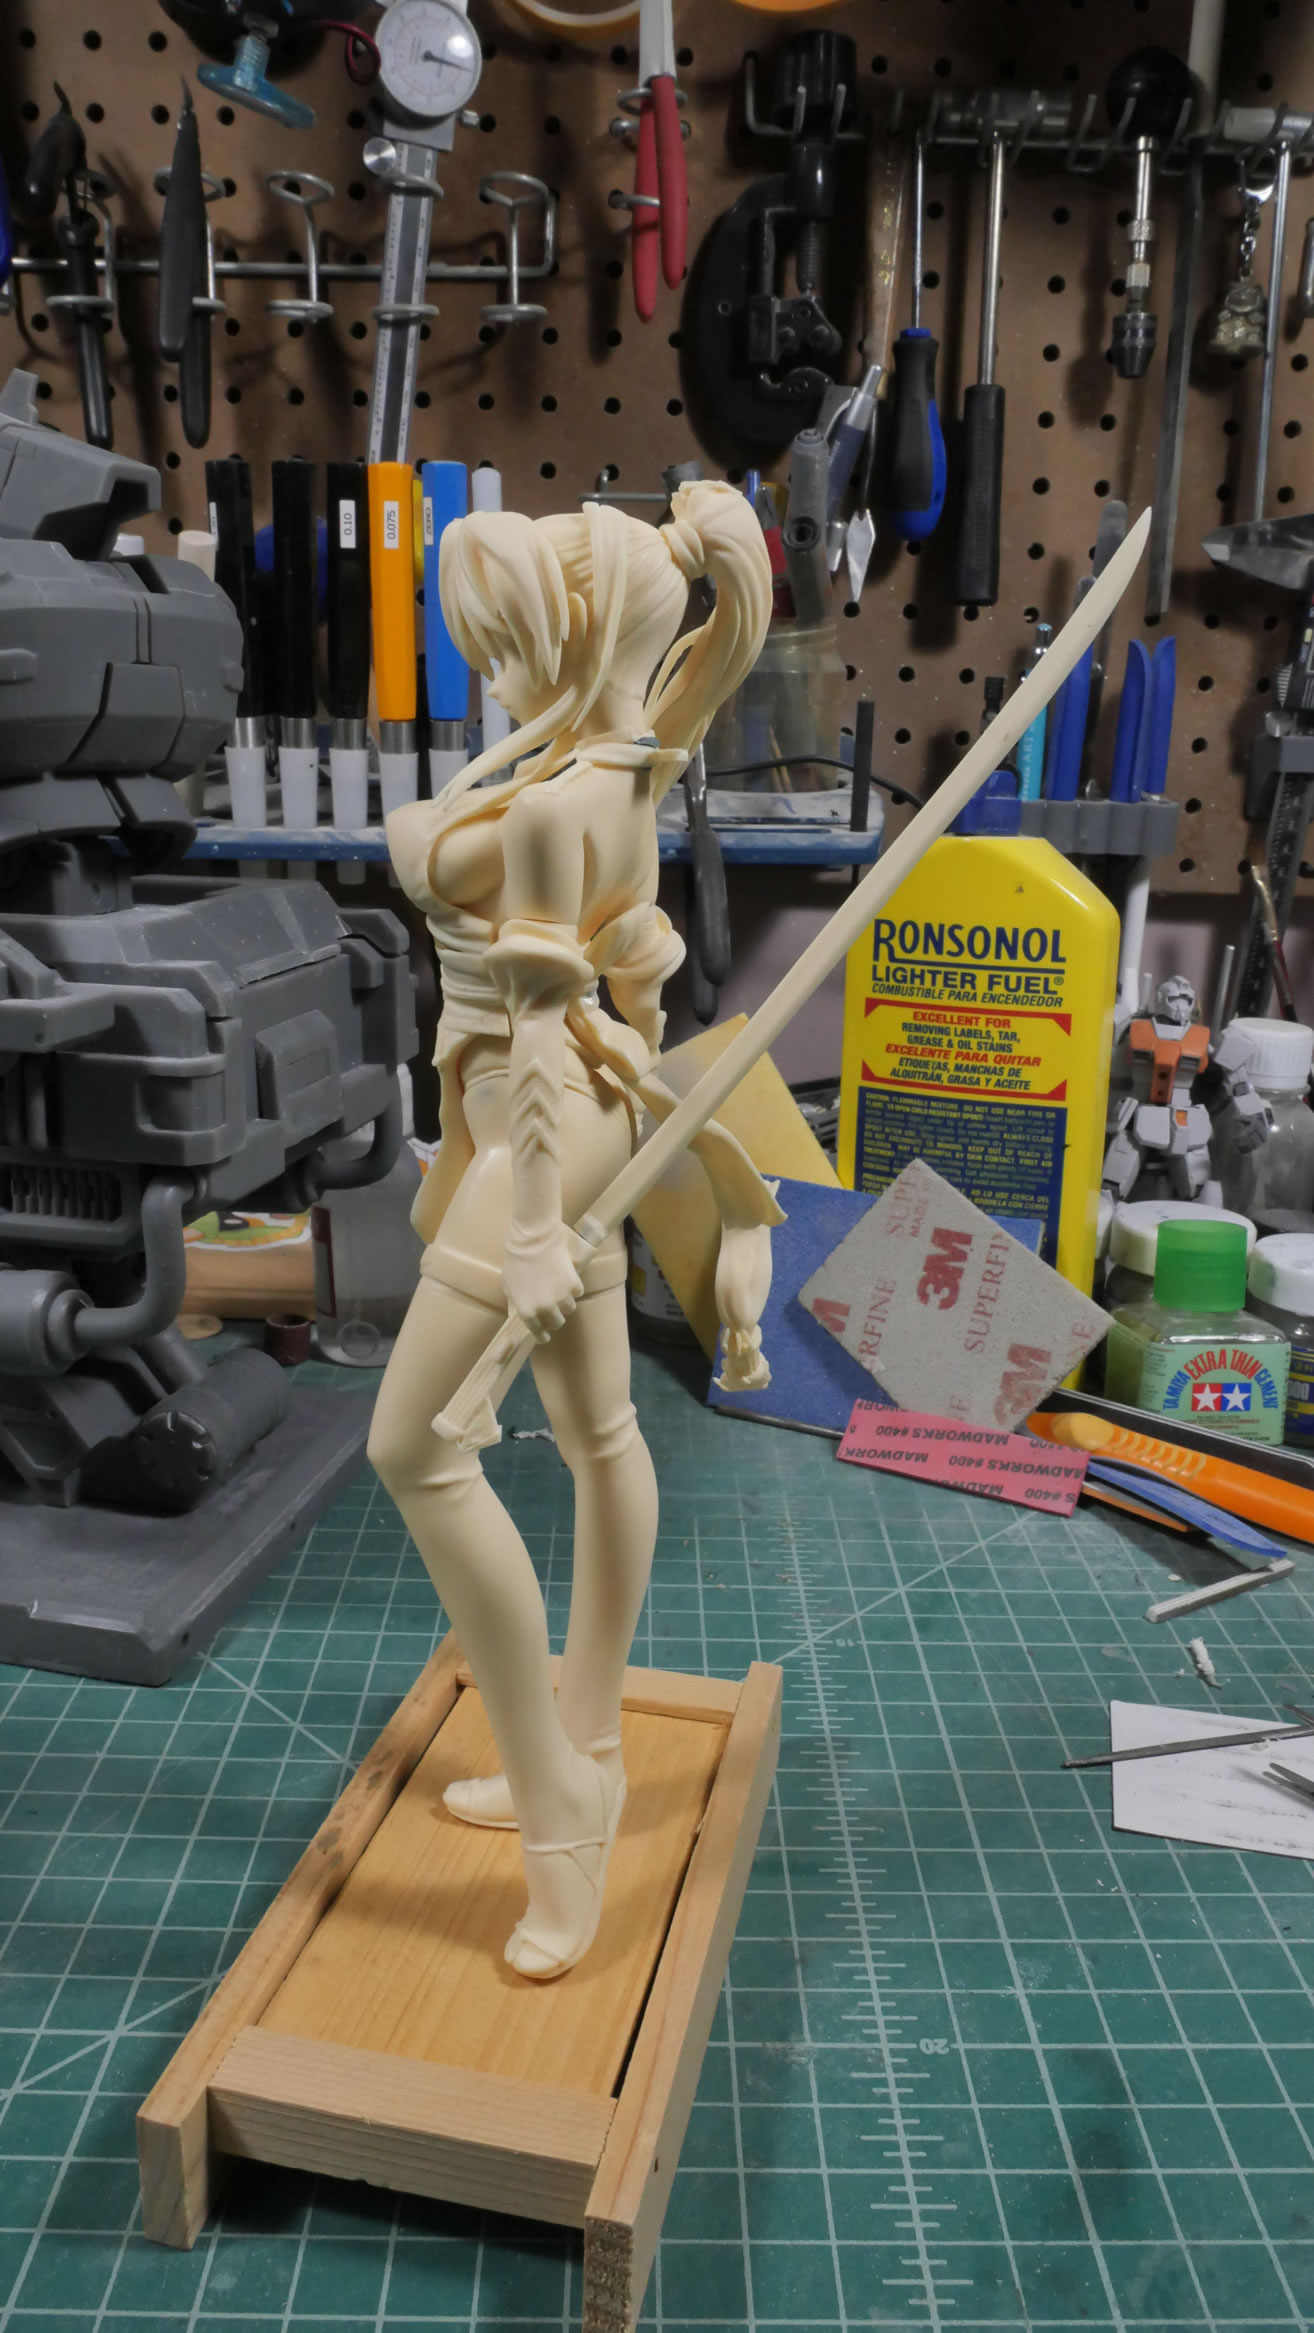
This should be a quick and dirty little project.
A few weeks later…
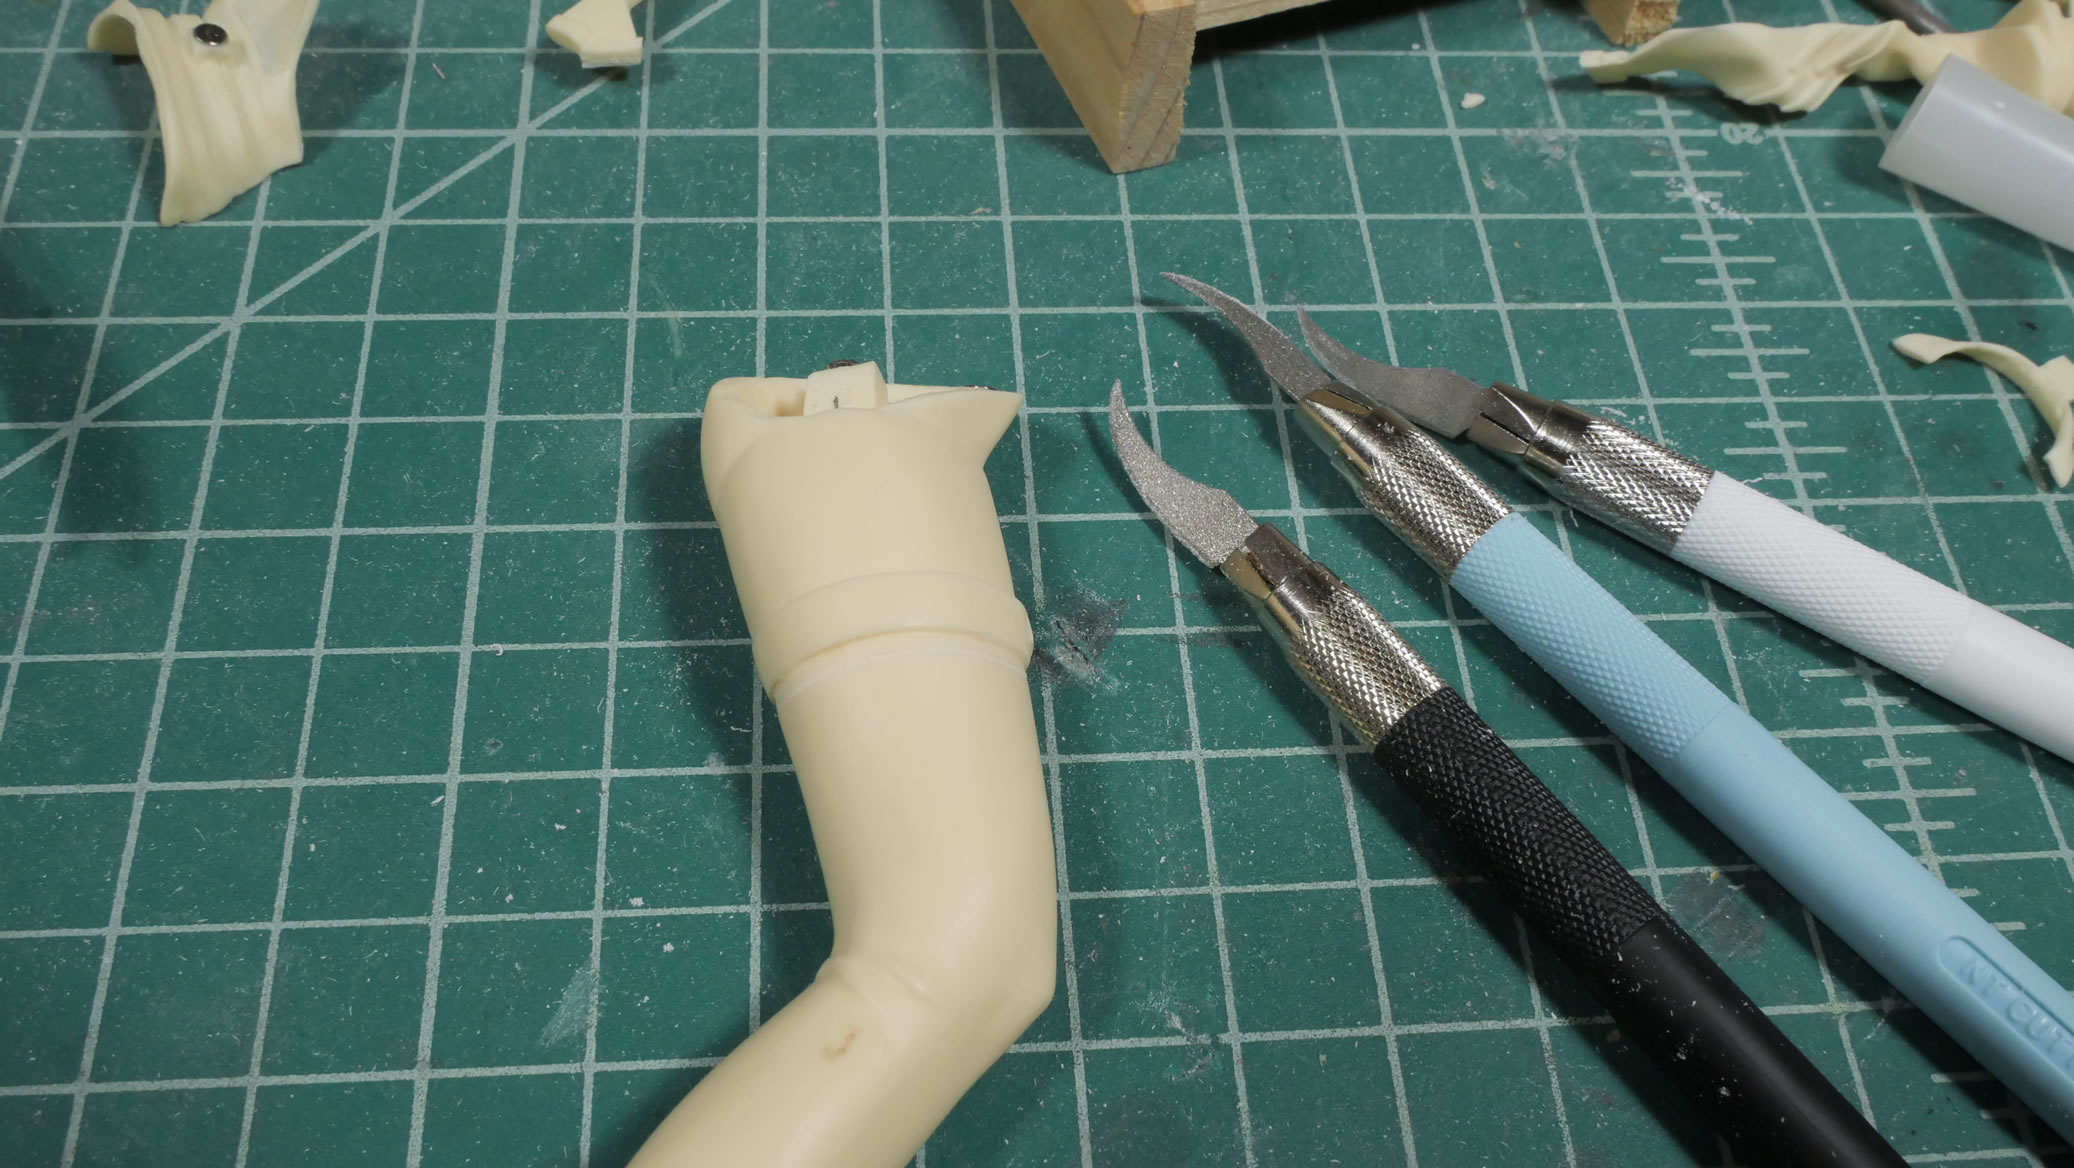
I’ve been working on the Subaru figure on and off for the past few weeks and really testing out these new curved knife files. I’m using using straight edge files and even some of those are not thin enough to get into the areas I need. And those files are straight edges, so curved surfaces need a bit of care to not flatten things out; so these curved tools are amazing! But sanding is boring, and really there’s not much to see unless put in extreme zoom.
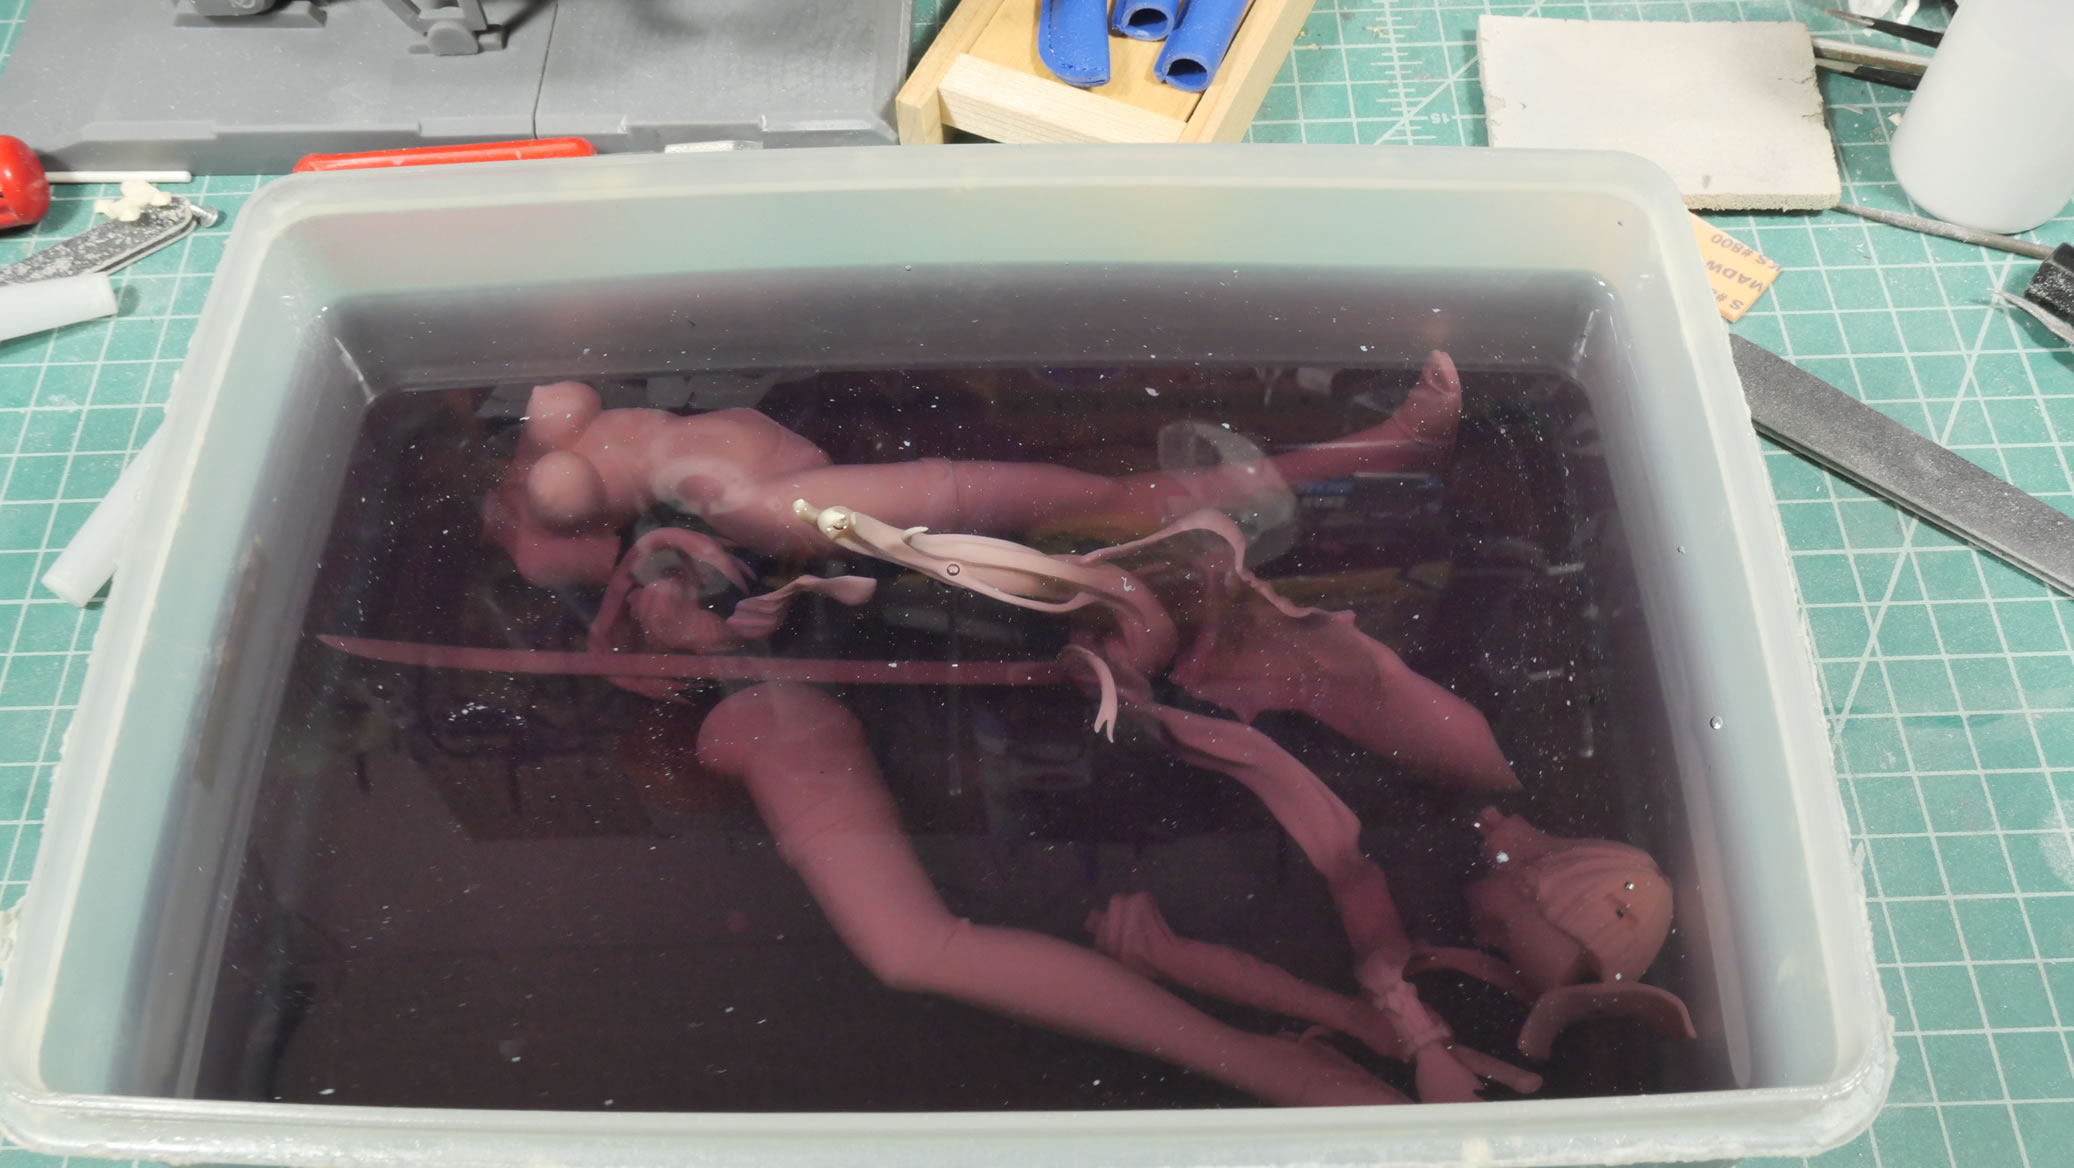
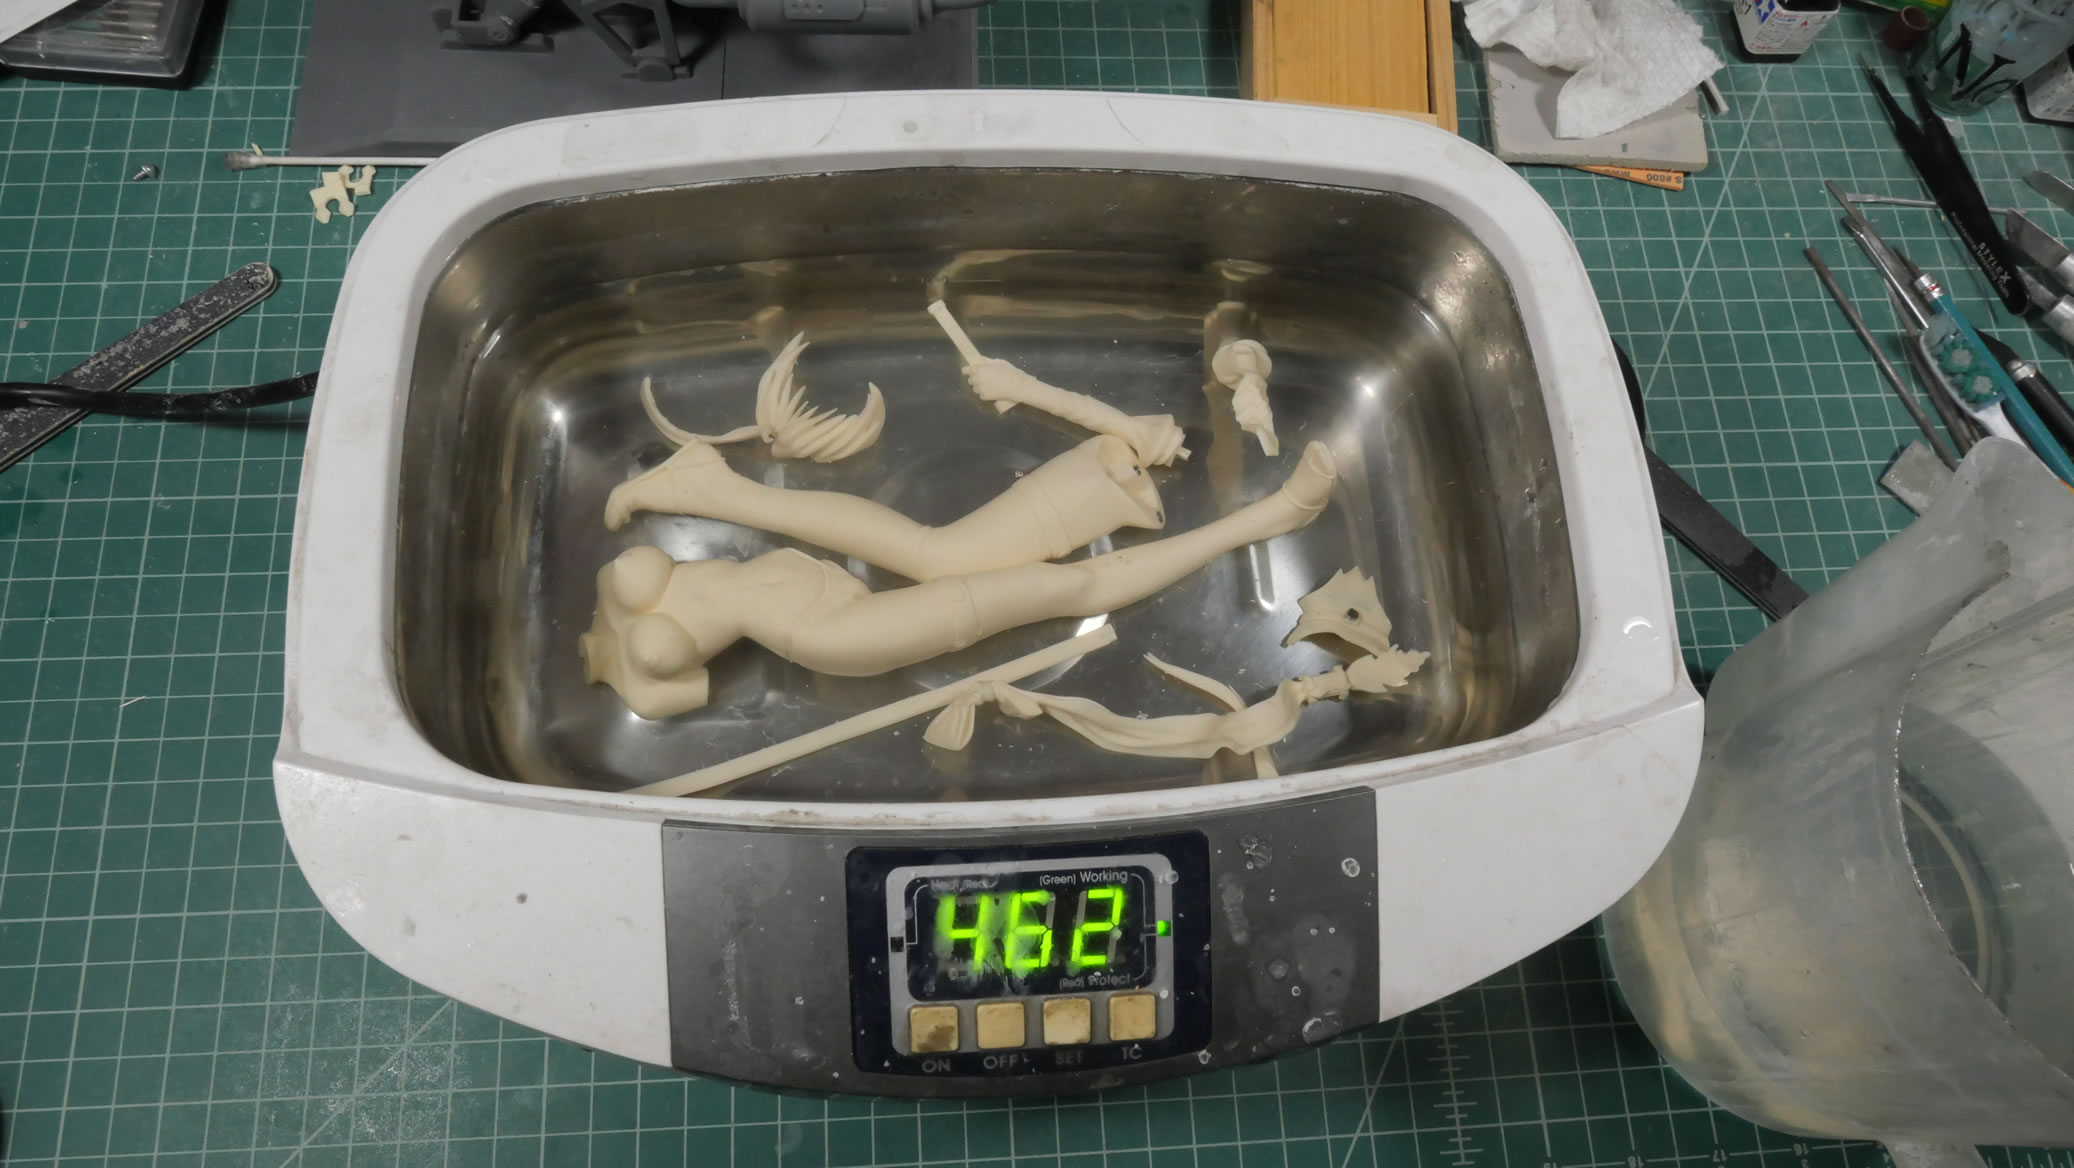
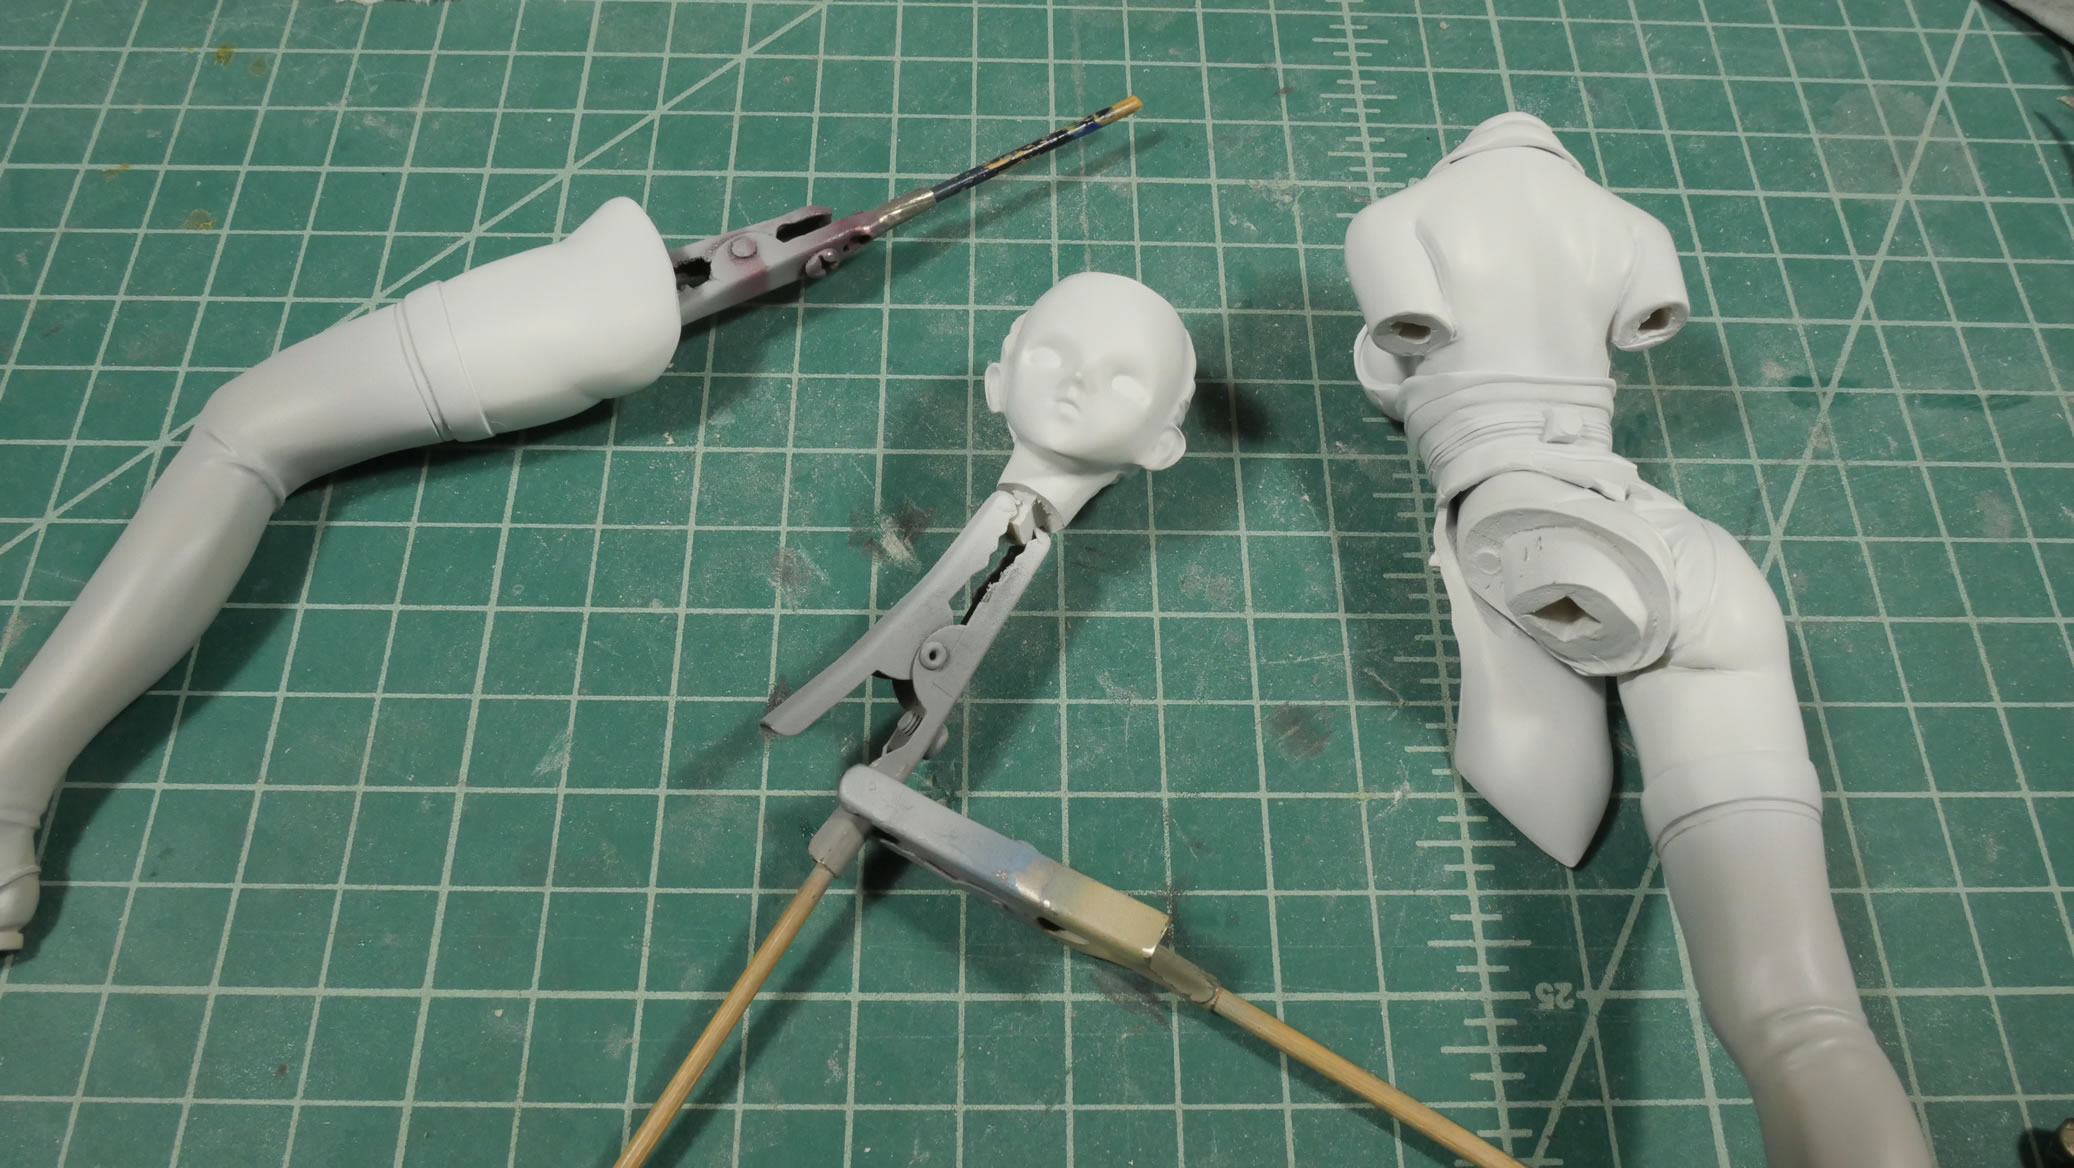
After all the initial sanding is done, the parts are thrown into a bath of industrial strength degreaser to remove any mold release still on the kit as well as just cleaning it. Soaking over night, the parts are rinsed and thrown into the ultra sonic cleaner to scrub them clean.
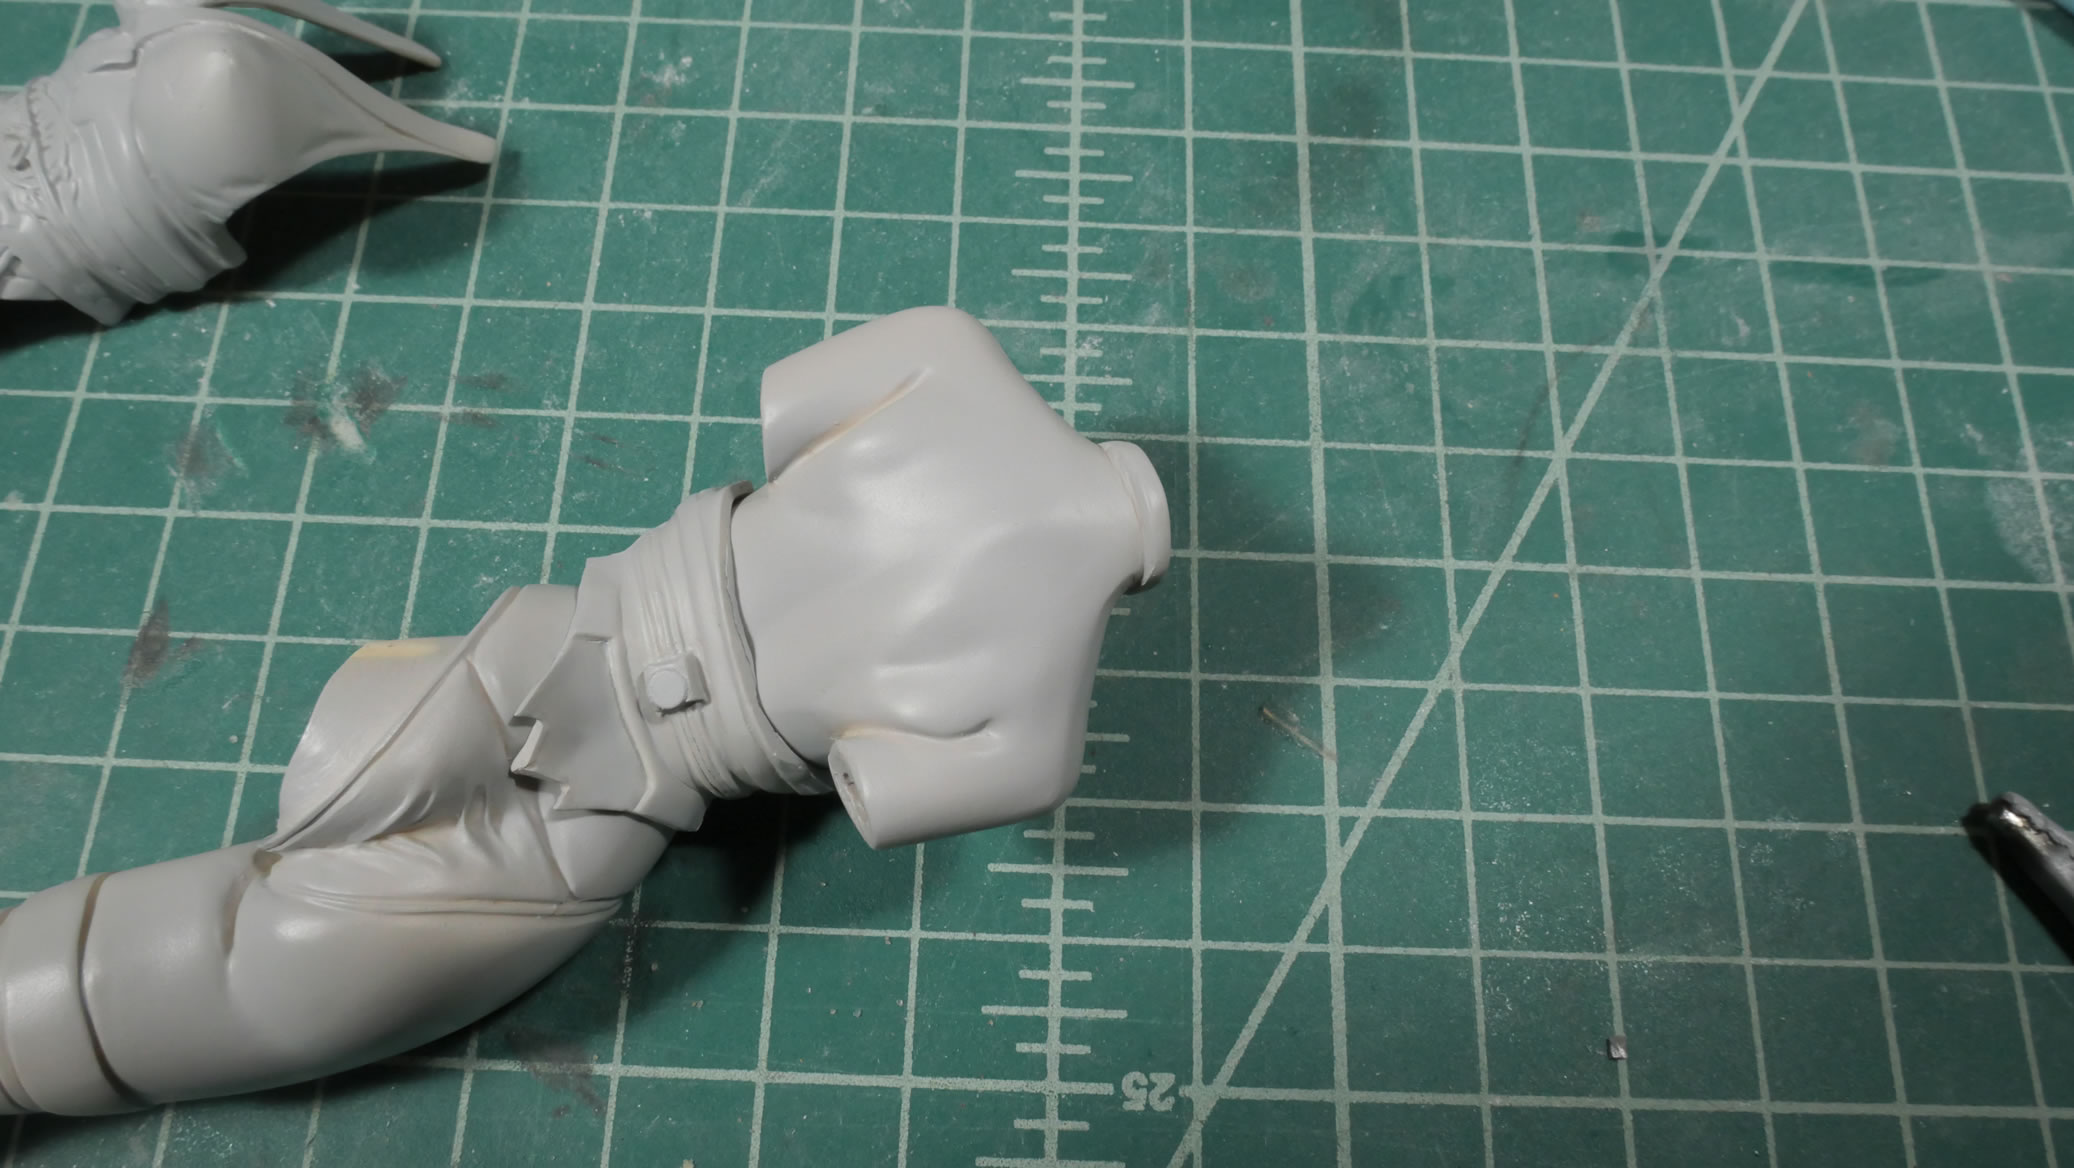
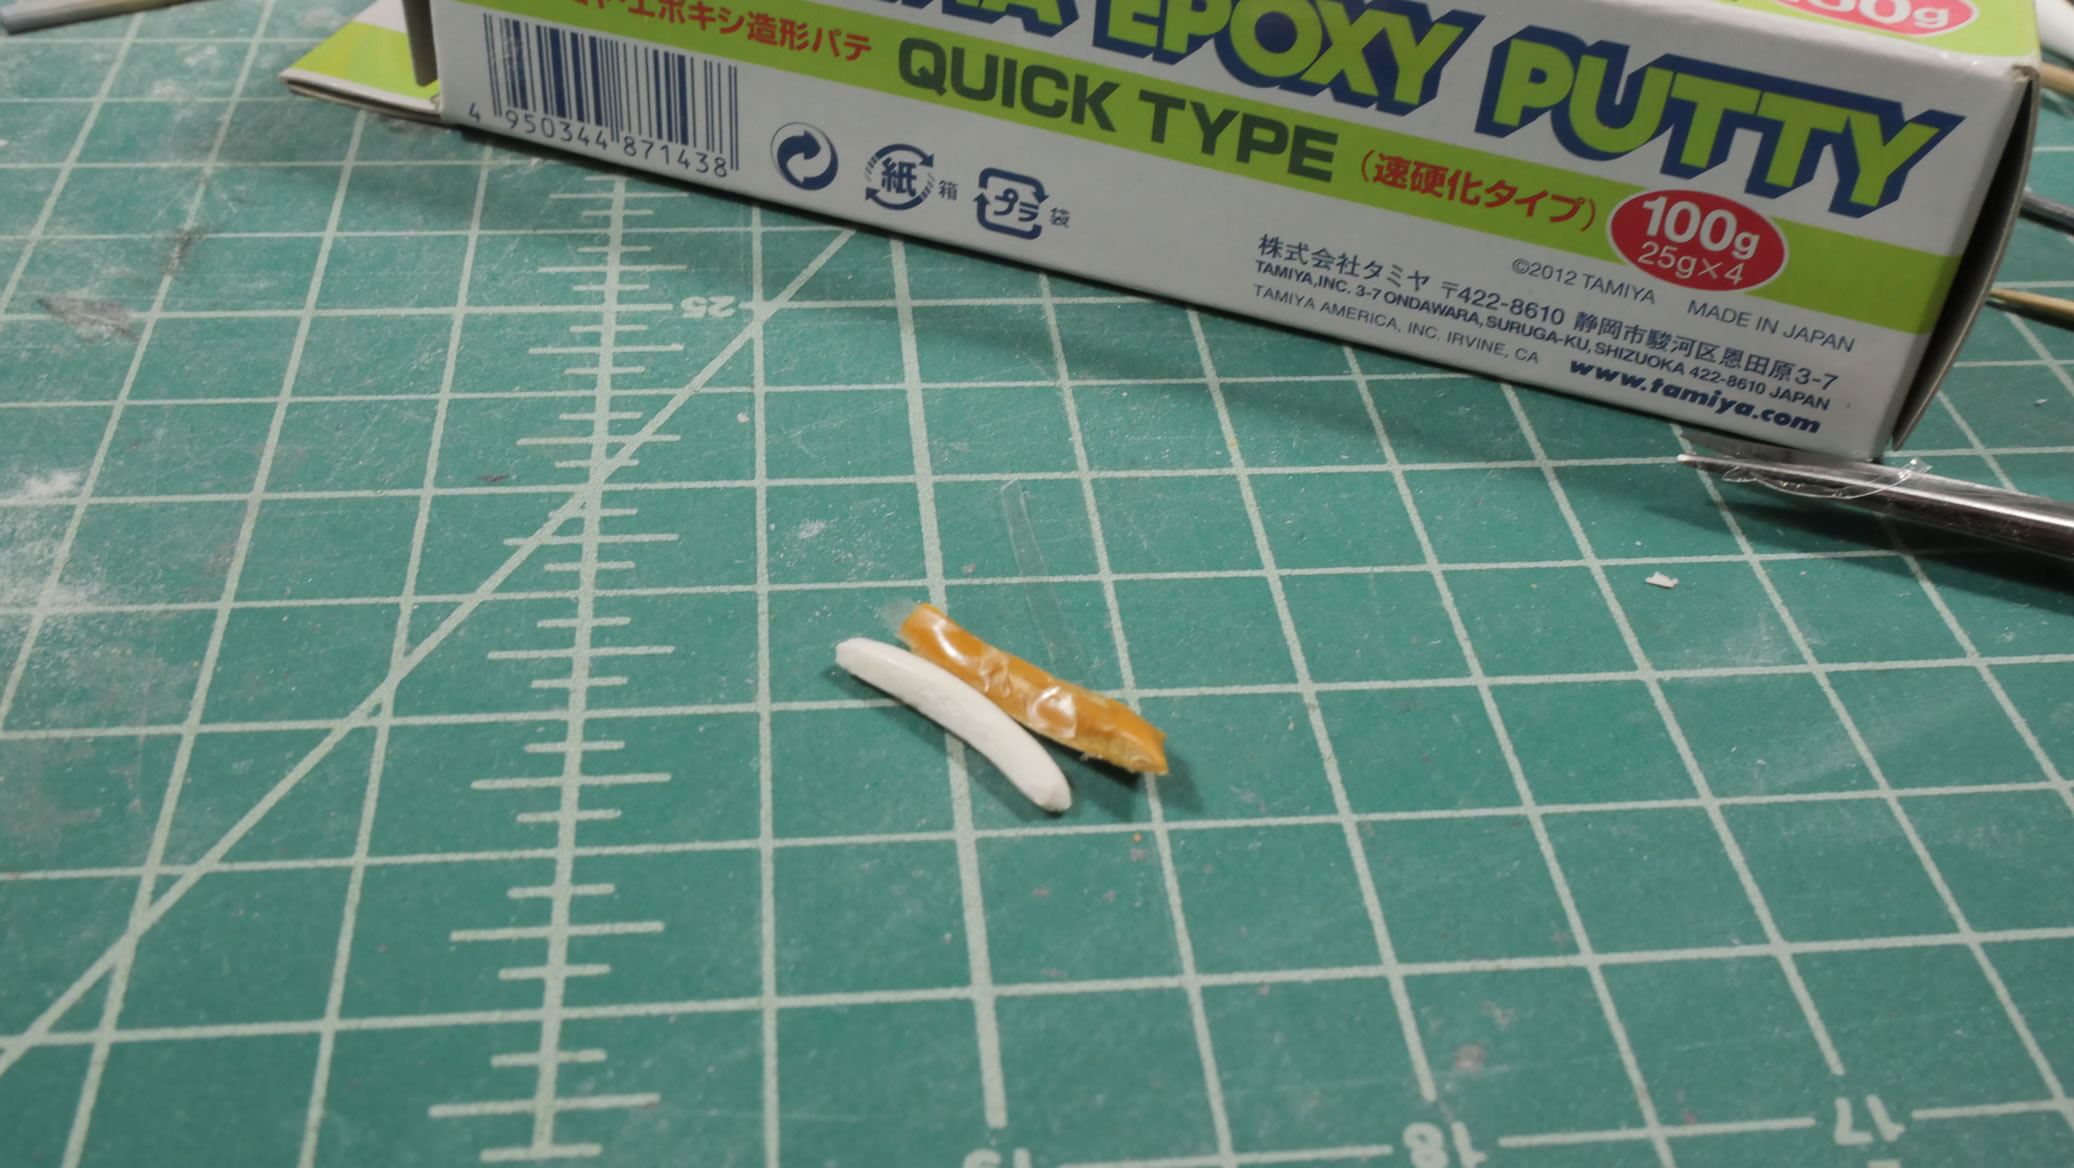
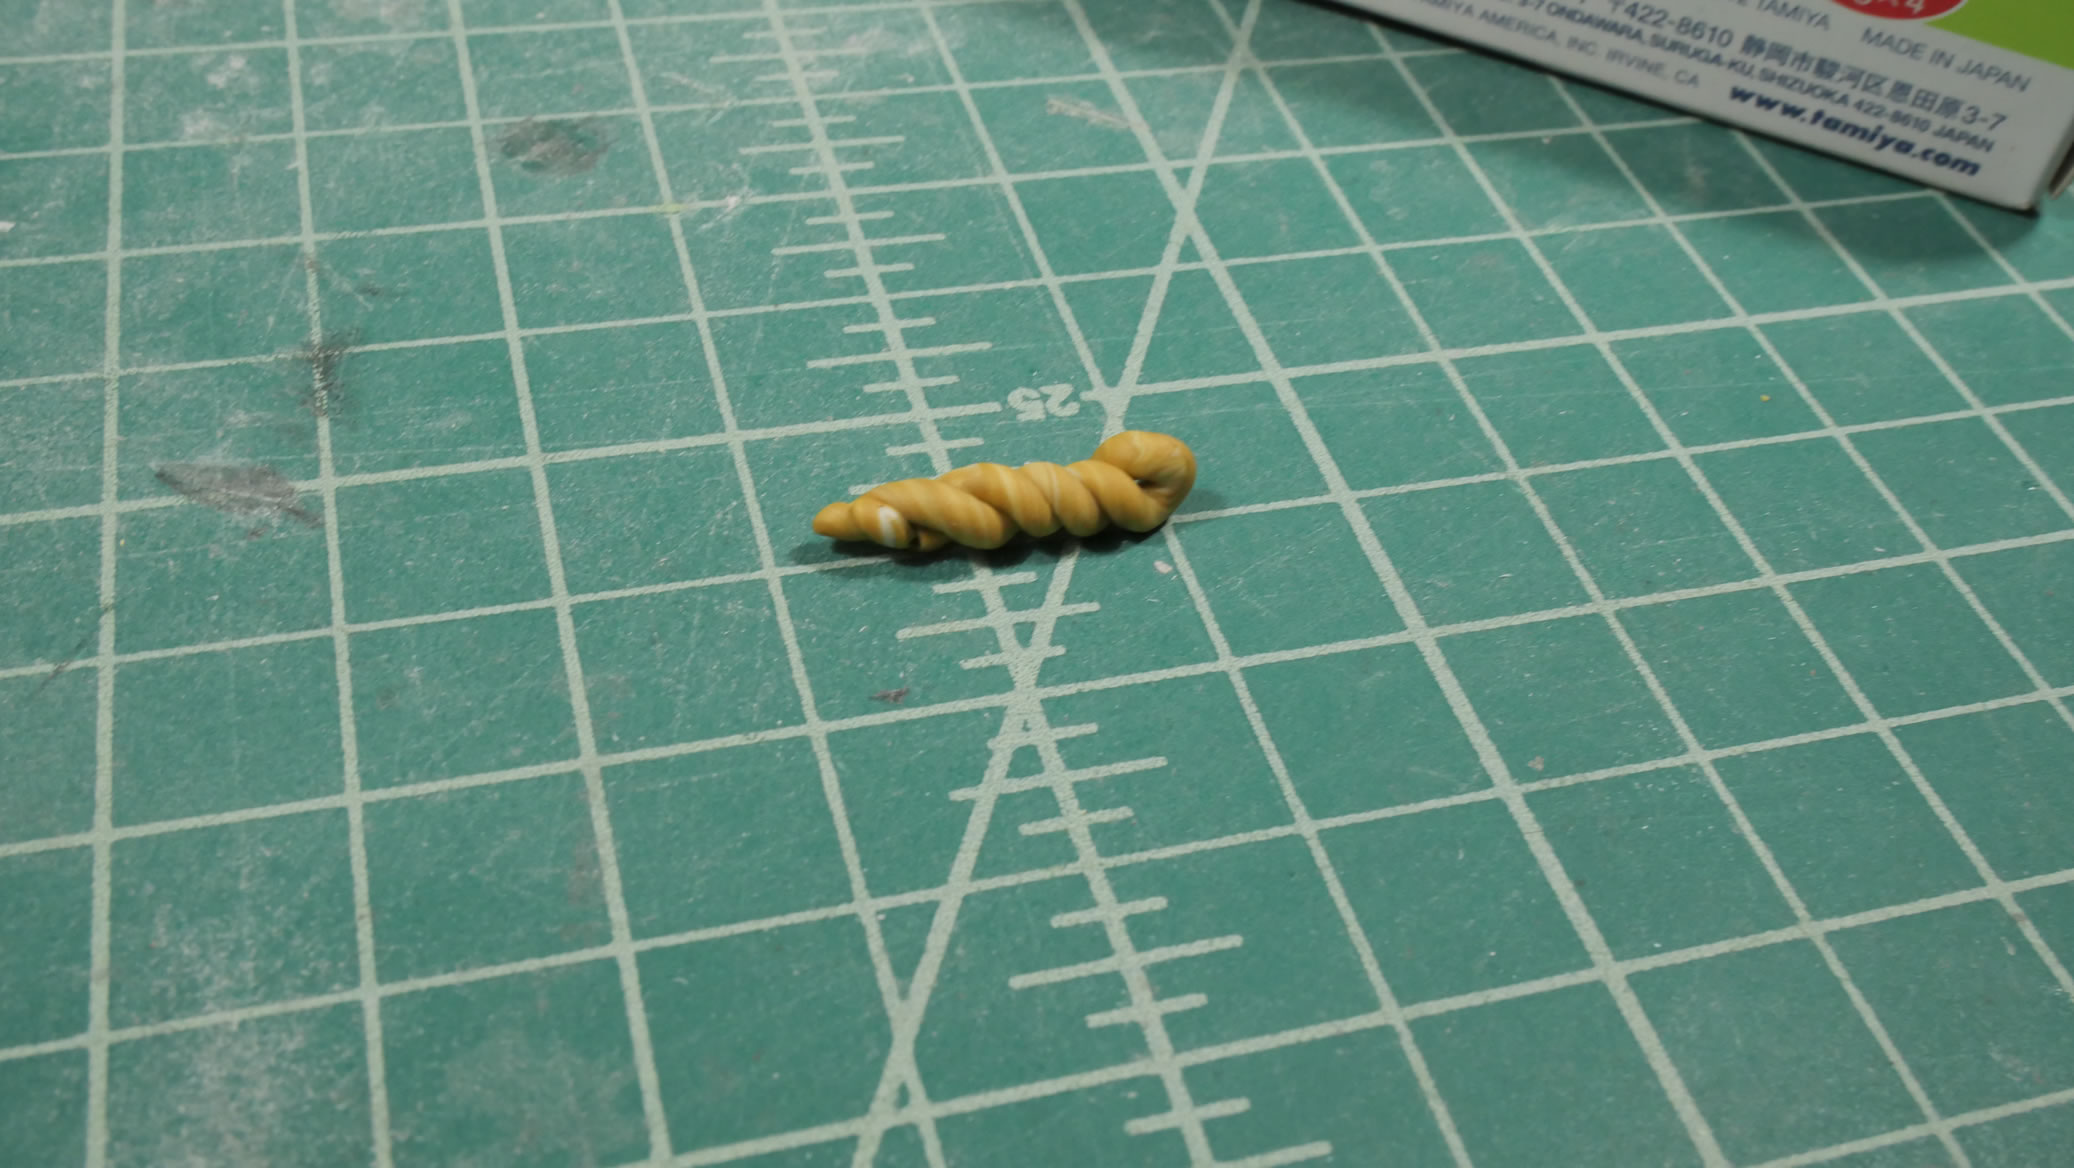
And now the fun begins. Fixing all those gaps lamented in the previous post. There are two different putties at work here. The major filler is a two part epoxy putty that fills the majority of the gap area. It takes about a day for that to fully cure. But once done, I move to light curing putty for quick work. I can putty, sand, repeat relatively quickly.

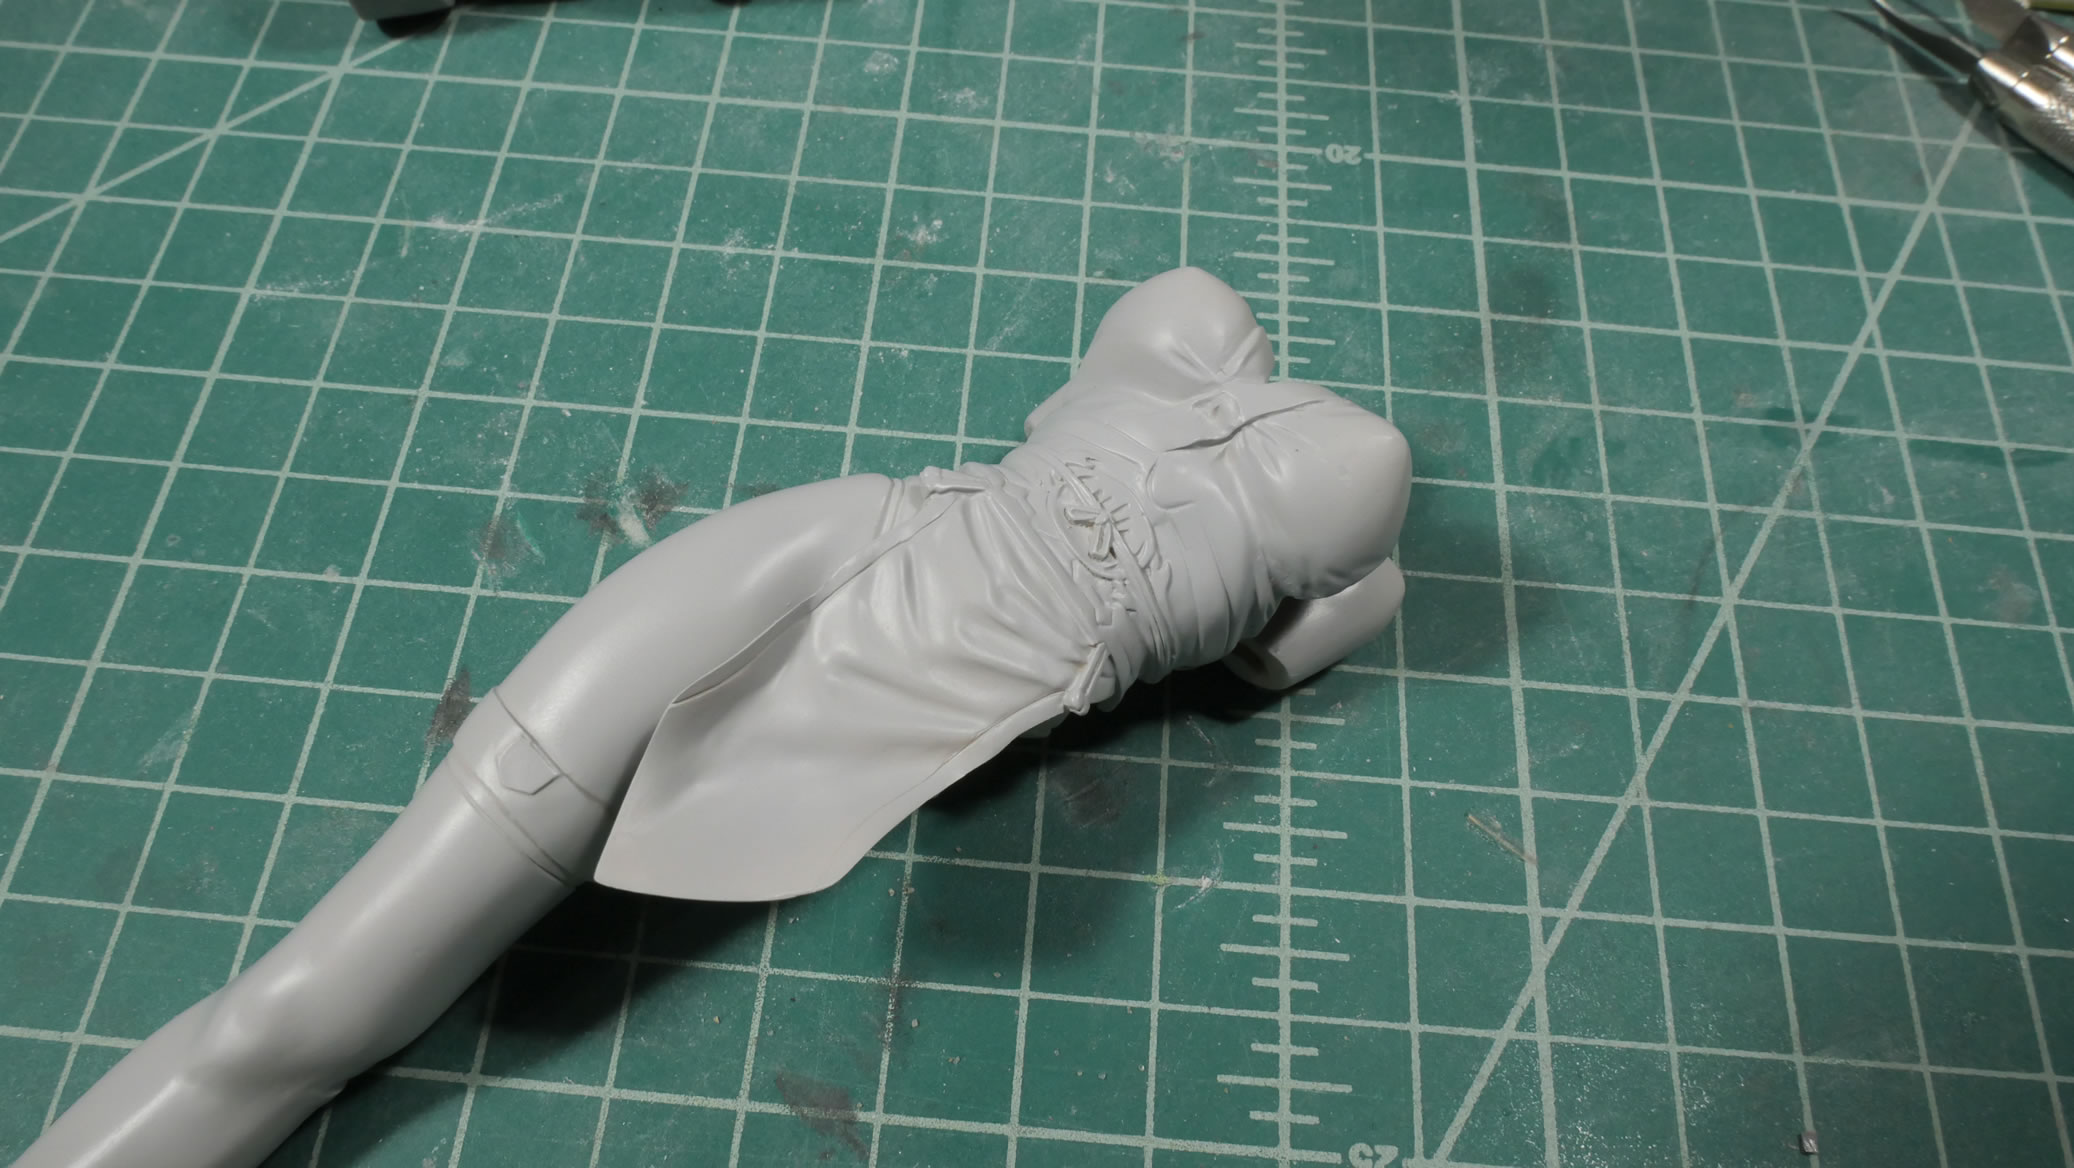
Once all the putty work is done, time to check it with a primer session. Results were not too bad. I only needed to fix a few areas.

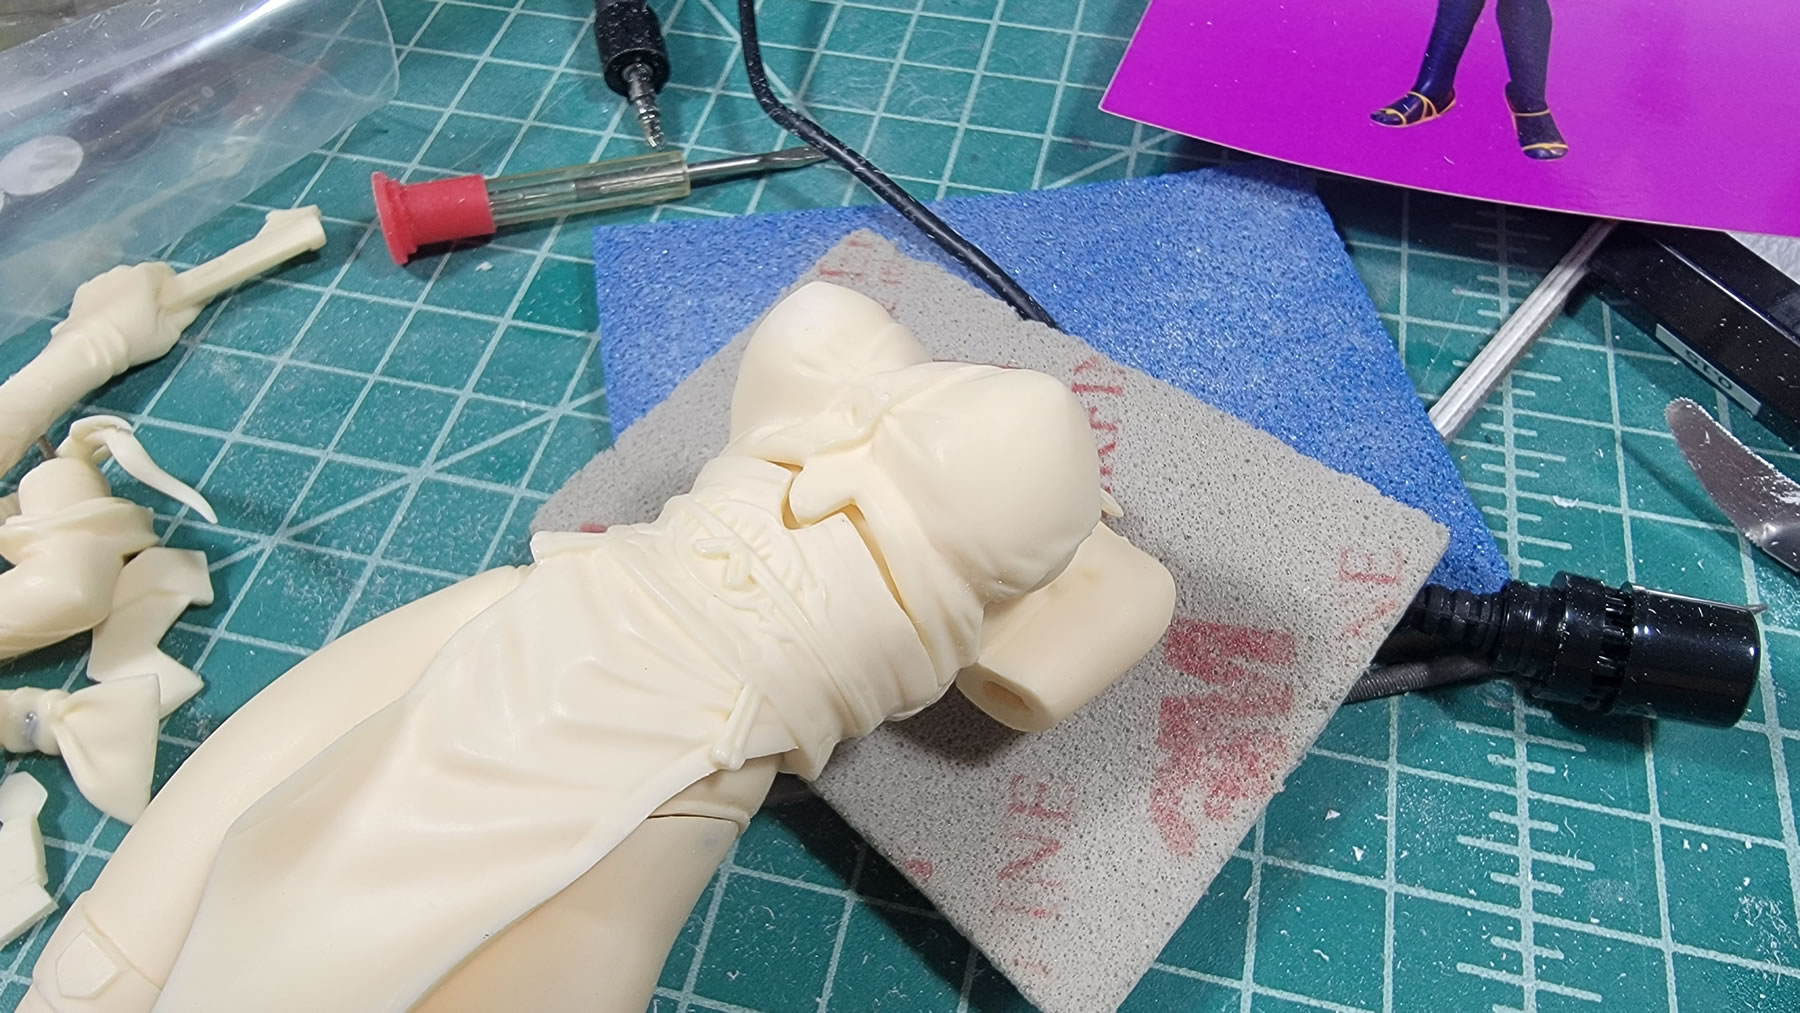
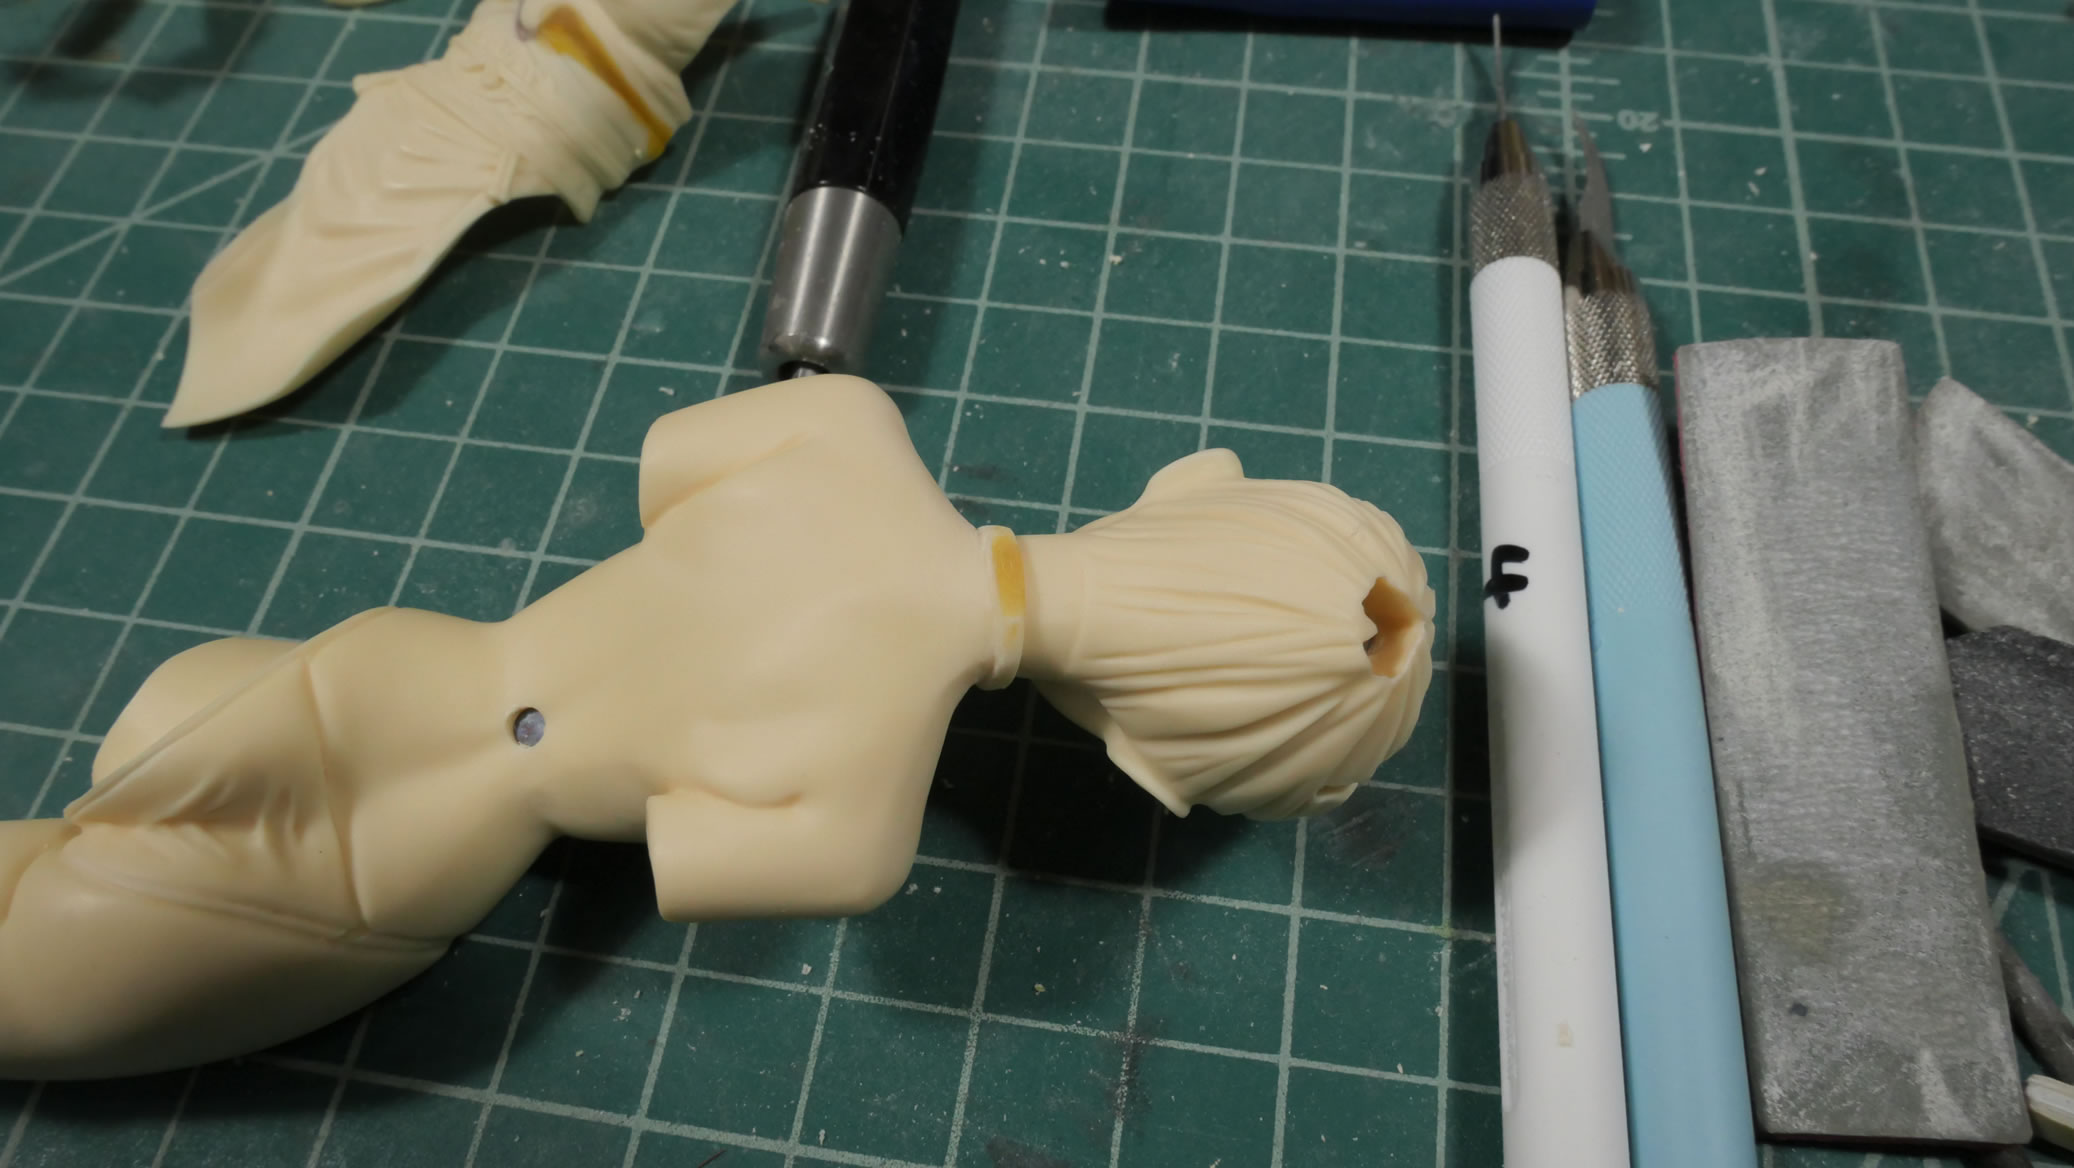
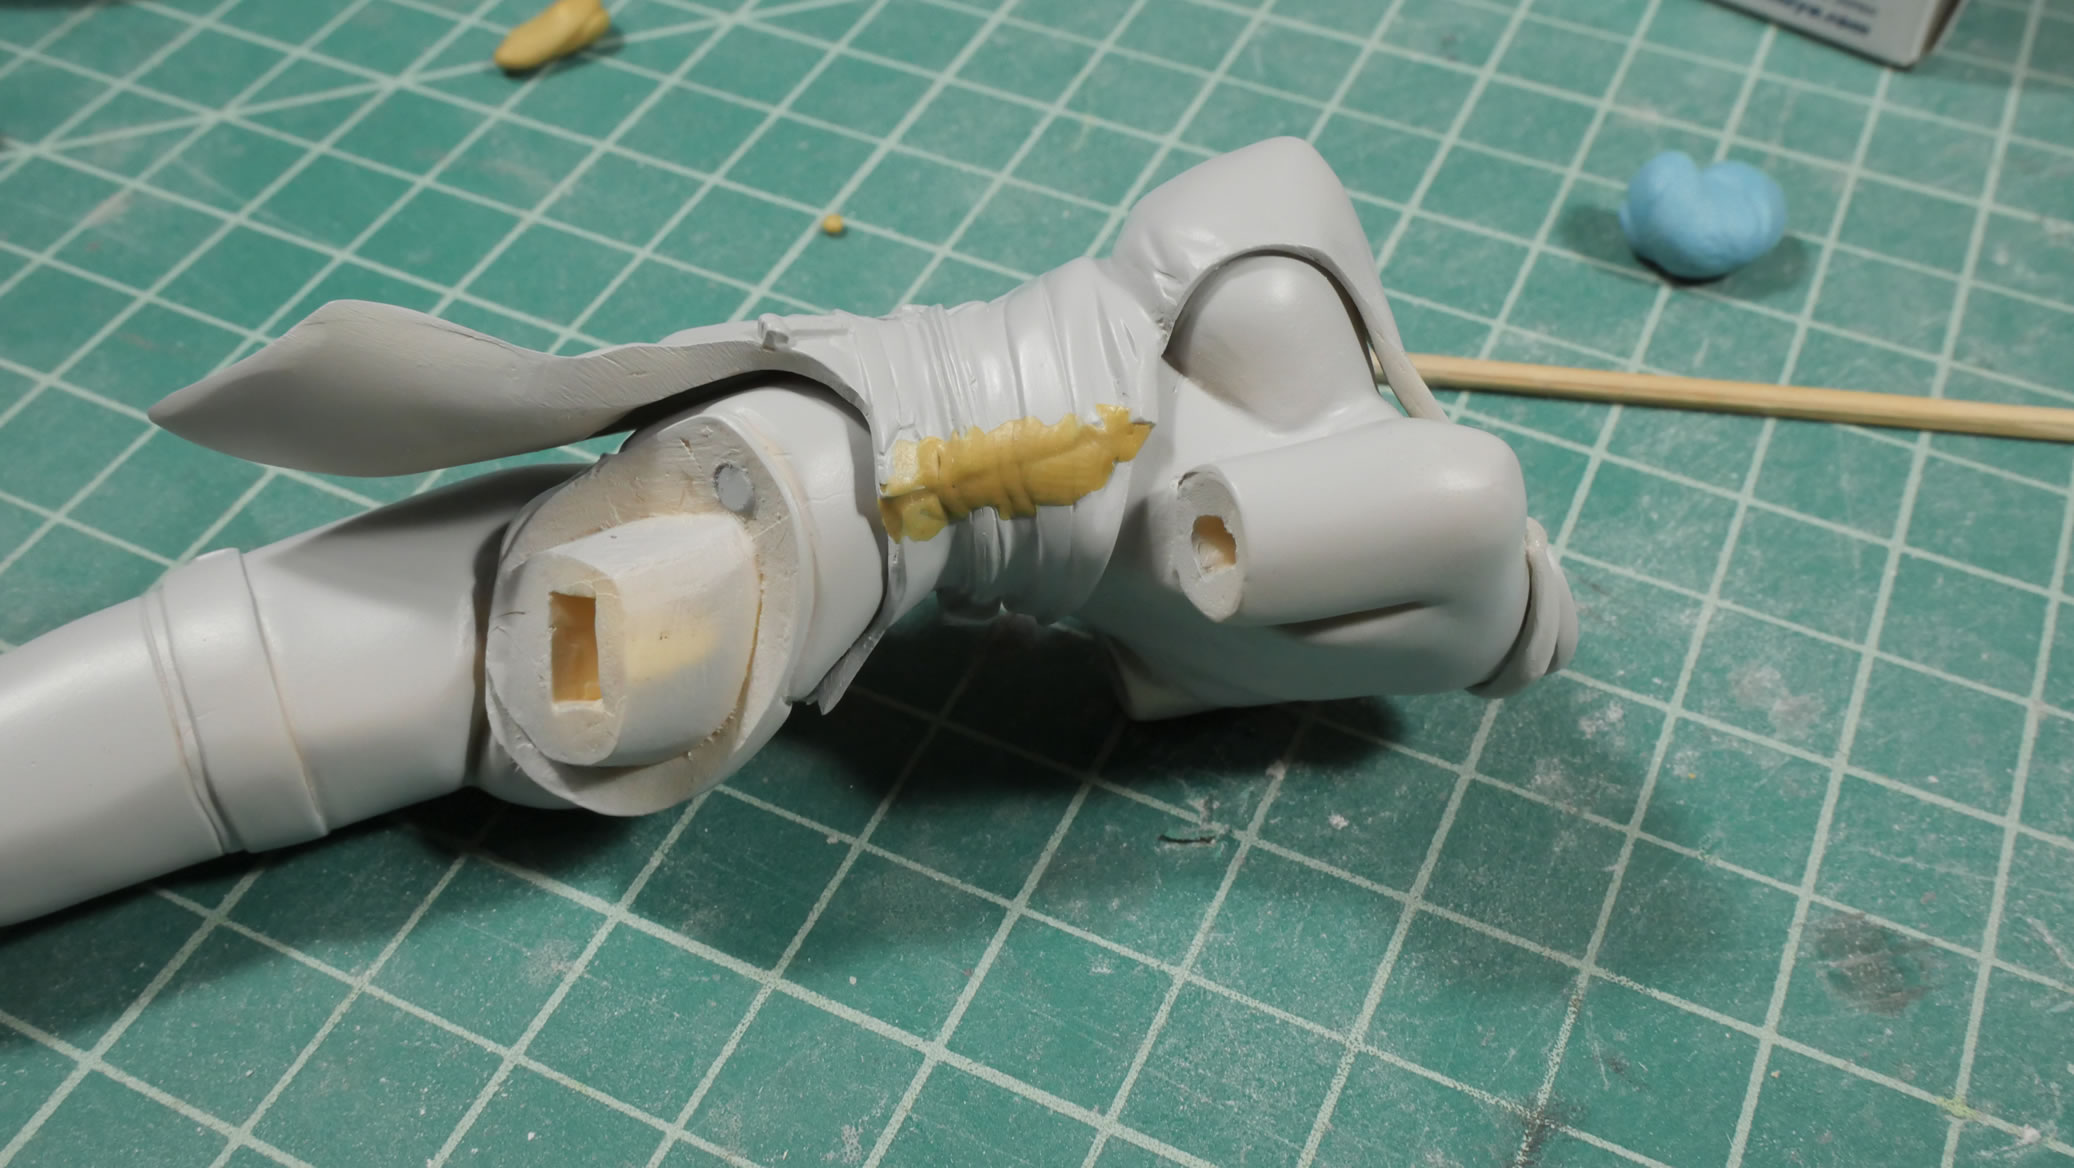
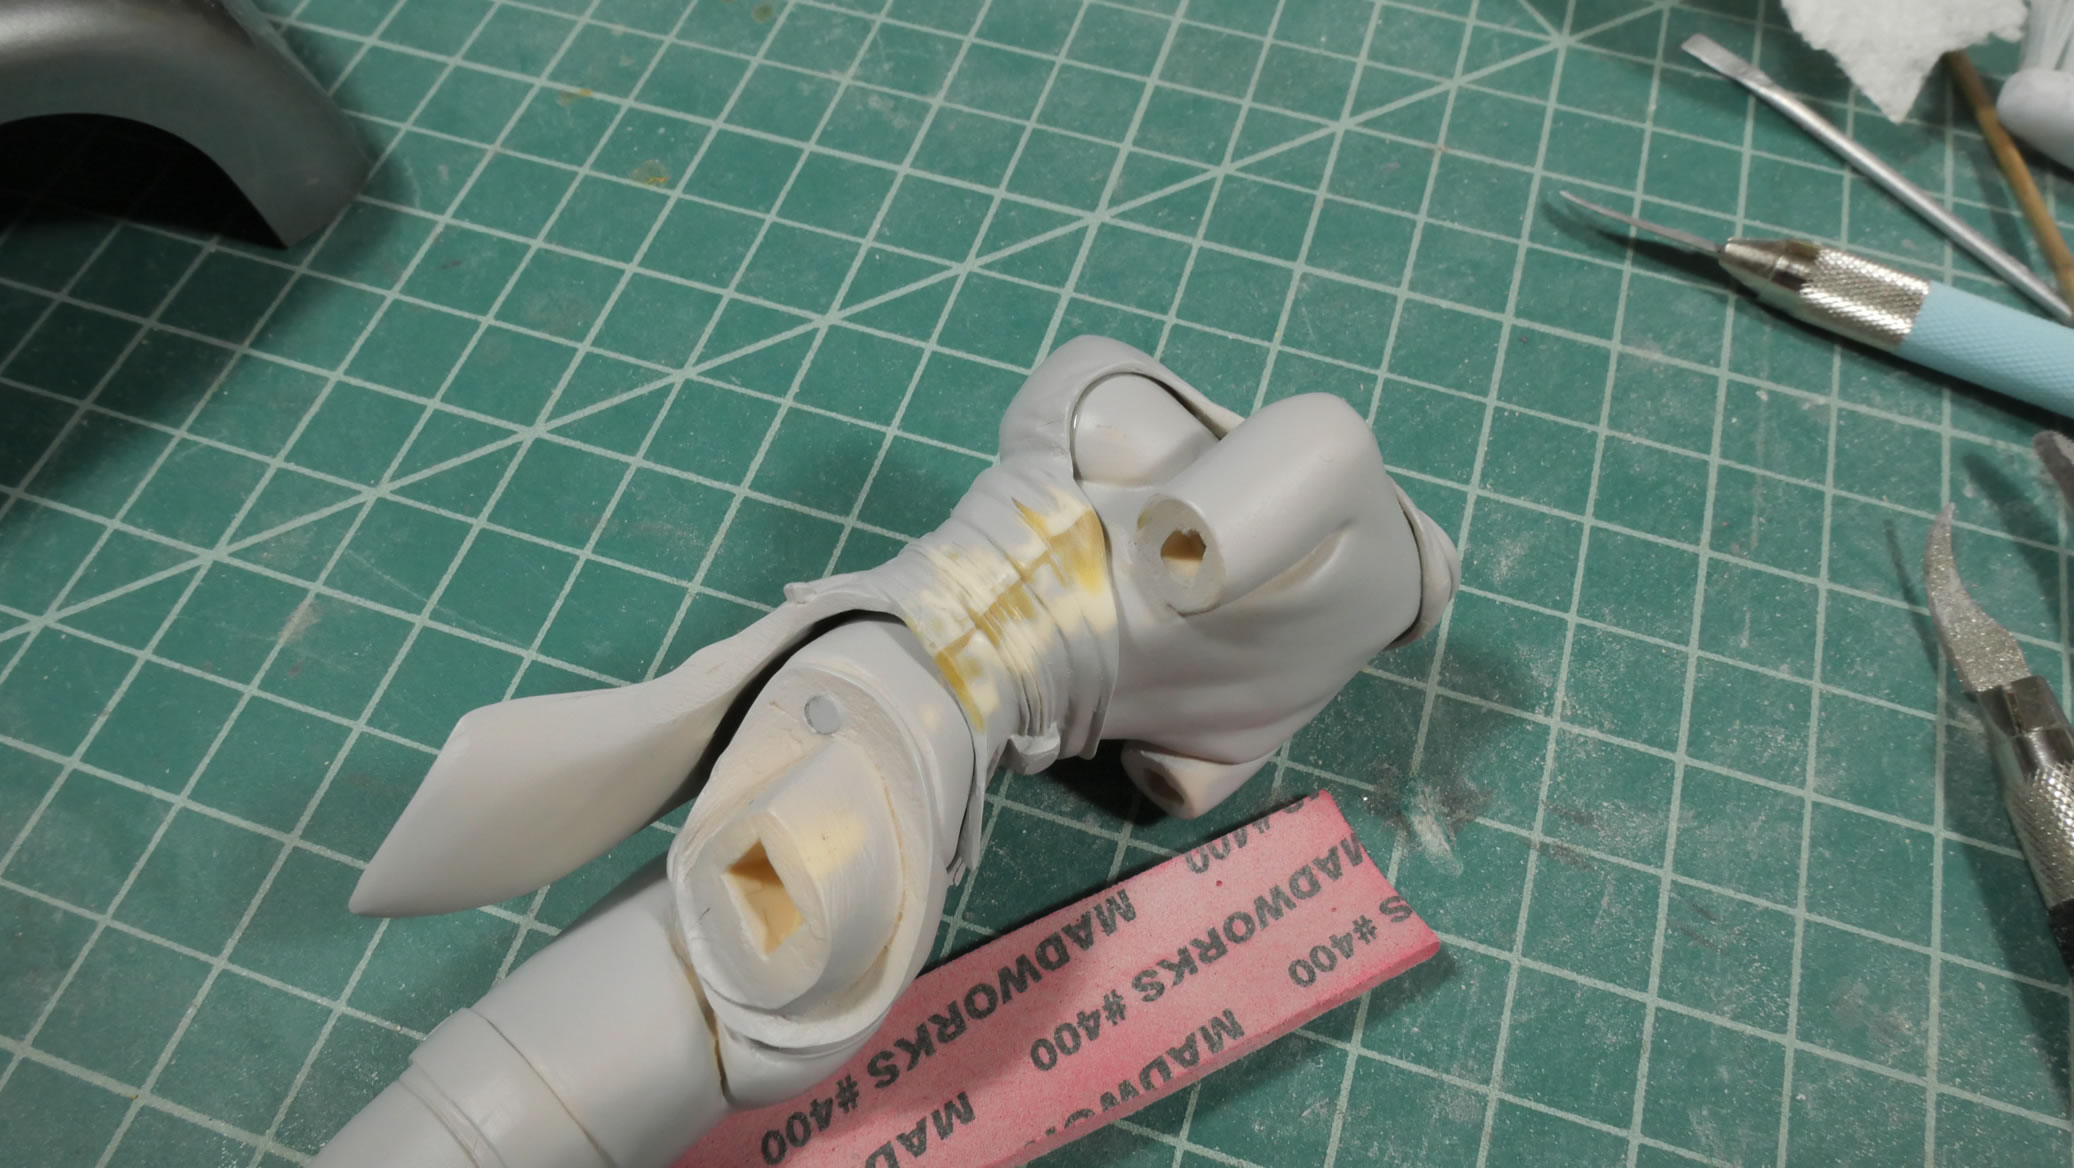
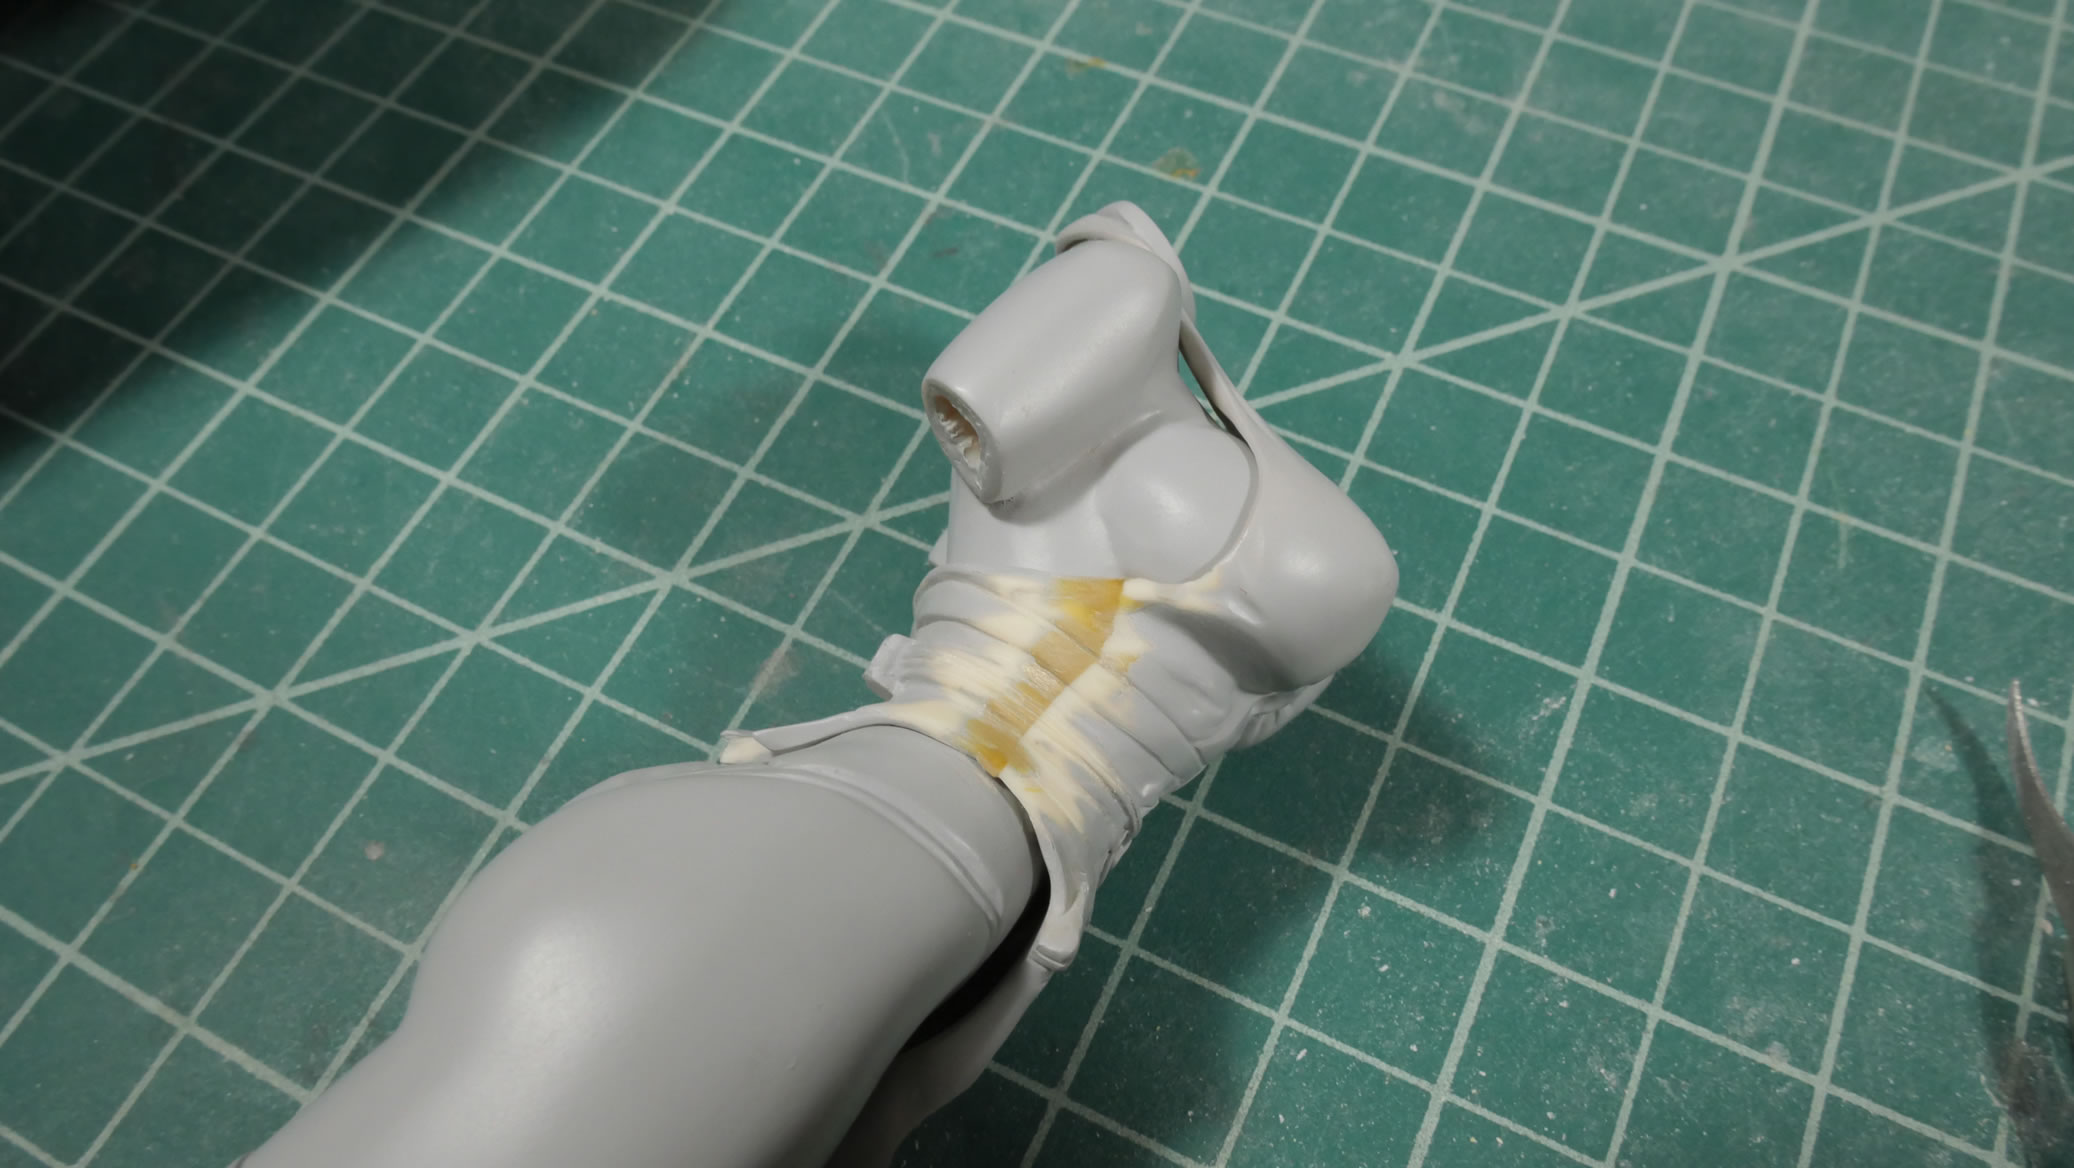
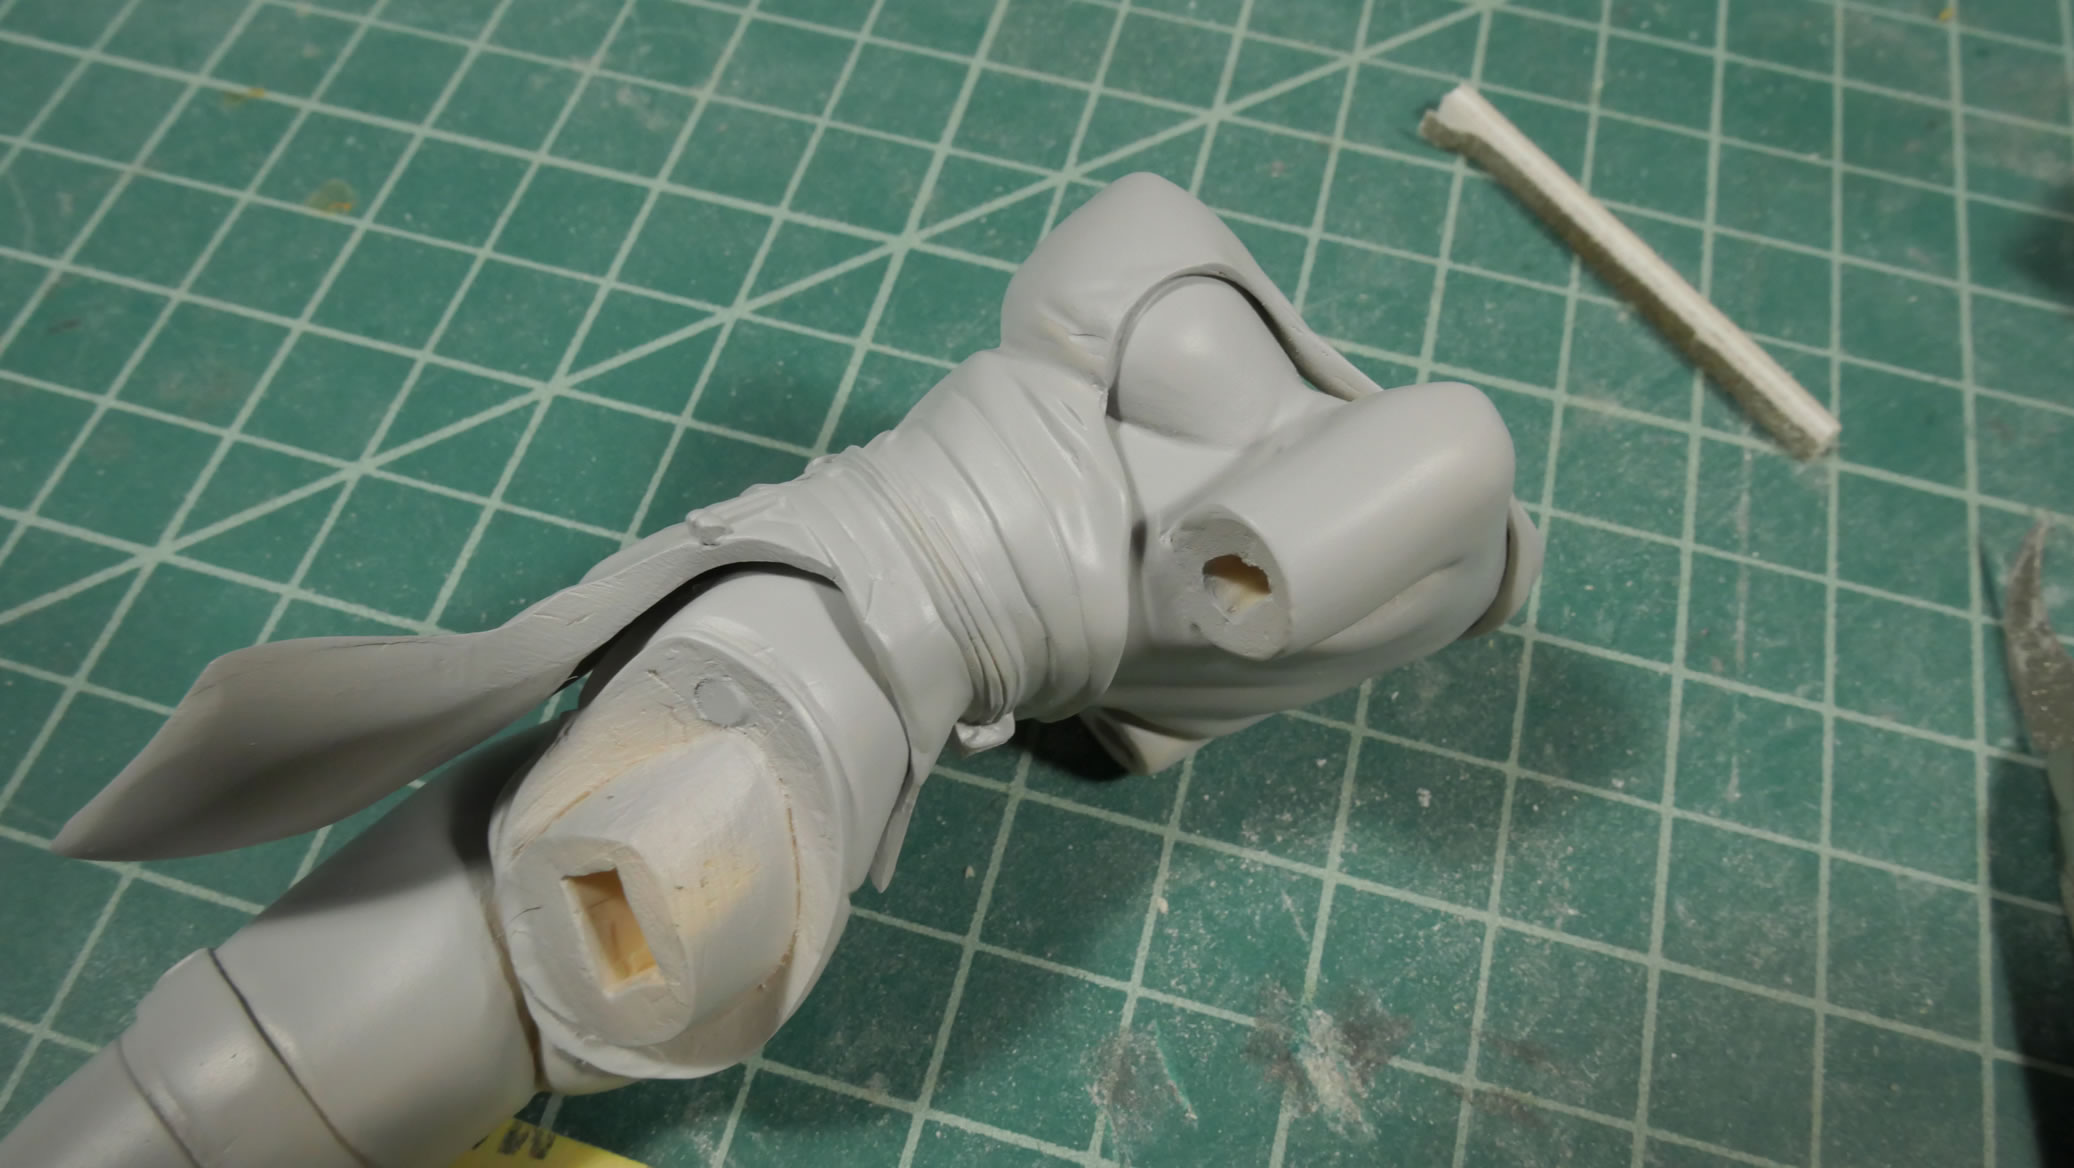
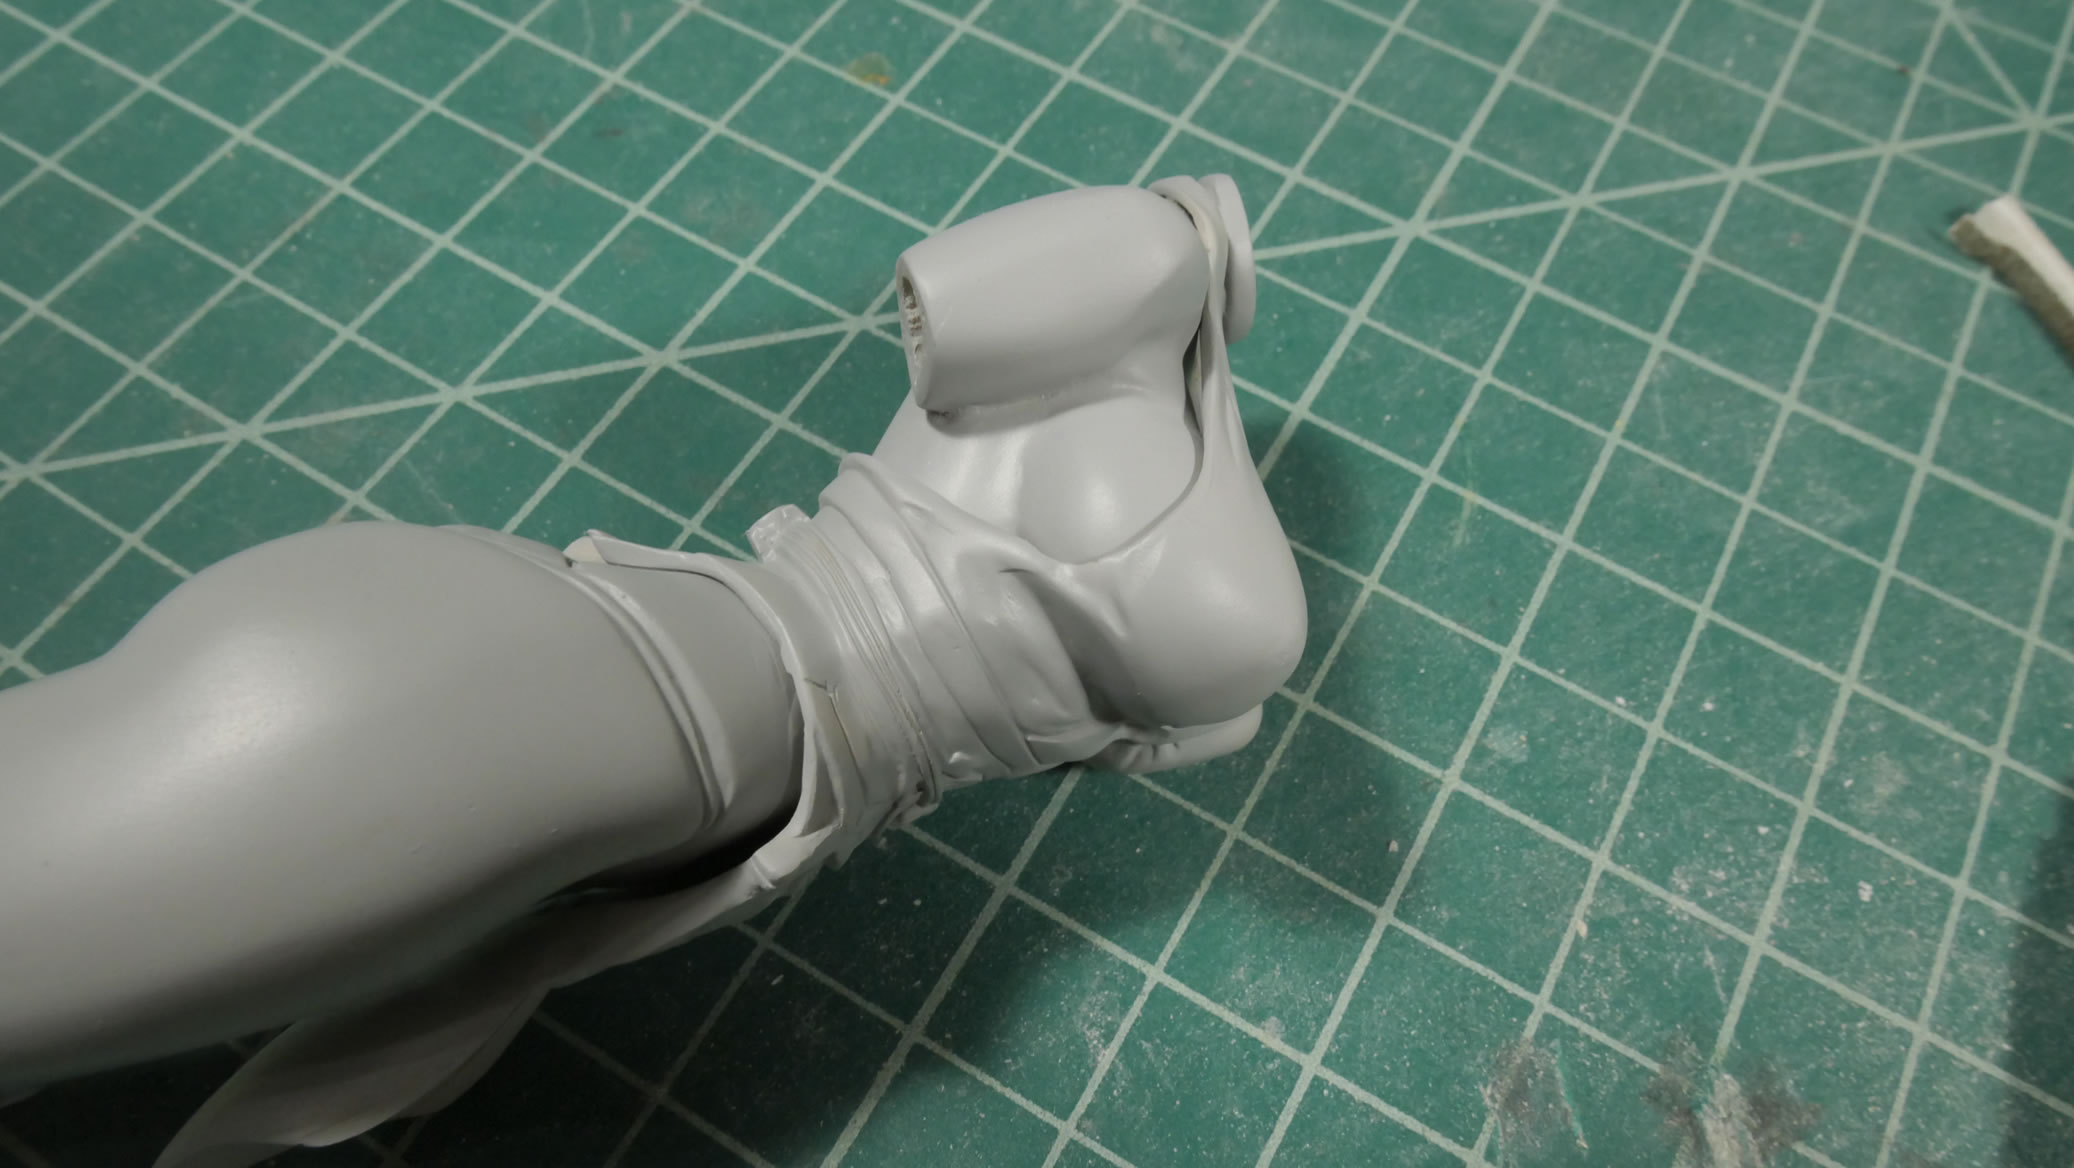
The back of her collar was badly damaged. I’m not sure if it was my over zealous flash tab cutting, or because of the poor cast quality. But it is a very quick fix with some light curing putty. A few sessions to slowly build up an repair the area, but once done and primed, it looks perfect.
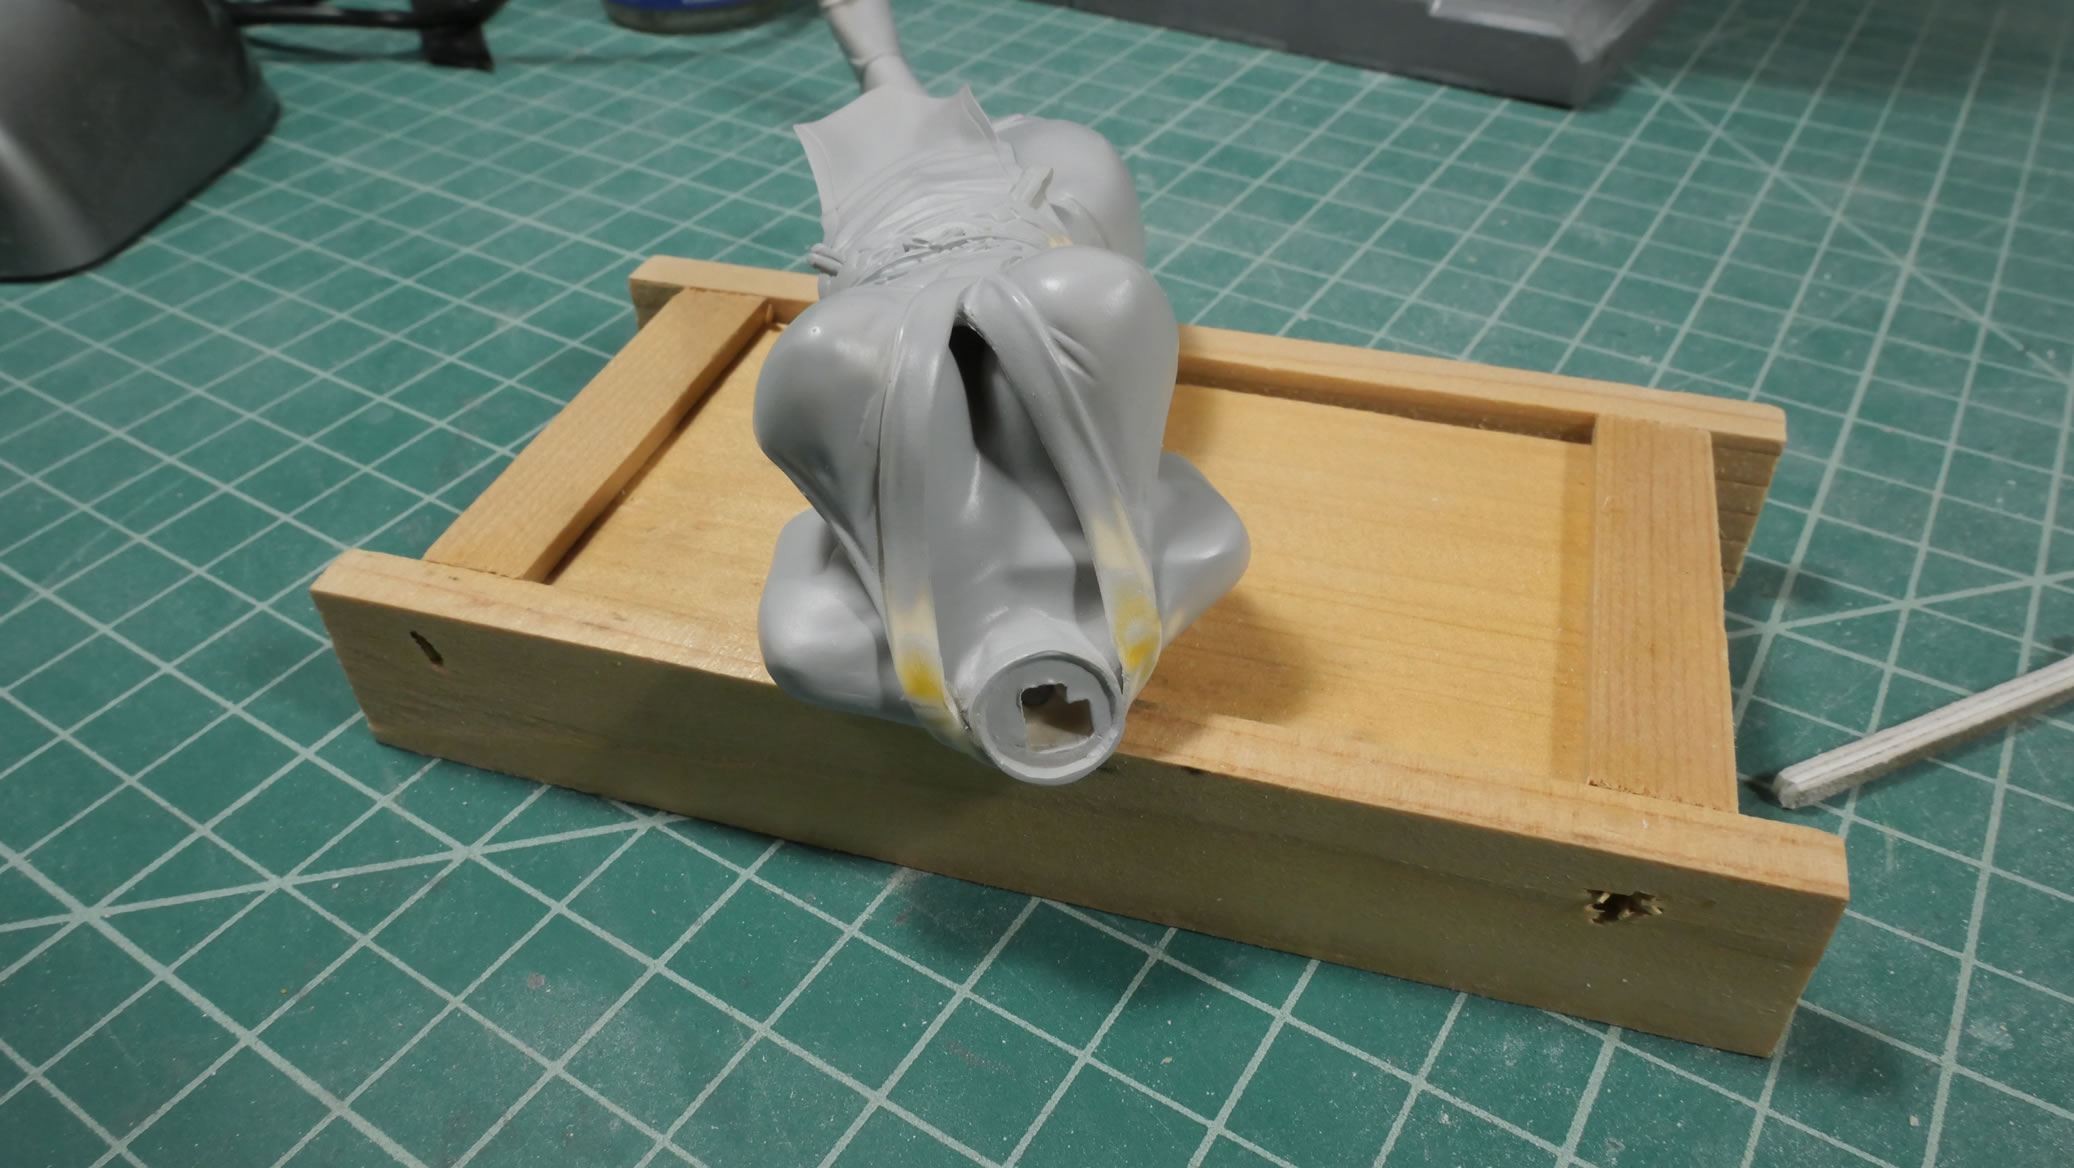
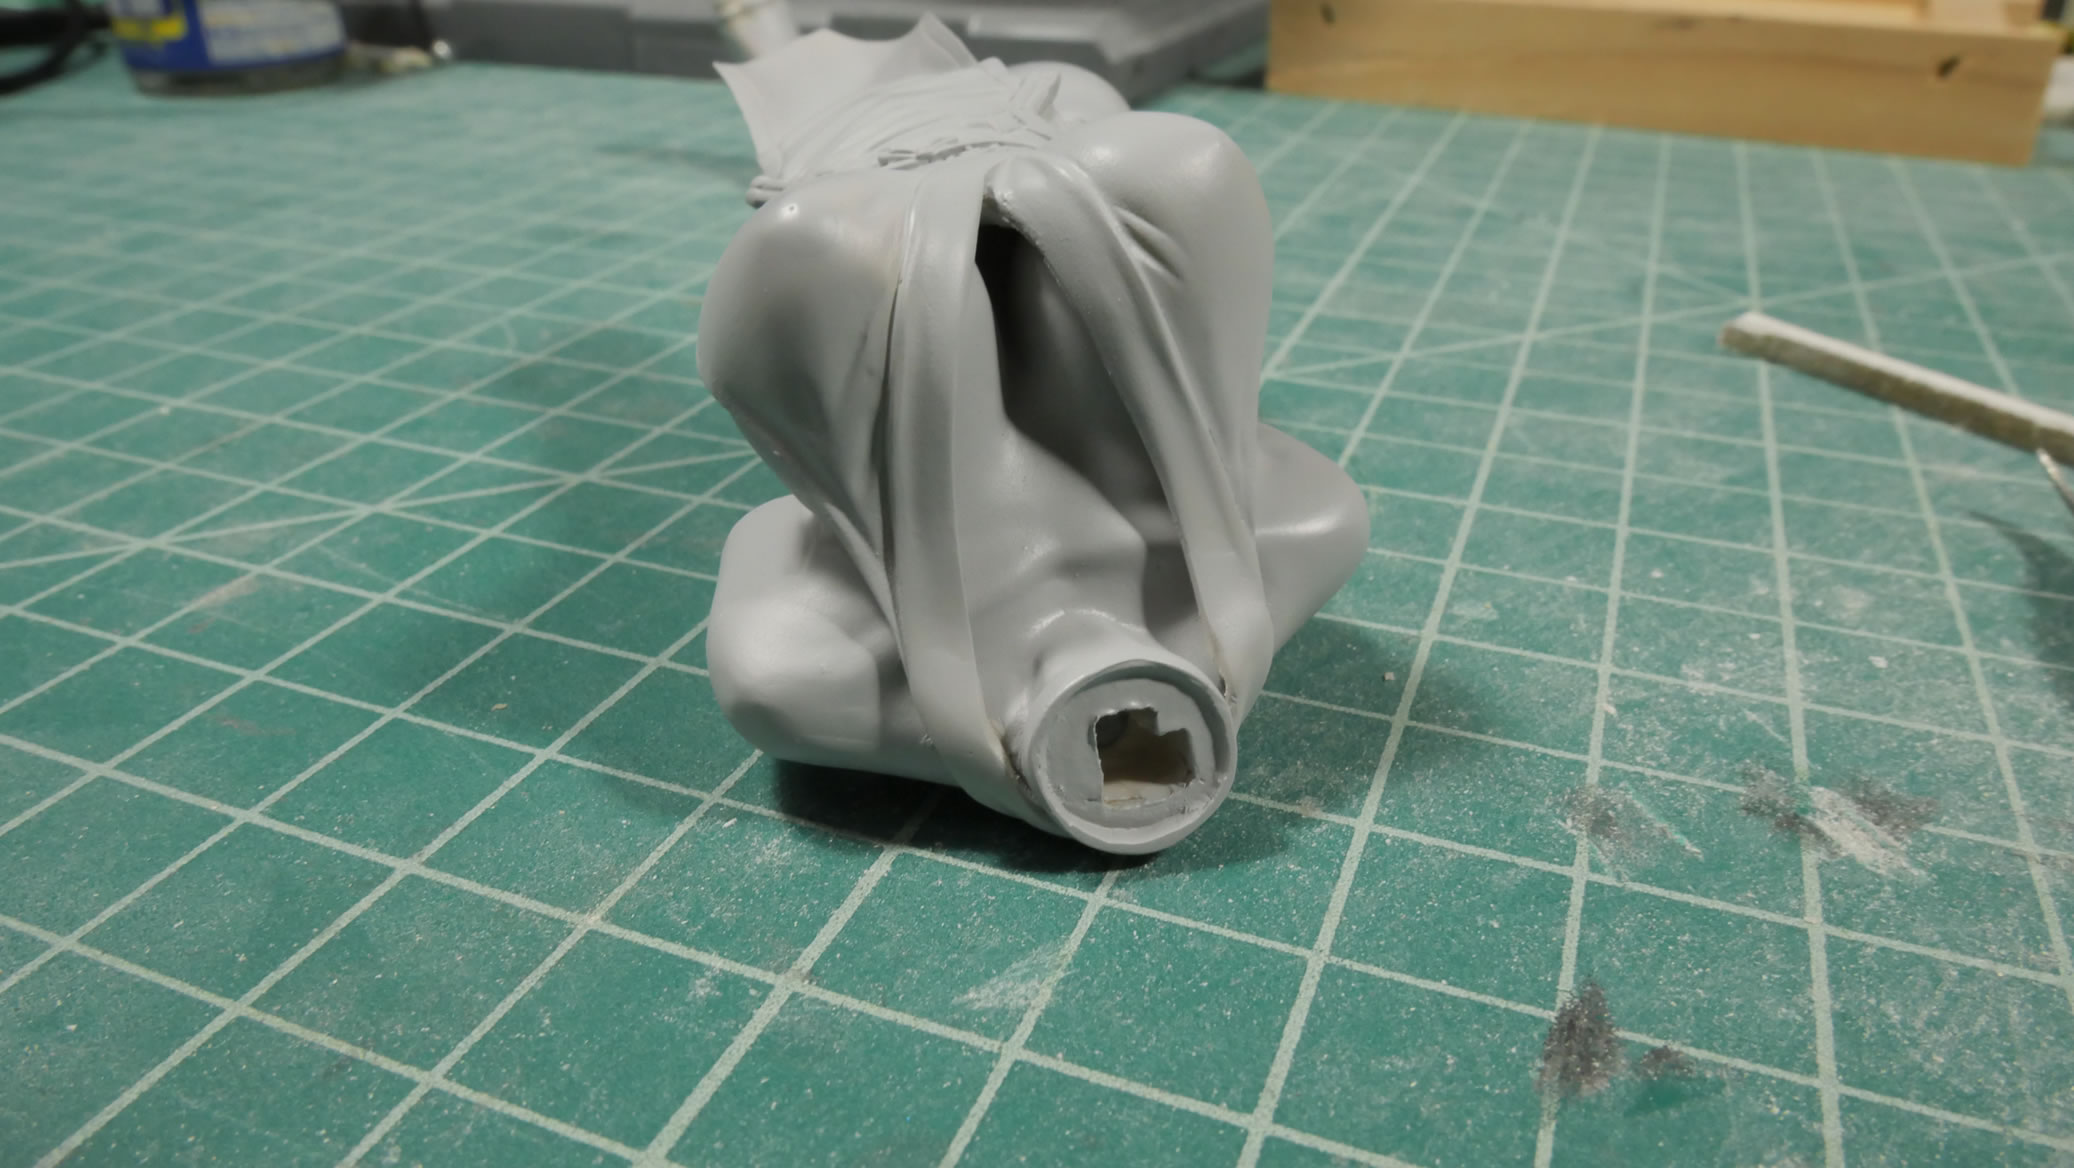
After cleaning, the parts are skewered and primed. Then another surface check to fix any additional missed mistakes.
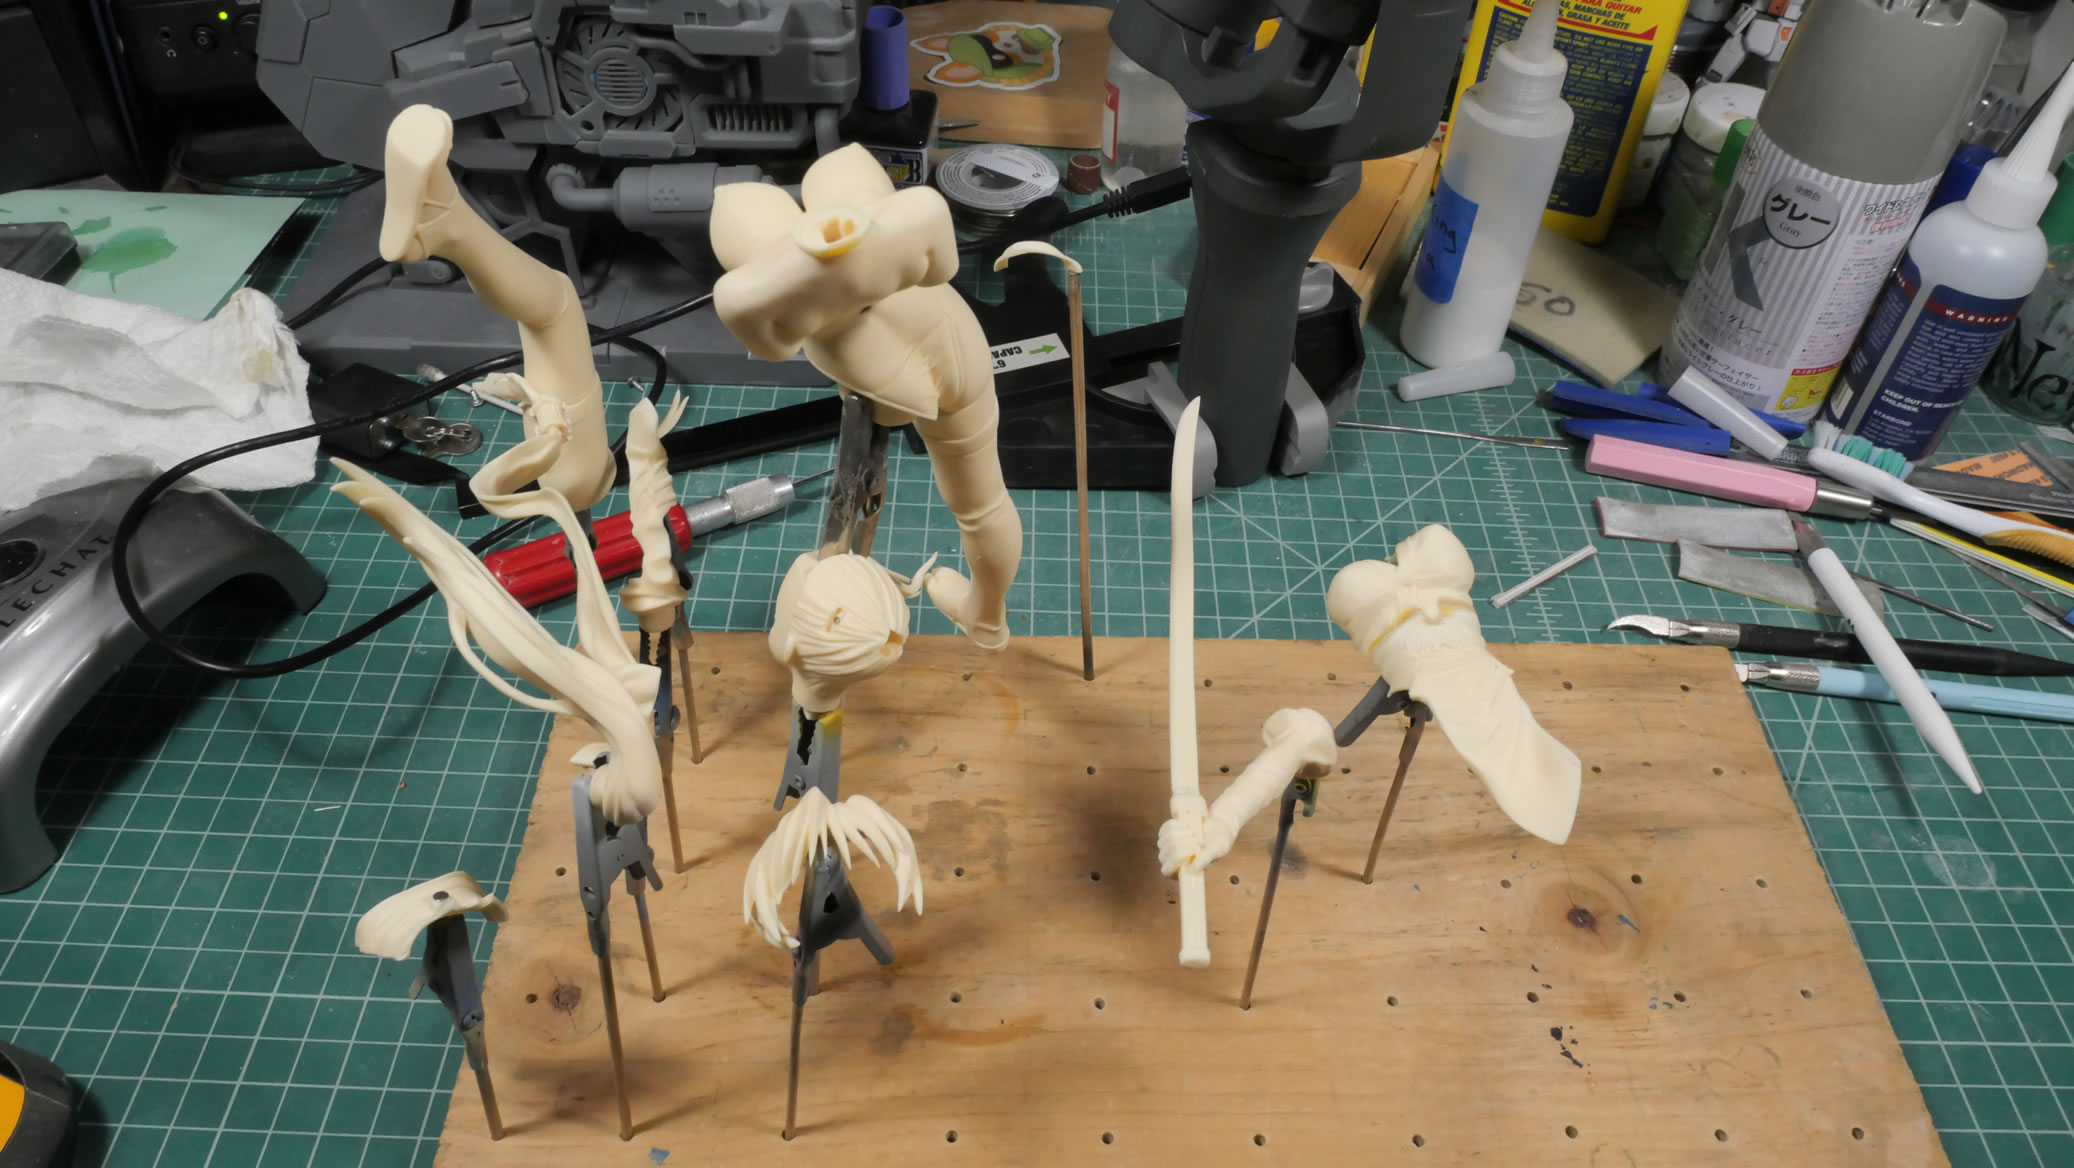
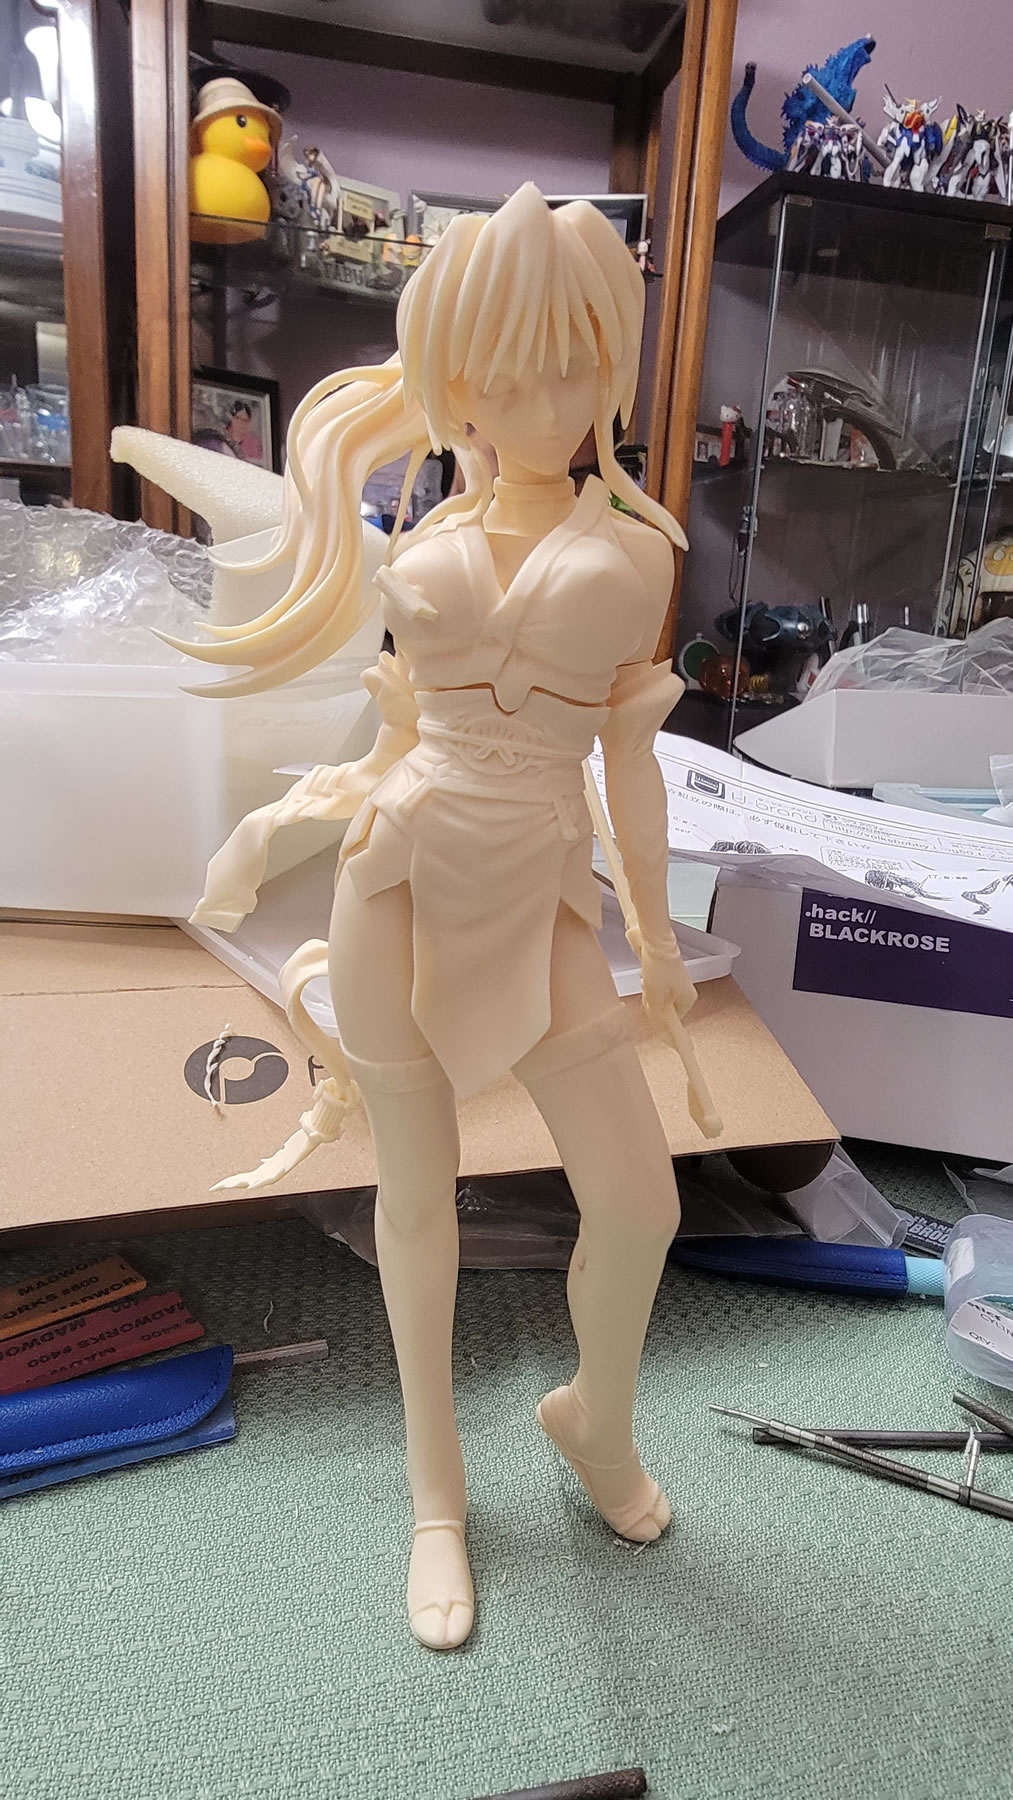
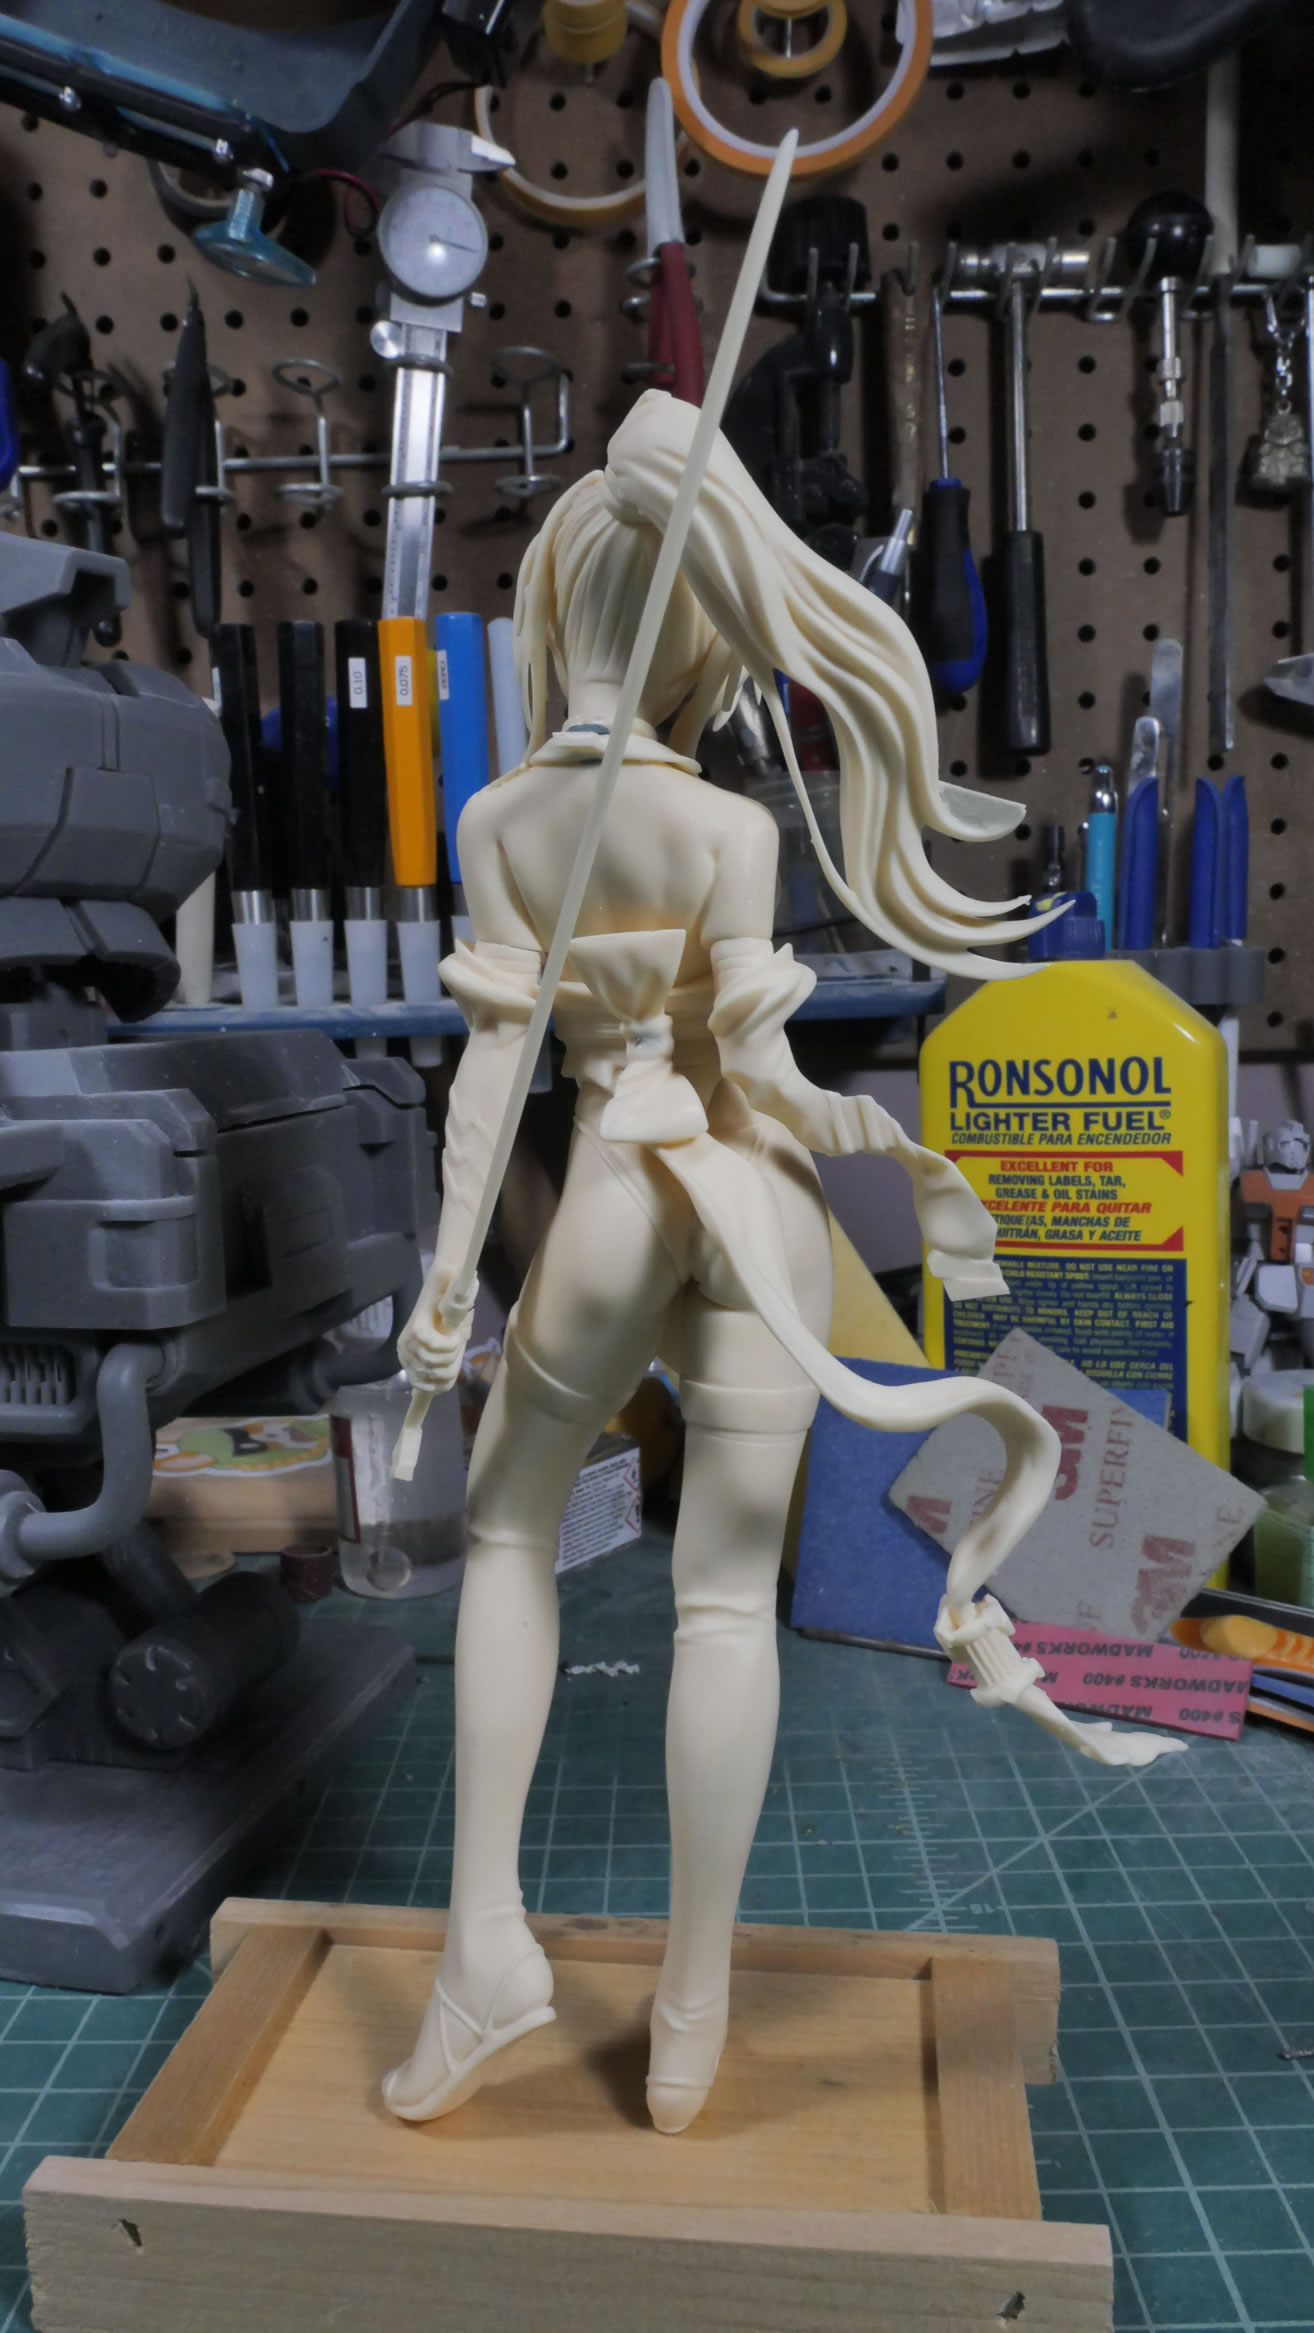
Primed turnaround assembly.
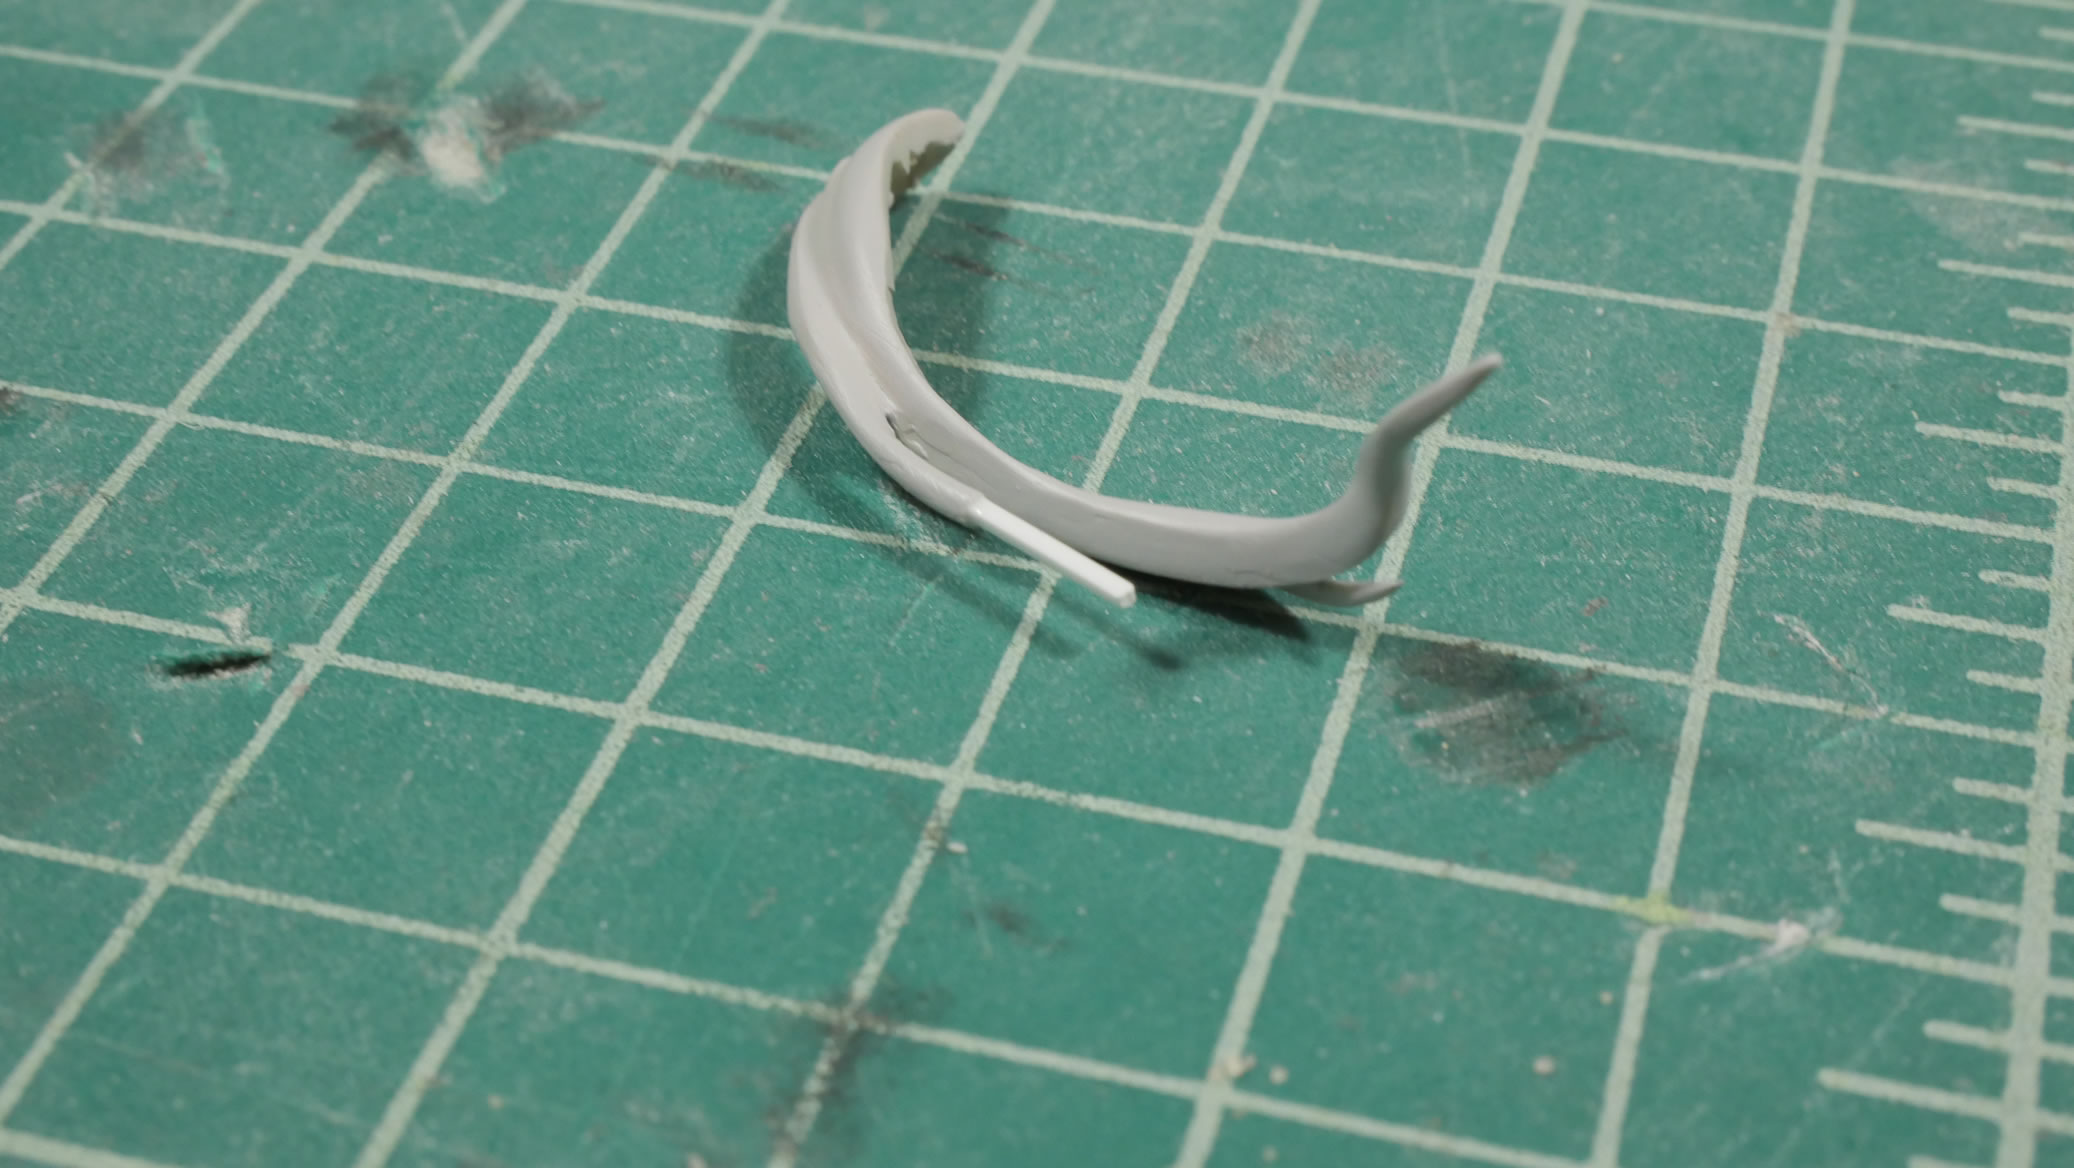
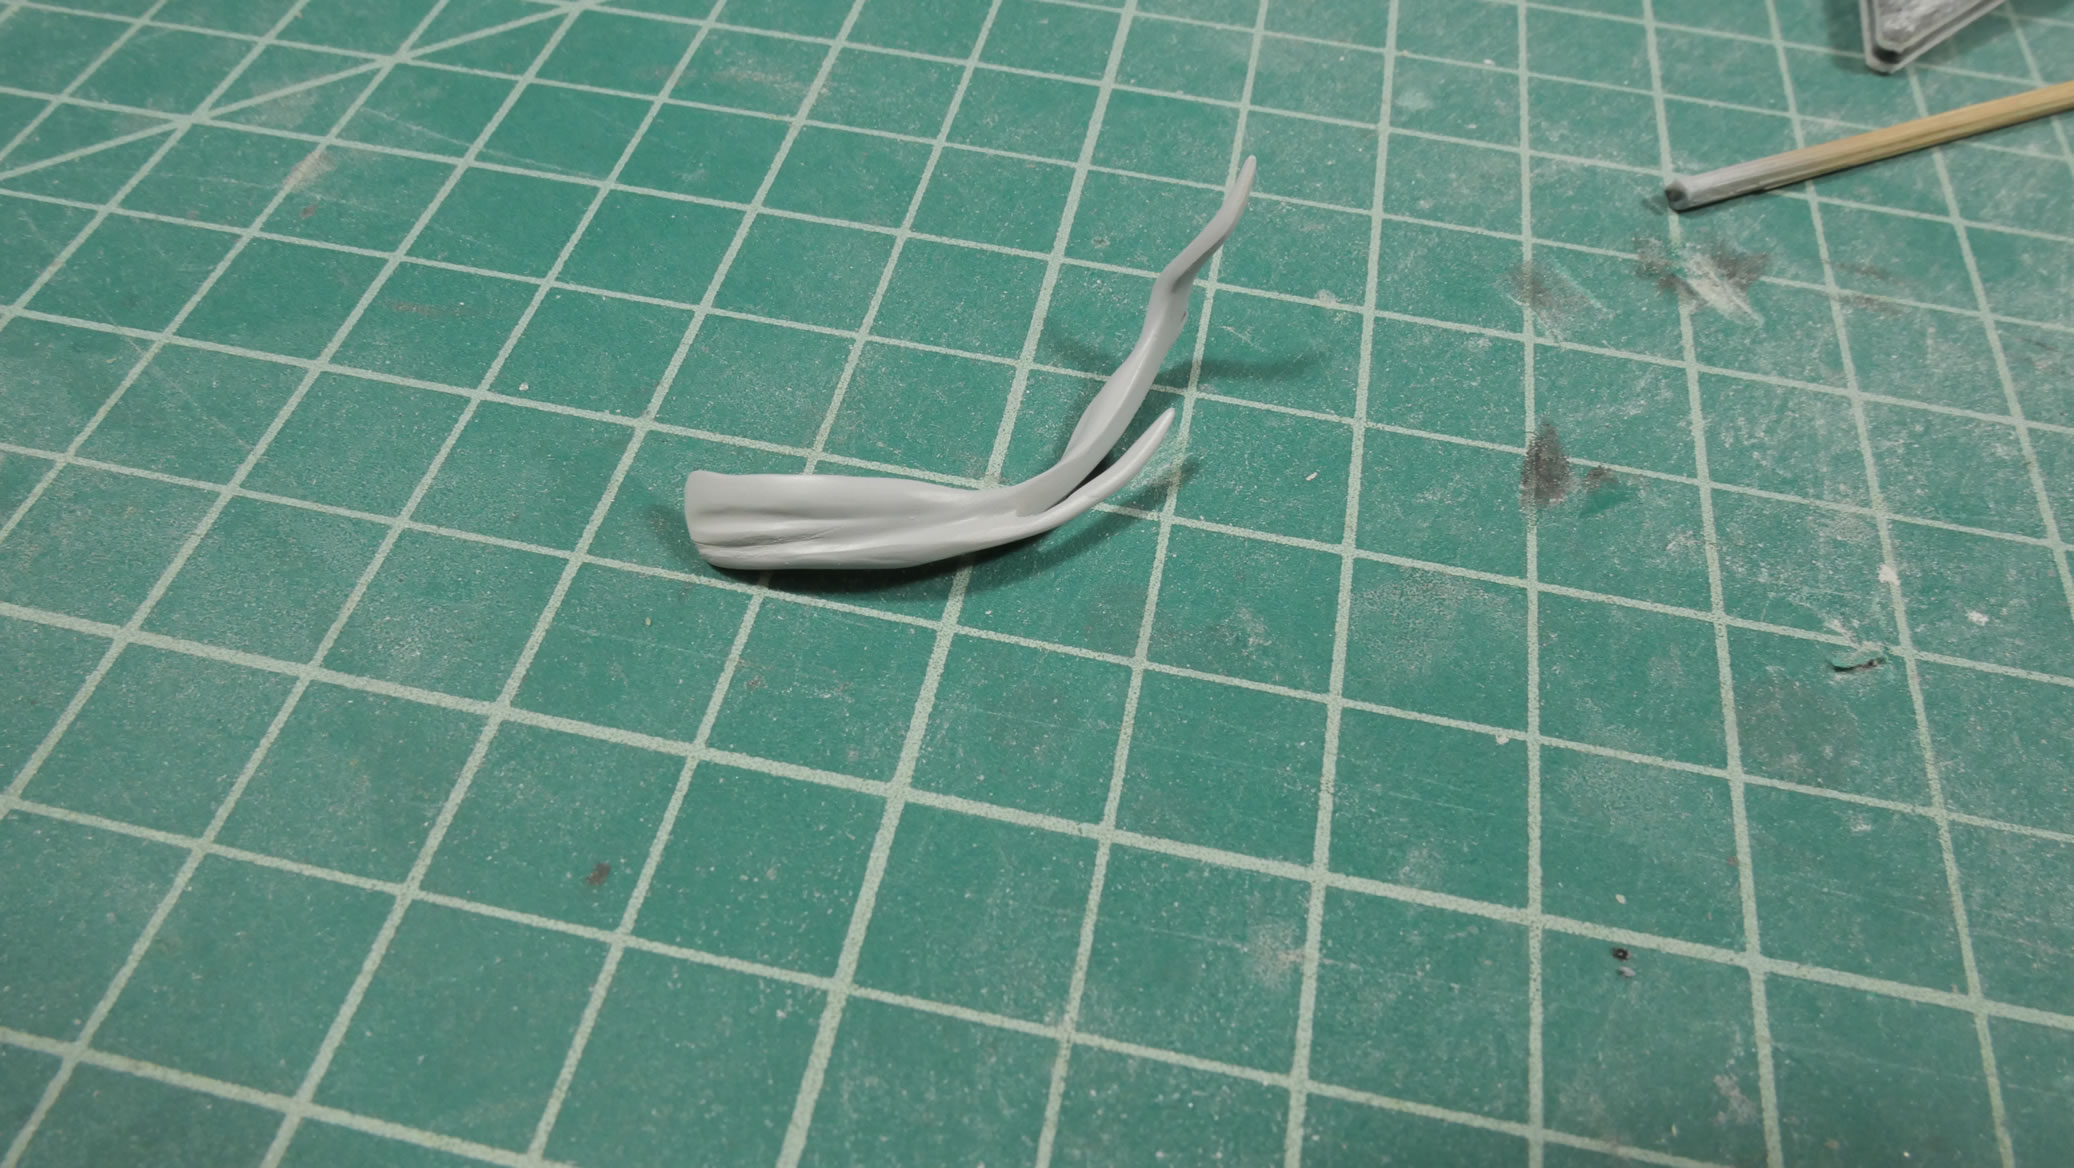
After primer, I noticed that one of the hair pieces looked like it was hollowed out. Looking at some reference pictures, that hair piece was actually broken. A quick drill, glue, and styrene rod replaces the hair piece. Light curing putty to reshape it finishes the repair.

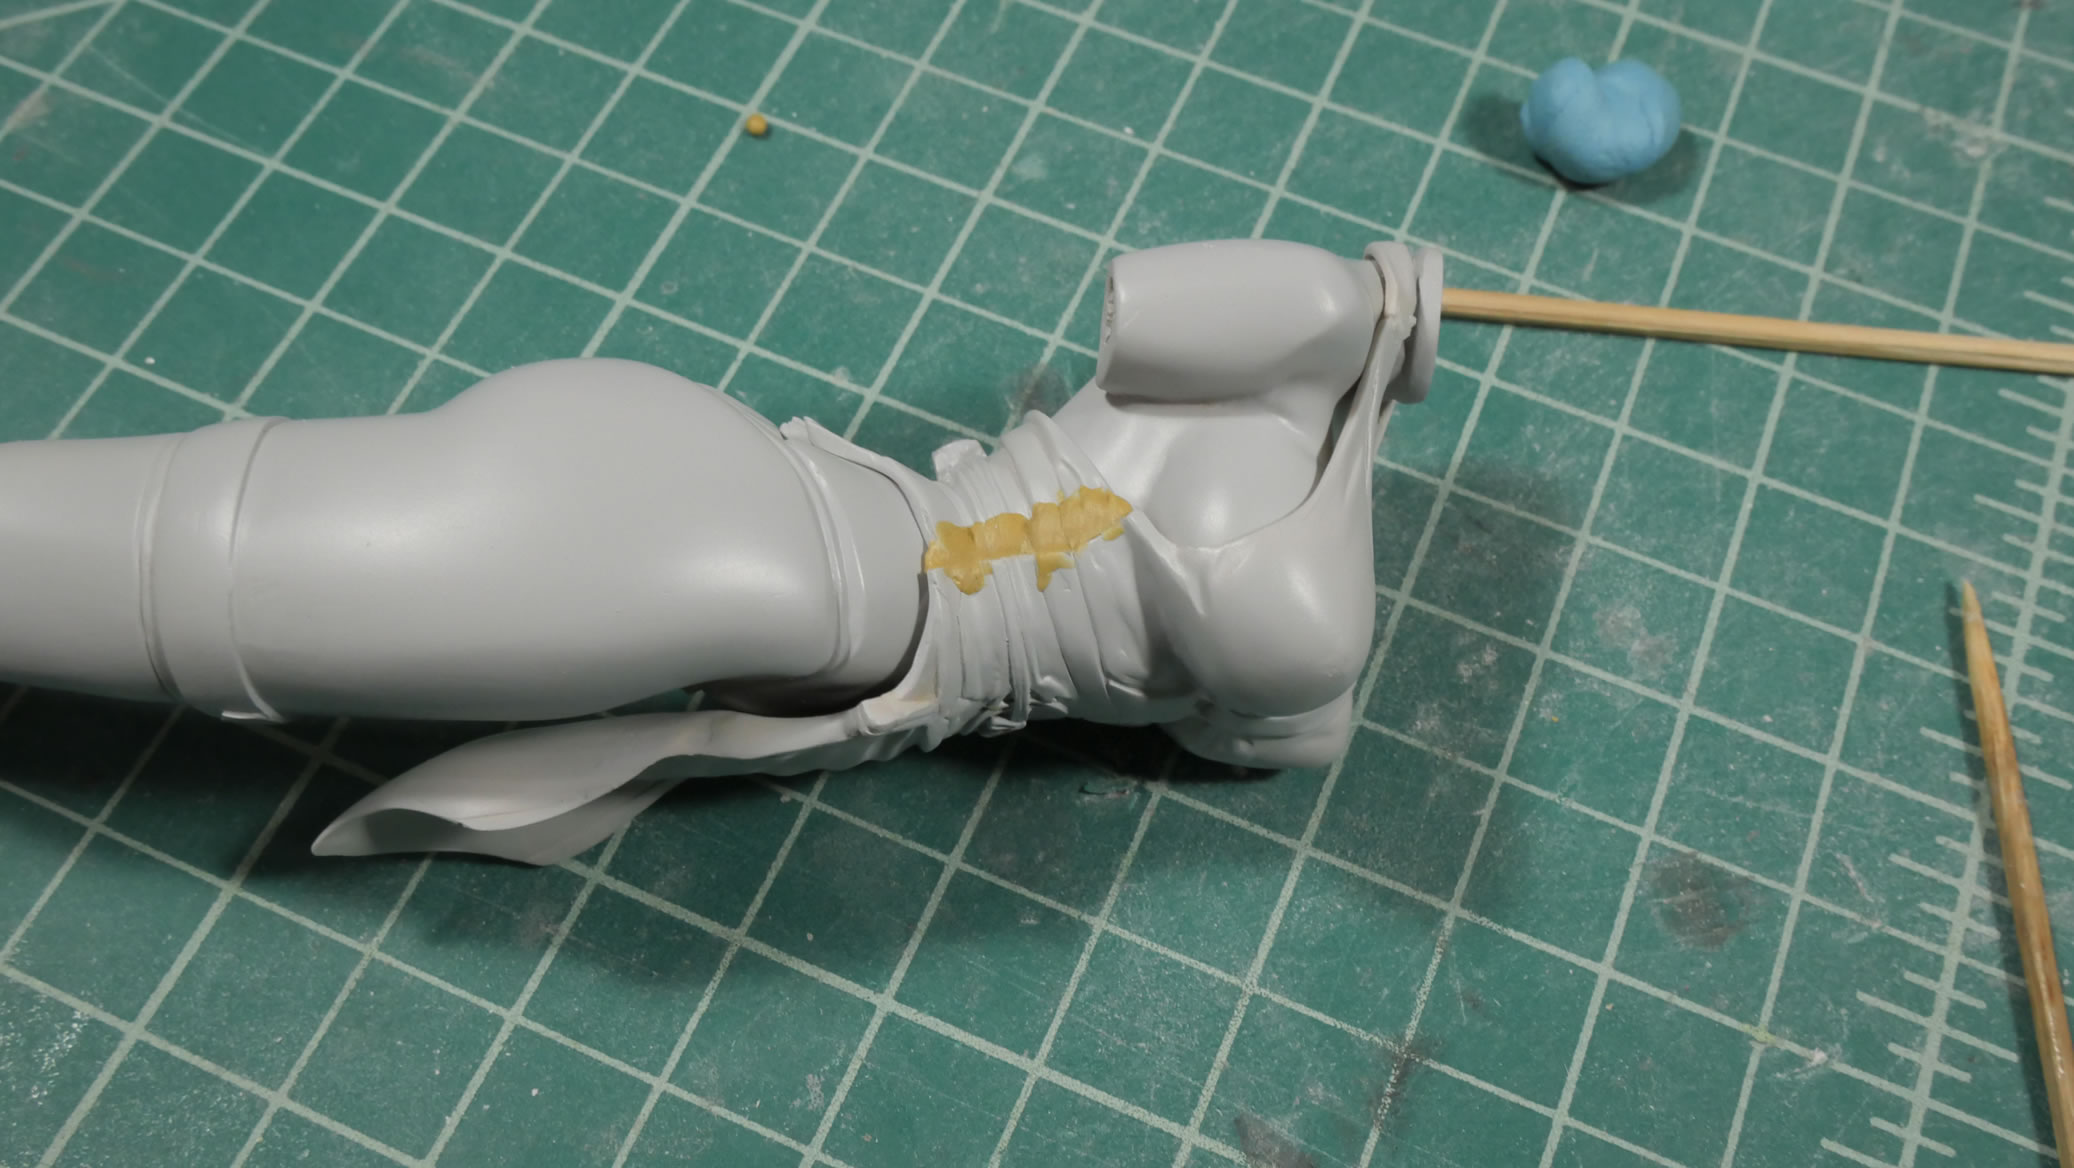
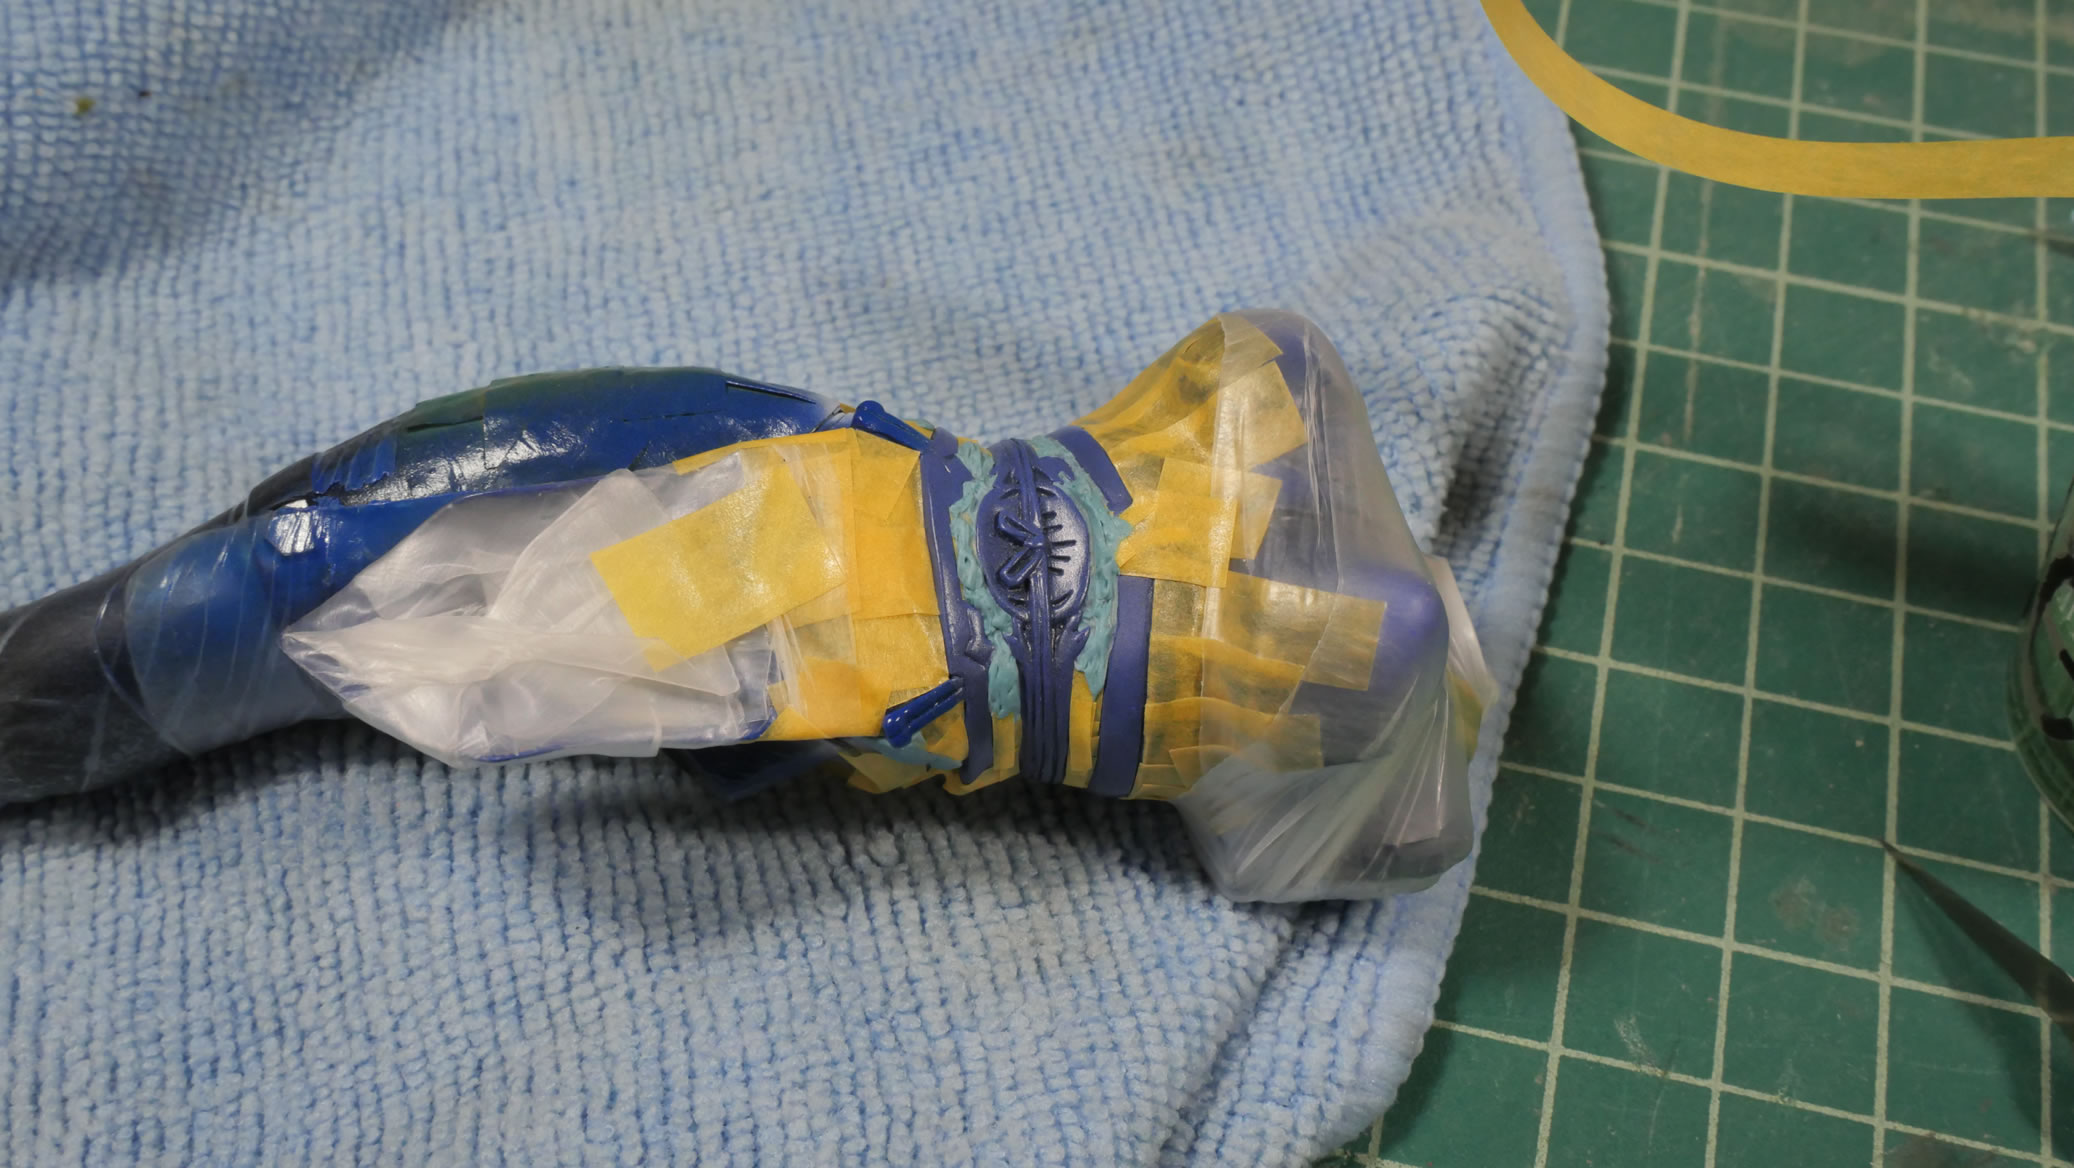
After fixing the front dress gap issue. Time to address the front and back dress gaps. This requires the dress is glued to the body. No removable clothing as decided in the previous post. Once the front and back are glued, I can glue together and work on the top of the dress that loops around the neck. This is also in two pieces. CA glue + baking soda makes for a very strong bond, then light curing putty to finish the sculpt.
Same steps as the front dress. Two part epoxy putty is mixed together and pressed into the gap as the main filler material.
Once the epoxy cures, I can start sculpting the details back and use light curing putty to fix smaller issues and light sculpting. This is where those curved file blades really shined. Very useful in carving and sculpting the gap details. Once done, primer and the surface looks almost perfect.
The same process is done with the upper part of the dress and dress collar.
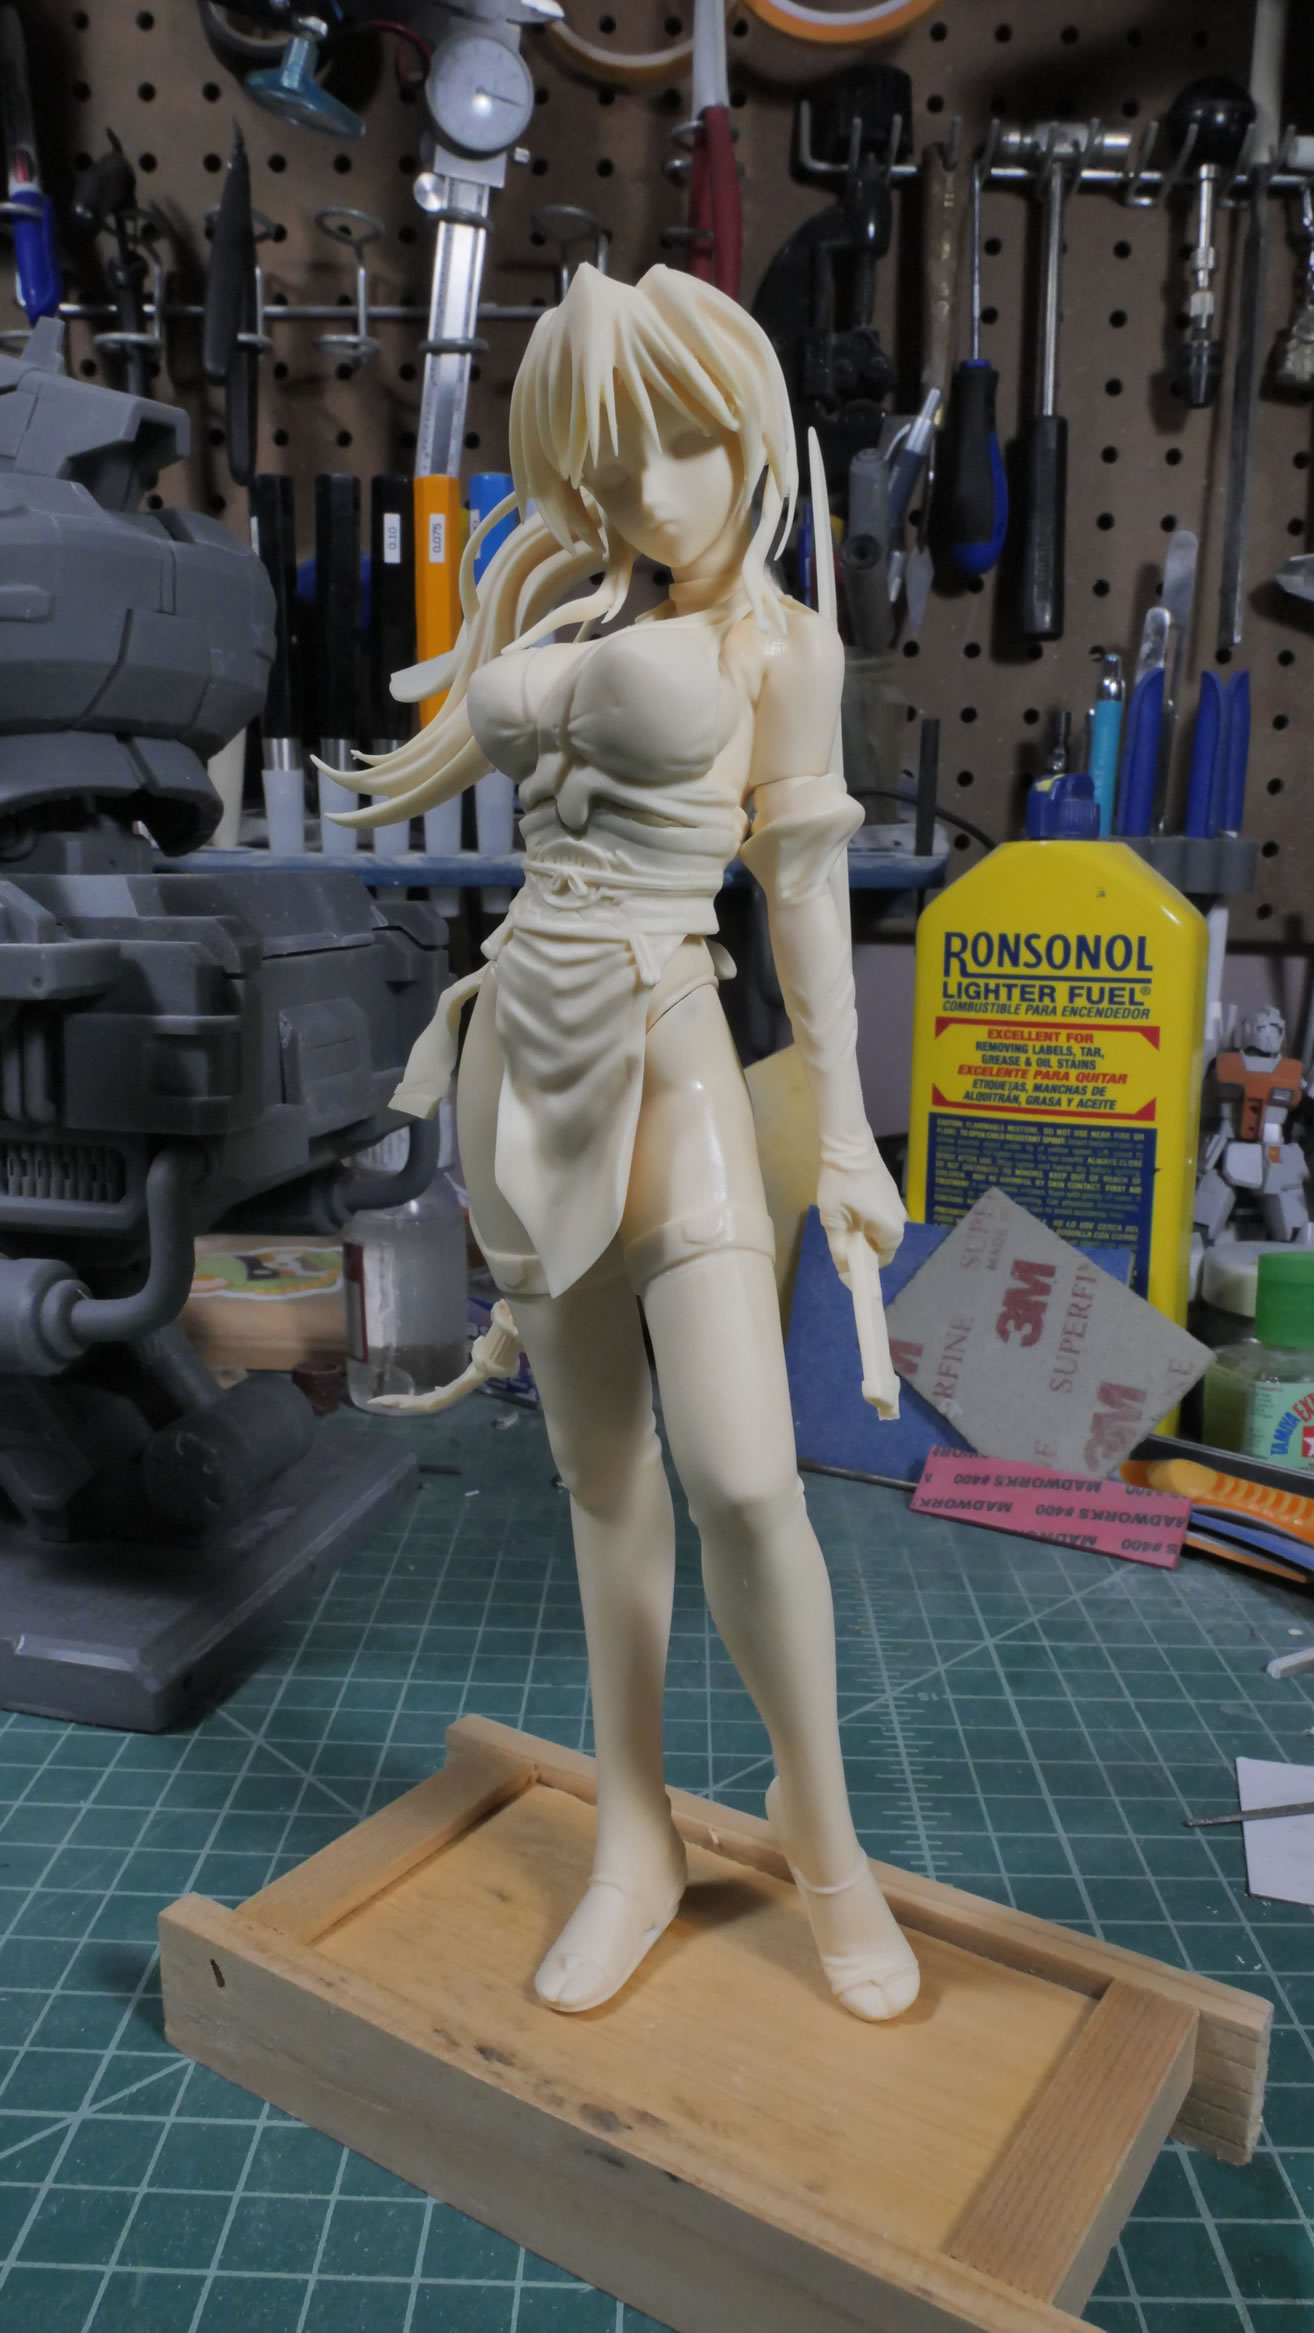
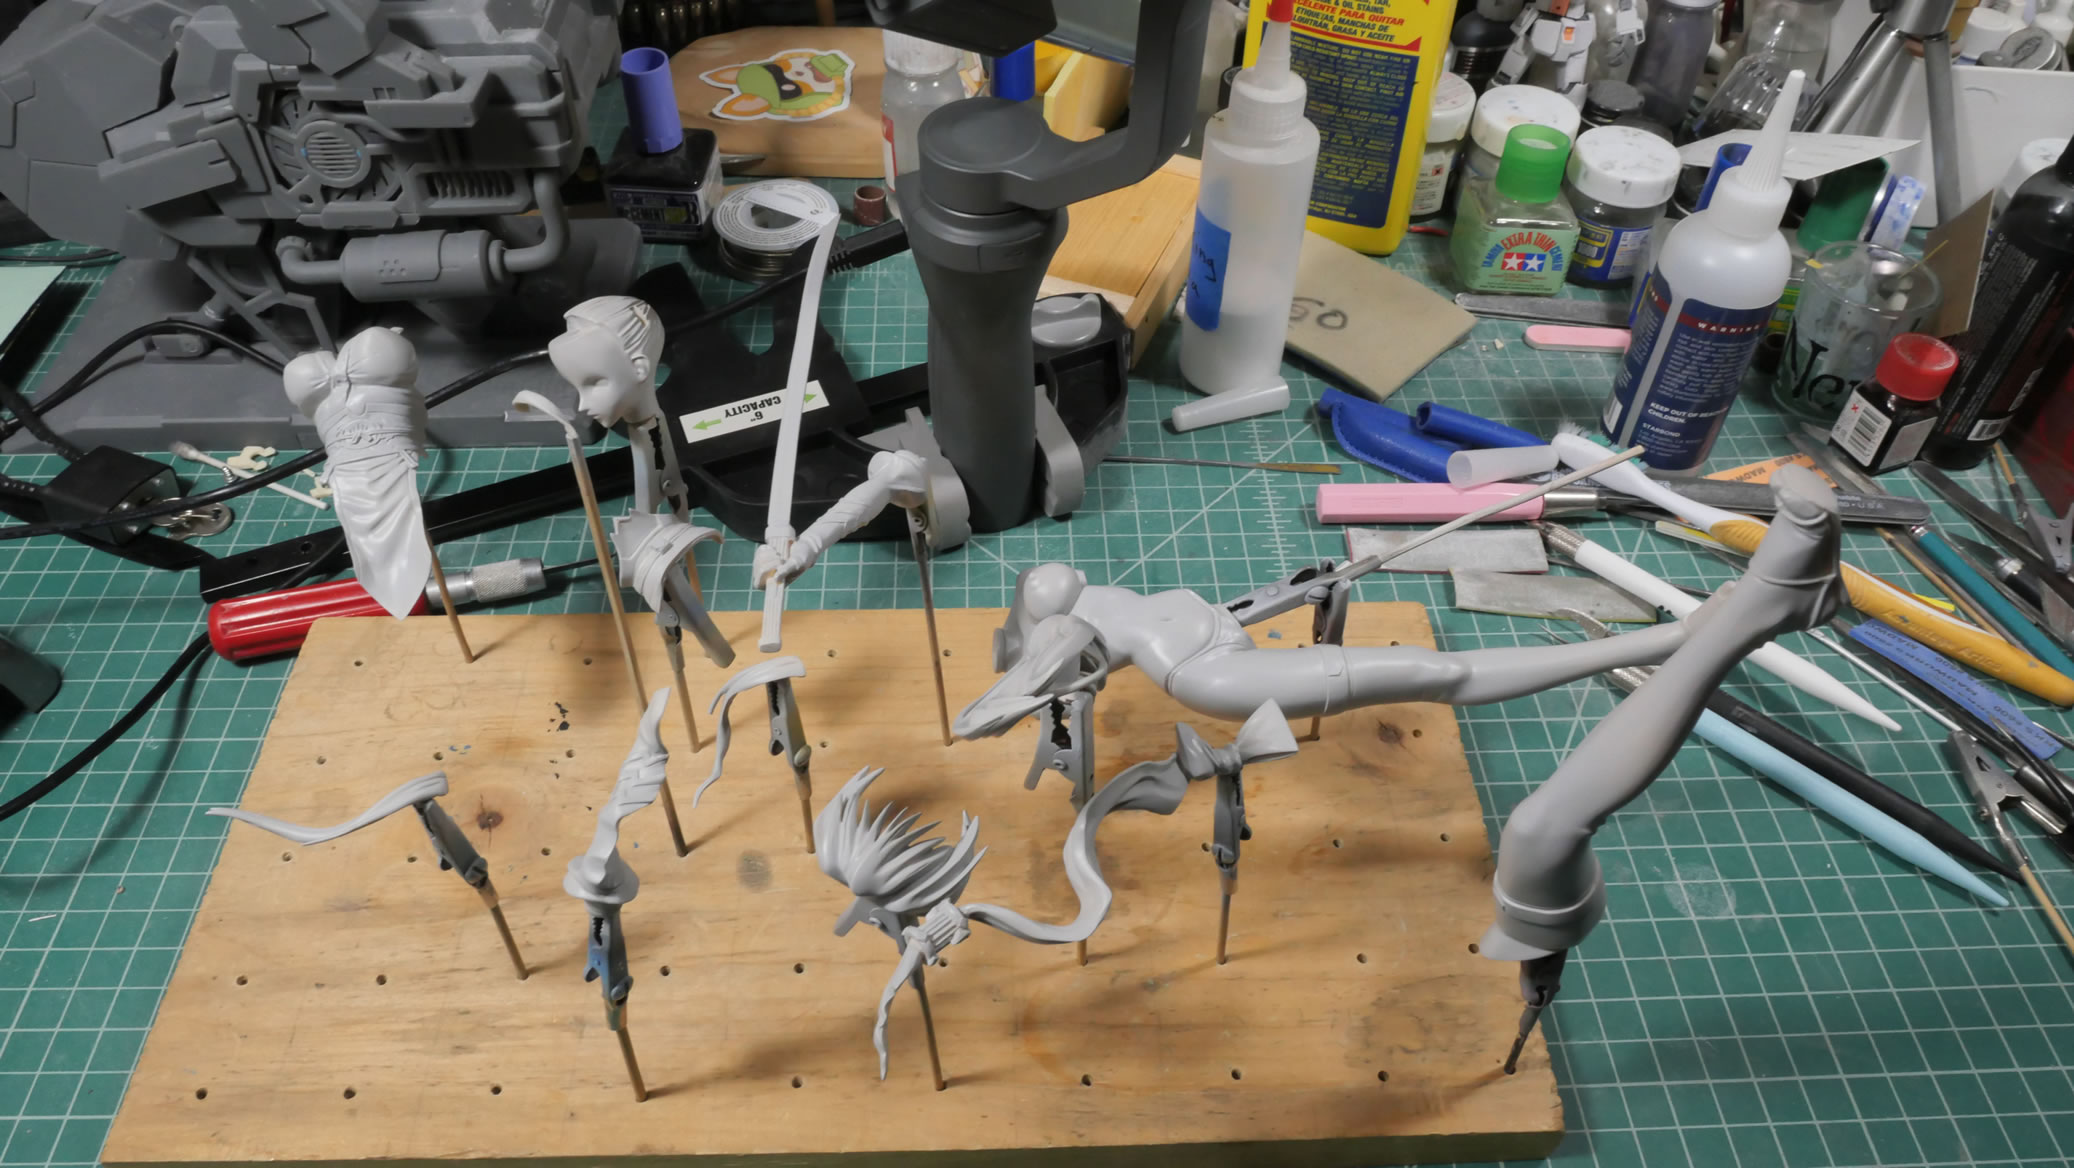
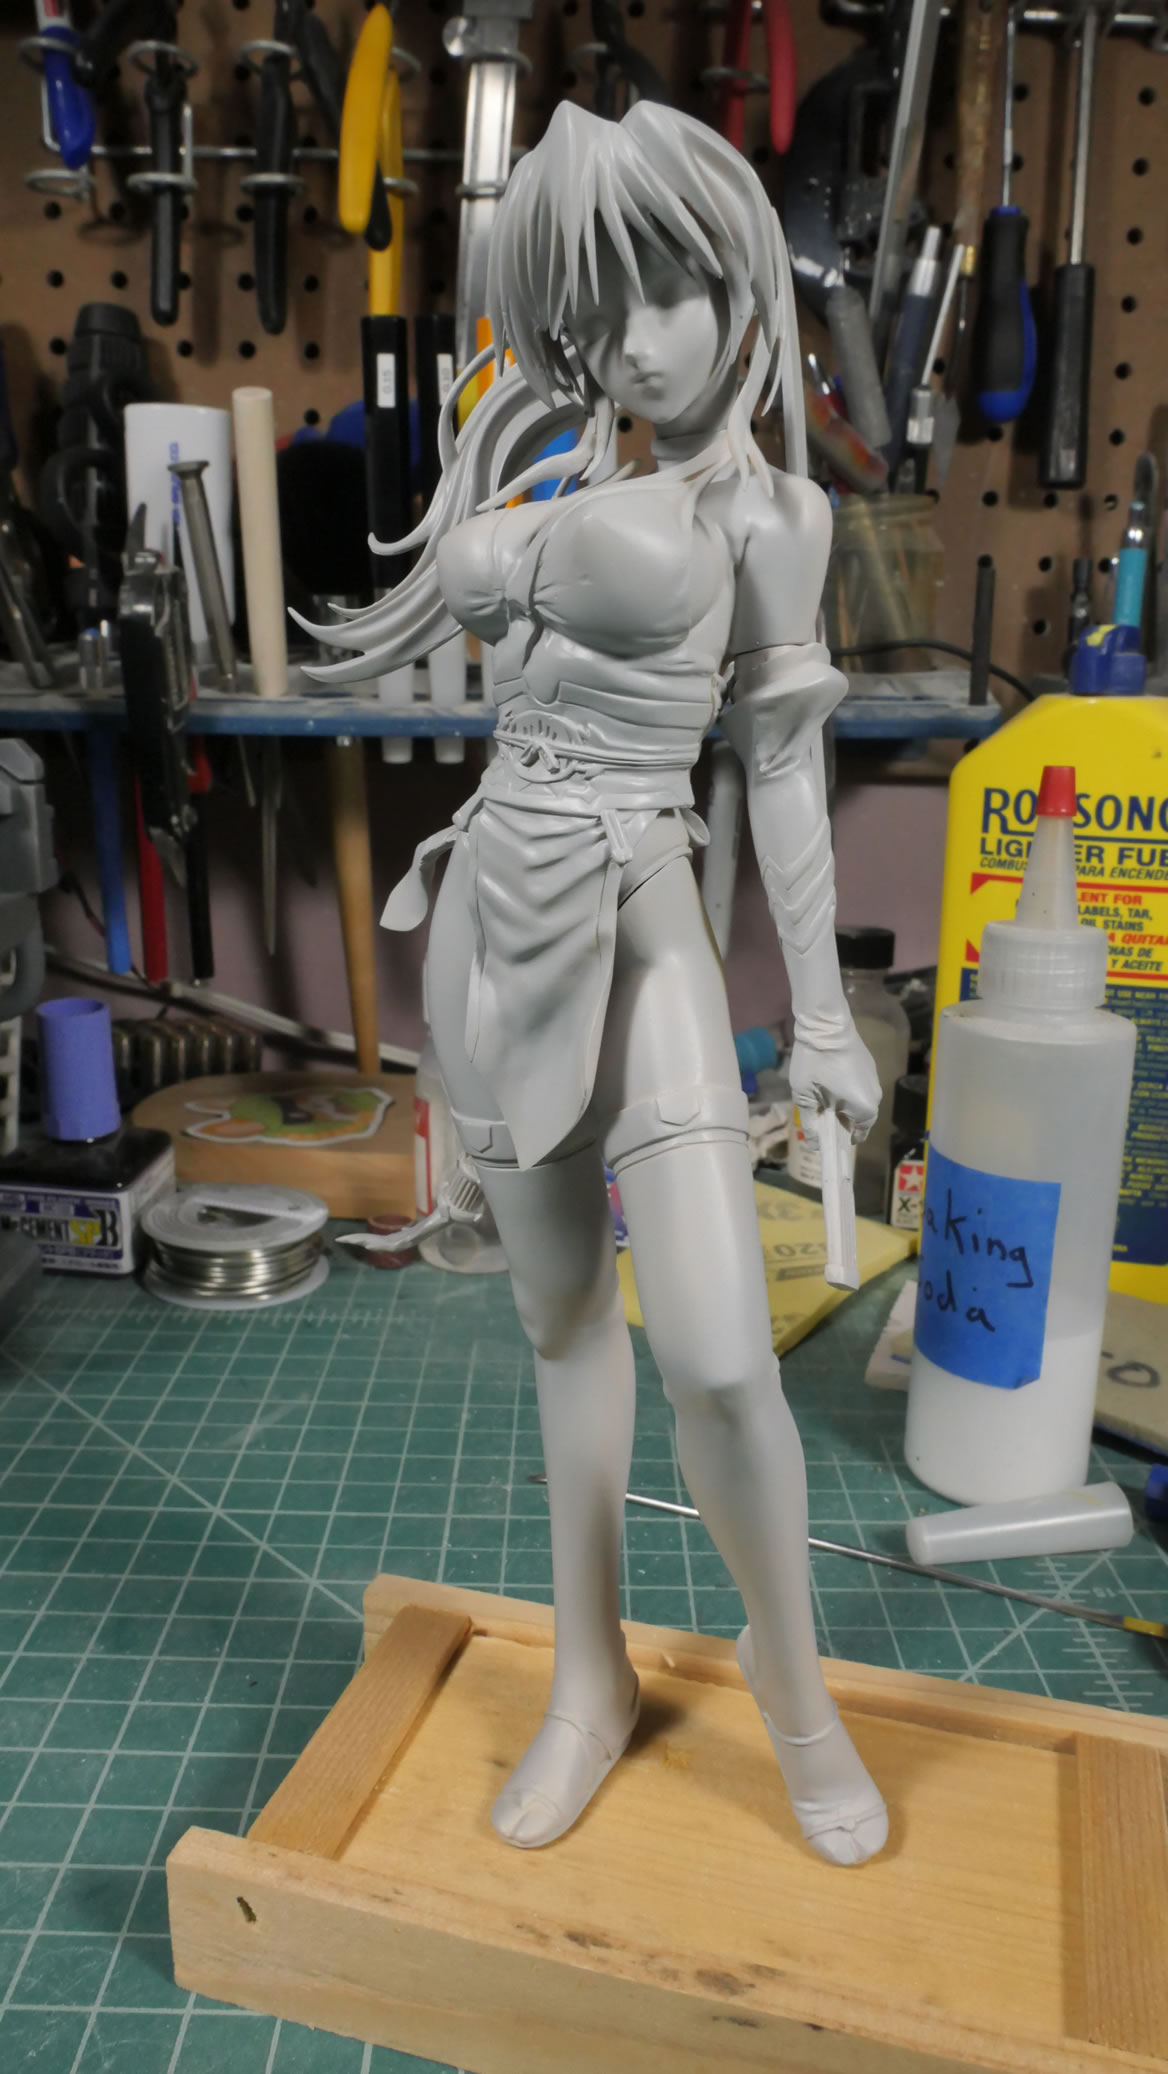
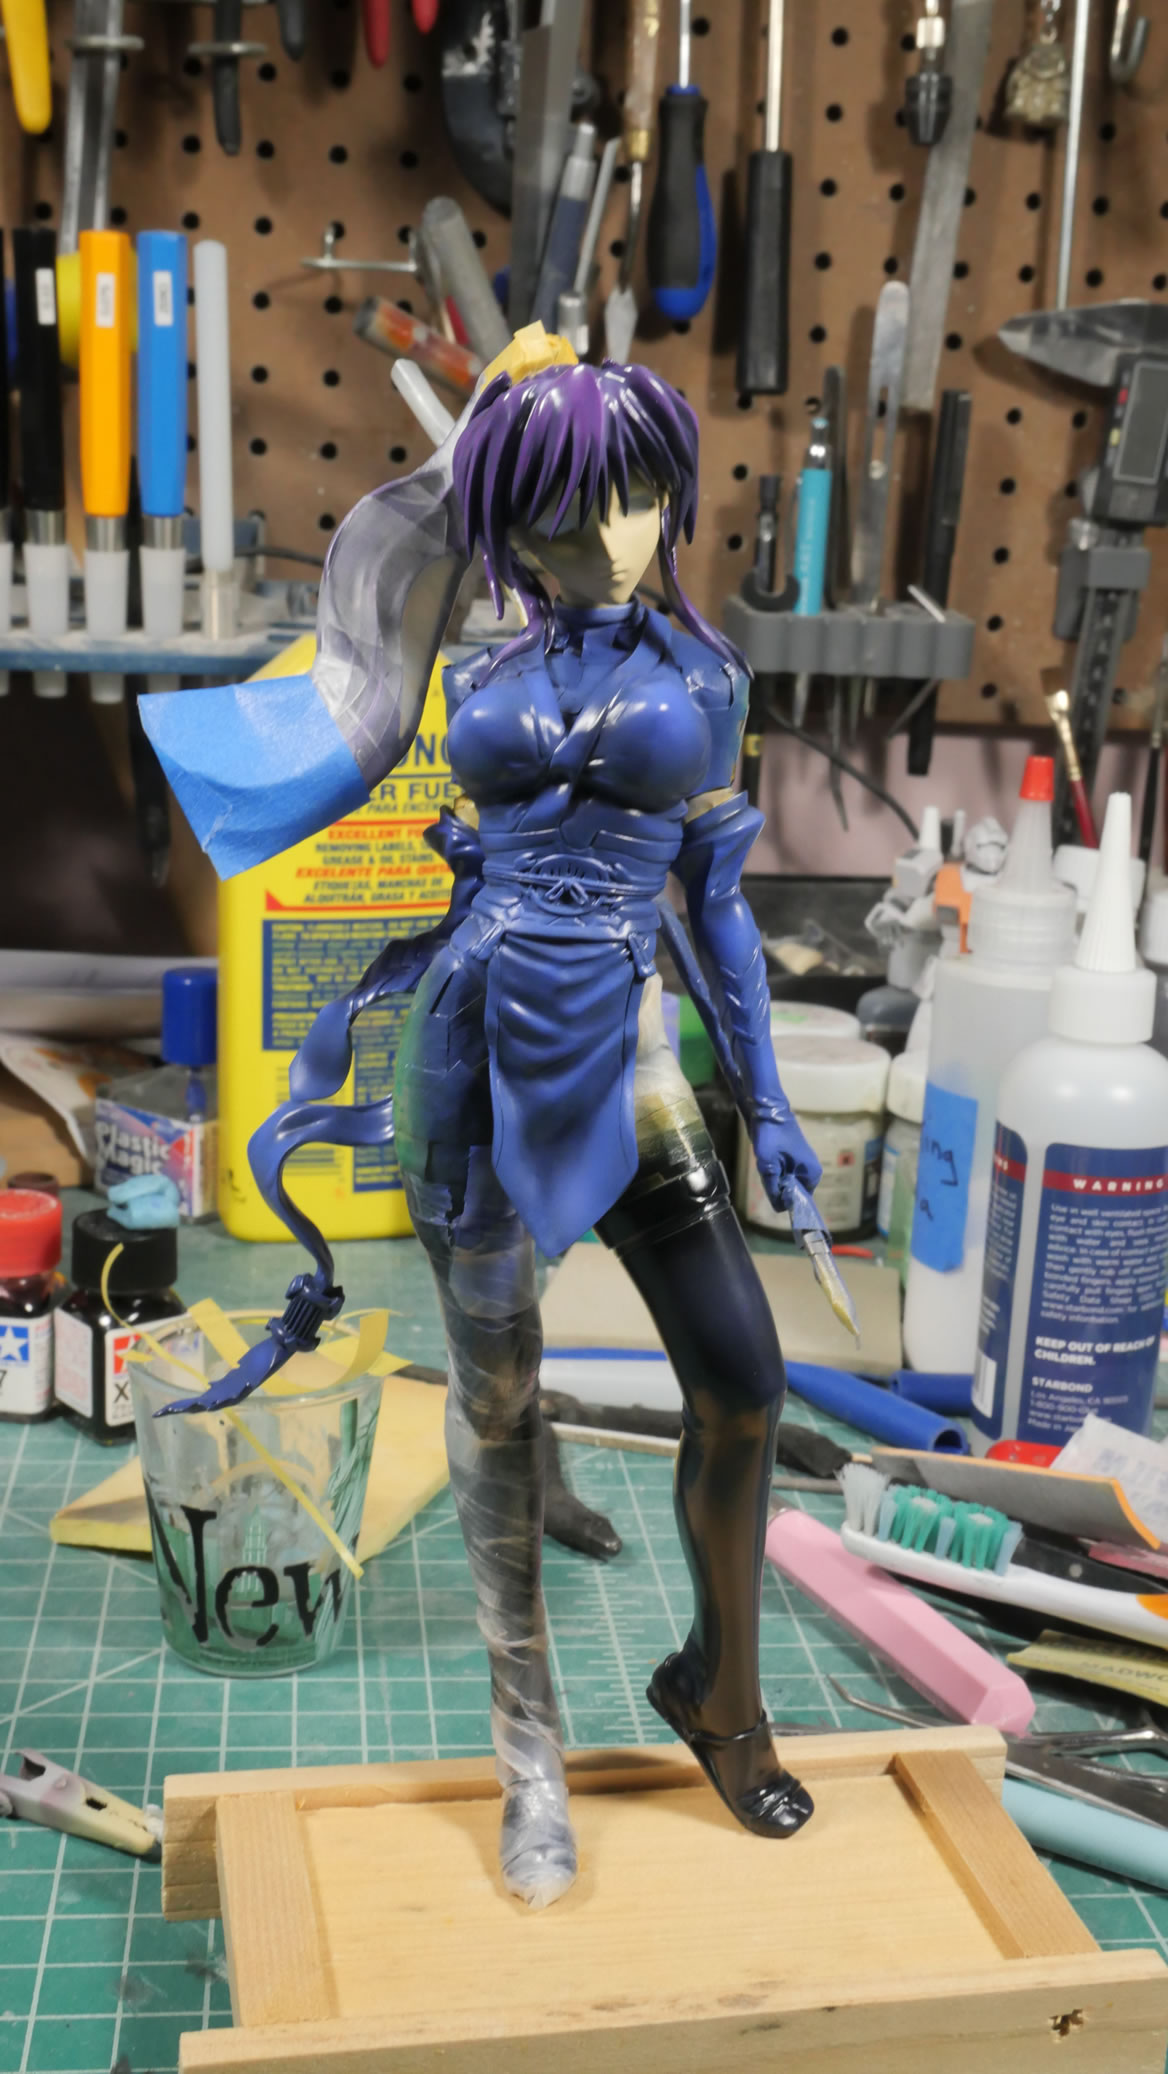
Another quick side to side mock up.
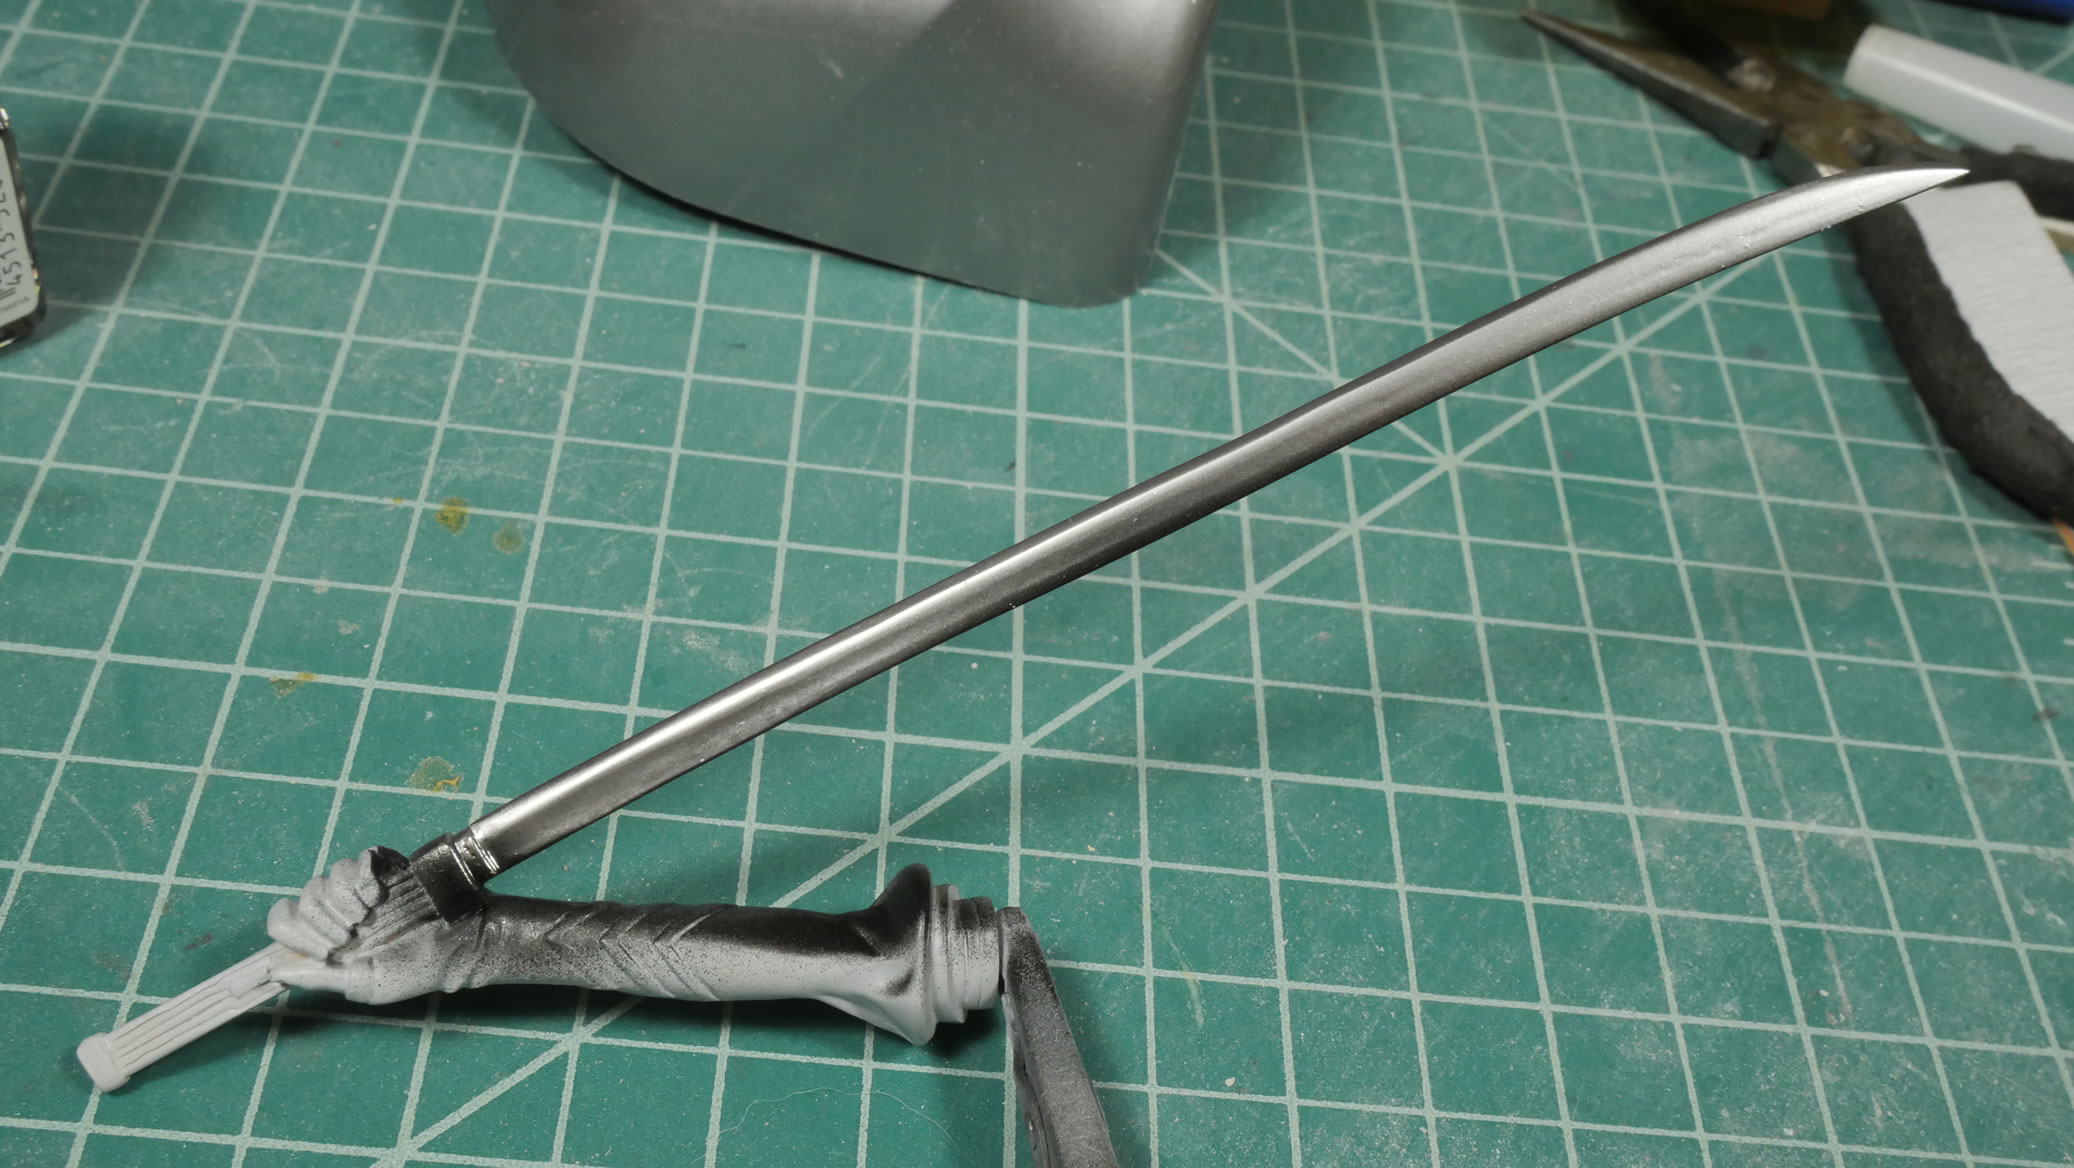
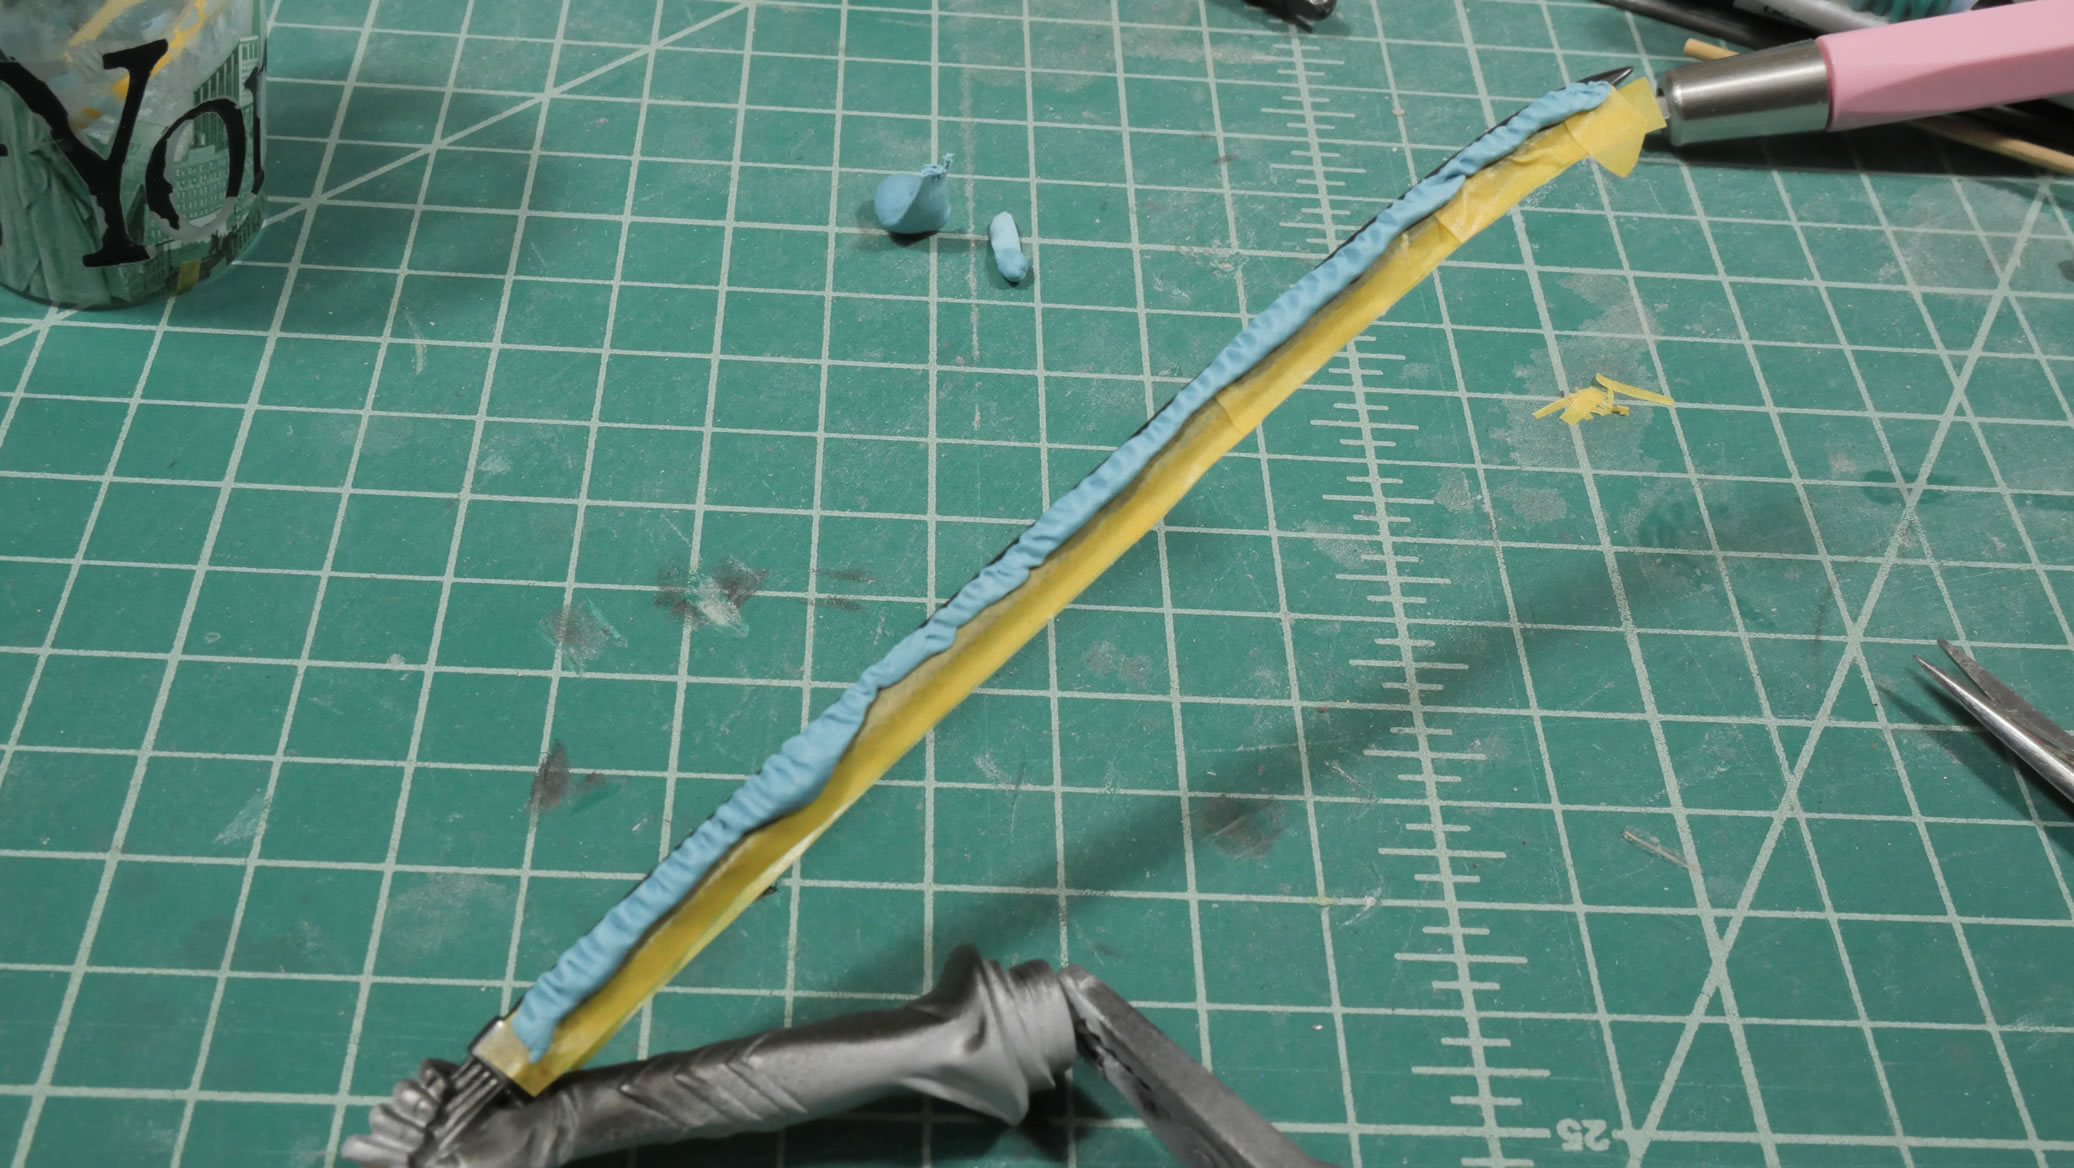
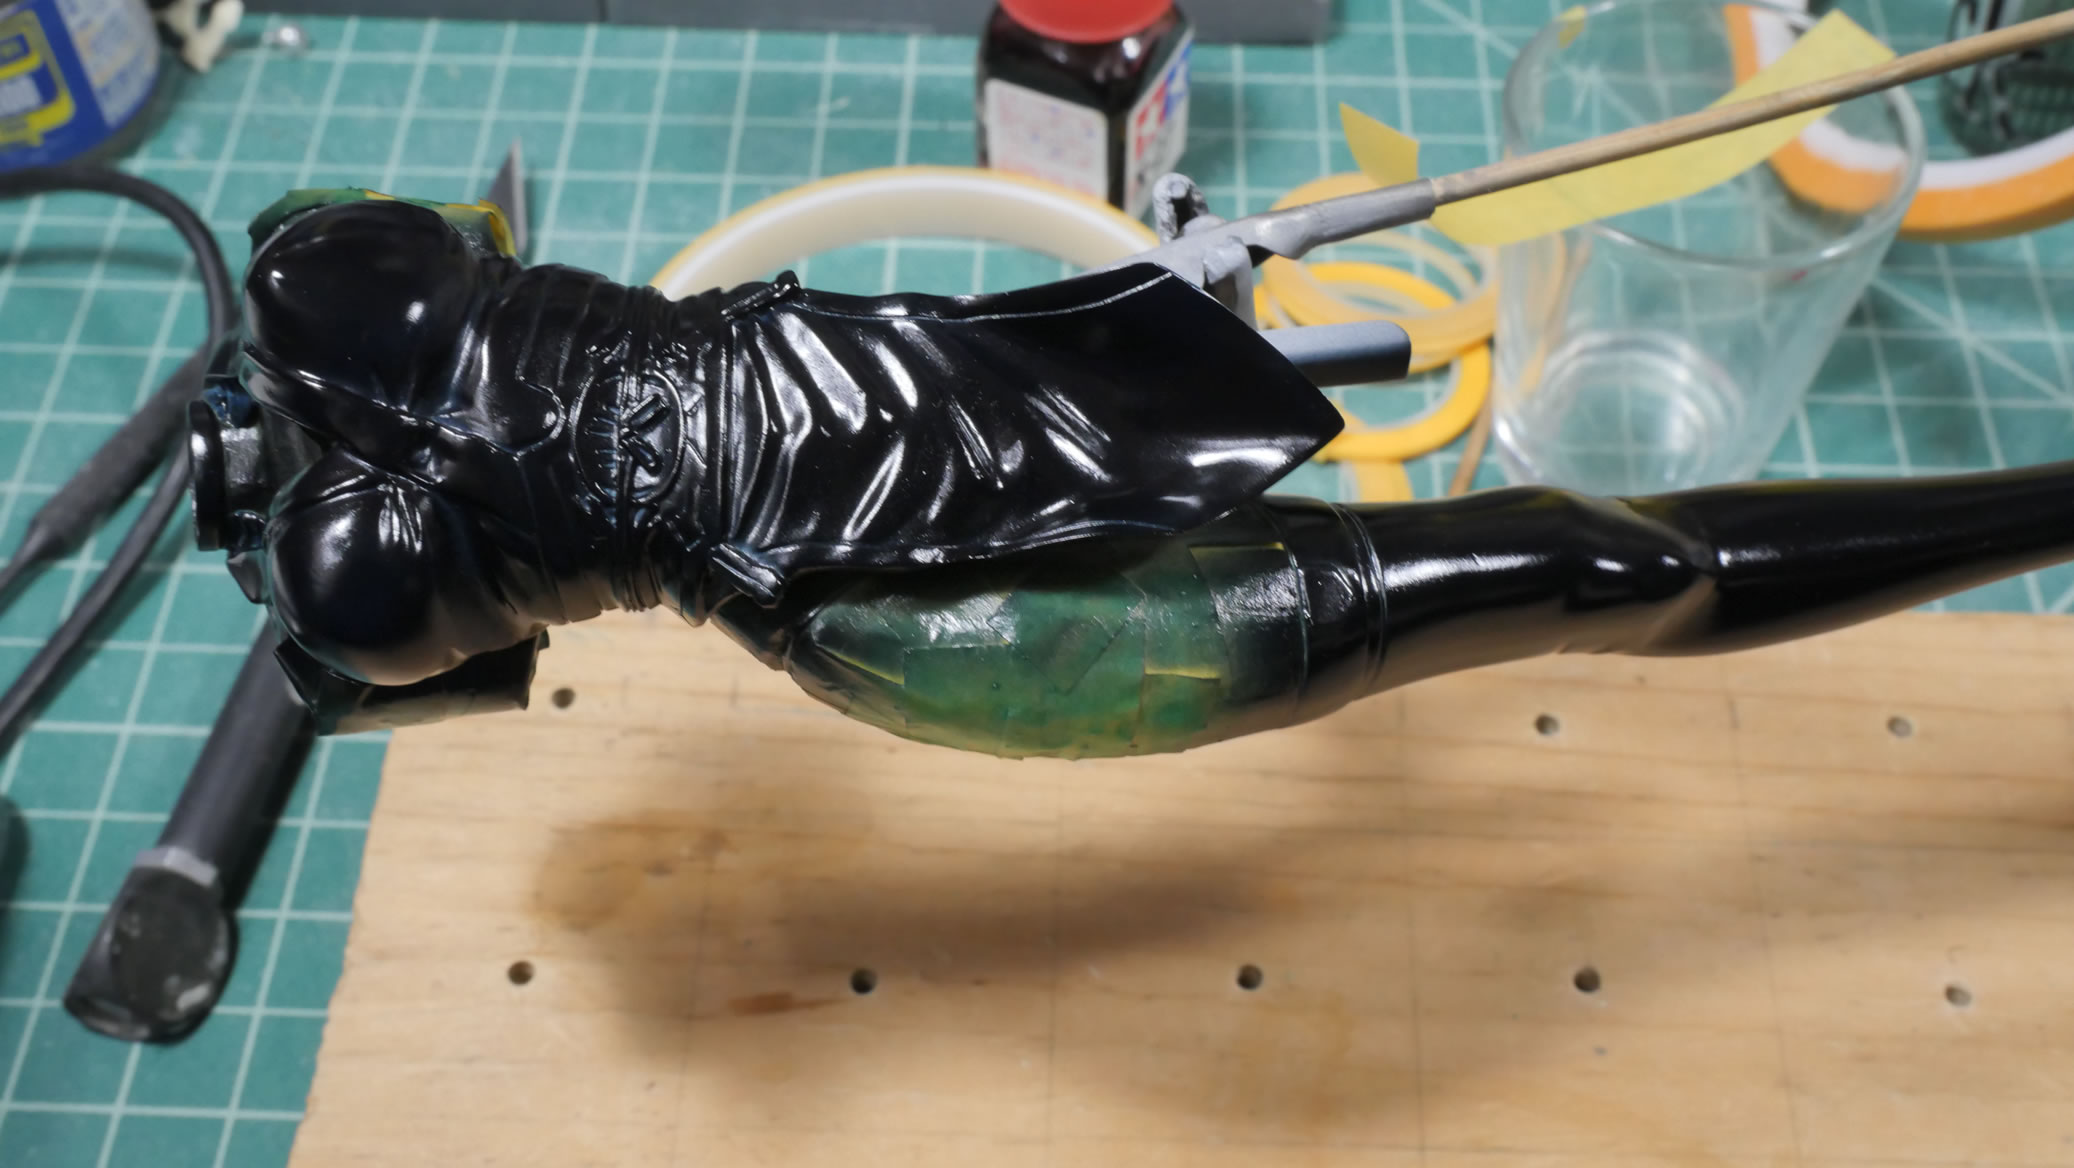
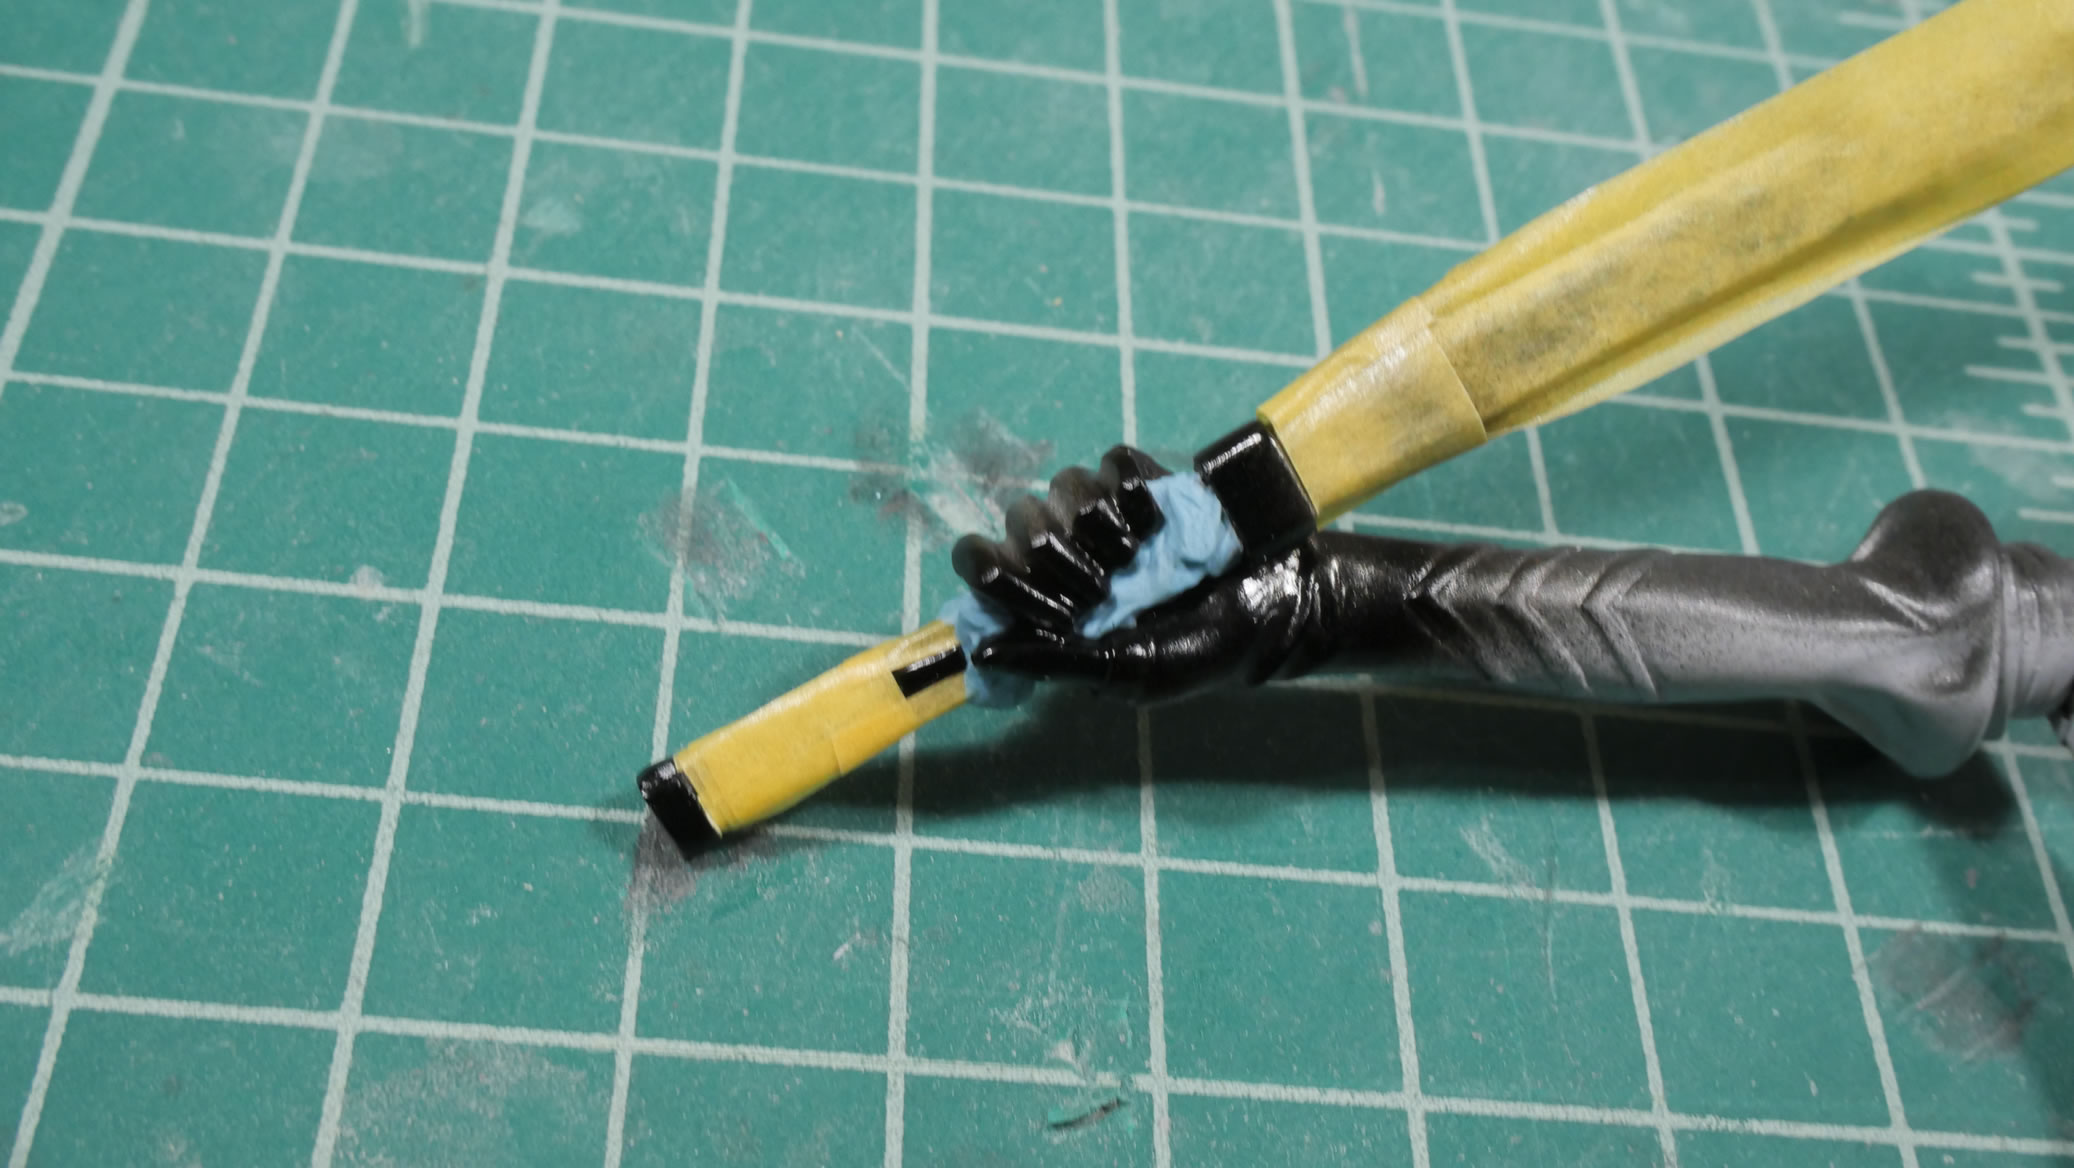
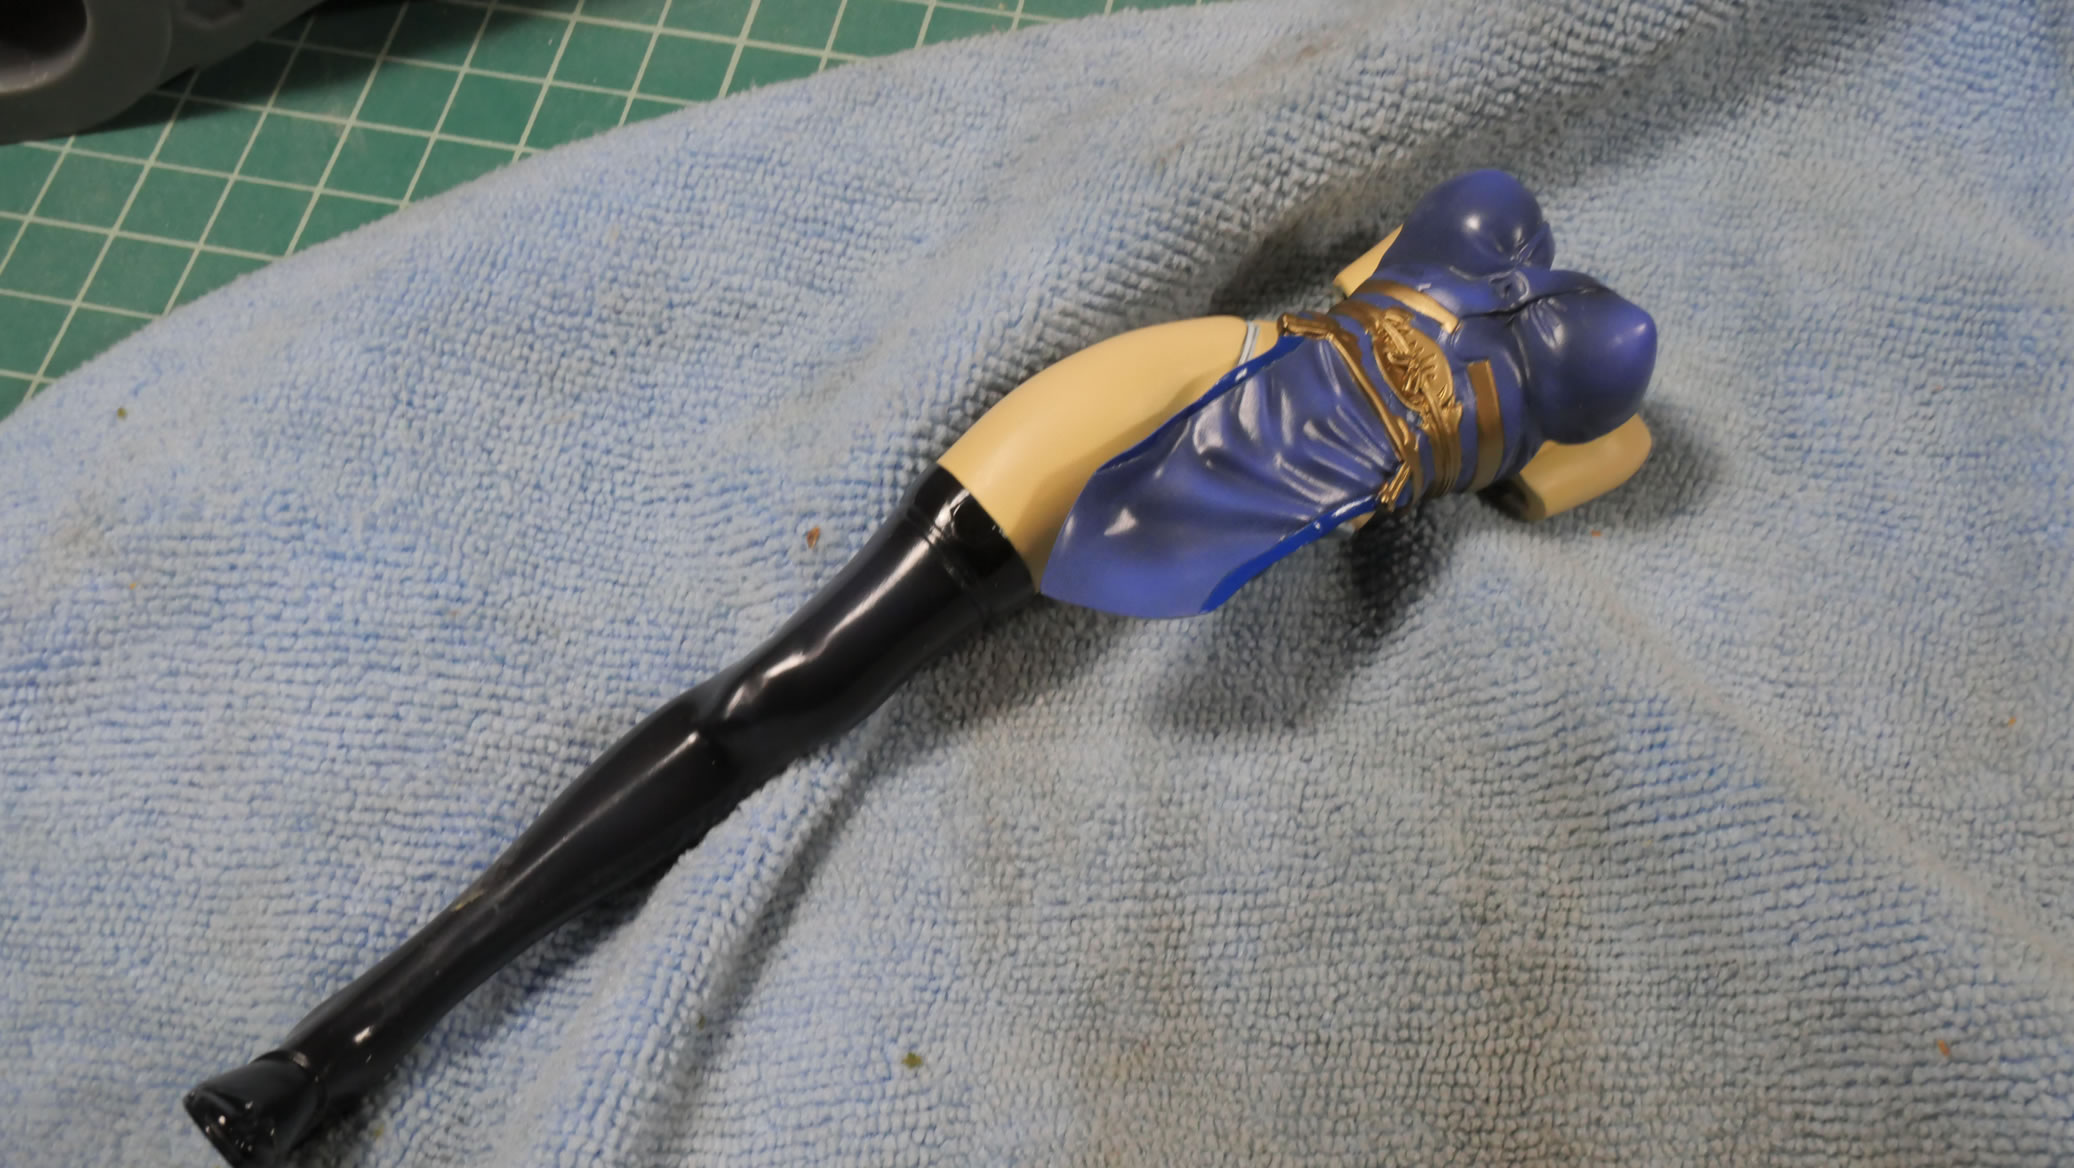
Sword piece is glued into the hand, sanded, and primed. Gloss black is laid down for the base color. Then steel is painted. The steel is masked off with blue sticky take to reproduce the Tsuchi-Oke technique/effect on Japanese blades. Once masked, stainless steel is sprayed.
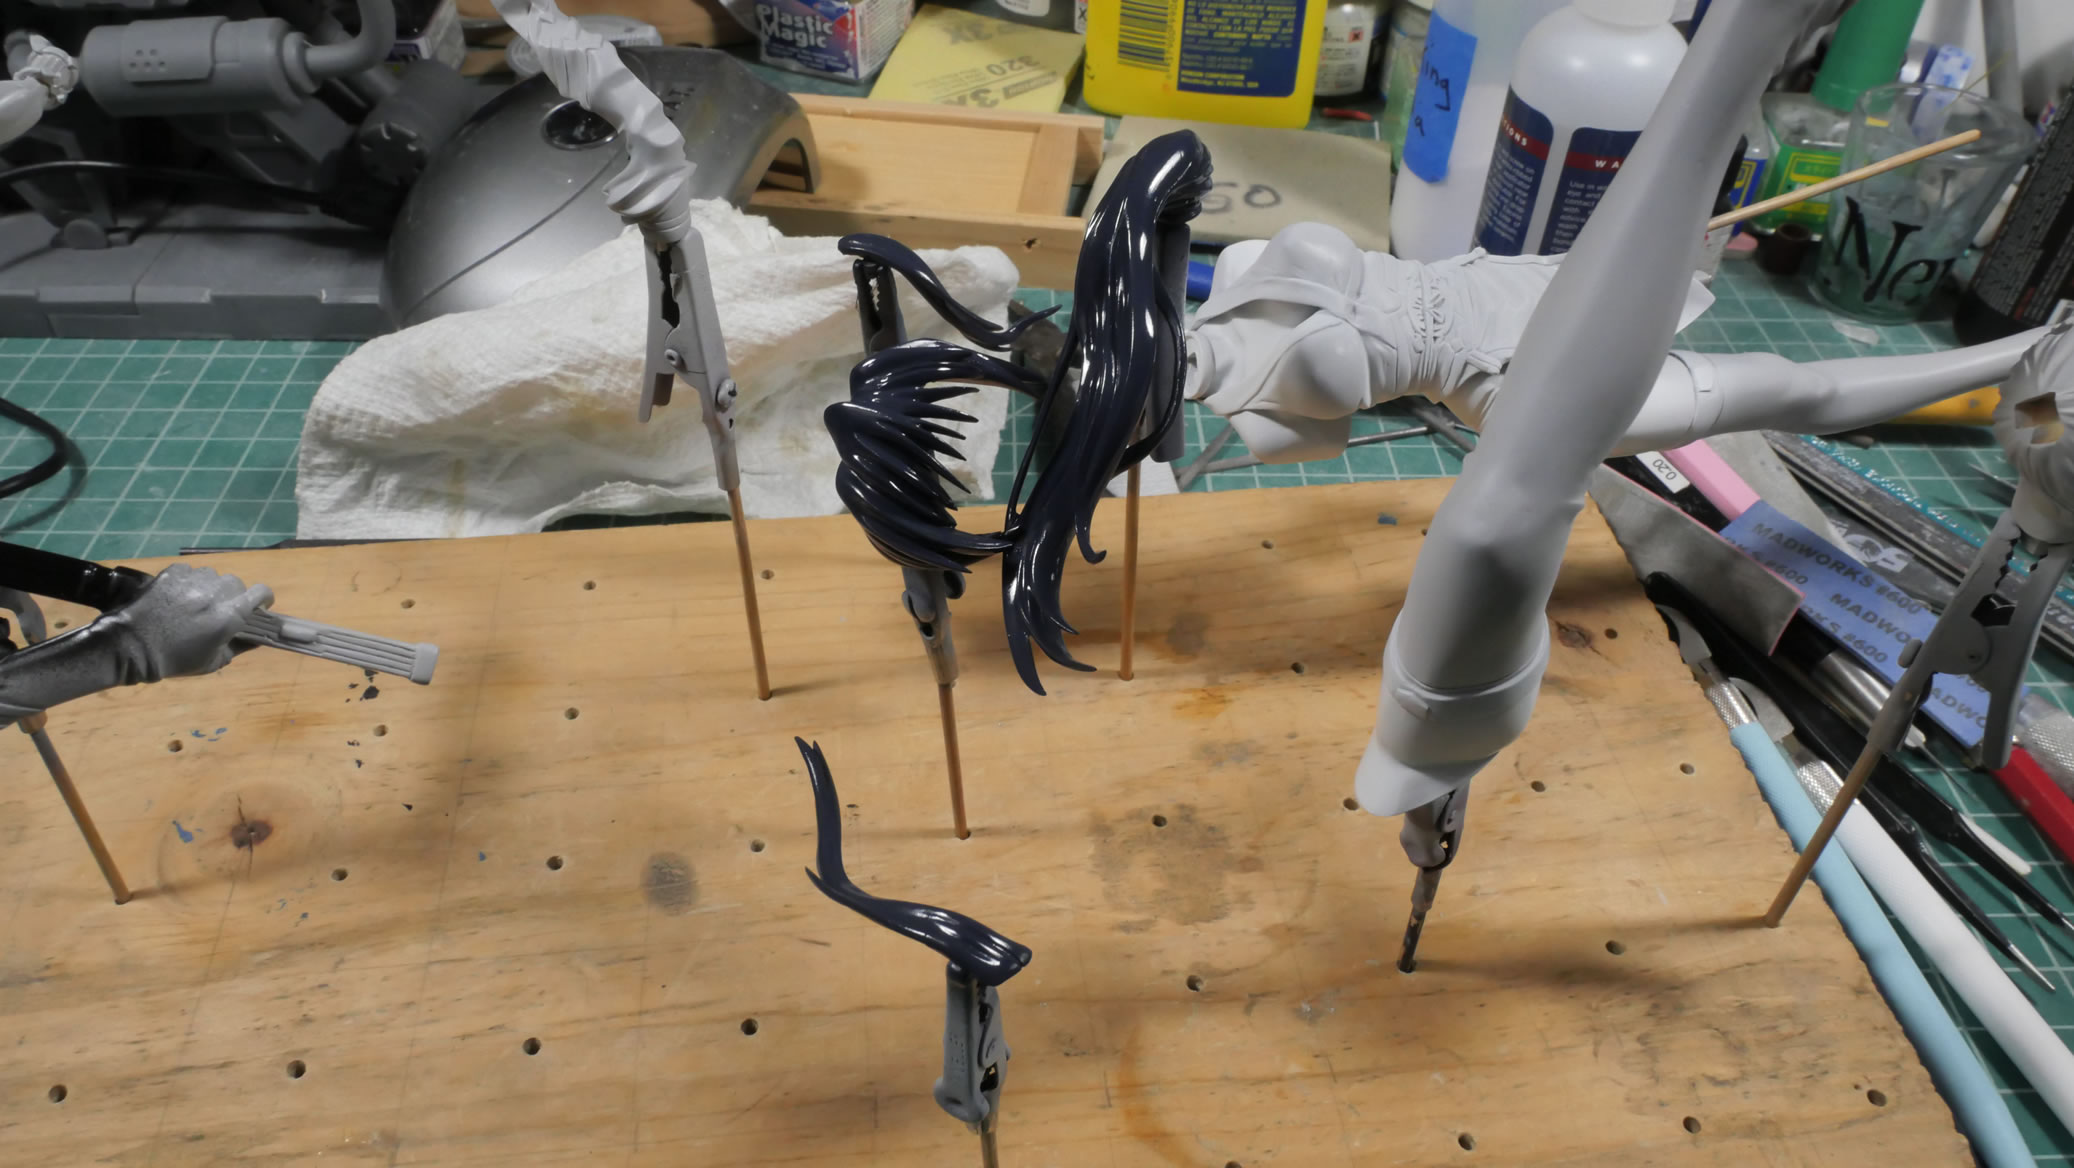
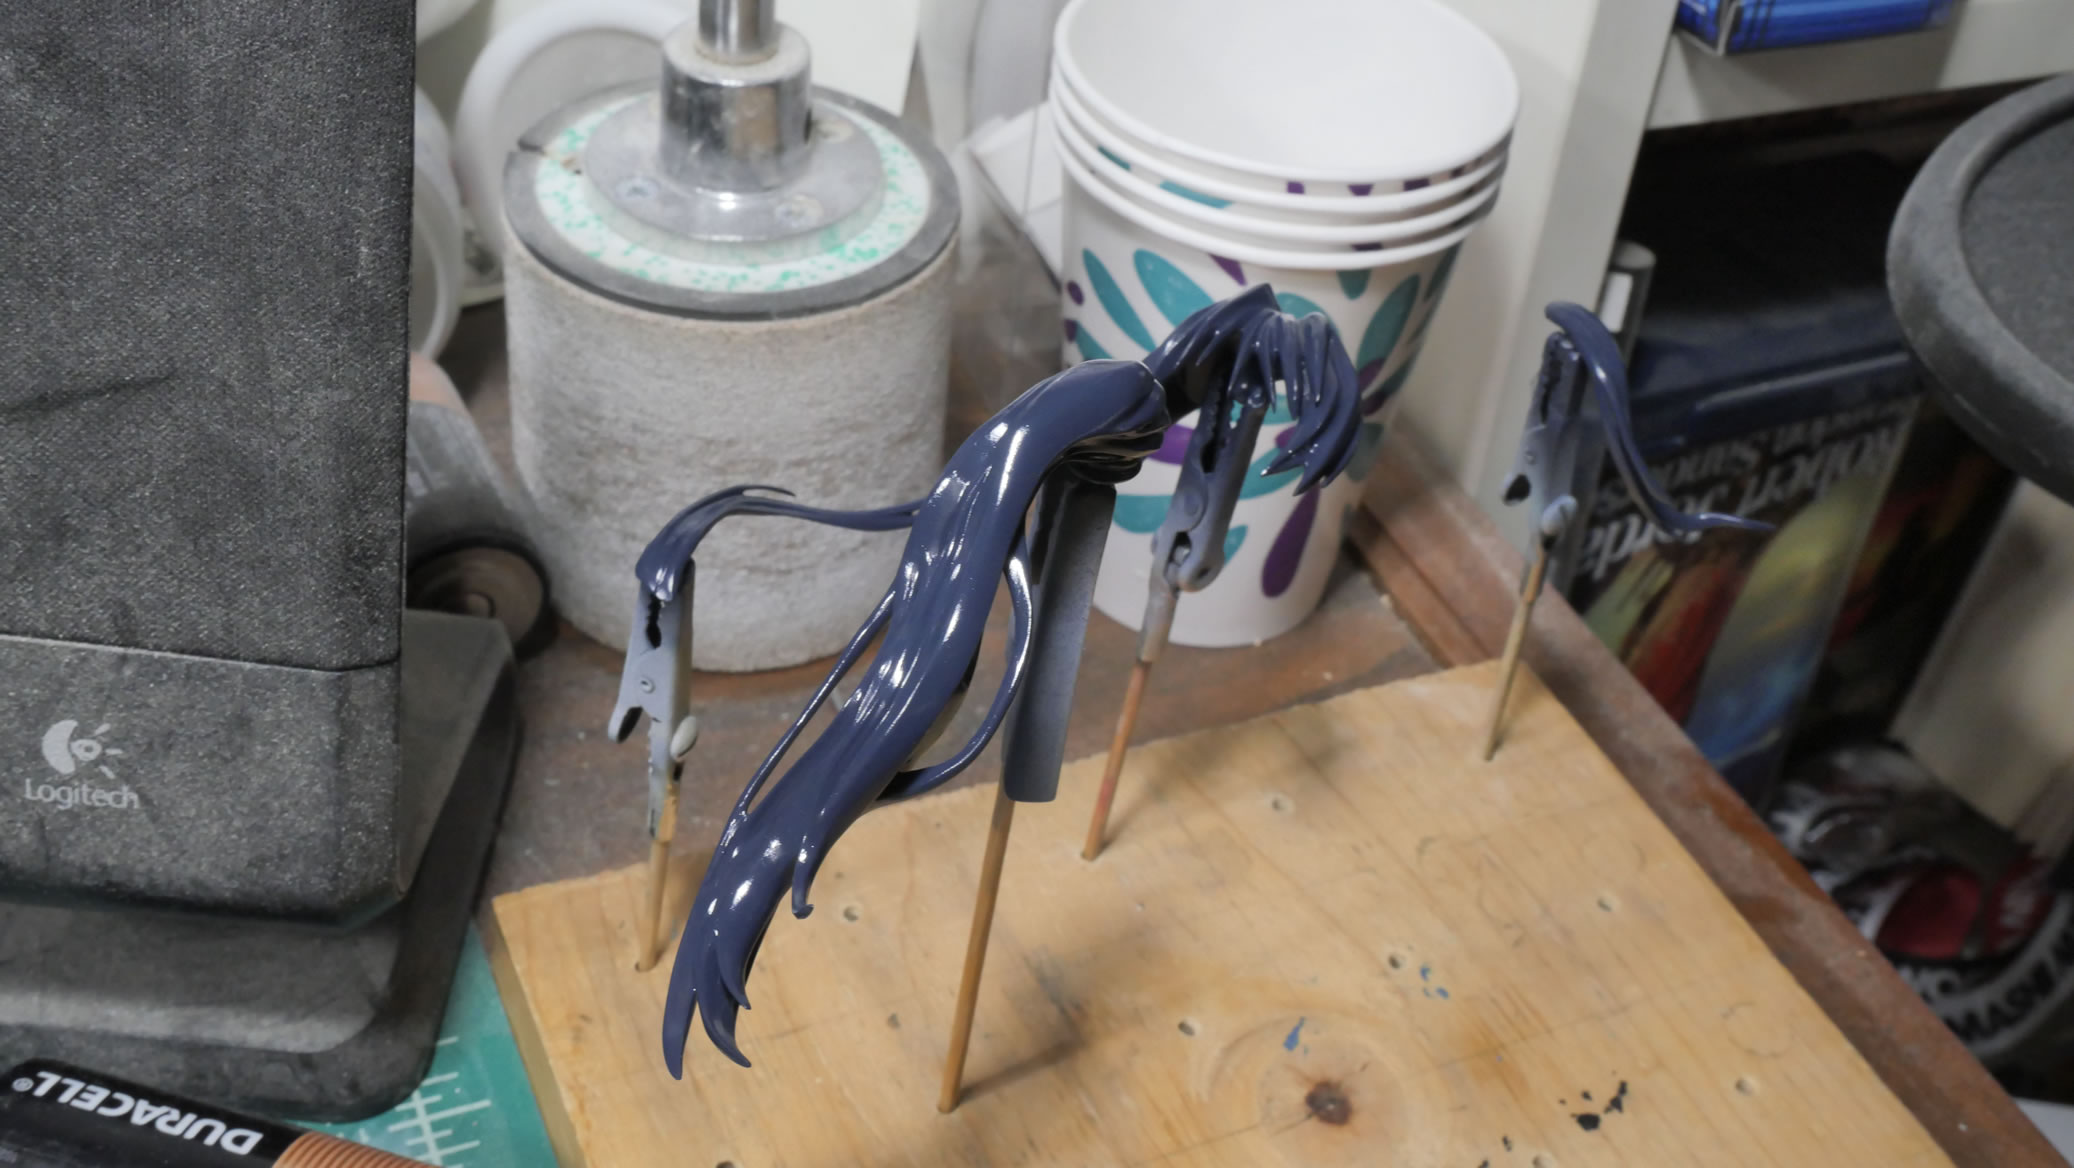
Hair is painted with a dark base color then shaded with white and painted with the main hair color, a bluish purple.
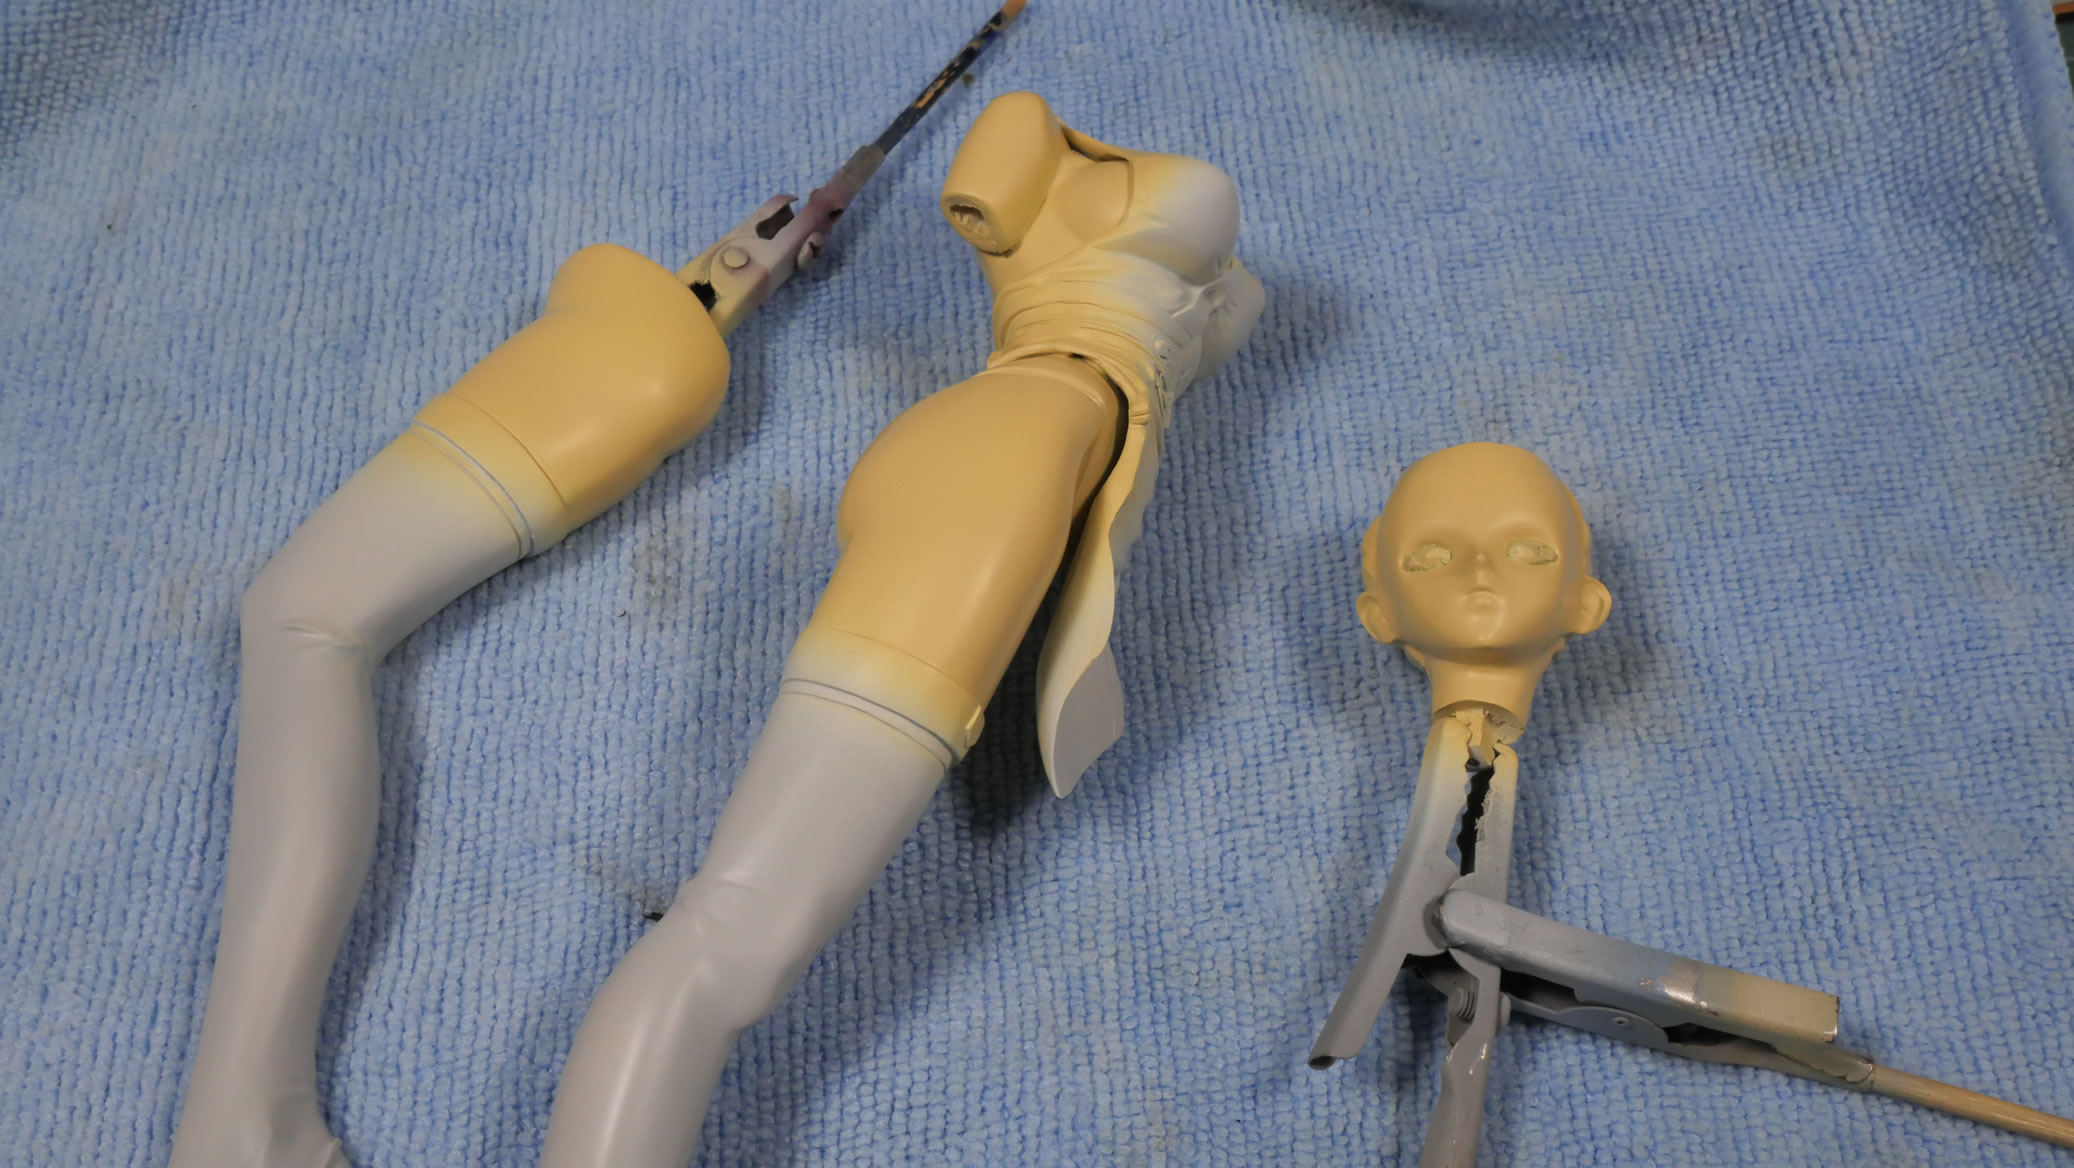
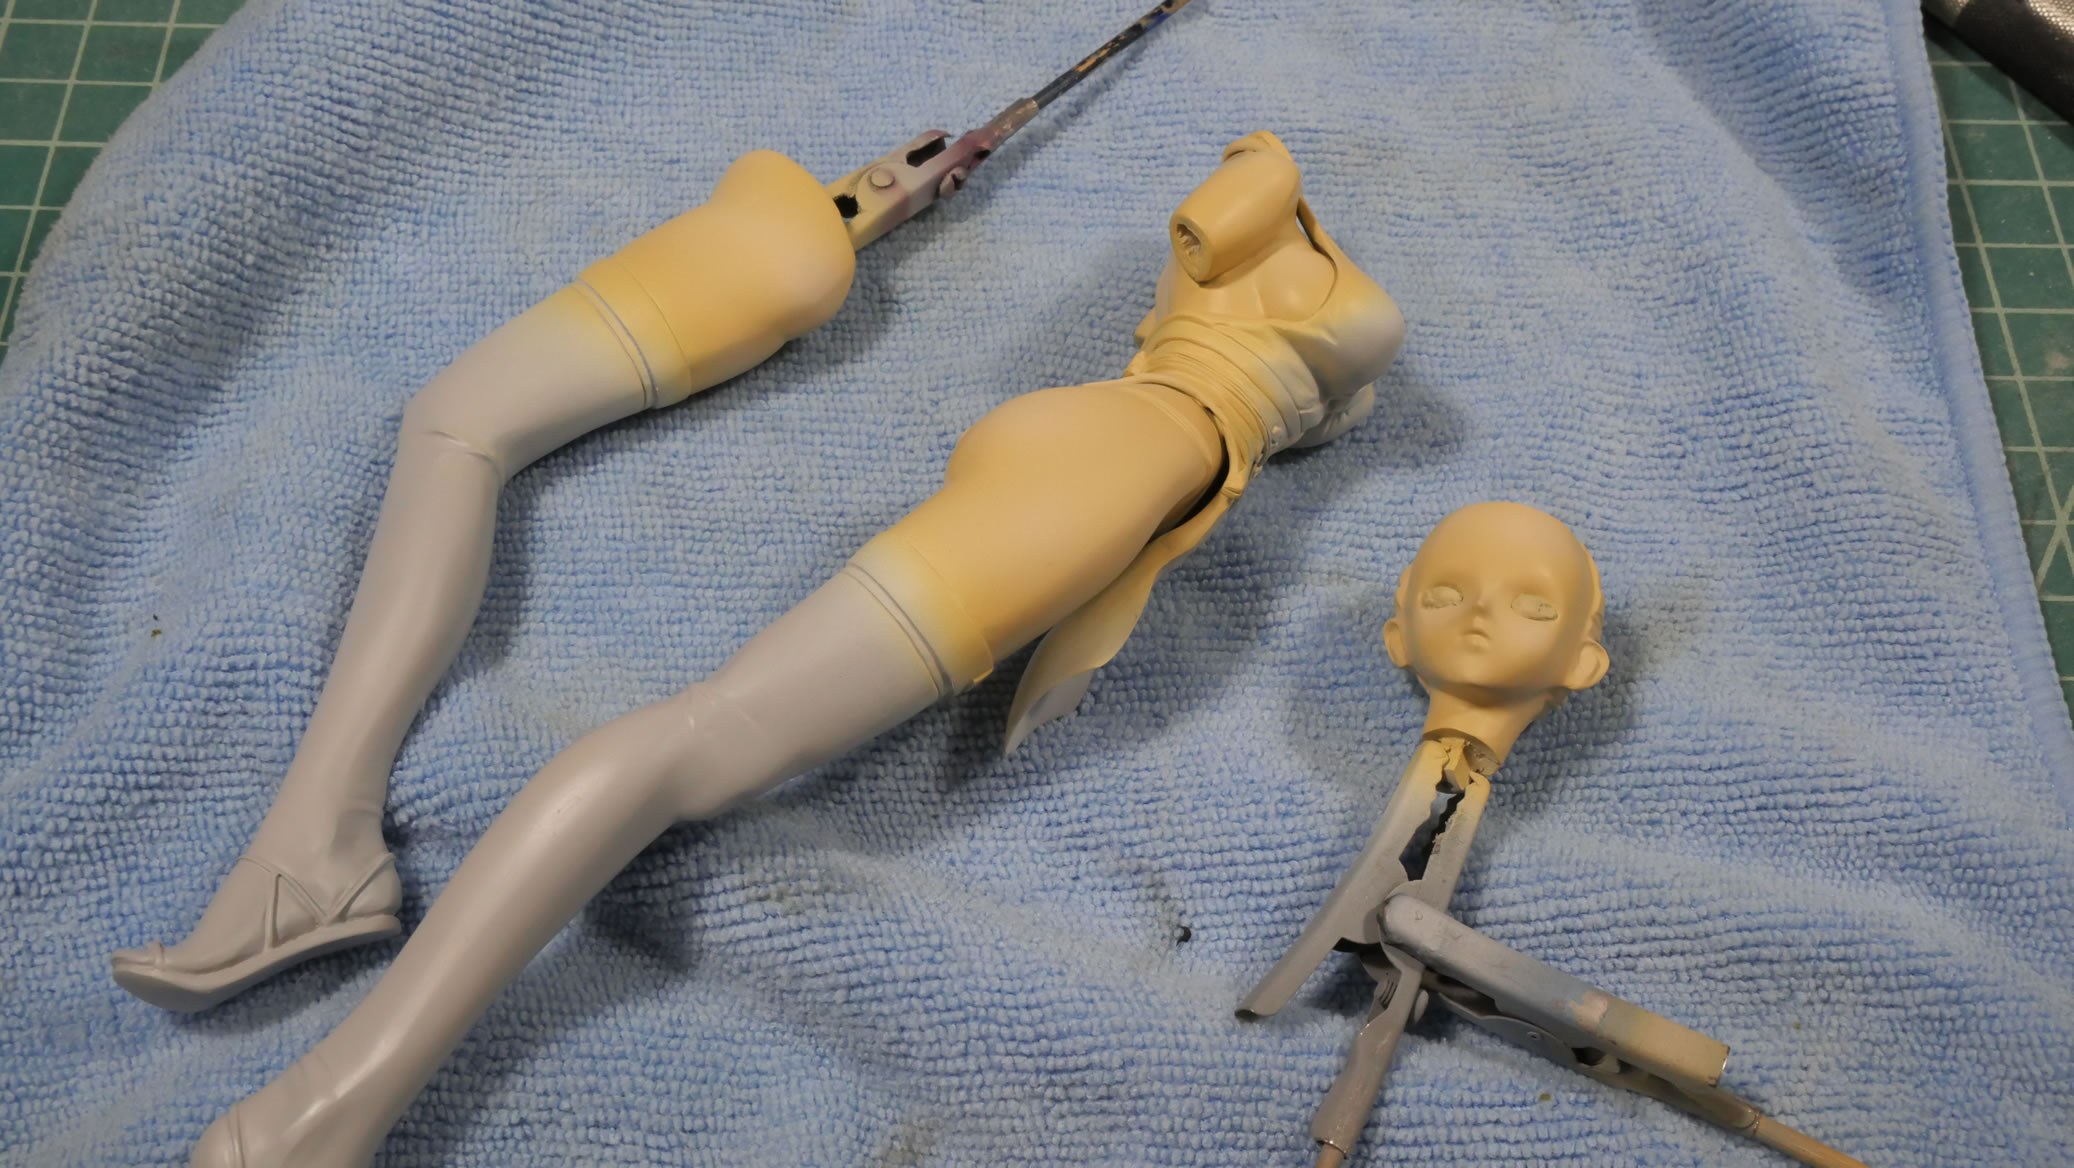
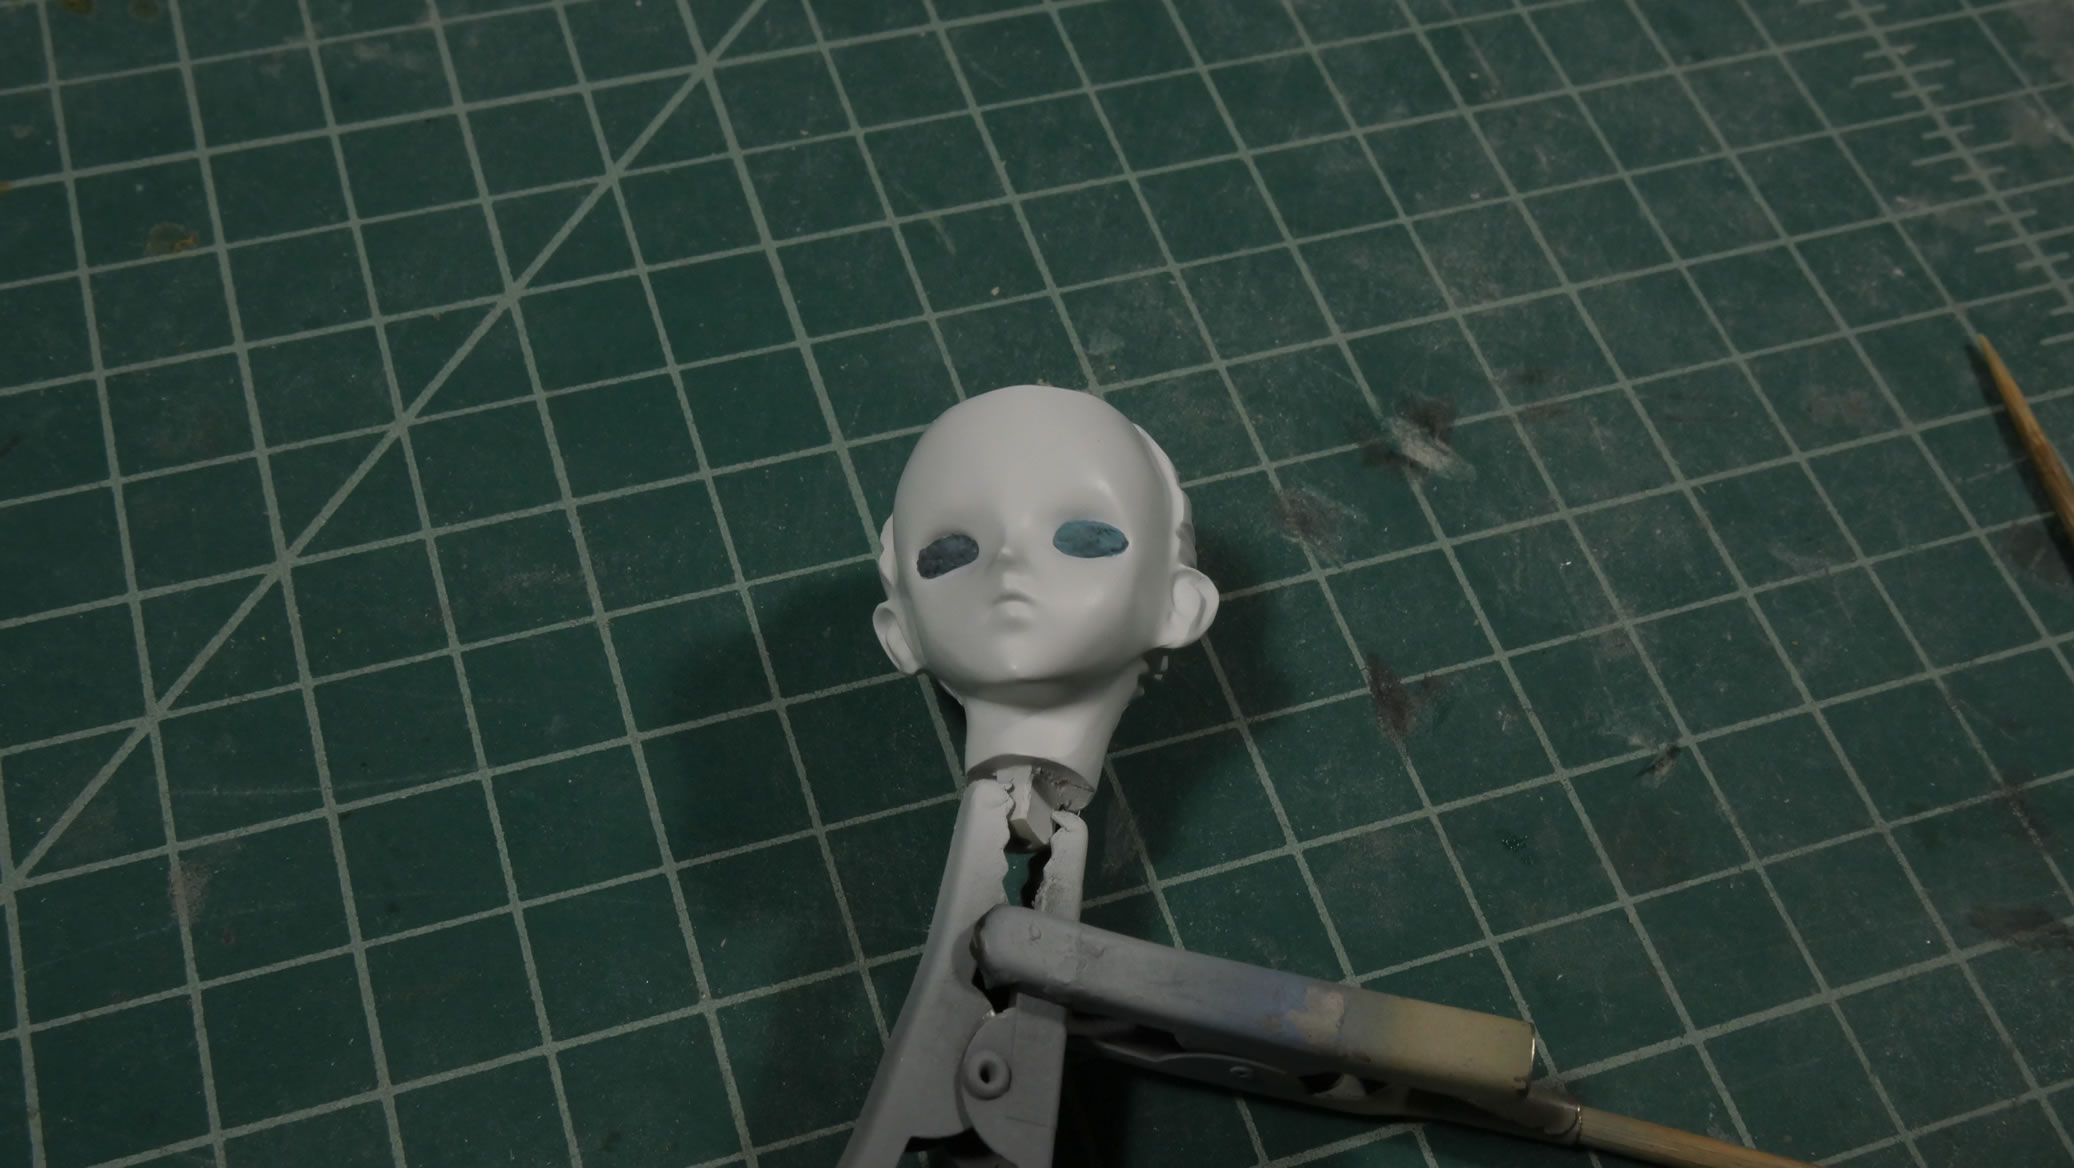
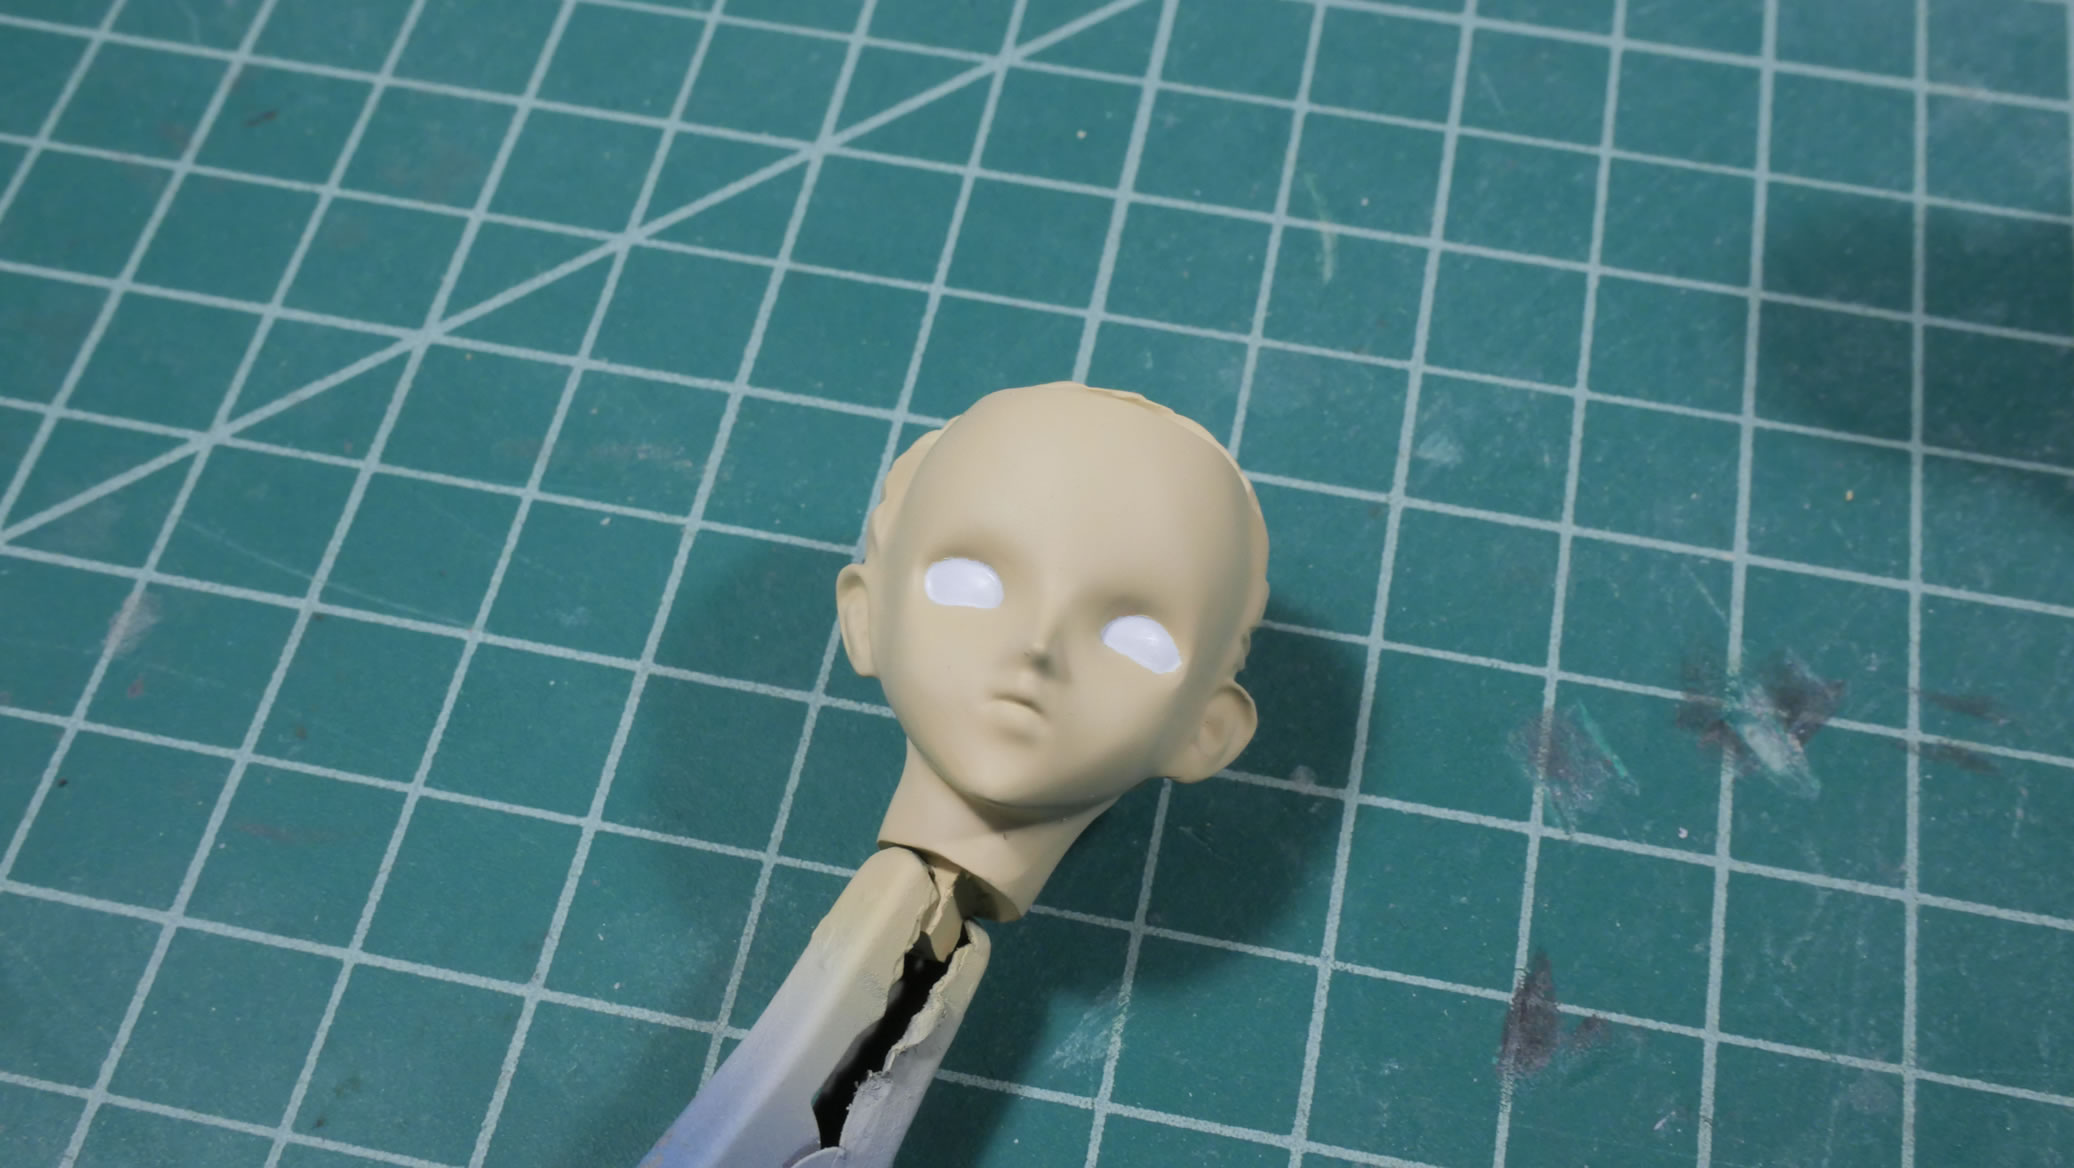
The skin parts are prepared for painting with a layer of base white over the grey primer. Spraying skin tone directly over grey primer makes the figures look like they have dead skin.
Skin tones from darkest, to lightest for highlights, then a medium tone to blend everything together.
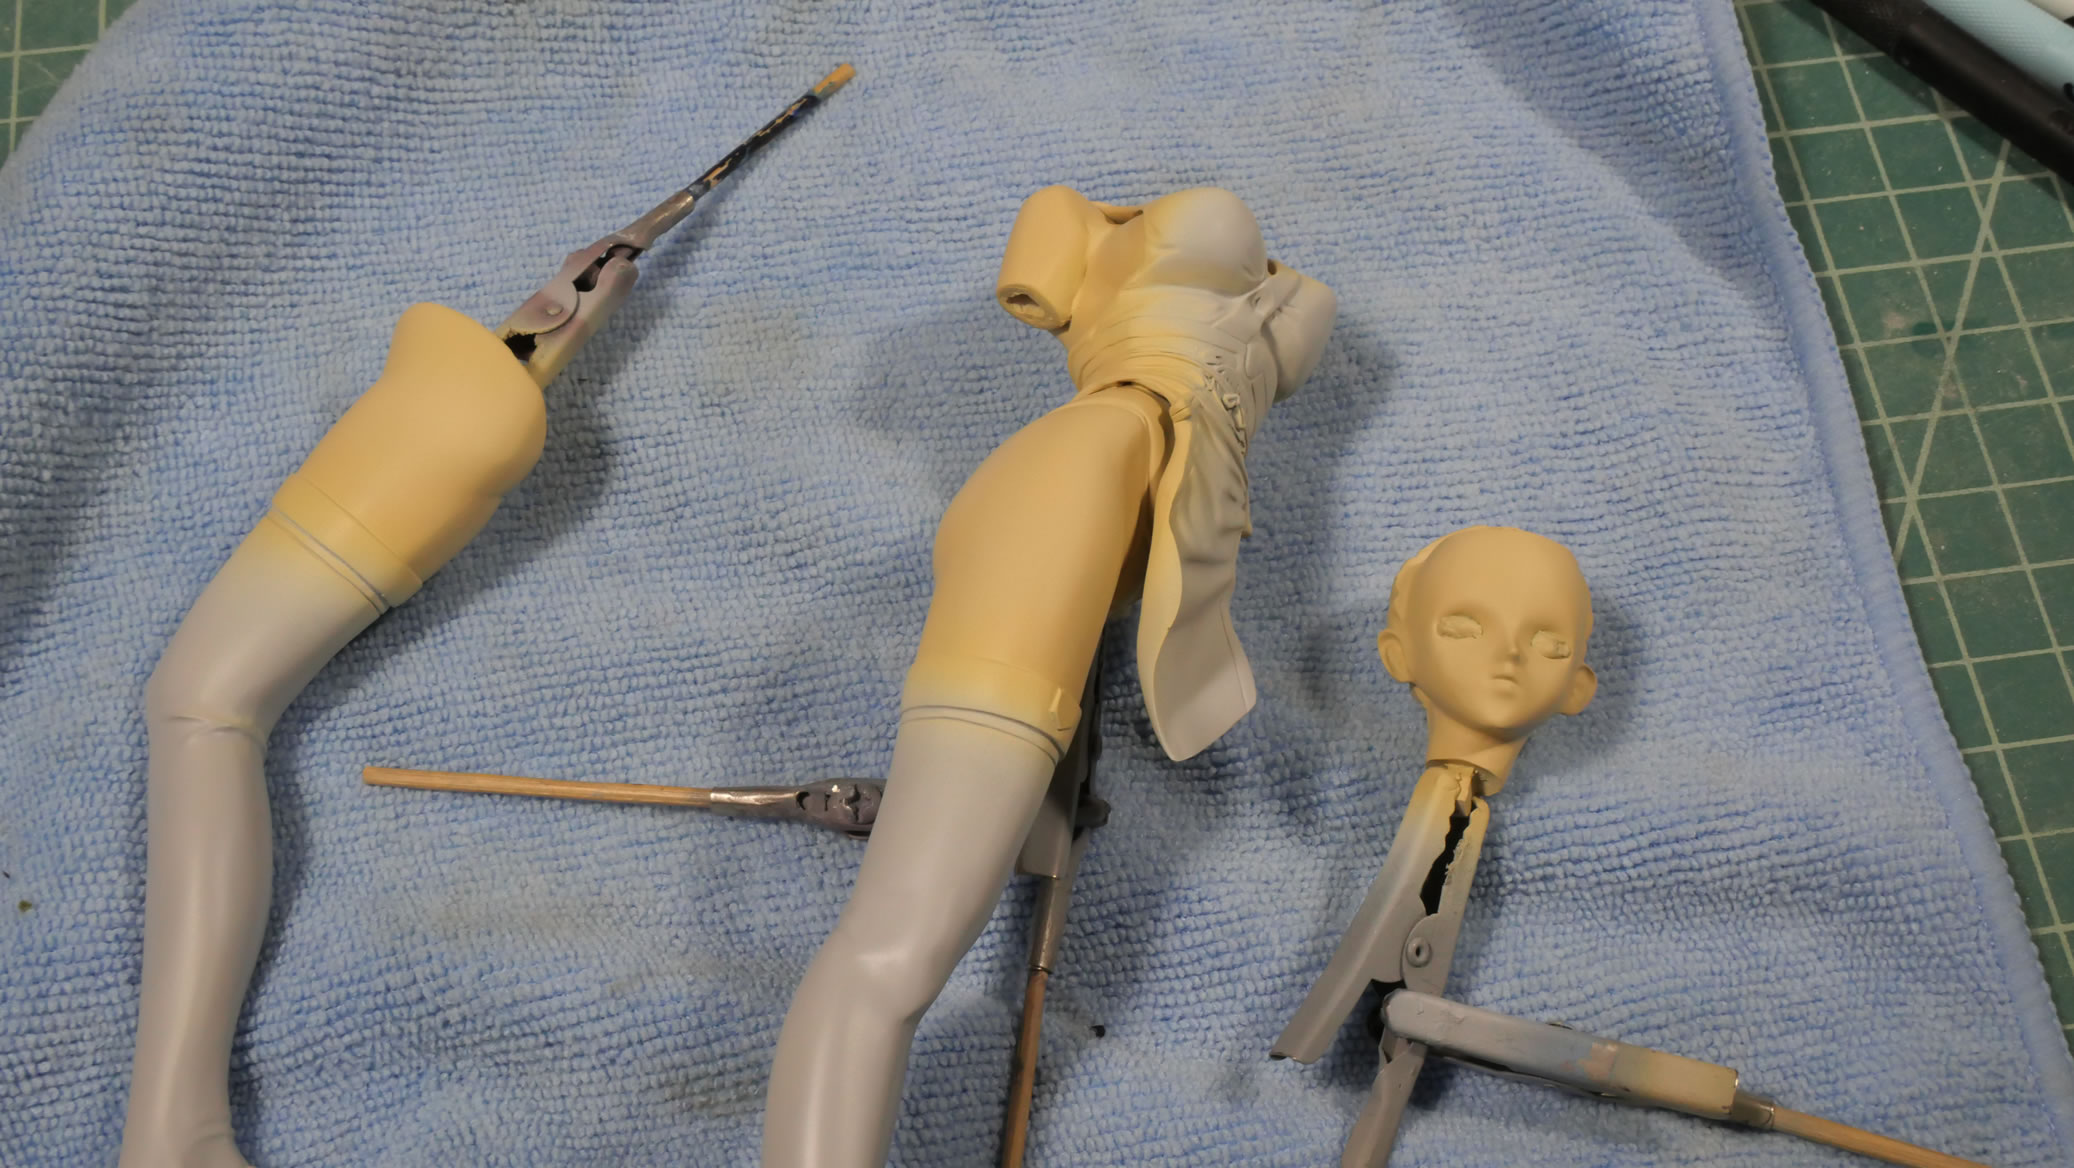
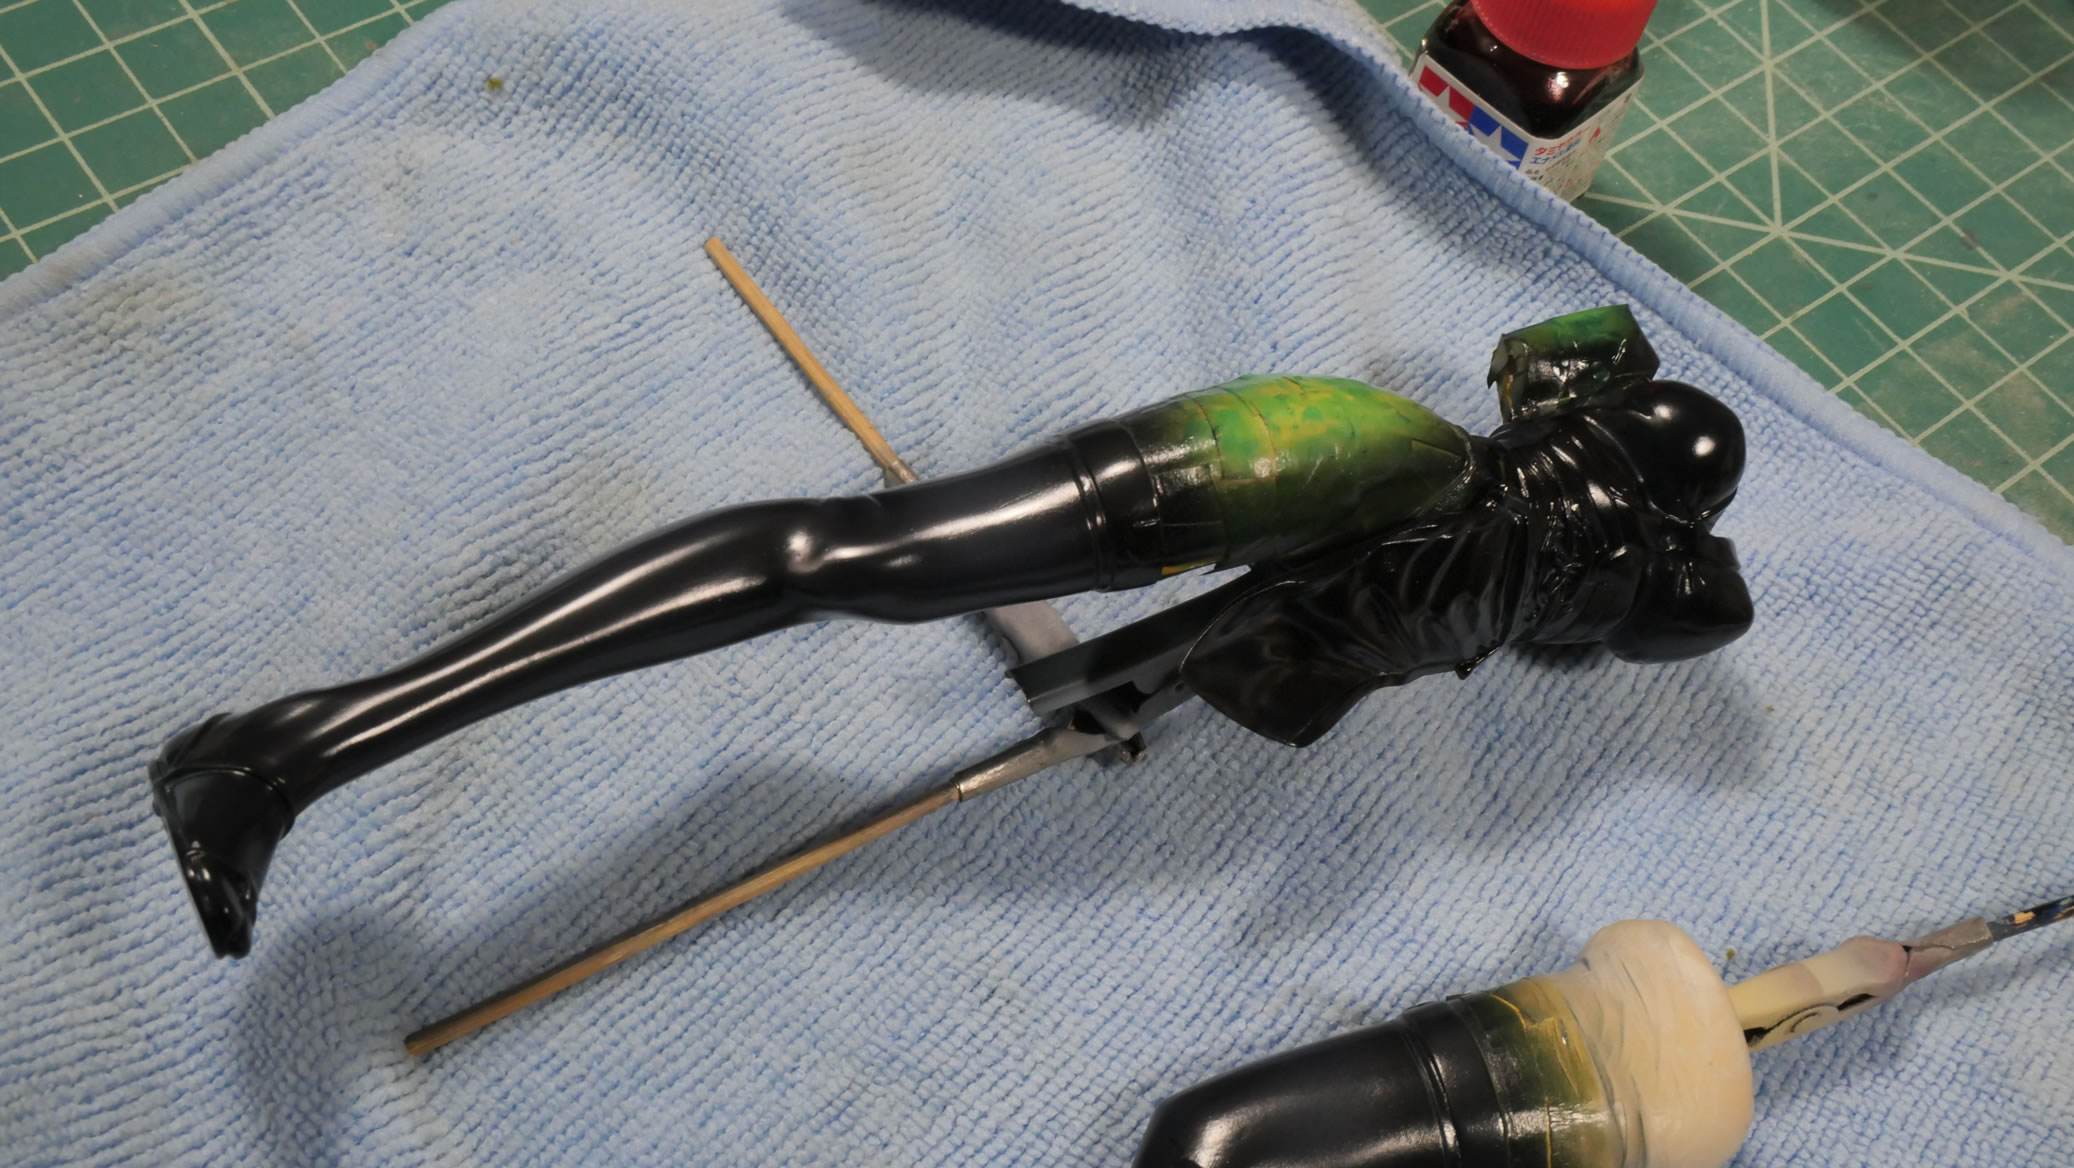
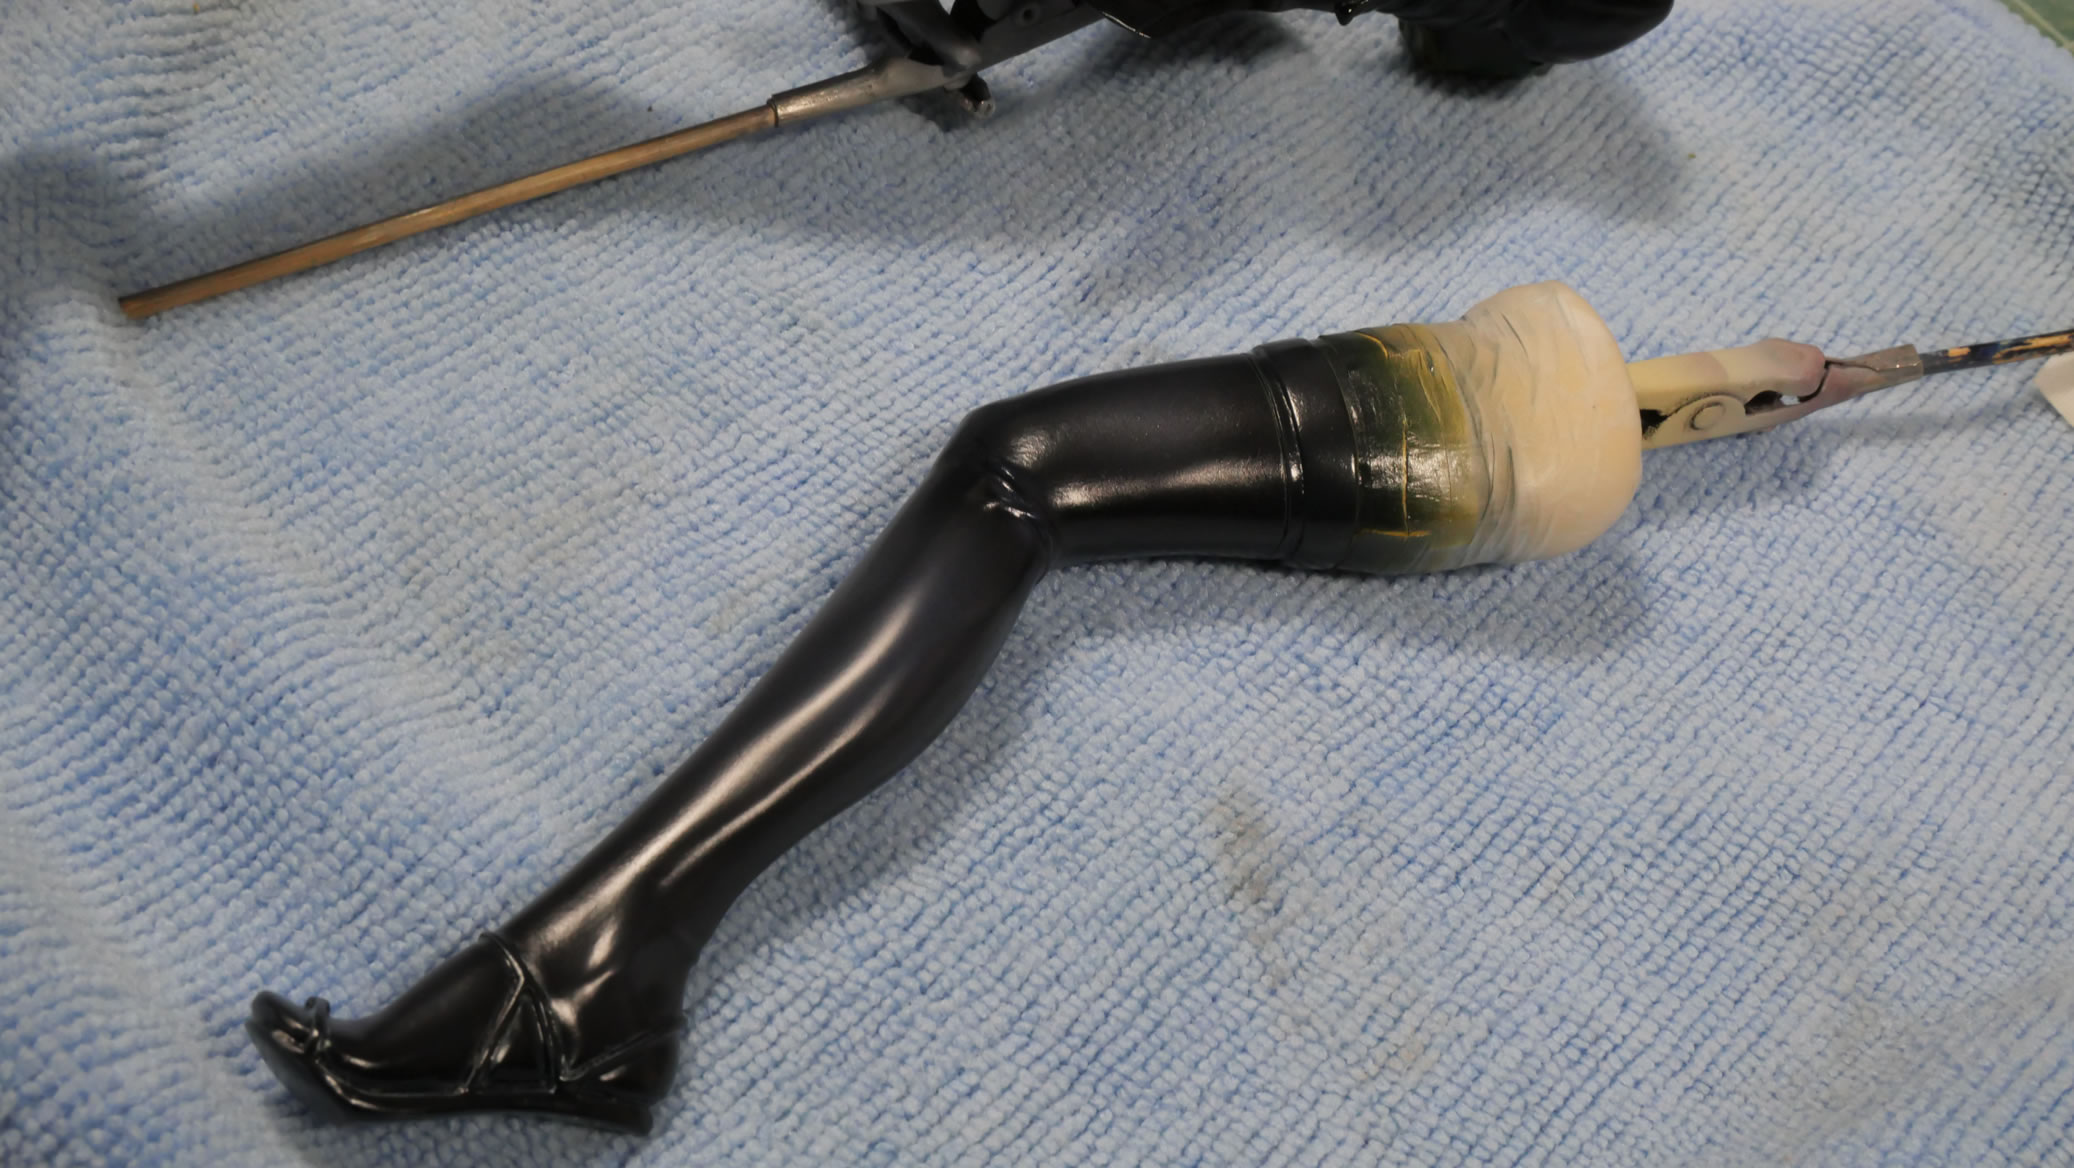
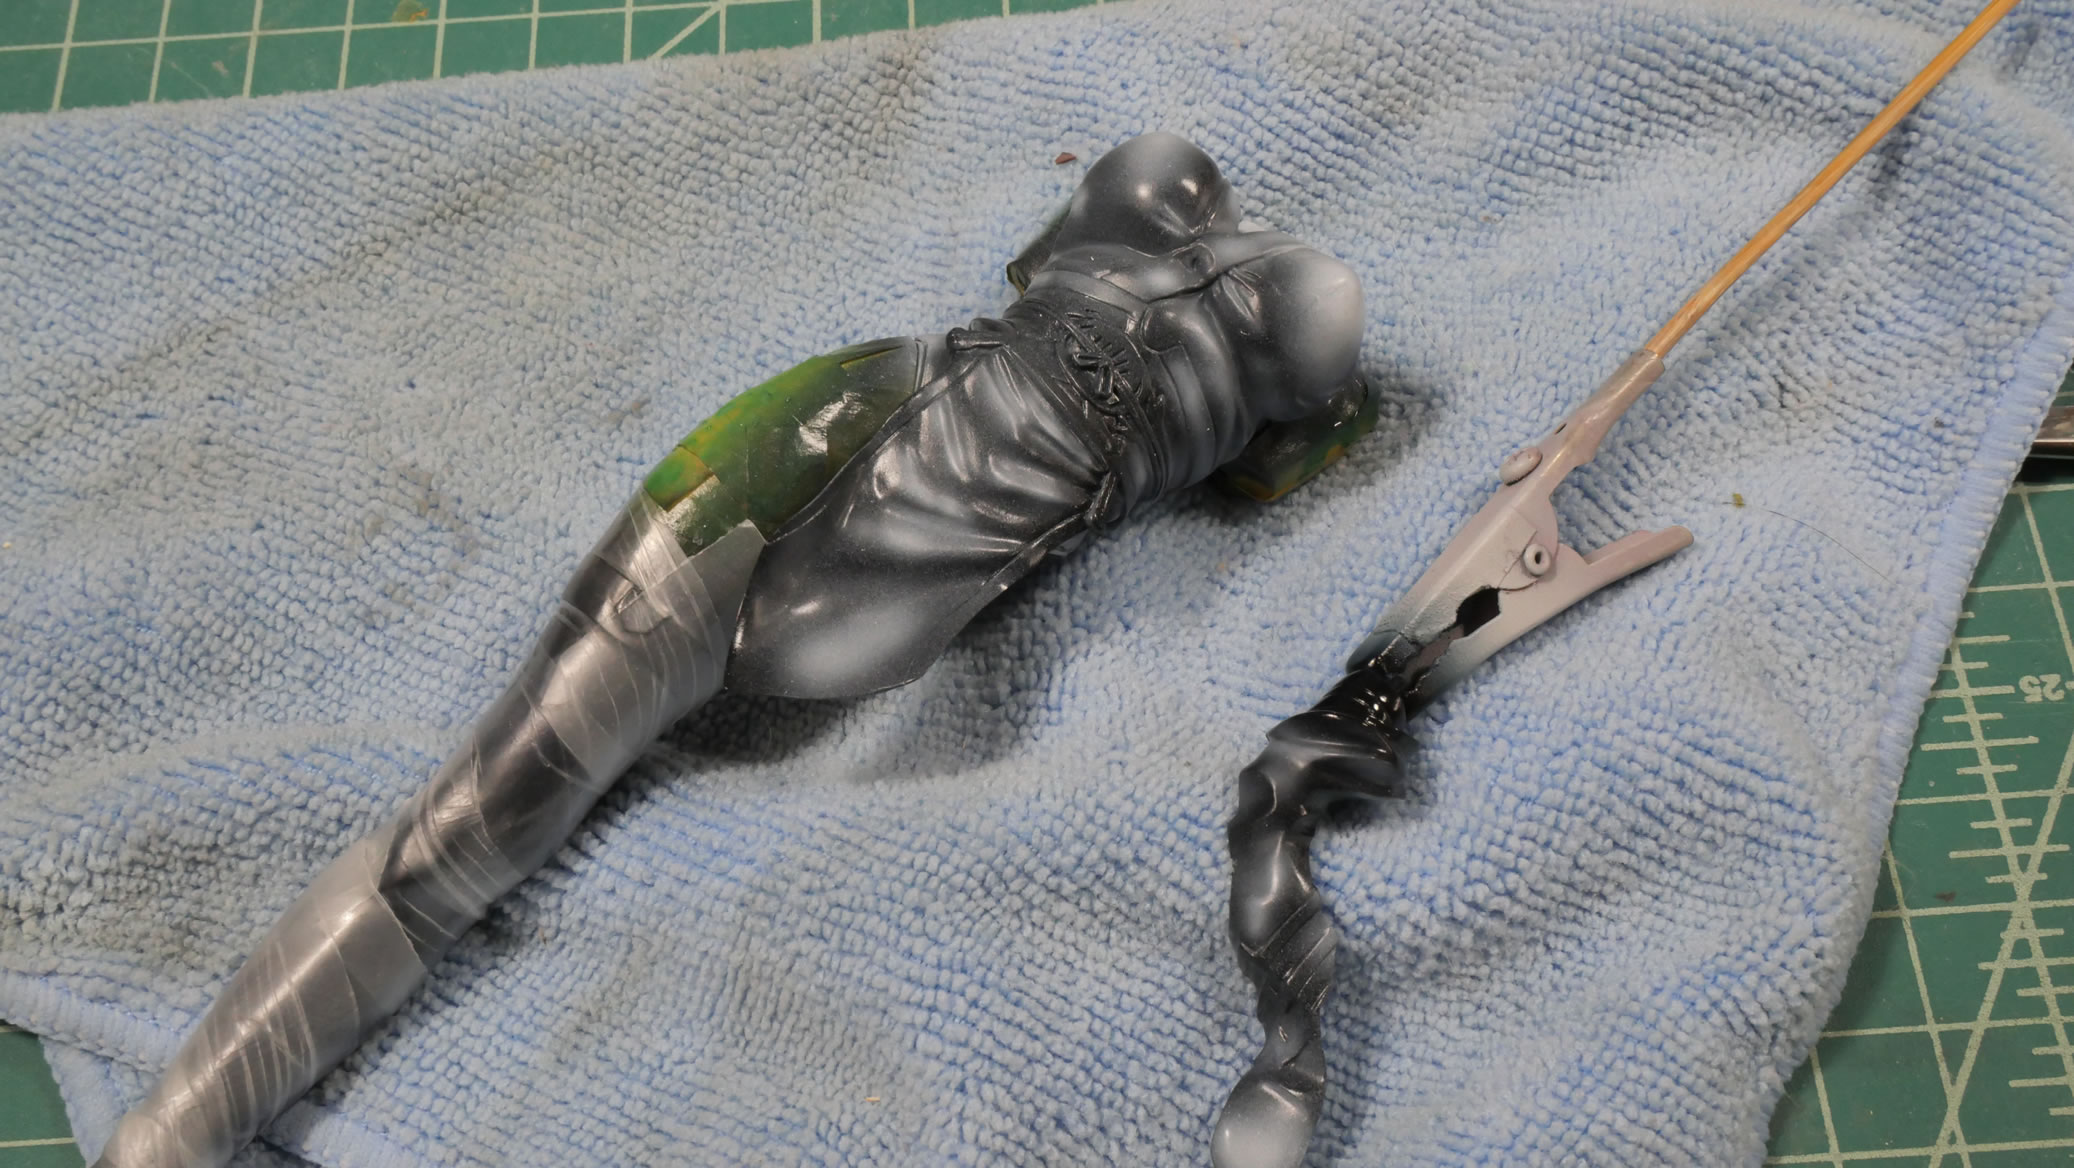
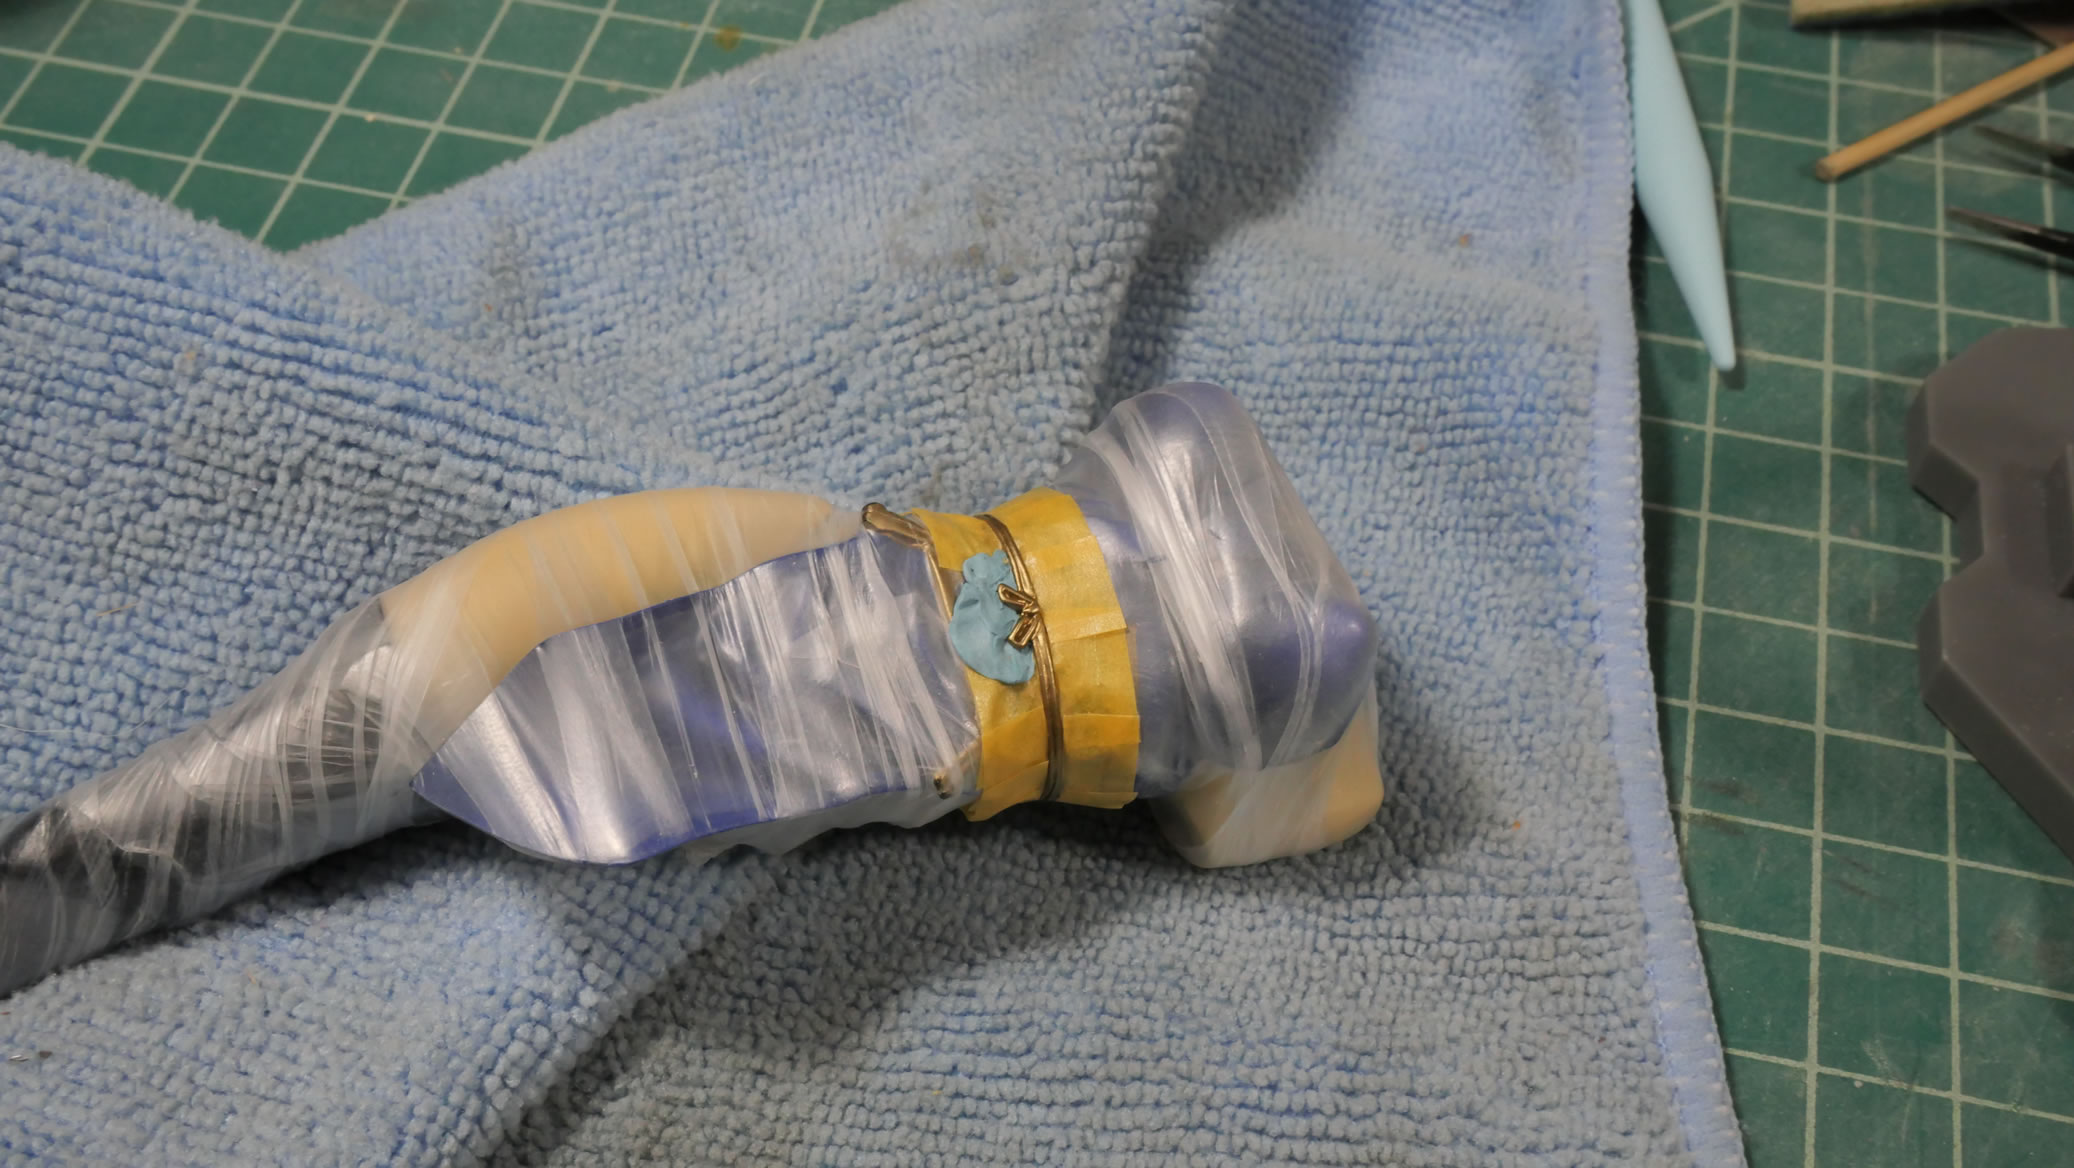
Mask off the skin areas then paint the dress with a blue black color as a base. The legs are then shaded with a dark blue black.
After base white for the head, the eyes are masked off to paint the skin tone.
Legs masked off, I can spray the dress with white highlights. Once that is done, the main dark blue color is sprayed blending the white highlights and creating a heavy shaded effect.
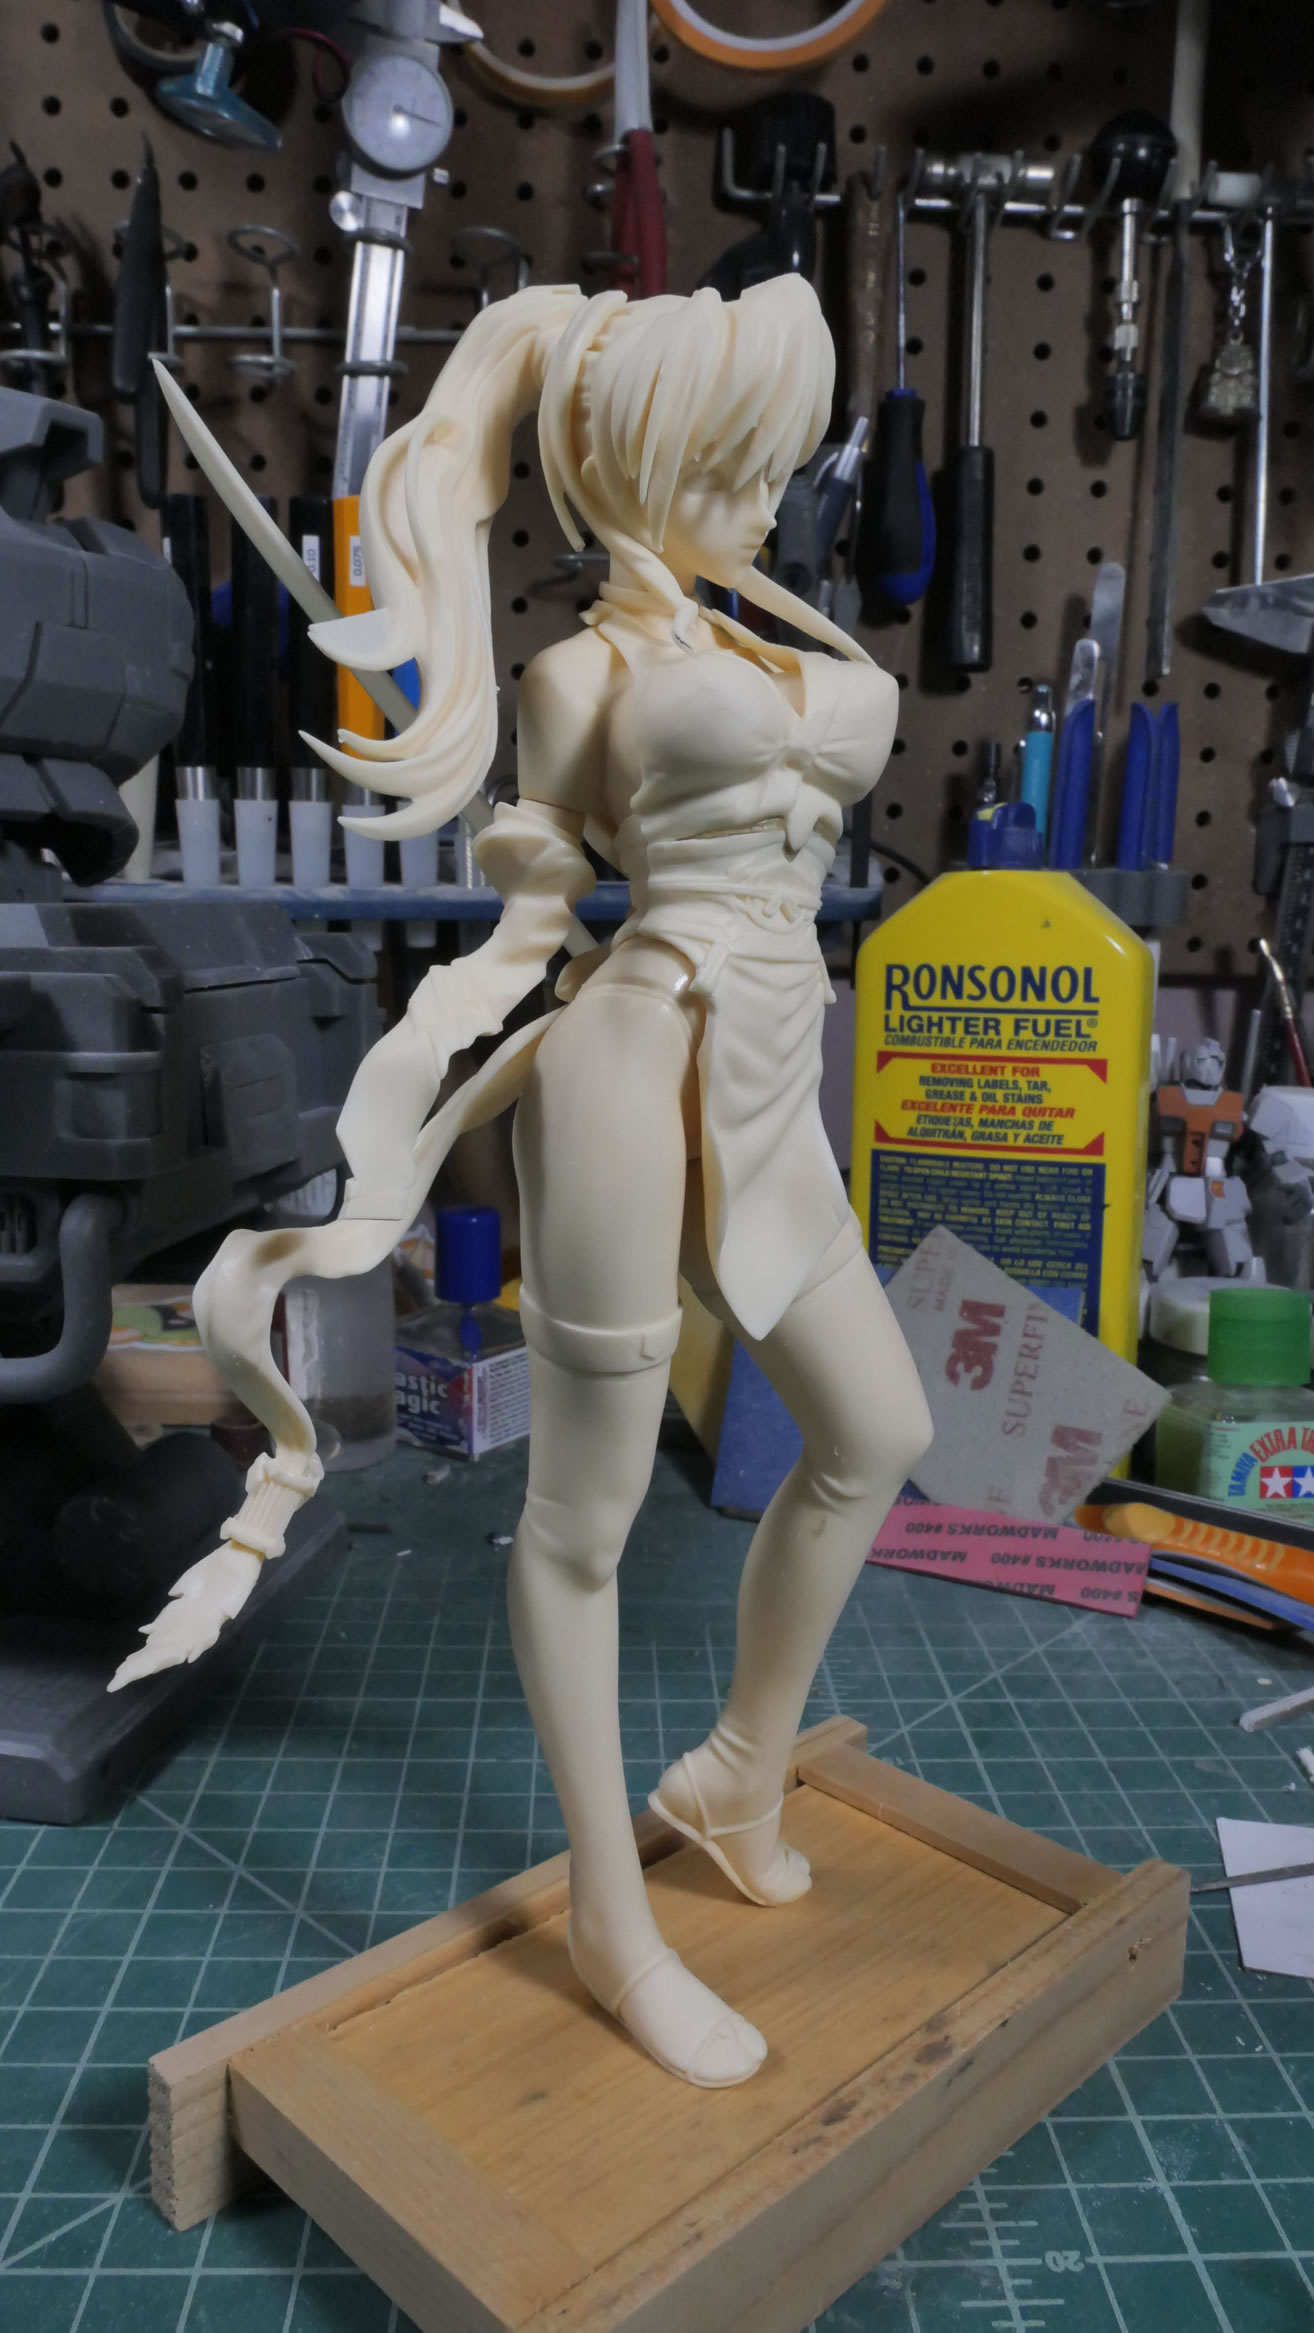
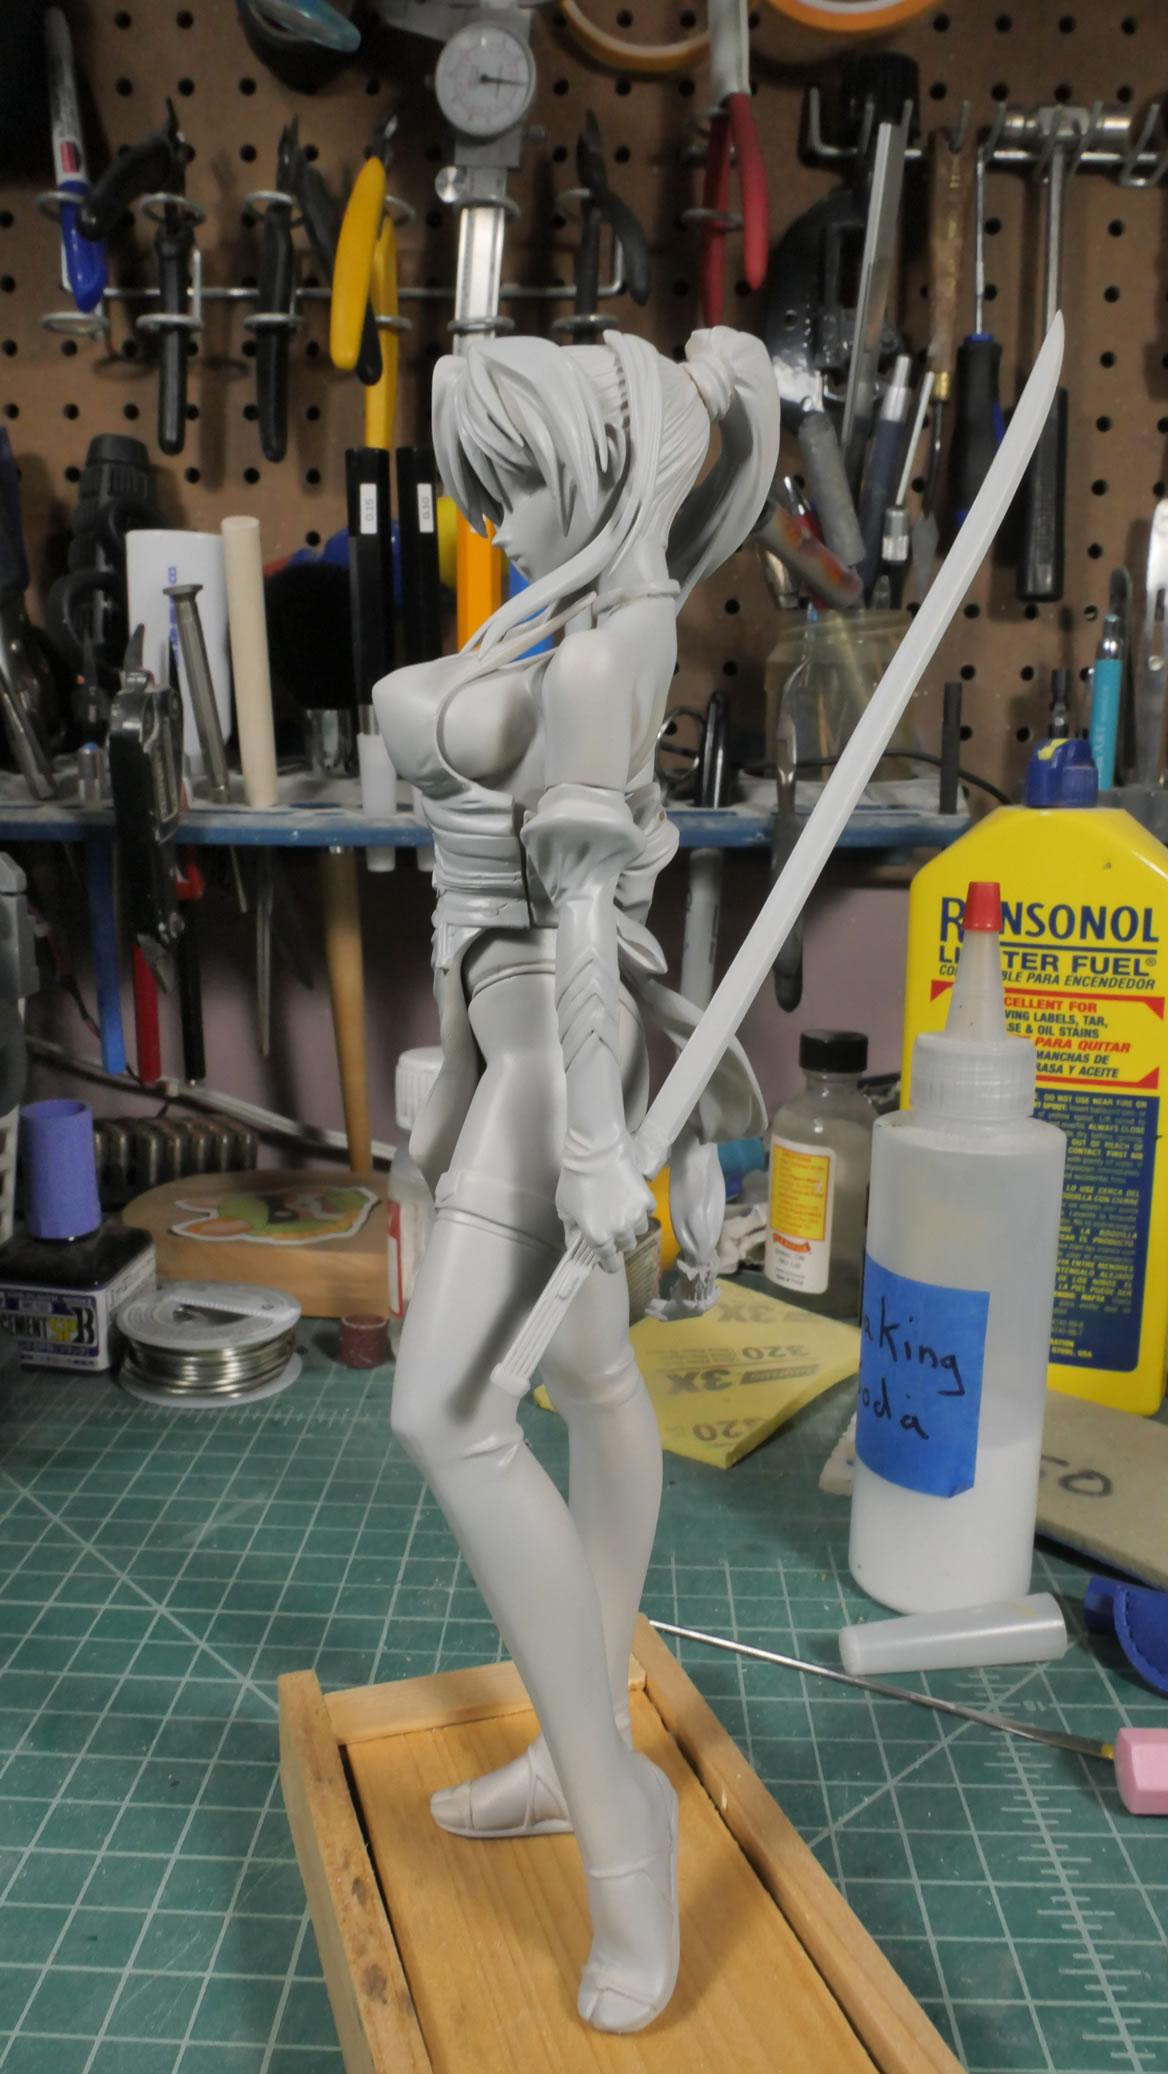
Another quick mockup turnaround.
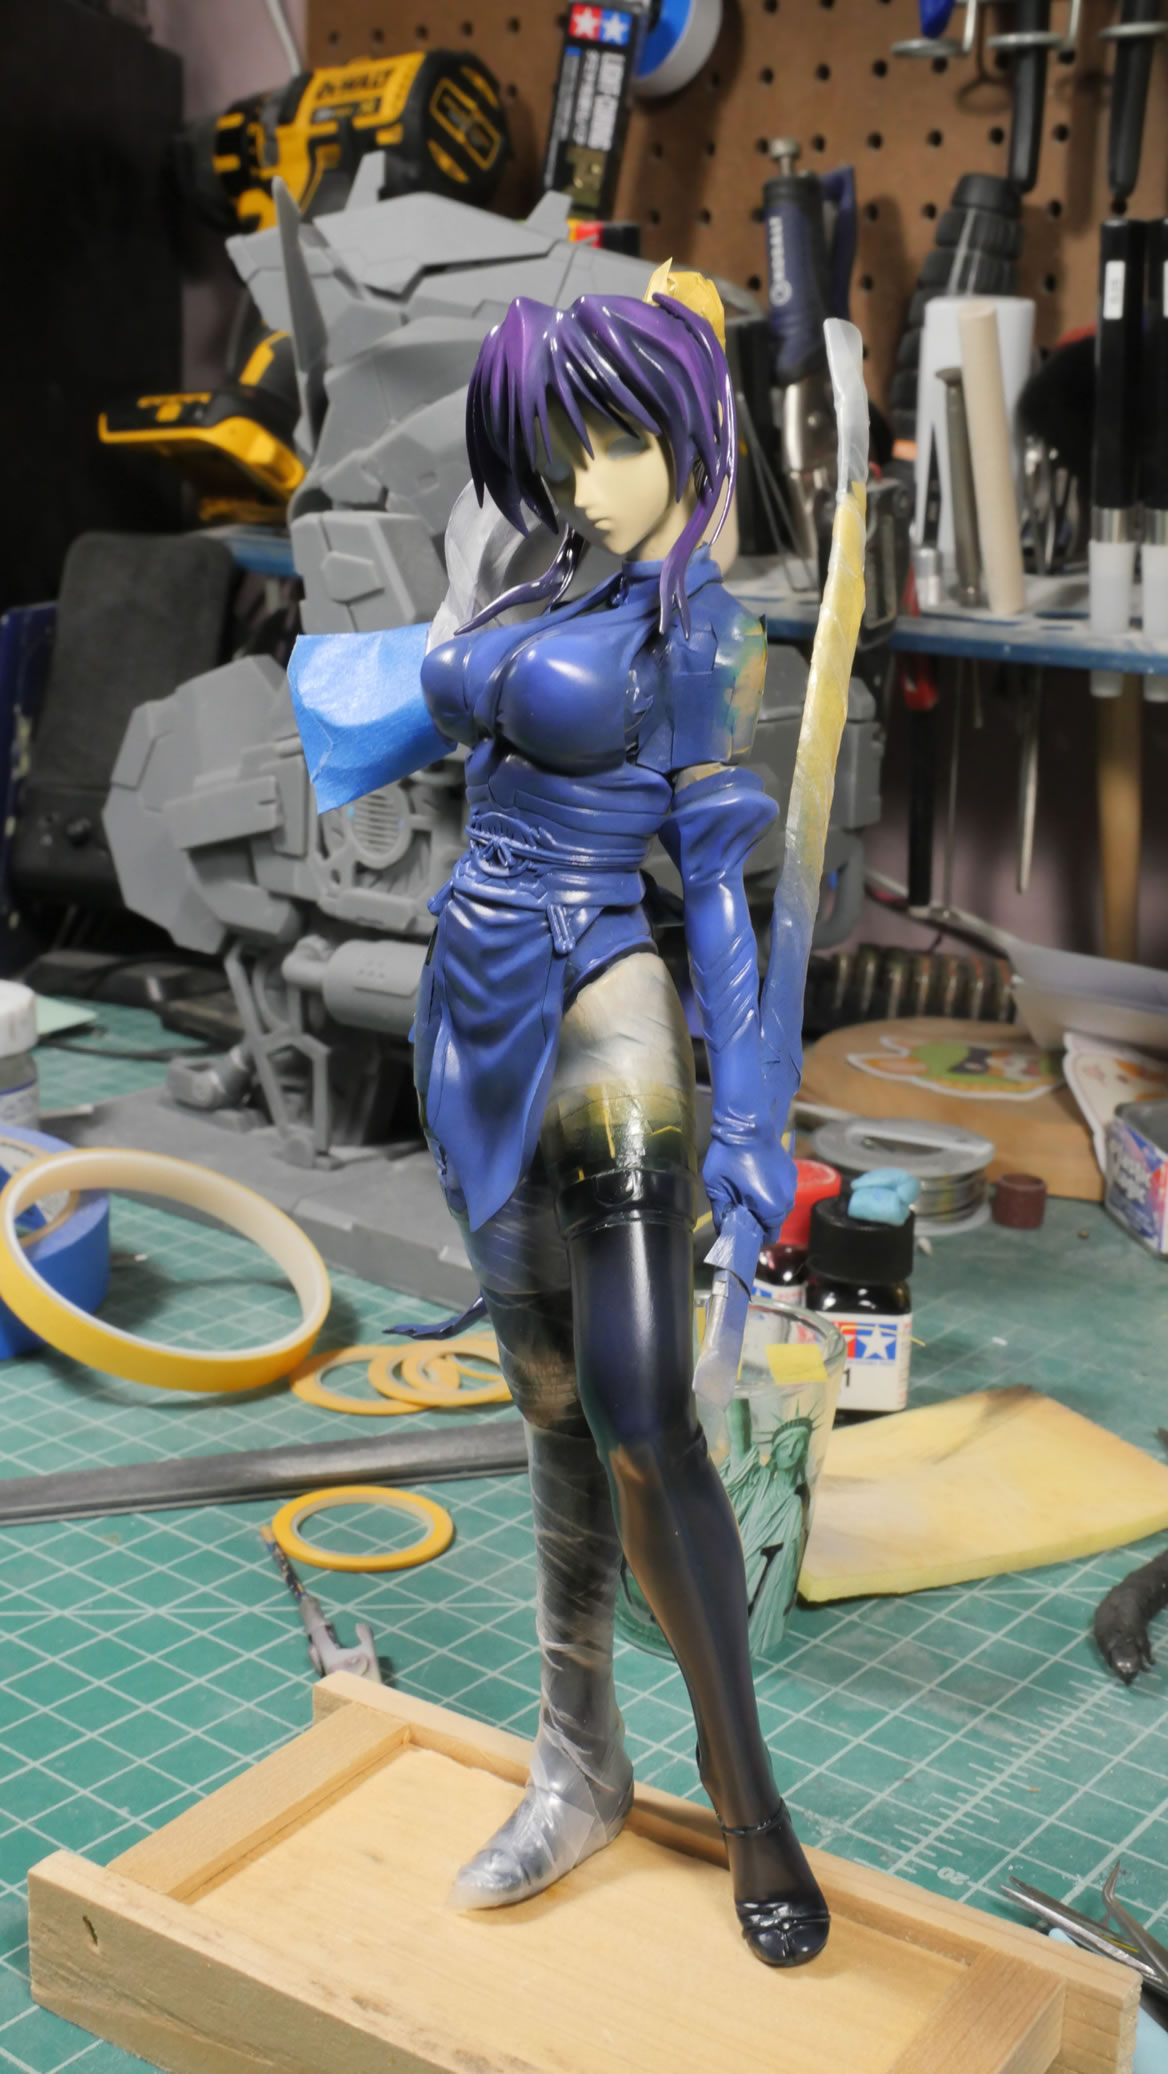
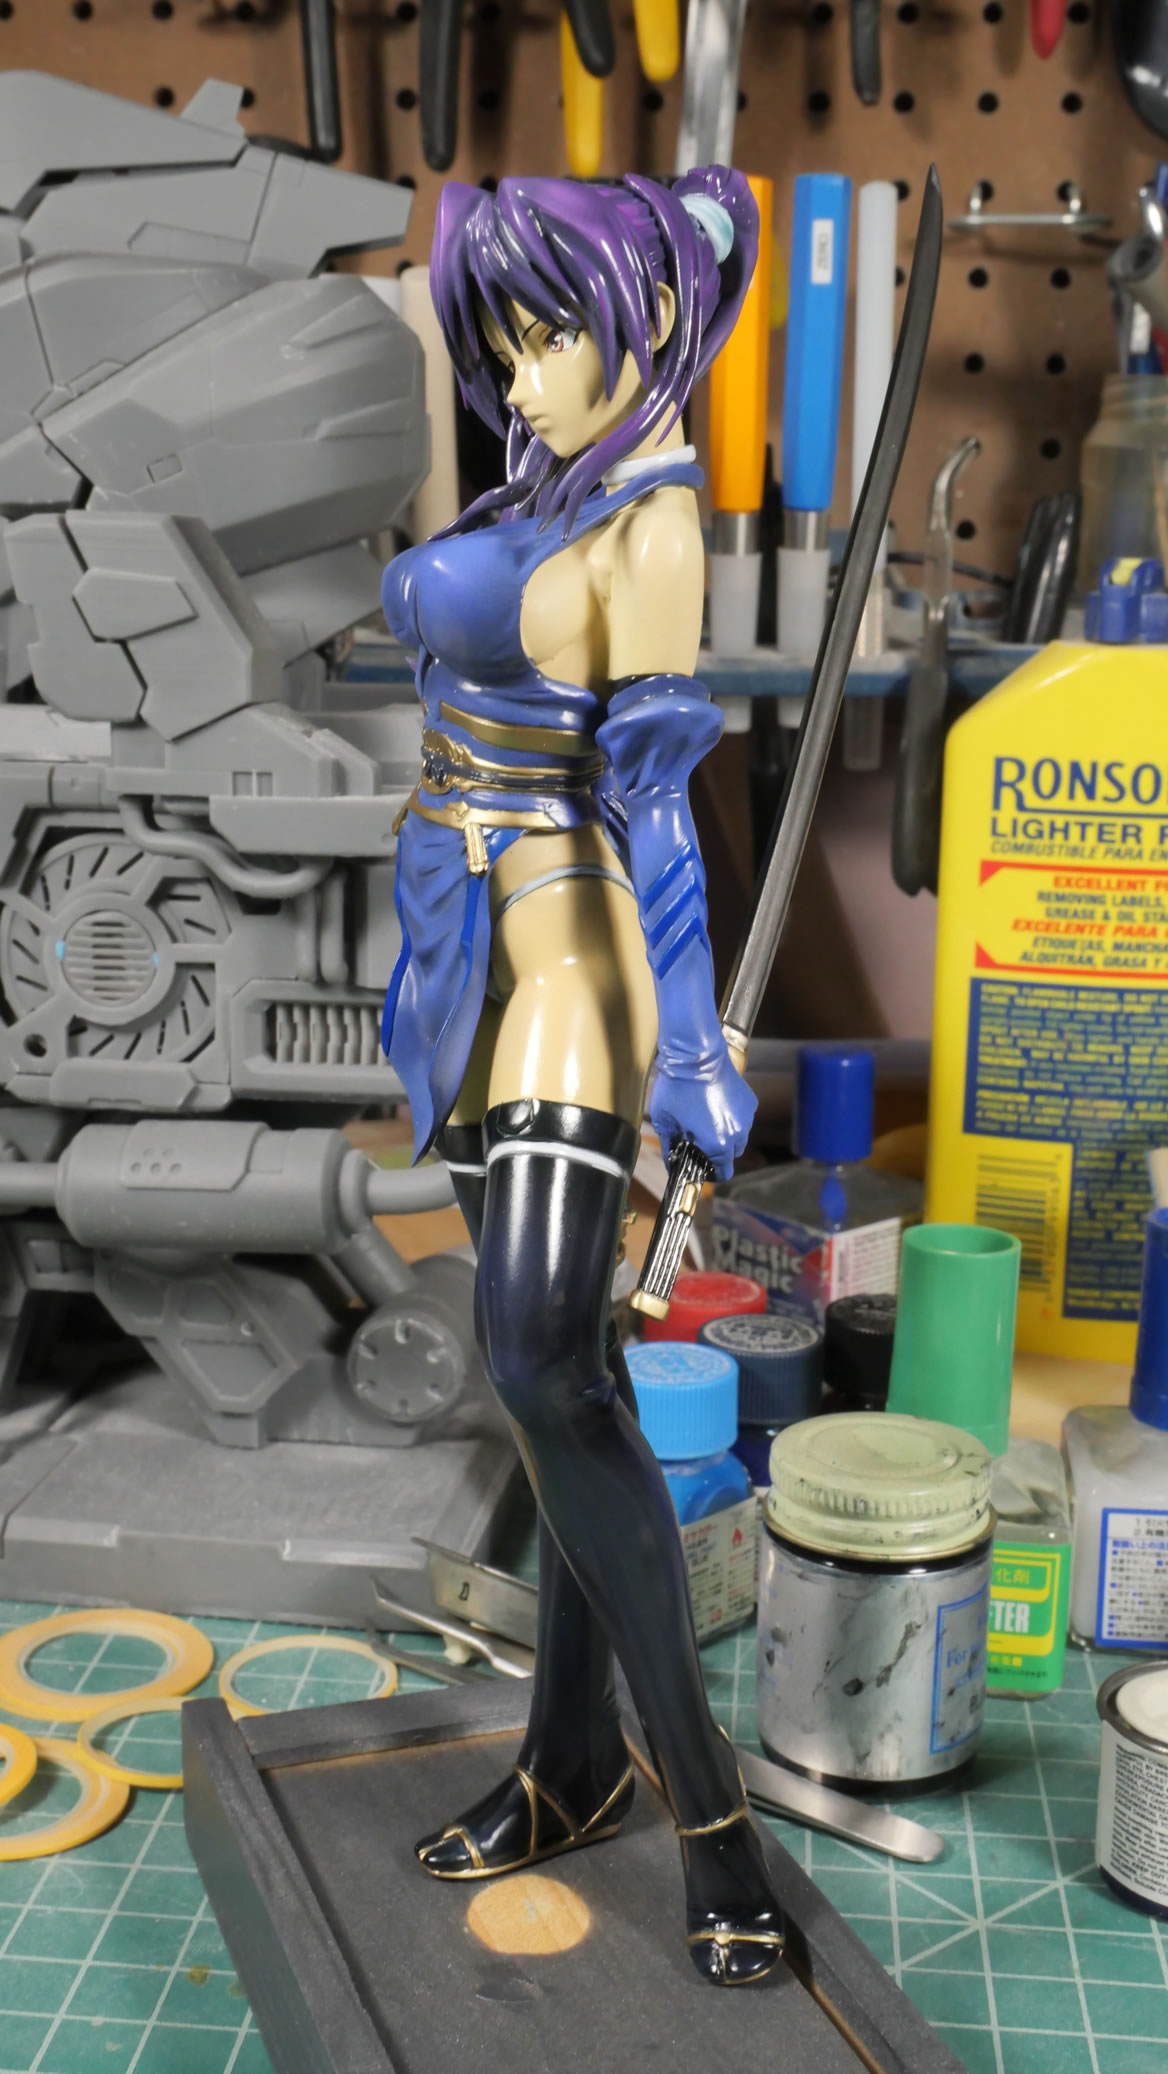
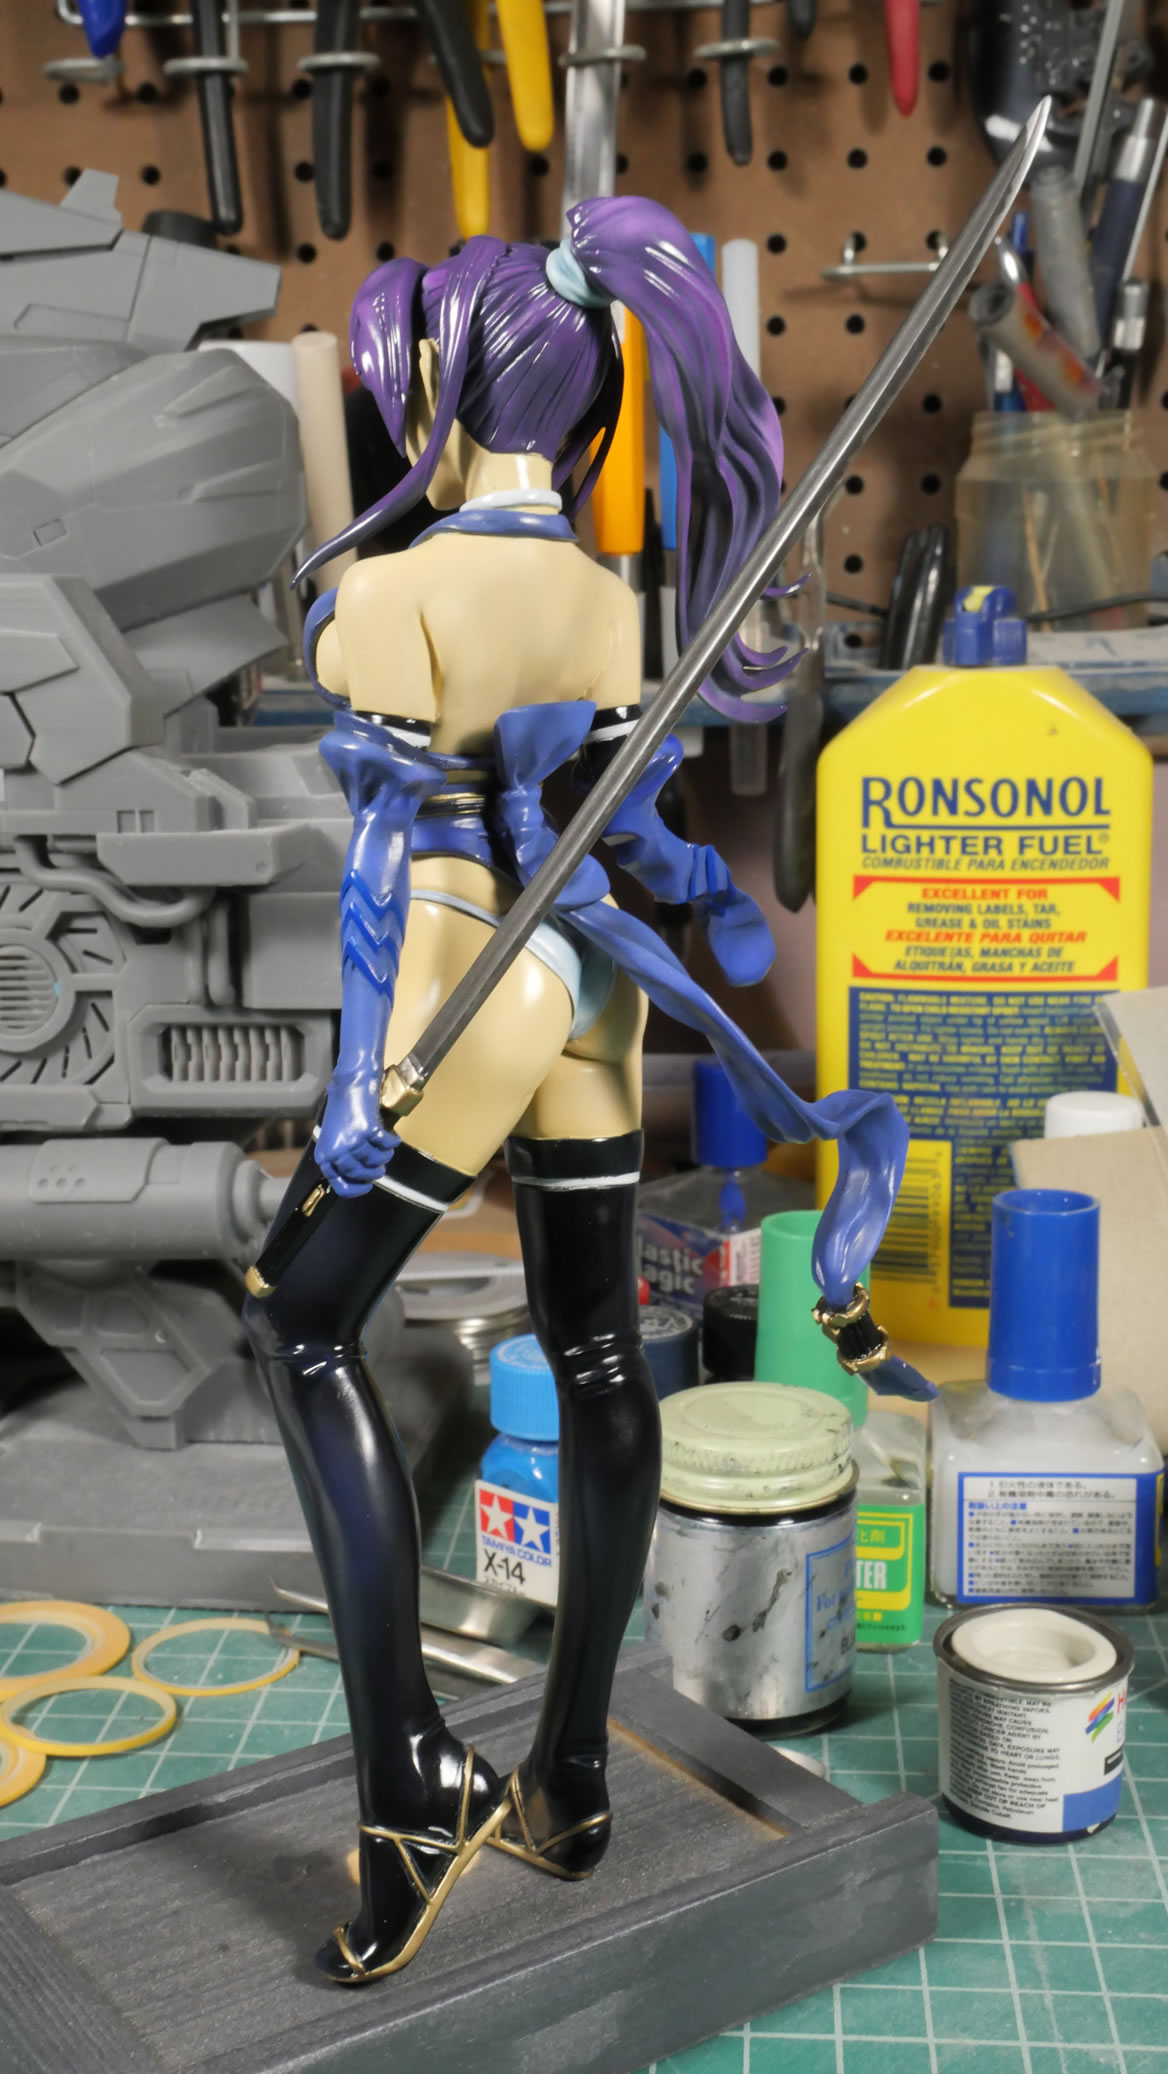
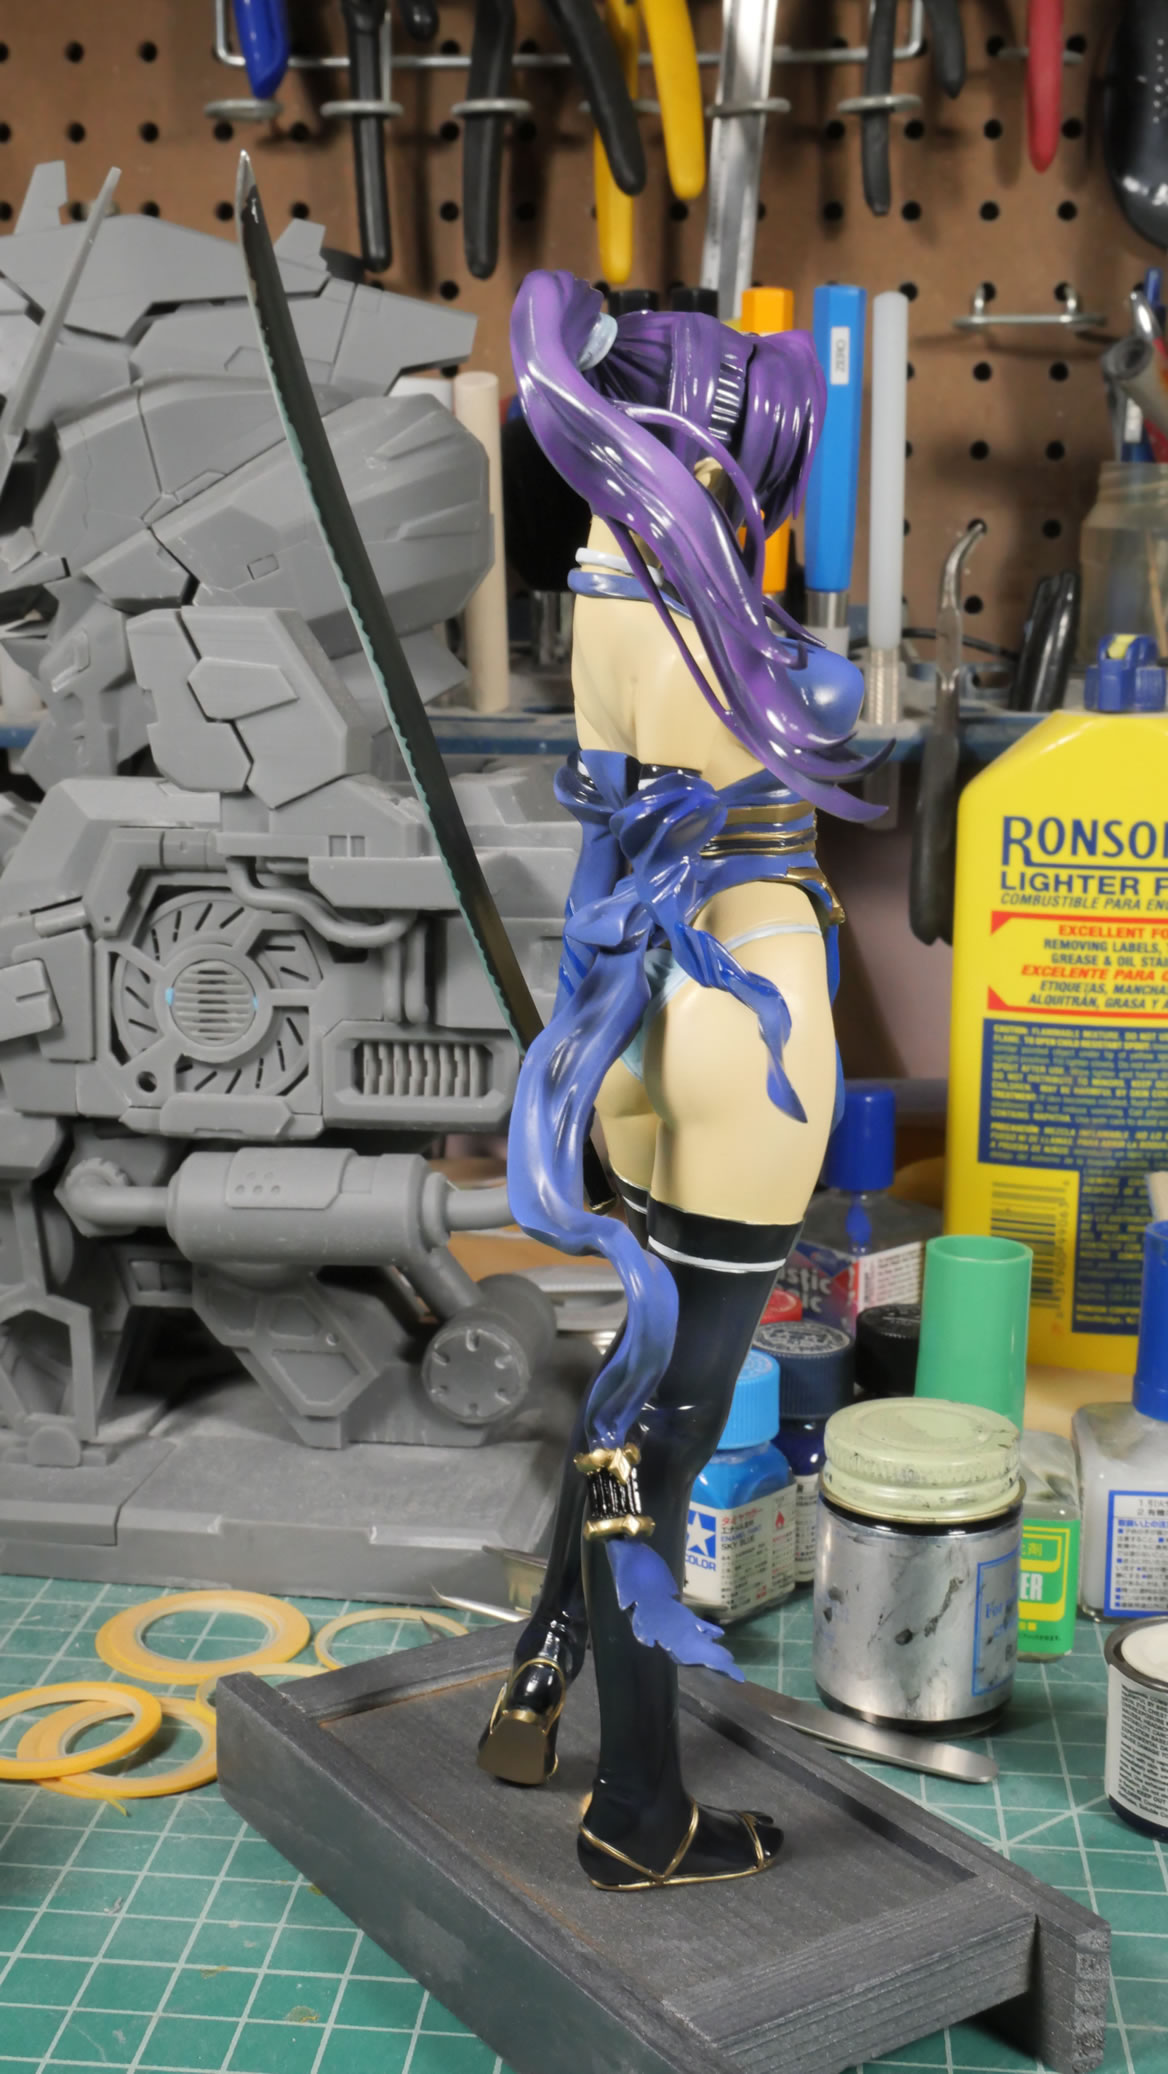
The sword blade and hilt are painted. Mask off the sword parts to paint the hand and arm. The highlight stripes are also masked around and painted in a lighter blue.
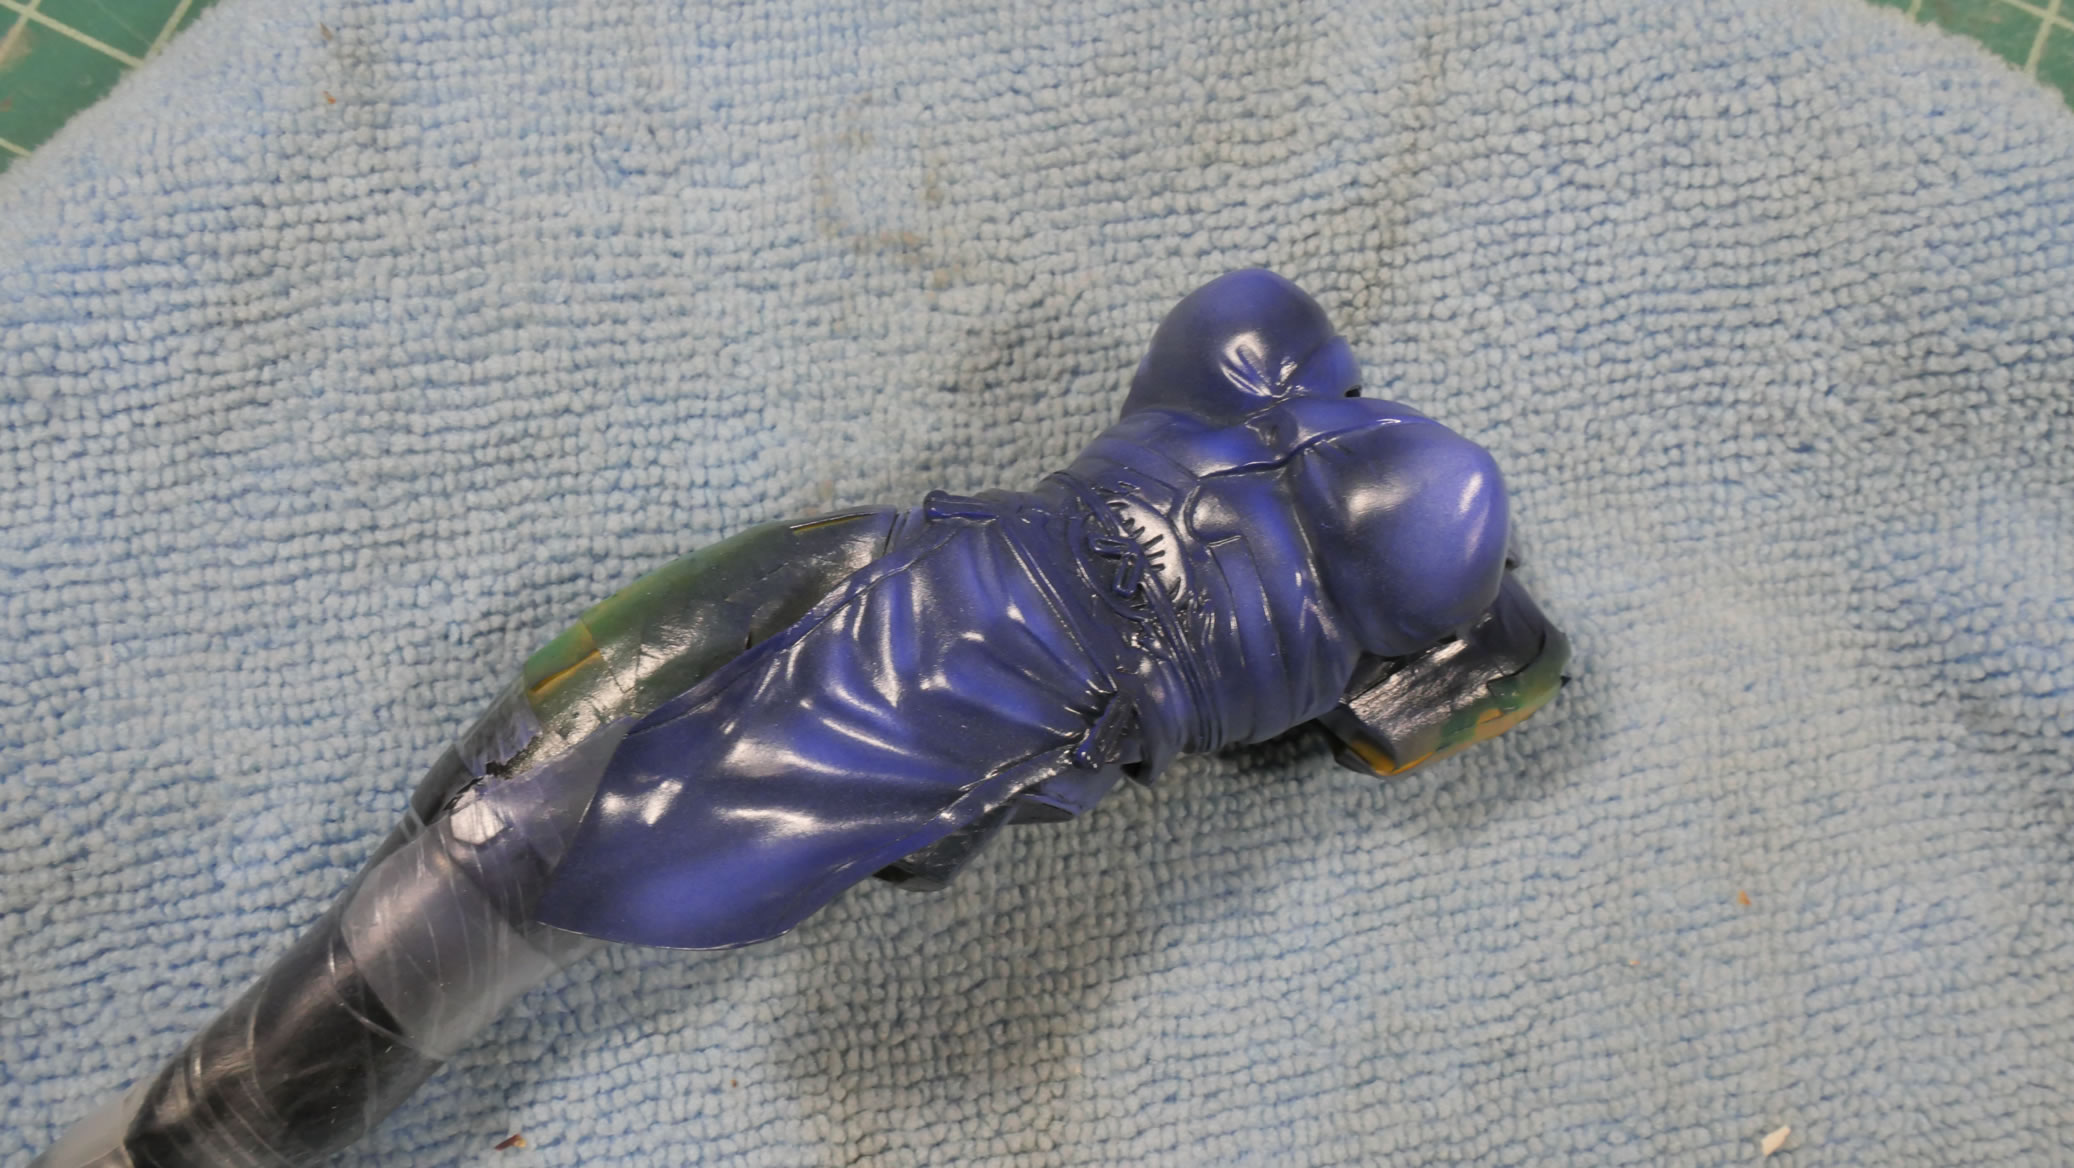
Dress is masked off to paint the gold areas. I’m using alclad polished brass for this color which works well with the blue. Once that is cured, mask again to paint the string details a dark blue.

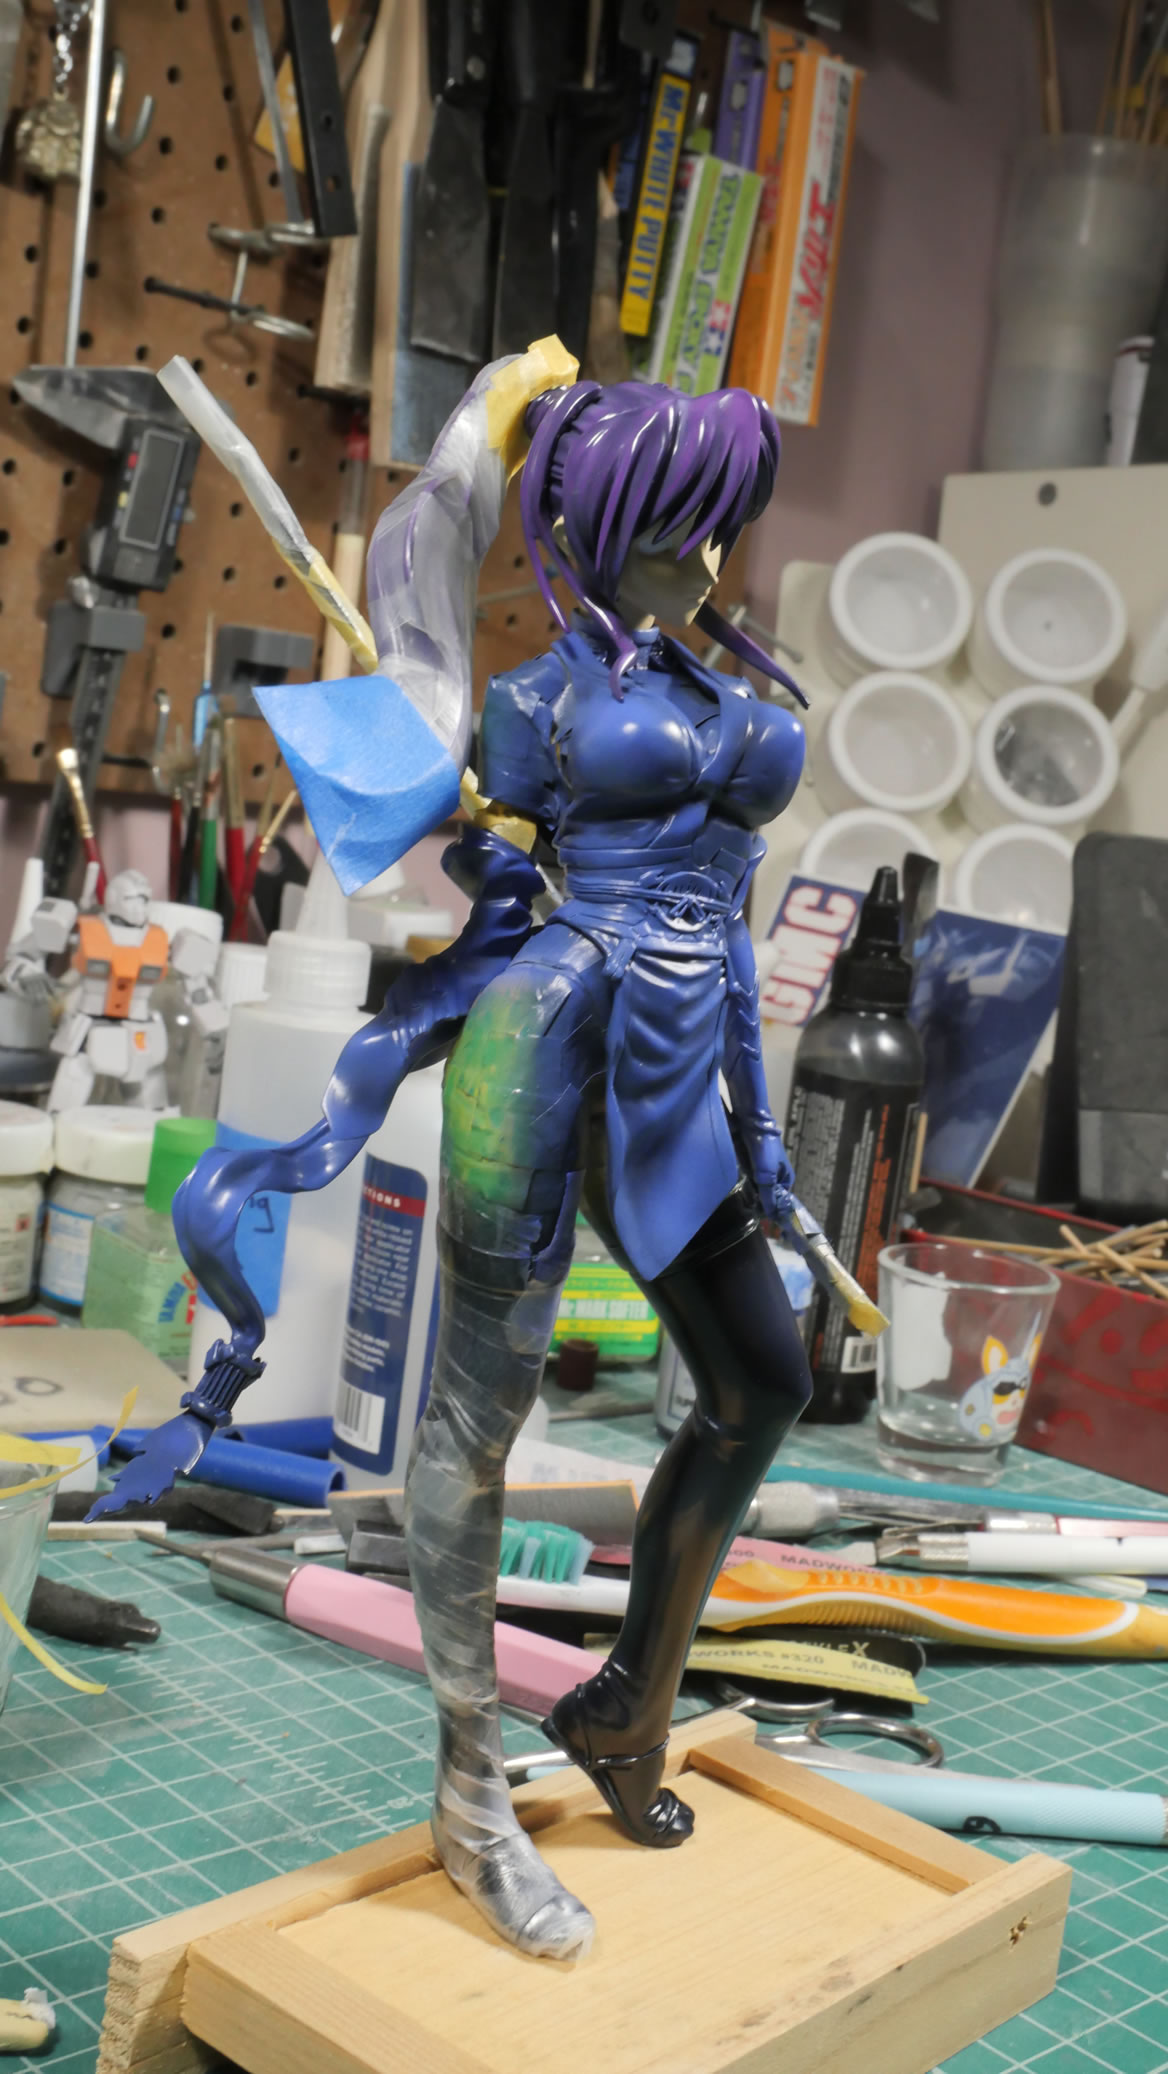
Almost done, just a few more details here and there. But another quick mockup turnaround.
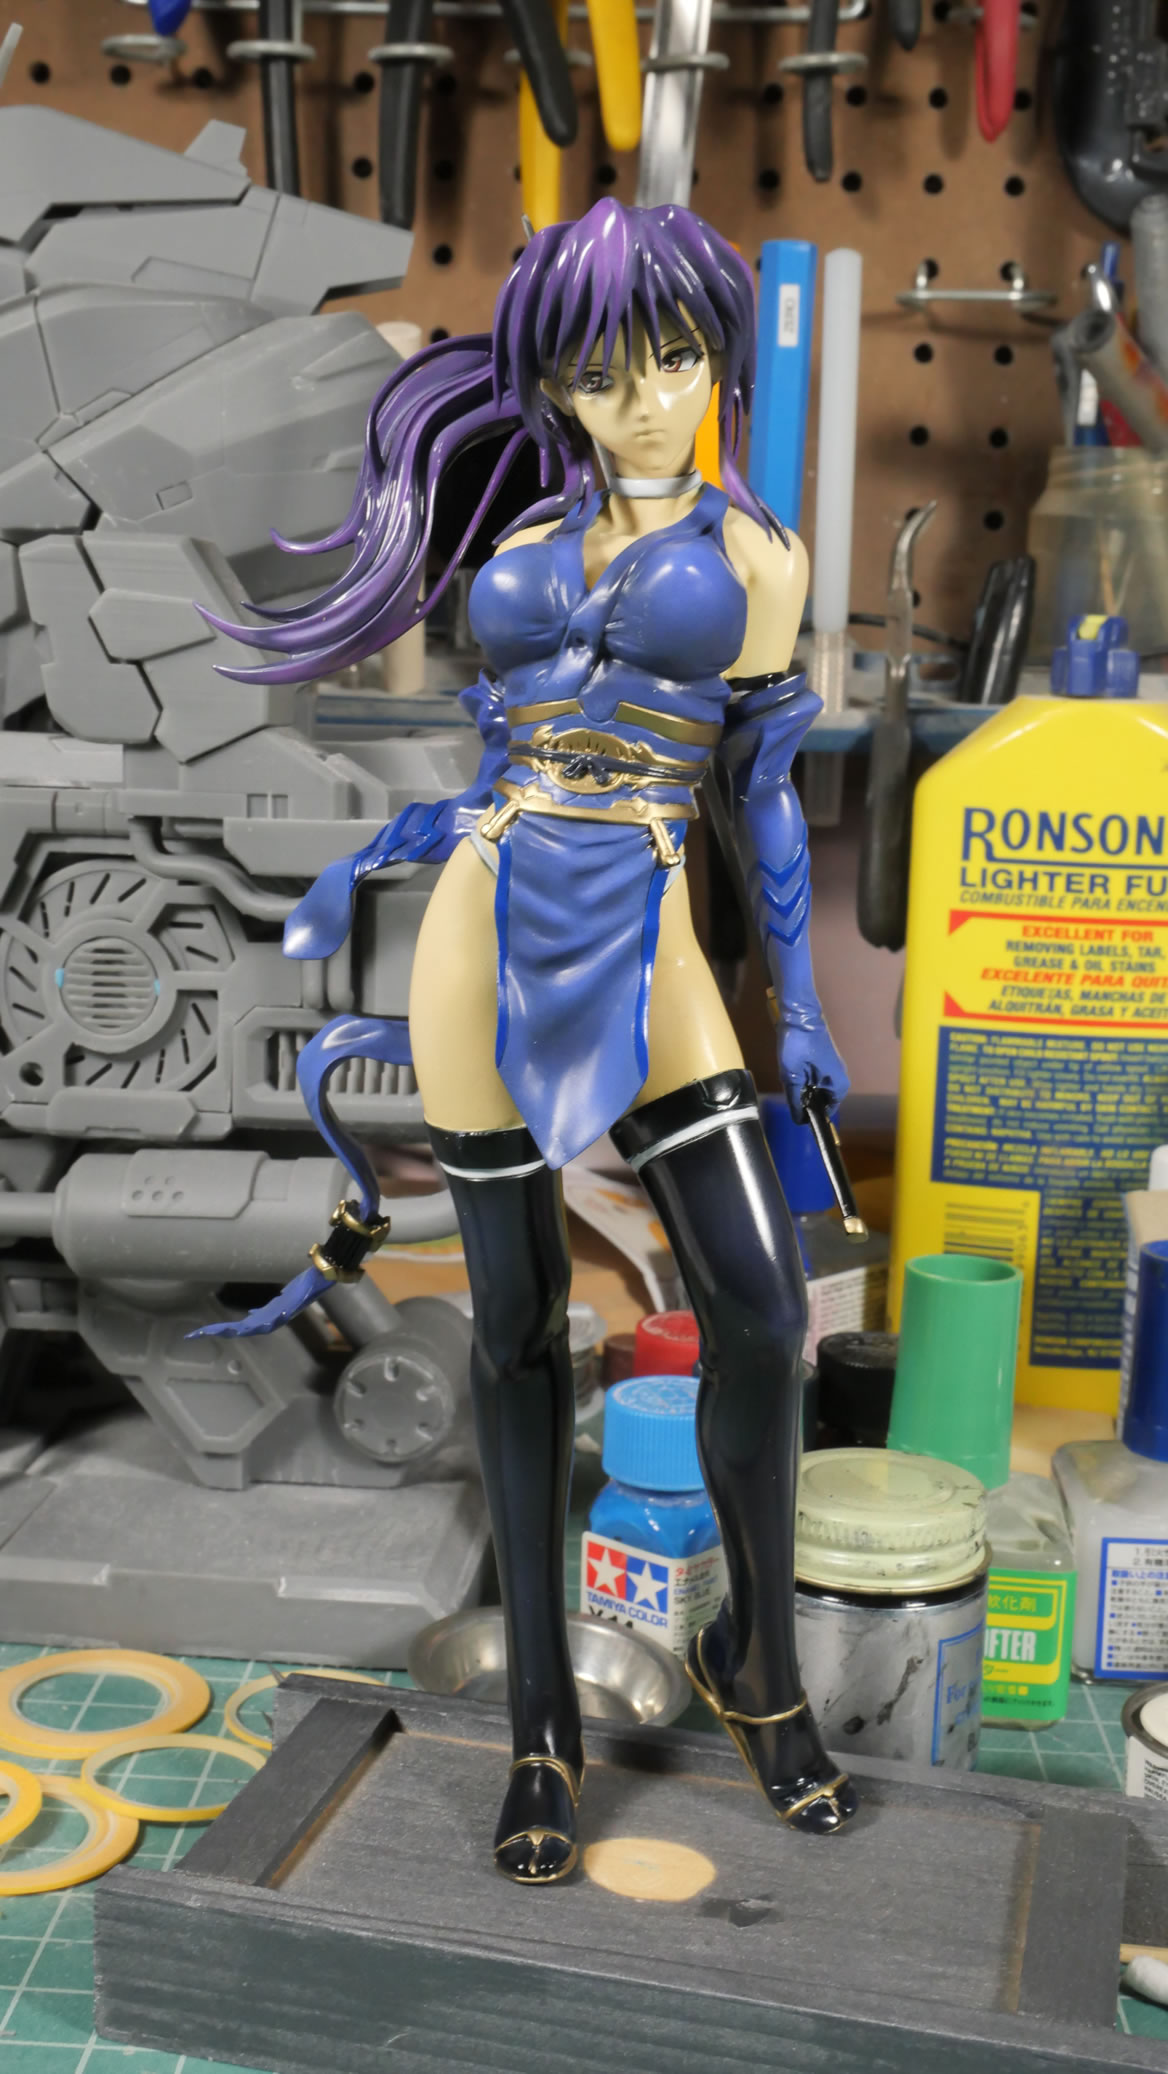

Semi matte clear is sprayed to take off the gloss shine.
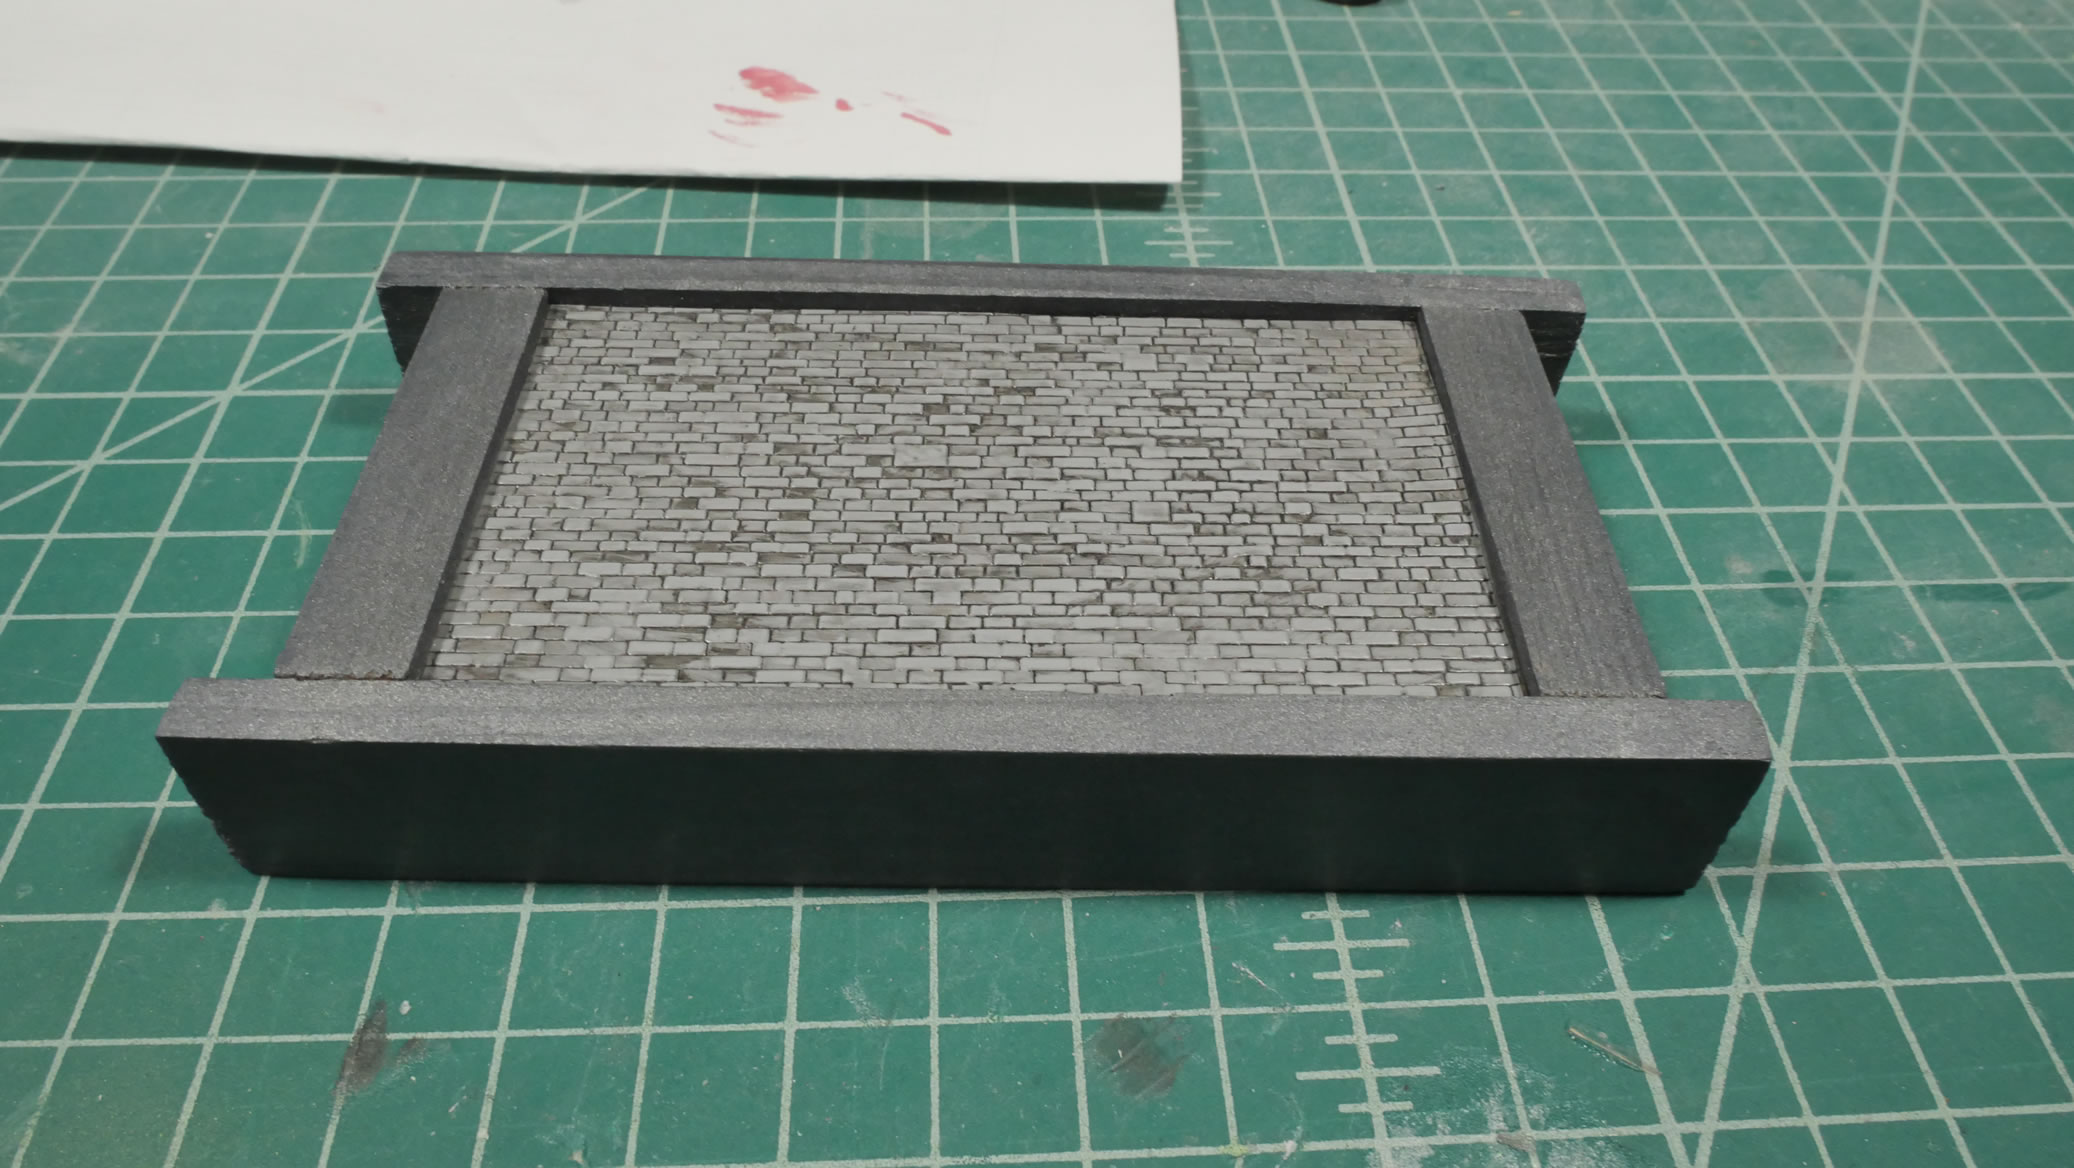
The base is a simple wood frame that I filled with some wood filler, sanded and painted in a light gunmetal silver. The top of the base is an inset of a brick wall sheet of plastic painted and panel line washed to bring out details.
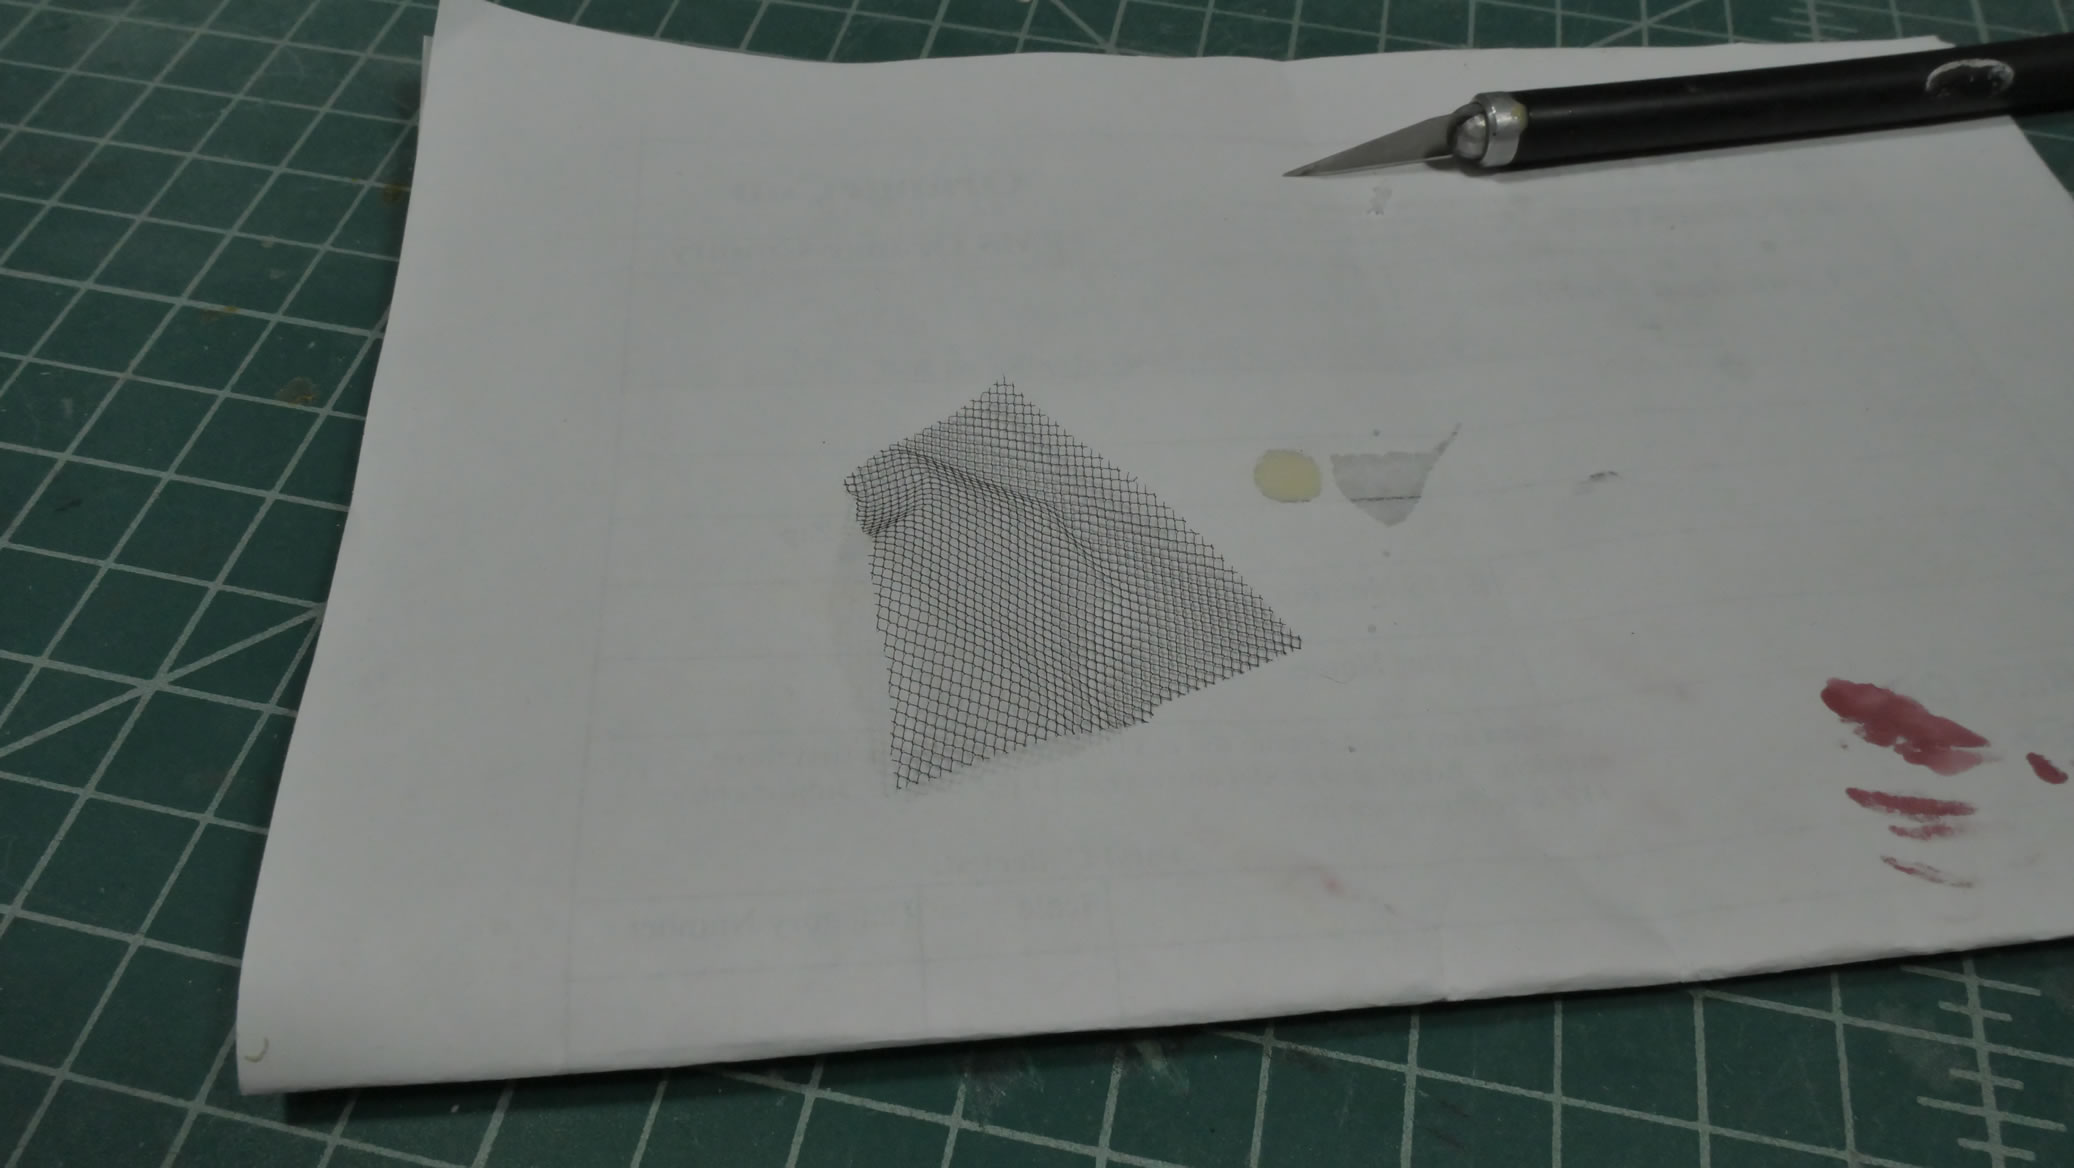
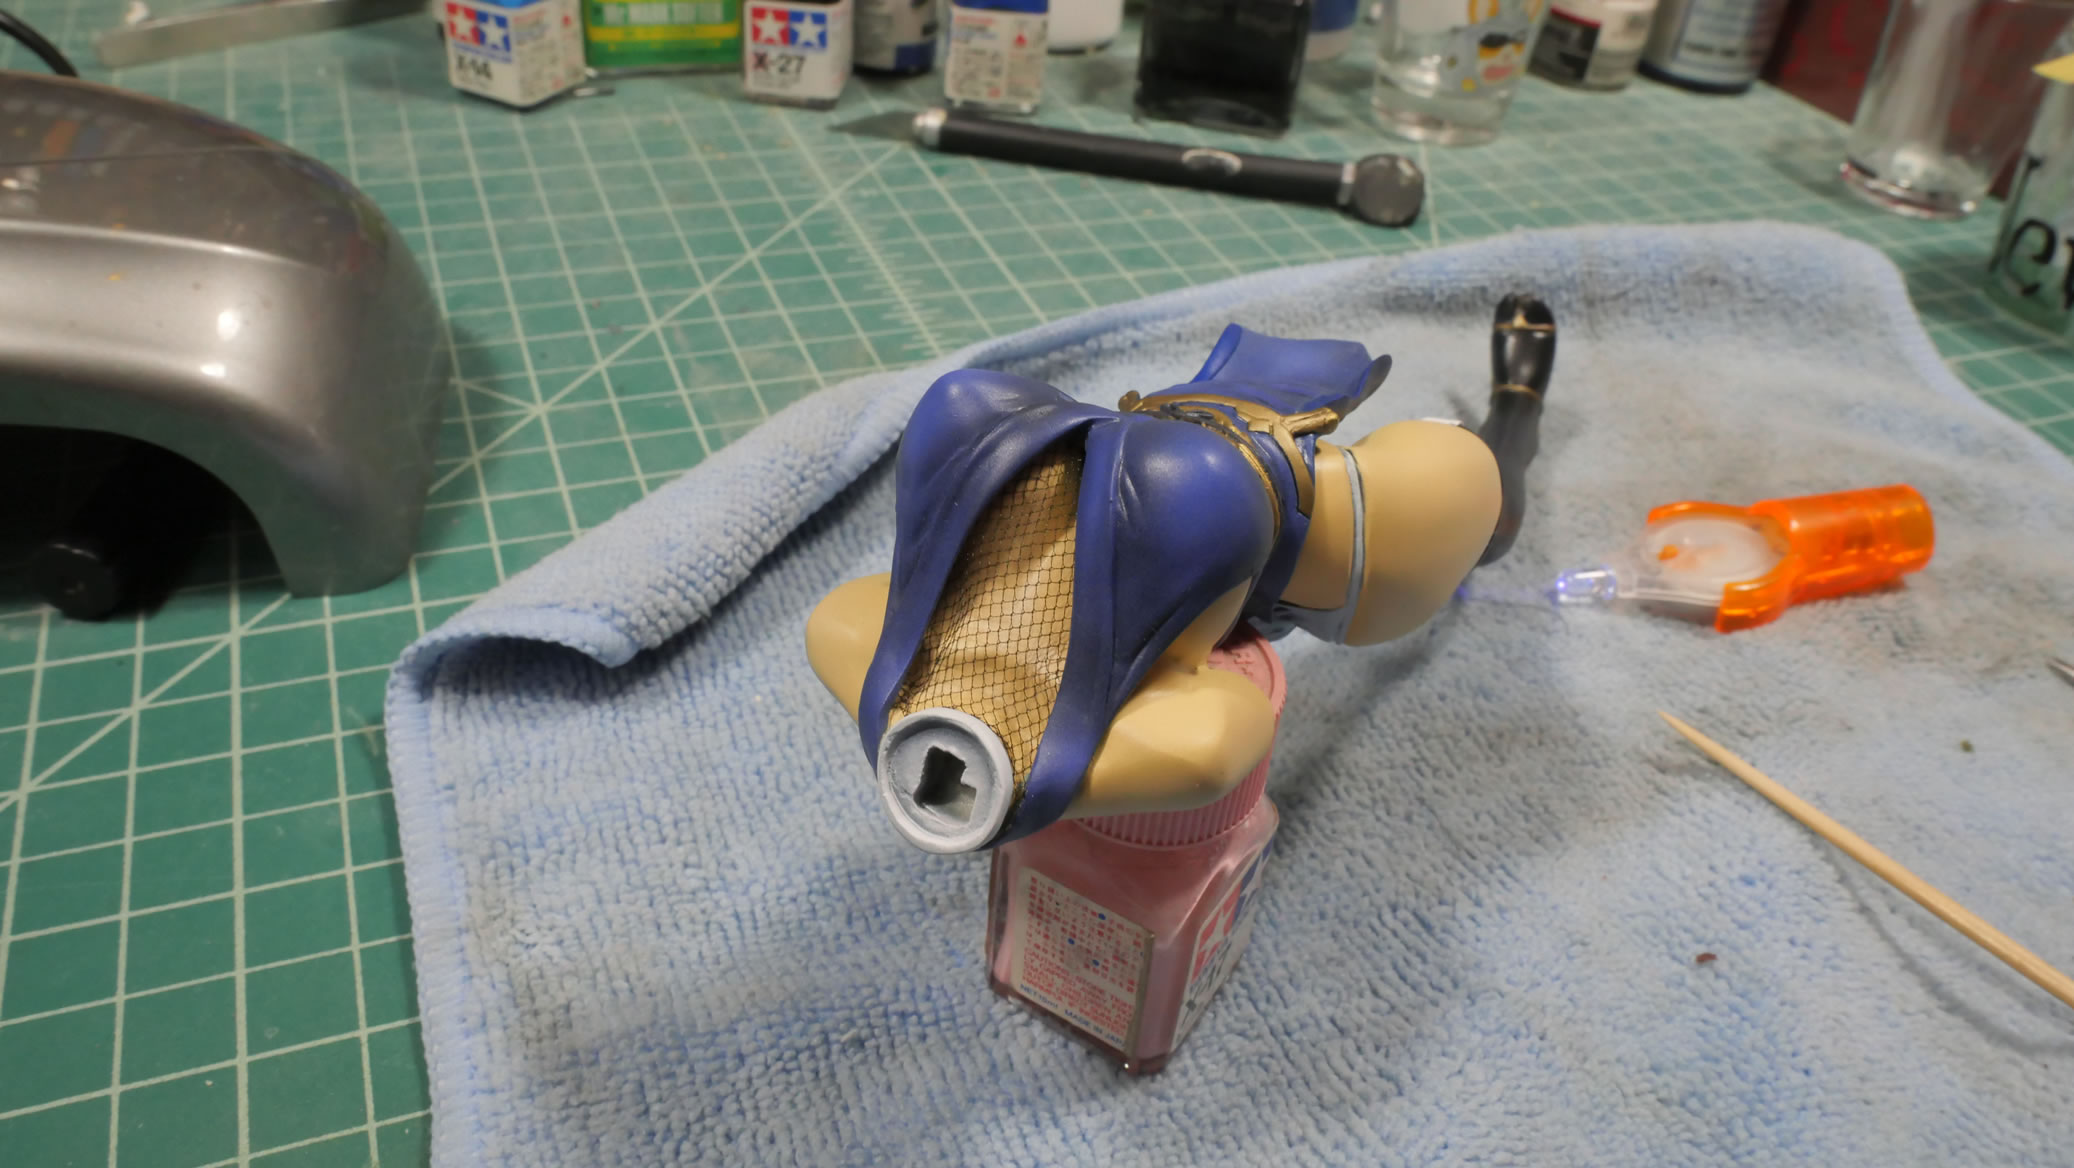
The last bit of detail is the mesh over her chest and up to her collar. I found some mesh that scaled nicely and just trimmed it to size. UV glue is used to attach the top of the mesh to the bottom of her collar. The UV glue is great since I can reposition the mesh until I’m satisfied, then shine some UV light to cure the glue. Better than waiting for the glue to set, or having the glue set too quickly. The rest of the mesh is just tucked into place and she’s done.
Finished picture gallery: Volks A Brand Subaru Completed