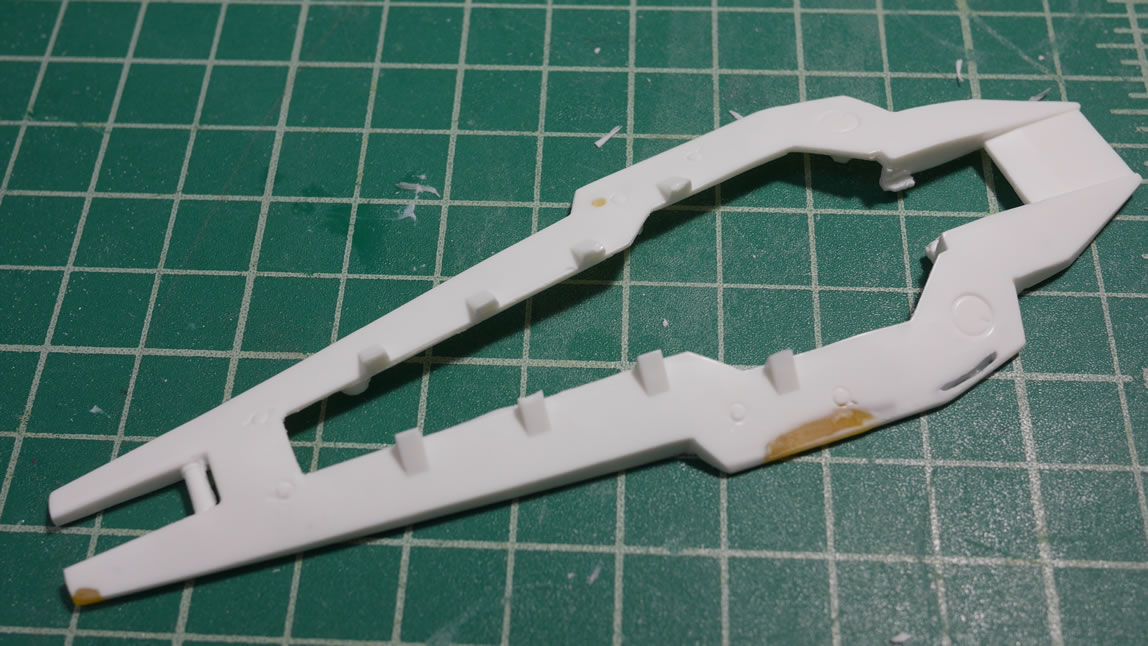
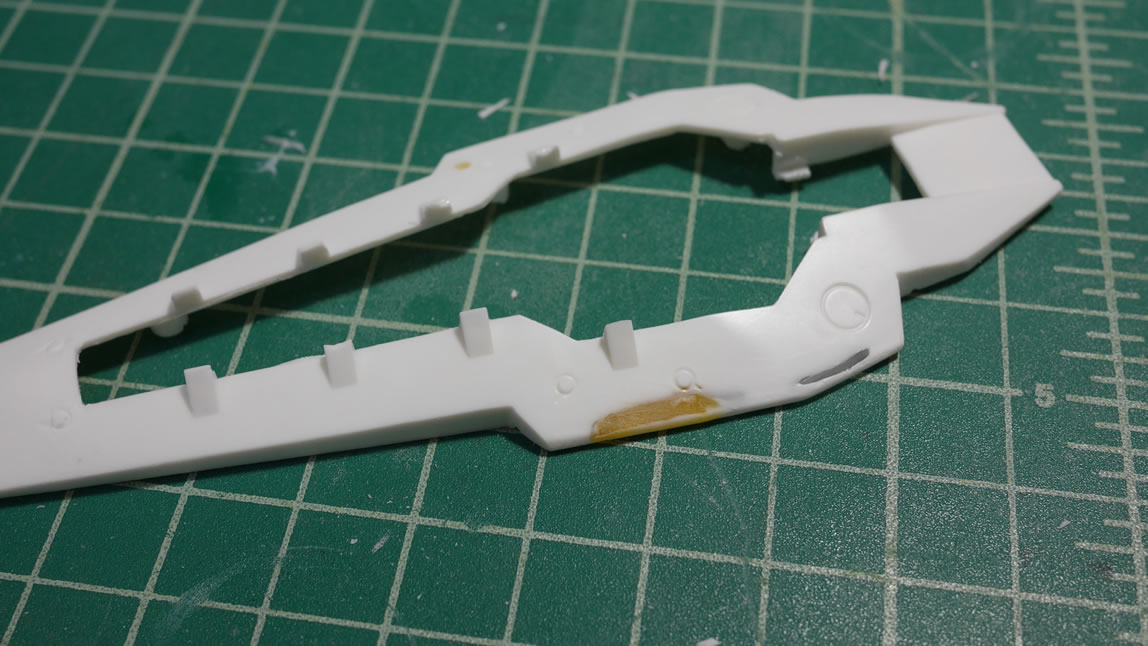
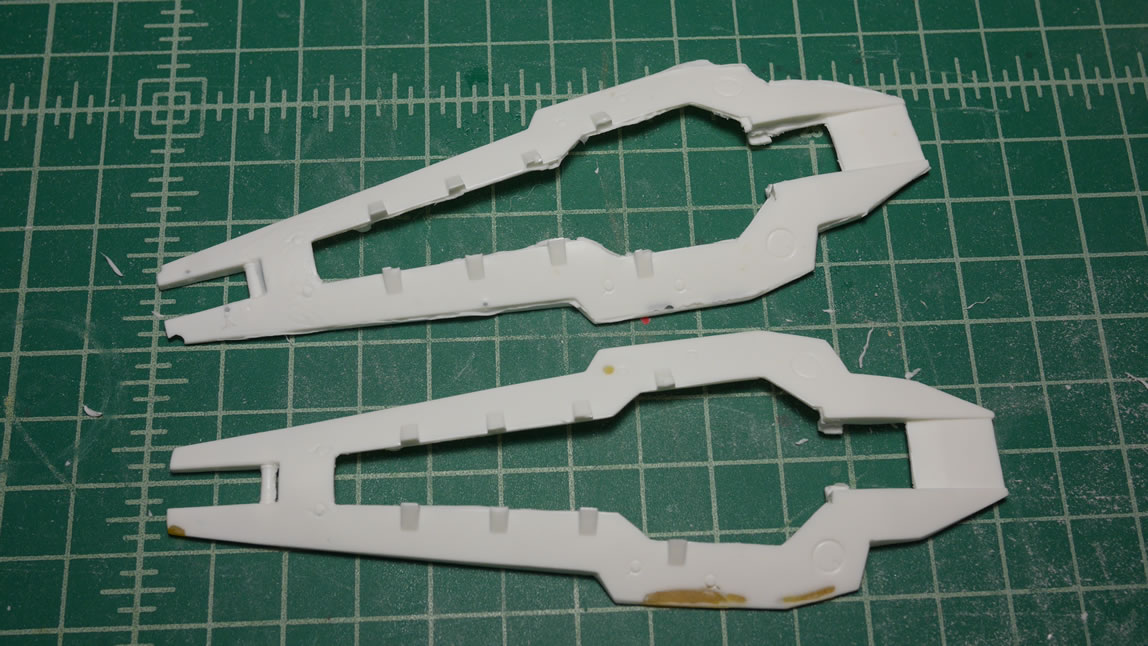
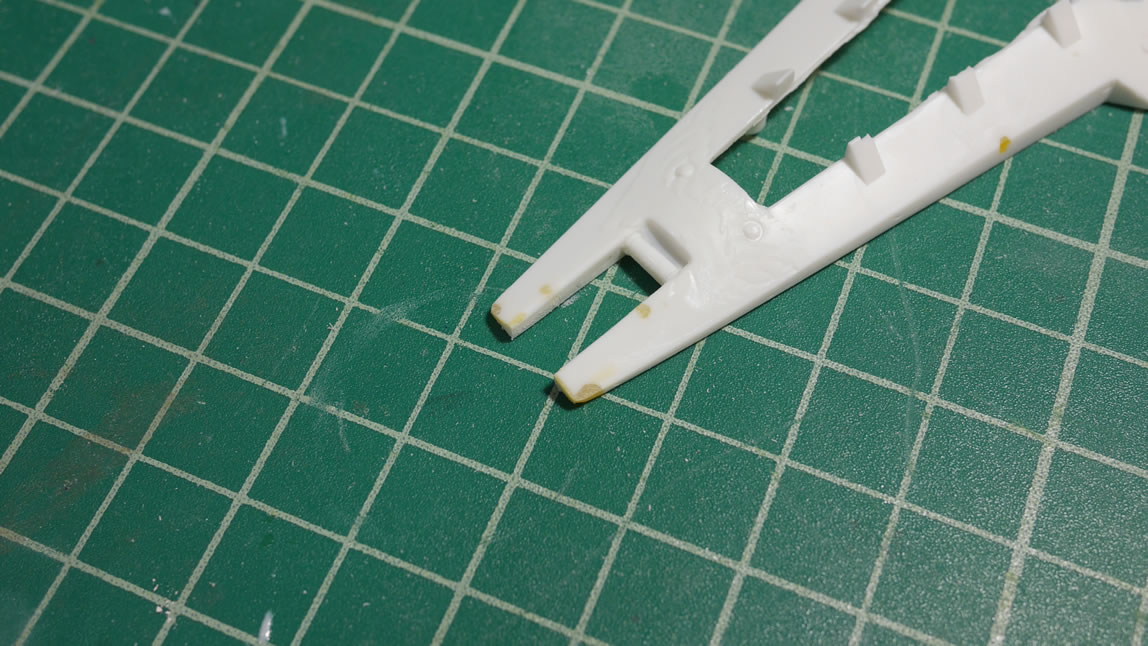
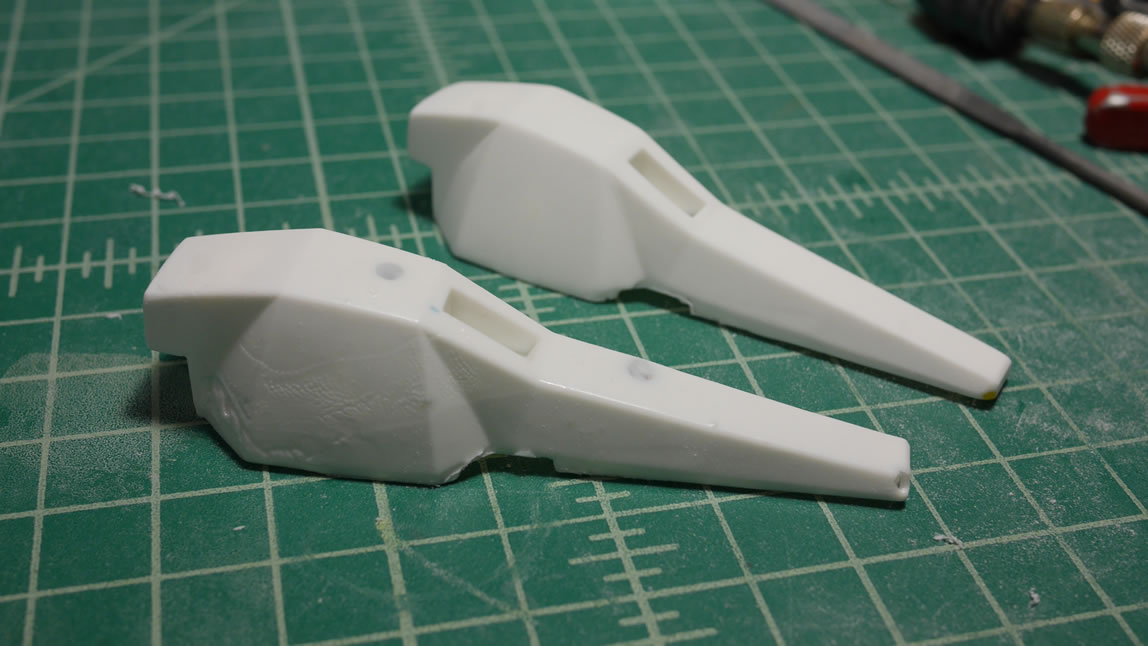
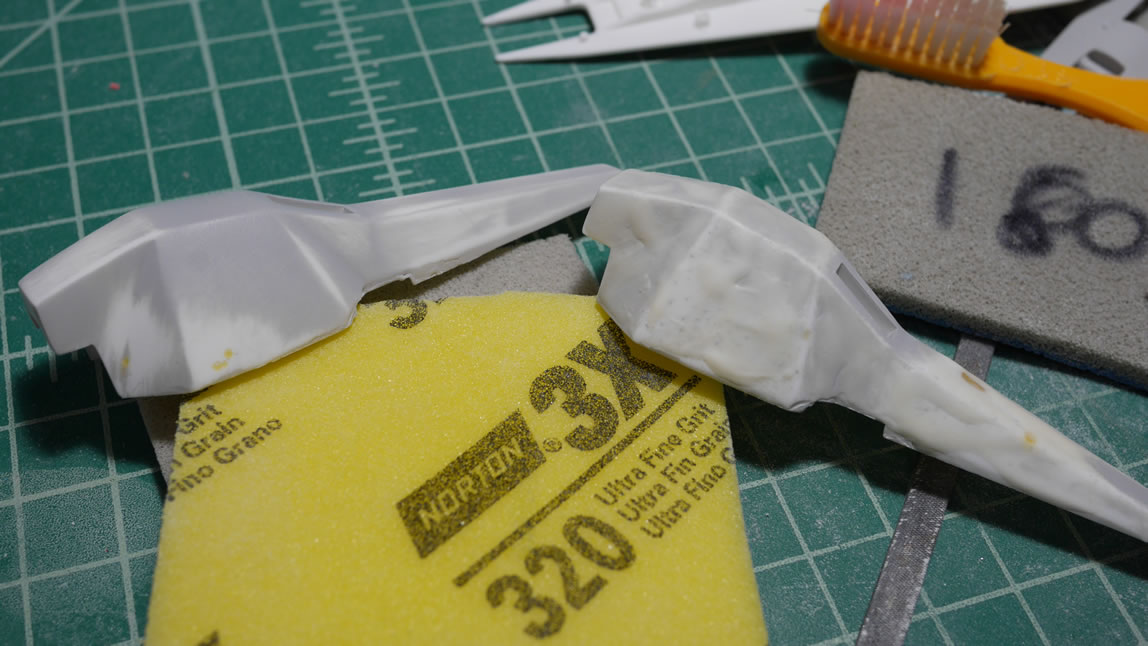
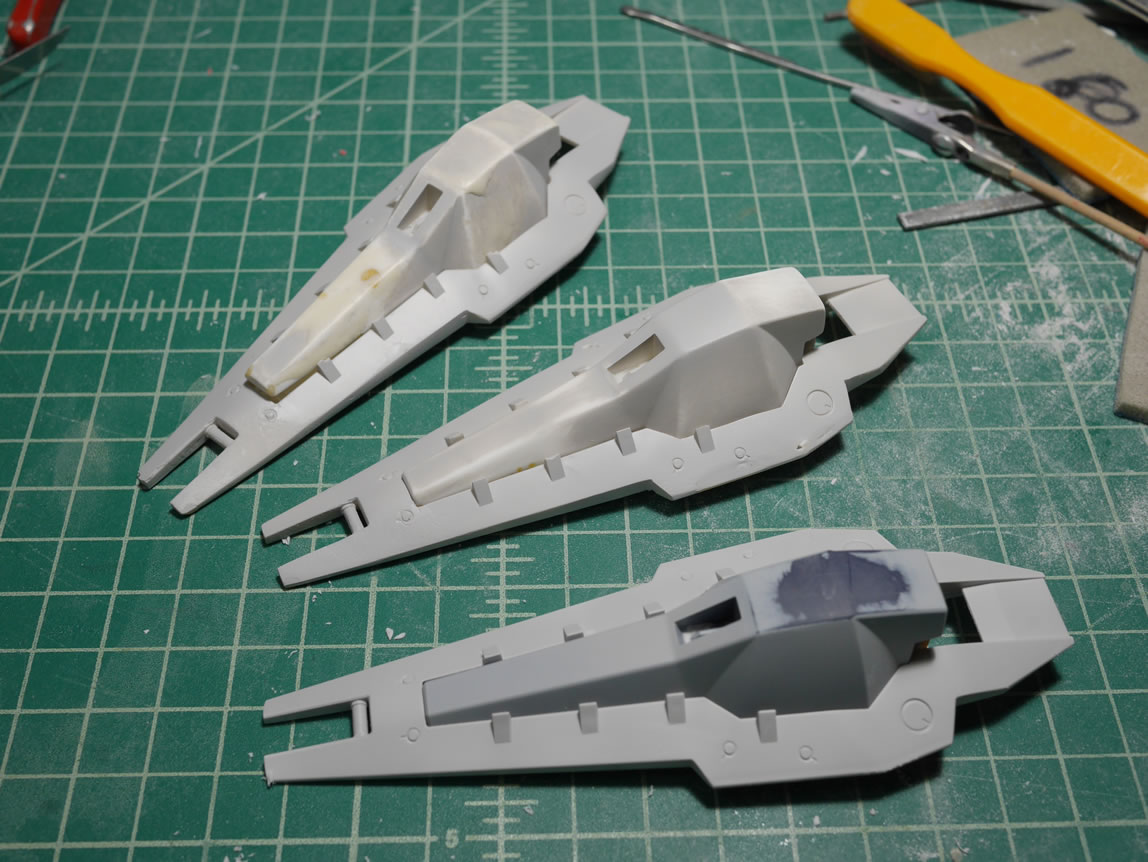
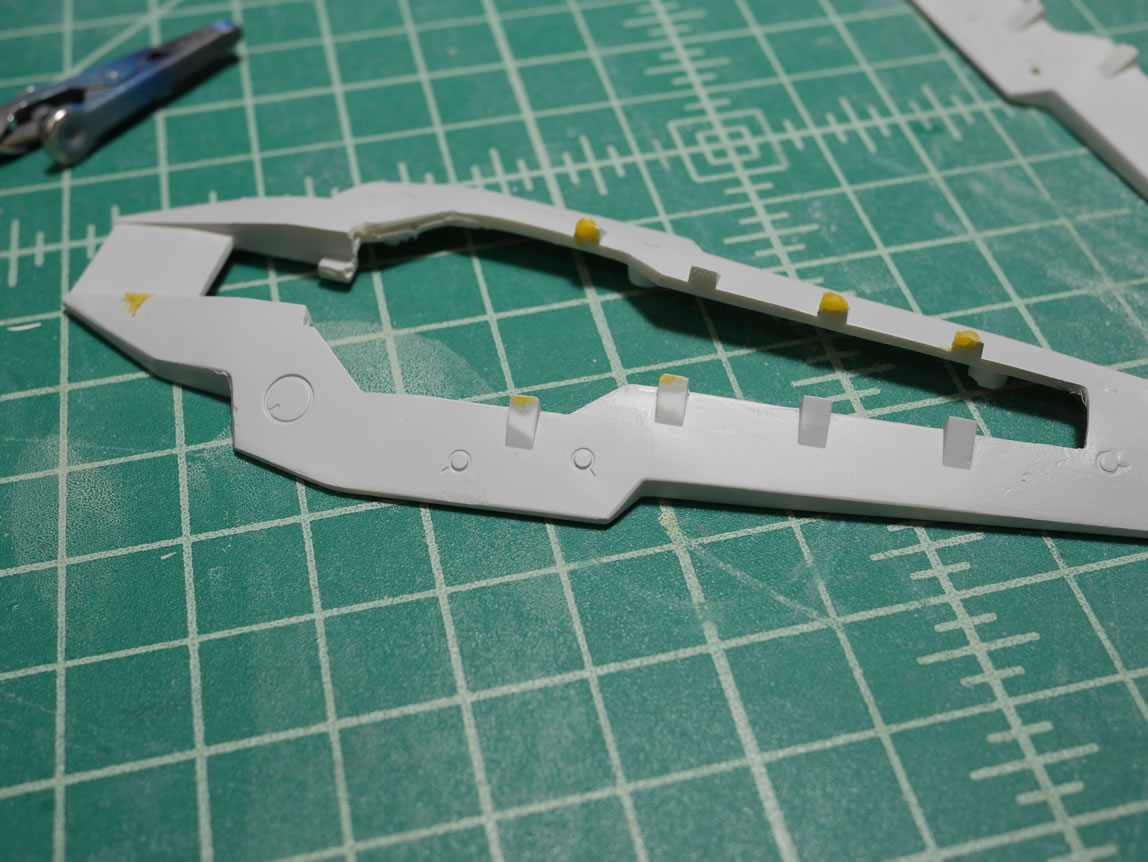
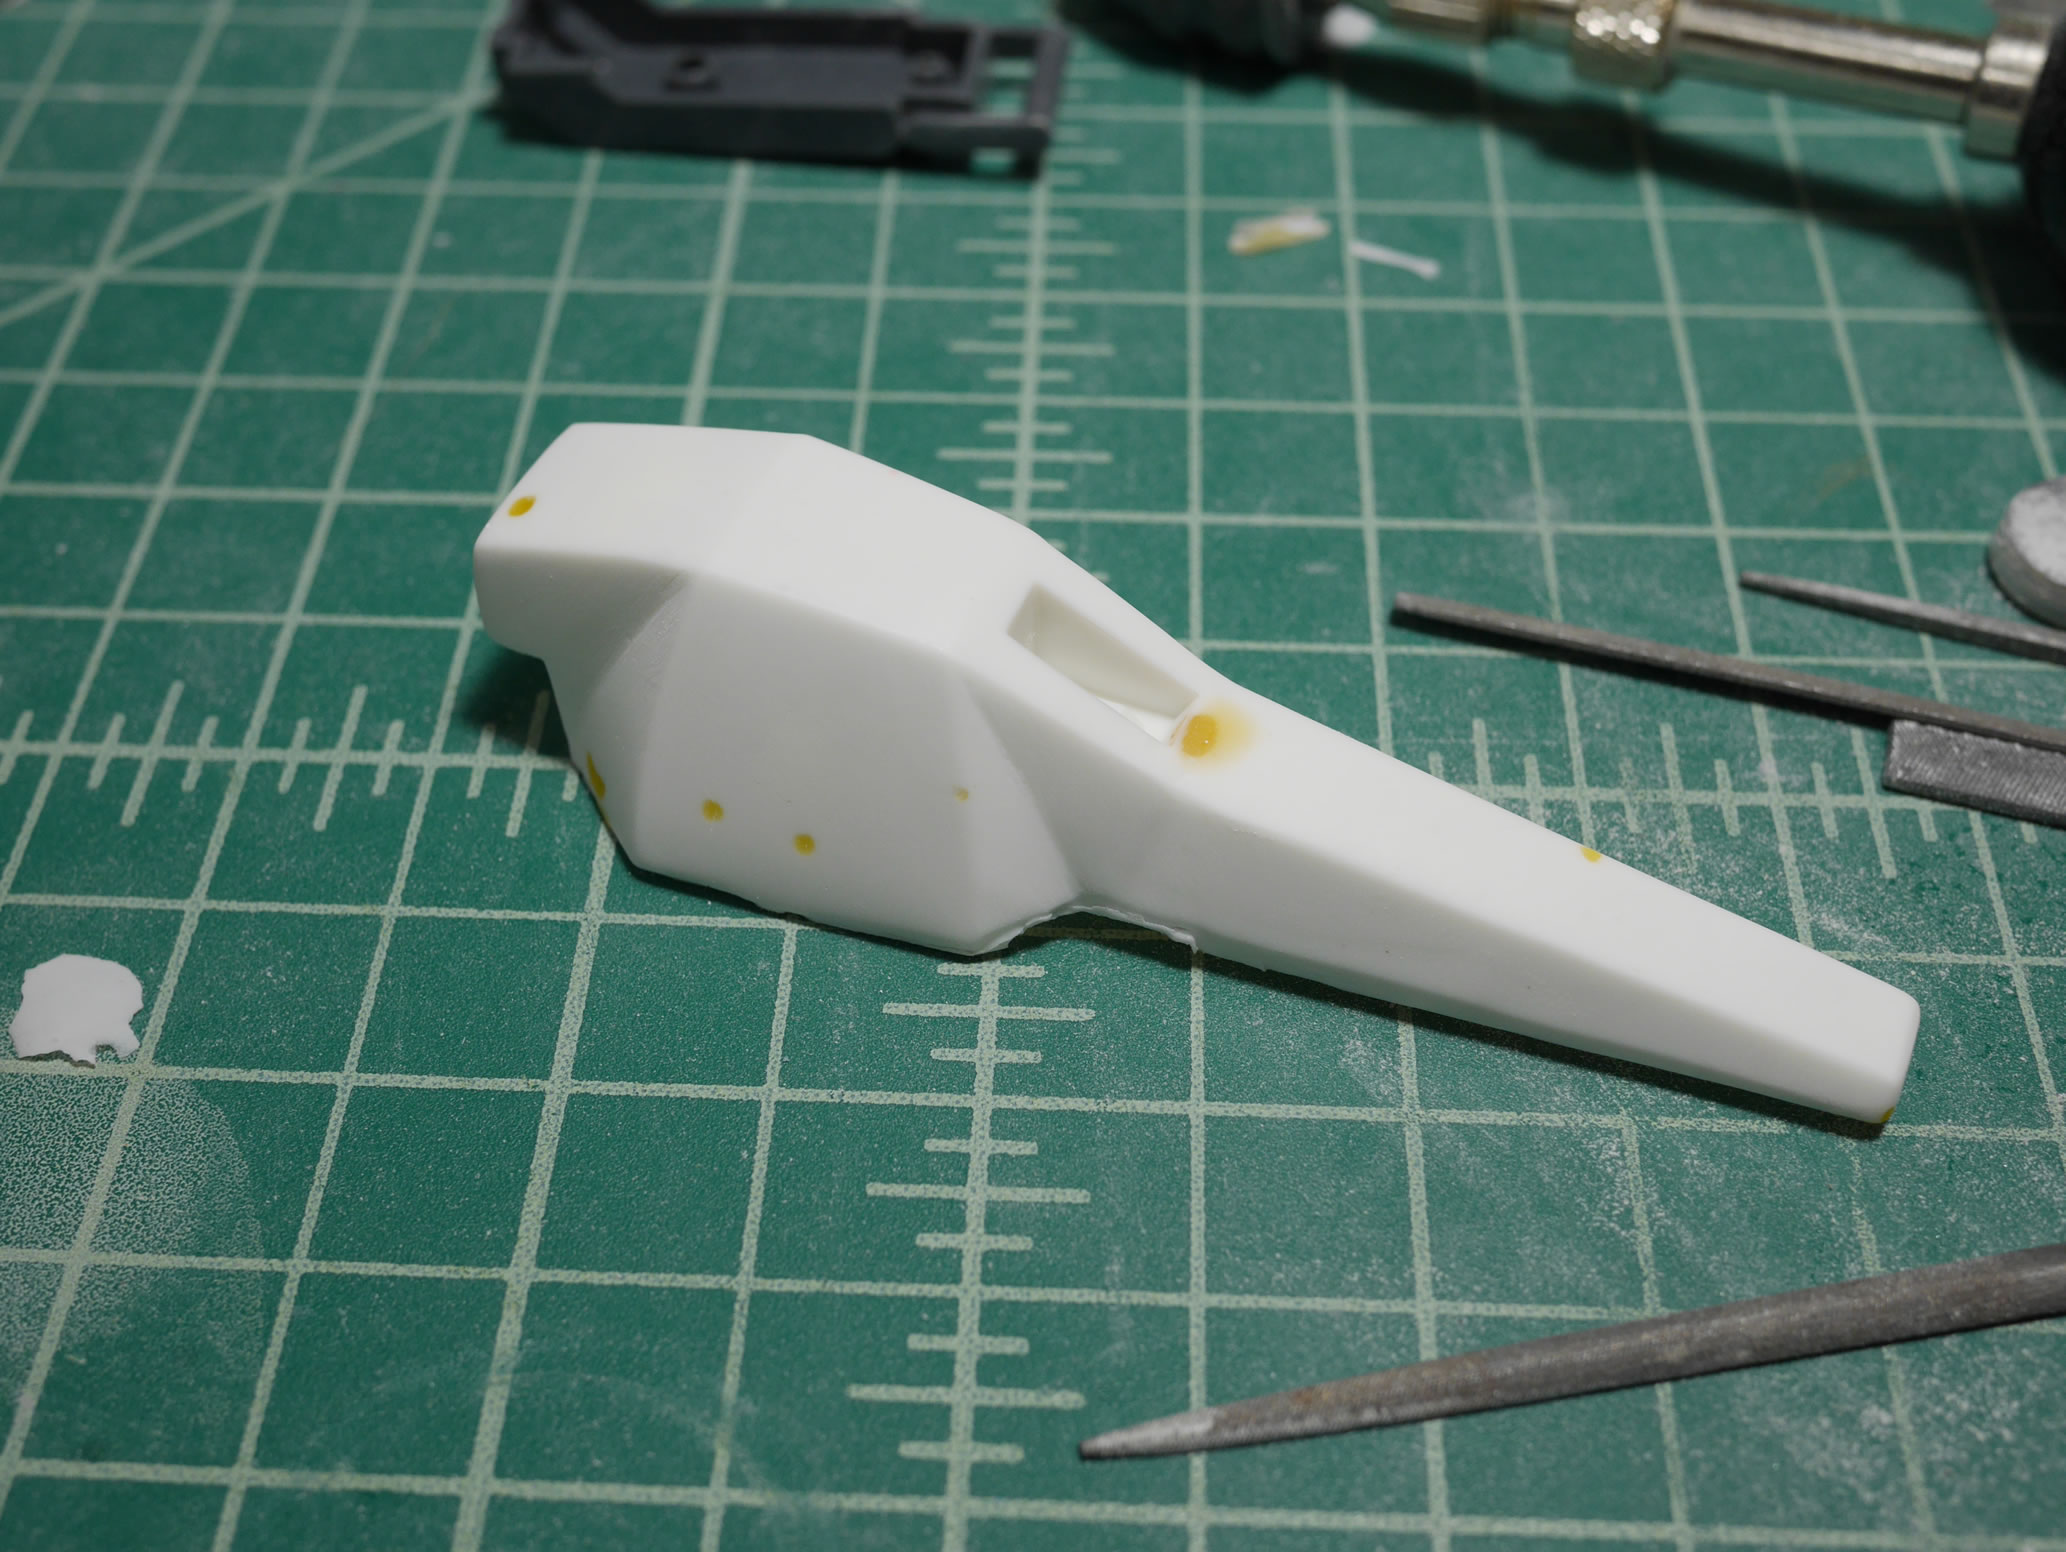
October 16, 2017: This kit arrived a few weeks ago while i was finishing up my “RX-78 GP03” Mobile Student entry for SCGMC 2017. So there was a little bit of an overlap on the projects while I waited for things to cure on “Osaka”; I got to clipping and sanding the P-Bandai Hazel. The Hazel variation is the Custom, so we get one gun, 1 booster shield, and 1 normal shield. Fifteen or so years ago, an online acquaintance scratch built a resin conversion using the MG GM Quel and made about 100 copies of it and sold it to the online community. Here’s my build of that kit. The 12 year old conversion kit came with 3 booster shields as well as parts for a Full Armored version of the Hazel. So, I guess I was a little disappointed that the p-Bandai version didn’t come with more booster shields at the very least. But that’s a problem I can easily solve later. For now, I got to snapping and sanding the kit.
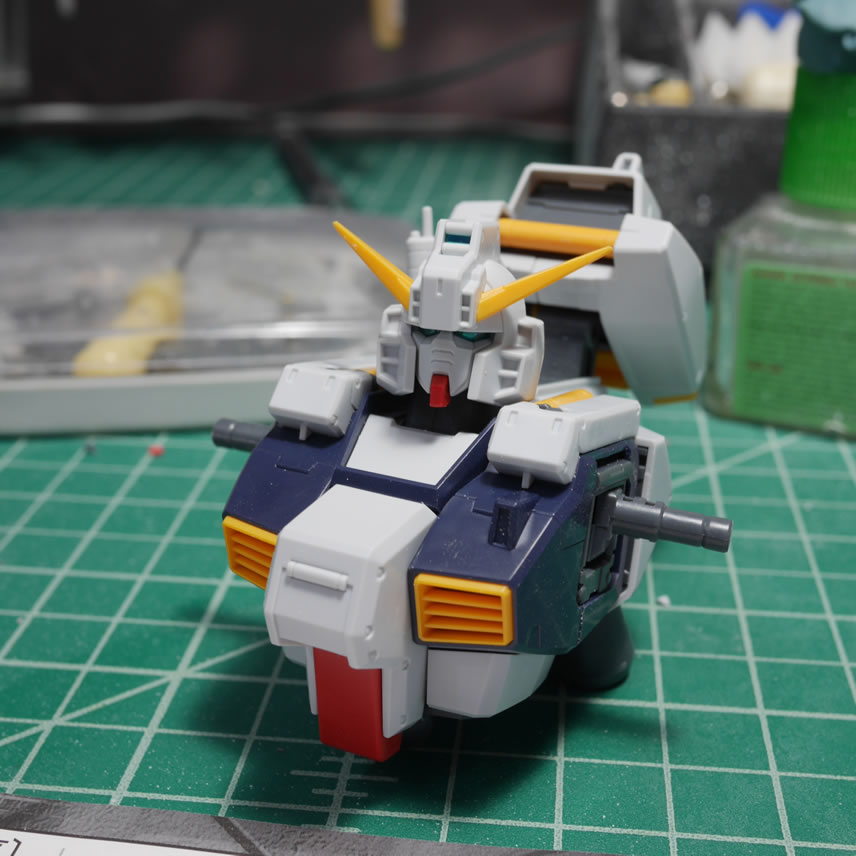
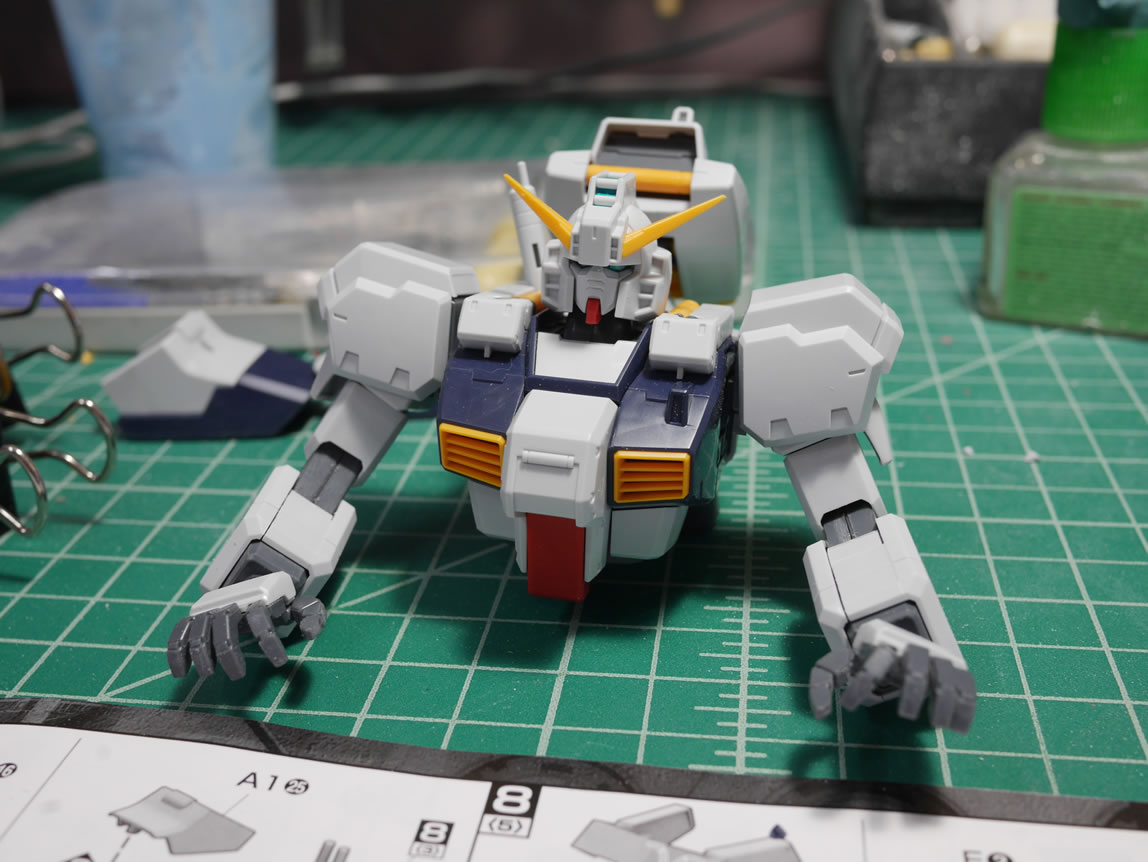
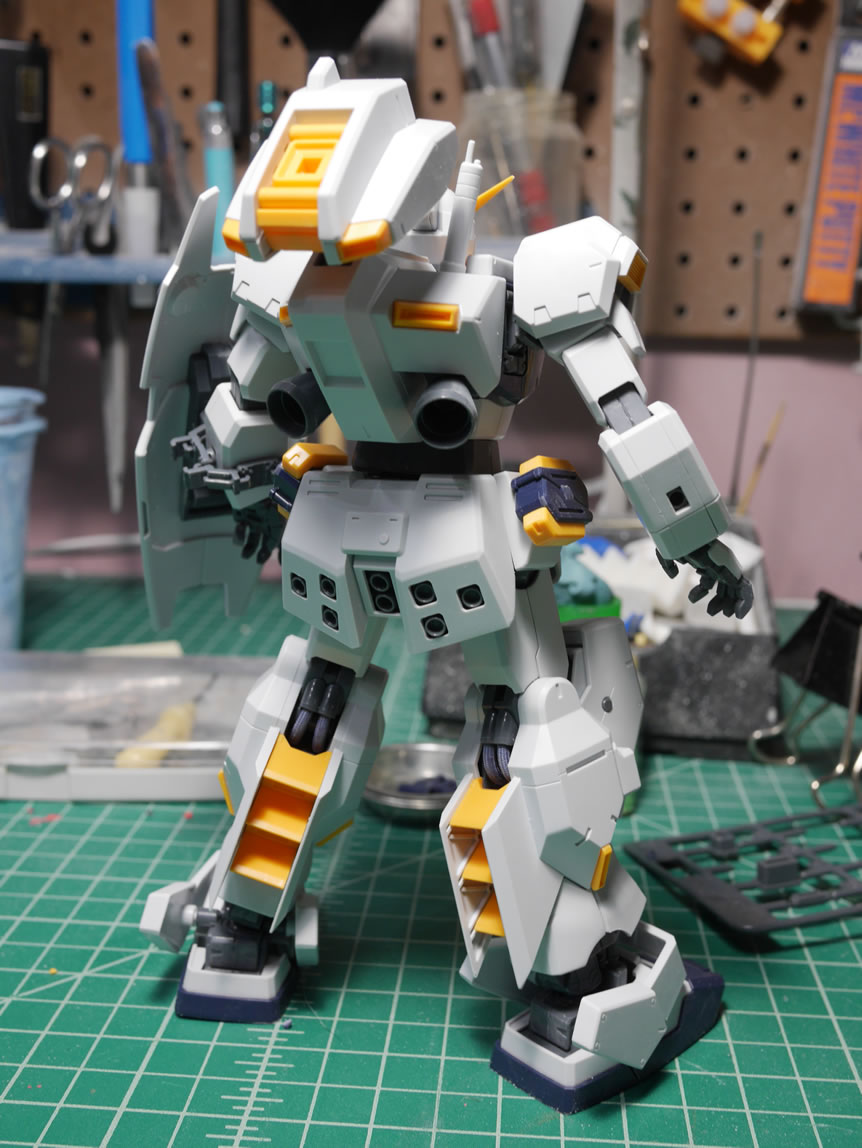
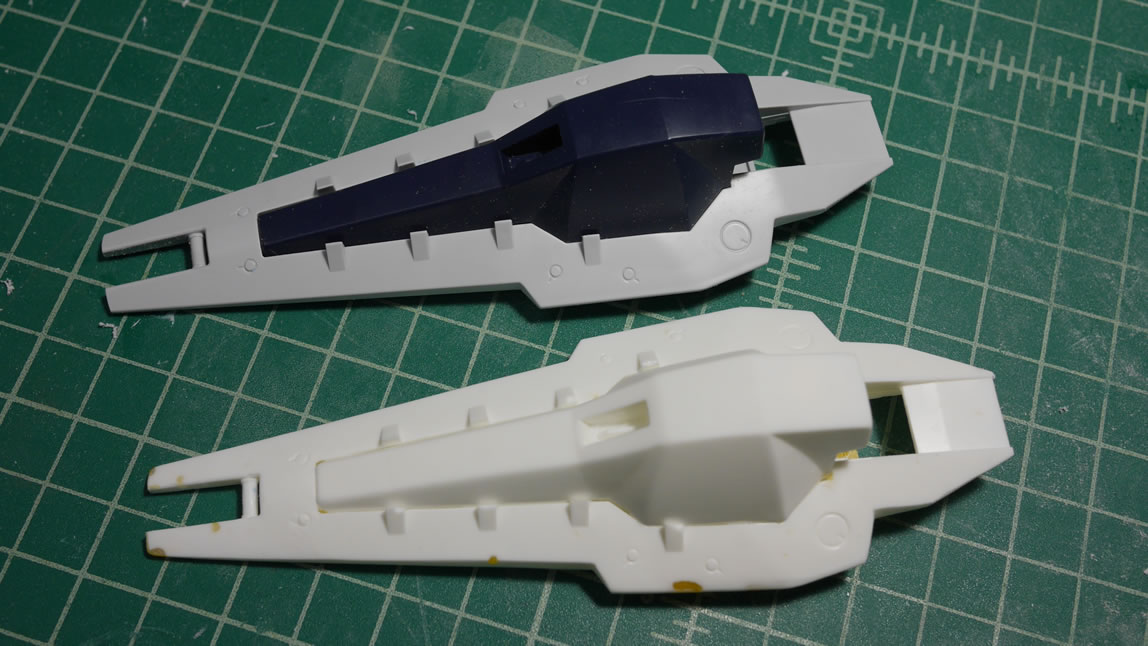
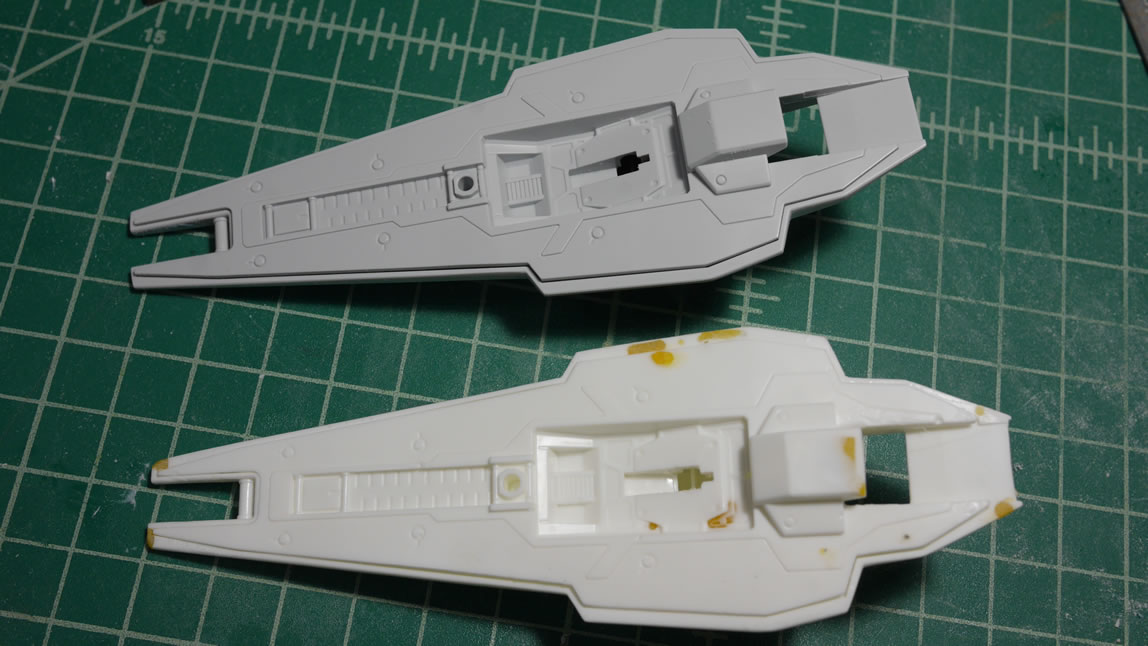
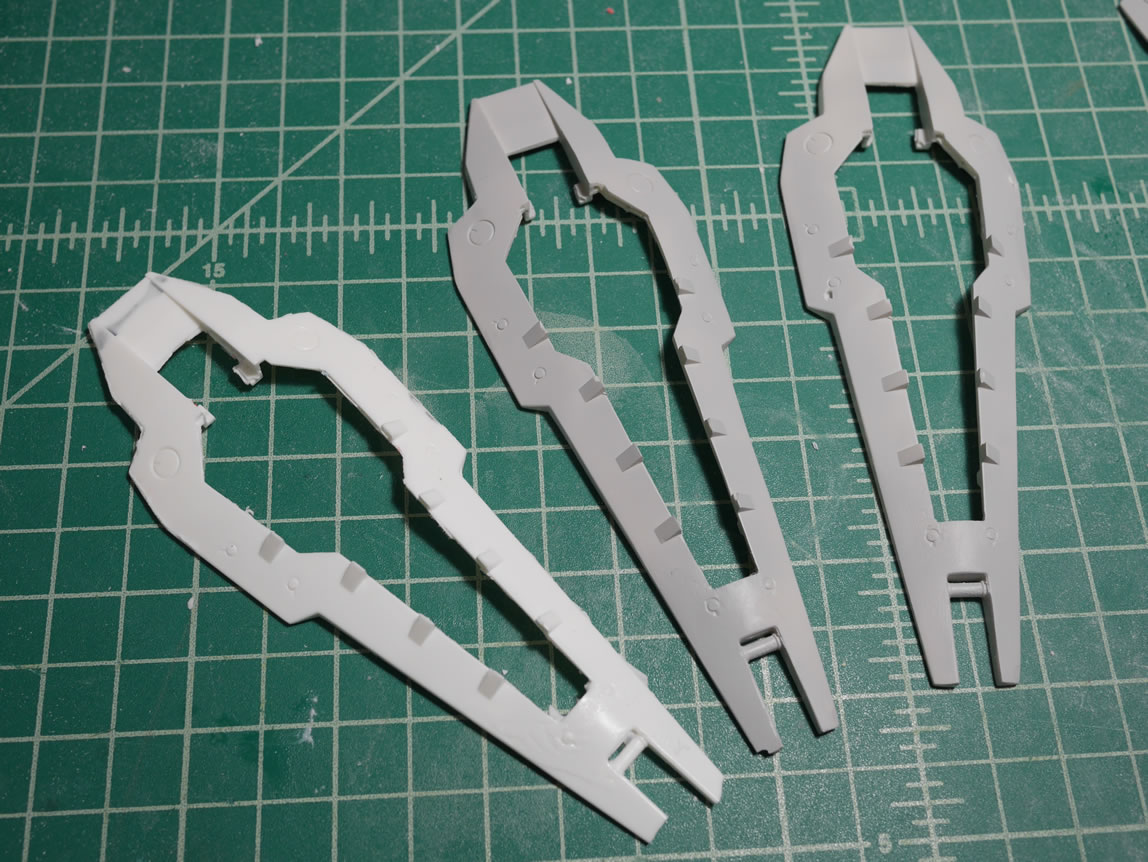
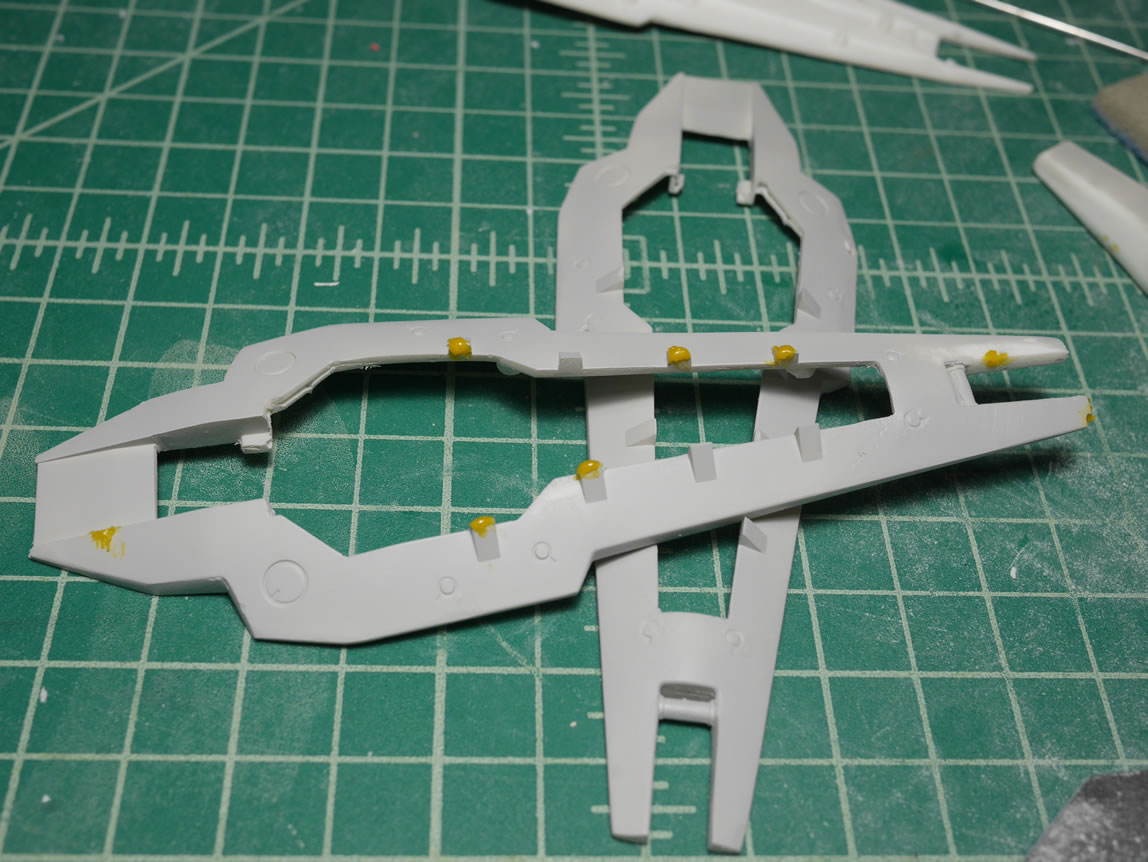
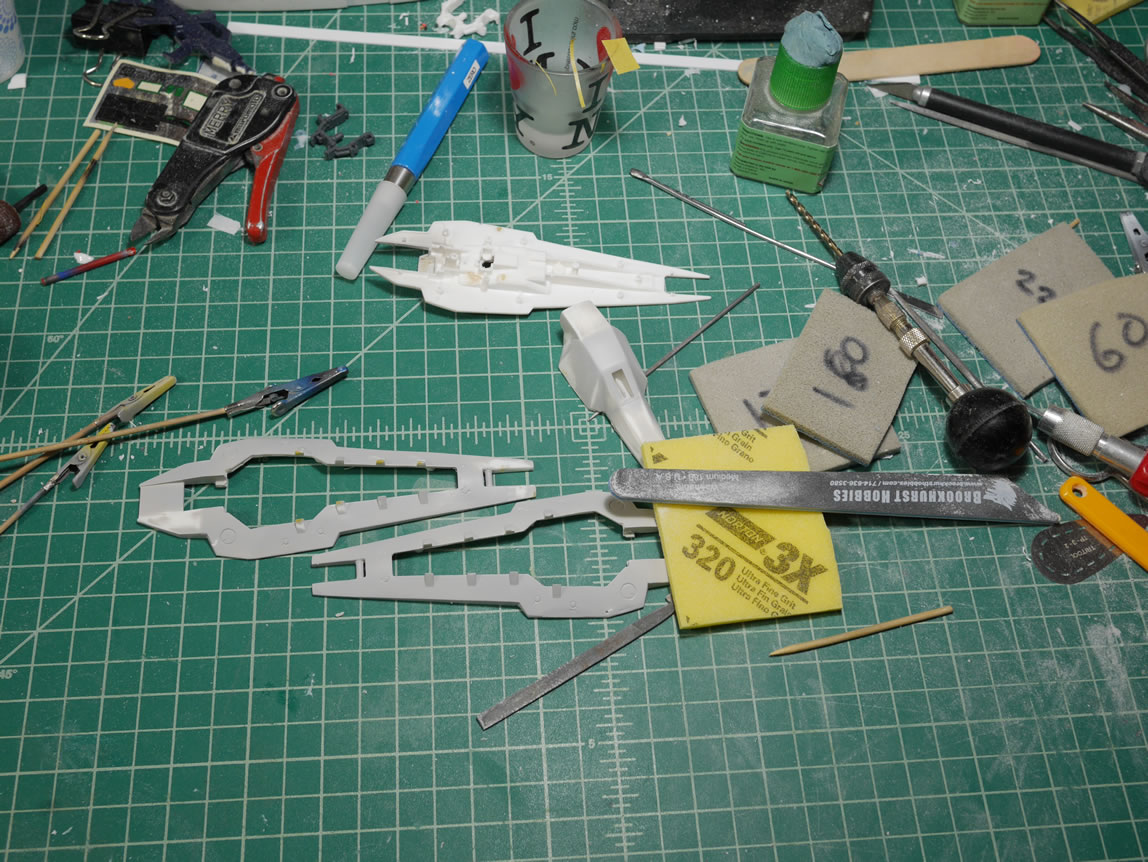
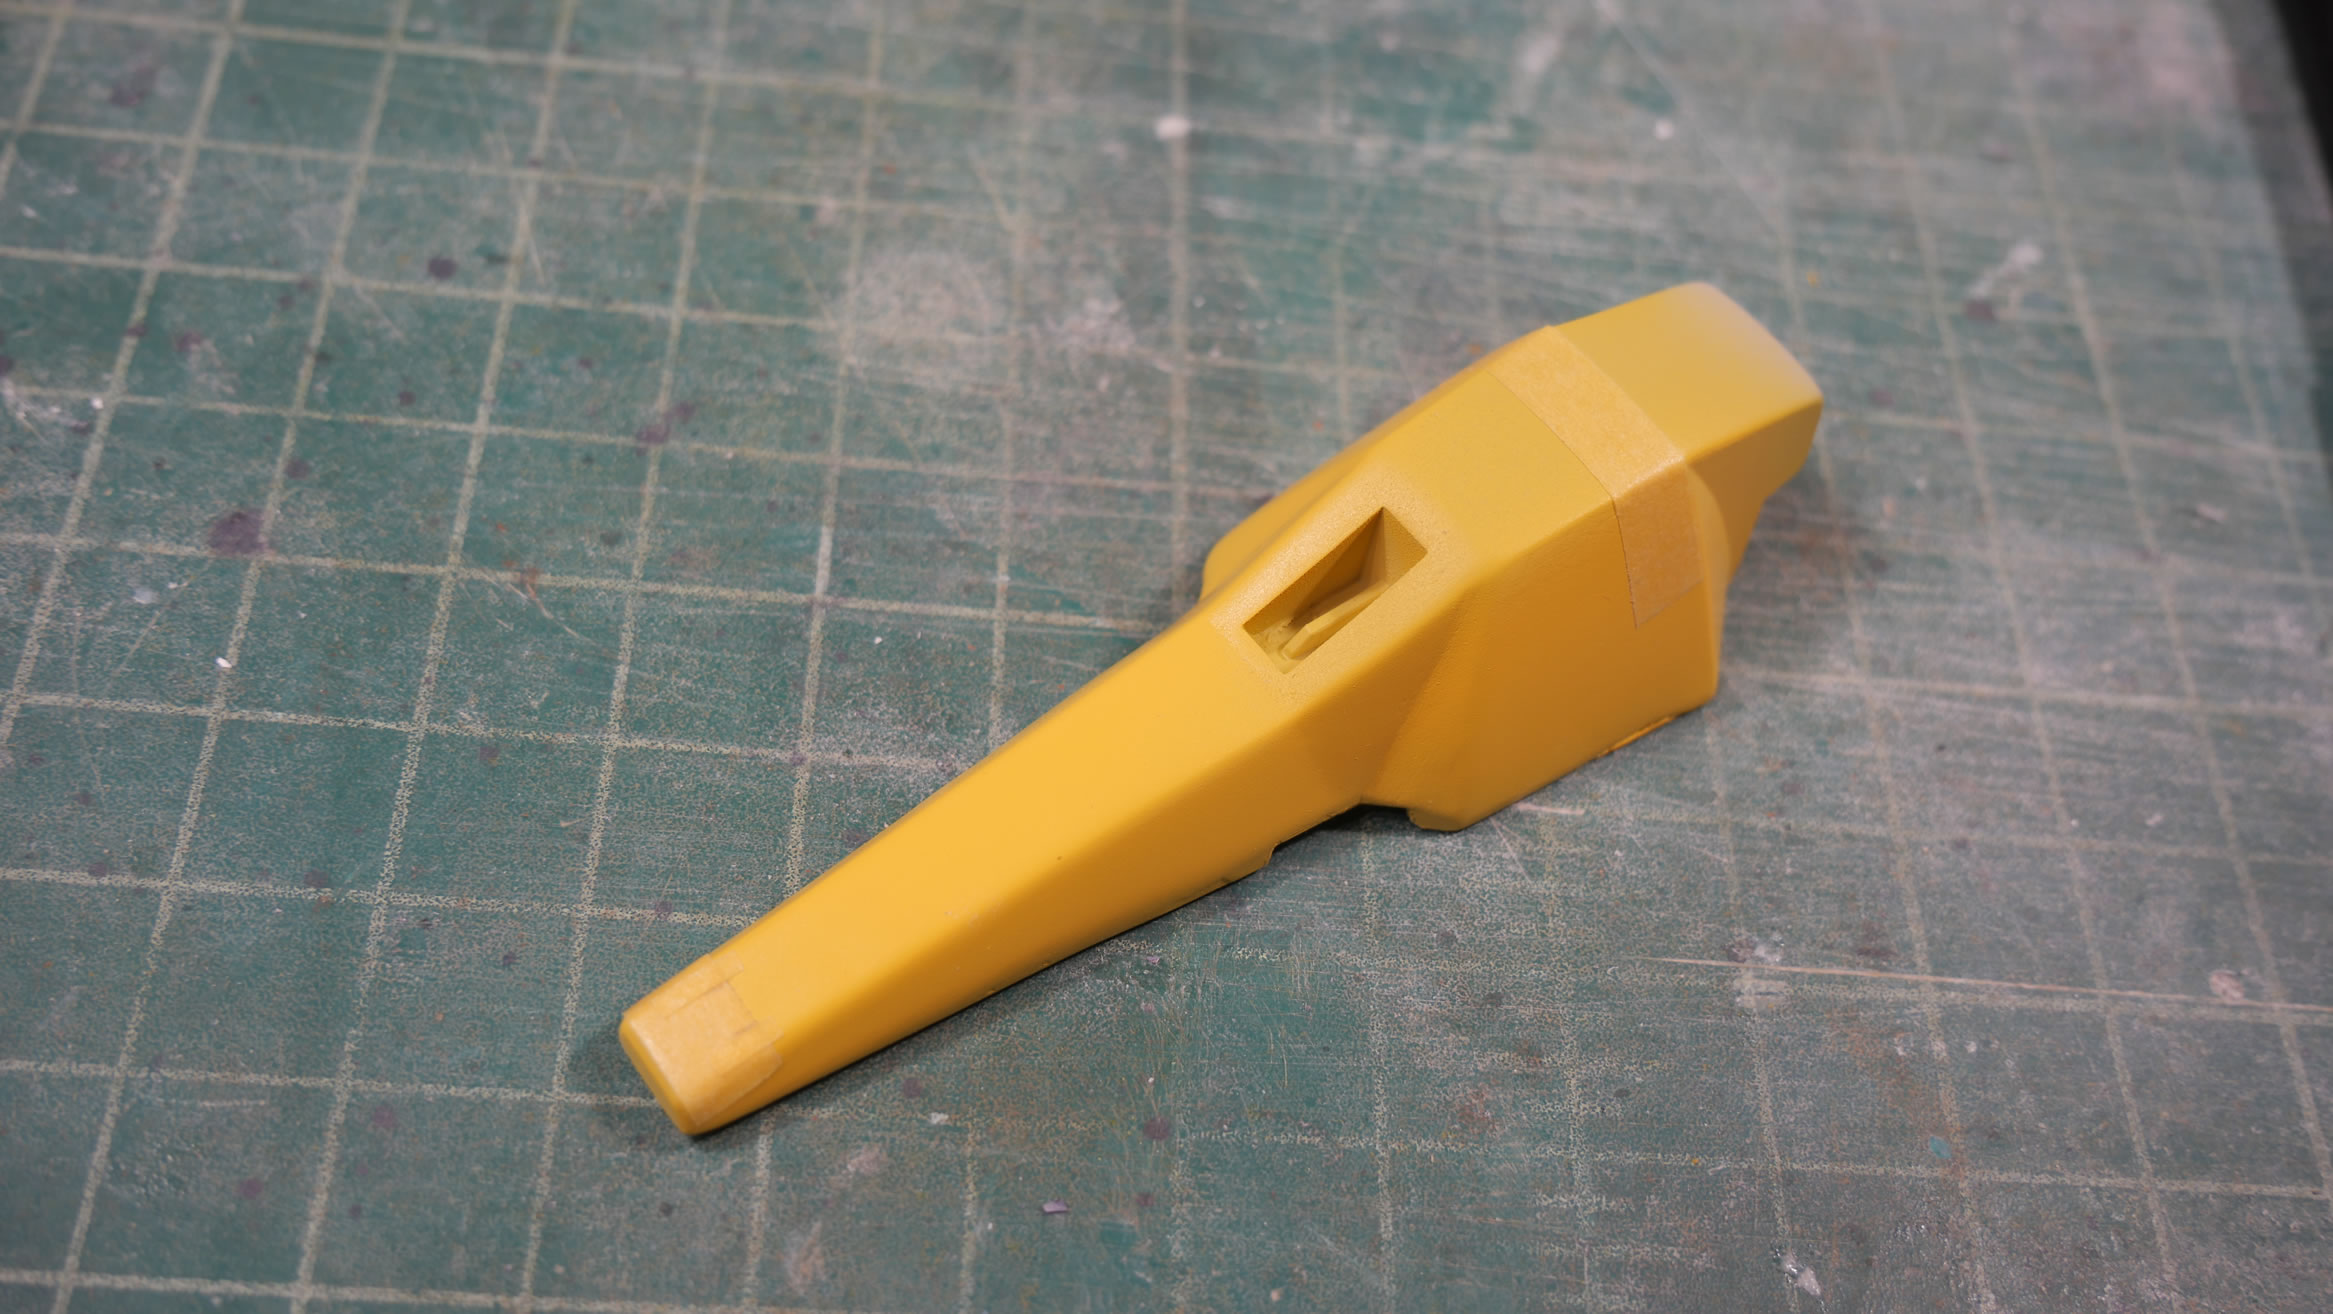
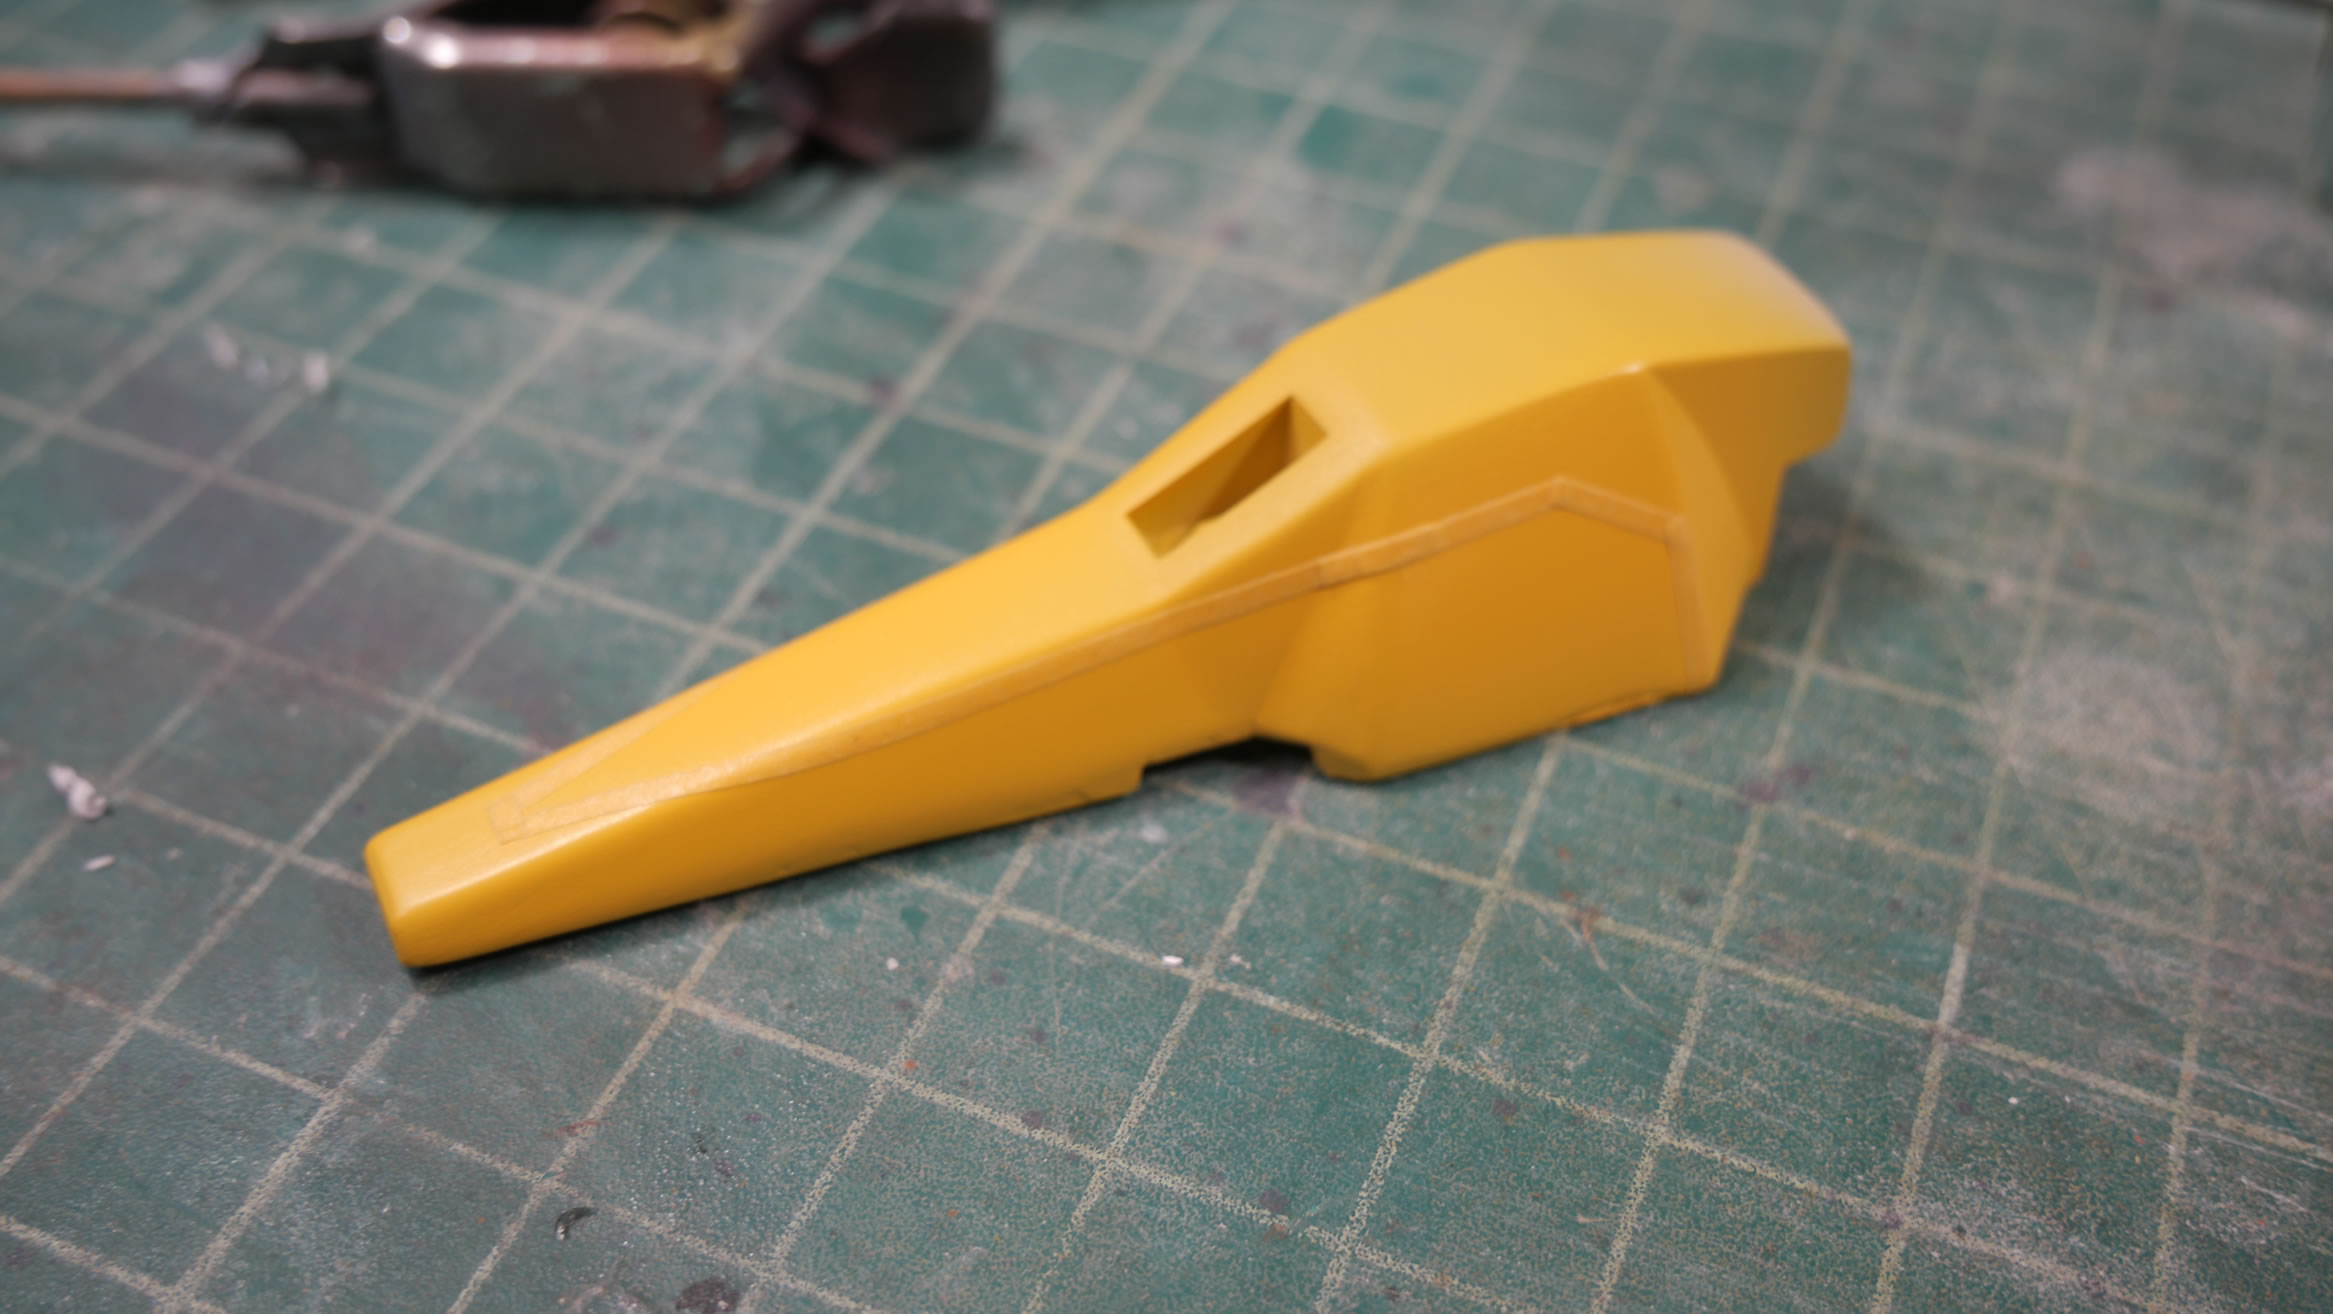
Every once in awhile, it feels great to just OOB (out of box) a kit. For the most part, I am going to OOB this sucker. There are plenty of improvement areas for details and such; but there is also the appreciation for Bandai’s engineering. And the feeling of accomplishment in finishing a kit rather quickly. Here’s what the kit looks like completely snapped together and sanded.
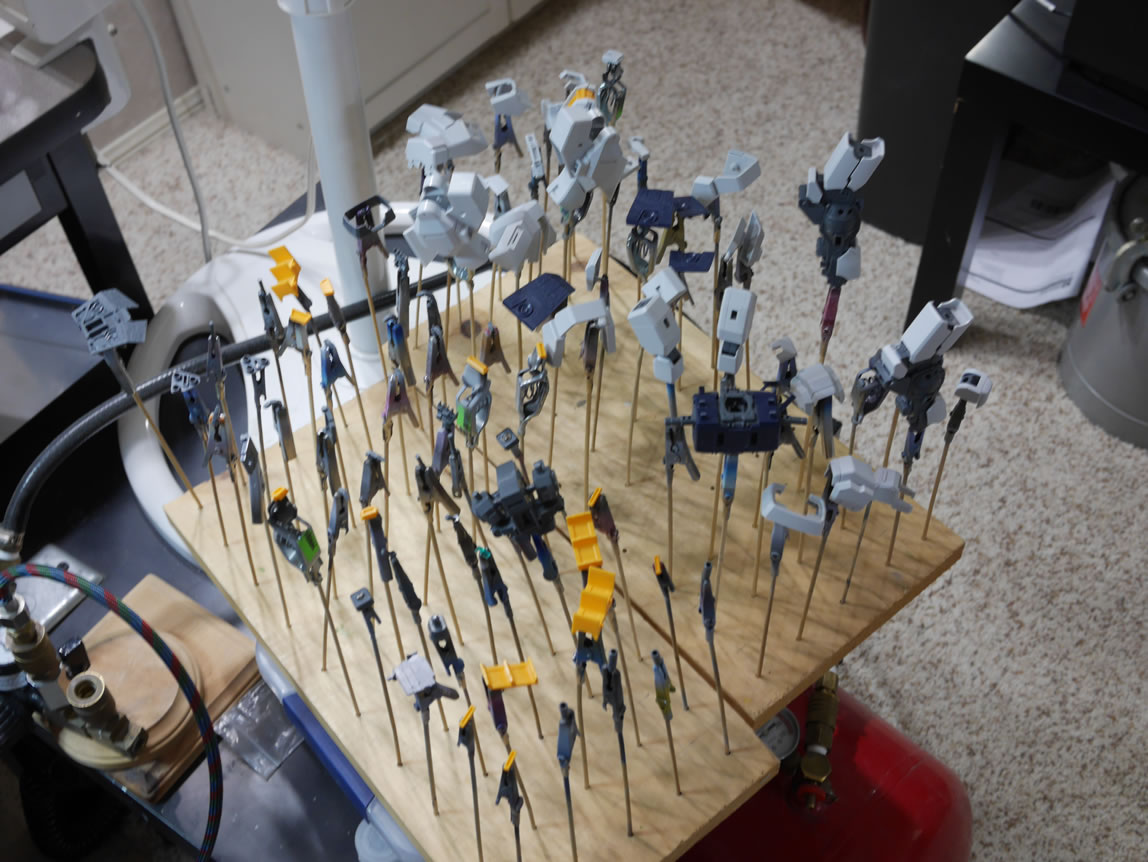
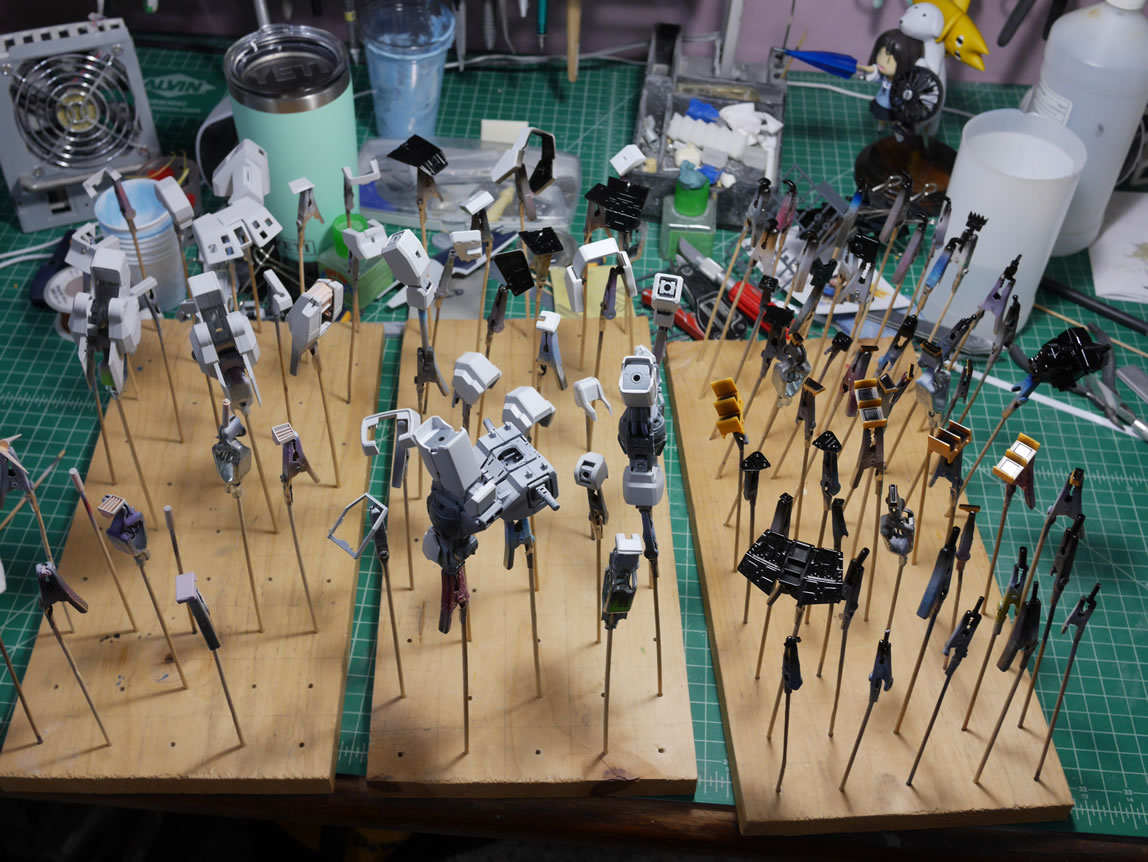
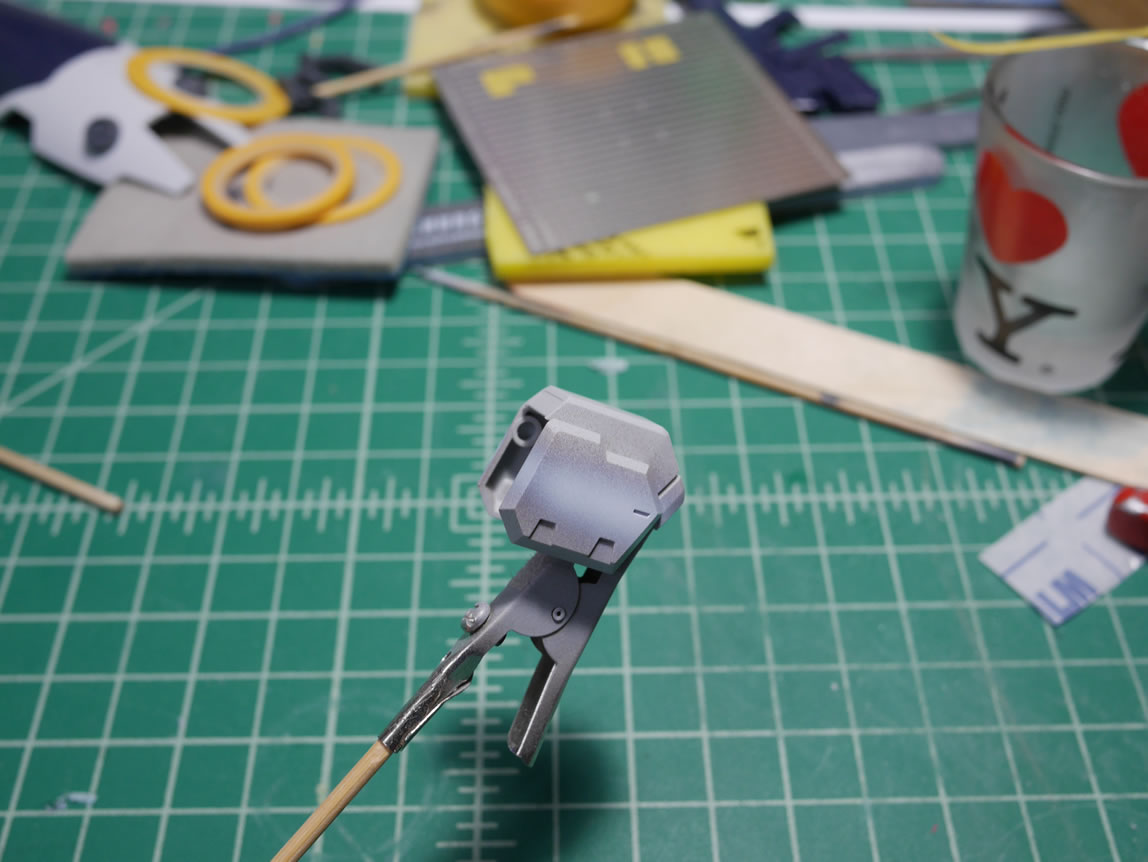
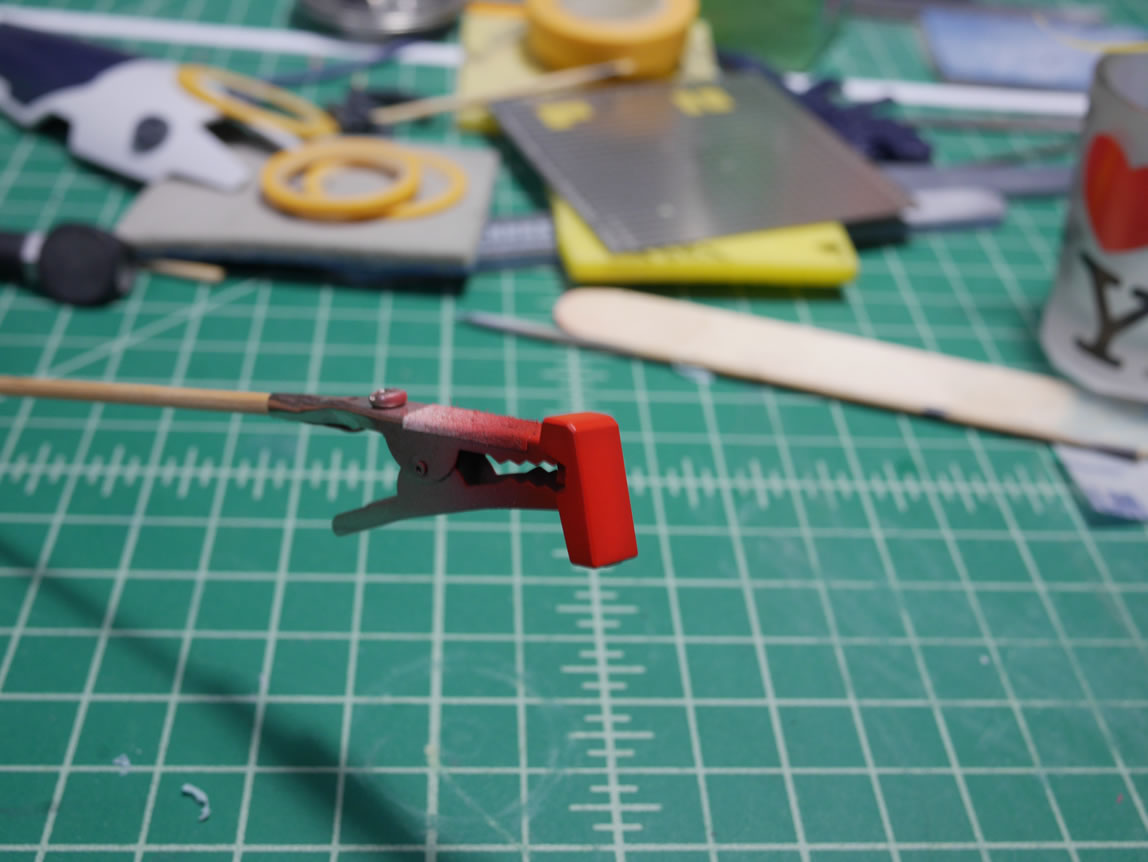
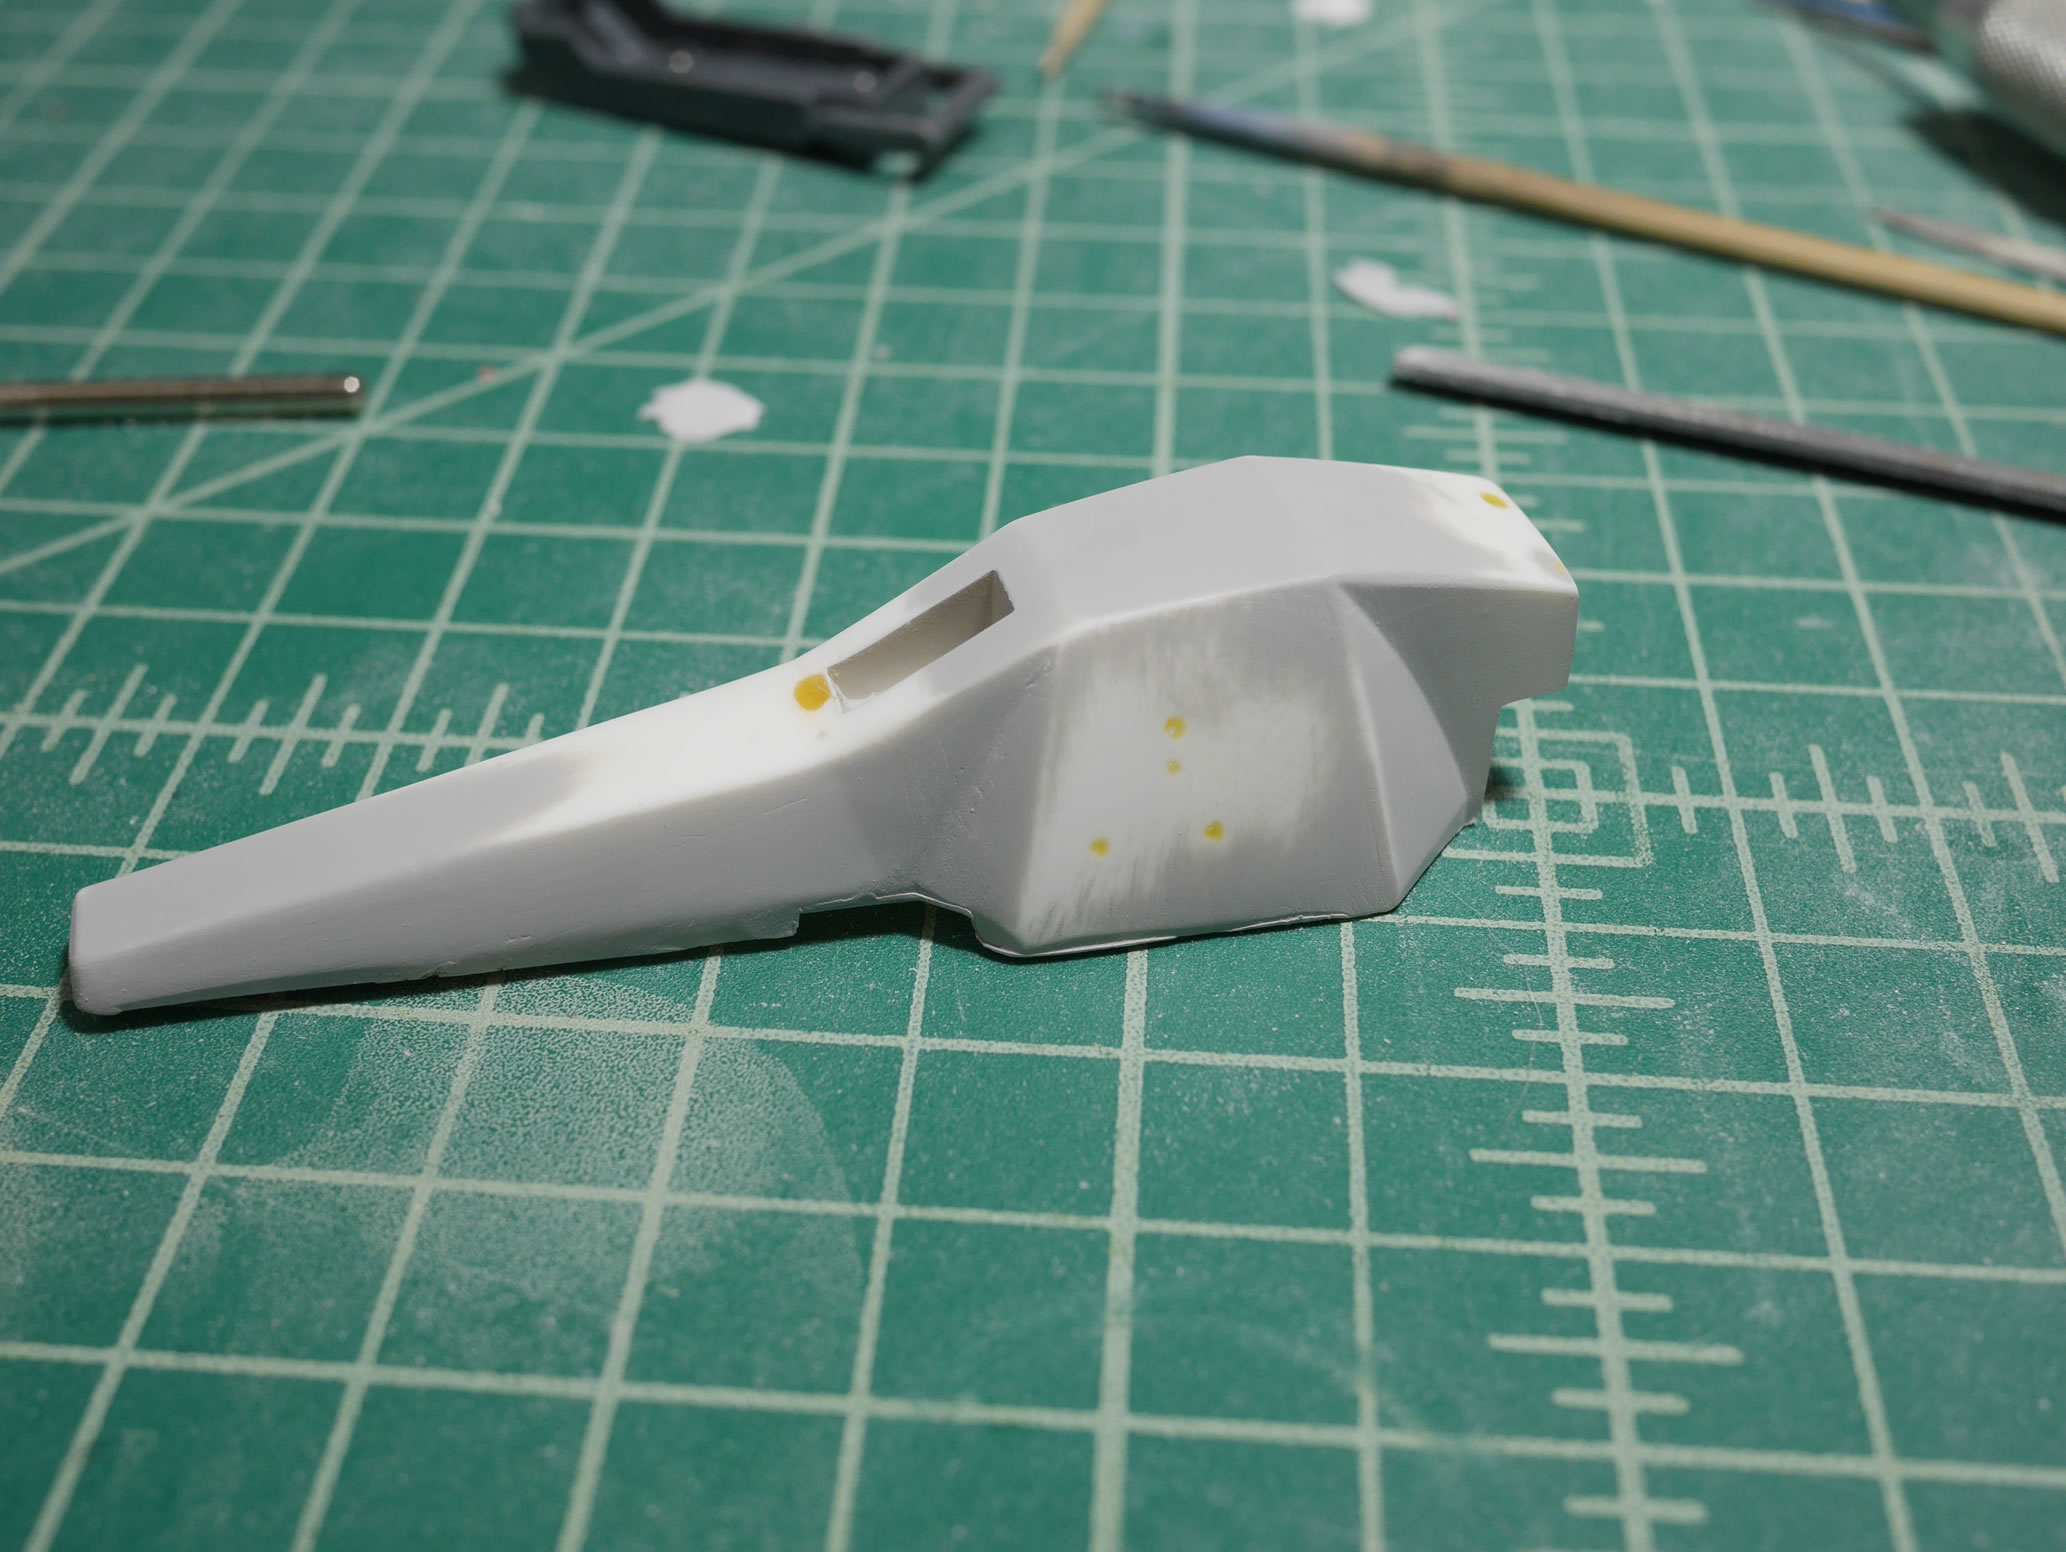
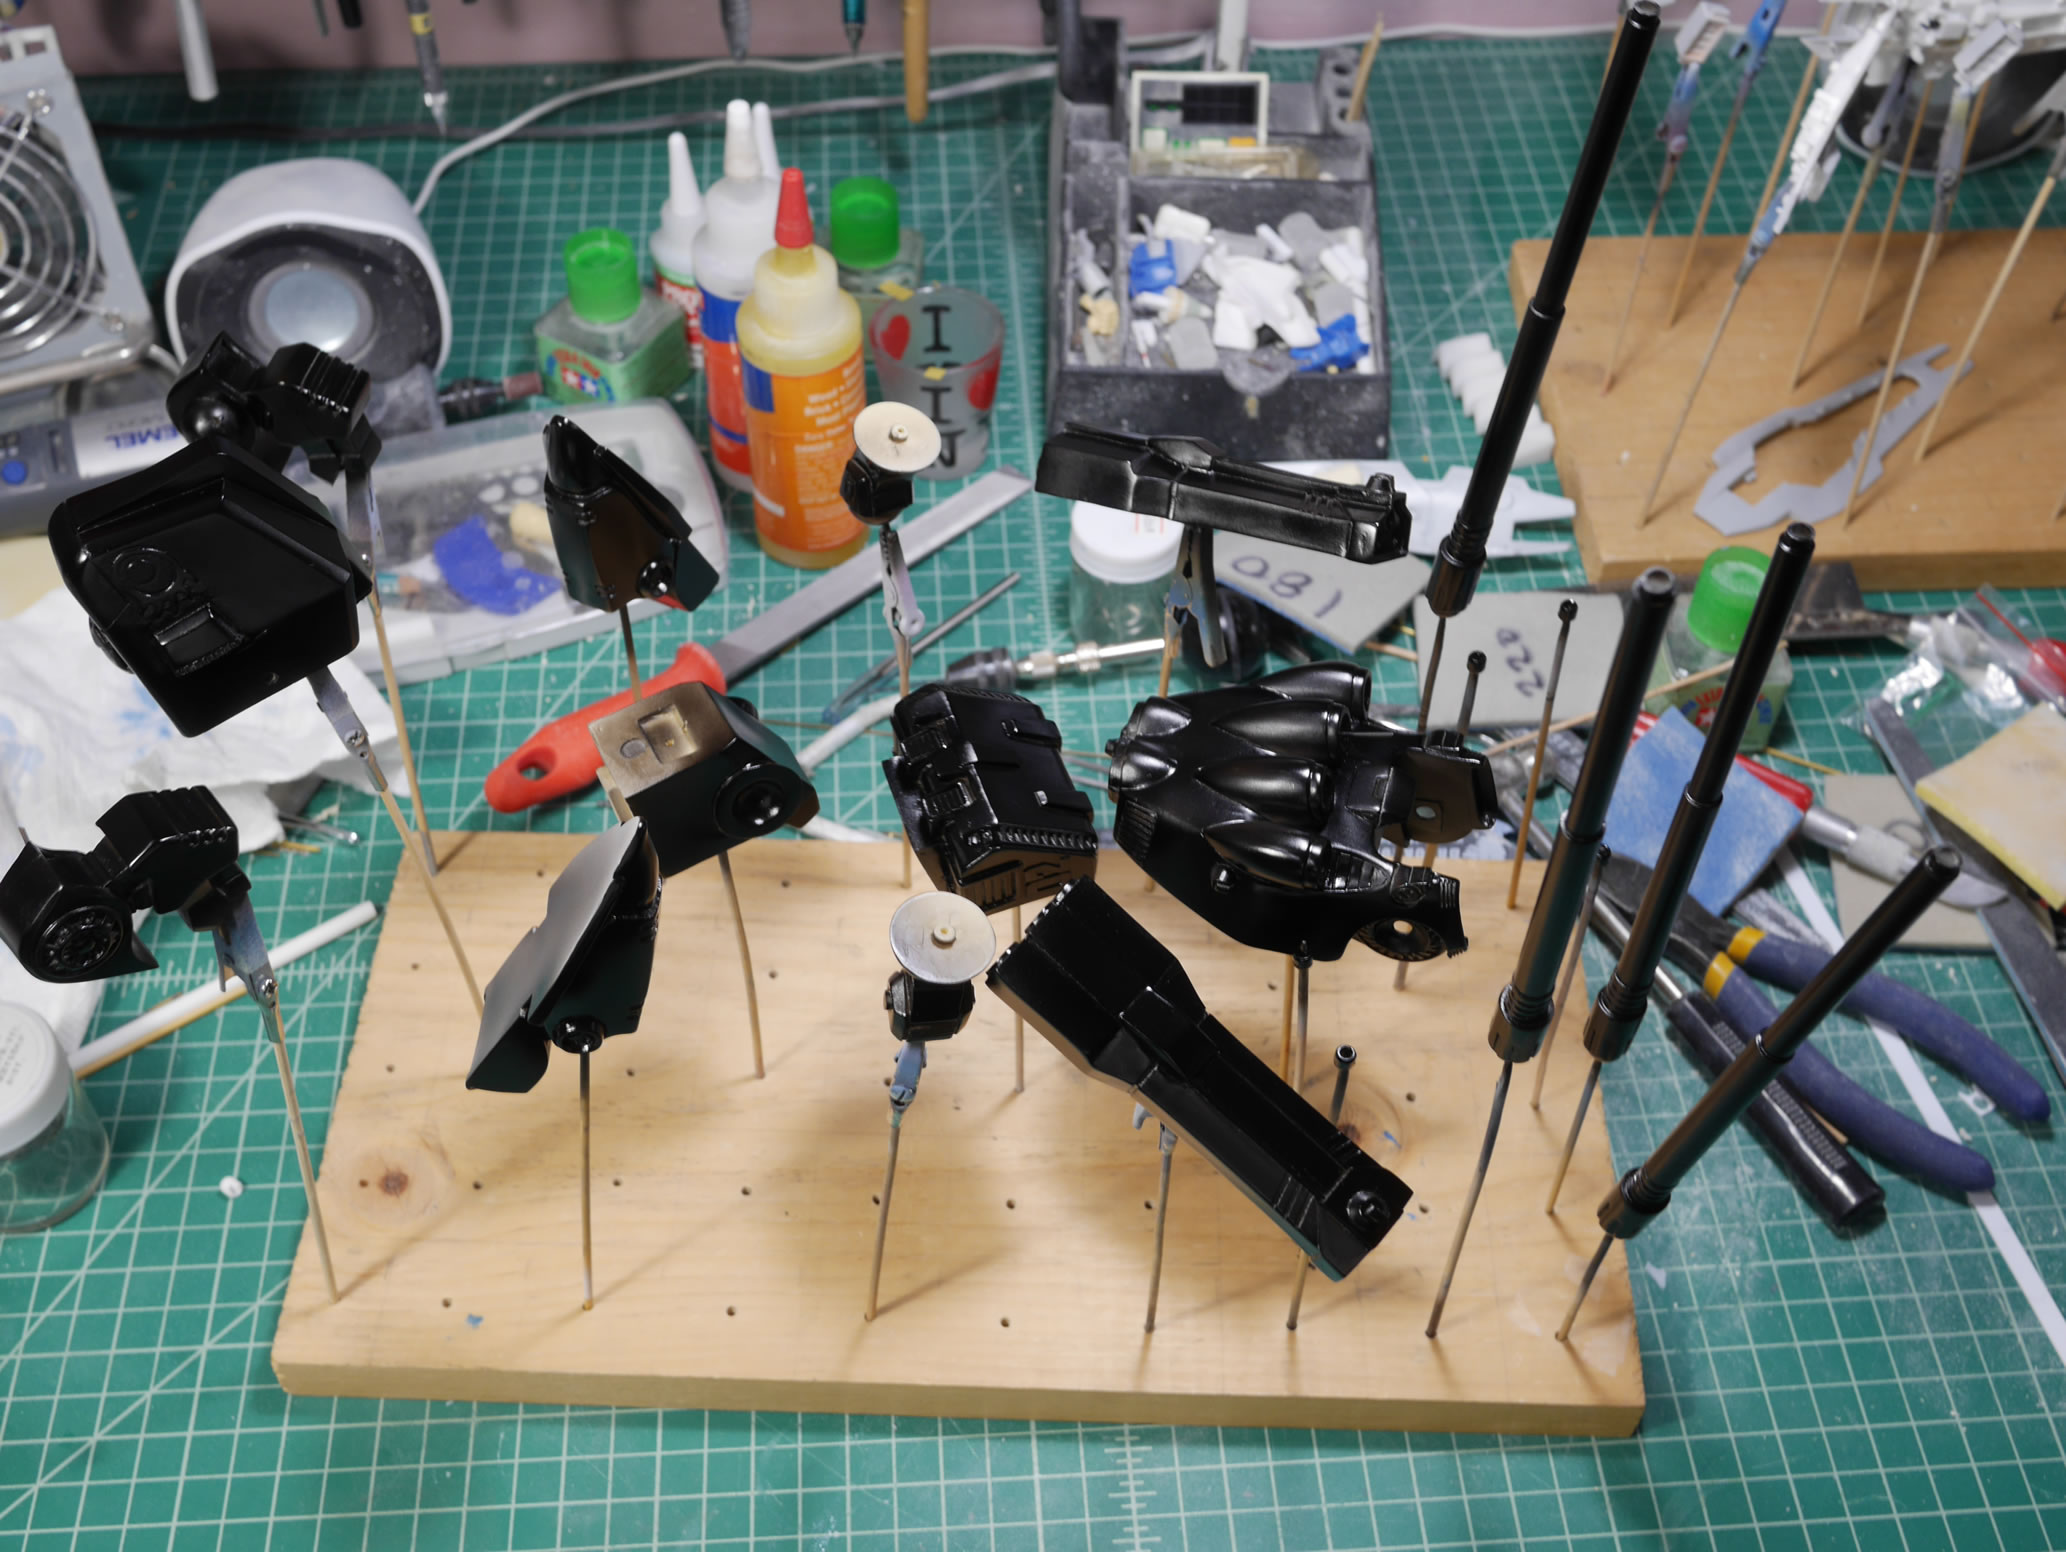
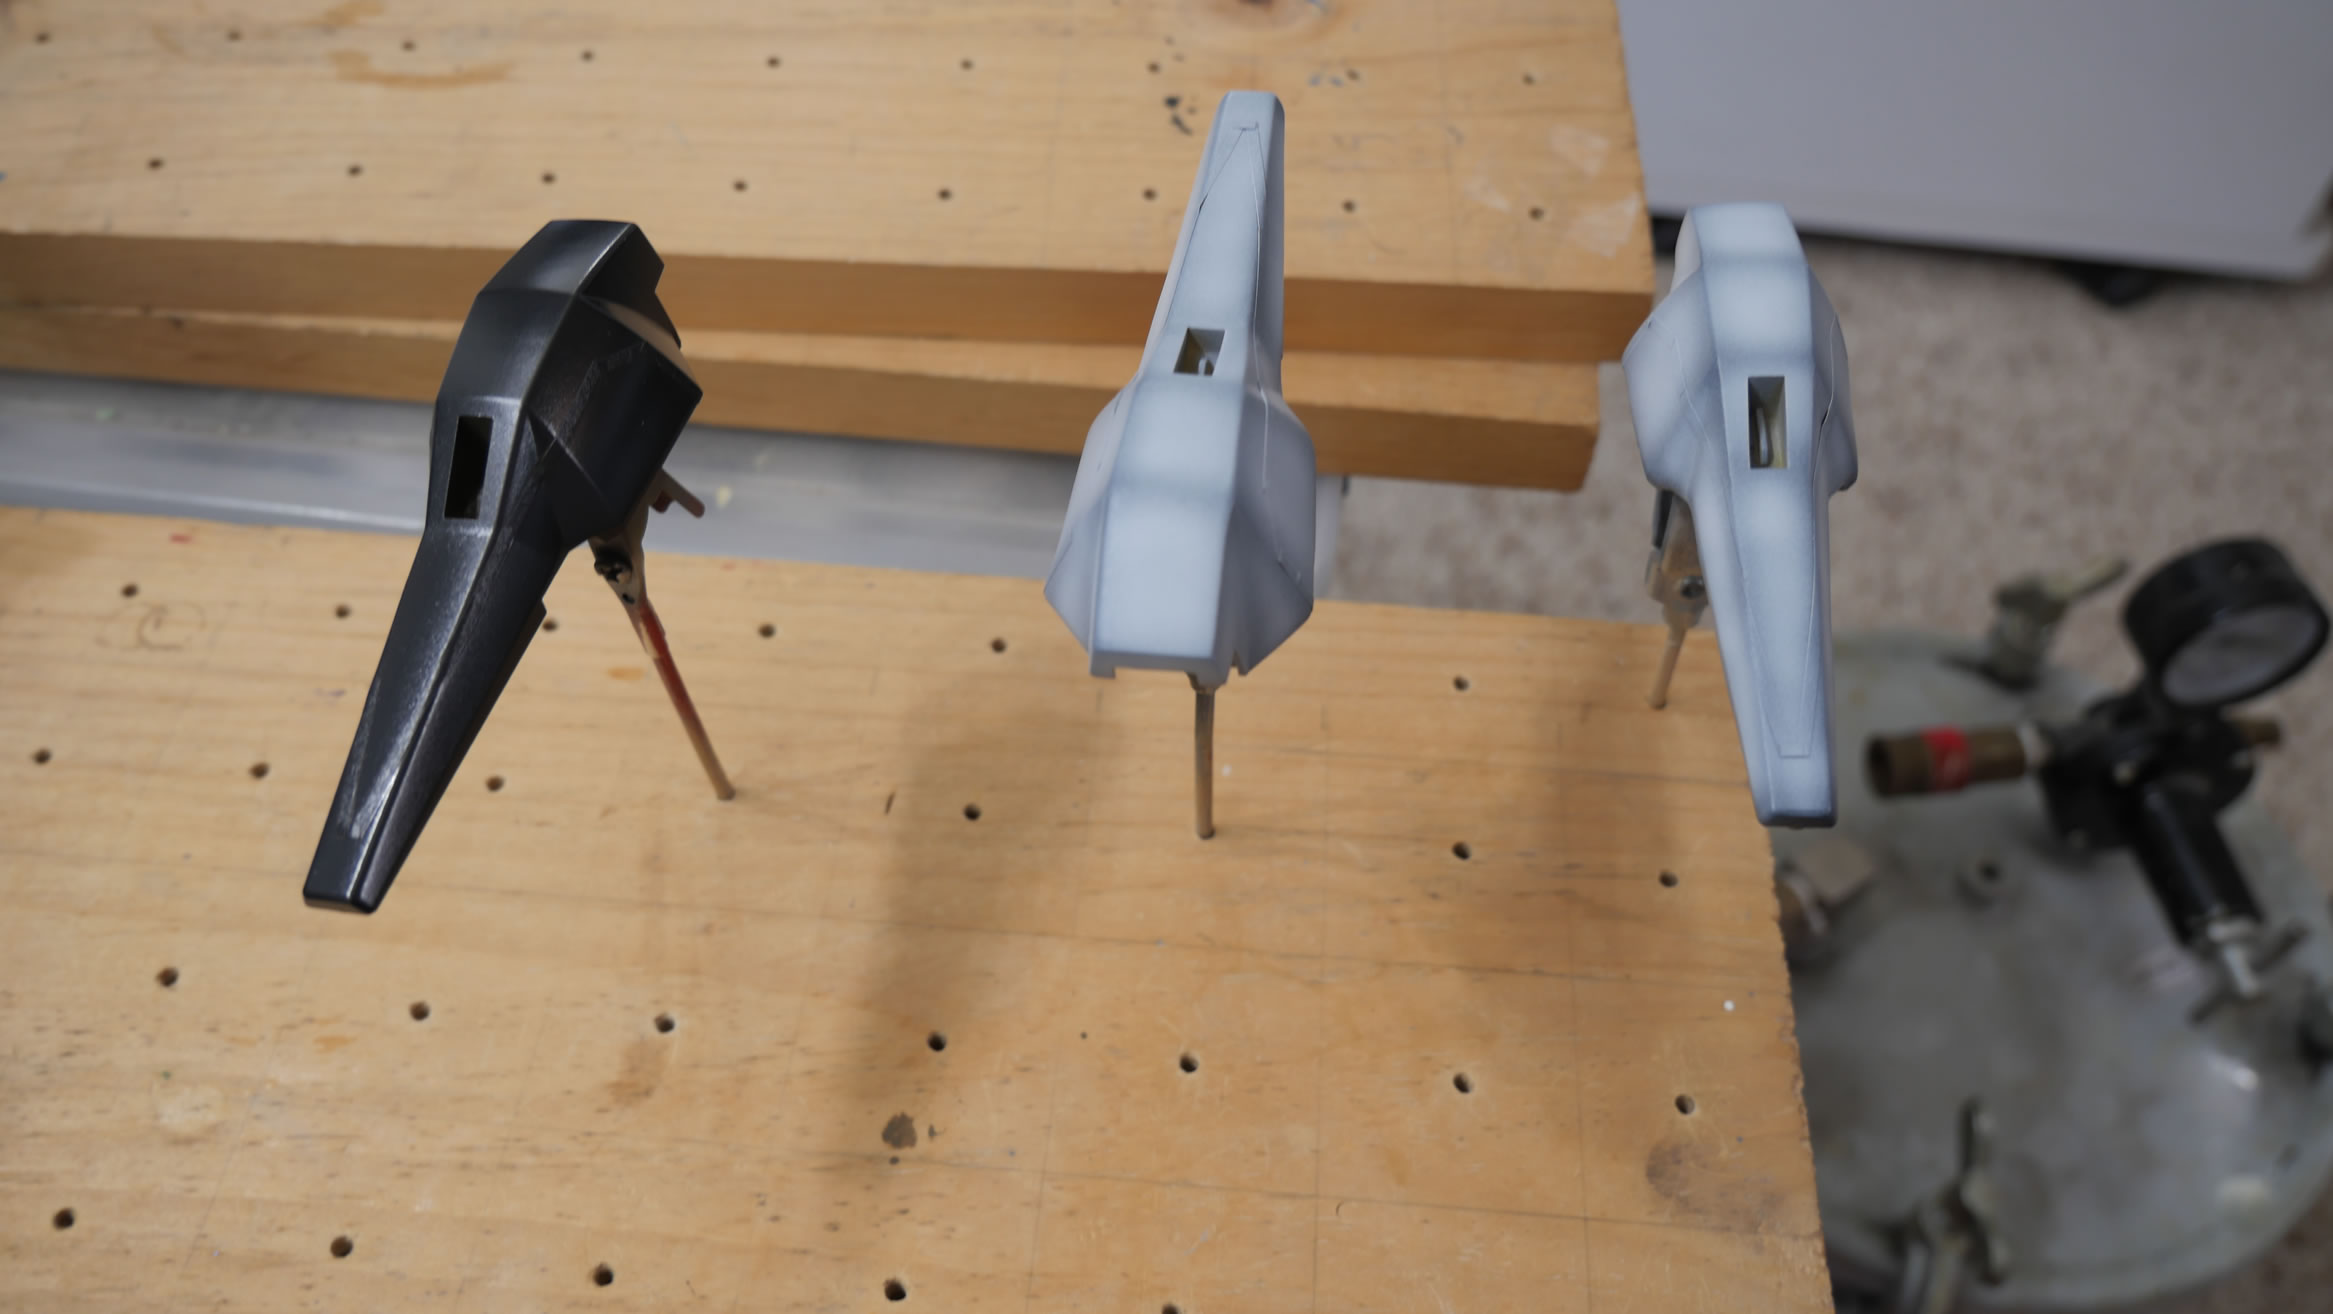
With the above pictures taken and a quick look to marvel at the built kit; it is disassembled and skewered and placed on wood blocks for painting. I almost run out of skewers which is always the case at the start of the painting process.
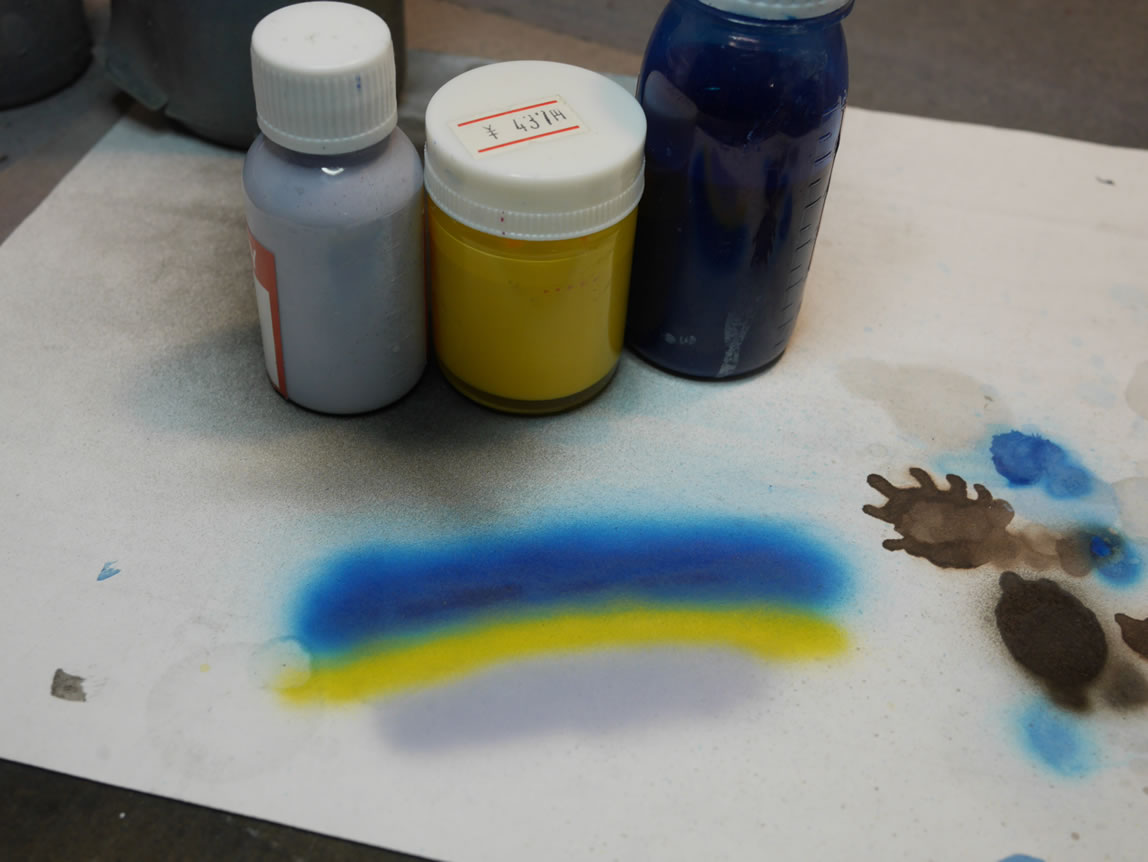
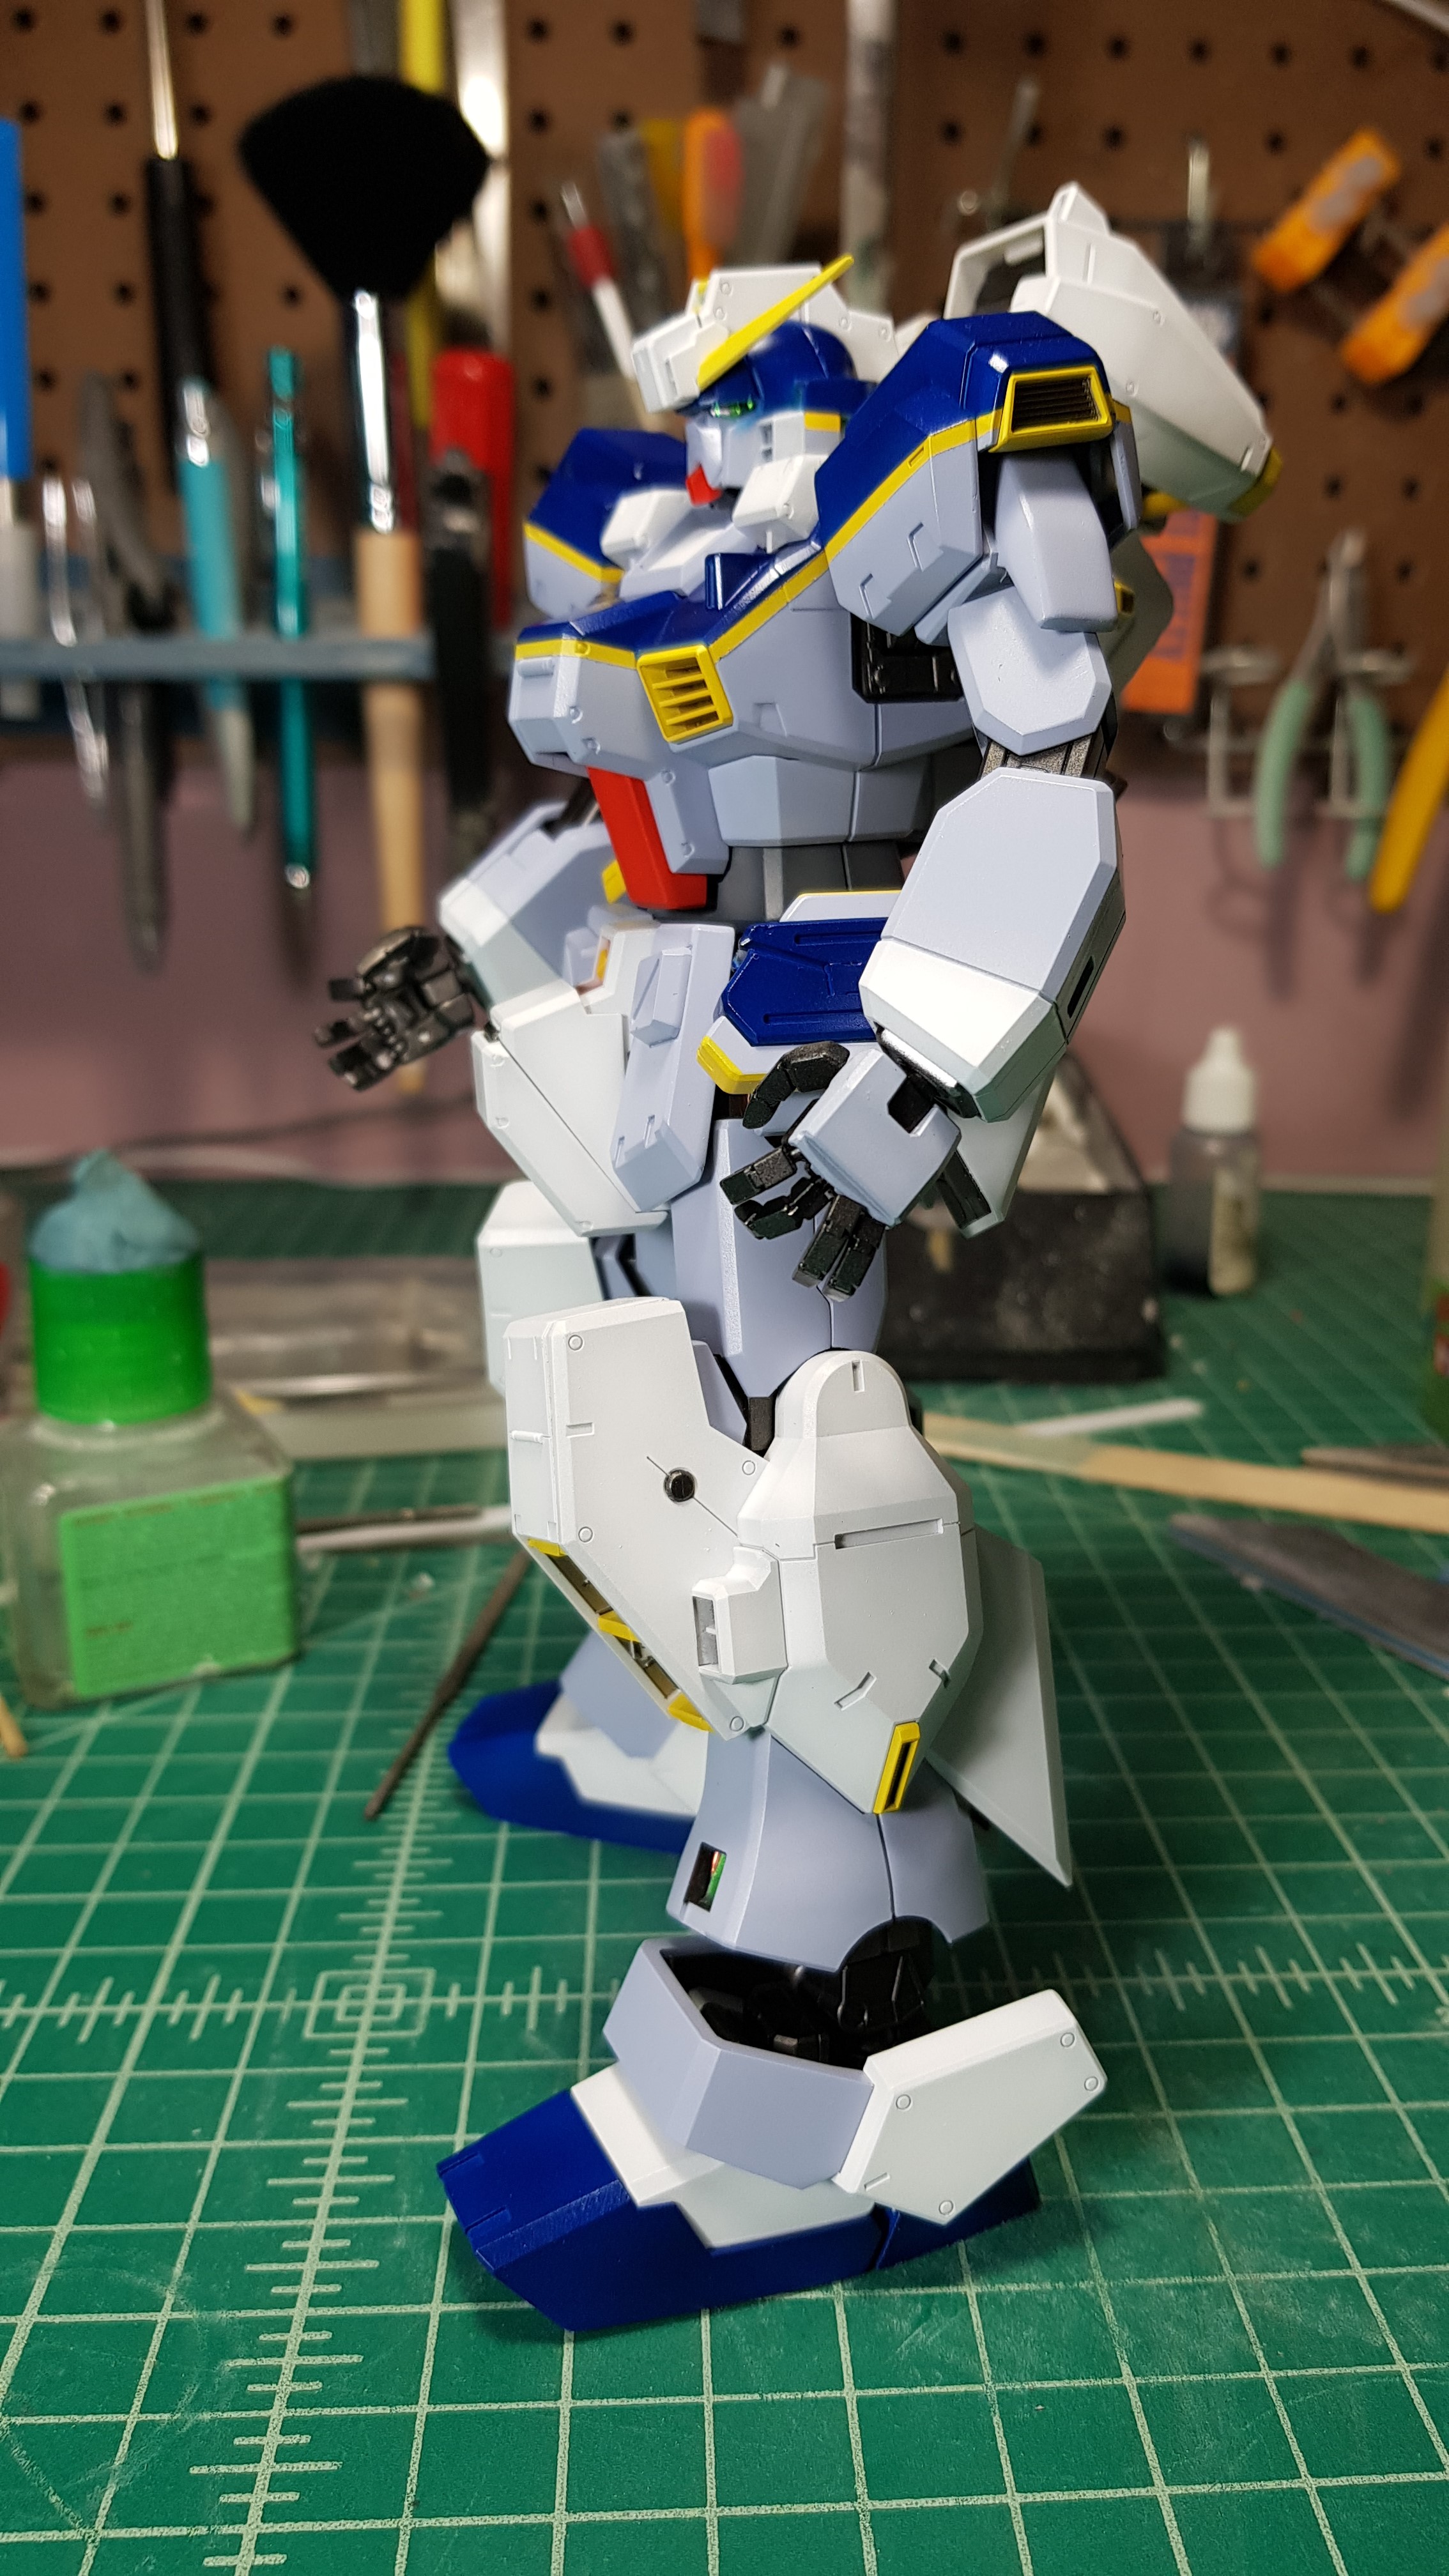
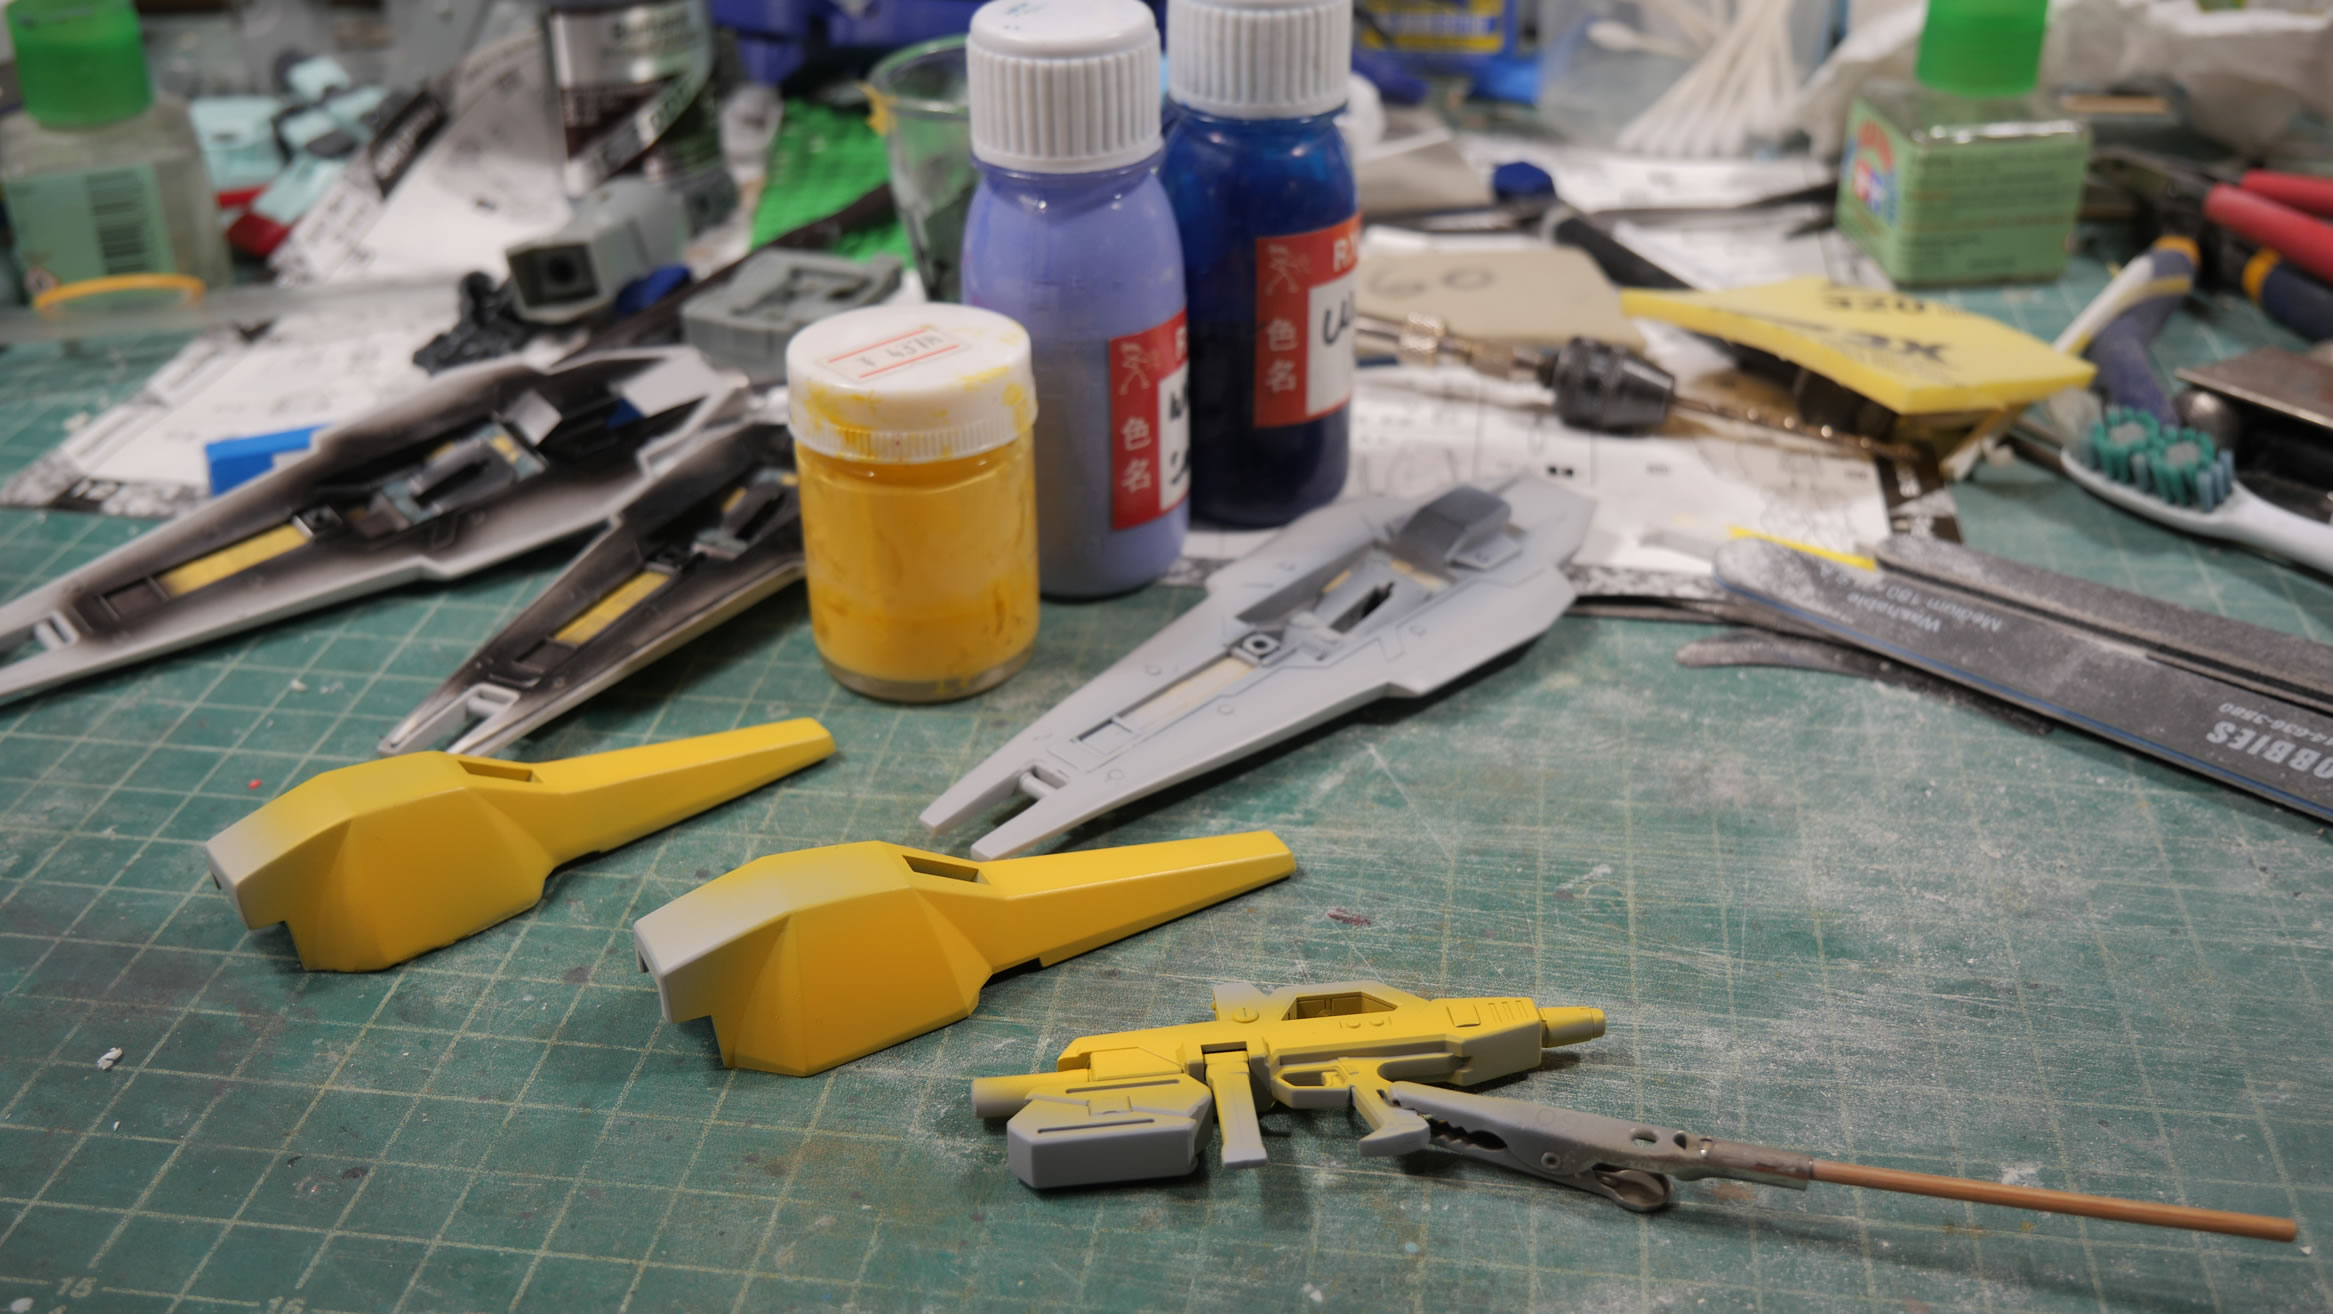
I also spend some time mixing paints for the color scheme. I want to use the standard Hazel, or first Hazel color scheme, so I mixed up a batch of light blue with a tint of grey using Finisher’s super fine cobalt, pure white, a touch of red and a touch of black. The yellow is done with 60% deep yellow and 40% pure white. The darker blue is just Finisher’s Wulf’s blue. I spray a quick swatch of the color combination on my scratch piece of paint paper and I’m ready to start slinging the lacquers.
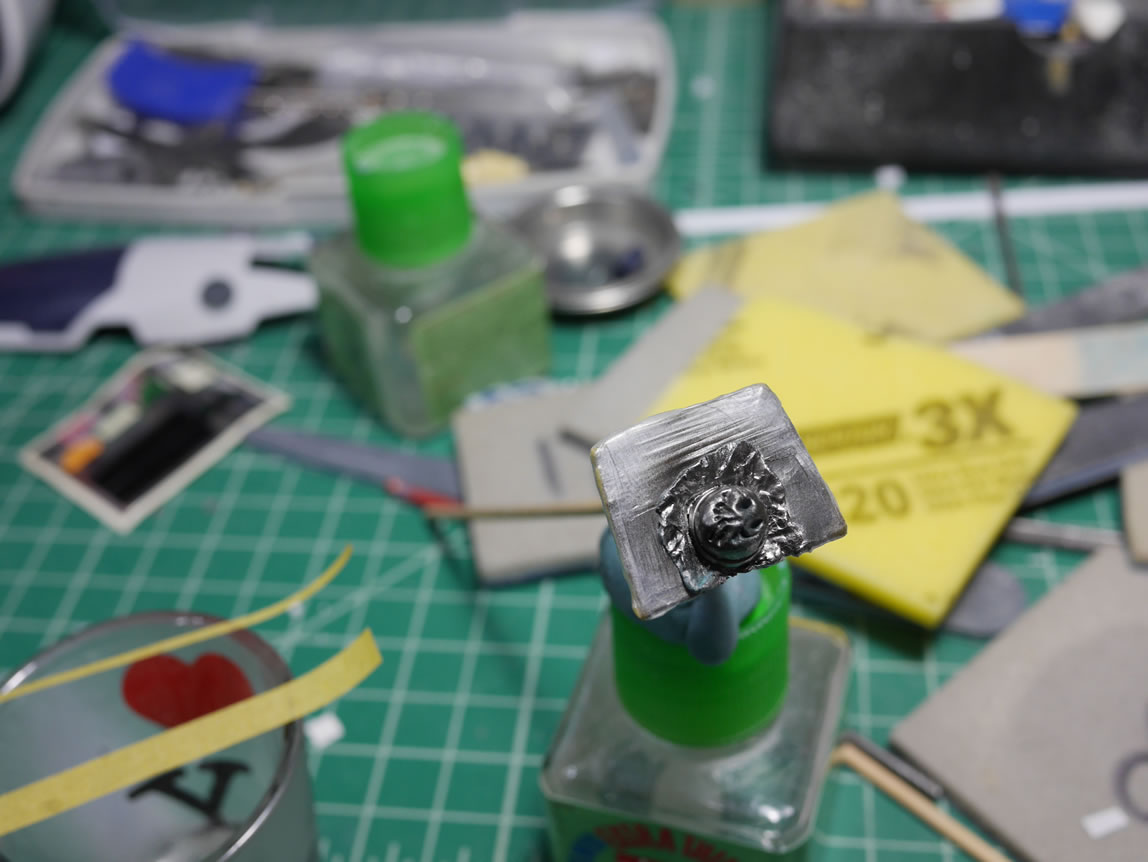
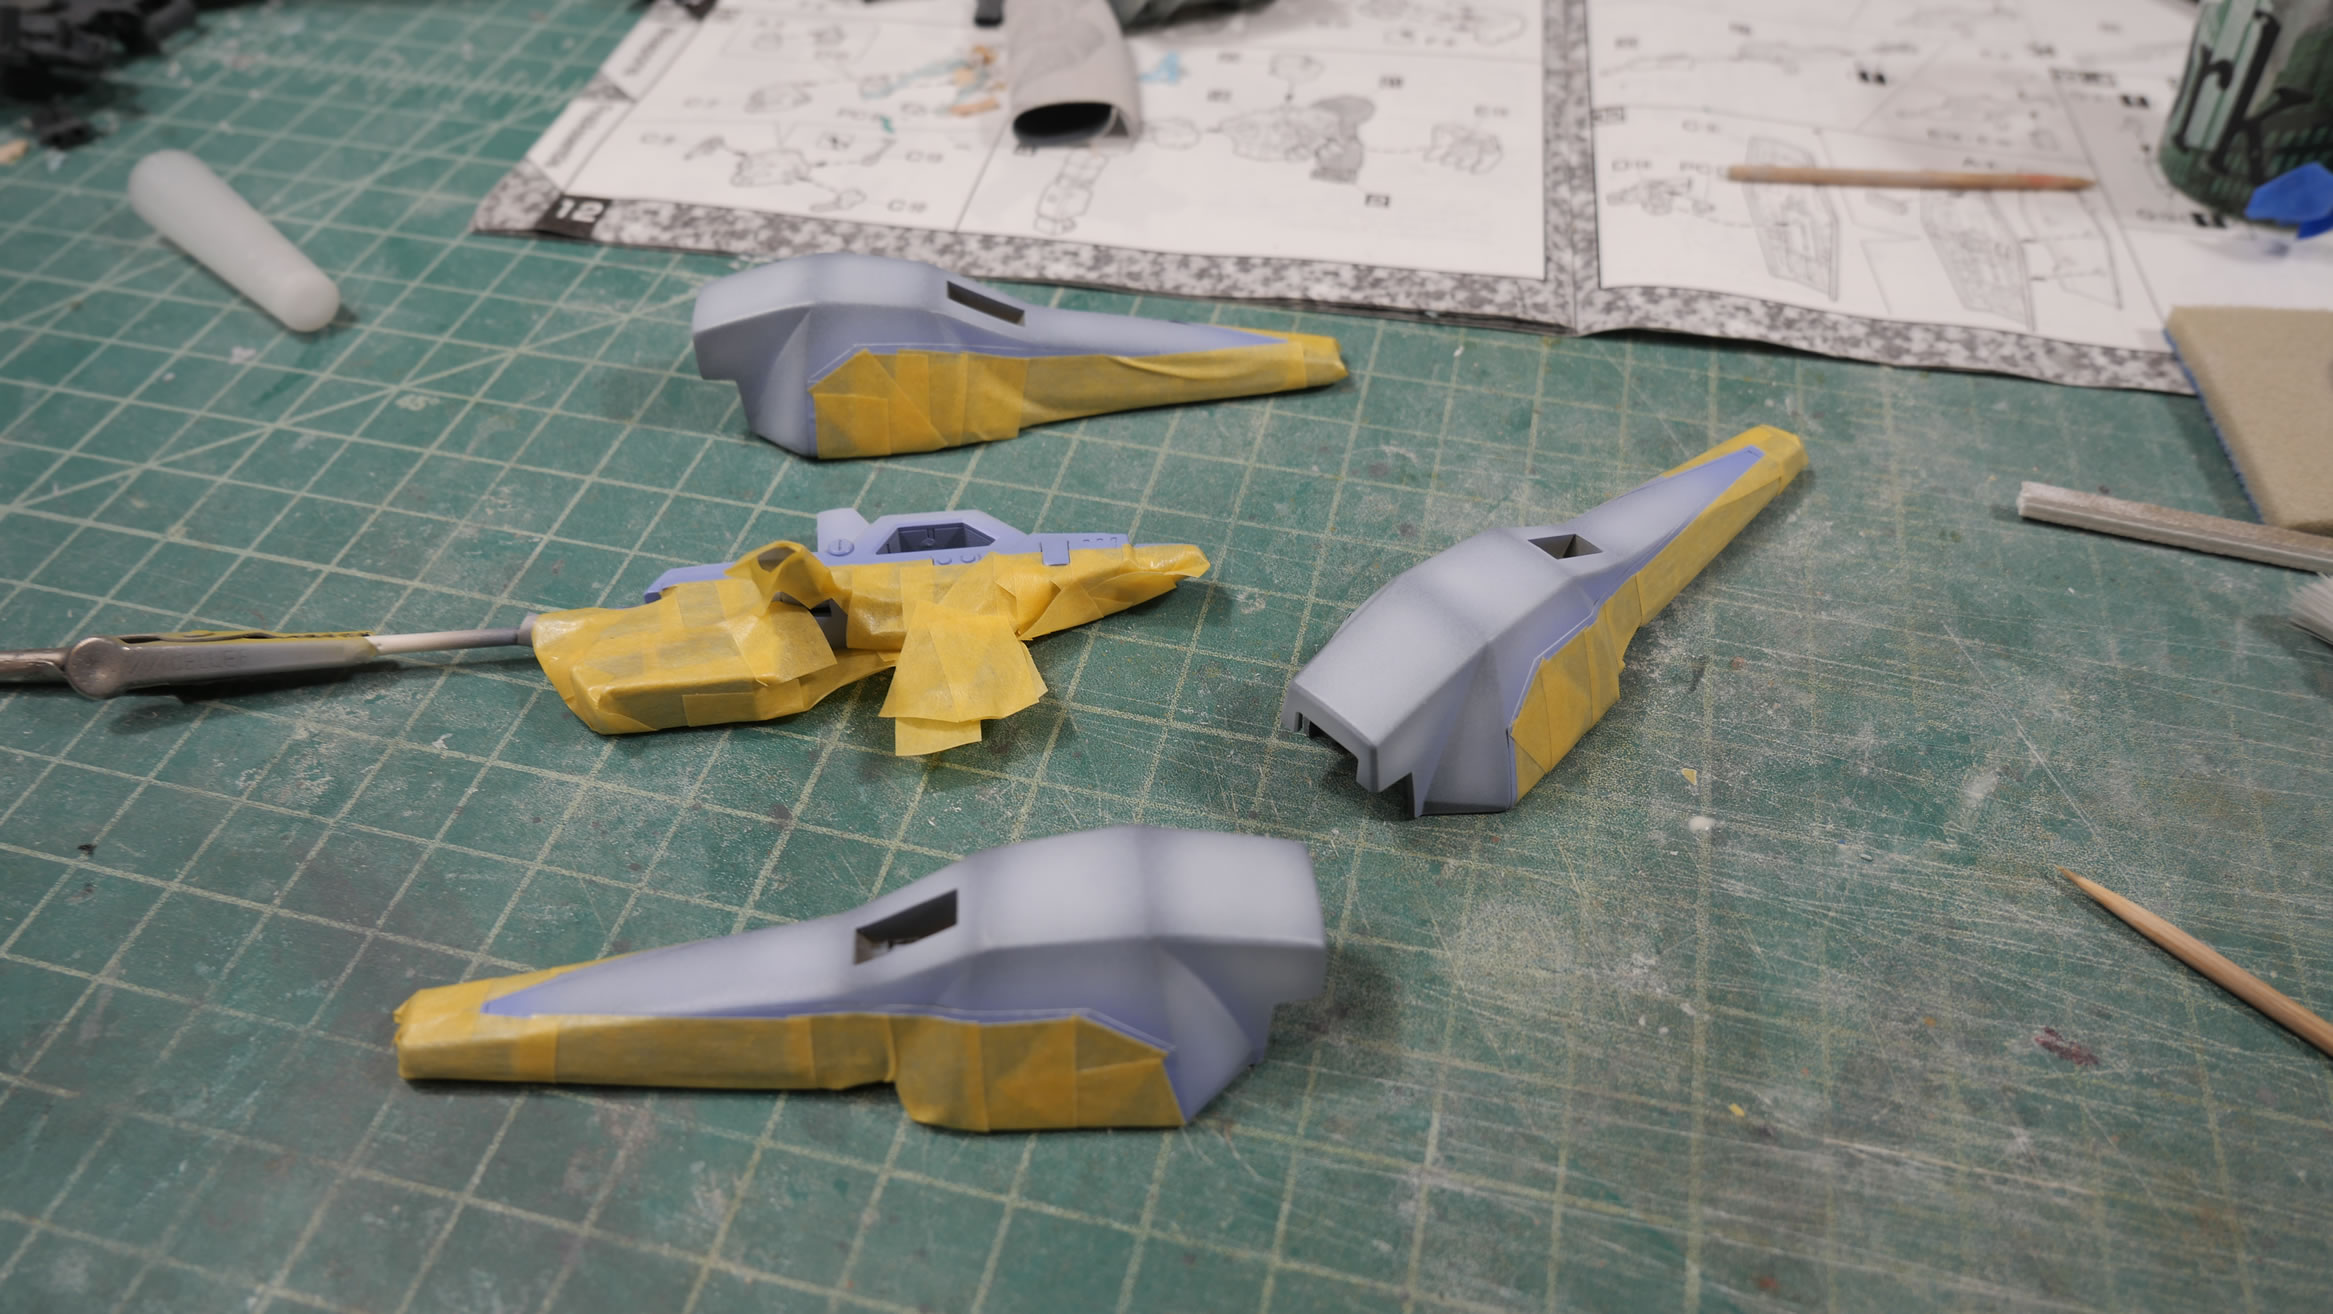
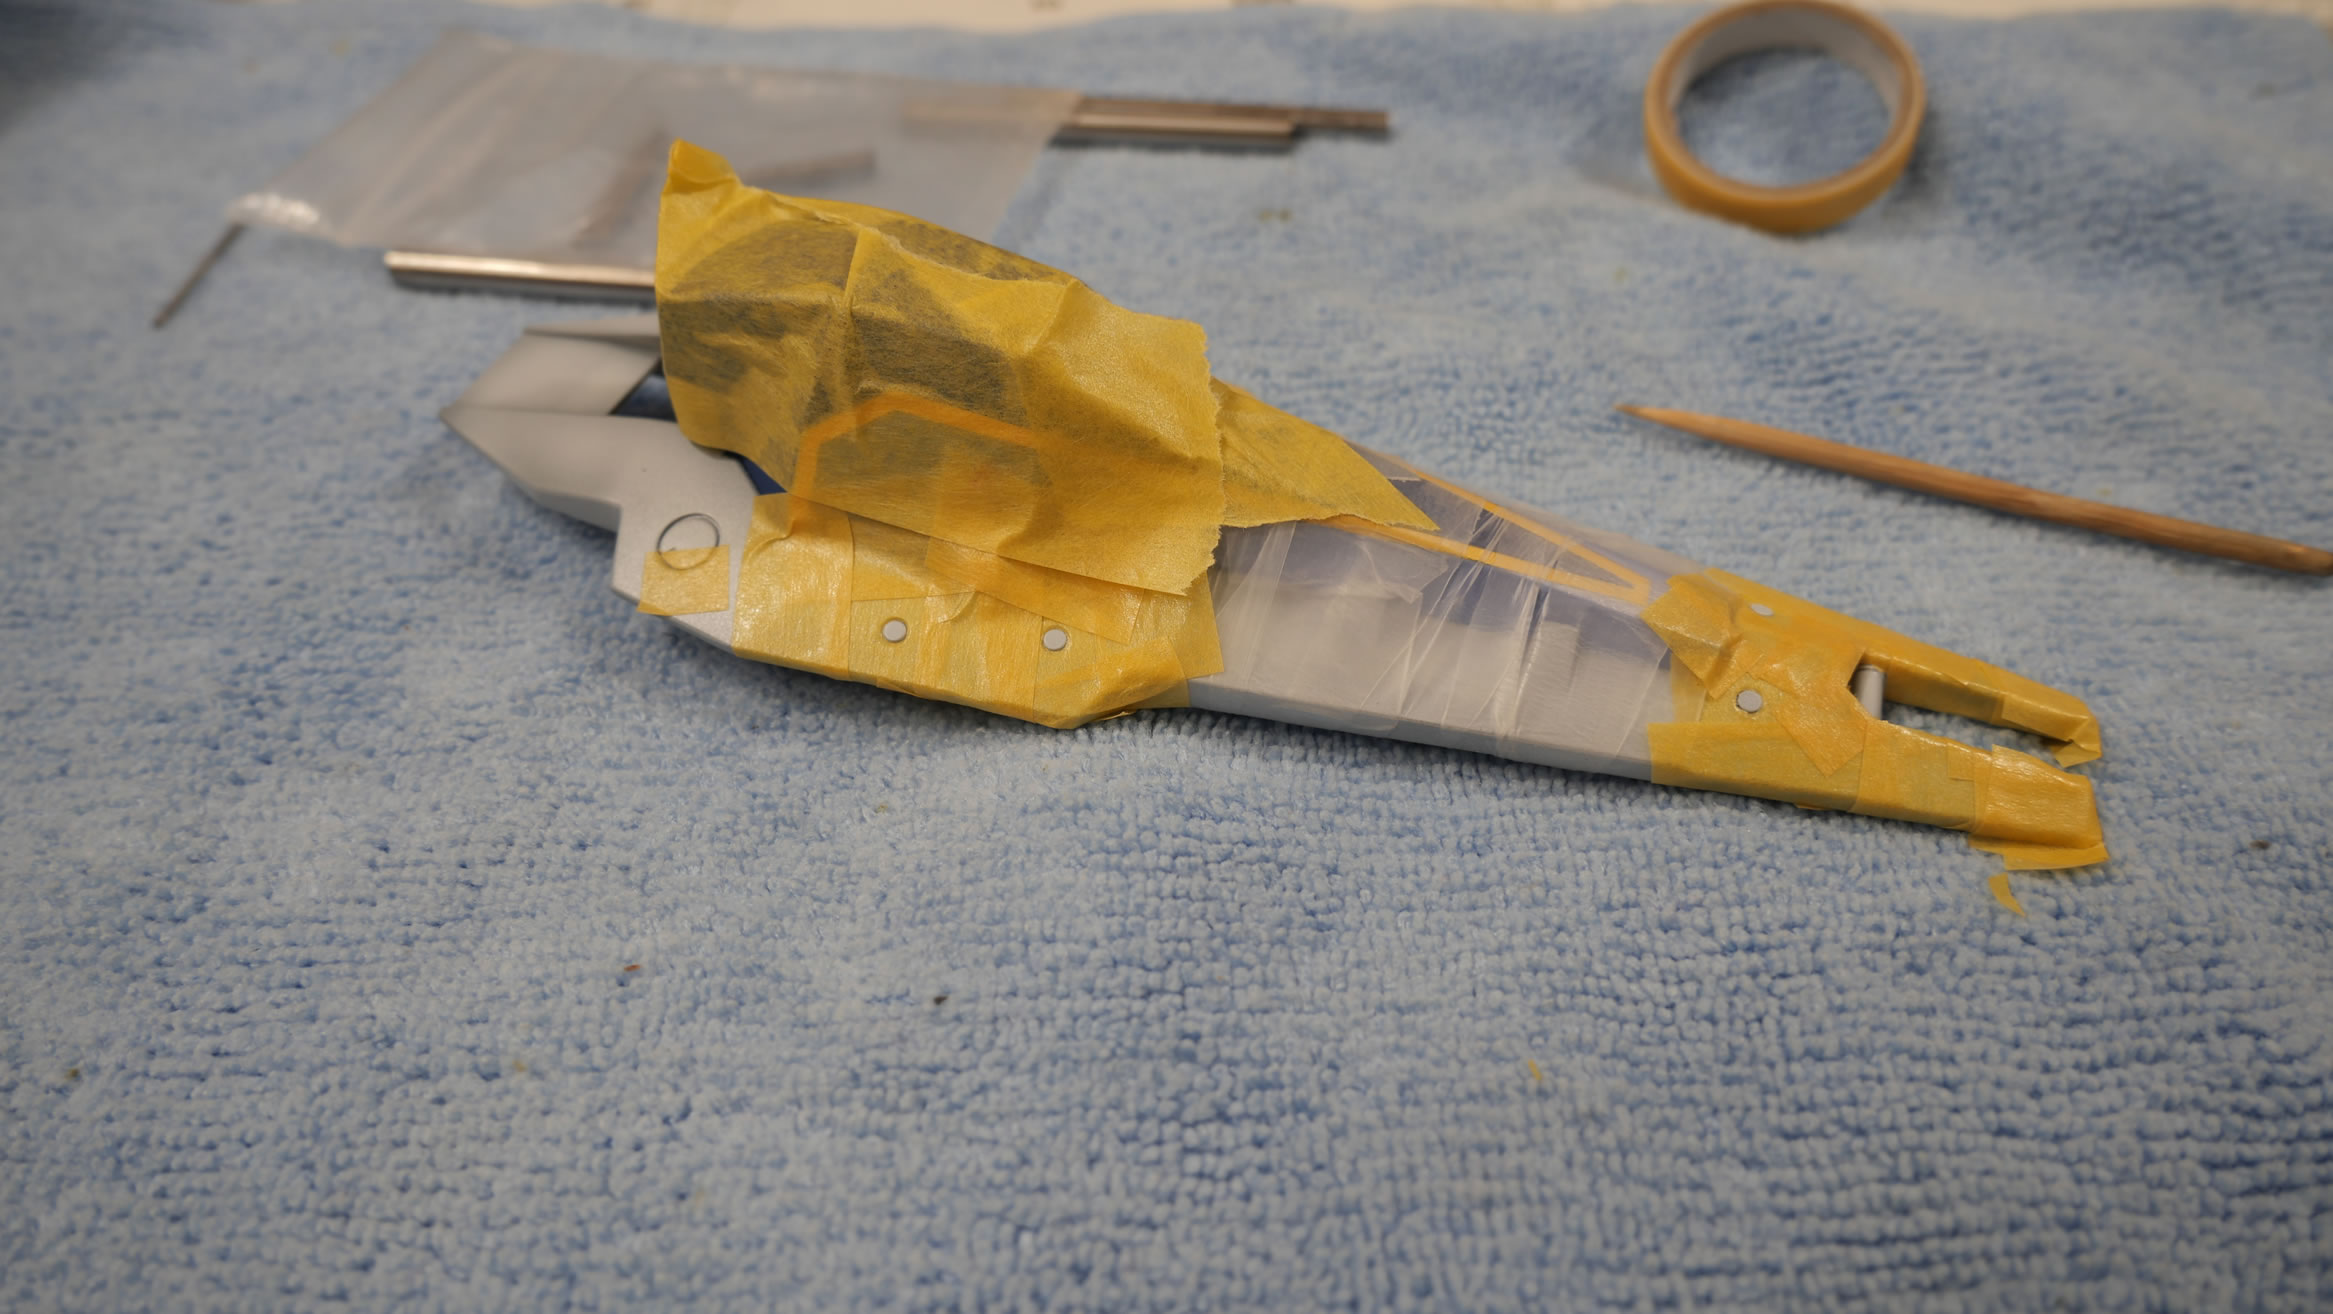
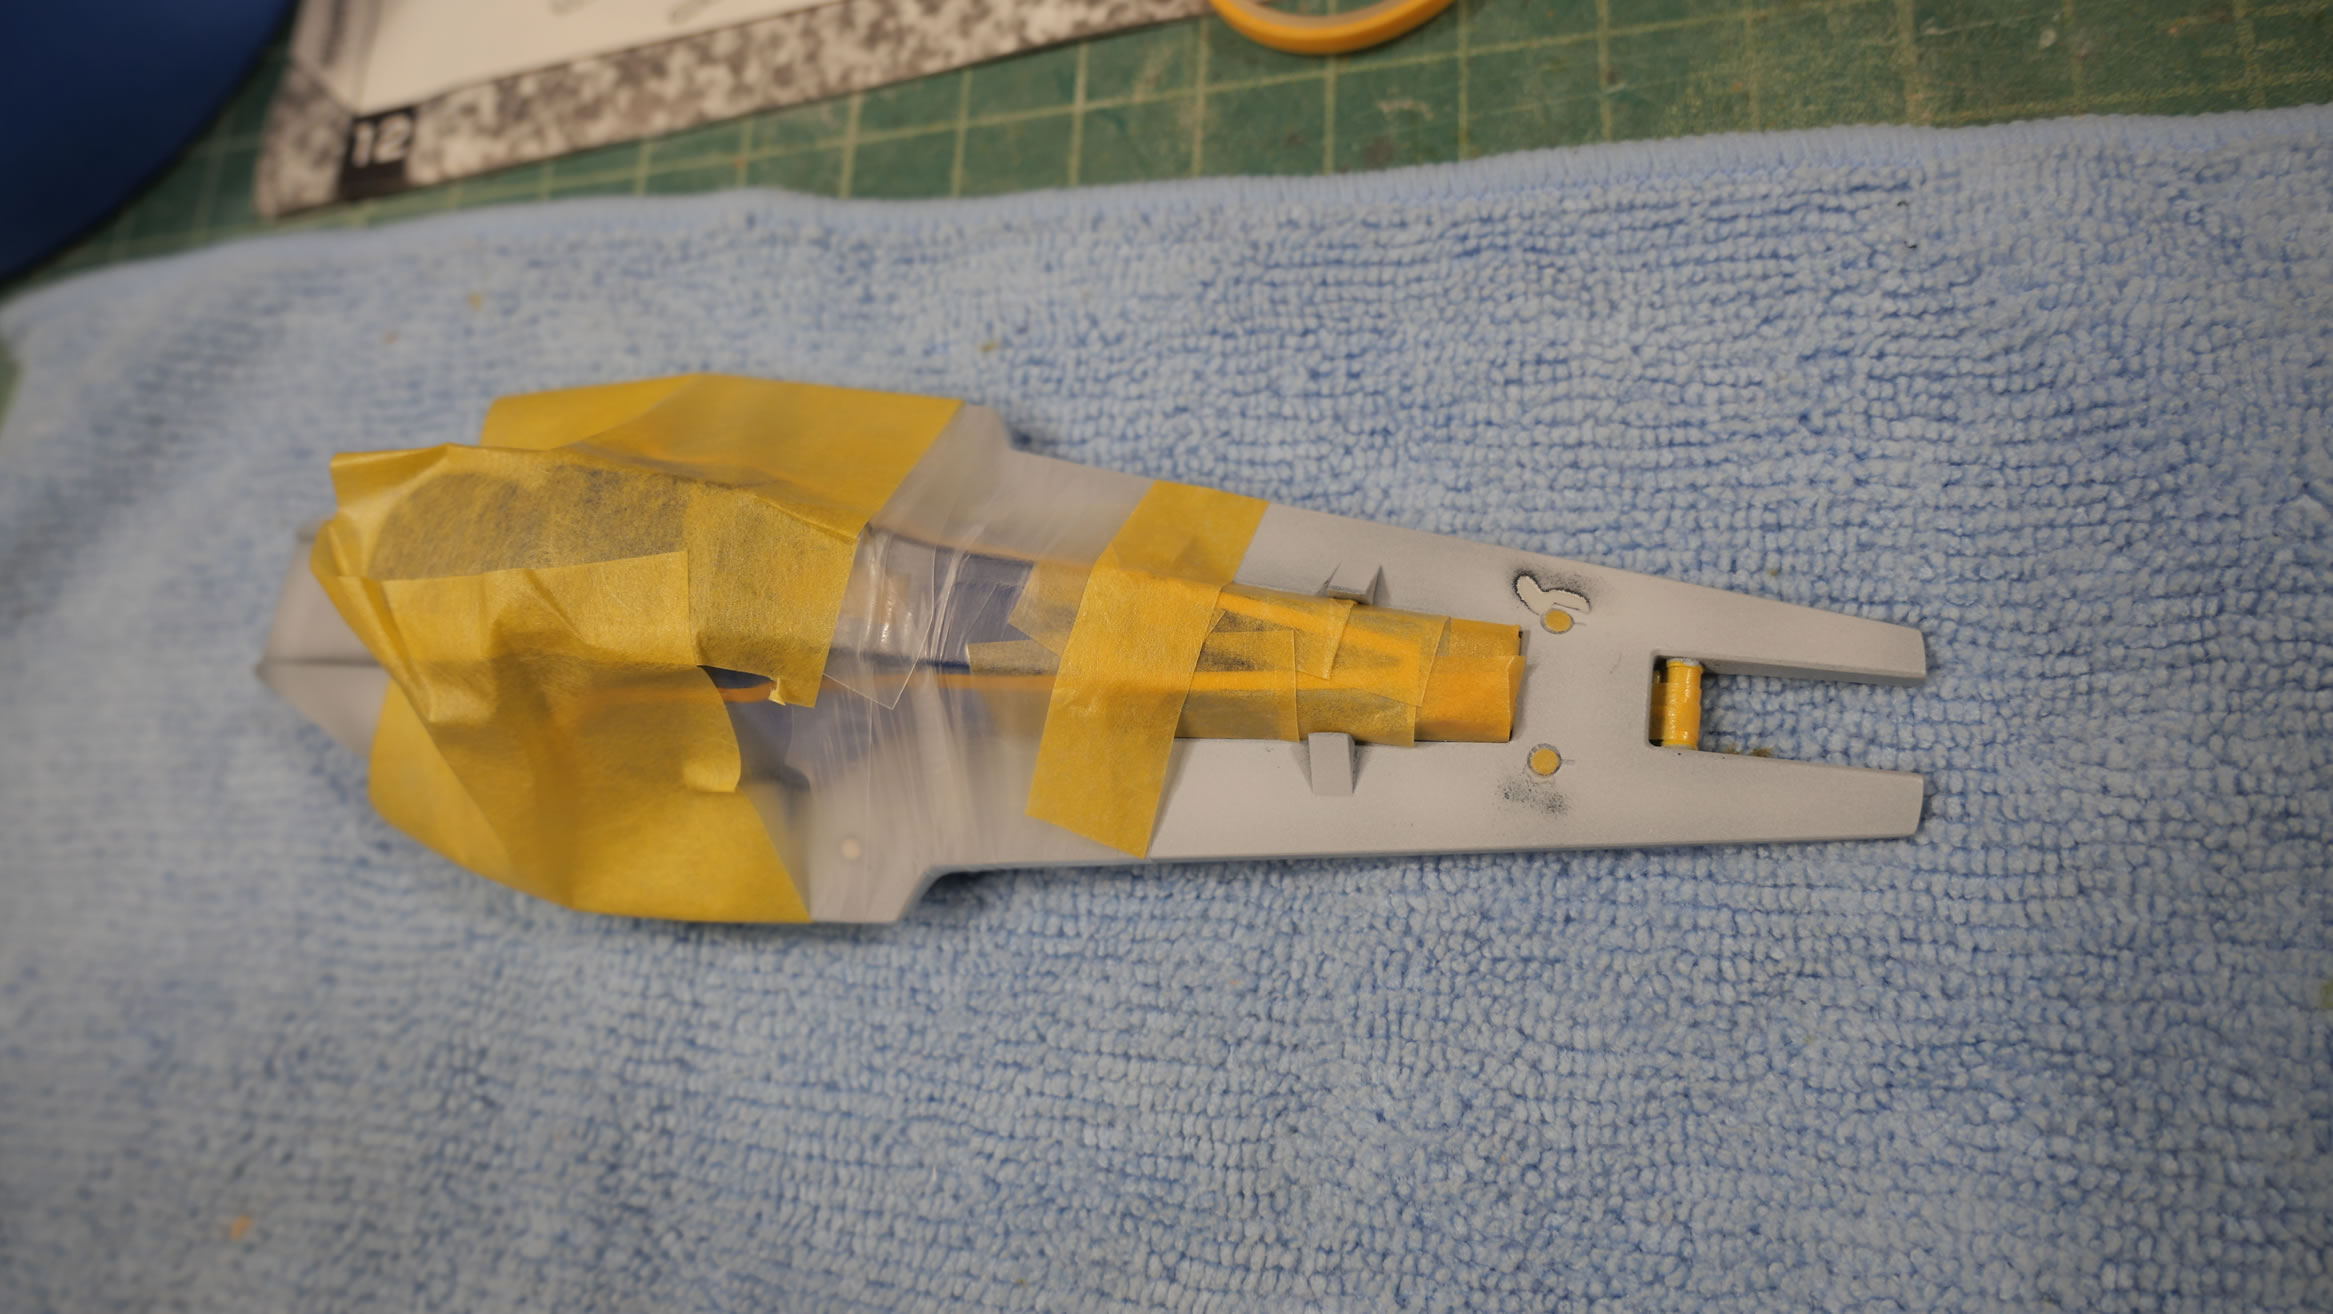
The main body parts are primed. Granted I did no additional detail work other than sanding, I still need the primer to check for poorly sanded areas, missed nub marks, and just to prep the surface for paint. Since there will be a decent amount of masking involved, I want to make sure the paint doesn’t lift off the bare plastic. “Metal” areas are base coated in black and a mix of alclad metallics are brought out for those areas.
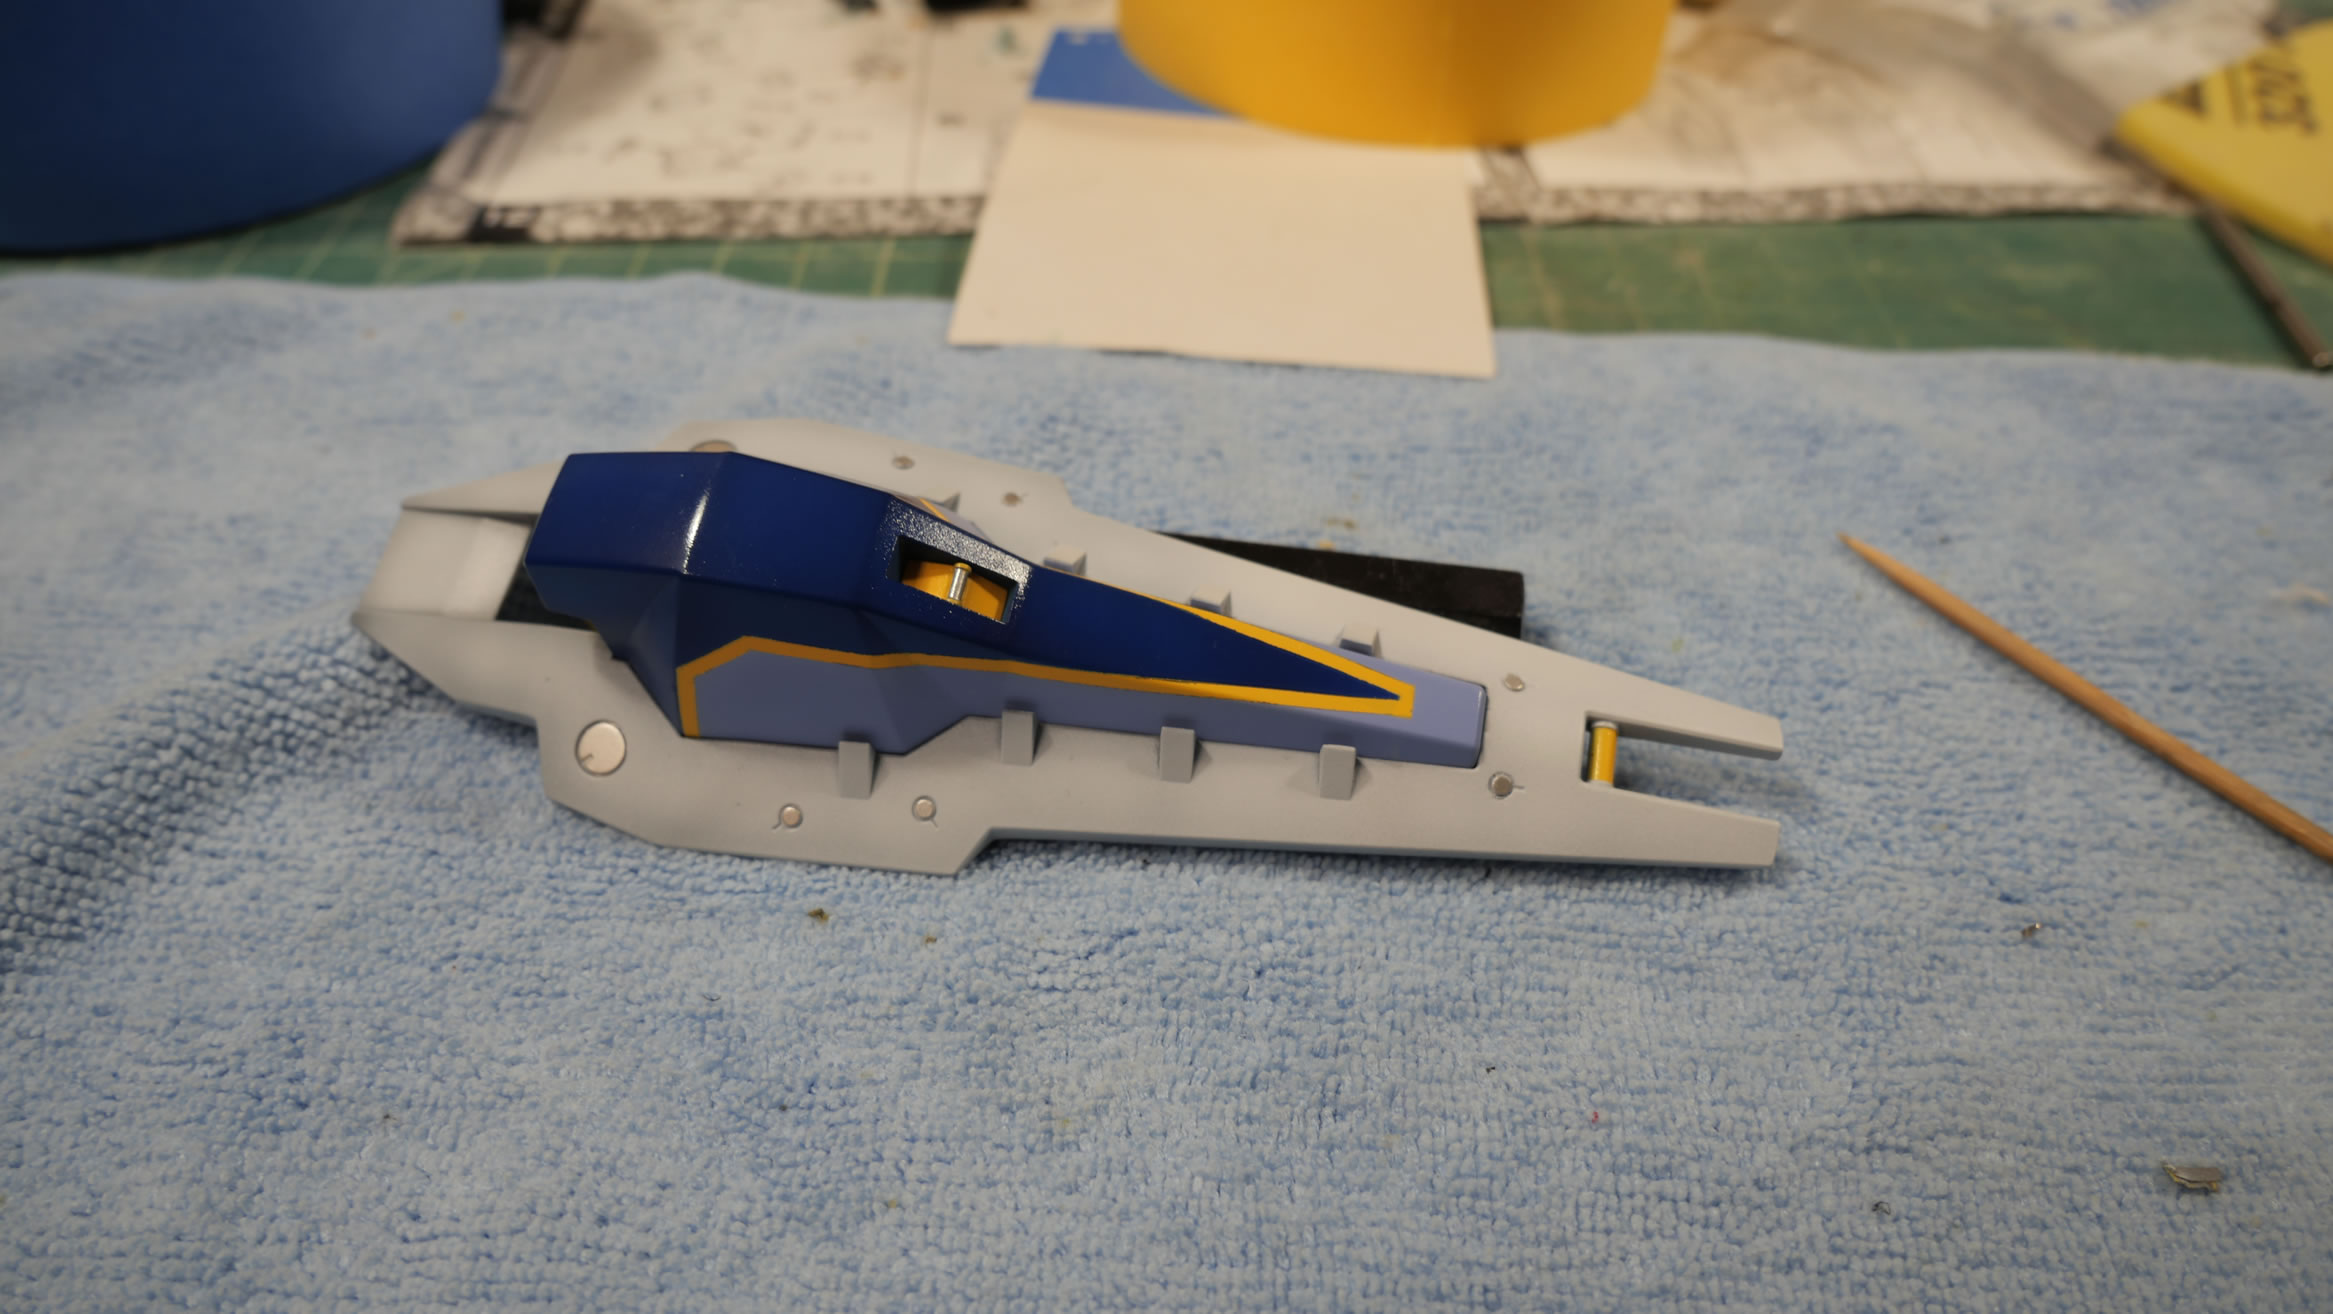
The primer check went well and I can spray the base colors. For the armor pieces, I started with midnight blue as the base color.
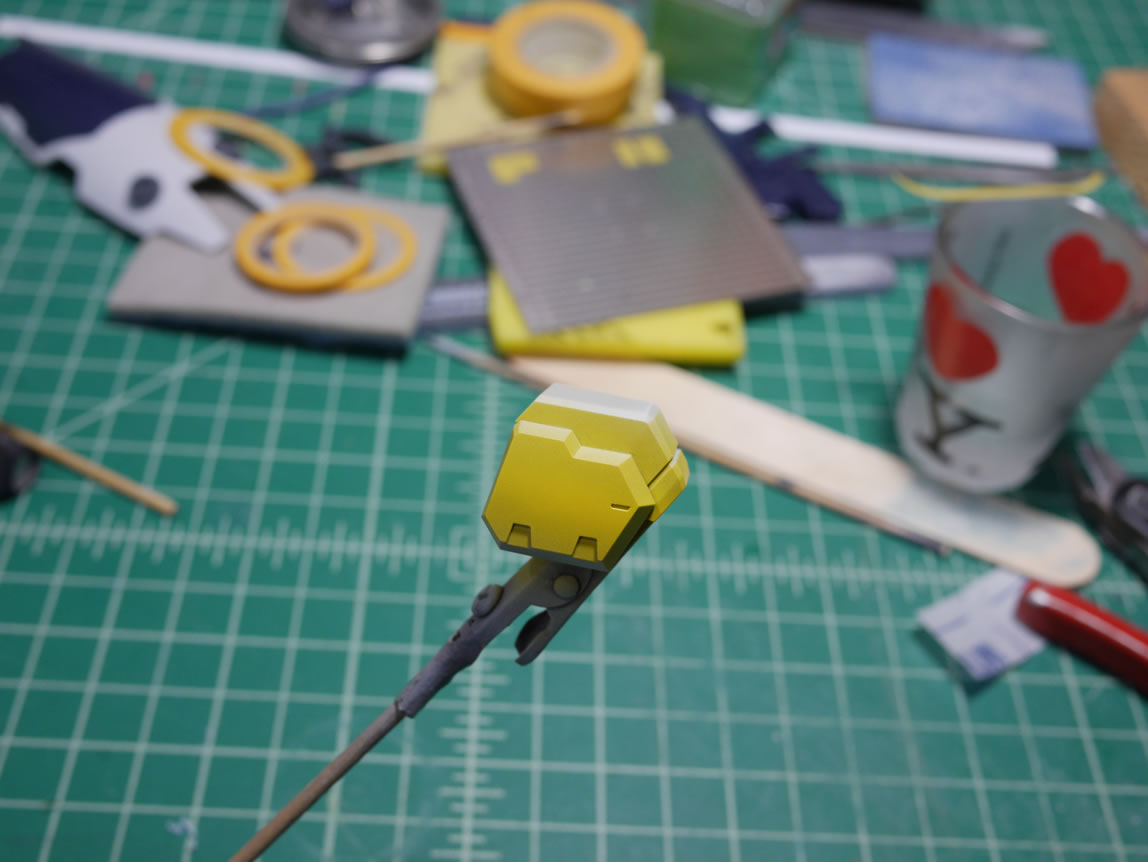
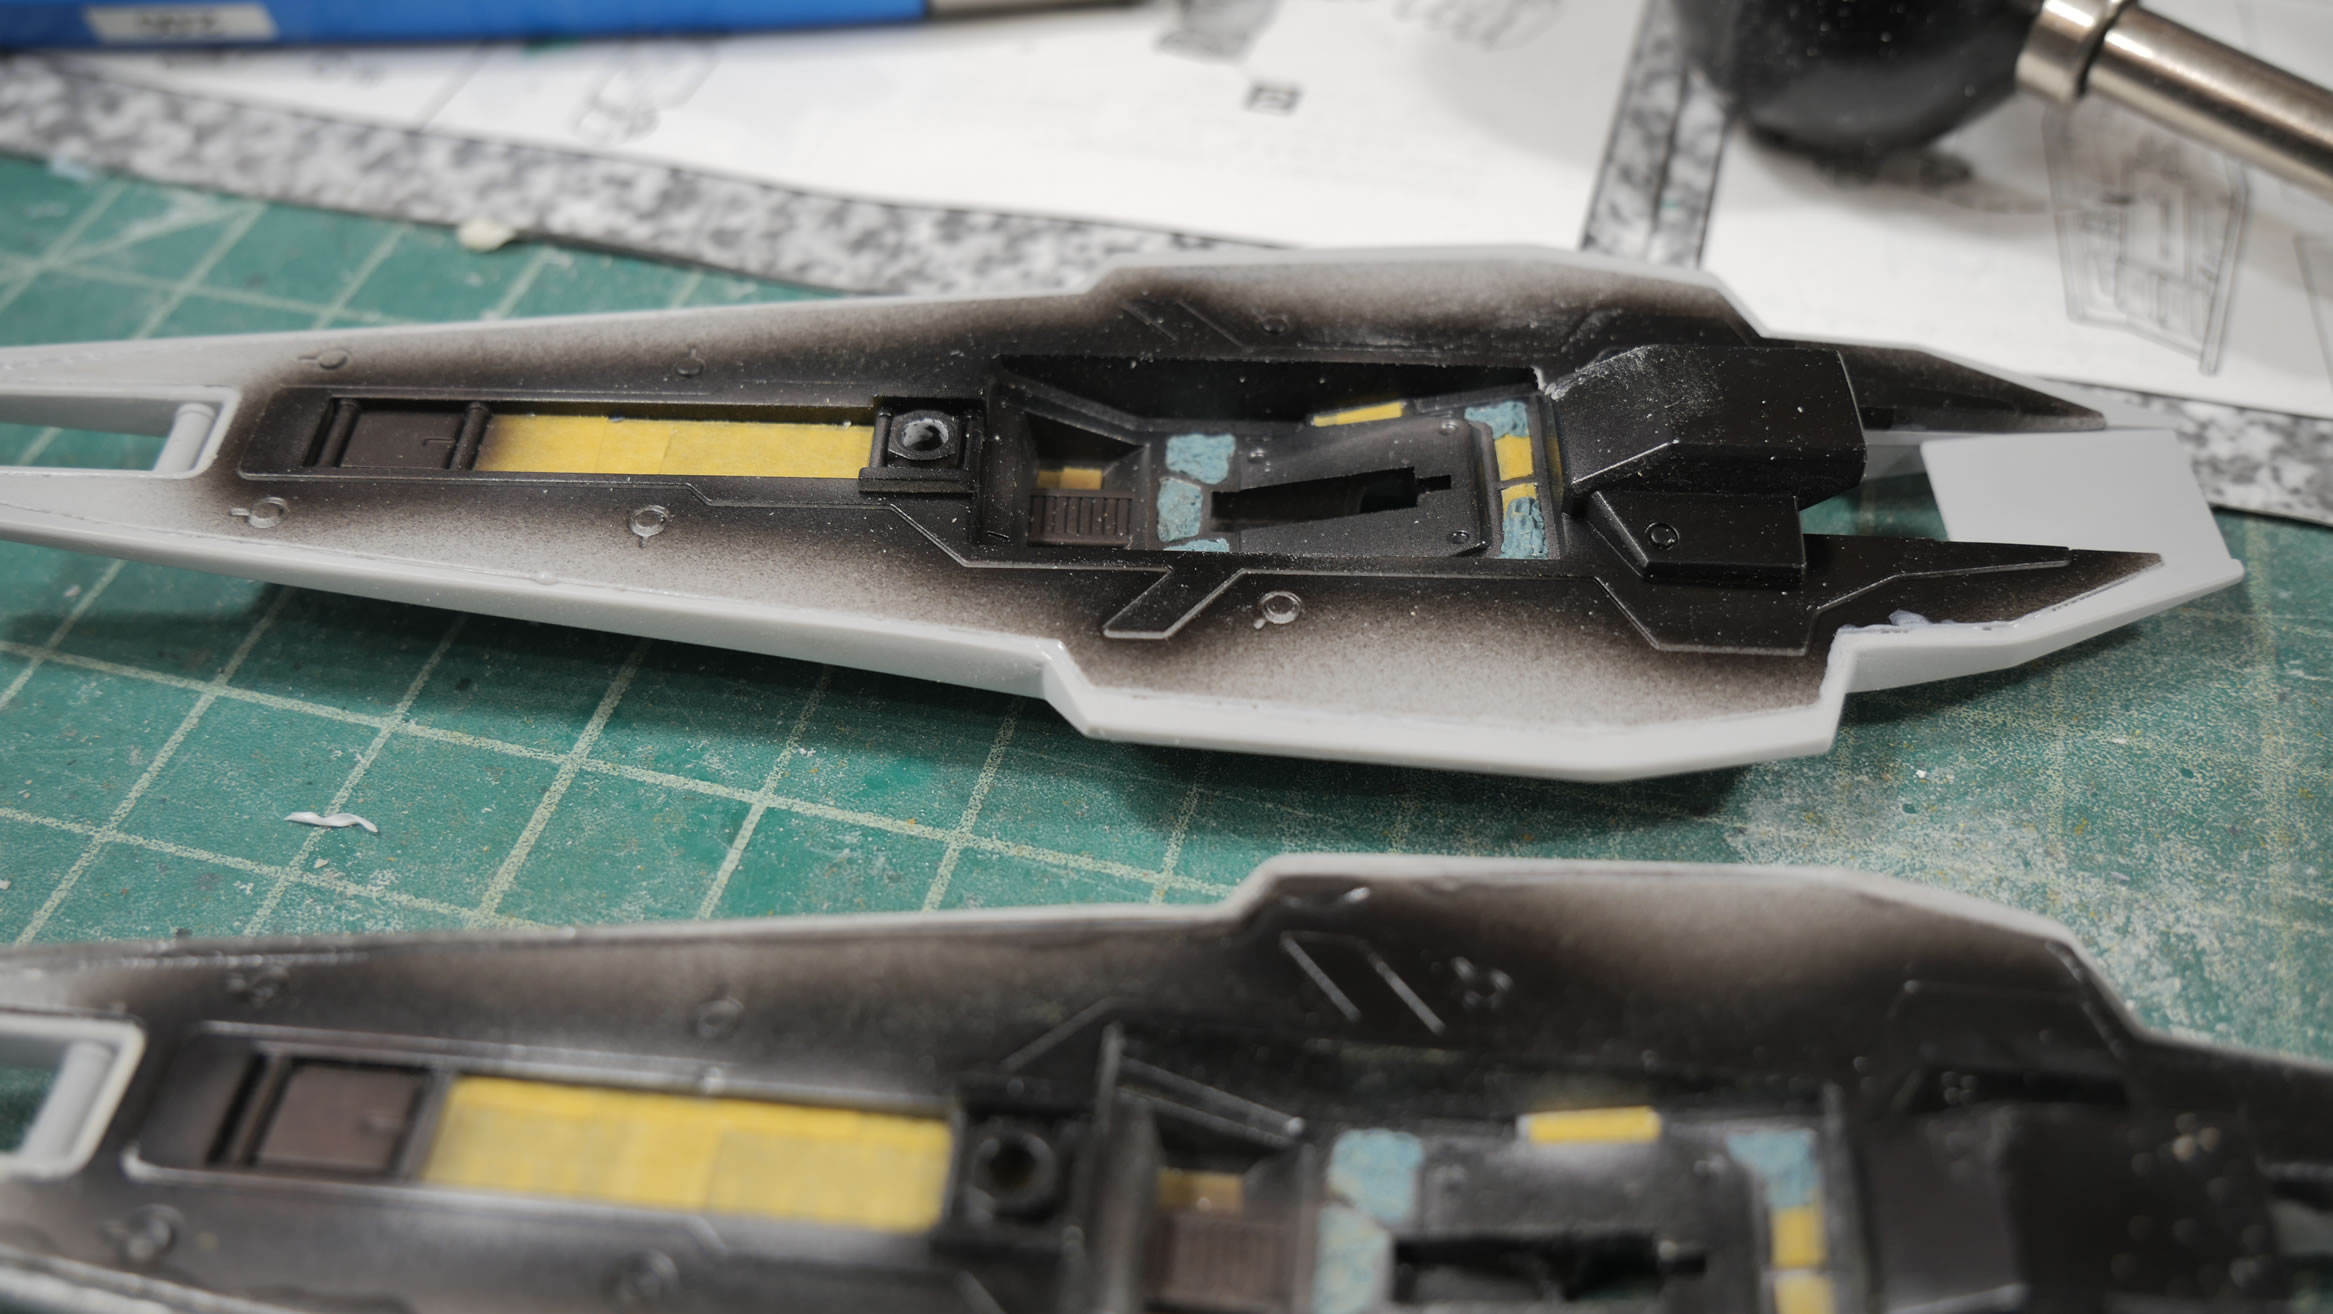
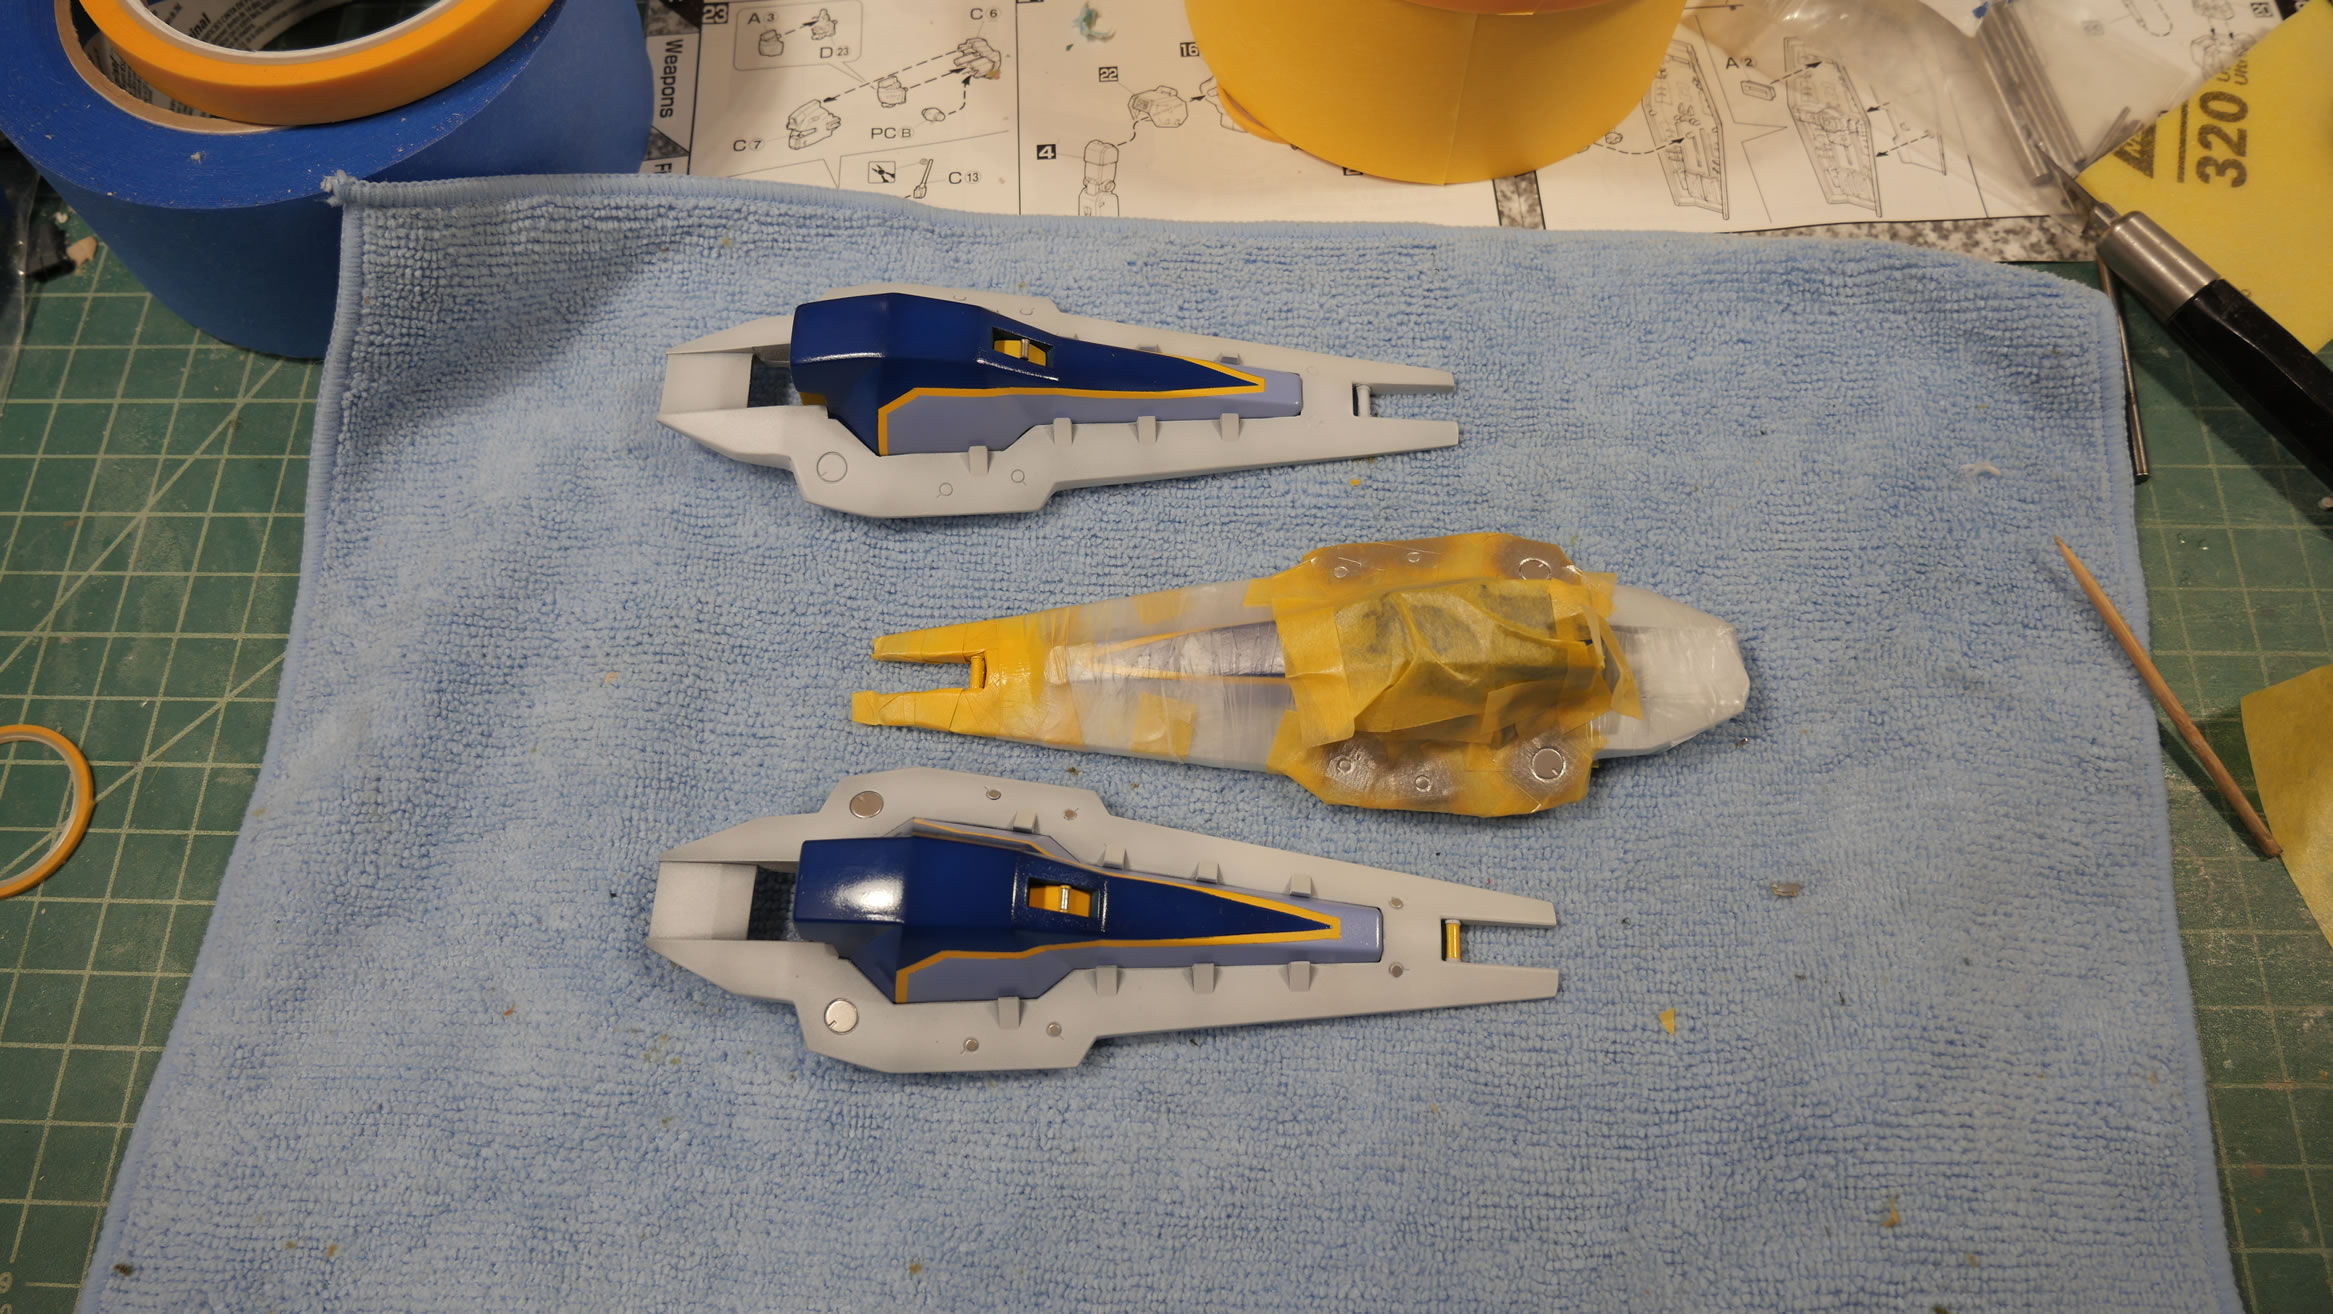
Moving on to the shoulder. a strip of midnight blue is sprayed over the primed shoulder. Over this midnight blue, I spray a strip of pure white and use the darker blue for shading. Over the shaded white, I spray the yellow. Since the yellow is just a stripe, I spray that first. The other yellow parts are done in the same color lift technique. The yellow will pick up the shading from the previous white over midnight blue to create a fairly subtle shading effect.
The red pieces are also treated this way. I do not want to spray the red over a dark color because it will really darken the tone of the red. I used finisher’s lumi red over the white and midnight blue combo to get a red that is pretty bright and has subtle shading.
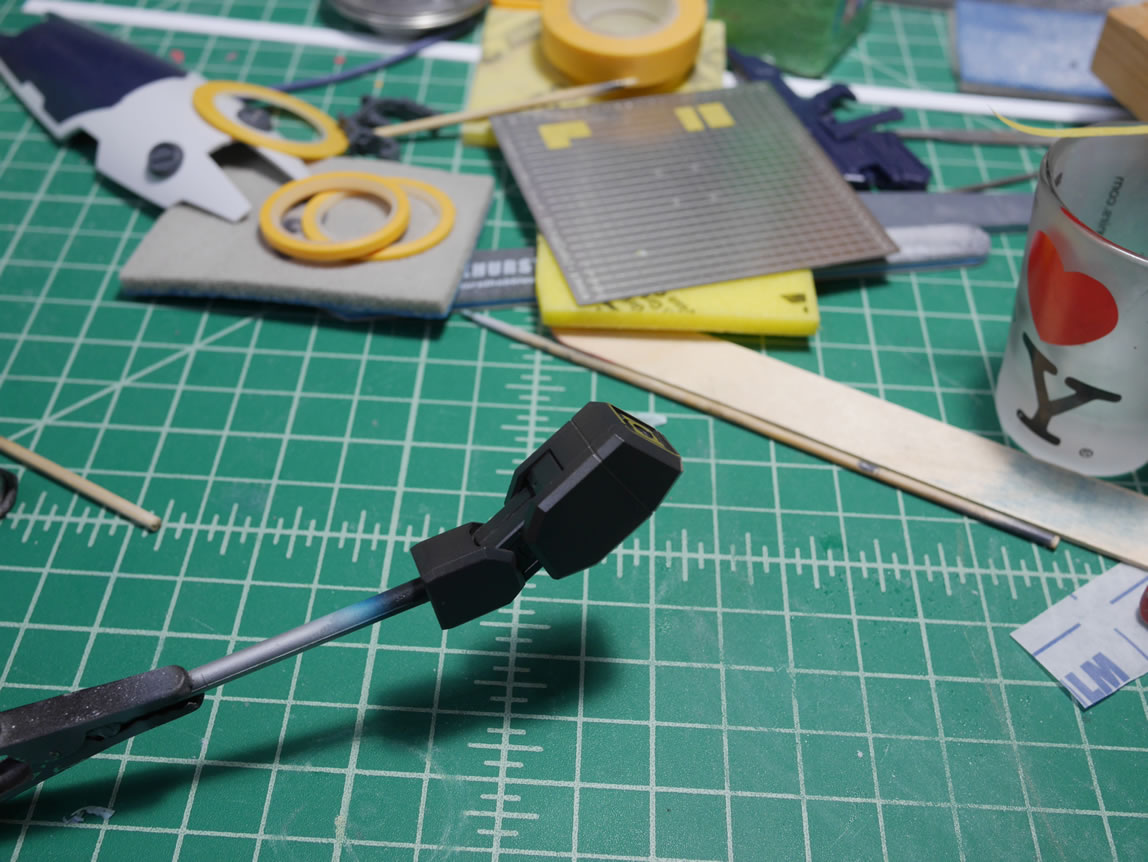
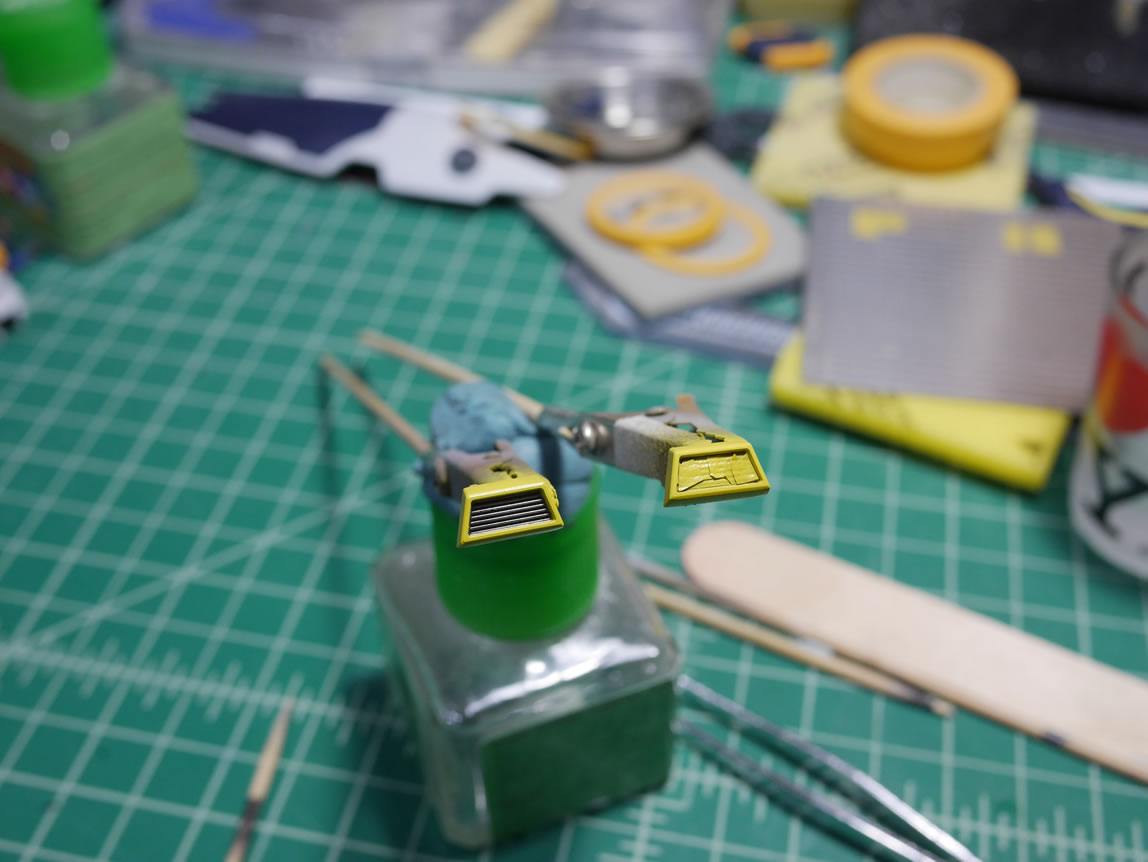
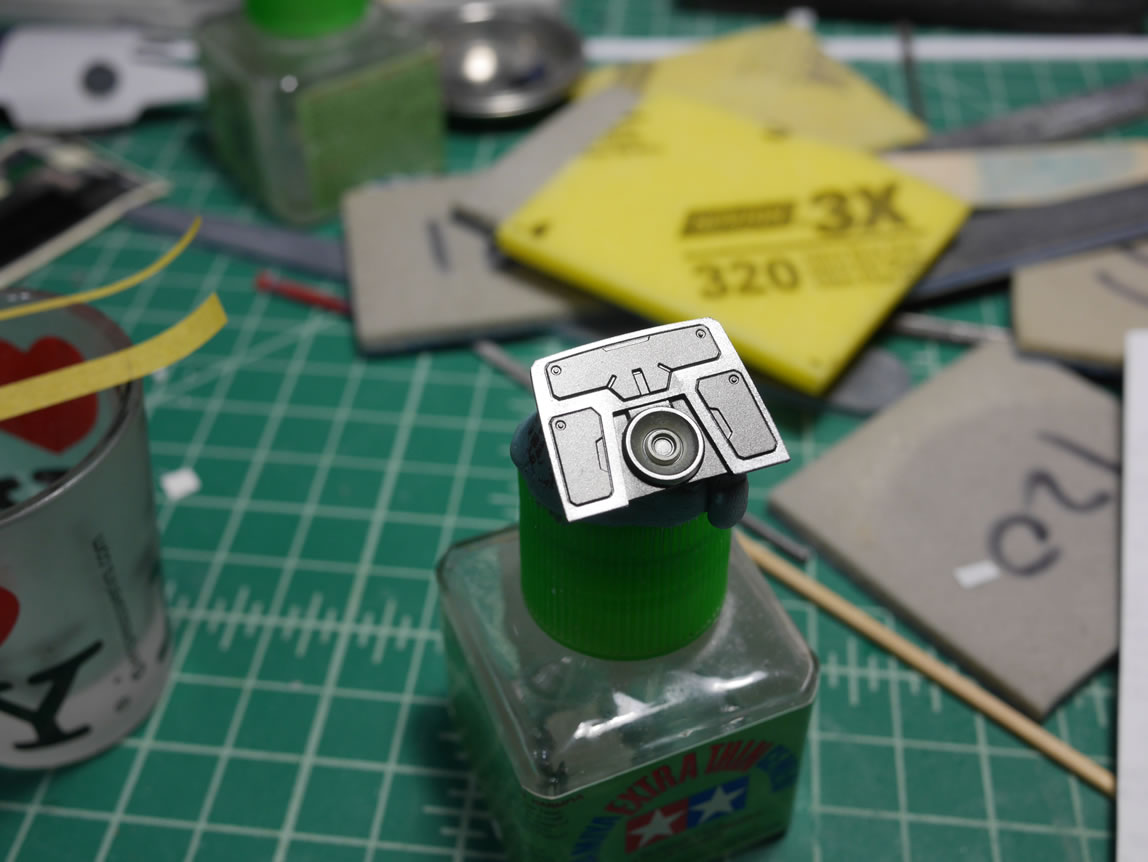
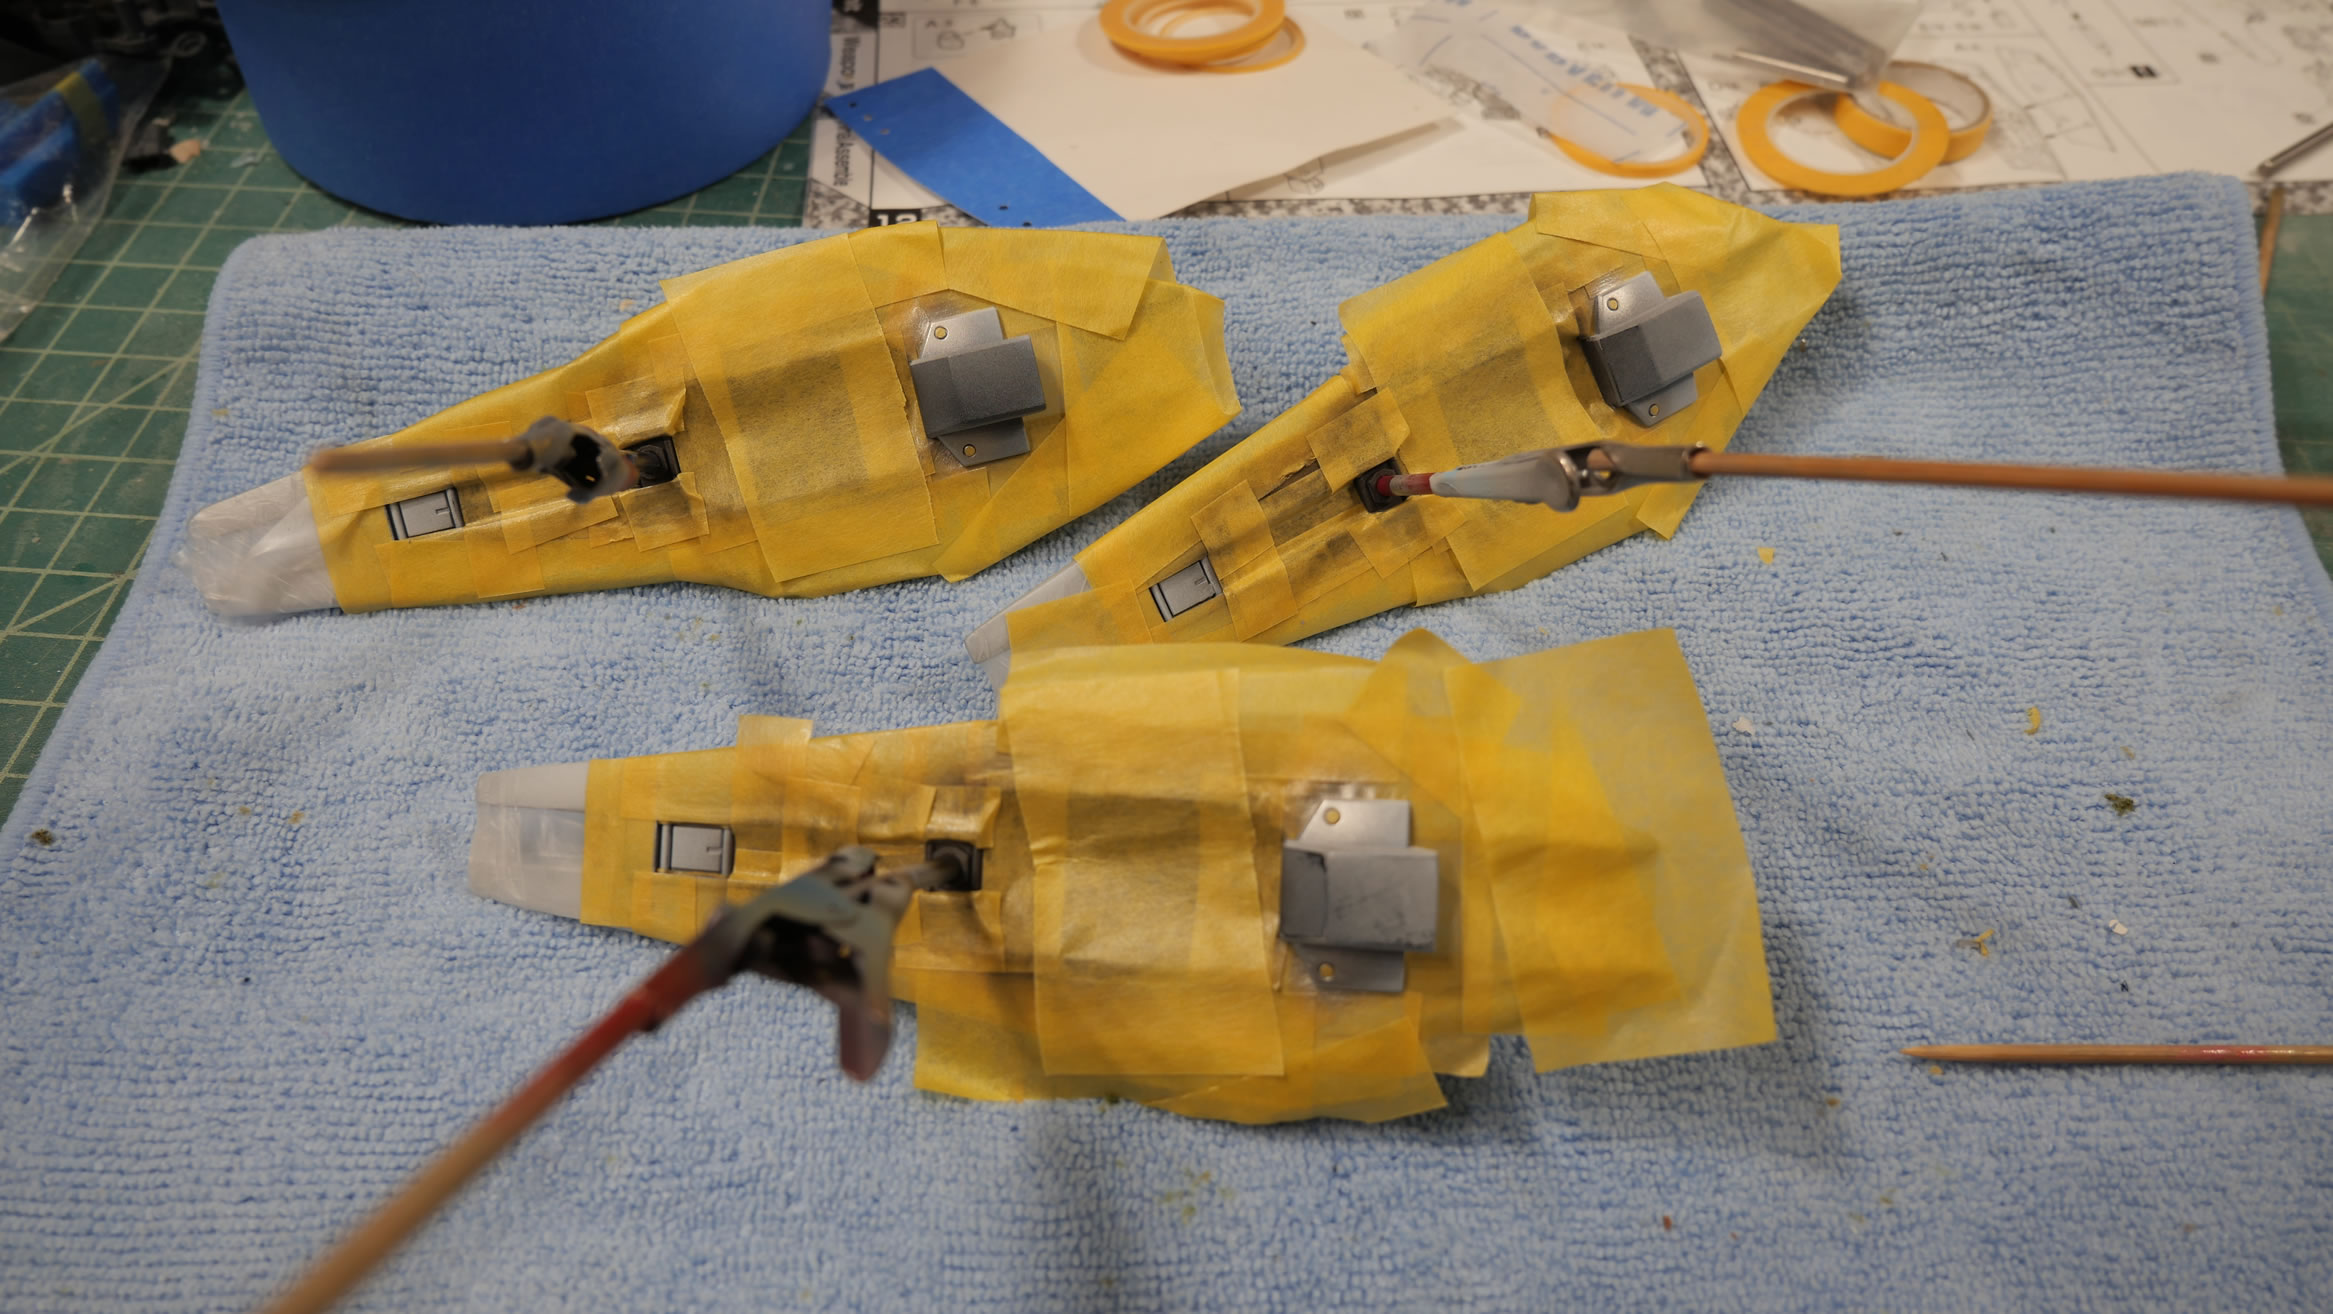
Earlier, I had sprayed the “metal” areas. The little thruster bits are masked off after getting metalized. Then the same process to paint the yellow parts is applied to these bits. There are several layers at work and a level of patience needed, but I believe the results are worth the effort.
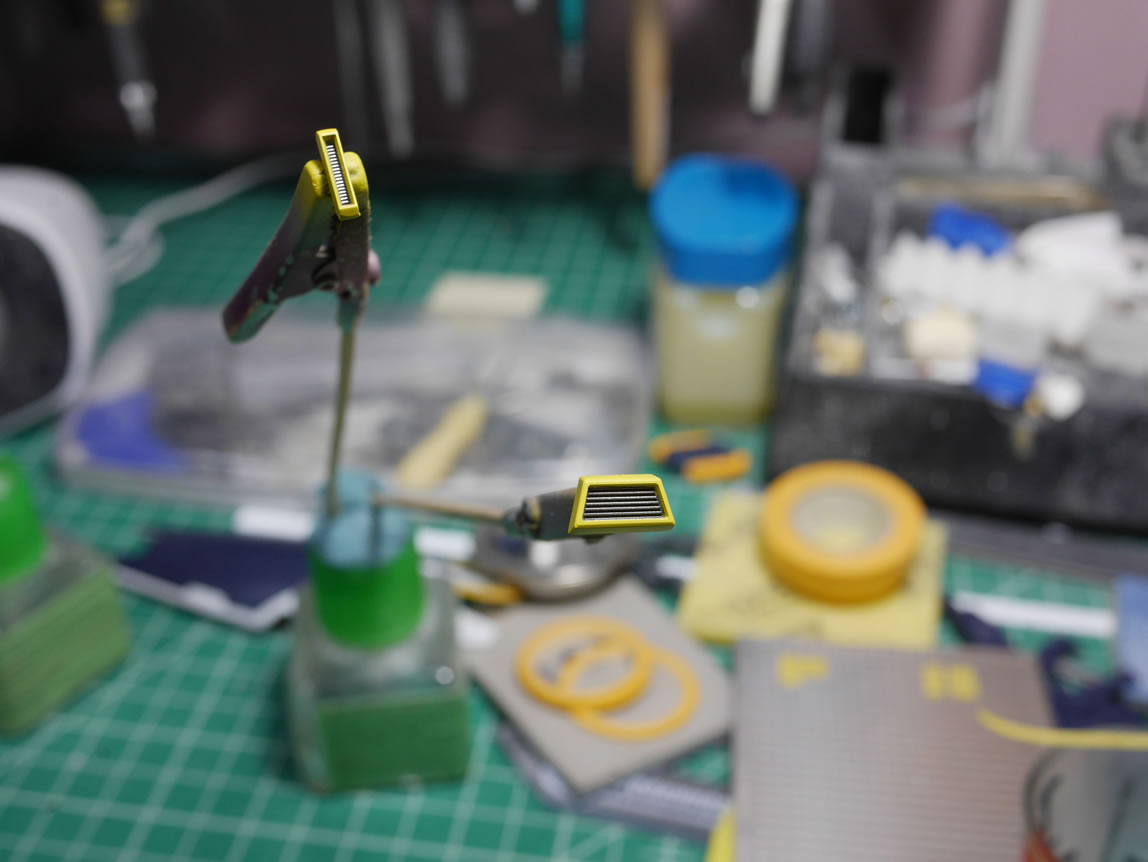

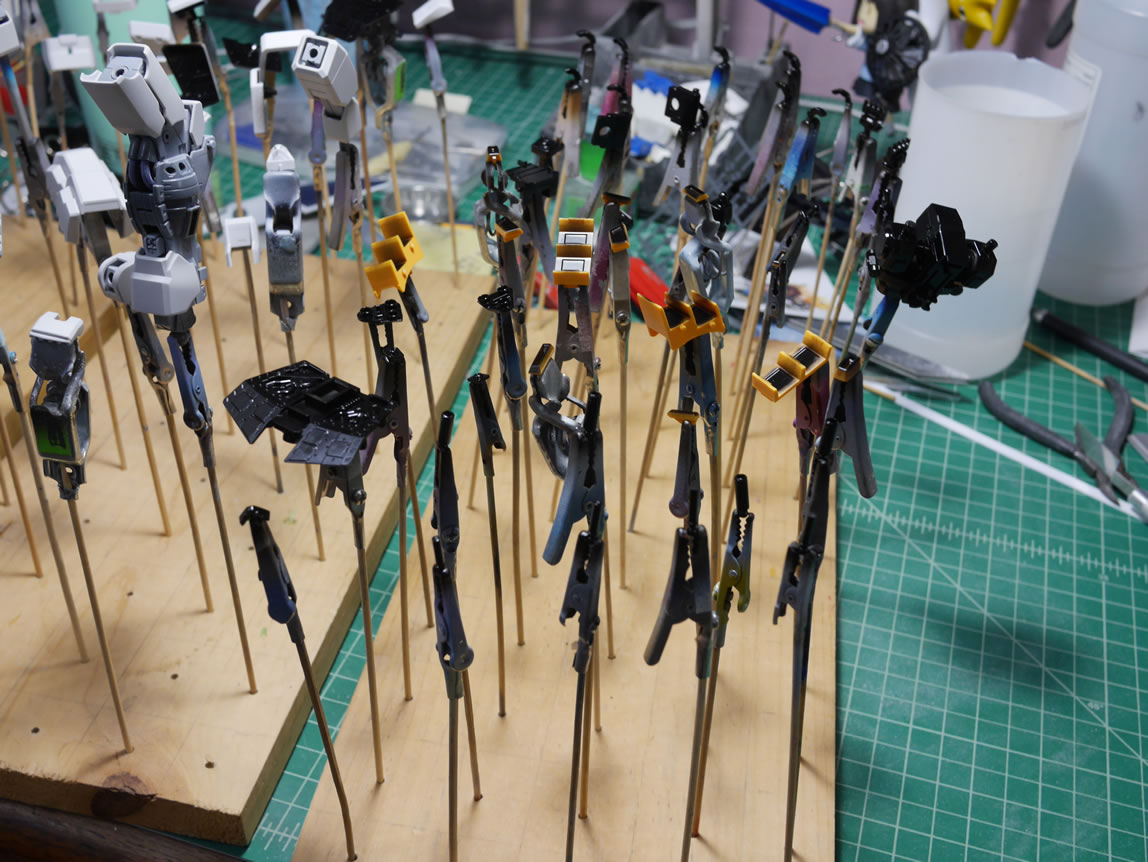
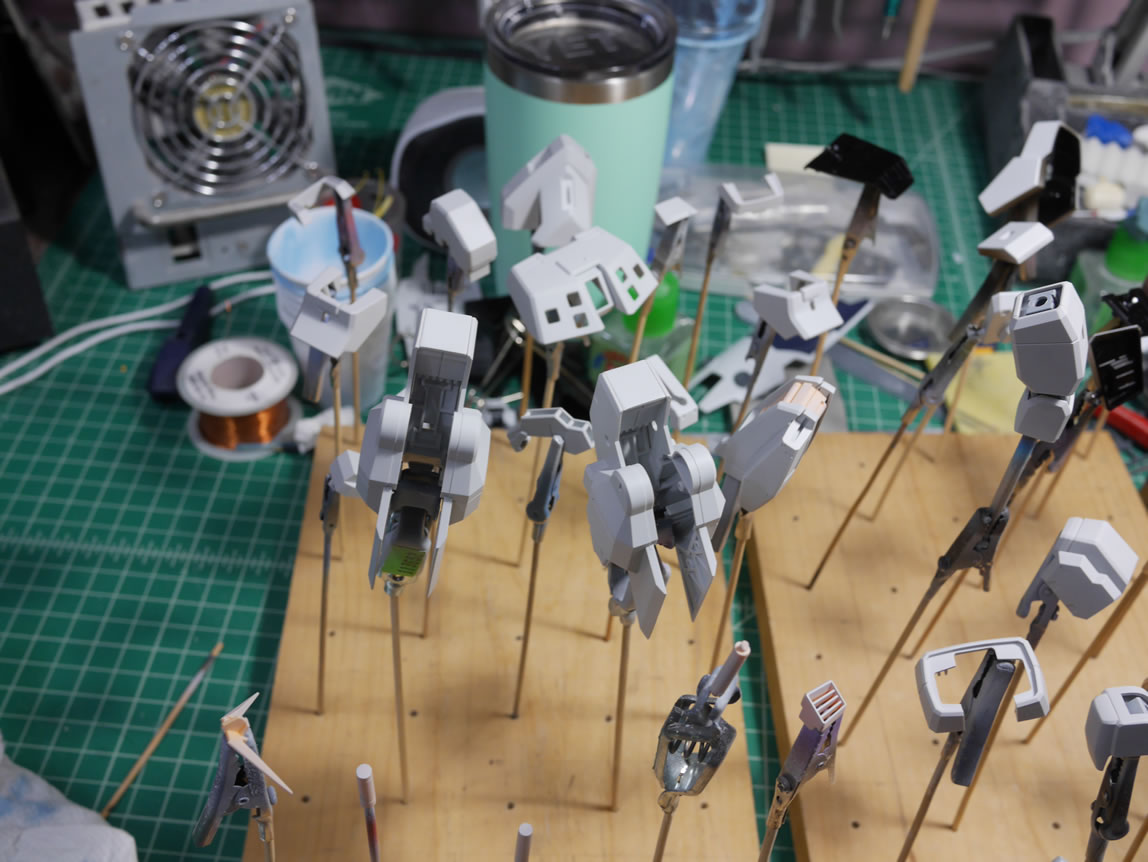
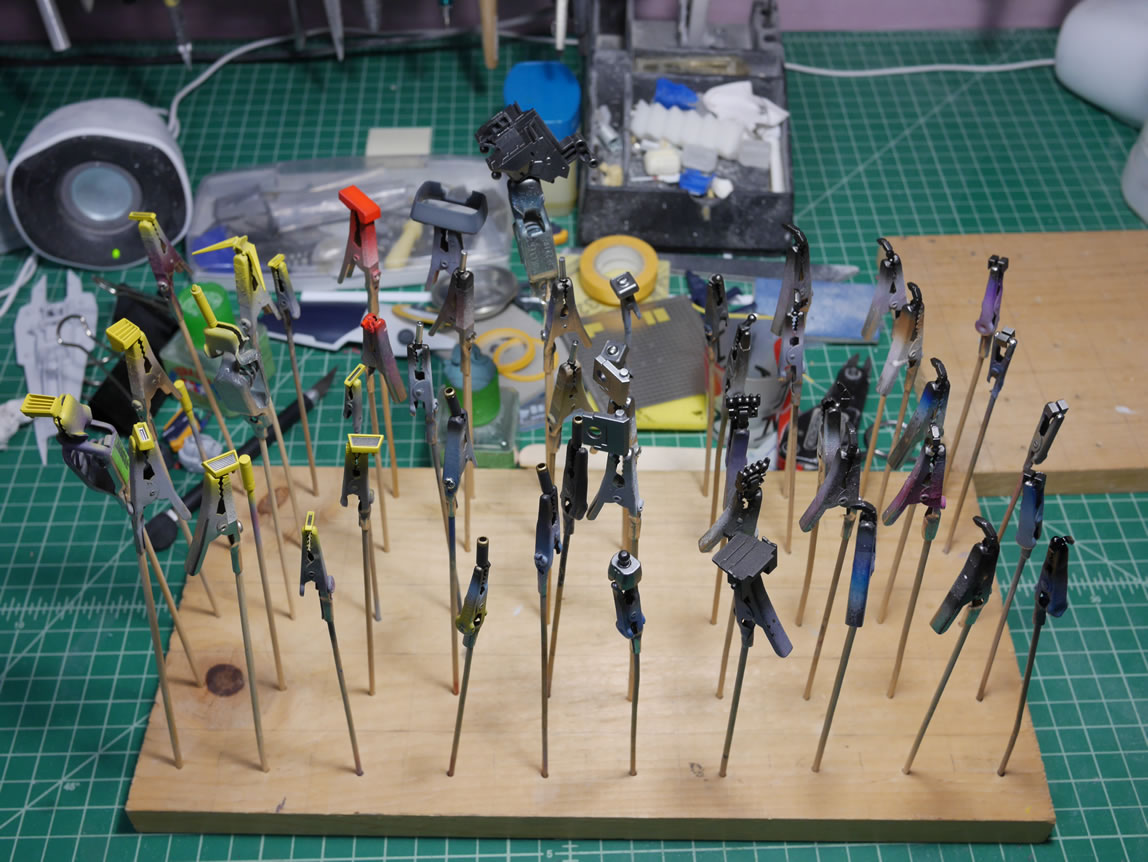
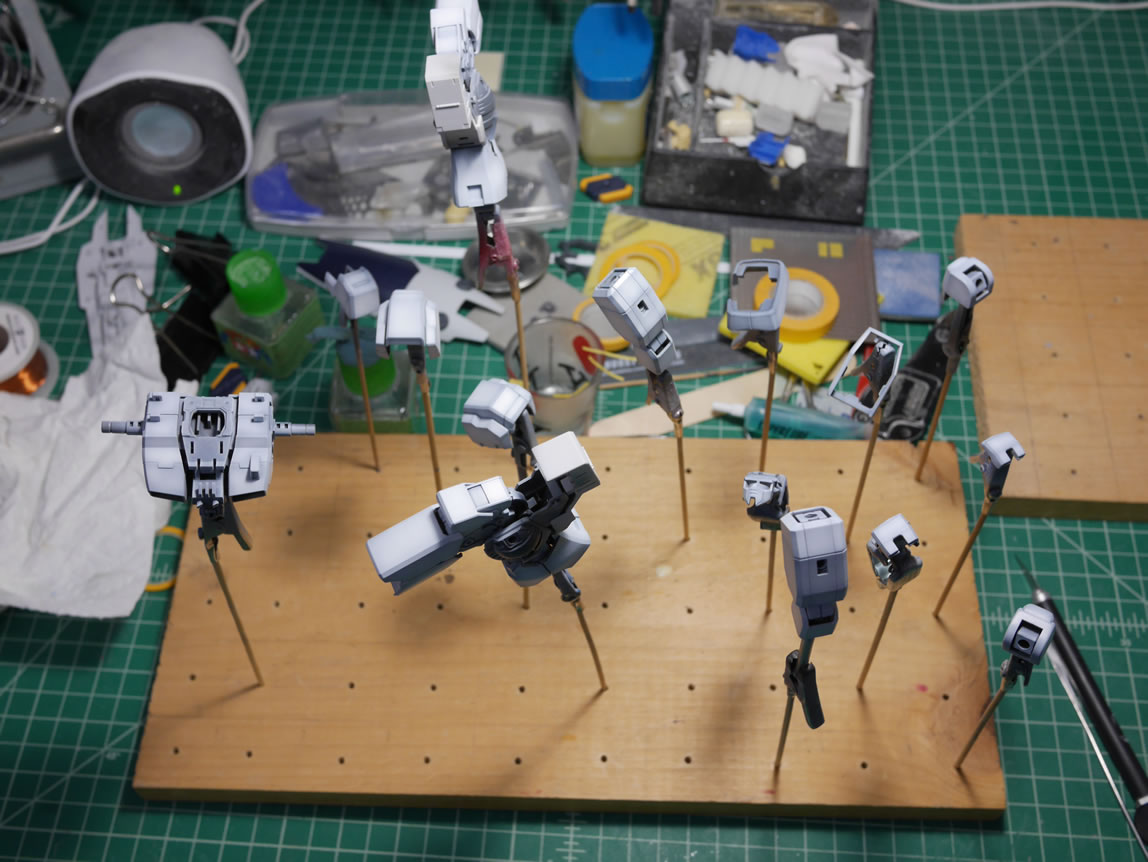
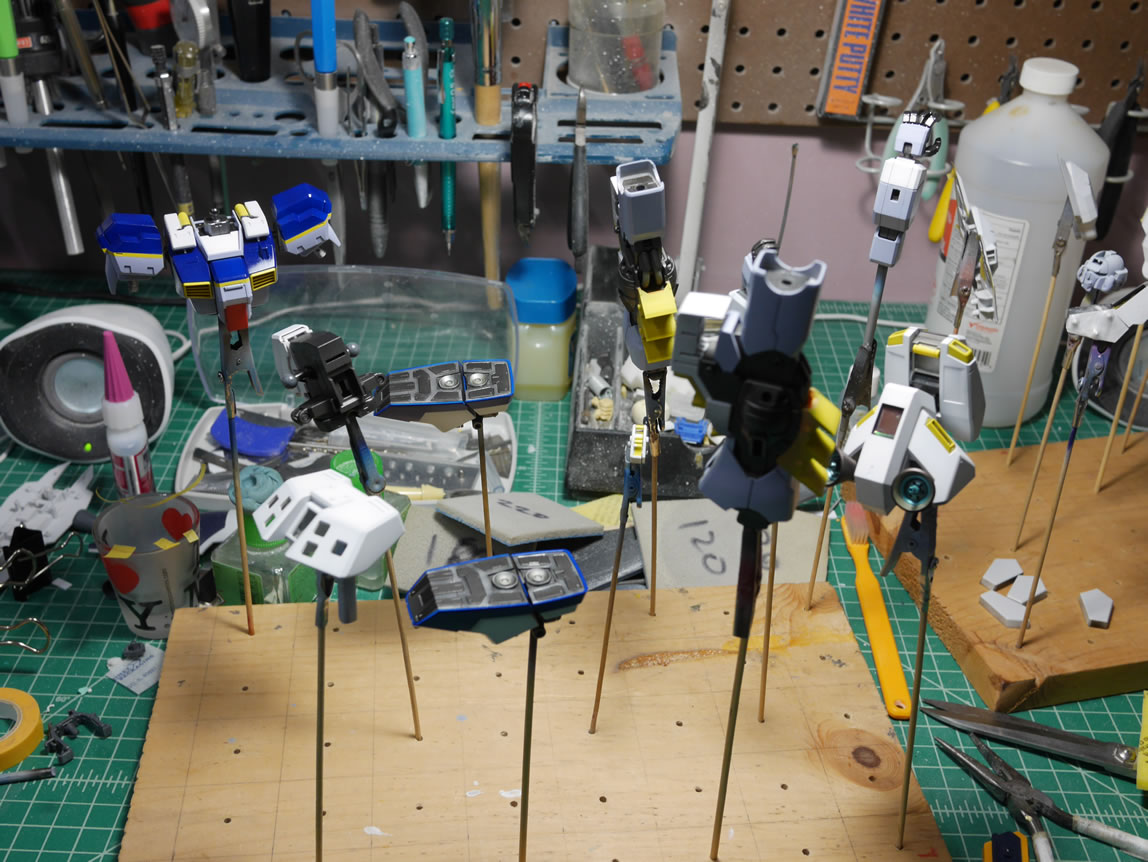
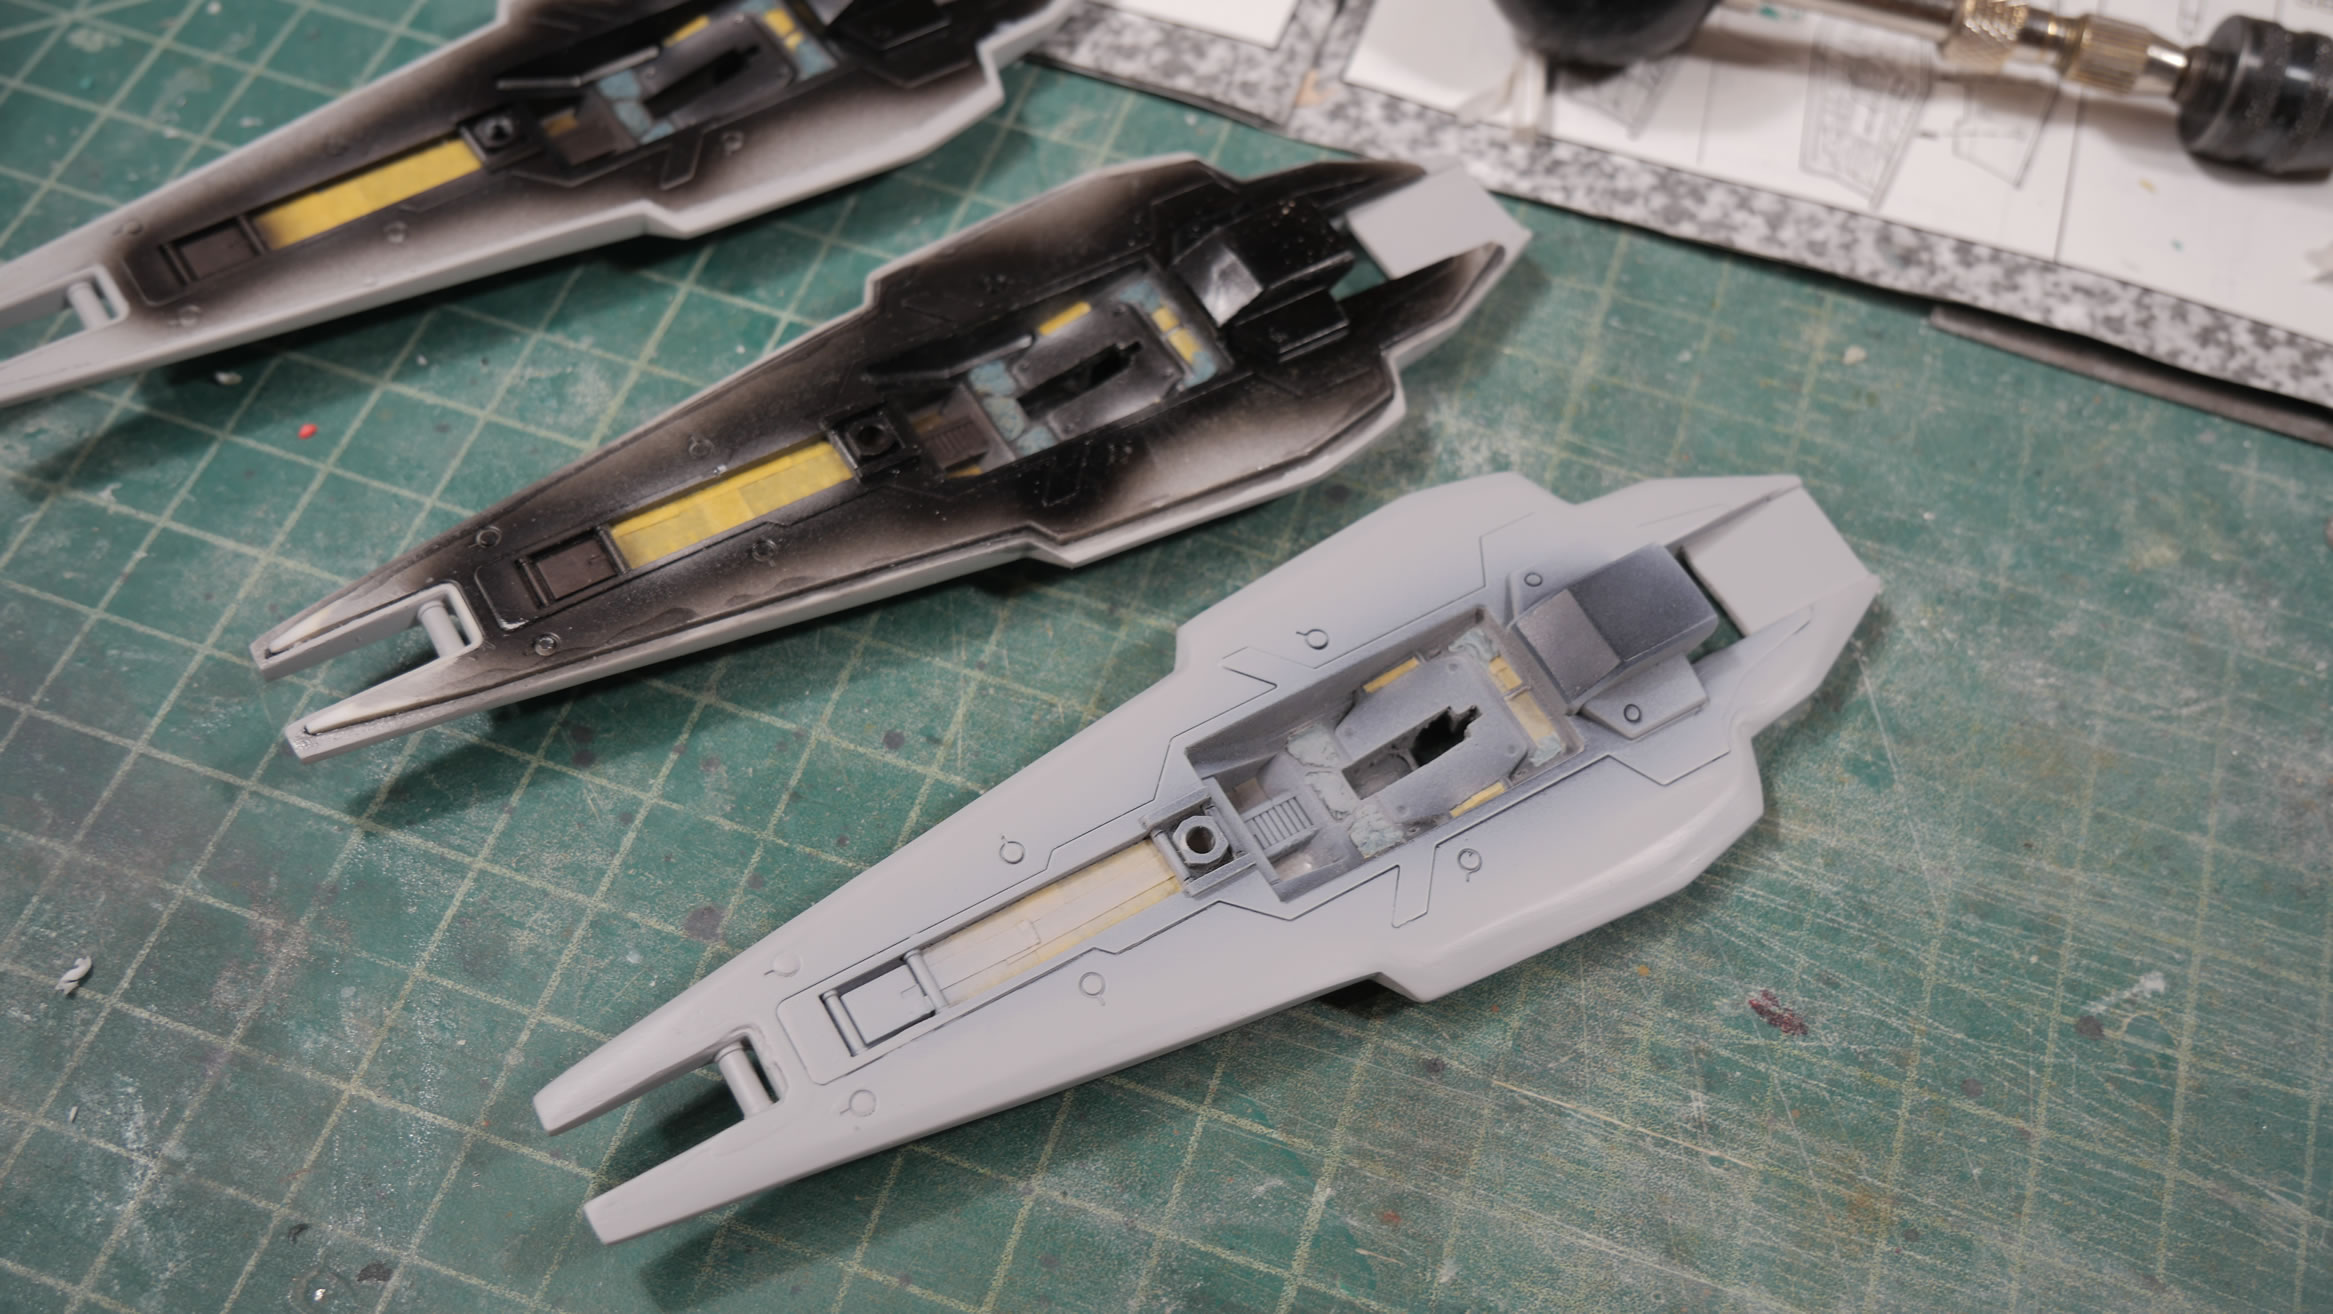
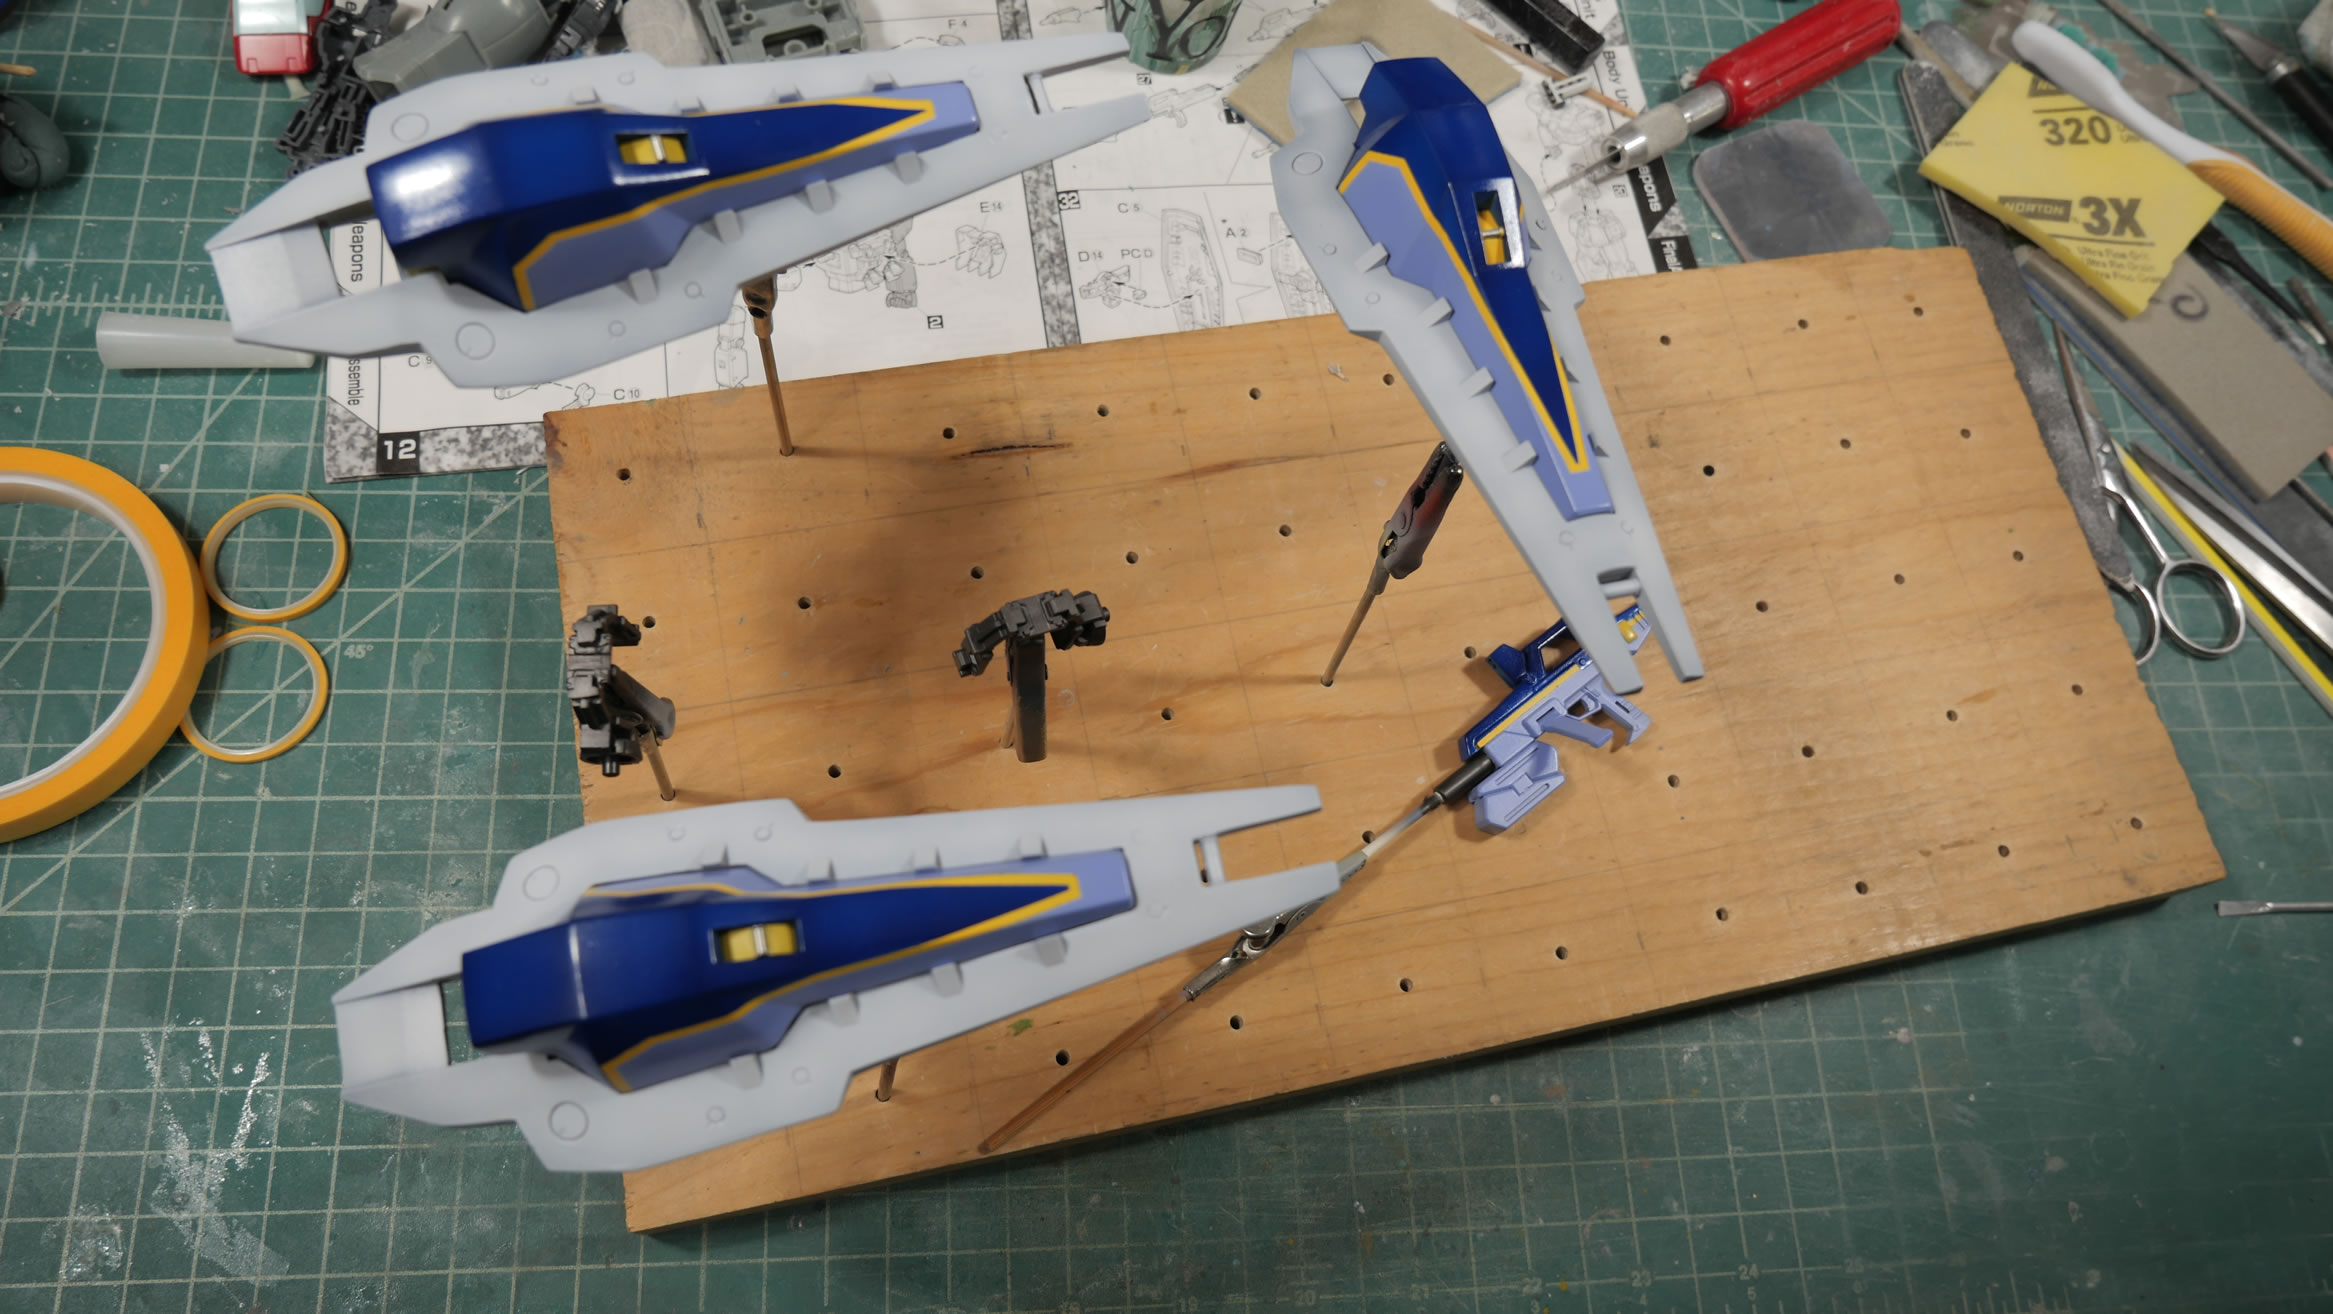
As I progress, parts that were individually painted start to combine with other parts and the skewers start refilling the can I keep them in and I start to have more open spaces on the wood boards.
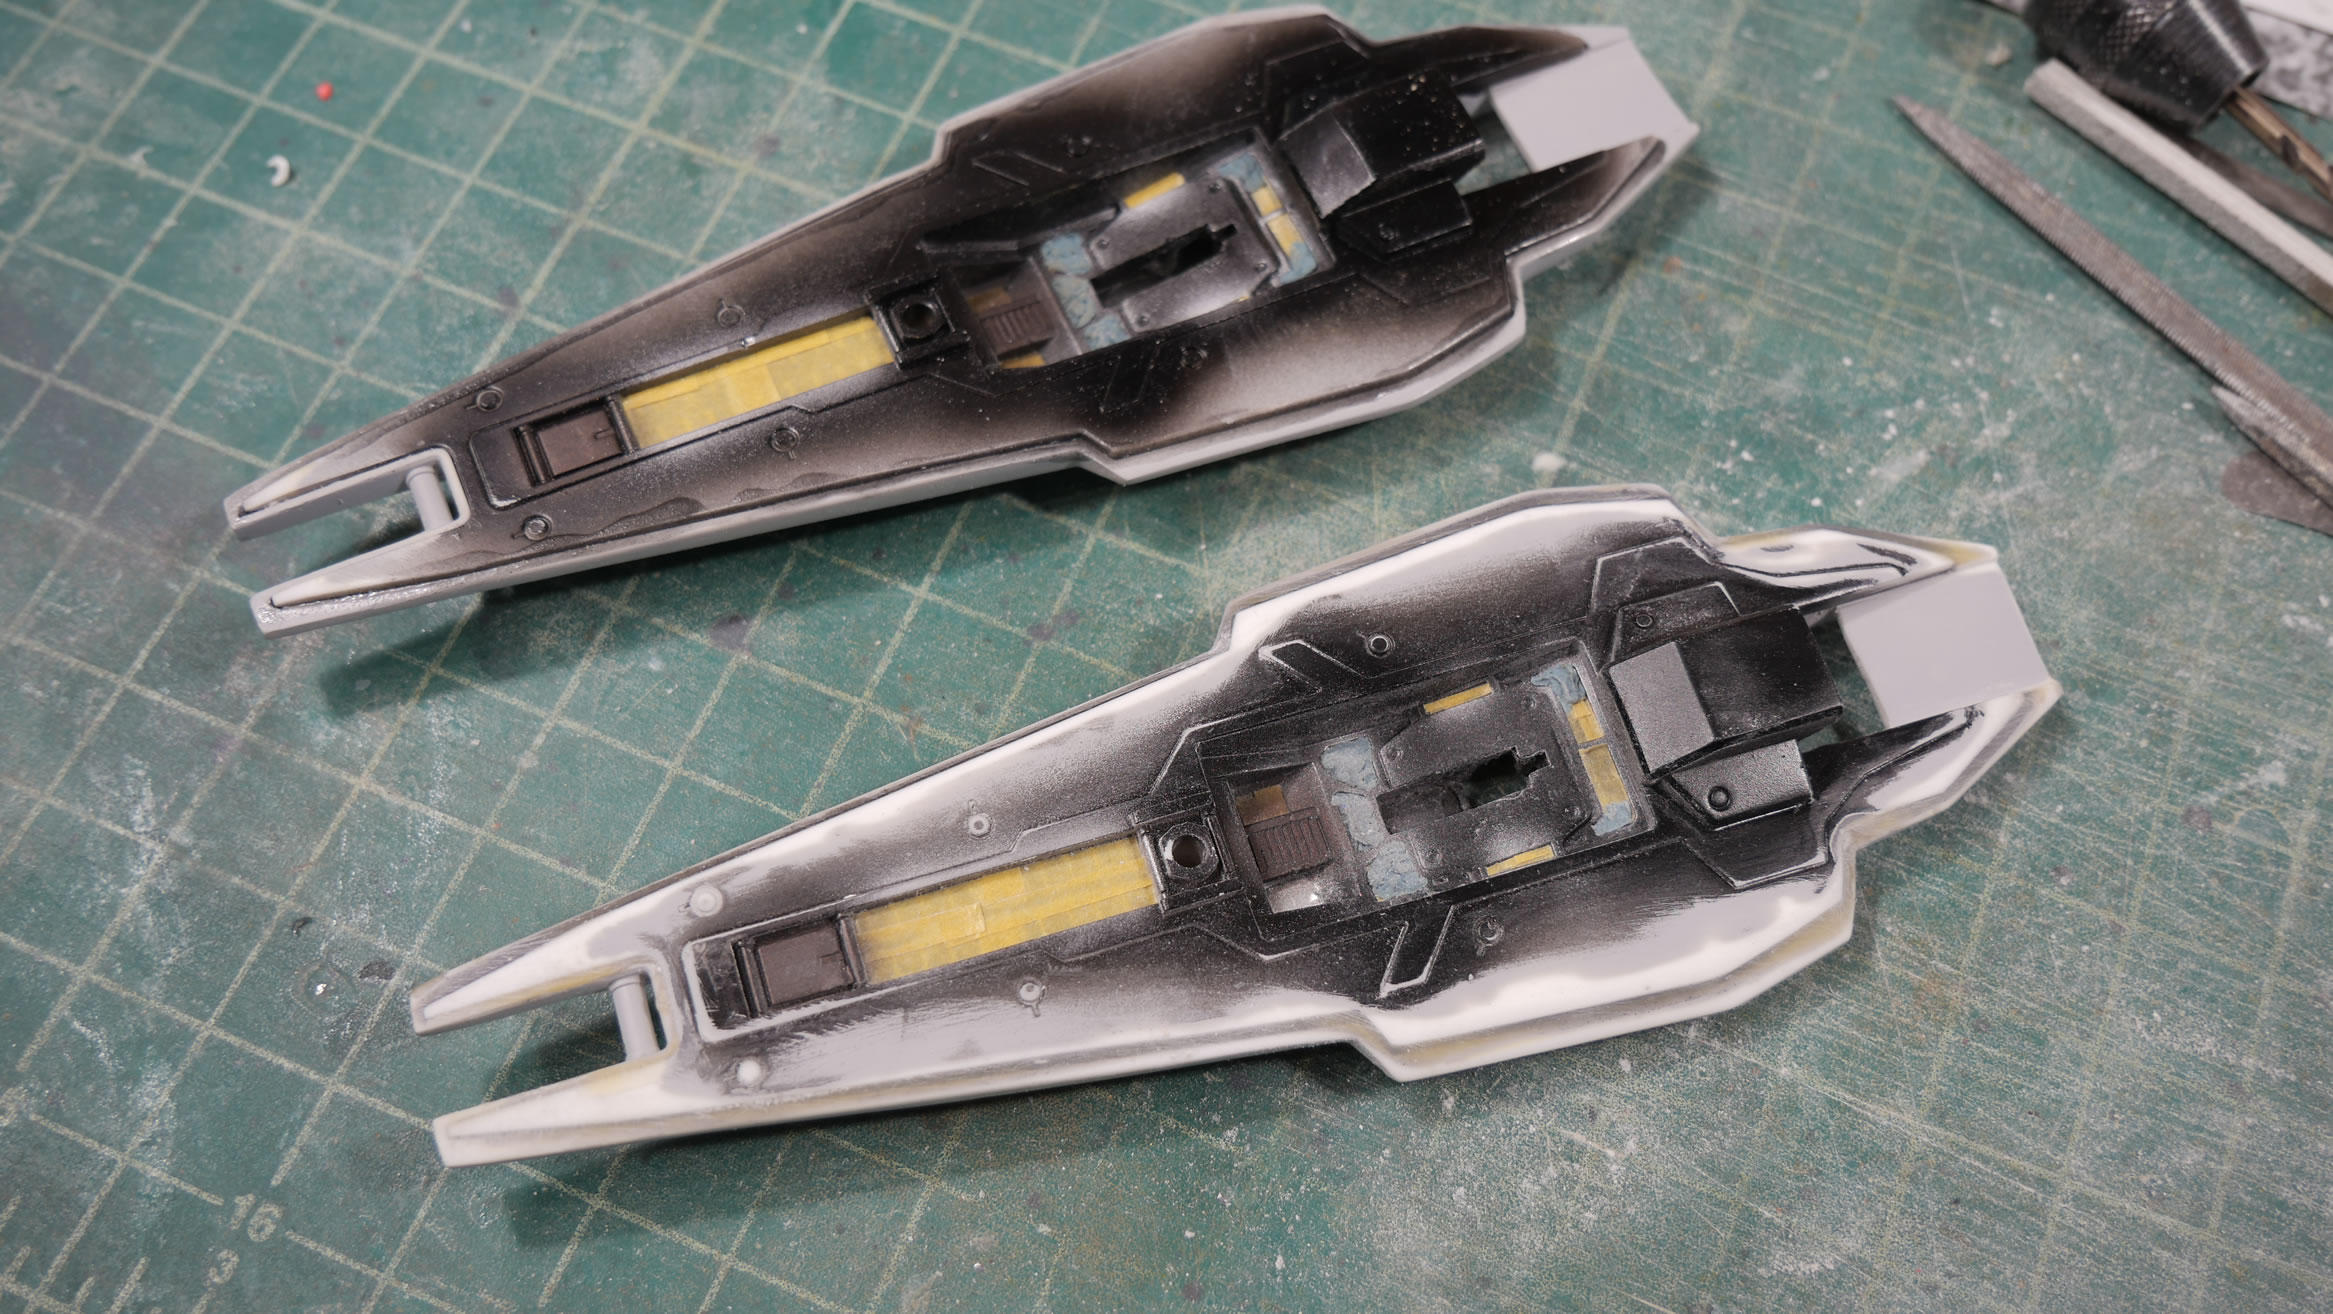
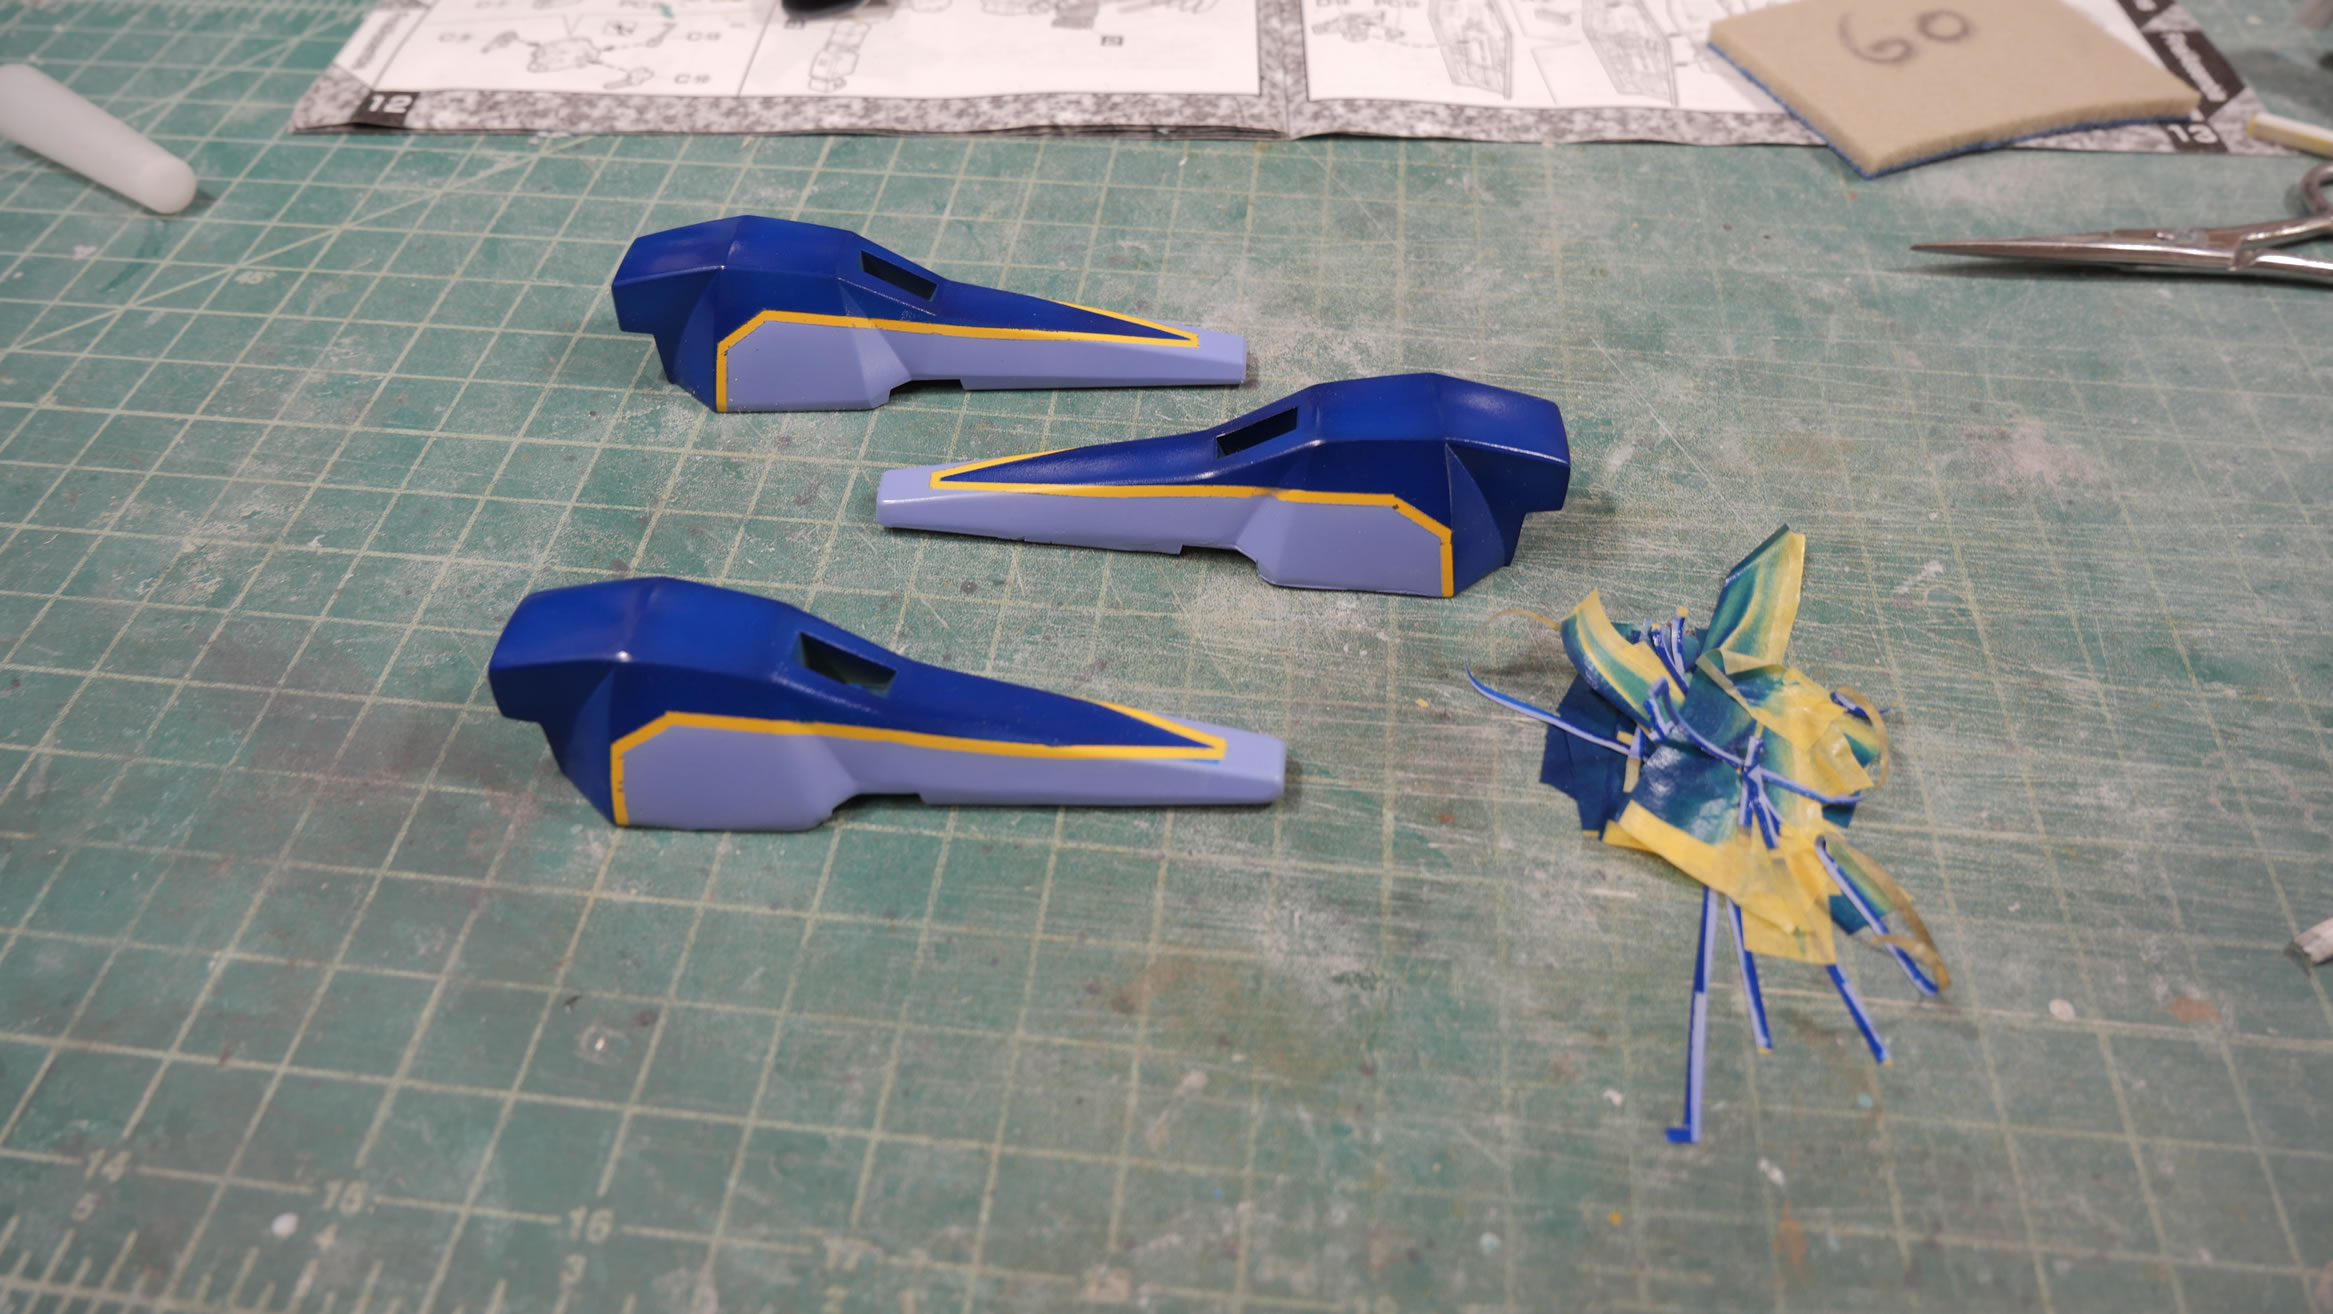
Back to the shoulder. Once the yellow has cured over night, a strip of masking tape is laid across. The the part is repainted in the midnight blue and shaded with pure white. Then the bottom area is painted with the lighter blue. I usually spray lighter colors first before moving on to the darker final colors.
All the parts that get the lighter blues are separated and painted.
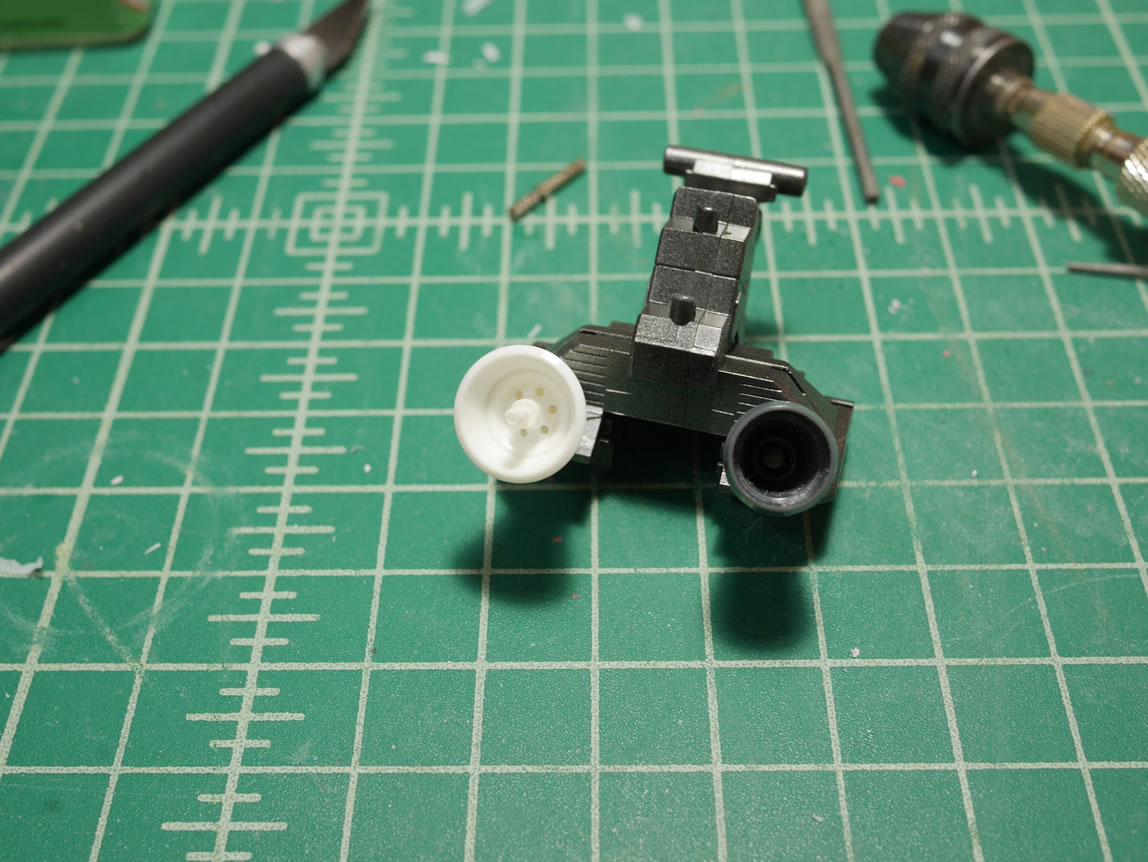
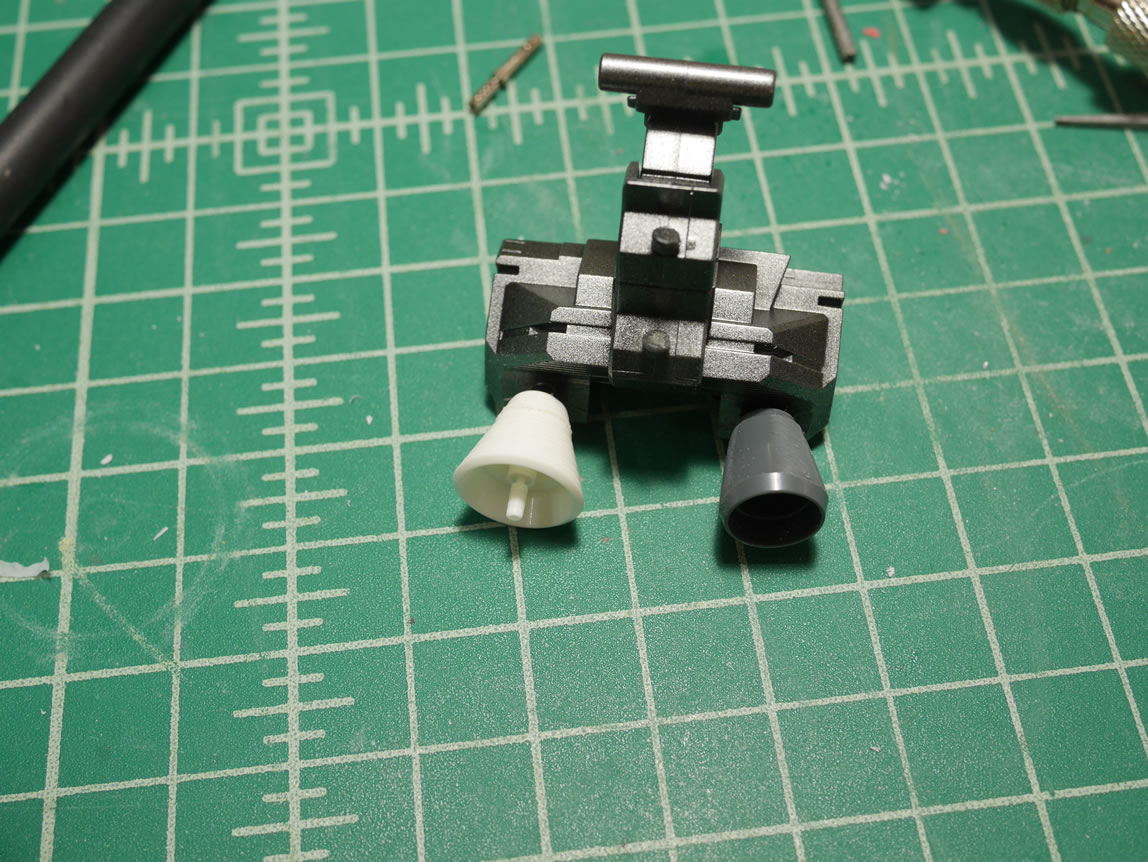
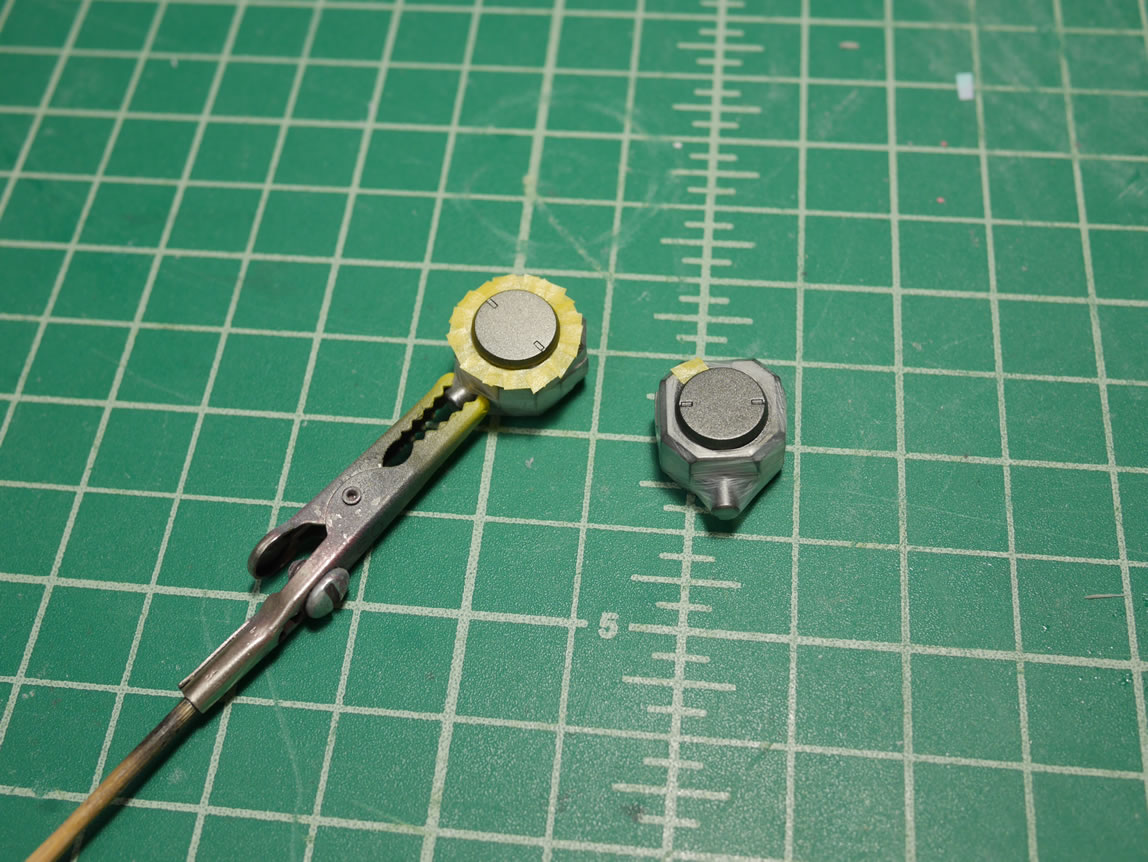
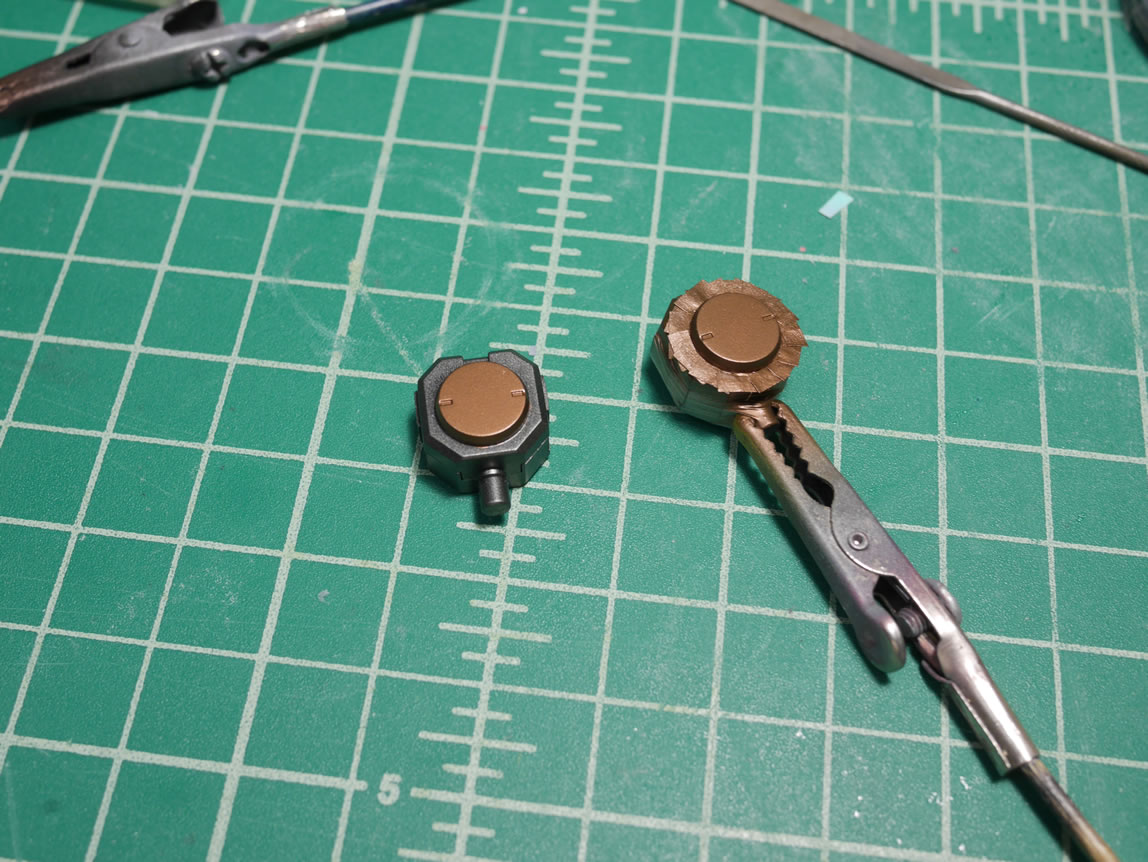
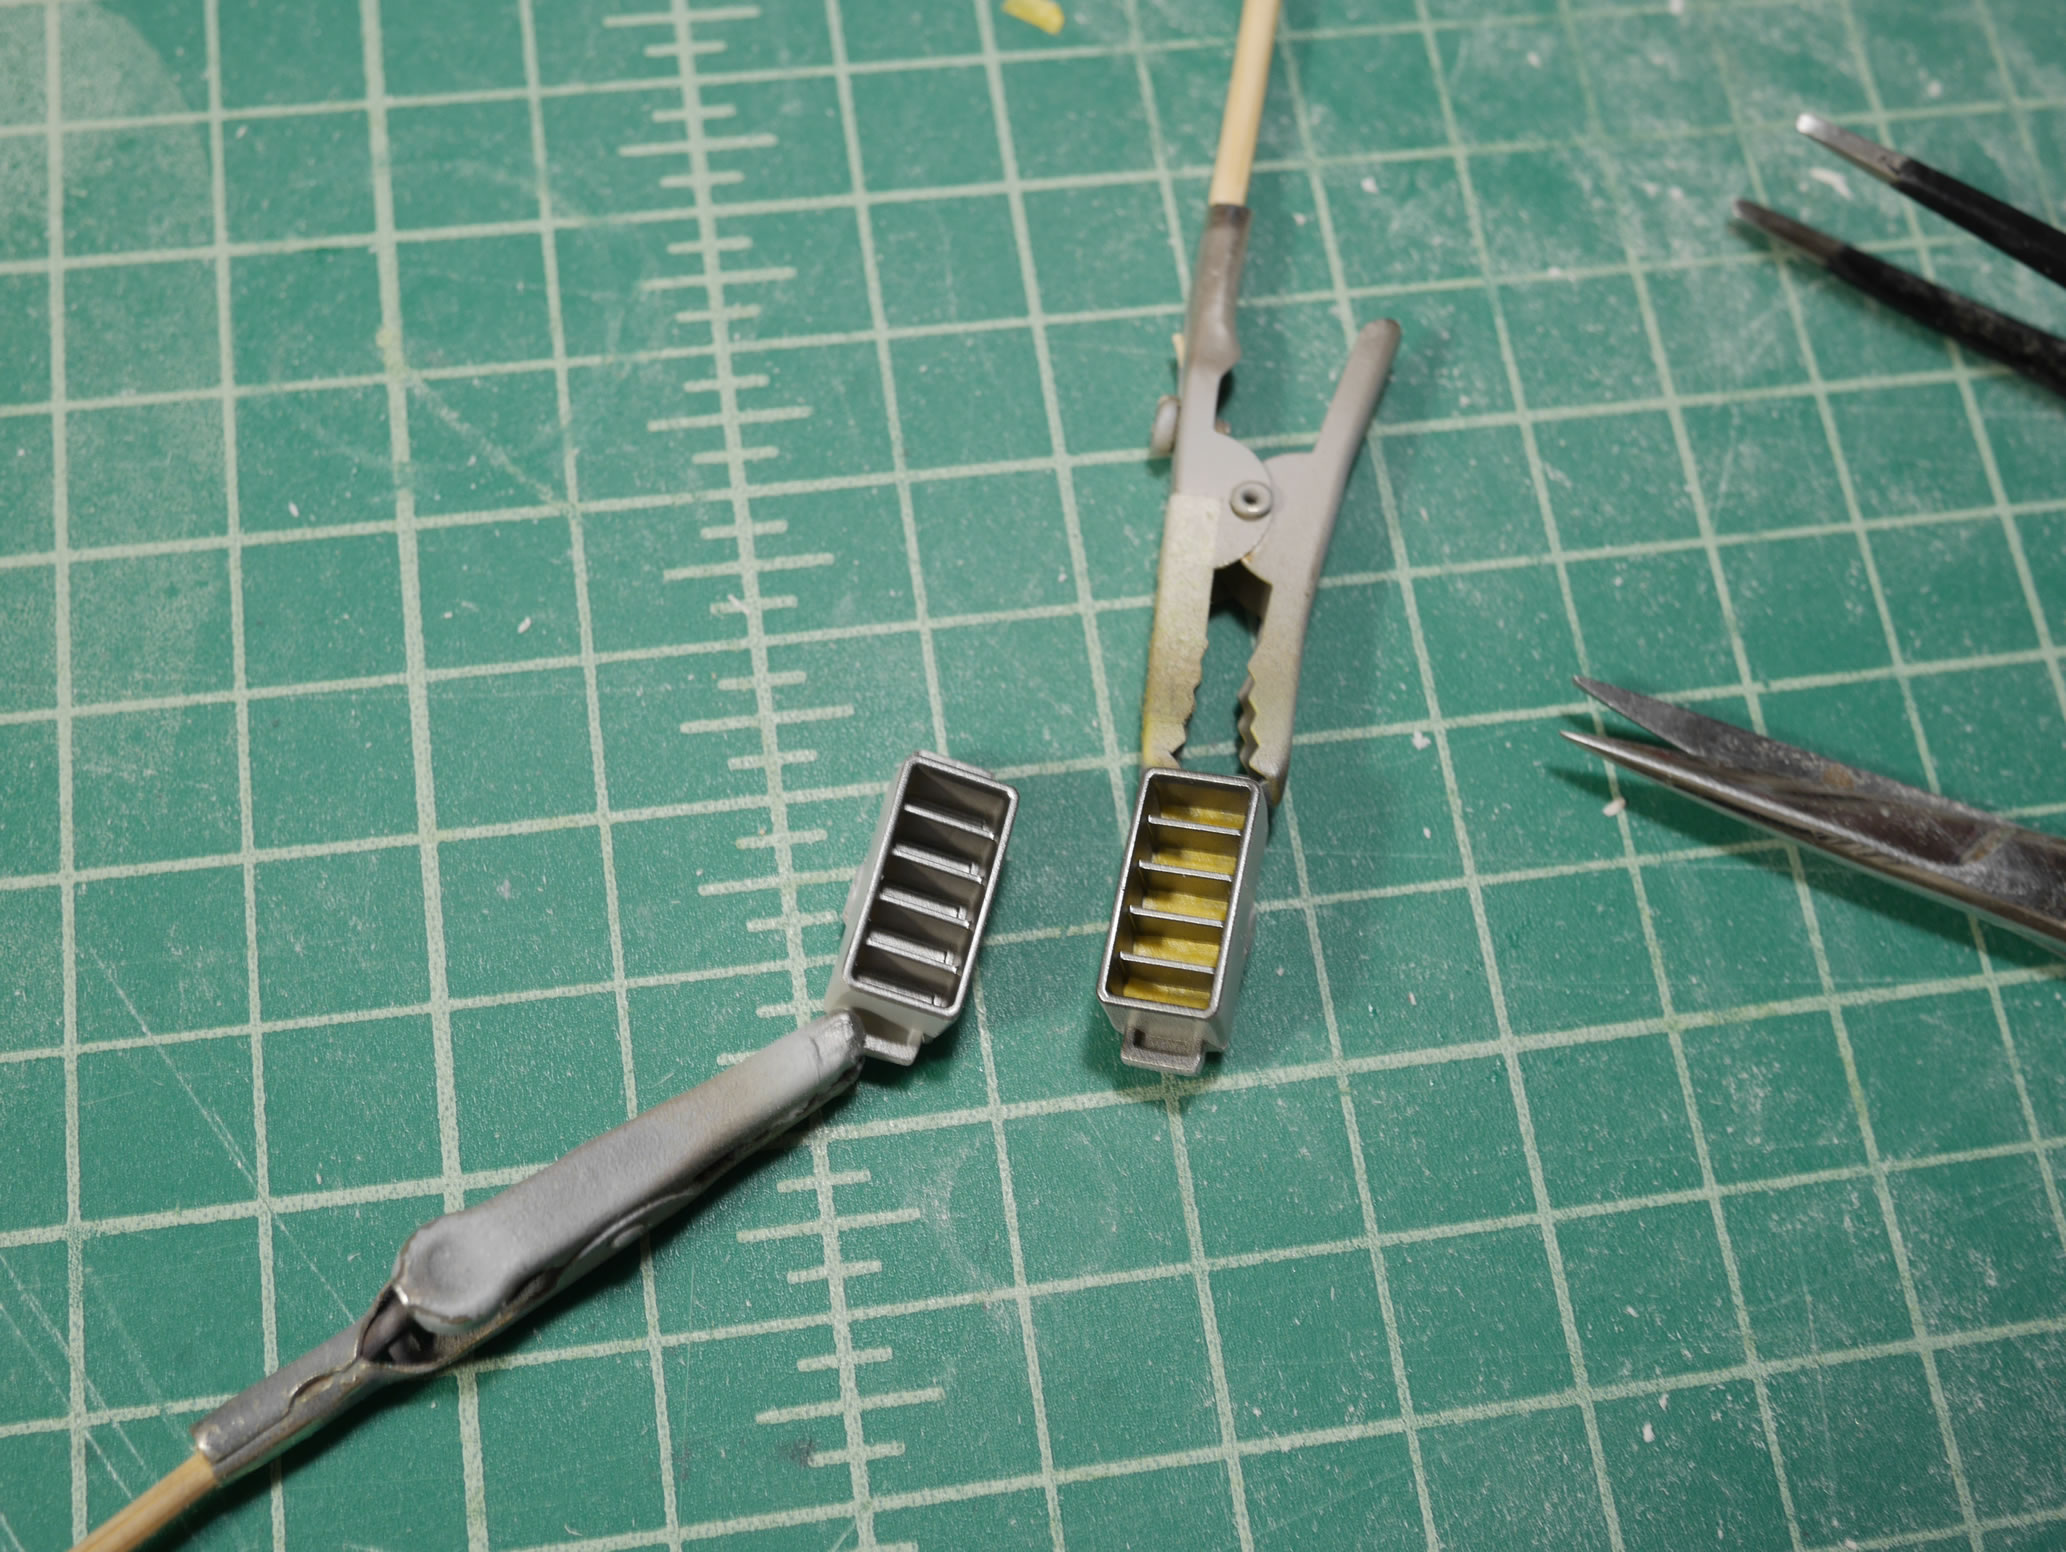
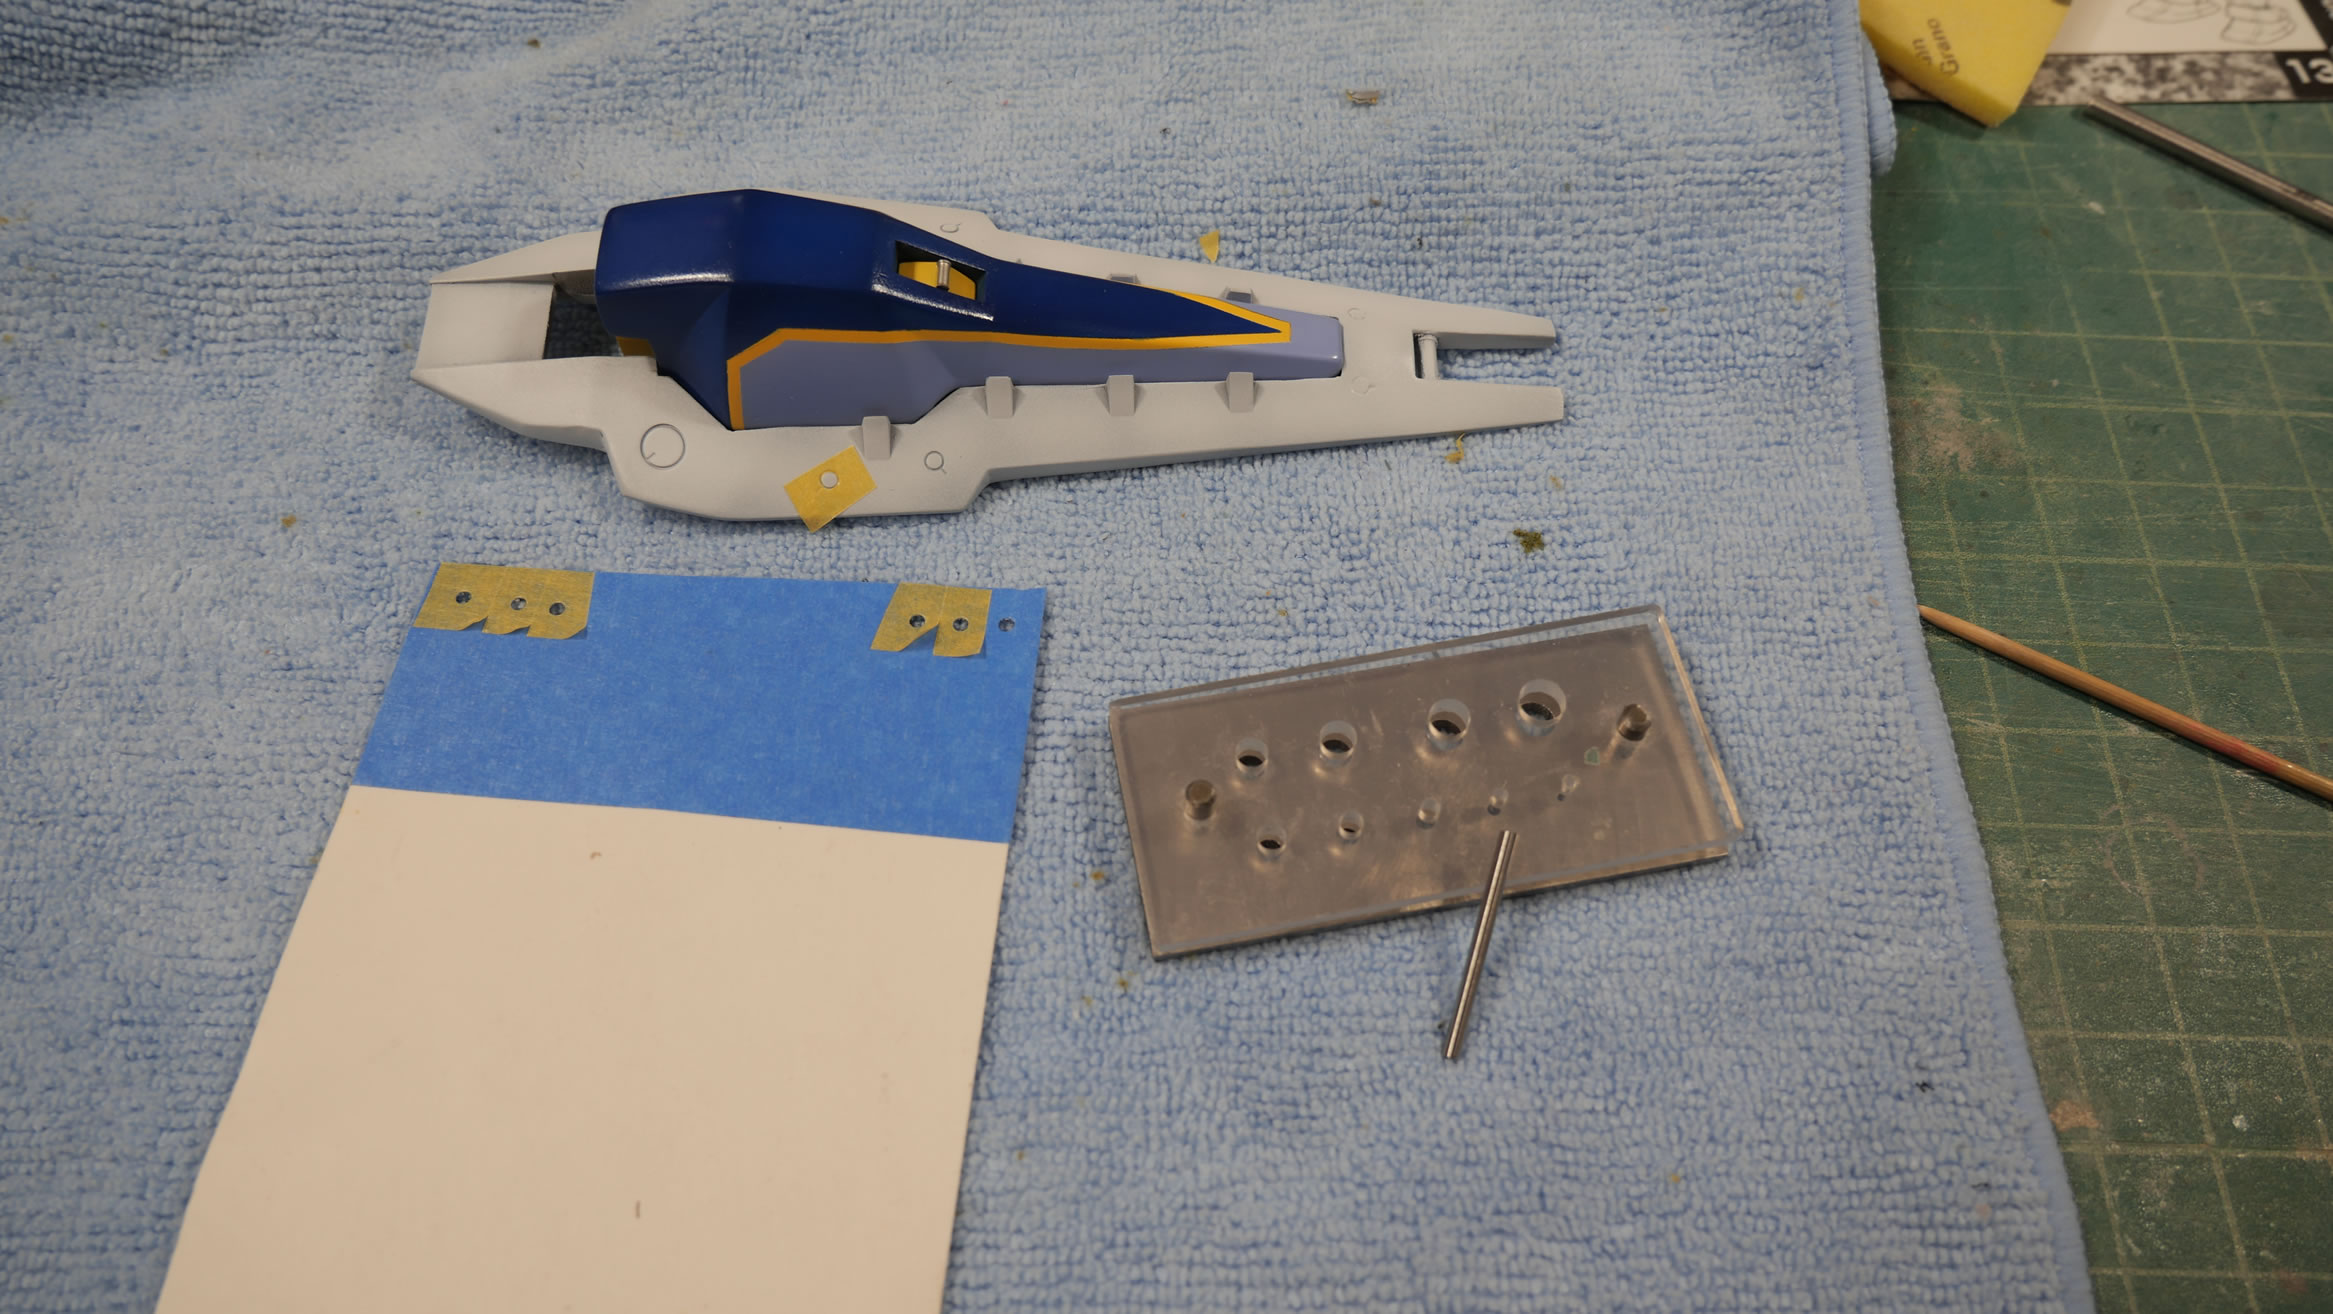
Next up, replacement thrusters. In the earlier pictures of the snapped kit, I used the original backpack thrusters for the kit. They were pretty bland and lacking in details. The internal for the thruster was just the ball joint where the thruster connects to the backpack. Yeah, this will not do. As much as I try to OOB, there is a few things that can be quickly modified or swapped out. Enter the metal thruster packs. I didn’t have a specific metal thruster that I liked, so I combined bits from two different metal thruster sets. Since I did not want to waste two sets for one kit, I made a mold and casted the bits I needed to create a custom thruster bell from the two metal sets. Here’s a comparison shot of the original thruster next to the resin cast thruster. Just having some internal details for the damn things make it look so much better. Having some exterior details also help improve things.
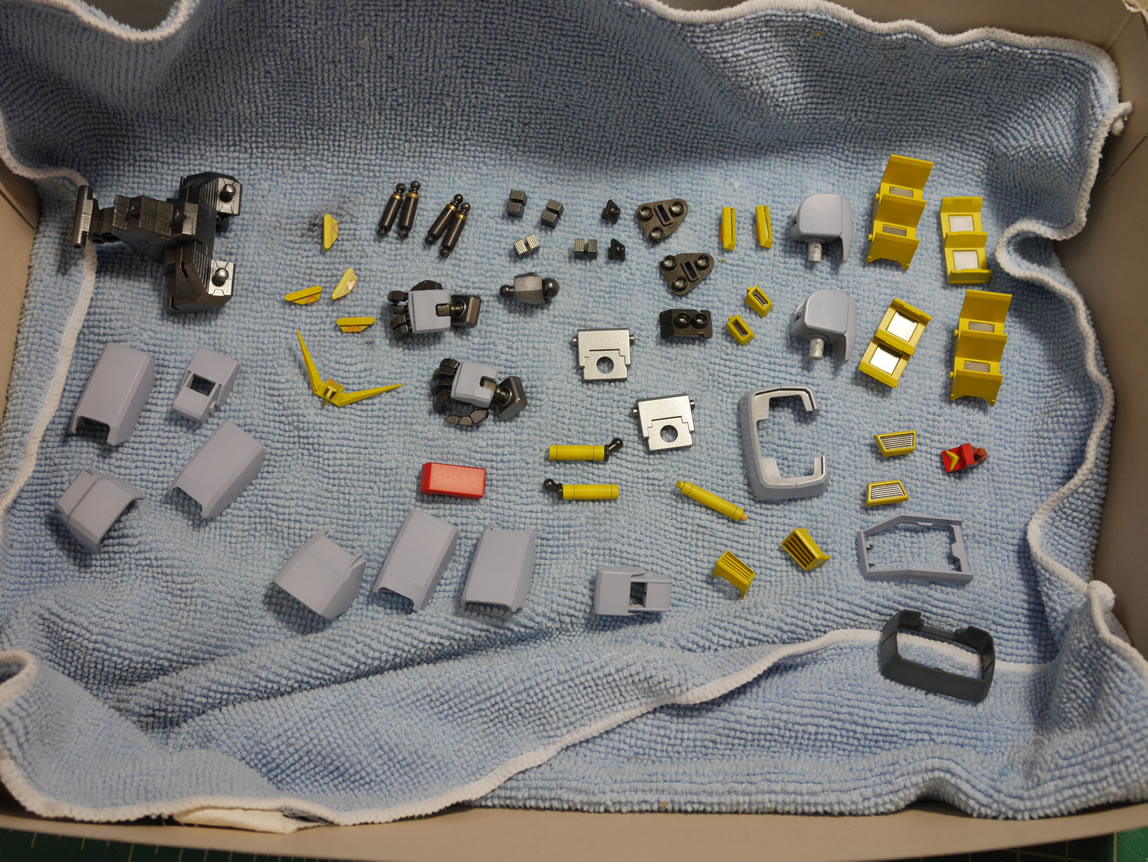
Once parts have cured for a few days, they don’t need to take up wood board and skewer space, so they’re taken down and placed in a box on a bed of microfiber towels and then set aside while work continues on the rest of the kit.
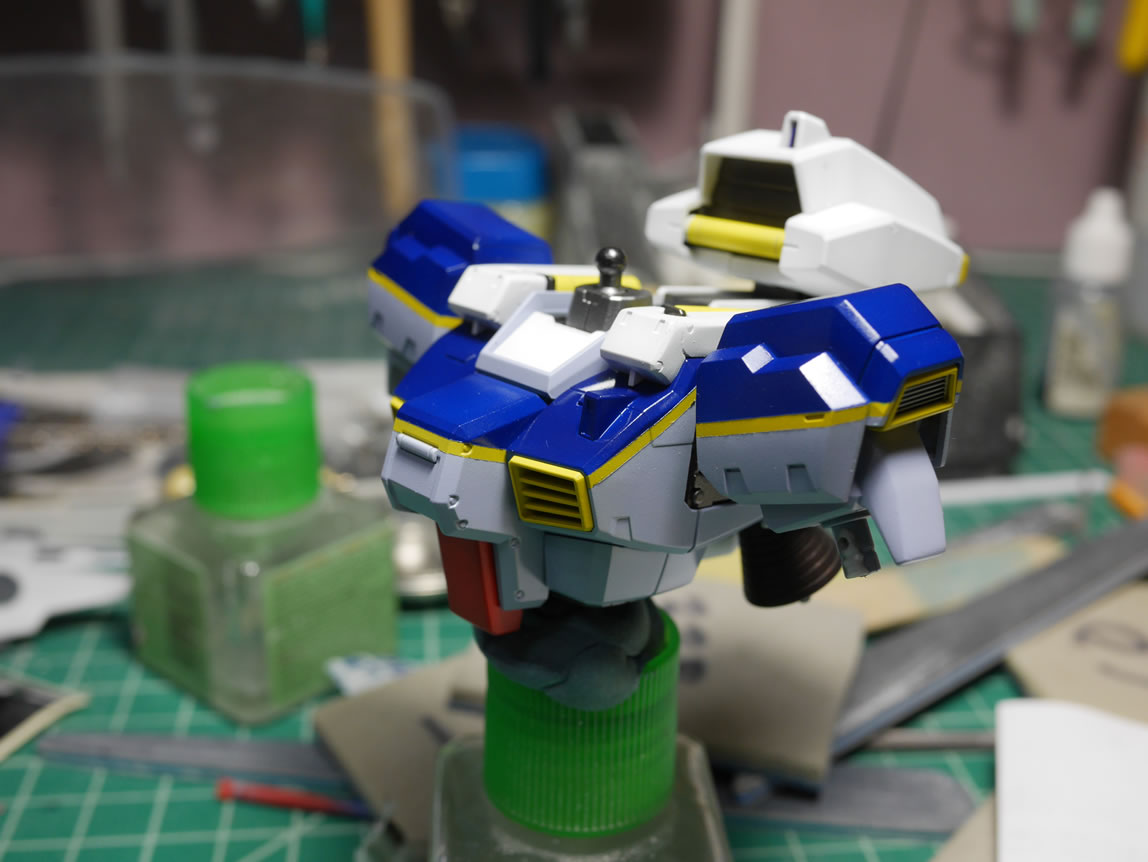
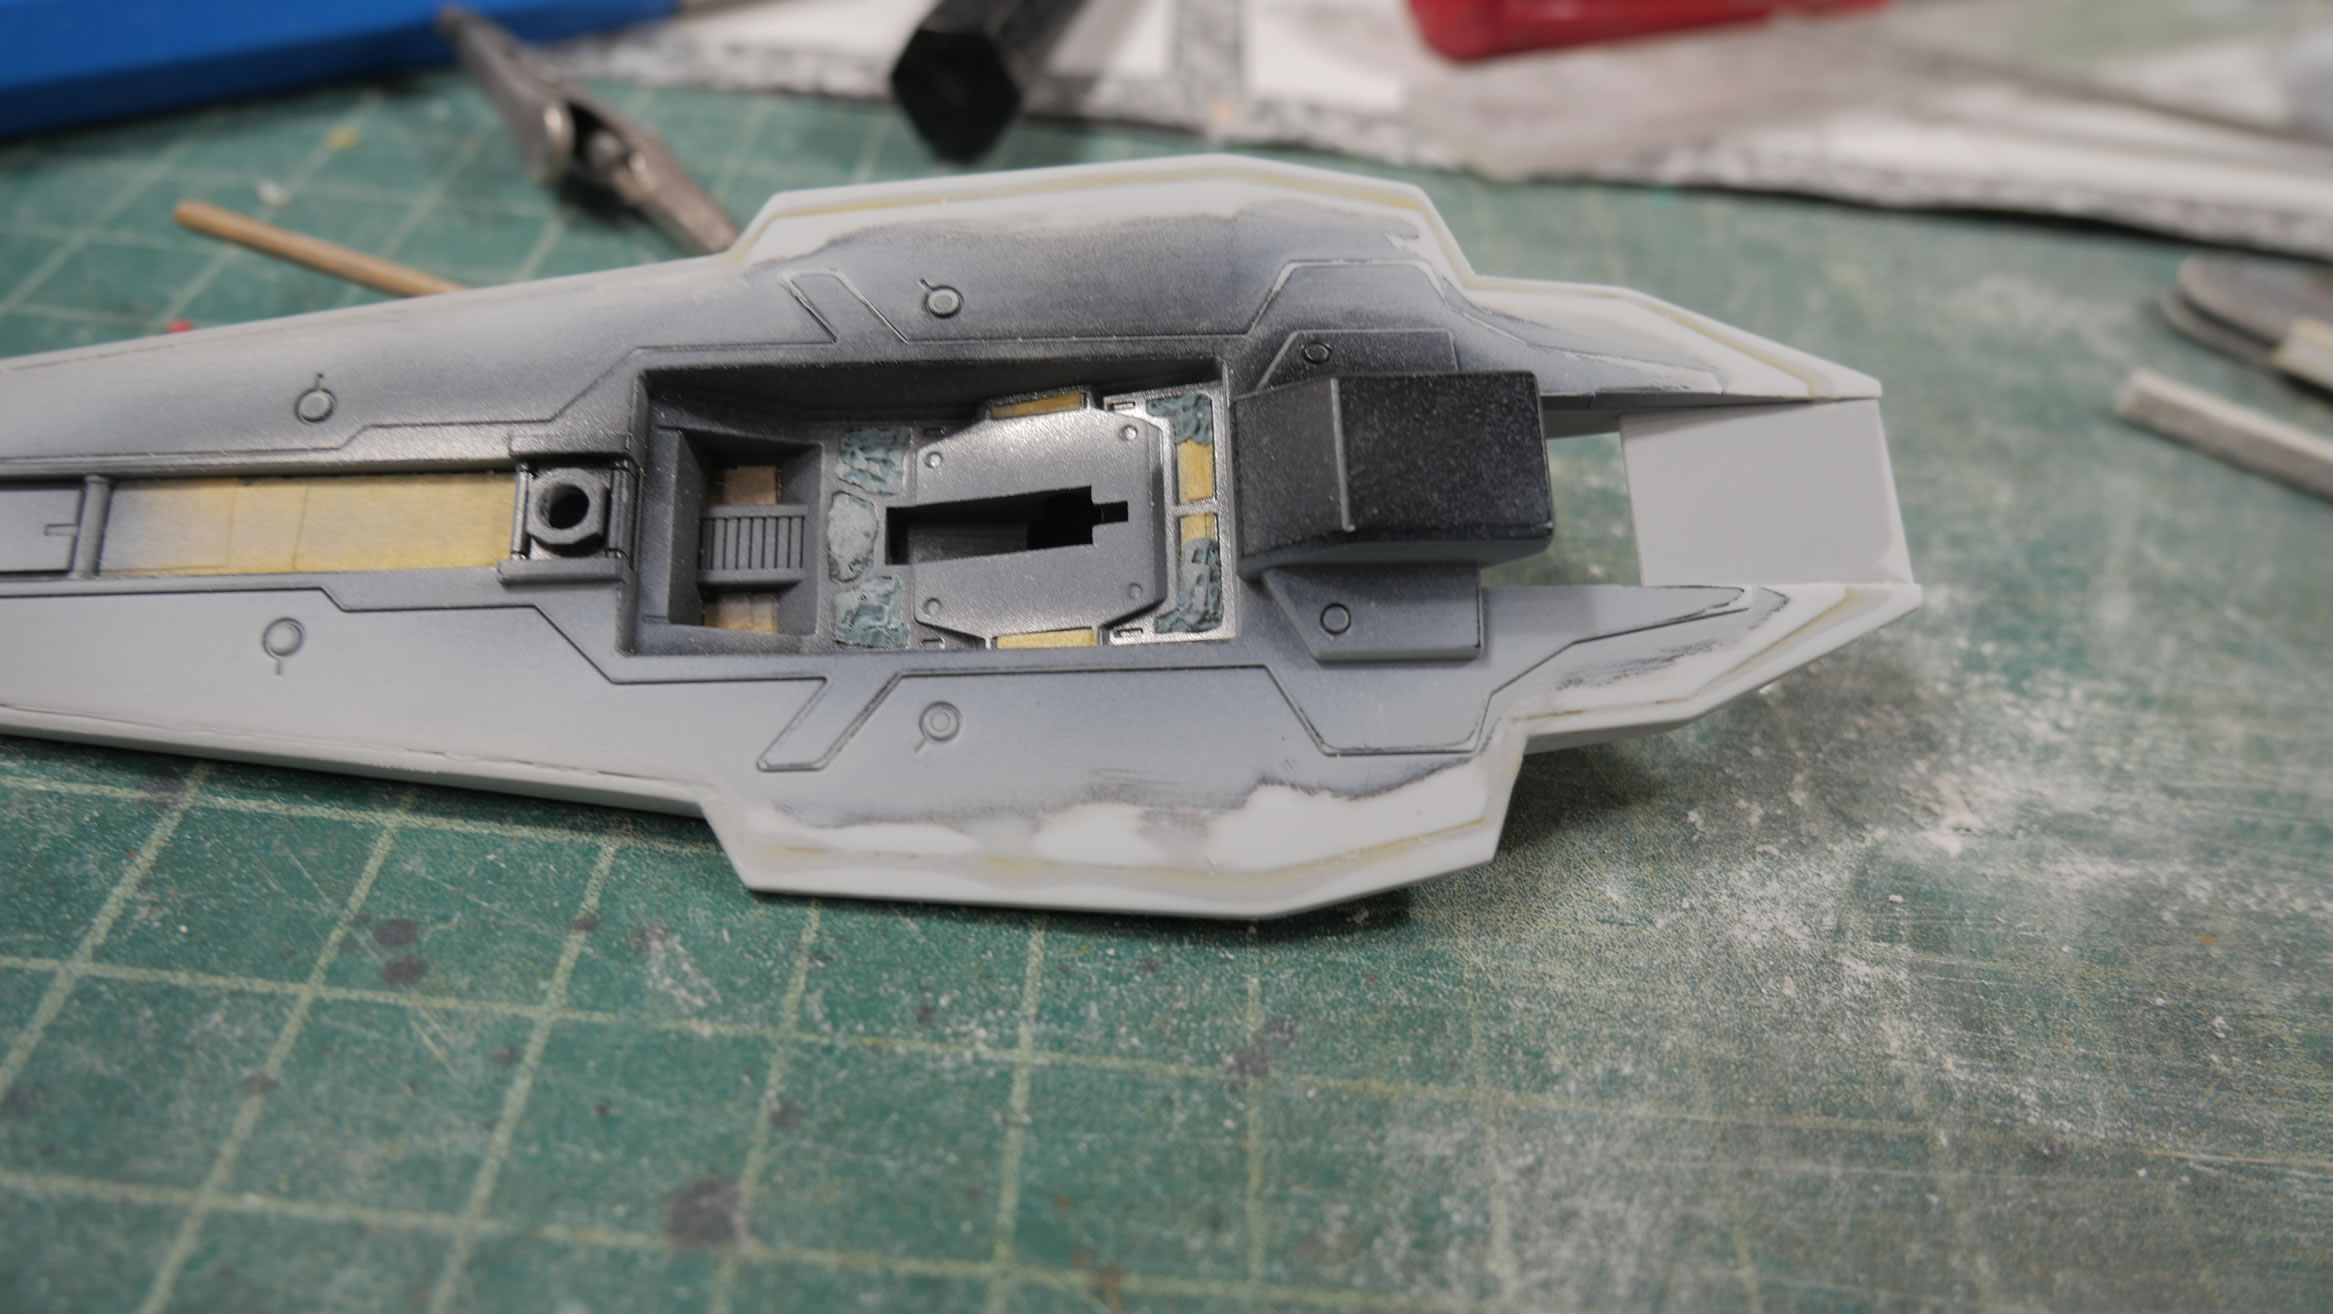
The chest block has the yellow strip masked, then the light blue painted then the dark blue. Removing the mask results in a fairly clear finish. The chest piece is temporarily held together while it cures as well as while I get to work on painting the internal chest frame.
Once the internal chest frame is painted and cured, the upper torso comes together as well as the shoulders.
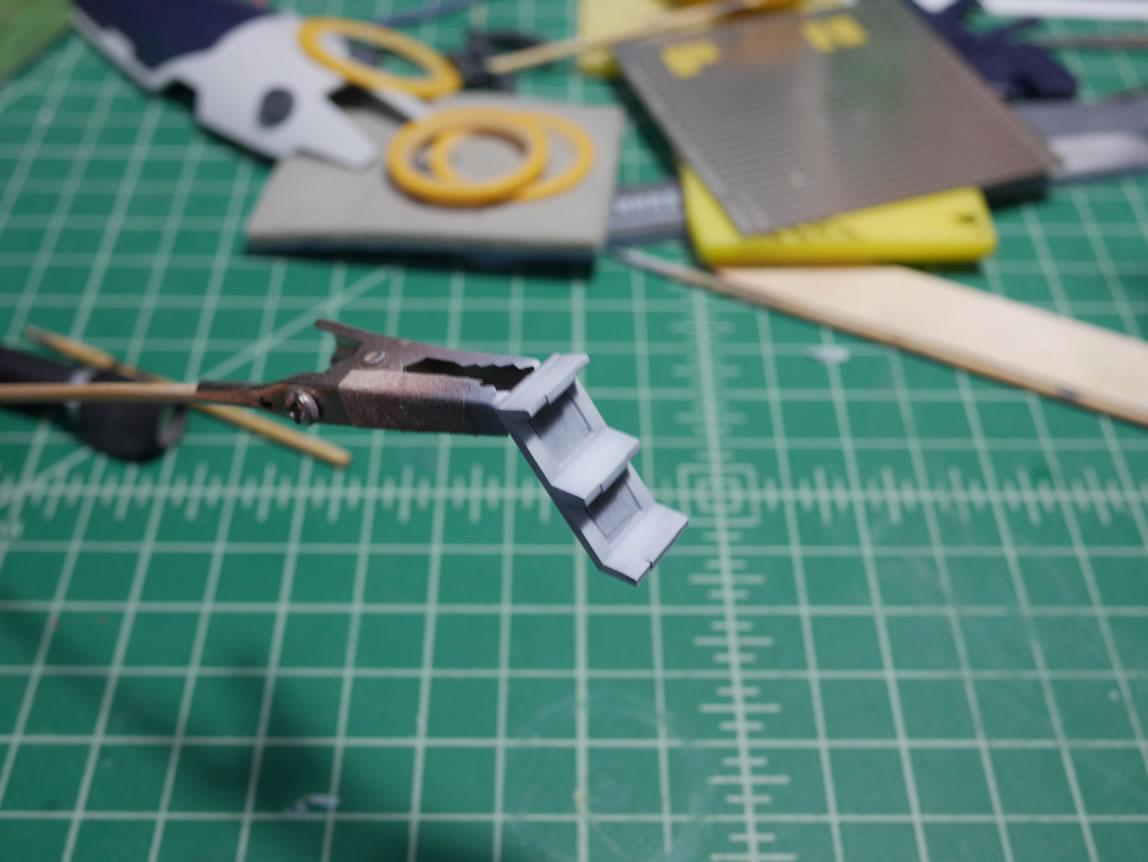
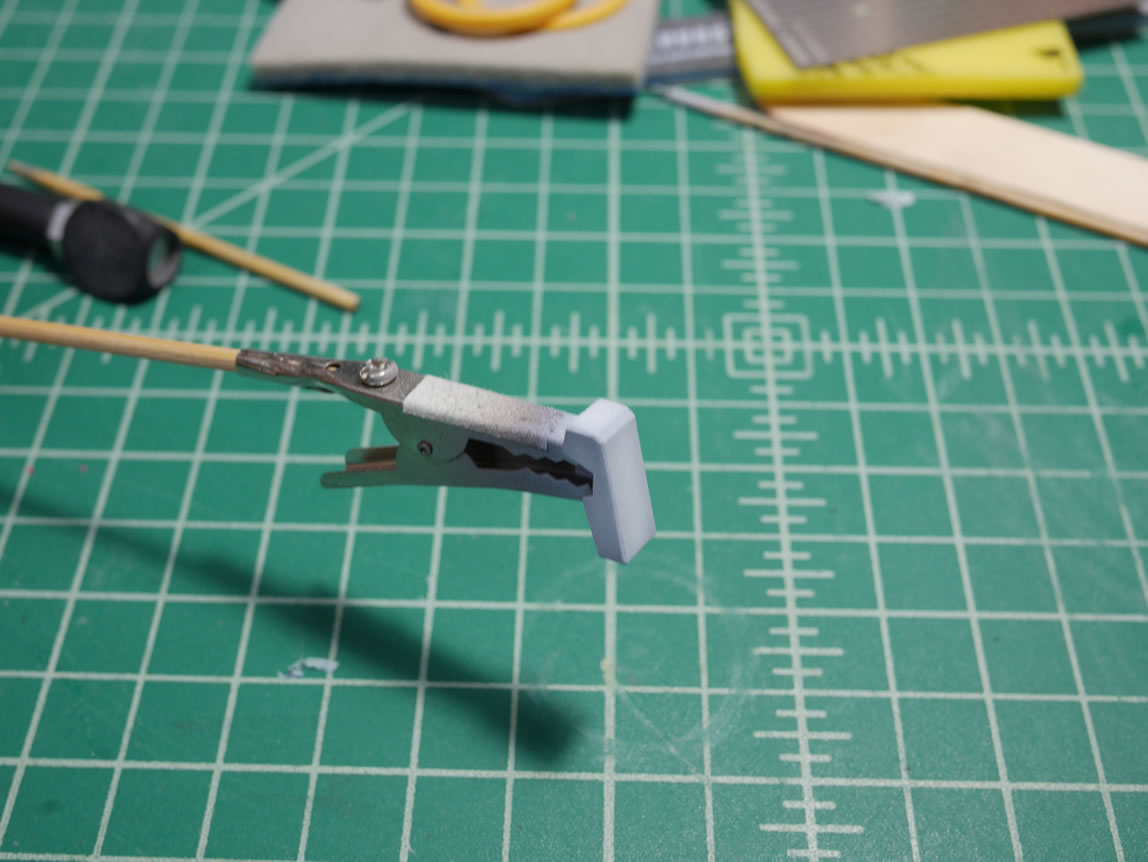
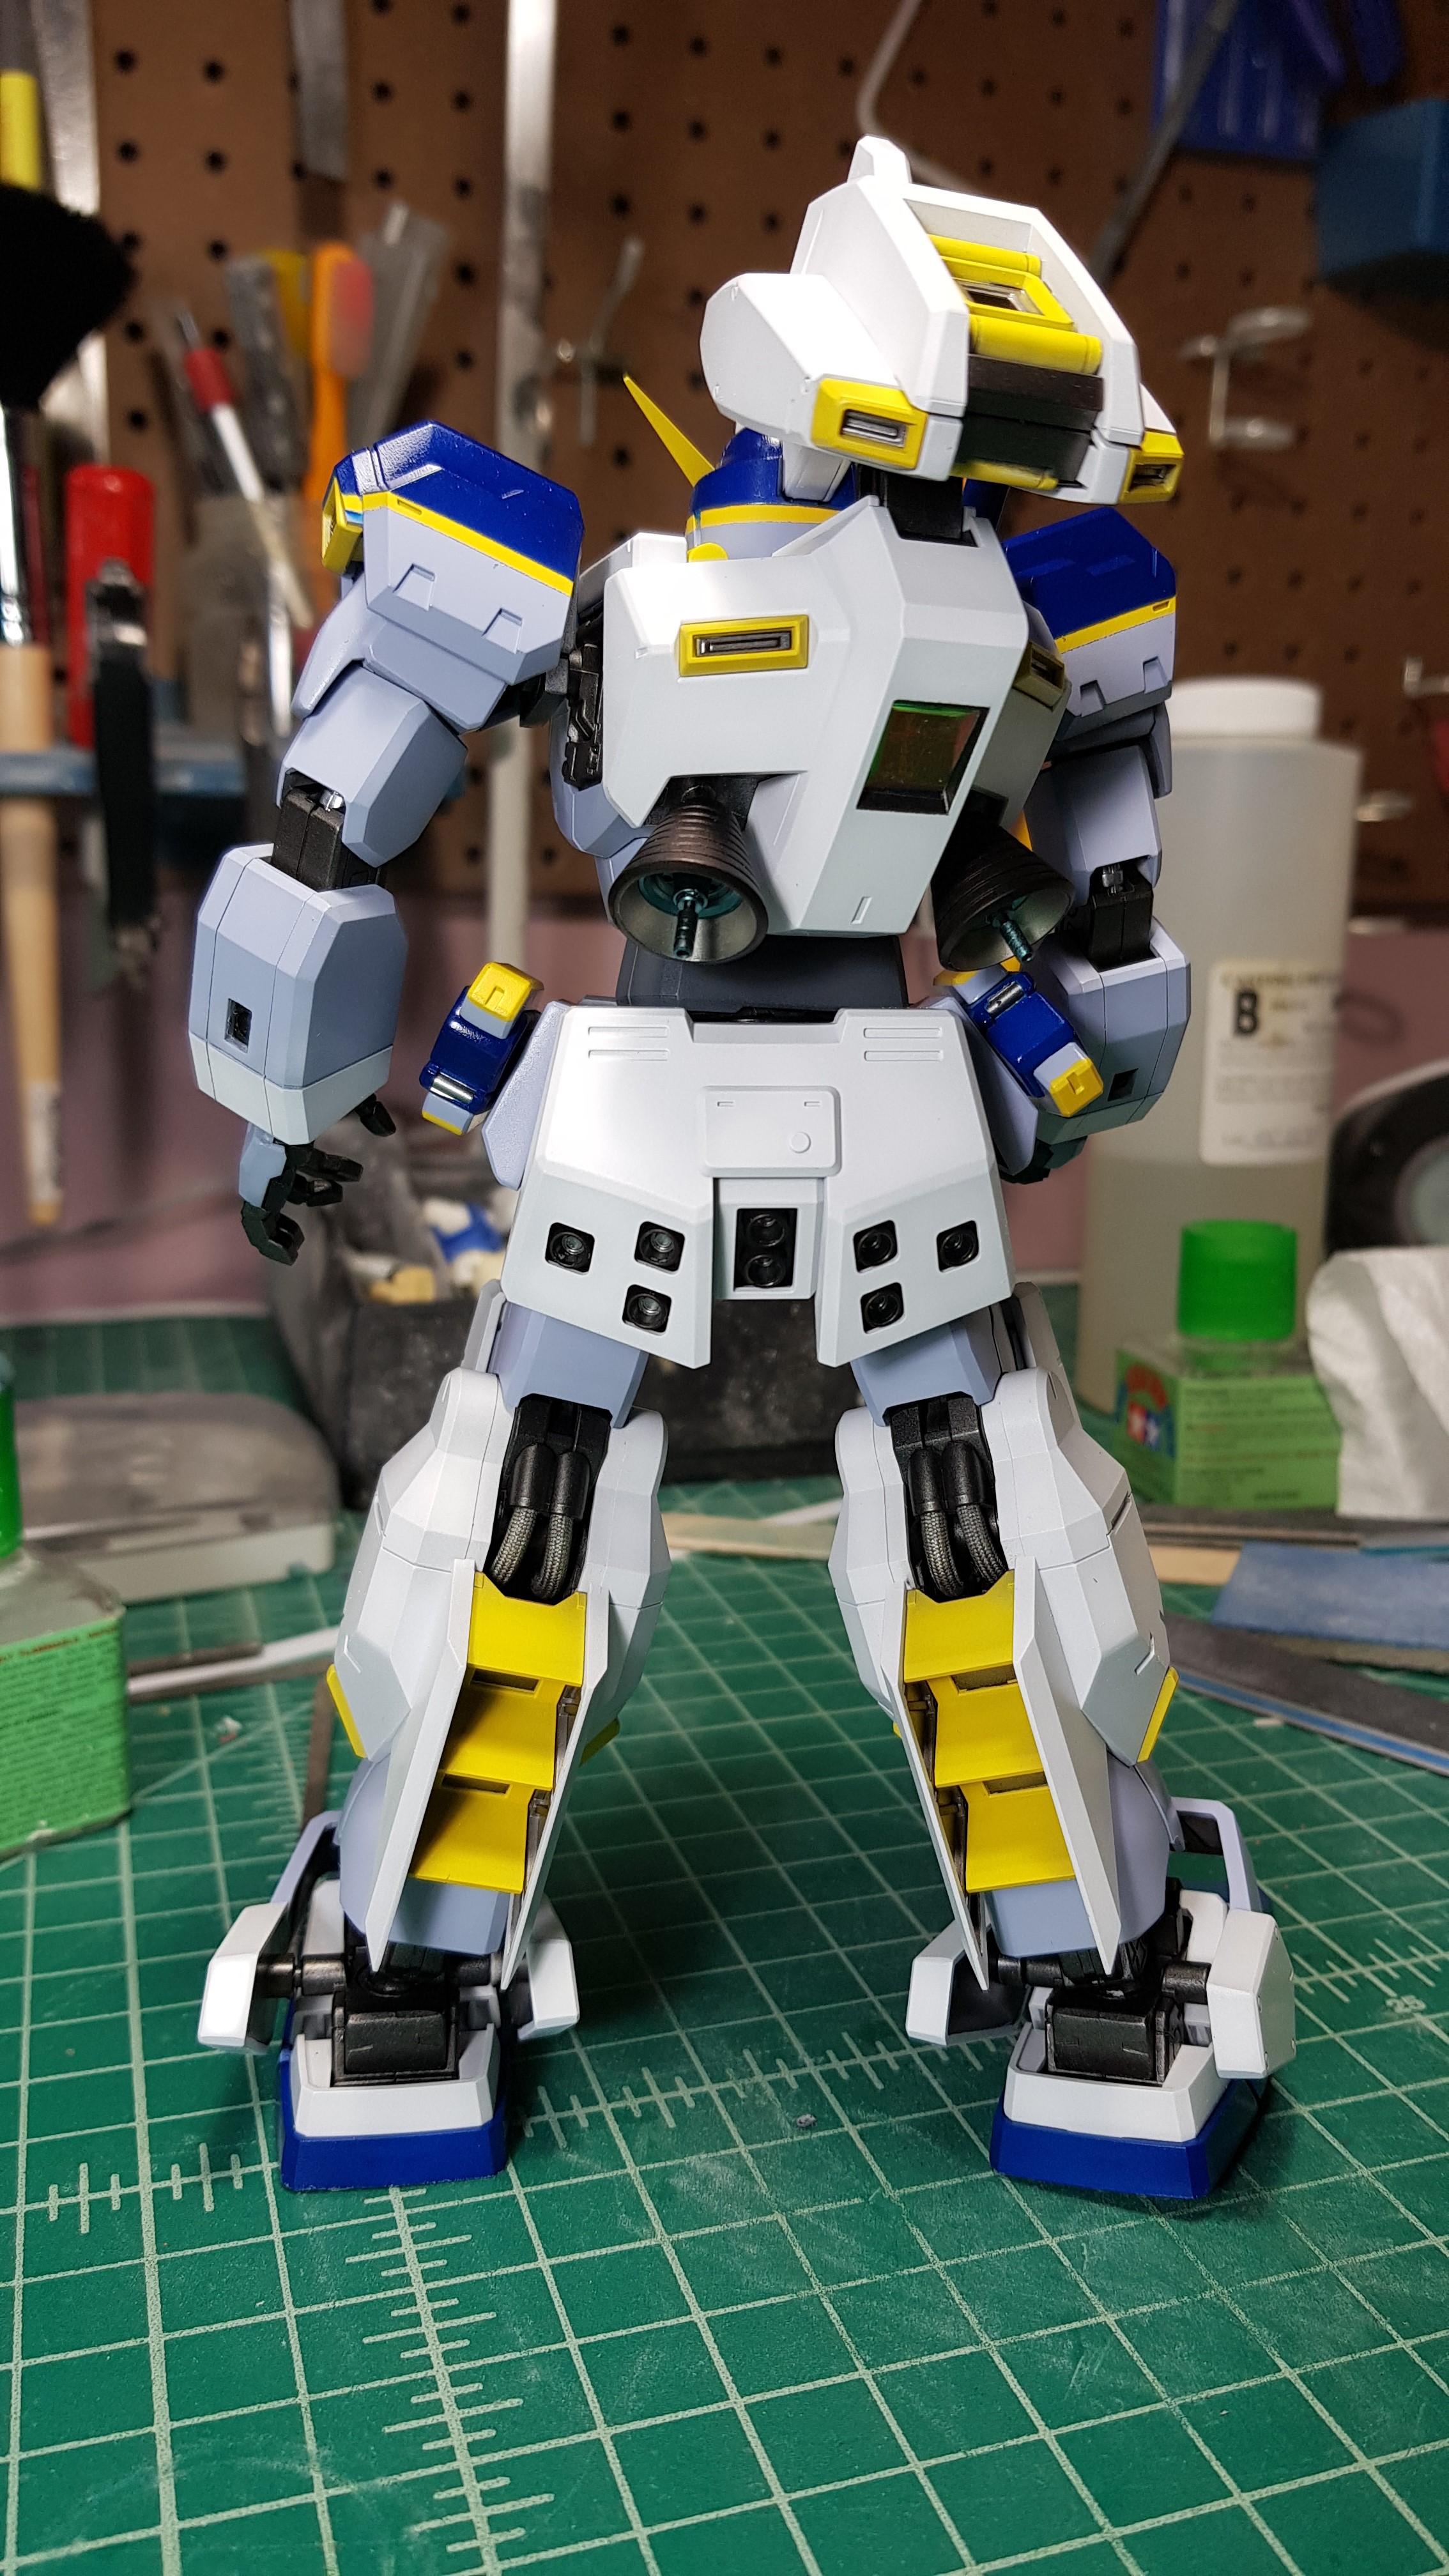
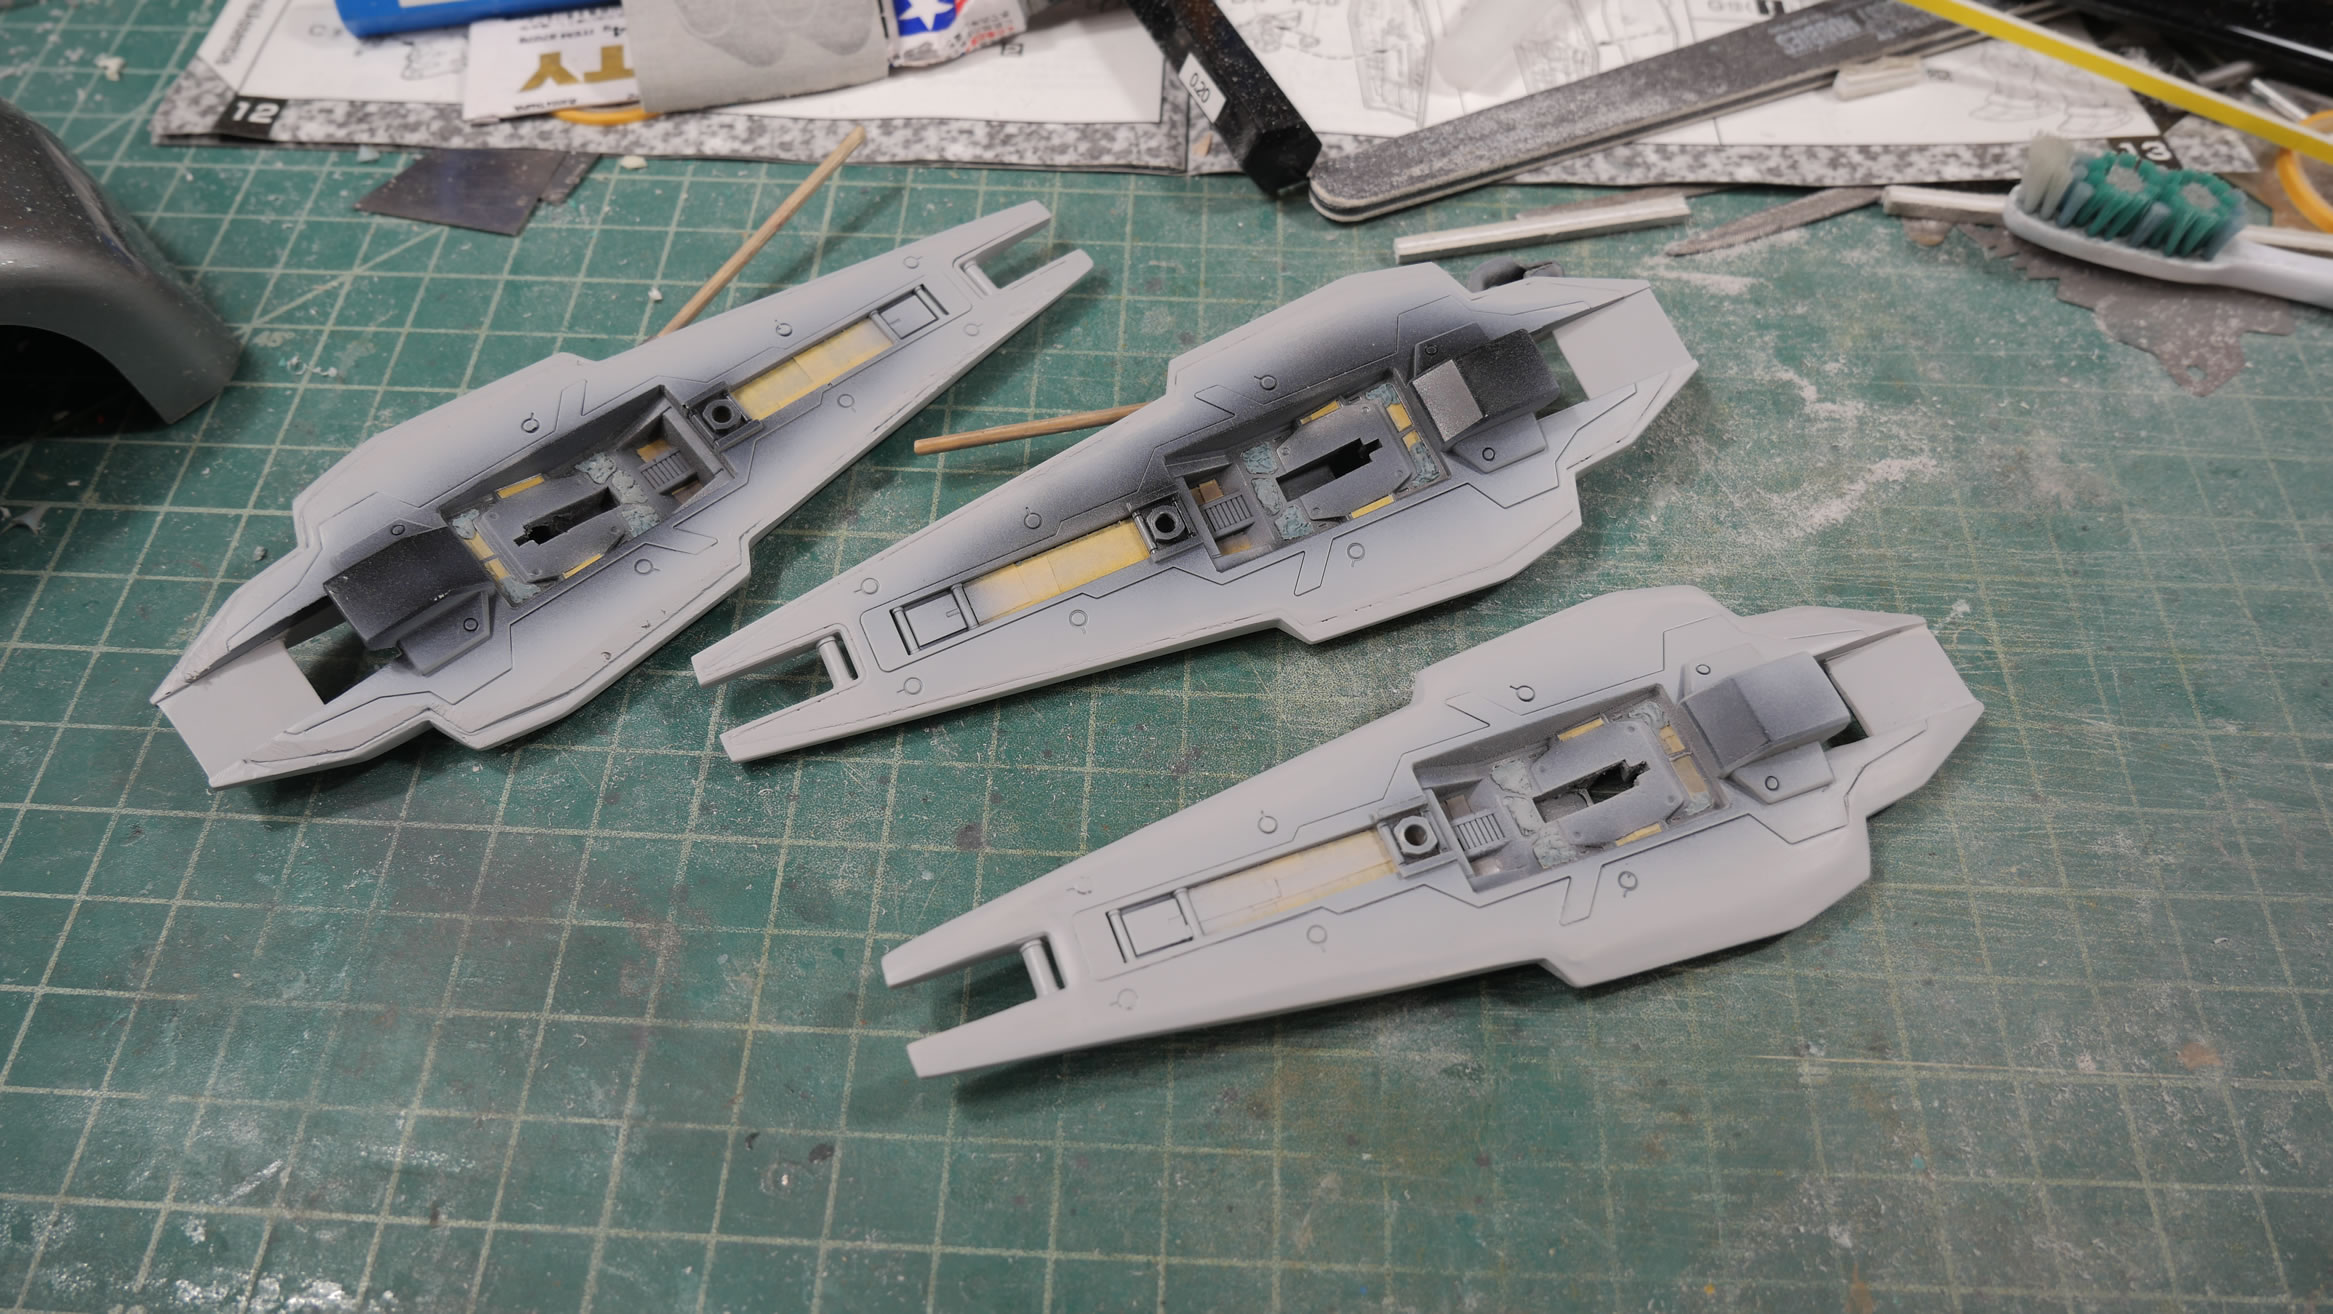
Footwork. The bottom of the feet are painted in several layers. Finisher’s pure black is laid down first. The a dark aluminum is sprayed. Burnt metal is sprayed for the thruster internal. The inset areas are masked off as well as the thruster bell and a darker metallic, magnesium is sprayed. This is all masked off with parafilm and sticky tack around the exterior of the thruster bell to paint that area in stainless steel. Once that is cured, the layers of sticky tack/parafilm/masking tape are removed leaving a detailed bottom of the foot that no one will see when the kit is standing.
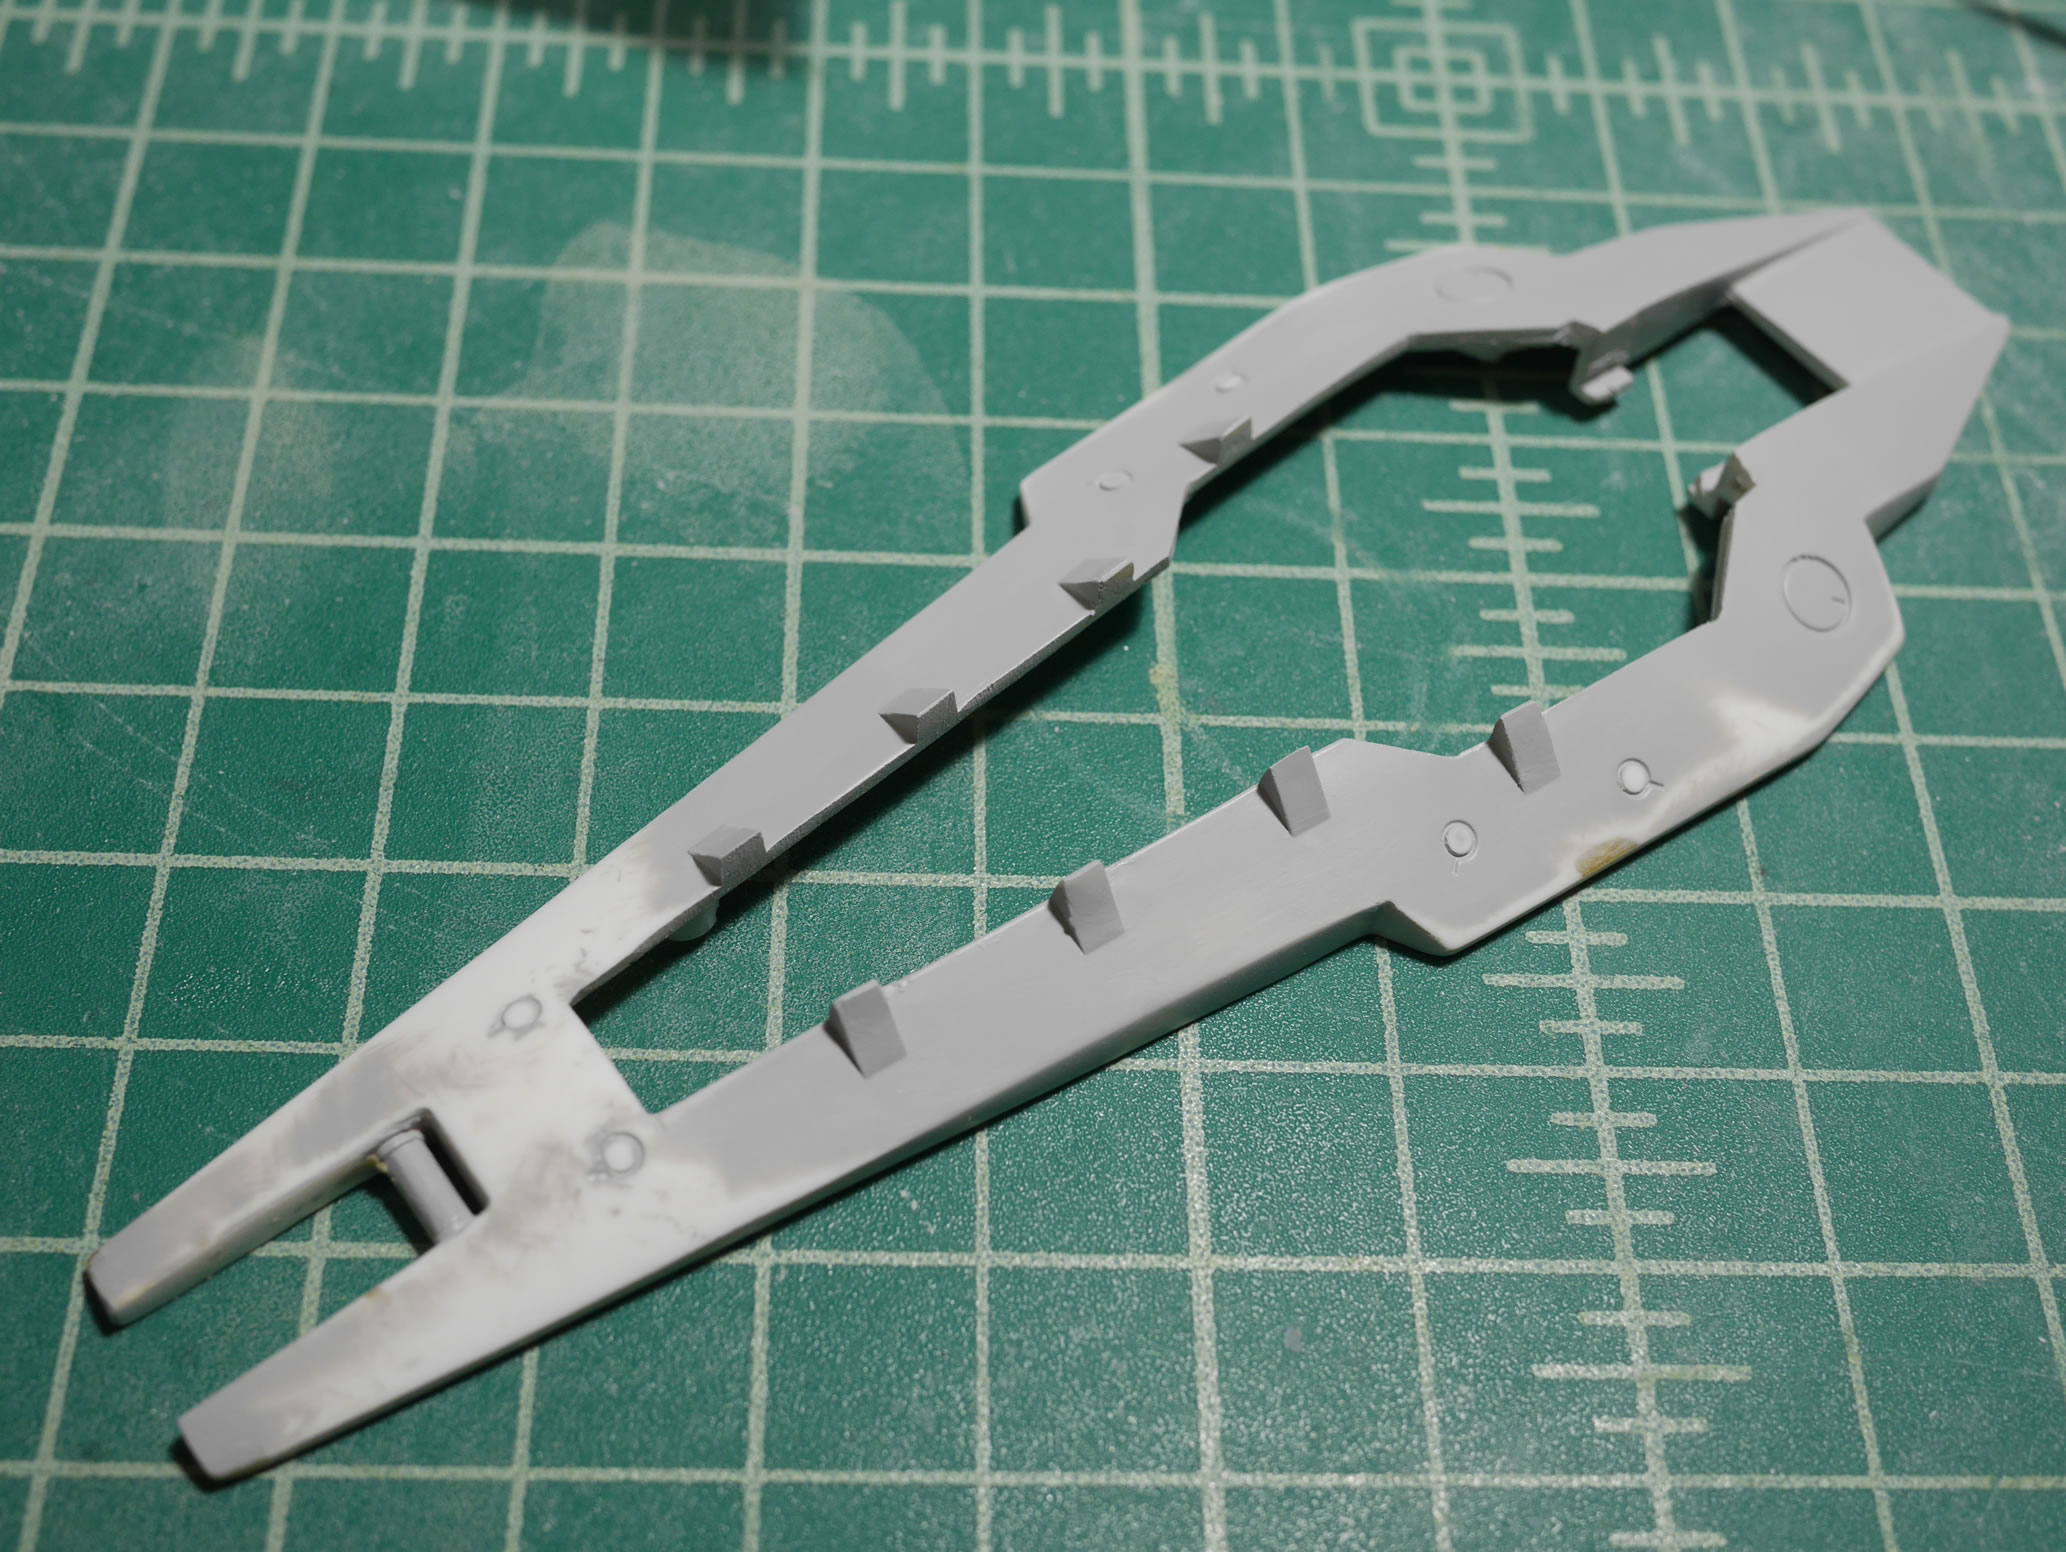
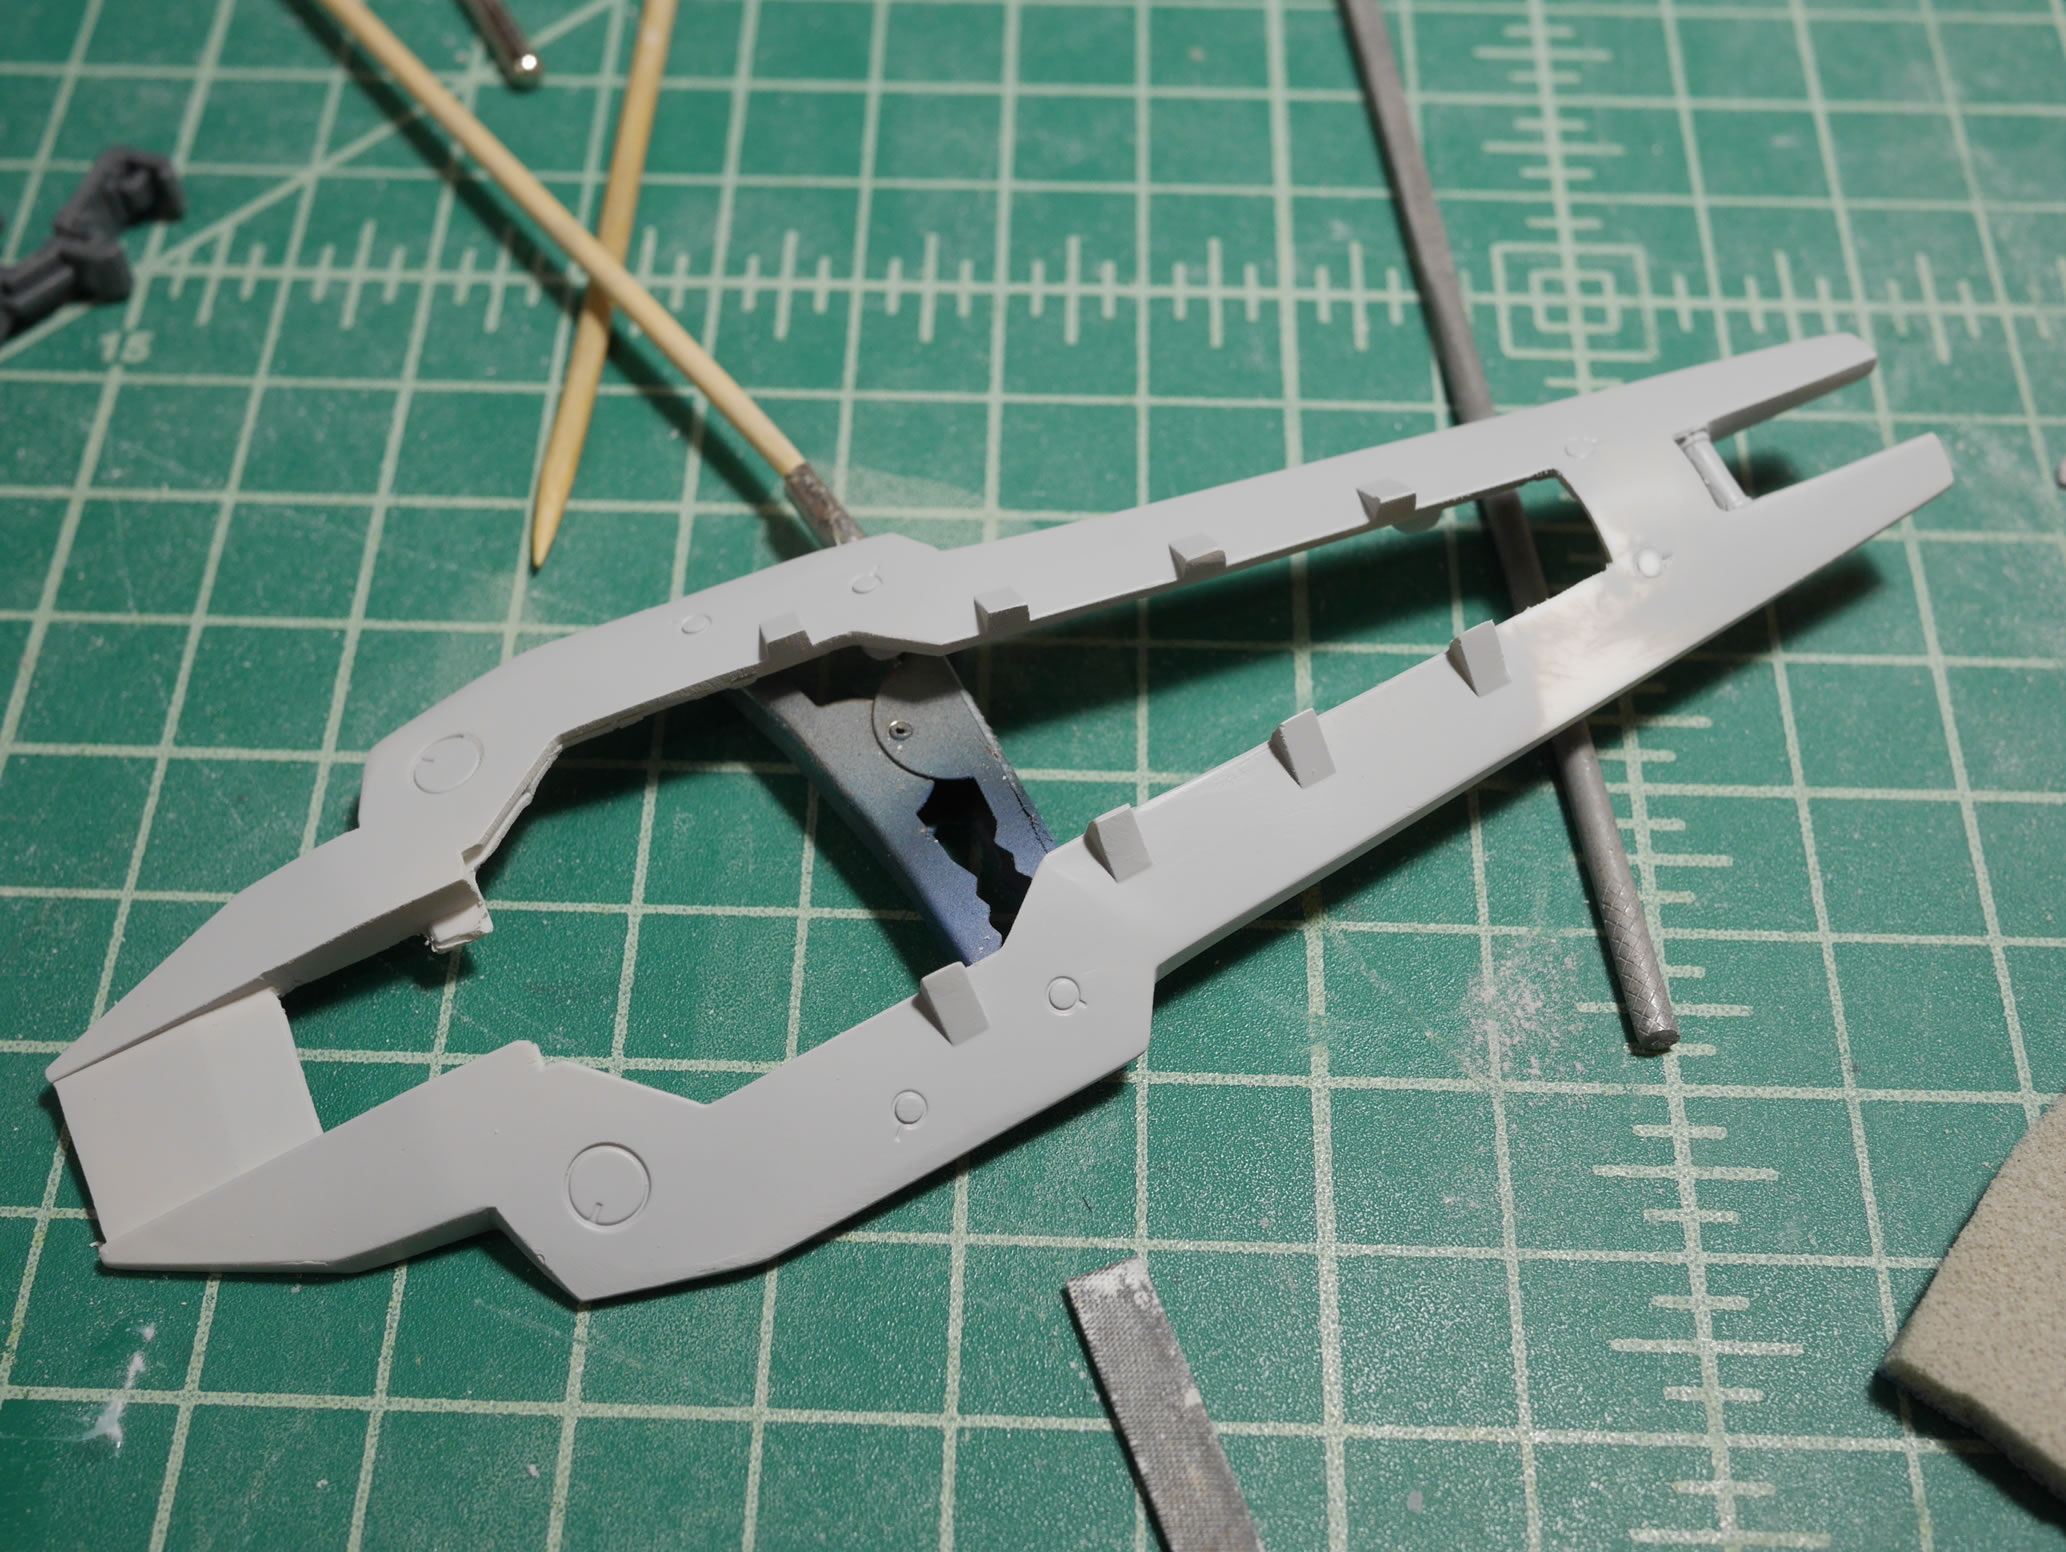
The middle leg armor has been painted. There are some detail bits along the insides of these parts, so I masked off the edges of the armor and sprayed Mr super metallic iron. As with the above, there will be a second layer of masking to add some dual metallic tones.
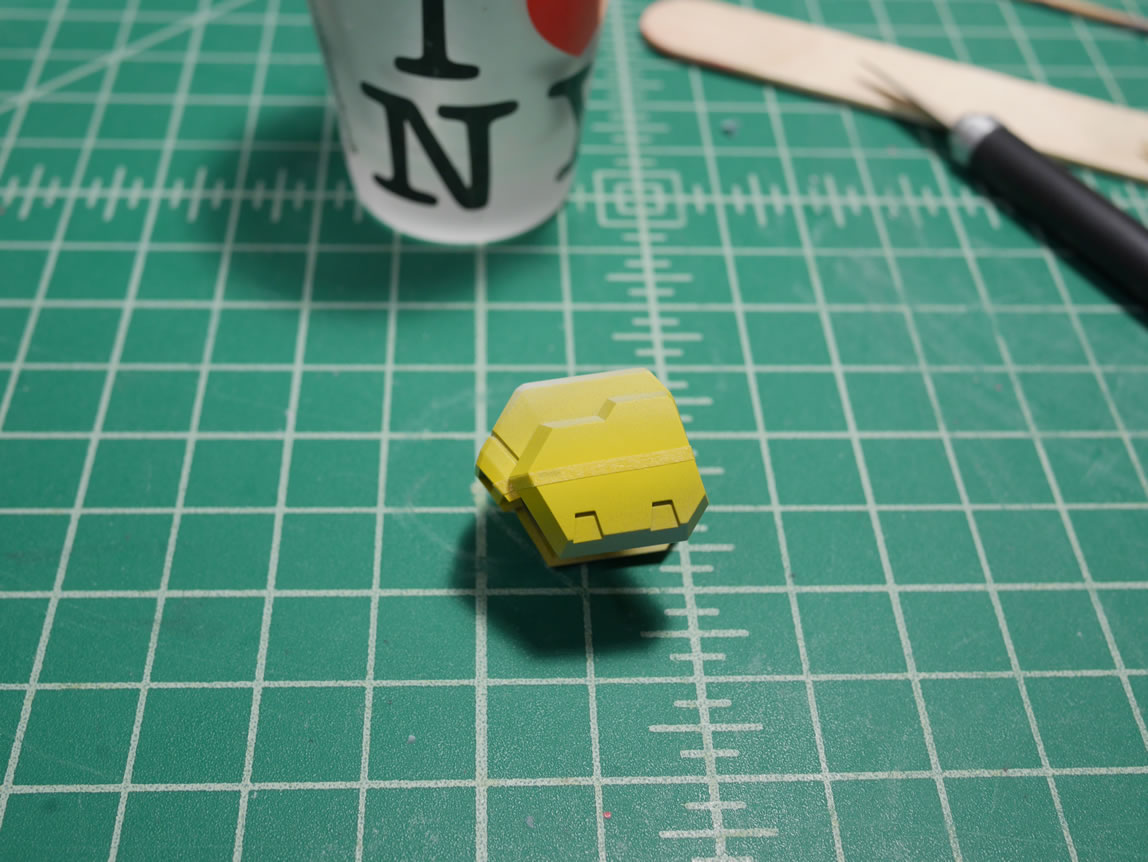
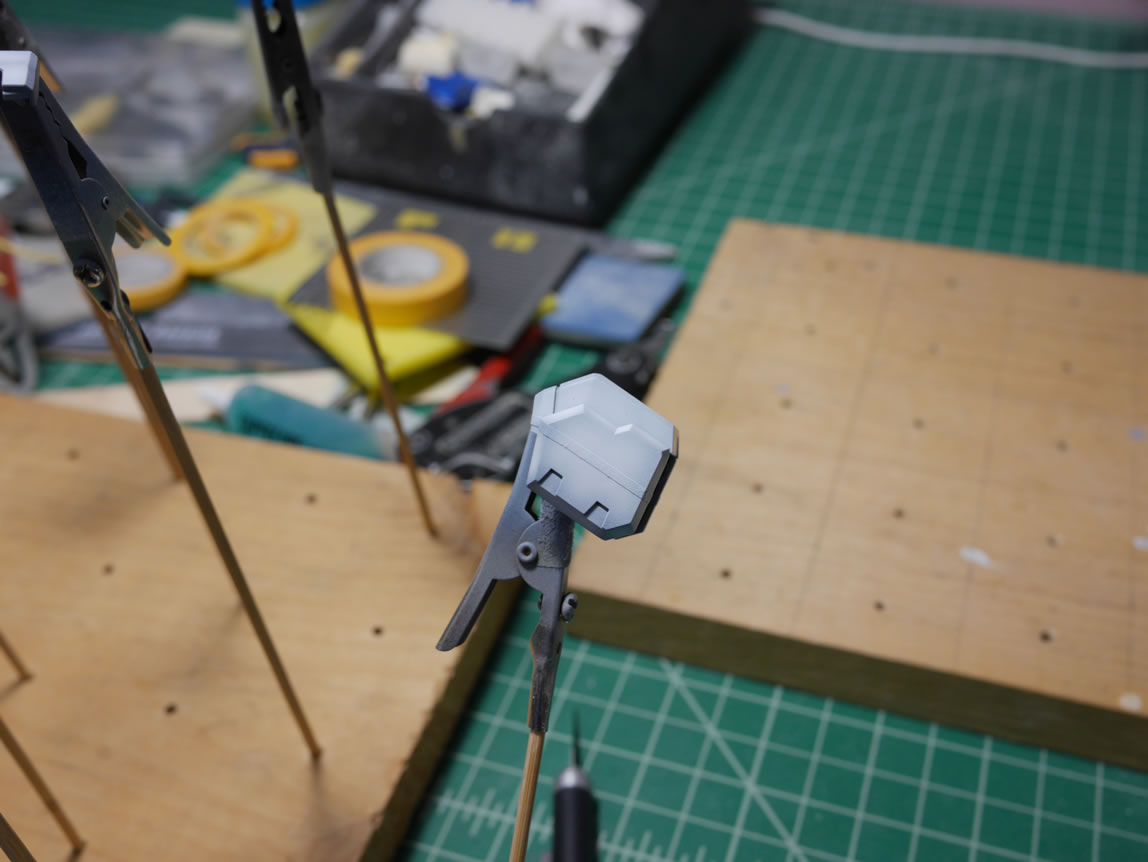
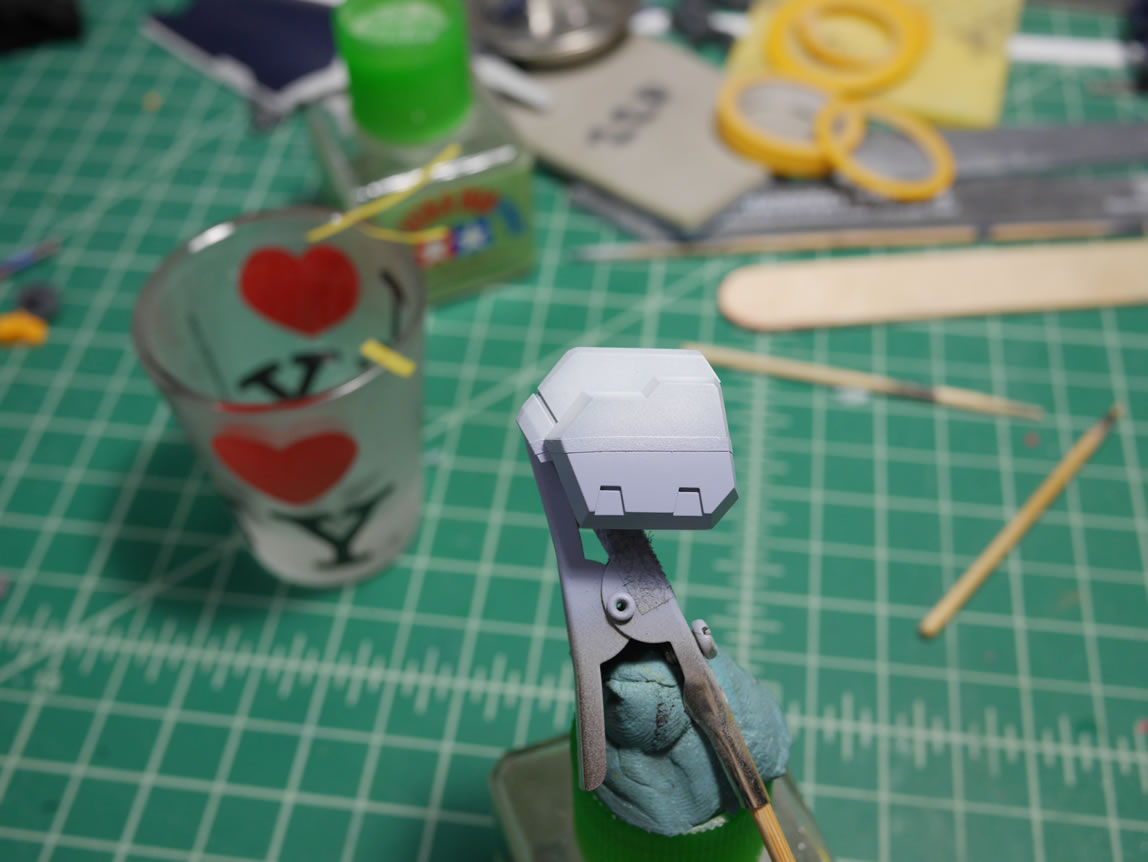
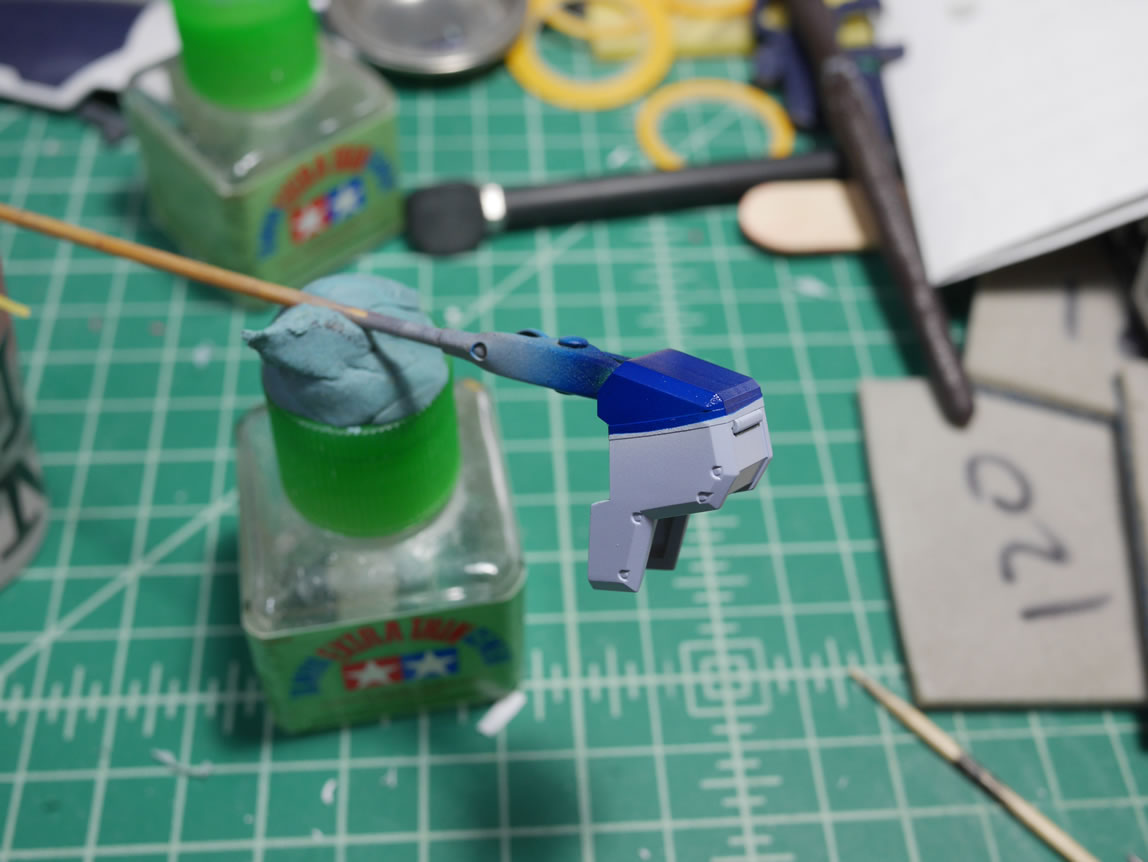
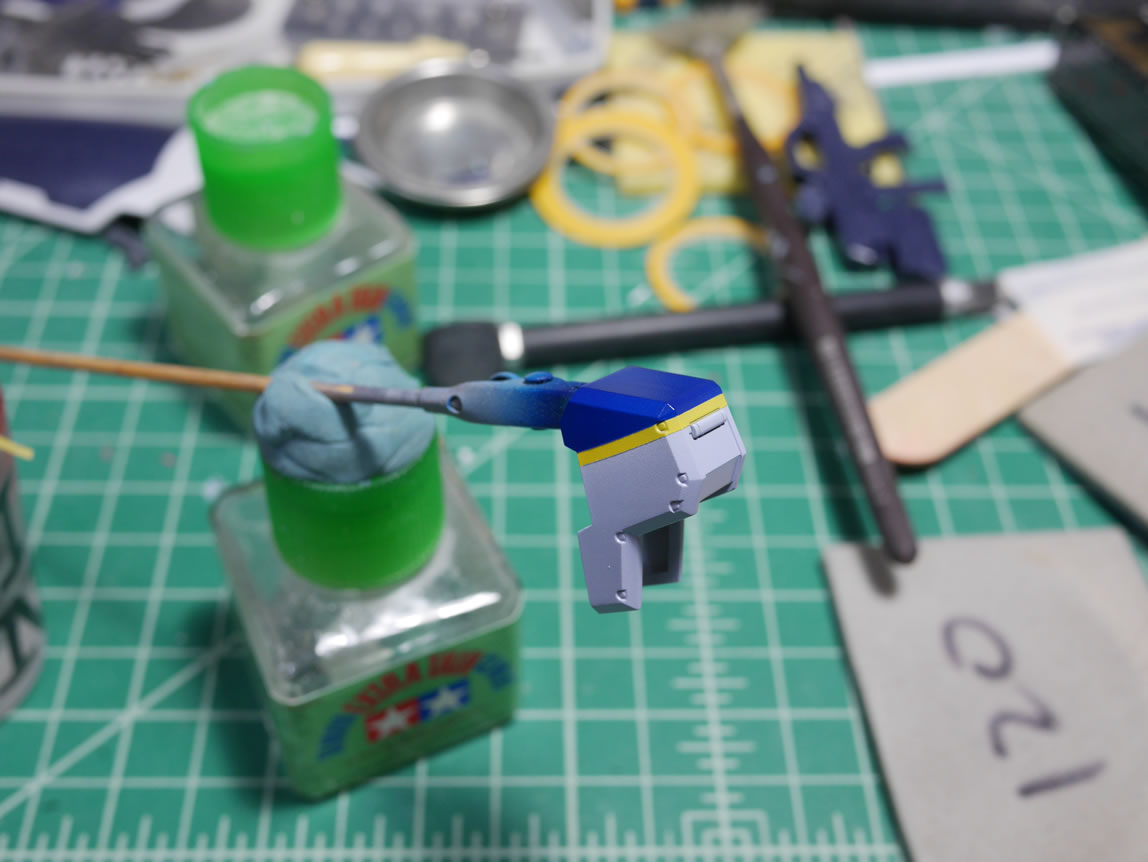
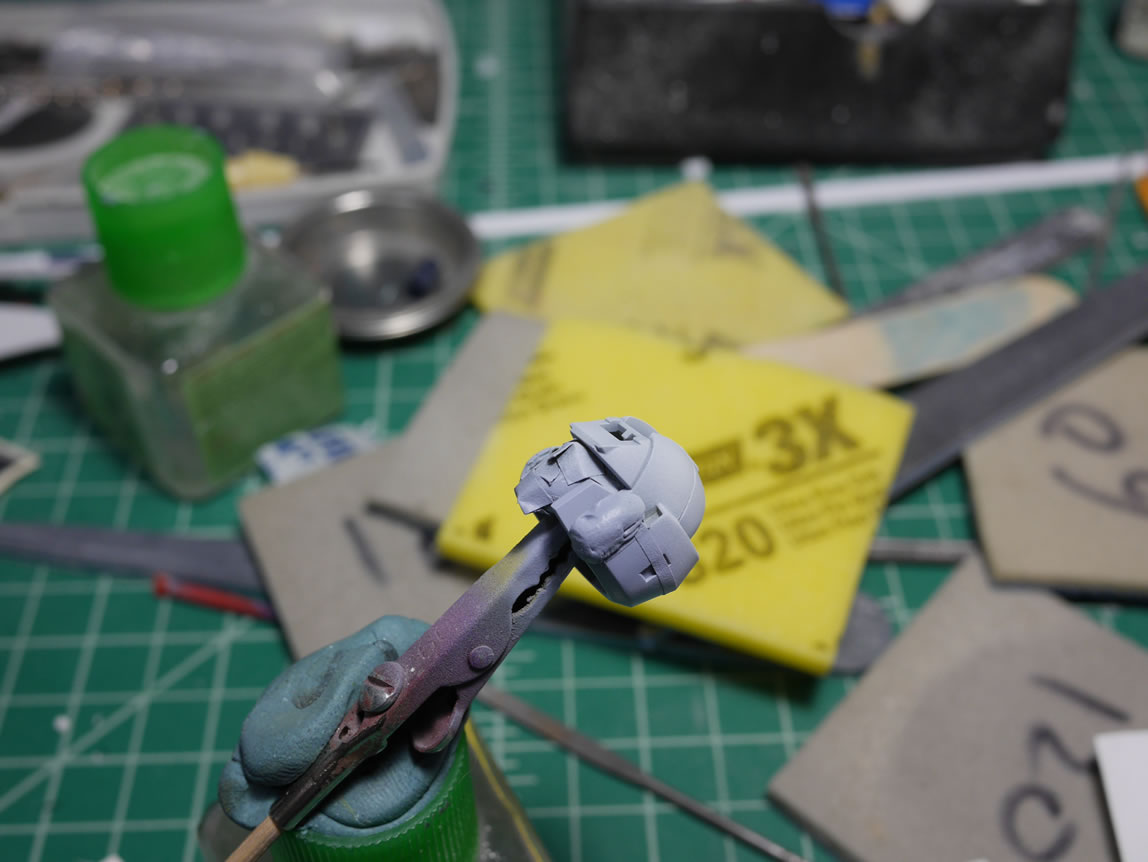
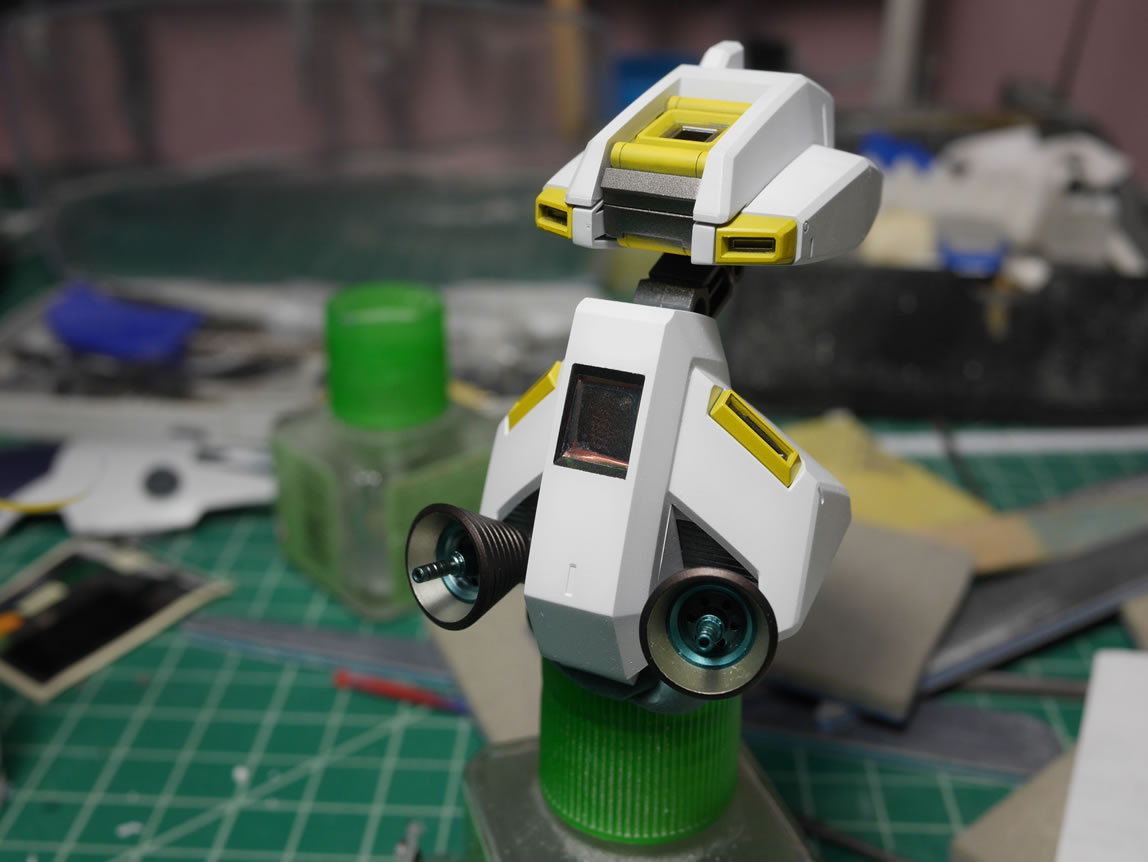
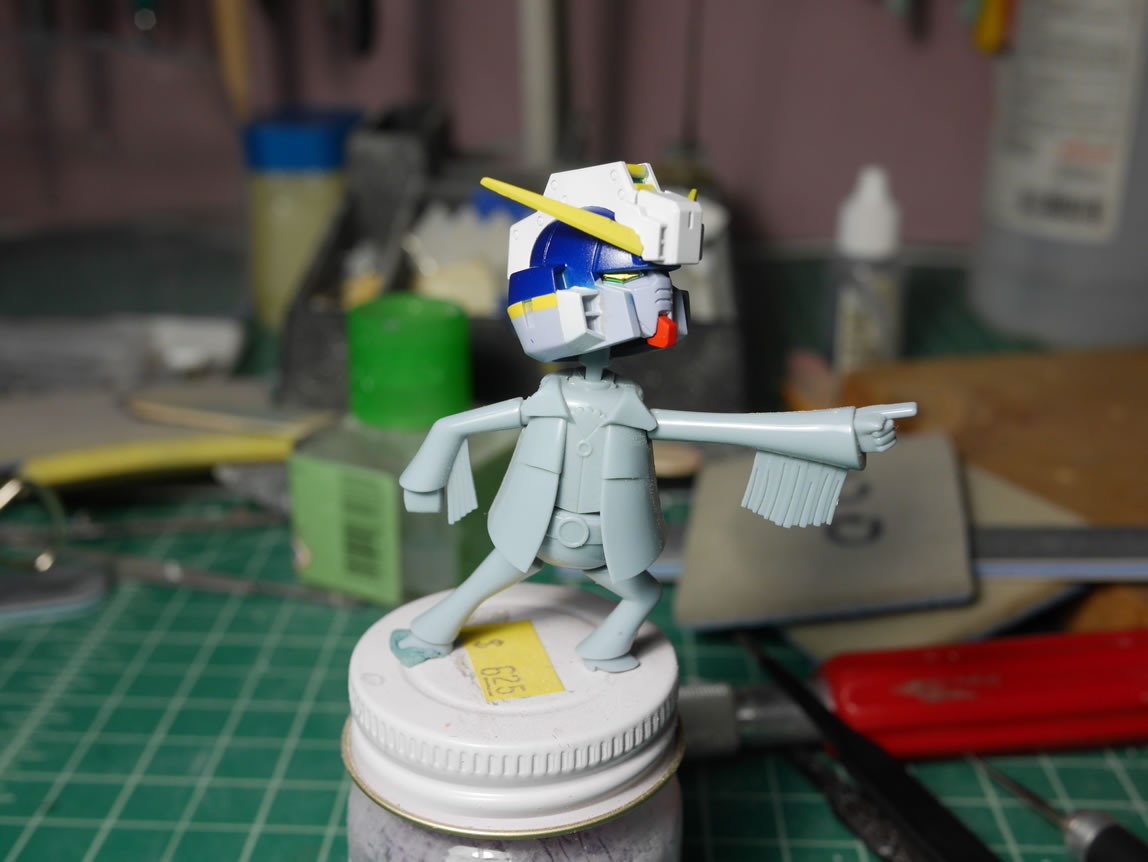
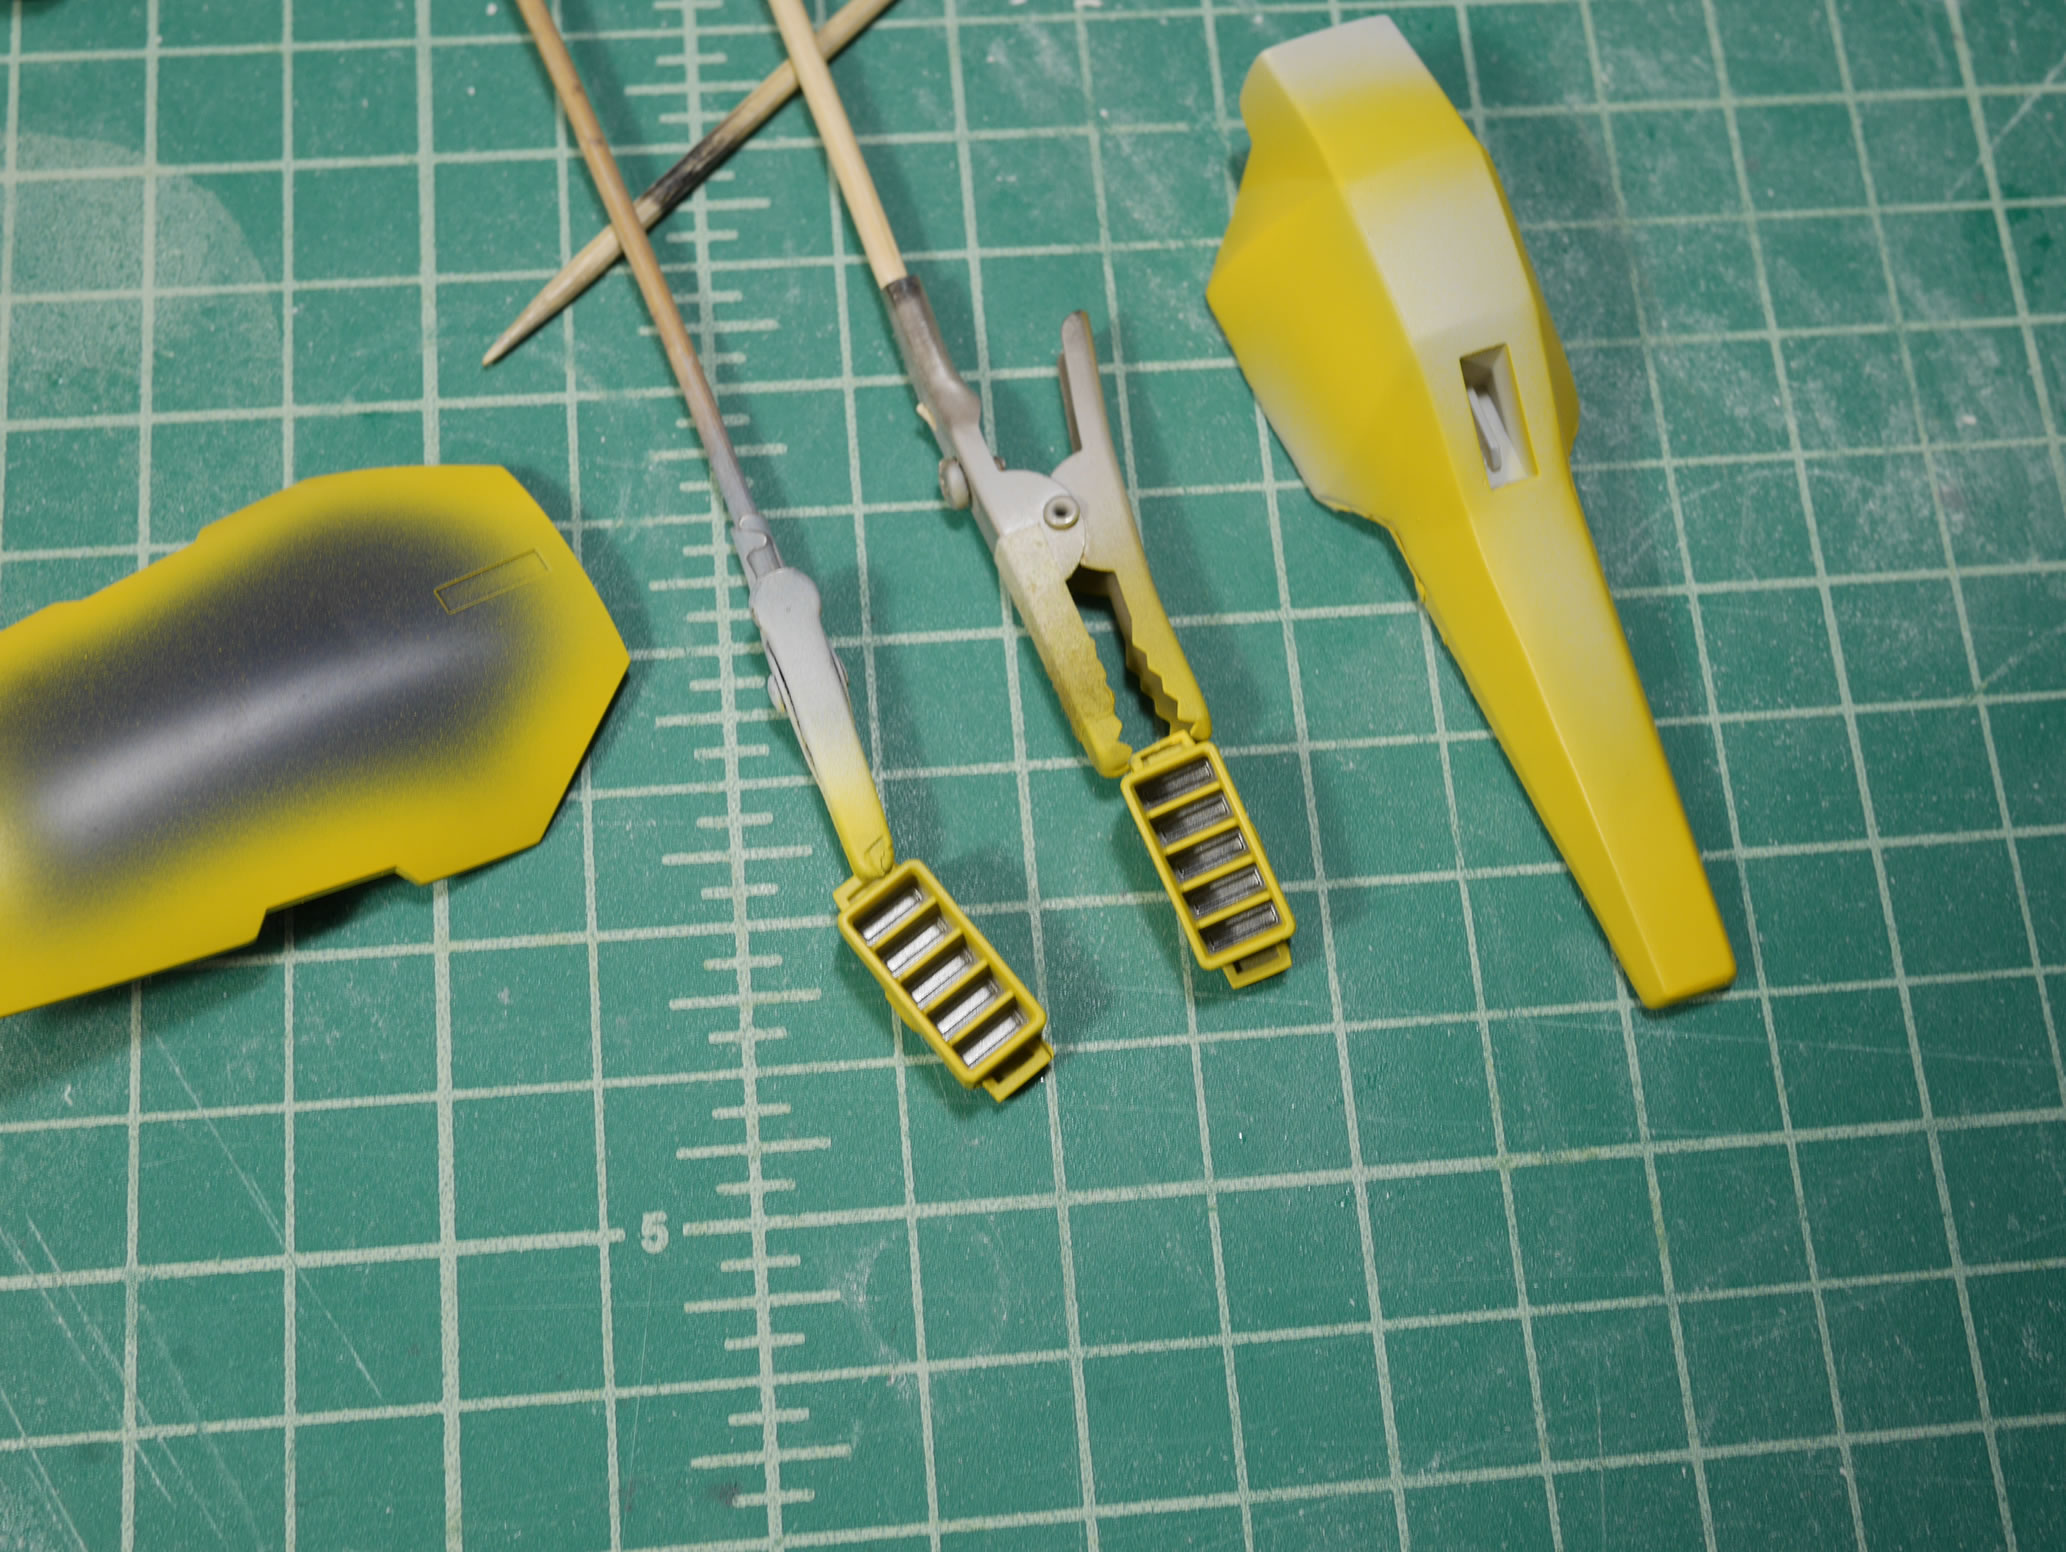
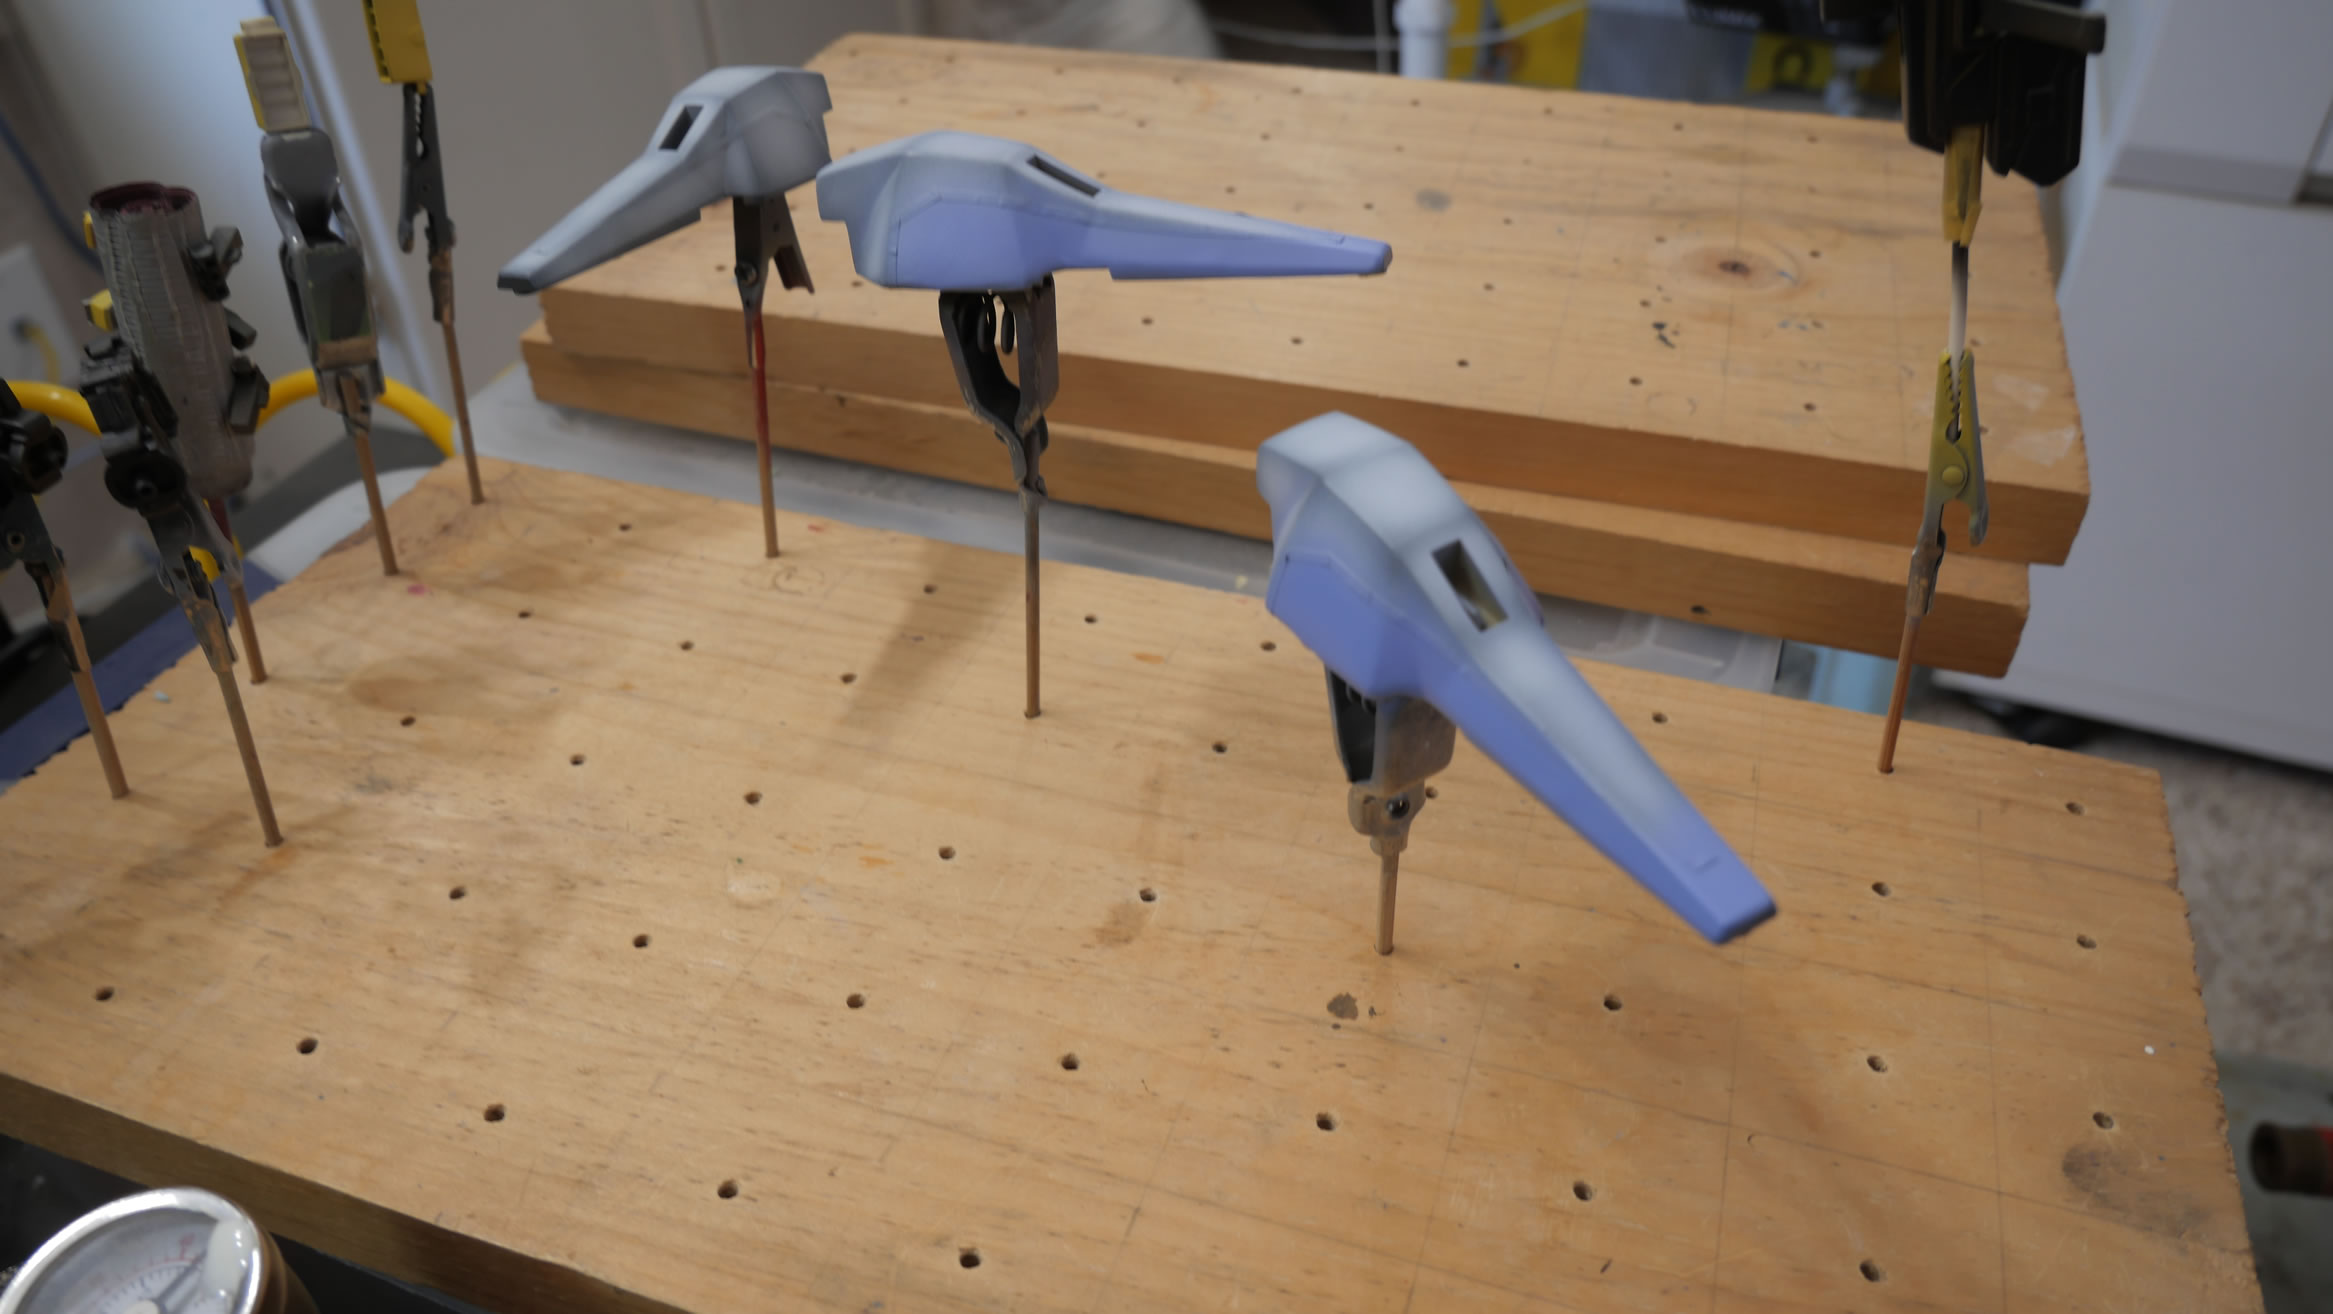
The head is worked on in several phases. The face plate was painted and detailed before the rest of the head because I wanted fill in some seams on the head. There is a panel line on the head, but the engineering of the kit created a panel line where the two halves of the head come together. I only wanted to keep the top half of the panel line. Since this requires gluing the two halves of the head together, I finished up the face plate first then masked it off before gluing the two head halves together. Once glued, I puttied the panel lines I didn’t want. The yellow strip has been painted and last night, I sprayed the bottom half of the head with the lighter blue.
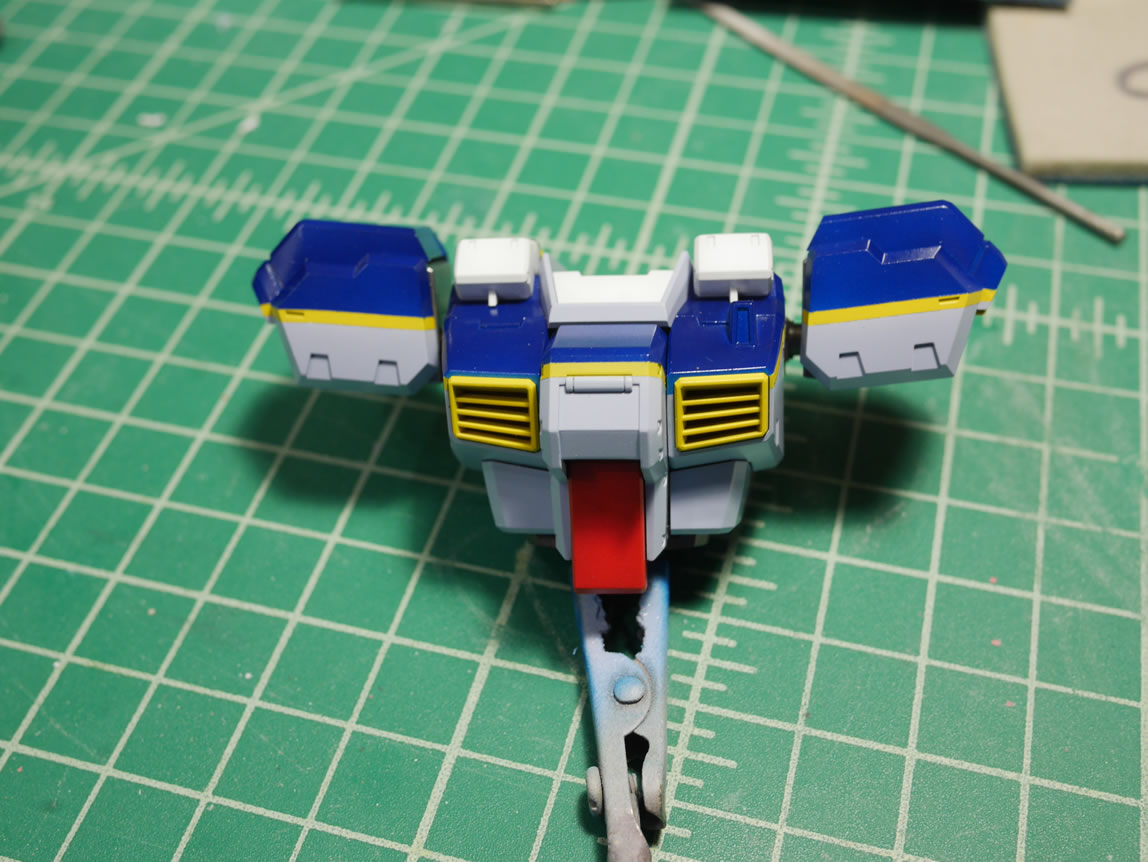
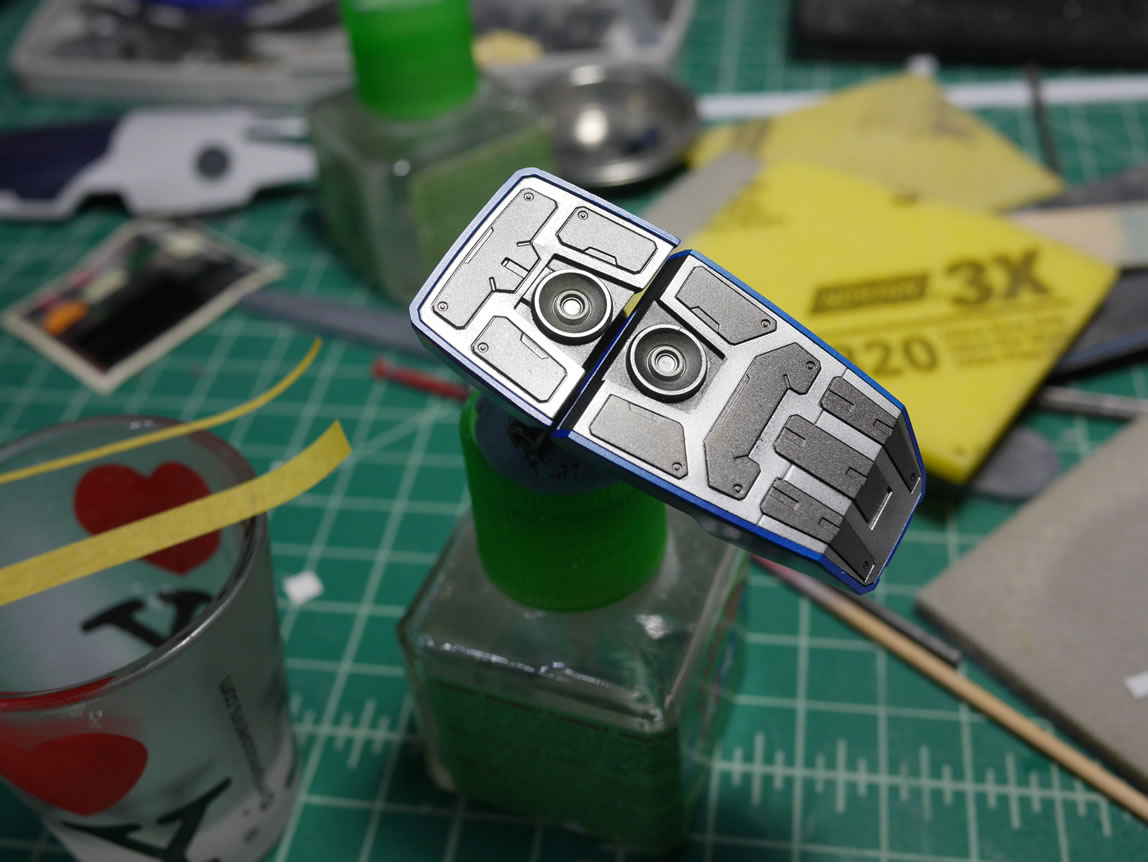
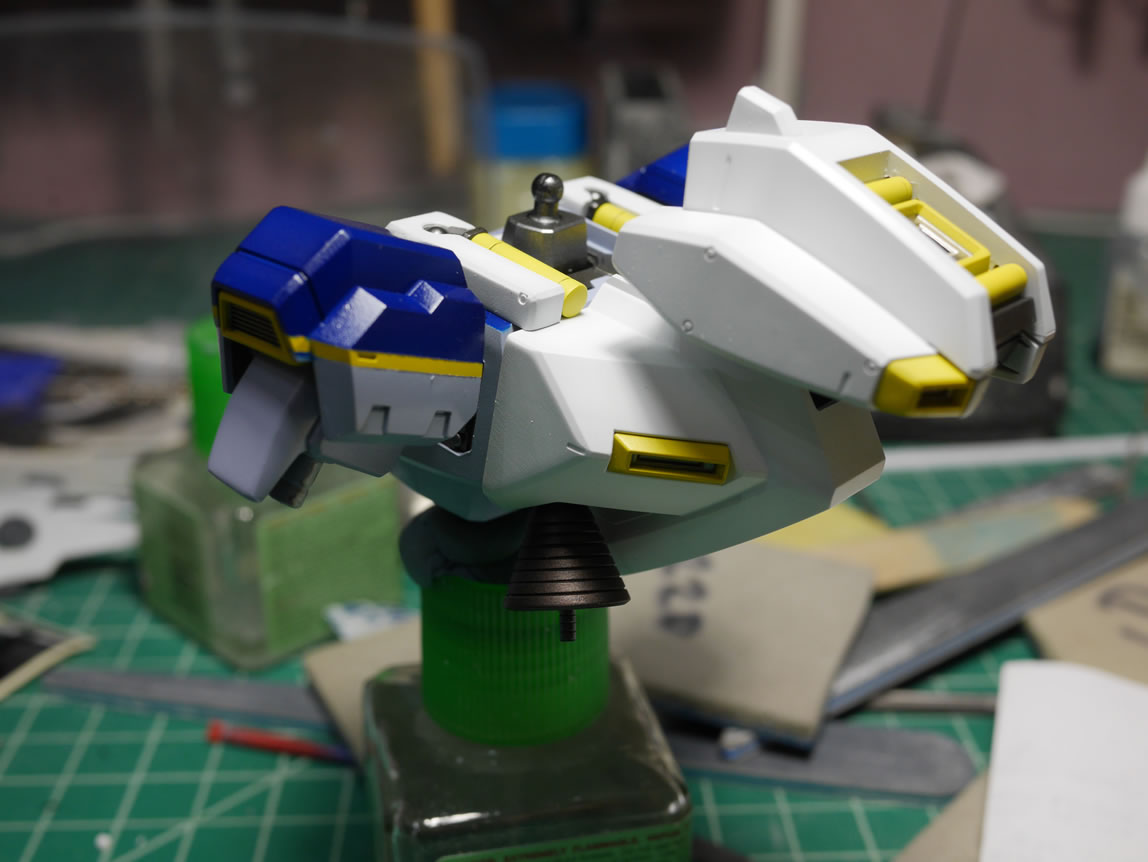
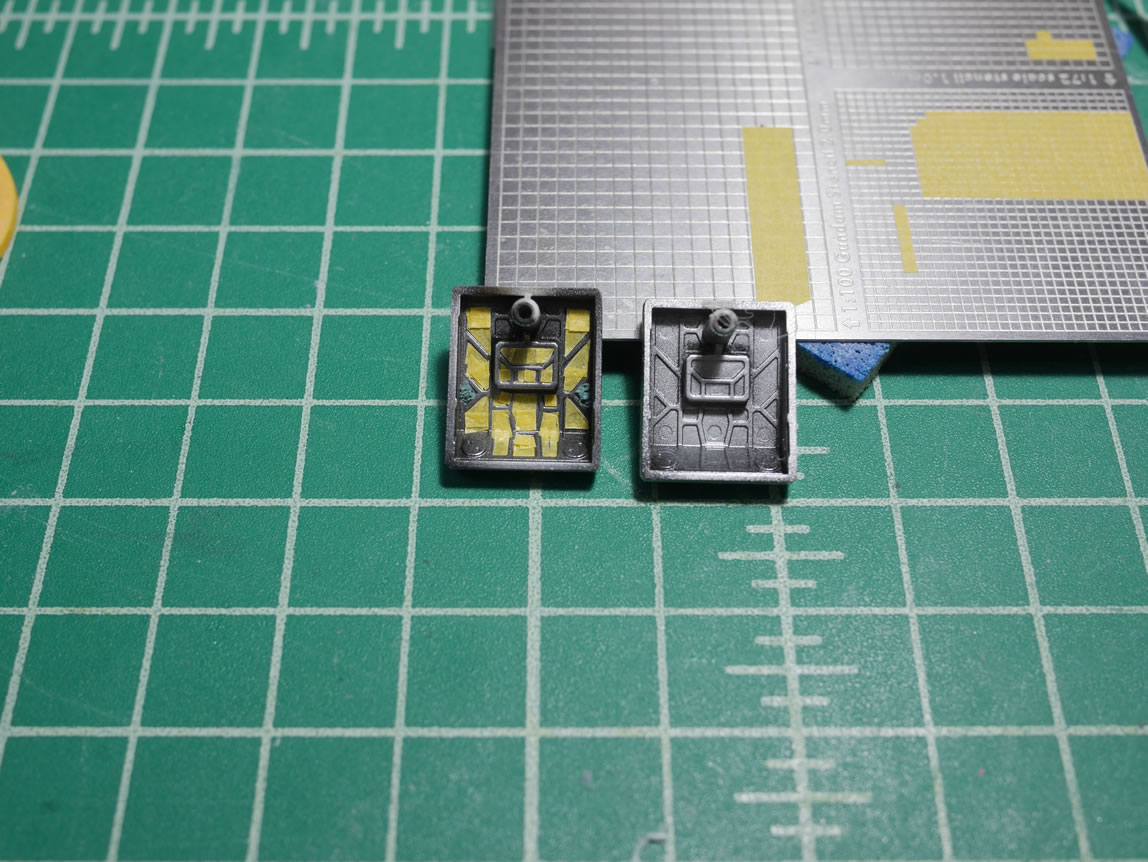
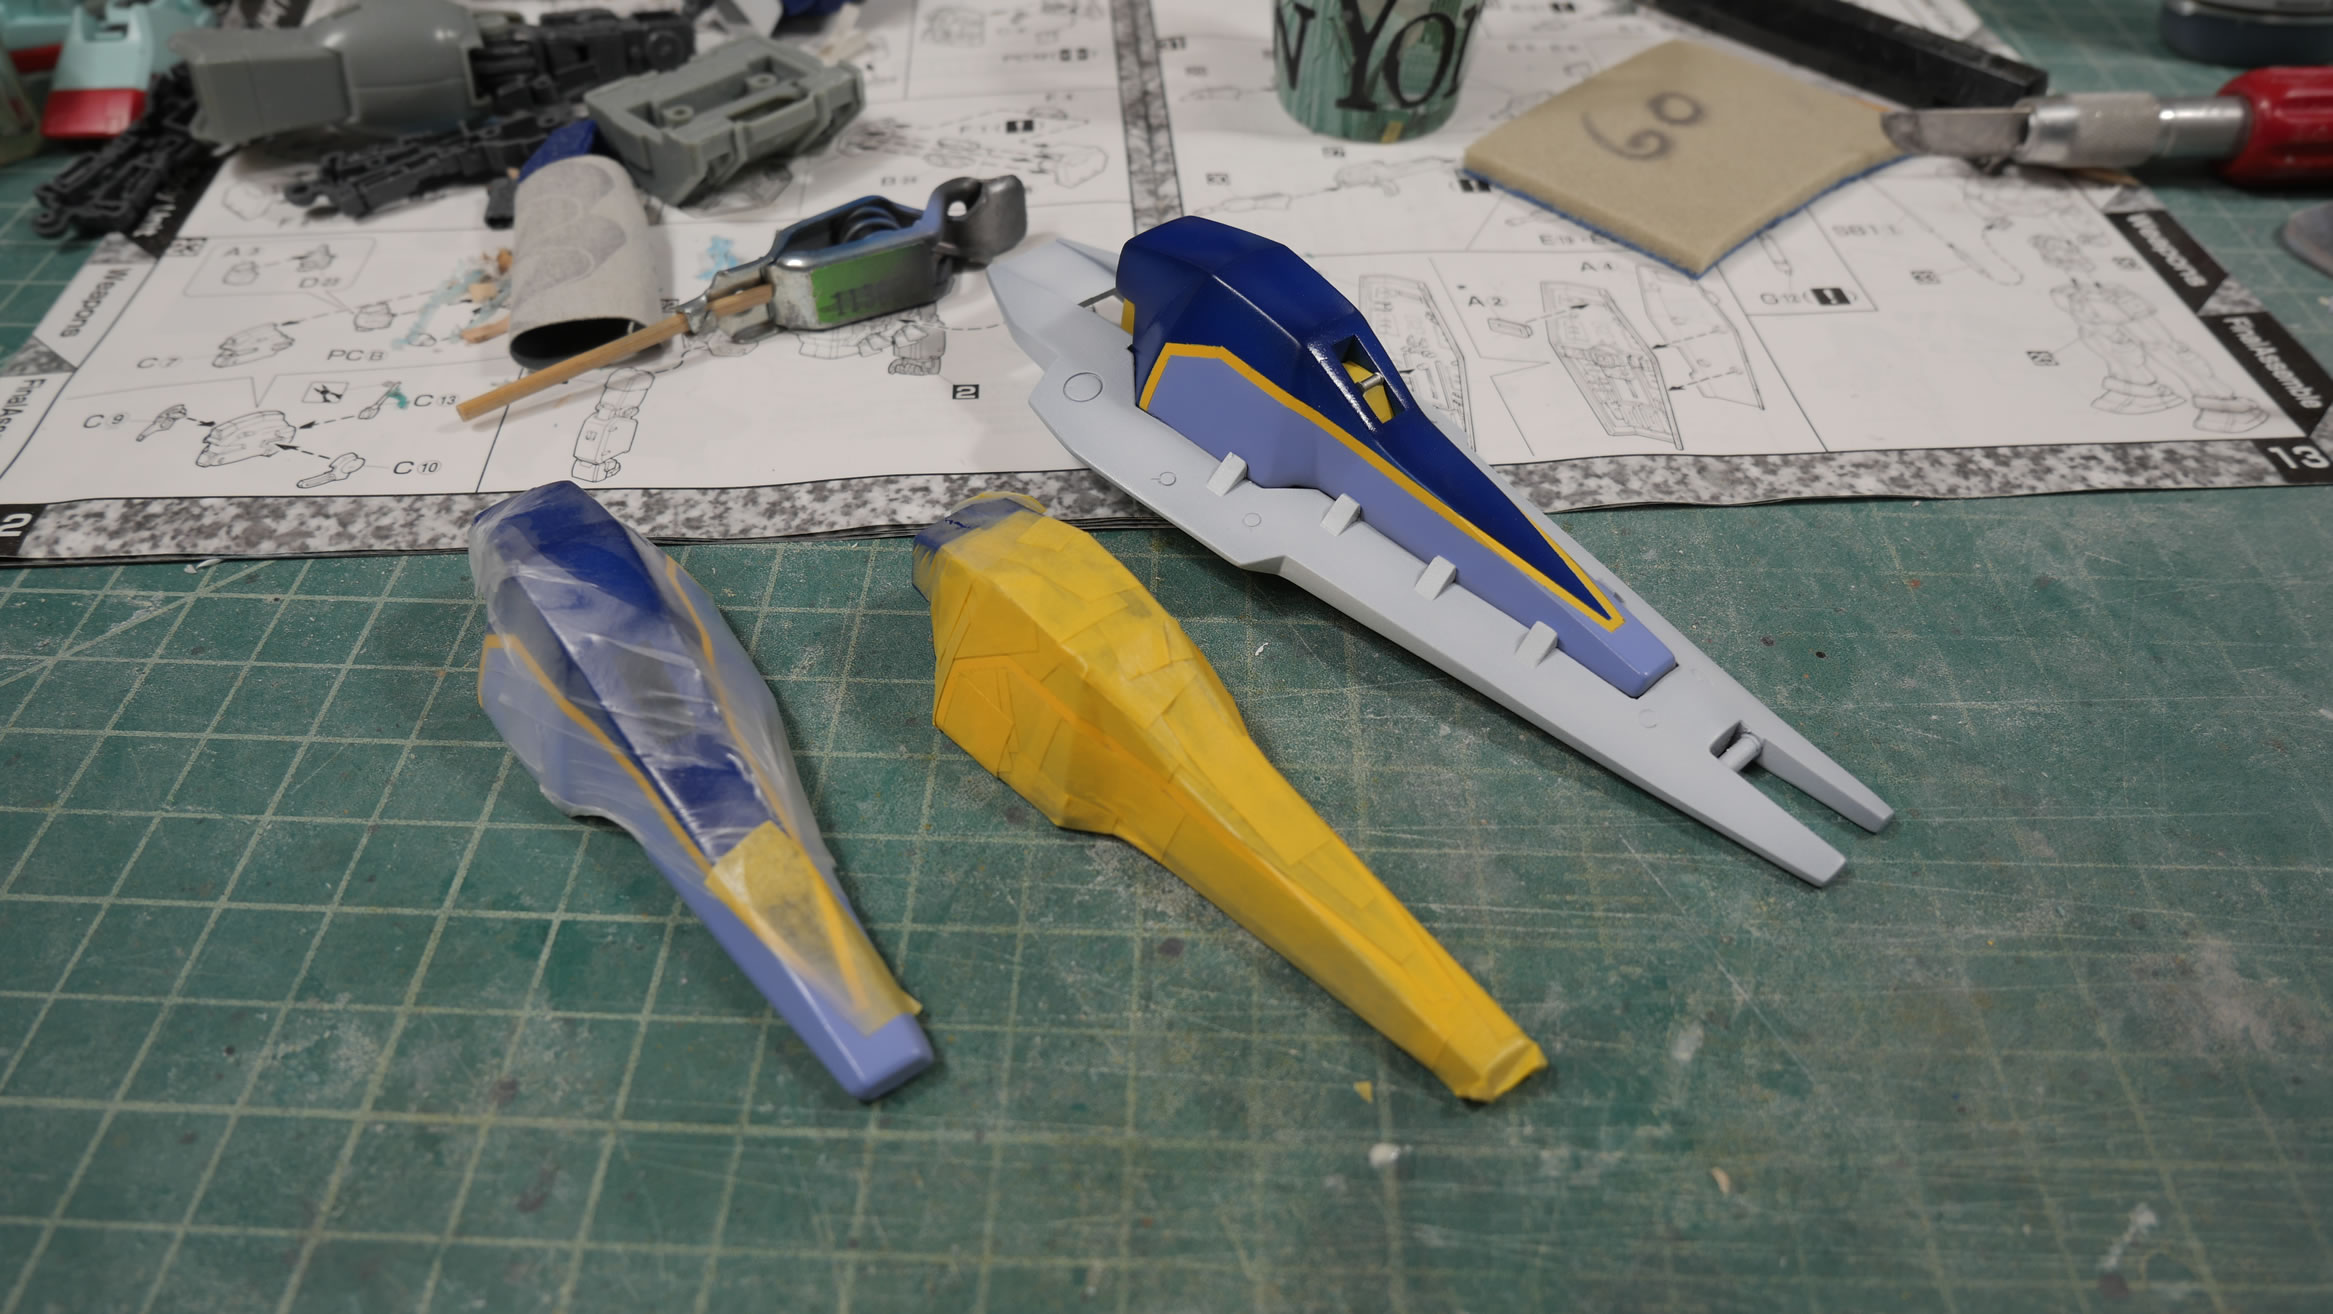
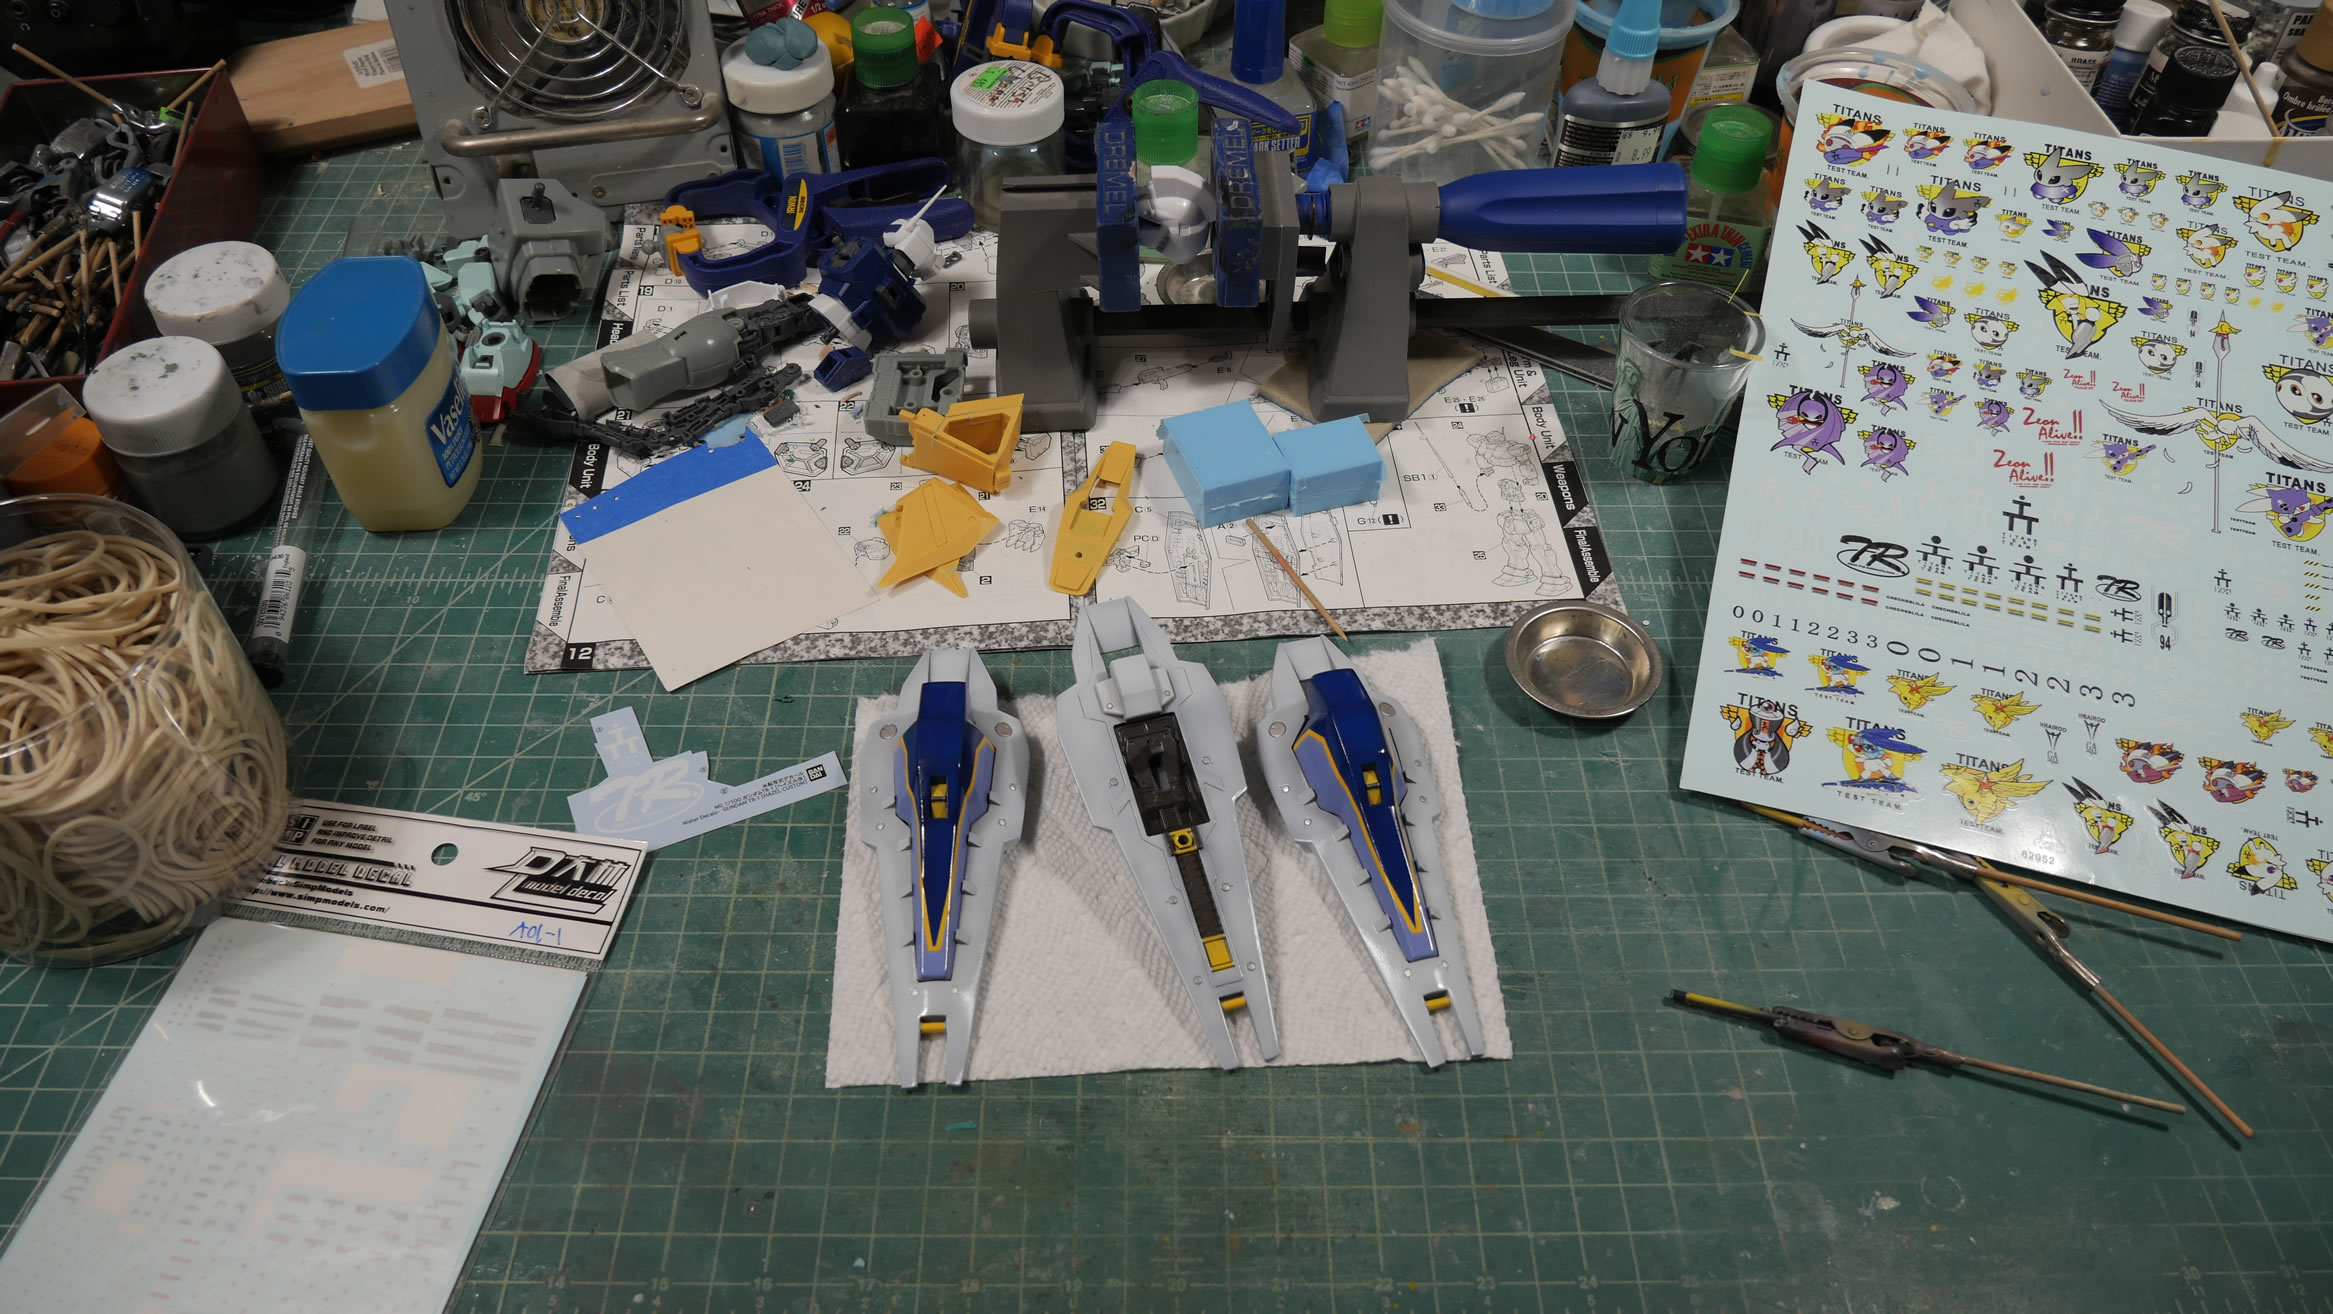
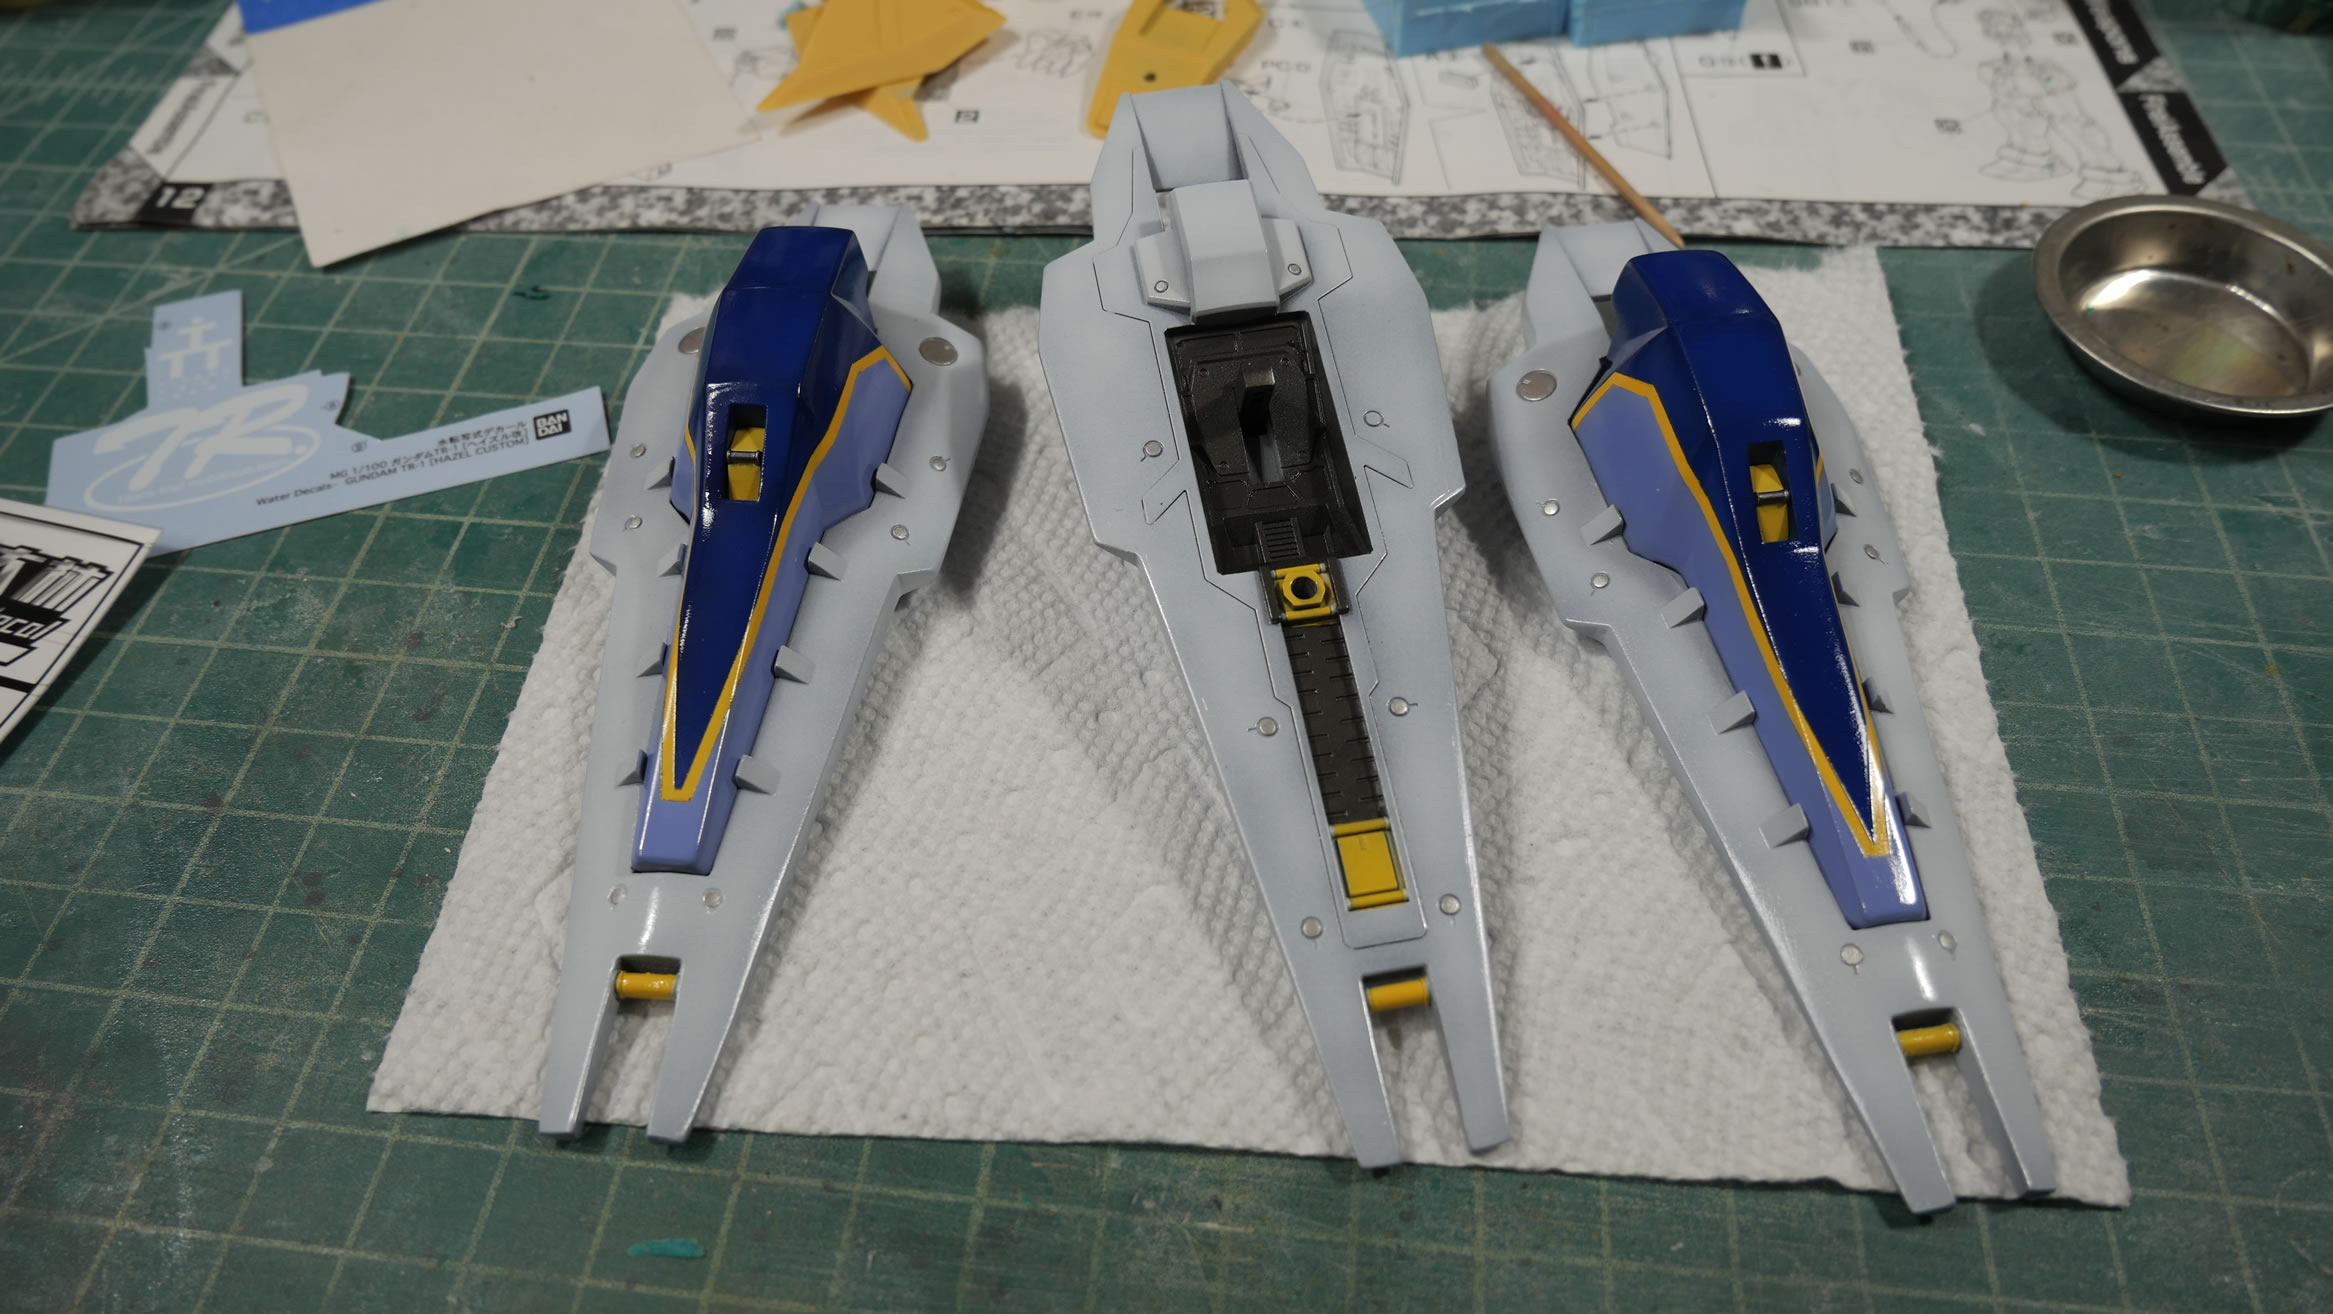
Here’s the completed backpack with the new resin thrusters. I think this looks fairly good.
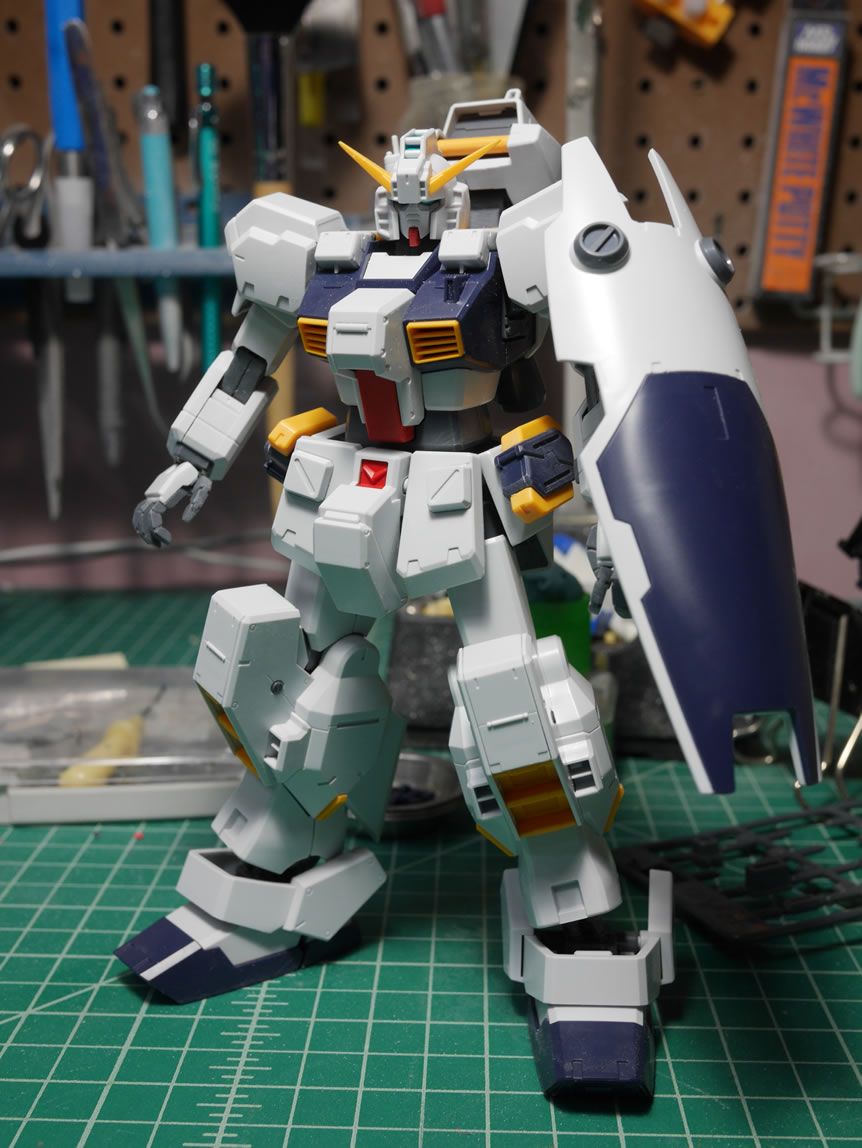
I have one wood block with completely subassemblies curing while I work on the rest of the kit. The upper torso is pretty much done and I’m fairly happy with the results so far. This is becoming a very quick build. Again, it’s nice to OOB. The hard part is resisting the temptation to keep adding modifications in the middle of the build.
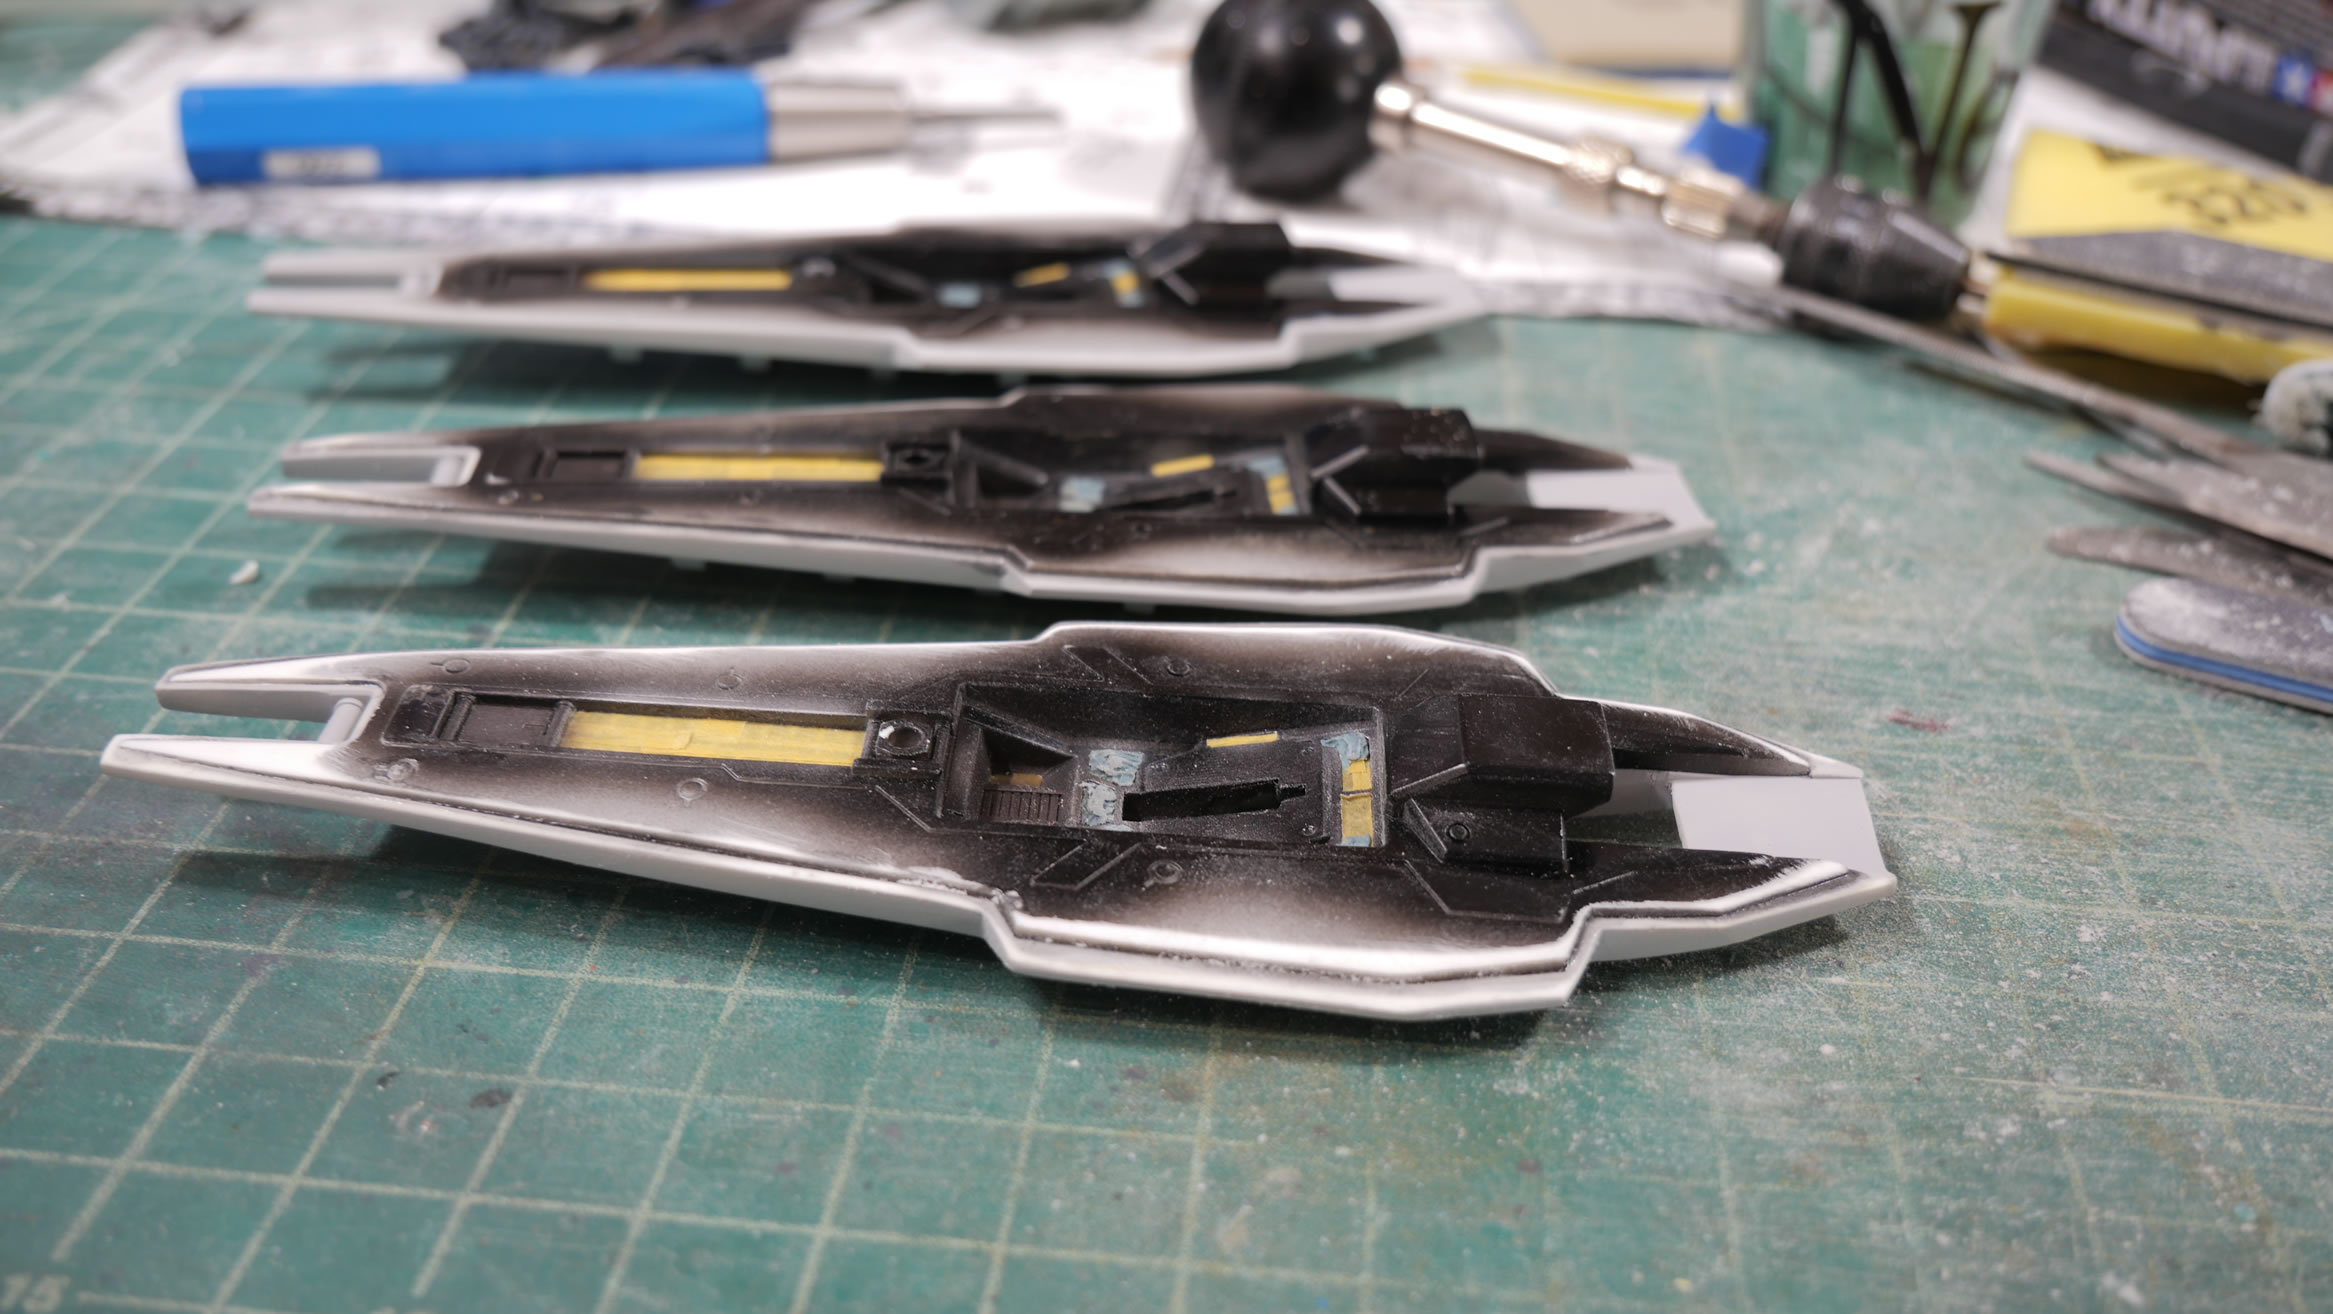
October 23, 2017: Last I left off, I had most of the exterior armor pieces painted. The procrastination for the interior armor painting resulted with those bits getting worked on last. The leg armor pieces were painted but I noticed that there were some details that frame up the vents on the front and back, so those areas were masked off and the inset areas were painted with Mr Super Iron then masked off again to paint the frame areas with alclad magnesium. The contrast looks fairly decent when assembled.
Since I am building the Hazel I version, I want to also have it running all three booster shields. The kit unfortunately, only comes with one. I actually started the mold making process at the same time I started spraying the primer. The mold making process takes a bit of time, but if I wrote everything up as it happens sequentially, it becomes harder to follow some of the steps because things keep jumping from one topic to another. That said, lets finish up the mask and paint sessions.
I usually just paint the hip joints a single metallic color and I’m done. But the big round detail just screamed to get a different metallic tone, so I masked off a sunflower and painted that bit with alclad copper. Next up are the side skirts. Just like the leg internals, I painted the inset areas first with a light metallic tone, masked, then painted with the darker magnesium. Visually, it is pretty subtle and once assembled, these will be difficult to see. But for those wielding flashlights, this could be a pleasant surprise when they upskirt the kit.
The rear skirts get a similar treatment. This time with a bit more color variations using polished aluuminum and polished brass for some tubing. The inset circular drum is painted with super bright silver and kandy cobalt. A splash of titanium gold and copper pepper more bits and the frame is again painted with magnesium. The front skirts are treated in kind with the side skirts. I should have waited longer for the magnesium to cure before removing the mask. But it’s not like anyone is going to look up the Hazel’s skirts.


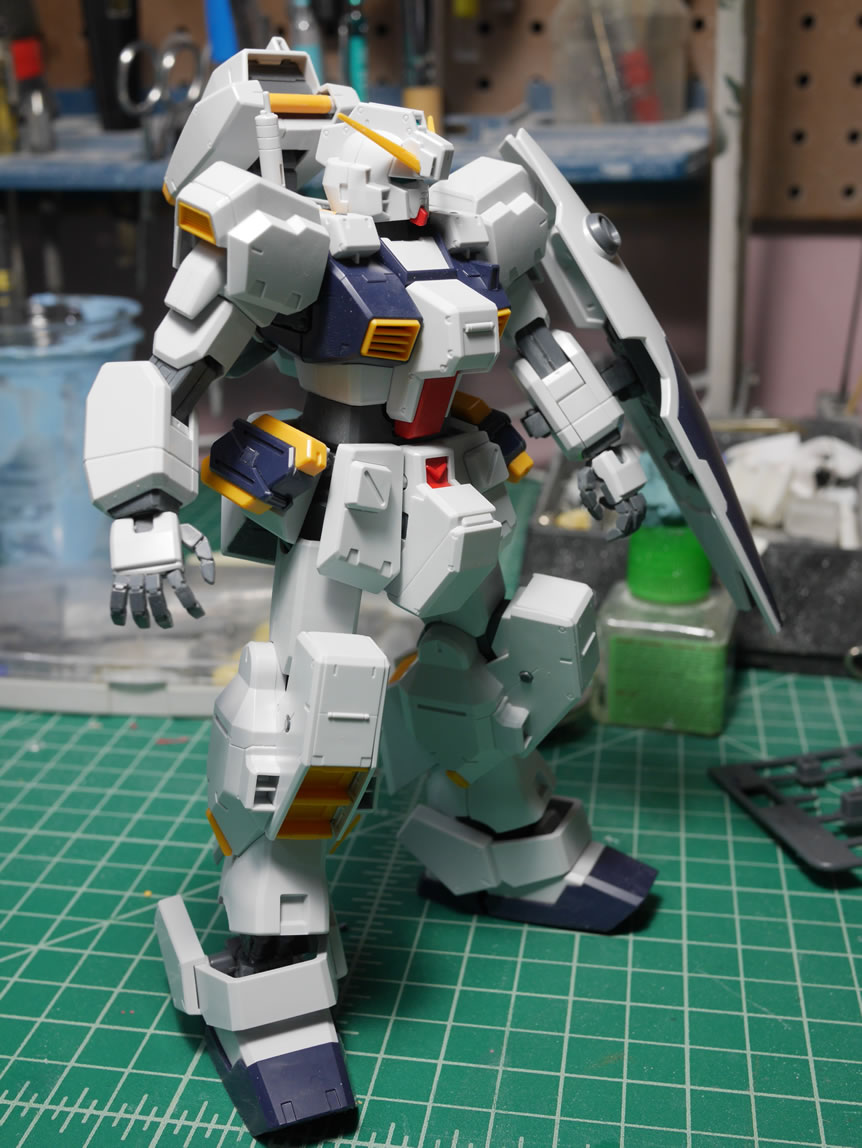
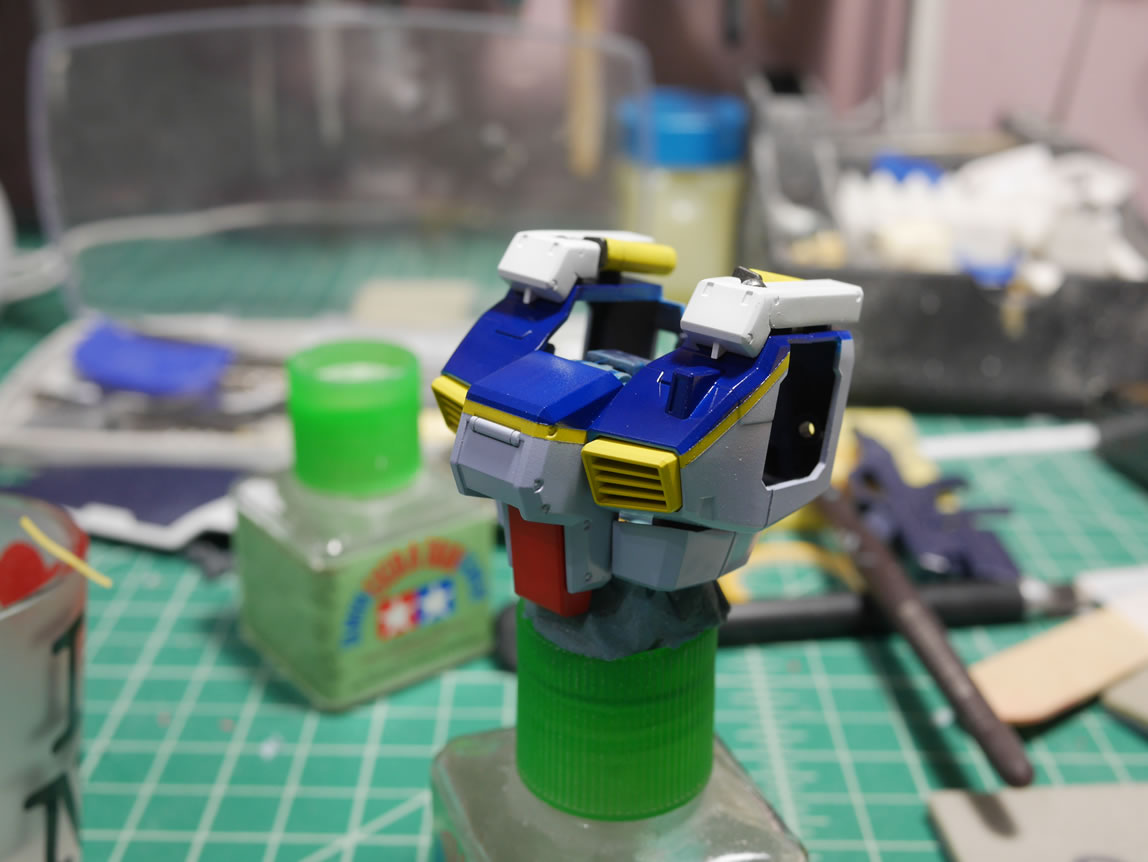
At this point, I finished masking off and painting the head, so what better way to display it for pictures than setting in atop disco gunso.
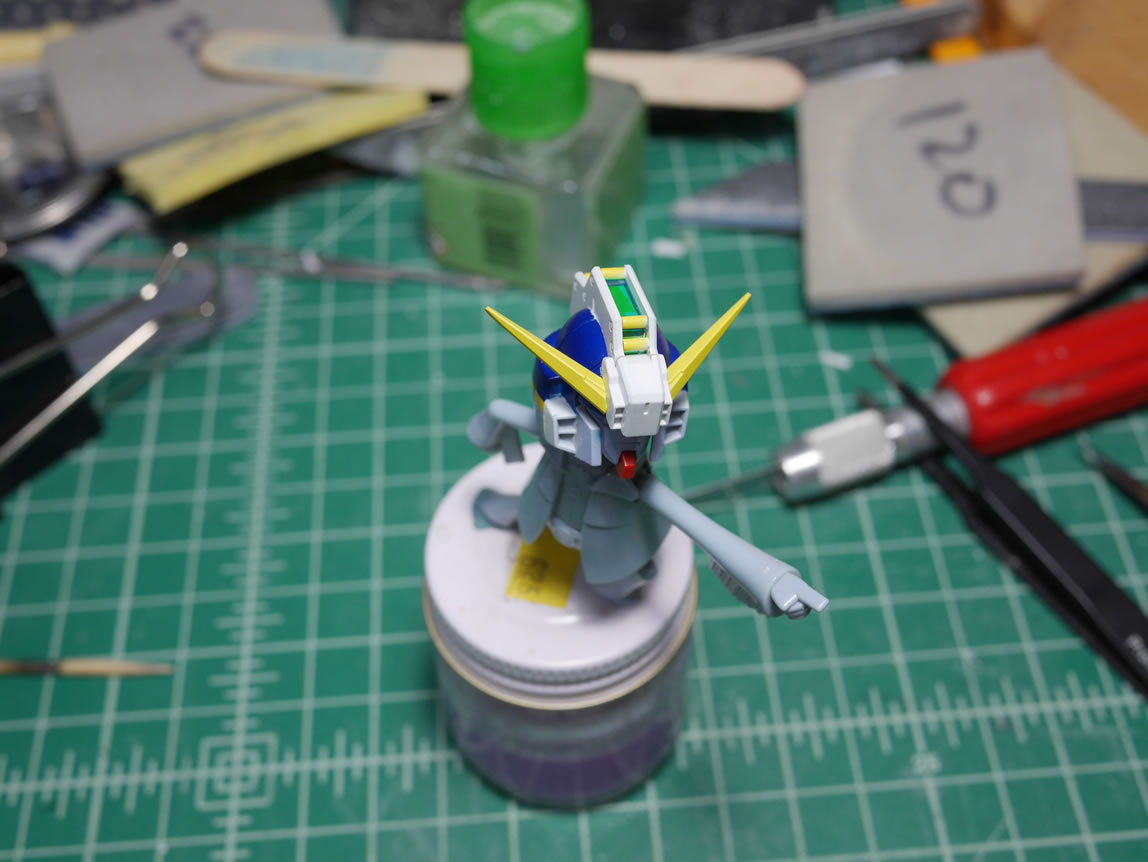
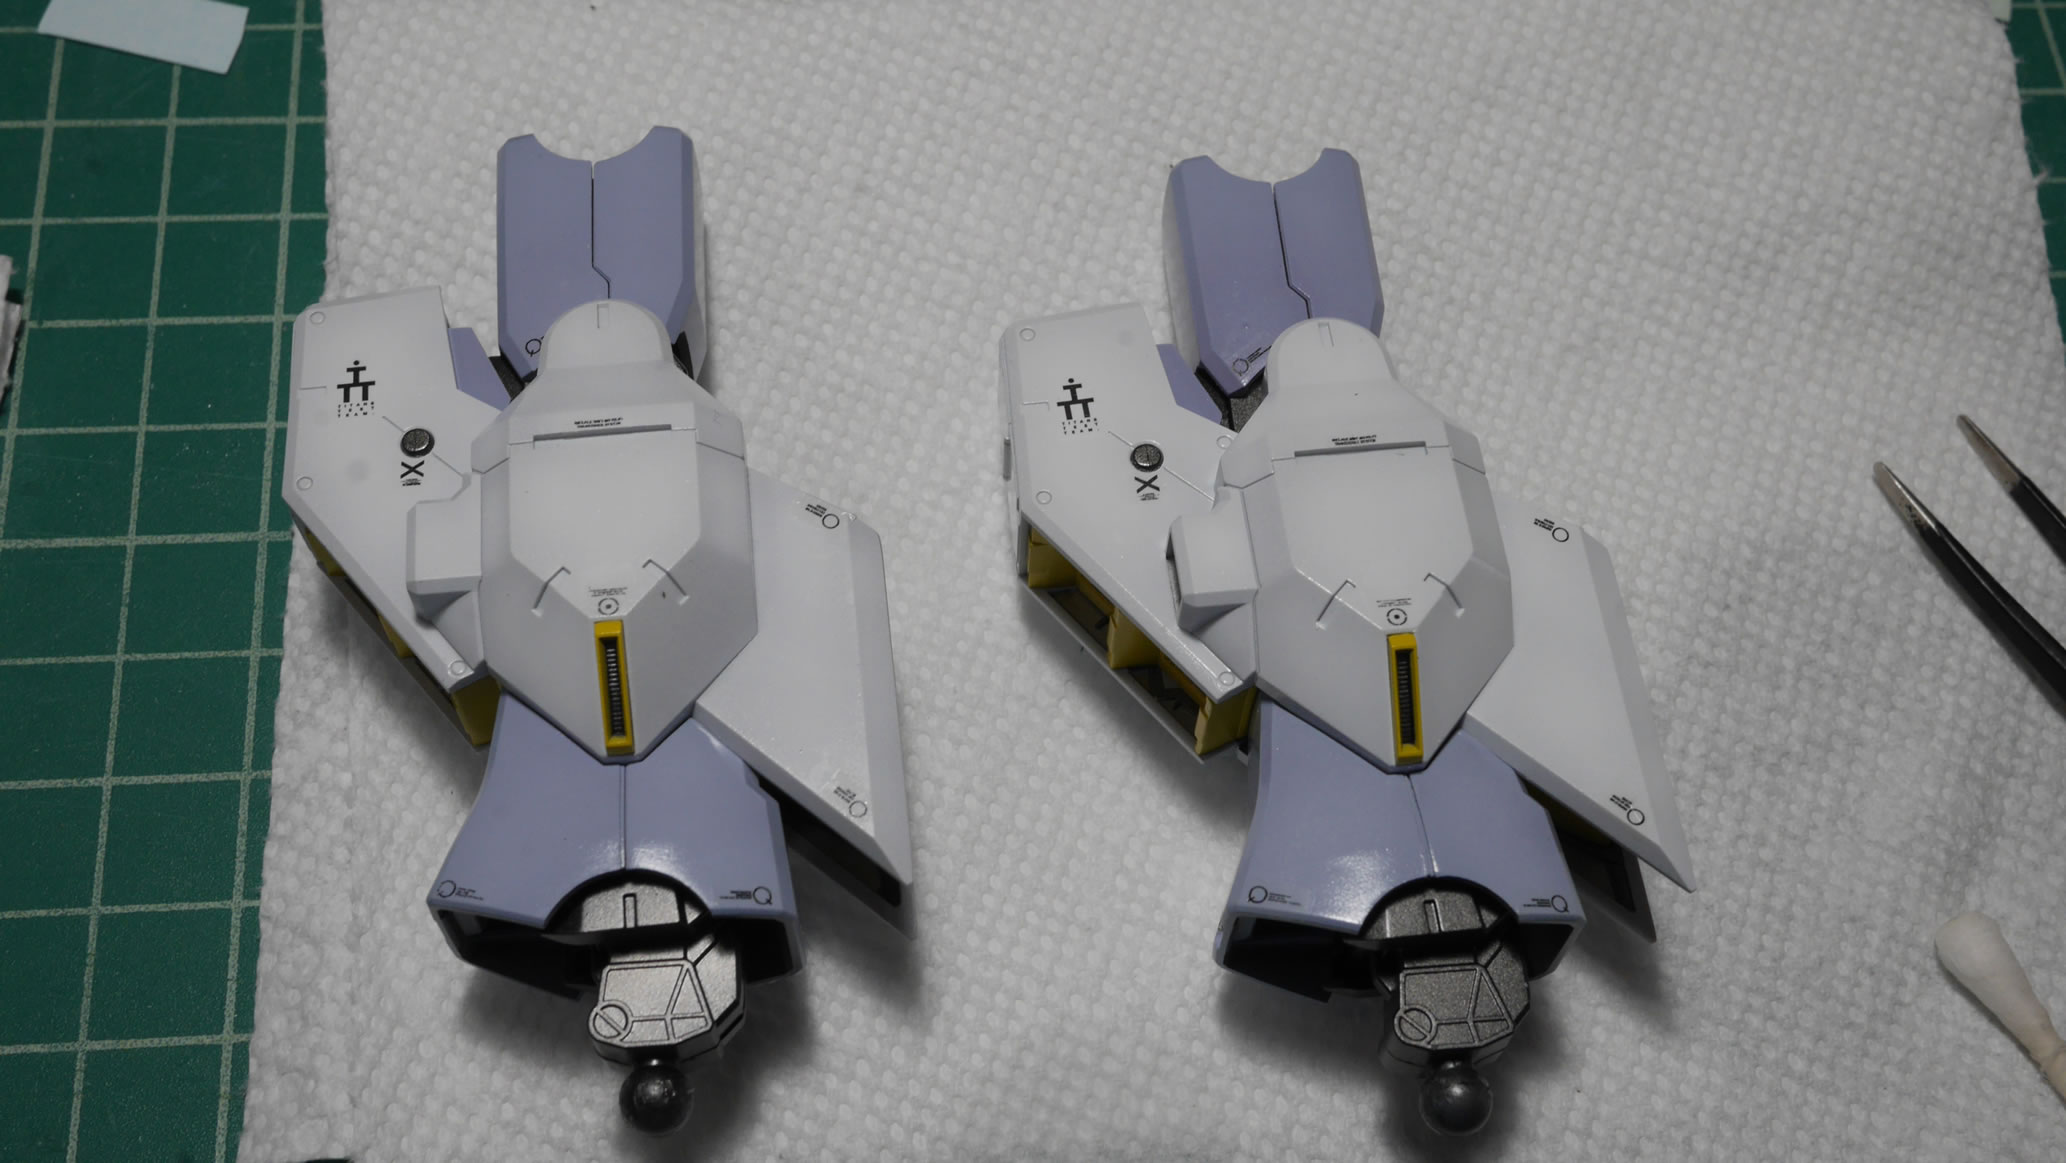
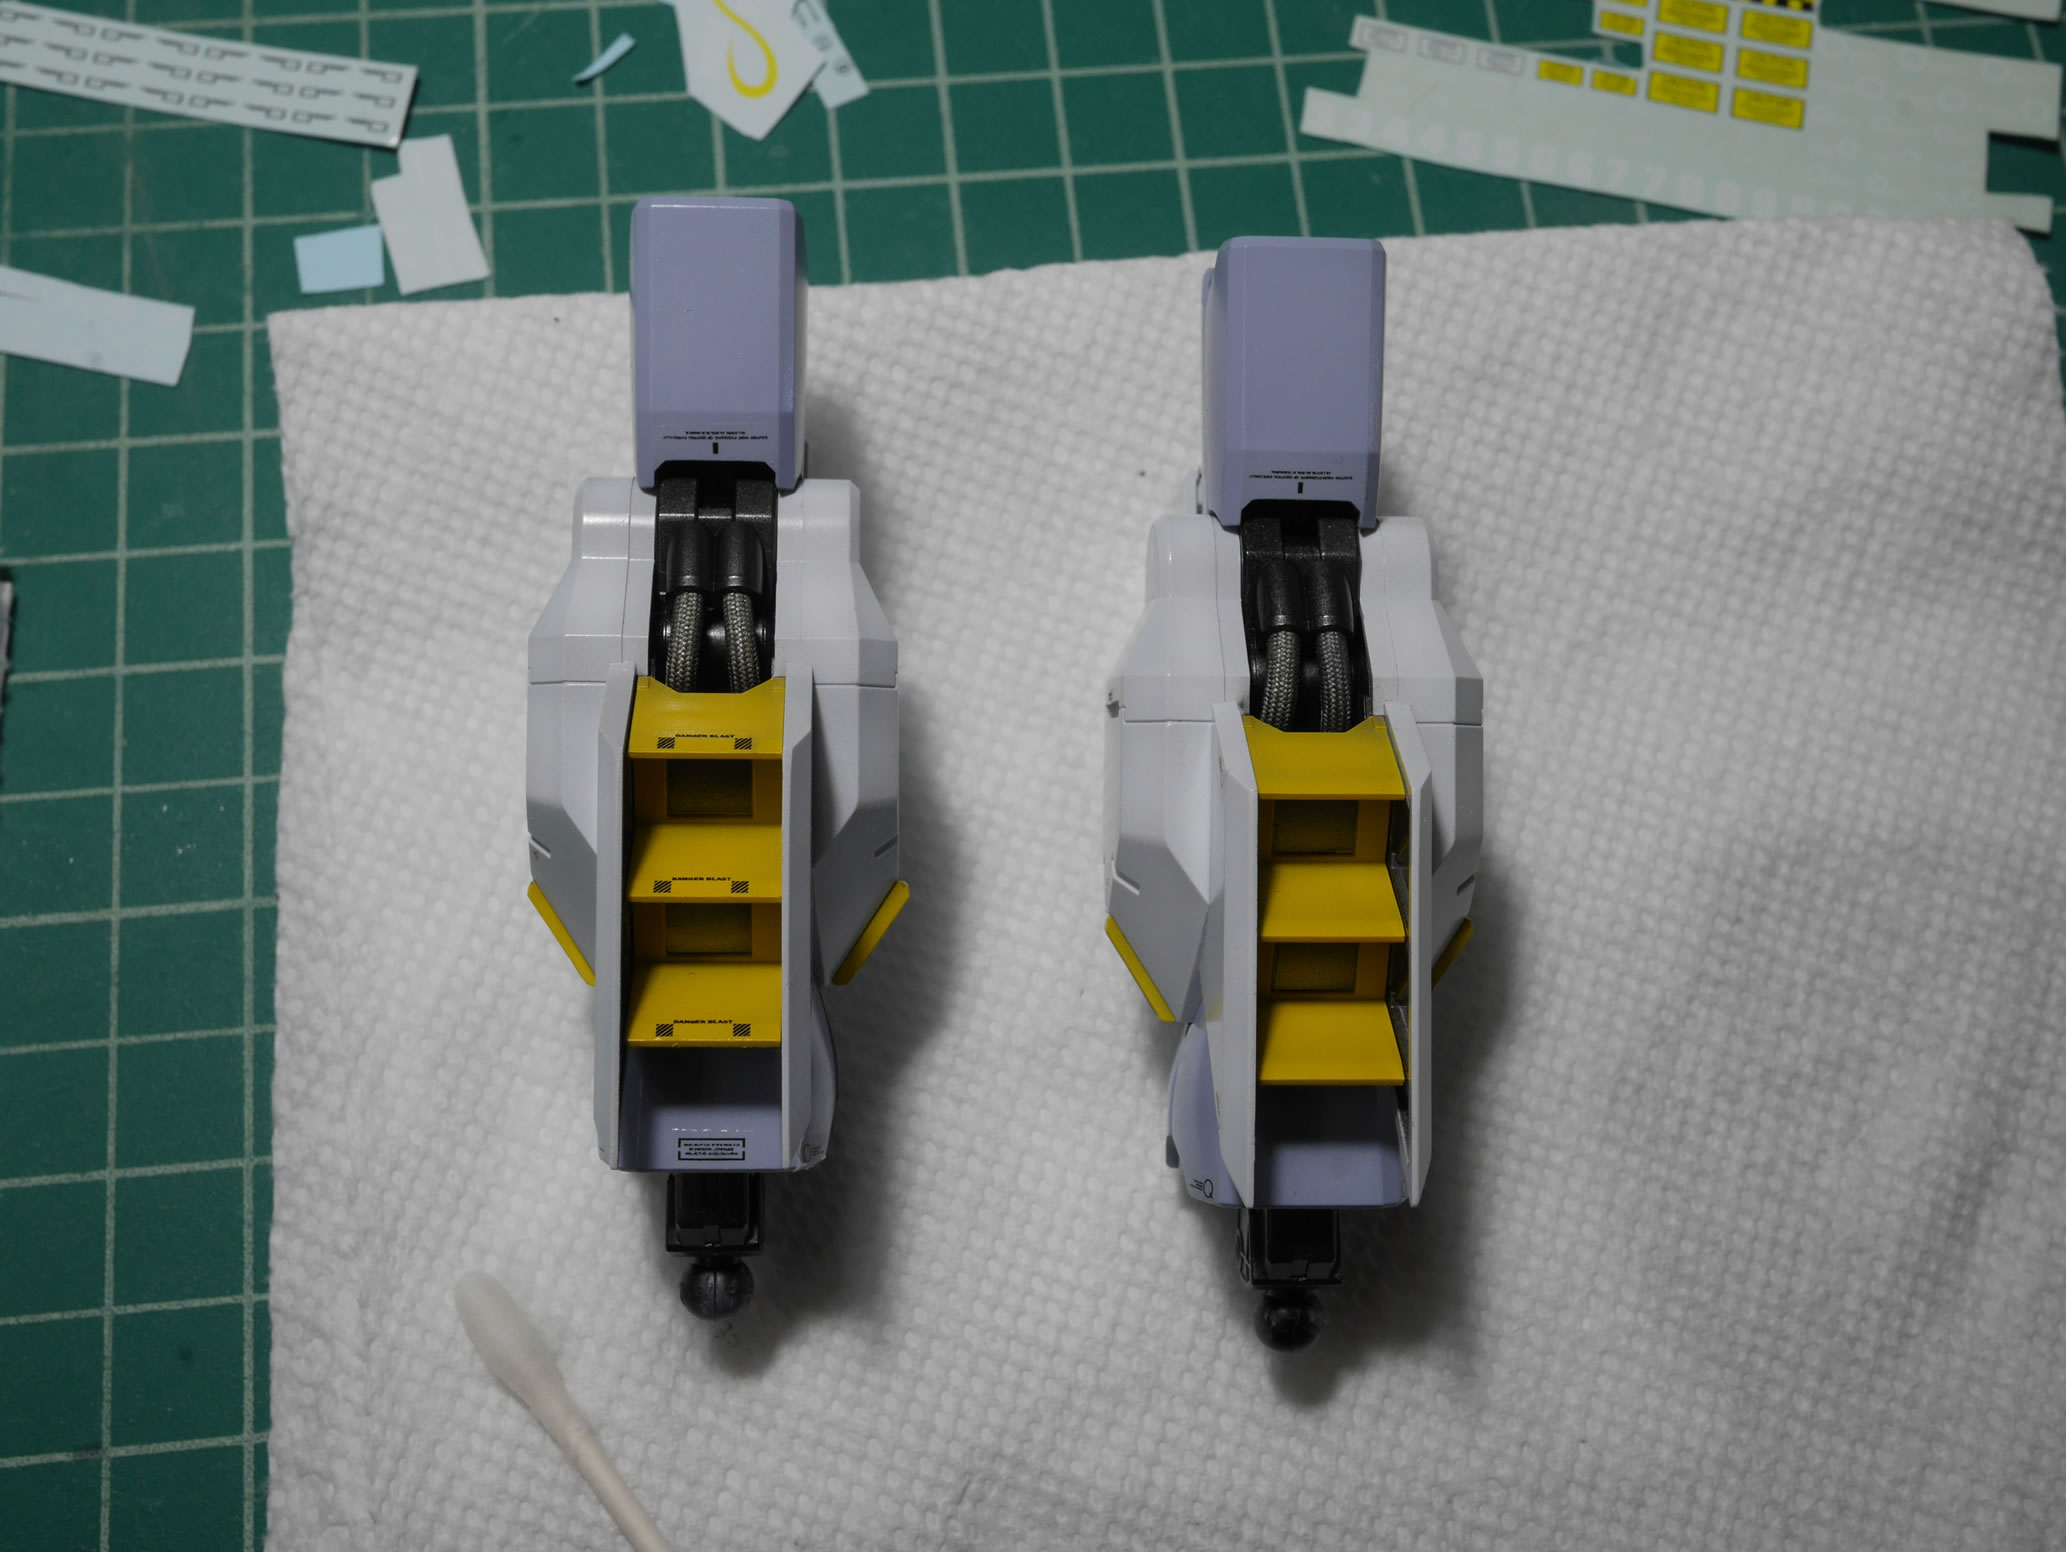
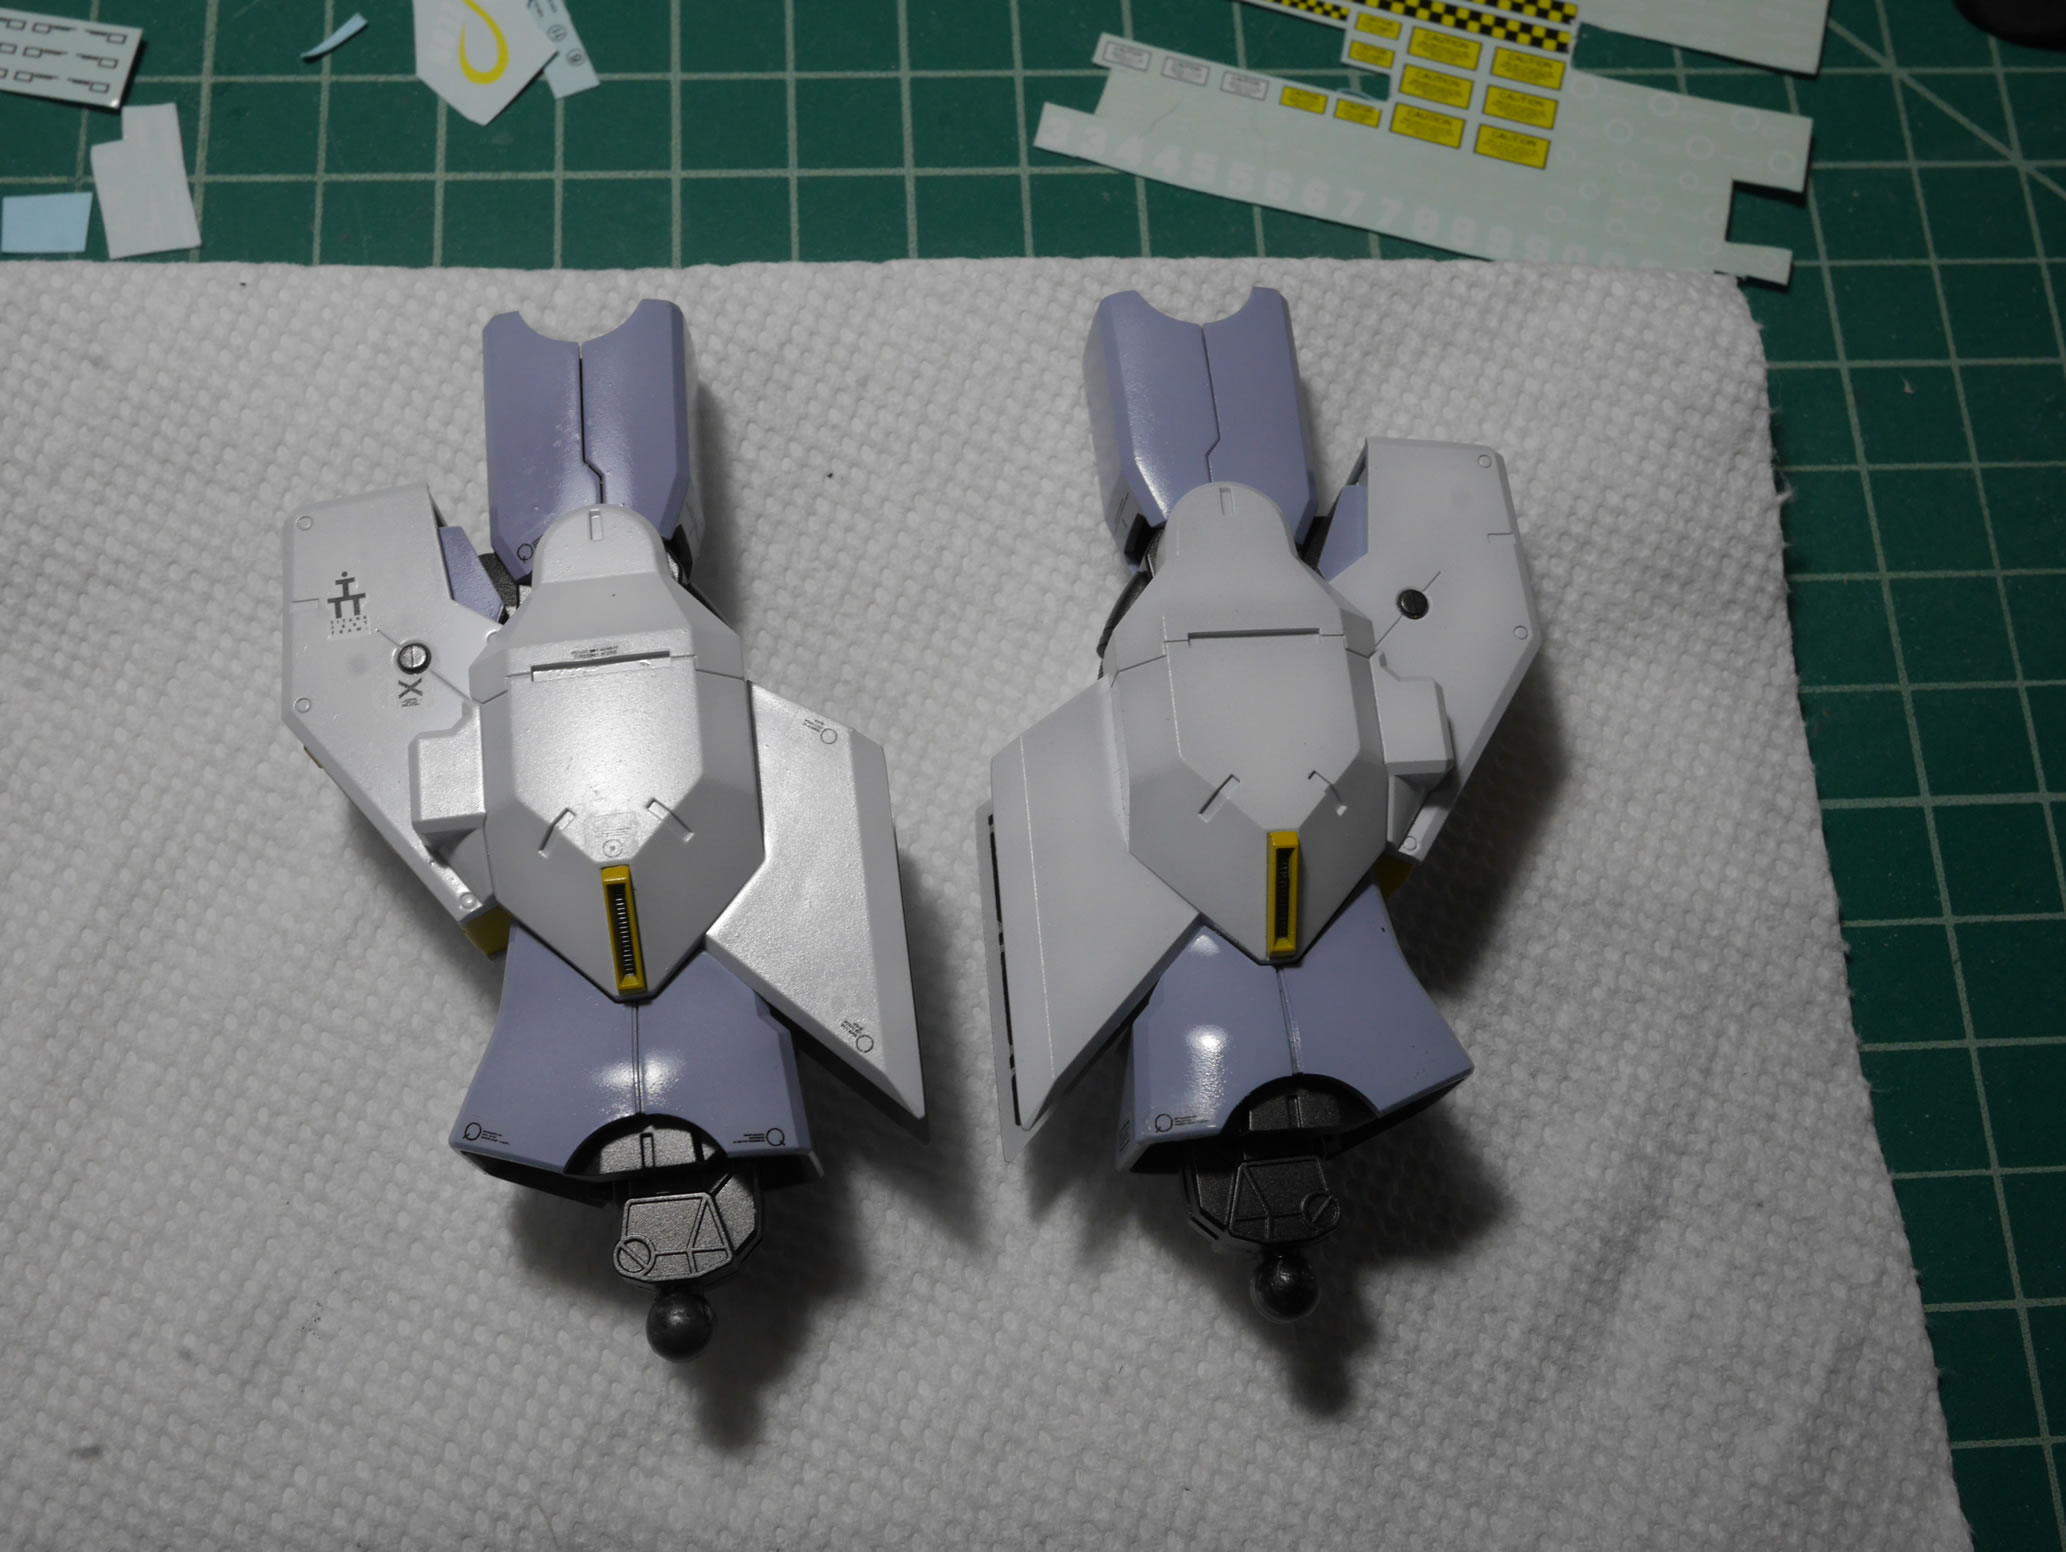
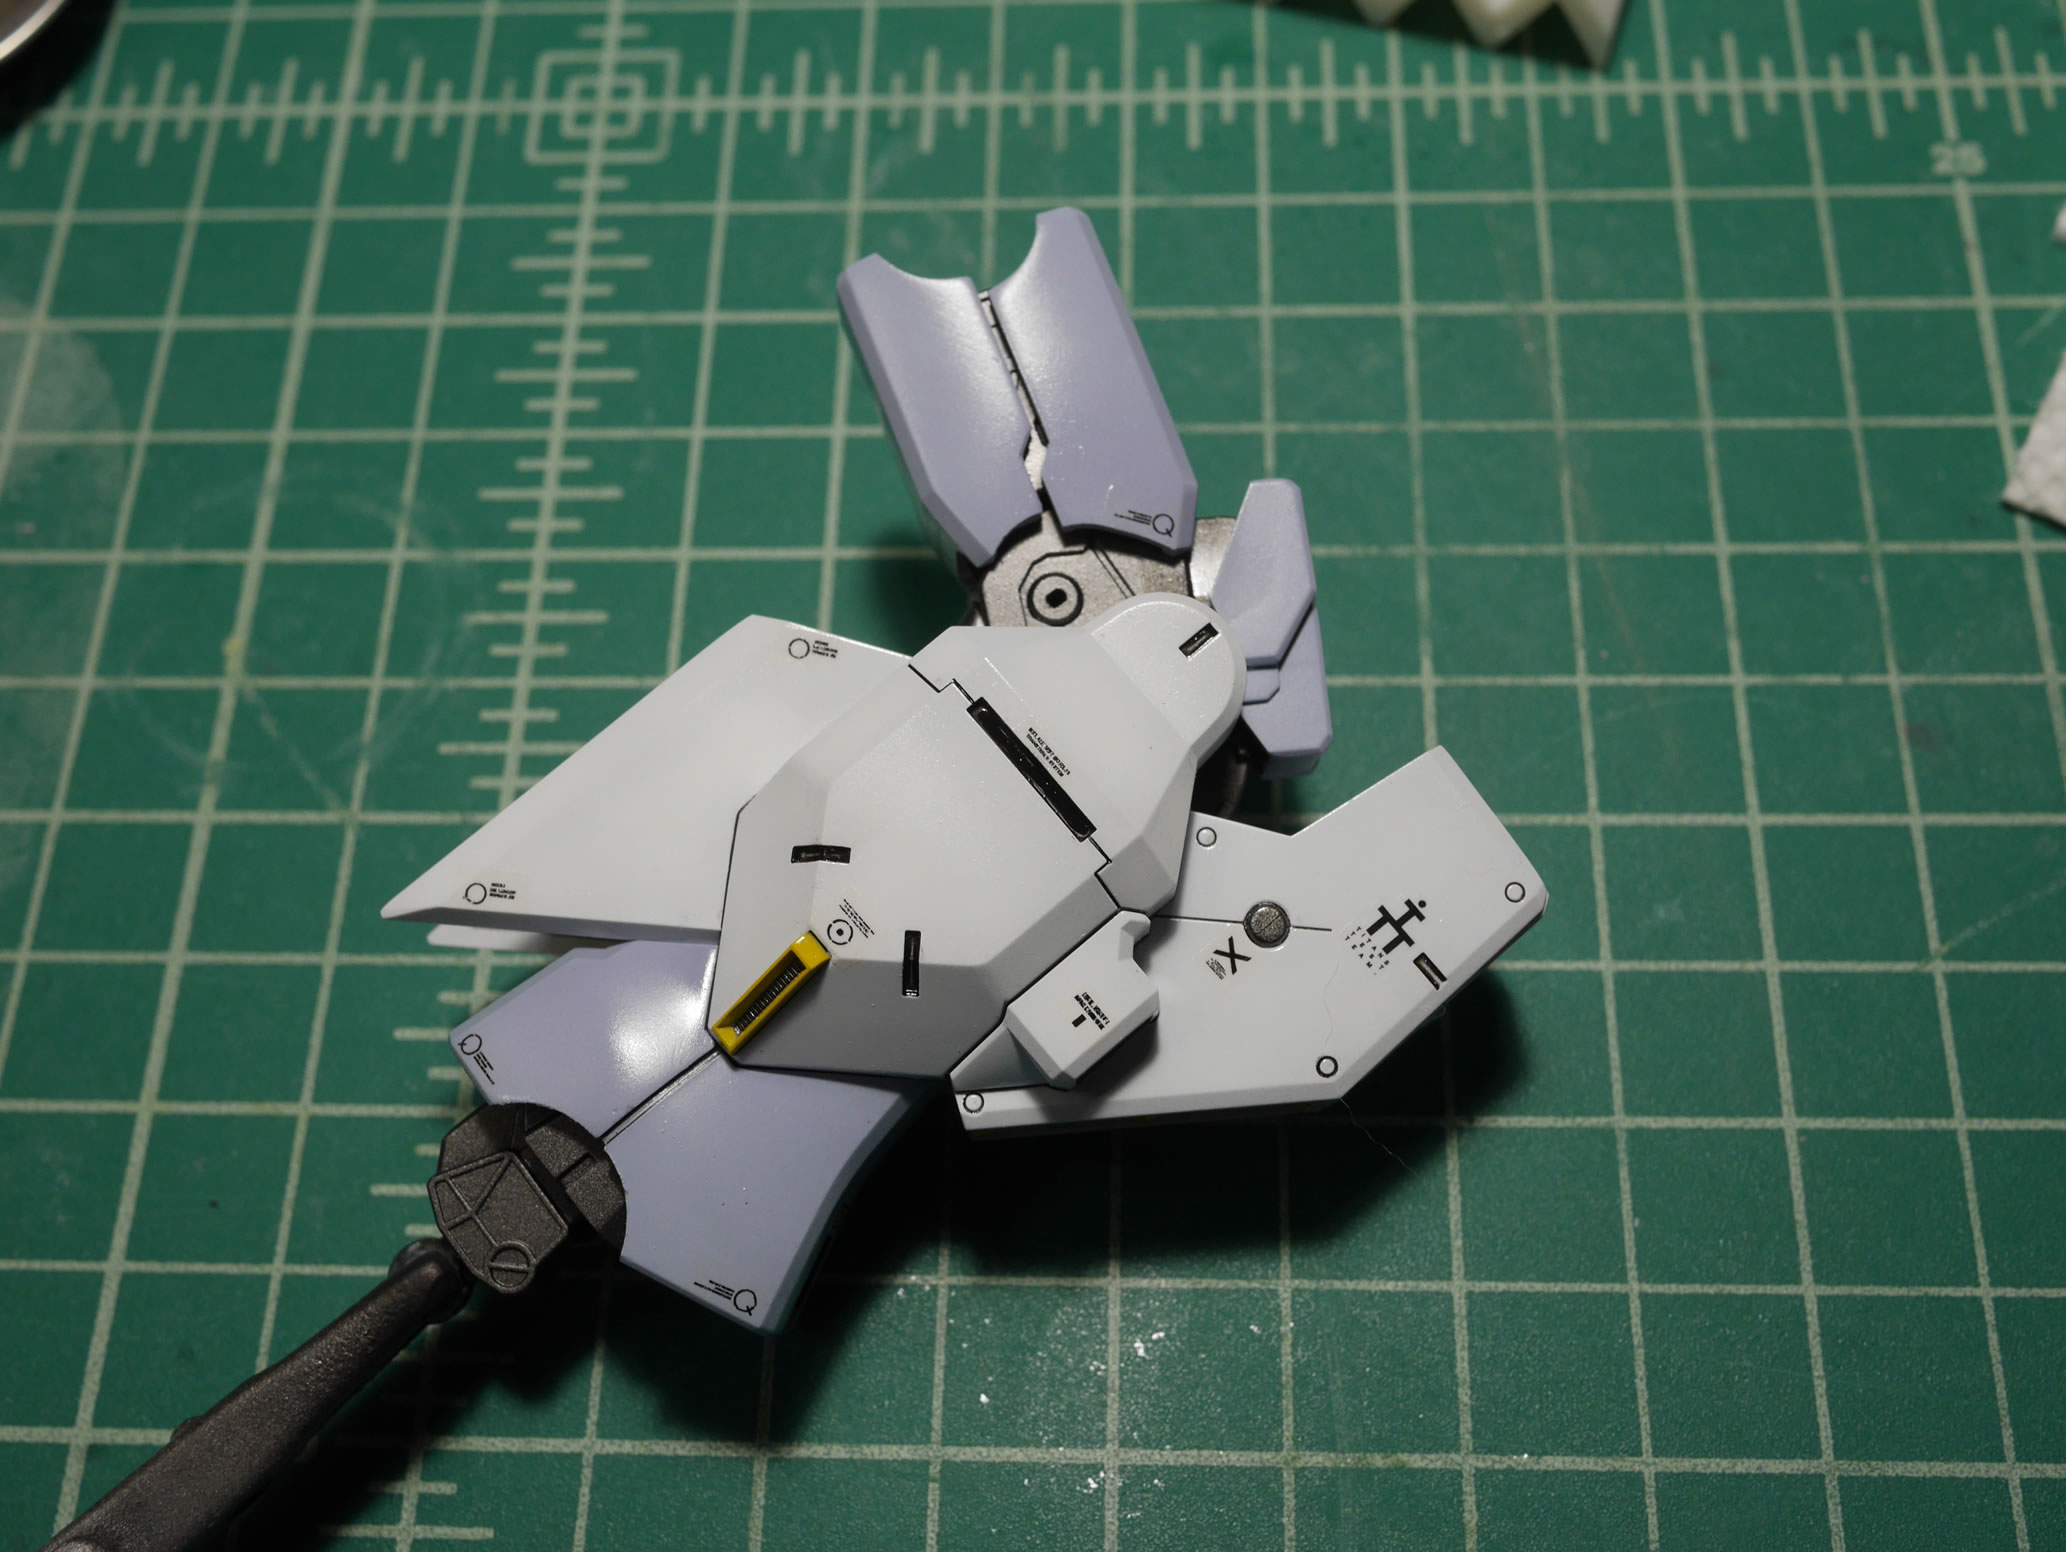
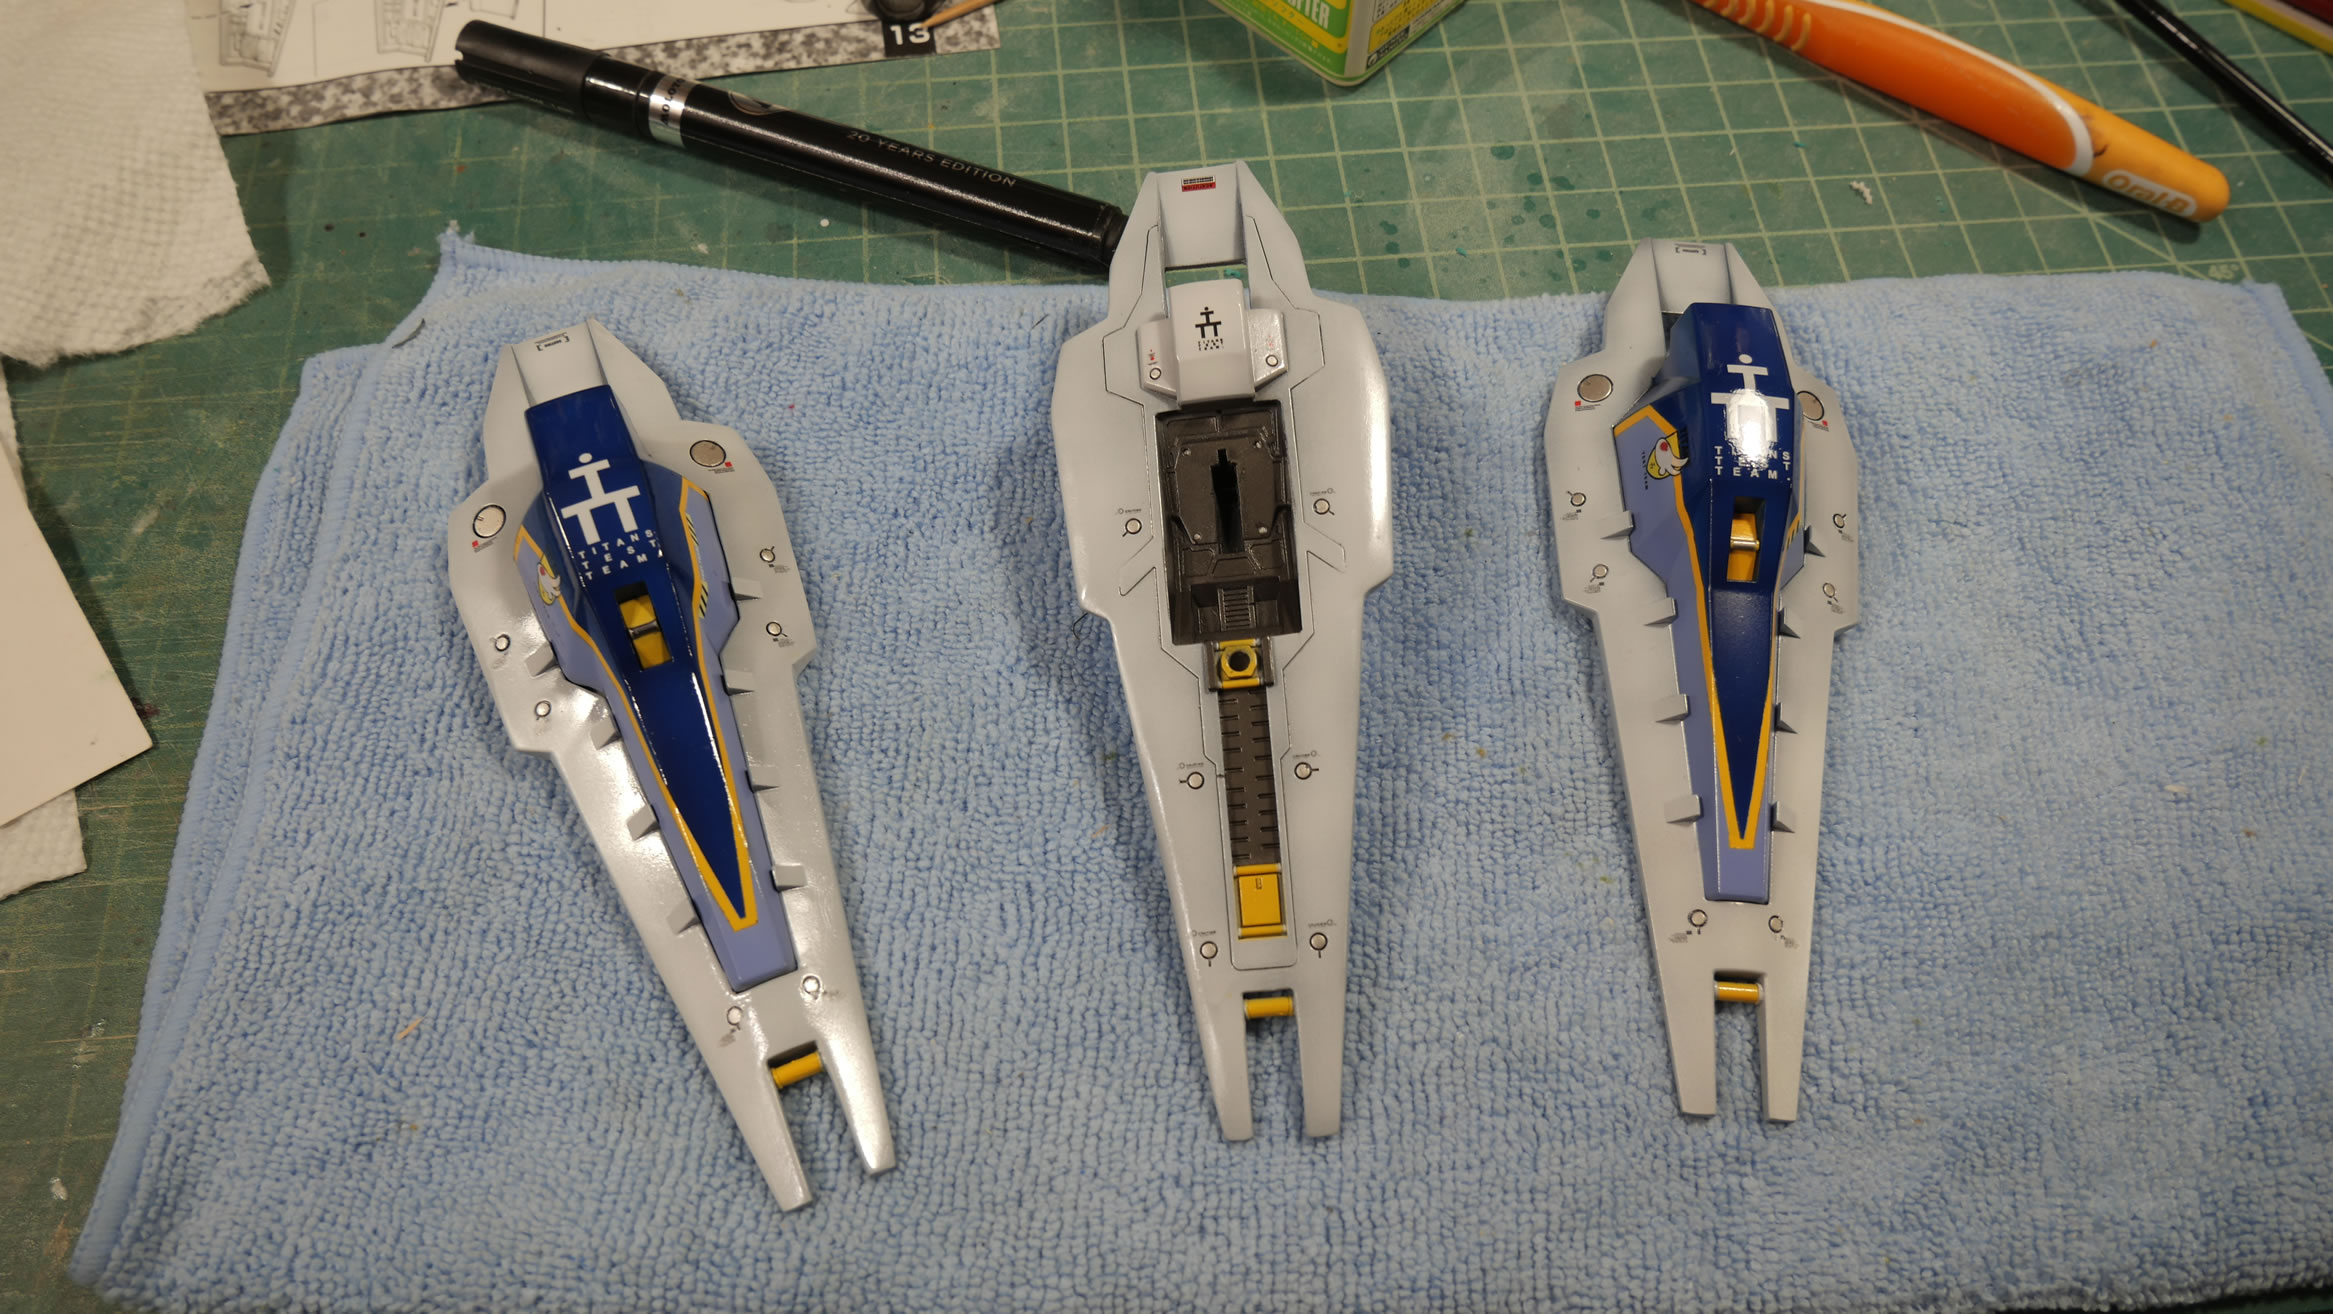
Most of the subassemblies are cured so I did a quick snap for pictures.
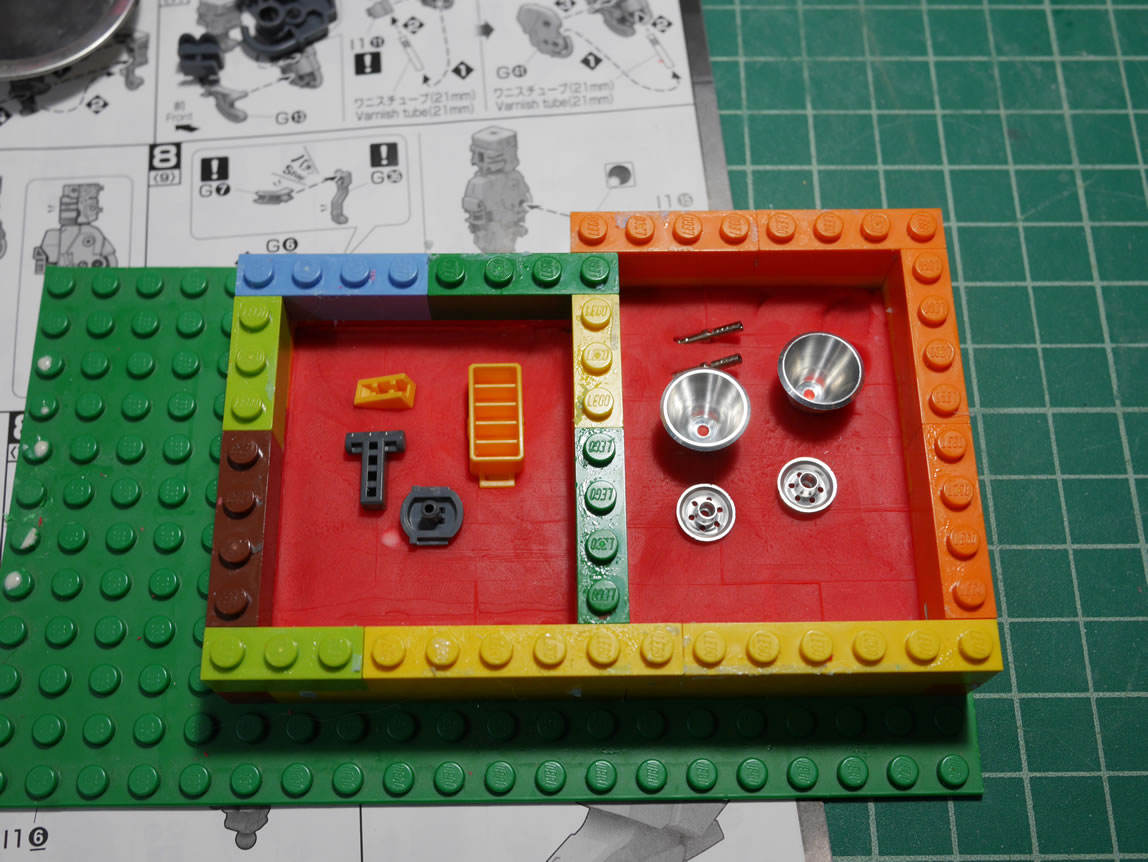
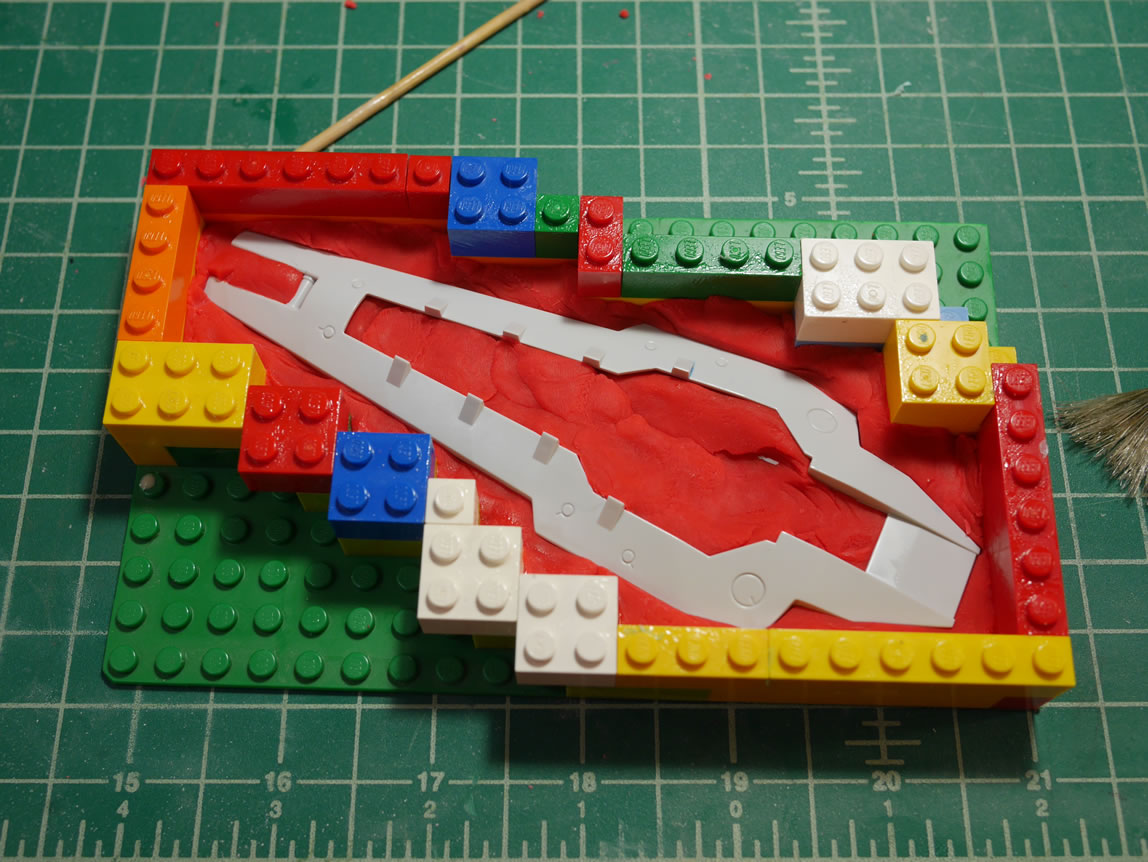
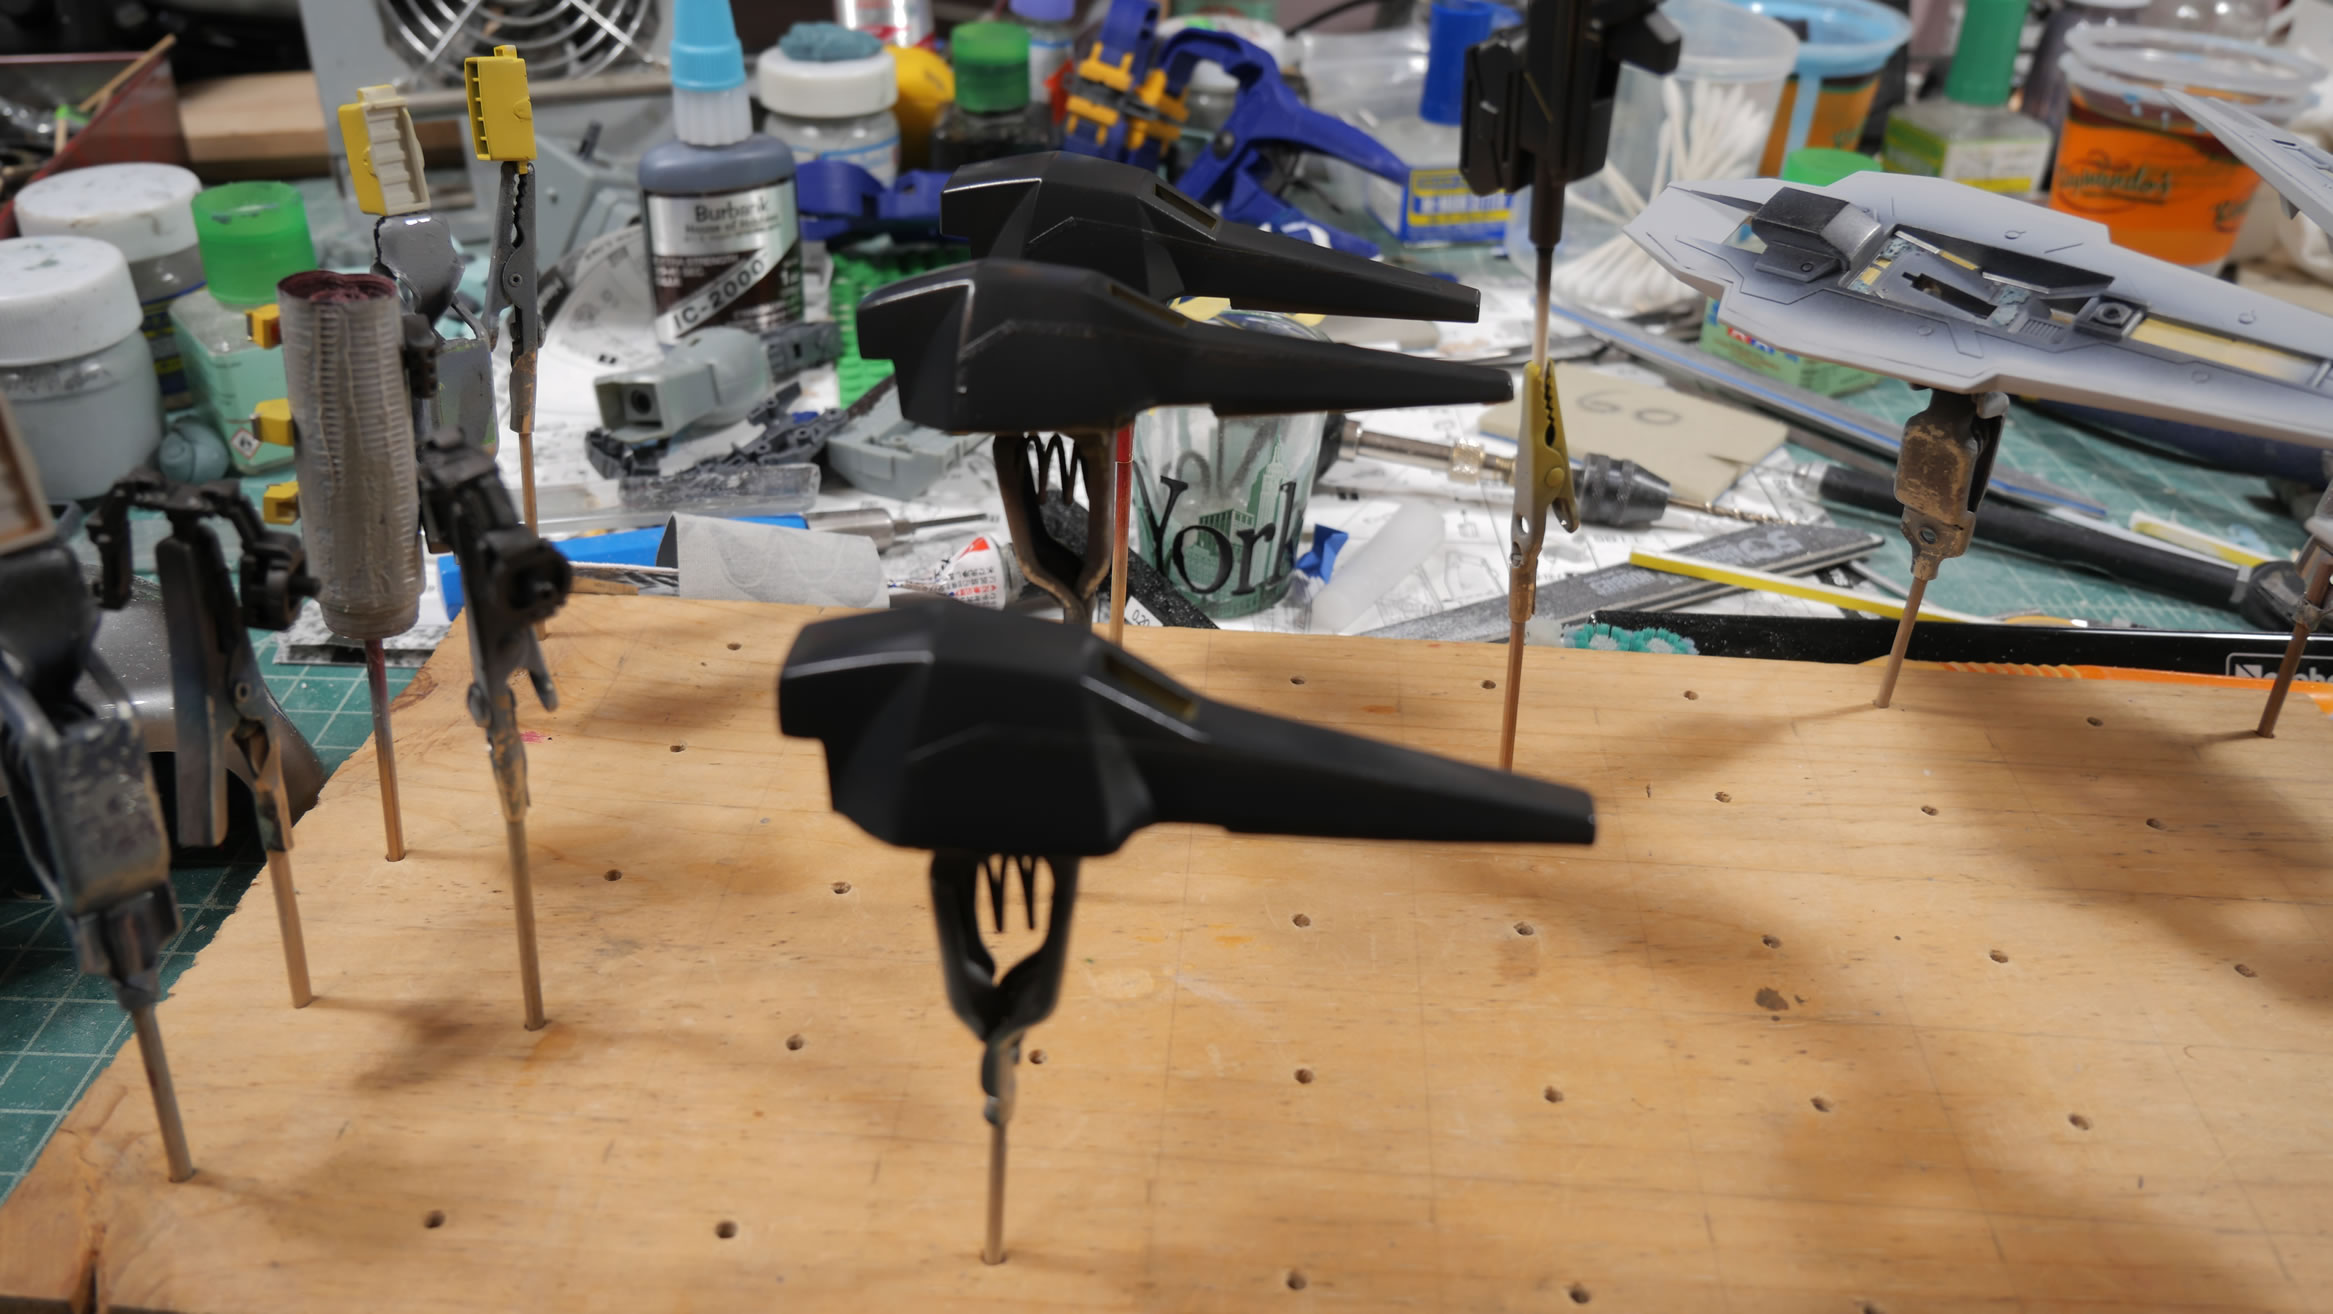
Now onto the fun stuff. Ok, it’s not really that fun. Its a long process that requires a bit of patience. Not so much in a ton of work, but a ton of waiting for things to cure. The first step in making the copies is to make the mold. Using my trusty legos, I created a box around the part first. The at the bottom of the lego enclosure, I lay down some playdough. I like making two part molds. The playdough layer helps keep the part in place while the first layer of silicone cures as well as gives the part a fairly watertight seal along the bottom which will help give me a good starting point for making the other half of the mold. It takes about 6-8 hours for the silicone to cure. Once cured, the lego box is broken apart and the playdough is removed to be reused for another project. Residual playdough stuck to the part is washed away with warm water and a toothbrush. The mold half is left to dry before rebuilding the lego box, this time with the silicone side where the playdough was before and the exposed underside half of the mold on top. Vaseline is applied with a brush to keep the silicone from sticking to the cured silicone. None of these steps are shown here because I’ve already written a resin casting tutorial, so read up on that process here, it’s the same steps. Also, a quick search on the site for “resin casting” will net you a bunch of posts showing the process used for various projects.
I made molds for all the pieces of the booster shield, which took about two weeks of pouring silicone into half molds every day or two. The casting take a fraction of that time as I was able to make two copies of the shield in about the span of the movie Assassin’s Creed – which was playing on my tv as I was casting part after part.
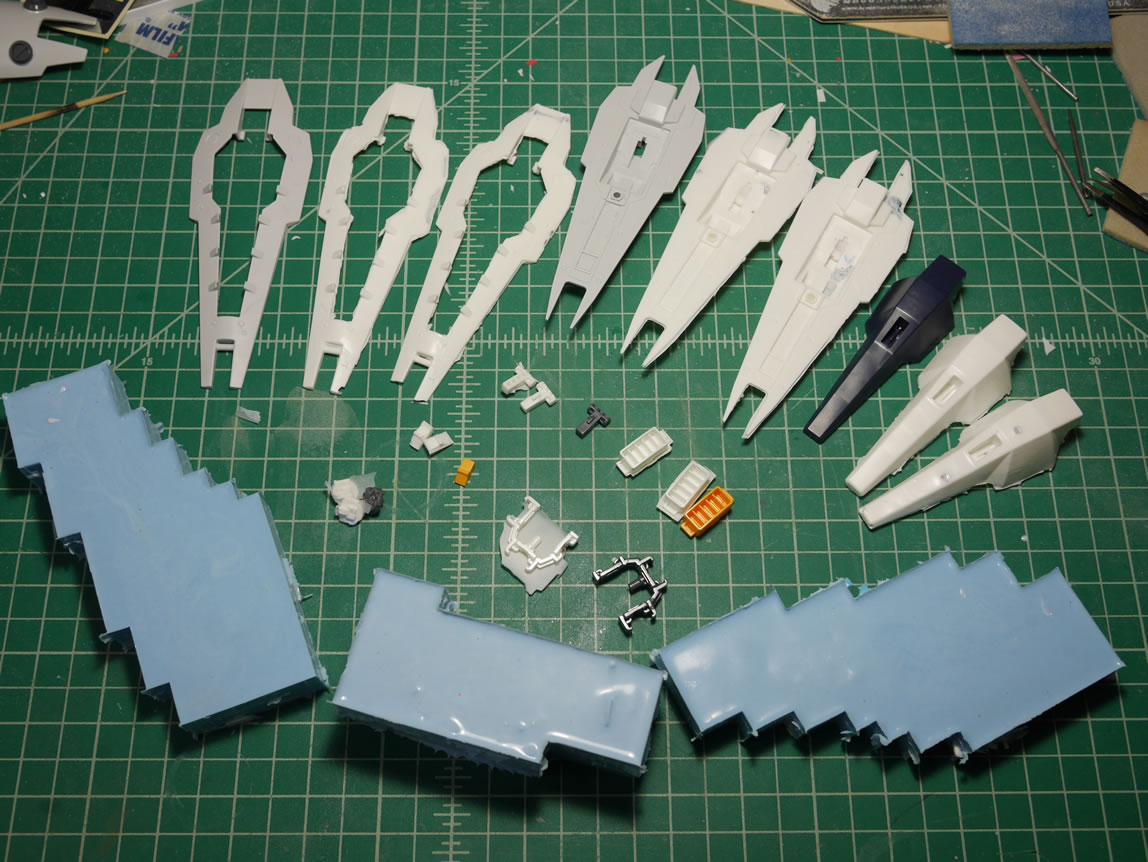
A little bit of excess flash is removed from the casted parts when they’re fresh out of the molds. The resin is left to fully cure up over night. The resin I’m using is from silpak, specifically Silcast II. It is a two part urethane resin that cures very quickly. The work time is about 3-5 minutes and after that it starts to gel. I’m used to casting small bits so this is not the best resin to use for casting such large pieces. I should have gotten a resin with a longer work time and slower cure time so that the problems I run into next are minimized. But, this is the resin I had on hand, so I can make do – I just need to work a little faster.
Right out of the molds, some of the parts have some very thin areas and even big holes. For the initial clean up work, the parts are roughly sanded to remove more excess flash and these cavities are filled with light curing putty. Because of the rather limited work time, the resin doesn’t have much time to flow into all the areas before gelling and as a result, I get holes and missing details here and there. But these issues are not a show stopper as I can fill these with putty and fix them fairly quickly.
Working on these parts is like working on a horrible recast. Well, technically, they are horrible recasts. But I’m not producing these for market, and I only want a few extra shields, so this is workable. Is it preferable? No, but it is workable. Missing areas are resculpted with the light curing putty. Poorly casted details are sanded down. And this is still only the initial, right out of the mold, clean up.
Here’s a quick test fit using the original plastic as a comparison against the resin copy. It is a pretty good fit and from a distance, looks pretty close to the original. A decent amount of putty has been spent, and all this, before the first priming session which will show a much larger span of surface problems.

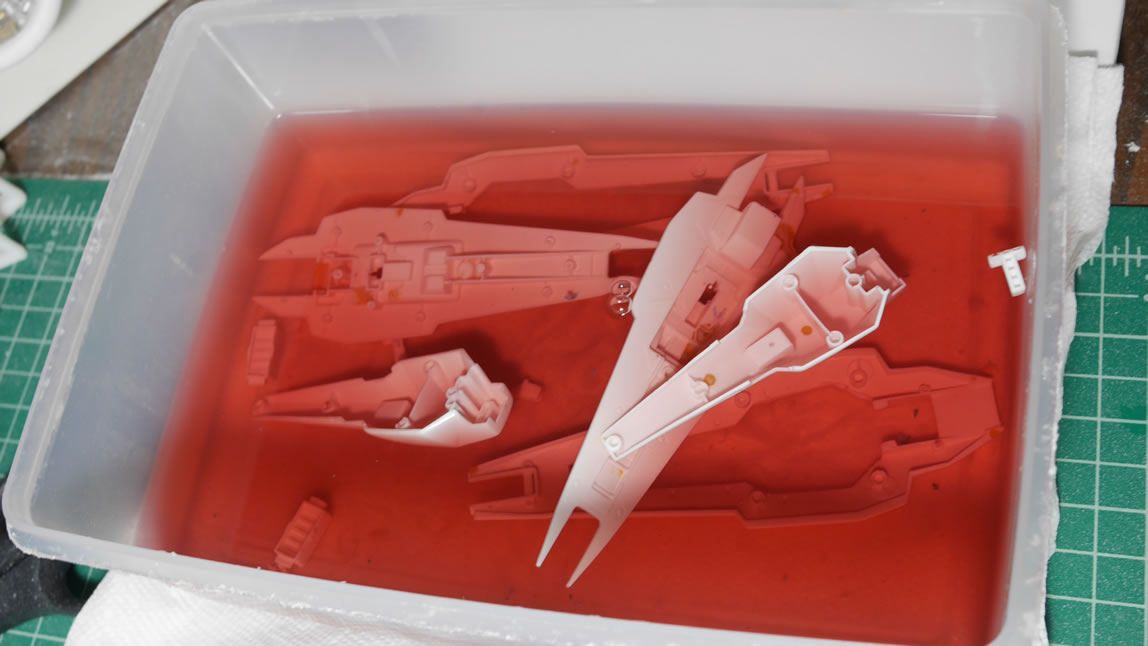
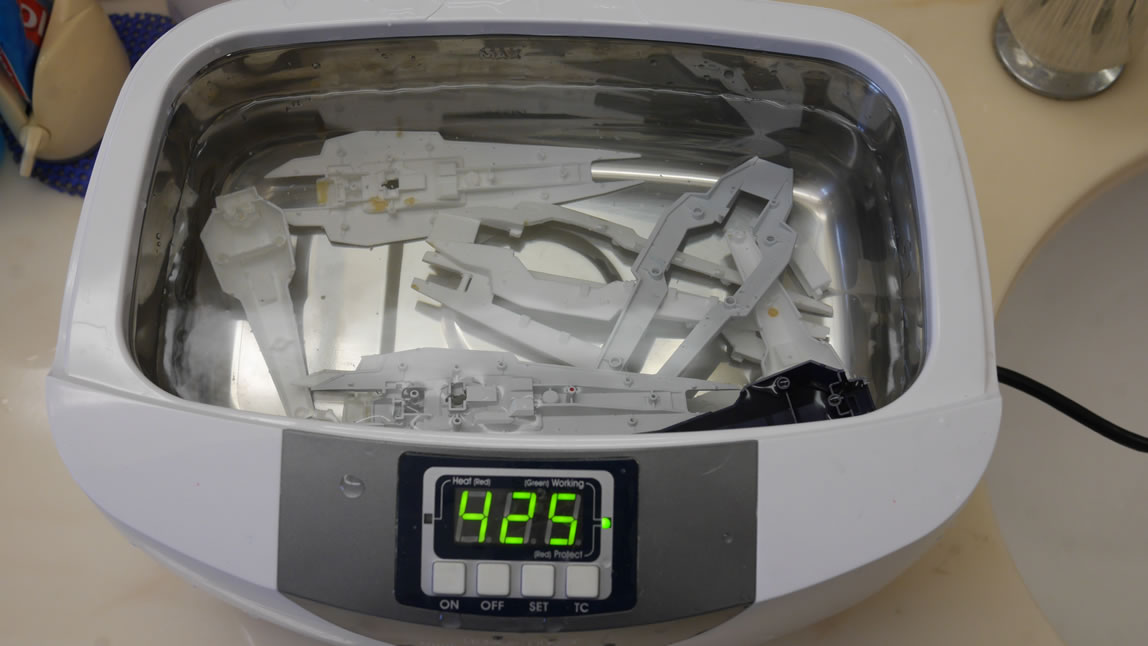
Before we can get to spraying the primer, the resin needs to be cleaned. All the shields are thrown into an industrial strength degreaser to clean the parts. The original plastic pieces get this treatment as well since the molding process may have left residue that will prevent paint from sticking. After soaking overnight, the parts are thrown into the ultrasonic cleaner and scrubbed. Once dry, the parts are skewered and ready for primer.
From a distance, the primed parts look pretty good. Upon closer inspection, so much more surface defects are now visible.
One of the parts has so many pinholes, I just plastered it with dissolved putty. I may have to make another cast of that part if the sanding session and follow on primer session doesn’t fix anything. That is probably my worst cast of the bunch.
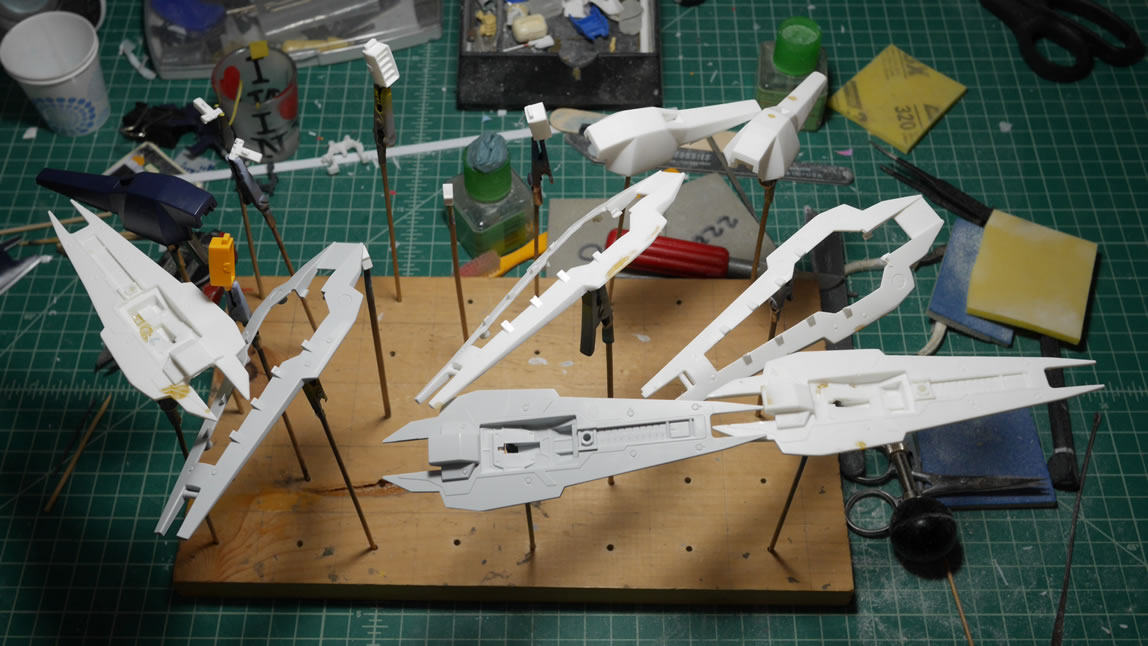
Here is a picture of the three shields in various stages of surface preparation.
In the below picture, I have an example of a cast that I thought was not worth salvaging. The next two pieces are in various stages of surface repair
Light curing putty to the rescue. I needed to resculpt missing details and the light curing putty works very well here. I do have to be very careful while sanding or the putty will chip off and I’ll have to start over. It is a slow and fairly laborious process, but in the end, it should be worth it.
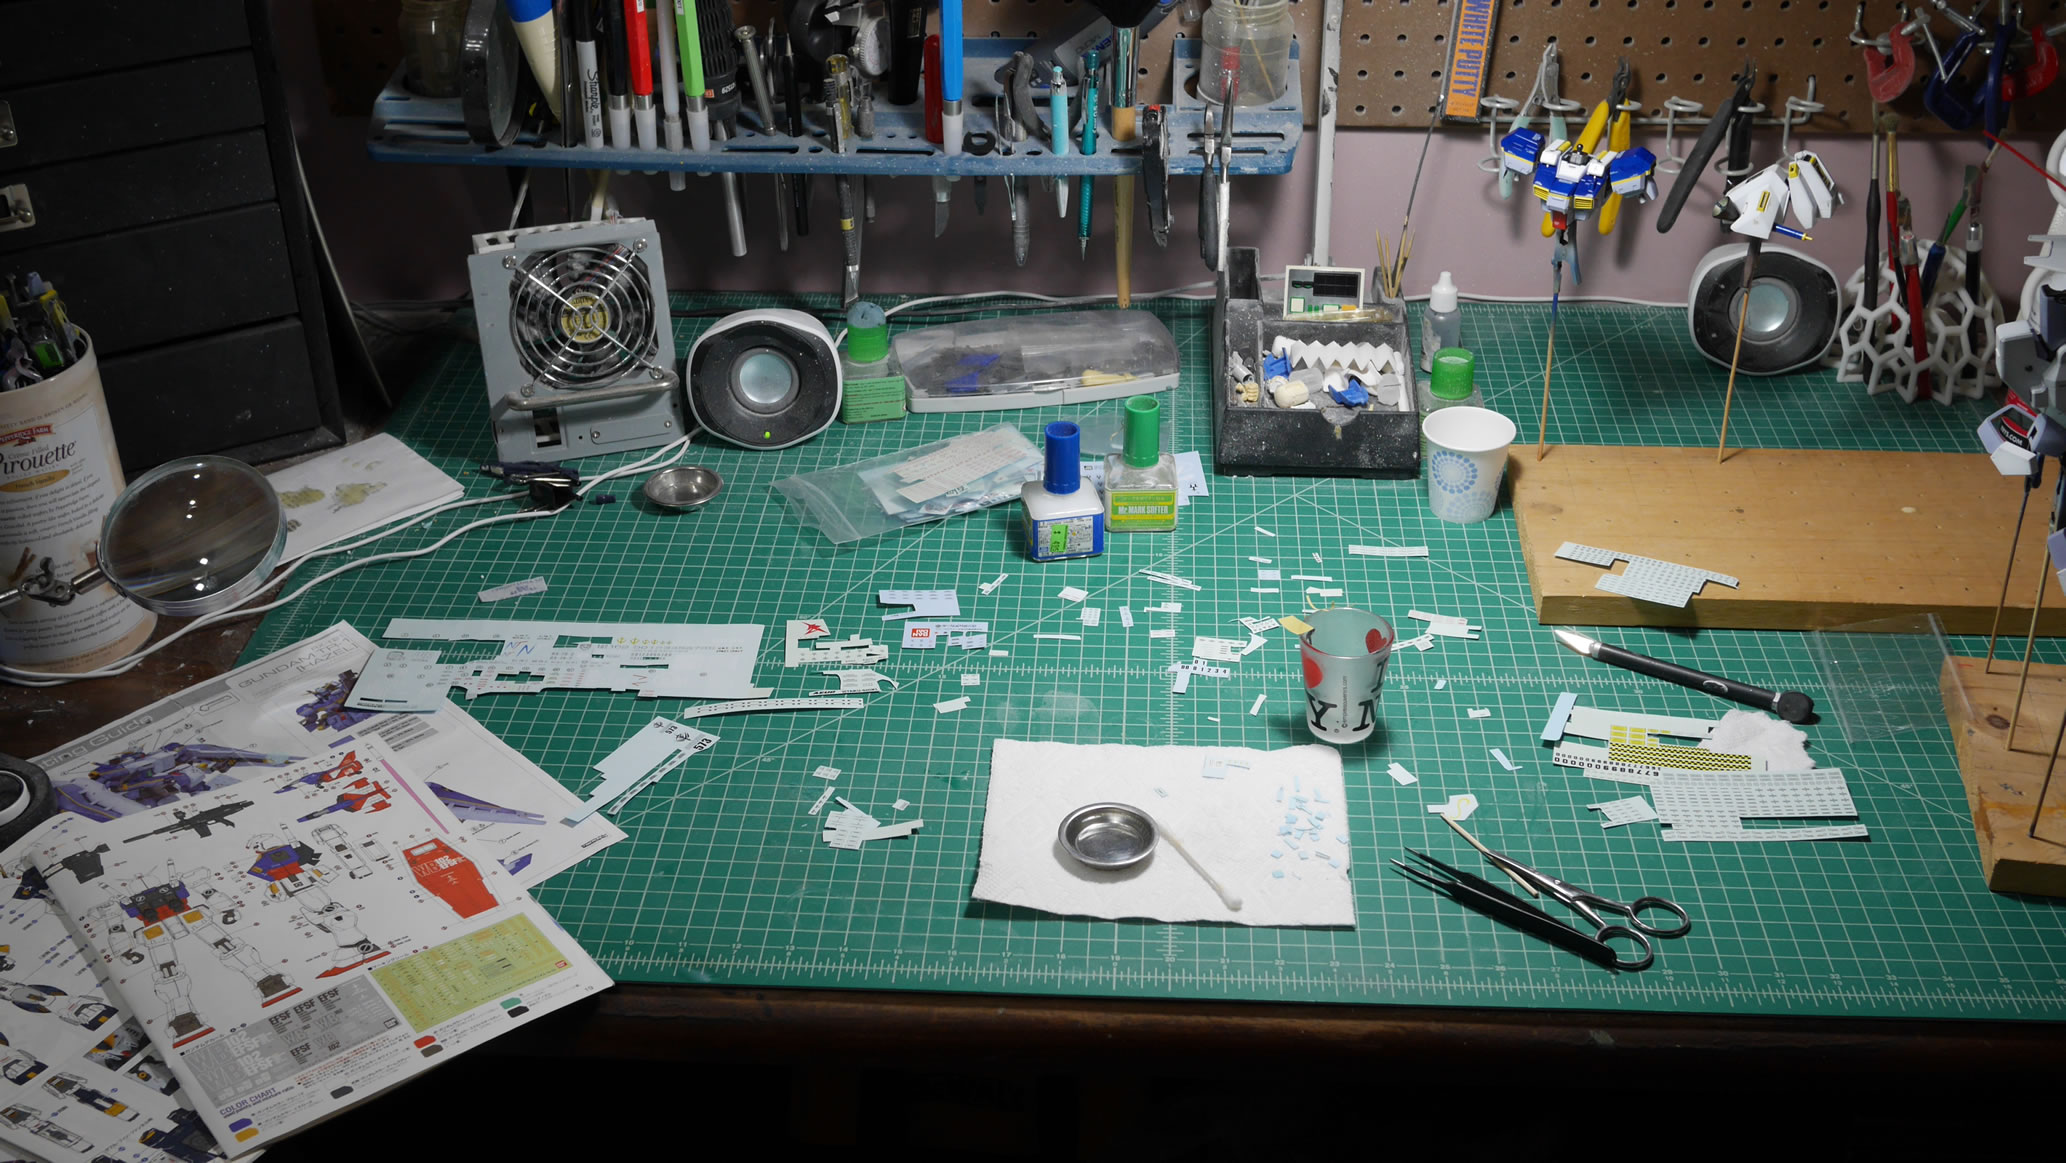
This is my desk as of last night with piles of resin cocaine and a mess of a table as I get the surfaces of these shields fixed. Lots of putty and lots of sanding. And this cycle will repeat after I spray another layer of primer.

SCGMC is less than 2 weeks away. I should be able to finish everything by then.
June 18, 2022: So, I had completely forgotten that I didn’t actually finish this project. It has been in psudo-limbo for the past 4 and a half years. The last update to this project was actually in October 2017. I actually continued to build up through November 18, 2017 and then stopped. Holiday season was upon us, things happened, and the last bit of the project got shelved. We’ll go back to those last undocumented two weeks before coming to finishing this project within the last 10 days. So below is the last picture from the last post and what the kit looks like now.
Last we left, I had gotten close to finishing the surface prep on the at home, pirated booster shields. Finishing touches on surface prep is done with light curing putty, sanding, and primer sessions. Keep doing this cycle long enough, and eventually you have a near perfect copy.
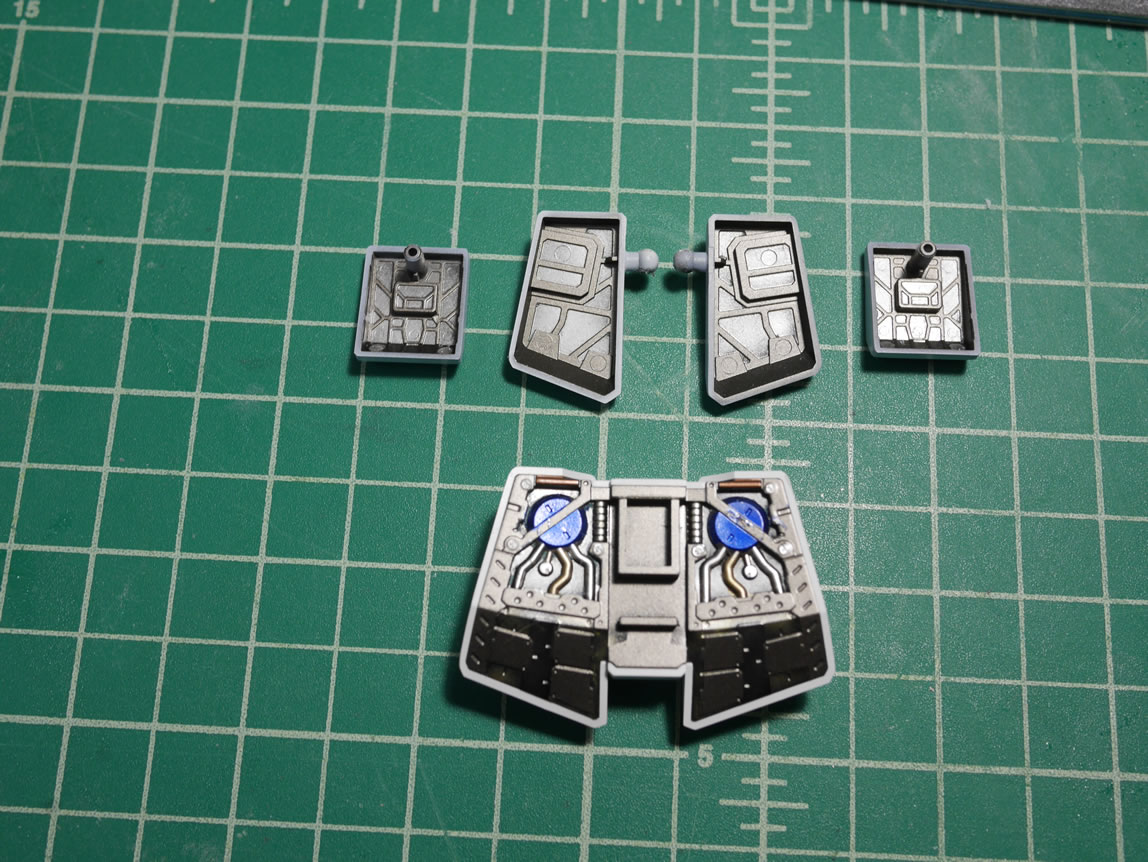
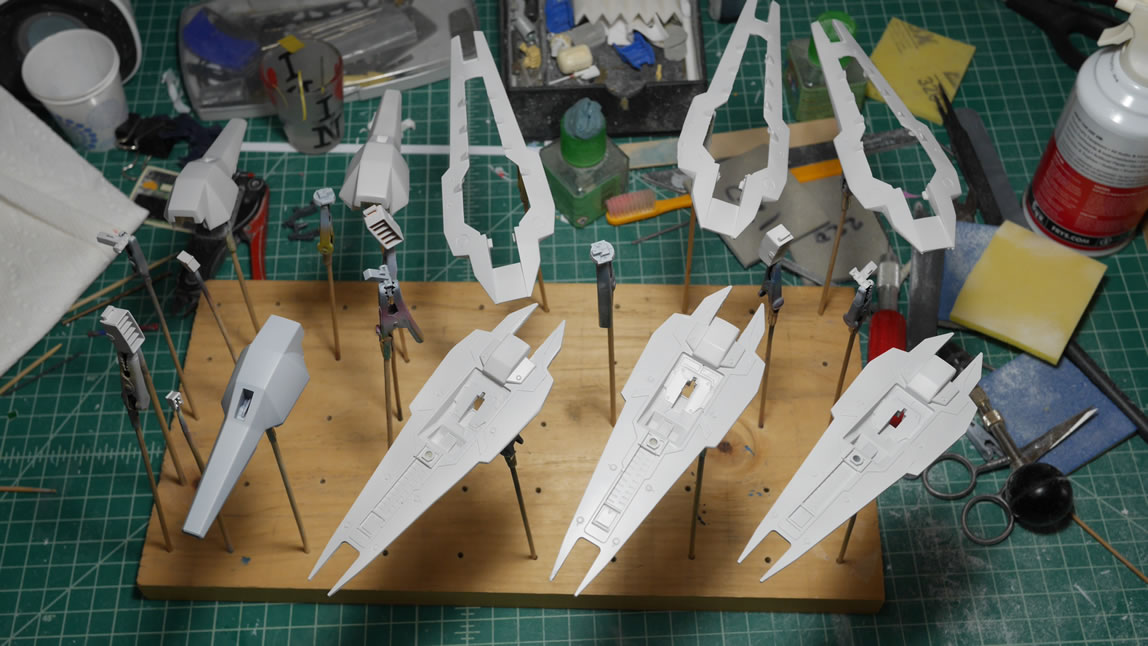
The two main pieces of the booster shield are just about there.
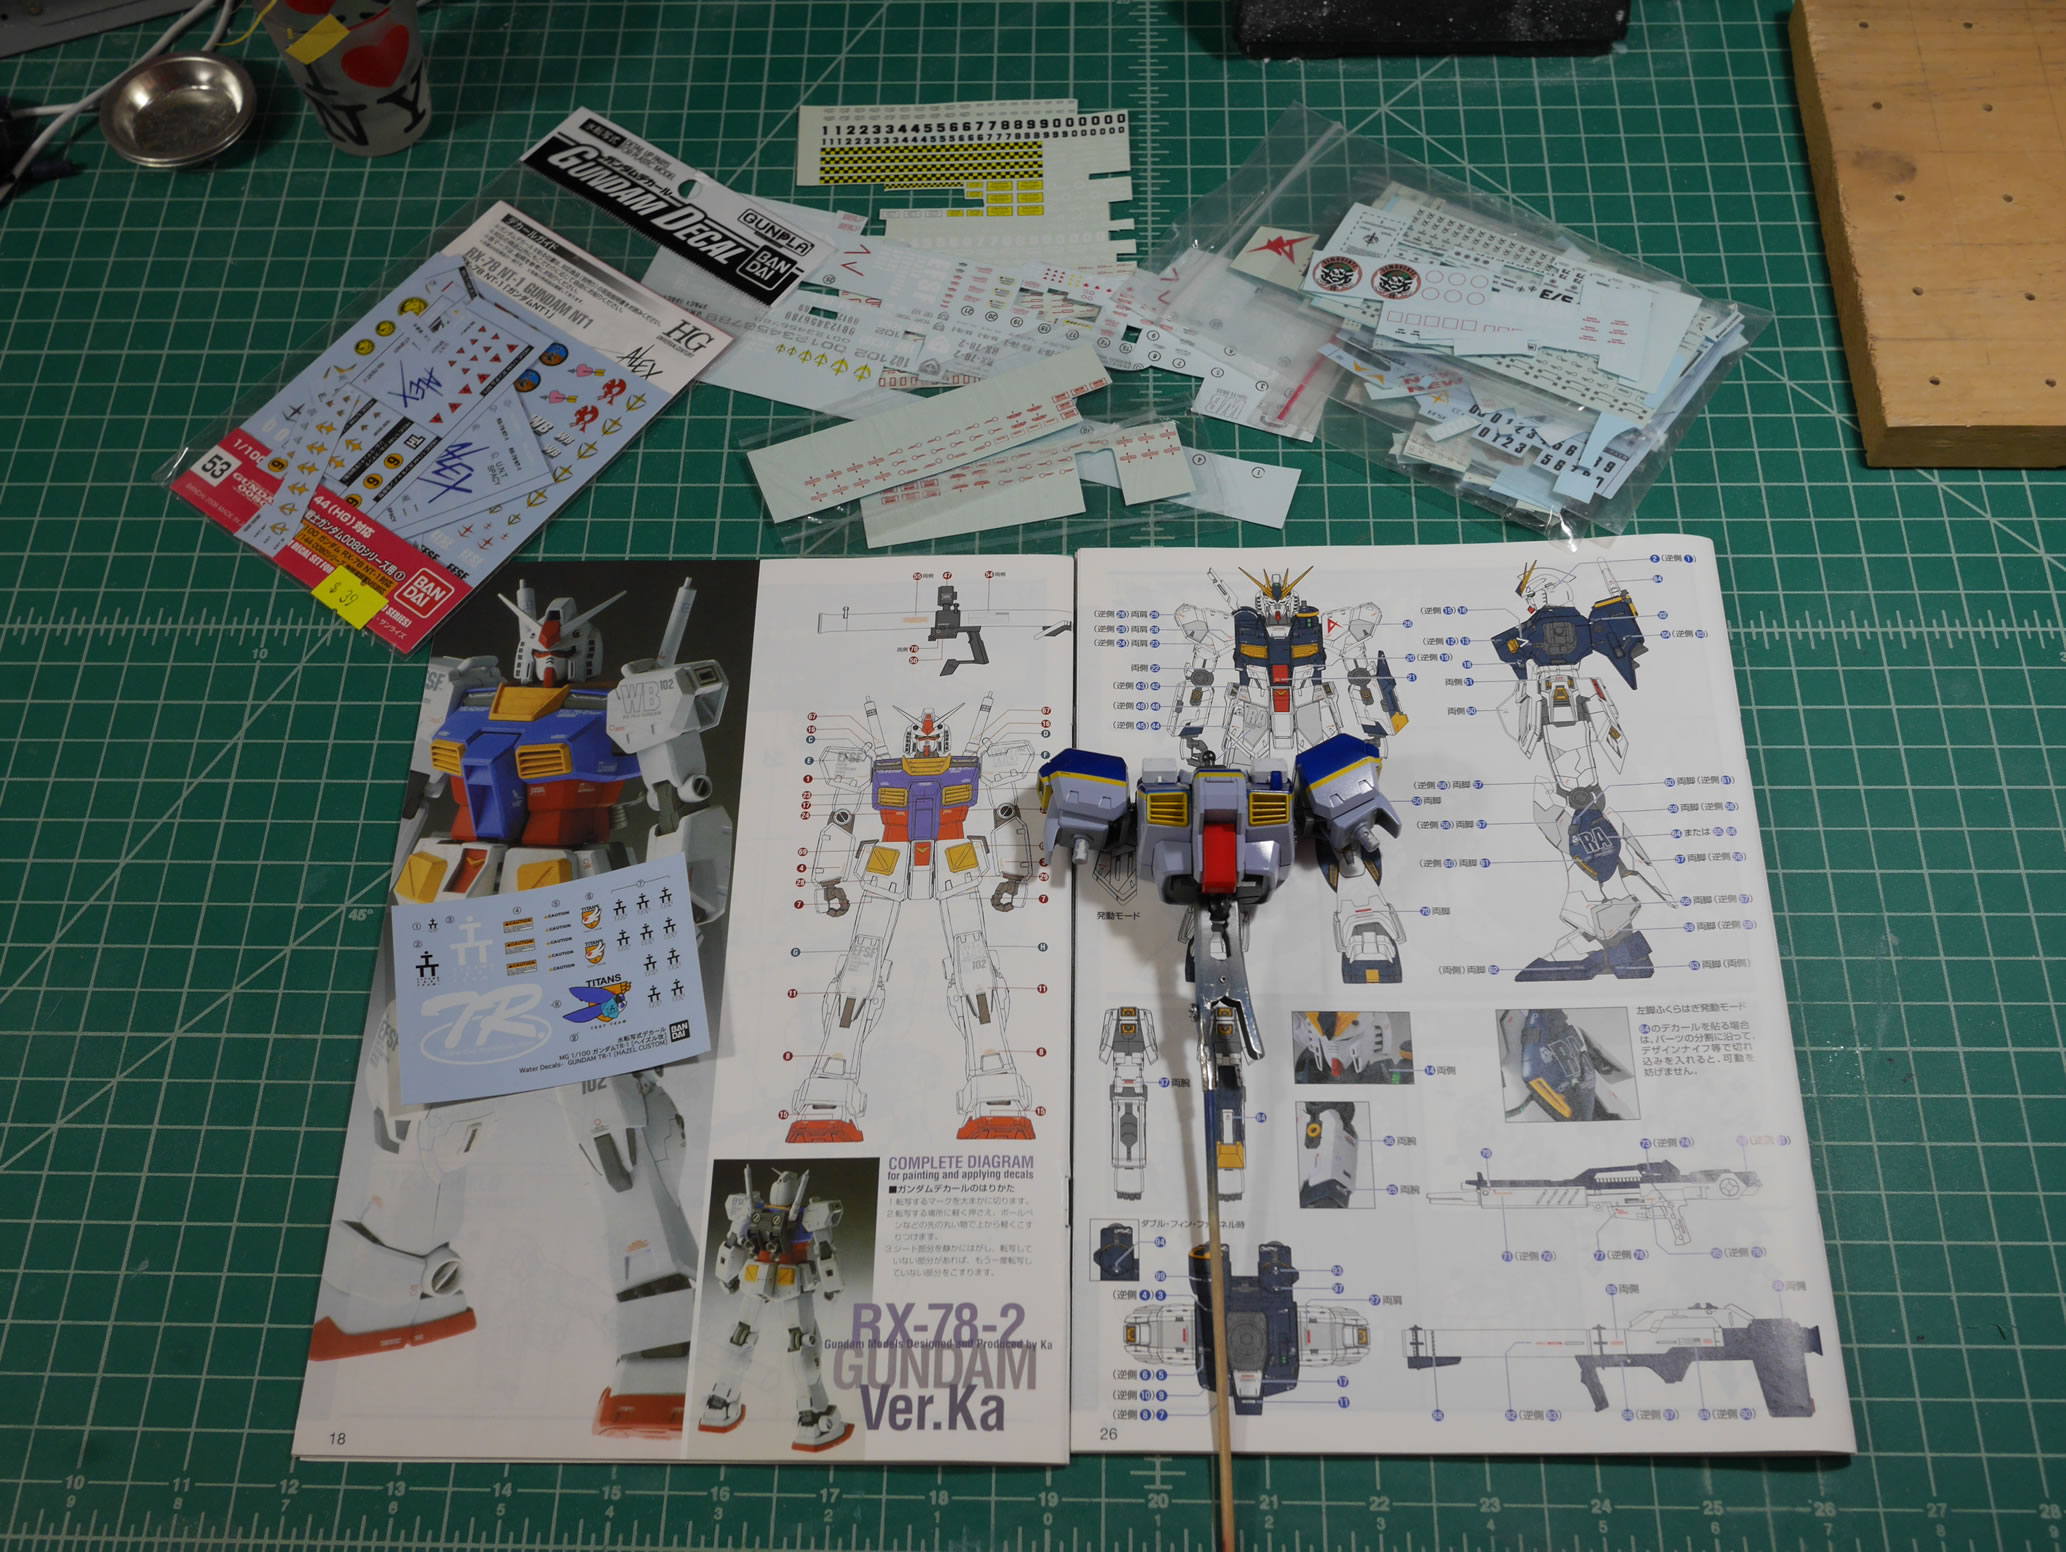
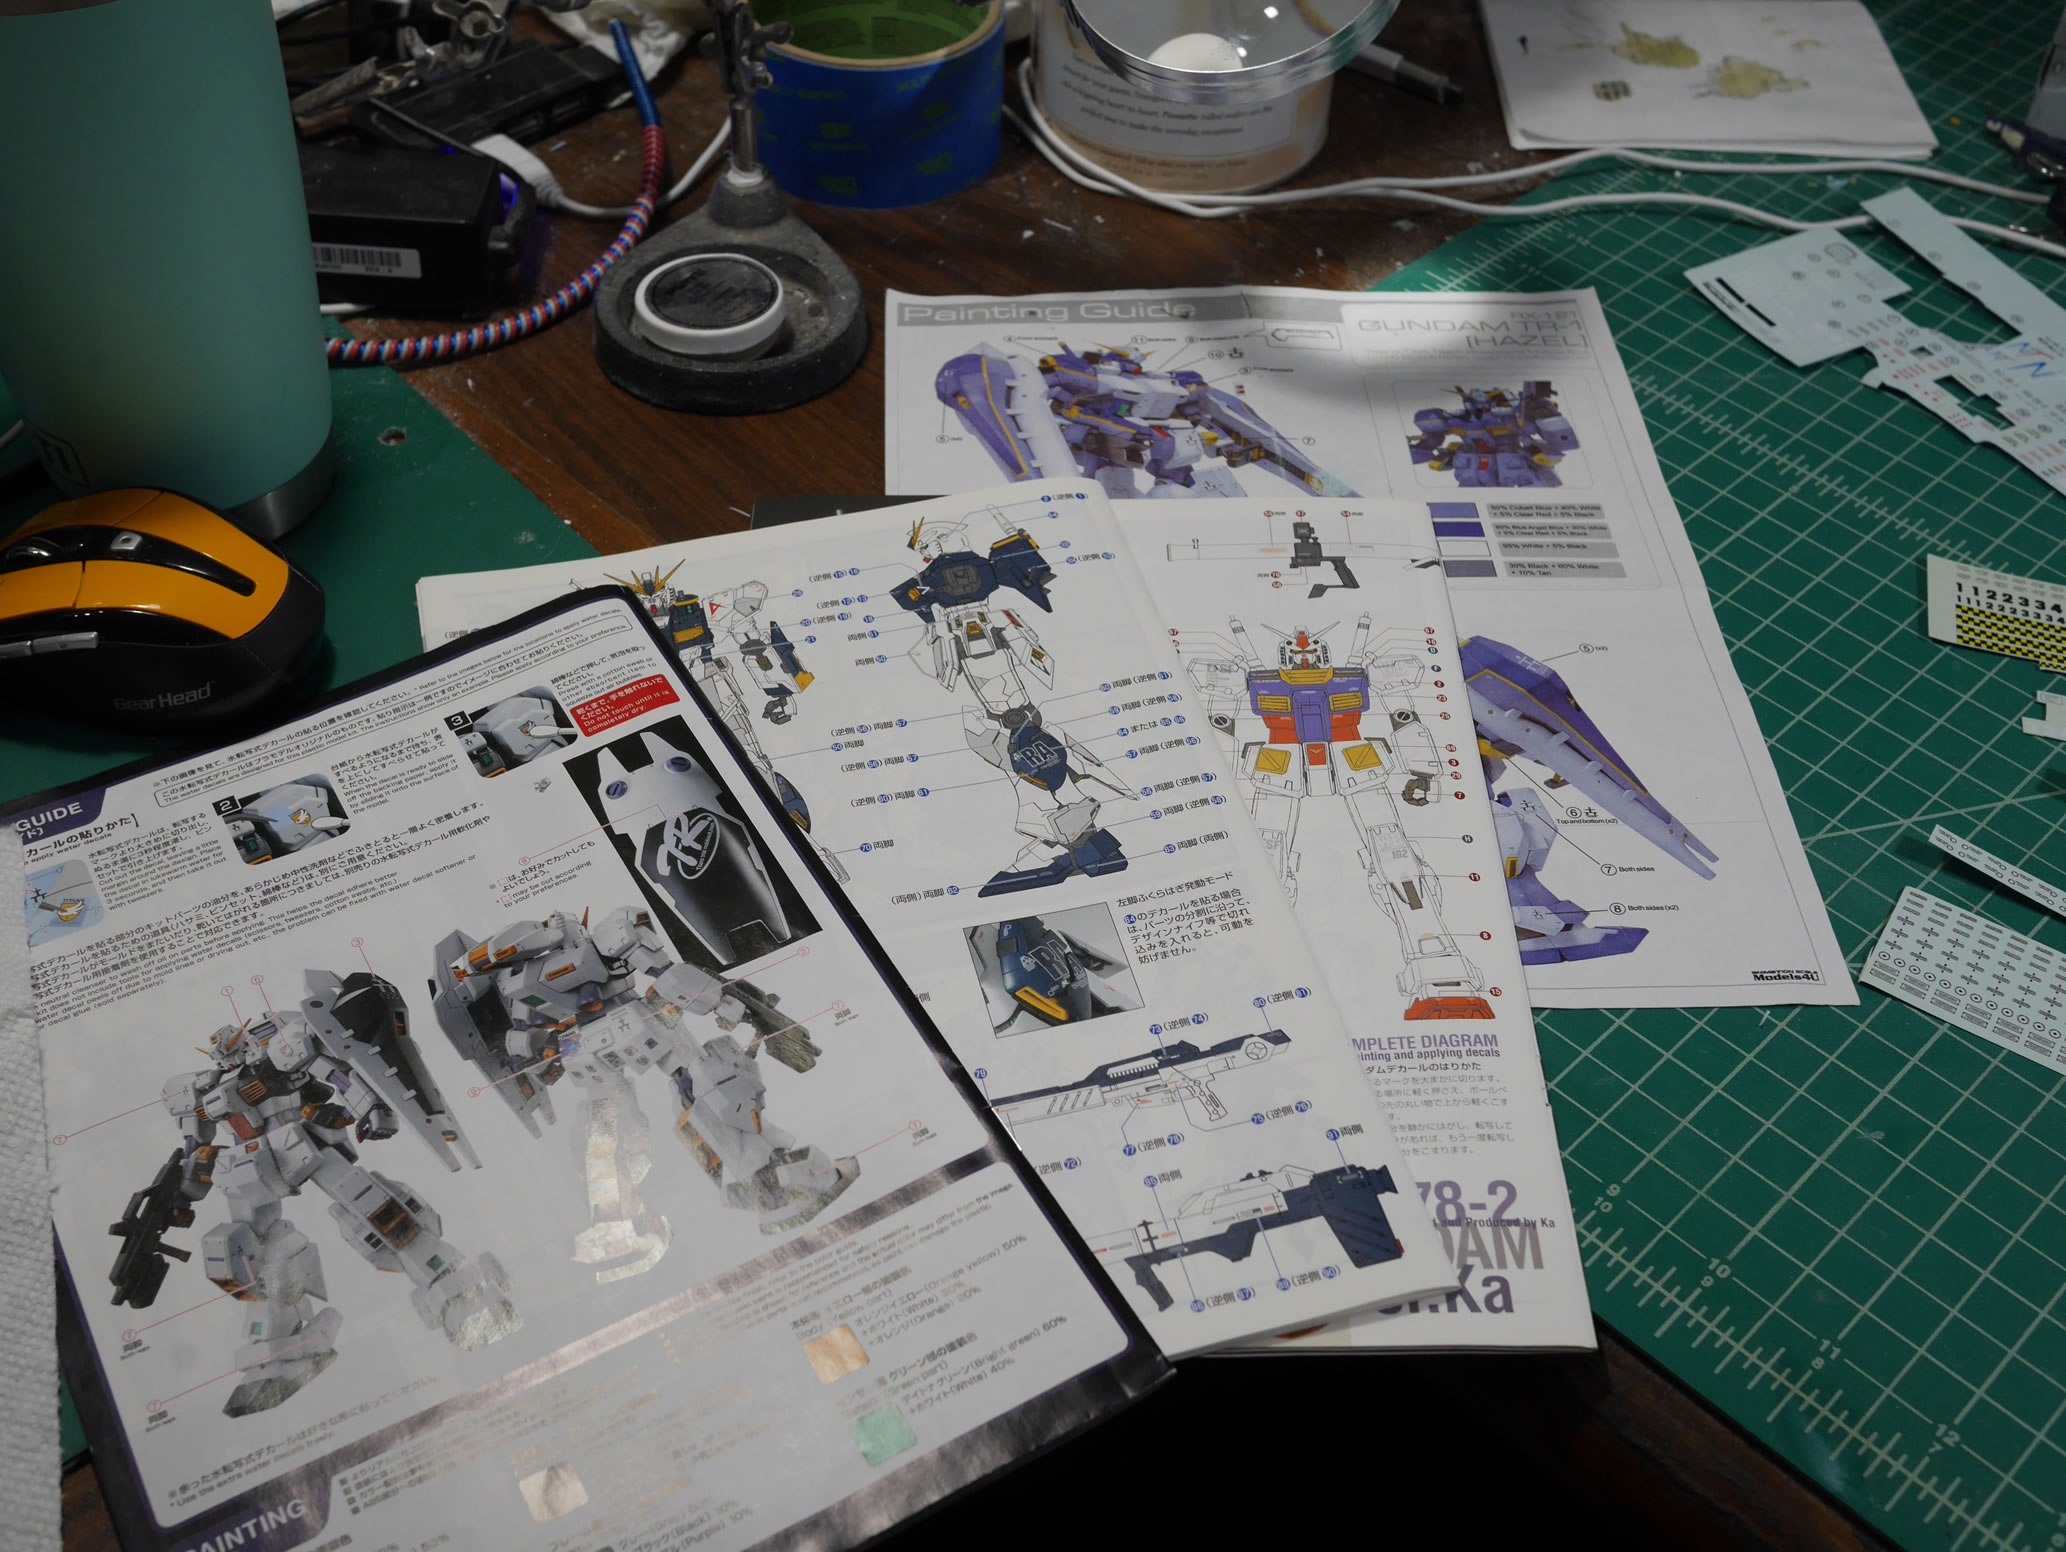
The main body starts getting some decal work. While the PBandai kit did come with some water slide decals, the amount just didn’t cut it, as I just wanted to overboard ver ka style decal the thing. Ver ka manuals are bought out as well as a stack of left over and 3rd party decal sheets. And we start planning on where things will go. I even reference the HGUC Hazel kit manual to help out.

Things start to get a little out of hand.
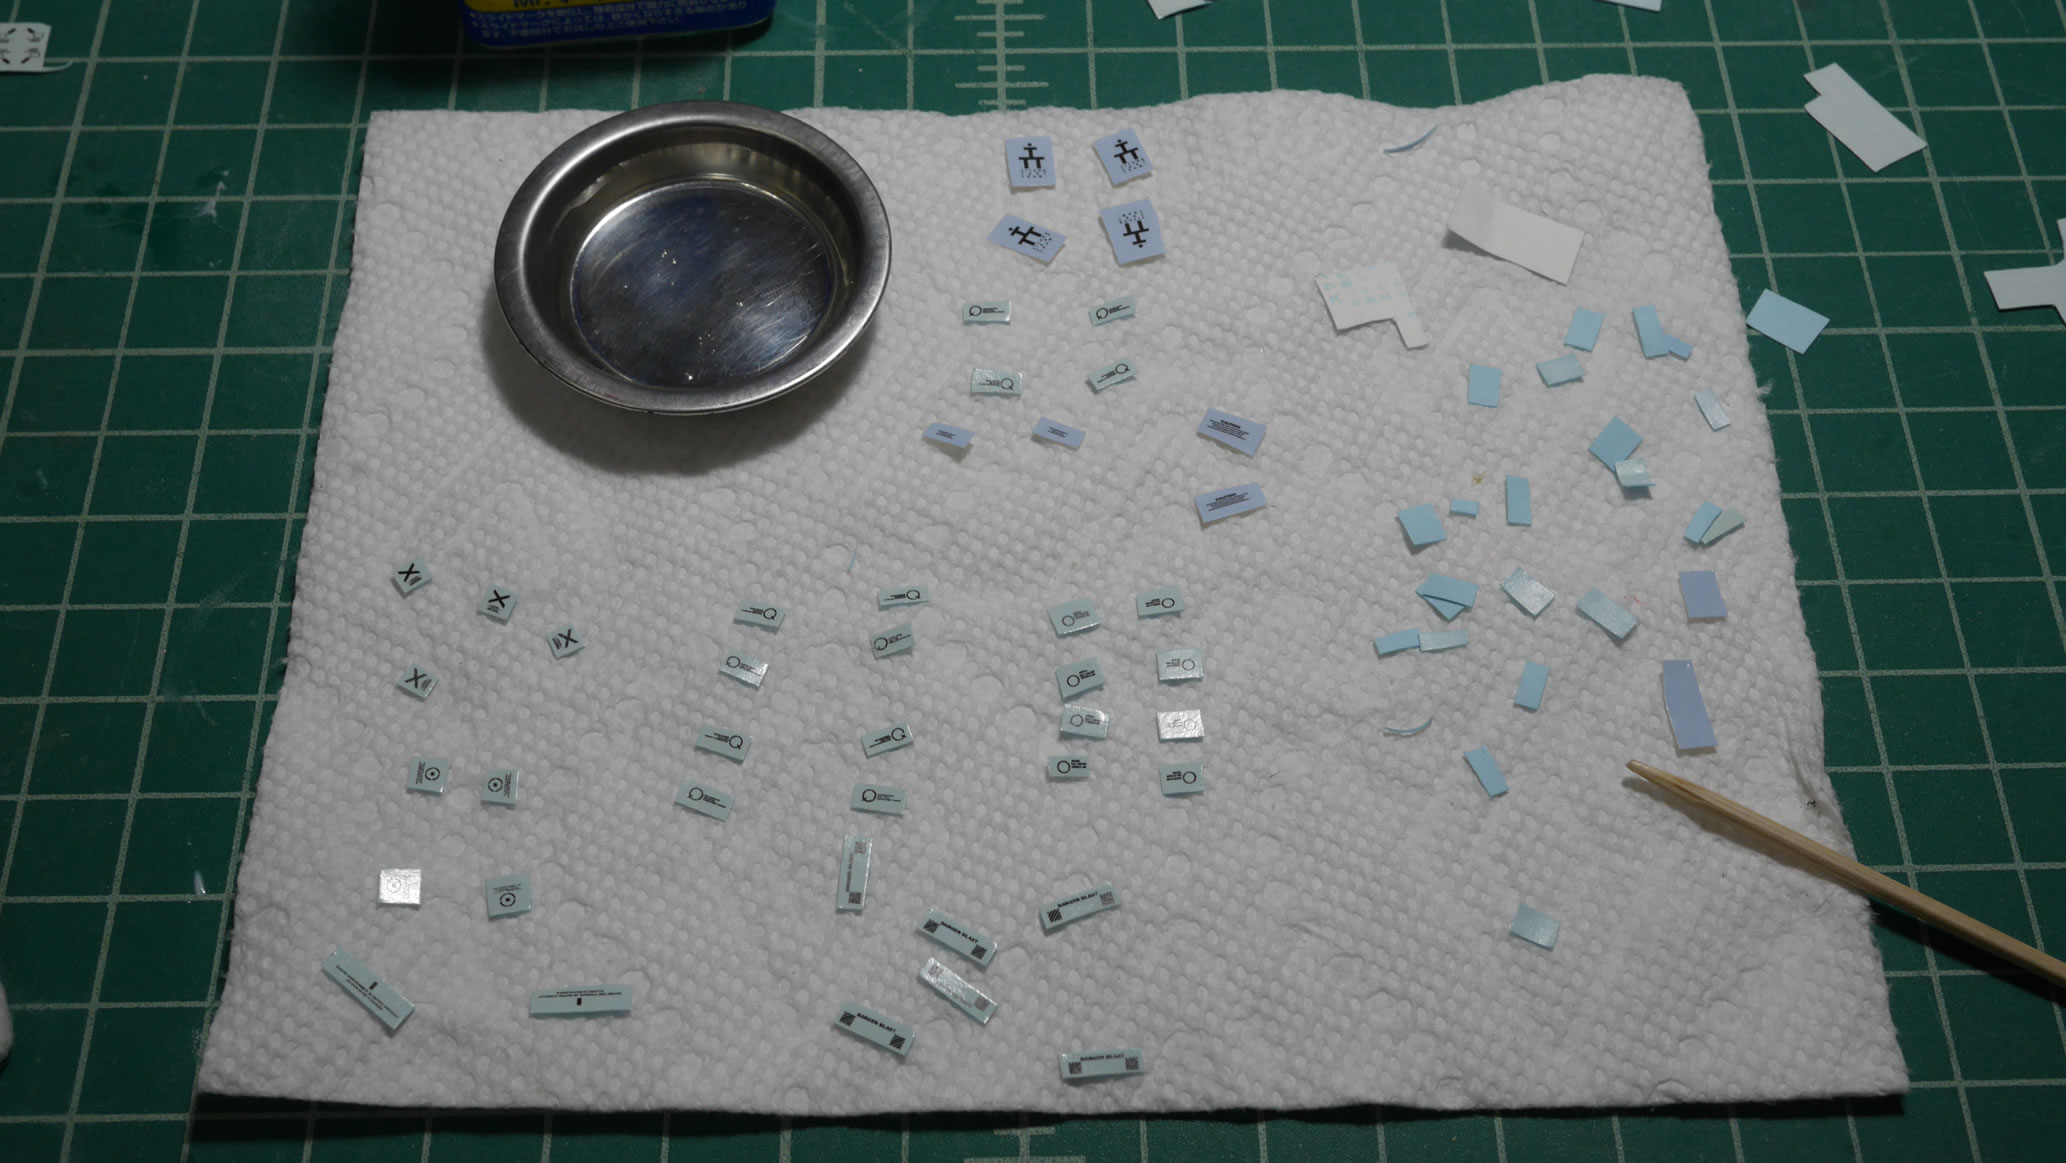
Some of the decals I have are old, so a little help from decal setter helps glue down some of the older decals in my collection. Some of these decals at this time are 15 years old. Kept in a dark dry spot, not your mom’s box, that’s a dark dry spot that’s a little musty… But in a spare gunpla box, and they’ll keep for years.
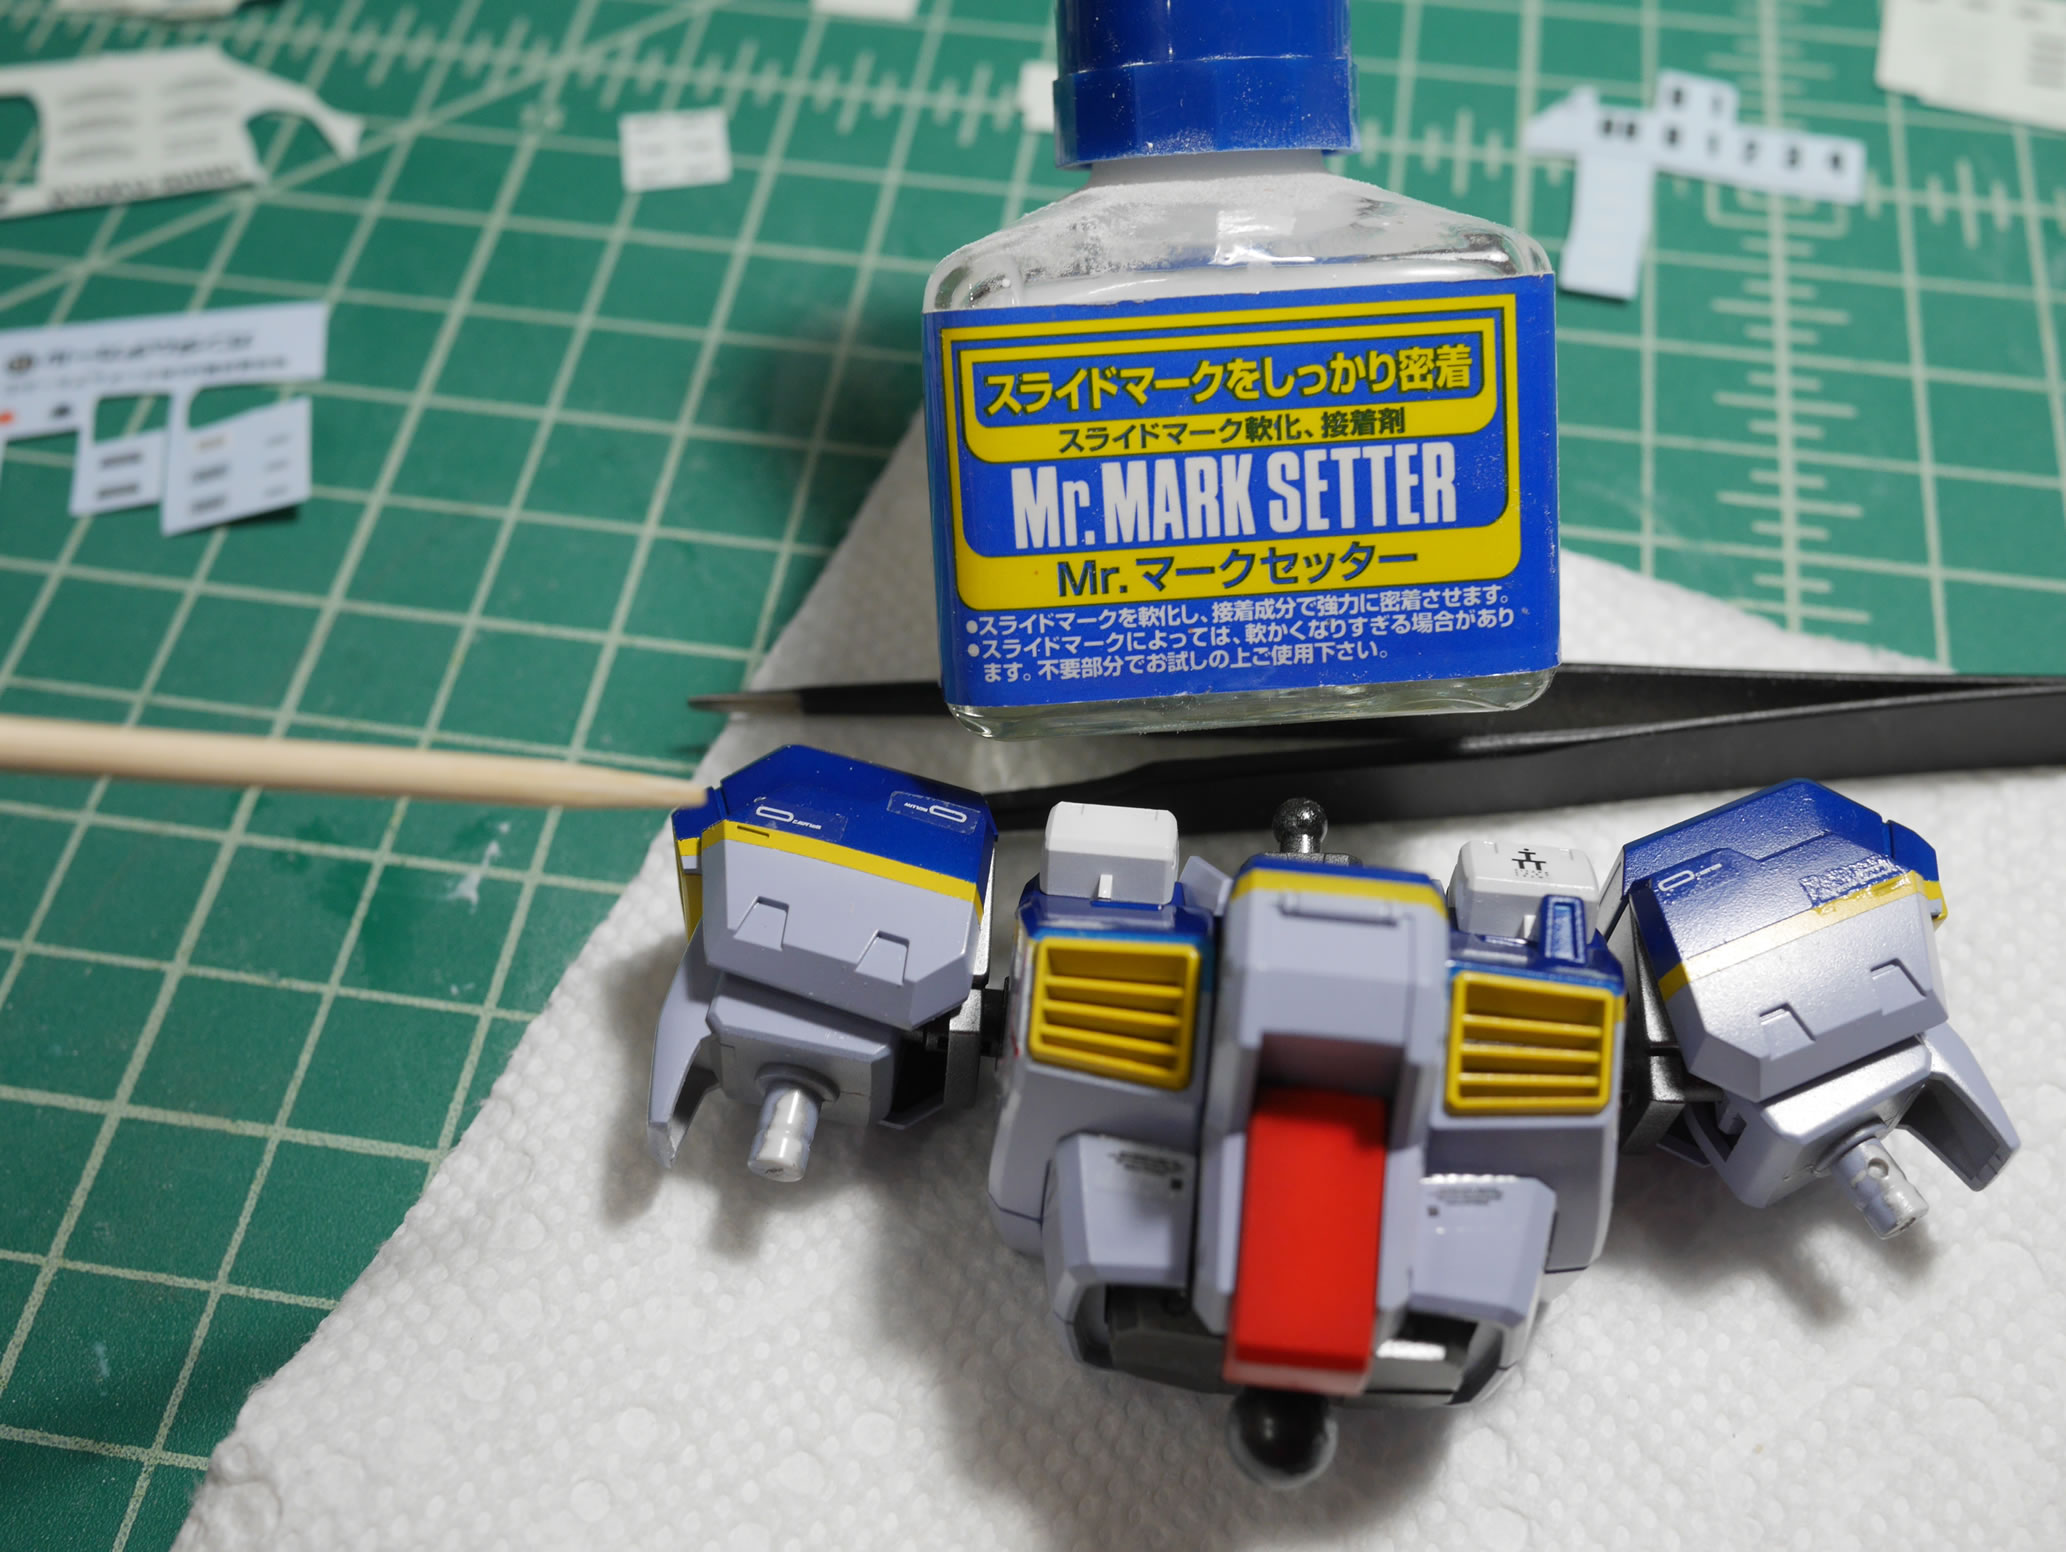
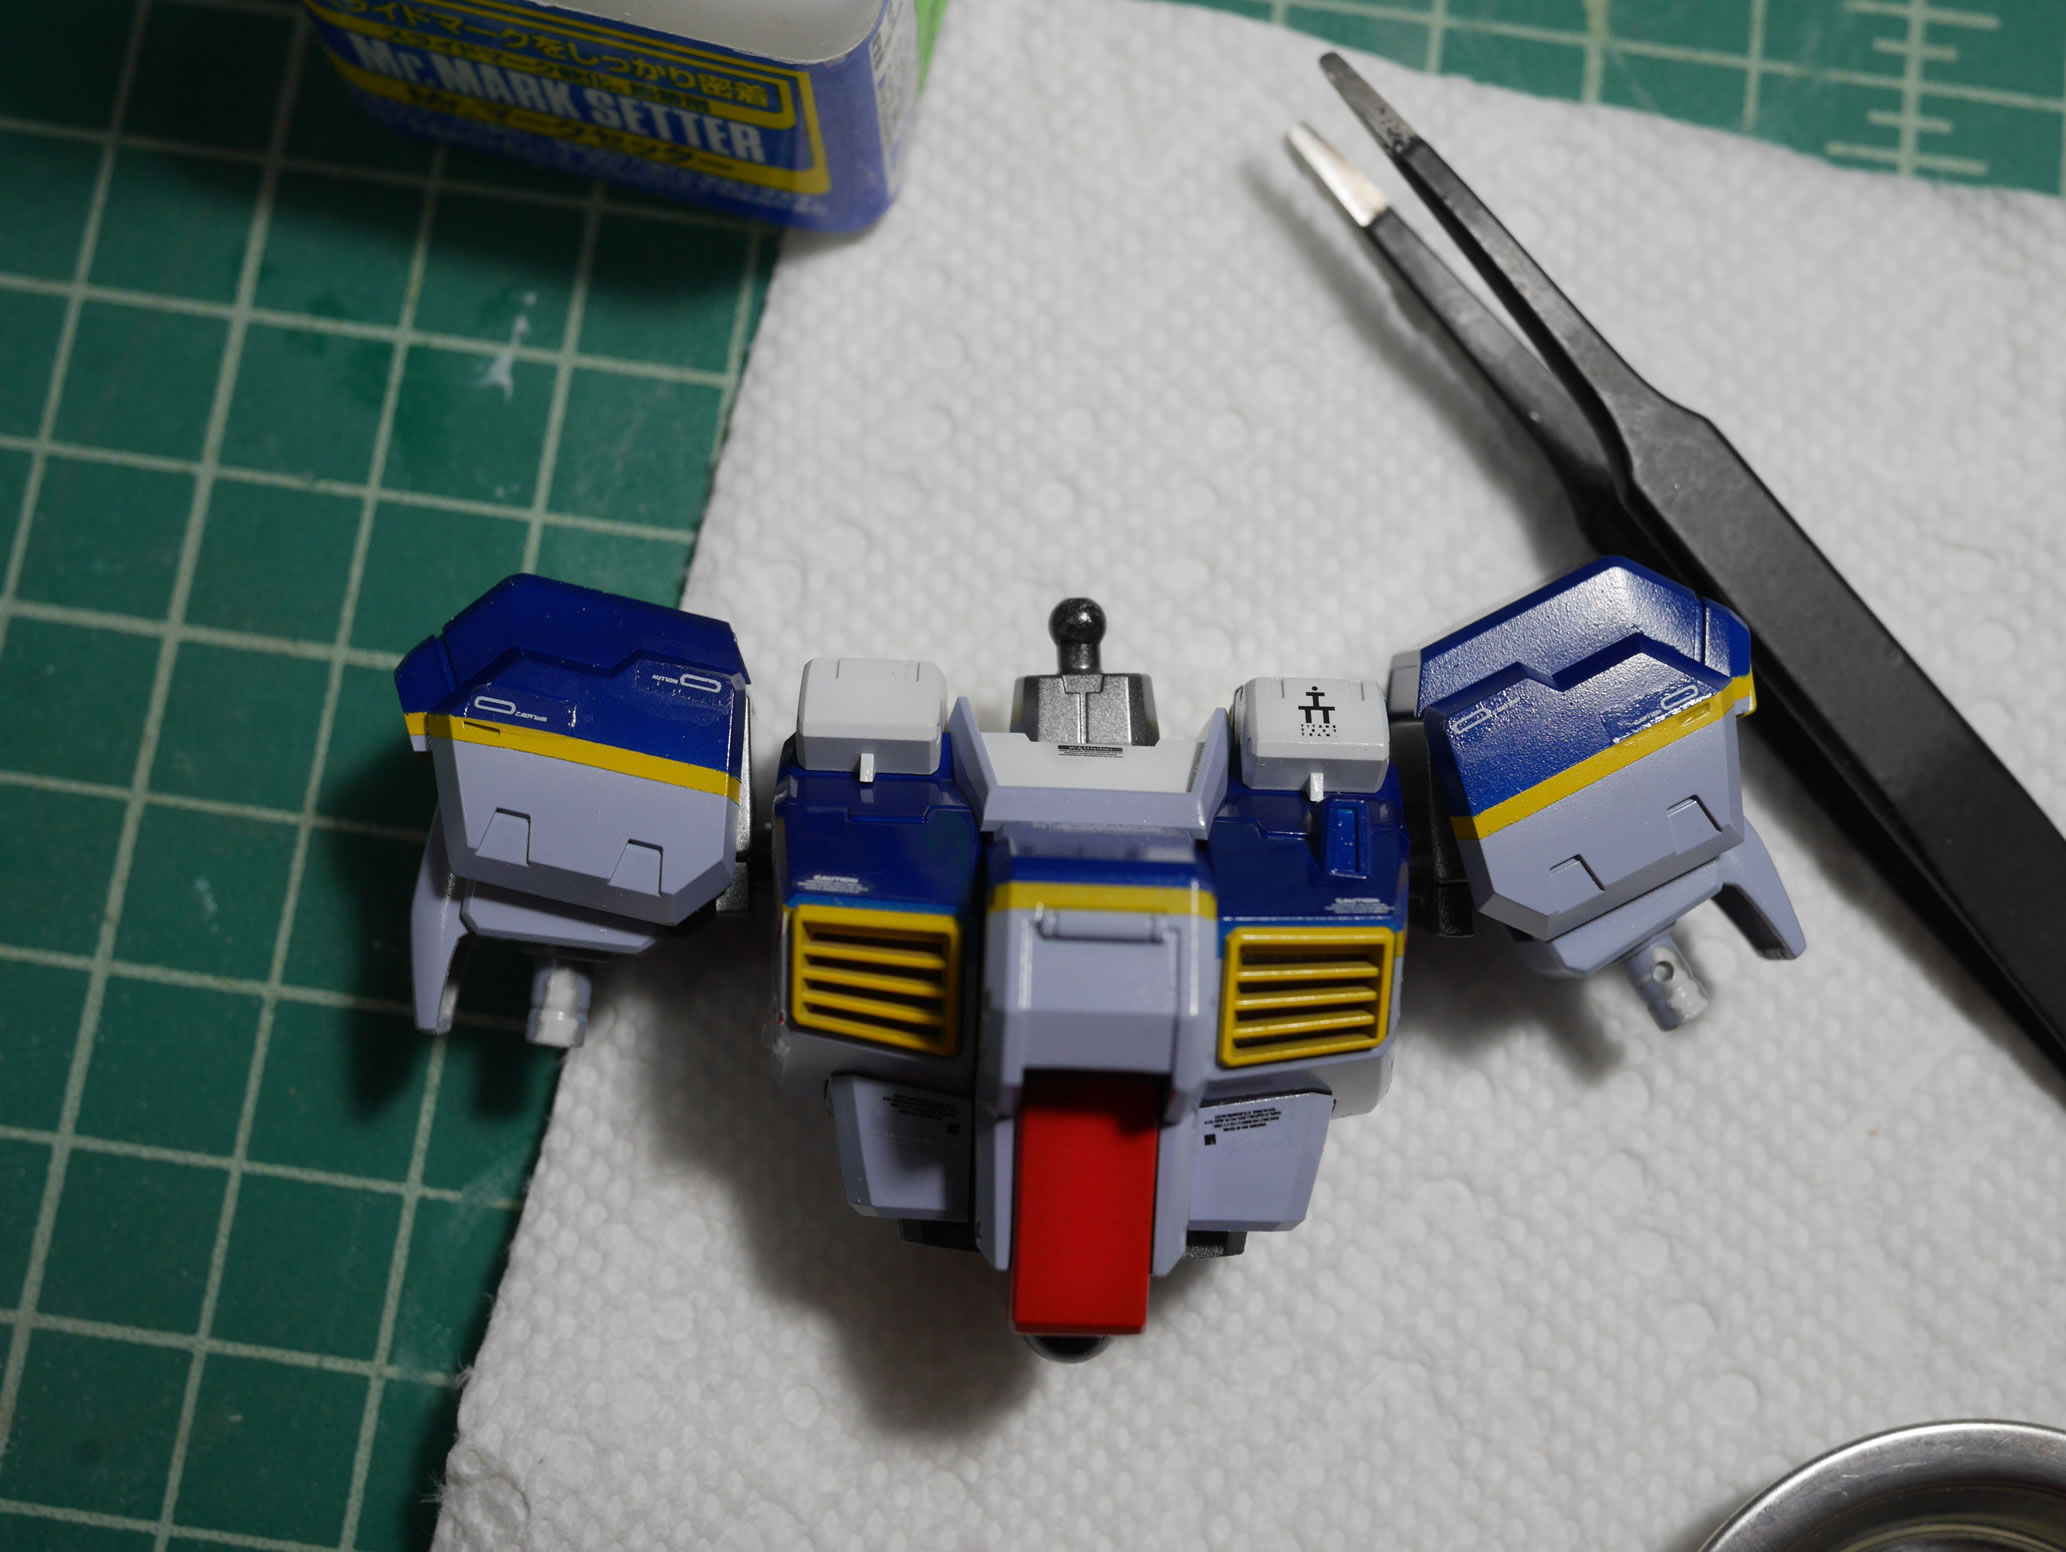
Mark setter to help glue. Once dry, mark softer to help melt edges around complex curves. And things really get out of hand.
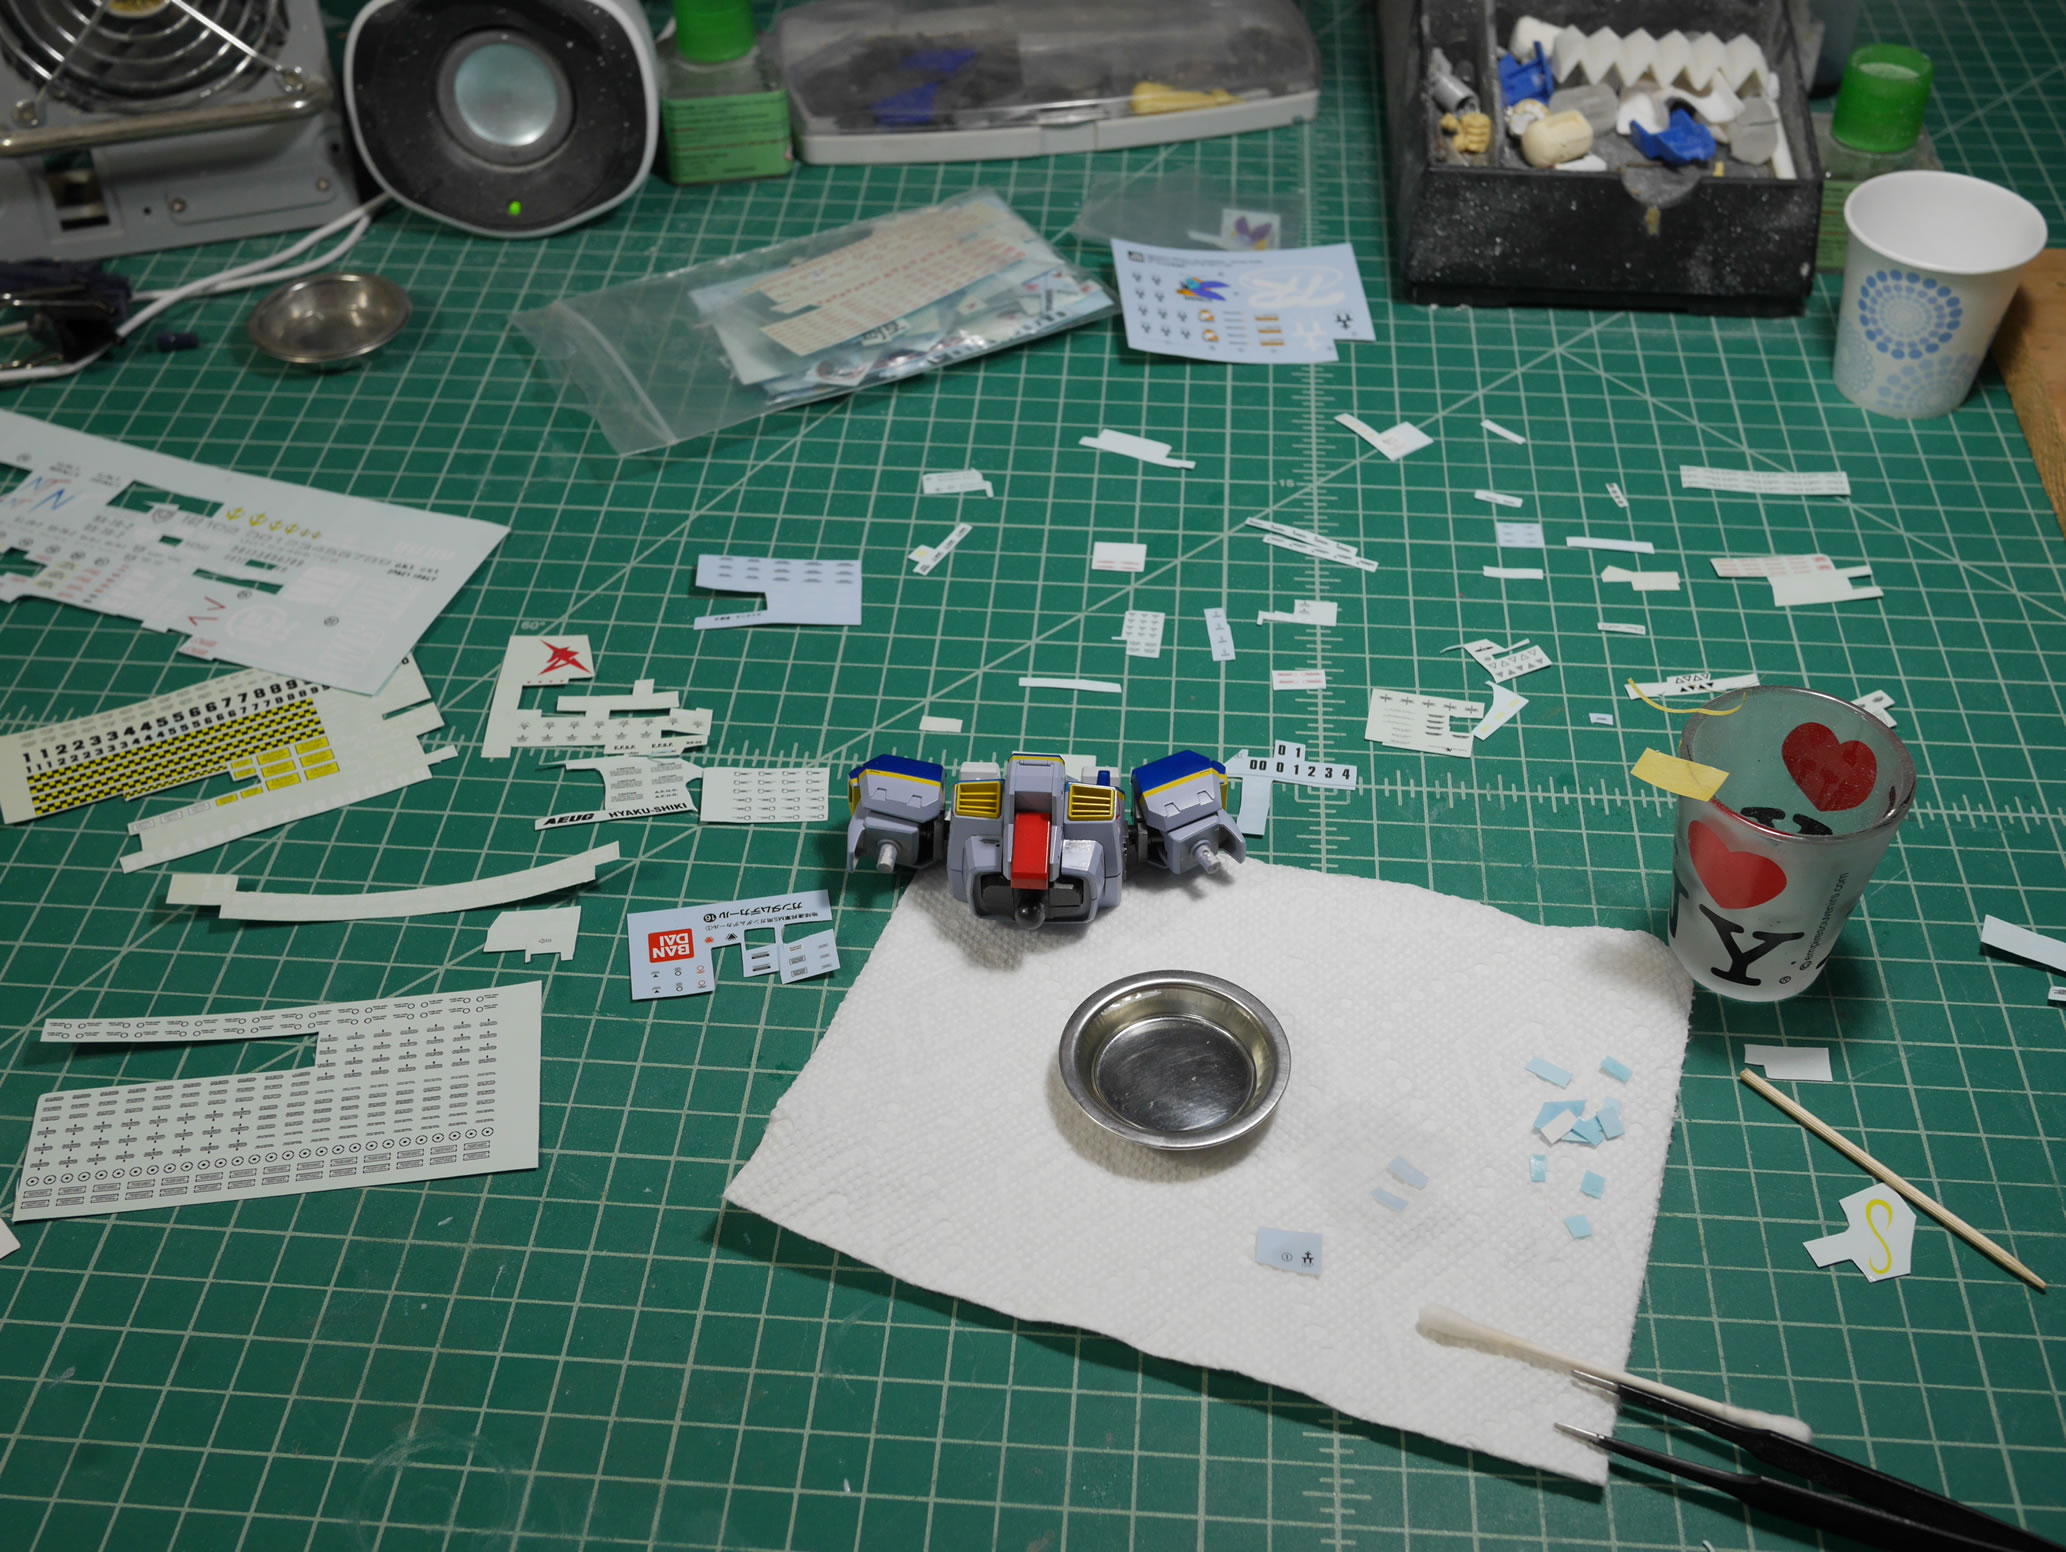
So far, these pictures are 4 years old, so I’m just guessing at why I took them. I think the first is a comparison between a non gloss coated surface(left) and gloss coated surface(right) as a good starting point for decal application. Always gloss coat, it helps reduce silvering and promotes the best surface for water slide decals. And then we start decaling. This is pretty damn tedious and it is best to break this down in sections and only work on one section at a time or you may burn out. I’m beginning to think that a burn out was the cause for this thing to be shelved.
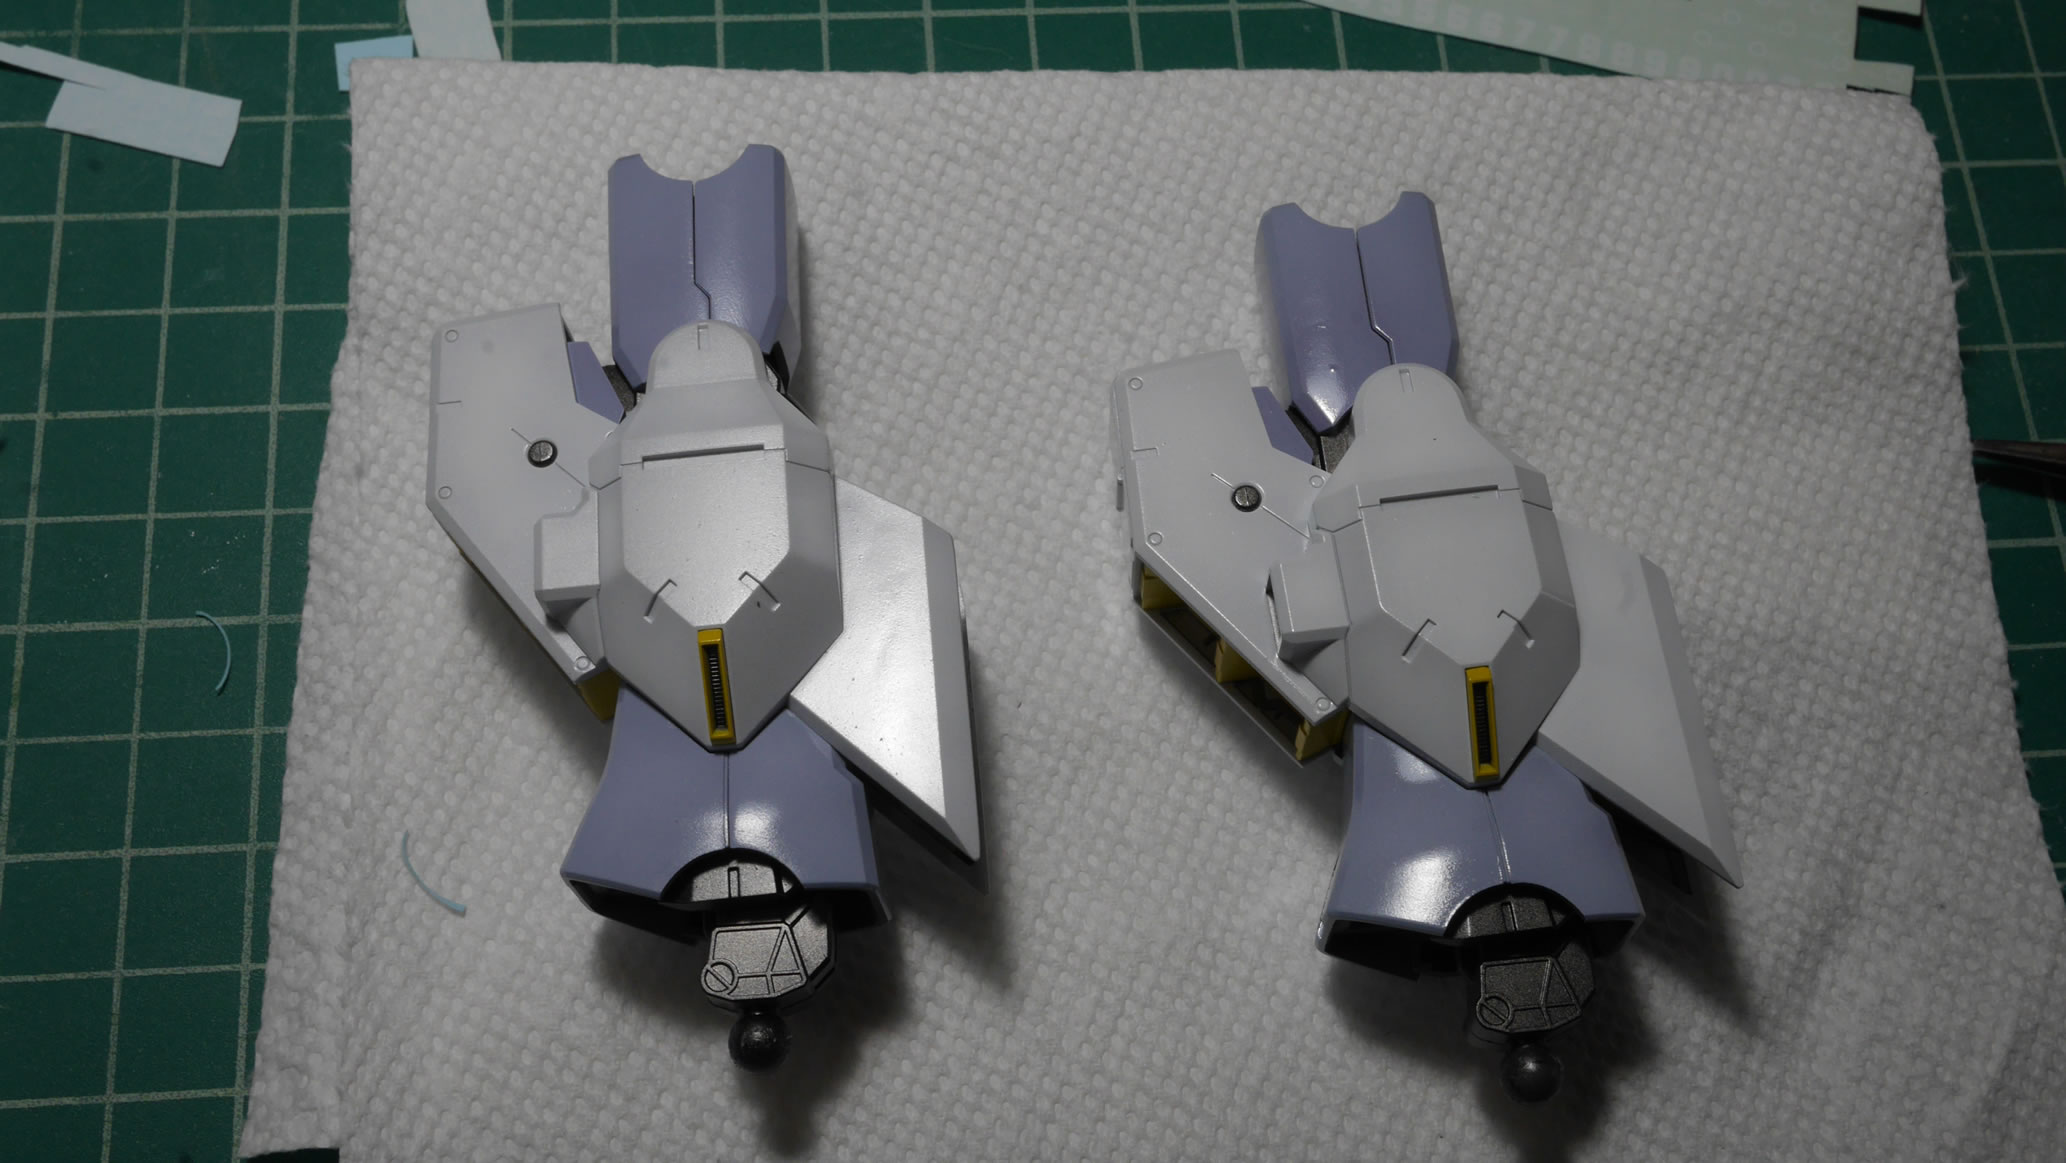
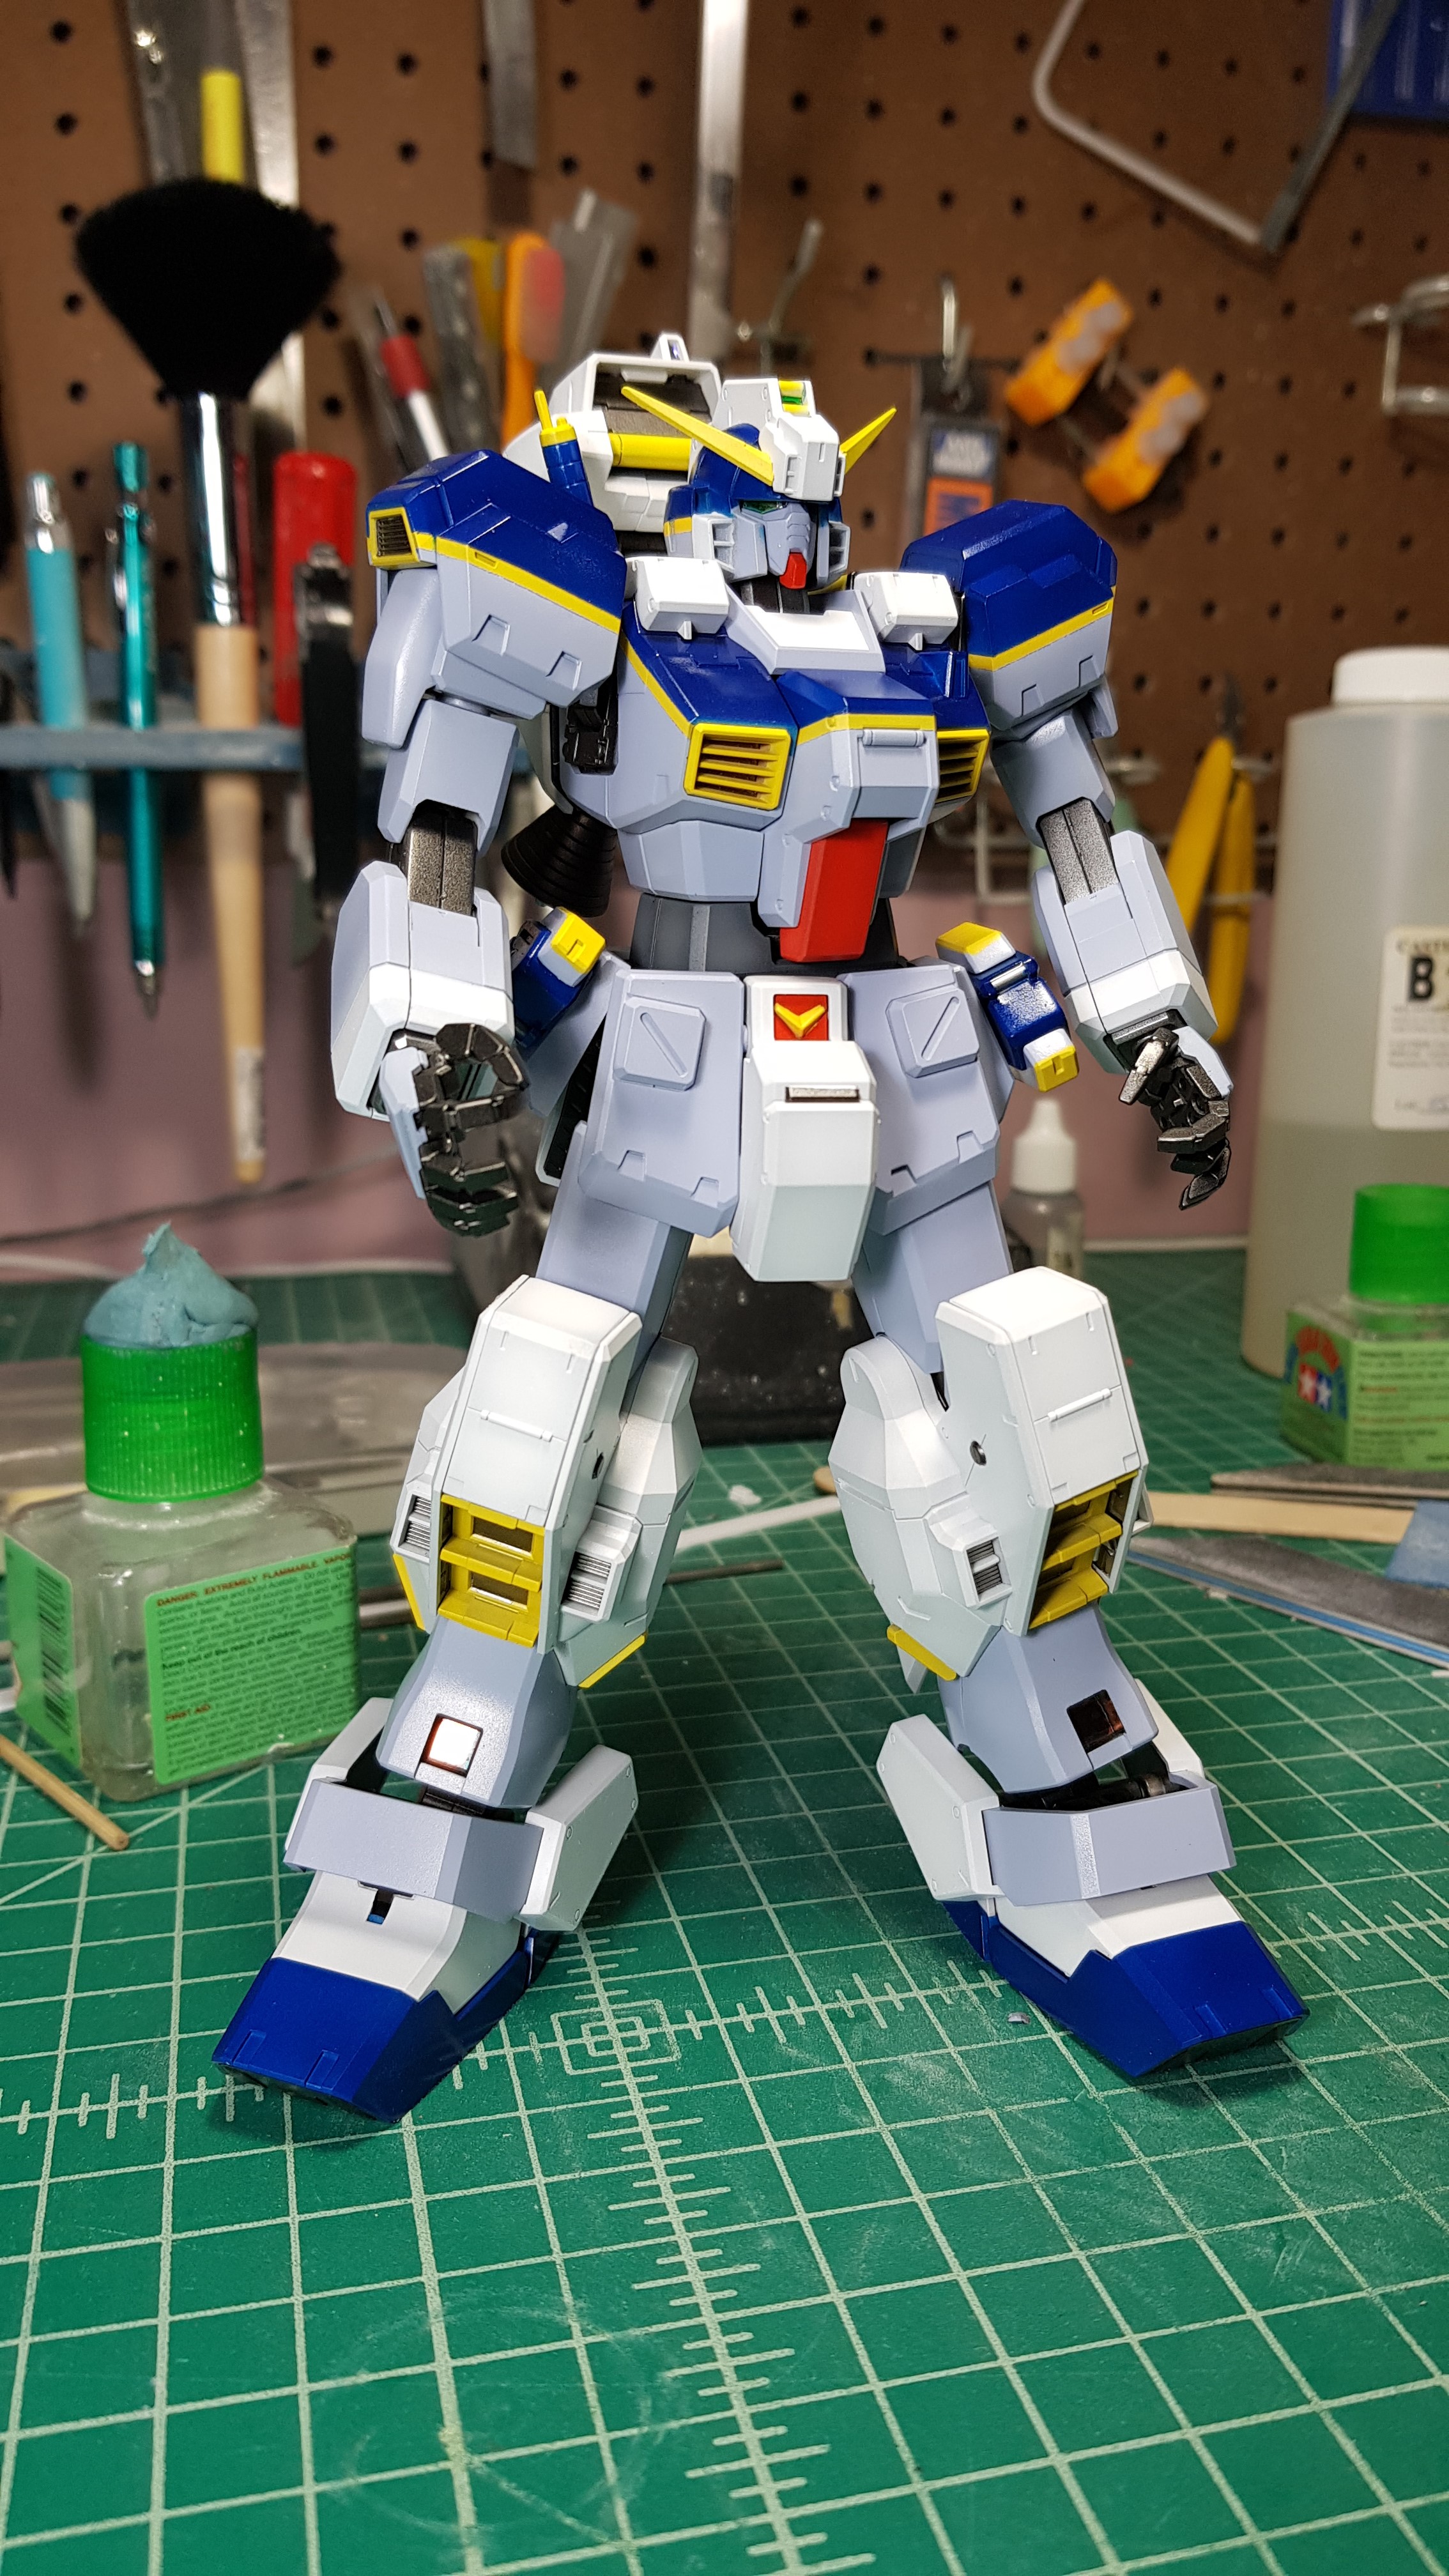
Decal work on the leg is done and it also looks like the panel lines were applied. Also over a gloss surface. Once that is done, a flat semi gloss coat finishes everything and ties it all together. Oh look, black coated SD Macross Monster kit in the mix while in the middle of decal work (see the Hazel parts in the upper right hand corner) ADD also plays into why kits get abandoned mid build.
Mask paint mask. I actually started working on the other shield. That piece I’ve given up on as I’ve glued the current booster shields in place. The booster shield pieces get paint and I’m actually starting to paint the three main pieces of the booster shields. I’m pretty close to finishing right…? Right?

Actually, there are multiple reasons why I suddenly remember that I didn’t actually finish this kit. I mean, up until now, the main body was done. Decaled, panel lined, flat coated, and assembled. I even entered it in a few contests by then. But the booster shields, part of the regular shield, and gun went into a box and got shelved some time after in 2018.
First reason was that I brought this it out from the display case so I can snap some pictures of it with a green screen for use in some upcoming Anime Expo panel presentation materials. It’s not flattering to the kit, and if you’re around July 1st, at 8:45PM at AX AND you are 18+, you can see why I took those pictures. So the kit was sitting on my desk. Second reason is that this year’s SCGMC theme is “Titans” And AOZ leads up to Zeta and the formation of the Titans. This kit is a Titan’s Test Team kit; so it literally fits the theme criteria. And third reason, I’ve been playing Gundam Battle Operation 2 and my go to General suit for the 500/550 cost range is the Hazel Custom. I just love playing the suit.
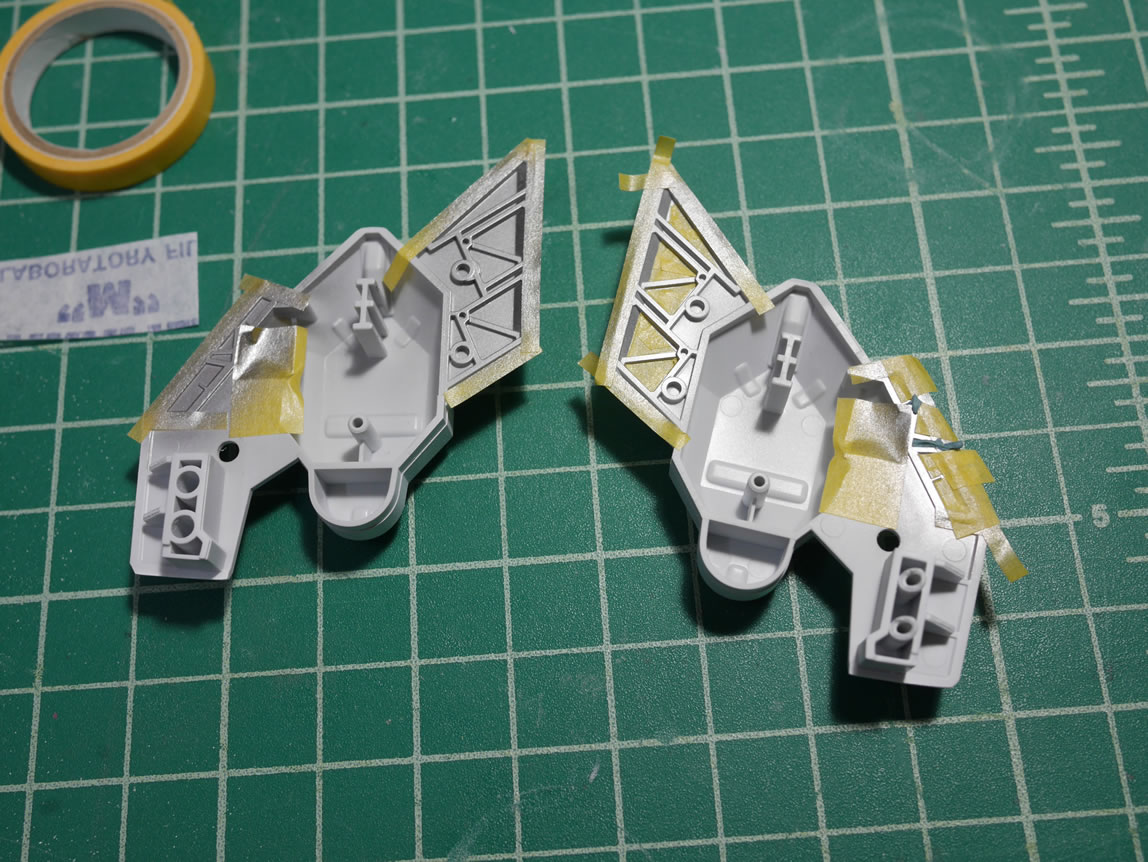
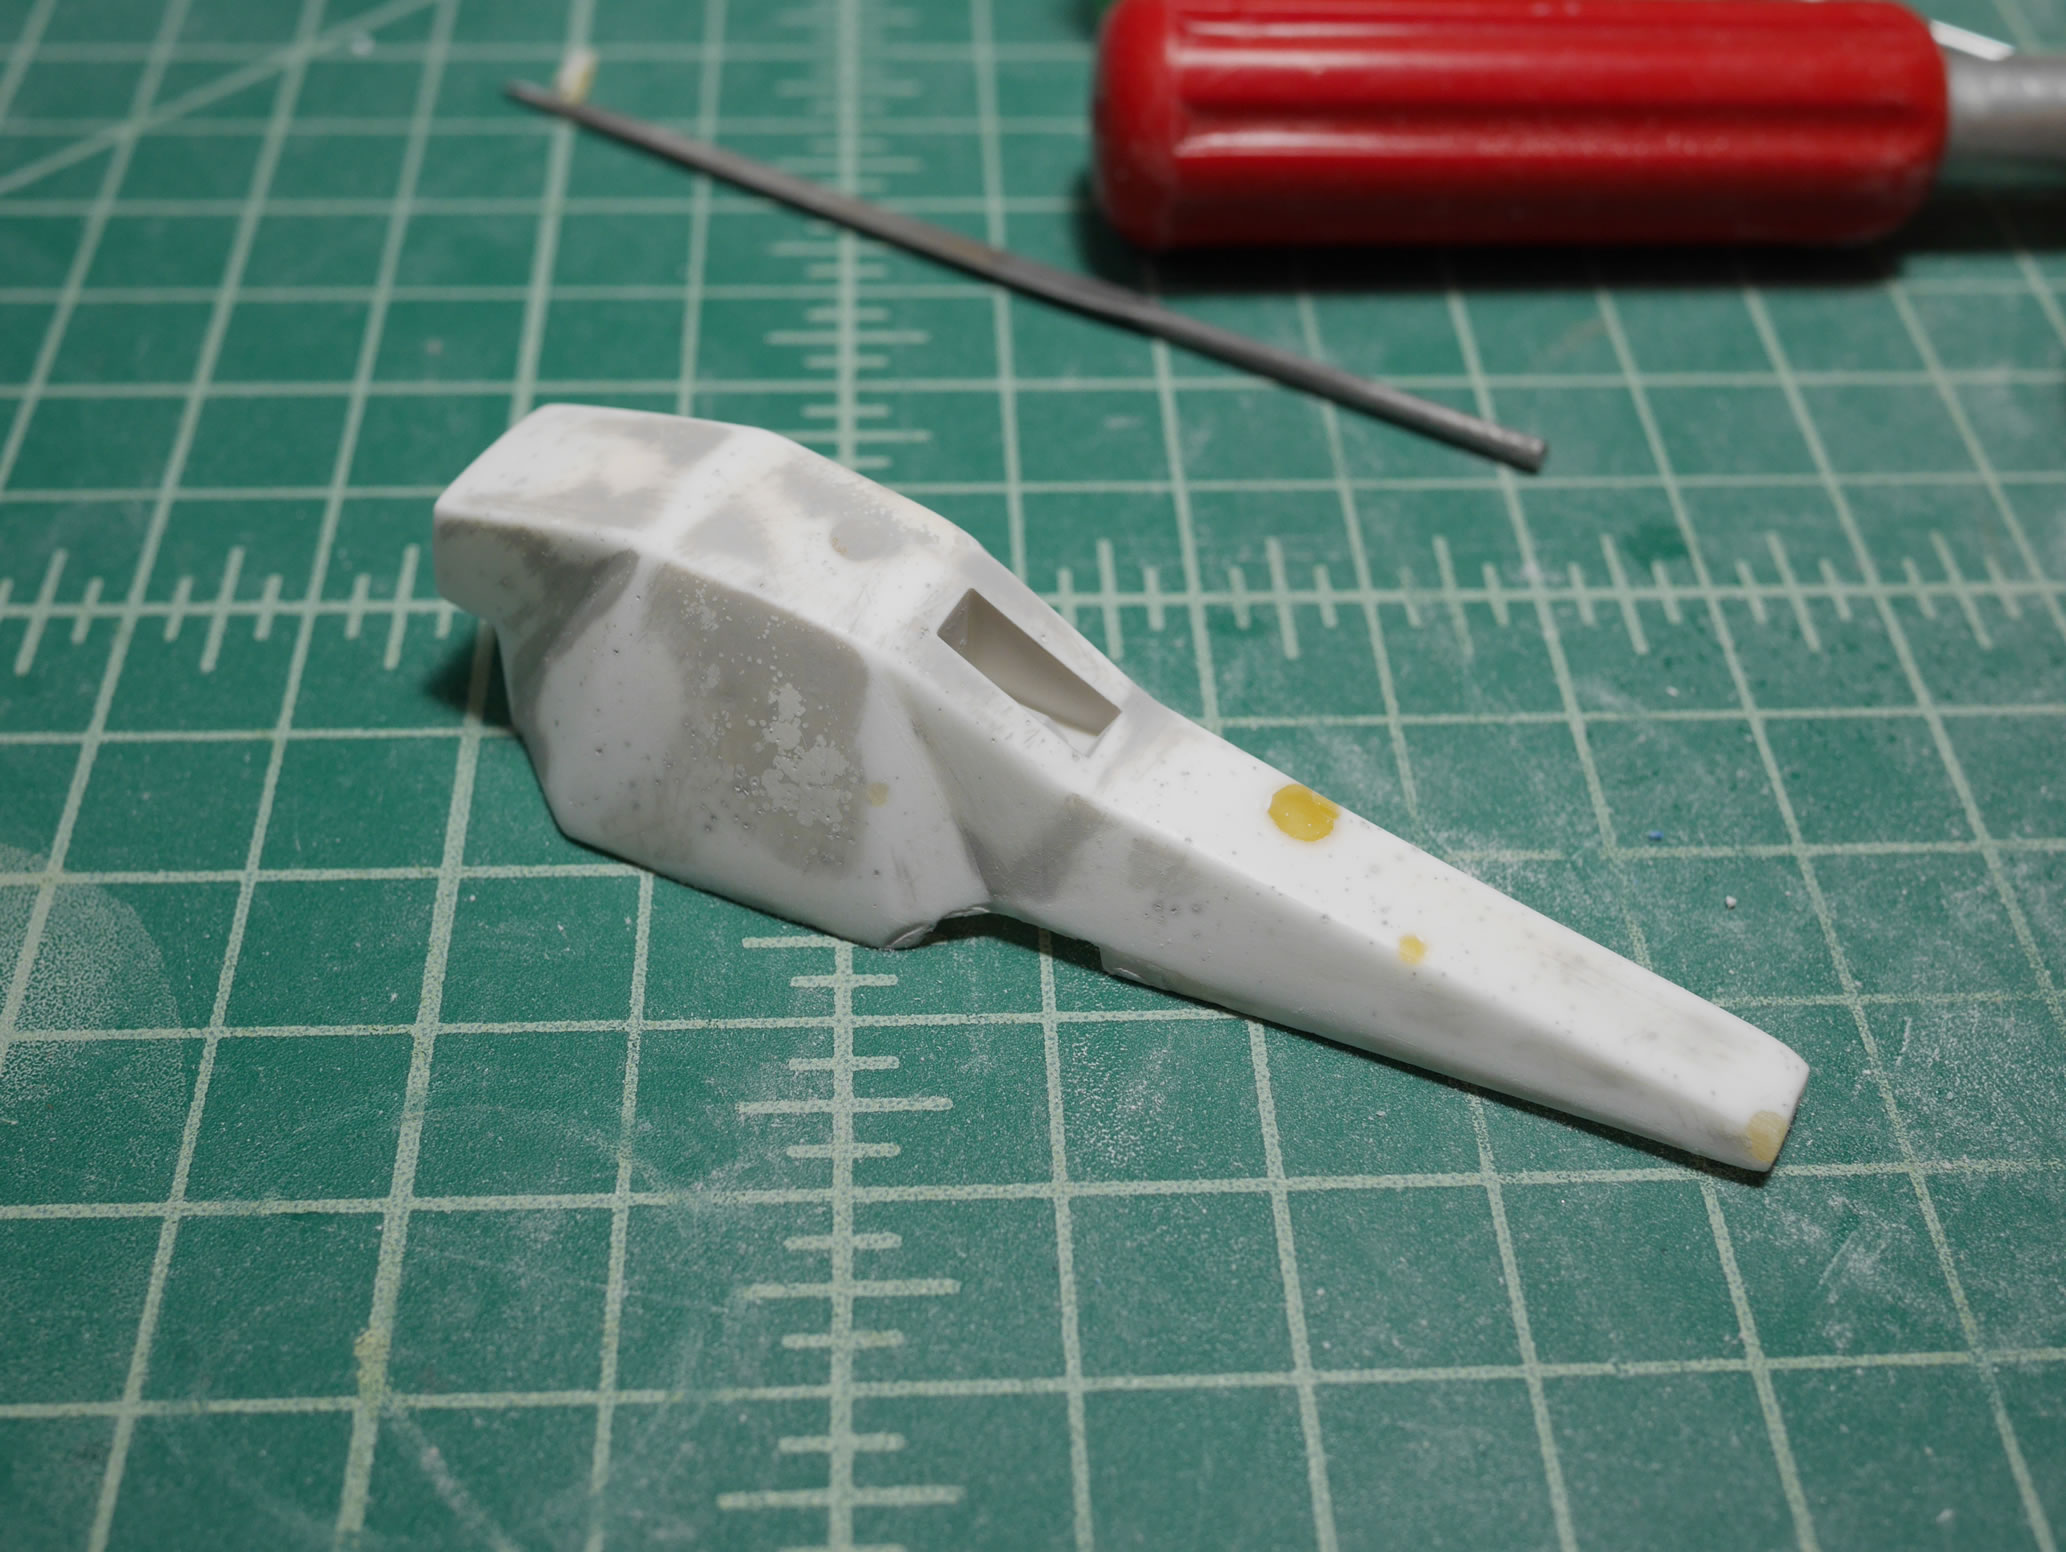
Now I just needed to find out where the hell I put the booster shields. And after about an hour of searching through all the boxes on my shelves, I found the damn parts. The box was actually labeled, P Bandai Hazel parts – as the original Hazel box was long discarded. So the first picture is the parts right out of the storage box. Second picture is the mess that I now need to deal with after assembling the parts.

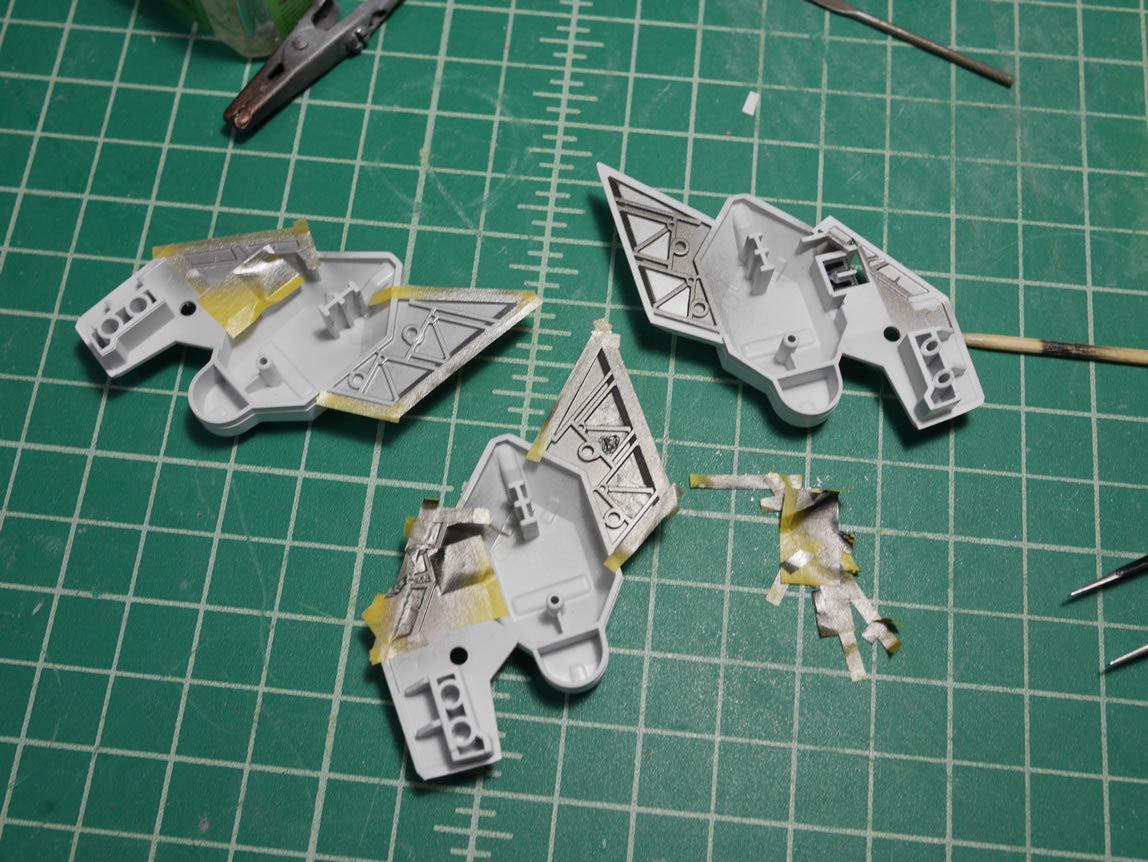
So the fit isn’t the greatest. Of course, these are pirated copies and the resin molding/casting process is homebrew and comes with all those benefits of home brew. Translation: they suck ass. Putting the parts together, there is a considerable gap since the width of the copies are now much thicker, a result of just poor quality casting. They’re good enough, but not good enough… I also realized that while I started painting the parts, I’m pretty sure I didn’t plan on assembling them after paint and leaving them at that. So back to the drawing board with these. I glued the two pieces of each main shield piece together and started to sand down the excess. For the bandai plastic version, even gluing the two pieces together, there is a gap between the two parts. All reference pictures show no panel line here. So that will need to be glued and filled. Lots of light curing putty is employed to fix the shields now that the two main parts are assembled and glued together. The last picture in this set is after a priming session that shows the surface close to ready for paint. Truly ready for paint this time.

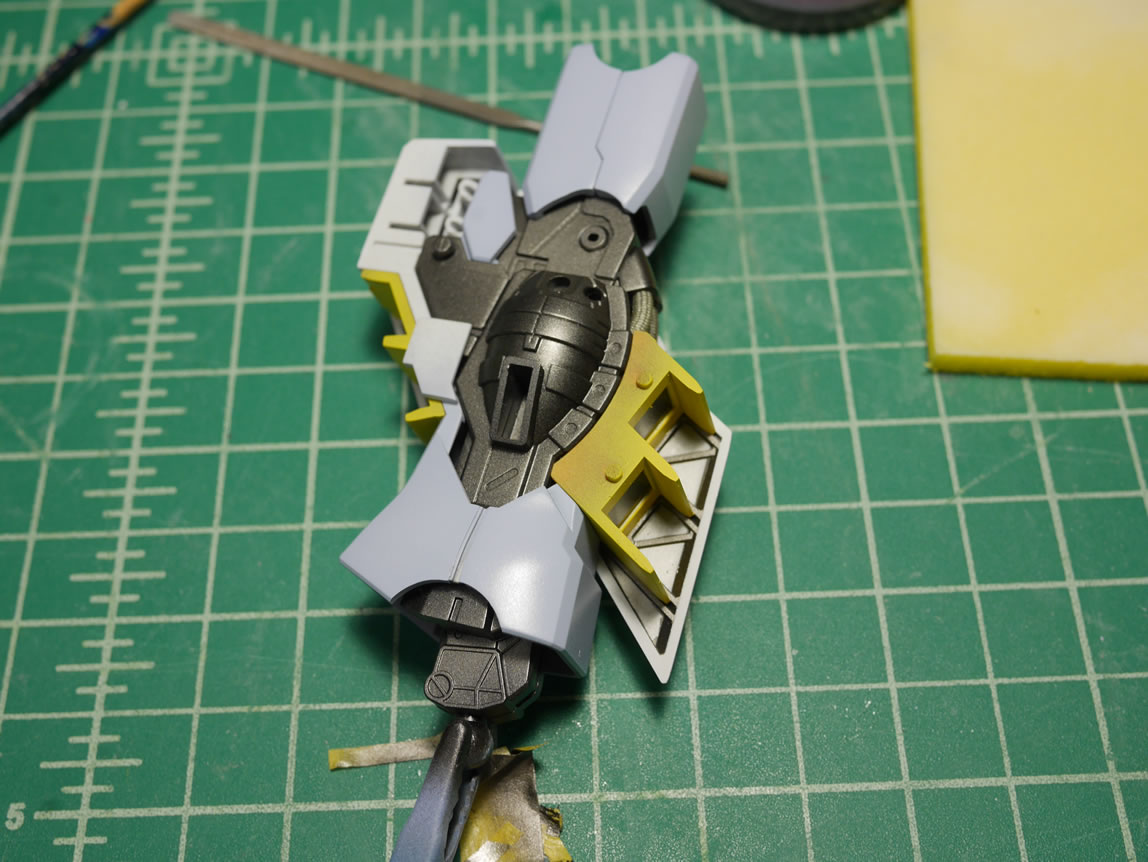
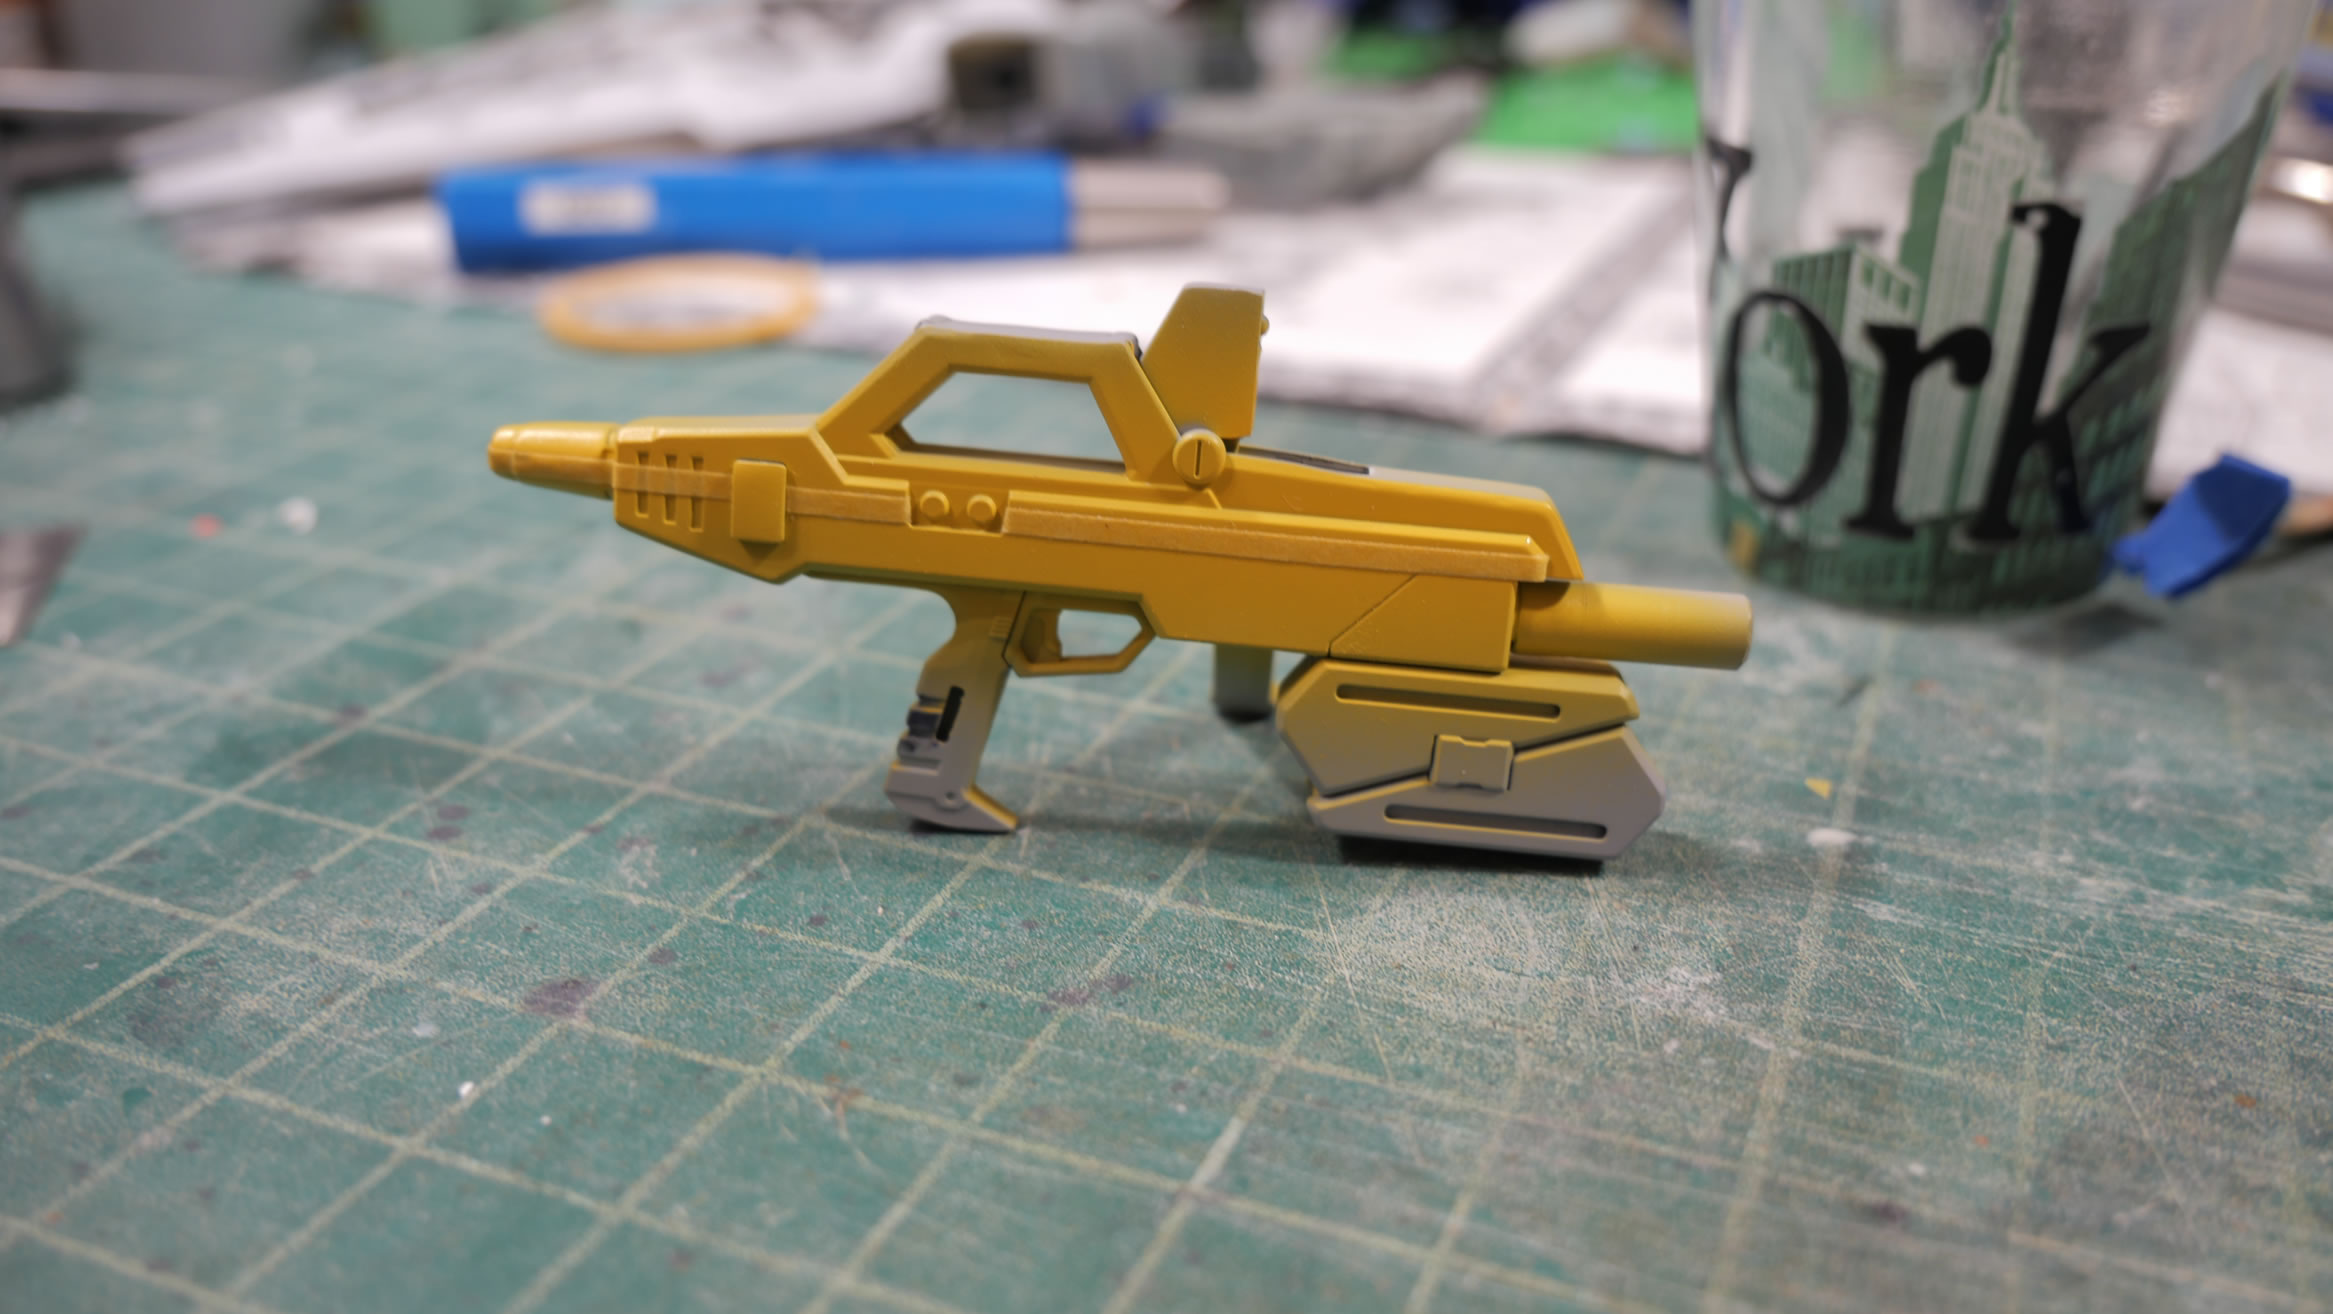
It is a good thing I document all the work I do. I didn’t even remember that I had custom mixed the damn colors. So re-reading the first post I made on the kit, I actually found the bottles of paint and had to fix and paint already painted areas. The third piece of the shield is painted as well as the gun. I use masking tape for guides for the other bits of masking tape so that the three shield pieces are as uniform as possible. I should have just made a template and cut it out on the cricut. But things to do for next time I build one of these. Mask off and ready for the next layer of paint.
As from my previous references, base color of midnight blue and a heavy shaded white the is sprayed to prep these surfaces for the final color layers.
The main shield pieces still get more surface prep work to fix the visible gaps. Sand, prime, putty, prime, repeat. Always this cycle.

Custom purple sprayed first over the heavy shaded white to pick up the shading effect. Followed by another layer of masking and then the finisher’s wolf blue. And then unmasking to more disappointment. Color bleeds and mismatched masking lines.
Like the sand-putty-prime cycle, there is the mask, paint, remask, repaint cycles. Eventually with enough patience, we get there.
This third piece is then glued to the main shield parts and ready for even more masking.
A punch is used to create perfect circular masks for the metallic accents.


Things continue to work in my favor as one of the shield’s paint chipped awesomely when I went to remove the masking tape. Needless to say, I was much more careful with the other two shields. But sand, paint, sand, paint, mask paint. This is why it took 10 days to just finish these supposedly paint ready parts.
Oh look, more masking and painting. Even more masking for the yellow detail bars that are on the front of the shields as well as along the bottom.
Finally the paint is done and some gloss coats are applied and we get to decaling. Since I went nuts and ver ka style decaled the crap out of the main body, I can’t just put 1 decal on each booster shield. I think each shield has about 23 or so decals. So yeah, that process took a few hours.
A few layers of heavy gloss to help hide decal lines and panel lines later, the parts are ready for the final flat coat and assembly with the patiently waiting MG Hazel.
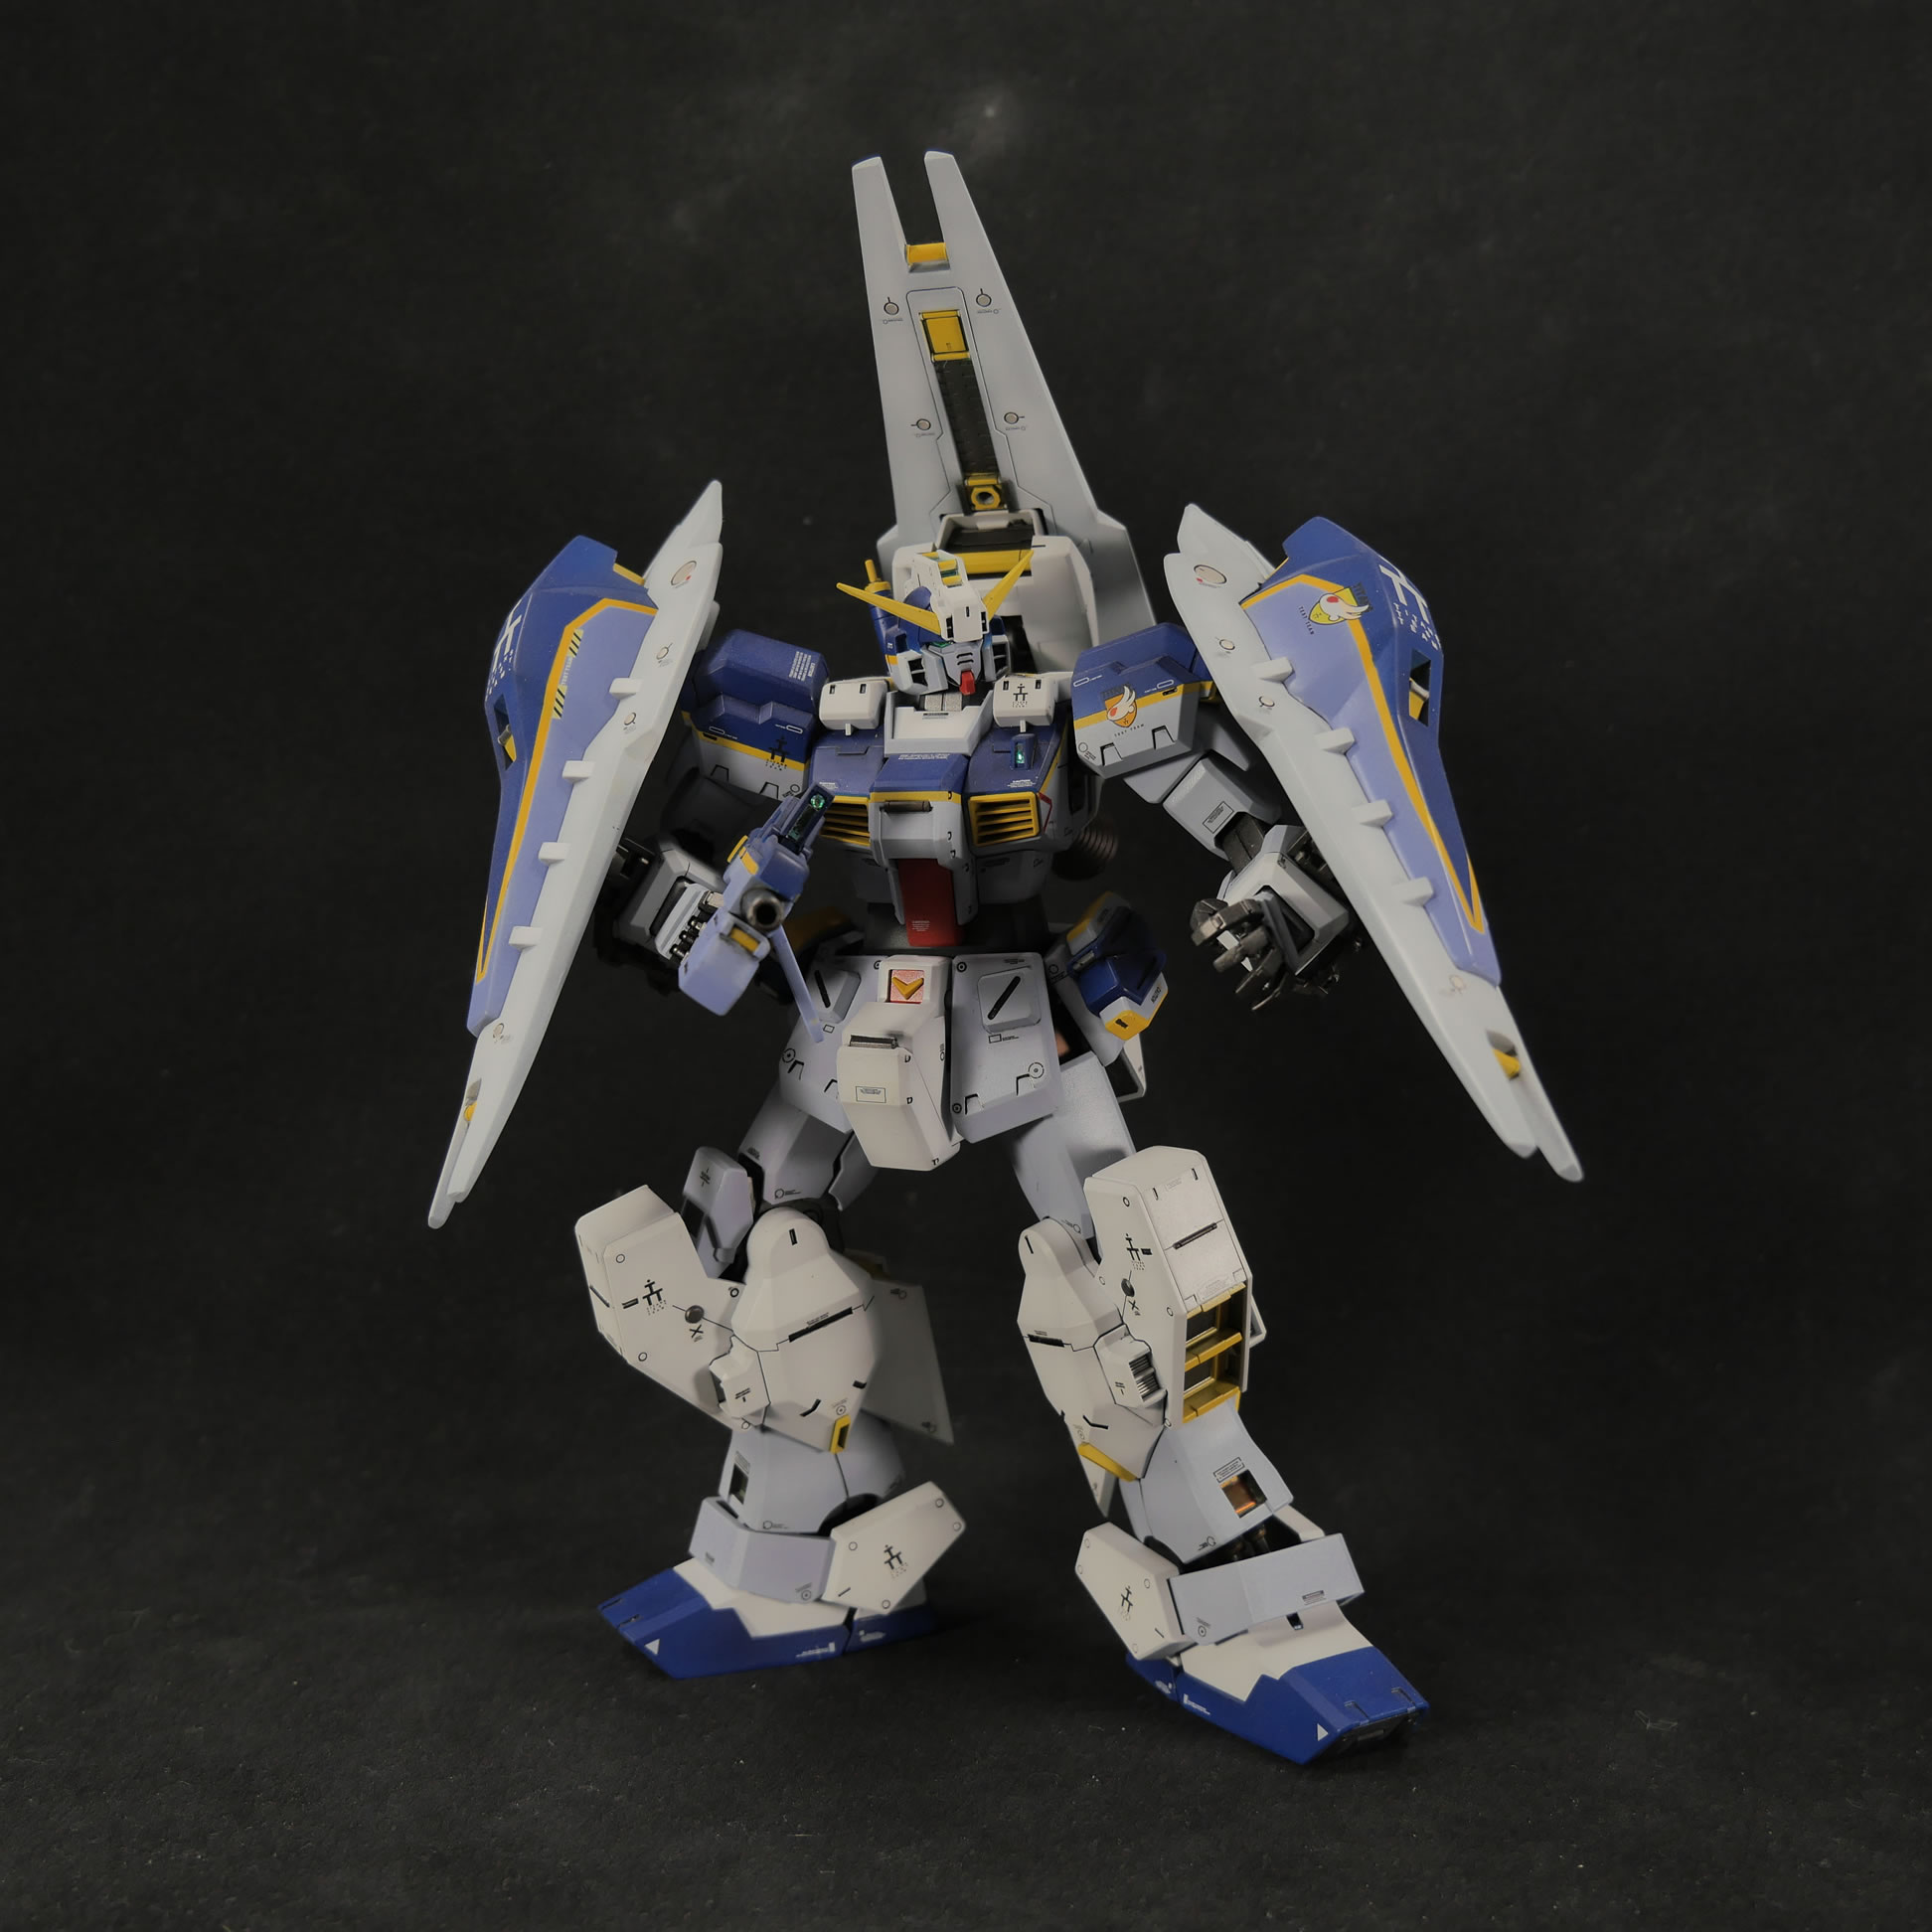
Completed pictures are here: https://gamerabaenre.com/?page_id=7269