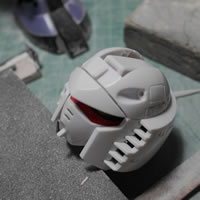
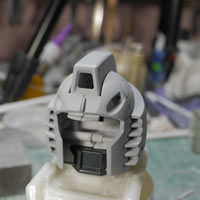
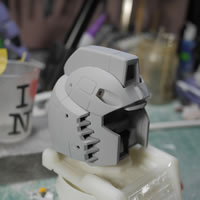
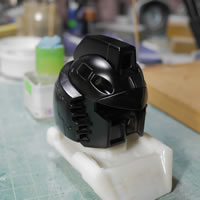
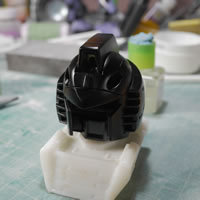
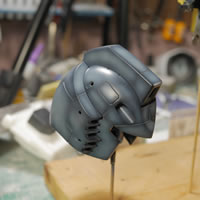
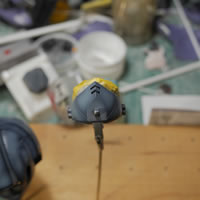
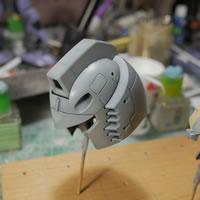
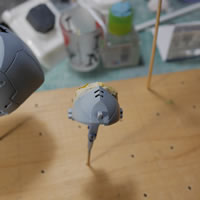
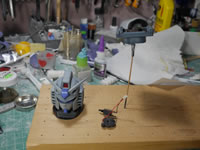
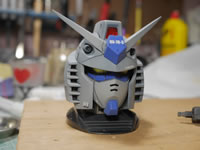
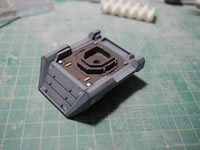
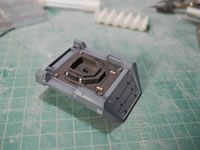
Feb 25, 2019: This past weekend, I saw a FB post from one of my local shops (Neo Happy Land Co) saying they had the RX-78 Gundam Exceed Heads in stock. They’re selling them there for $10. Which isn’t too bad a markup being that they’re gashapon items from Japan. I have a few of the Zaku Exceed Model heads from my own trip to Japan, so I definitely needed to get this one as well.
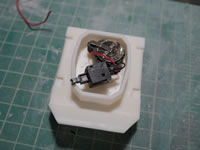
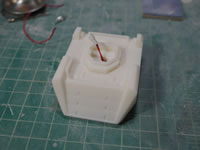
Also over the weekend, a modeler that goes by Marcogunpla post up pictures of his 3D designed neck piece for displaying the ’78 Head. He also posted the files up on Thingiverse. Marco printed it on a SLA printer in resin and the neck piece looks very nice. I downloaded the file and printed it on my FDM printer at .25mm and this took 3 hours. I did a print estimation for .15 and that would have taken 6 hours. I also ran a print estimation for an SLA printer (Formlabs preform software for the Form 2) and at .05mm the print would take about 8 hours. Still not too bad for the quality of print that I saw in the FB posts. The head unwrapped, the assembly is very simple. There is a chin piece and the V-fin that need to be assembled. The sides of the head pull out and you can grab the forehead piece to bring it up and the display is complete.
If you don’t build/paint/etc stop here. If you are a model builder and have picked one up or are planning on getting one to mod/paint/etc; read on!
When I first unwrapped the thing, I figured it would be similar to the Zaku head. It’s not. The Gundam head is designed as an unwarp, assemble the 4 extra pieces and done kind of model. The initial attempts to pull things apart ends in failure. Any more force would break the plastic apart. So I came to the conclusion that the thing was just glued together. I made a quick 13 minute or so video talking about the breakdown of this kit:
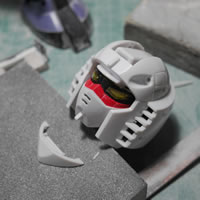
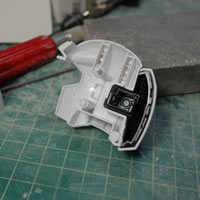
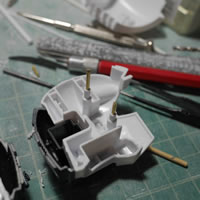
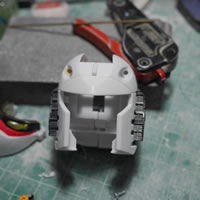
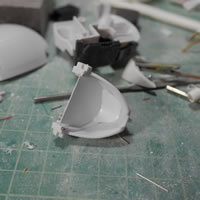
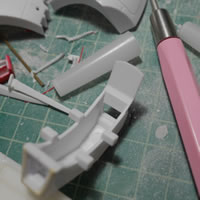
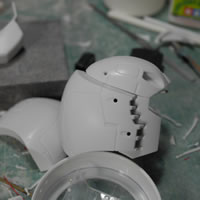
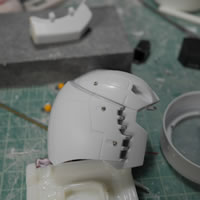
The video basically says what I will be writing about for the rest of this post. But it comes down to examining the kit and finding where seams were and where there weren’t seams. The visor piece was whole and under the v-fin attachment area, I saw a seam. The same seam is visible from under the head at the back. This tells me that there are 2 main halves for the head. Looking inside, I can see male/female connector pegs. I can see two here. But I need to deal with the visor first. Since there wasn’t seam down the middle of the visor, there’s not break in the middle here. There is a seam for the visor that runs perpendicular to the vertical seam. This piece is obviously glued, so I took a scriber to start off a groove then a very thin hobby saw and started sawing along the same. This will take a bit of time because you need to take care not to slip and gouge the surrounding plastic. But once the visor is cut along the attachment seam, it pops off fairly easily and you can see the glued areas where the visor was attached to the head. And, you can see the rest of the seam.
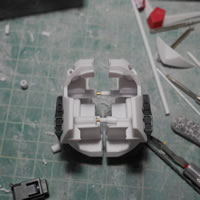
You can also see inside easier with more light being let in from where the visor used to be. Pulling on the two halves, one will quickly understand that the connector pegs are also glued. This means cutting them. The saw is carefully inserted and the pegs are cut.
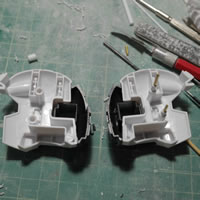
With these two pegs cut, I pulled the two halves apart and heard a snap. There is a third peg at the back of the head. Not too big a deal, bot for those that read this before they take apart theirs, you can take the hobby knife and slice this area too.
Earlier, I had tried to pull the side pieces from the head and they were not budging what so ever. And there is a VERY good reason why; because there is a screw attaching the two half pieces to the side head sliding bit. Unscrewing this piece, the sides of the head halves just drops.
The face piece and the top of the head piece are just attached with friction and encapsulated with the two halves, so no glue here. The face piece is made up of the clear green visor and the face plate. The face plate is painted black and red. I believe this is a single piece that was just painted. The clear green eye piece is glued in place and pretty tightly, so I will not be removing this from the face. I will just mask and paint to get this done.
The internal sides/vents for the head are also glued pretty tightly to the head halves. So I’m not going to bother to pry these pieces off either. I will do too much damage gouging the plastic if I tried more what I already attempted.
The vulcans were kinda crappy. One of them wasn’t even glued all the way in, so I had to gouge that out with the hobby knife. Some putty repairs are in store for this area. I also build new vulcan barrels with styrene tubes and an IC pin for the internal. Yes, these are supposed to be live ammo bullets firing out of here, so the IC pin make no sense, but this is a visual aesthetic and artistic licensing.
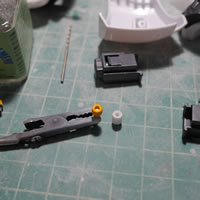
Once I have most of the kit apart, time to start putting things back together. Since I will eventually need to reassemble the head, I rebuilt the male/female connections with styrene tubes and brass rods. I drilled out a 1/8in hole on the female side to get a new hole. For the male side, I drilled out a 5/64 in hole for the brass rod. I added a styrene tube over the cut male end so that I can kind of sleeve in the 1/8 in rod and have a more secured connection point in rebuilding the male end. Everything is glued together and now I have perfect alignment when the two halves come back together and the new male/female connection points hold.
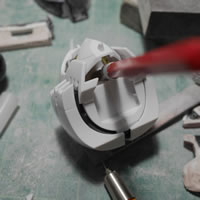
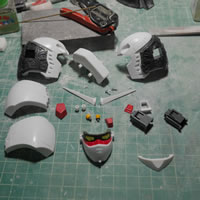
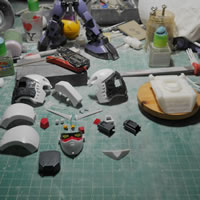
The last bit of the break down is the red camera sensor in the front of the forehead piece. You can see that there are 3 parts, the clear red piece, and the two white plastic pieces that sandwich the red piece. From the bottom, I slide a hobby knife and slowly cut away the glue connection so that I could get a bigger tool into the area. I used the side of my tweezers and carefully wiggled and eventually, the glue to the red piece popped lose and the top of the head piece is now three individual parts. They painted the internal area of the clear red silver so that the camera has detail when looking at it. This is avery nice bit of detail to the kit. I will have to rework this as I’m planning on doing a few more mods before painting it up as a quick little project.
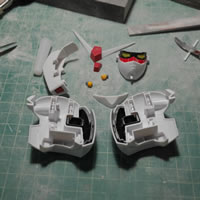
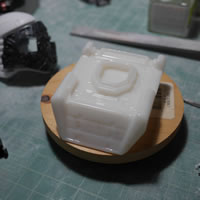
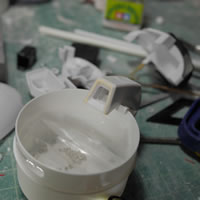
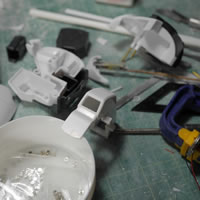
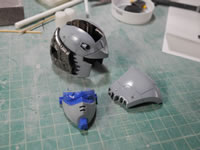
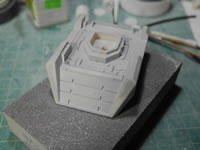
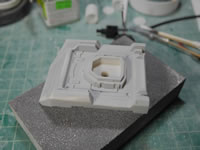
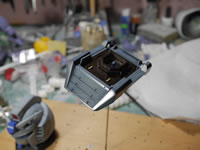
Since the .25mm layer hot glue gun 3D printing style leaves a decent bit of resolution lines; I put the neck piece into a vapor bath for about an hour and a half and this worked to melt together some of those lines. I’m left with a very shiny piece and some of the detail are not as sharp. Once I get my hands on an SLA printer, I will redo this piece so I have a much better looking base. But for now, this will do. The last picture if all the pieces after breaking this kit almost completely down. The only bits I didn’t separate were the internal pieces glued to the side of the head halves.
This should be a nice quick break from the Dom project. Progression for that project is slow because it is nothing but putty and sanding, more puttying and more sanding as I get the shapes of things as close to the reference pictures as I can.
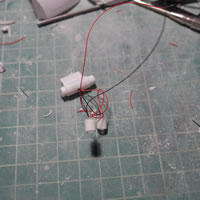
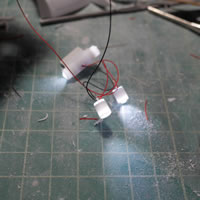
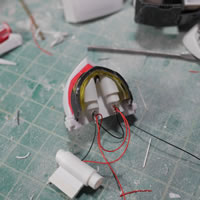
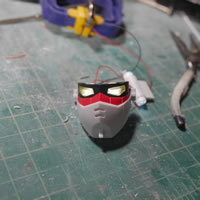
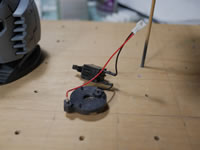
This is easily one of my quickest projects to complete in the past 10 or so years. The tough part was figuring out how to take the damn thing apart. Naturally, I need to add lights to the thing so I built a light setup for the eyes and the mohawk piece. I also wanted to lower the light bleed below the eyes so I added some styrene to the face piece just under the eyes. The nose vents are just holes so I covered this area with some plastic as well. Styrene tubes are glued to the back of the eyes to focus the light as well as have a place to slide the eye light assembly.
A quick test with a battery shows that the lights work just fine.
THe mohawk piece was cut apart too so that I can remove the clear red sensor. The sensor piece was glued to the main head piece and a plastic insert fits over this. Again, this is part of the breakdown video. That gap for for the cover piece needed to be glued and puttied. The back sensor was just paint, so I drilled it out and sanded the area. The inside needed some work so that when I fit in a clear piece, it sits decently and not too far back from the front of the plastic.
A few holes are drilled into the side of the head pieces so that I can fit some metal accents. A simple detail mod, nothing fancy.
I rescribed some of the lines to deepen some of the panel lines and then it was off to primer to check the surface work. I also gouged out some plastic while I was figuring out how to disassemble the kit as well as taking the original head vulcans out so light curing putty was used and the primer is to check for that fix as well.
Once the mistake areas were fixed, it was reprimed to recheck then baked in the dehydrator for an hour and the black coated. Over the black base coat, I sprayed a dark grey to get some very heavy shading/highlights. Again, back into the dehydrator for another hour.
A mist layer of a lighter grey is sprayed over the head to blend in the darker shaded areas and give me a color lifted gradient to the shading.
Once that was done, I masked off these areas and painted the “internals” for the head. After some detailing, the parts are clear coated with a gloss. So the next picture shows a shiny head piece.
The above video shows the use of an FDM printed neck base from MarcoGunpla. Thursday afternoon, I picked up a new SLA 3D printer, the Formlabs Form 2. So after setting it up and doing a quick test print with something small; I kicked the printer off to print Marco’s neck piece in resin at .05mm resolution. The print took about 10 hours. Below is a video timelapse of the print.
Once printed, I did the necessary cleaning and curing, then test fit the electronics. Once that was done, I did some quick sanding on the support connection spots and primed the thing. I can see the resolution lines but I cannot feel them. I did some light sanding for the part and filled in a few areas and the part was off to more primer and then paint.
While all this was happening, I got the main head piece decaled, 2nd gloss coat, panel lines, and final flat coat. This was done with the help of the dehydrator working after each step which seriously sped up my build time. The Base is pained and gloss coated.
The last bits of work is the decals, panel lines, and final clear flat. I also drilled out 4 corners of the base to add some more metal accents. Once the head is on the display, it’ll be a little difficult to see, but for those looking, they’ll find them.
Even before the glue has time to set for the metal addon bits, I popped the head piece on to the base and started taking completed pictures. This was a VERY fast build and a nice little break to complete something in the middle of the Barrage build and I have something completely new to bring to Valleycon 2019 which happens tomorrow.


