This tutorial will take you step by step through a simple process to add some texture to your plastic kit. The idea is to create a cast iron effect or a rough surface to the plastic. The process uses a solvent glue (I am using Mr Cement Deluxe) other thin solvent glues for model building can also be used. Beginning with a roughly sanded part (seam lines, mold lines, and spruce nubs have been sanded down).

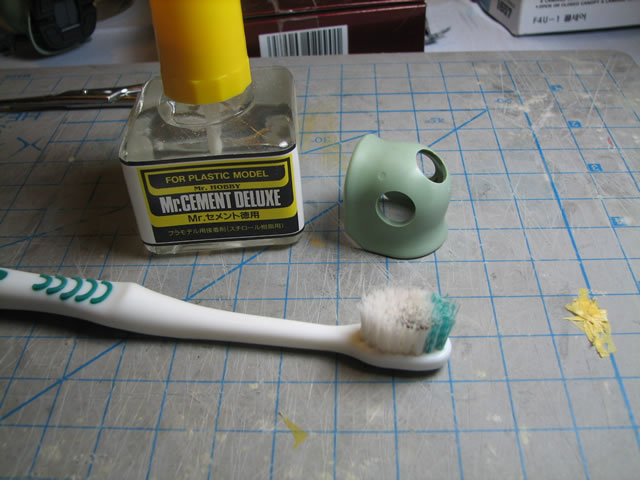
The following picture shows the necessary tools; solvent glue, an old toothbrush, and the plastic part.
Simply apply the glue to a workable area of the part and before the glue dries, use the toothbrush to brush the surface where the glue was applied. Brushing in all directions will ensure an even randomness to the texture, or if you choose, you can brush in a single direction to create a unidirectional texture effect. Continue brushing the part until the glue dries. You will notice this as the brush is no longer “sticking” to the surface as much and the brushing is no longer roughing up the surface of the plastic. Move on to the next area and repeat the process of applying glue and using the brush.
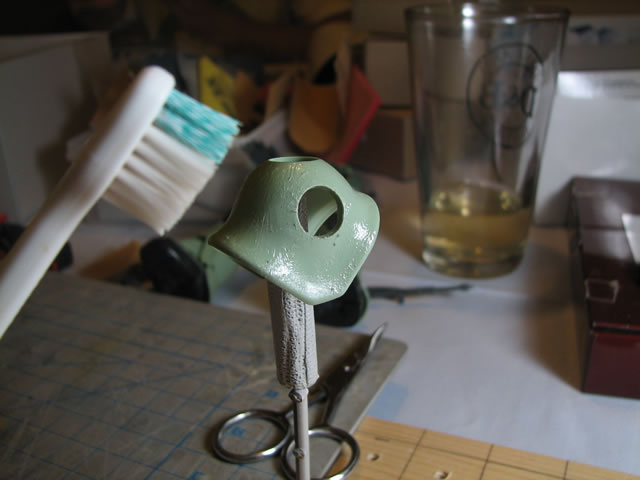
This will result in the following picture where the surface is roughed up and there are almost strings of plastic peeled off the surface. This is normal. Let the plastic sit for at least 2 to 3 hours for the glue to fully cure.
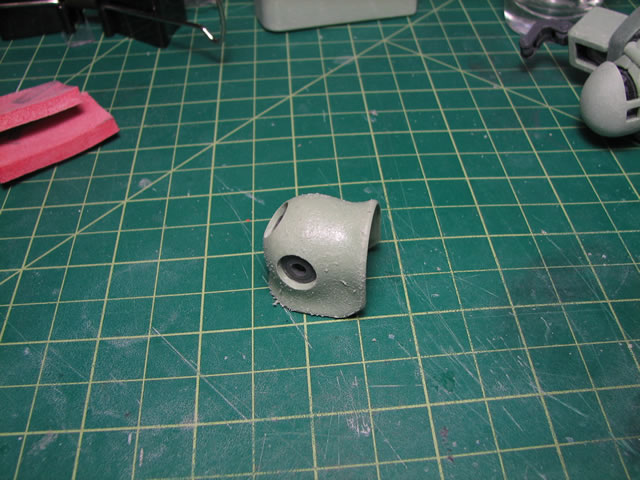
Once the glue has fully cured, you can take sanding paper or a sanding pad of about 200-300 grit and lightly sand the part smooth. This gets rid of the rough burrs and smooths out the surface of the part and results in a nice added texture to the surface of the kit.
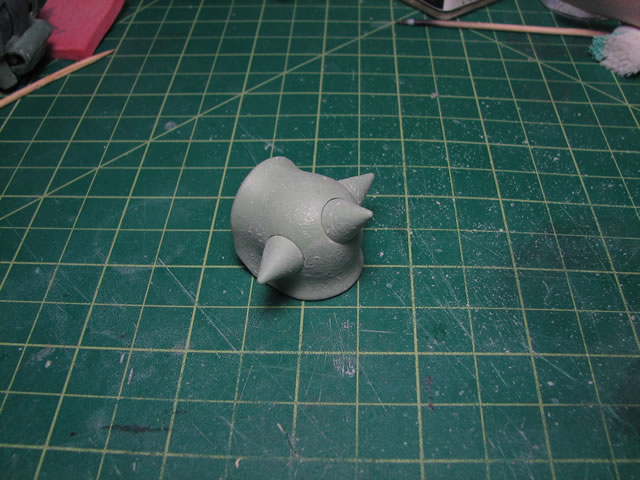
Here is an additional example of a Zaku’s shoulder shield with the technique applied and lightly sanded:
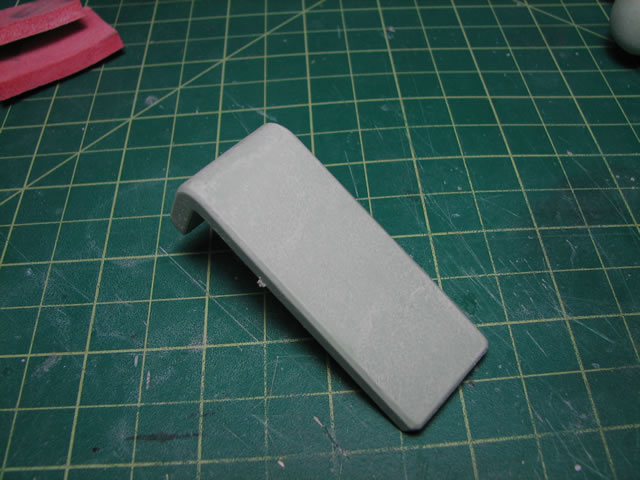
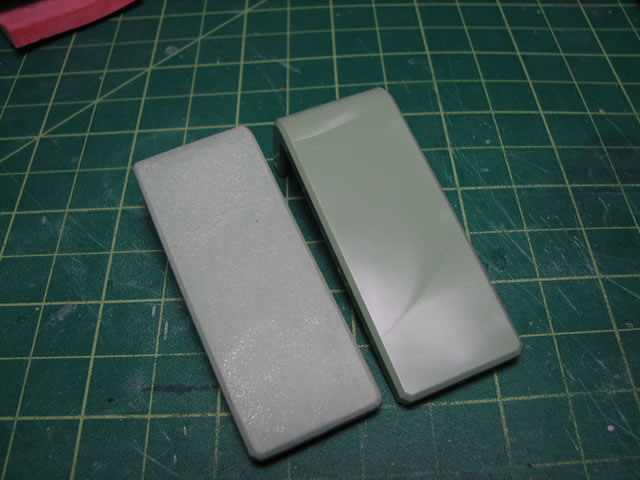
Here is a side by side comparison of the part after this technique has been applied and before without the technique
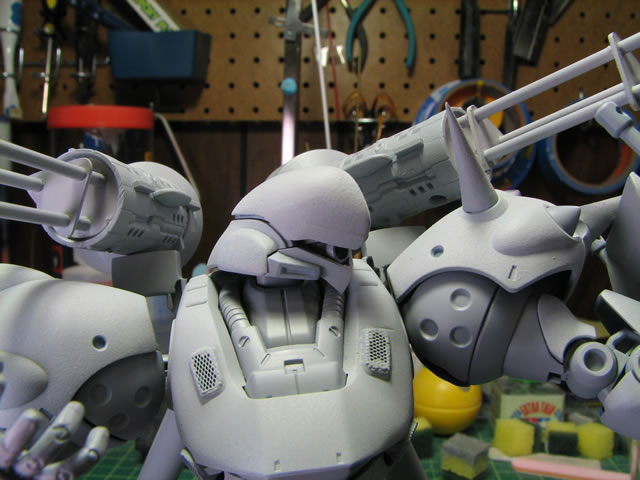
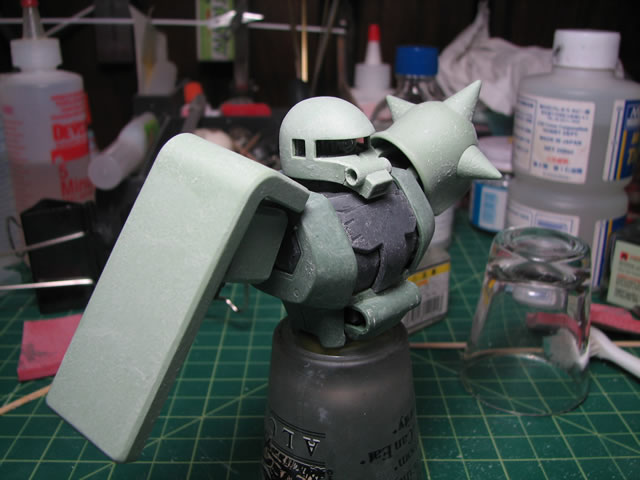
Finally, here is a picture of the upper torso of the Zaku with the technique applied to all the exterior armor parts.
- Recap of the steps:
- Complete rough initial sanding of nubs, seams, and mold lines
- Apply the glue to a workable area of the part
- Brush the part where glue was applied to rough up the surface
- Let the part completely cure
- Lightly sand the part to remove the rough burrs and edges
Here is a video clip of the above technique:
Get the Flash Player to see this player.
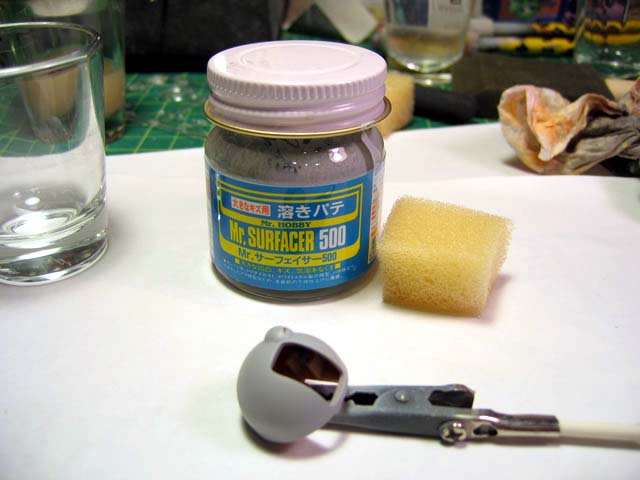
Texturize plastic using Mr Surfacer 500
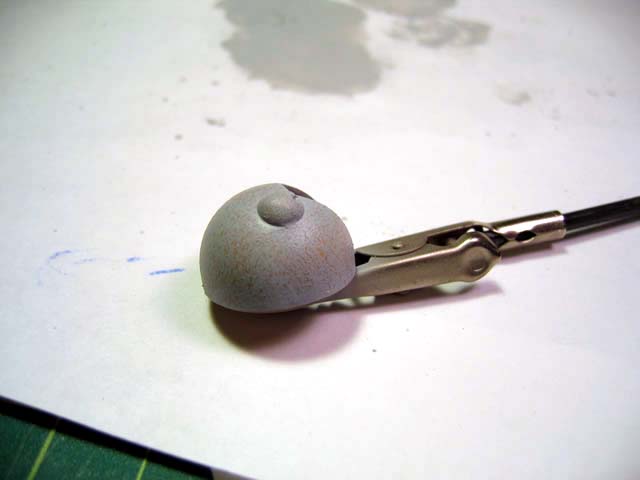
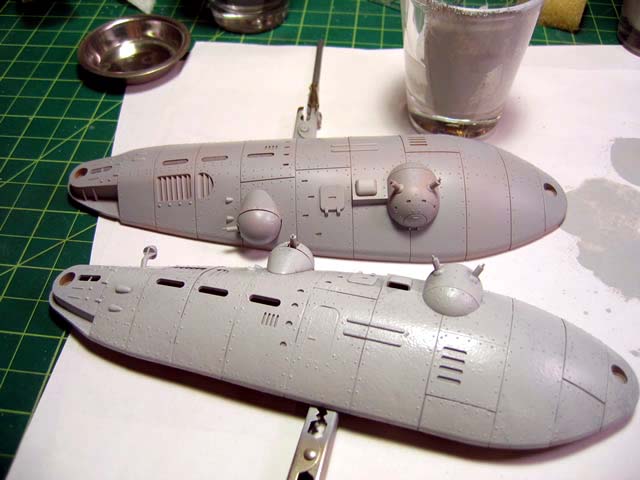
This is a different method for applying texture to the plain plastic. This technique uses a sponge or a stiff old brush and Mr Surfacer 500.The Mr Surfacer is applied to the part using the sponge or stiff brush in a stippling motion. Once dried, the surface will, have a rough texture similar to cast iron. The following pictures show examples of the before and after.
The following video demonstrates the above technique on the top section of a Kampfer.
Get the Flash Player to see this player.
Below is a picture of the resulting technique.