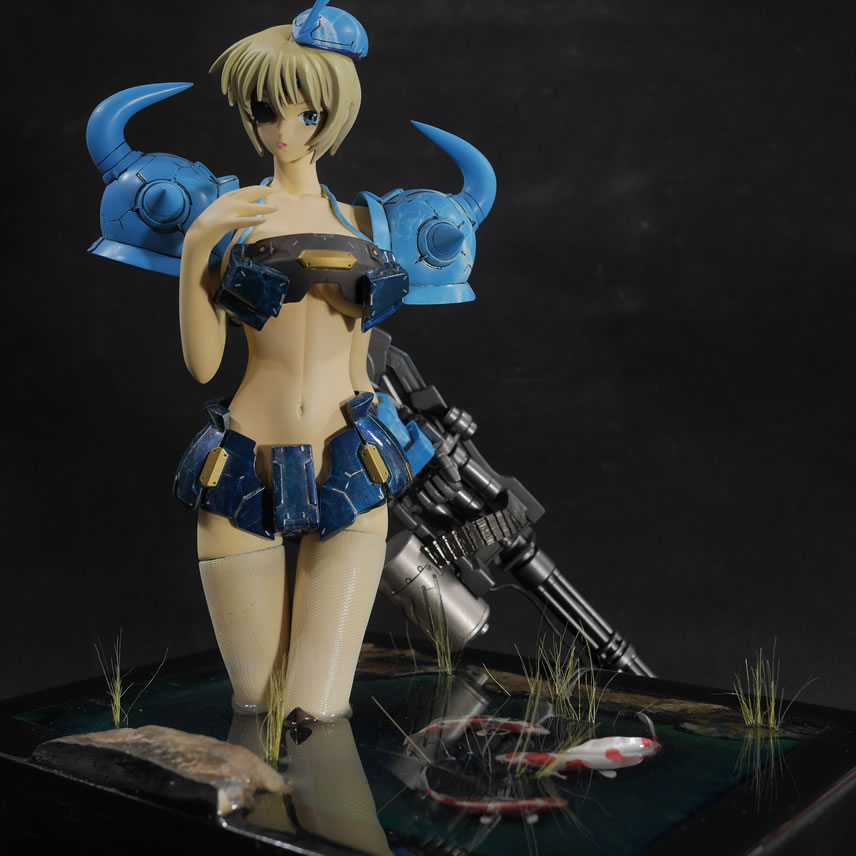
She’s done!

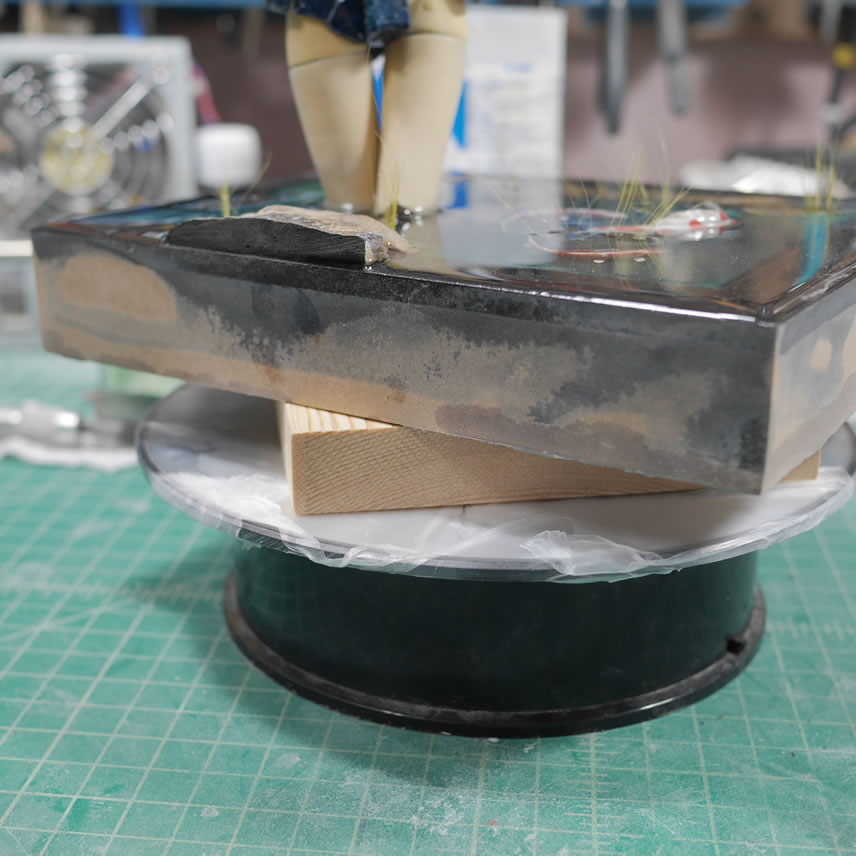
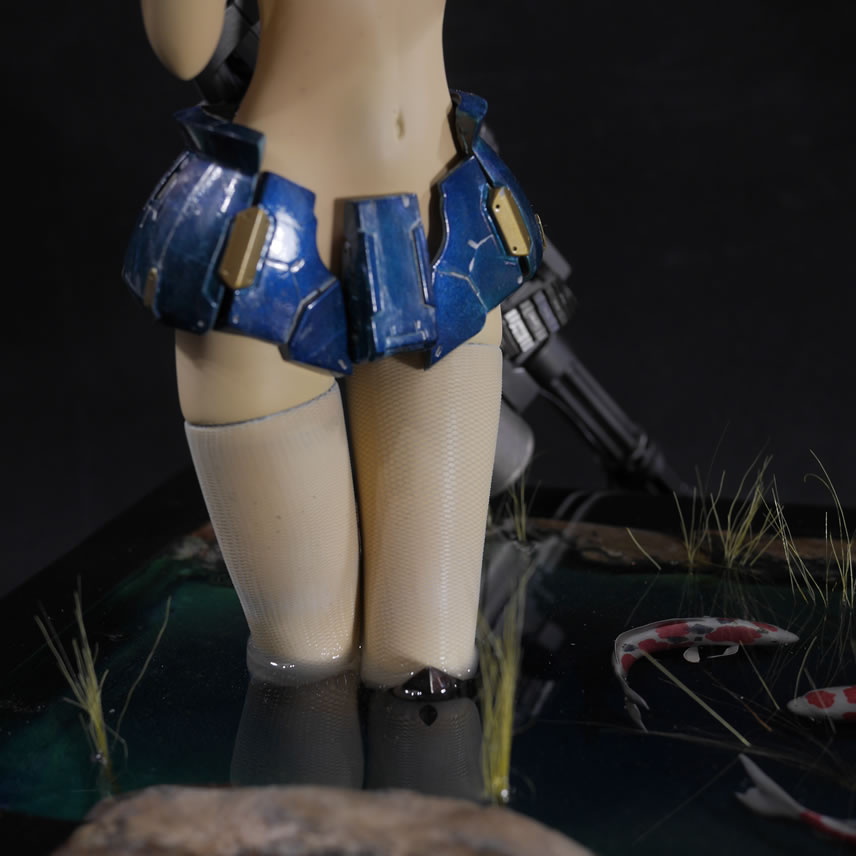
Before we get to the full gallery, lets rewind from where I last left off. The pieces were glued to the base and ready for the clear resin. I used a very slow curing epoxy resin since the whole base is too big to fit into the pressure port. Also, a slow cure resin means lower curing temp. Fast curing resin will get pretty hot during the curing process and that would potentially melt things down. Since 99% of the kit is resin, this shouldn’t be too big a problem, but why take that risk. The resin I used works well with bandai plastic too. The resin was poured in three stages. To make sure I fill the area and to over flow it a little so I get an infinite top kind of look. I needed most of the resin to cure first before pouring additional layers. Once all the layers were poured and cured; the kit is removed from the dust free drying chamber I had and the excess resin can be cut and pulled away. This sort of ruins the sides of the base, but I’m not too concerned as this was expected.

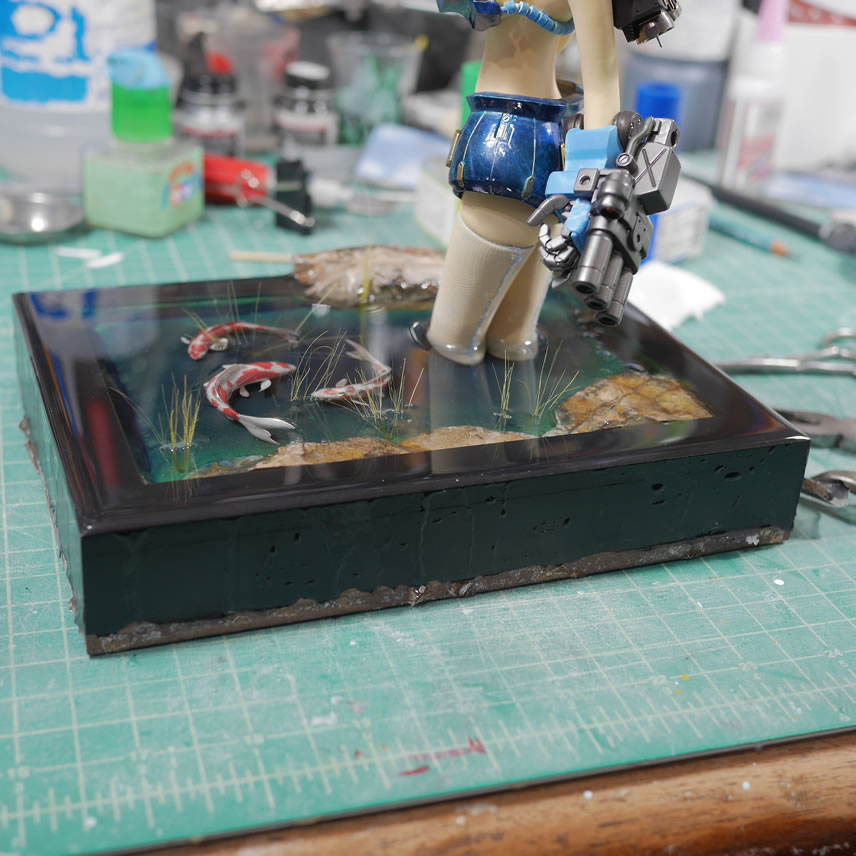
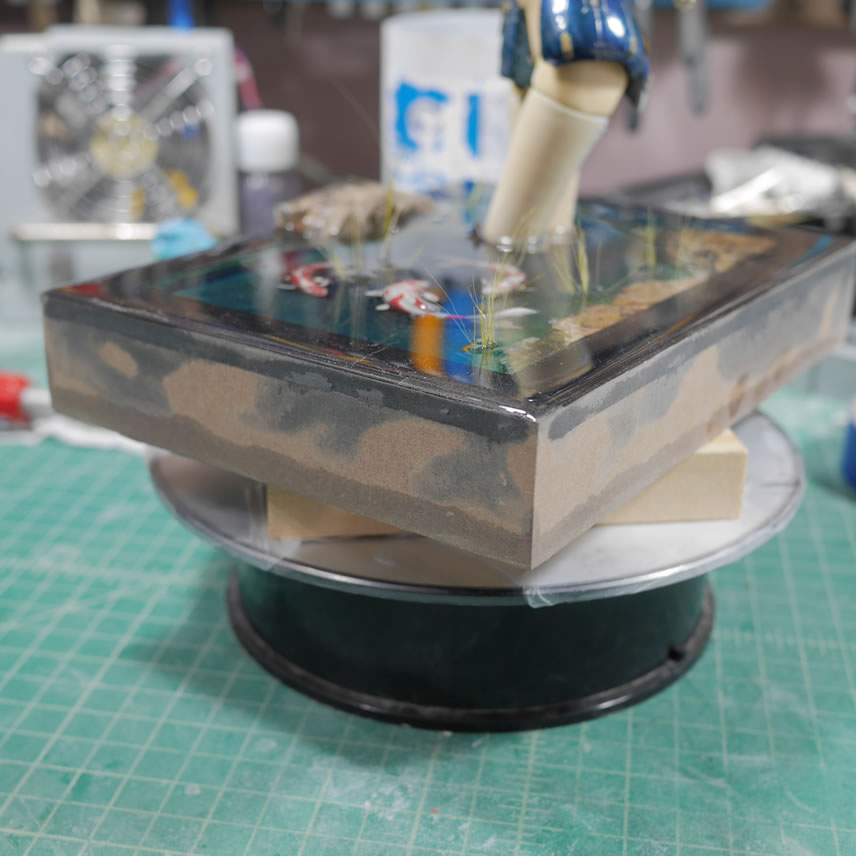
An orbital sanded was used to quickly smooth out the sides and remove any excess resin. I started with an 80 grit, and moved up to a 180, then 220, and finally a polishing grit of 320.
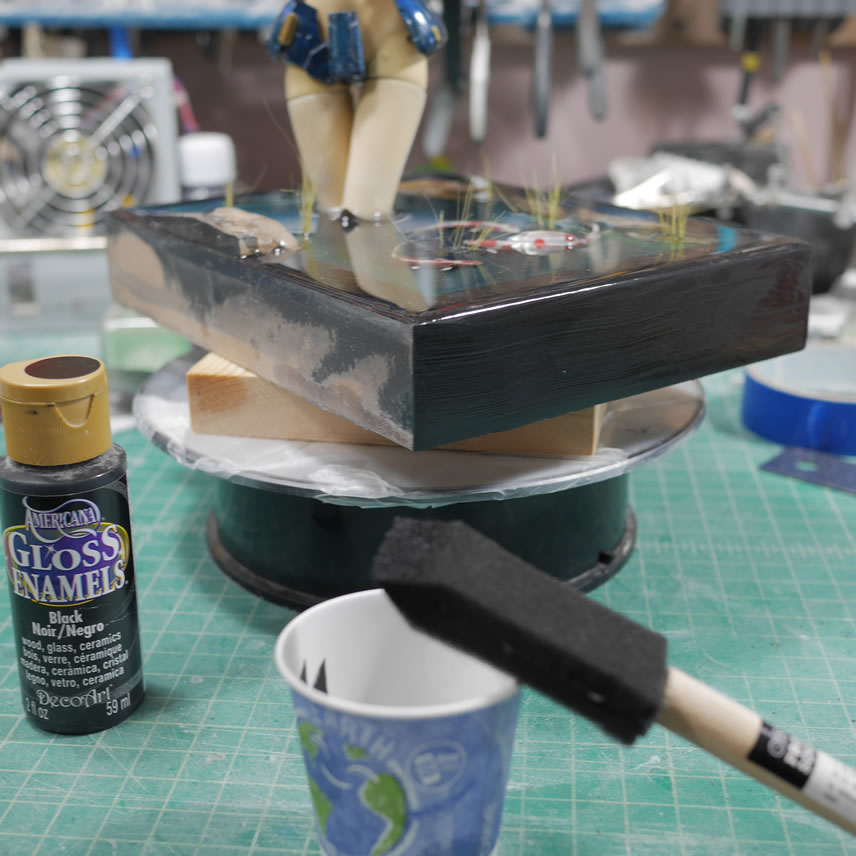
Once smooth, the sides are wiped down with a damp cloth, dried, then painted on some black to finish the base.
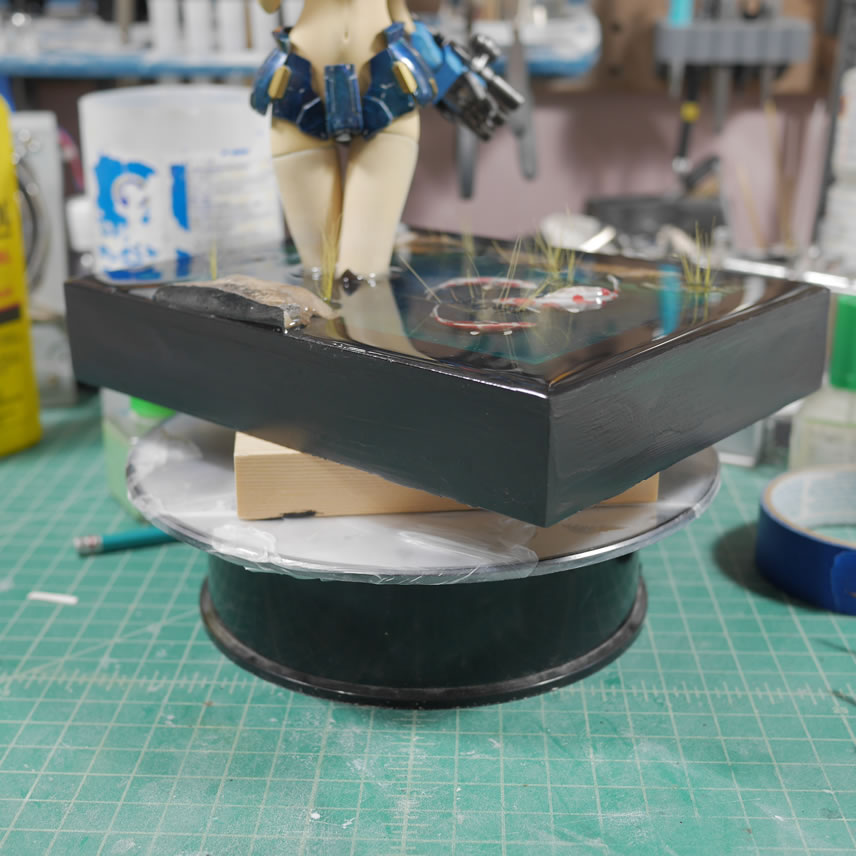
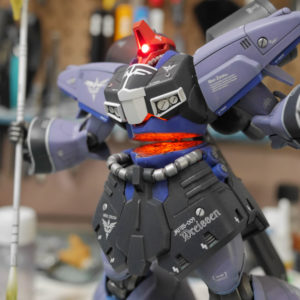
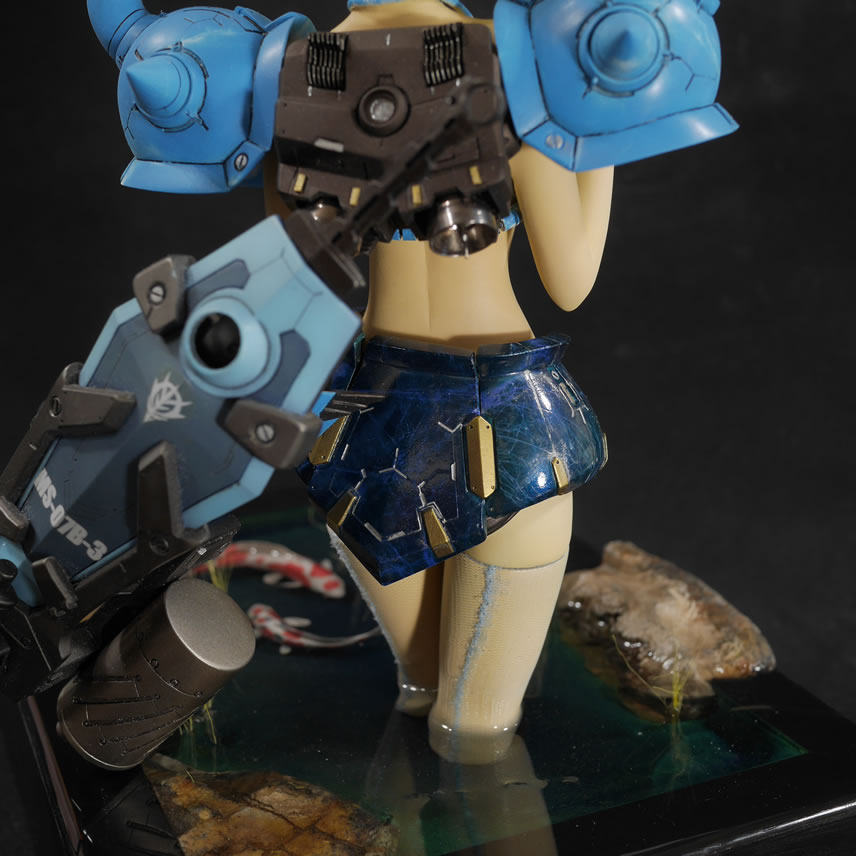
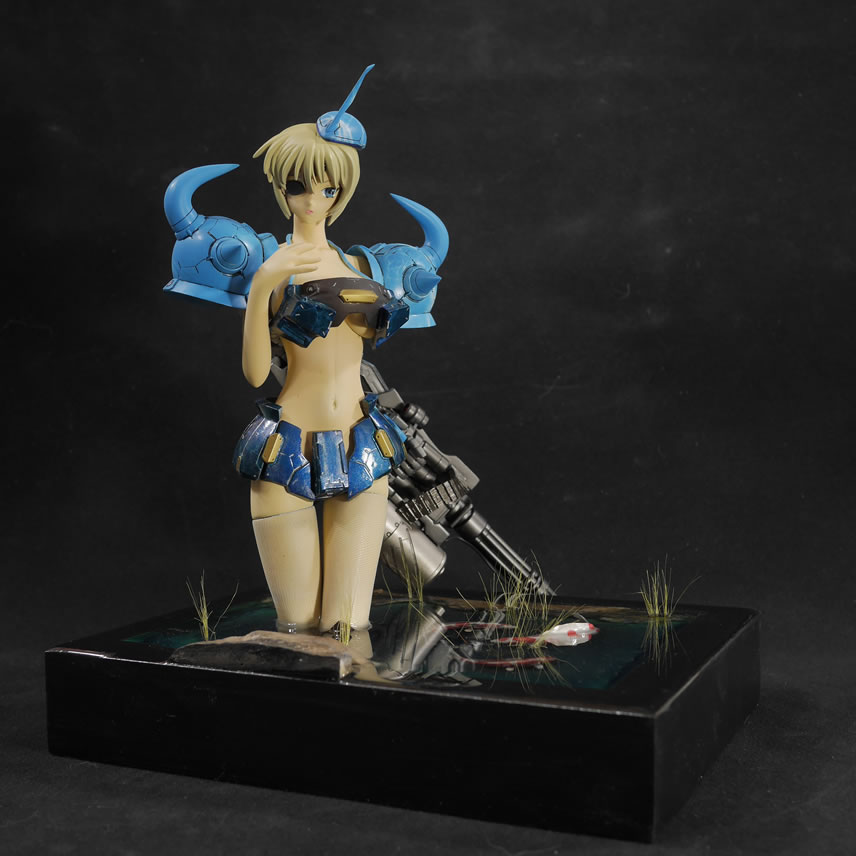
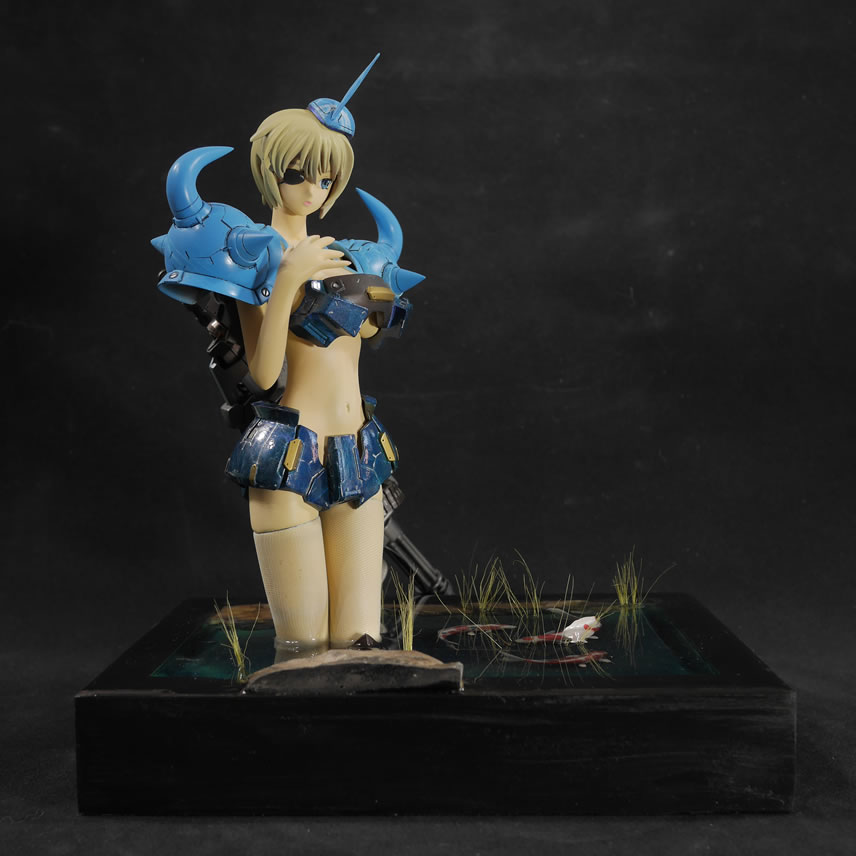
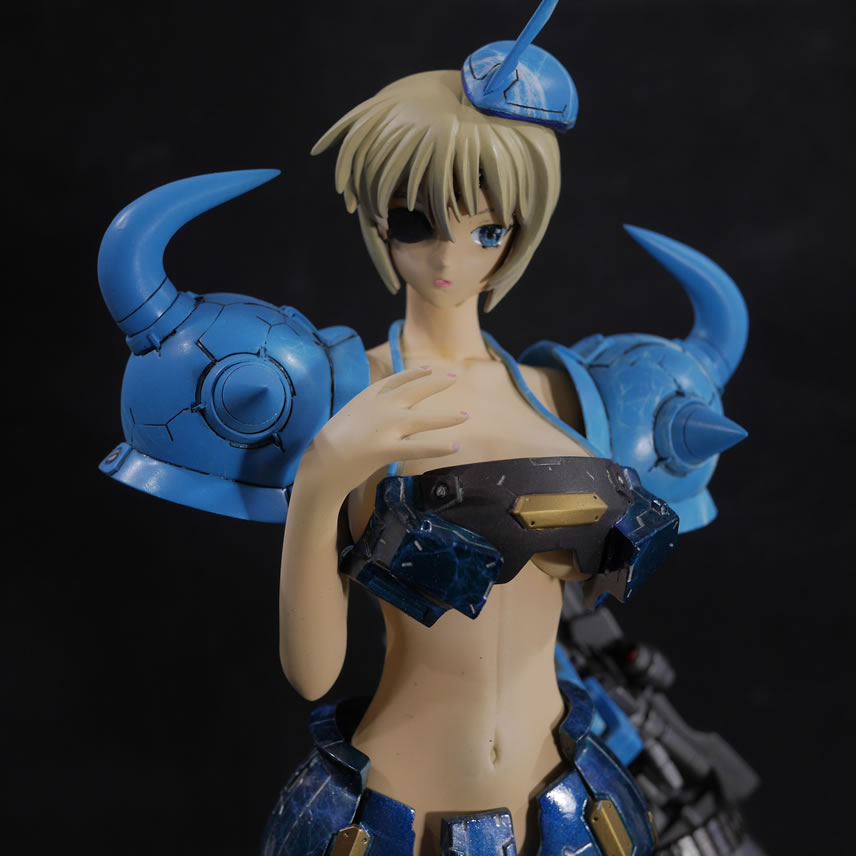
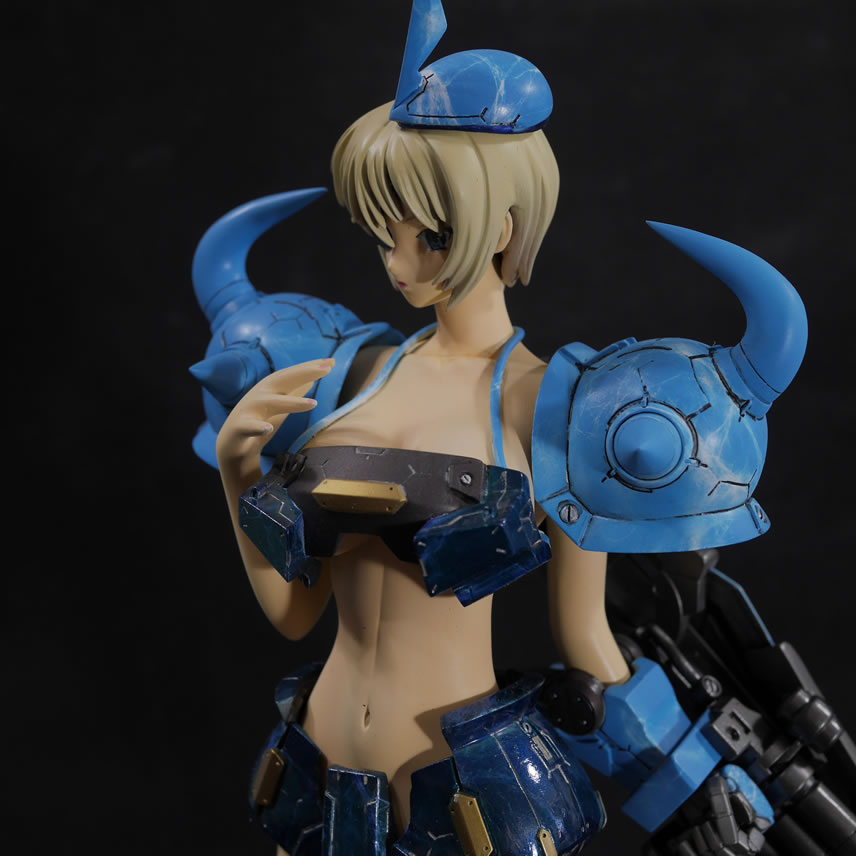
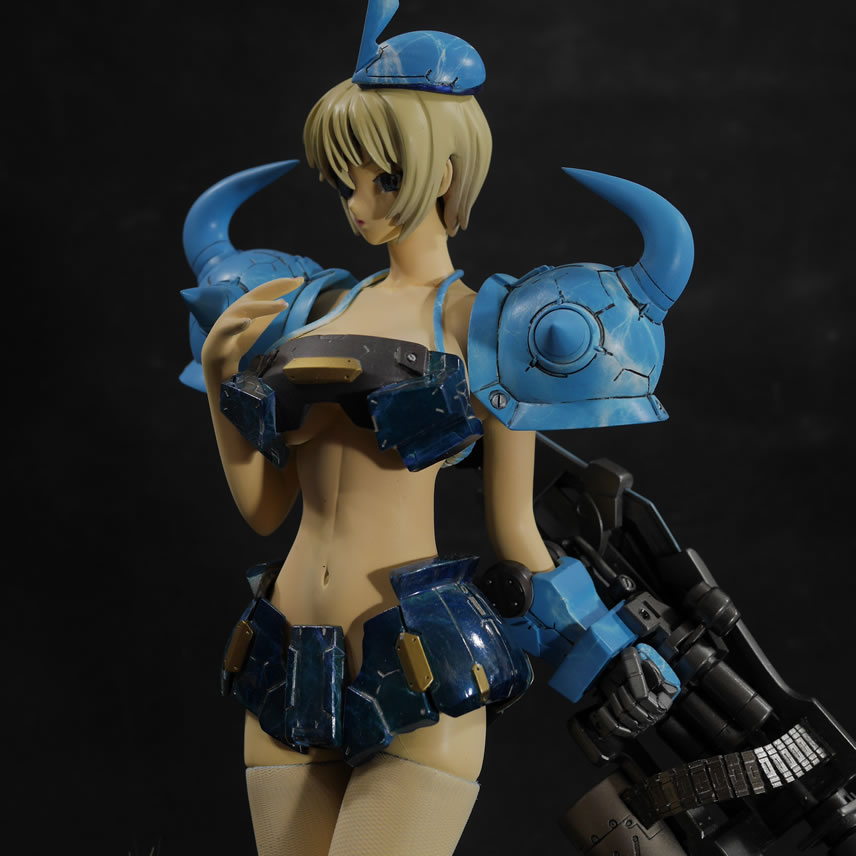
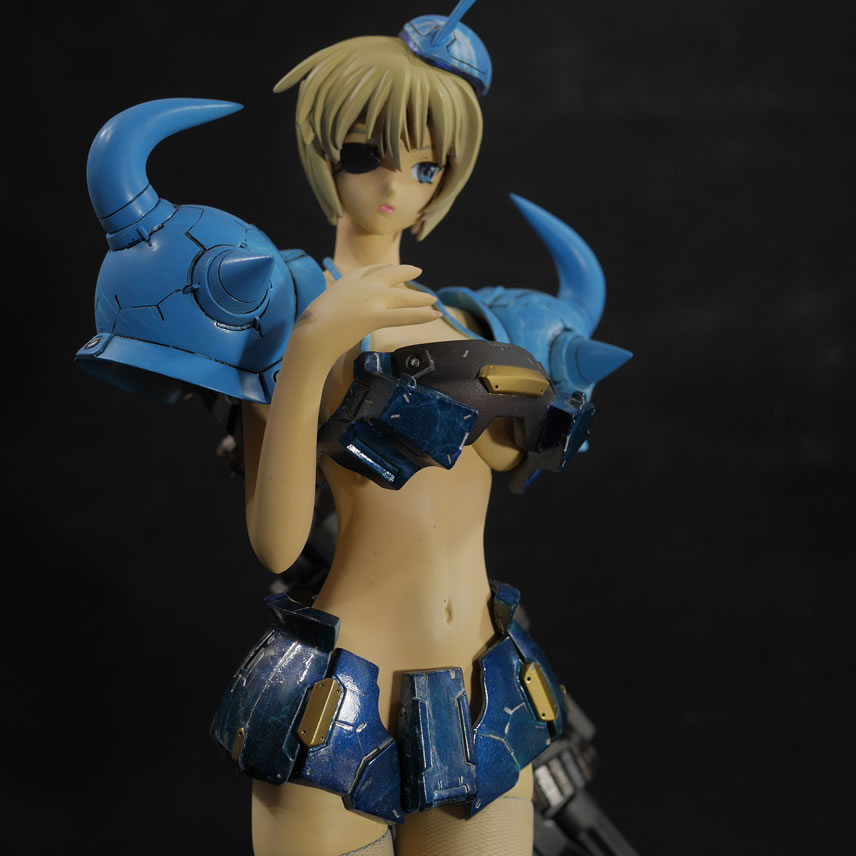
The last bits were painting in the lips, finger tips and small little details such as the wires in between the cable tubes for her bikini strap. And she’s done. A fairly quick project completed in about a month’s time.
Here is a quick video showing her off
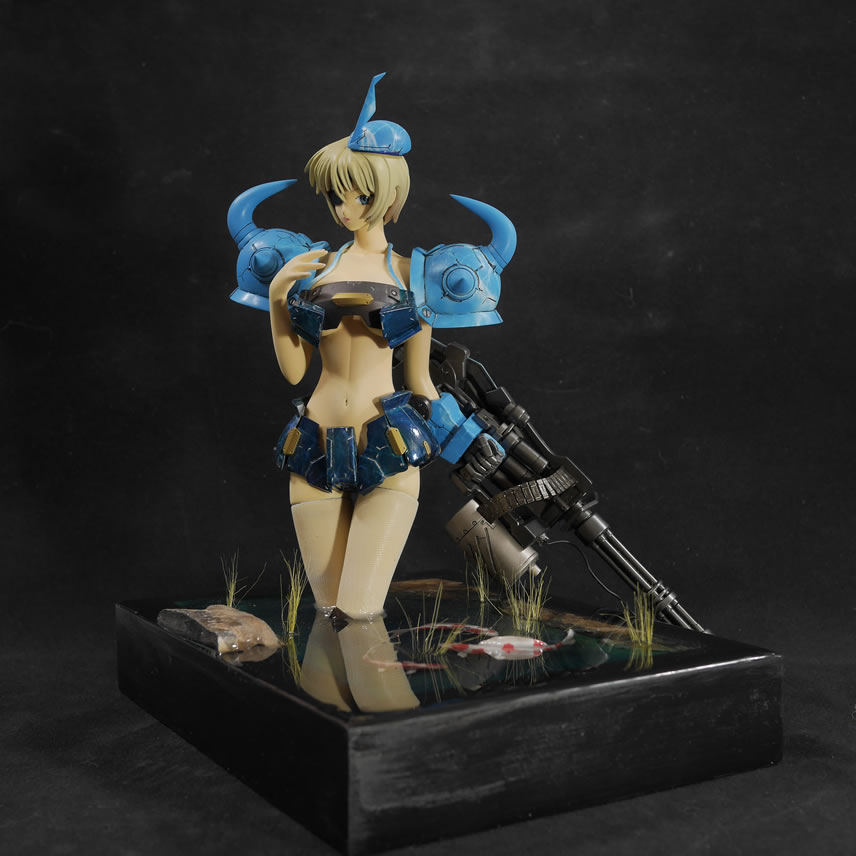
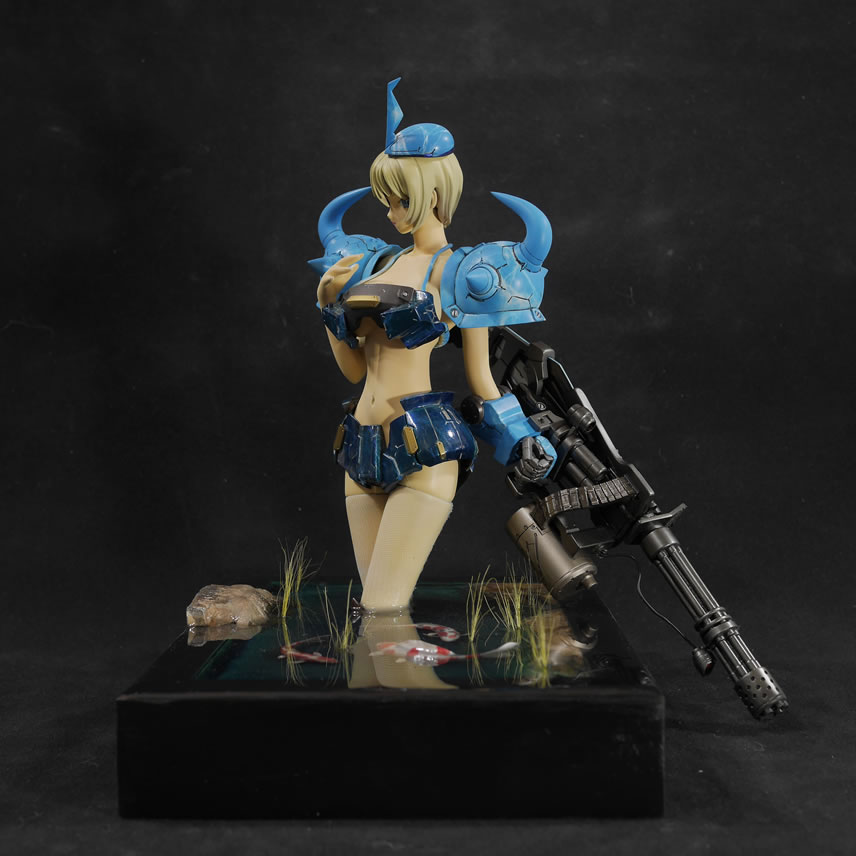
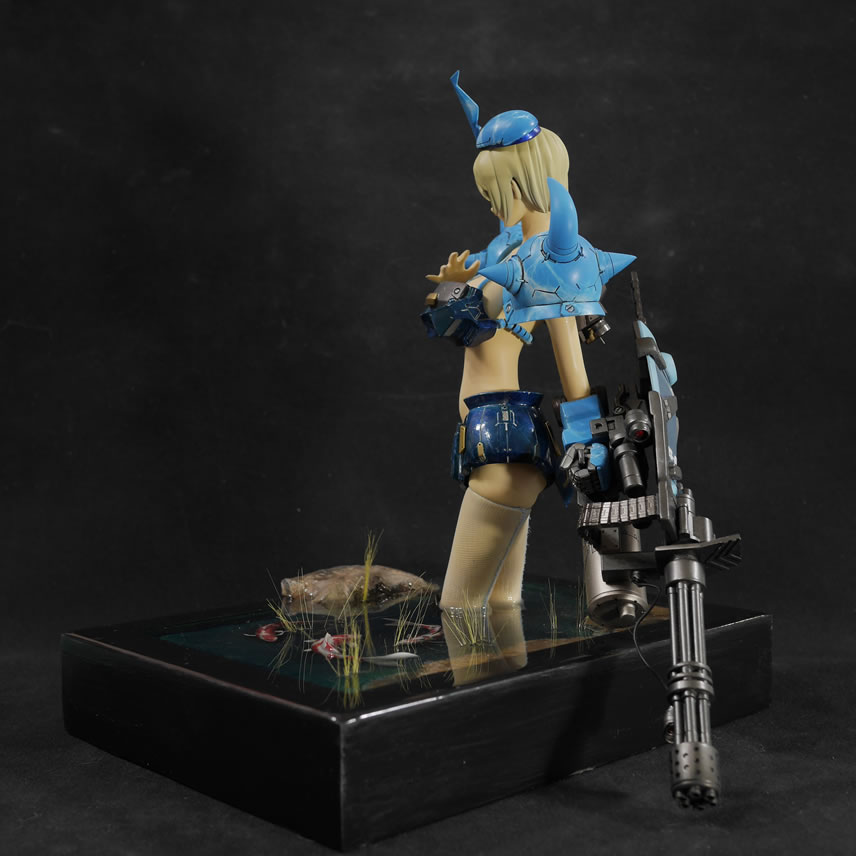
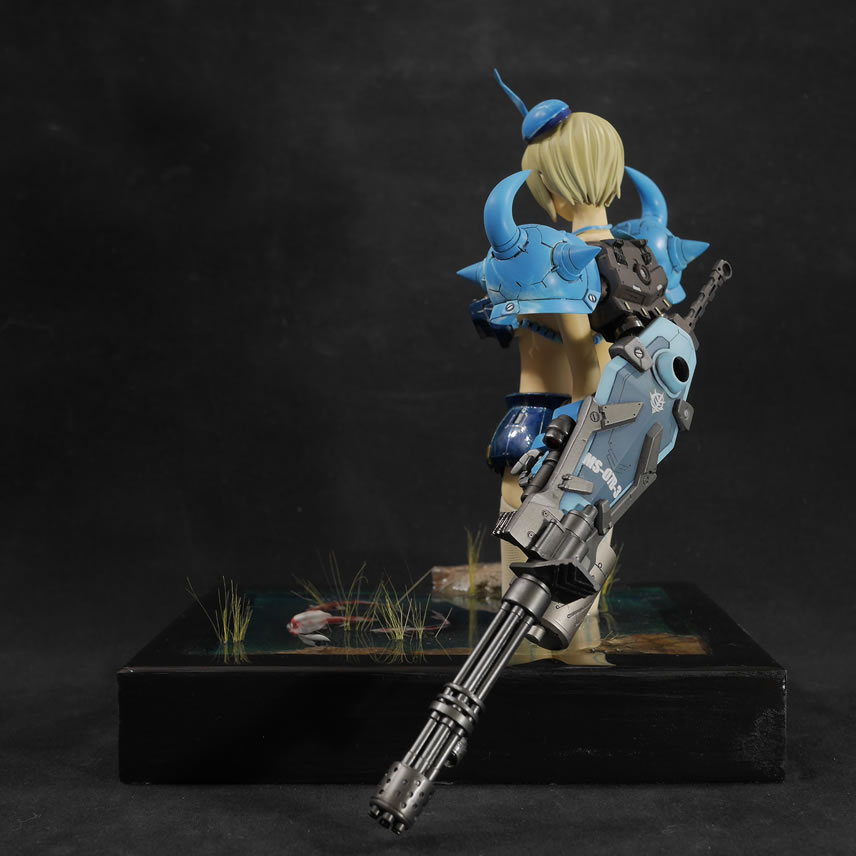
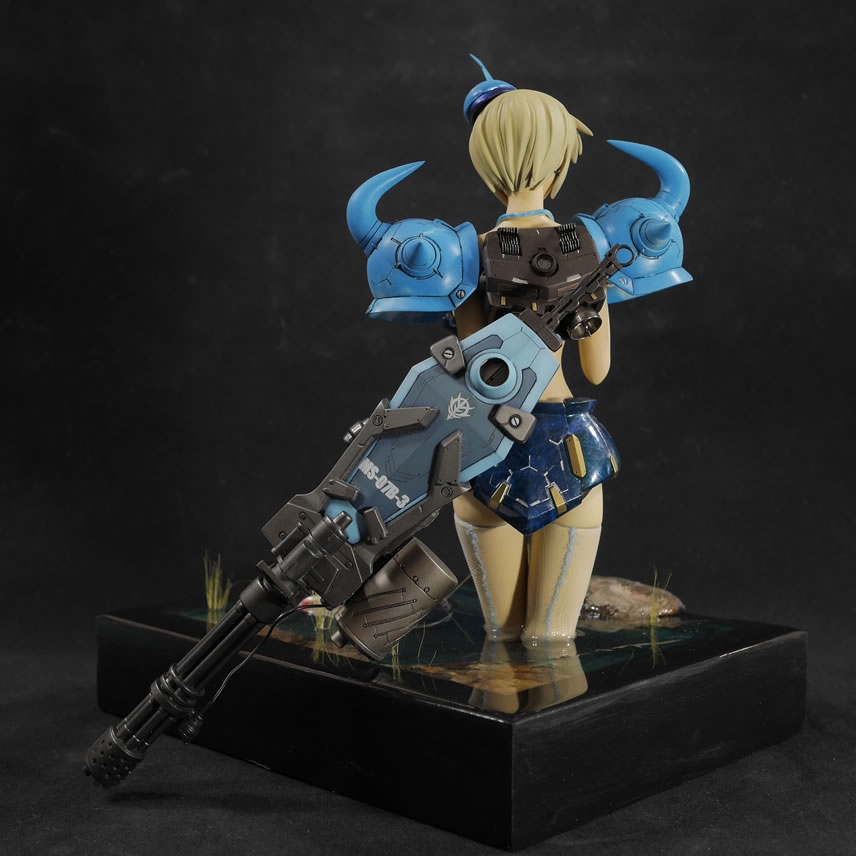
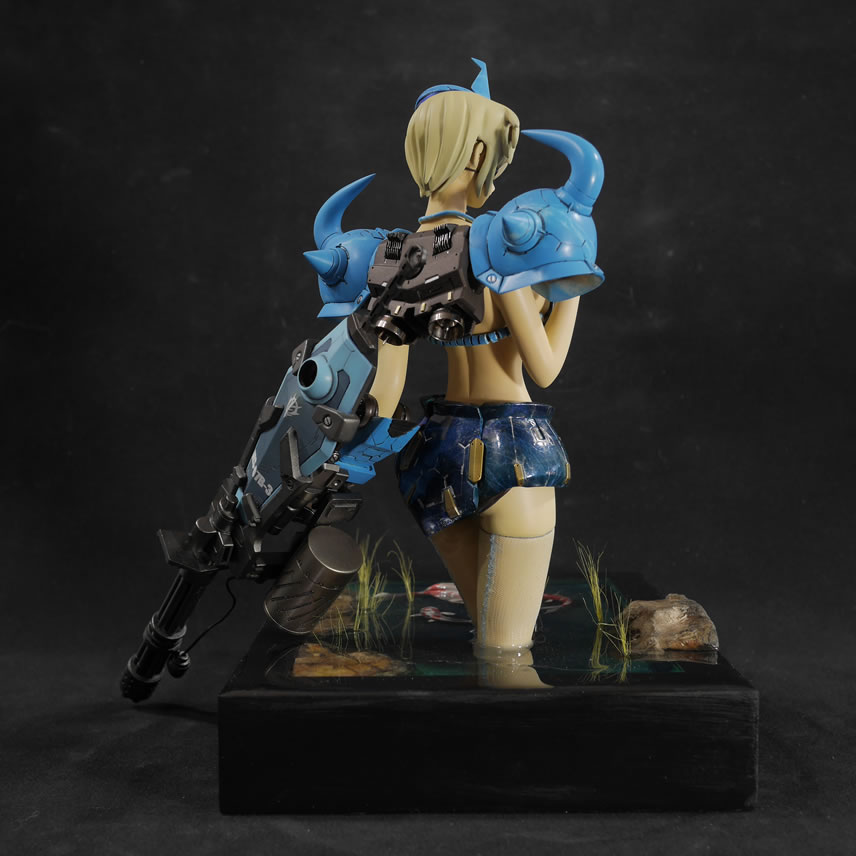
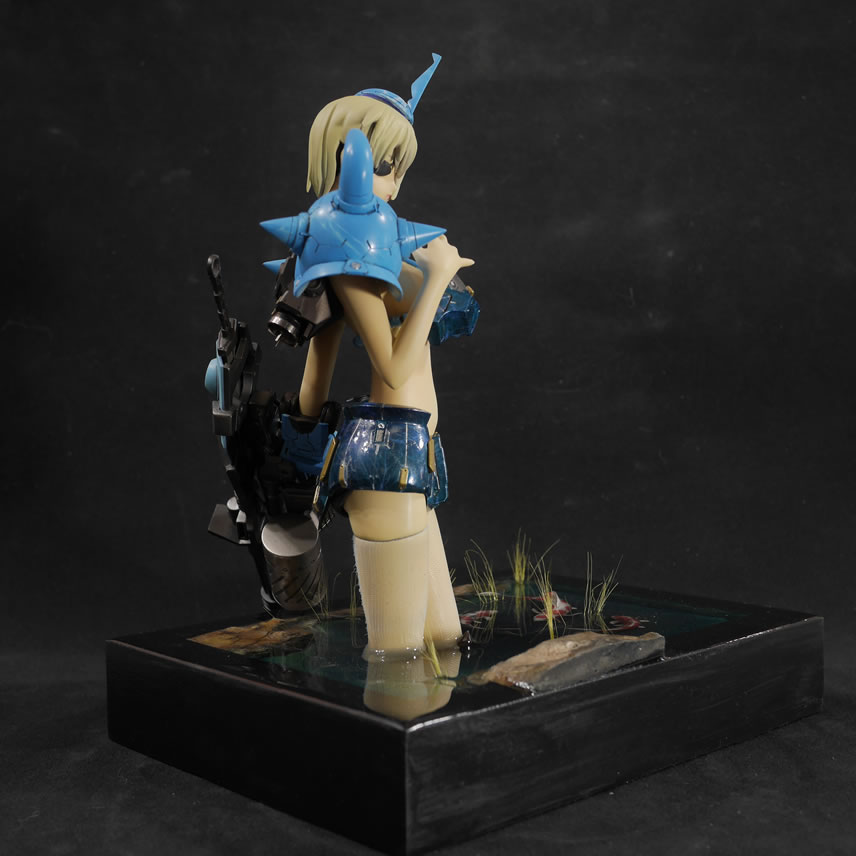
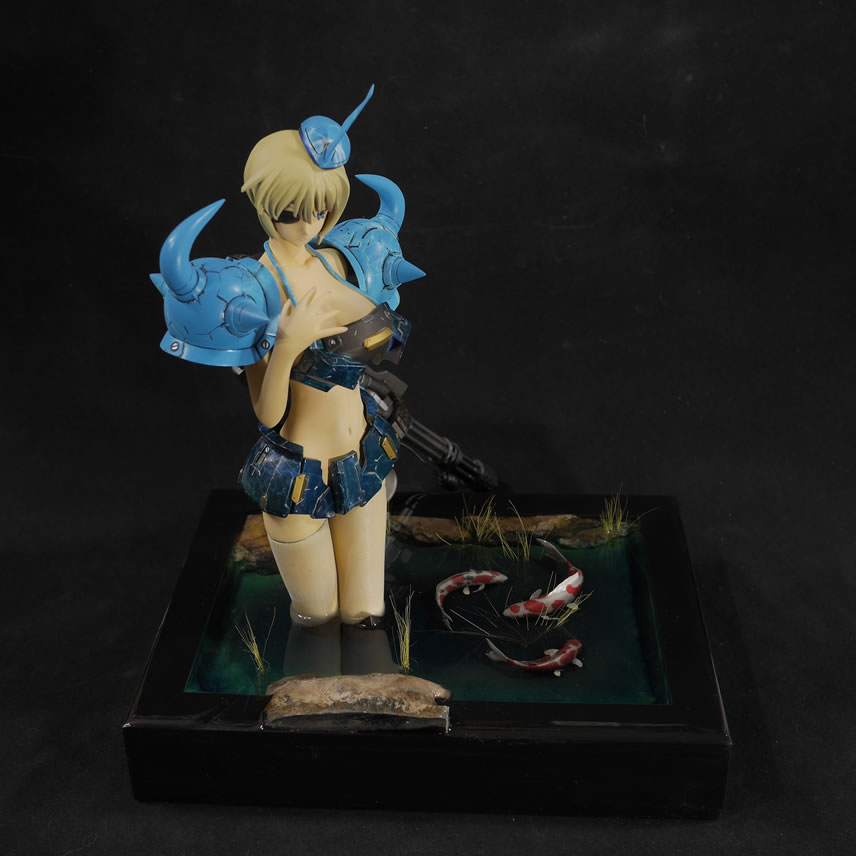
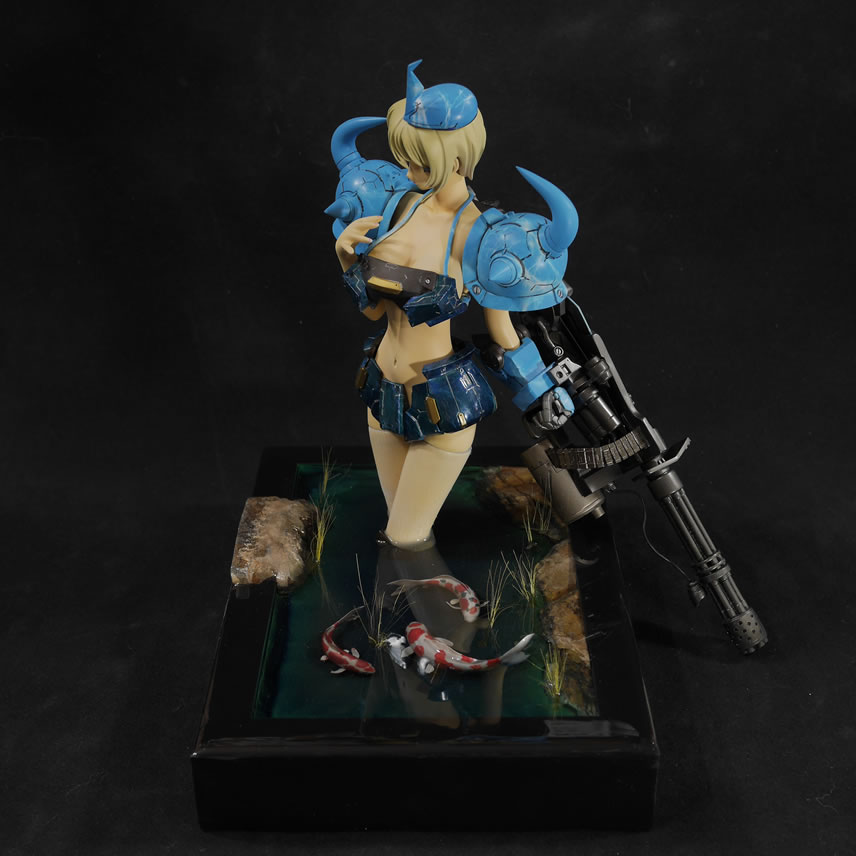
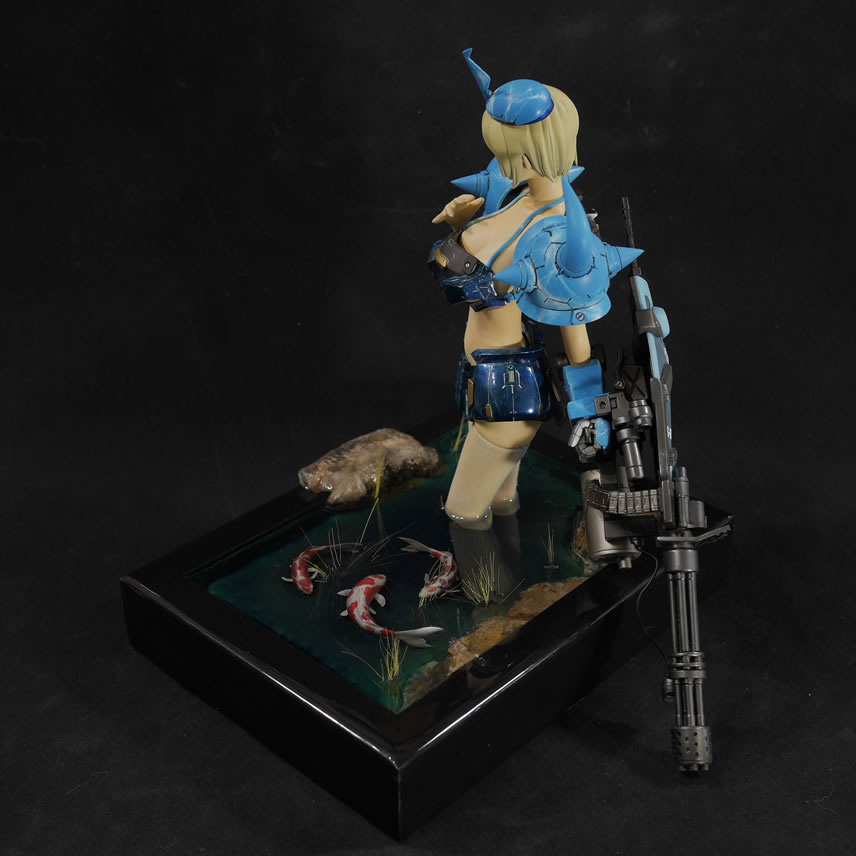
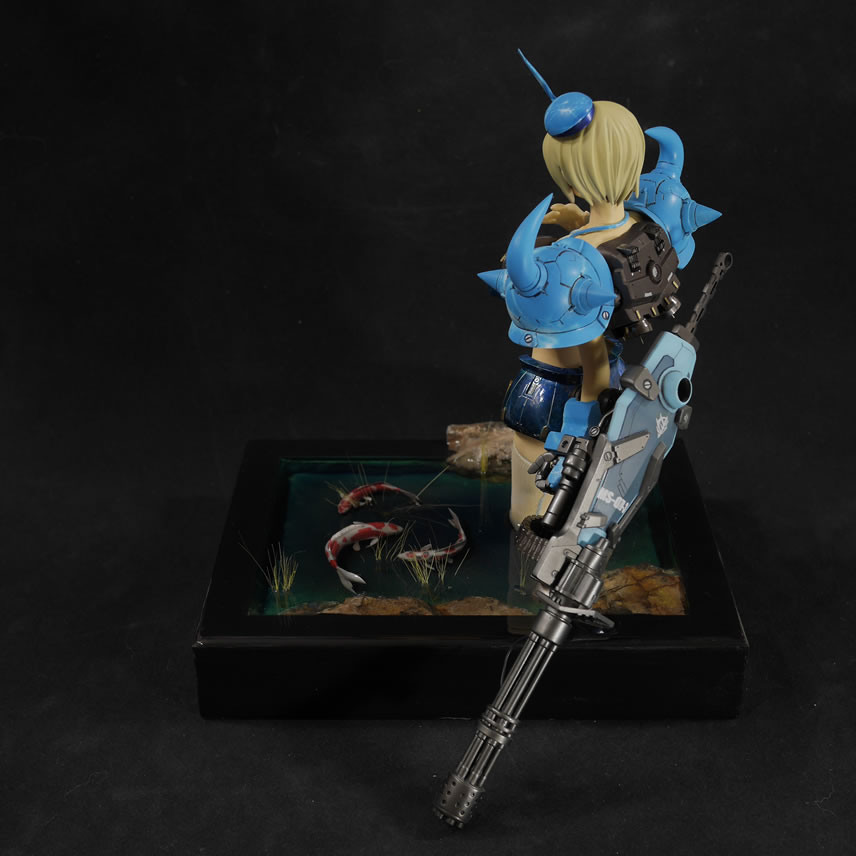
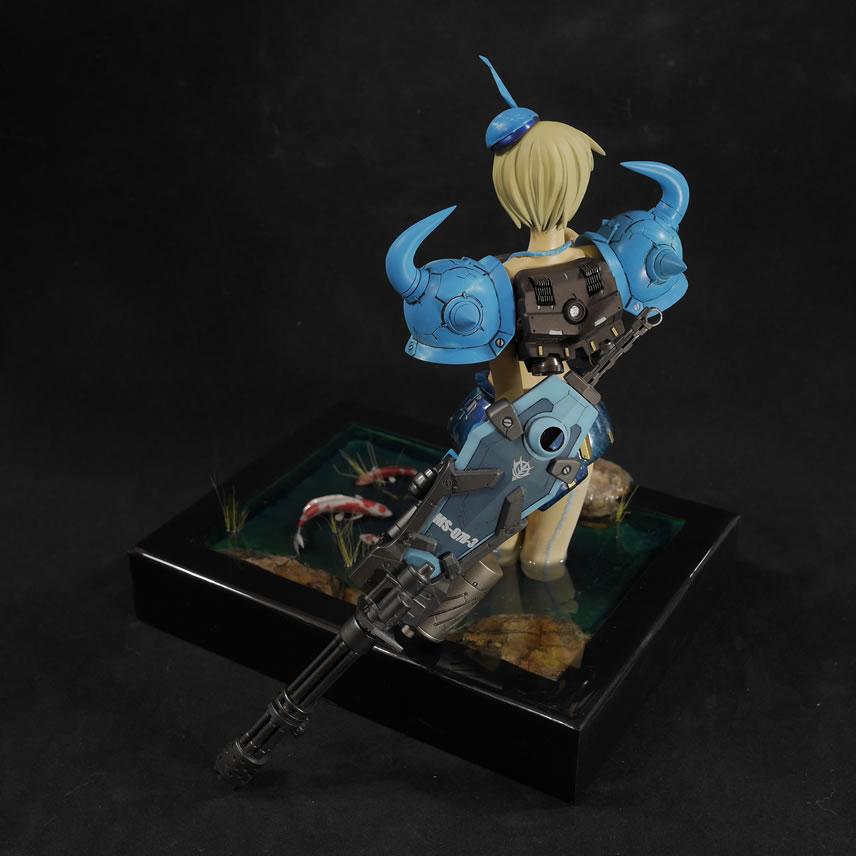
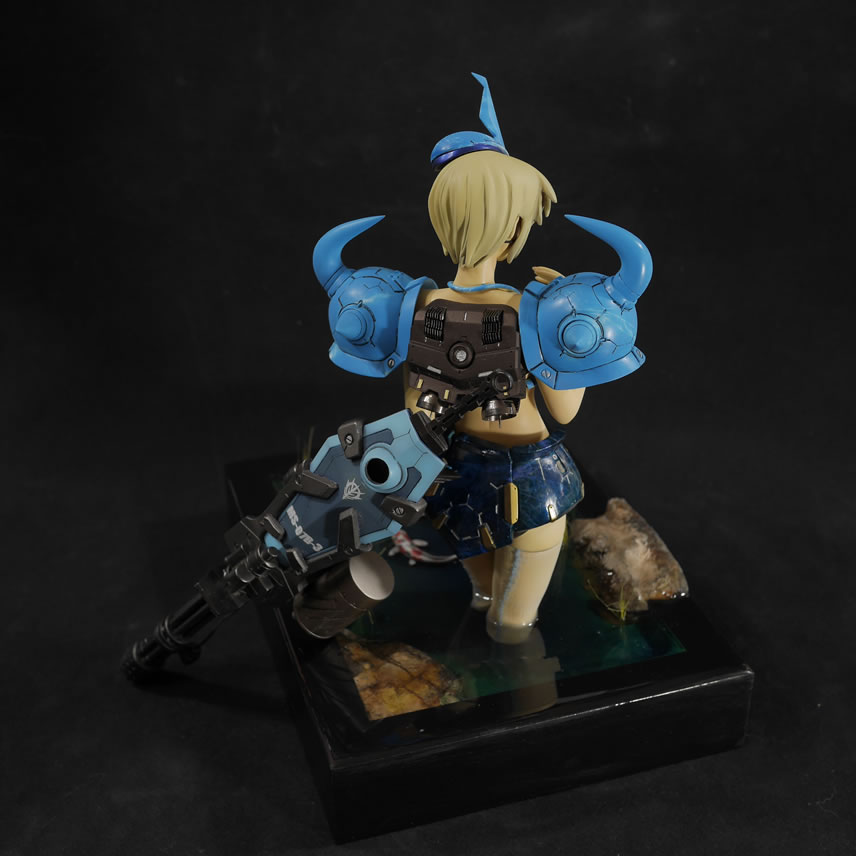
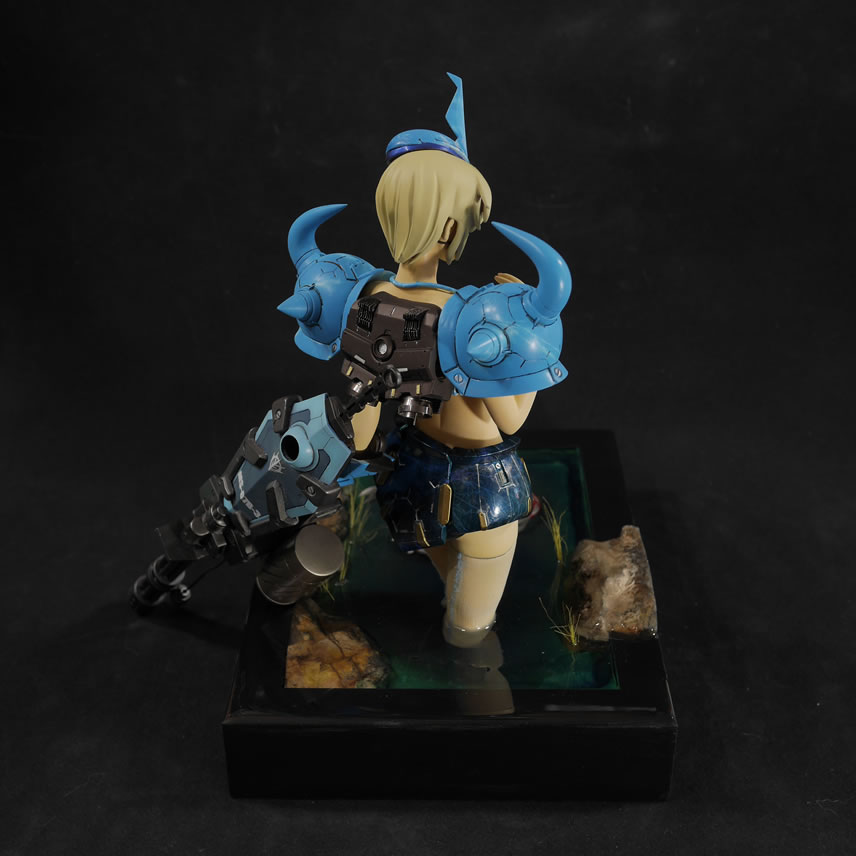
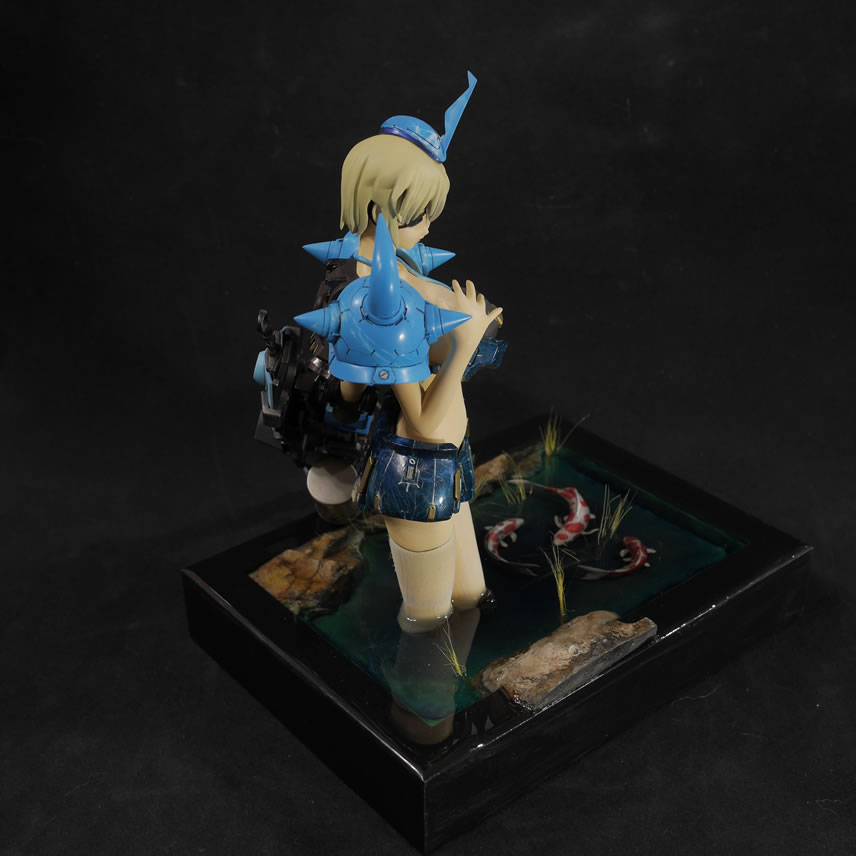
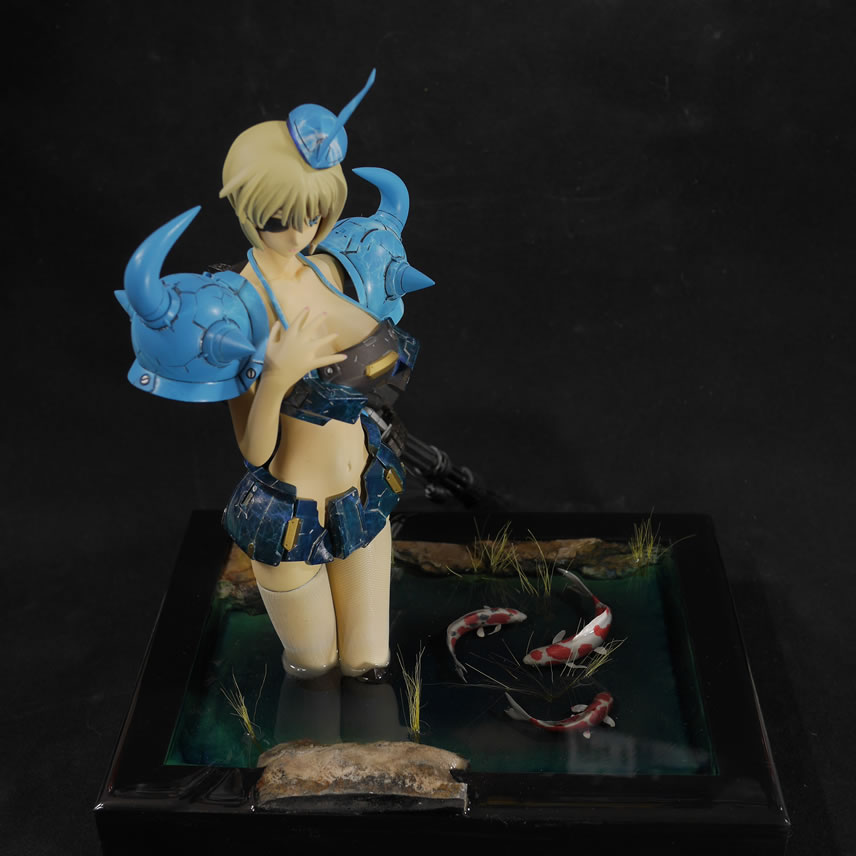
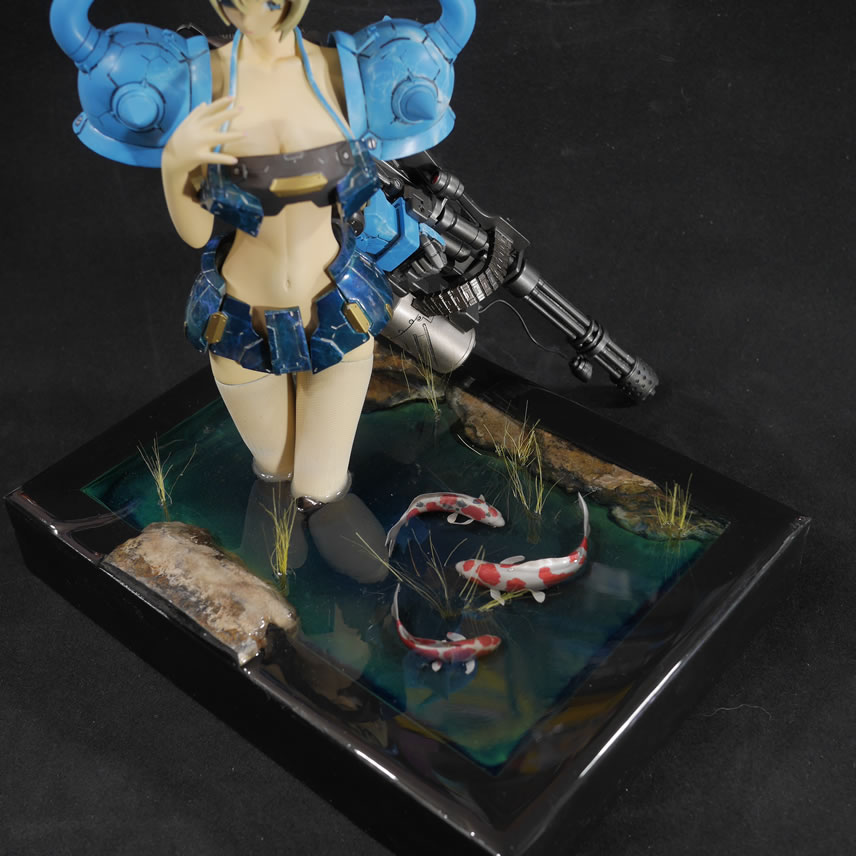
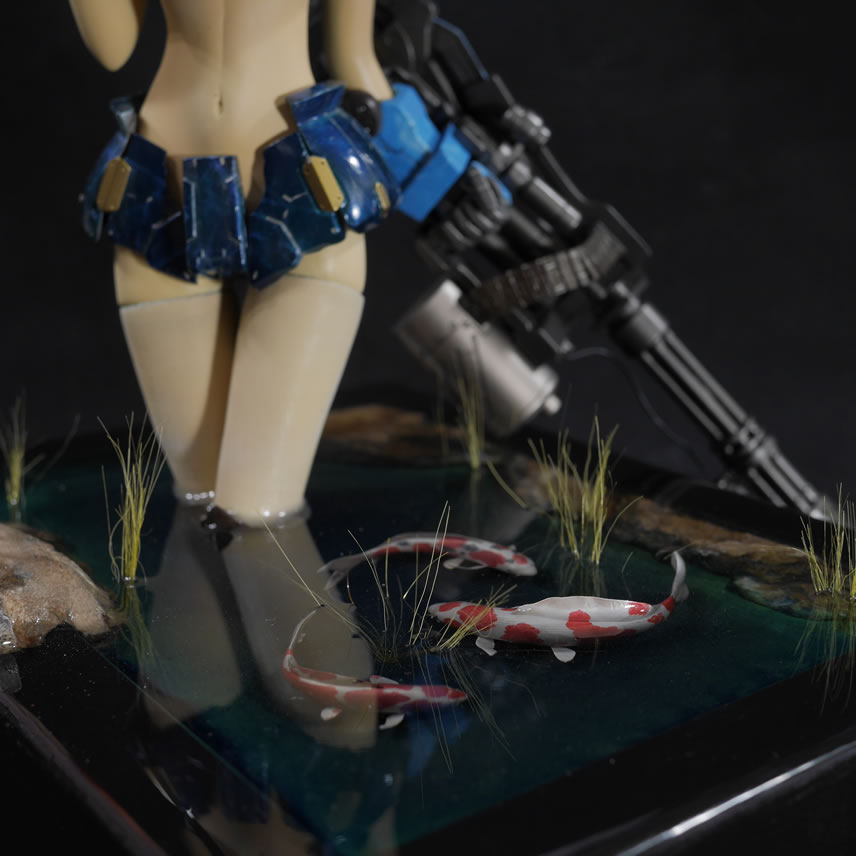
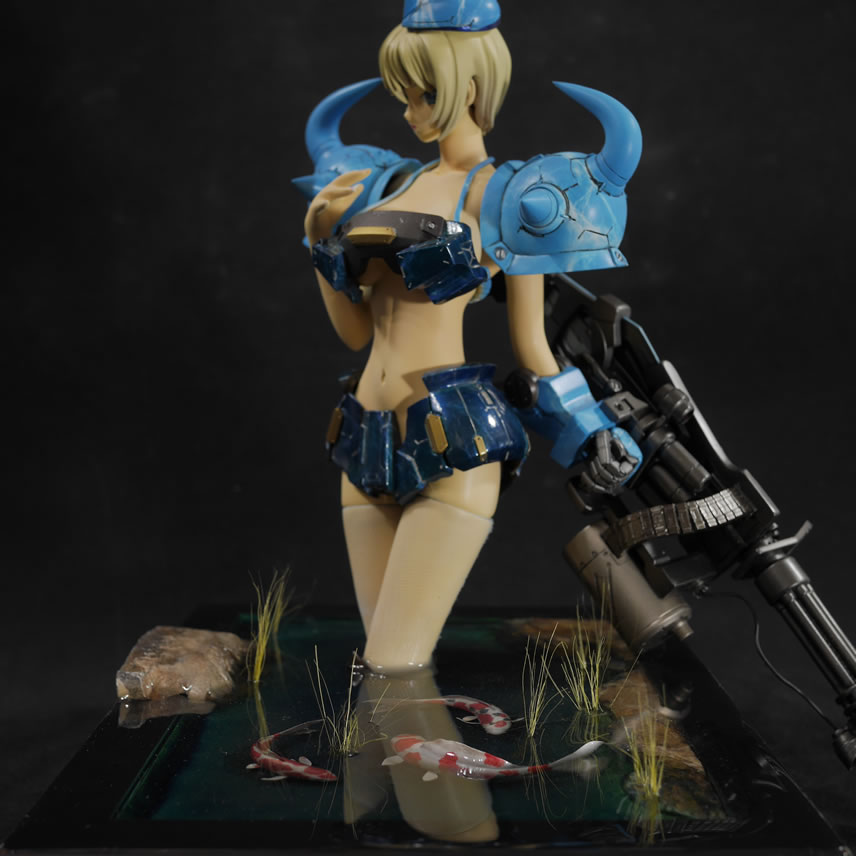
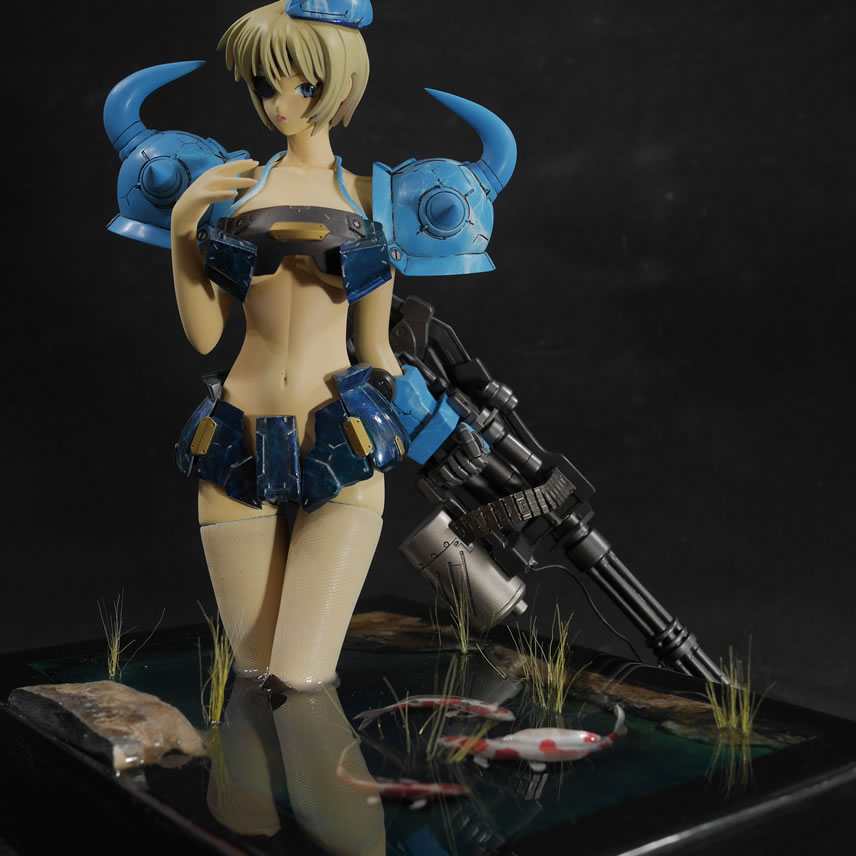
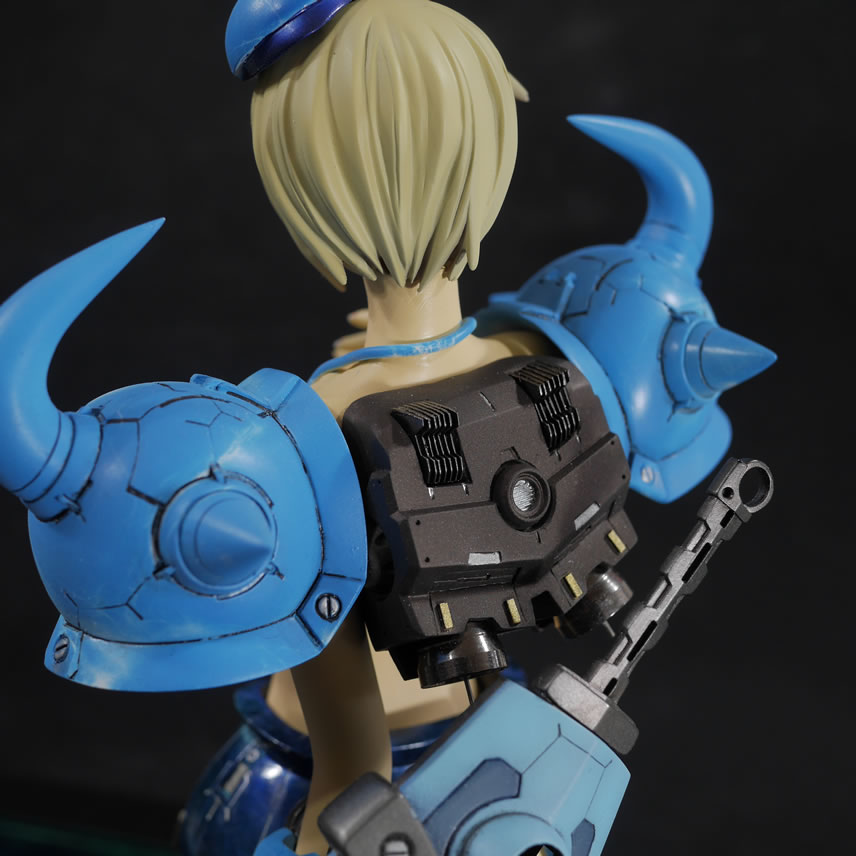
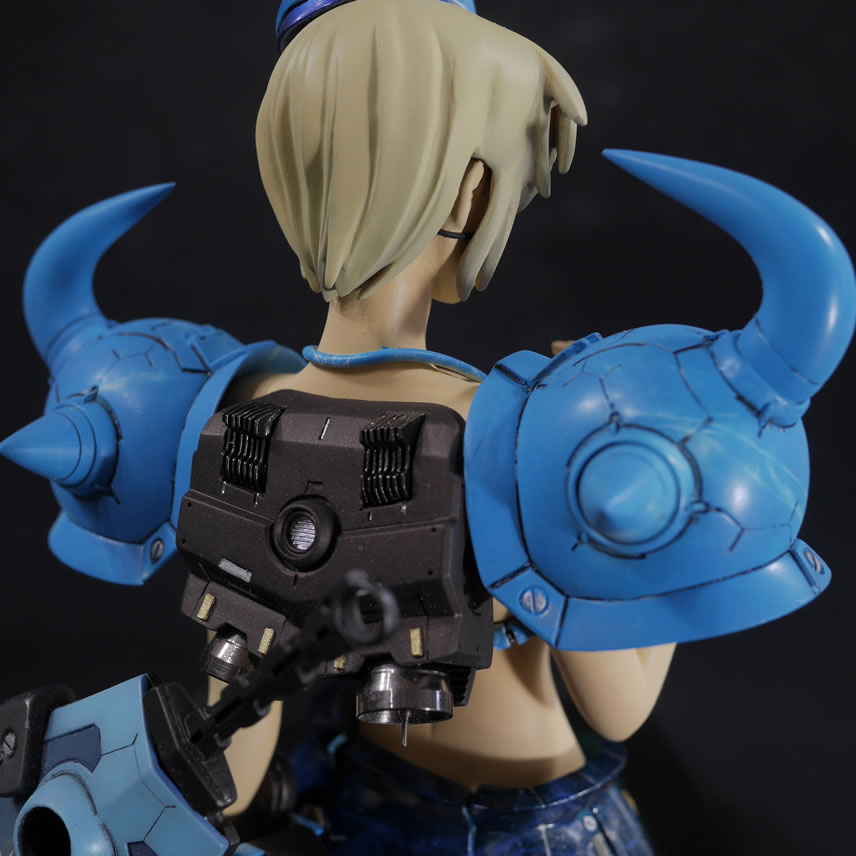
Here’s the still photo gallery:
|
|
|
|
|
|
|
|
|
|

|
|
|

|
|
|
|
|
|
|
|
|
|
|
|
|
|
|
|
|
|
|
|
|
|
|