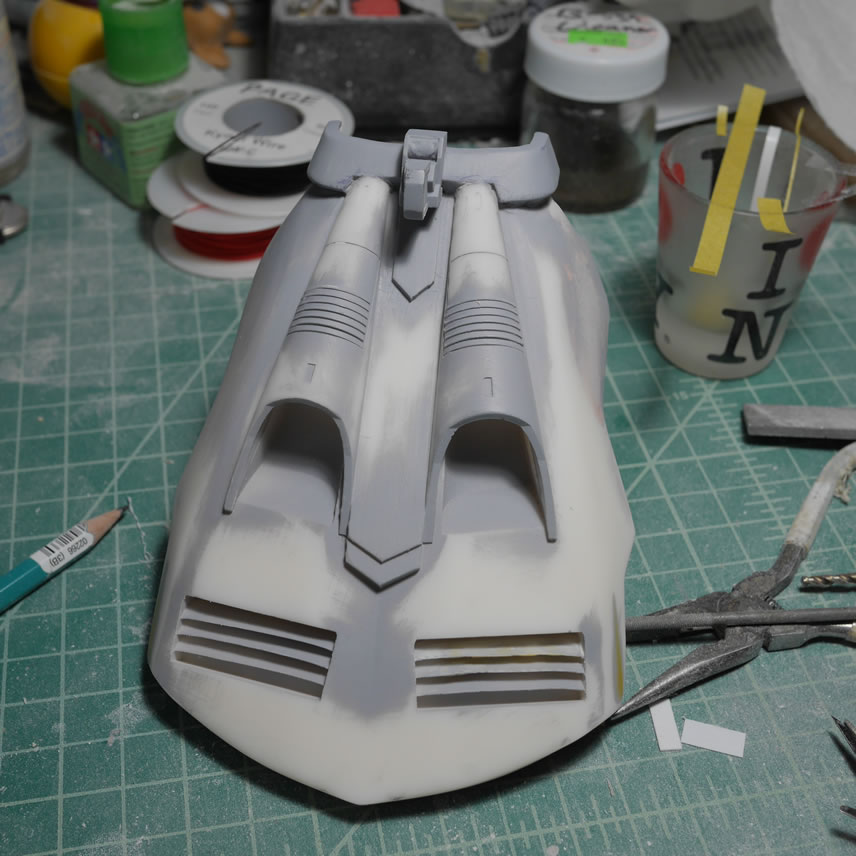
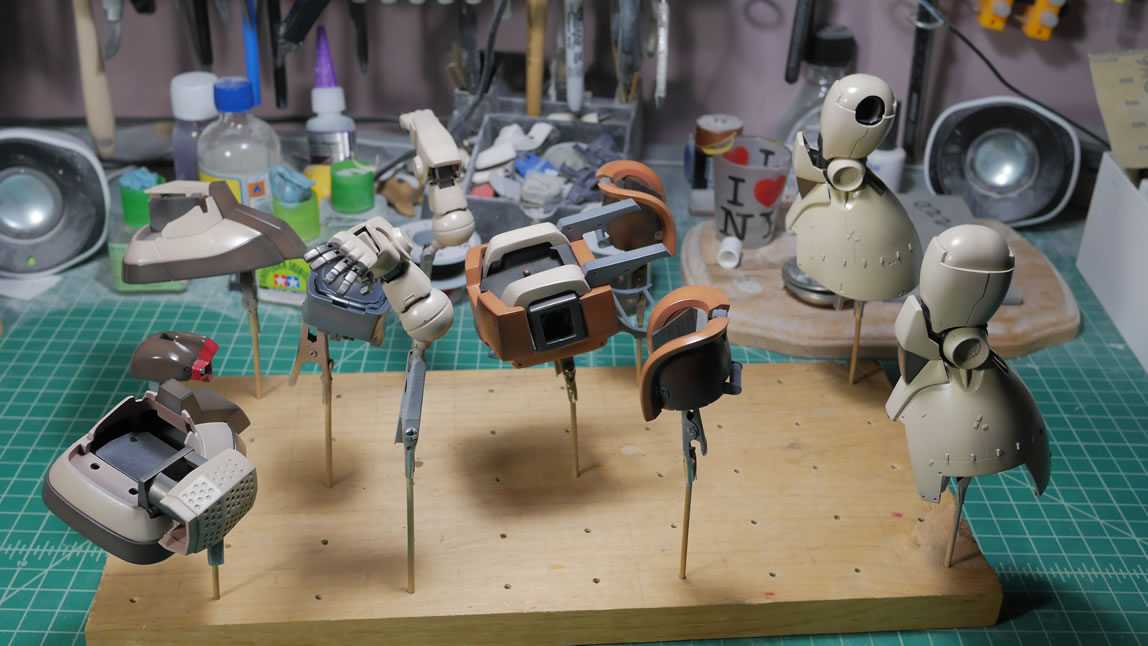
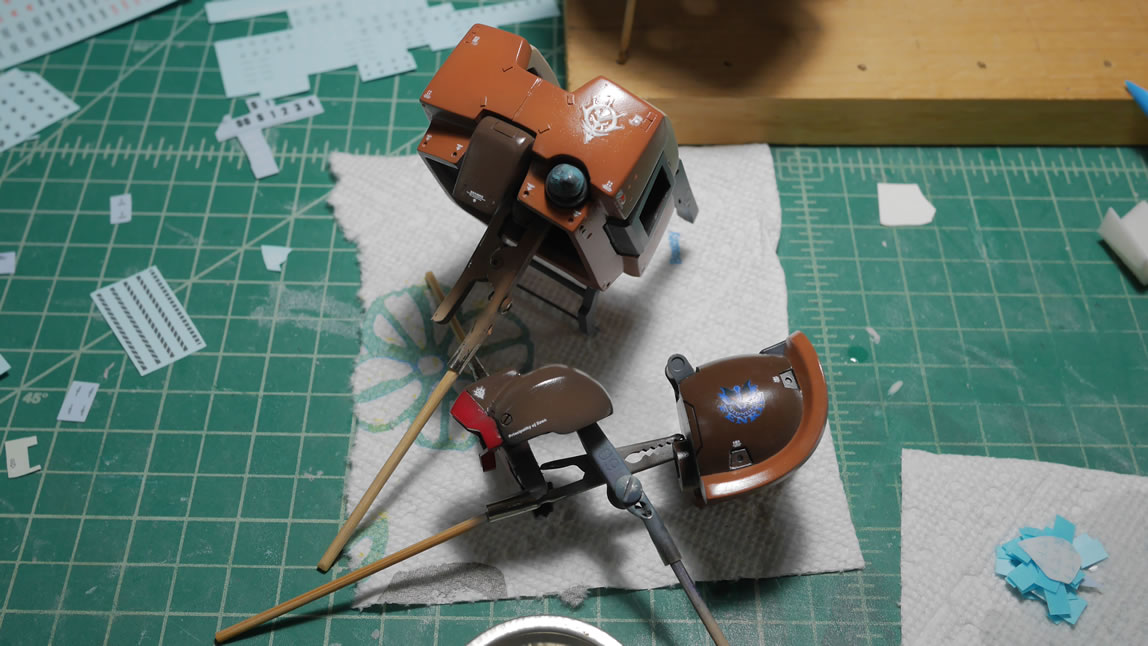
No update earlier this week since I went out of town for a quick vacation with the wife and corgis. My documentation didn’t stop before the trip, so I have some things that happened to the kit right before that and right after – most of what happened after anyways. Odds and ends are being worked on as the kit is in an odd limbo of different stages of paint. Some of the 3D printed parts need a decent amount of attention so there is work there to fix things. I also cut out a styrene frame for the rear skirt and that was glued to the base of the rear skirt. The shoulders were masked and painted and then masked and painted and then yet another level of masking and painting. Think inception for painting, start at the bottom layer first, then continue masking and painting until the very top layer; then unmasking everything layer by layer until you reach reality and spin your totem…

More details after the jump.
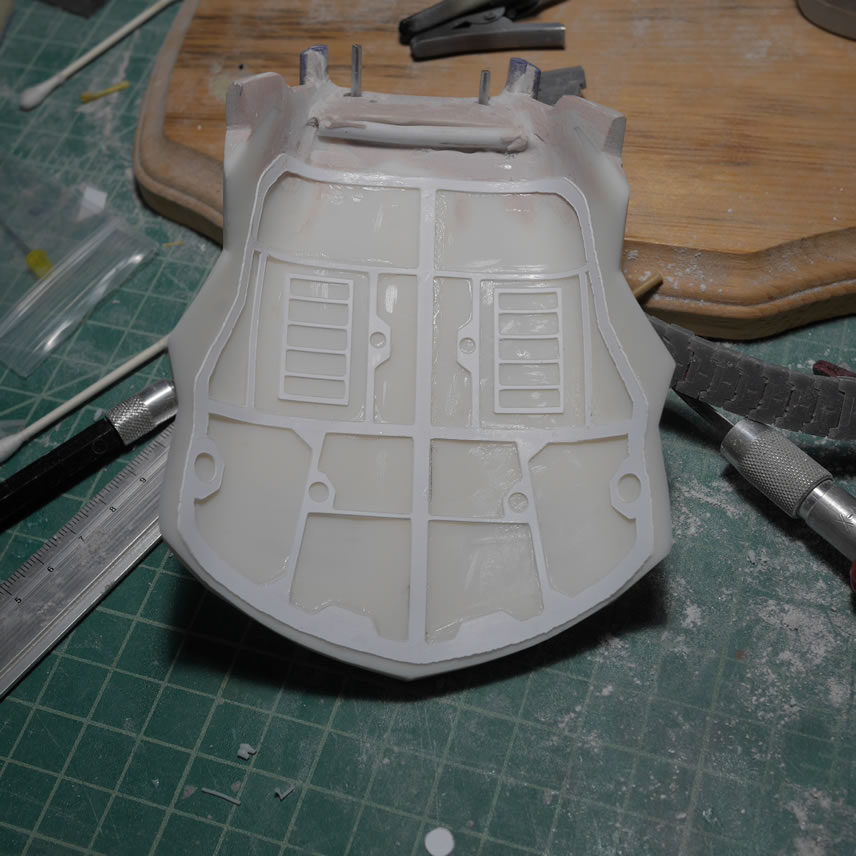
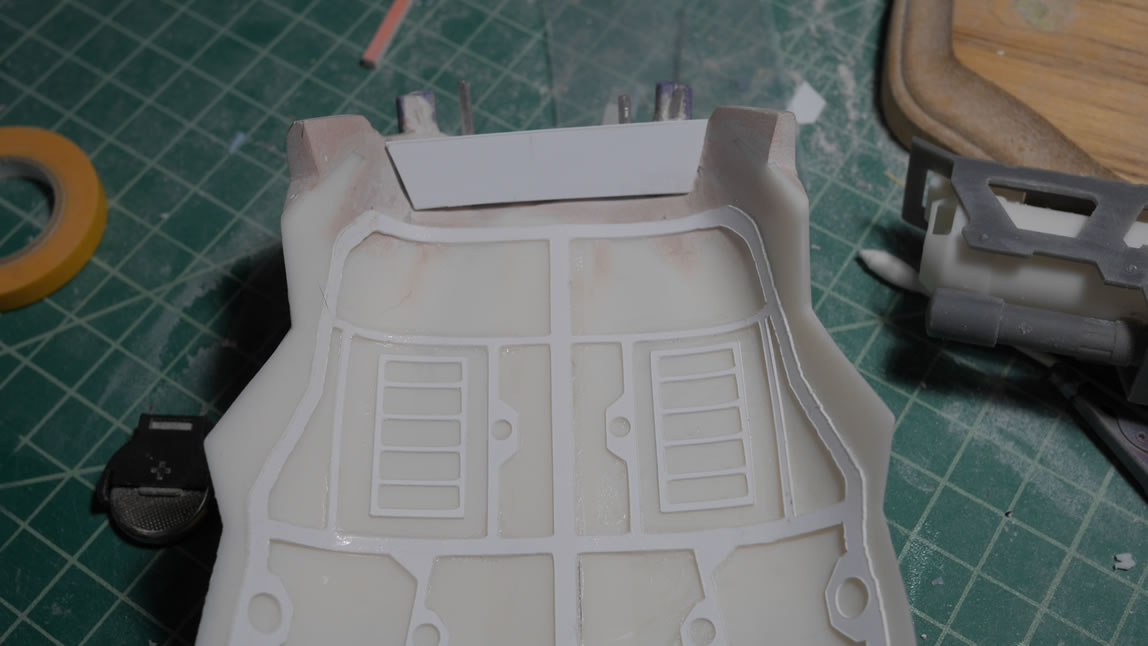
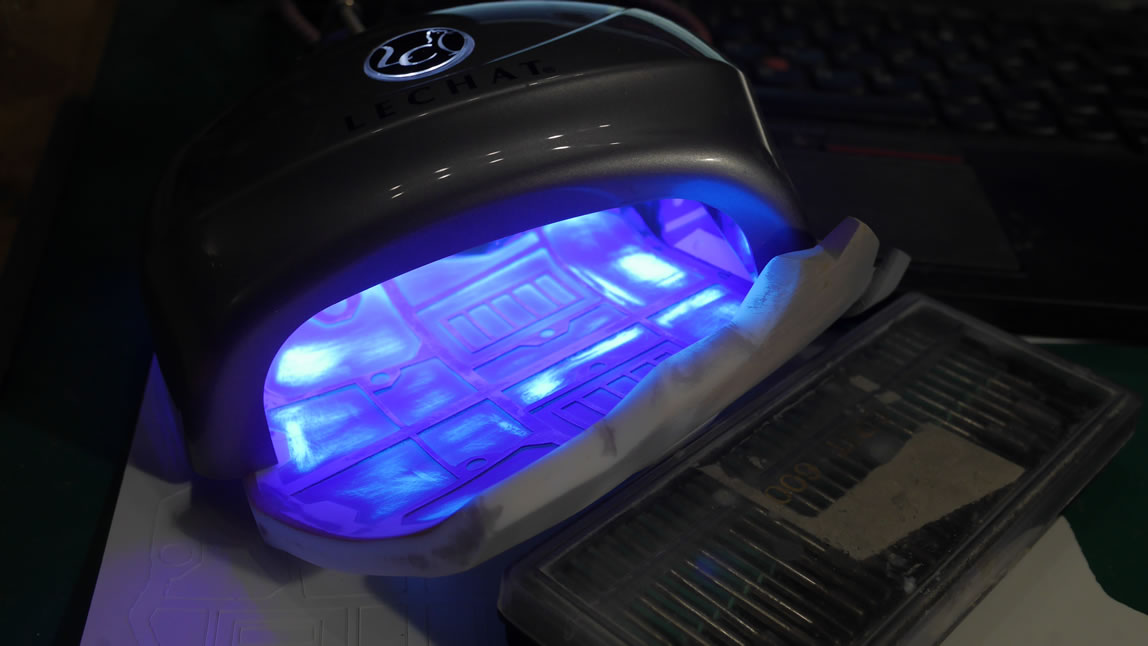
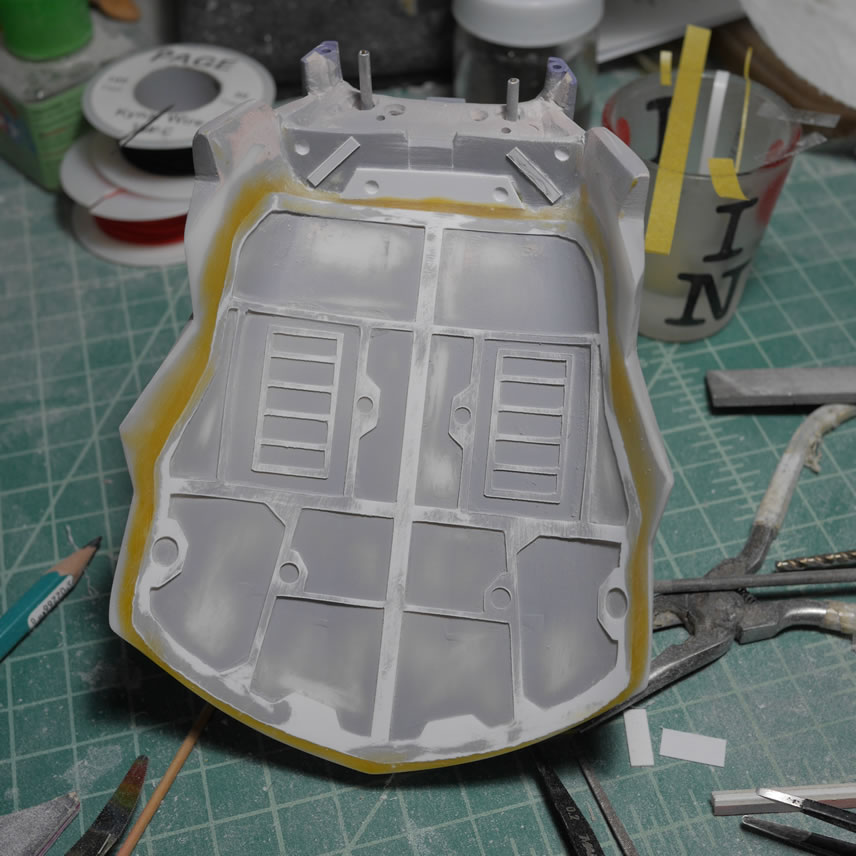
Aside from the underskirt frame detail, the bottom needed a little more work. I added a piece of plastic at the top as a sort of shelf. This also hides all the contact points to the waist piece and while I was upskirting the suit in the game (not creepy at all…) I saw this detail. The part is putted to make it look like it is part of the skirt and a notch for the center of the waist is cut so that the skirt fits with the waist frame. The sides of the skirt are puttied to blend the internal frame piece with the rest of the under skirt. The white of the resin with the partially sanded primer and the light curing putty look pretty cool under the UV lights used to cure the putty.
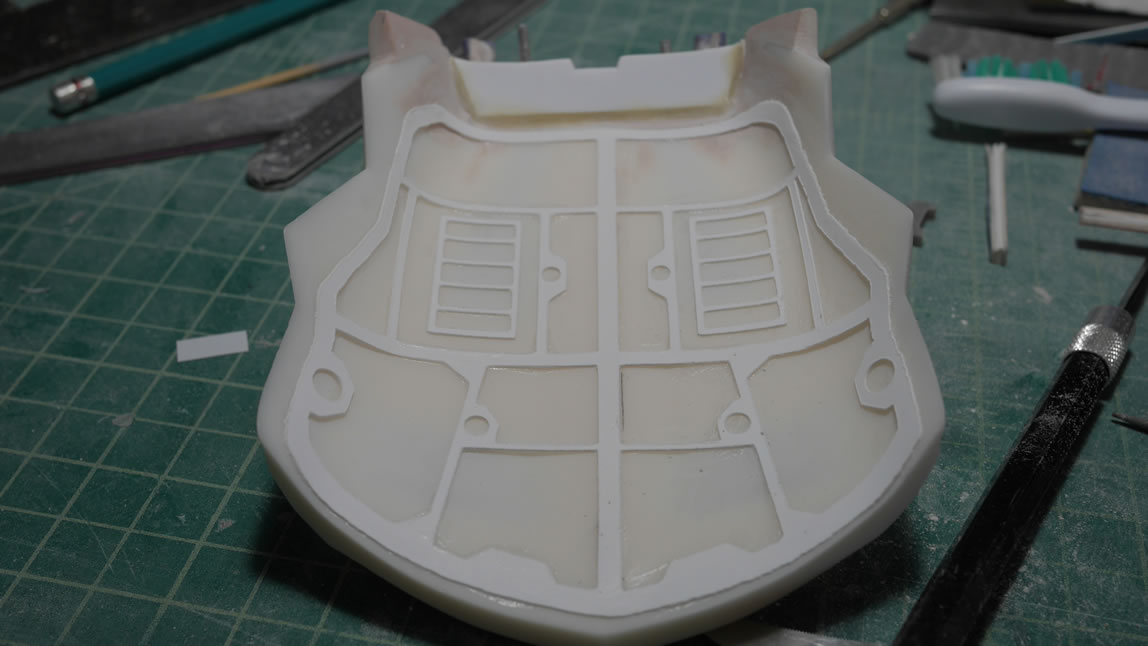
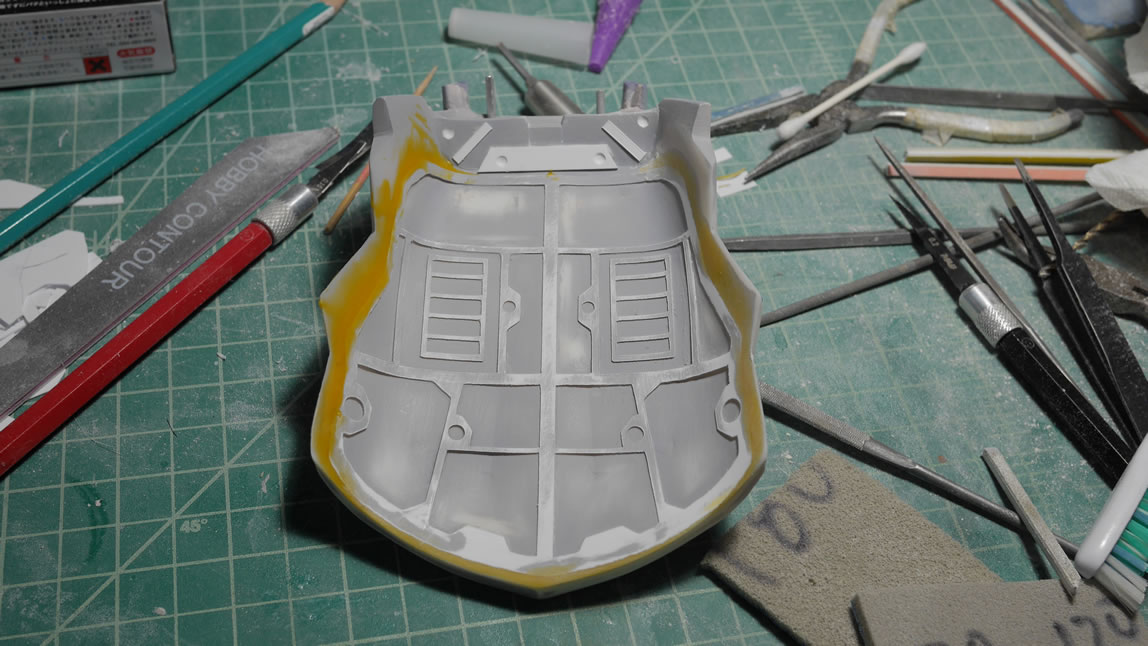
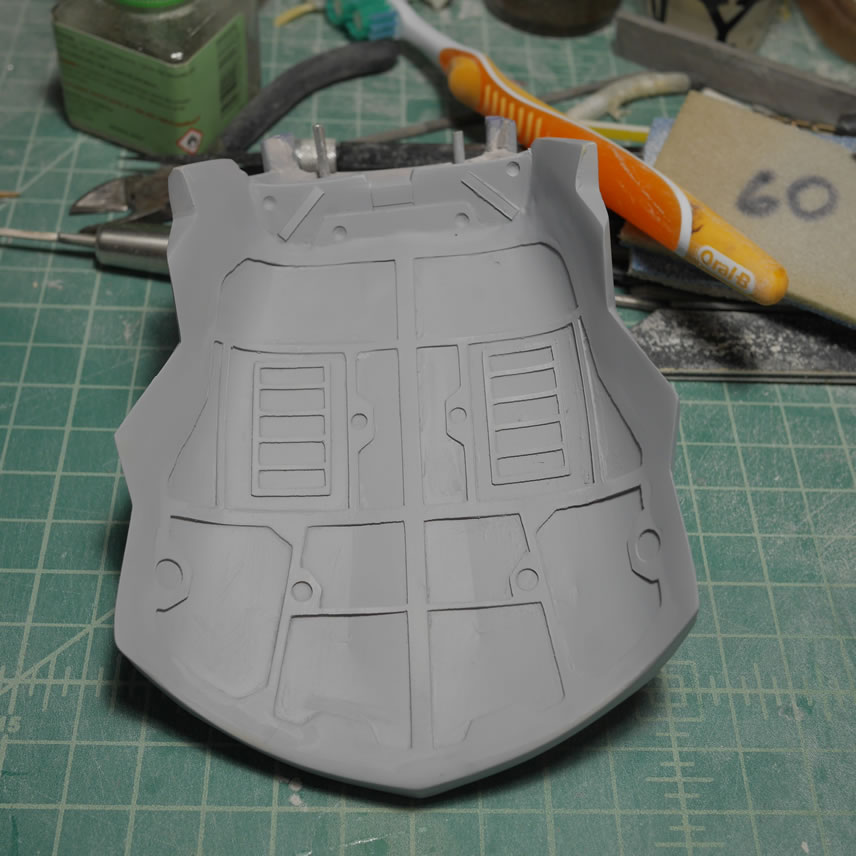
Once cured, the putty is sanded and the top sides of the skirt are also sanded to remove the rough spots and fill any other defects. Primer shows a pretty good finish so I can get to painting. There are still issues with the underskirt, but since it IS the underskirt, I’m not too worried about perfection here. I just need this to be good enough for my standards – which are pretty low to start.
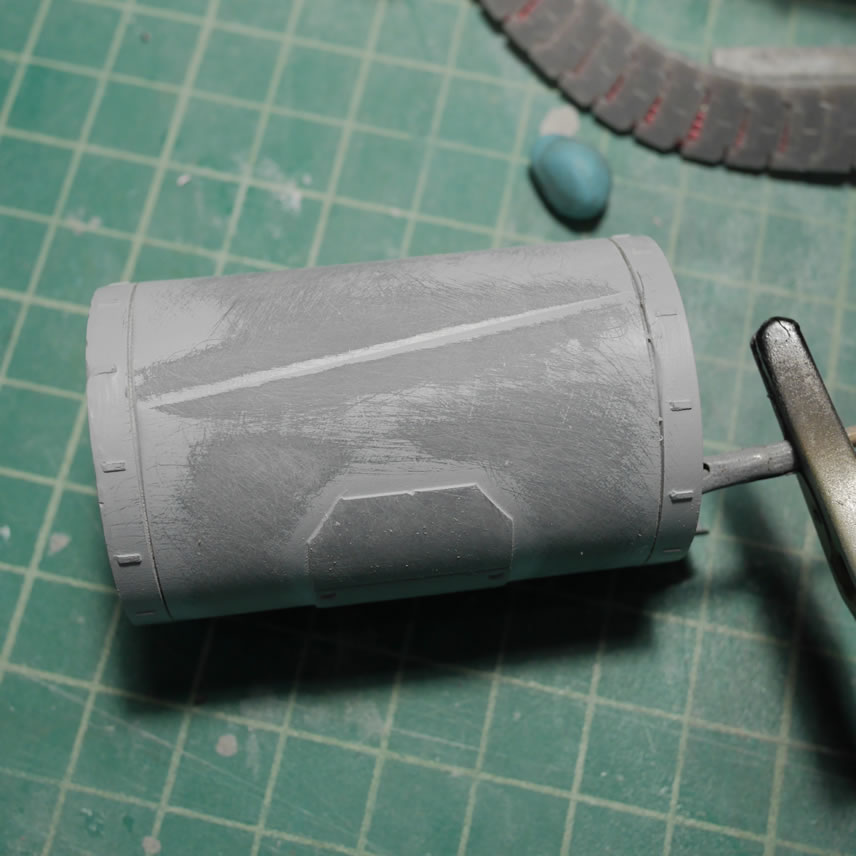
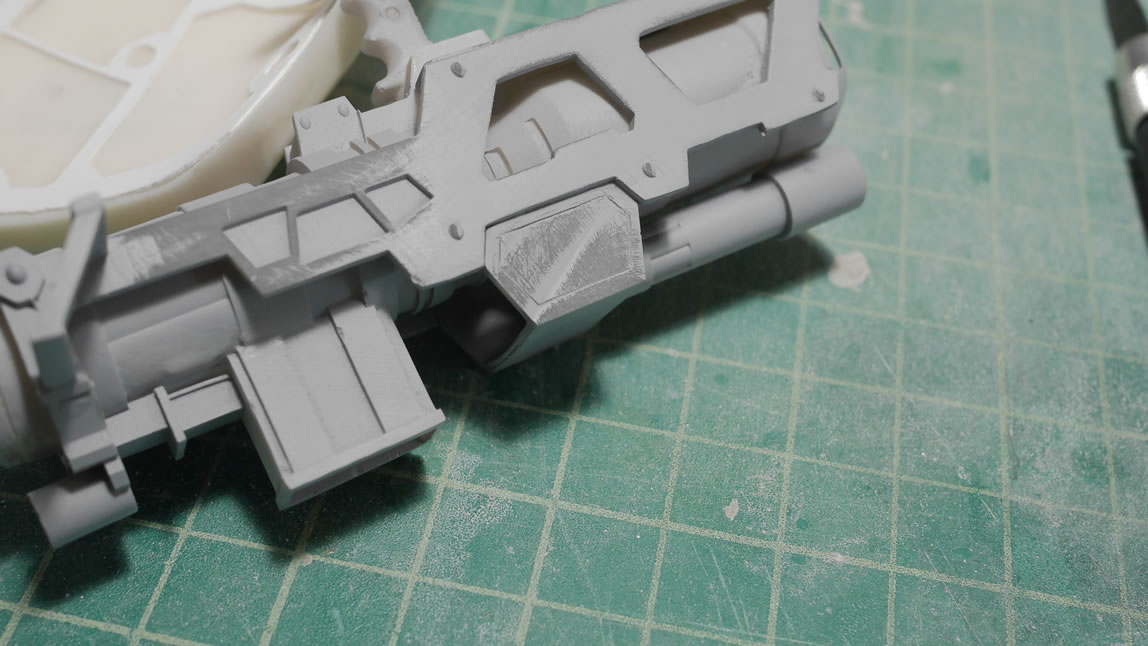
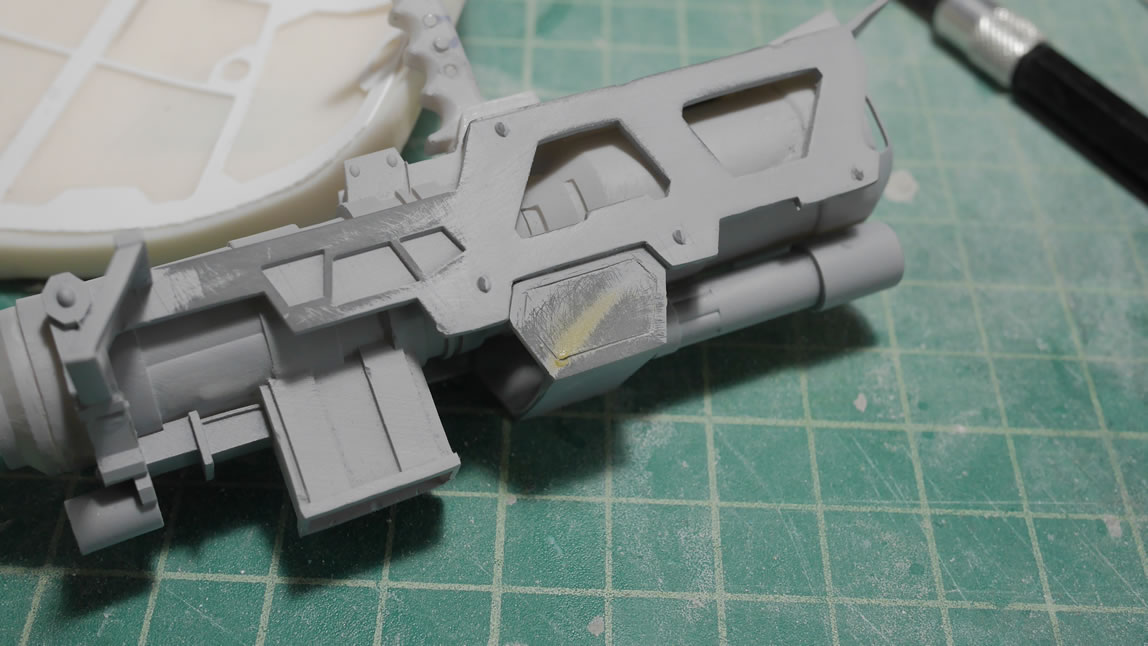
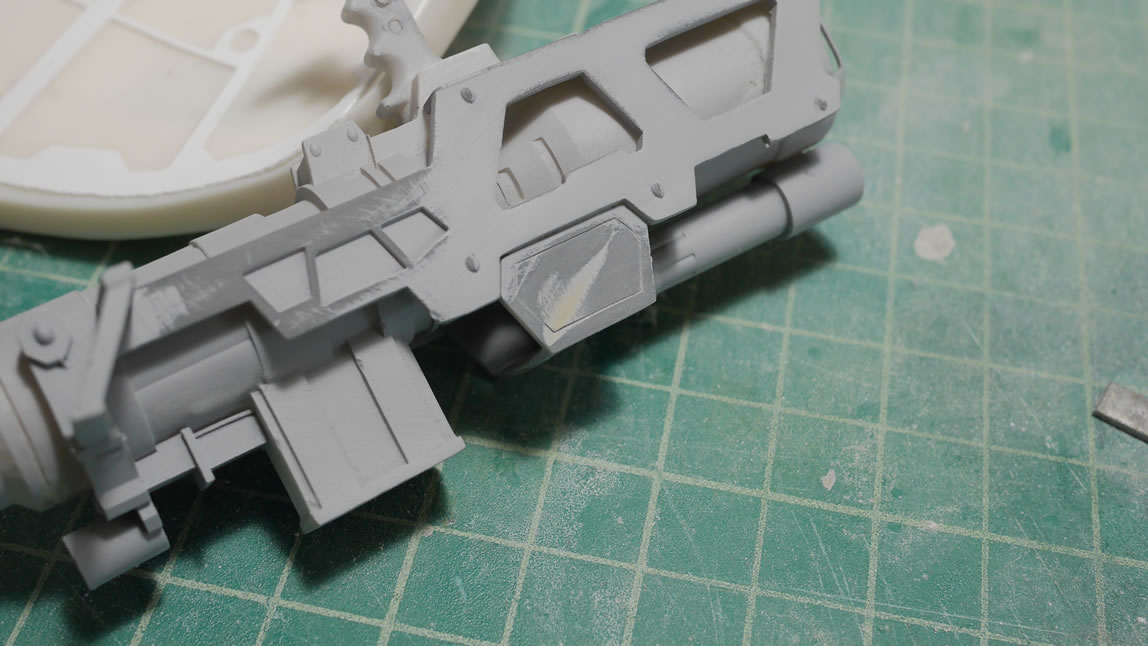
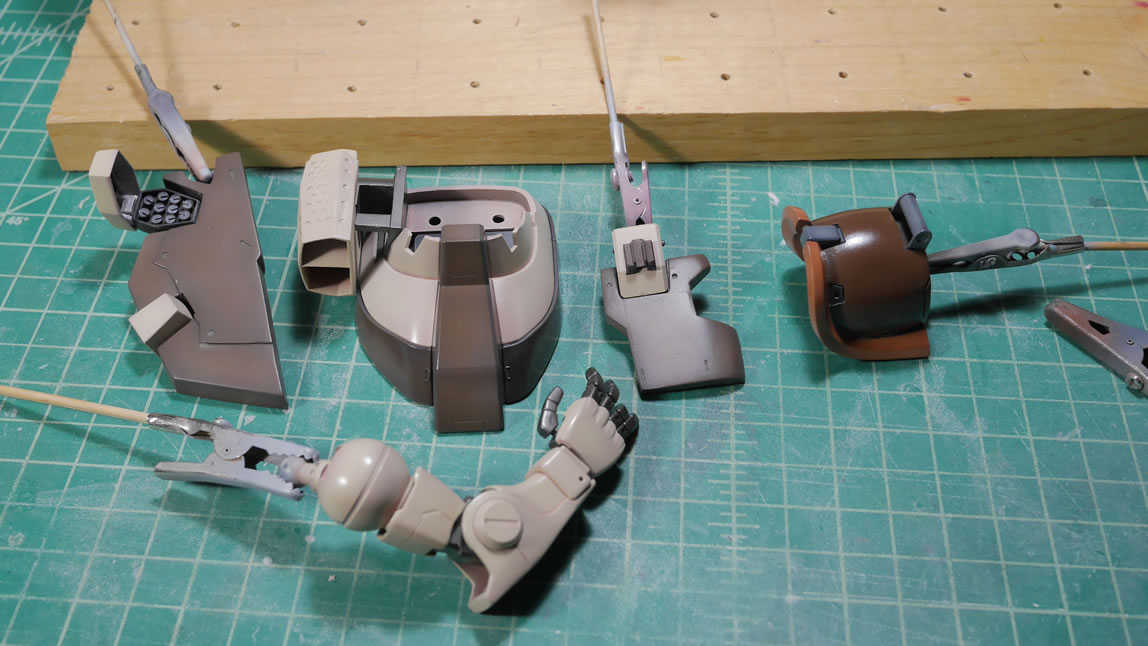
The gun is primed and some areas have dents that need to be addressed. Similar dents can be seen in the first picture of this post for the ammo canister. Light curing putty comes to the rescue here and the ammo can piece too and those areas are puttied and sanded.
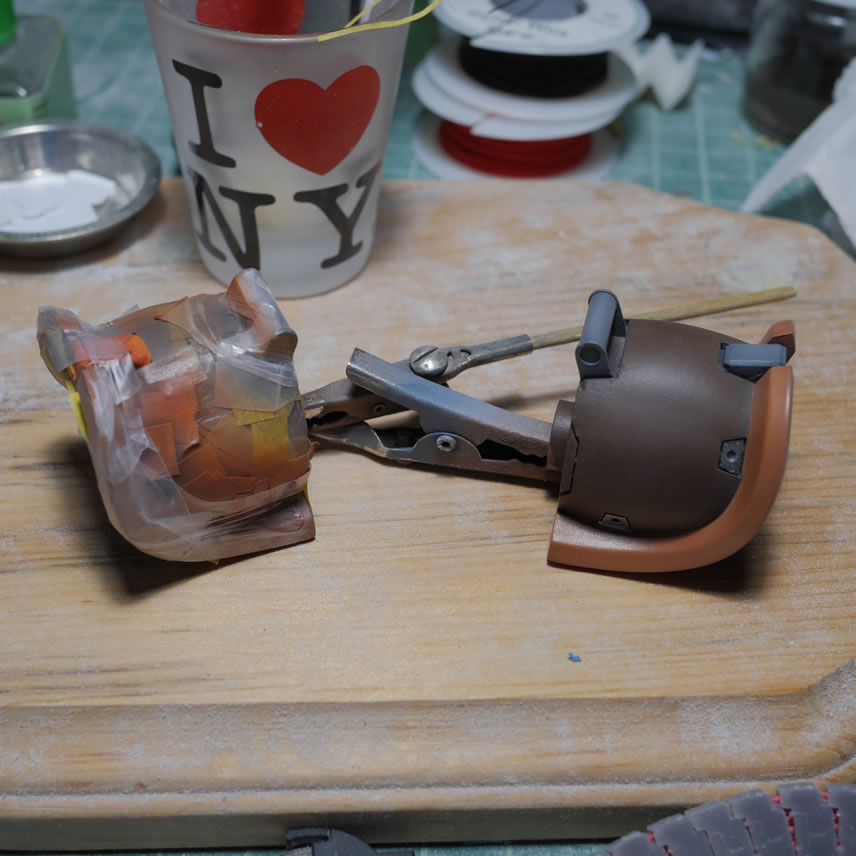
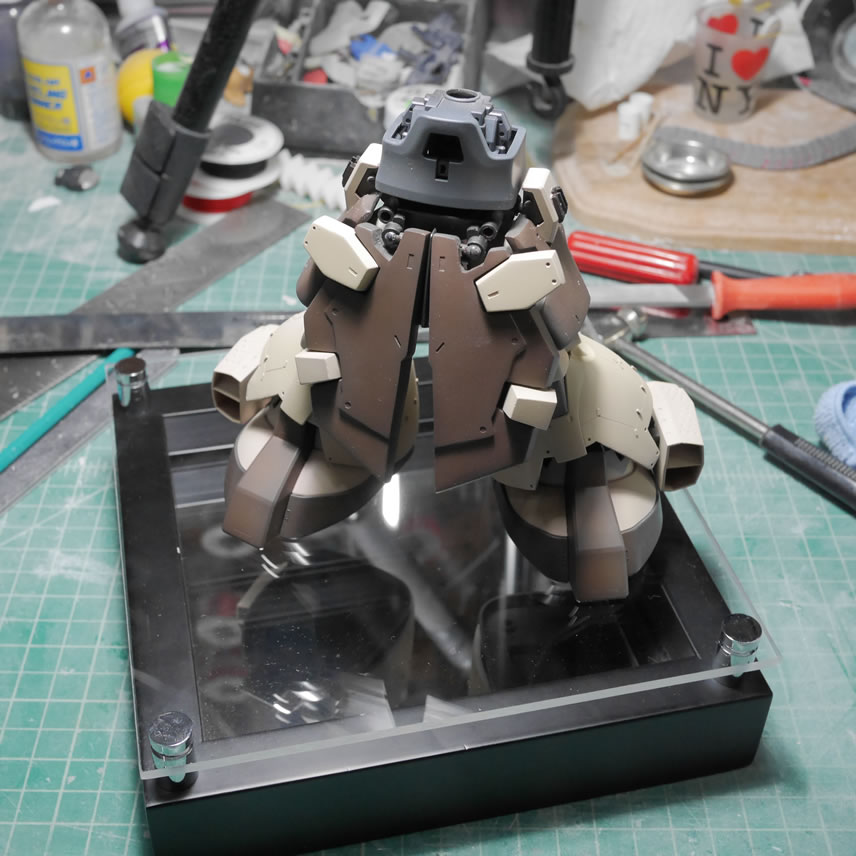
The rest of the kit gets a quick test fit to make sure things are looking ok. And the ammo belt is disassembled and painted.
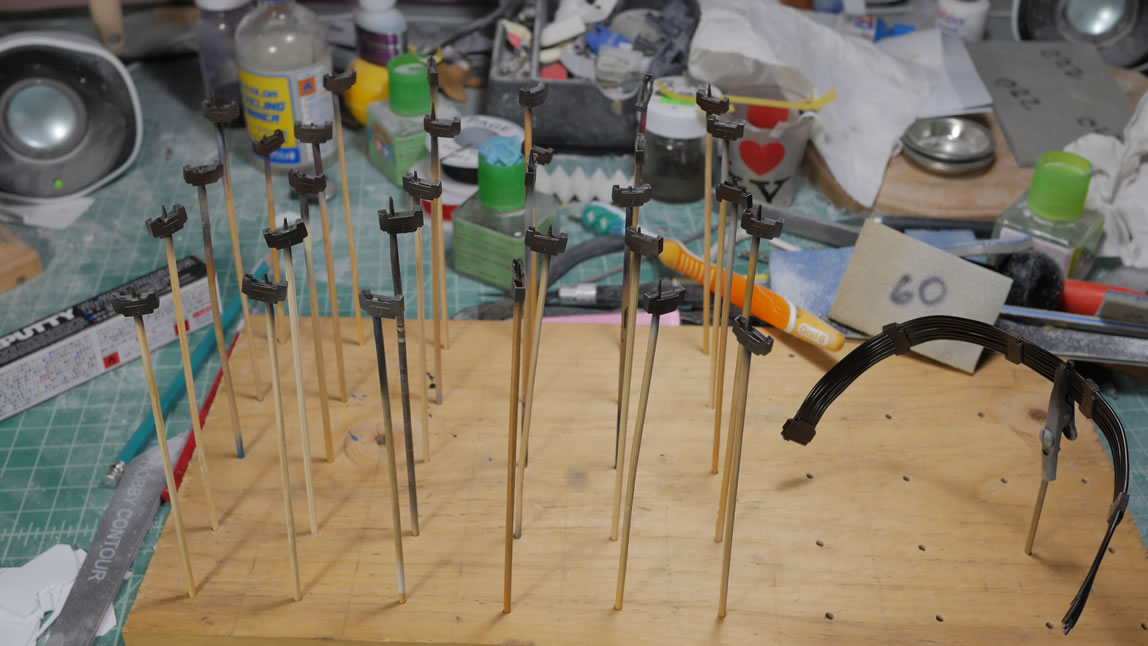
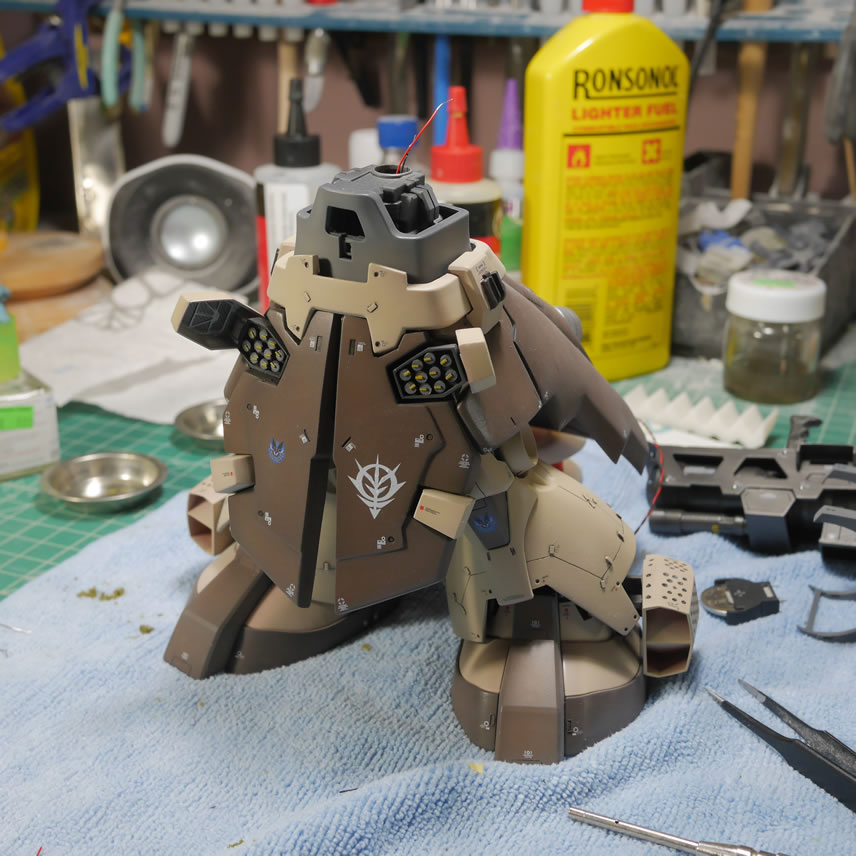
Most of the parts are painted and drying/curing with a help of a dehydrator. The dehydrator is a HUGE time saver and help cut down the dry times I used to have between paint layers.

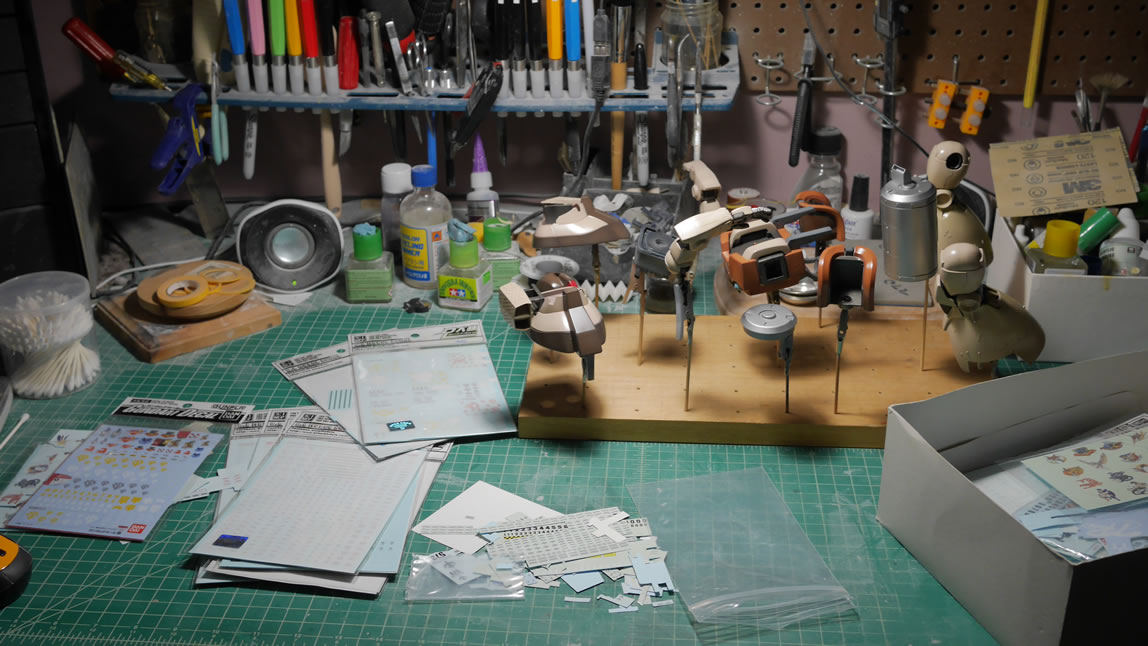
A clear gloss is sprayed onto the parts to prep them for the decal process.
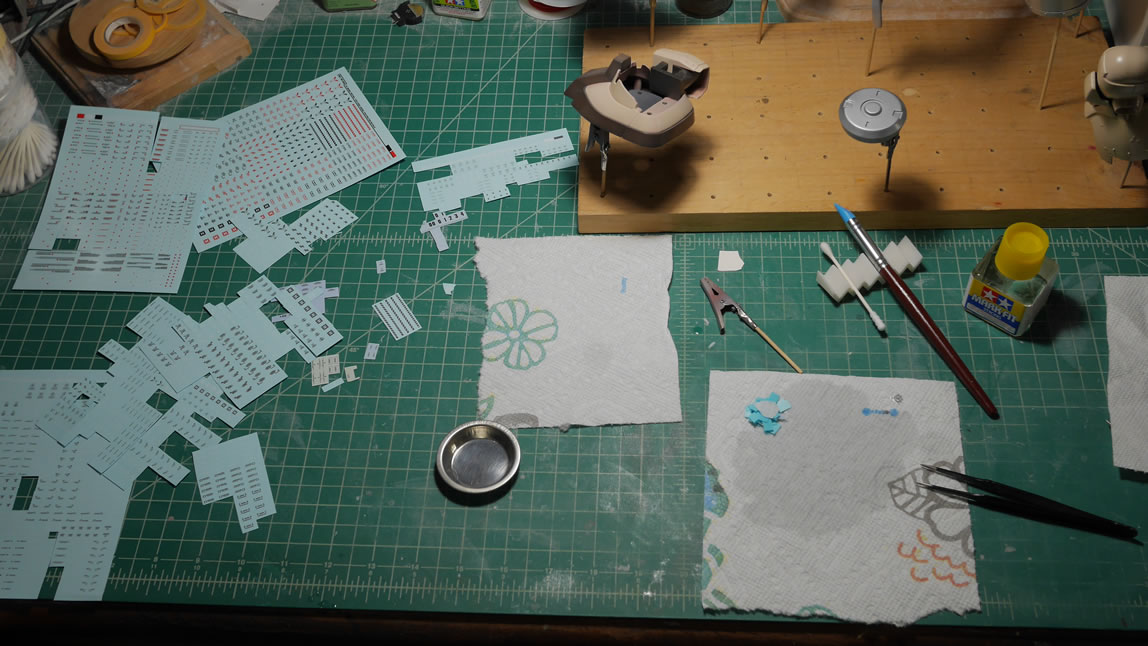
The decals sheets are brought out and I sift through them to find the appropriate misworded/spelled warning labels to use on the Dom. I may have gone a little overboard, there are 22 individual decals on the chest piece. Ver Ka style decaling I guess – it’s all the rage with the gunpla builders.
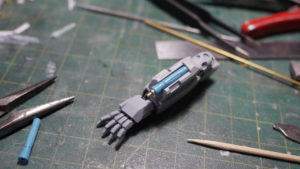
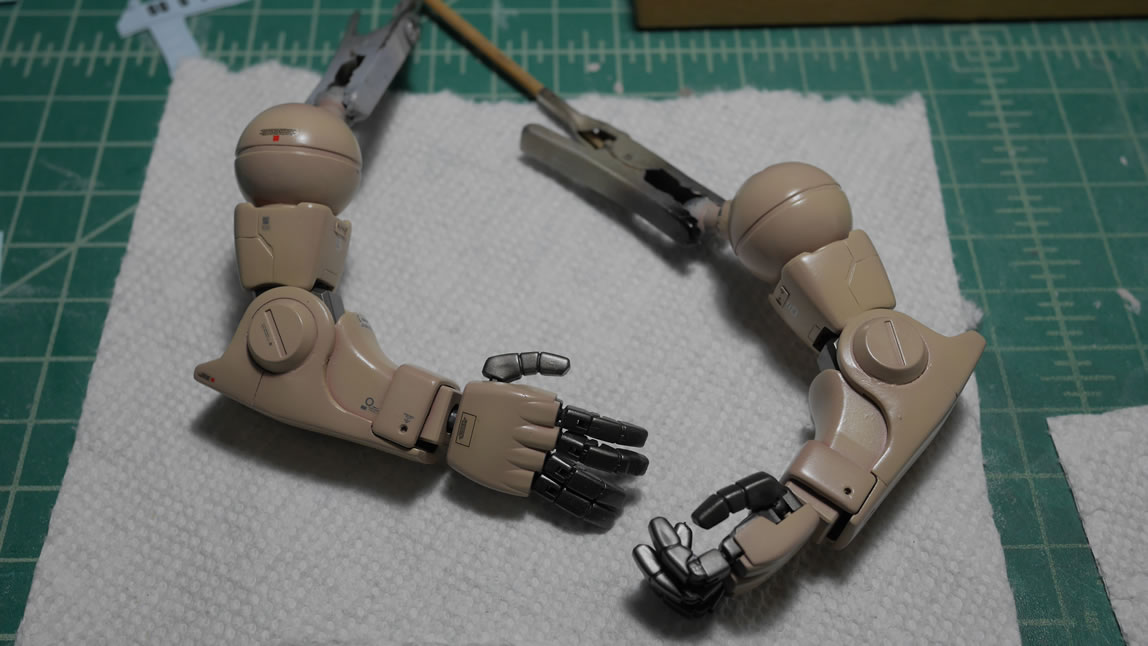
Once decaled, I have a arm comparison for the before and after.
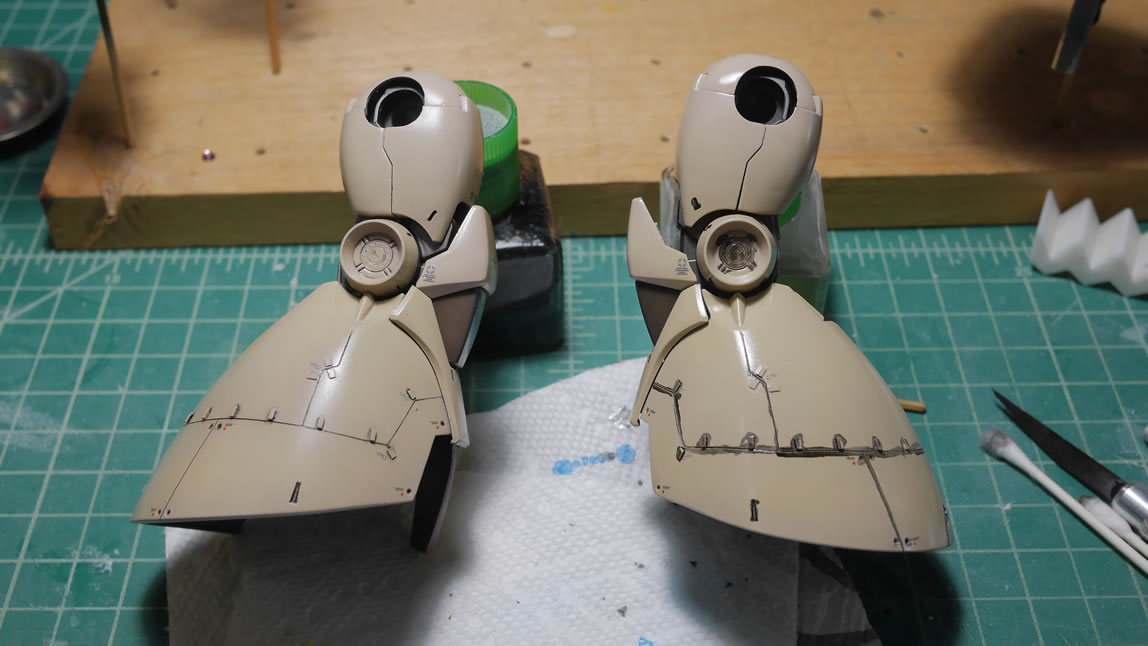
The skirt is painted and masked, and painted and masked some more to finish painting the entire rear skirt.
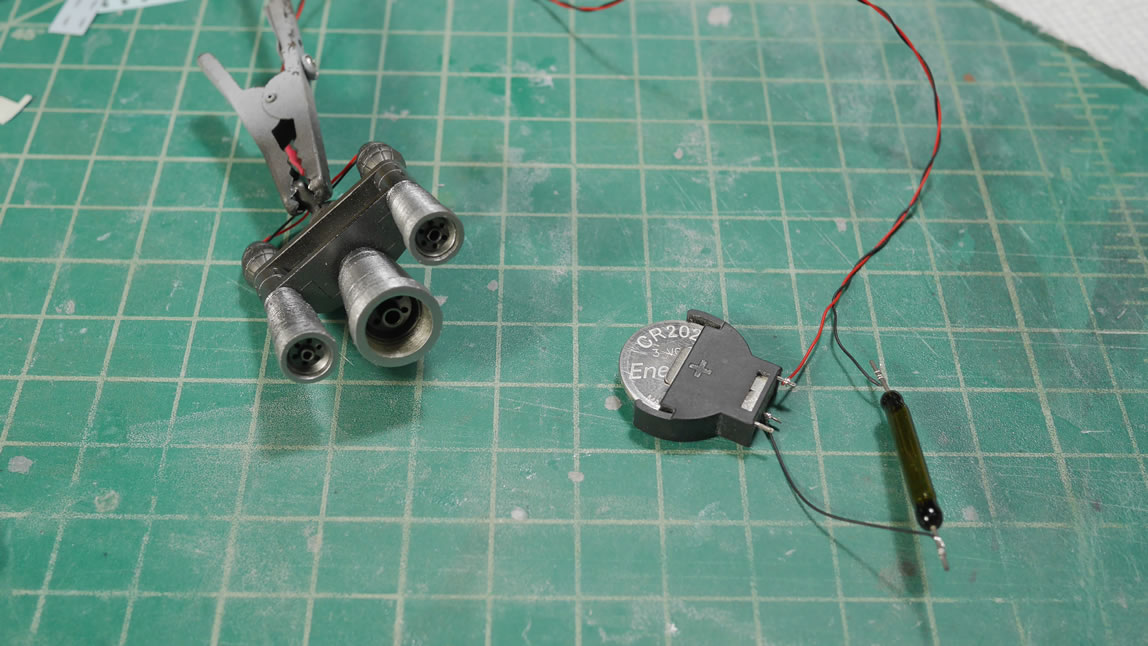
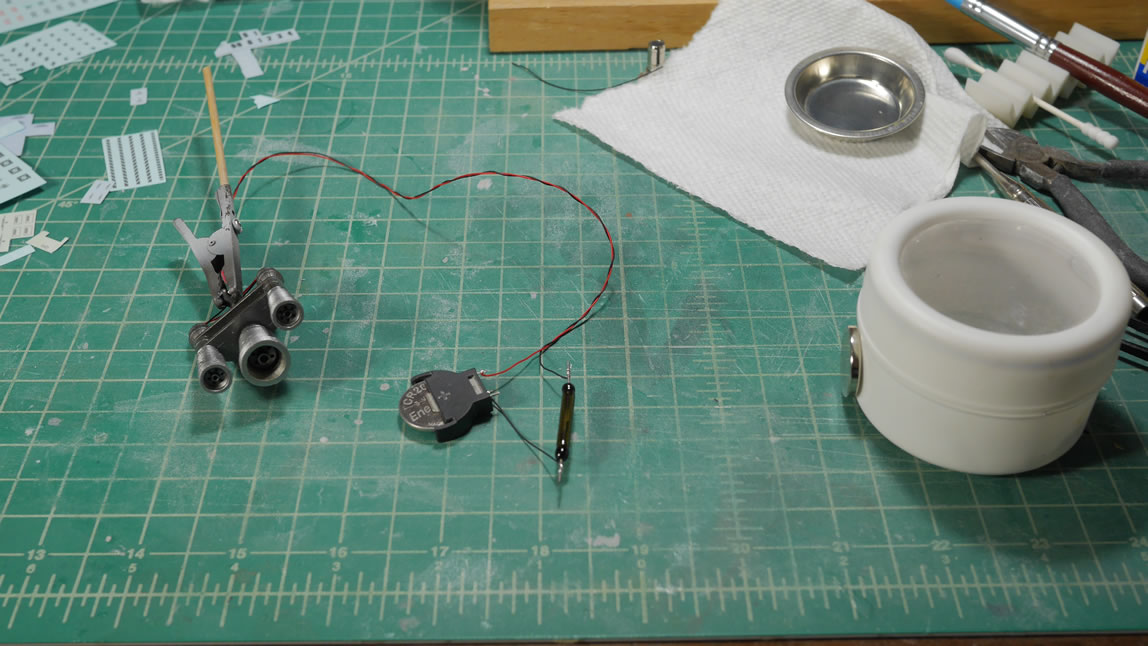
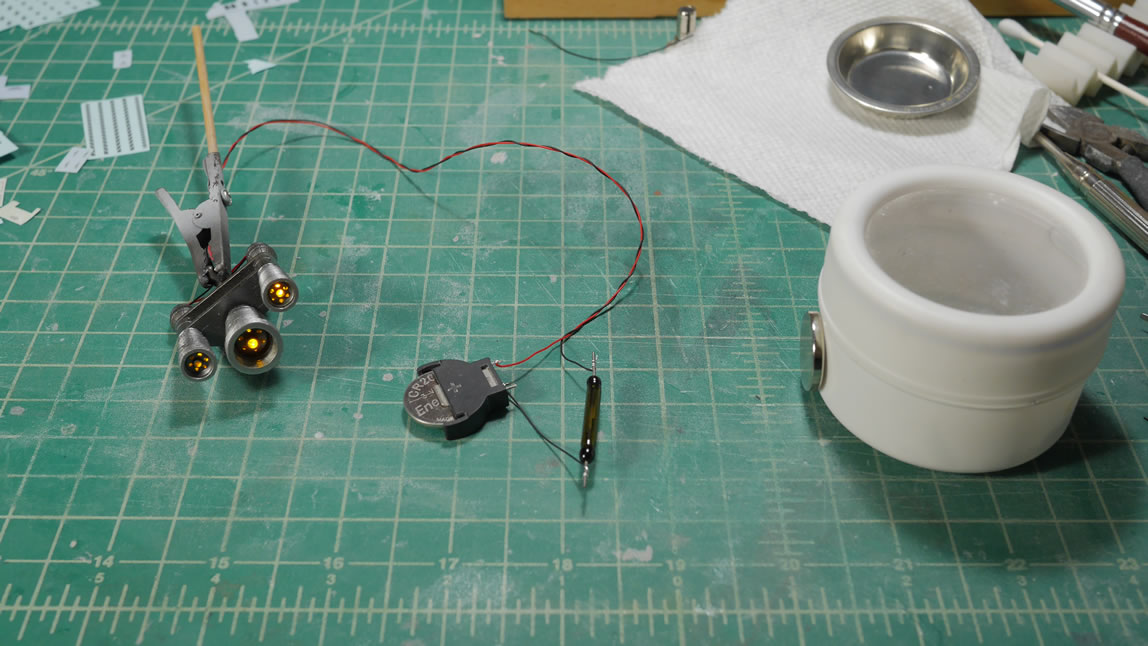
I did a quick light test using a battery and a reed switch. The process is pretty simple, the reed switch is magnetically operated as the two contacts inside the glass tube are attracted to one another in the presence of a magnet which completes the circuit and turns on the LEDs.
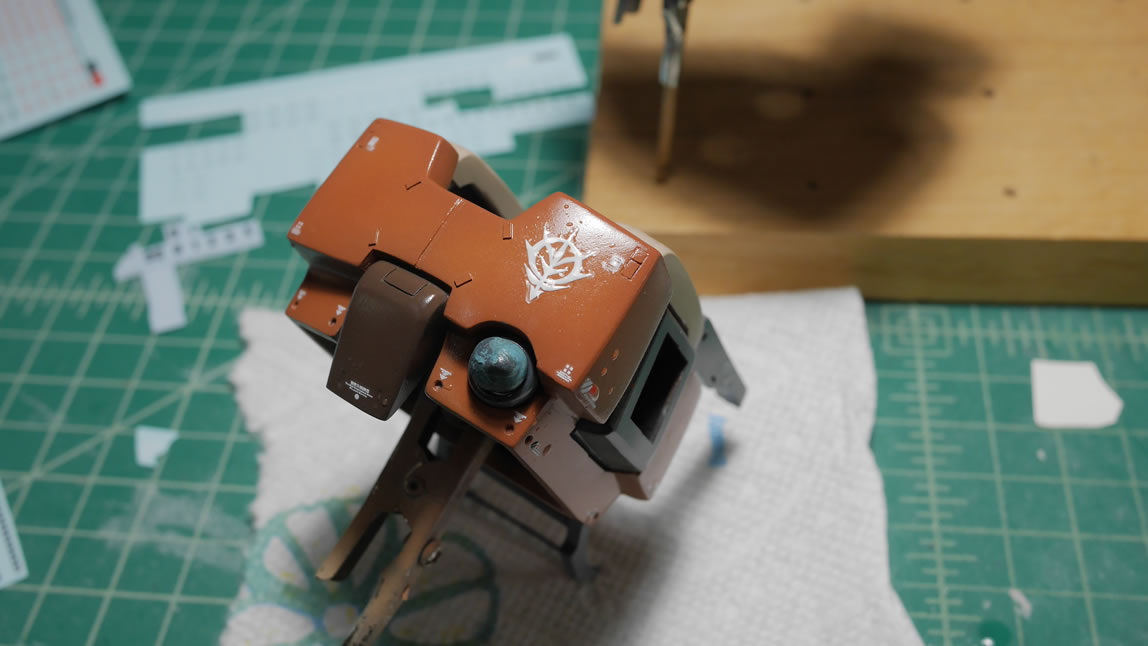
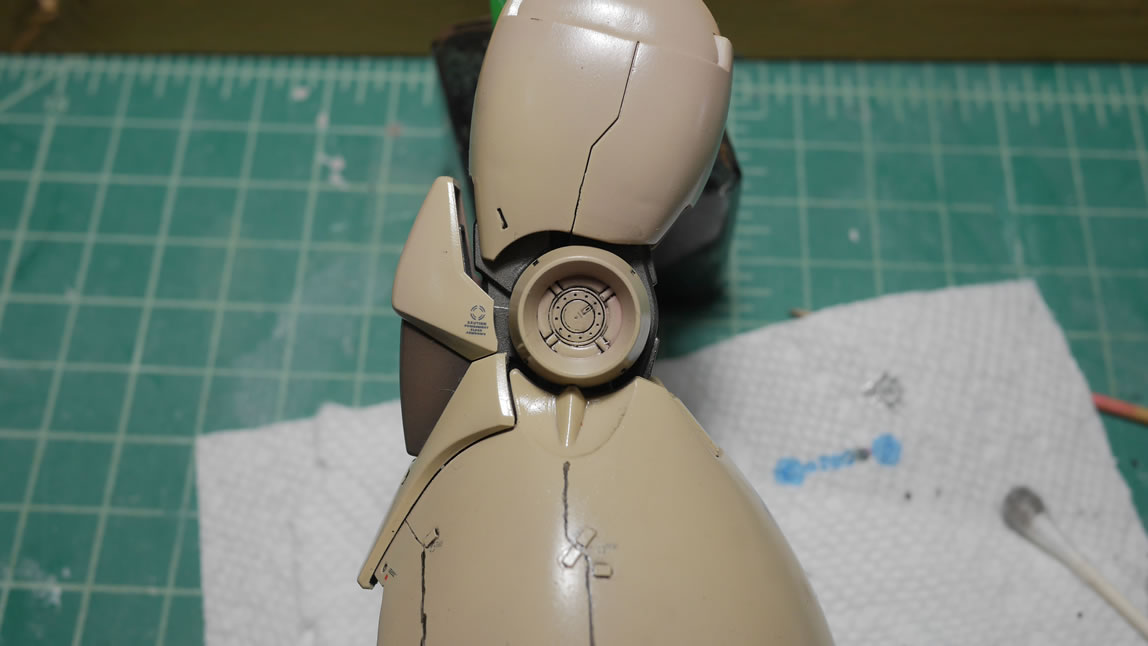
Another gloss coat is applied to sandwich the decals and help hide the decal lines. Once that cures, it’s time for the panel lining which brings out all the little details – especially those in the photoetch accent pieces.

This past Wednesday night, I started working on getting the electronics combined. Batteries and reed switches are placed around the kit, 1 in each foot and one set in the chest. And after successful tests, the wiring is soldered together and it’s about ready to final assembly; sort of.

Here is the assembly process. Too focused to take more pictures since it was pushing 2AM Thursday morning.
Pictures stop here because I was more focused on finishing the project for AX than anything. But my rushing has resulted in some problems that will need to be addressed when I get the kit back from being displayed at Anime Expo 2019. I’m not a perfectionist, and I can live with the mistakes, I just wanted it in the case so I didn’t have to worry about it and sorta enjoy the rest of the week at AX. Once I get it back, I will probably apply a slight bit of weathering just to complete it. The kit just feels like it should be weathered; not necessarily heavily, but at least SOME weathering. And my screwed up decal can sorta help with that.