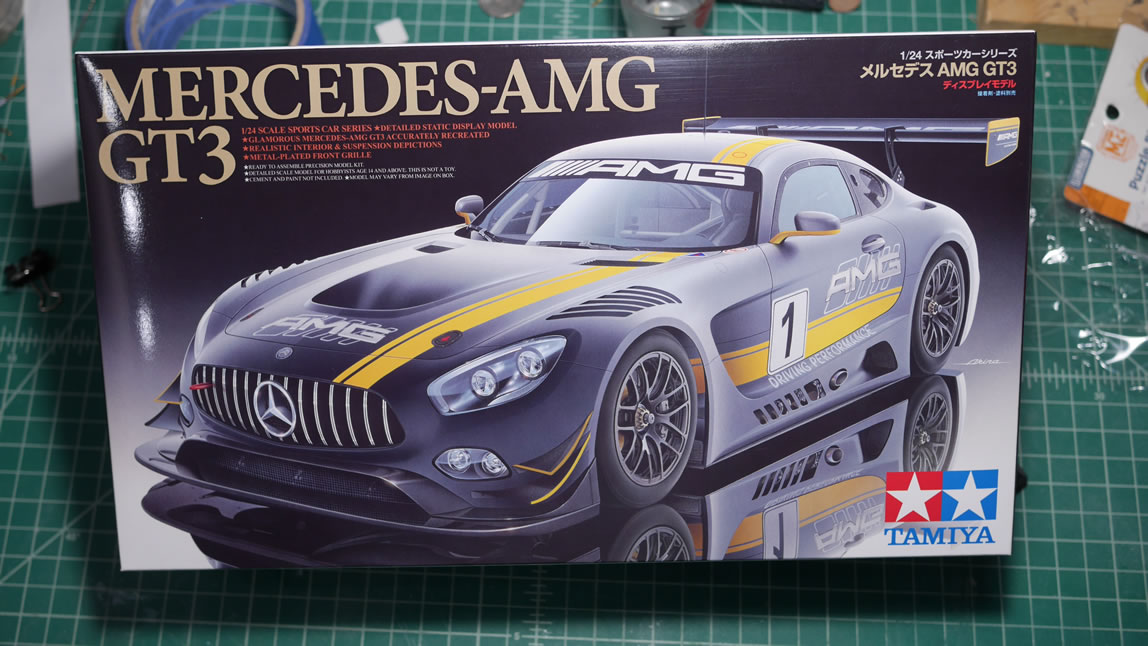
Last week at SprueFest, one of the things for sale was a Tamiya Mercedes GT3 AMG kit. It looks pretty good and the price wasn’t bad because of the sale so I picked one up. I also gently nudged fellow TGG Jeremy into getting one. I suggested that we should do a build off and set the deadline for August 1, 2018. This sets us up with plenty of time to get the damn thing finished and as a bonus, we could take it with us to IPMS Nationals in Arizona that so happens to start on August 1, 2018. That was last Saturday and the kit was getting ready to join the rest of my backlog and partially built kits on my shelf when I left it on my table because I was in Ecuador all week for business. Returning home a few days ago, I was ready to shelve the box but decided to open it and take a look. The last time I build a car kit was a Ford GT40 back in July 2007, so just 11 years ago. Before that, I think it was before I was even in high school. So time to learn some new tricks.
Since I started working on the sucker, I made a facebook post to remind Jeremy and then thought why not open this up for anyone else. So the challenge is to build a GT race car. Other than the deadline, and car type, the challenge is open ended. So if you’ve only build gunpla or other scifi, time to see if those skill translate to cars!
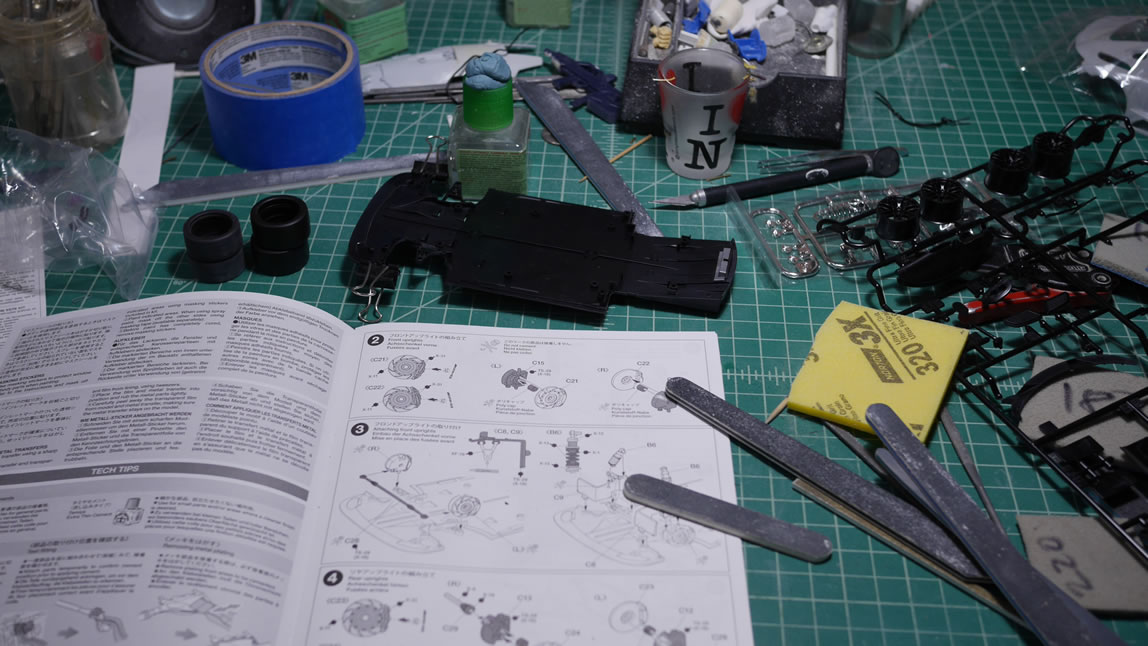
Bandai spoils us. Seriously, aside from just sanding nubs/gates/clip points/etc; every part has mold lines and machine markings. The marking are sometimes indented and other times just excess plastic. These need to be removed. The process is pretty tedious, but it isn’t anything that is impossible. I have found my fine and small metal files especially useful in tackling some of the rather difficult and small to reach places on these parts.
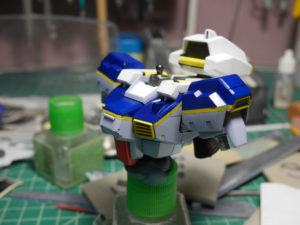
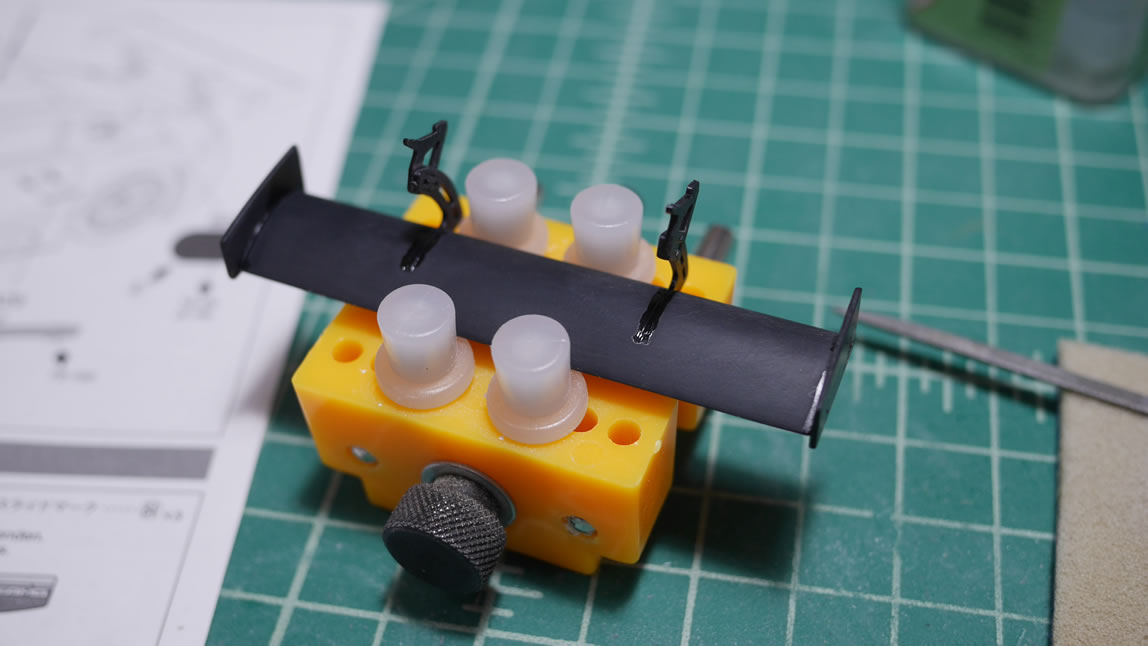
I finally got to use the small vice I picked up last year from my trip to Hong Kong. Not quite a full year, but it is coming in very handy when gluing parts that need to be at a straight angle. I can use my angle templates to check my work as well as hold them there while the glue dries. Shopping cart wing is assembled.
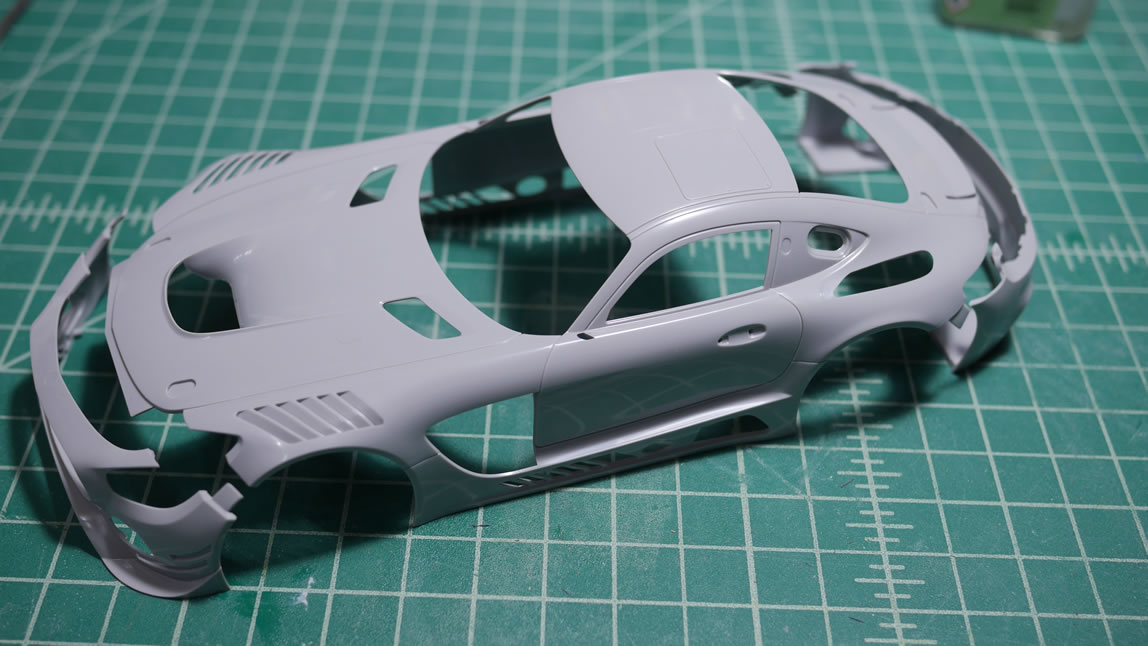
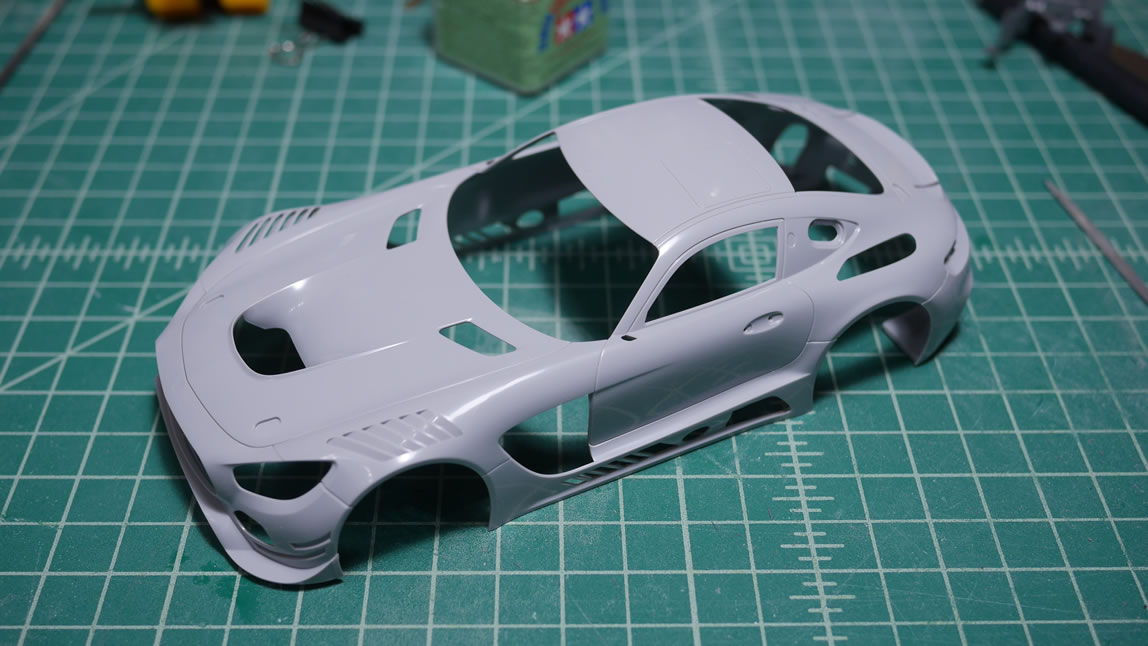
Next up is to assemble and glue the major pieces of the body together. There will be some sanding and once all these pieces are set, I can wash the body and get to priming. But that is a long ways off. I placed the wing onto the body to check for balance and fit. Things can be easily fixed now, not so much after paint and decals are applied.

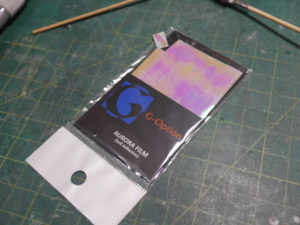
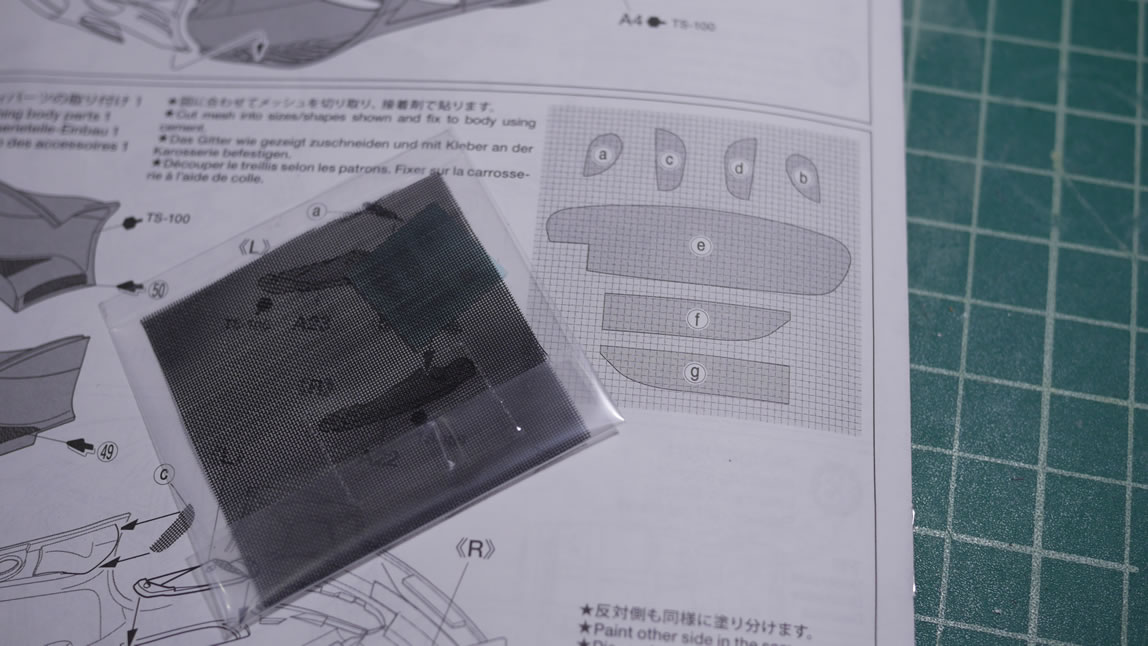
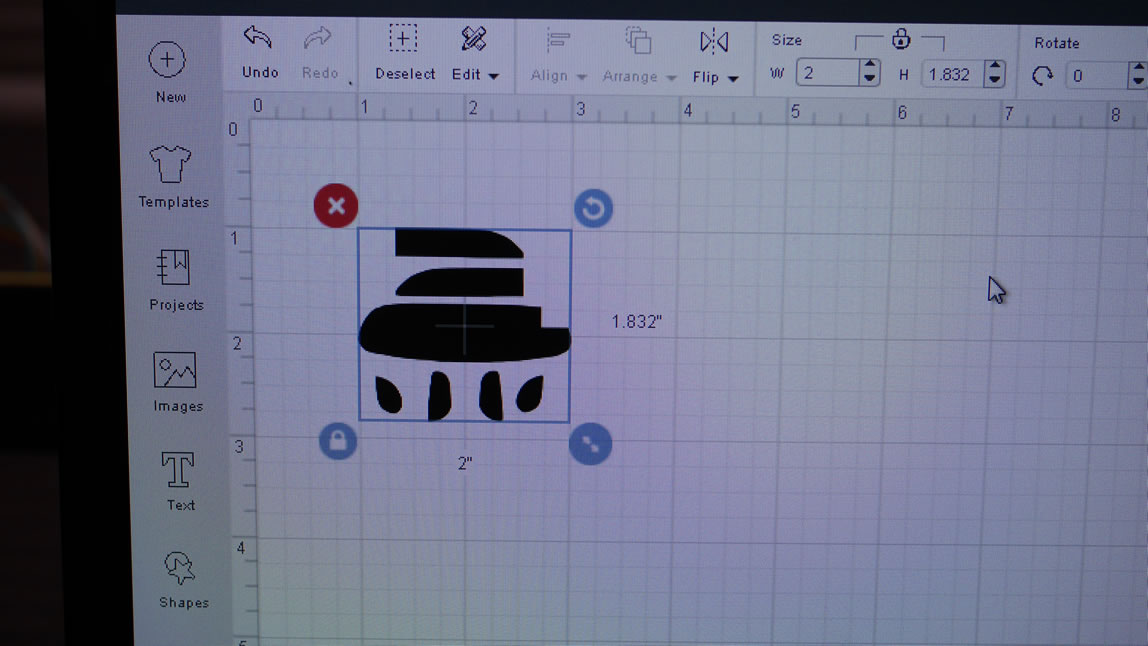
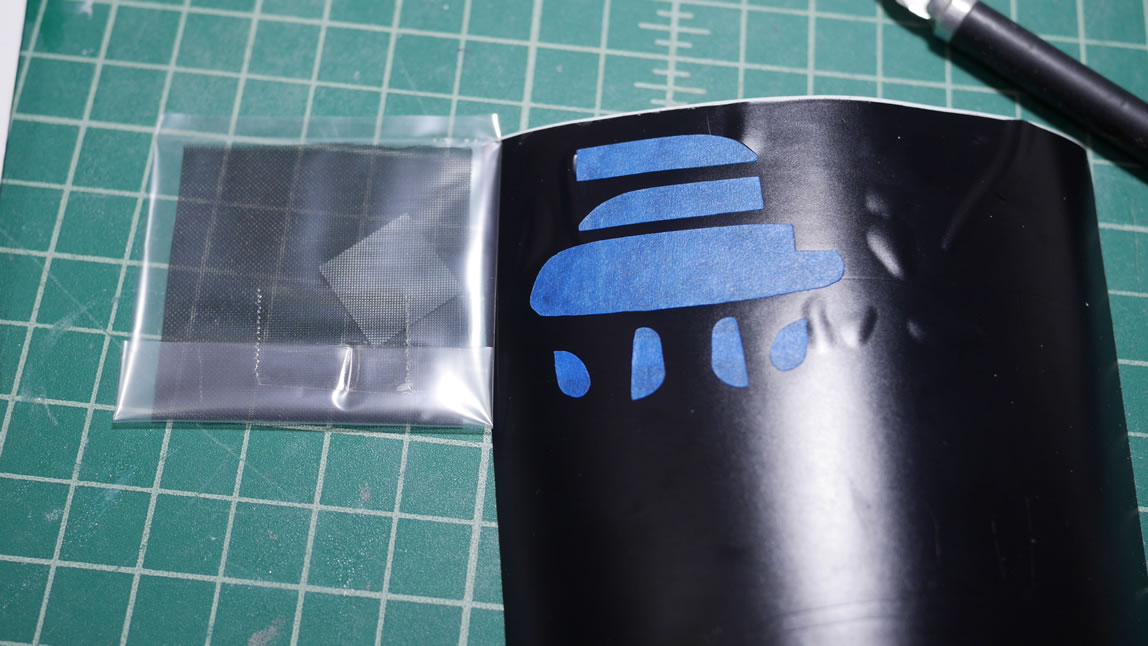
The next piece of business is just an excuse to use my cricut machine. The kit comes with a square piece of mesh and on the instructions, it shows how to cut the mesh for fitting into areas of the car. For this, I’m going to use the image and have the cricut cut out masks. I’m pretty sure I can use the cricut to actually cut the mesh, but since I only have one, I didn’t want to leap that far in my experimentation. I’ve only used the machine a handful of times and I just need to get used to using it more.
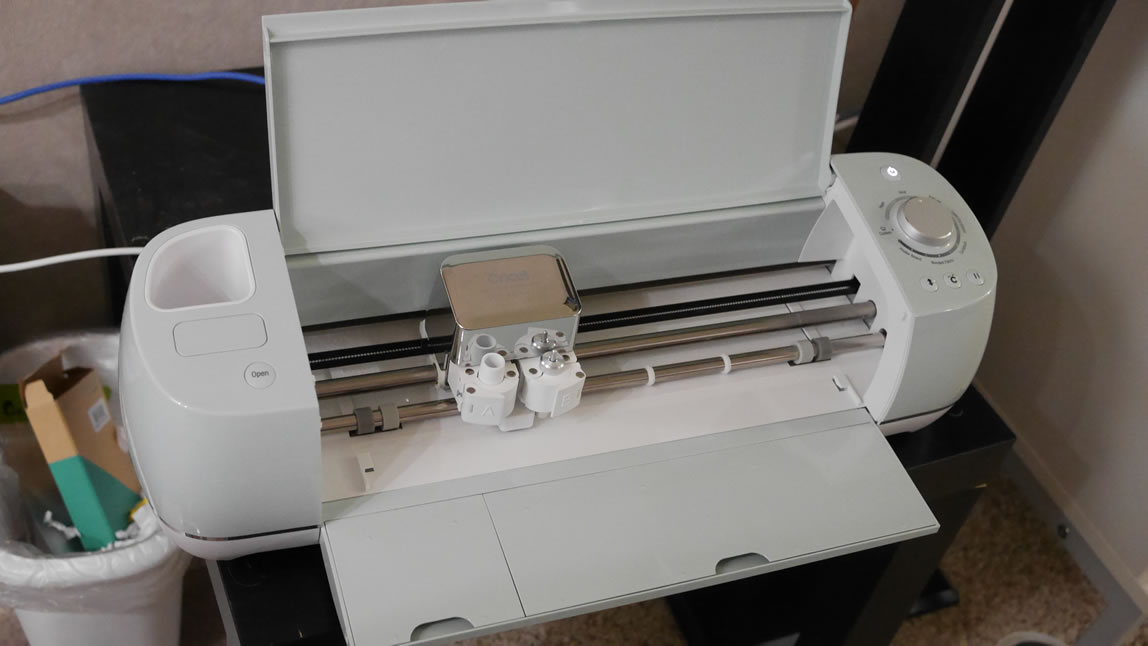
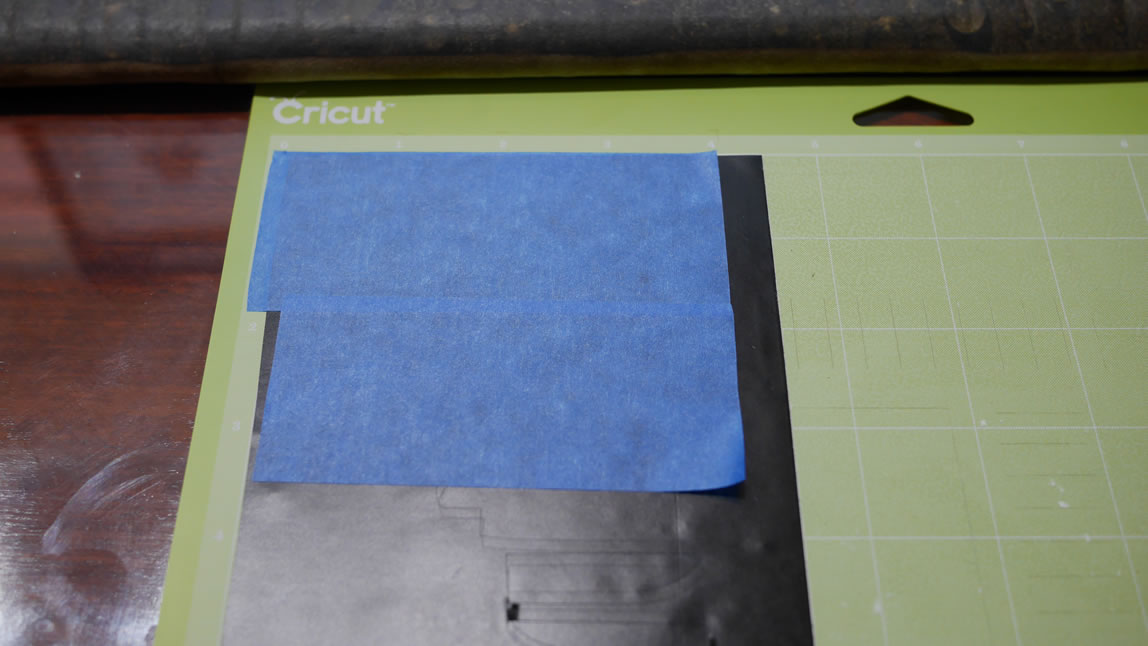
I start with a base piece of vinyl sticker. Over this I lay down some masking tape. The masking tape lifts up easily from the vinyl. The image from the instructions is cleaned up and loaded into the cricut software and we’re off to the races.
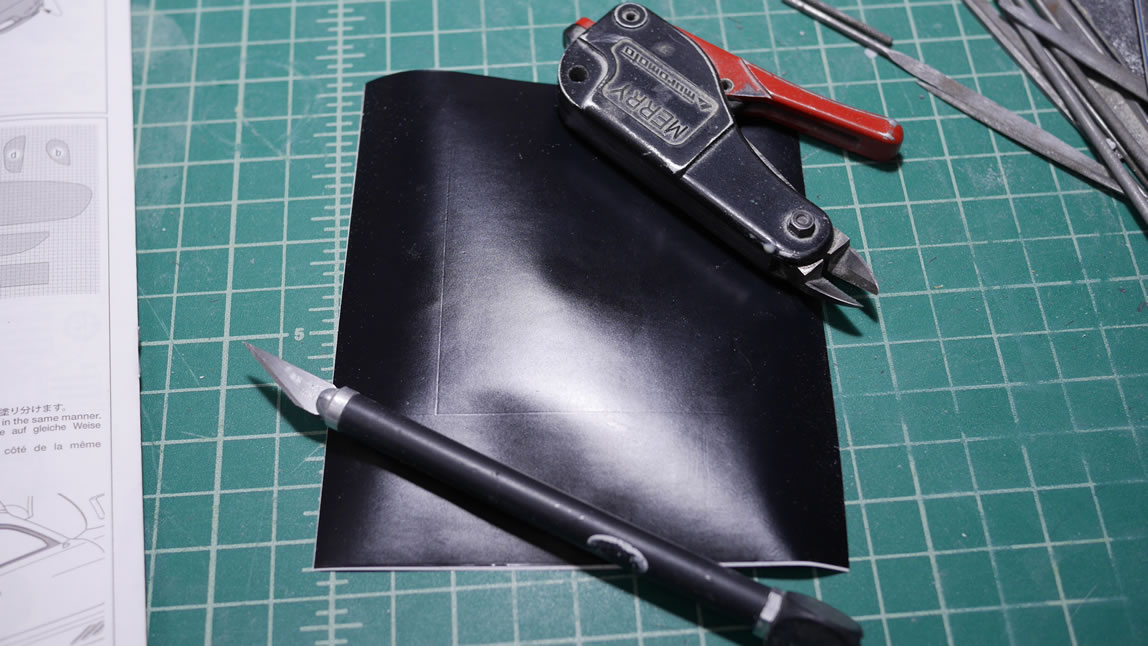
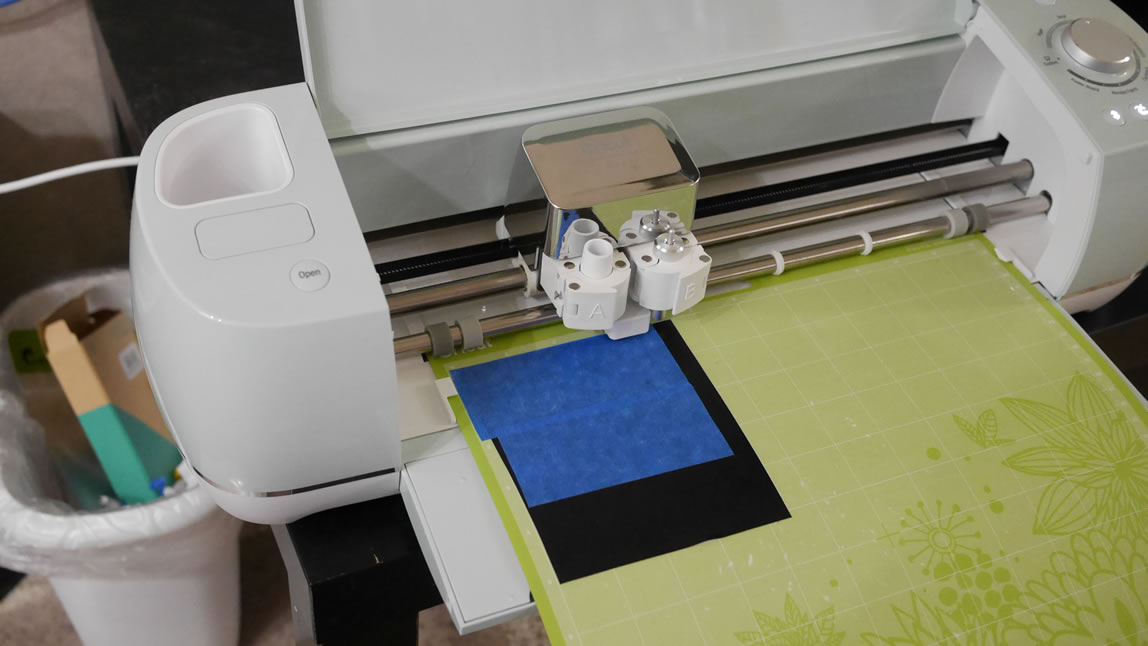
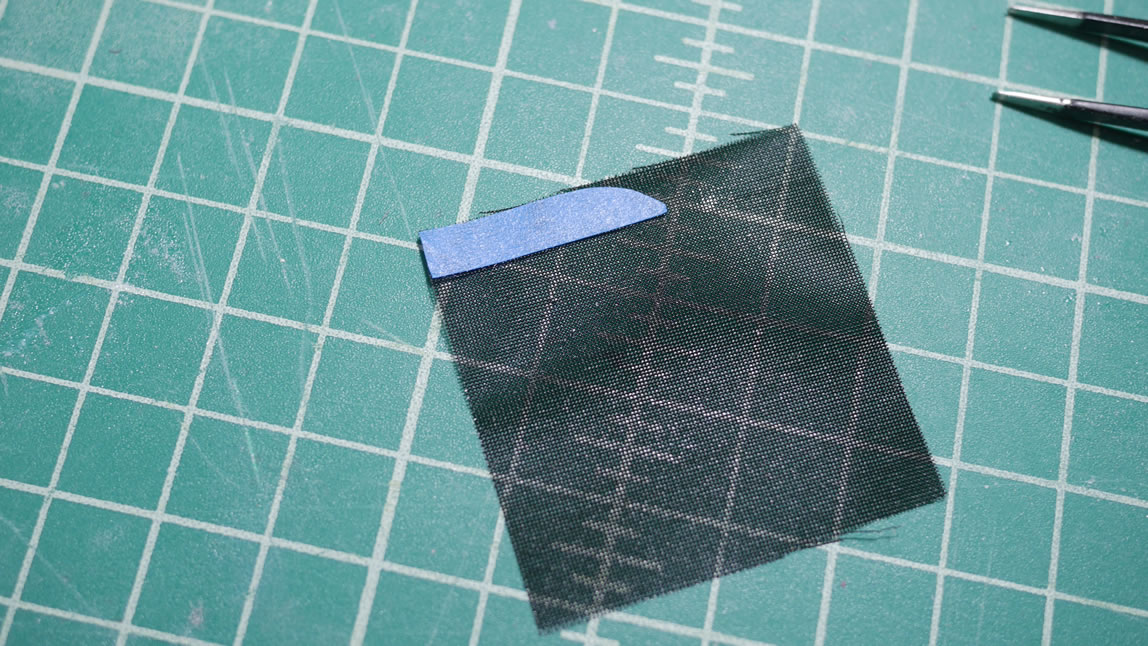
The cricut cuts the masking tape quickly with great precision. Once I unload the vinyl from the machine, I just remove the excess masking tape. This is perfect for drawing your own masking designs and having the machine cut them out for you. I will definitely be using this in the future.
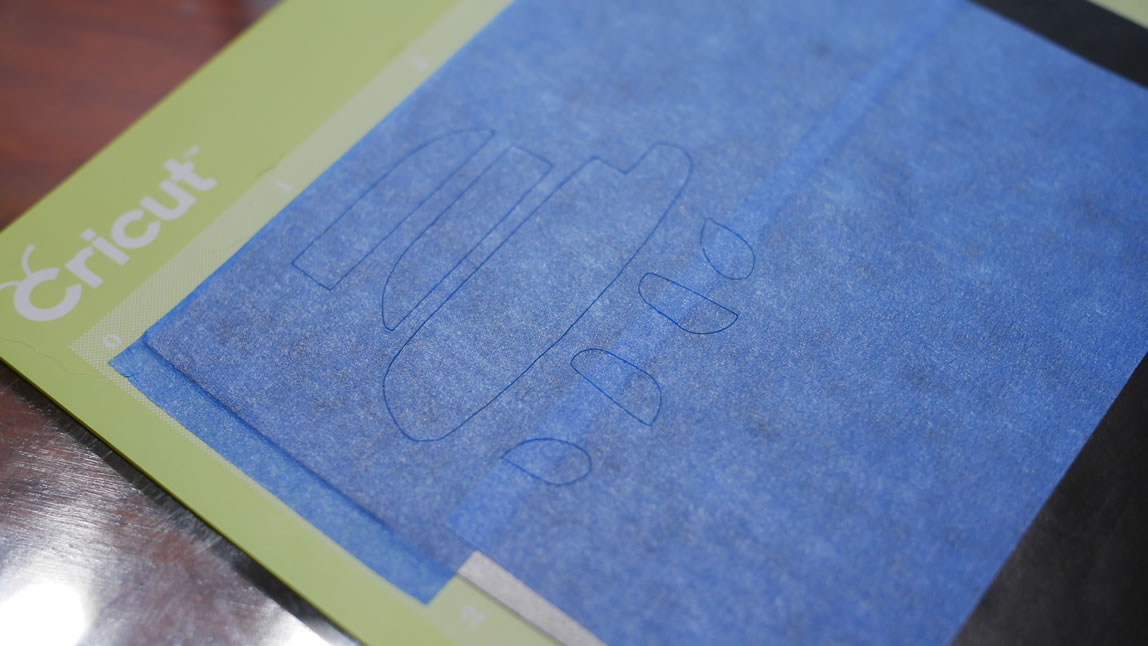
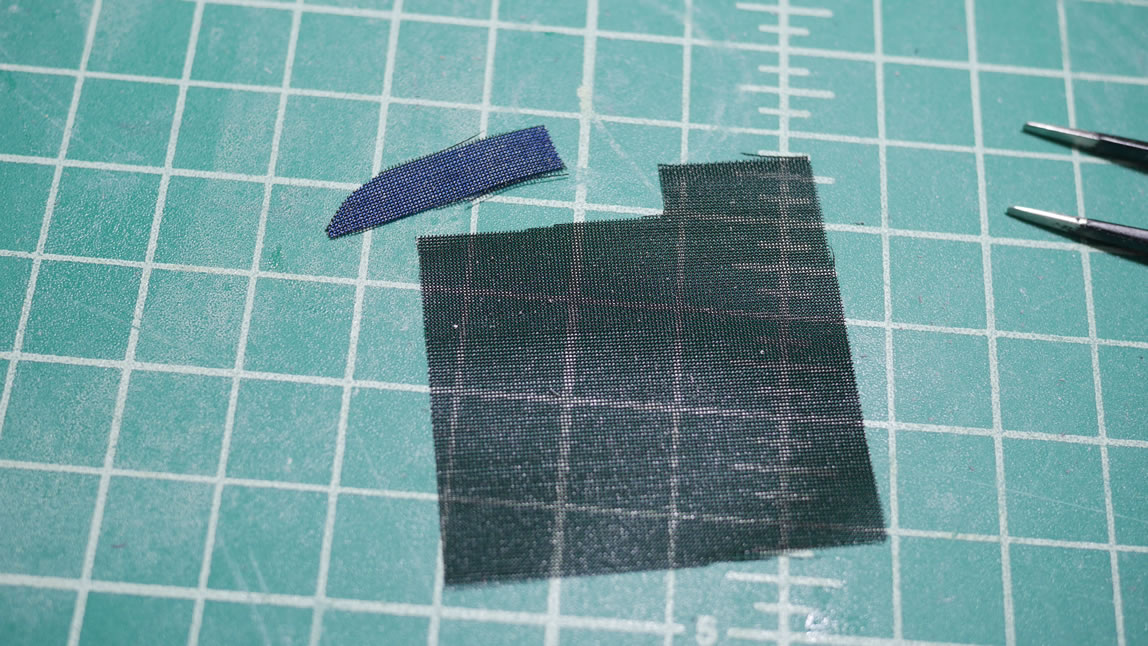
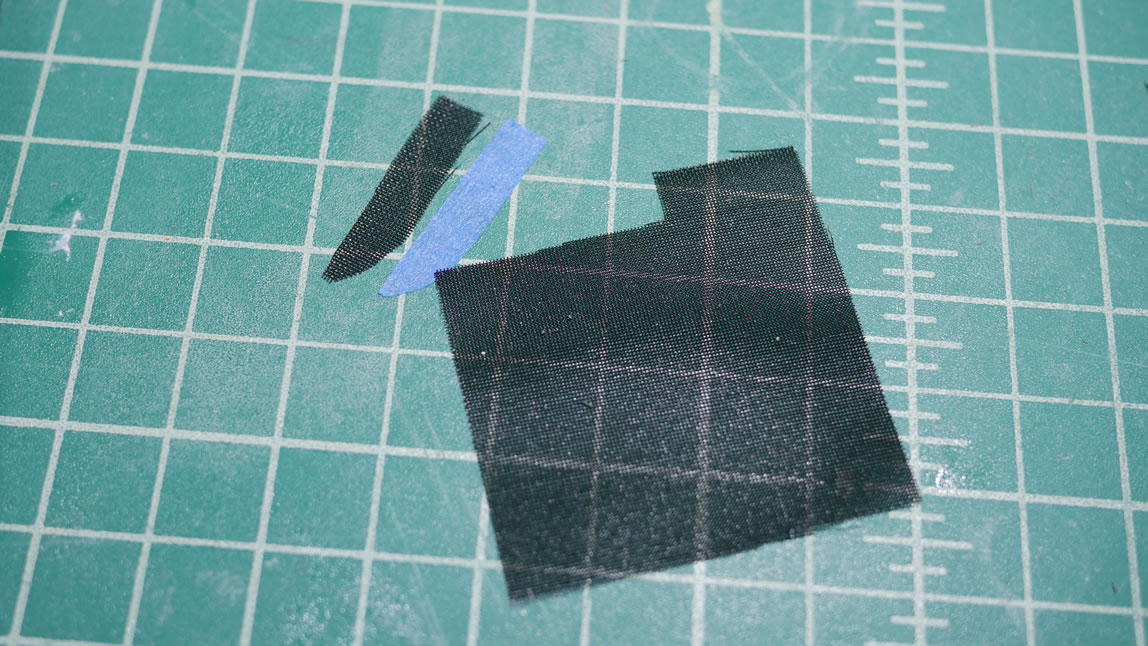
The tape masks are place on the mesh and I have a very easy time cutting the mesh without guesswork. And I save on the mesh in case I screw up somewhere and I need an extra piece.
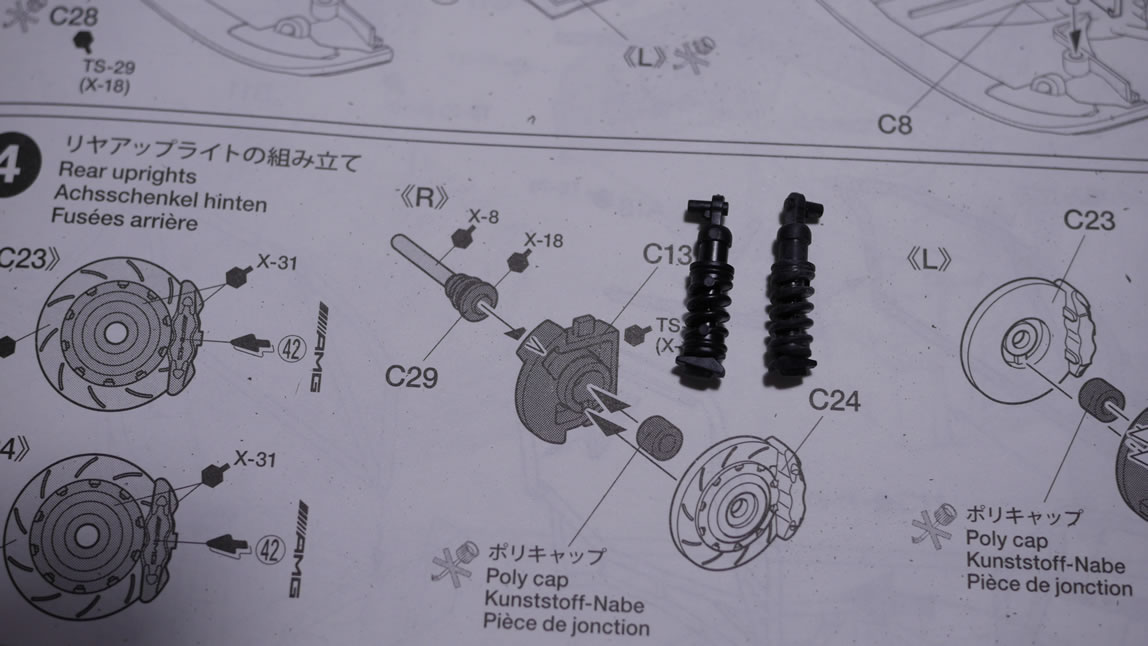
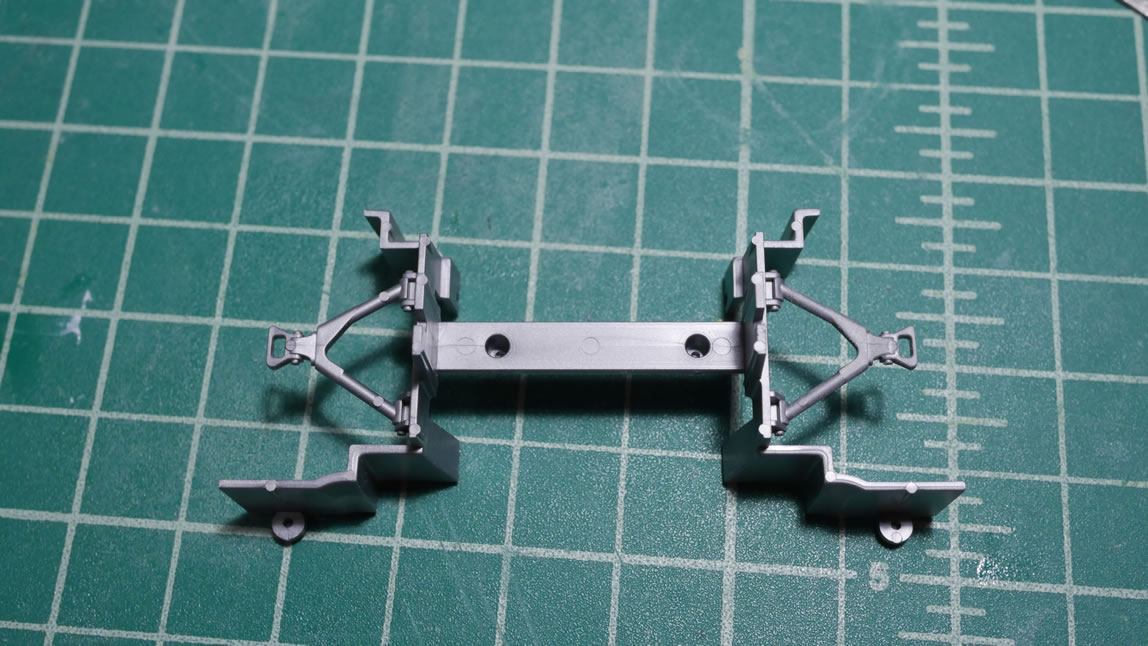
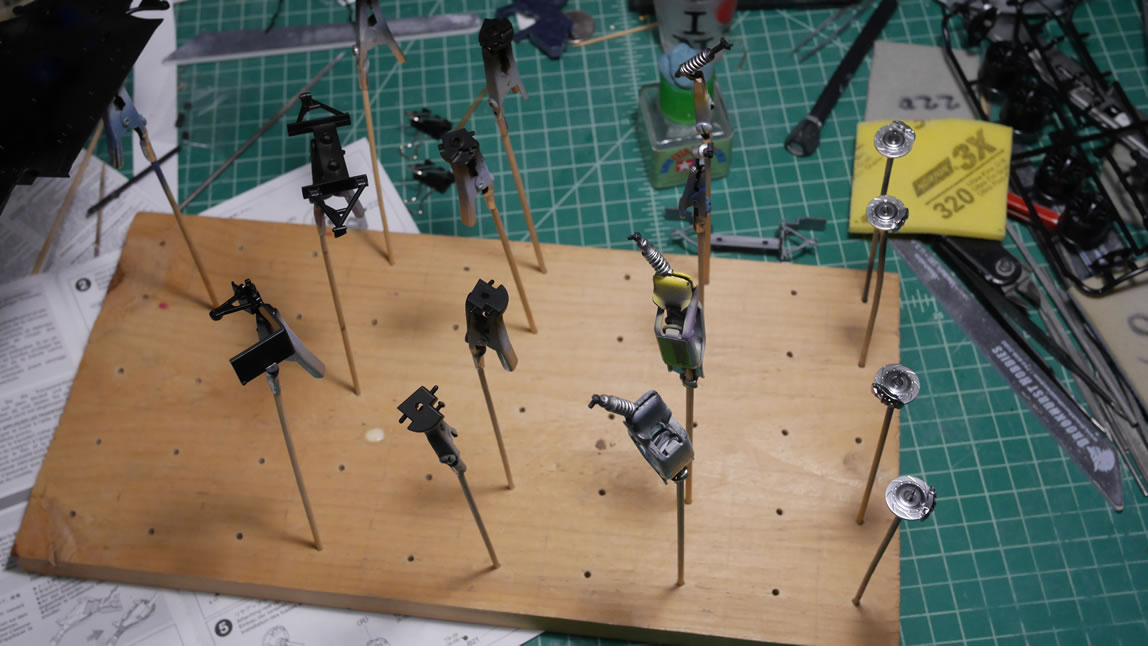
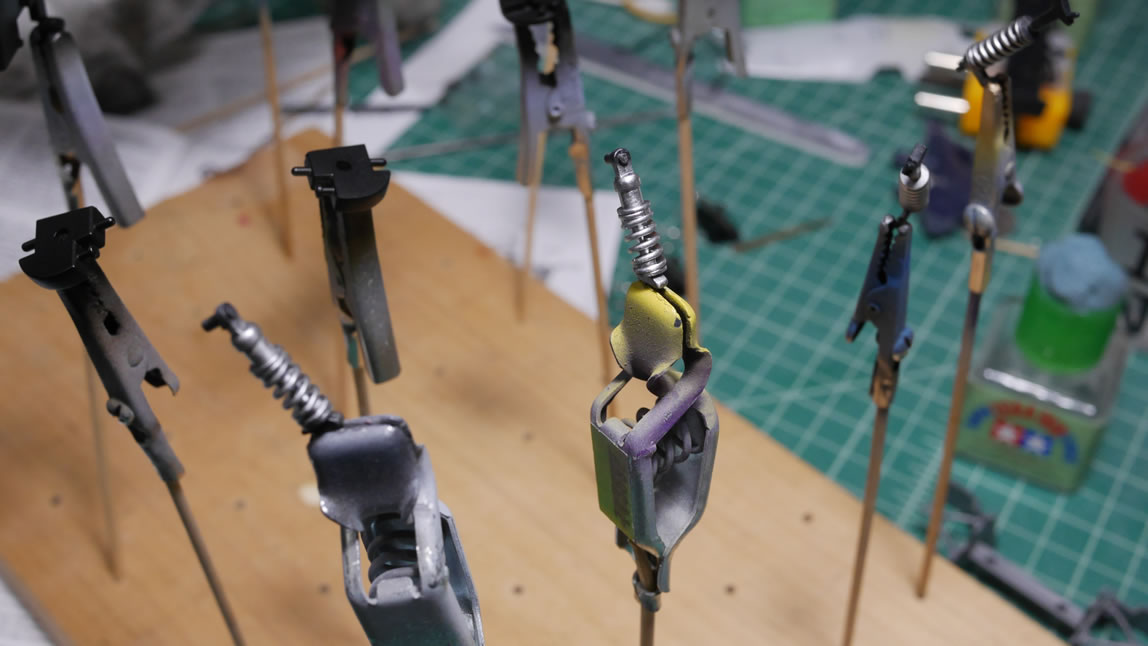
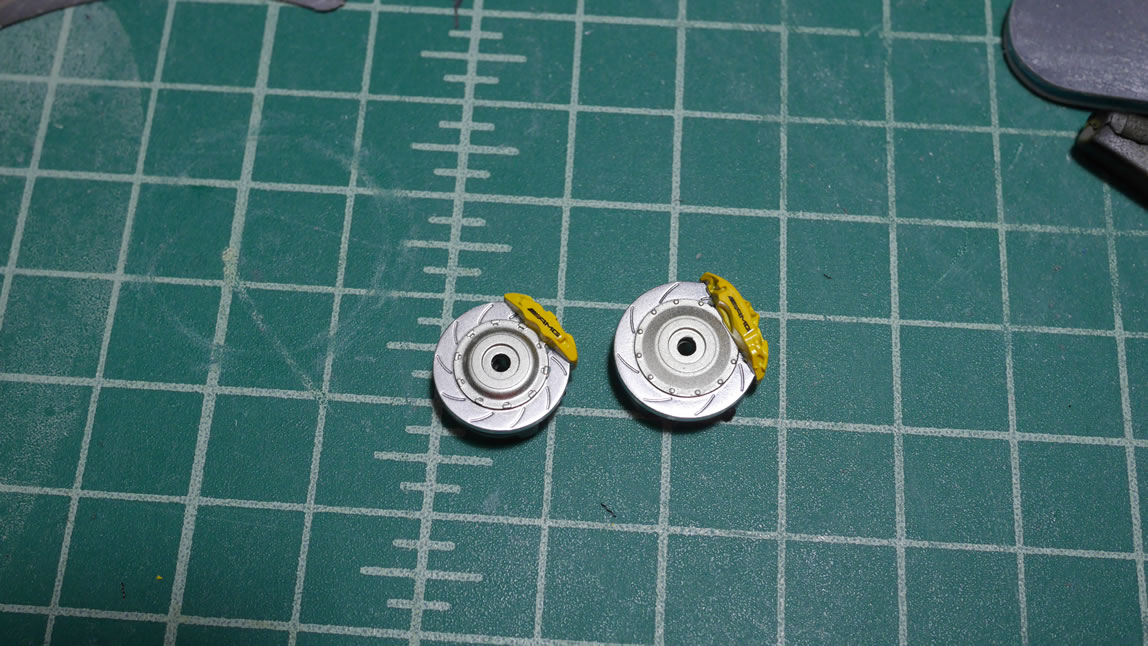
Next up are the beginnings of some paint. I’m painting as I build so for now, I have the brakes painted, struts, and suspension. There will be lots of masking.
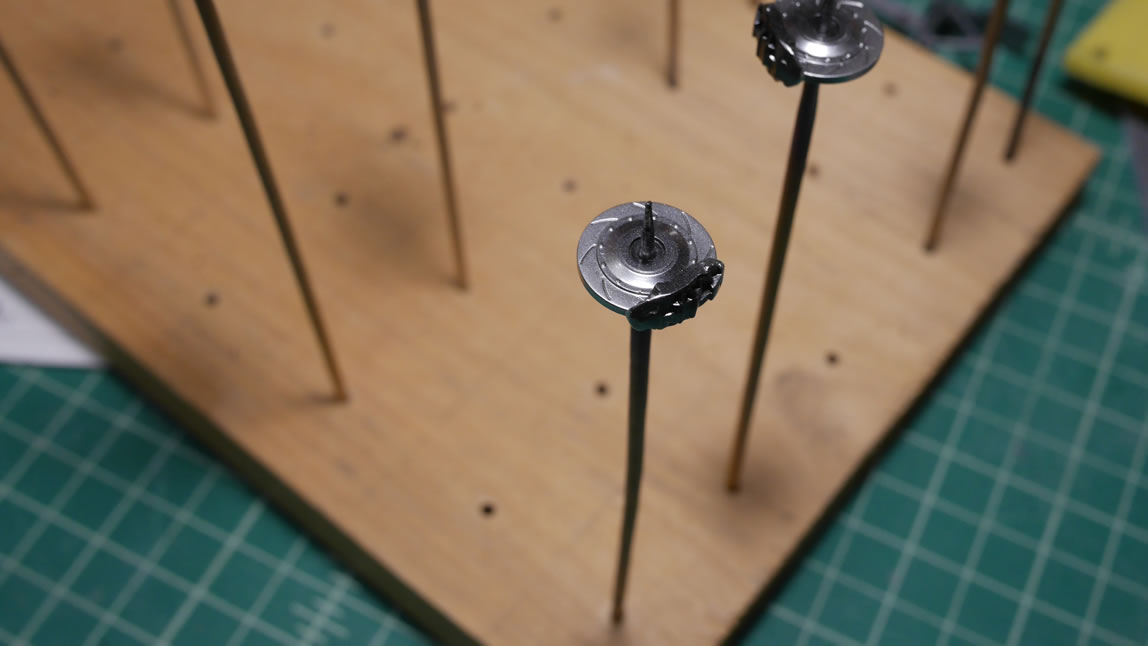

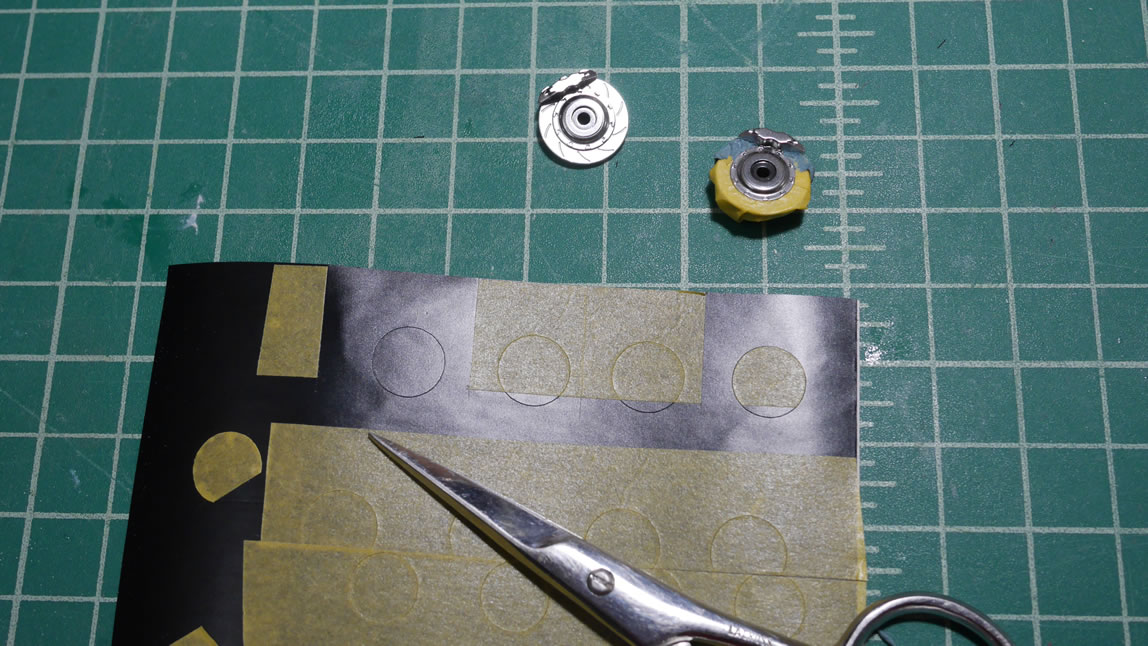
Speaking of masking, after the first level of the brakes have cured, I painted them in polished aluminum. I used the cricut to cut some masking templates and masked off the painted rotors to paint the center of the brakes a titanium gold. That was then masked off and the calipers were painted first with white followed by yellow. And the last bit was the AMG decal over the calipers.
Not sure when the next update will be as I’m off to Canada this week for work. At least some of the paint I applied will have plenty of time to cure before I come back and do more masking.