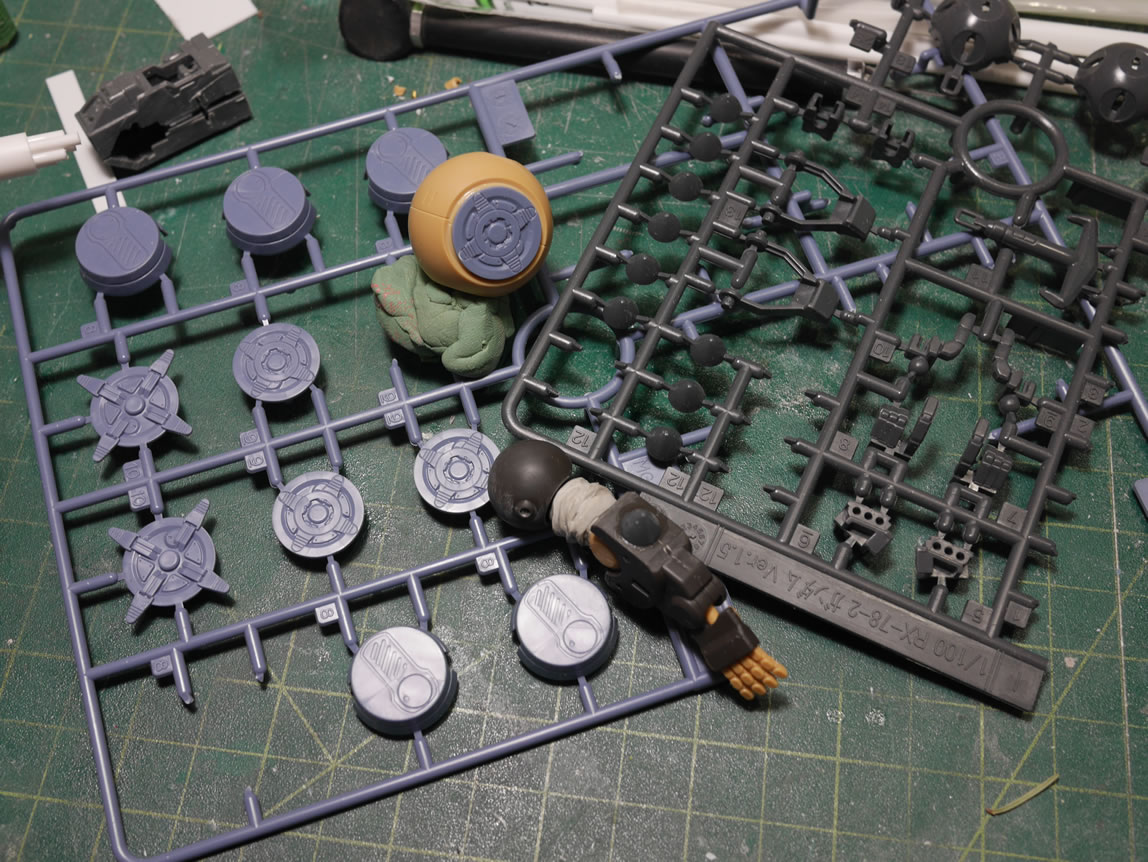
I first saw this kit at the December’s model build gathering, and my attempts to win it at our white elephant exchange failed miserably as it was stolen from my wanting hands. A few folks at the gathering had the kit and were building it as well which gave me the opportunity to look at the kit. Later that month, I dropped by a local shop and spent the $16 and grabbed the kit. A cool feature for the plastic is that it’s already molded in a matte finish. The texture of the plastic is different from the usual Bandai gunpla kits that I’ve worked on in the past. Granted this feature is completely wasted for my purposes; but it is a pretty cool feature.
The kit snapped together in roughly 20 minutes. Probably less. From watching friends build the thing, I had already formed some ideas on what I want to do to “personalize” it. I recorded some videos of the initial build progression, but haven’t found time to do the editing. Most of these pictures were taken after the mods were in place.


Details on the mods after the jump!
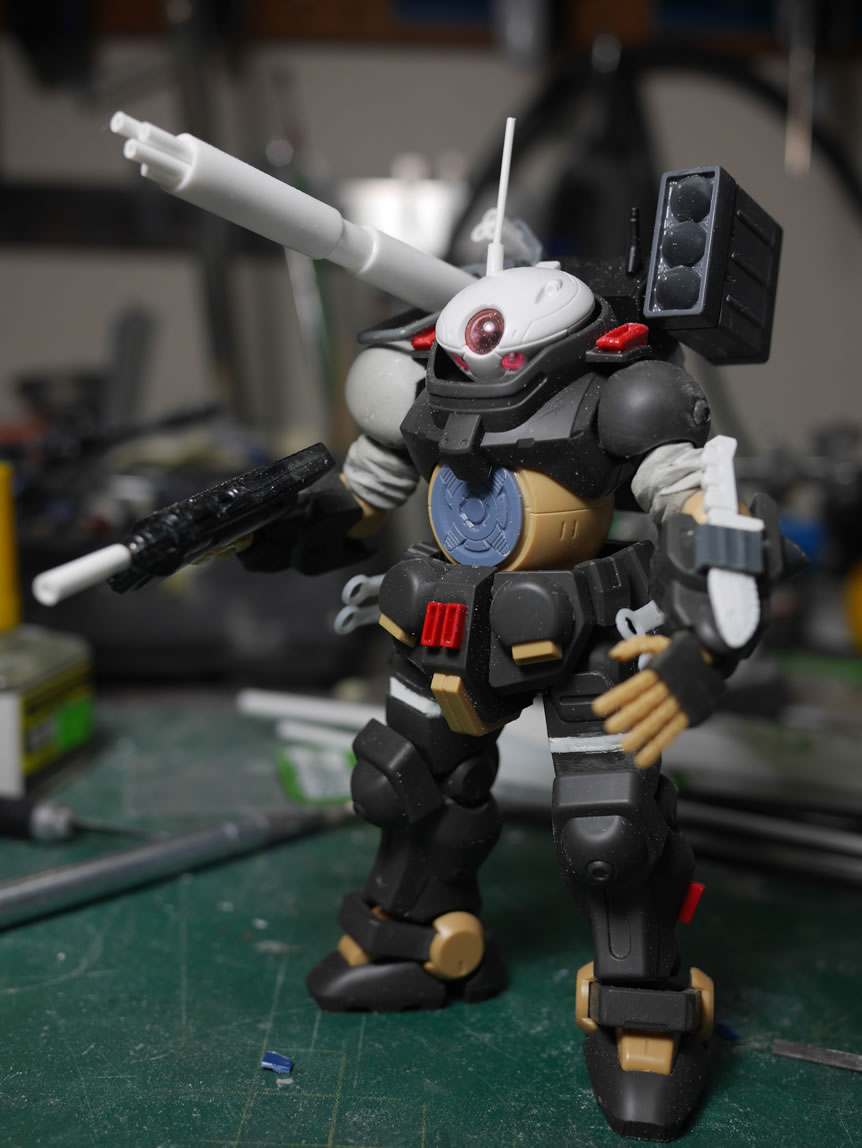
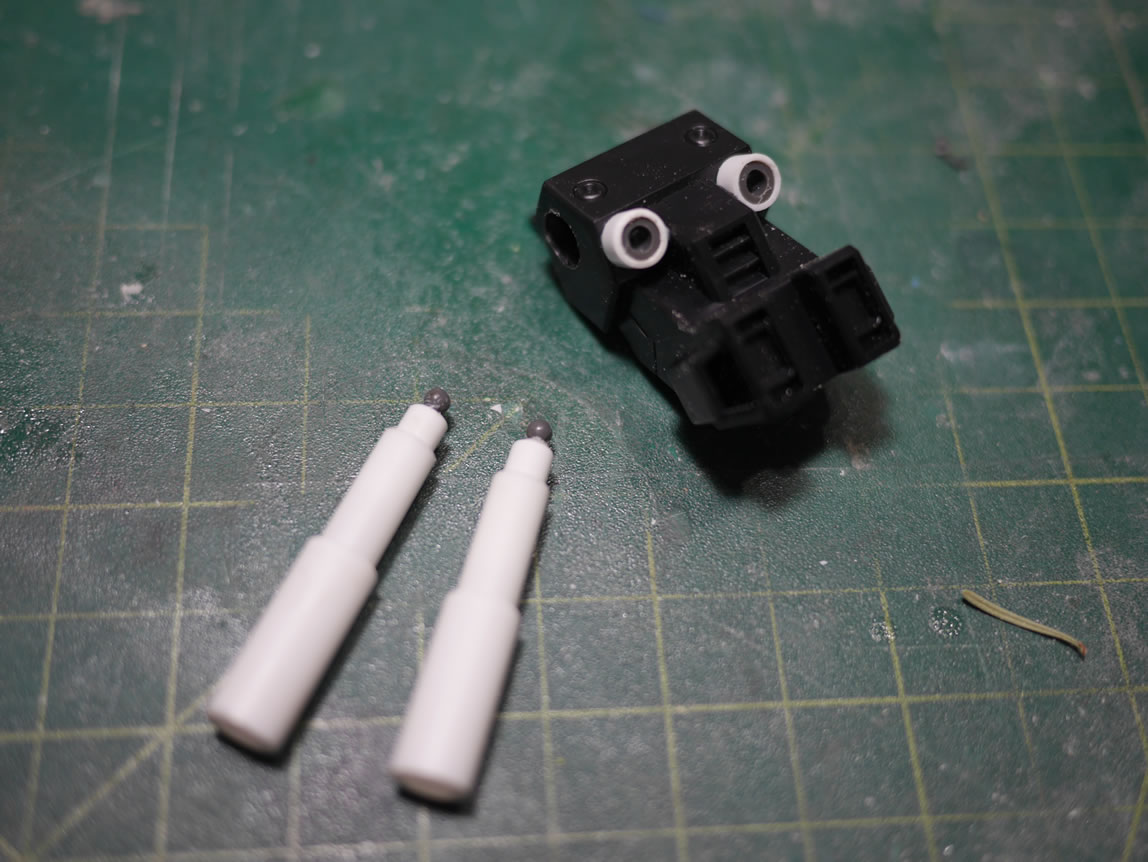
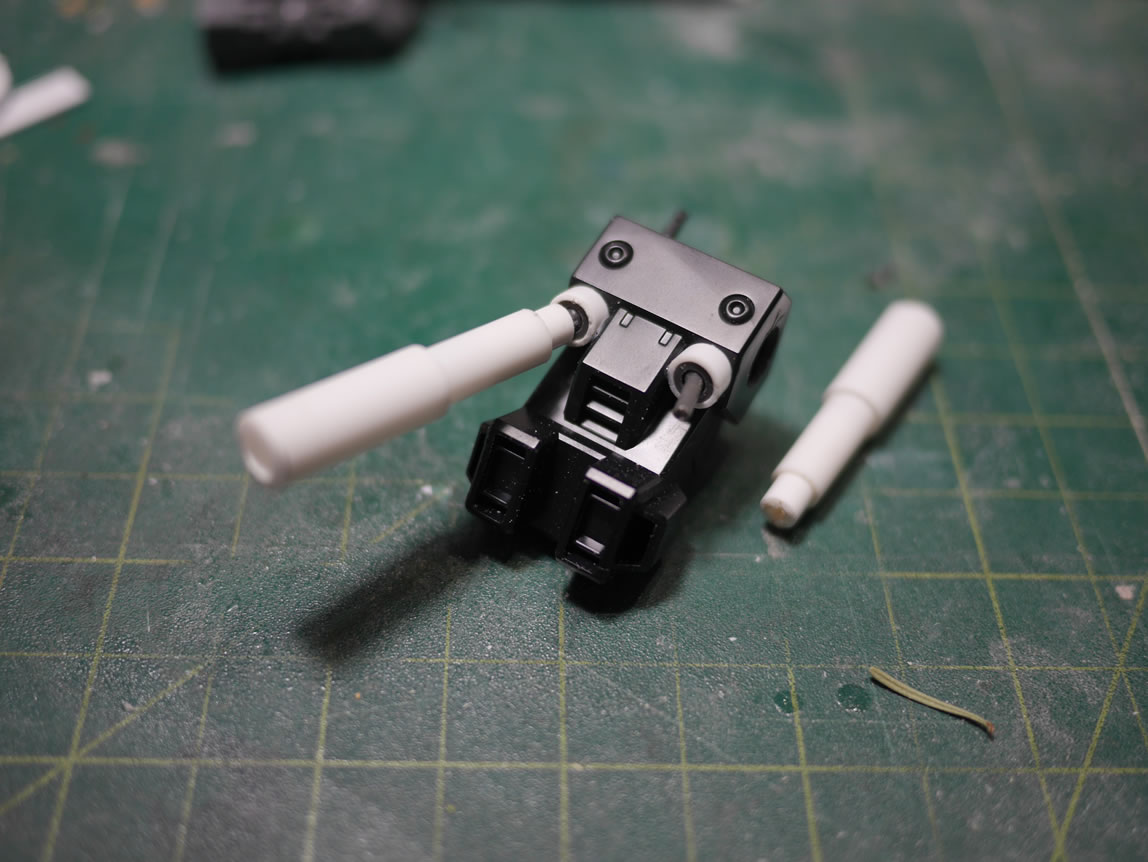
This kit just screams to be modified. Its got that scopedog and MaK feel to the suit. There are already folks out there that have made mods to the kit; now it’s my turn. The backpack for the Grimoire is just a chunk of plastic that looks like a blank canvas, just waiting for some added details. The first thing I did was drill out some holes and put in a polycap within a styrene collar. Corresponding to this is a ball joint connected to some styrene tubes glued together for fuel tanks ala Sazabi.
Next, I rummaged through boxes of spare gunpla parts to help kitbash and scratch together some backpack weapons. Styrene tubes, part of an MG One Year War Gundam, a piece of an MG Gelgoog backpack, the spikes from the OYW’s Gundam Hammer, and the bottom piece of the Kampfer chain mine are just some of the things I grabbed as bash pieces. Grim’s belly is cut out and the Kampfer mine is glued into place; I’ve created a new X-man character now… The spikes are glued to the forearms as added details.

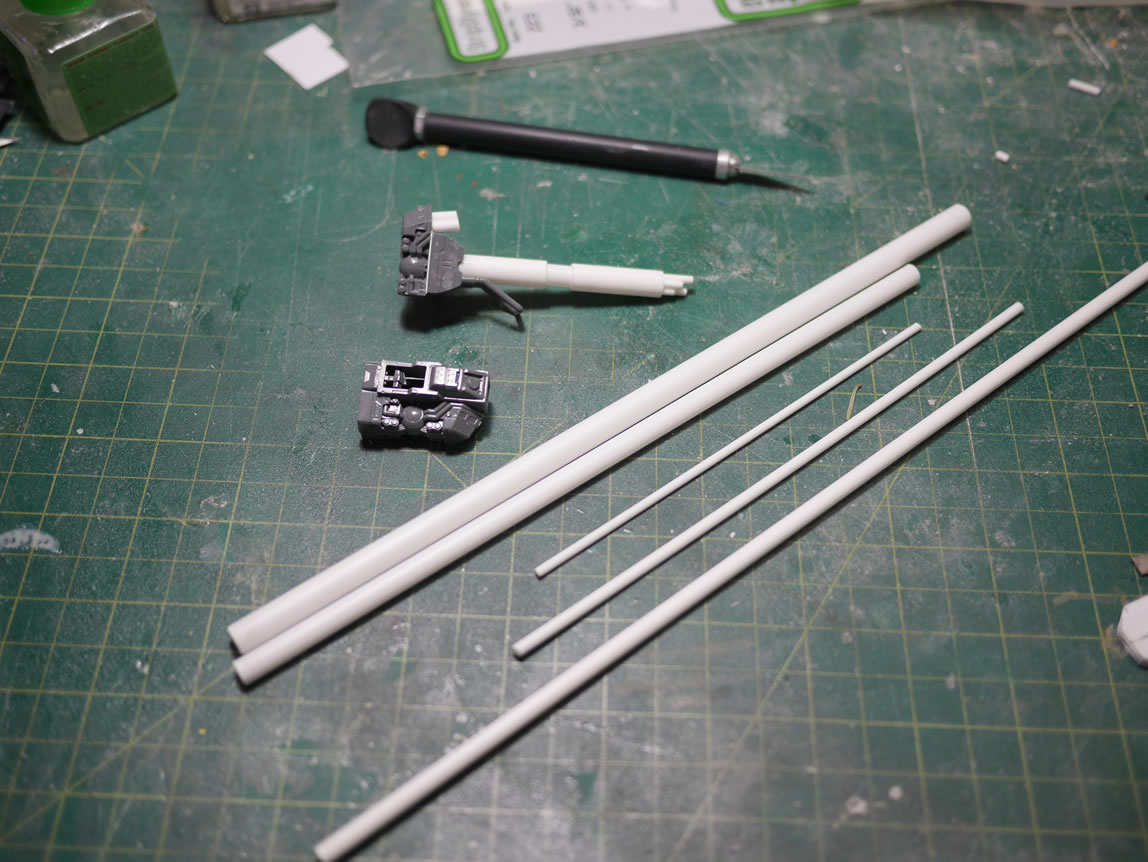
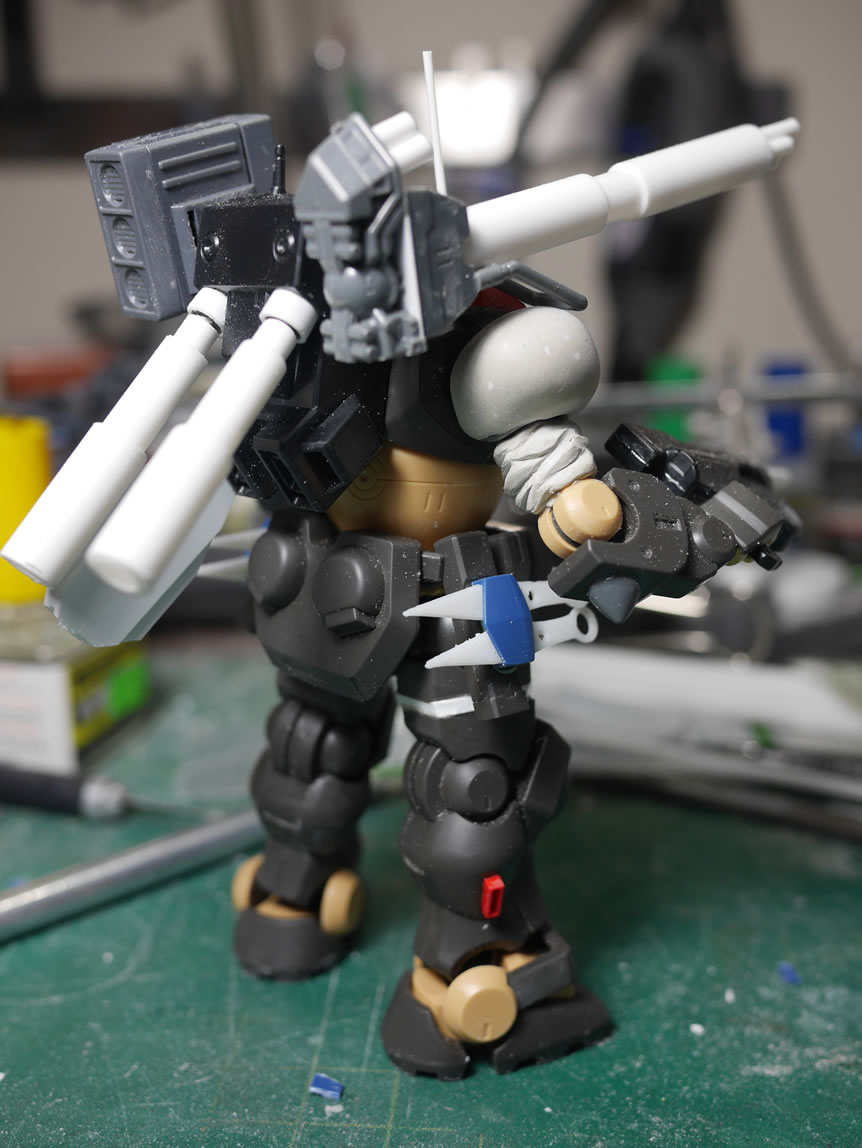
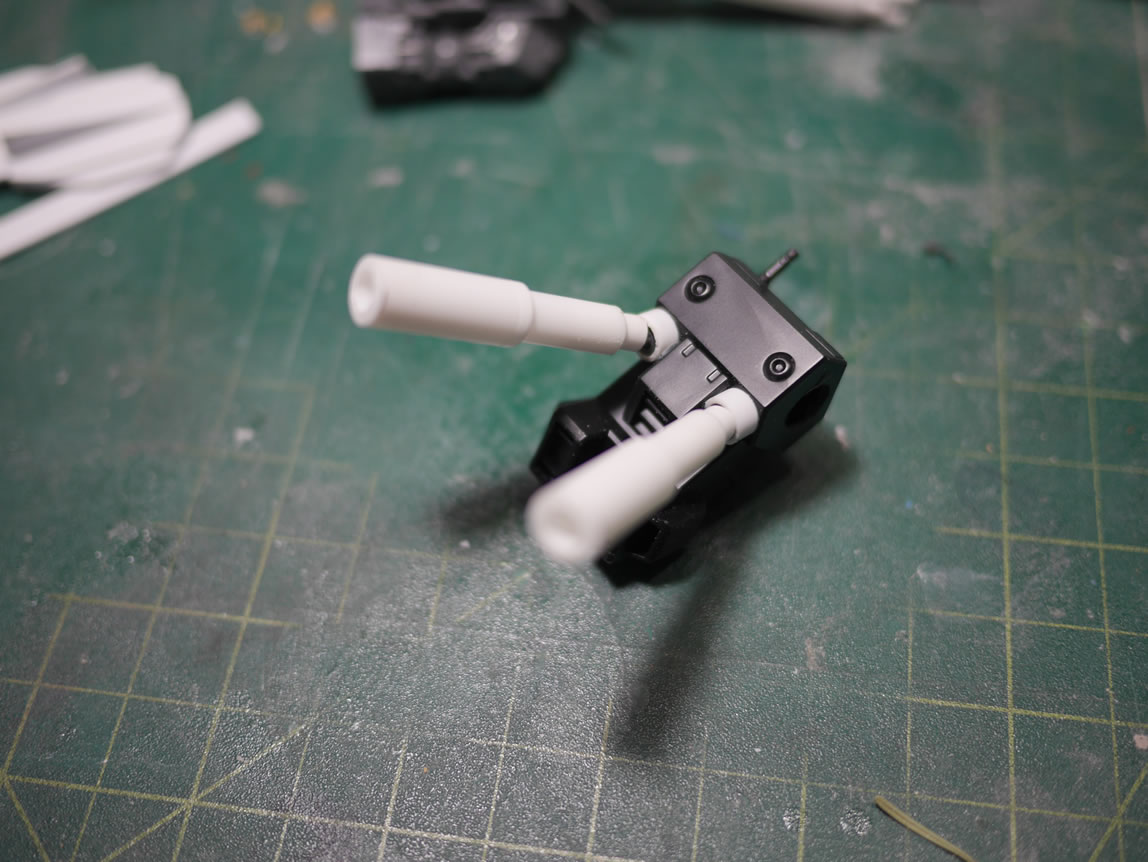
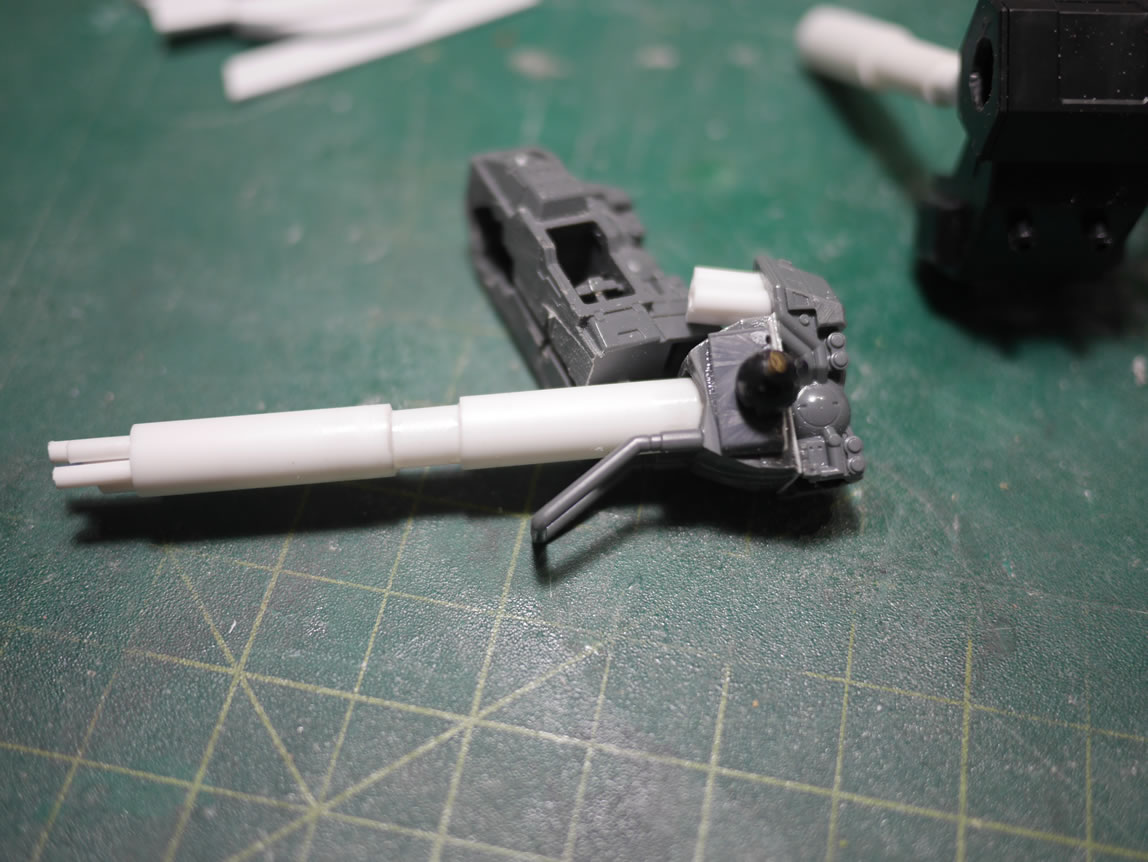
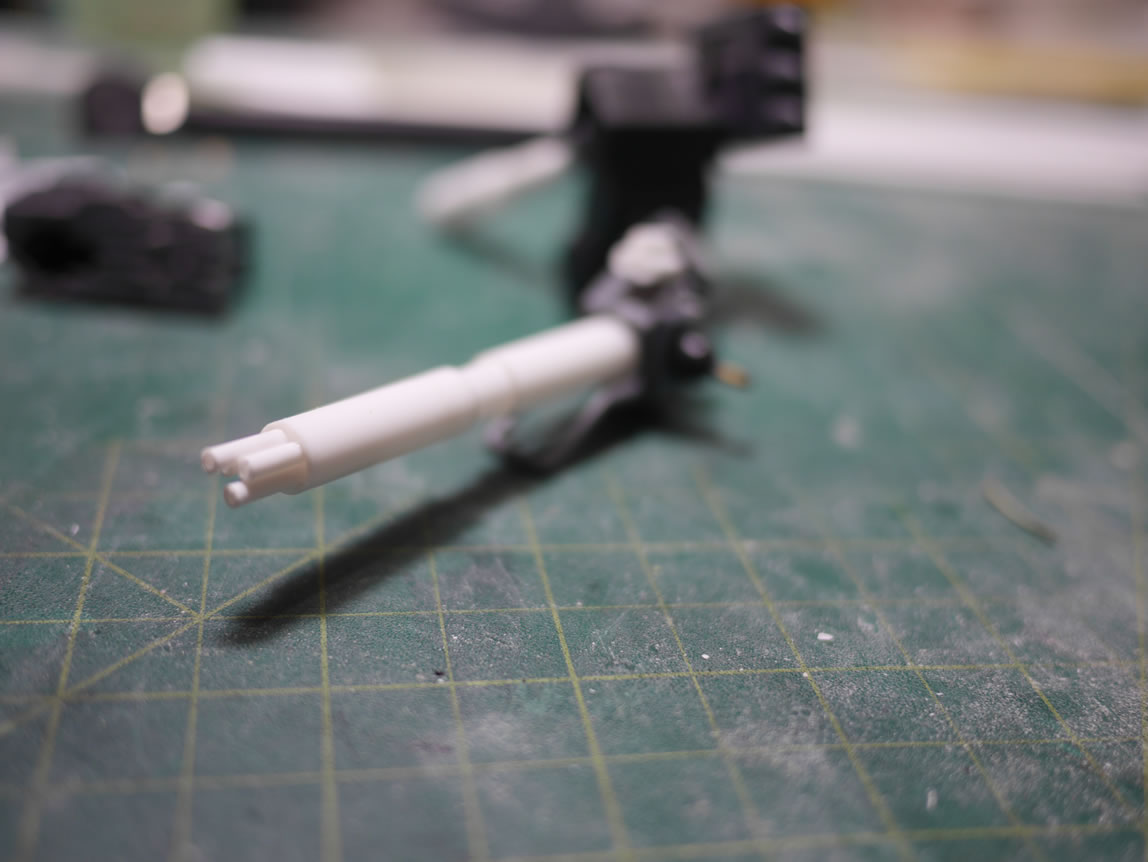
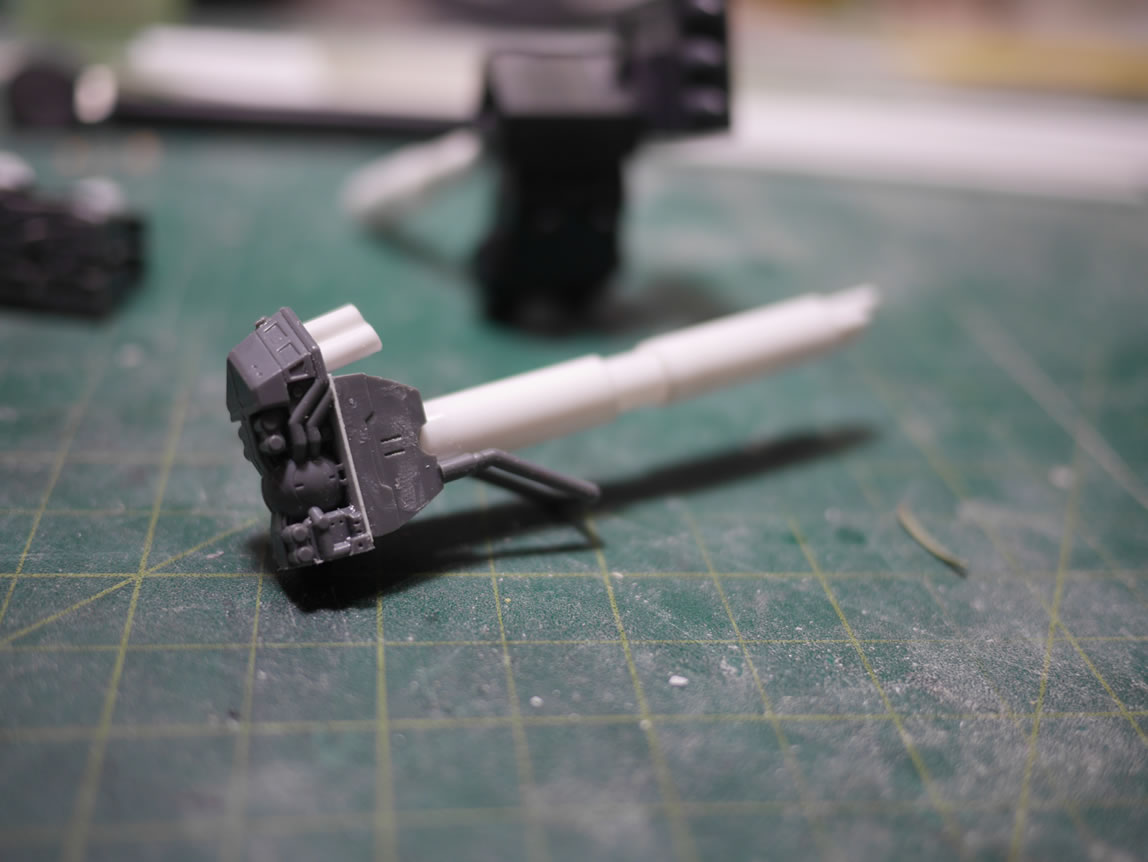
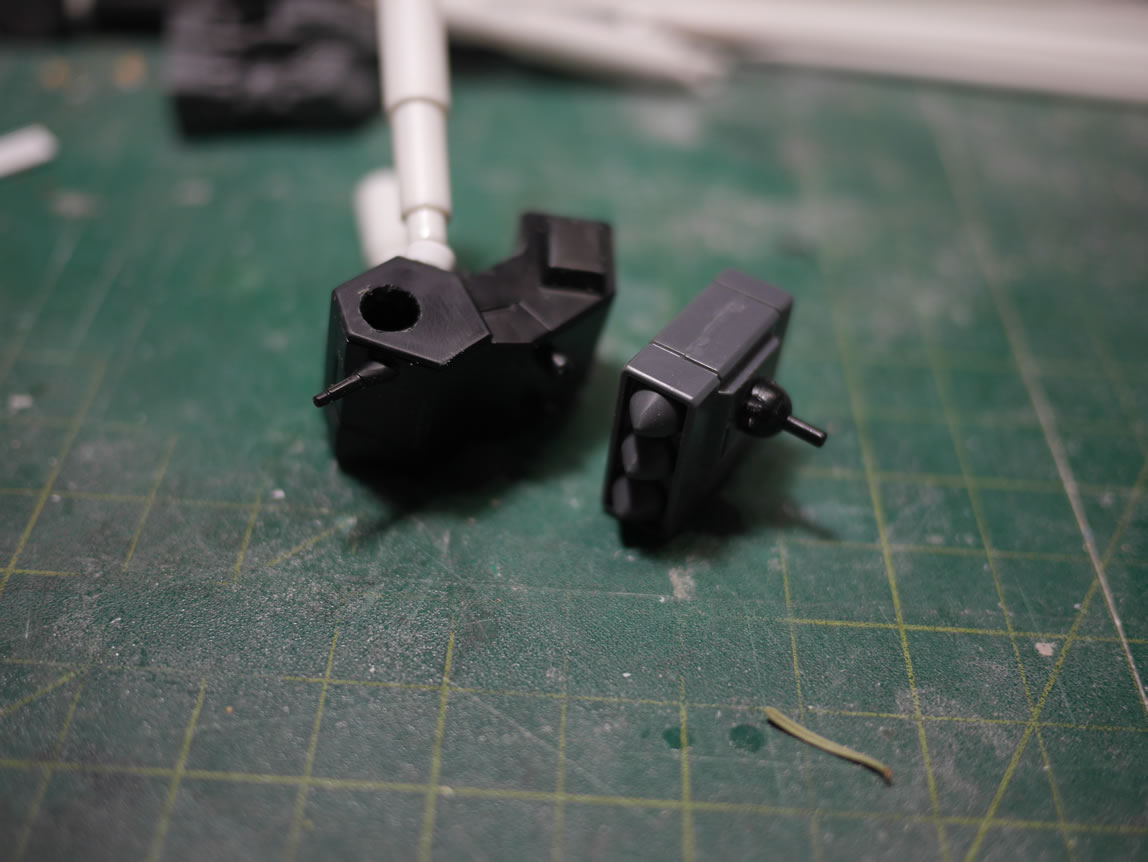
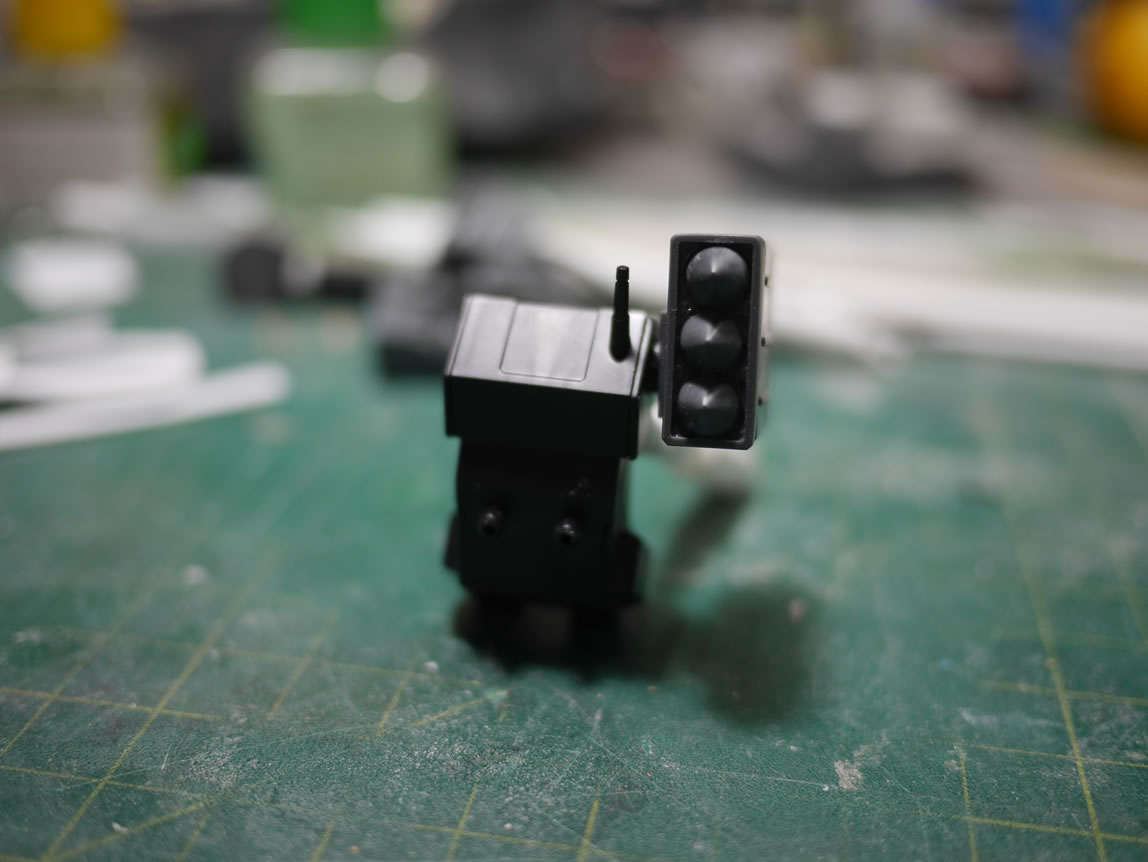
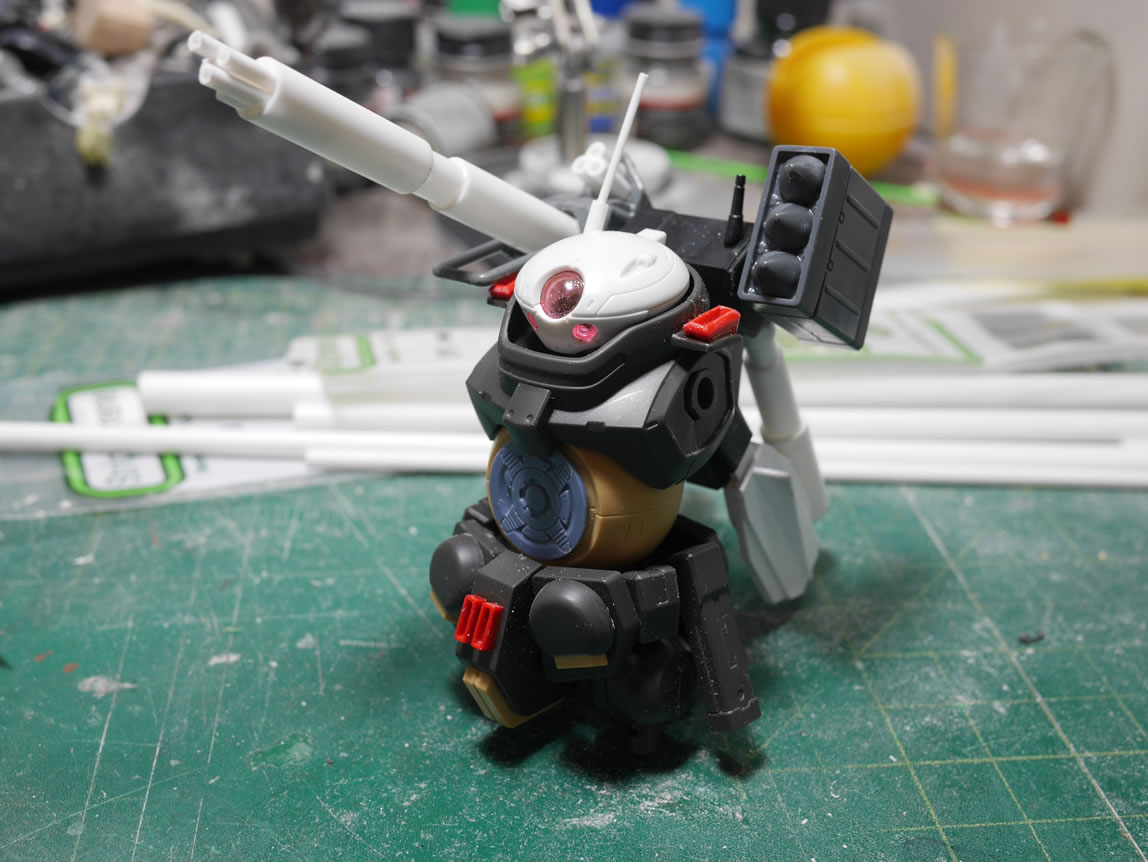
Using styrene tubes, I created a backpack mounted cannon. I needed something as a transition piece from the cannon barrel to the backpack, so I sawed off the side of a core fighter internal block, glued a sheet of styrene and glued on a piece of the Gelgoog backpack (at least I think that’s what it was, not 100% sure) and glued the cannon end to that. I found the rail to the OYW Gundam’s Bazooka and added that as a sort of shoulder guard. Filling in the triangle area from the core fighter piece, I glued three styrene tubes as grenade launchers. The end of the main barrel is filled with small tubes of varying sizes to create a stationary gatling cannon. The connector piece of a Zaku leg rocket piece is cut and glued to the assembly and with a poly cap, a corresponding hole is drilled into the backpack and I have my backpack mounted gatling cannon/grenade launcher.
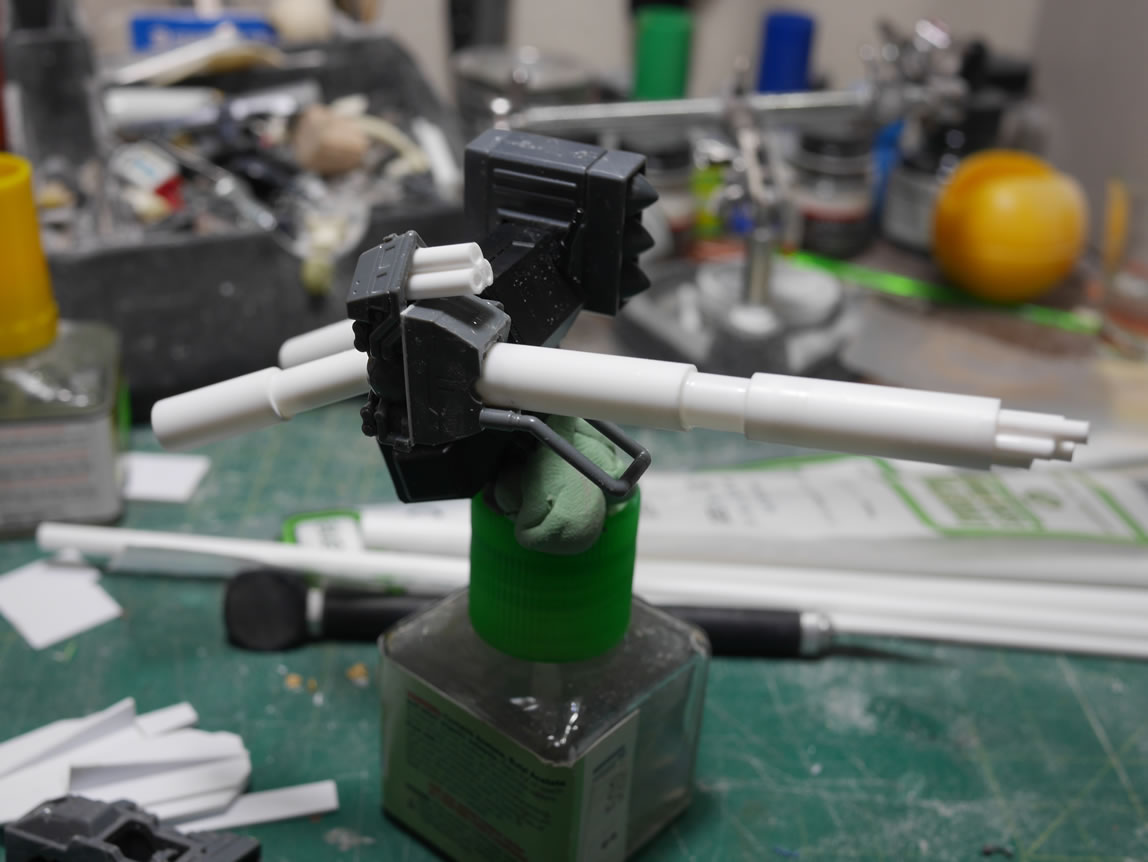
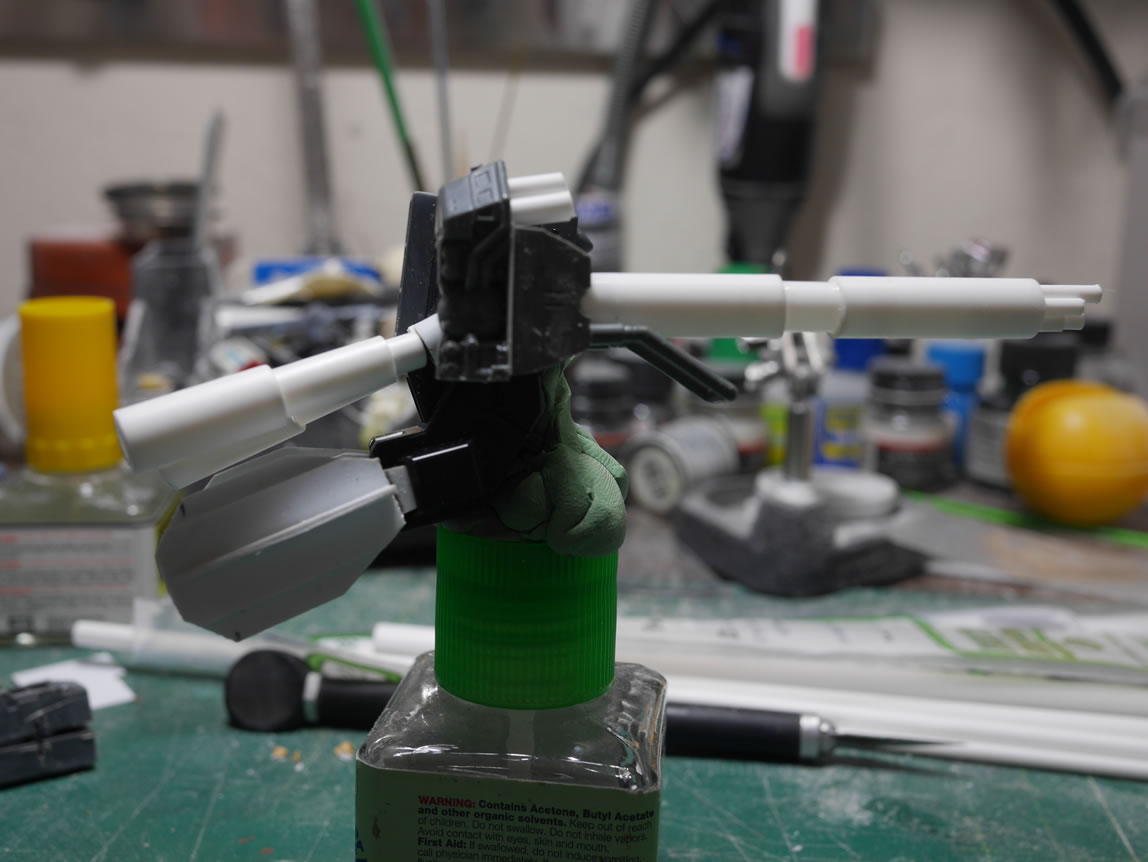
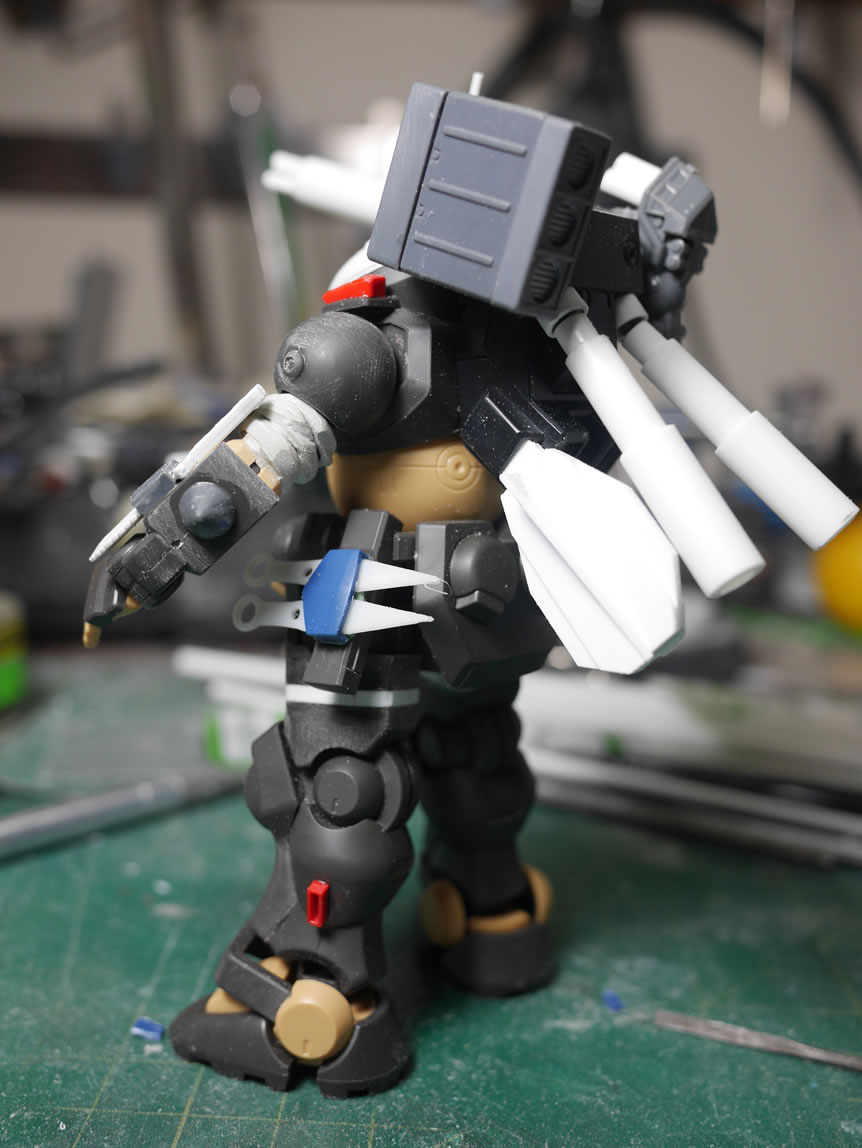
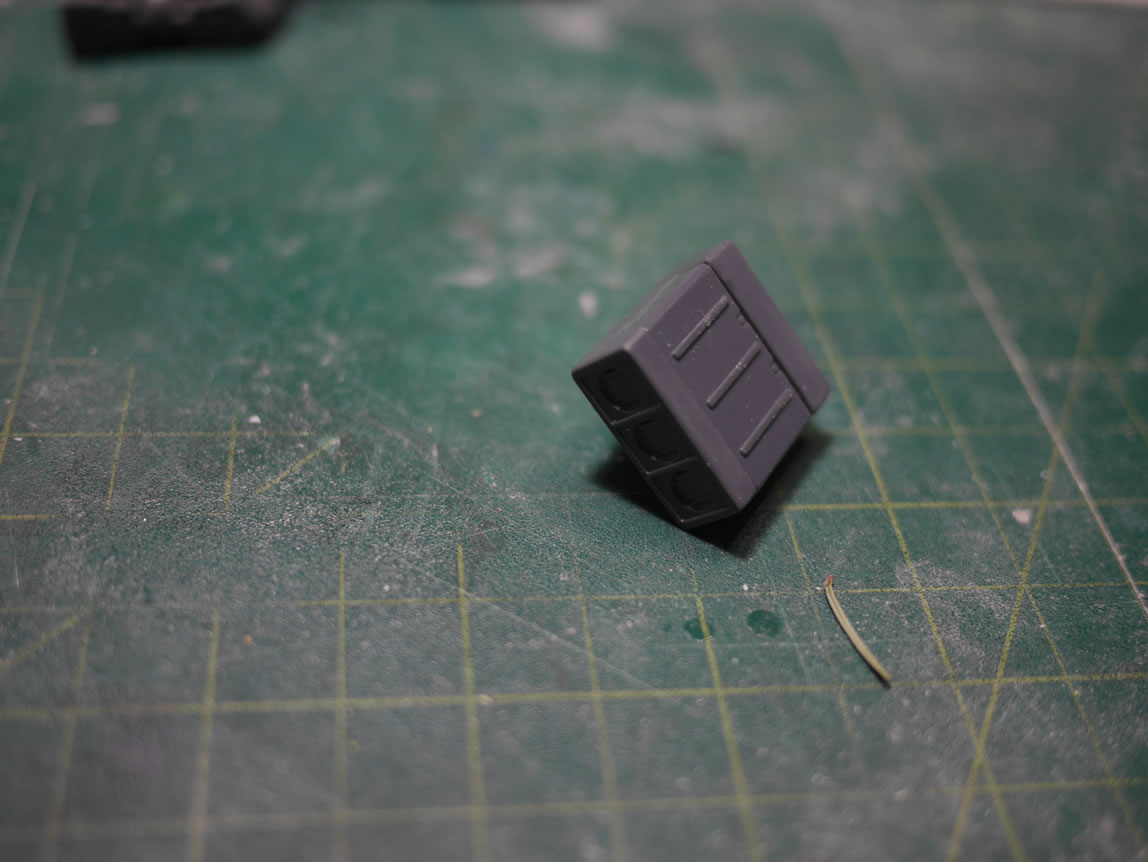
The other side of the backpack I was going to create an ammo box which ended up turning into a rocket launcher of sorts using the Zaku leg Rocket launcher box. Somewhere during the build, I had forgotten that I wanted to use this as an ammo box, so I will most likely modify this more to look like an ammo box.
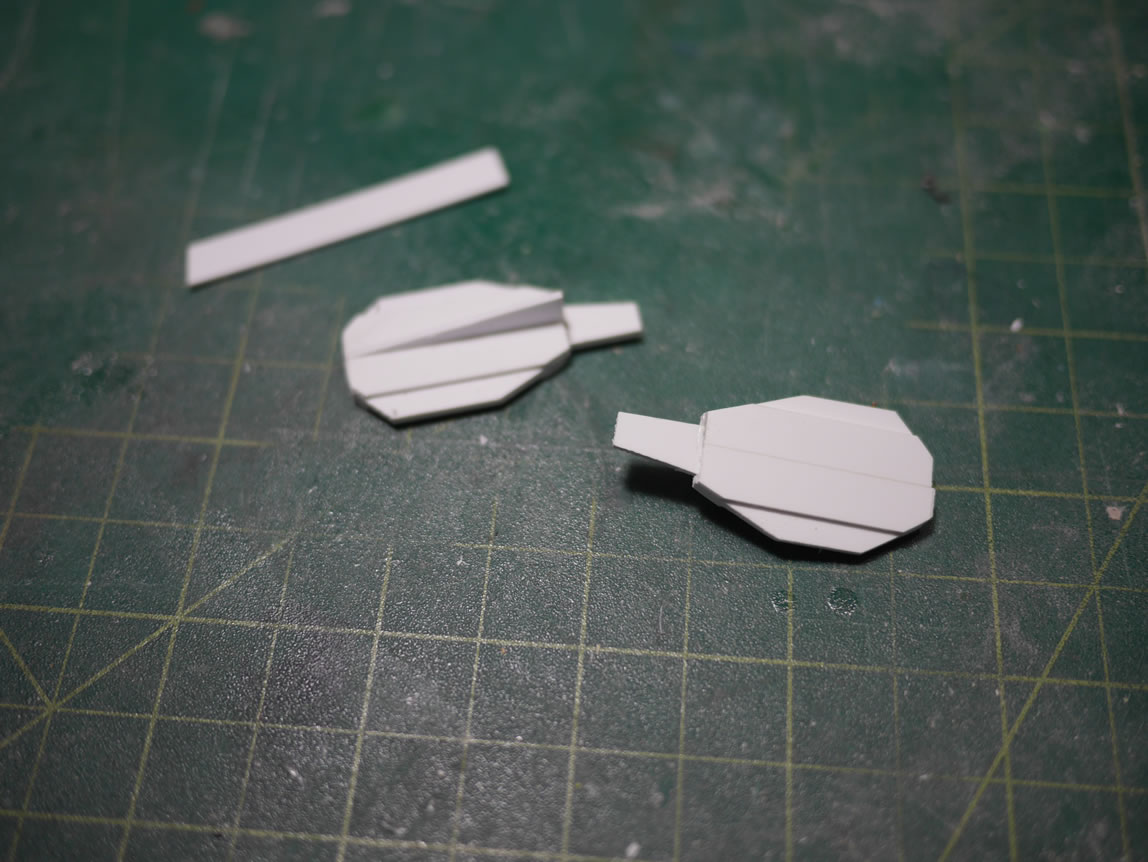
Still not satisfied with the backpack, there were some side vents that looked perfect to add in some binders ala GP03S. I have a rough shape formed from glueing styrene strips together. I’m still working out the look for this so the is just the basic skeleton.
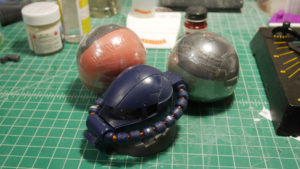
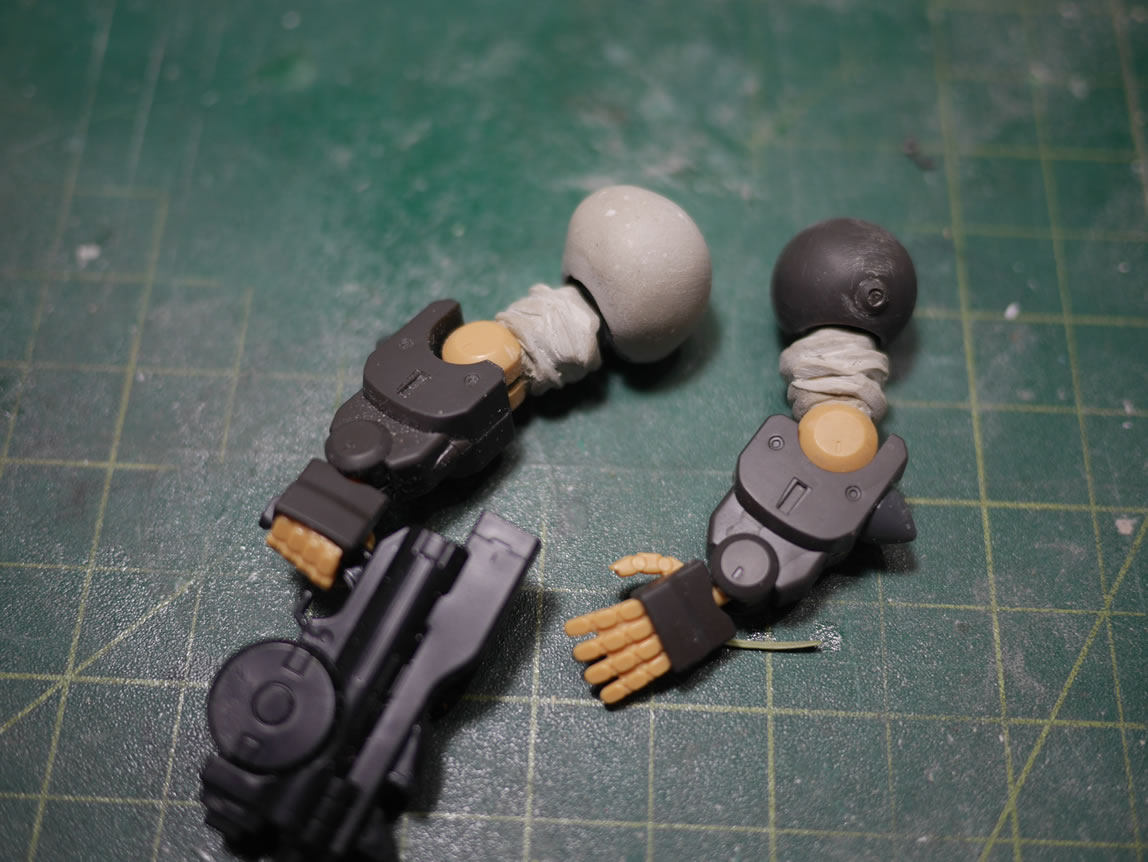
One of the first things I wanted to do for the body was to add in a “wrap” of sorts around the upper arms. In the style of Patlabor and the Alex’s shoulder wrap, I used epoxy putty and sculpted some folds before and after the putty cured. I had a decent amount of left over putty, so I slapped it onto the left shoulder and rounded that out.
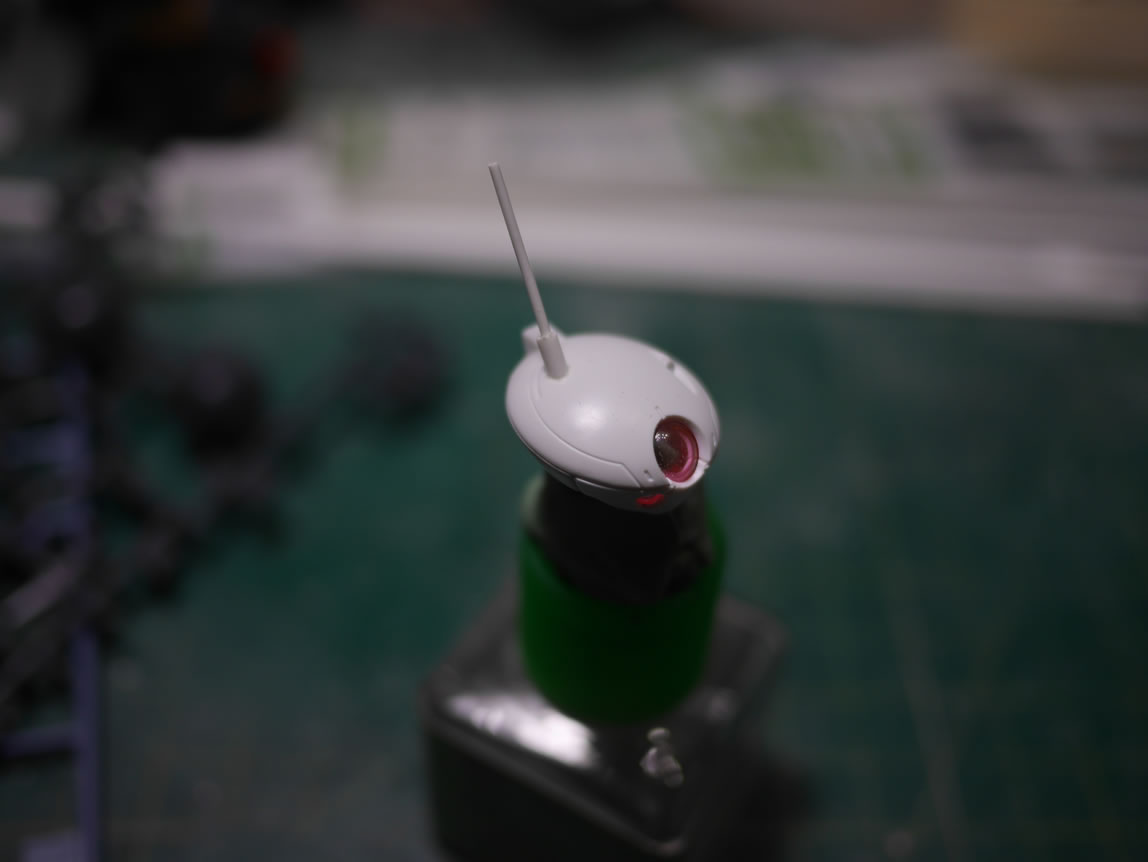
I do not like the antenna placement on the backpack, so I will eventually remove it. I drilled into the head and added a small styrene tube as a collar for which a longer thin piece of styrene rod is inserted to create a head mounted antenna.
I also cut up the internal to the head as the three clear pieces would look good with some LED lighting. The above steps are thrown together and the Grim mods are starting to take shape.
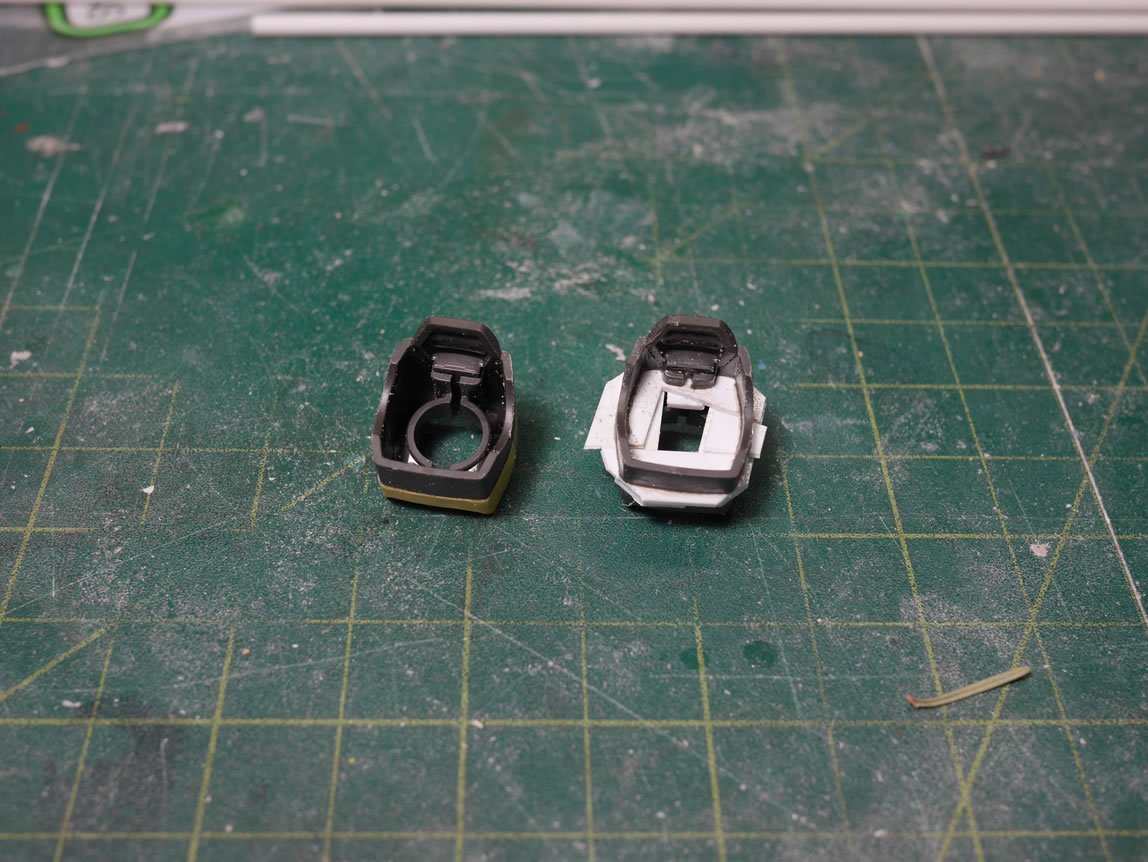
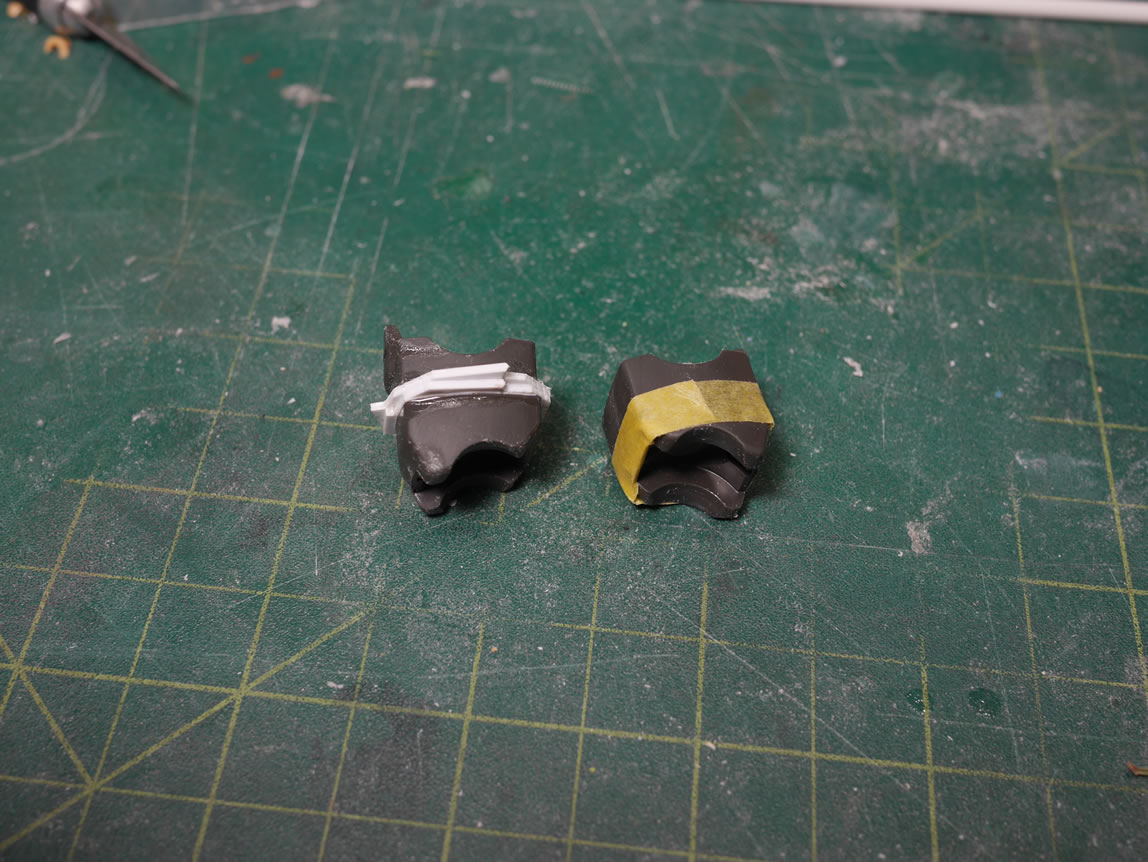
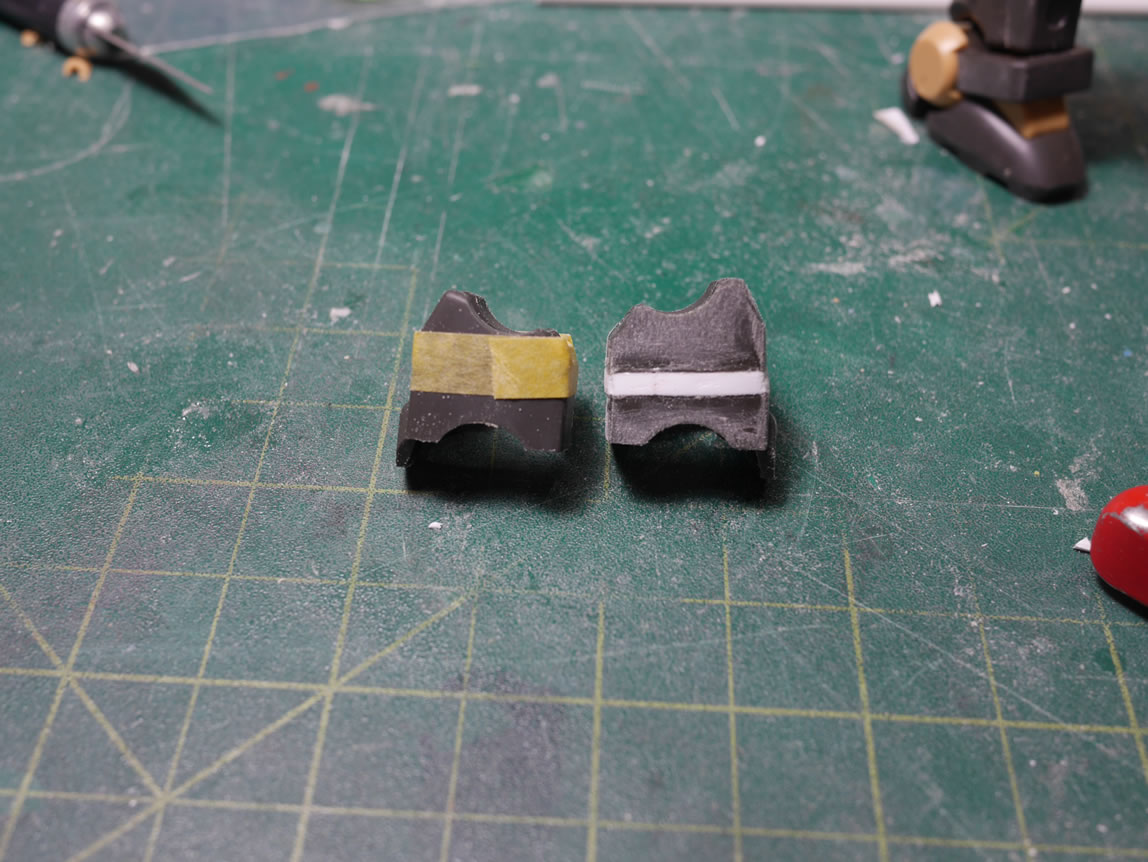
The mods to the backpack add some height and bulk. To balance this, I decided to add some height to the legs. Even before the backpack mods, I felt that the design was a little squat. Some masking tape is wrapped around the leg as a guide for the hobby knife. I’m trying to get as straight a cut as possible. The leg piece is sawed in half. Styrene plates are glued together with the top and bottom halves of the thigh piece. I have a comparison picture of the non modded thigh with the modded thigh. I think the little bit of height helps.
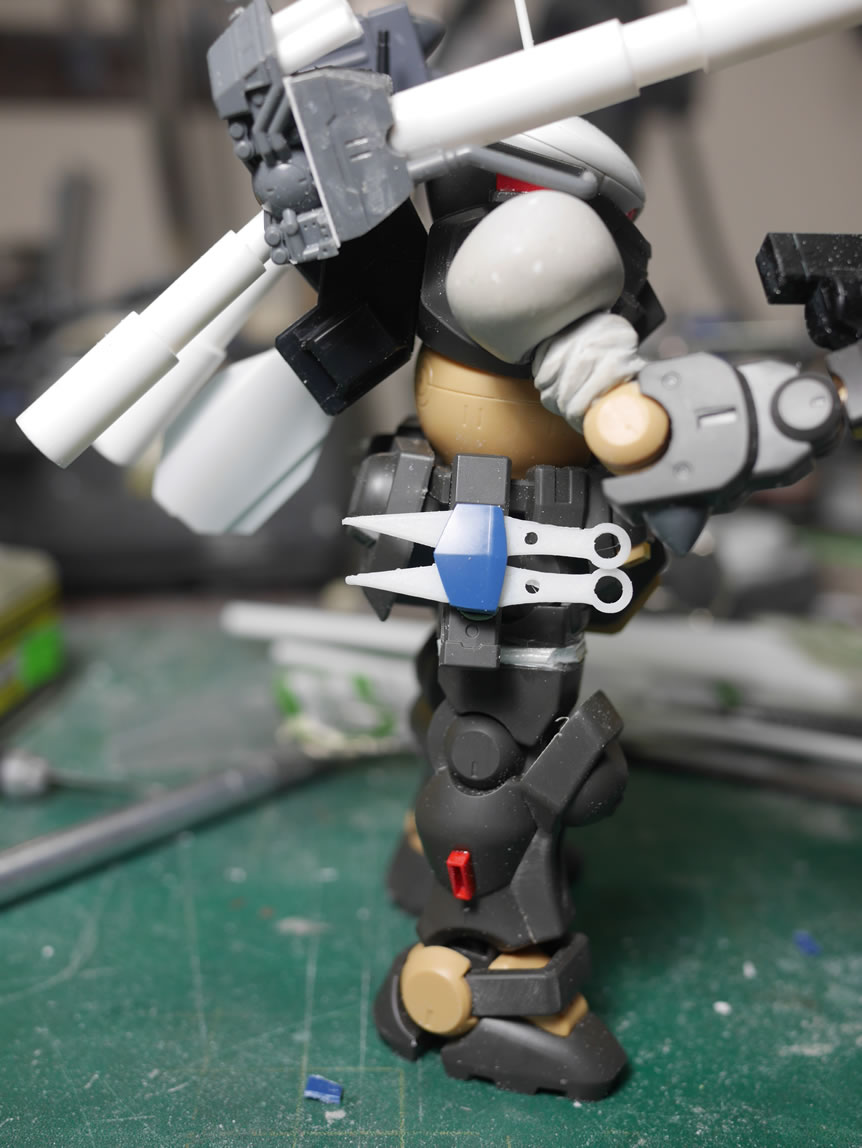
Another idea I had was to add a bunch of throwing knives to the kit. I then discovered that the kit comes with a knife, so my mental picture of the Grim wielding knives wasn’t too far fetched. The side skirt pieces were perfect areas for the throwing knives. The first mod to the skirt pieces was to fill in the empty space with some corrugated styrene sheet. I will be adding some more styrene to create a small internal structure, so the fill is just the beginning.
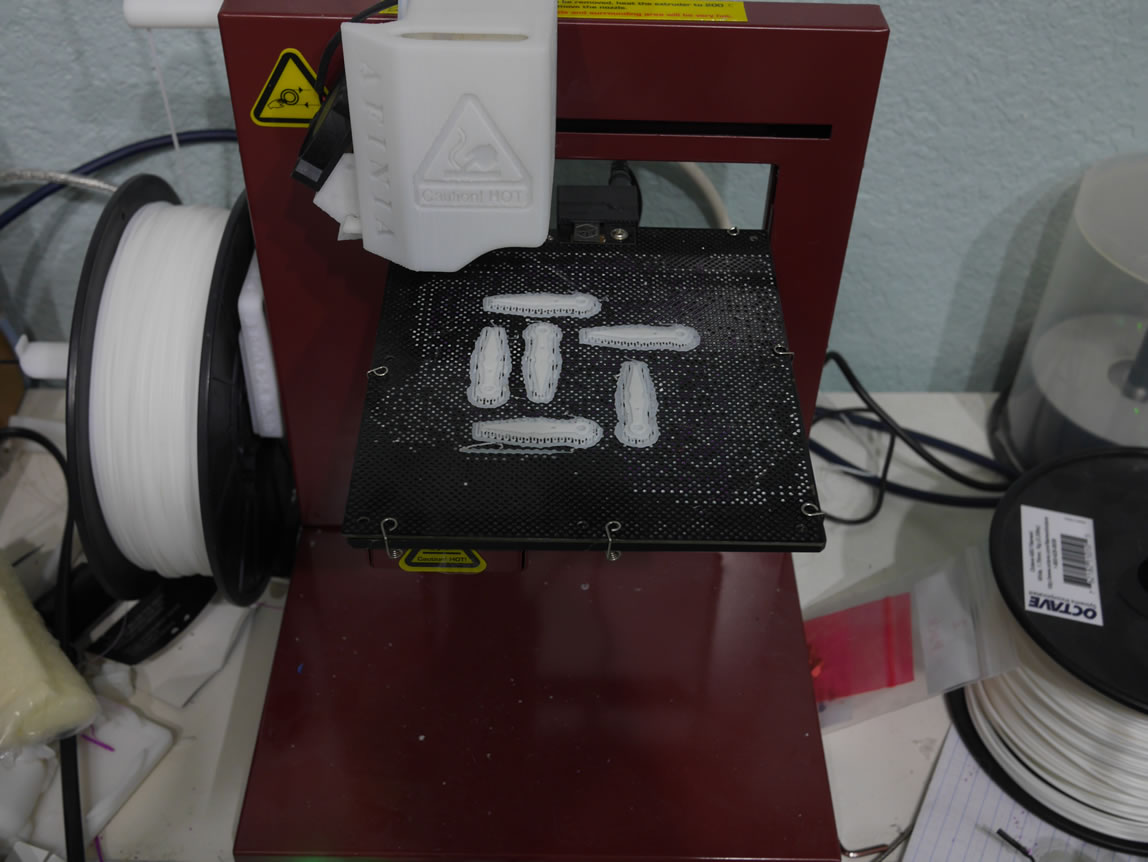
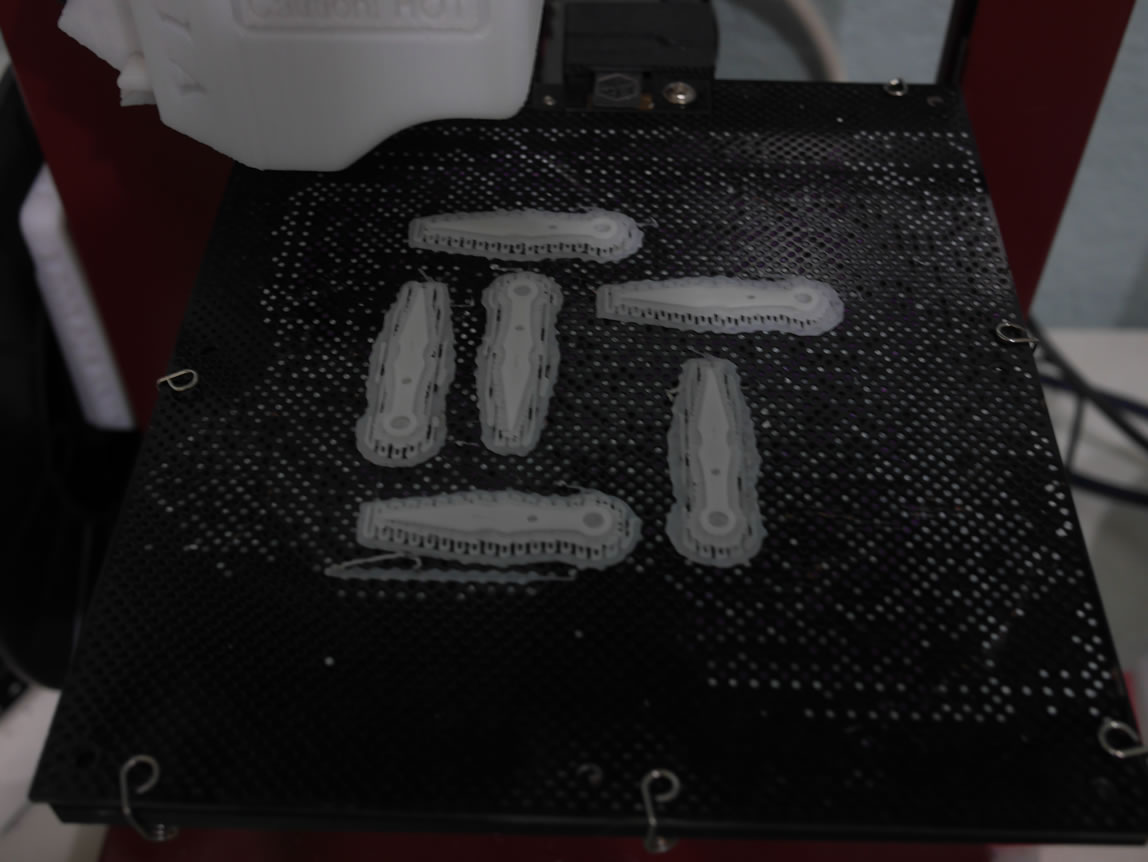
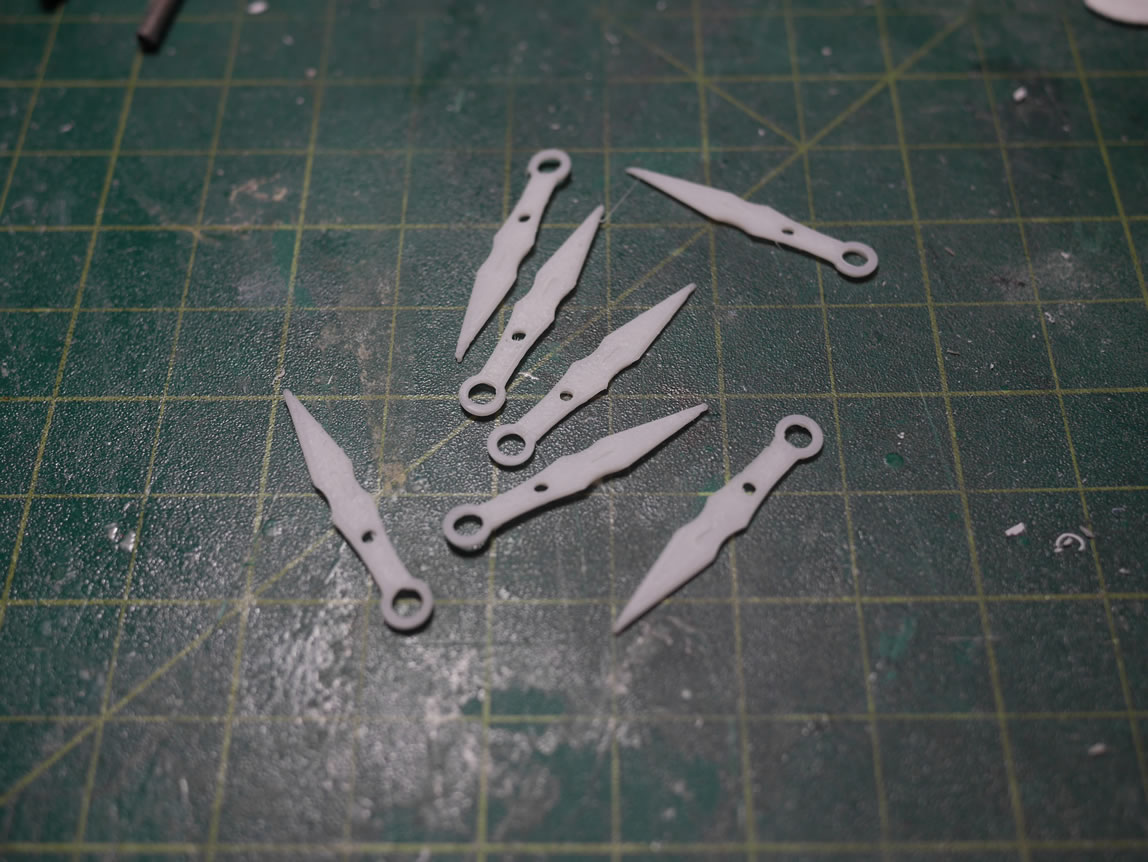
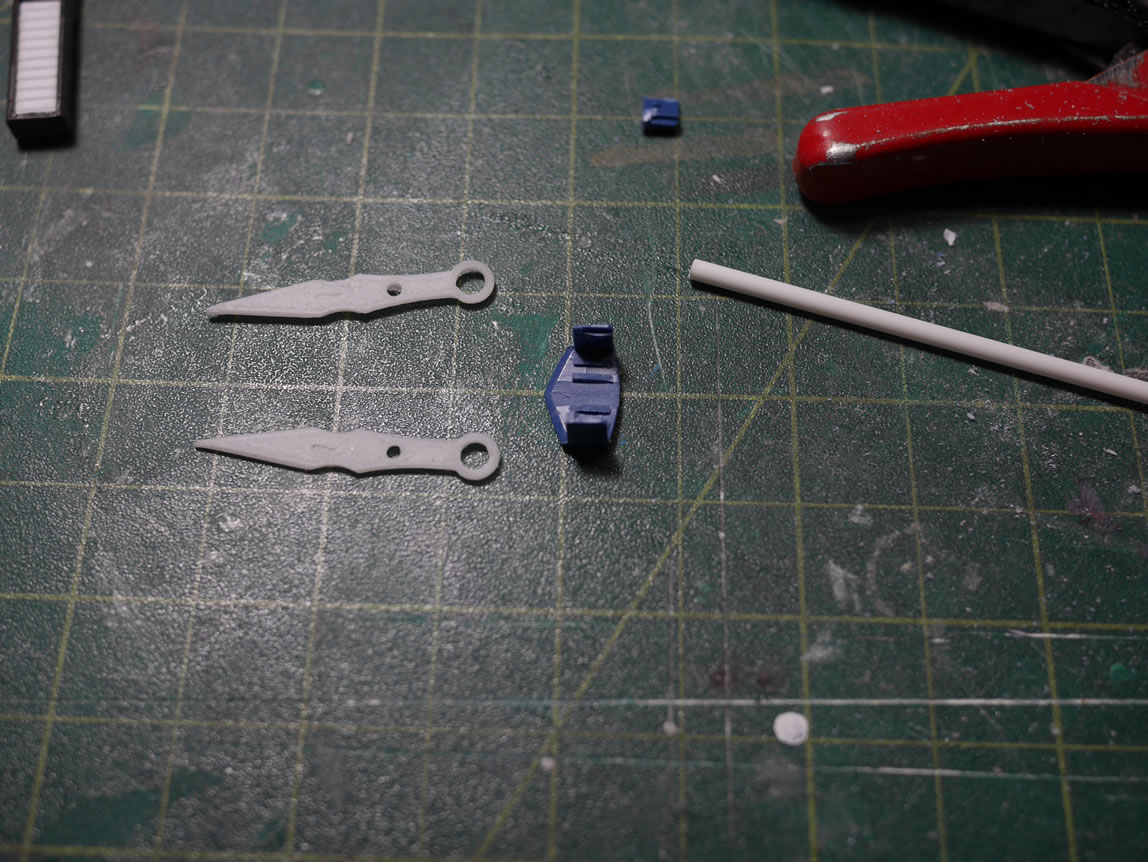
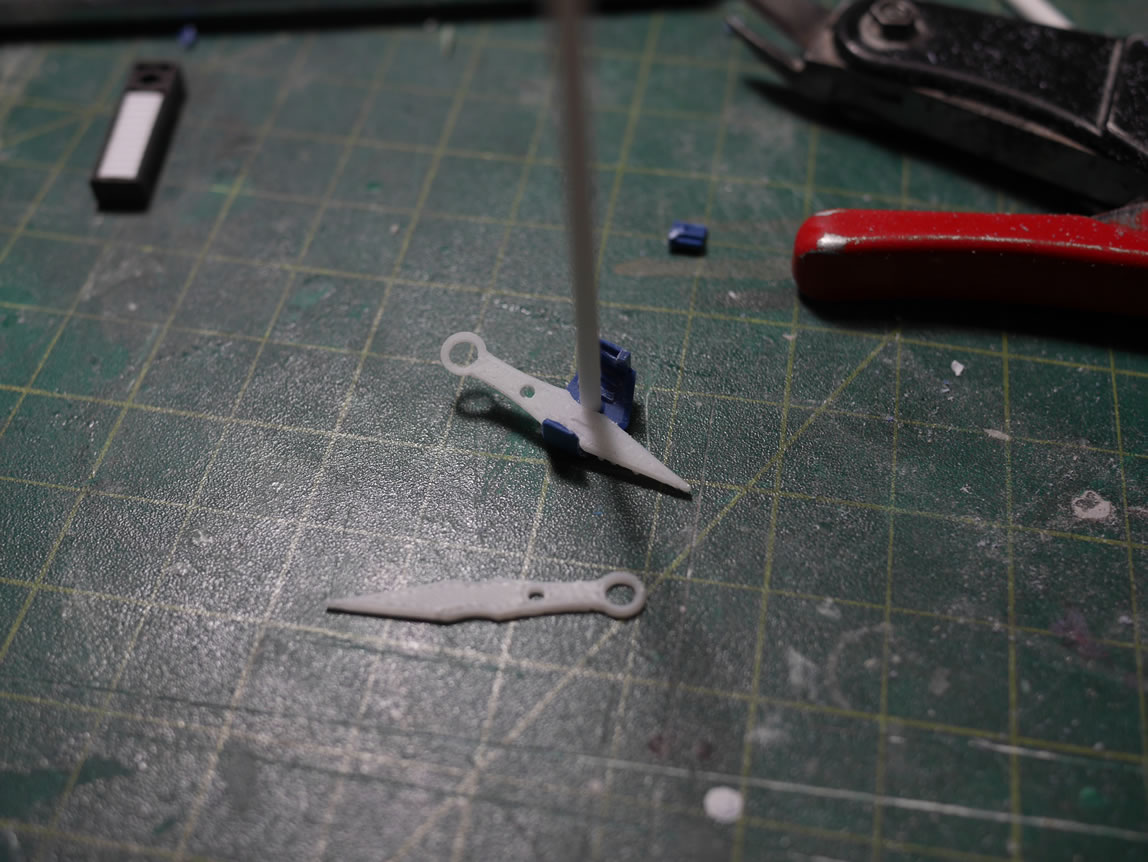
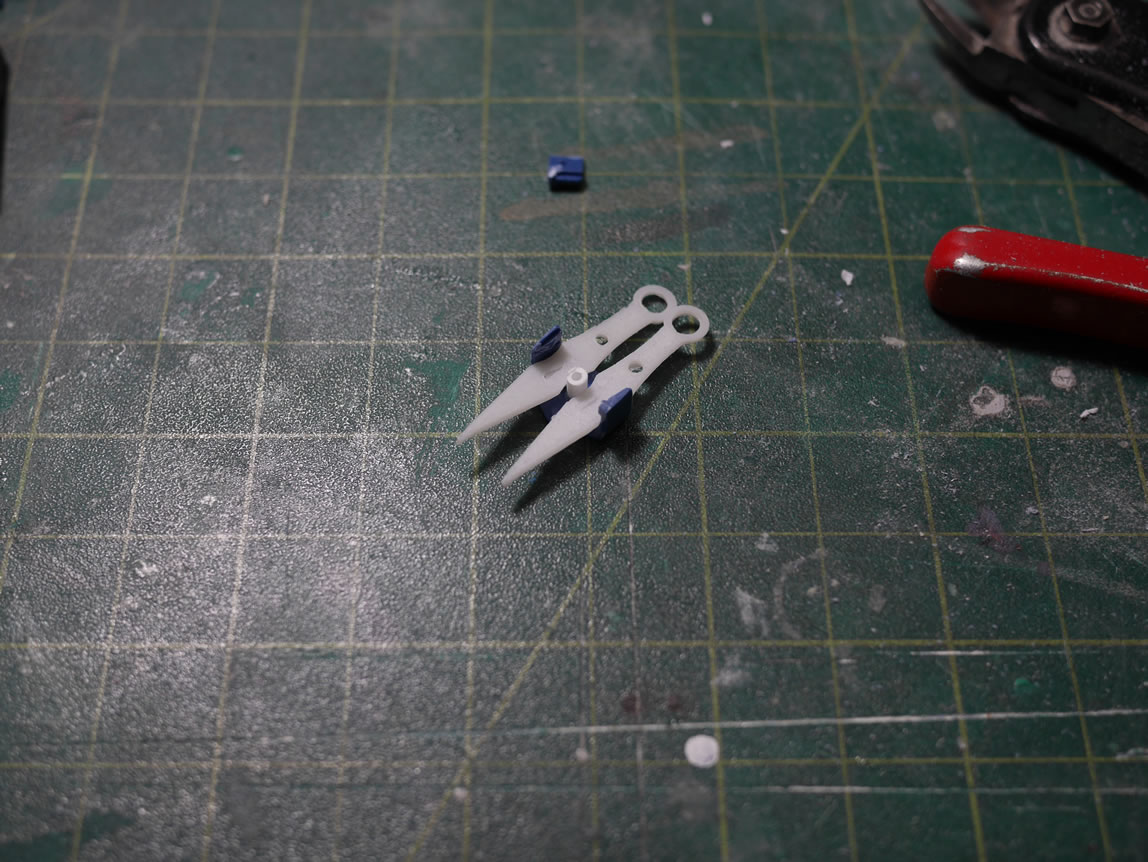
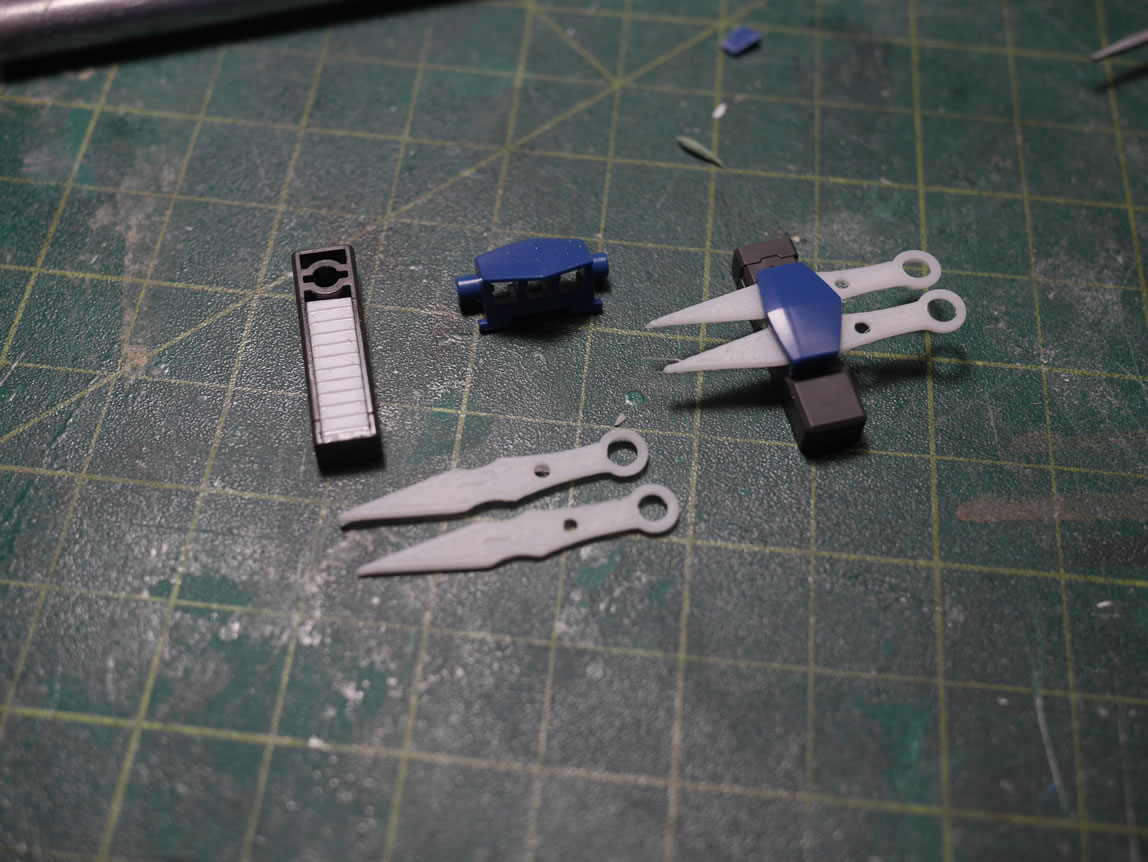
Rather than scratch building some knives or digging through the spare parts boxes to find a part match; I switched on the 3D printed and printed out some kunais. These should work perfectly as the throwing knives.
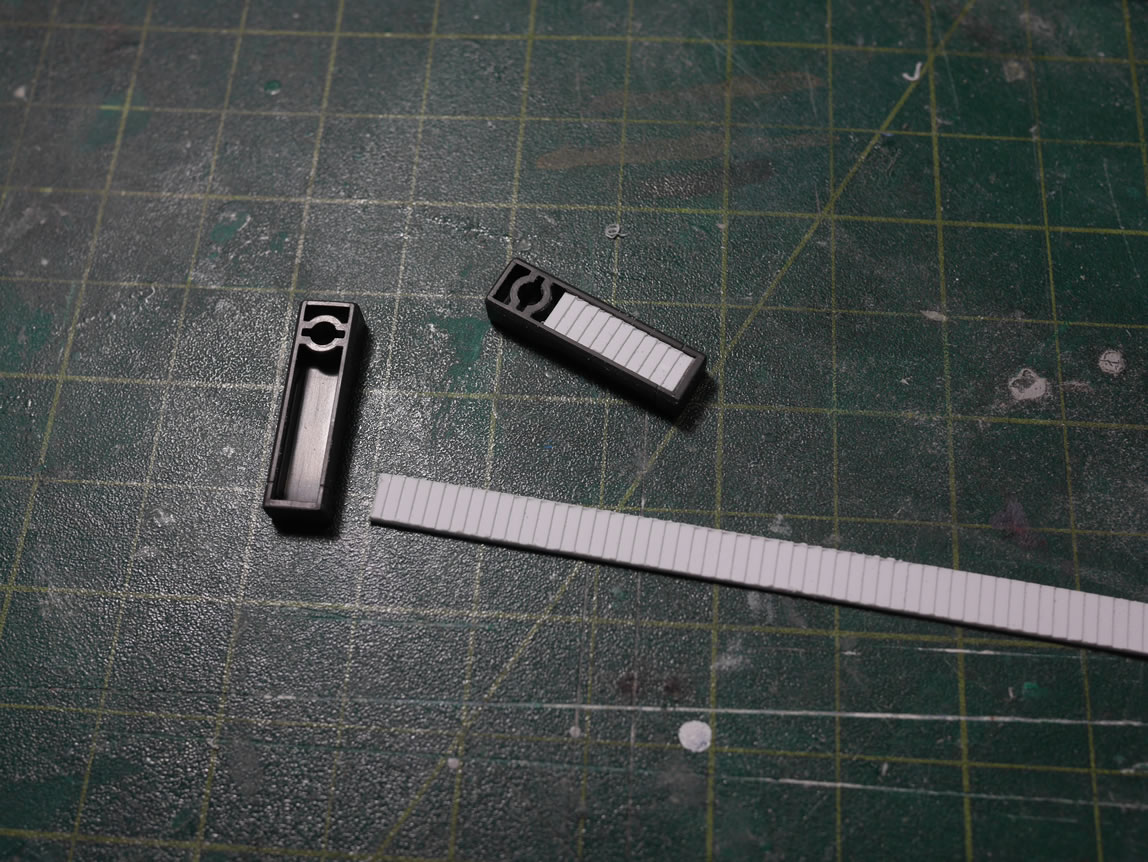
I took the holder piece for the Zee Zulu’s tri blade weapons and cut them apart to create the kunai holder. The internals for the Zulu parts were cut and sanded, then a styrene rod is glued as a separator/holder part and the whole assembly is sanded down and temporarily attached to the side skirts using sticky tak.
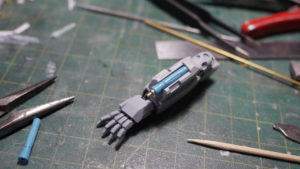
The Grimoire’s knife was not forgotten. Finding a random spare piece of gunpla, I cut that up and created a sheath for the knife glued to the right forearm.
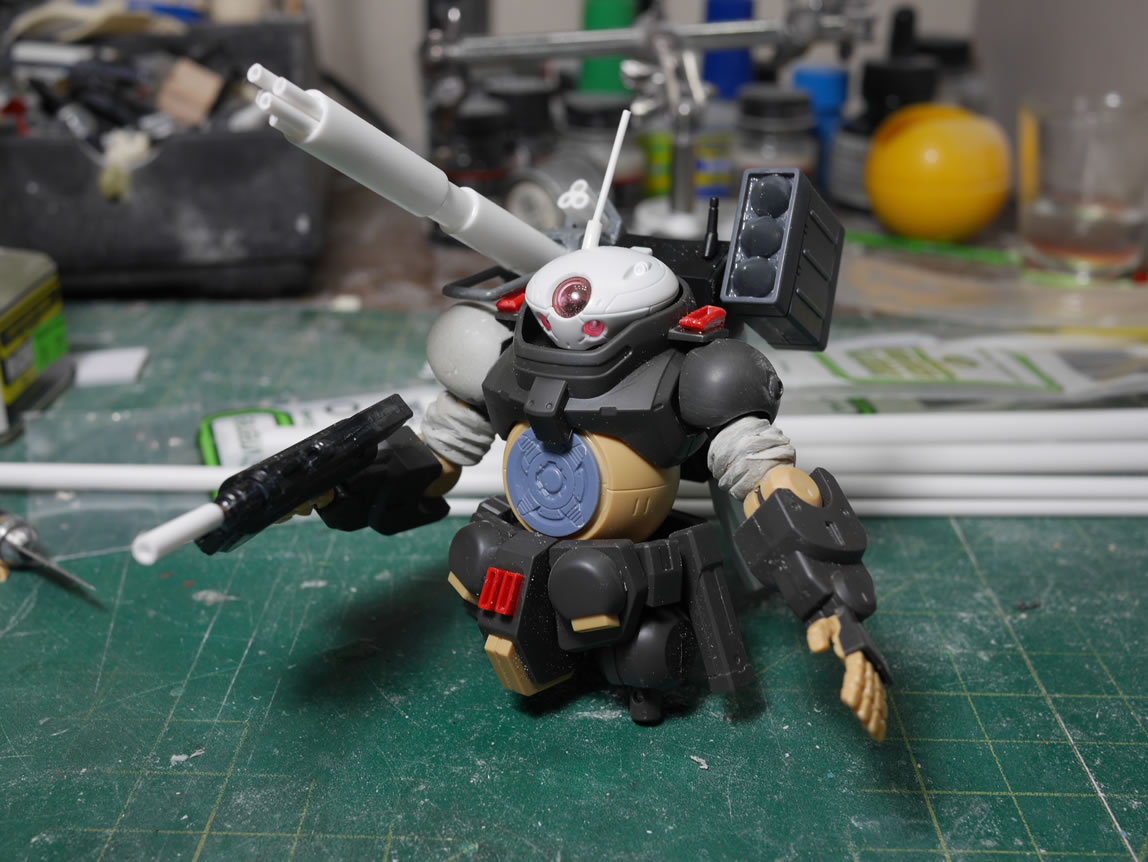
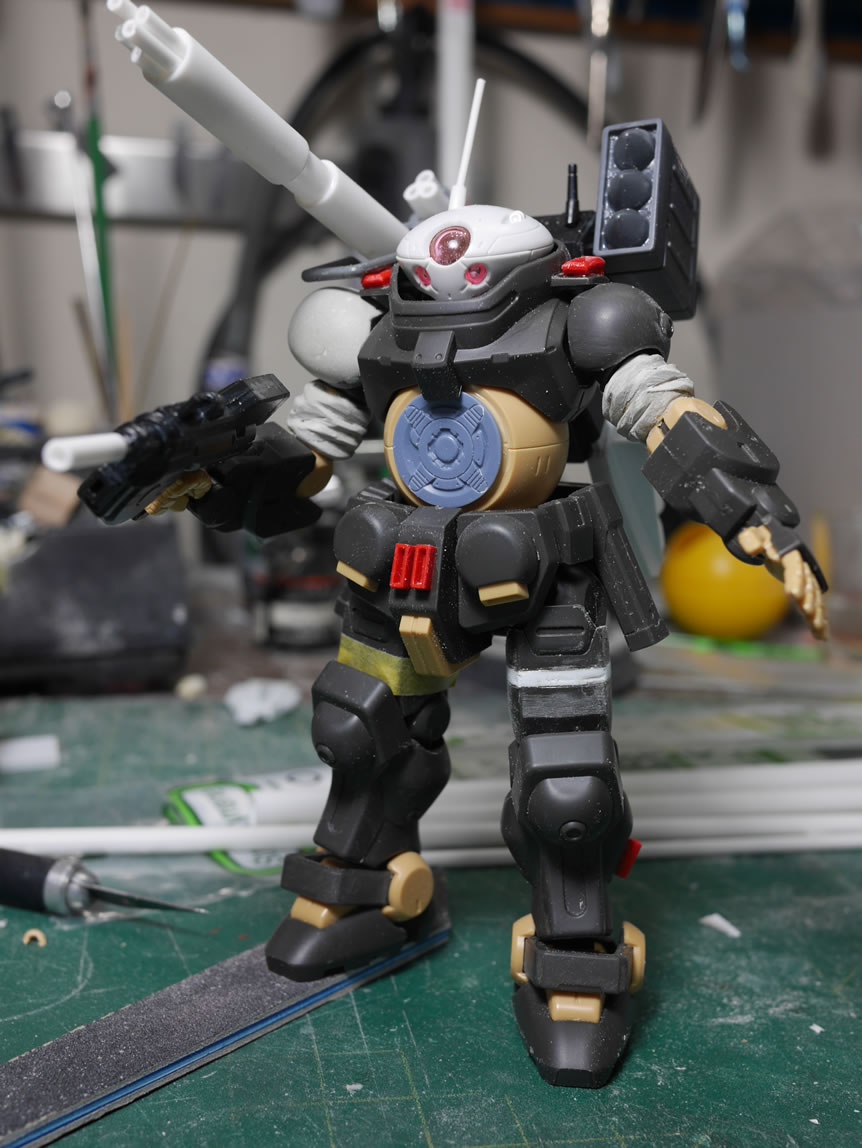
I still have to refine the mods and start filling, sanding, and cleaning up things; but here’s what Grim looks like now. The fun build part is almost over, not for the laborious clean up and making everything meld together.