I started a few new projects this past weekend during the build gathering. I’m actually also in the middle of doing repairs to the Sazabi, and will post up a more detailed discussion on that end when I’m finished with those repairs. I hope to be done soon. But in the mean time, we had a build gathering this past weekend, and even in the absence of a good number of TGG folks, we had a damn good showing with alot of familiar faces that we haven’t seen in a while, some for a few years. We also had a good number of new folks show. This is always good; the hobby is still growing within the Southern California sphere.
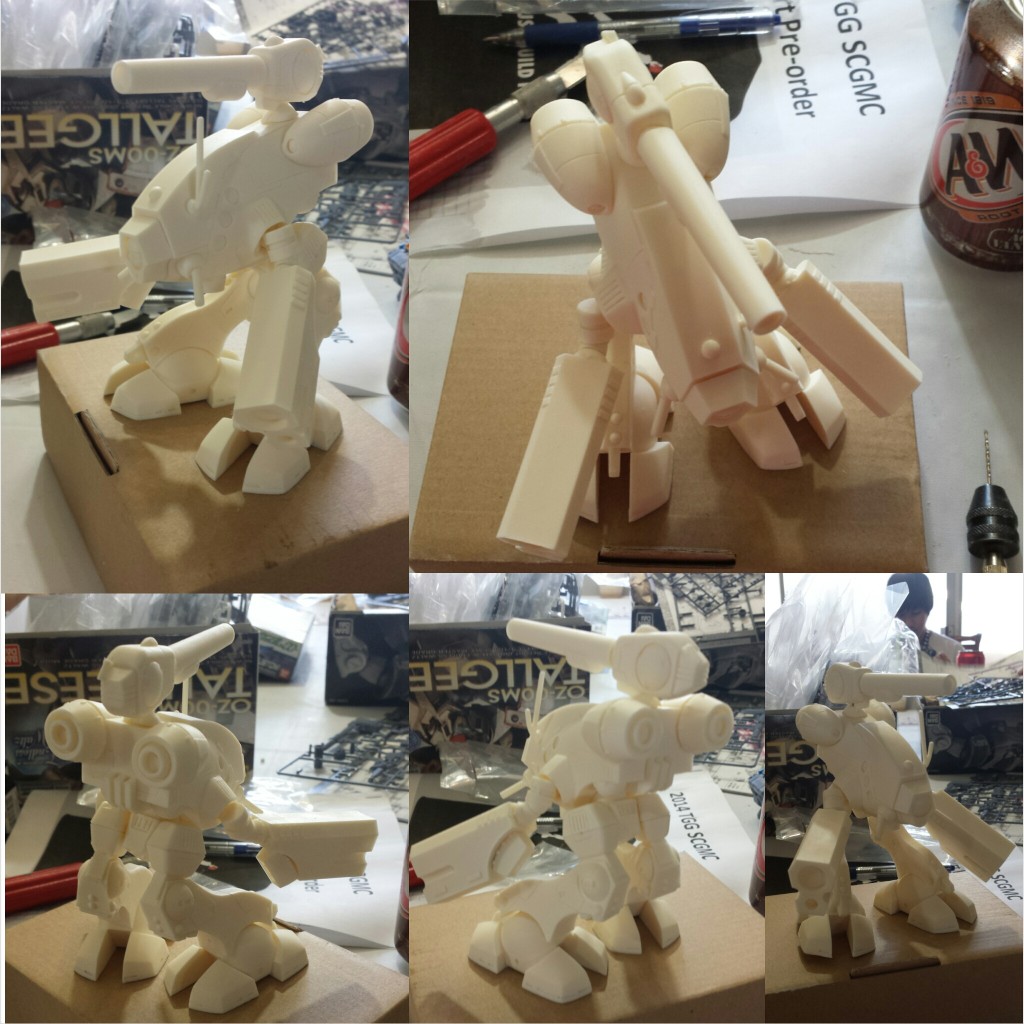
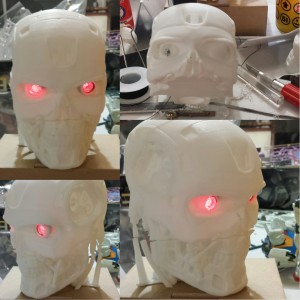
At this past weekend’s gathering, I started work on an SD Glaug (Zentradi Officer’s Pod from Macross) that I picked up in Hong Kong last year and got some work on a 3D printed T-800 head piece I printed out earlier that week.
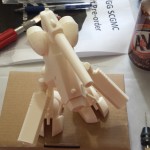
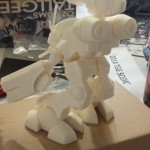
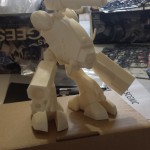
Starting with the SD Glaug, it was a simple clip and pin for most areas and some of the non pinned areas were stuck together using sticky tack. This should be a quick little project to get some sanding, cleaning, filling, priming, and paint. I hope to have this guy done in the next few weeks. It is relatively simple in comparison to the 1/72 scale Glaug I built over 10 years ago. This guy came together much easier that that old plastic kit. The parts have an initial sanding and are soaking in some purple degreaser to remove any residual mold release. For now, here are some pinned pictures.
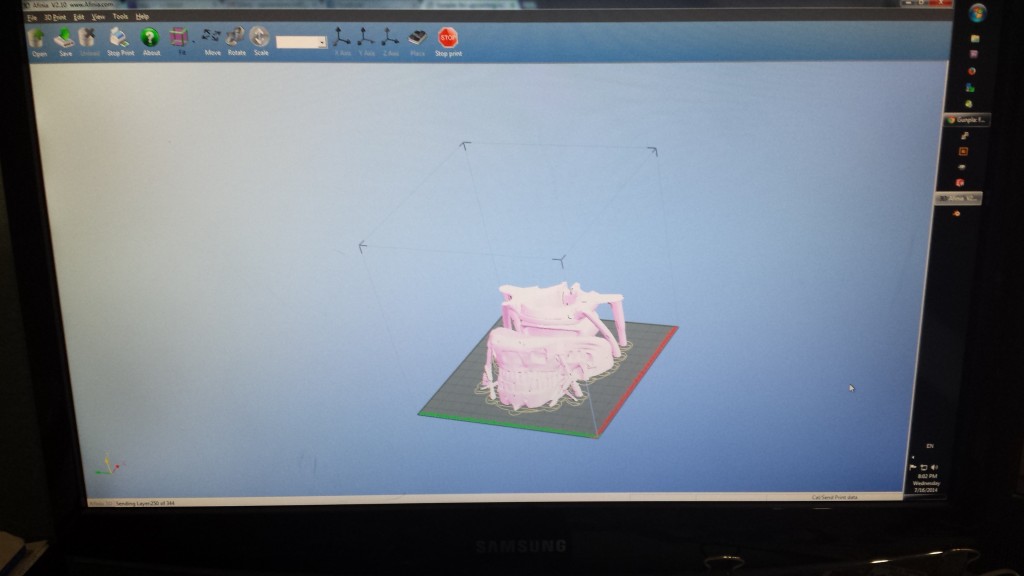
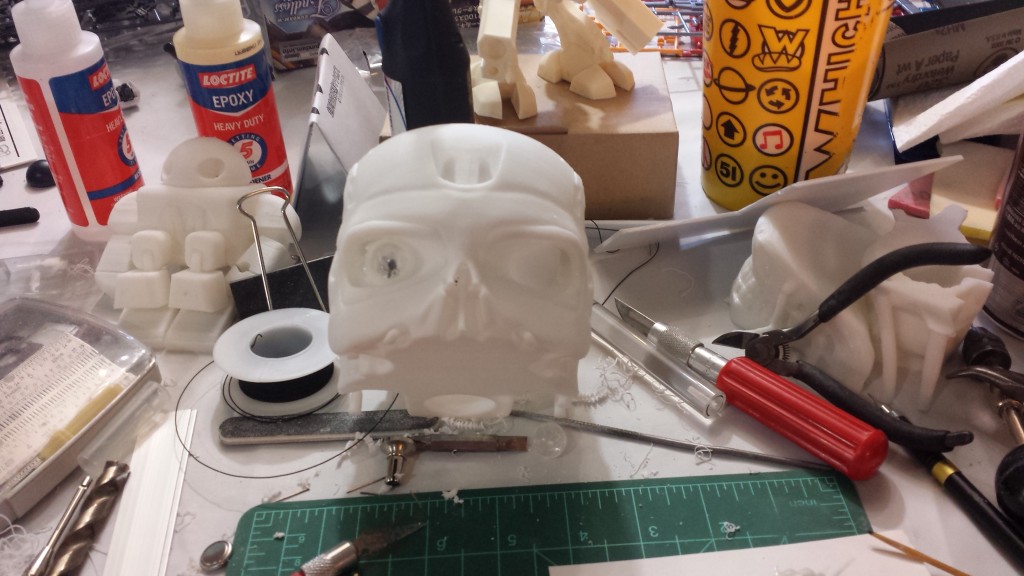
Next, I moved to work on the T-800 skull print. I set it up to print earlier last week. There were three STL files associated with this project that I picked up from thingiverse. I started with the lower jaw piece and printed that at .15 mm with about 20% infill, this took a little under 4 hours. The next piece, the middle of the head started with a .15mm and also 20% infill, that took 14 hours, but somewhere in the middle of the print, the print head shifted and I had to stop the print. To save time, I changed the settings to print at .25mm with no infill and this took a little over 6 hours to complete. The final part is the head cap that I printed at .15mm and 20% infill which took about 3 hours to print.
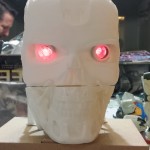
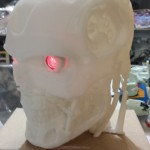
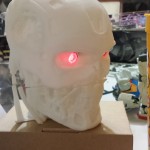
Having the middle piece hollow helps with the process of adding lights to the eyes. Originally, I set some red LEDs on a piece of plastic card and inserted it into the head right behind the eye balls. The lights shown through the thin plastic eyes and discussing this at the gathering, most folks felt it would be better to carve out the while plastic eyes and use some acrylic to get a more focused lighted eye effect. I started drilling and test fitted an acrylic rod. It was a little too flat and I would have to round out the acrylic rod to get a more convincing eyeball effect.
Staring at one of the open eye sockets, I remembered that I had casted some clear resin cores for a Zoid kit for a friend a while back. I still had a few casts, one pressure casted and one not. Test fitting those and doing some more sanding to get a better fit; the clear resin cores fit perfectly and the details on the cores add to the effect of the mechanical eye ball. I drill into the back of the cores and cap the cores over the 5mm red LED bulb and do another test fit. This definitely looks better than my initial idea.
One of the cores was not pressure casted so there are a great number of air bubbles trapped. I found the original mold and made another clear cast that is currently curing. I have started working on gluing the bottom jaw piece to the middle part. There are some defects in the print that will need work. The surface is also quite rough from the print so I will be working on fixing that as well as filling in the gaps between the two parts. This is all ABS so this will be an interesting project. It is also the first painted 3D printed project. I hope to have this done by October. Aside from the initial LED eyeball work, the surface will need a great deal of attention.

I just got my 3D printer. Hope you’ll post some more WIPs of the T-800. I’d be interested to see how you will work on the rough surface. Acetone seems like a very dangerous solution to smoothen the 3D print.