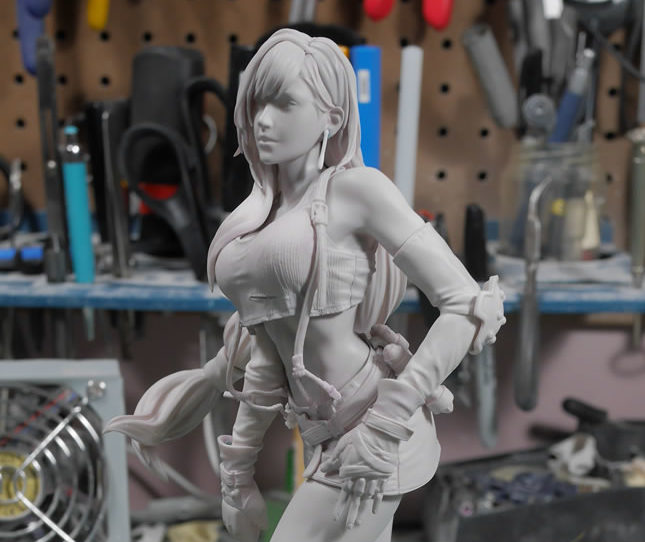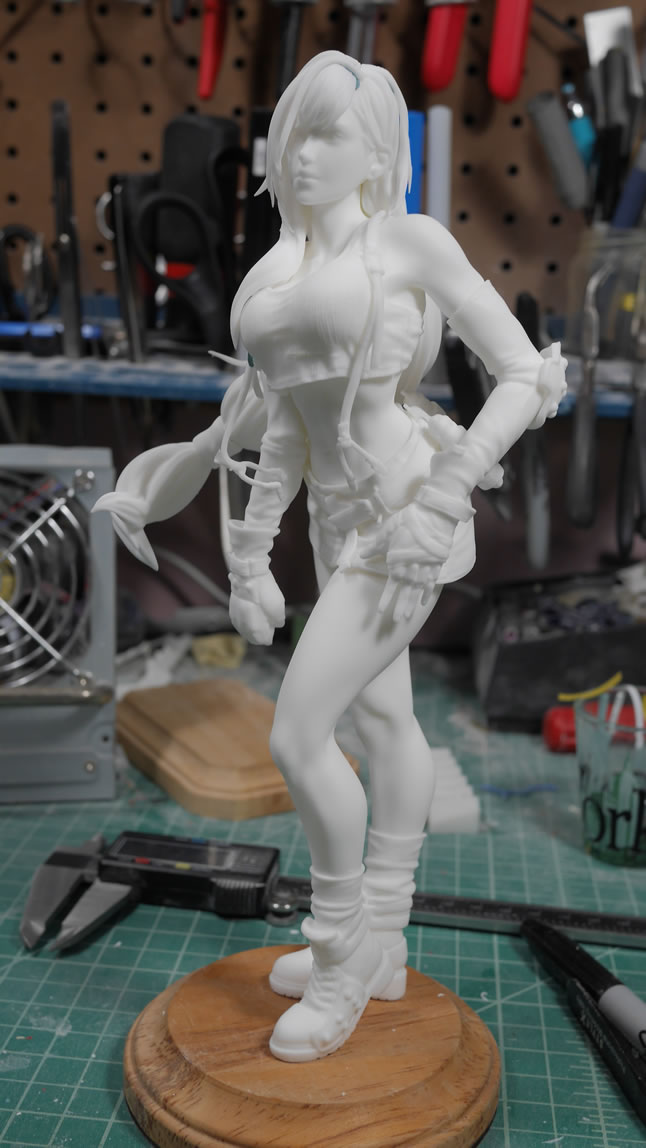
Tifa Progress Part 2
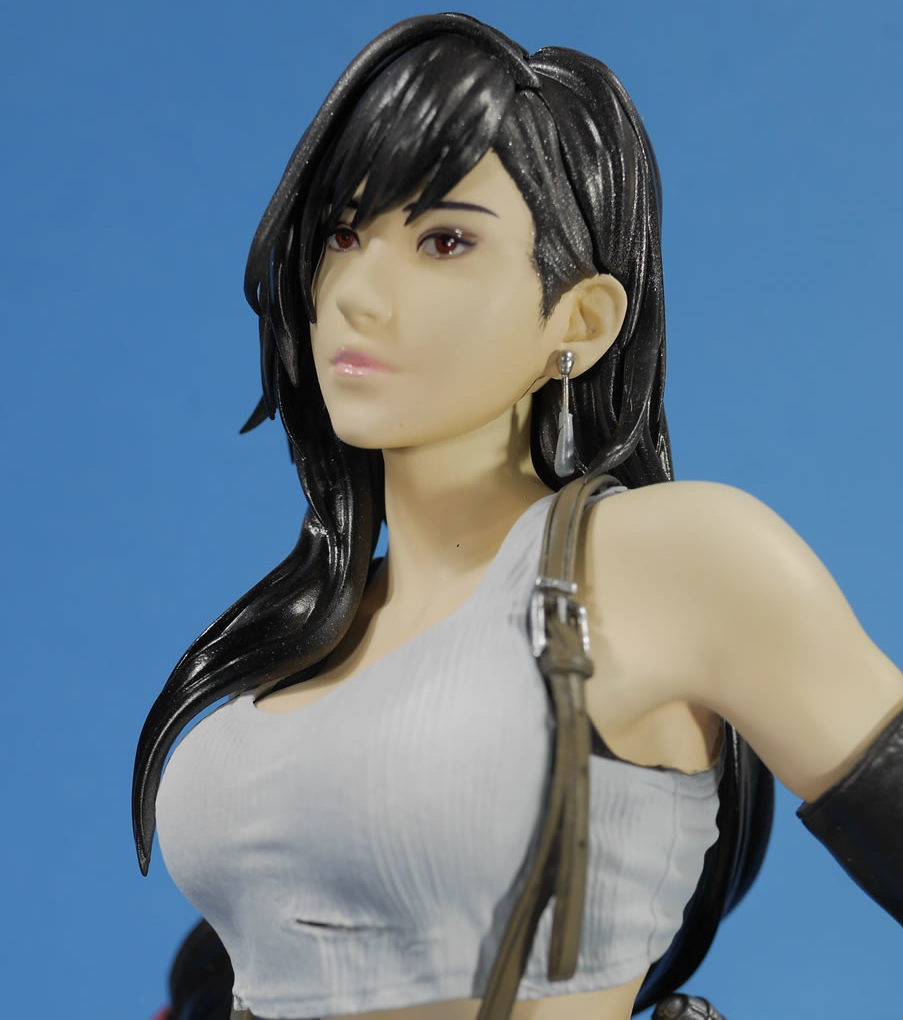
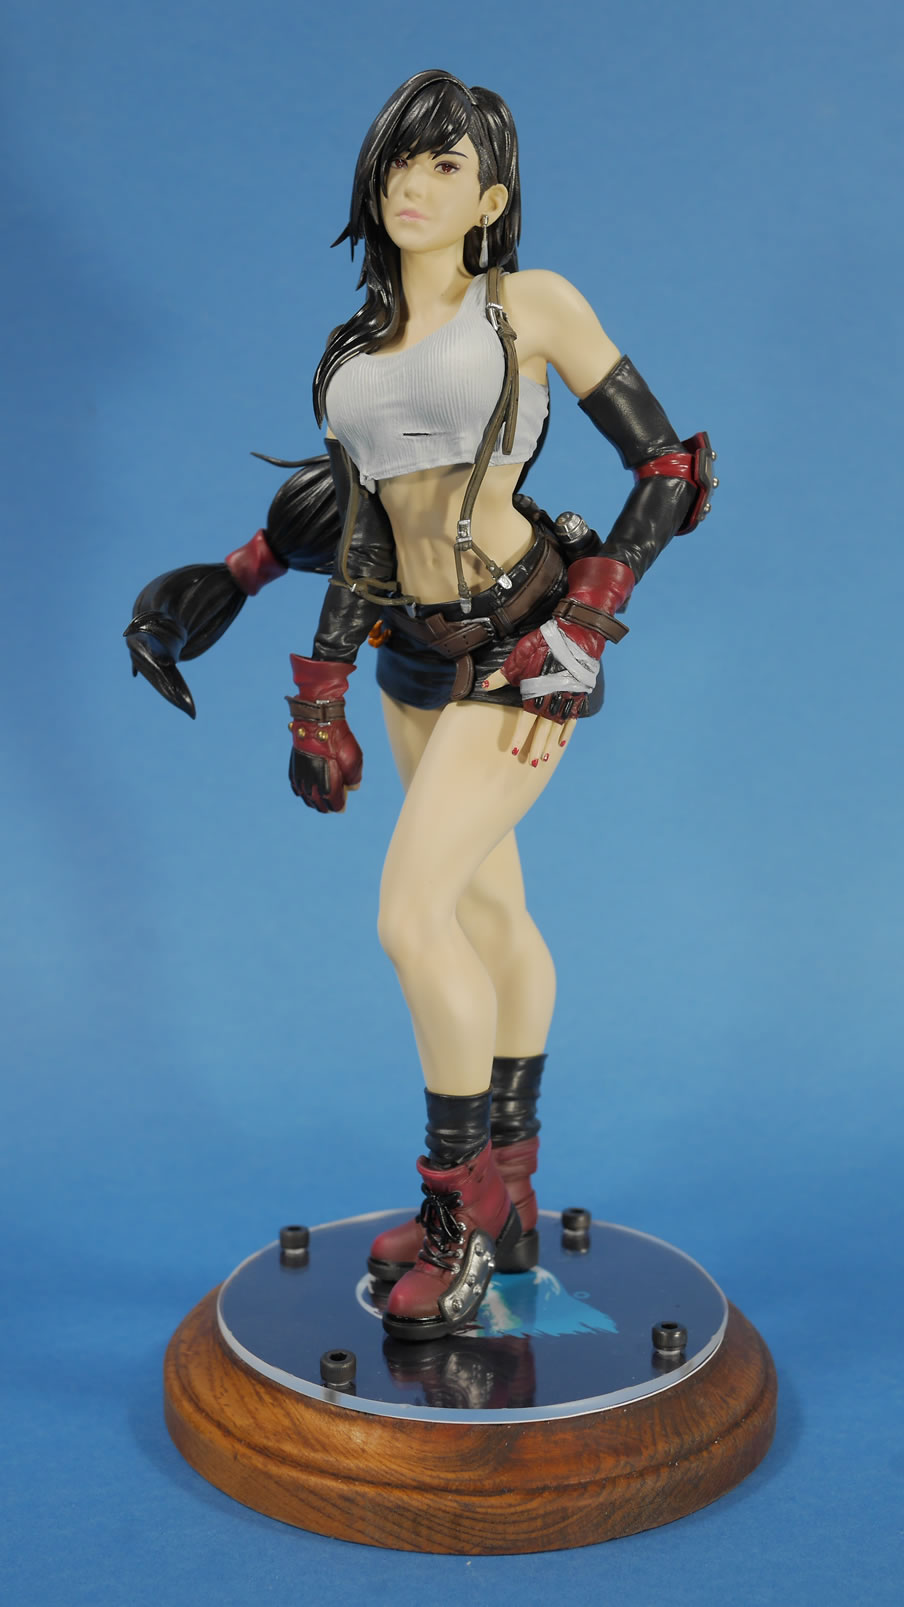
Six days after starting the project, she’s done. The goal was to finish her before the game got to my house so that I don’t get completely sucked into the game and the project goes into a limbo state. This has definitely happened in the past; so having a deadline really put some focus into the build.
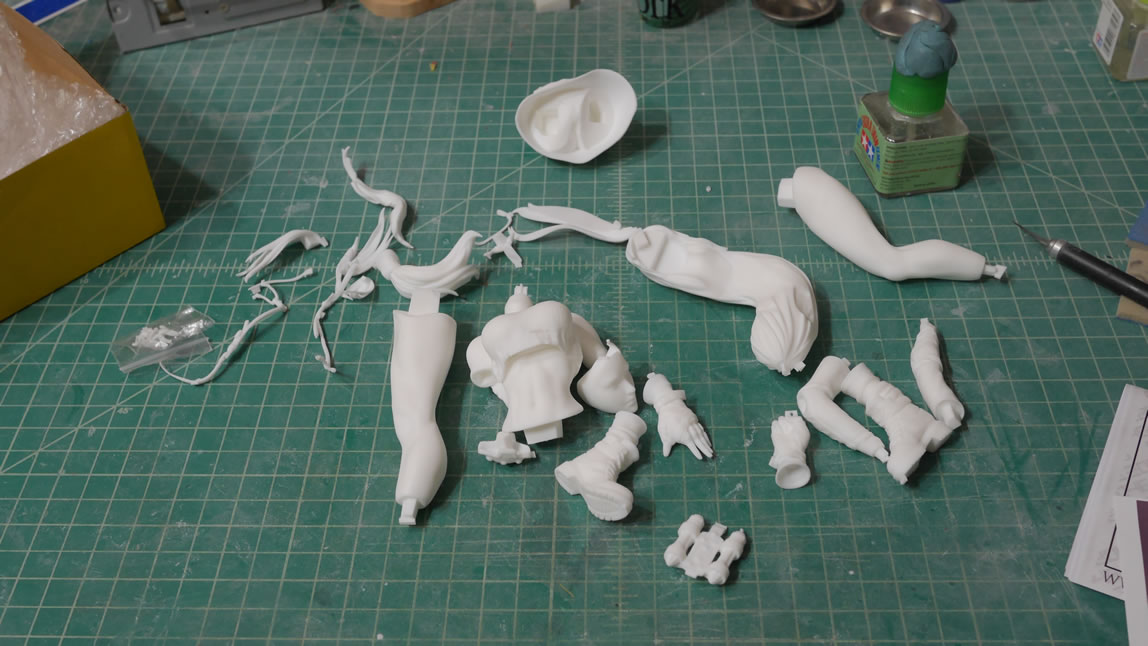
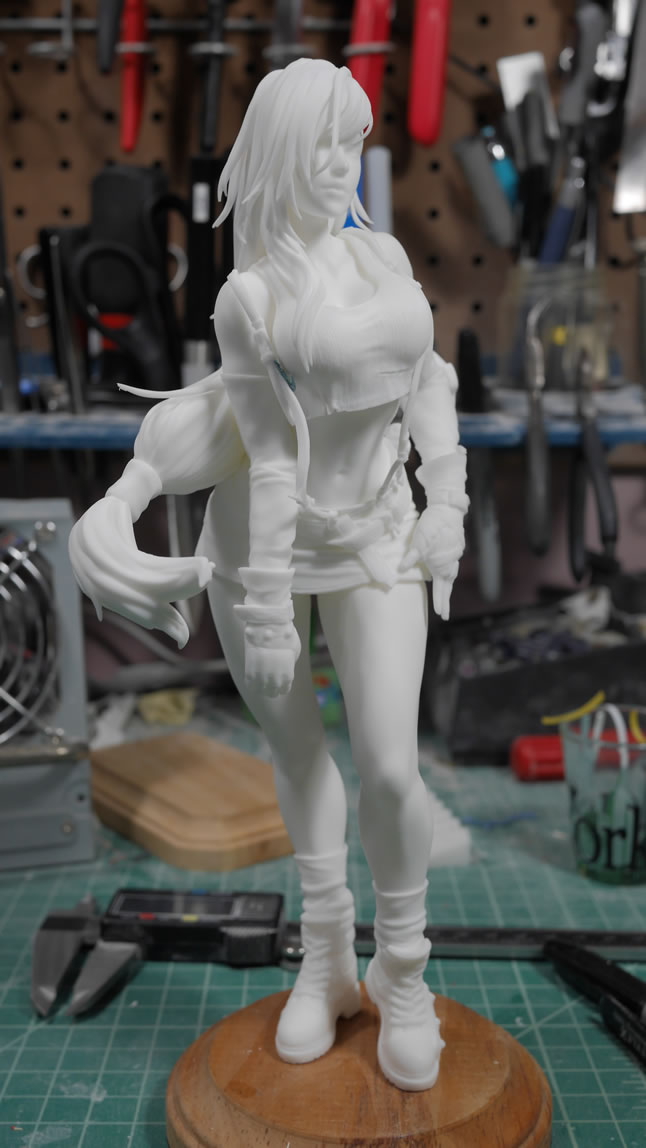
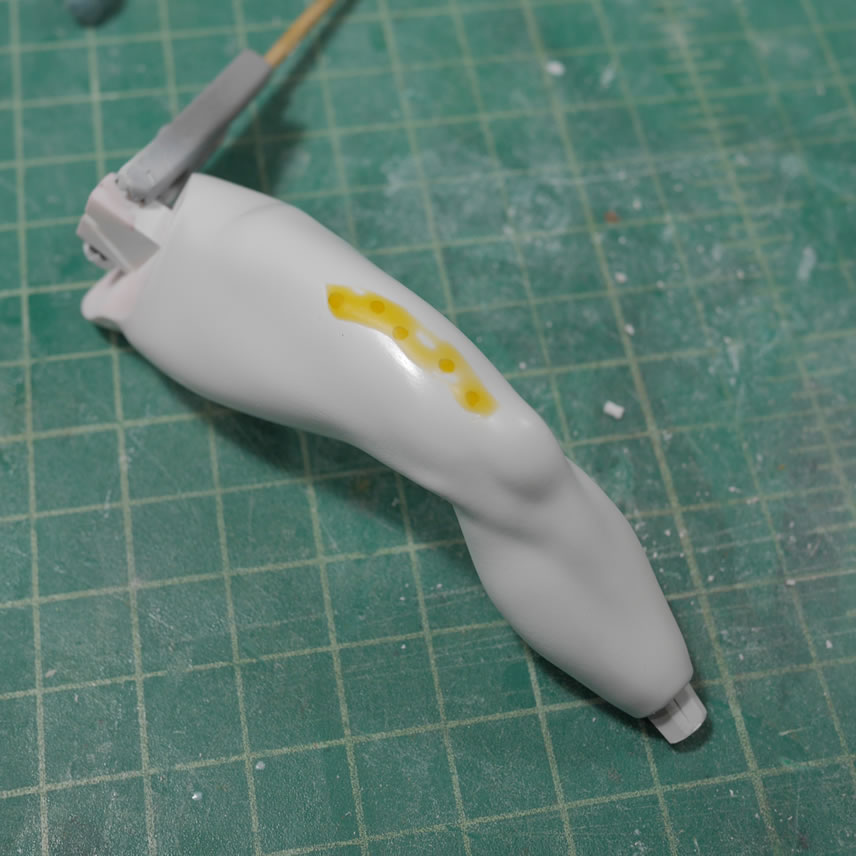
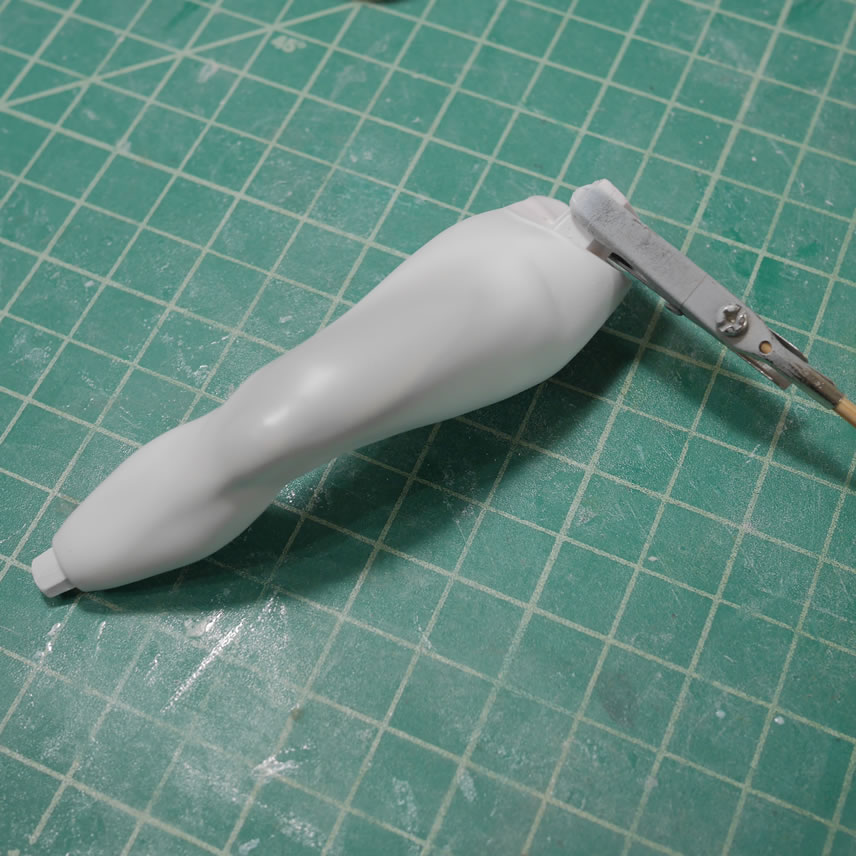
Starting with where I last left off, I had just finished priming the parts. One of the main things primer is good for is to check for mistakes. Little areas of missed sanding spots or even small bubbles on the surface. With the leg, I found some surface defects that needed correcting. Just applying putty over the surface won’t work. The putty doesn’t have a good surface to grip, like I said in the last post. So these little defects are cut open a bit and light curing putty is applied. Cured in a minute, sanded, and then primed again.

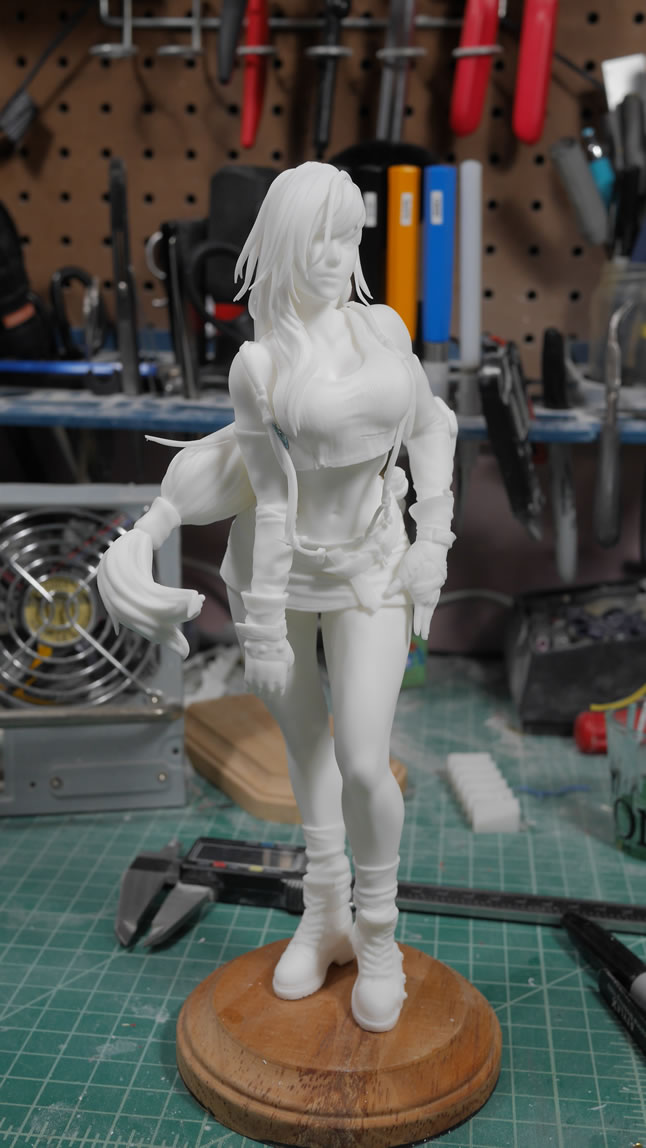
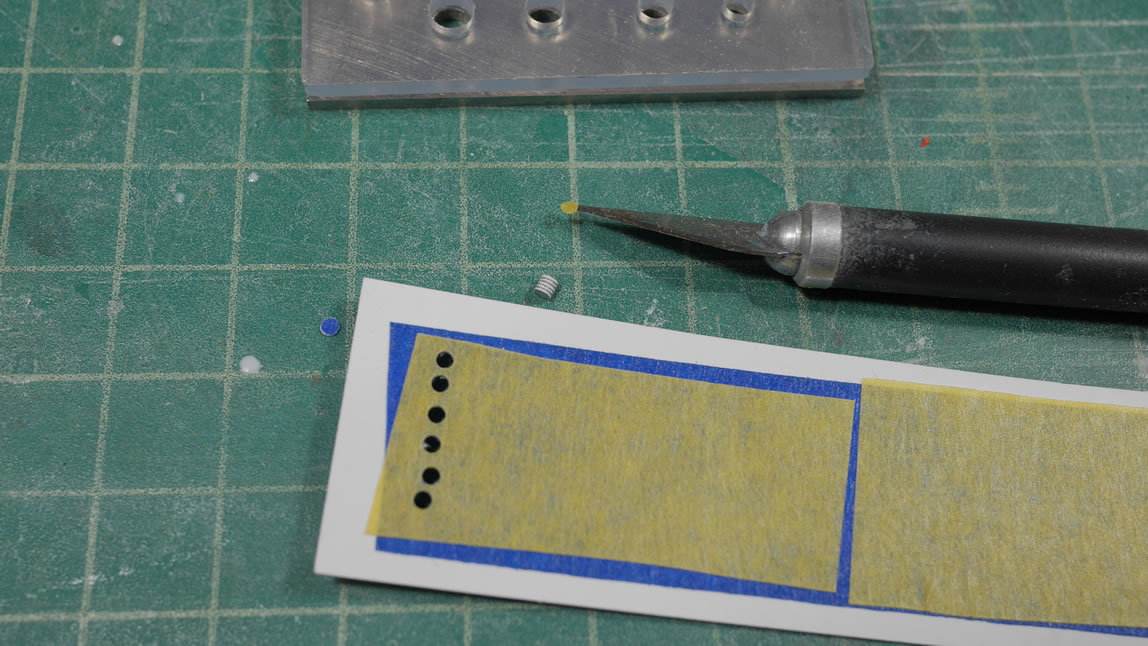
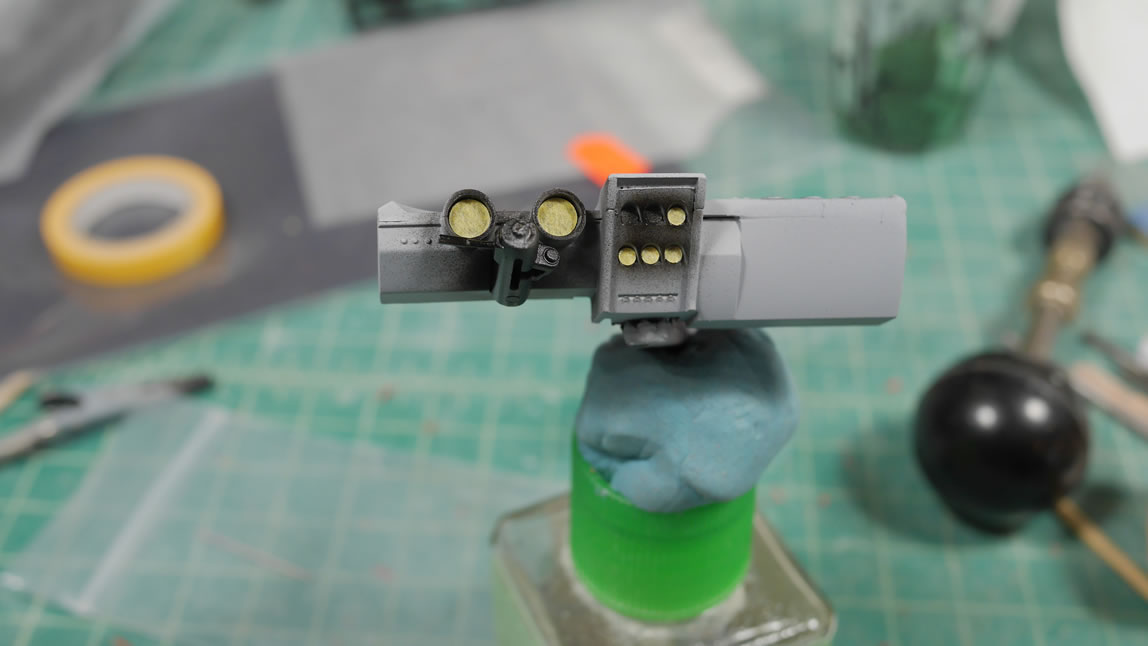
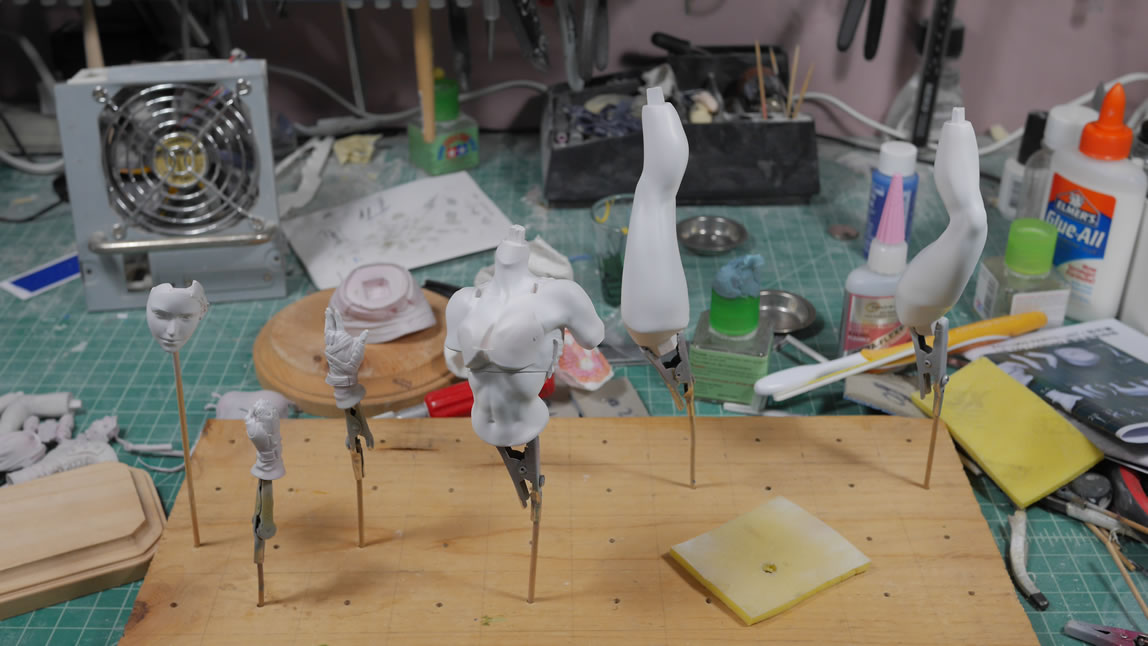
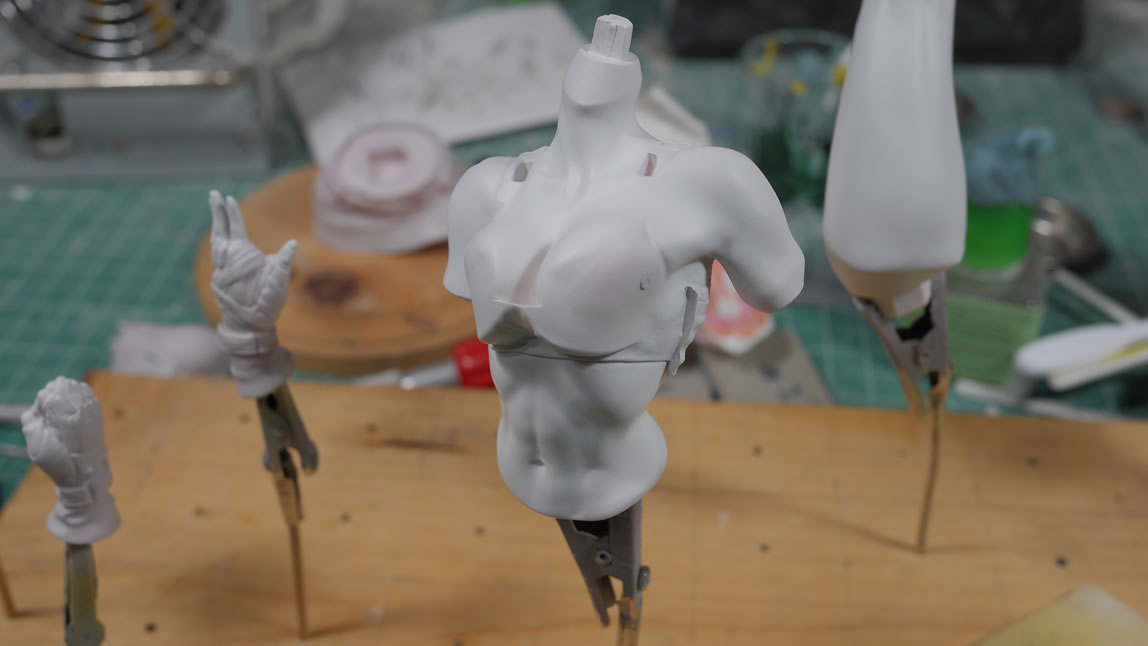
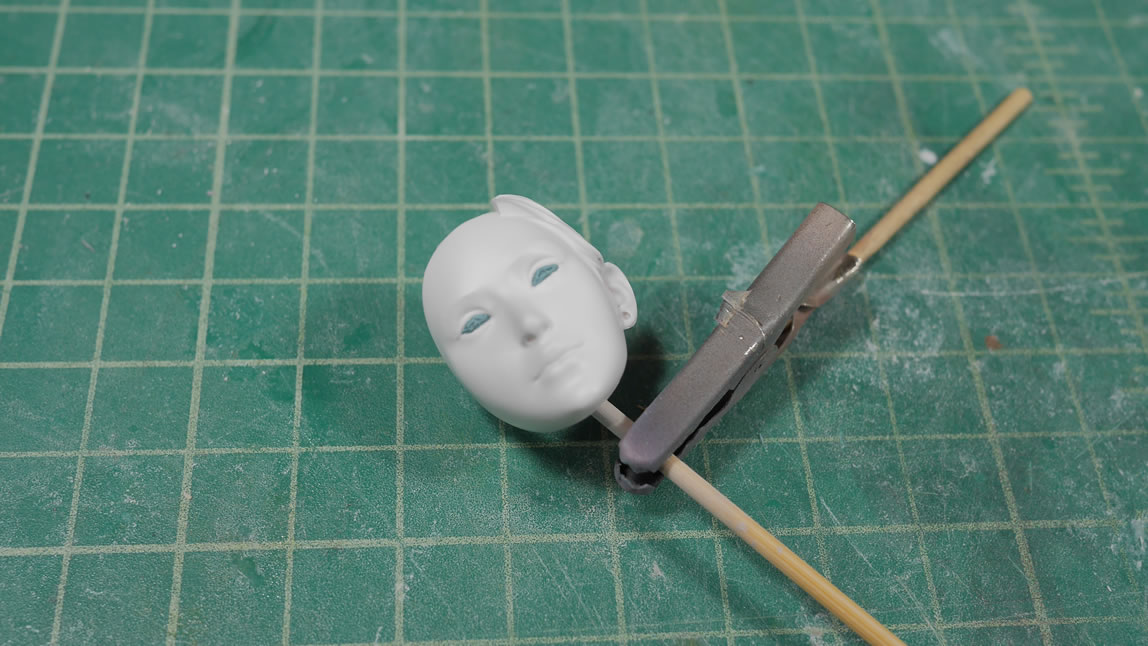
Now that the skin areas are all primed and ready, time to get them ready for skin tones. White base is sprayed over all the skin areas to reset the canvas so to speak. Airbrush paints are very thin, so each layer will inherit from the previous. Unless you want a zombie skin tone, white out the grey layer. Eyes are masked to keep the white there.
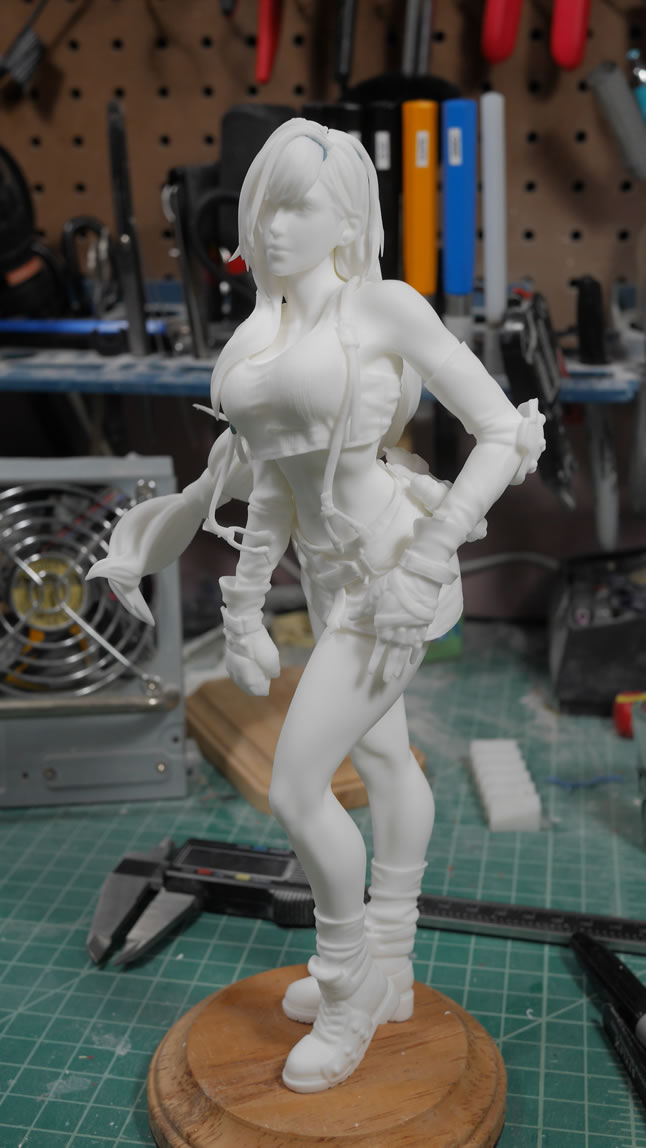
More details for the final steps in this build after the jump.