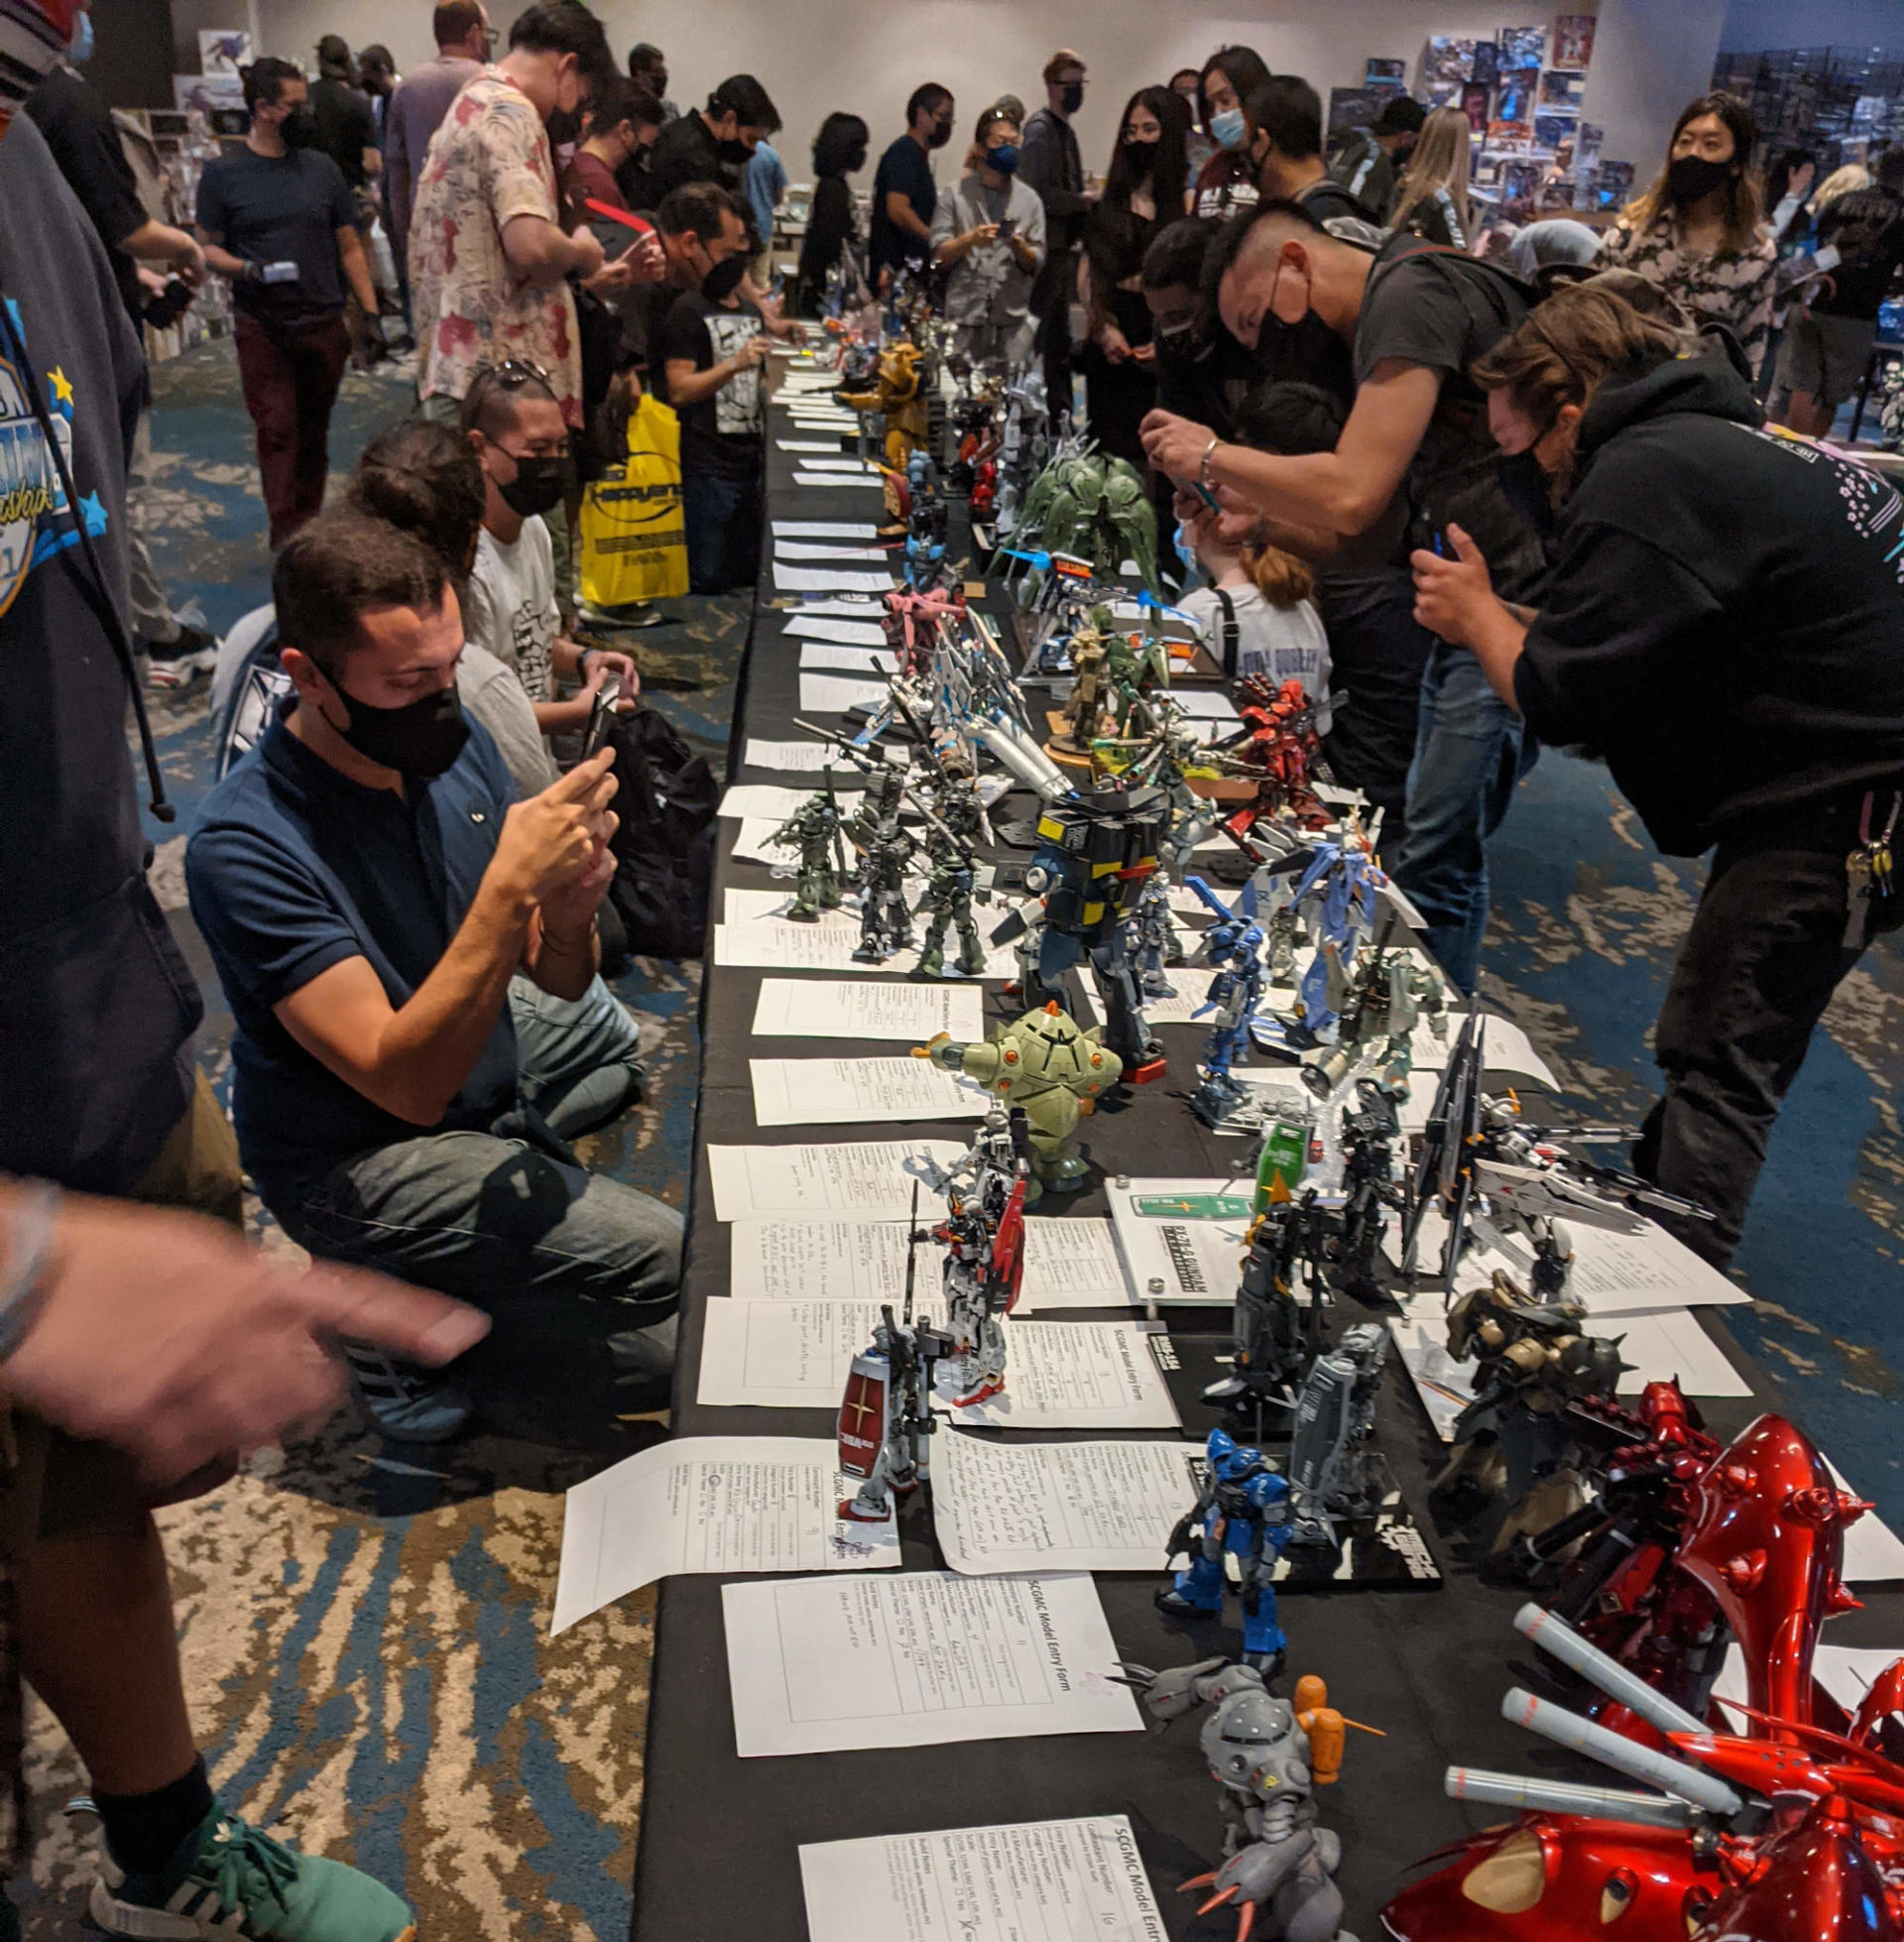
SCGMC 2021
Long ass time no post, since I haven't been building for a good long while. BUT, this past weekend was the triumphant return of SCGMC, live and in living color; albeit in crappy lighting conditions. We're working on shopping optional…
Long ass time no post, since I haven't been building for a good long while. BUT, this past weekend was the triumphant return of SCGMC, live and in living color; albeit in crappy lighting conditions. We're working on shopping optional…
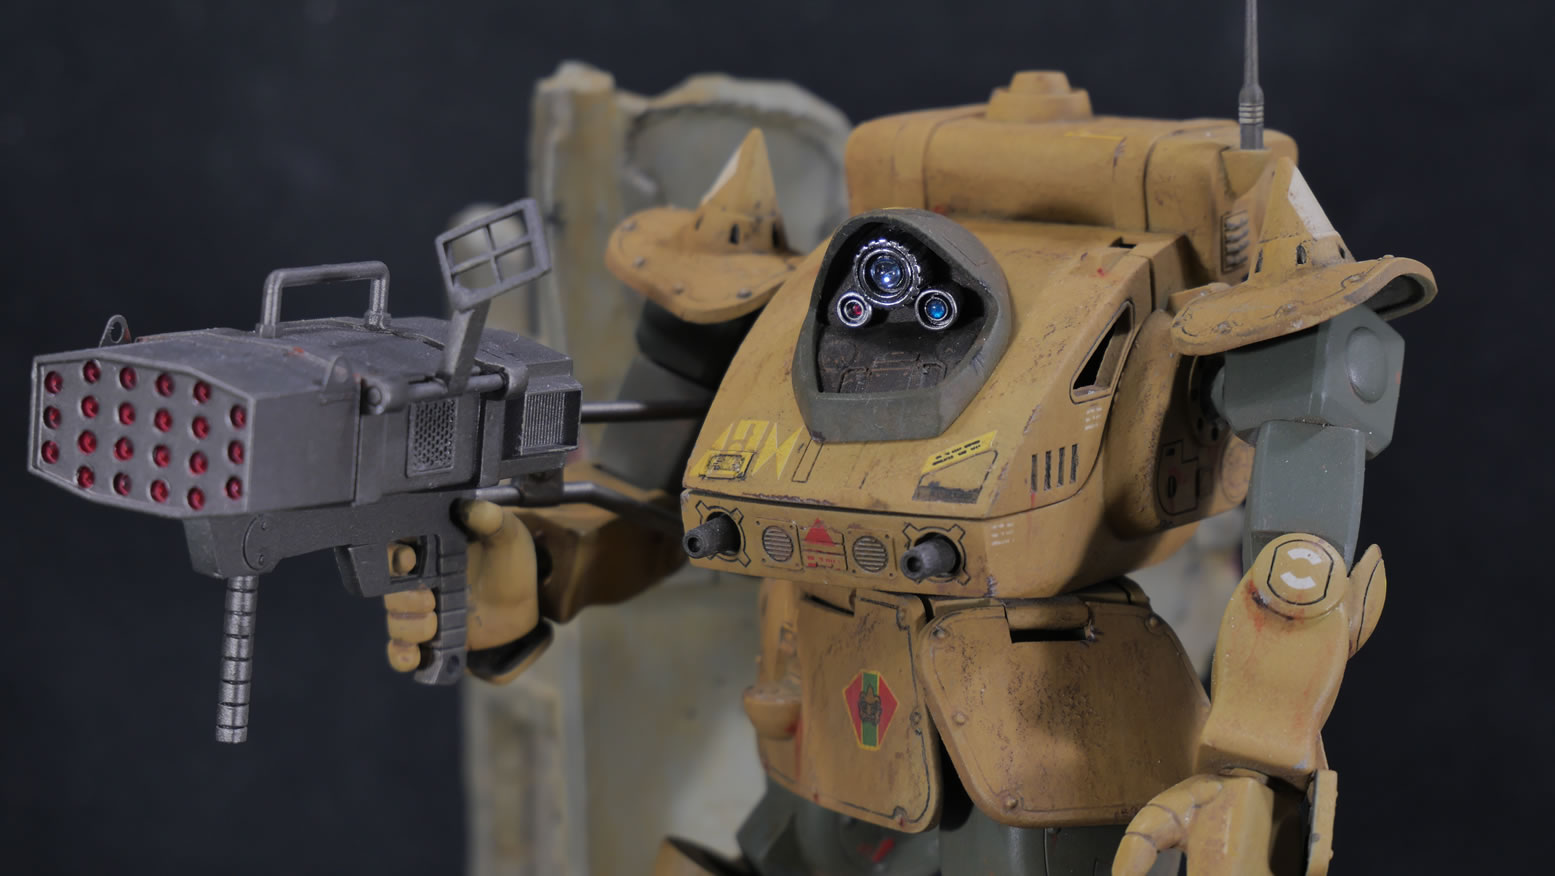
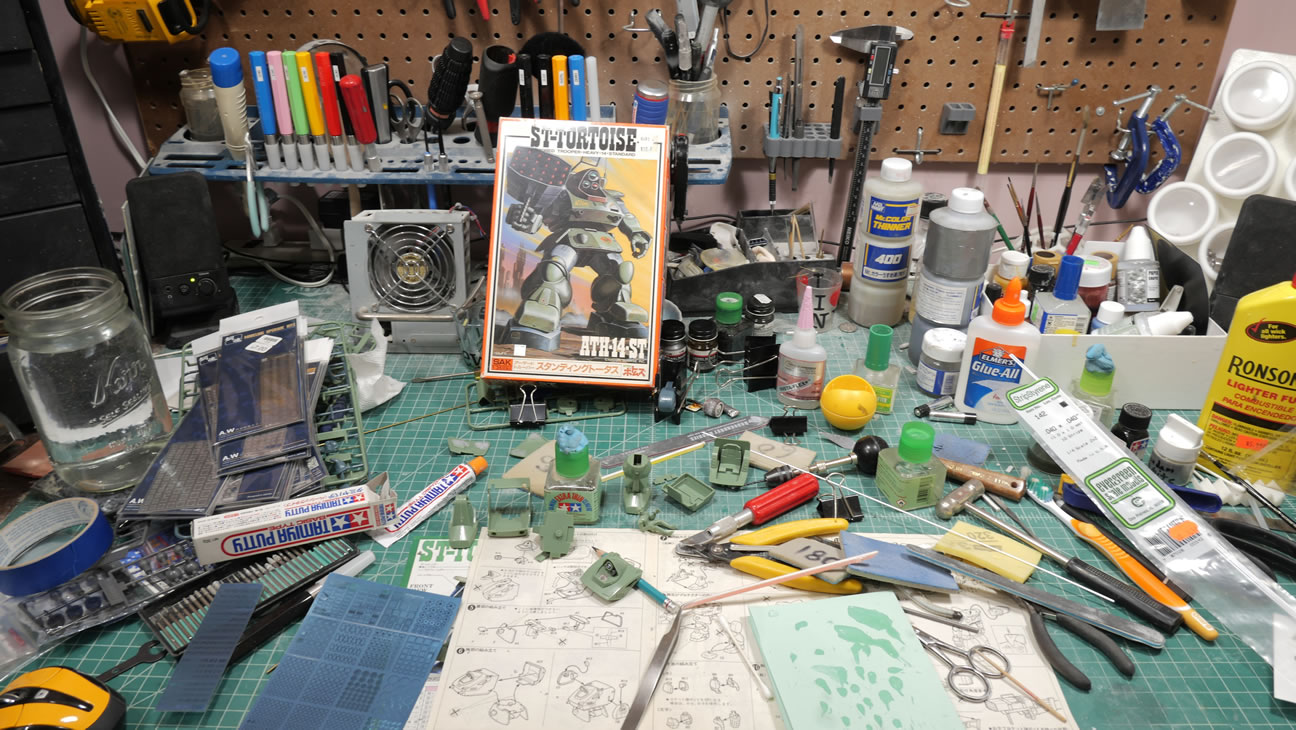
I;ve had these 80’s Votom kits for a while and I haven’t built one ever. I’ve seen other modelers build some Votoms stuff and I like some of the styling. I just never got around to doing it. Sometime in August, I cracked open the box which was still originally tape sealed and just started. Oh how I do not miss kits from the 80’s. I’m not even sure if the glue in the box is still good. The last time I build on 80’s kit was a 1/144 Shiki that also had a small tube of glue. I think I was 10, and the kit was actually new *sigh* circa 1985 or so….I like to think that my skills have improved somewhat since, so away we go.
Complete start to finish as well as completed pictures after the jump.
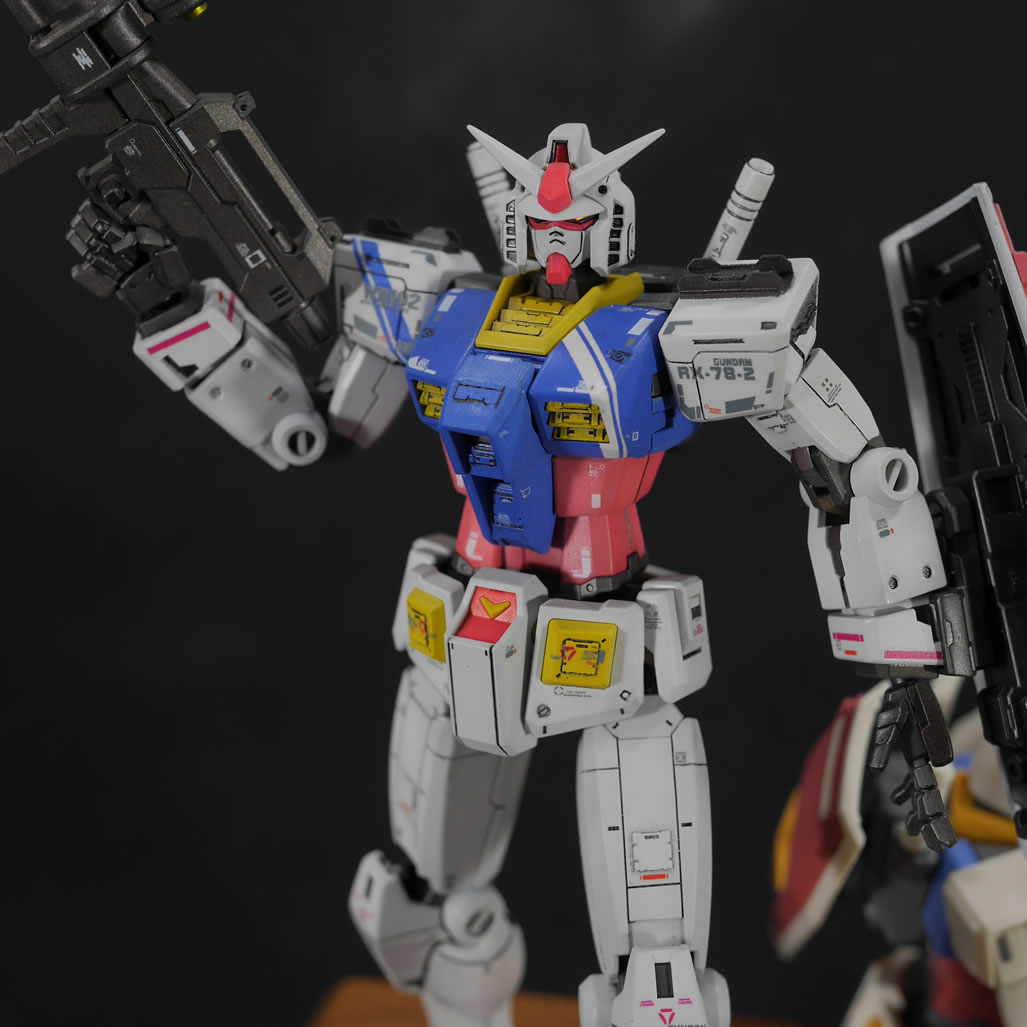
A group of builder and toy collector friends wanted to do a timed group build, so they picked this kit for being new and fairly easy for anyone to grab and assemble. The goal is to just build it within the 2 week span of Aug 1 – Aug 15 2020. That’s it. No requirements for paint, mods, etc. Like the Nike ads say, just do it – or in our case, just build it!
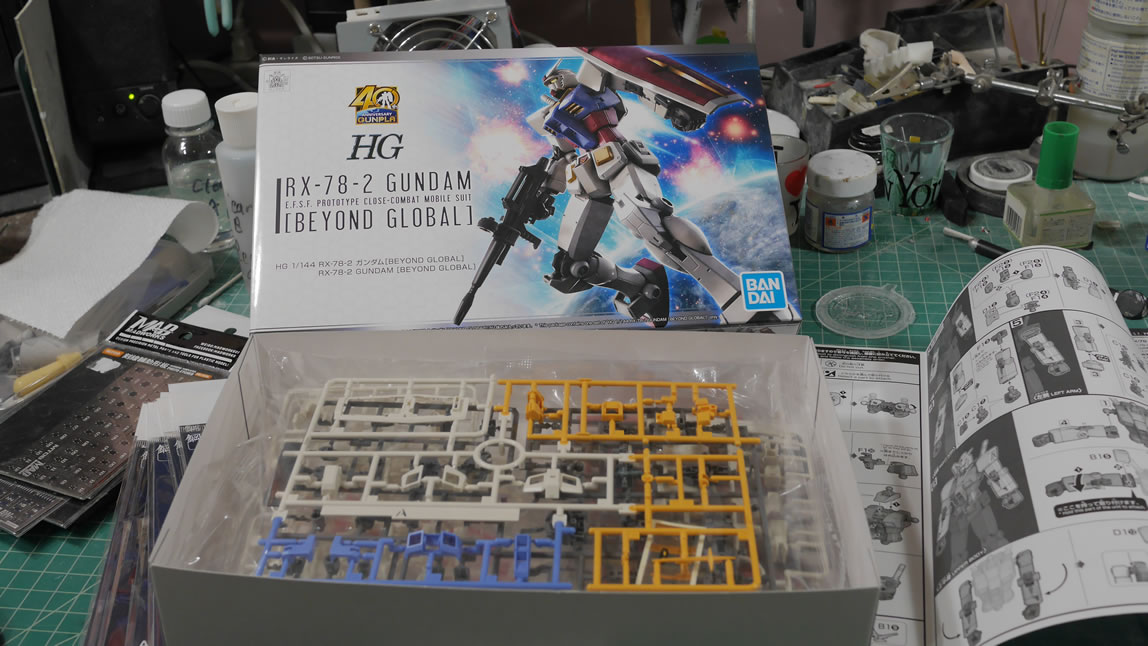
The Gundam Beyond Global kit was picked for being new, easy to build, and most importantly, pose-ability. We are talking a group of toy collectors that generally like to pay with the figures. The kits arrived and at midnight Aug 1st, we kicked off the build. In preparation for the build, I grabbed a bunch of tools and detail parts I had only slightly used in my more recent builds to see about incorporating them more into this project.
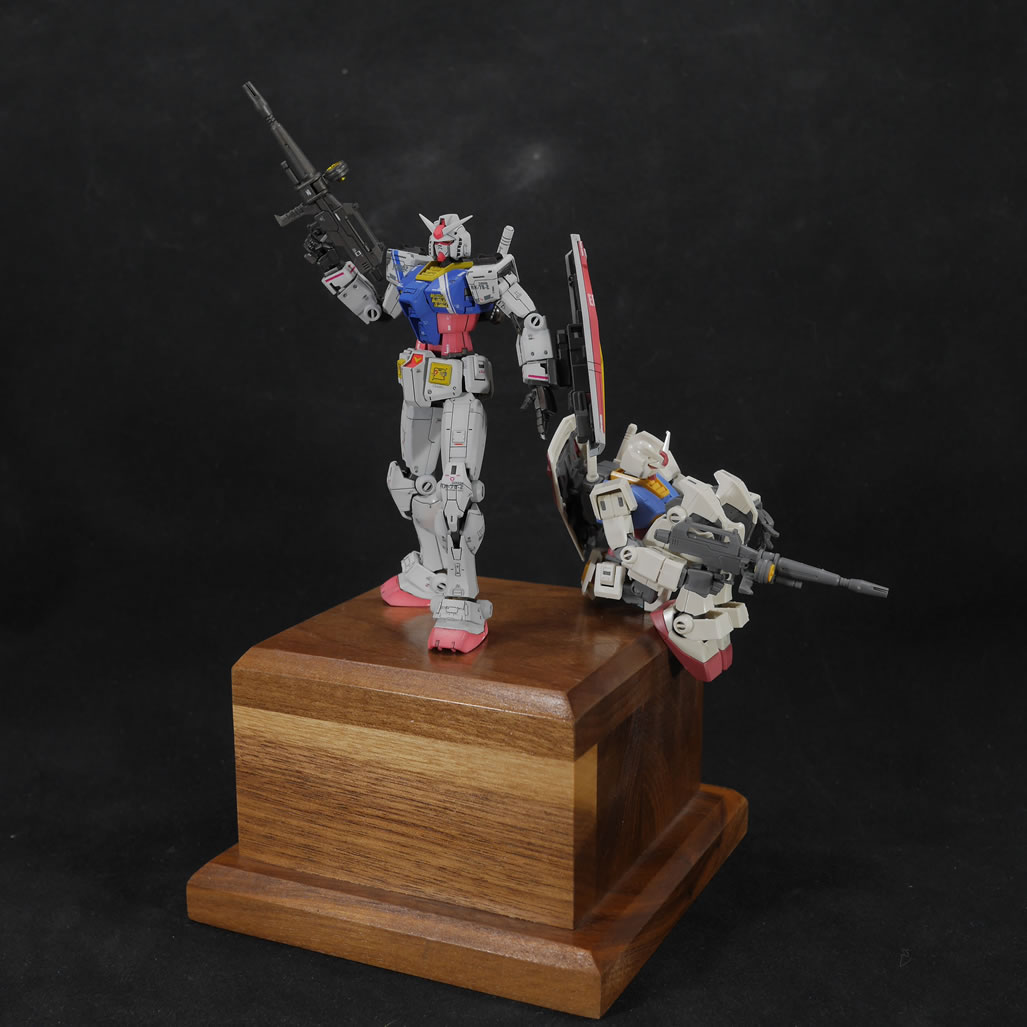
Today is Aug 14, 2020, and I pretty much finished the kit last night and snapped final pictures. Complete details of this build after the jump.
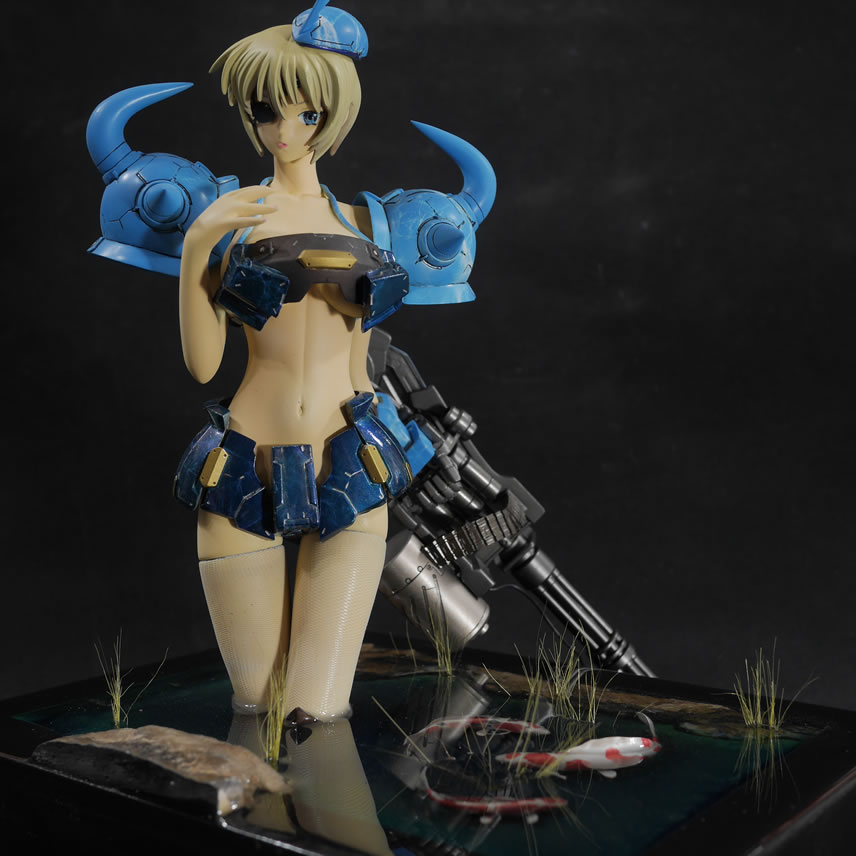
She's done! Before we get to the full gallery, lets rewind from where I last left off. The pieces were glued to the base and ready for the clear resin. I used a very slow curing epoxy resin since the…