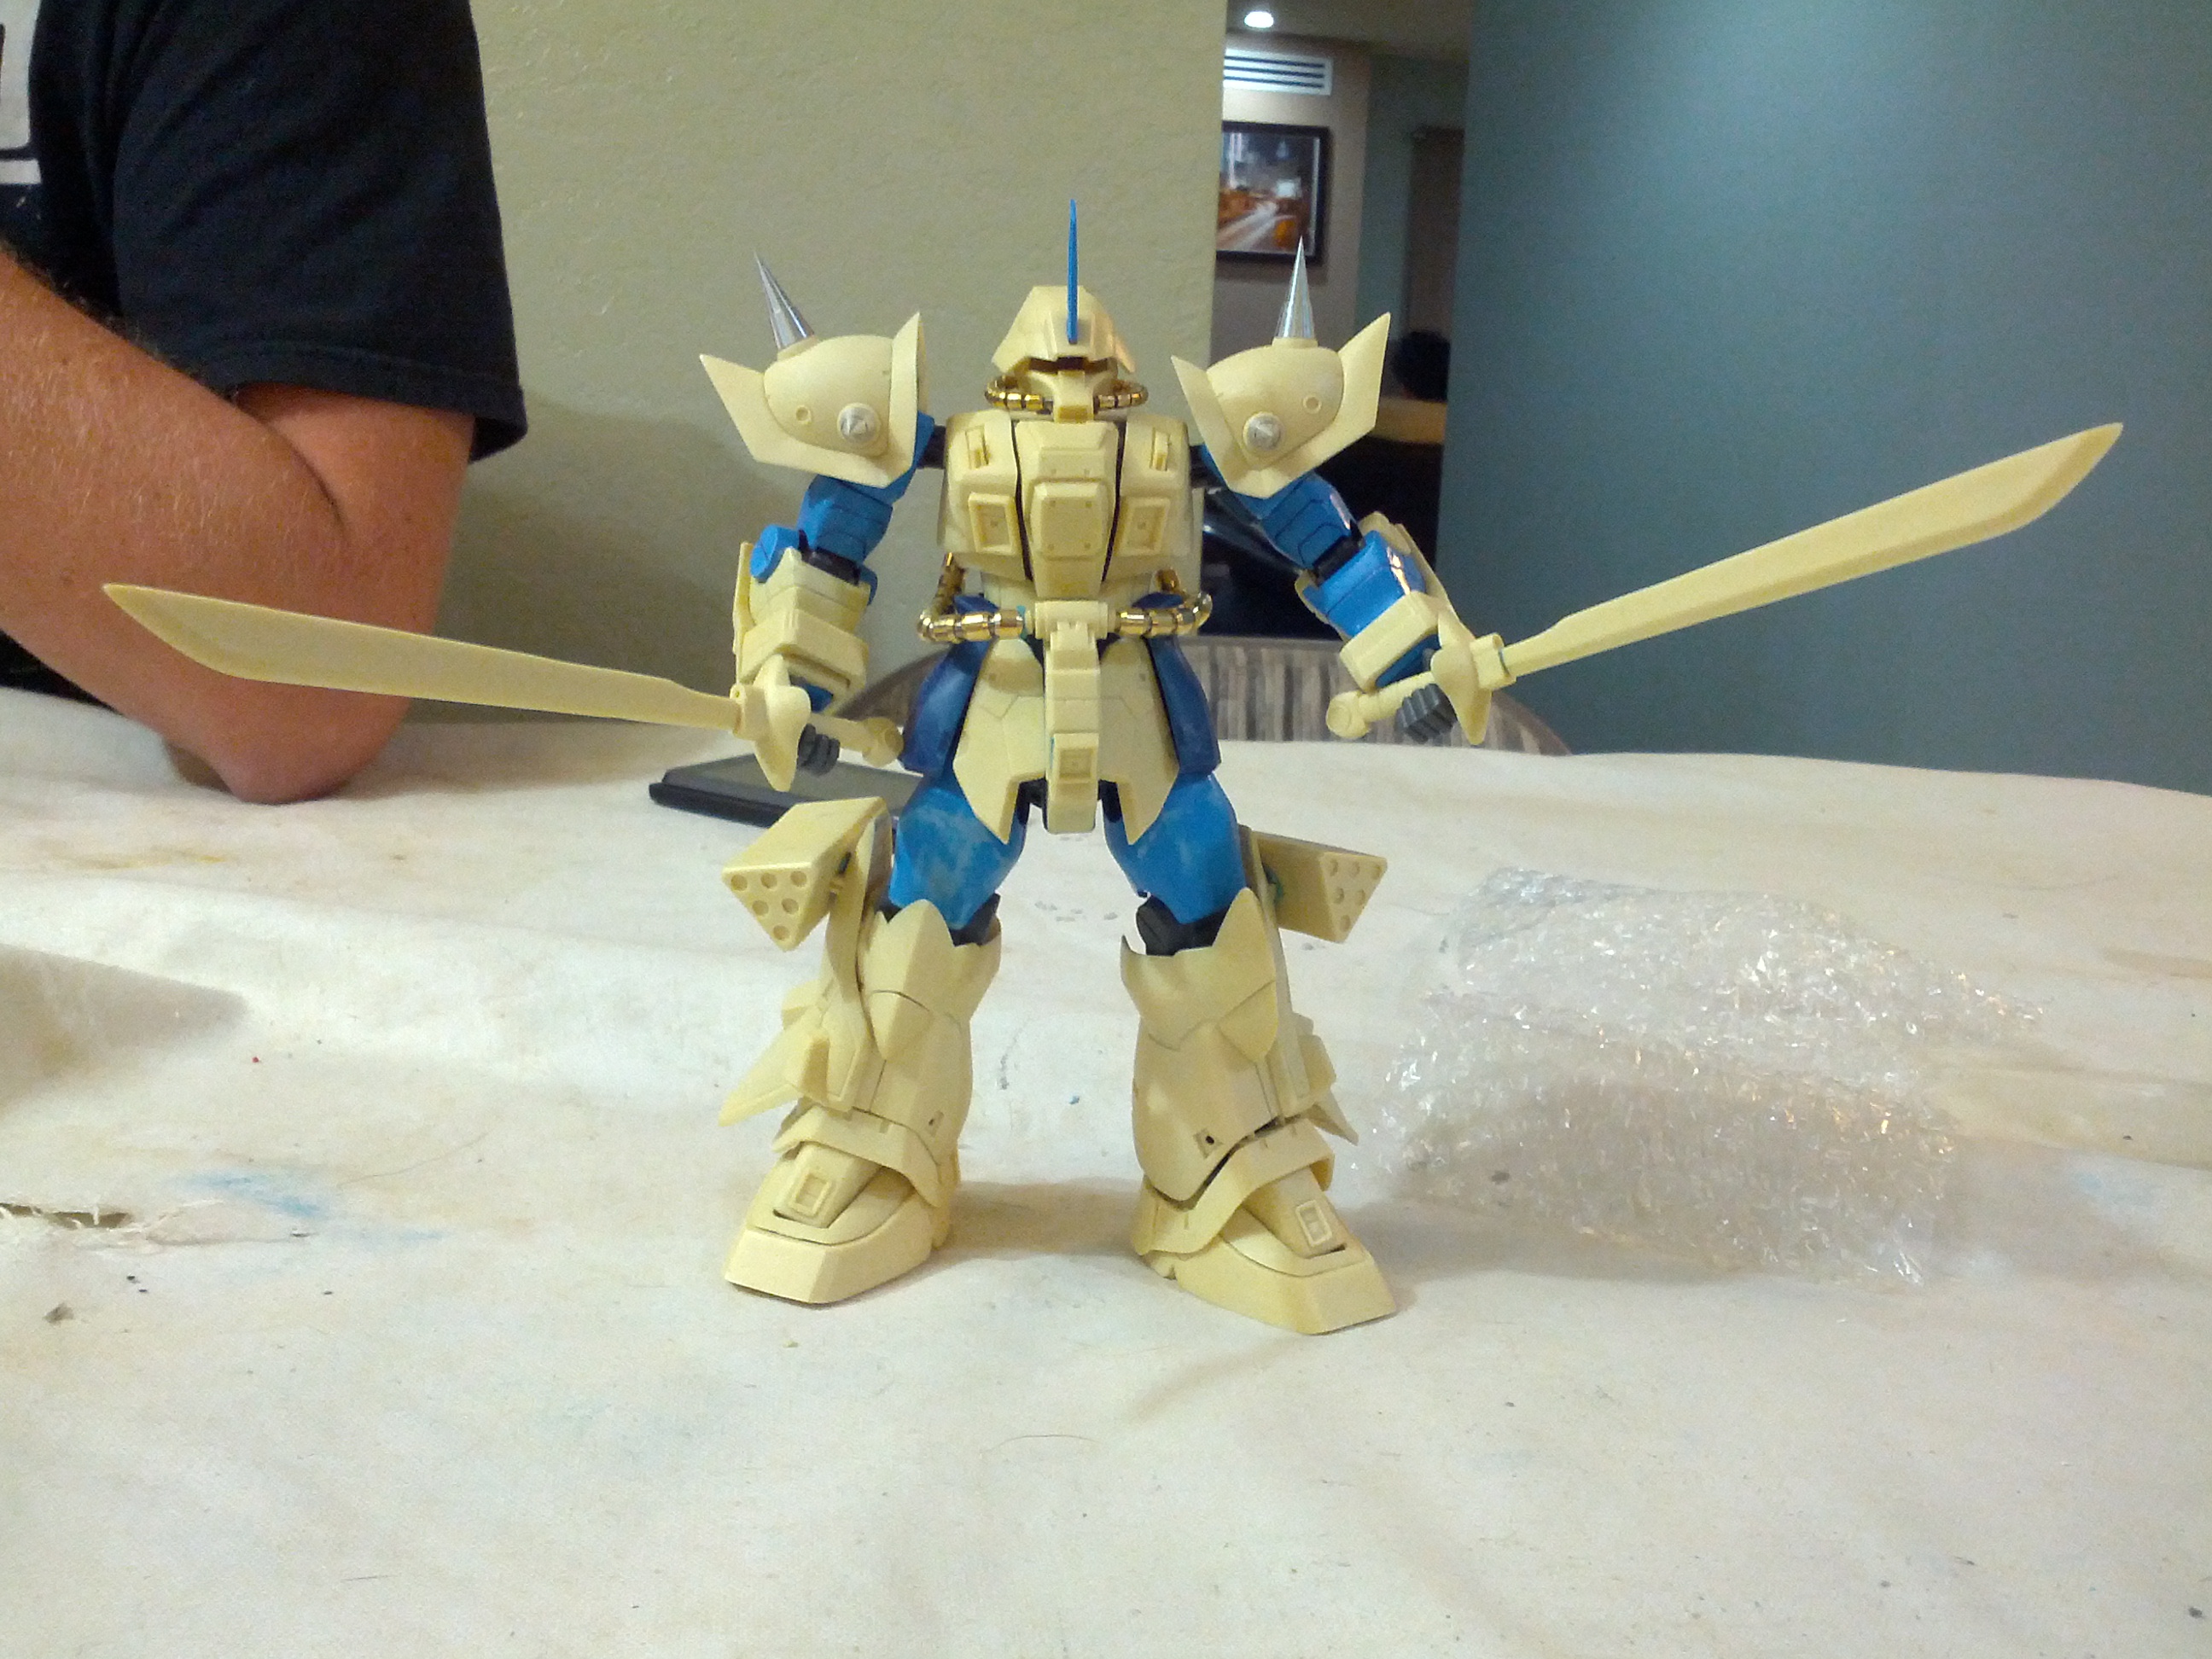
March 23, 2013: This project begins with a challenge against Angel who is building an Efreet conversion kit. After finding the correct frame parts using an MG Gouf Custom that was long cannibalized for parts the kit was roughly sanded and test fitted with super glue as quick tack points and sticky tack to hold other parts together. I finished putting the thing together by the end of the build gathering and snapped a few quick shots with the camera phone.
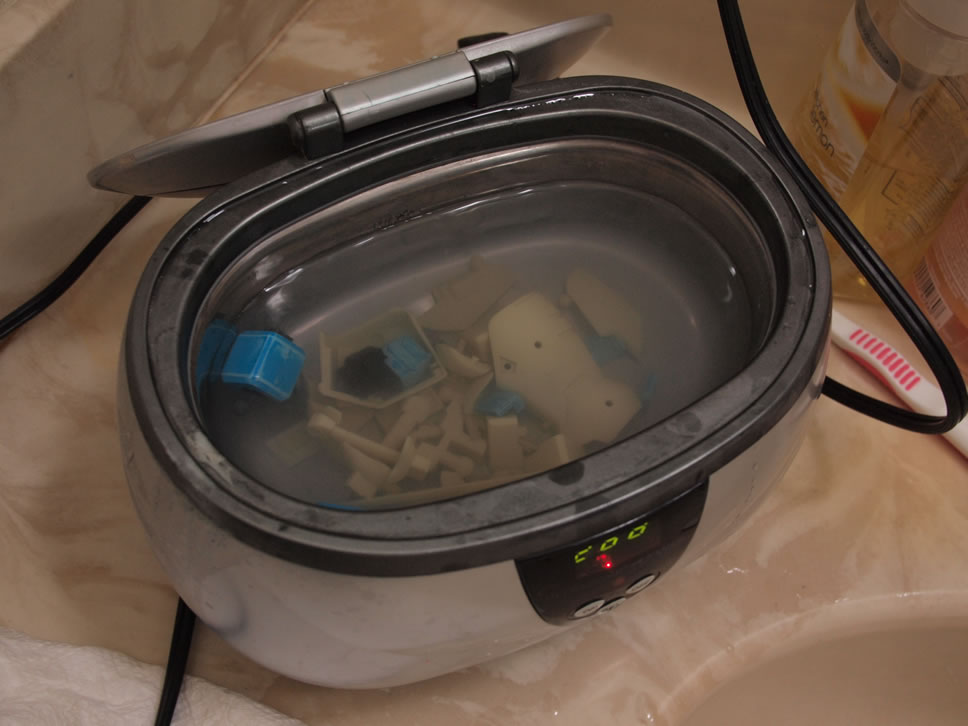
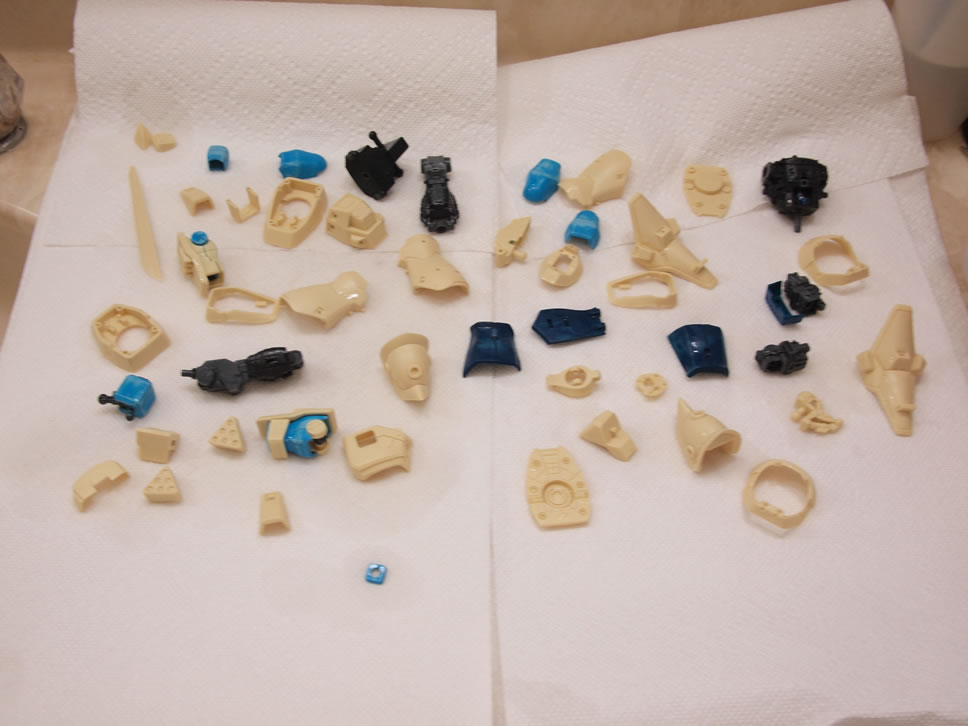
March 24, 2013: The parts are dismantled and more sanding is done before being thrown into purple power for cleansing. The parts are soaked over night then run through the ultrasonic cleaner then placed on a paper towel to dry for a few days.
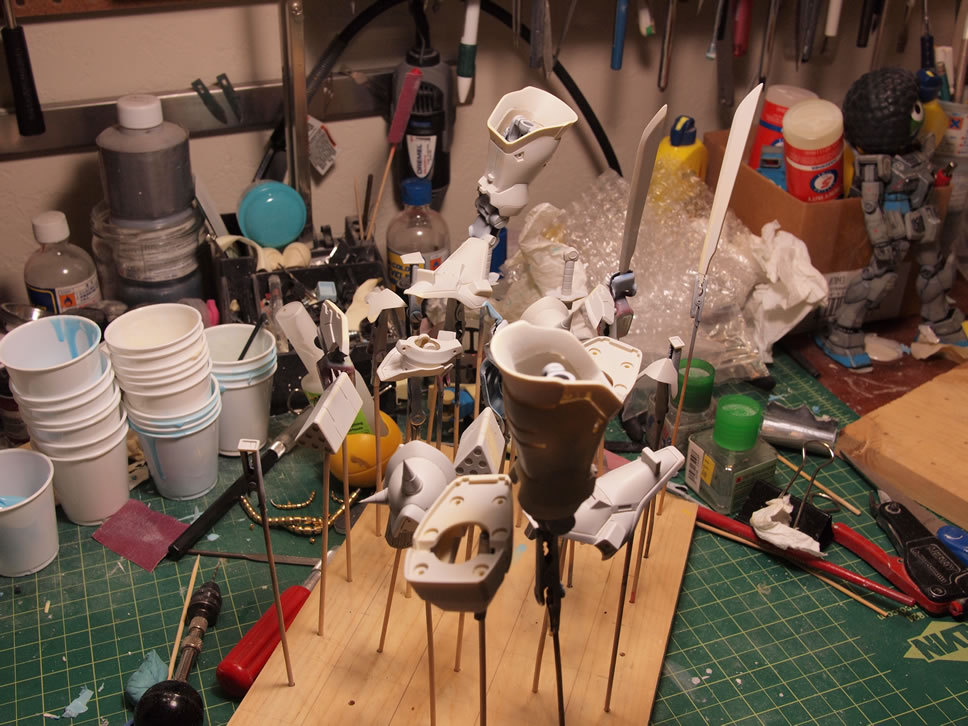
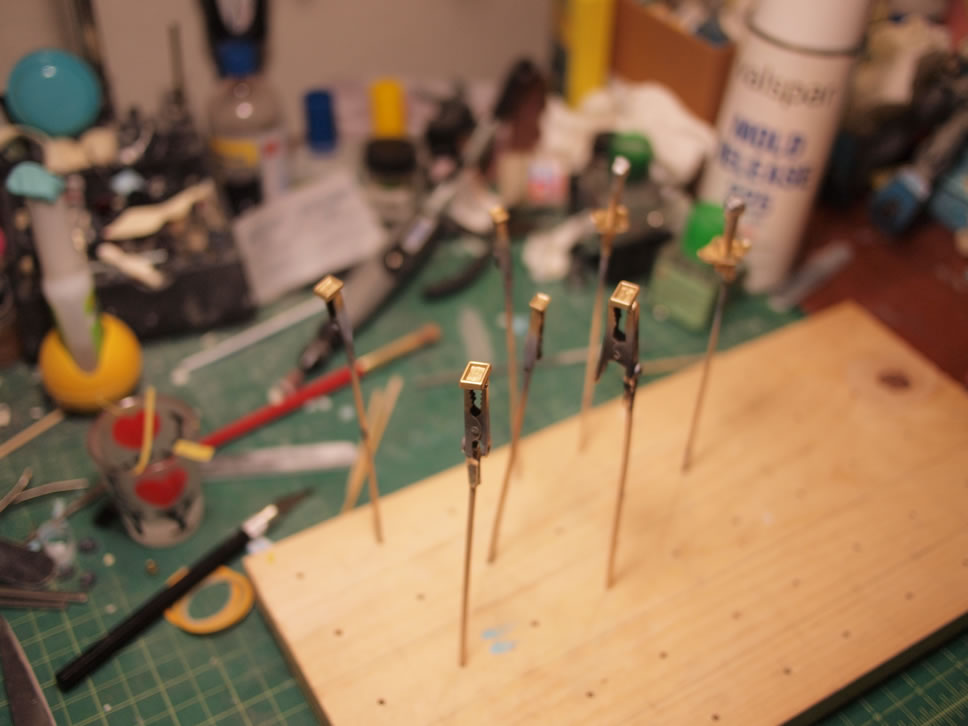
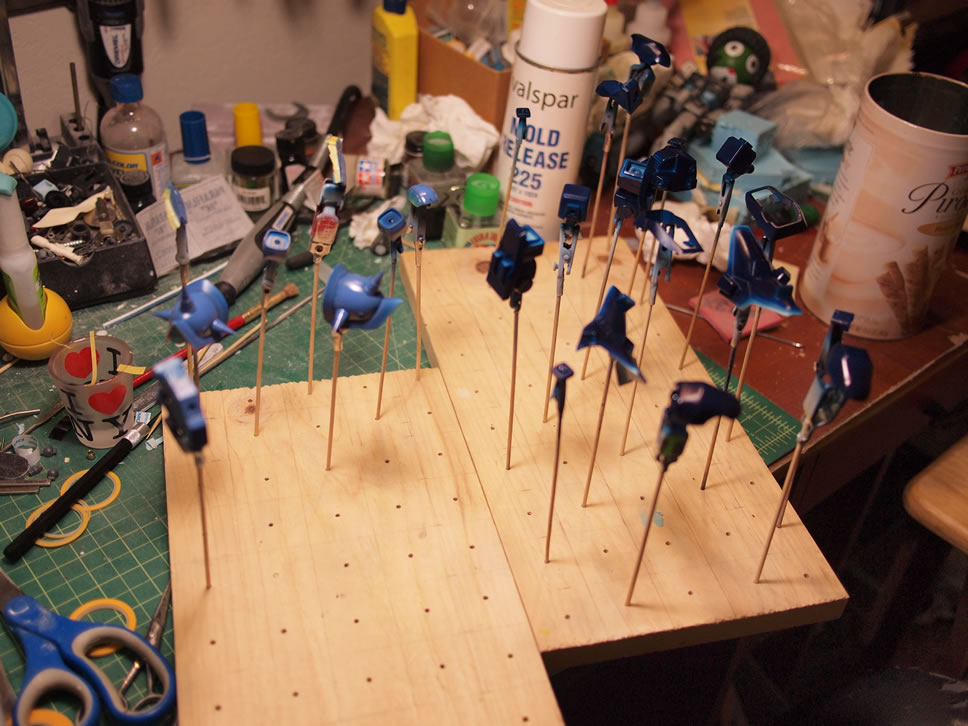
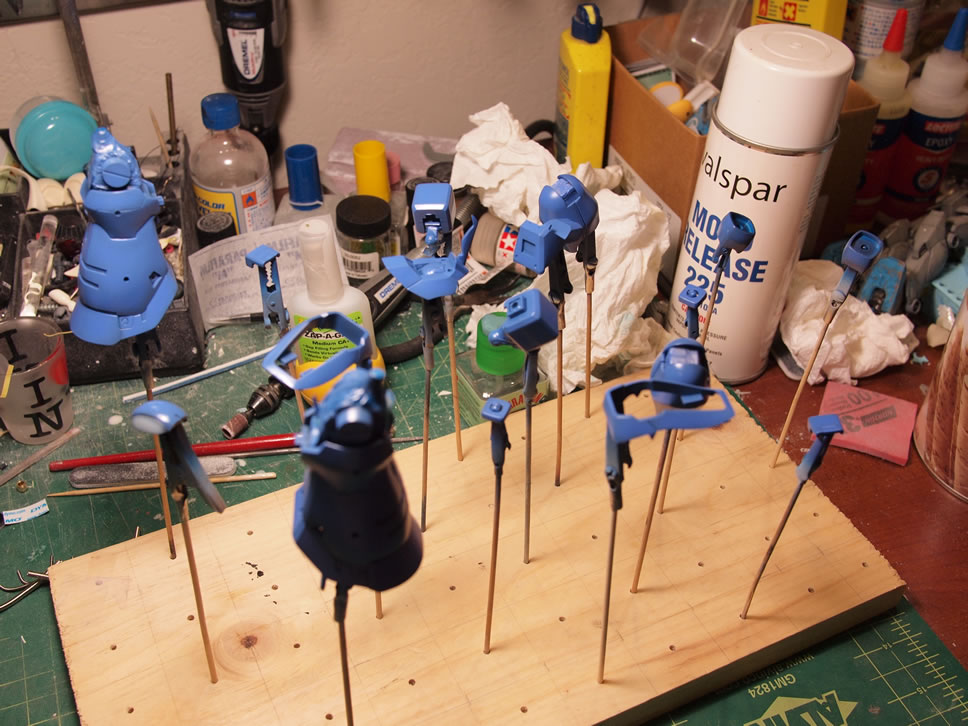
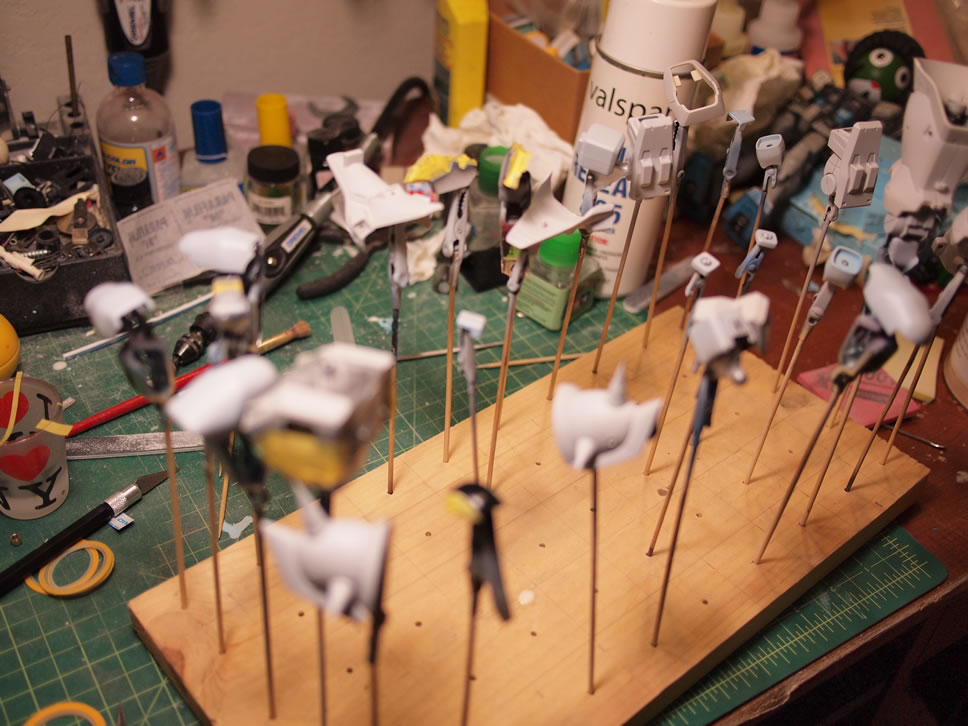
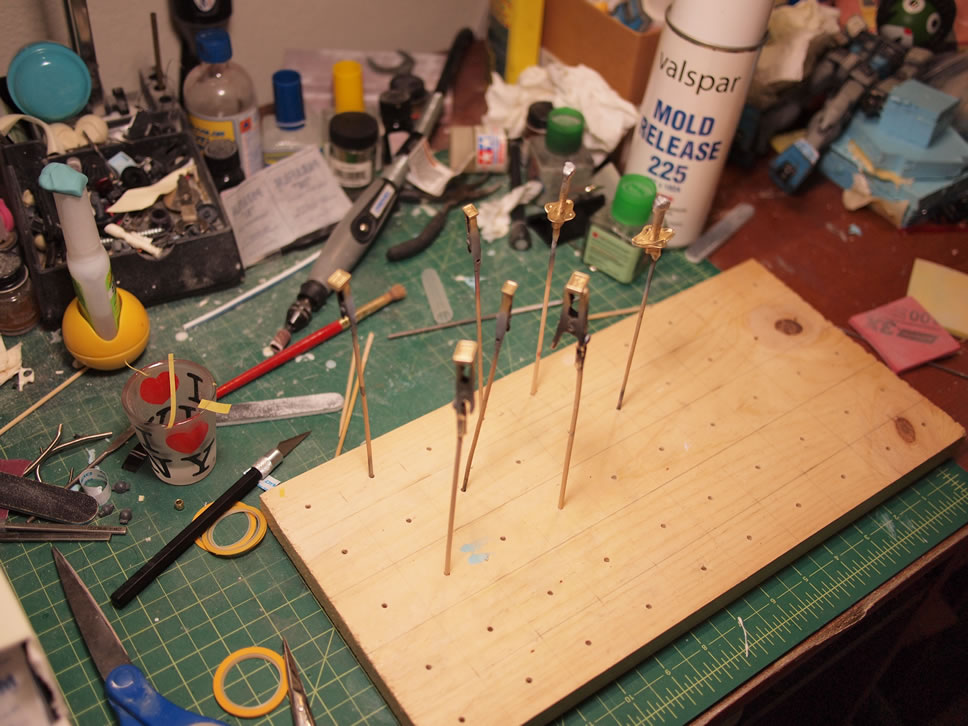
March 25, 2013: The parts are then put on skewers and the first layer of primer is sprayed. This brings out all the little missed sanding area, surface defects, bubbles in the surface, and other defects.
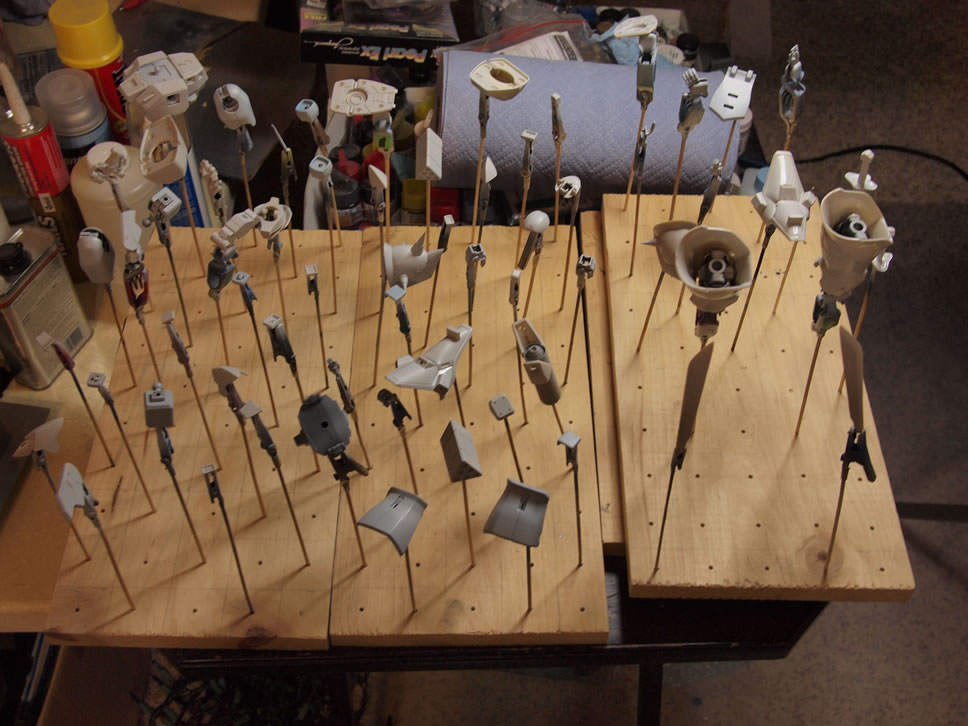
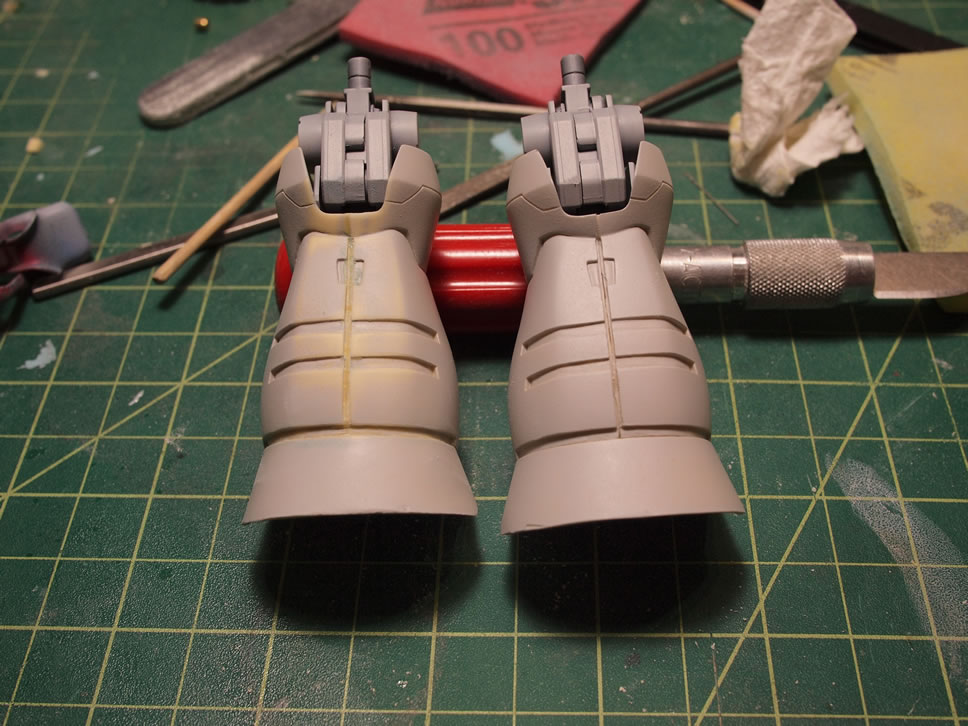
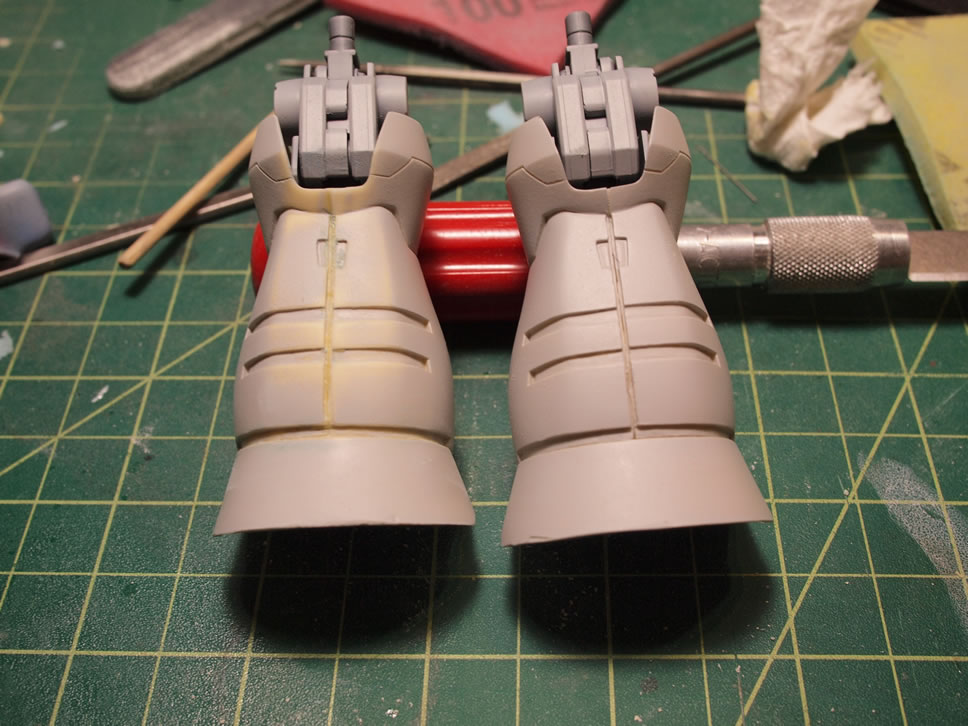
March 26, 2013: Defects such as bubbles and the seam lines between the leg pieces are filled with light curing putty. The surface defects are sanded and fixed and another layer of primer is sprayed.
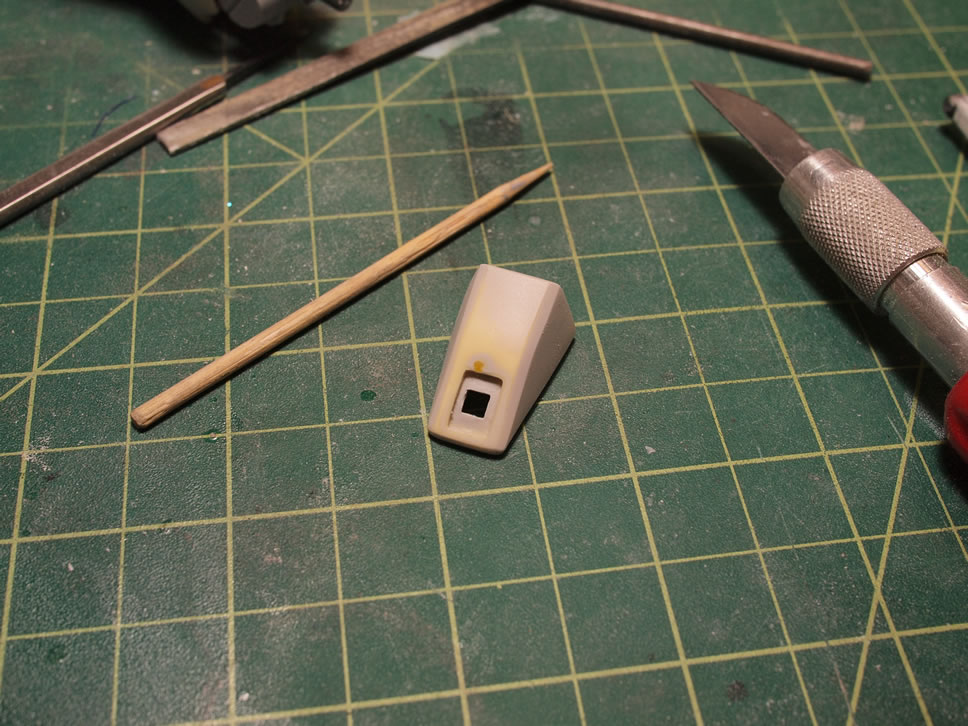
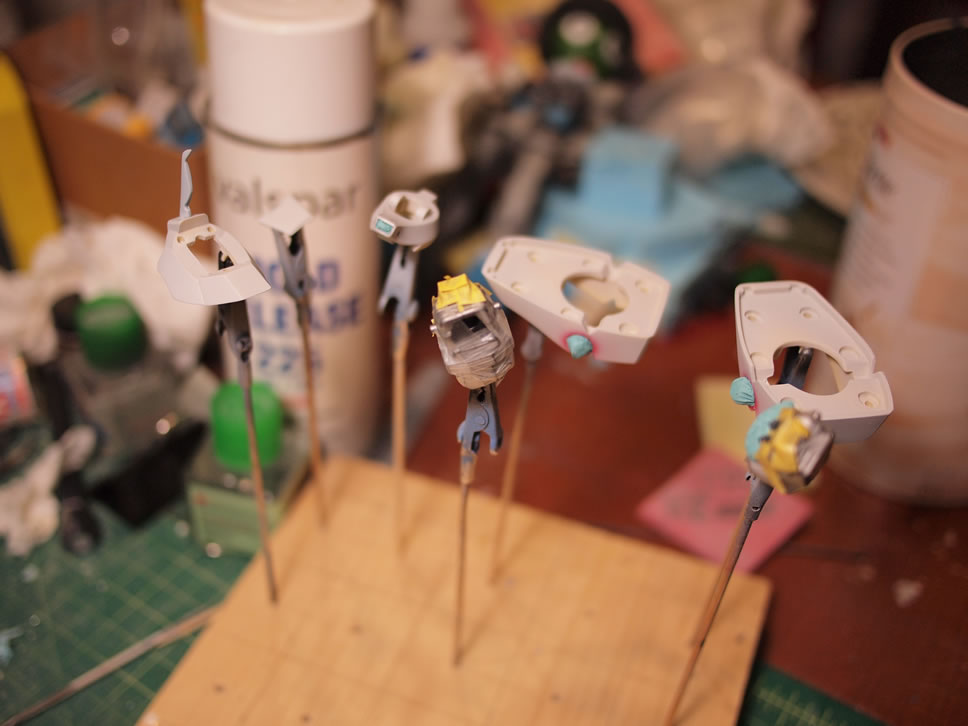
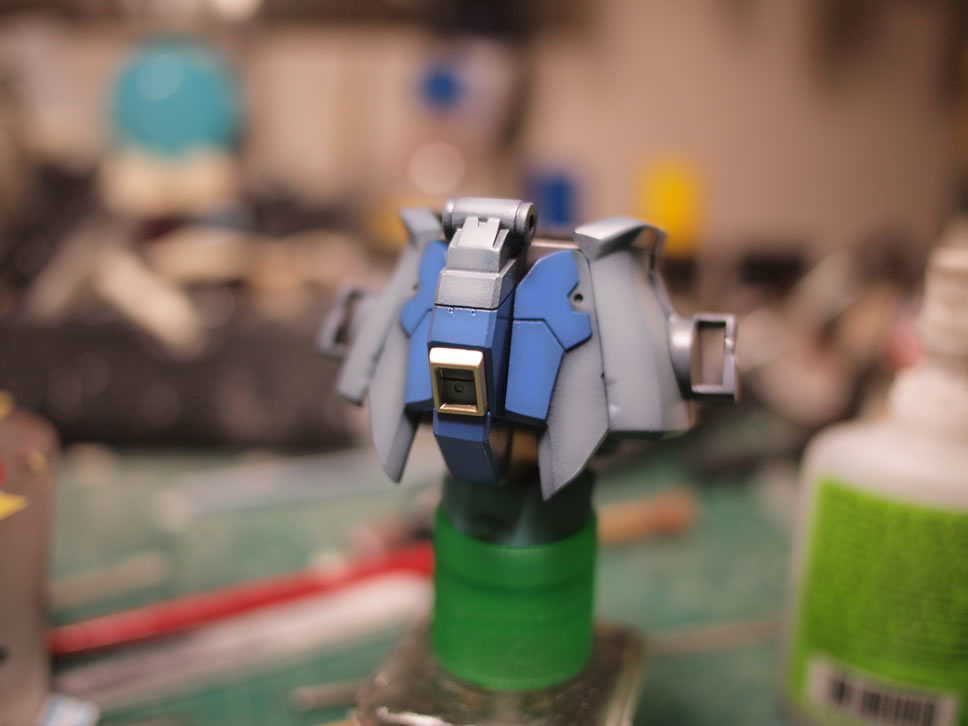
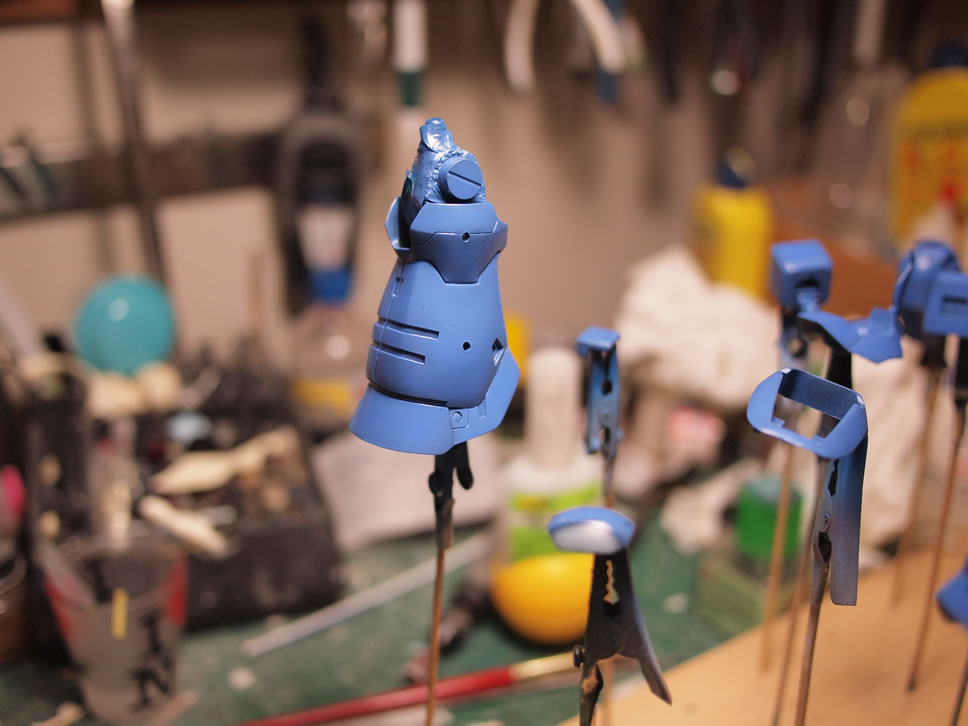
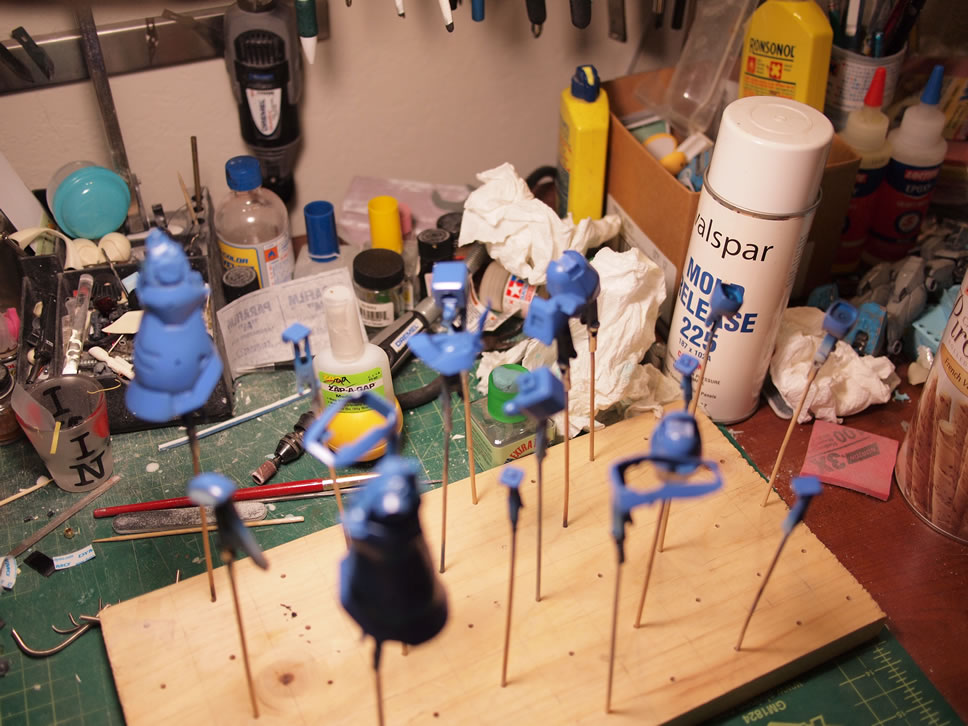
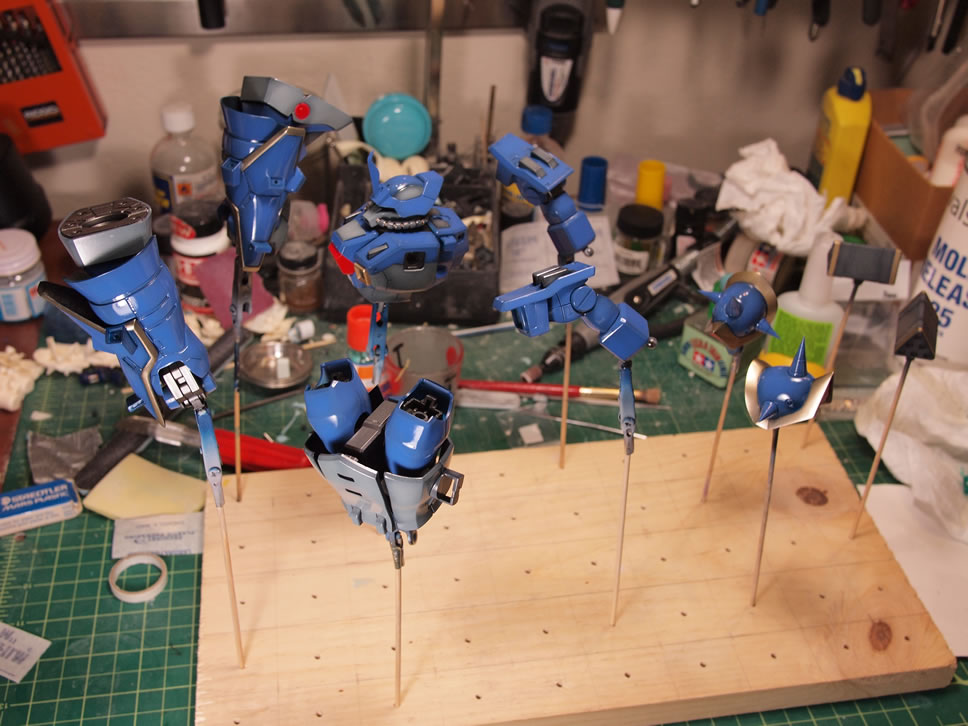
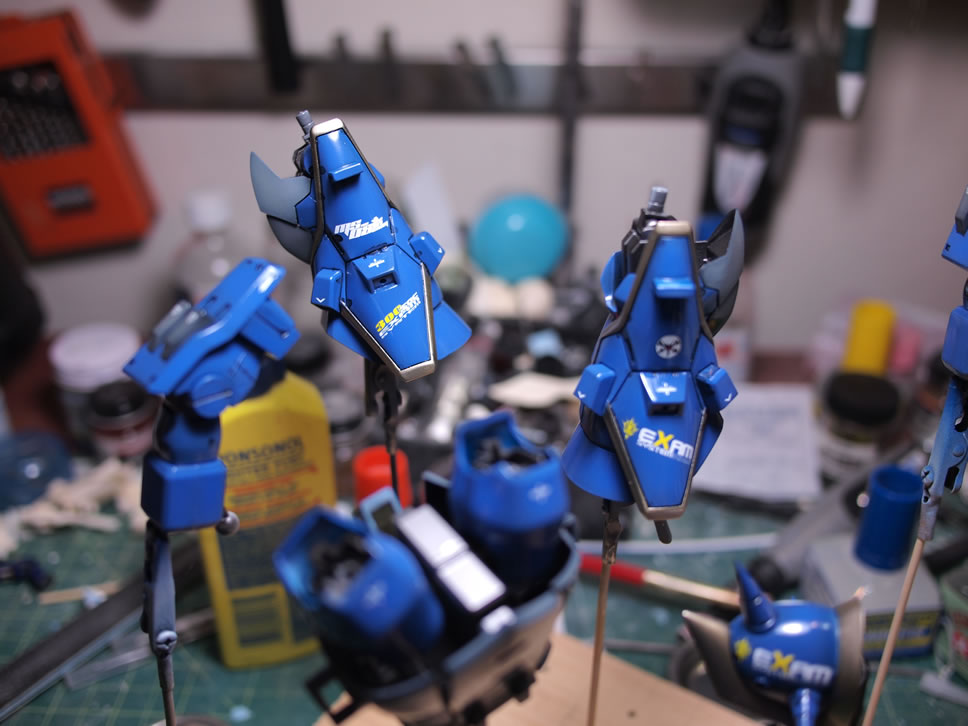
Some of the already fixed primed pieces are painted with a base black. These are mostly frame and vent pieces that will be painted in metallics. A dark gray is sprayed on some highlight pieces as well as the waist and head cables and other parts such as the skirts and middle area of the chest piece are sprayed in a lighter blueish gray. Small parts are painted with red as a detail part.
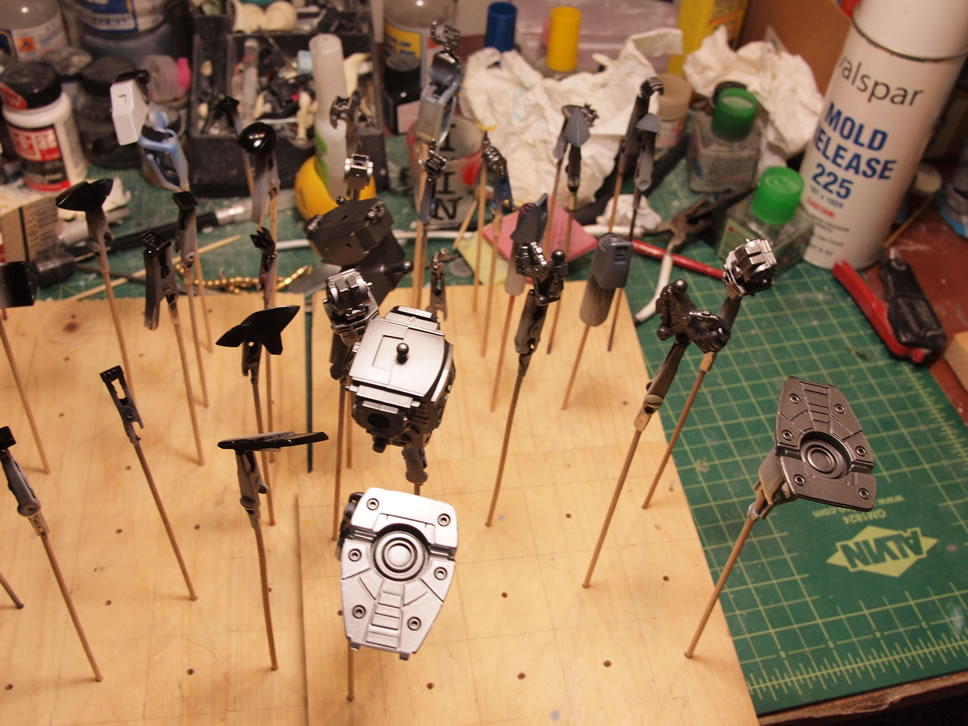
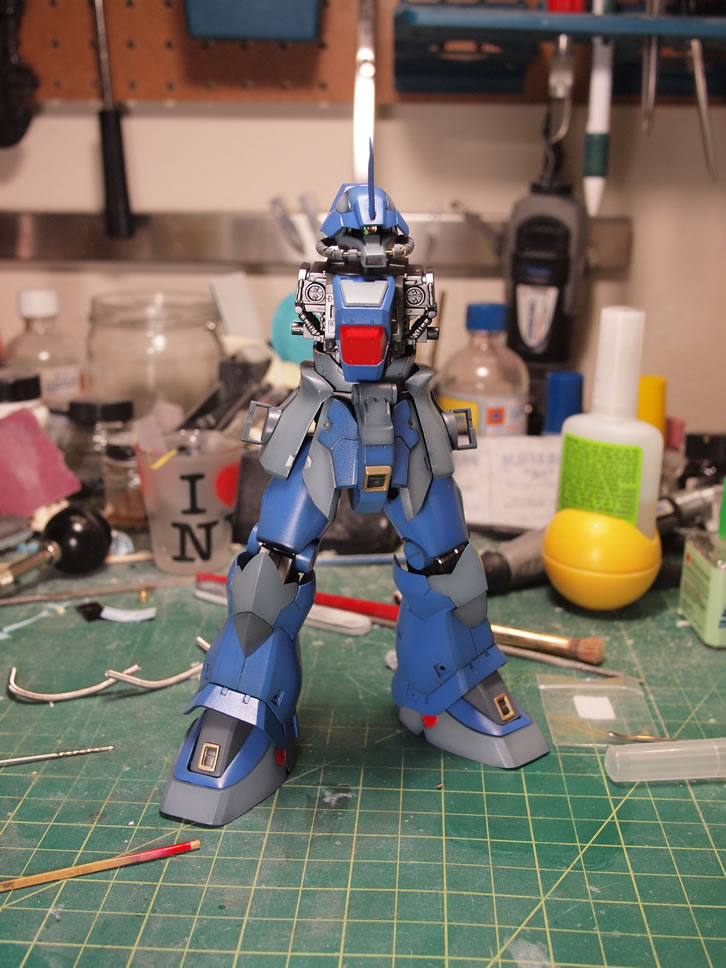
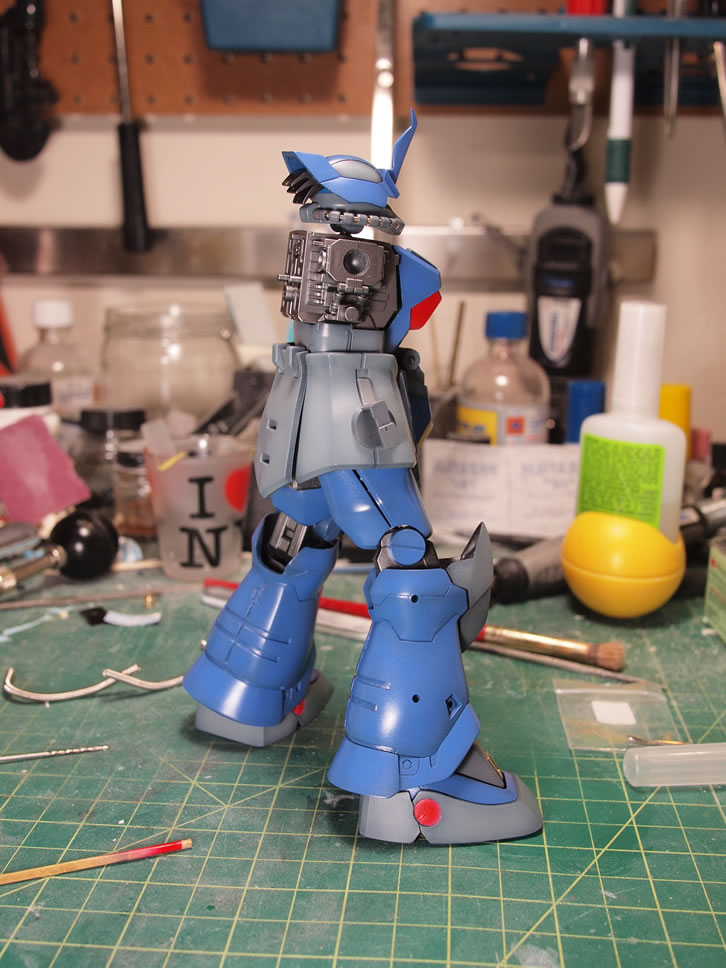
Putting together some of the finished parts, I get a better view of the paint scheme coming together.
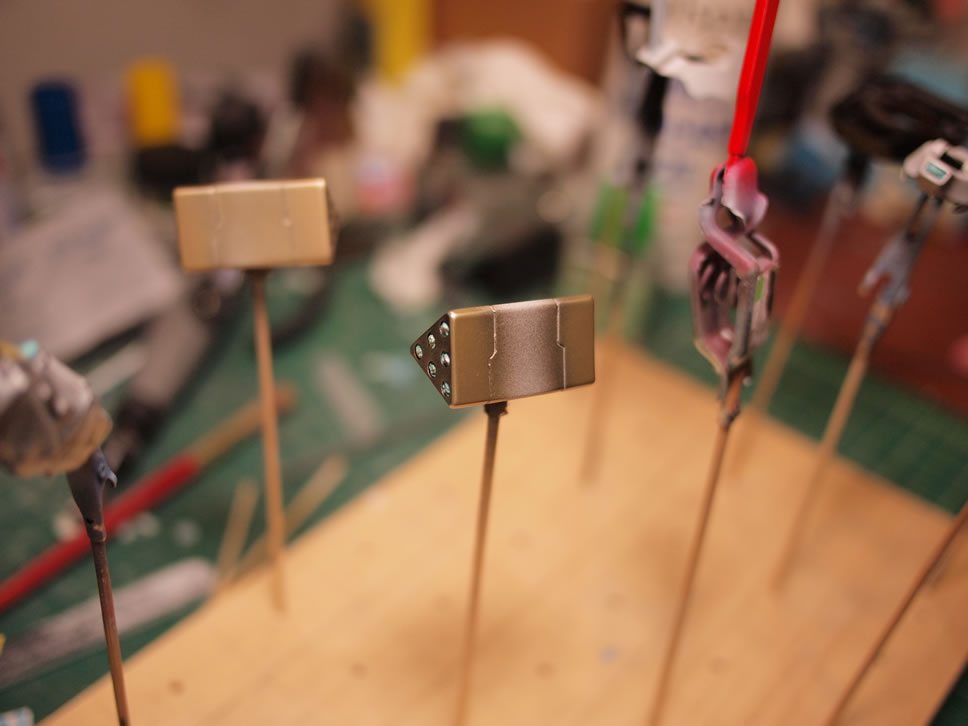
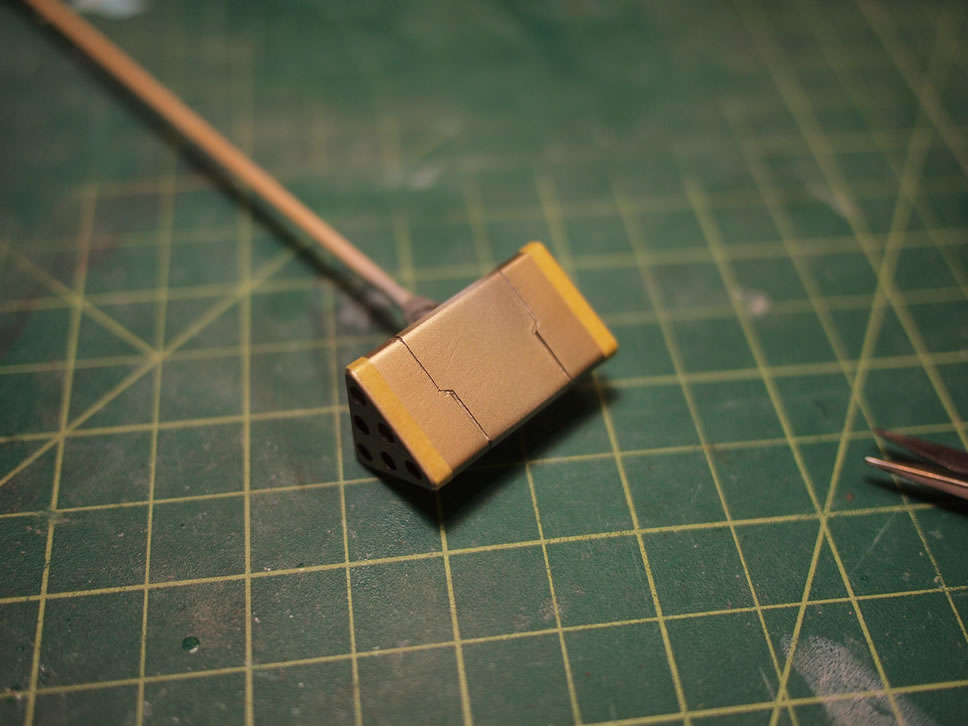
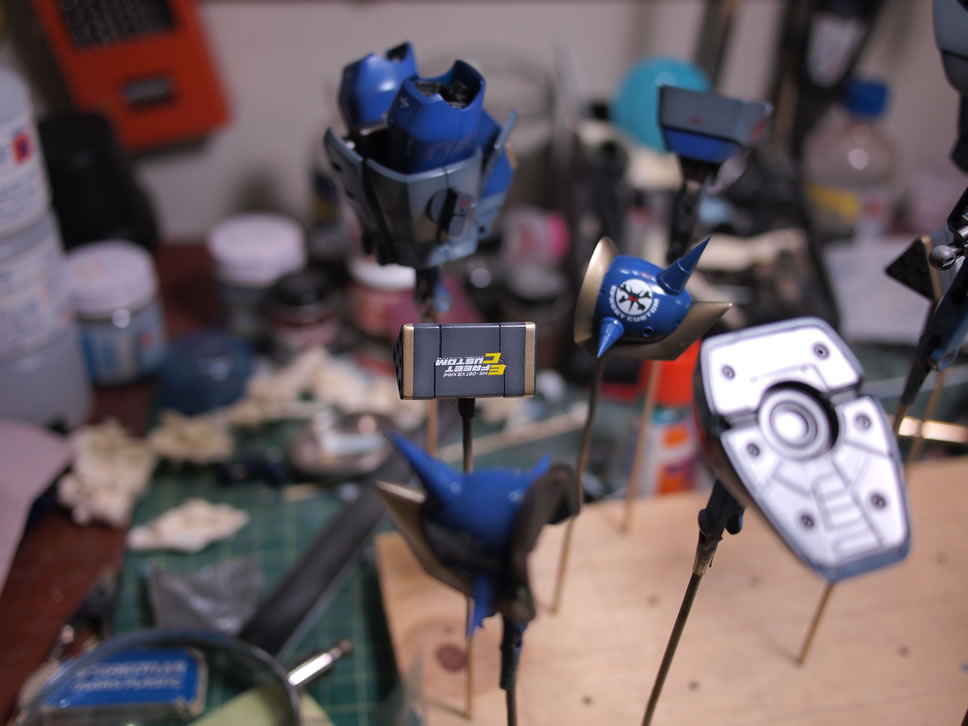
April 1, 2013: First layer of masking goes on over the some of the vent parts and the rocket launcher then painted with Mr Color Super Metallic Gold.
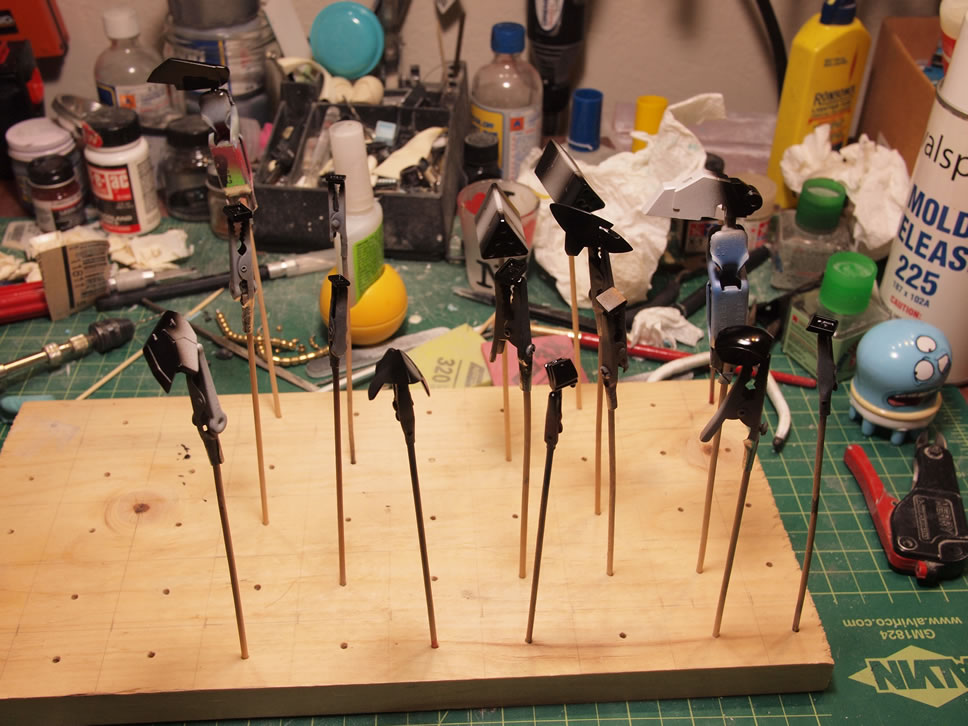
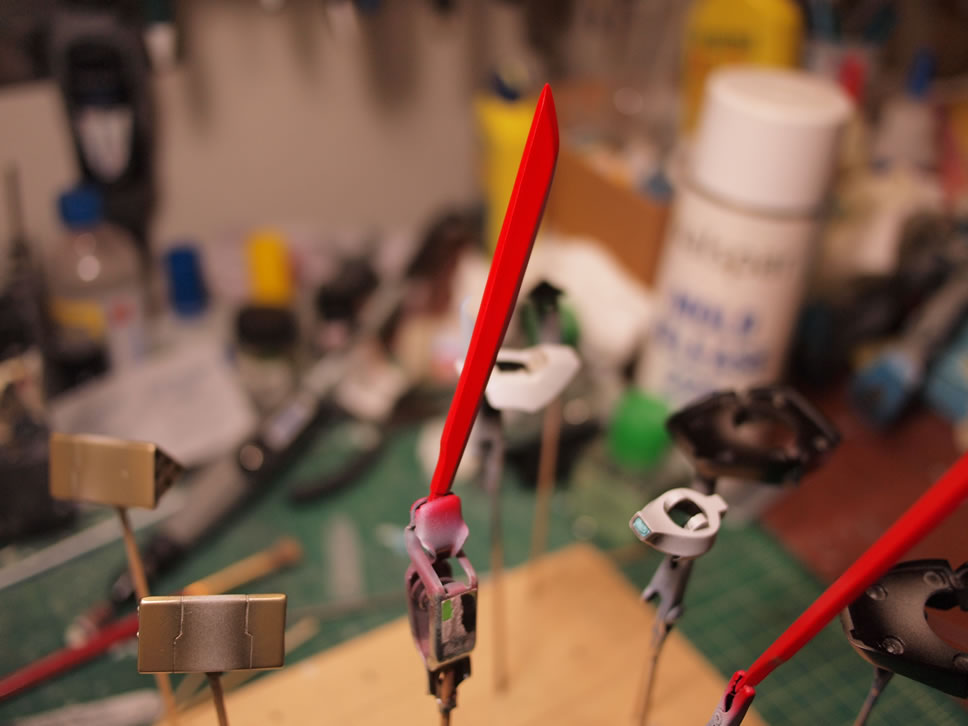
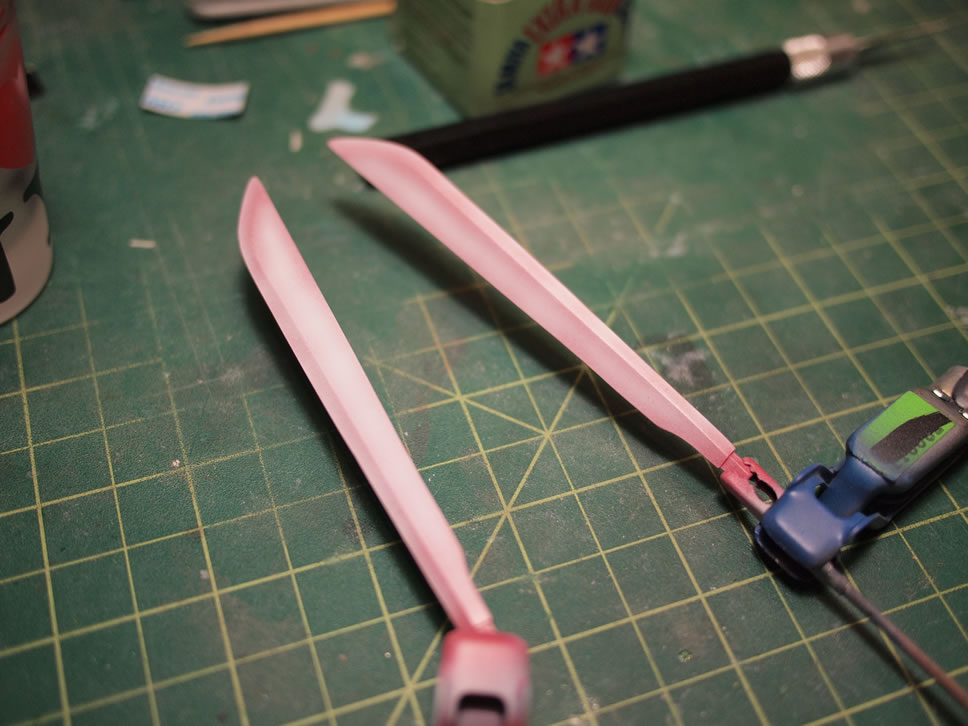
The rest of the parts are masked and prepare for painting. The sabers are painted with red as the base color.
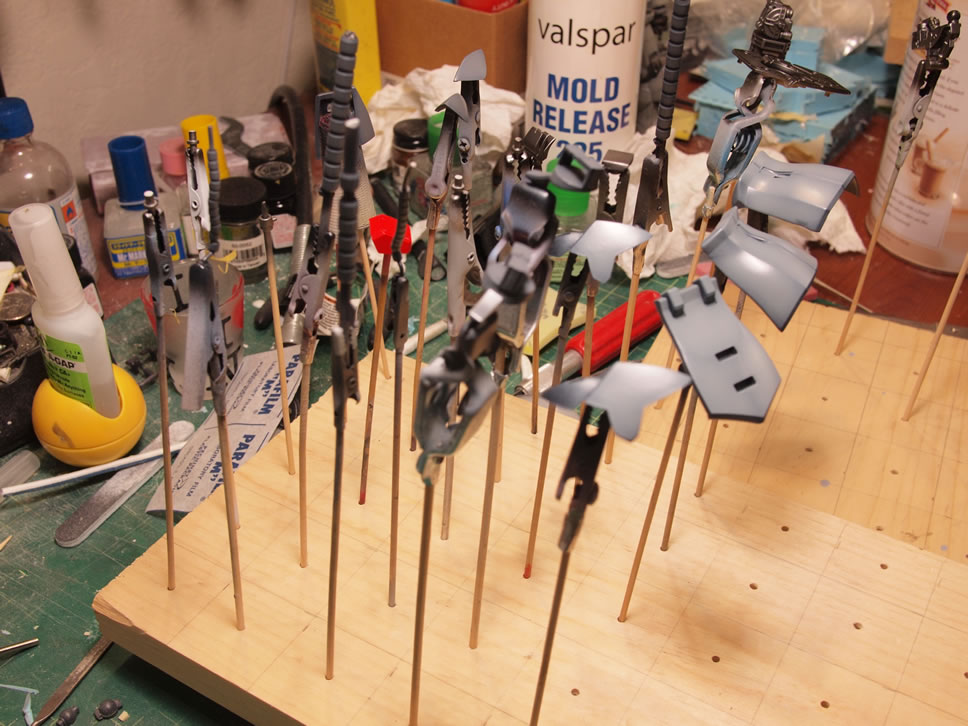
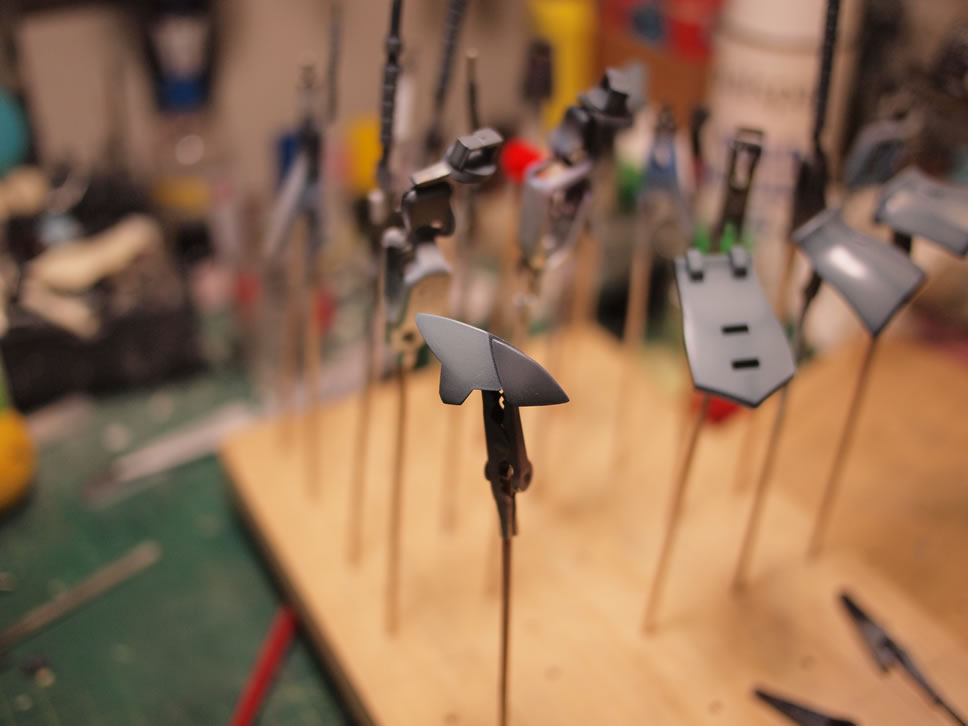
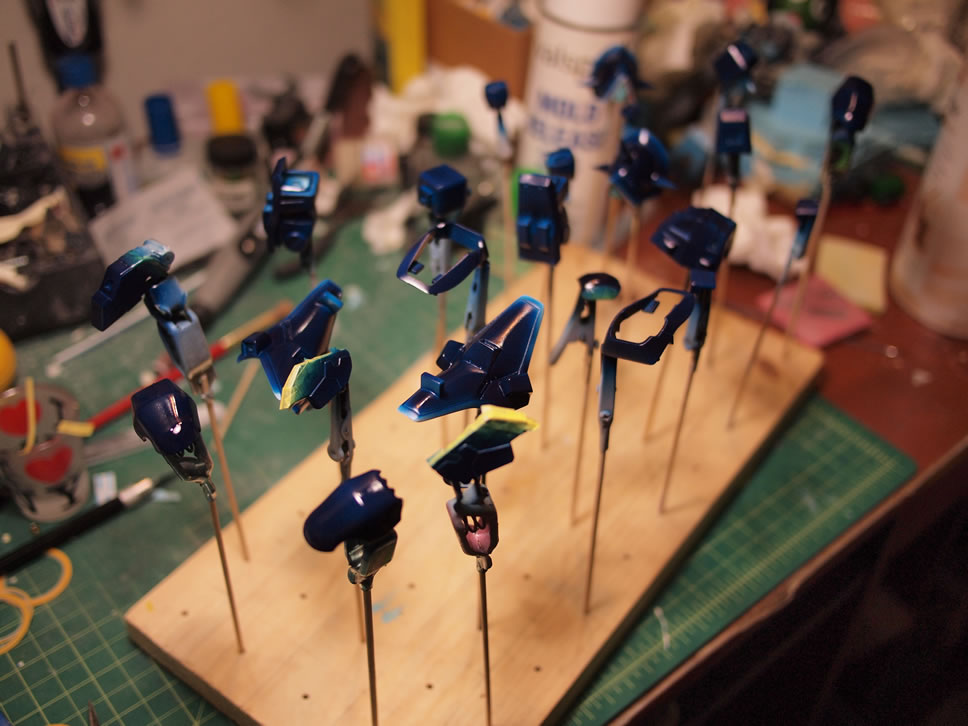
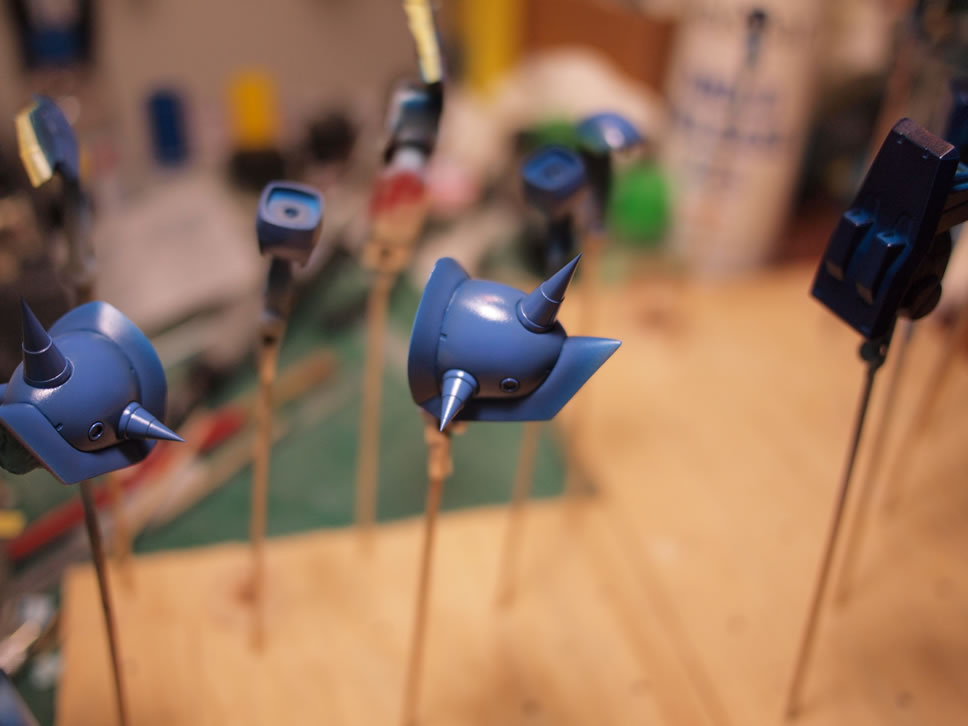
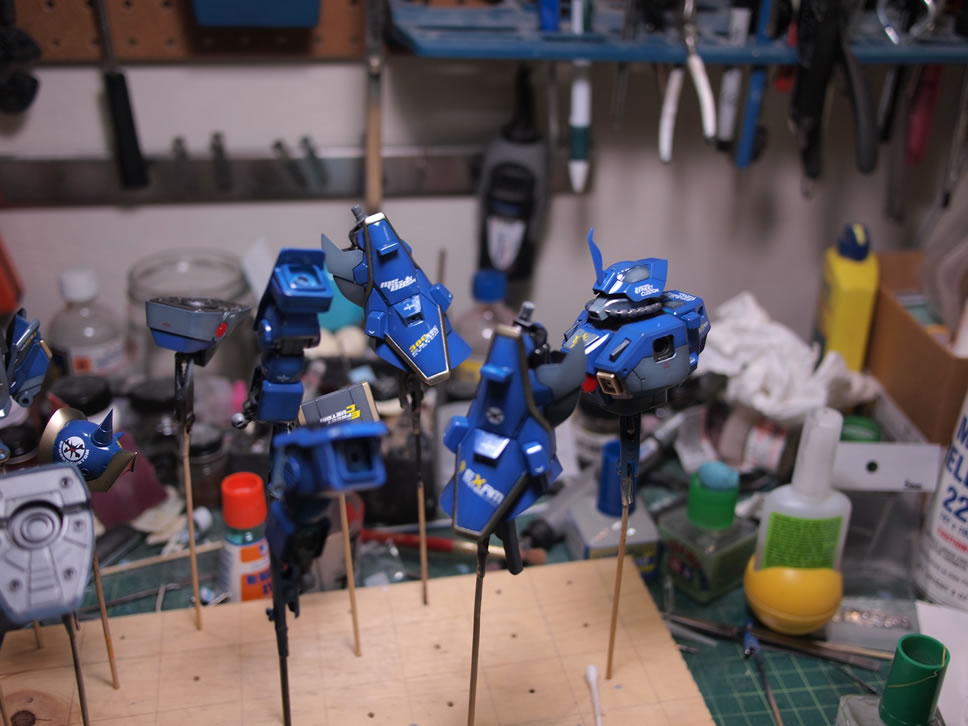
The main armor pieces are painted with the base color of wulf blue. Doing a quick color test, I painted a few parts with the Finisher’s Lavender over the dark blue areas.
A quick removal of some of the masking, the skirt pieces are put together for a quick look at the progressing paint scheme.
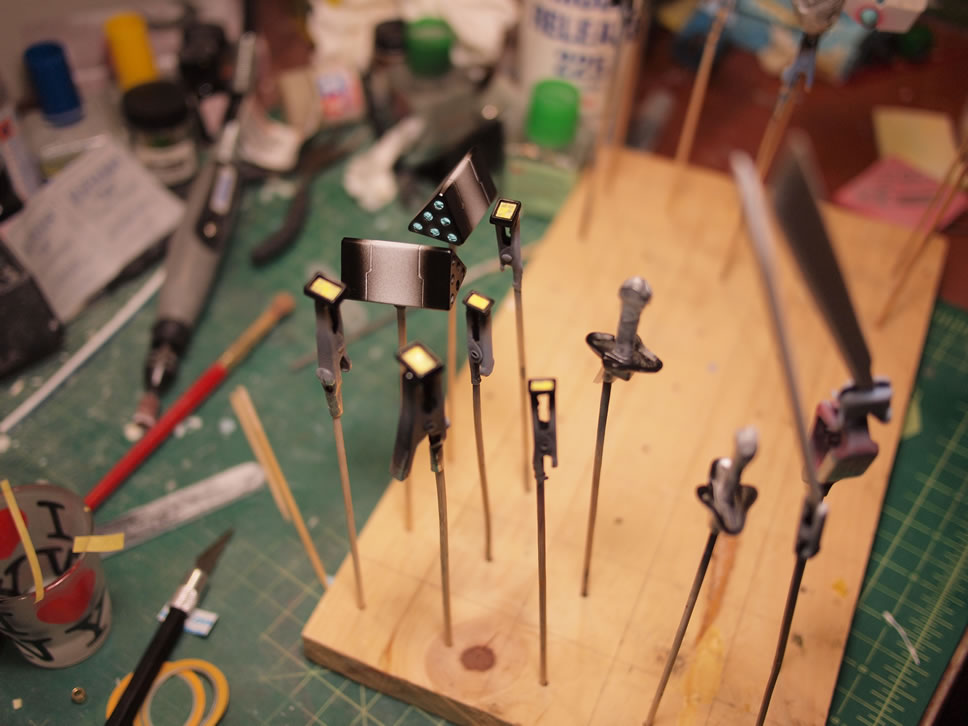
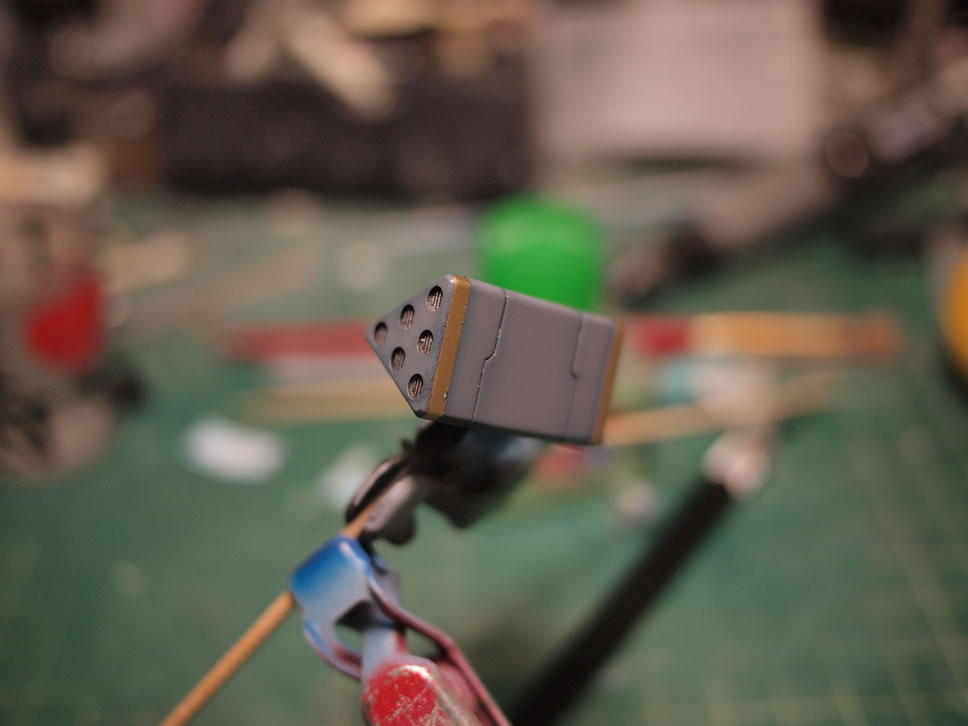
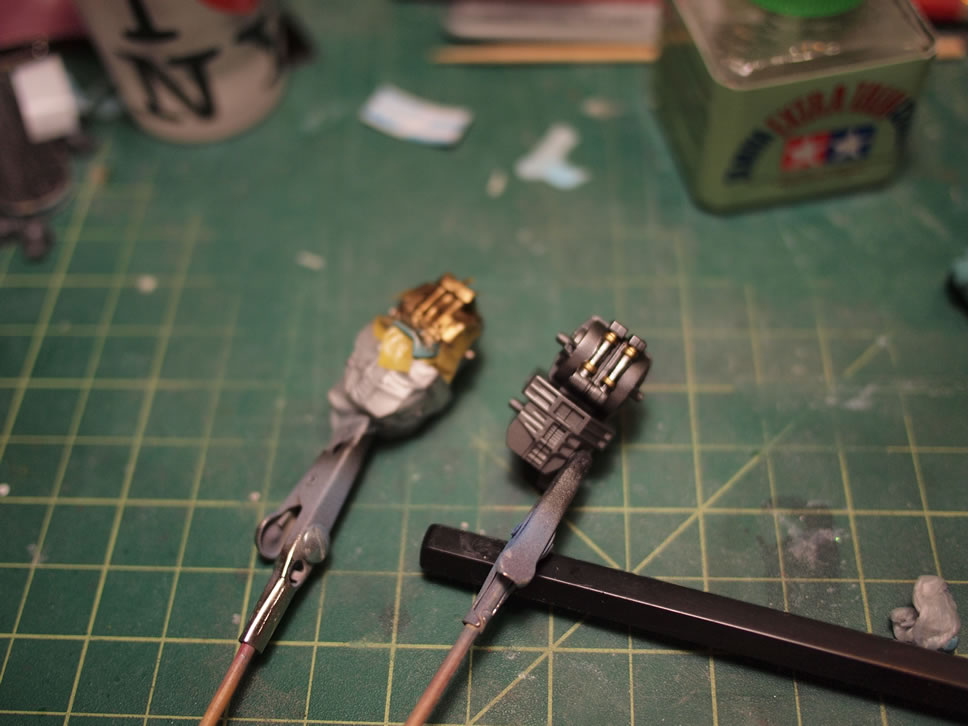
April 2, 2013: The gold painted a few days has had that time time to cure so on goes the masking. Once masked, the part is painted with the base black, then a dark gray, then the masking is removed. I did some masking and detail painting for the exposed upper thigh internal piping. Masked, black base, then alclad polished aluminum – more masking, black base, and then alclad polished brass.

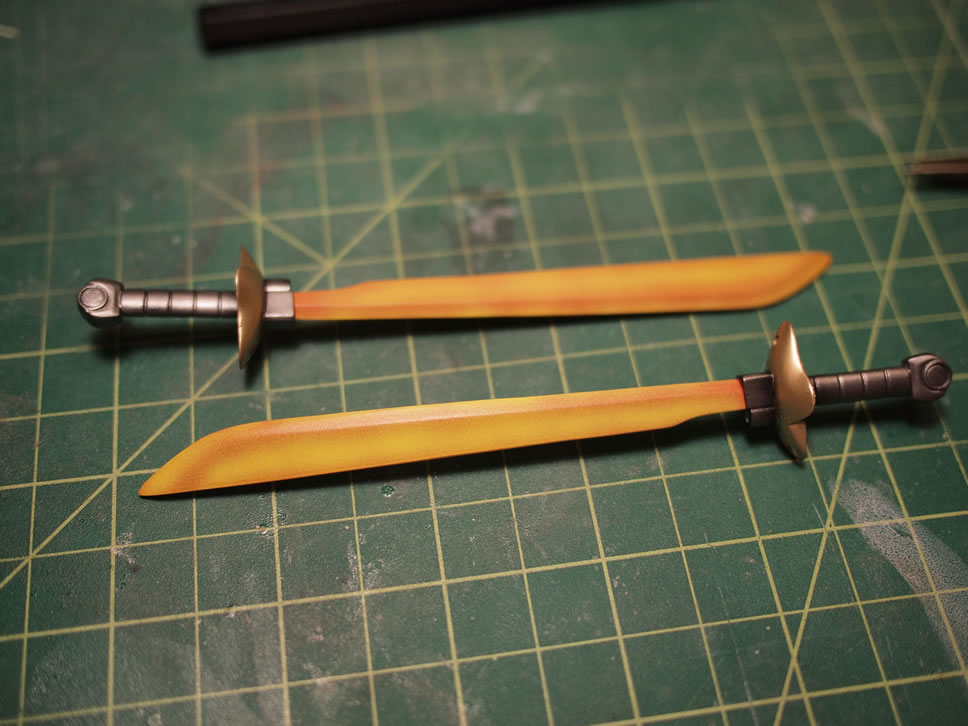
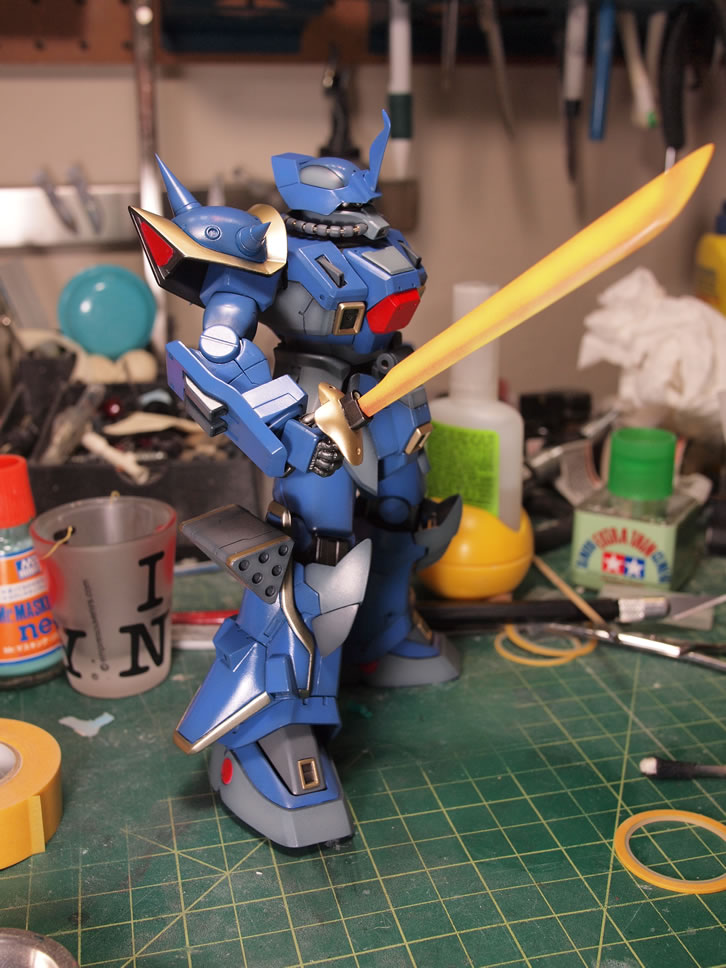
Previously, the saber blades were painted red. Over this, white is painted keeping the red as the shading tone. Once the white is dry, clear yellow is sprayed over everything which allows for the red tones to show up as an almost orange shading tone. A flat clear is sprayed over the blades to finish them off.
April 3, 2013: The rest of the main armor parts are painted with Finisher’s Lavender as the main color over the wulf blue.
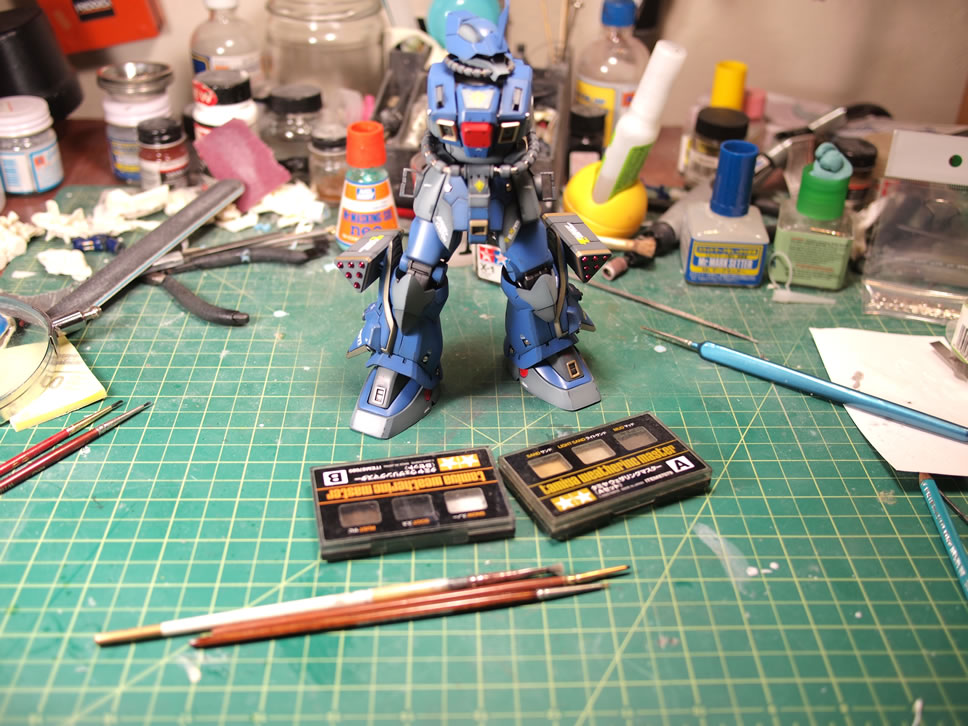
There are a few armor pieces that will need additional masking such as the chest, outer leg armor, arms and backpack, so those were left on skewers to cure up. The rest of the parts were ready for some assembly. The main legs, feet, waist, parts of the upper body, then the head. The cabling for the head is just a pain in the ass. Akocreation included several packs of metal parts and the cabling for the head and waist are all metal. The only benefit for me is that I didn’t have to sand each individual cable piece. While trying to assemble the head cable, I ended up loosing one of the painted cables. Learning from this, I glued each cable piece to the spring. Normally, I would have just strung it up and attached the two cable ends. But there was some slack in the spring which allowed the cables to move around some and it just looked uneven, so gluing the cables to the spring ensures an evenly spaced look.
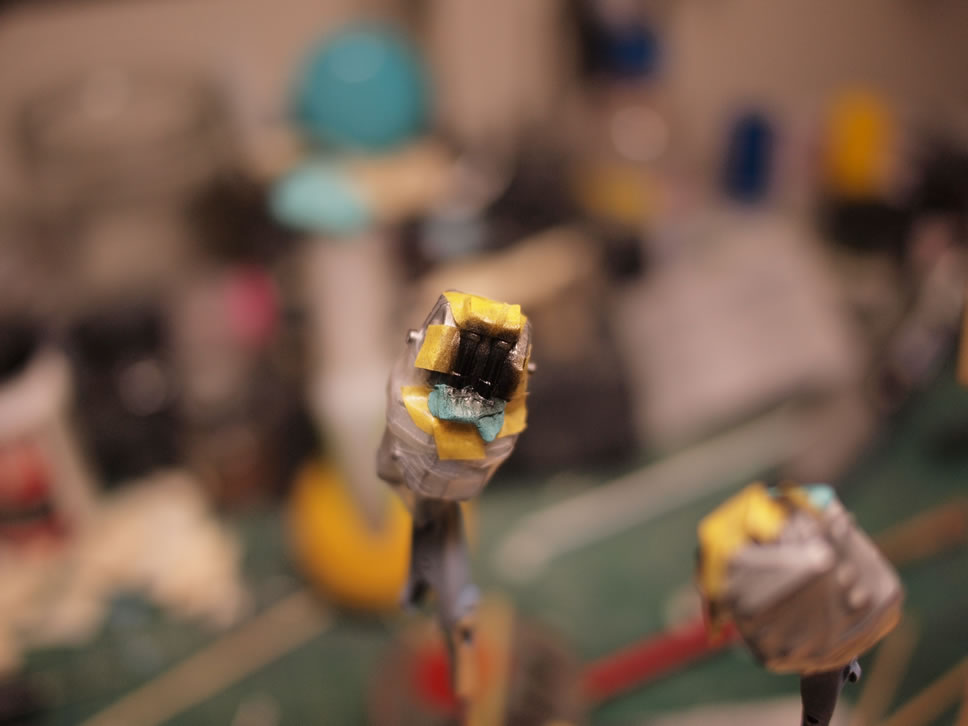
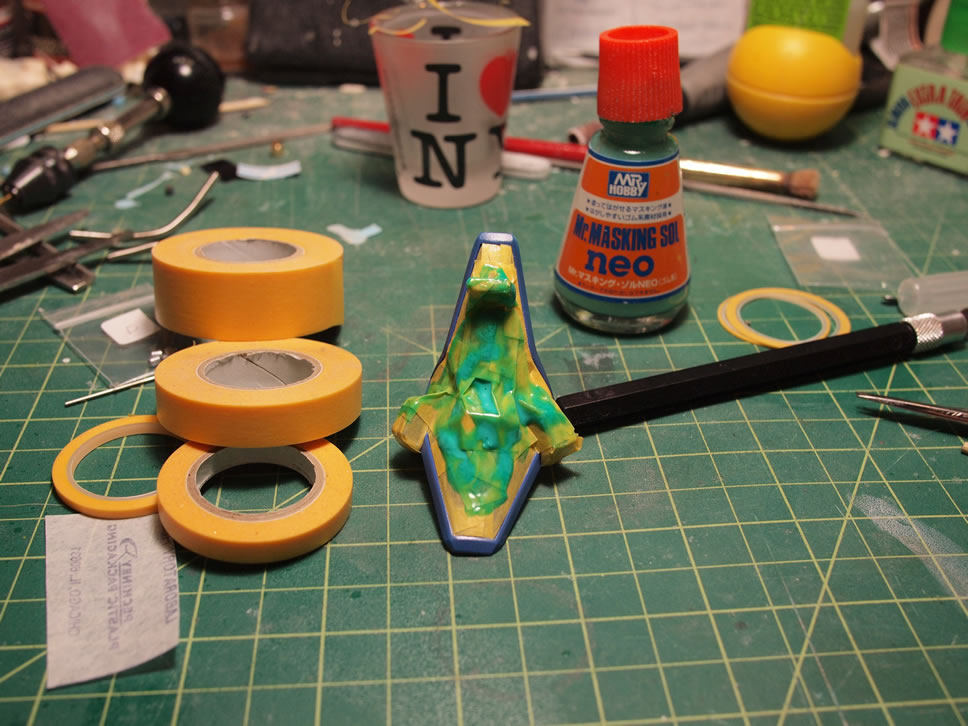
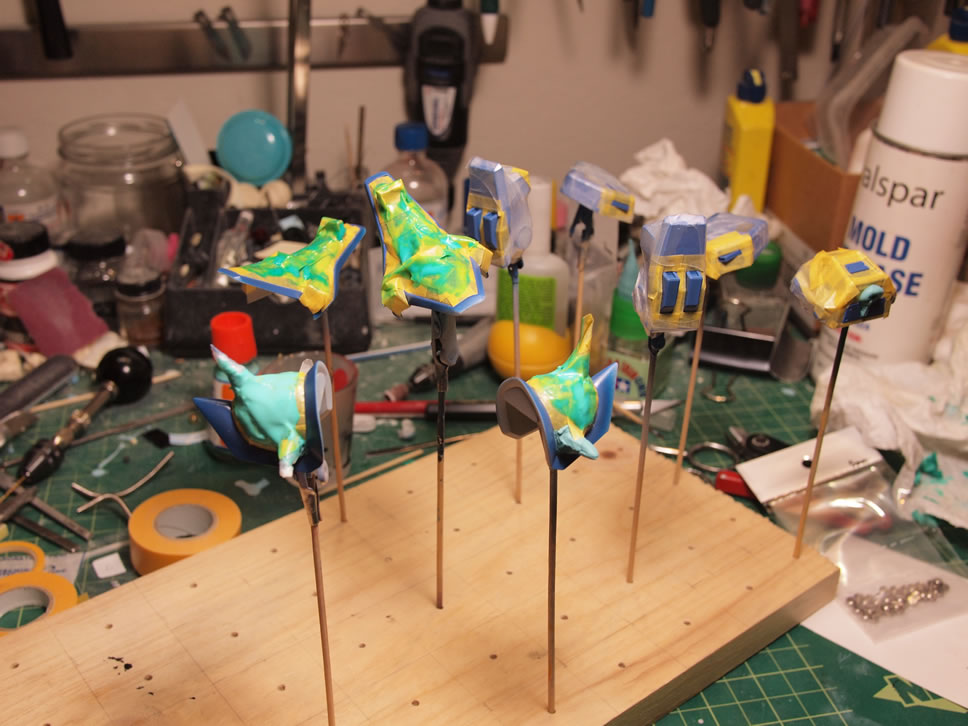
April 4, 2013: This evening was spent masking off the exterior armor pieces to paint some of the detail areas. The backpack, arm, and chest pieces got dark gray highlighting. The exterior leg armor and shoulders were masked off for gold highlights. For the masking, I start off with the standard yellow model masking tape placed along the hard edges between the paint colors. Larger areas are masked off with parafilm. Hard to tape areas are masked off with sticky tack. Then an over all liquid mask is applied to all the overlapping areas just to ensure cover the tape areas that don’t completely overlap. The worst thing in the world is to spend all this time masking, the quick 5 minutes for painting, and then peel away the masking to discover a small sliver of unwanted paint in the middle of an area that should have been masked off.
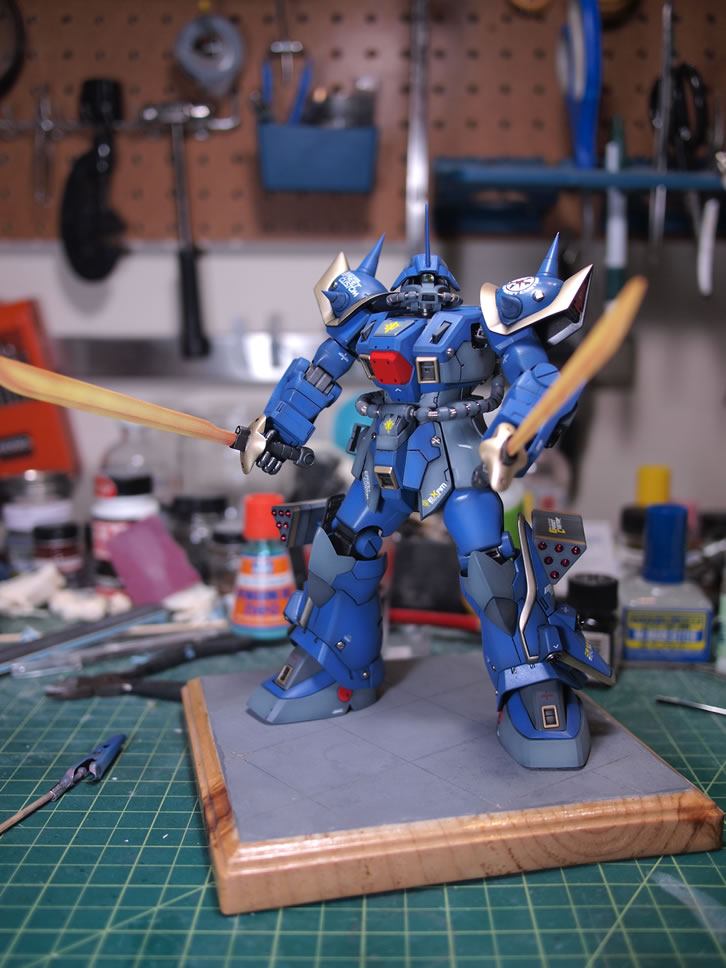
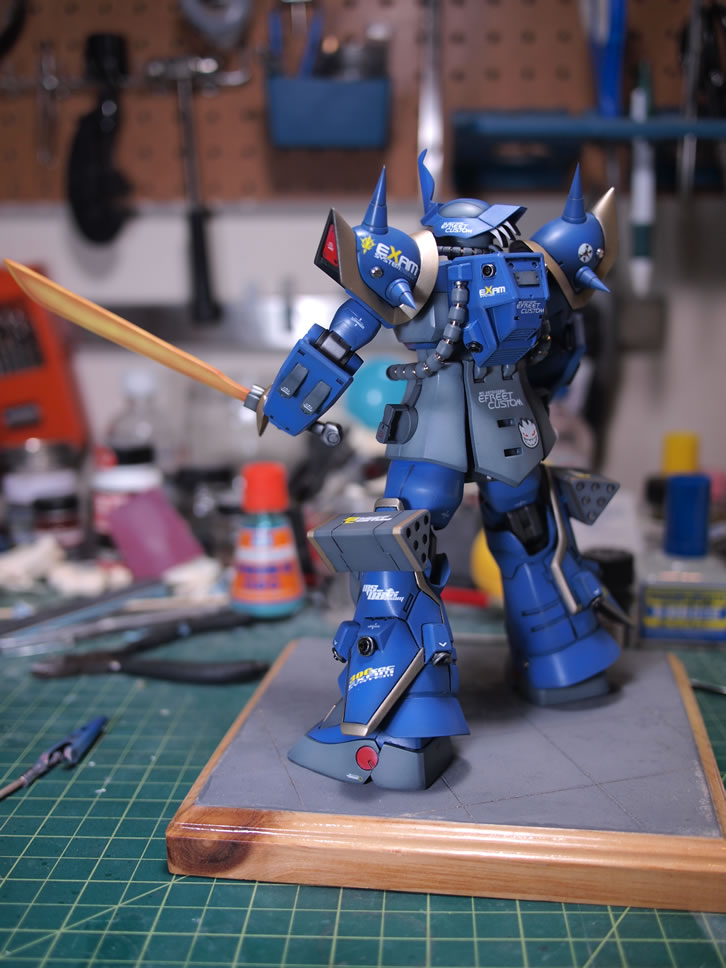
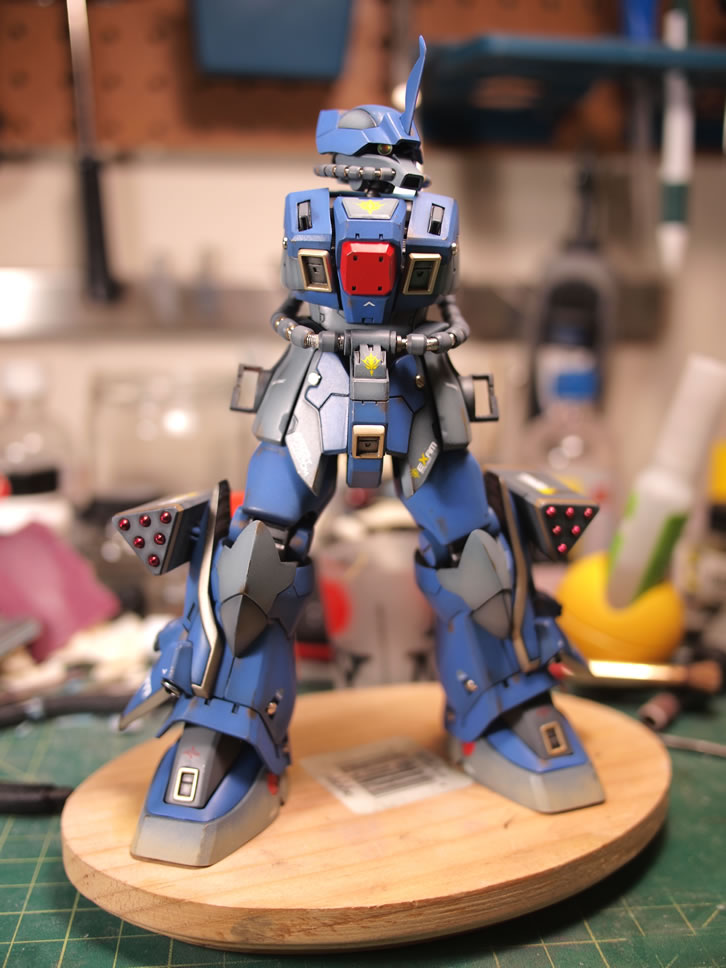
The benefits of using lacquer paints is that it dries and cures so very fast. It dries quickly, and after a day of so, is about fully cured. So with care, and feeding my impatience for visual appeasement, I assembled the right side, leg, shoulder, arm and chest for the sake of the following picture.
With the painting done, the whole build process slows to a trickle with barely noticeable updates. The glosses, the decals, the panel lines, and flat. I’m still on the fence if I want to apply a slight bit of weathering to the suit. I’m leaning towards that direction as it gives a but of realism to the suit, no damages, but some dust, oil marks, rust here and there – just enough weathering to show that the suit has seen some usage.
April 7, 2013: The kit is separated into major sub-assemblies and clear coated with Mr Super Clear Gloss. The gloss coat helps with decal adhesion. Decals stick much better to an ultra smooth and glossy surface. It reduces silvering and helps the decals look like they’re painted.
April 8, 2013: The gloss is allowed to dry and cure for a day before starting on the decals. The decals that came with this kit are precut water slides, so the decal application process went very smoothly. The decals are placed on the parts then Mr Decal Softer is applied to the decals to soften the decal film and help the decal conform to the curves of the kit.
April 9, 2013: Decals as well as softening solution is left to cure overnight. Earlier in the evening, another clear gloss is sprayed to sandwich the decals. This protects the decals and helps balance any decal edges that are still visible. After about 3 hours of drying, a panel line wash using enamel paints thinned with rosonol lighter fluid. With a good gloss coat, the thinned wash solution easily runs along all the panel lines bringing out some decals in the kit. The excess wash is left on the kit for about an hour so that the wash solution has some time to dry. An hour after the wash solution application, a paper towel and q-tip dipped in some lighter fluid is used to clean up the excess ink spots. And with that done, the kit is almost there.
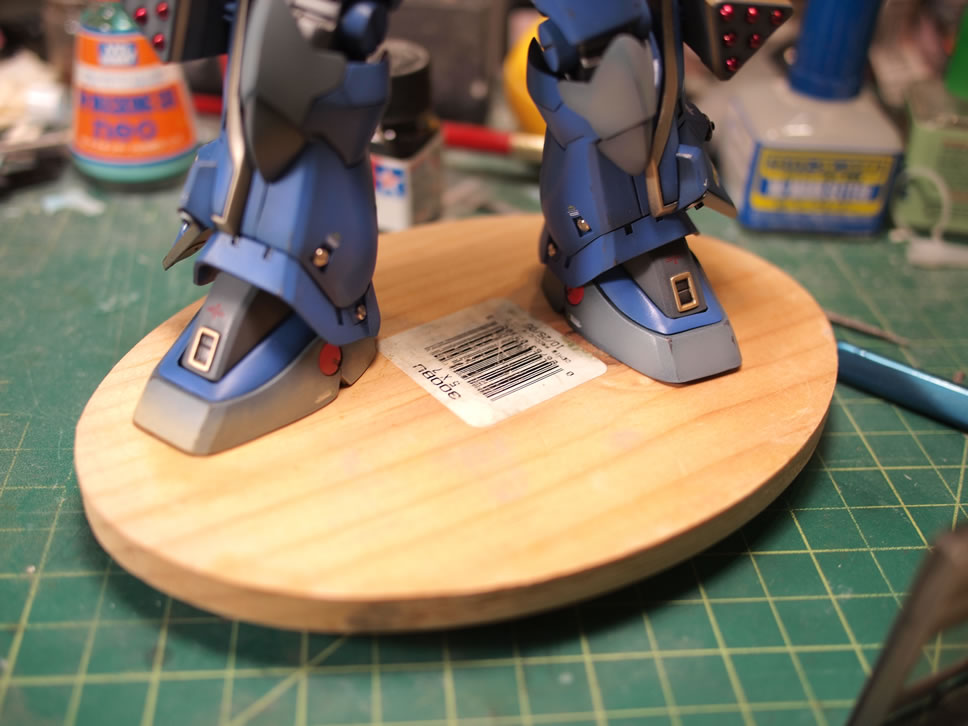
April 10, 2013: The wash solution has had several hours to dry. A clear flat is sprayed over everything to remove the glossy finish. After drying for a good 3 hours, the rest of the kit is assembled adding in some metal rivets that I picked up in Hong Kong. At this point, I could call the kit finished and snap completed pictures but I’ve been wanting to add a slight amount of weathering; just to show a bit of use as opposed to a fresh out of the factory look.
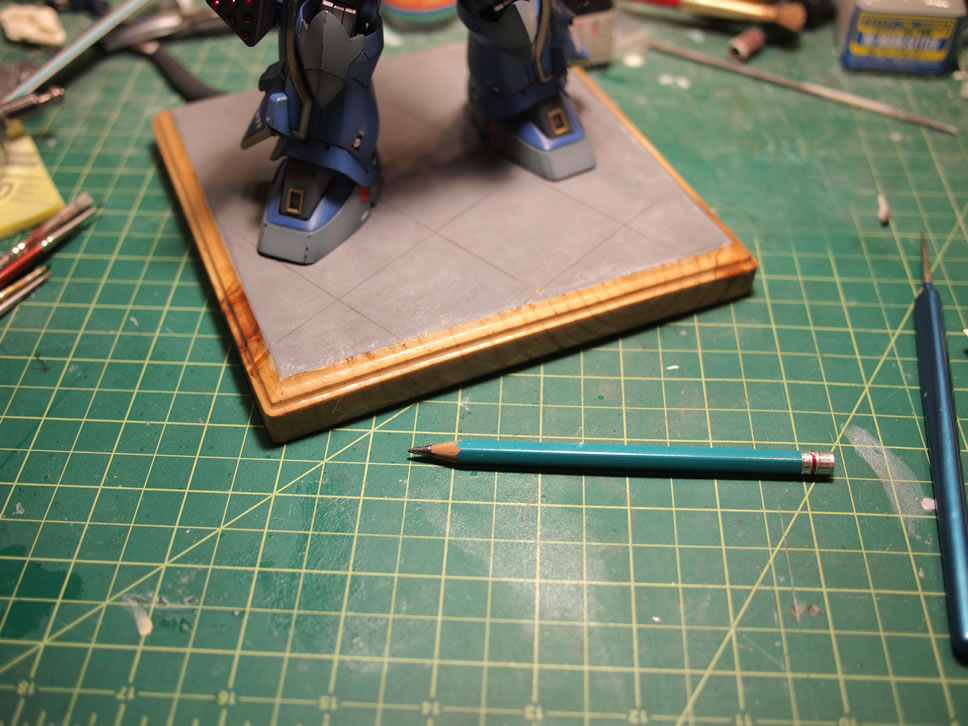
April 11, 2013: The first step for the weathering was to add some paint chipping. I normally use an enamel based paint for the process, but decided to try the no. 2 pencil method that Dan from Funakatown.com uses. Some minor chipping is applied in sporadic areas just to show usage.
With the chipping done, the next step using tamiya weathering kits which is just the same as make up or chalk pastels. It is important to have a clear flat sprayed to the kit before doing this step. As with decals require a ultra smooth glossy surface for the best adhesion; pastel weathering requires a rough clear flat surface for the tiny pastel particle adhesion. Dust is applied to the feet, soot is applied to the Efreet’s arm mounted rocket launchers; and rust is applied at various spots. Once done, I applied another layer of clear flat to seal all the pastels to the surface of the kit. This final flat is optional, but to keep the pastels from rubbing off, the extra flat coat seals everything in and the kit can be handled fairly easily.
With that, the kit is done. Completed pictures gallery link.