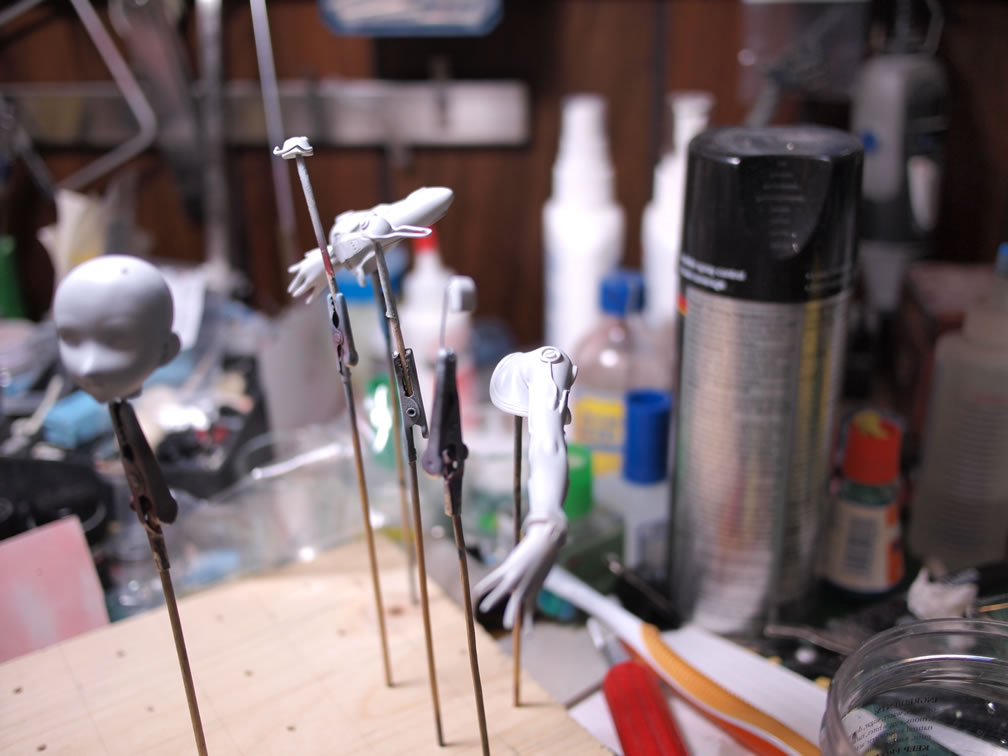
July 19, 2010: The actual start date for this little project. It has seen work off and on for the past year or so. The first sets of work focused on getting the resin cleaned up and the initial fixes to surface defects such as bubbles, scratches, etc. Once those were fixed, the entire kit got the initial primer session.
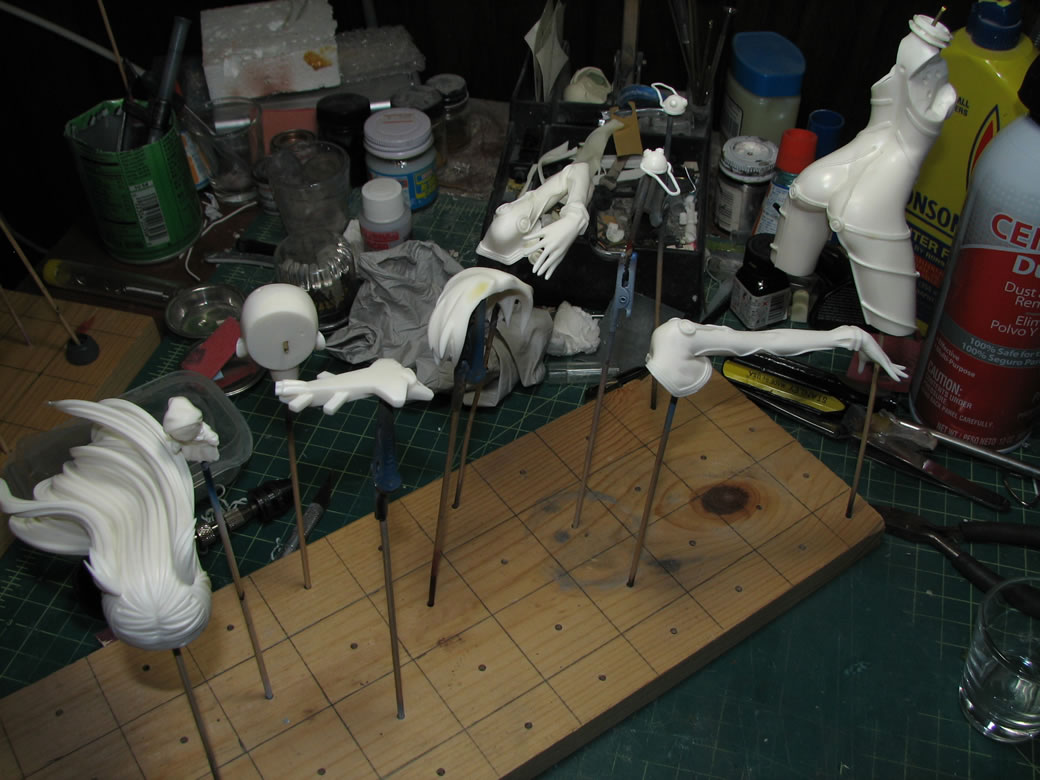
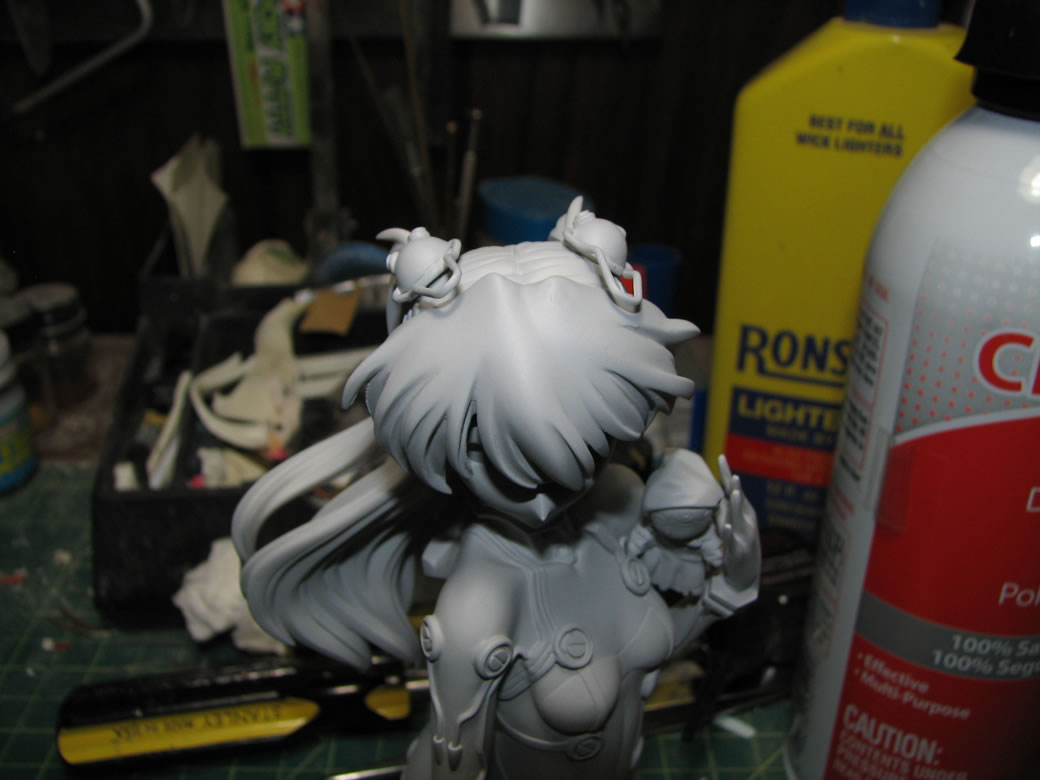
Here’s what the kit looked like a little over a year ago. Primed, and ready for additional work.

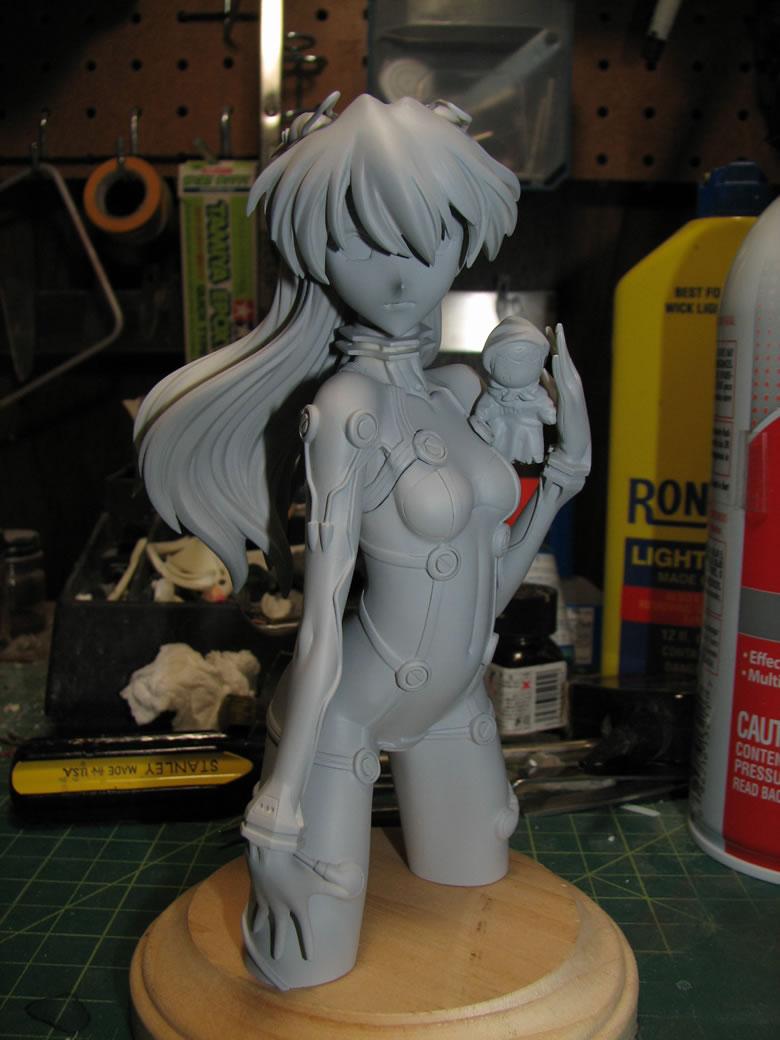
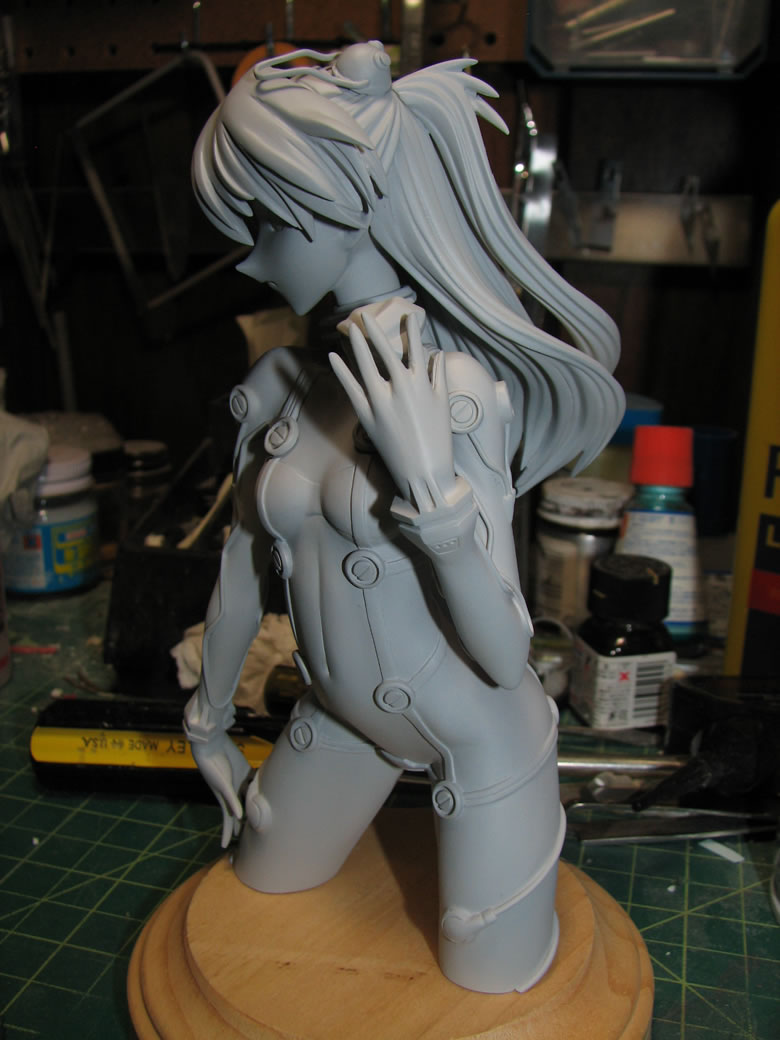
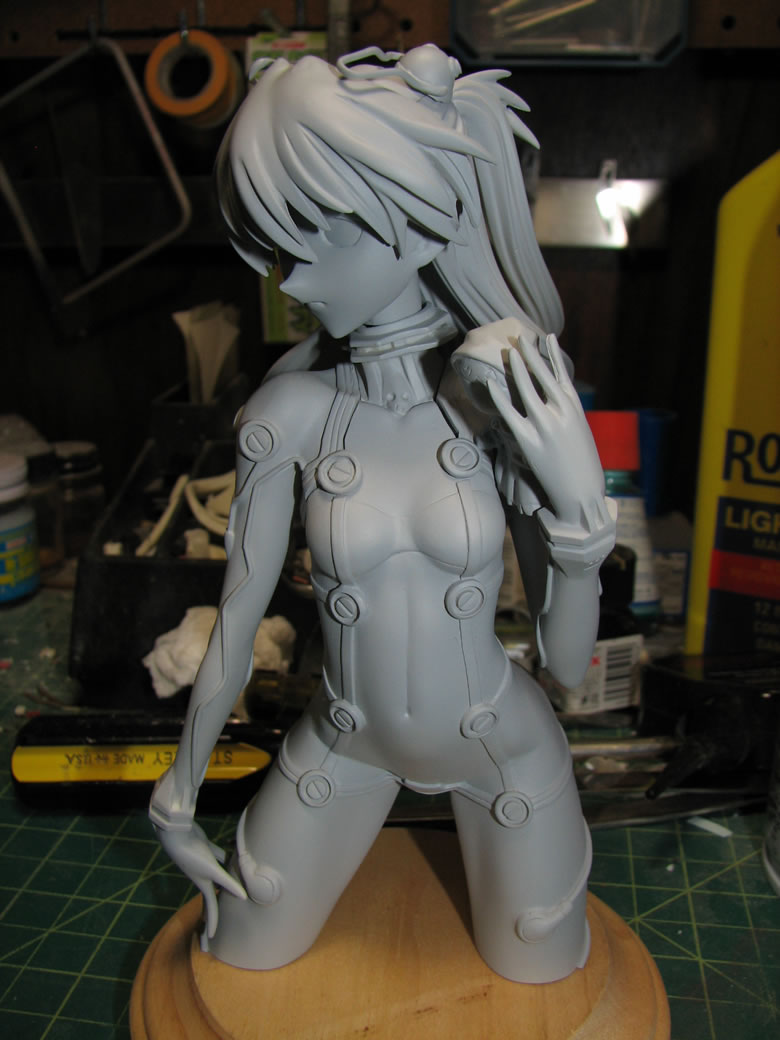
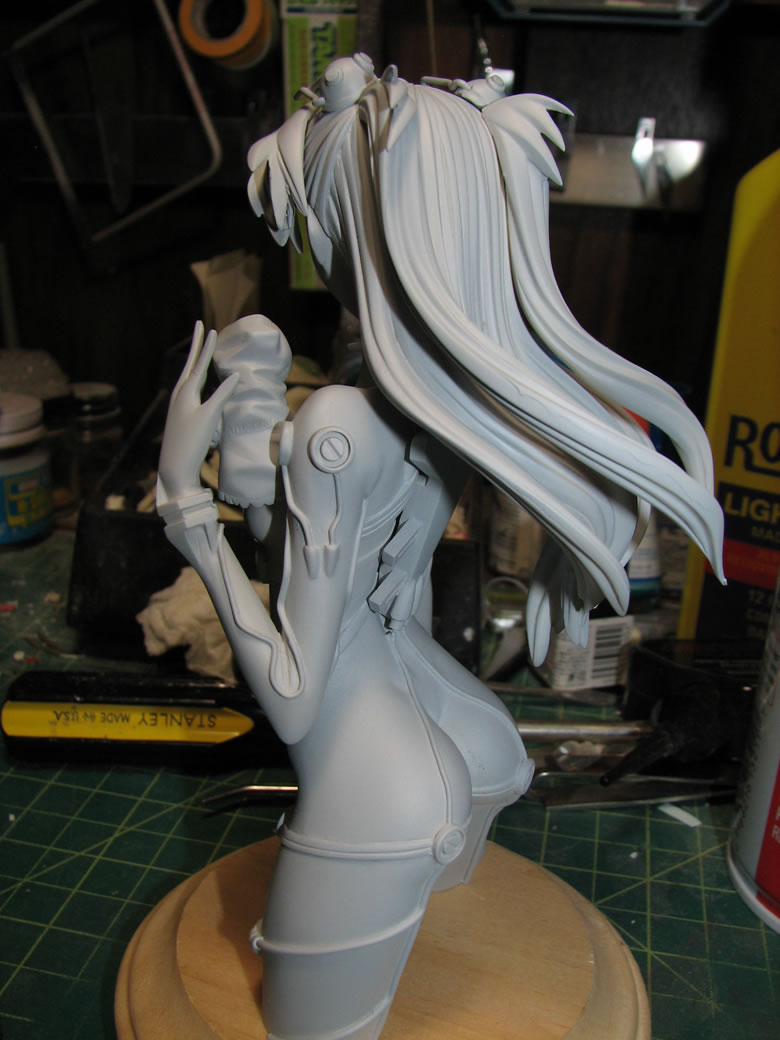
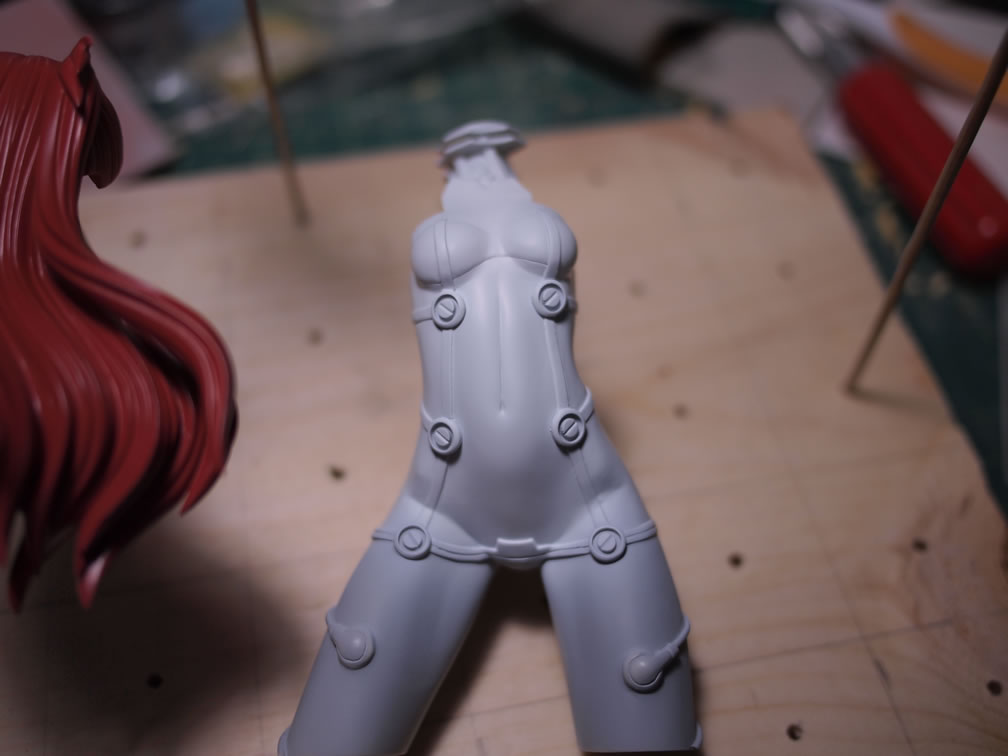
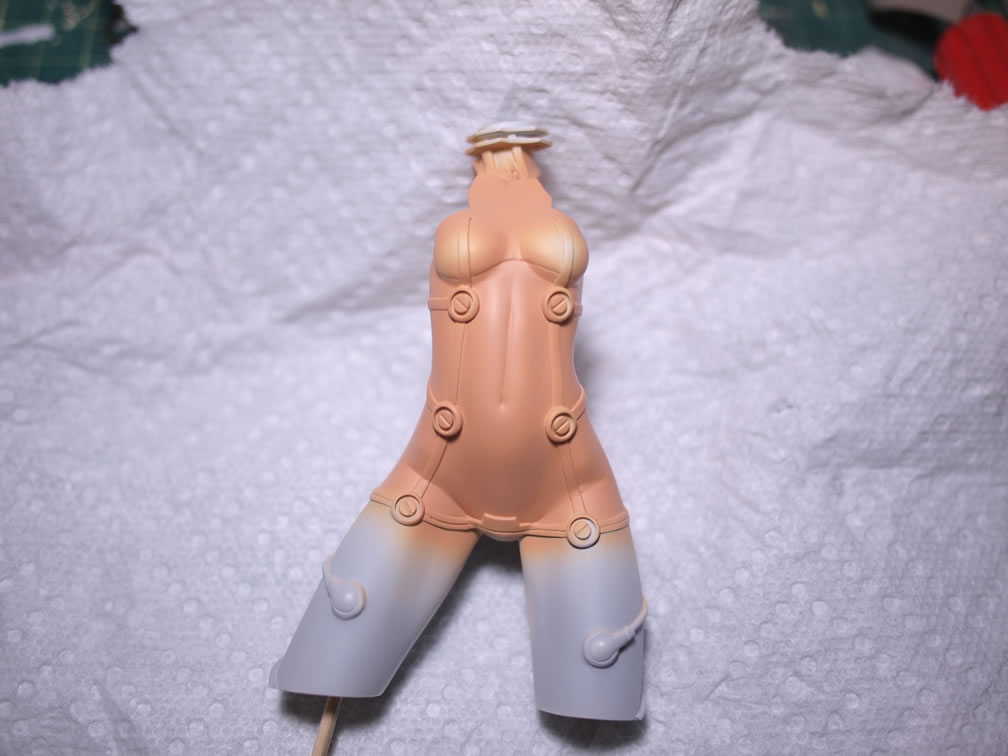
According to Brandon, “This Asuka has a nice ass for a 14 year old”. No statement is ever truer. This kit does have a very nice ass. I try not to feel like too much of a creep when wet sanding the surface so that it’s nice and smooth.
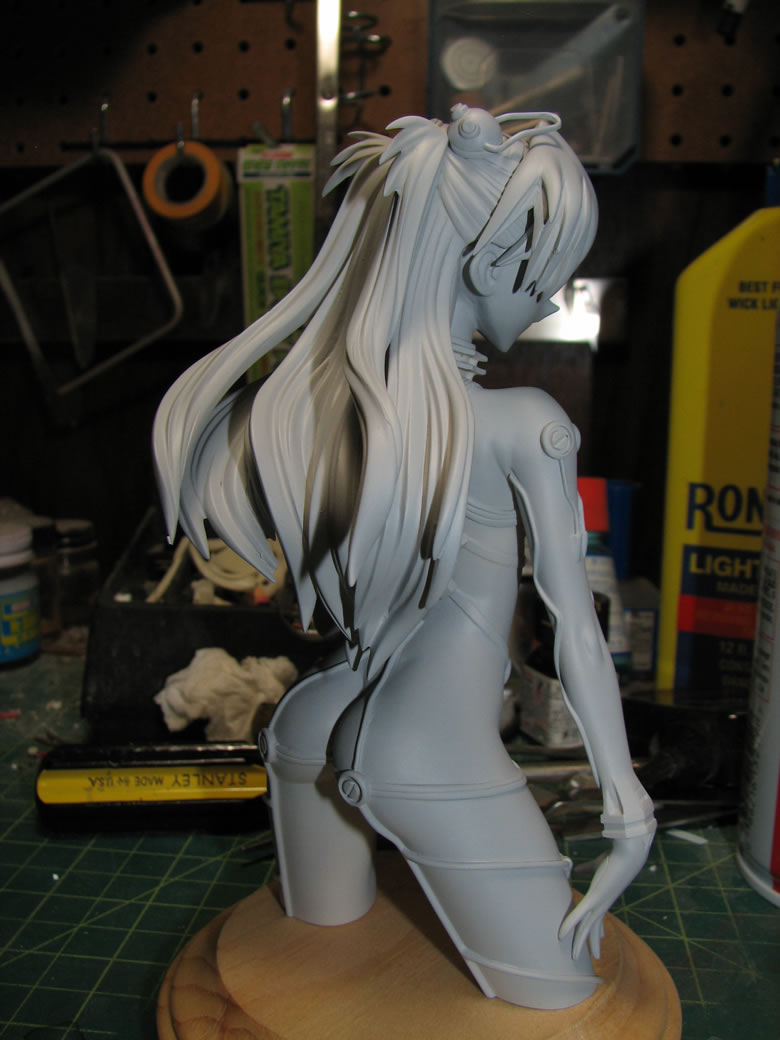
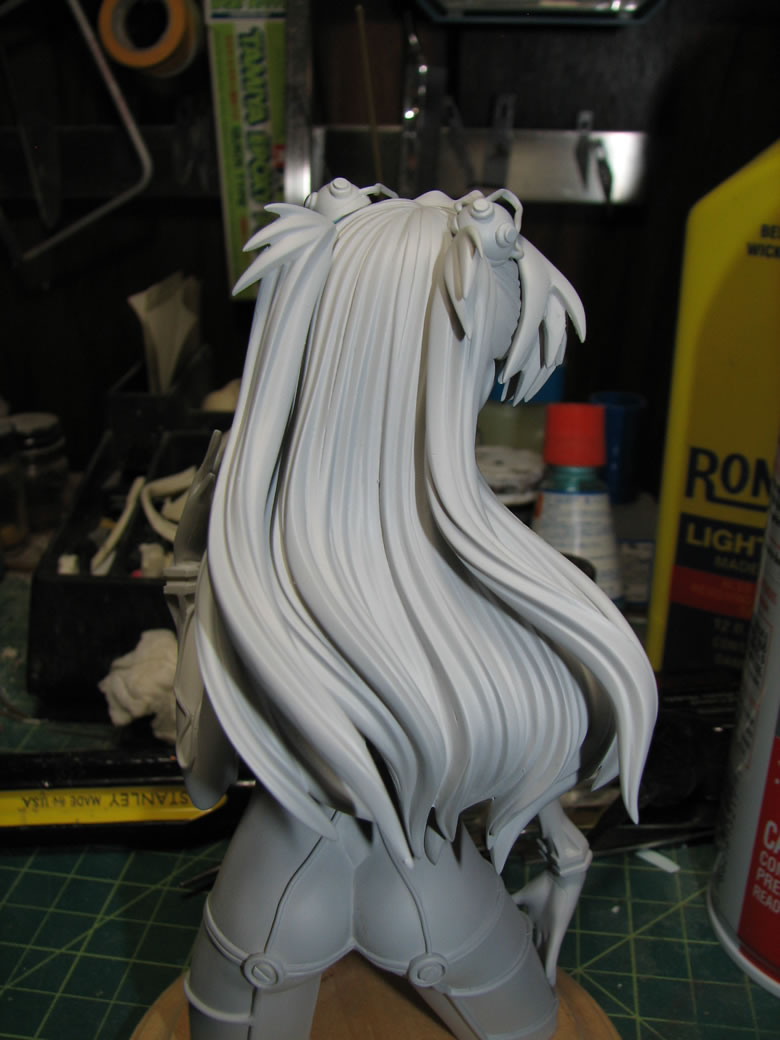
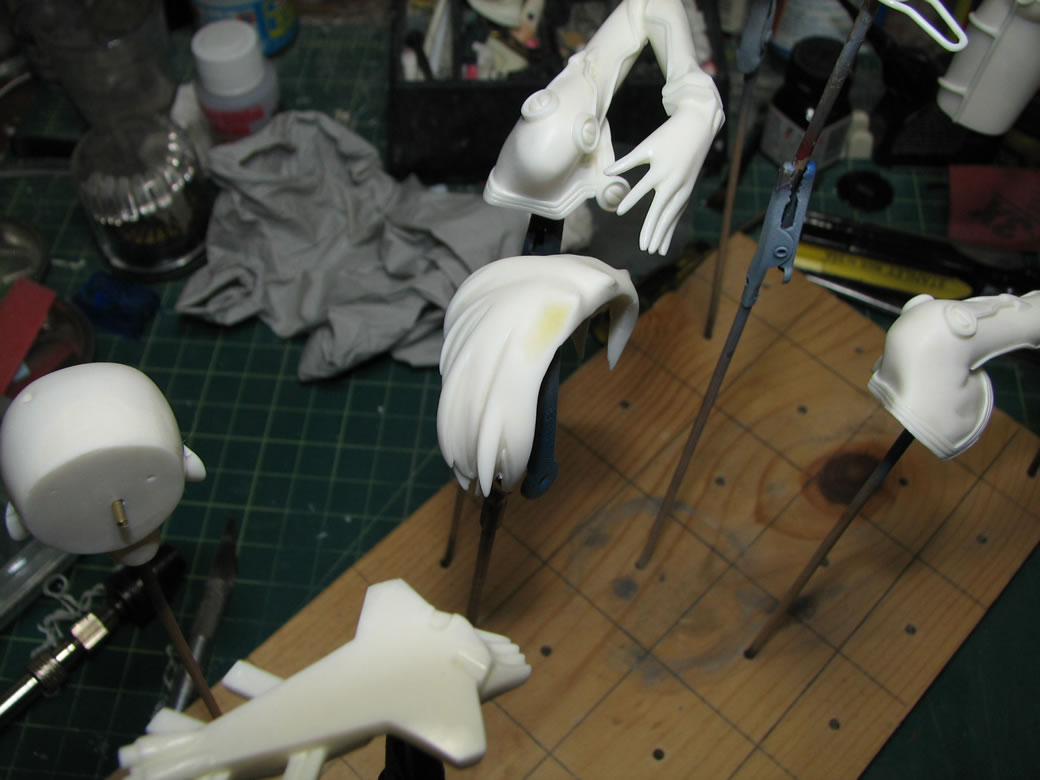
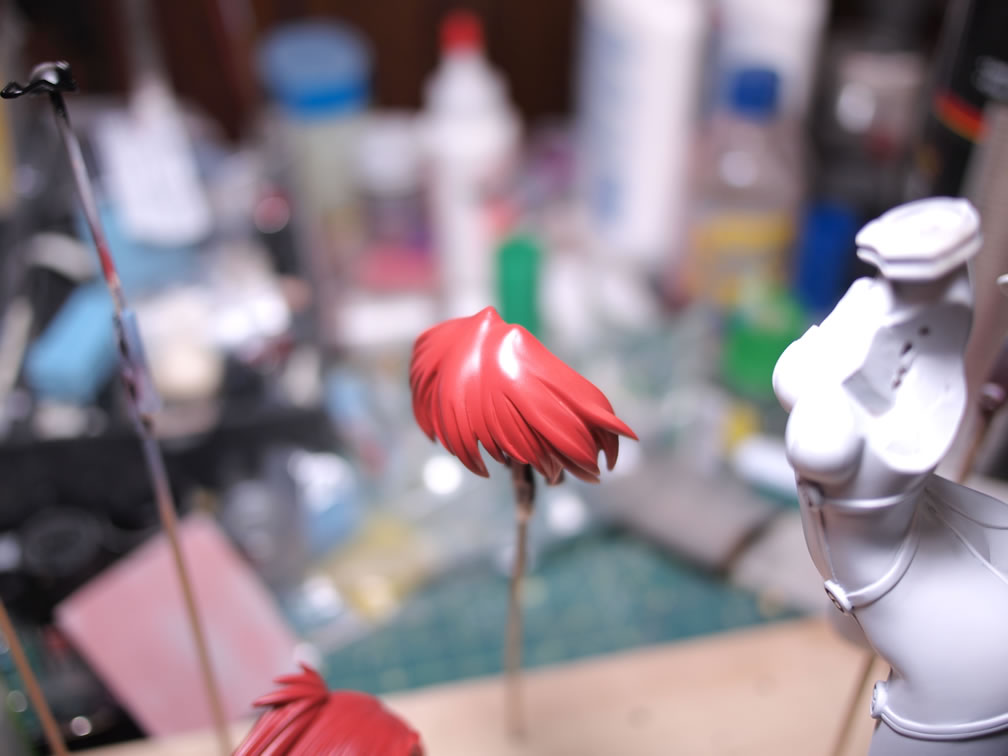
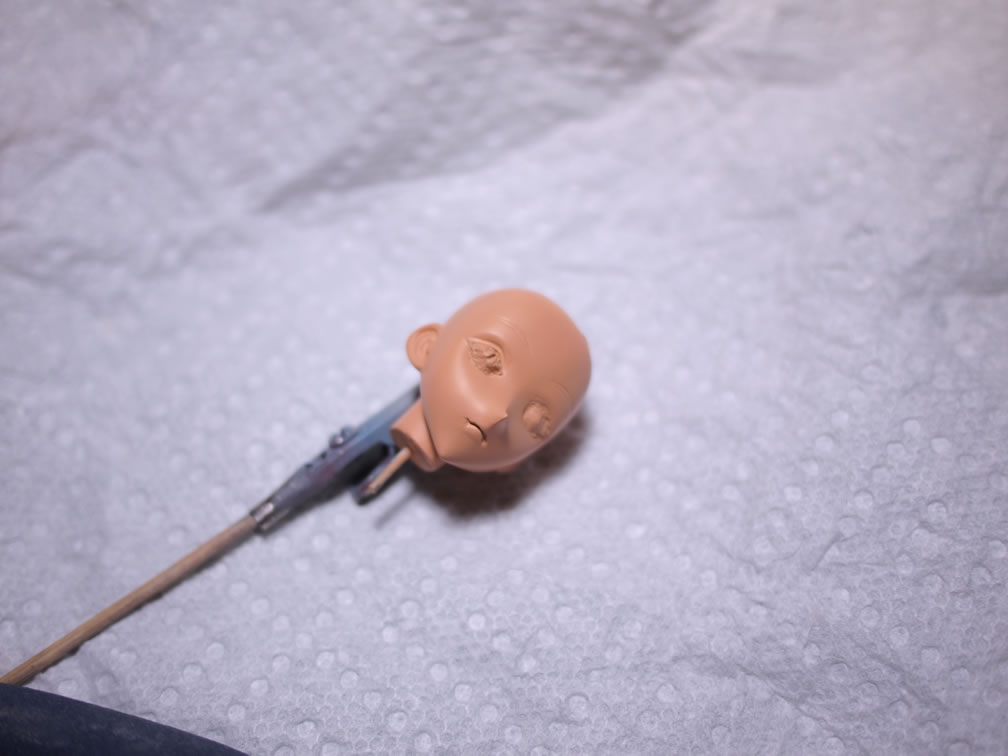
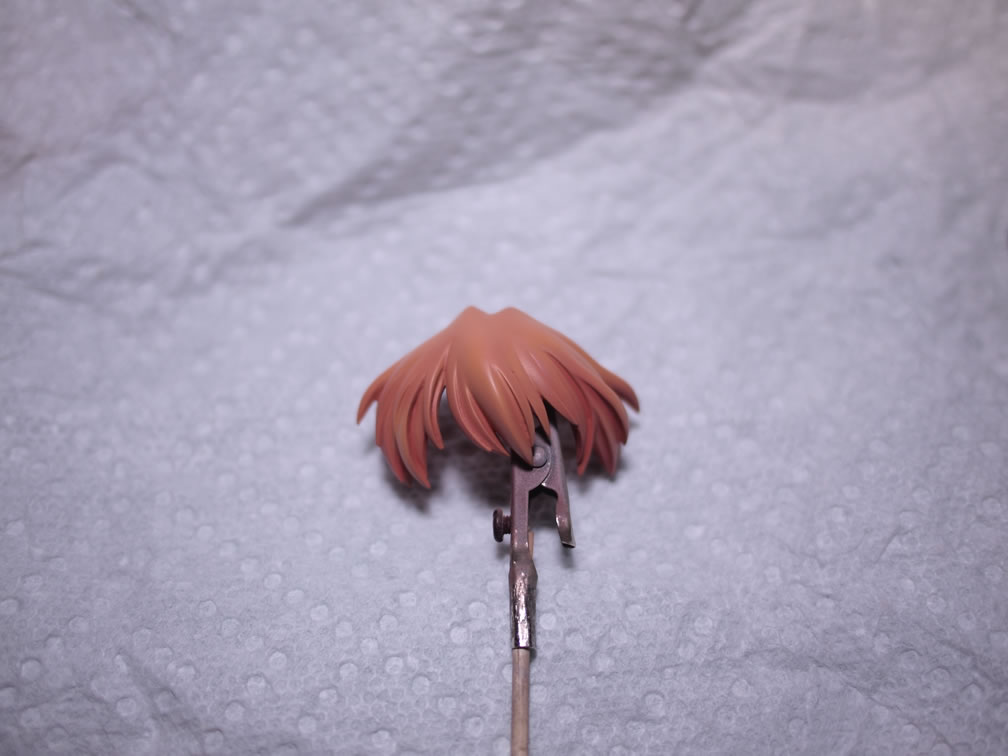
Here’s a quick check for the hair fix. I think I accidentally drilled all the way through this hair piece, so I needed to putty it back up, sand, and re prime. Its fixed now.
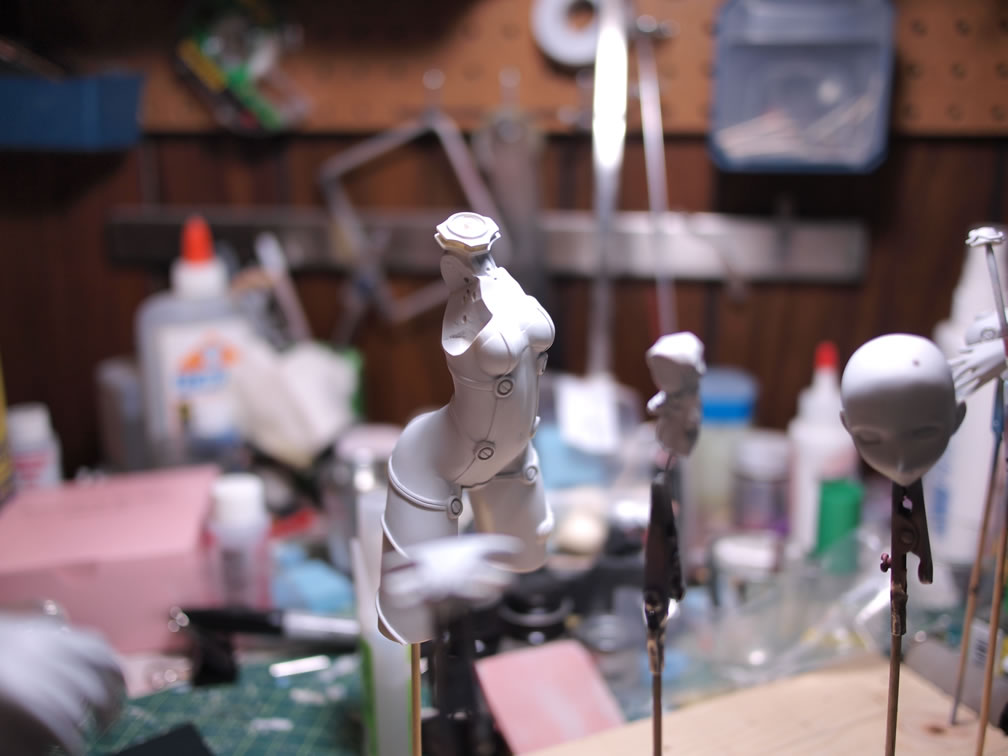
August 2, 2011: Just a little over a year later, the triumphant return to getting this kit finished. Minor areas were sanded and fixed and the kit was primed again to check for the fixes. This was done earlier this morning so that I could return and get some wet sanding in and get some real paint down on to the kit.
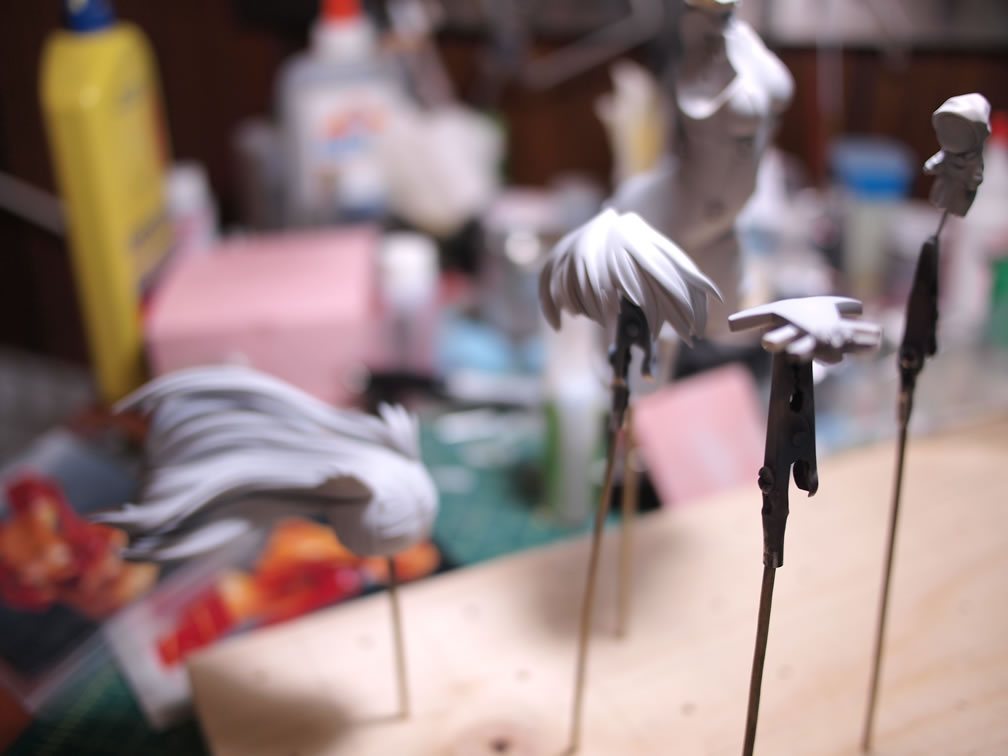
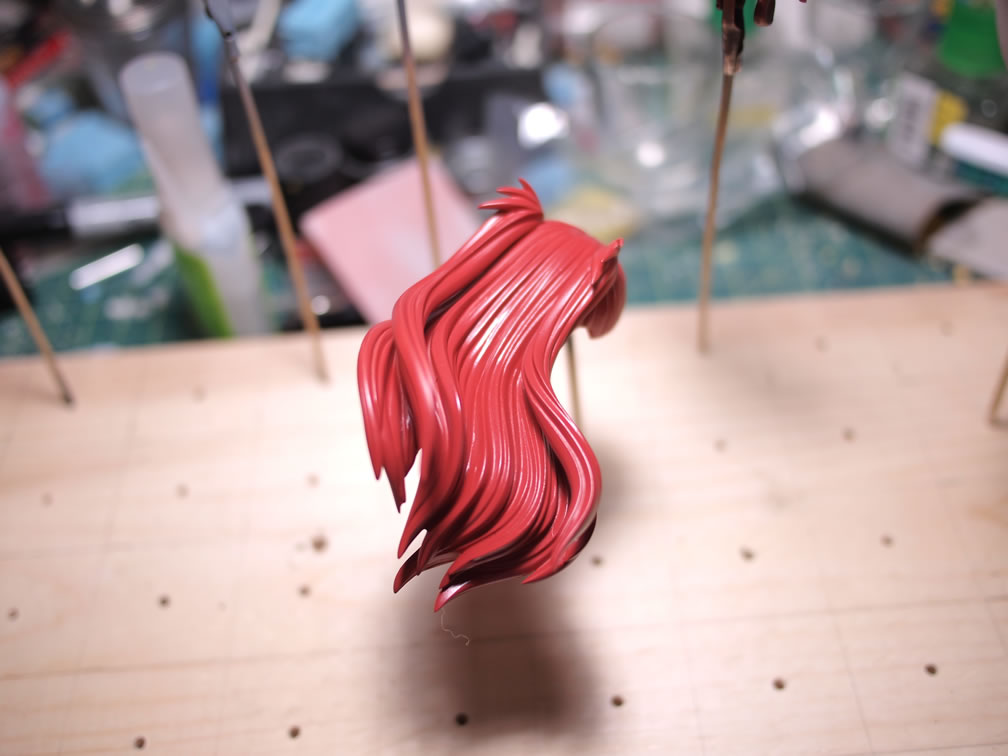
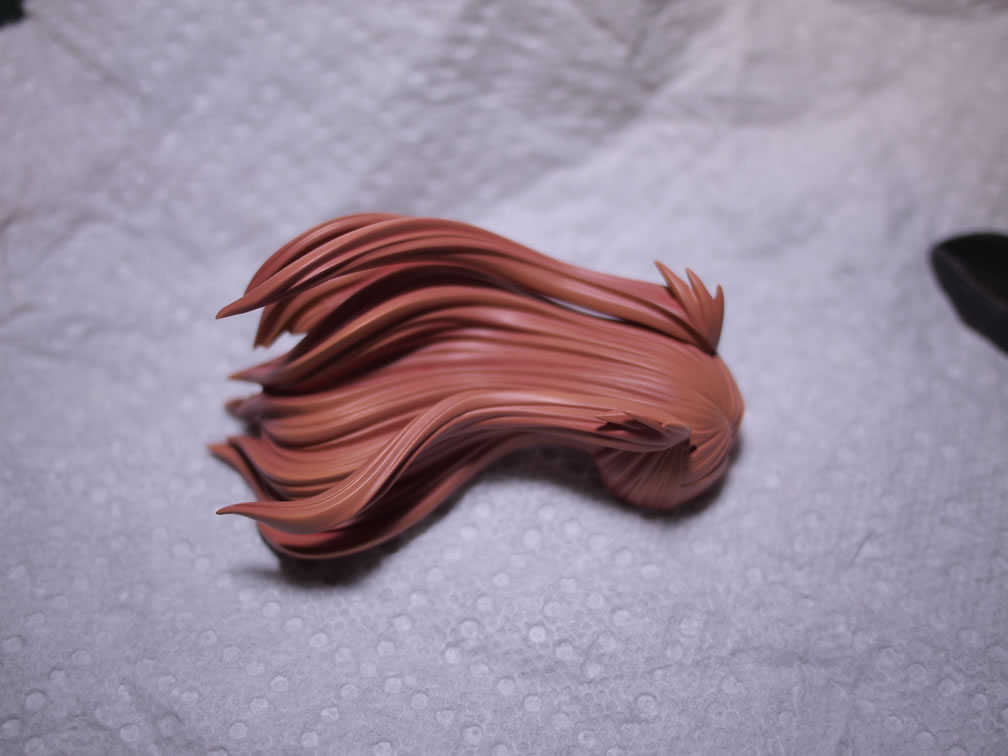
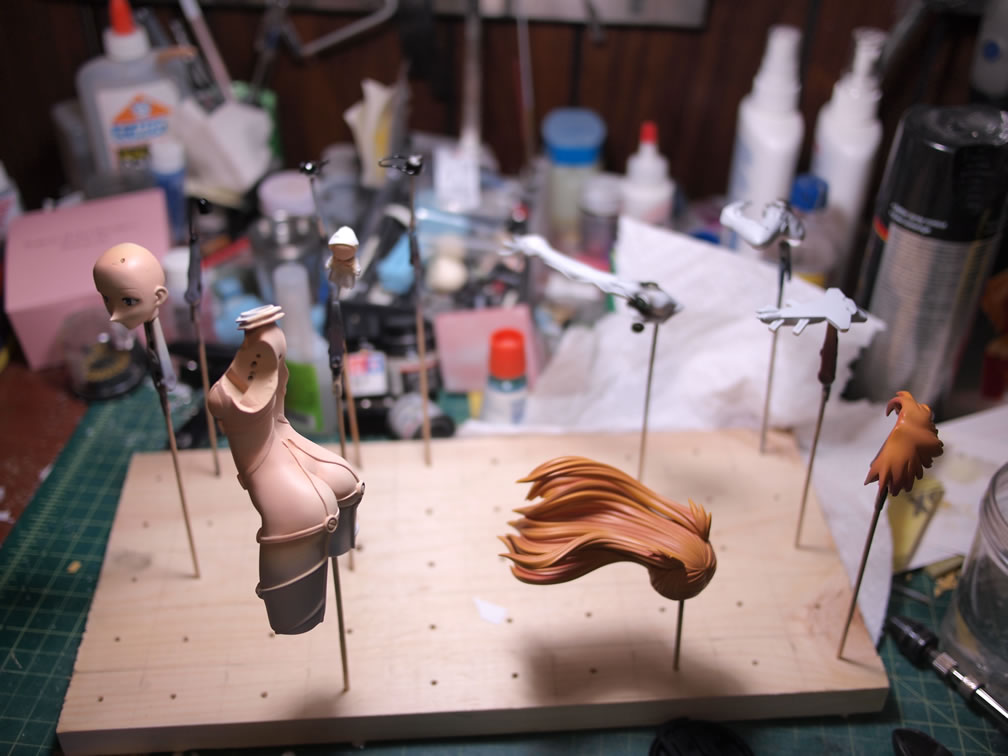
I did some paint mixing with some old premixed paints I had sitting in my custom paint section. Got a decent dark red brown for the base tones of Asuka’s hair. I also mixed a lighter orange red for the highlight color. I think I may go for a more contrasting shading effect for this kit. The base reddish brown is sprayed.
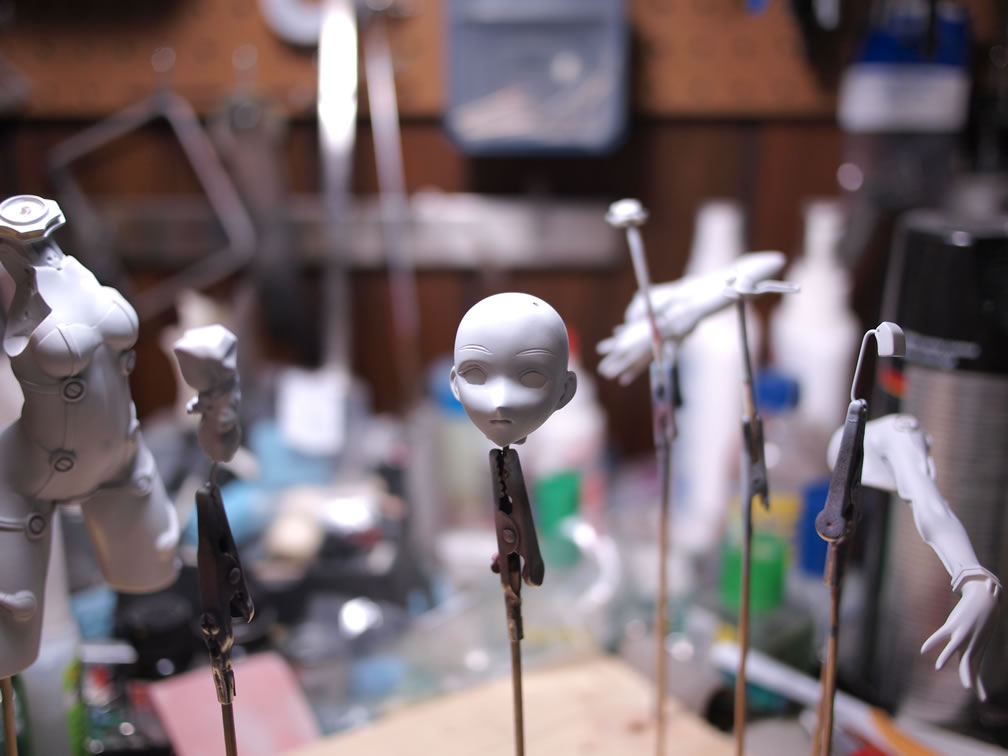
Next, the main skin areas were base coated with Mr White base to remove any grey tones from the skin. The skin is fairly light and will reflect the grey tone giving a “dead” girl look. So the head and main body were sprayed with the white base.

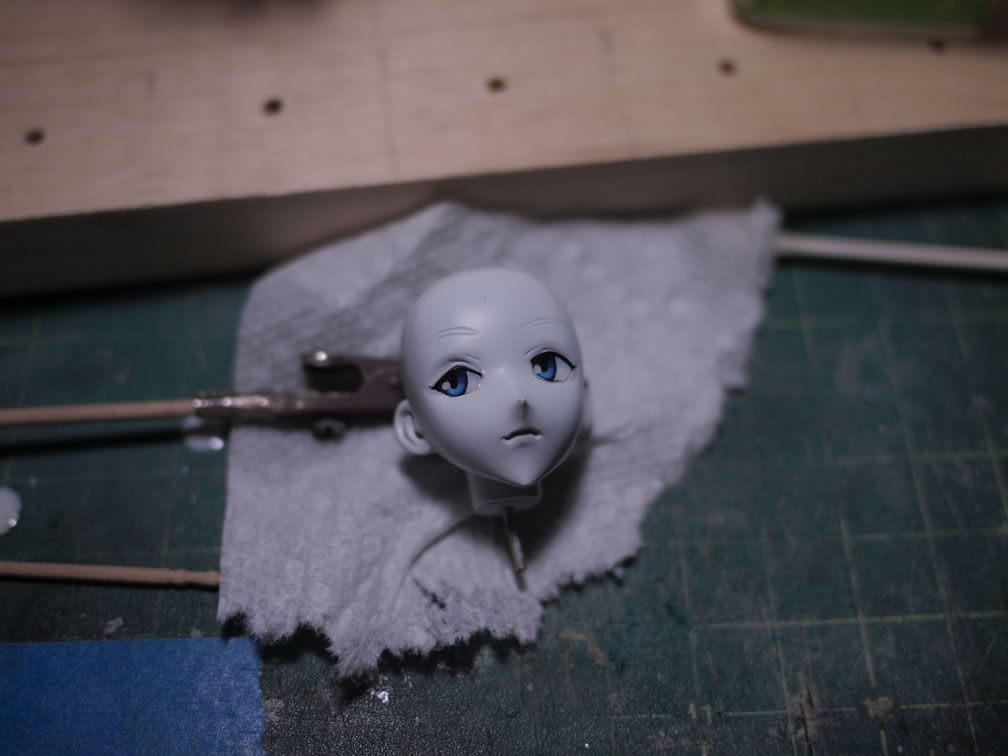
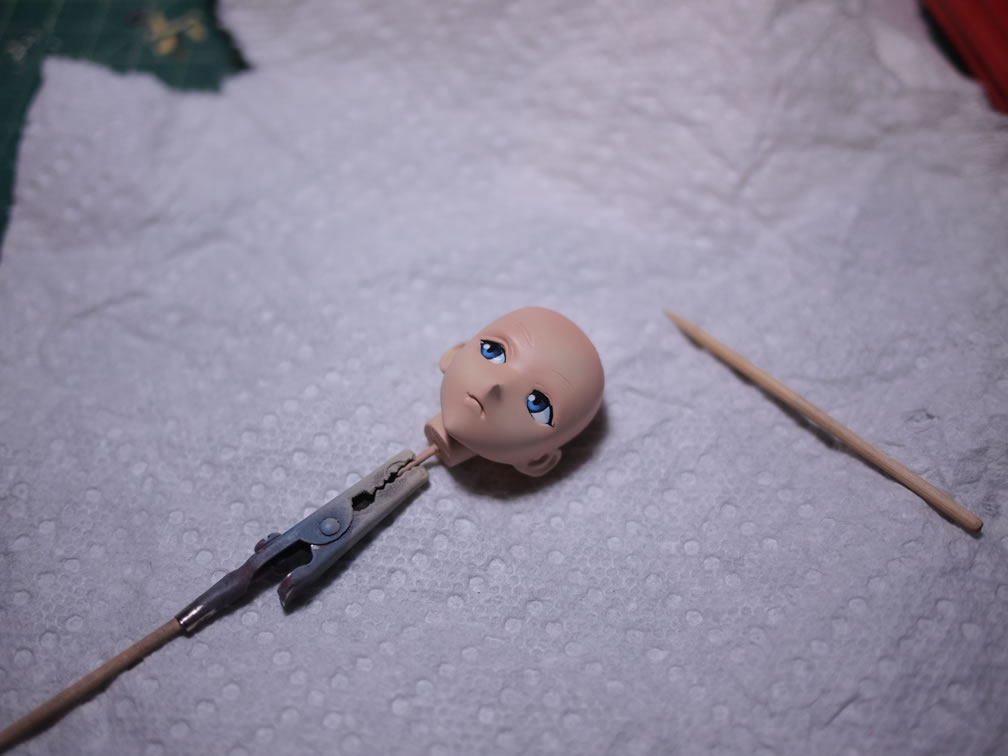
This kit came with eye decals. Hooray for cheating. The decals were cut and placed into position over an area prepped with decal setter. Once the decals were in place and centered correctly, decal softening solution was applied. Once this dries overnight, I can spray a clear gloss over the eyes in the morning and get to painting the skin tones tomorrow night. I put the head together with the hair to get a better look at the eyes and everything. She looks less creepy with hair, even though she’s currently got ghost white skin.

The rest of the parts got a splash of paint. I’m starting with the detail areas, painting these areas first, and then I can mask and paint the rest of the kit. This should be a fairly quick build as most of the surface work has been done off and on throughout the past year.


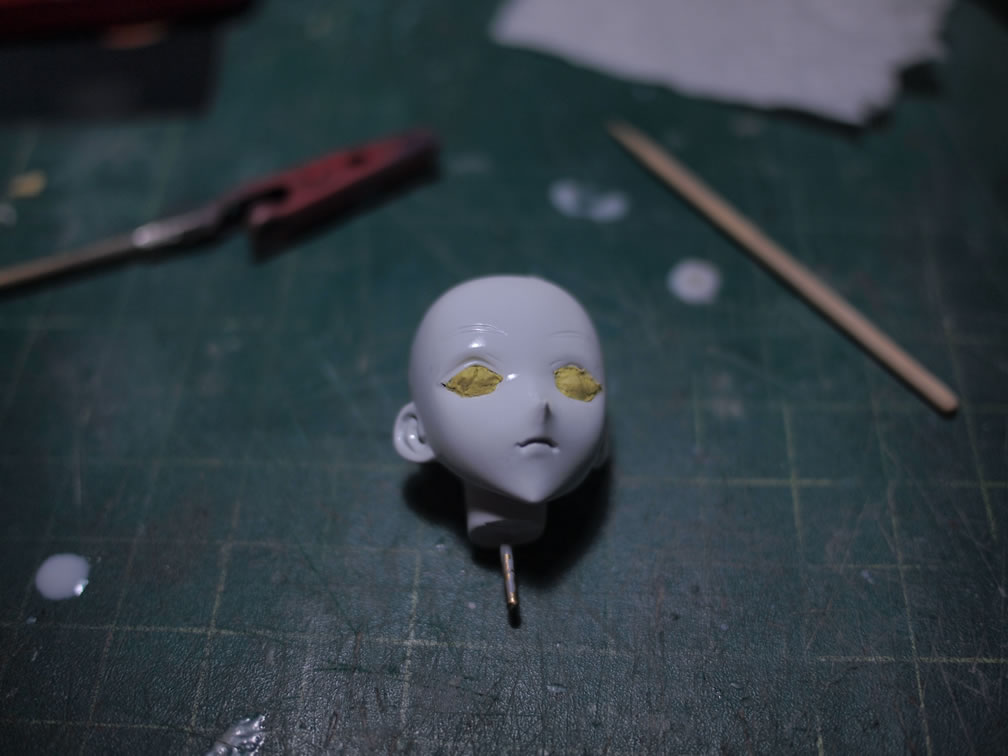
August 3, 2011: Painting work continues. The eyes were sprayed with a clear gloss this morning, then this evening, I masked off the eyes with some poster tack. The head is ready for more paint.
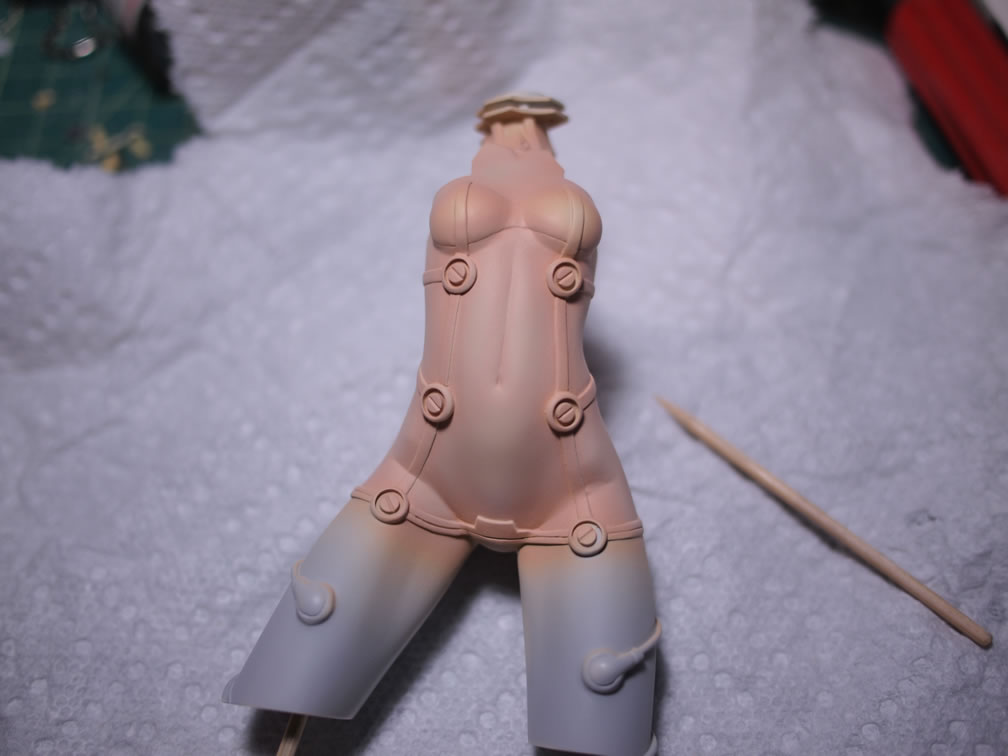
Next, the head and body were painted with the base skin tone which is dark followed by a lighter skin tone to highlight the body. The masking is removed form the eyes.
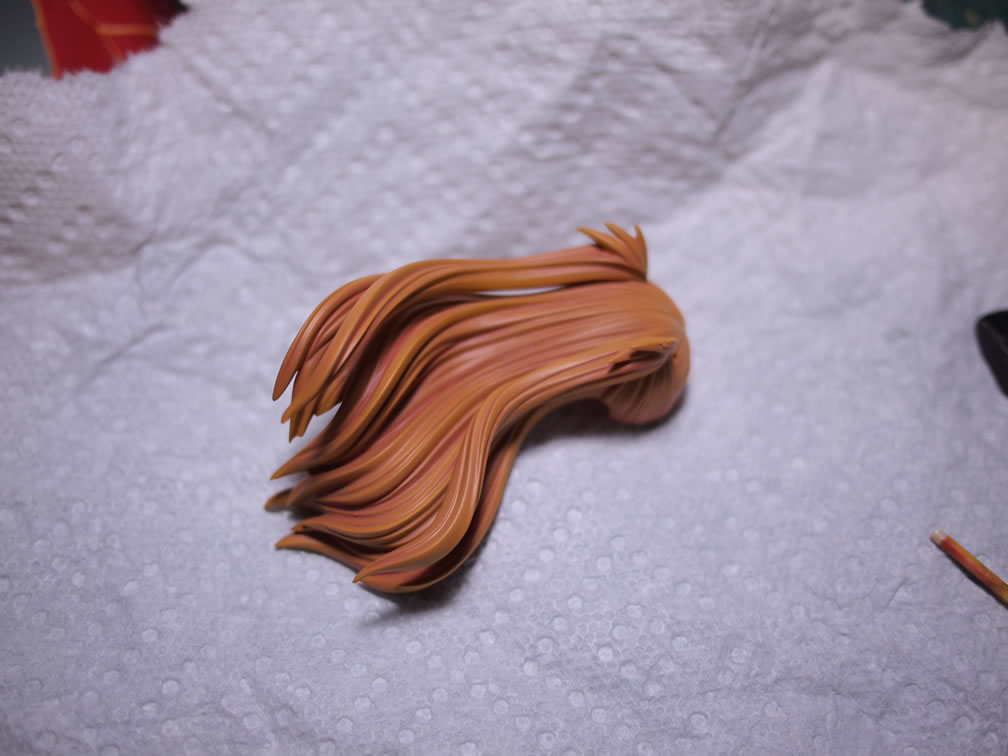
The hair was highlighted with a medium reddish brown that was a little too dark and brown after I was done, so I sprayed a thinned down finisher’s deep yellow over the parts to lighten up the highlighted areas and sort of blend in the colors. I think this did the trick.
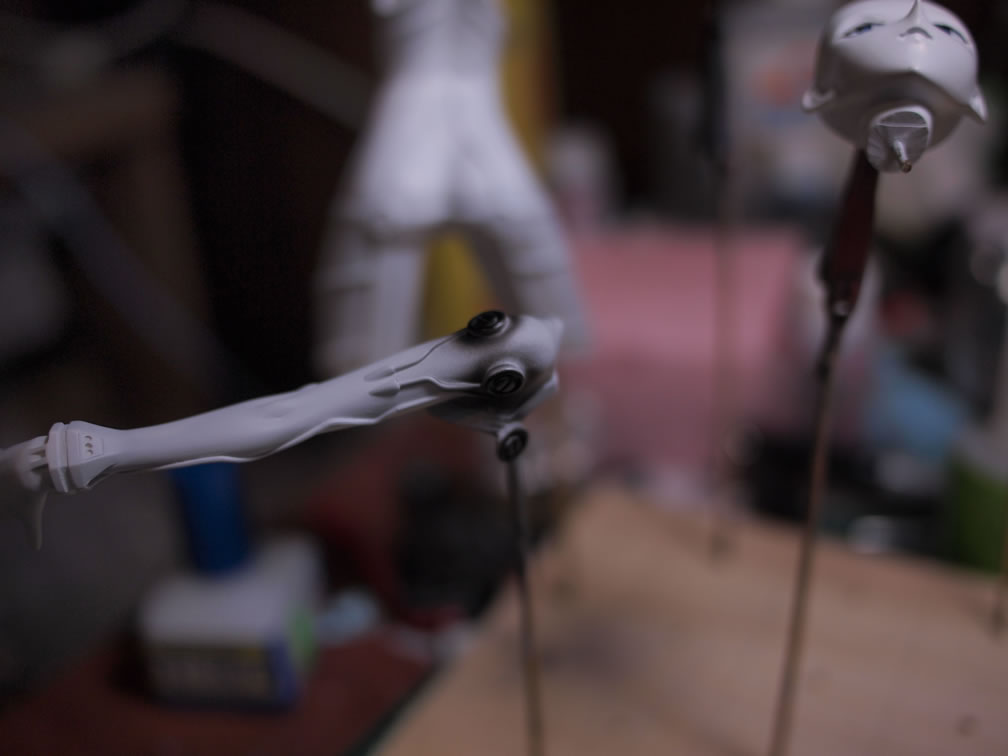
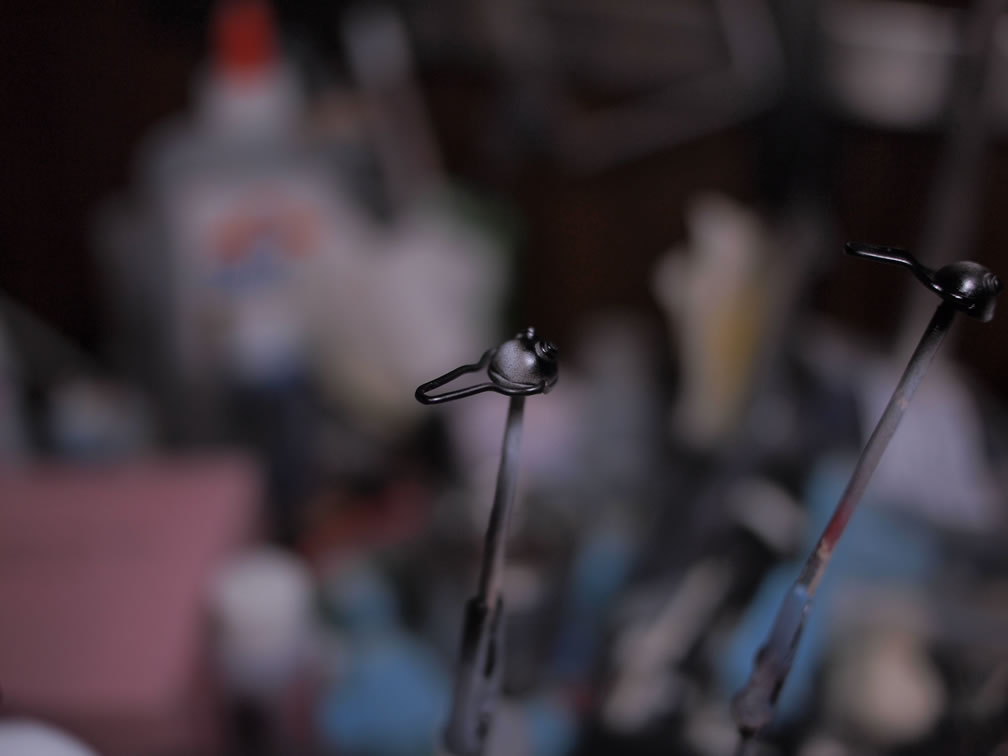
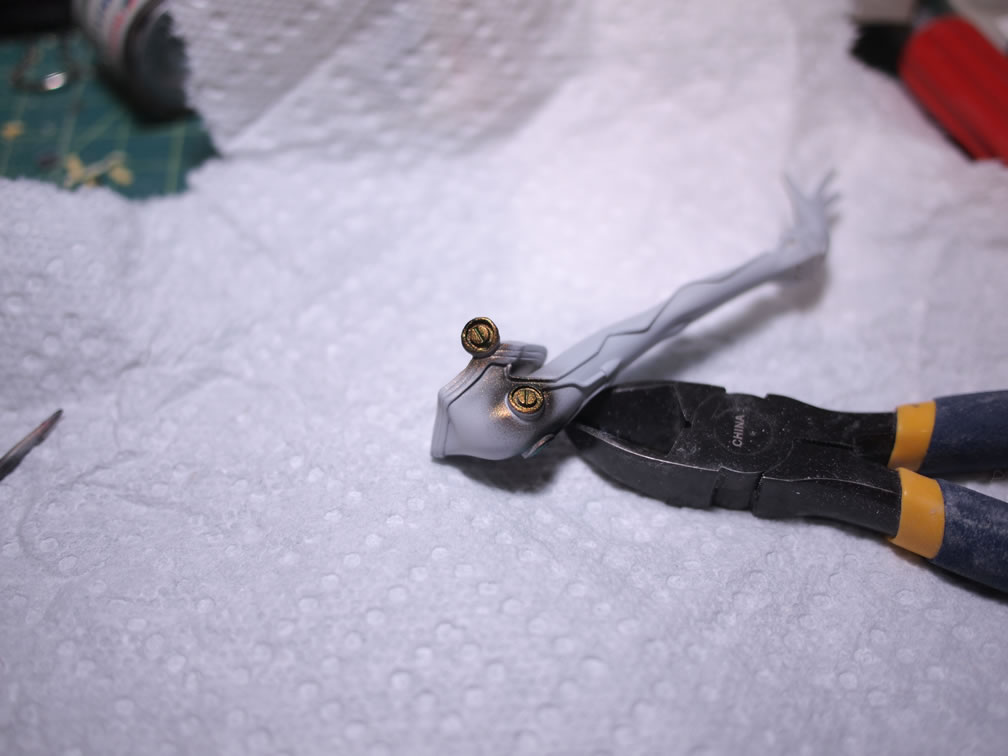
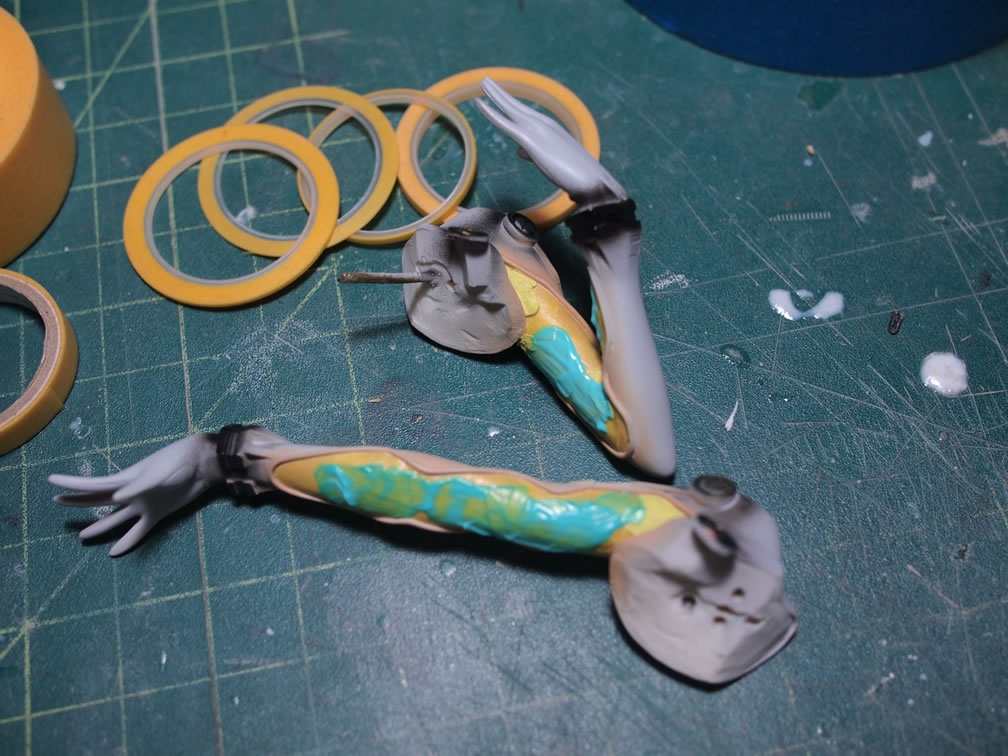
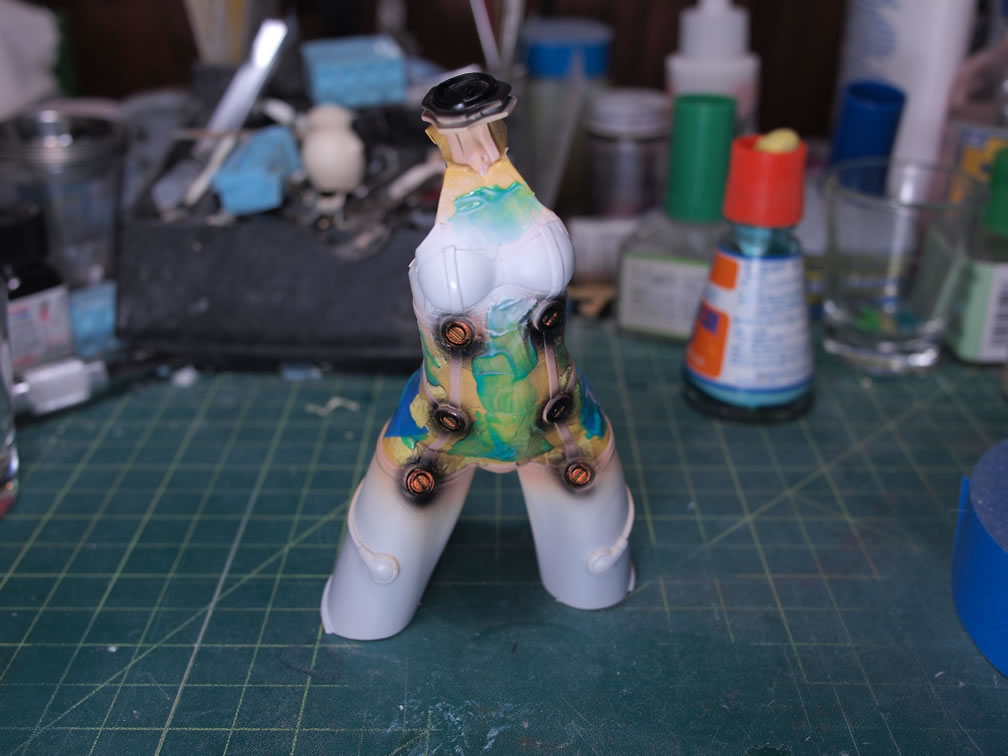
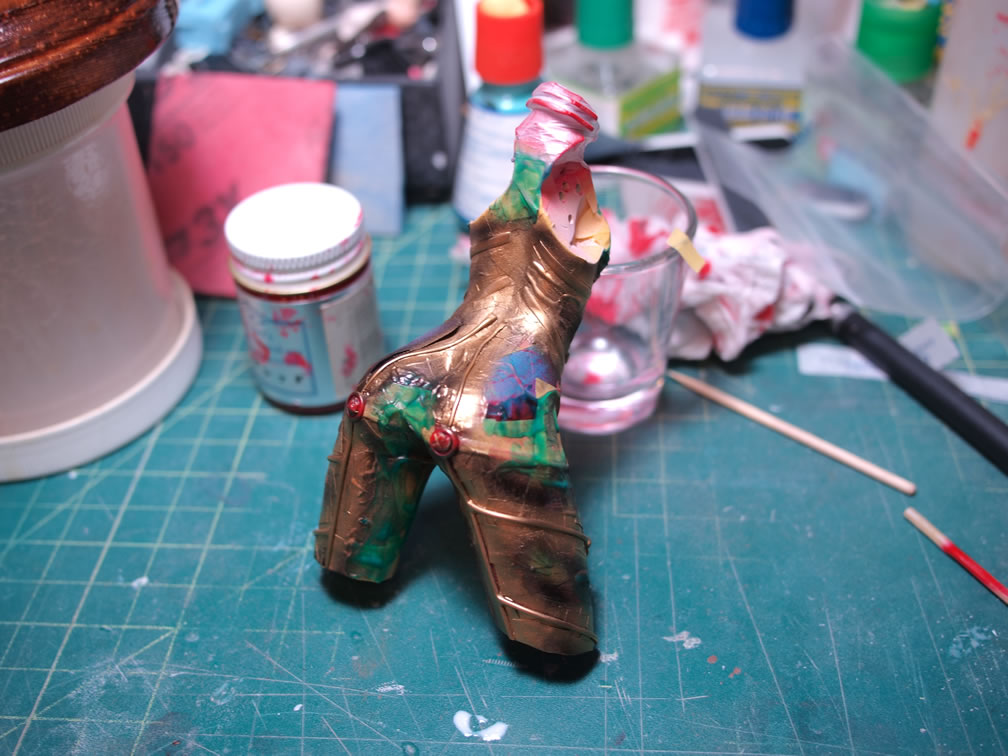
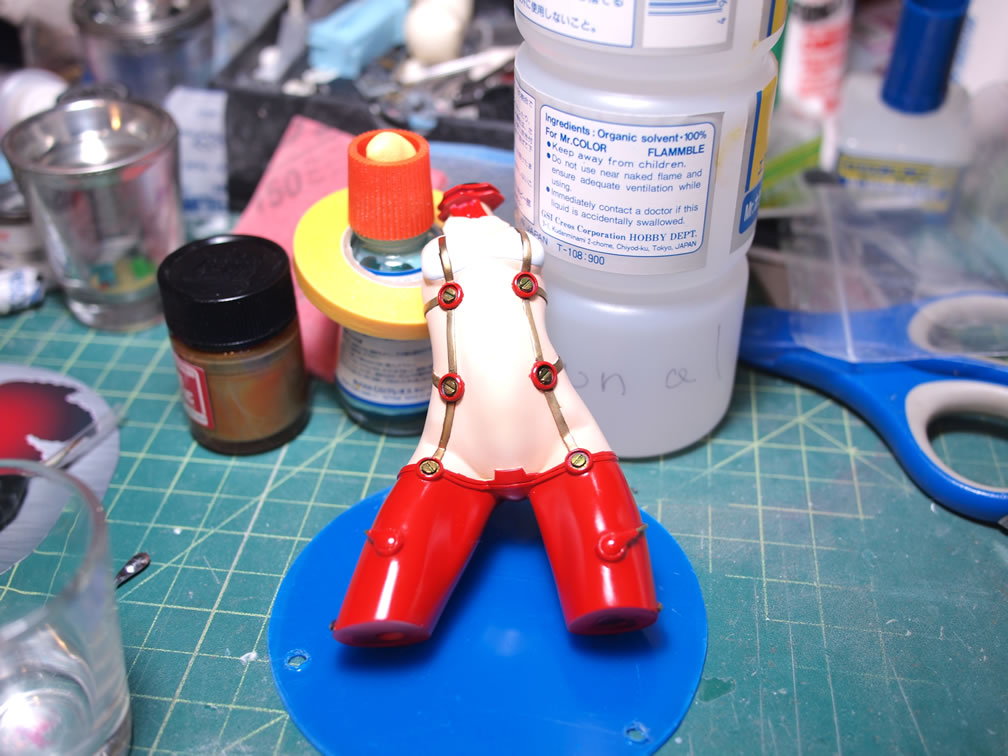
The detail areas that I painted black were sprayed with some alclad prismatic colors, so at certain angles, the color looks green and at other angles, it looks gold. I also noticed that the arms also had some skin tone color, so I quickly sprayed the skin tones for those areas. They’re mostly hidden so I didn’t bother with the white base layer. Hopefully it won’t be too noticeable. Tomorrow will be an evening of masking.
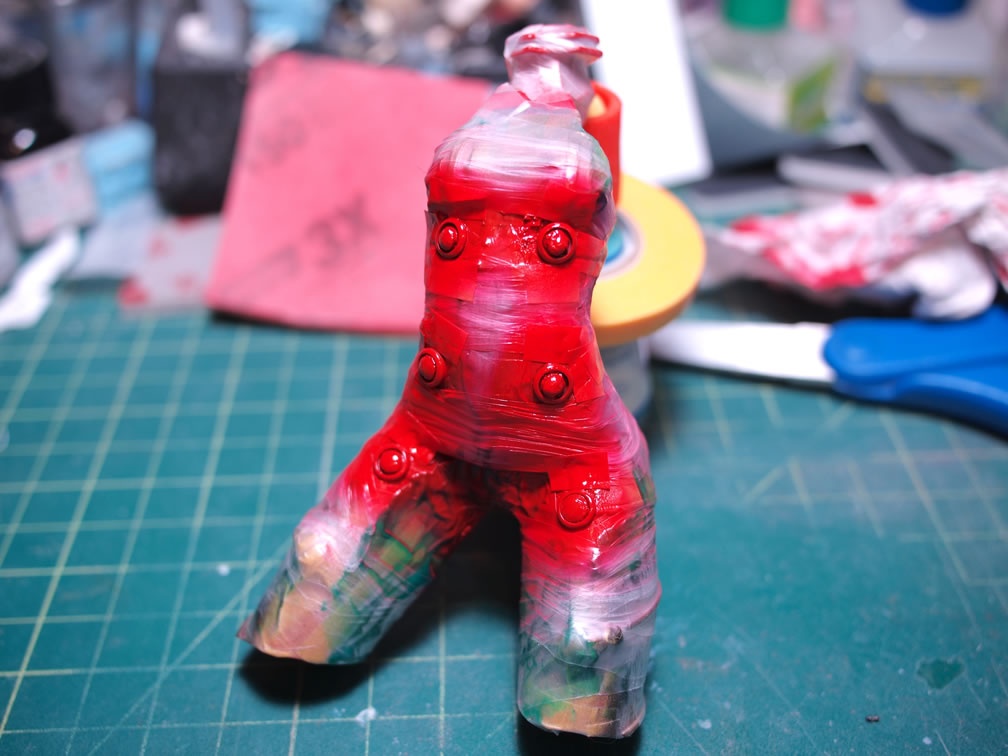
August 7, 2011: I did some work over the weekend. Since the skin tones were painted and cured, next up was the masking. The skin areas are masked with masking tape, liquid mask, and sticky tack – each masking method has it’s use and I use all three regularly. With the skin masked off, the next layer is painted.
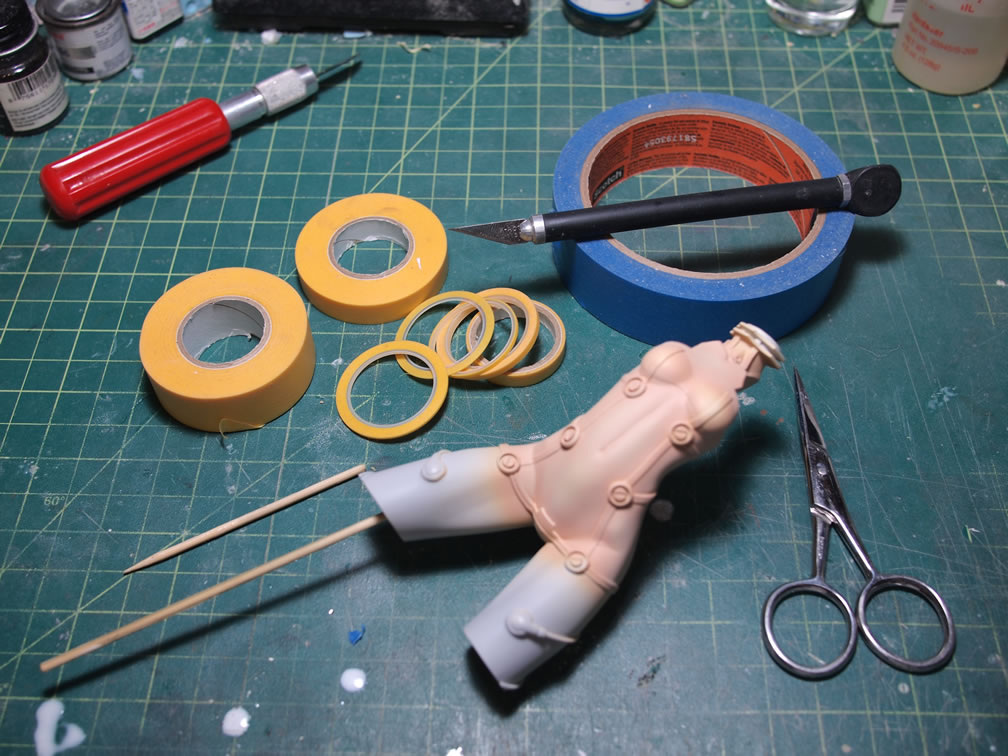
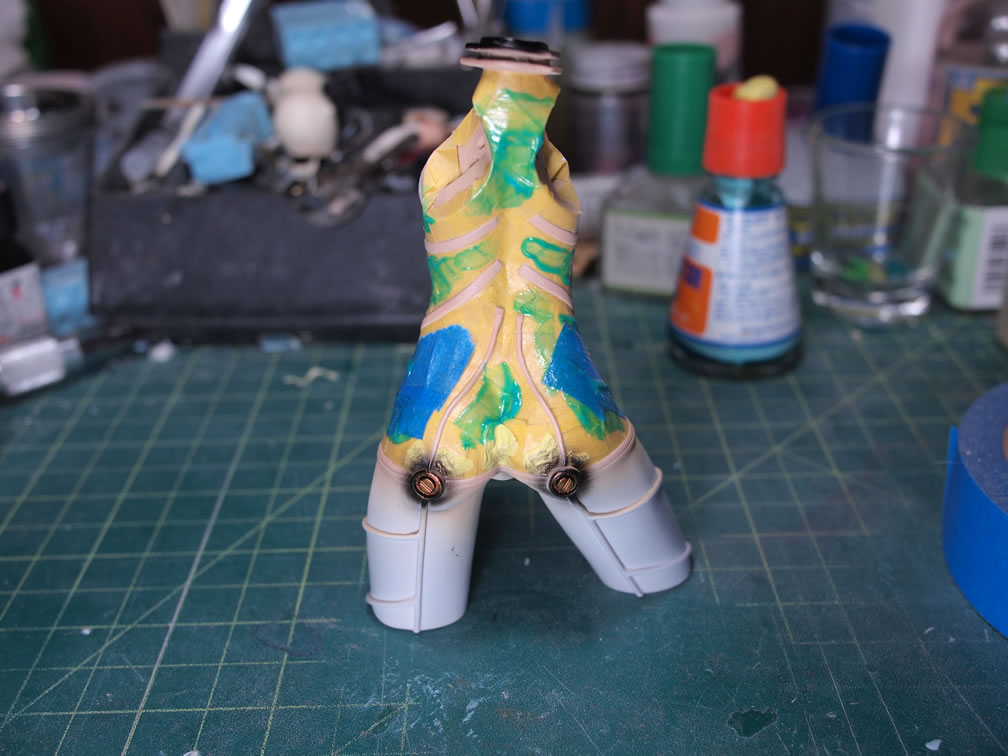
Mask, paint, mask, paint, repeat. Since there are several layers of painting that is needed, several layers of masking is involved.

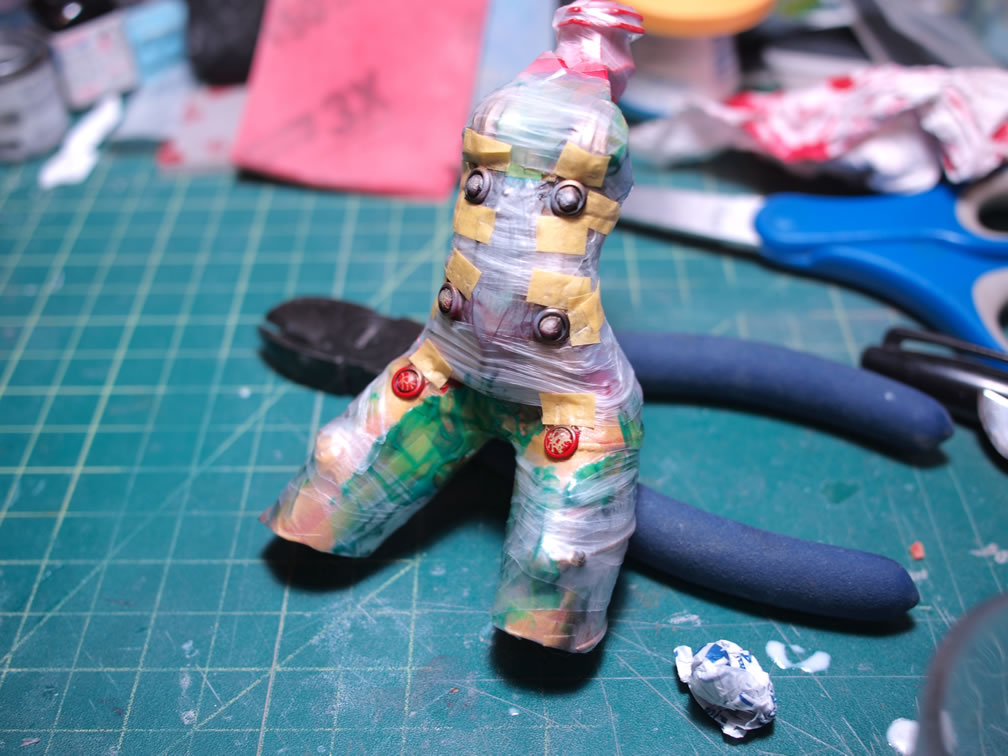
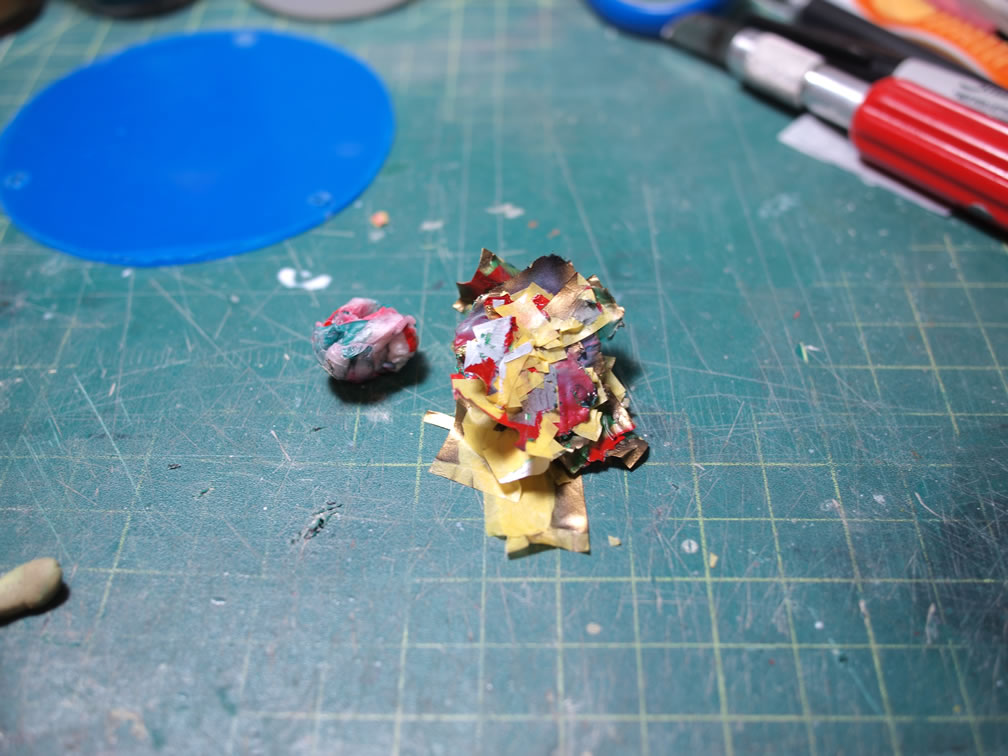
The layers of masking tape, sticky tack, and liquid masking is removed resulting in a ball of tape. There are some areas that need touching up but I’ll get to that this coming week.
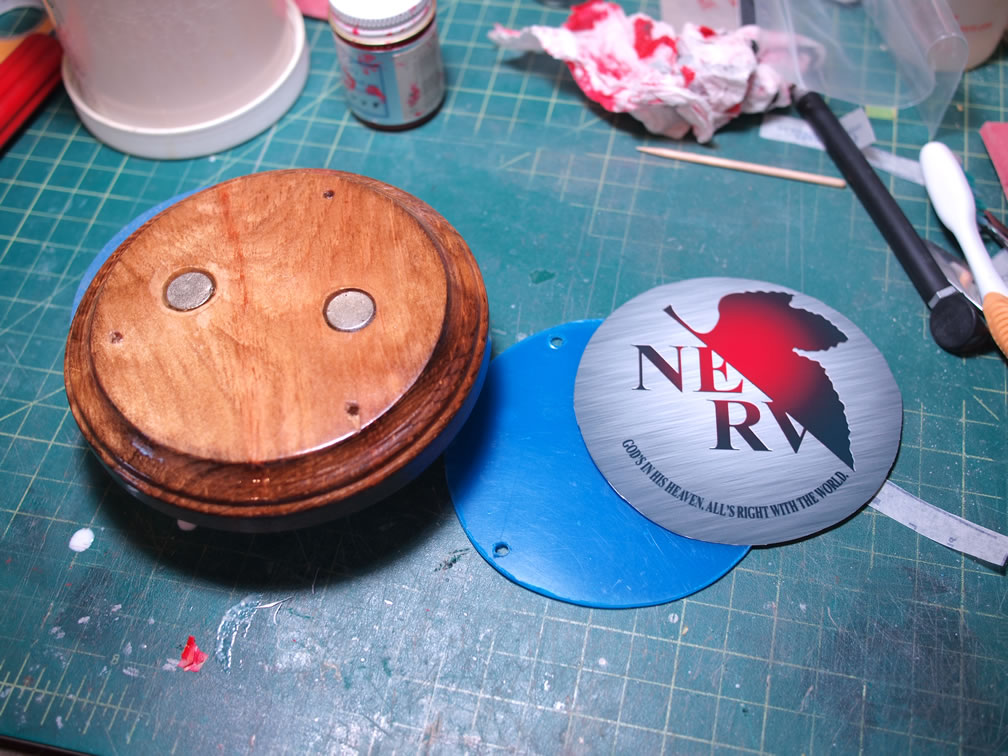
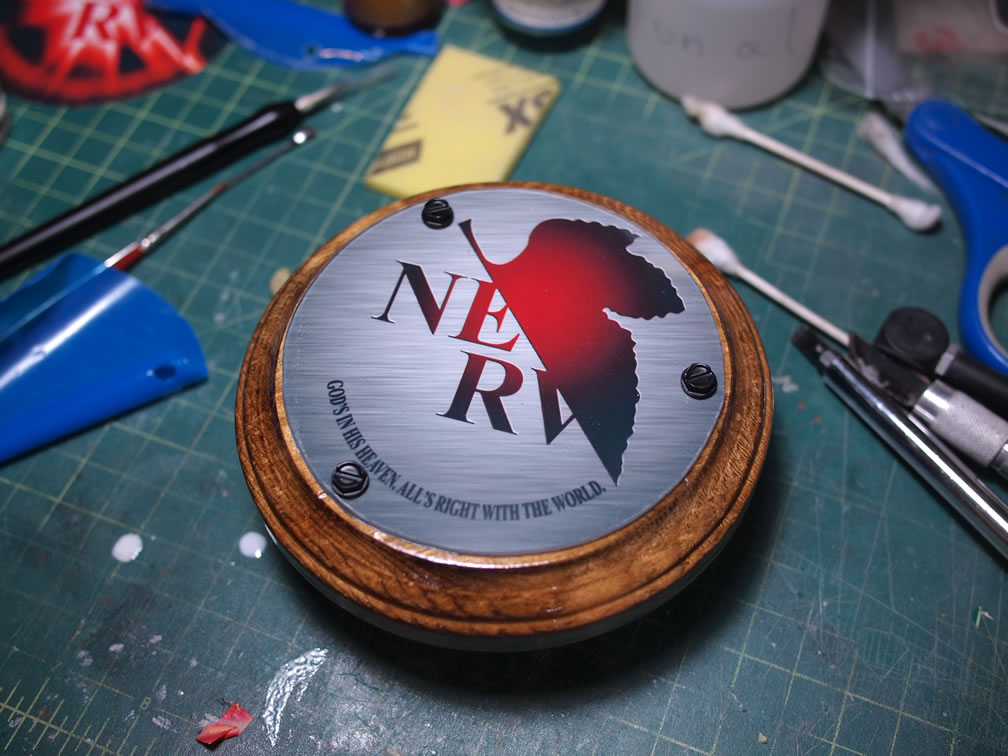
A wood base was sanded, stained, then sprayed with several coats of clear gloss to get it nice and glossy. Two holes were also carved out of the wood base and some big rare earth magnets were placed inside and glued into place. Corresponding magnets in the bust will anchor the kit to the base. A piece of circular clear acrylic is cut to the size of the wood base’s top circle area. I printed out a Nerv logo and cut it to the size. Three holes were drilled into the the base to attach screws that bind everything together.
August 9, 2011: Project completed, see the finished kit in the gallery here: http://gamerabaenre.com/?p=2109