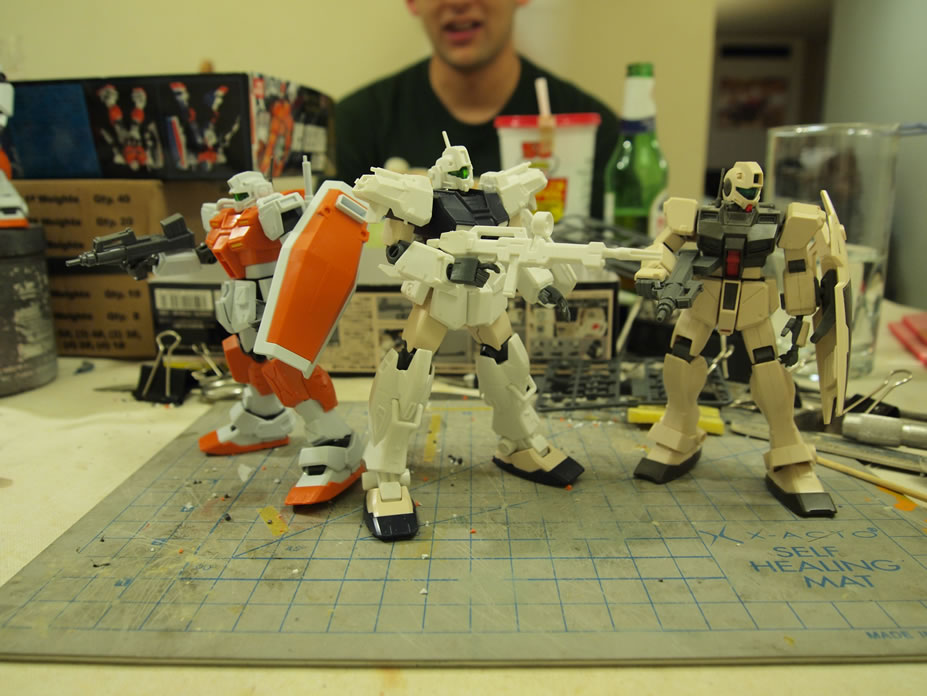
May 1, 2011: Earlier last month, a few of us from the model build gathering picked up the May Dengeki hobby magazine with the Wagtail plastic conversion kit. So we started off with a group build that sorta ballooned into a full on GM team build by the time the April build gathering rolled around. At that time, I snapped and mostly sanded the Wagtail using the HGUC GM Custom, and built a Powered GM. My third GM, at the time, is the GM Command. When the HGUC GM Cannon II comes out later this month, I will be adding that to my GM team, the GM Command will become debris in the diorama. For now, I currently have these three GMs ready for final clean up before getting into priming them.
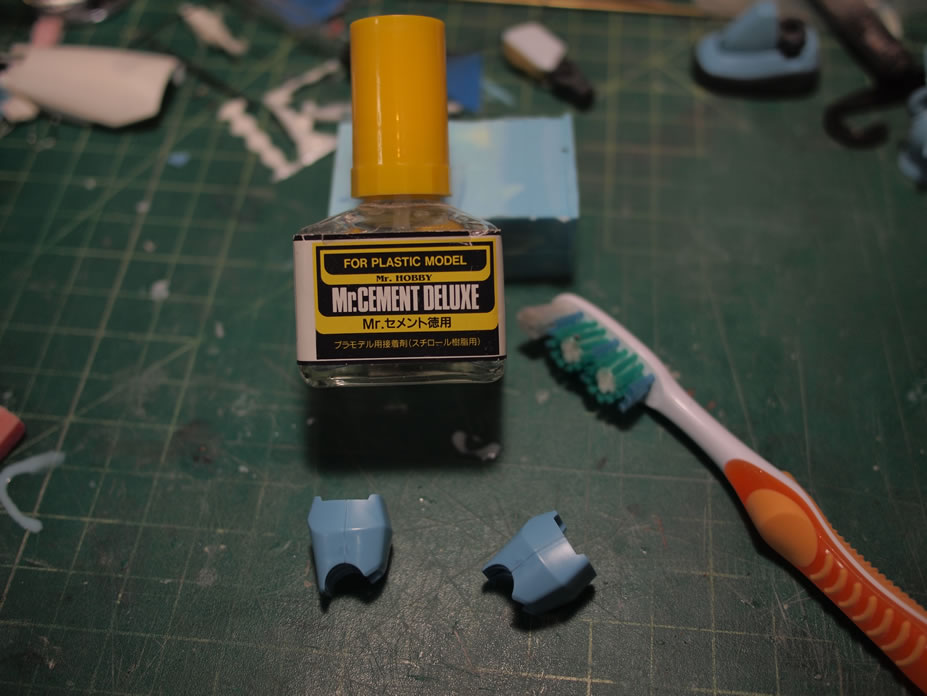
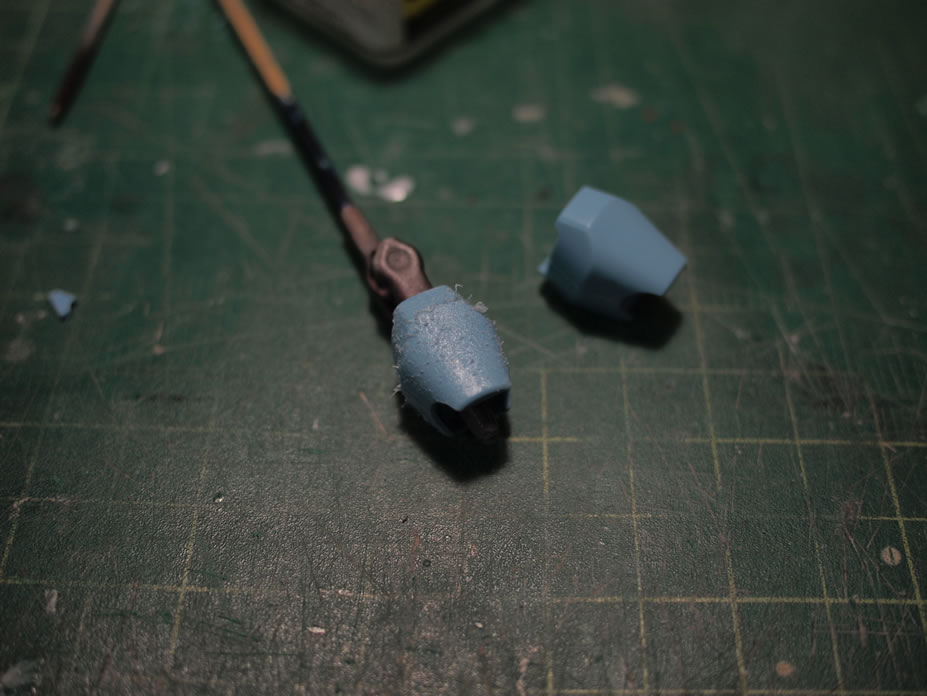
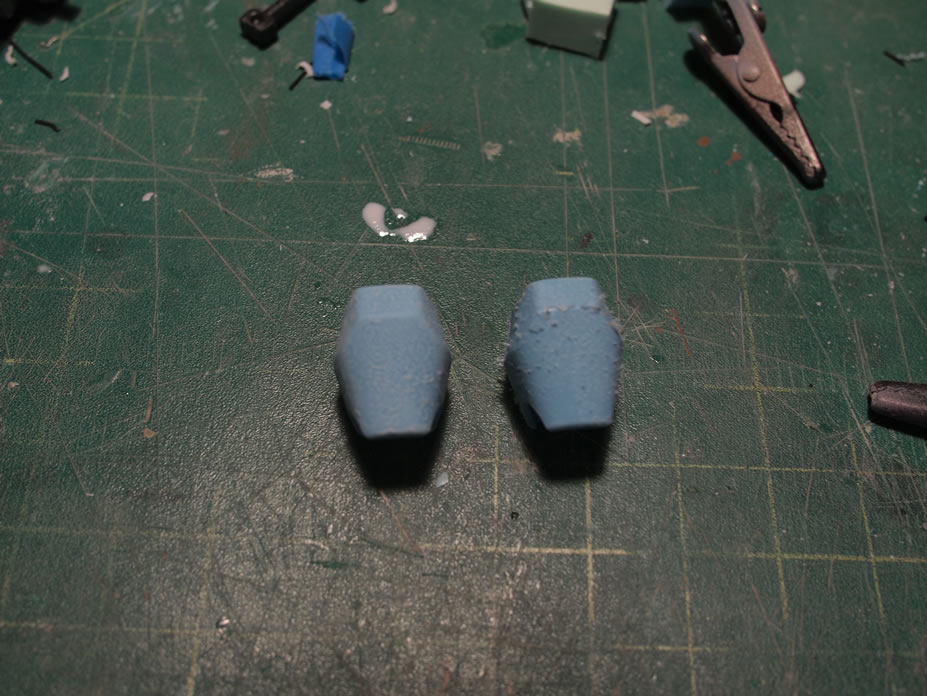
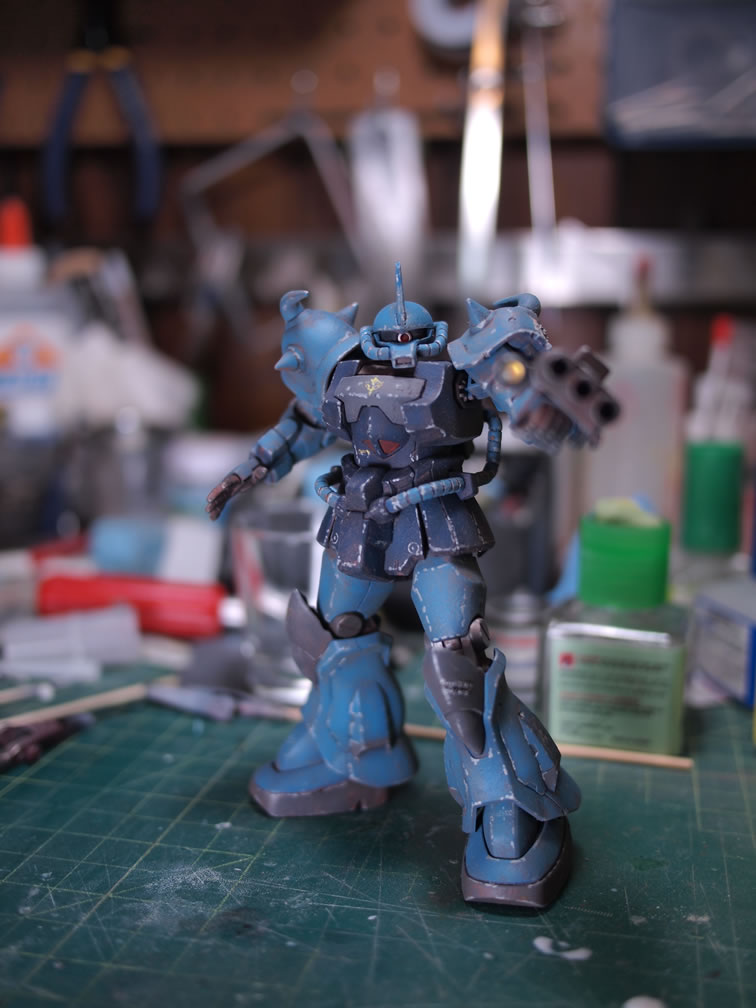
At the build gathering, after finishing up the GMs, a few of us thought that the story would be more complete if we added a zeonic element. The general idea is to create something that would be about the year 0083 where pockets of zeon remnants are being routed out by the Federation. So along comes the HGUC Gouf Custom. And because of my love of Zeonic suits, I spent a little time working on the Gouf. First off, using some run of the mill styrene glue and an old toothbrush, the surface of the kit is texturized. Once the glue on the surface cures, the surface is sanded with a medium grit sanding pad to remove the rough burrs leaving a texturized surface.

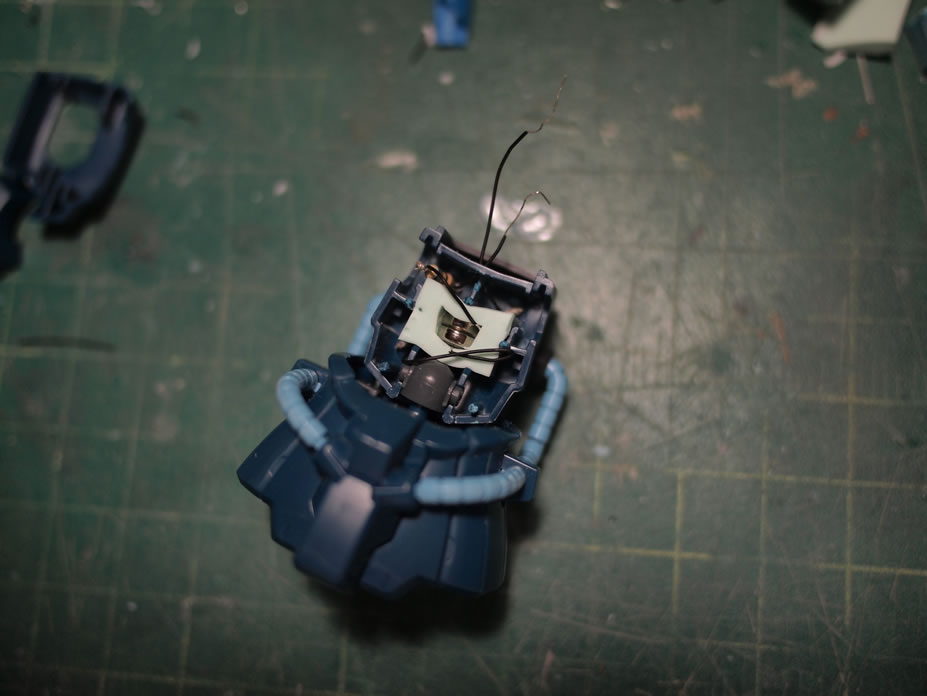
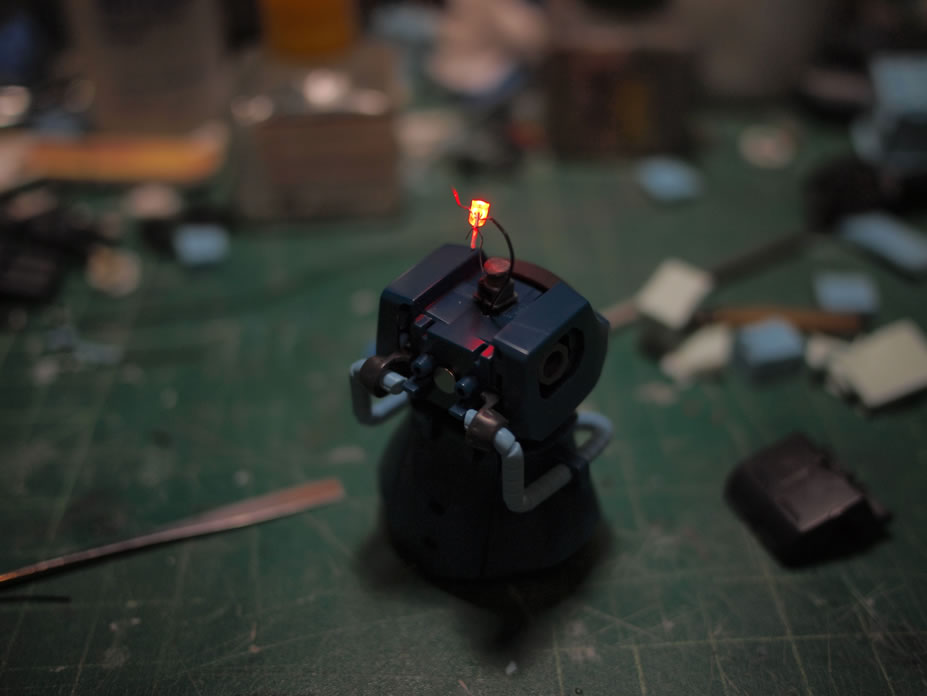
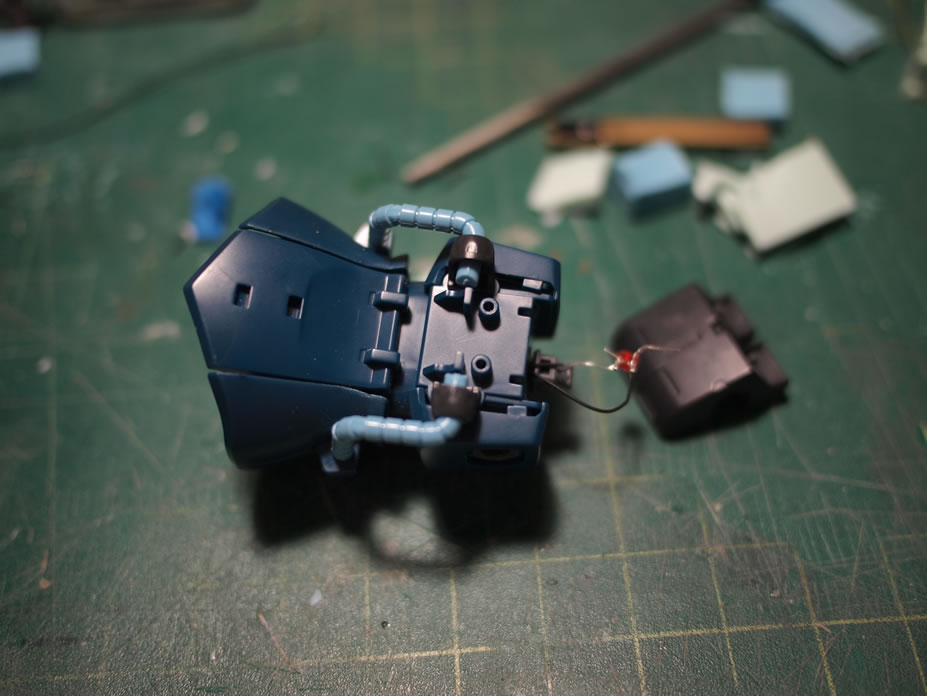
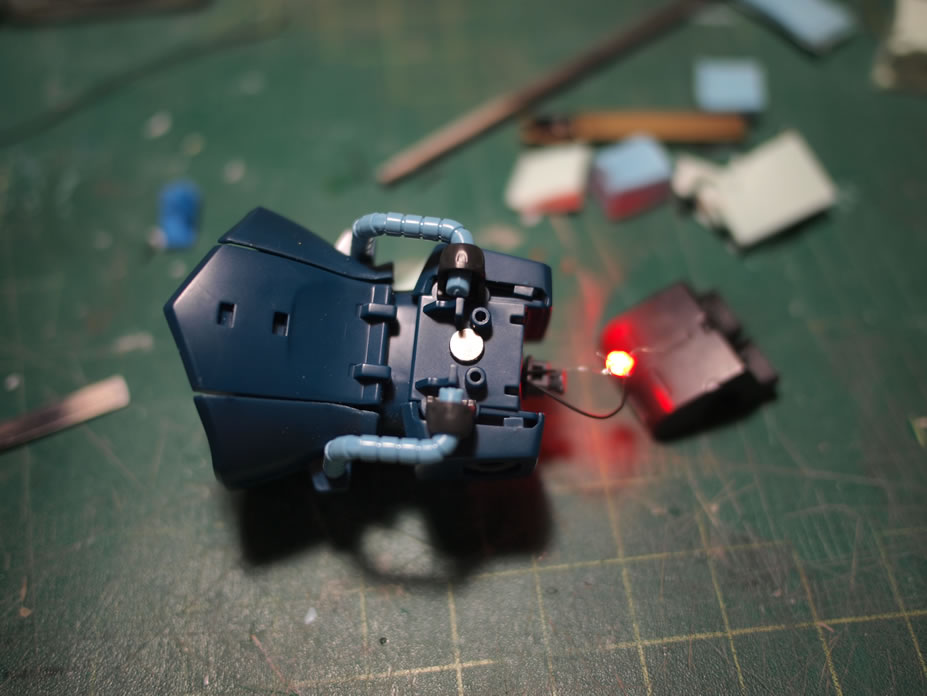
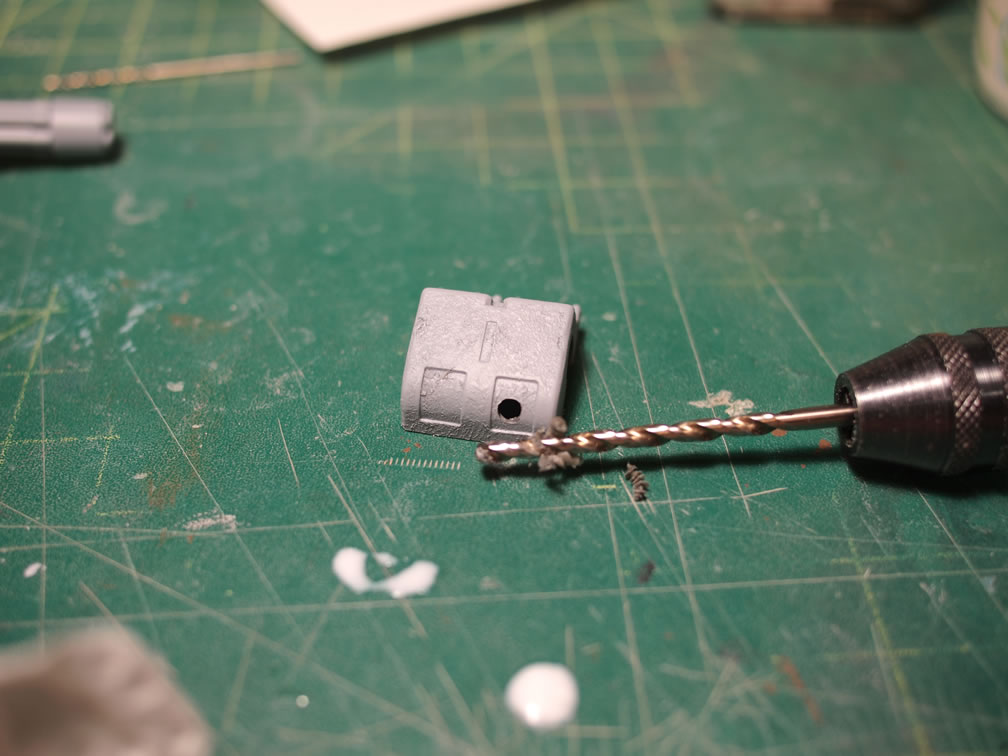
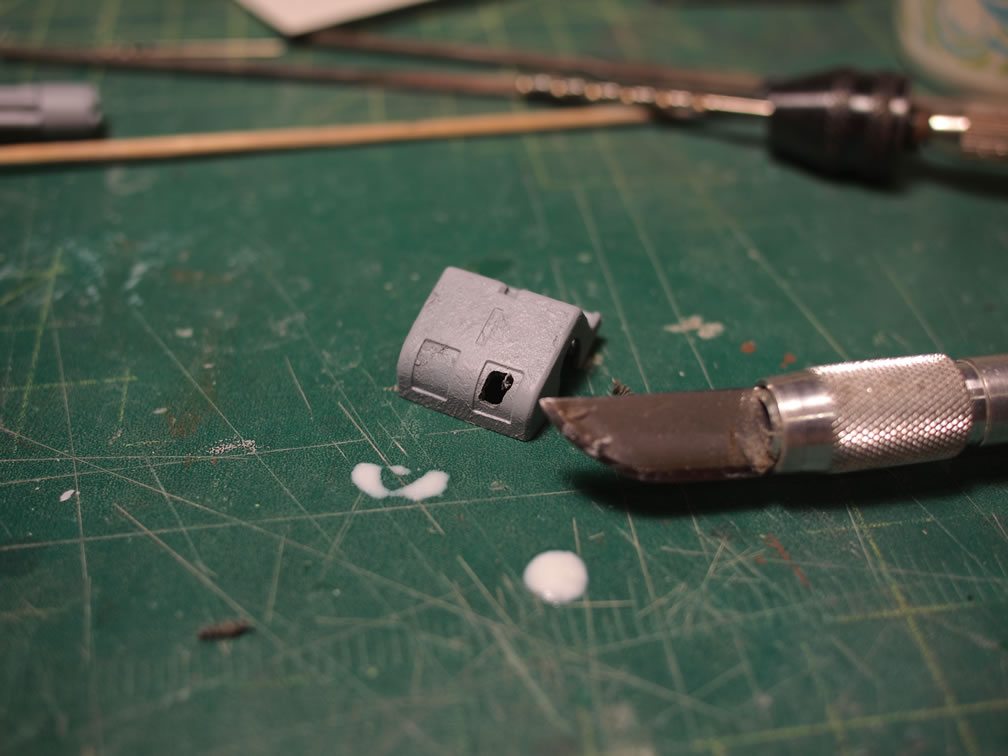
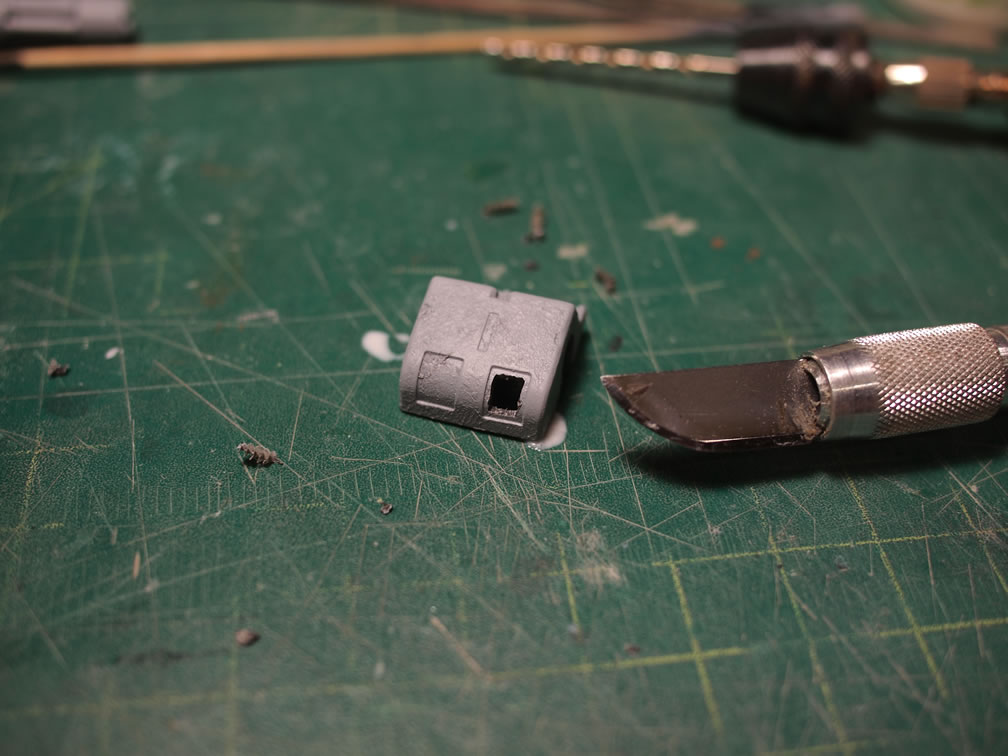
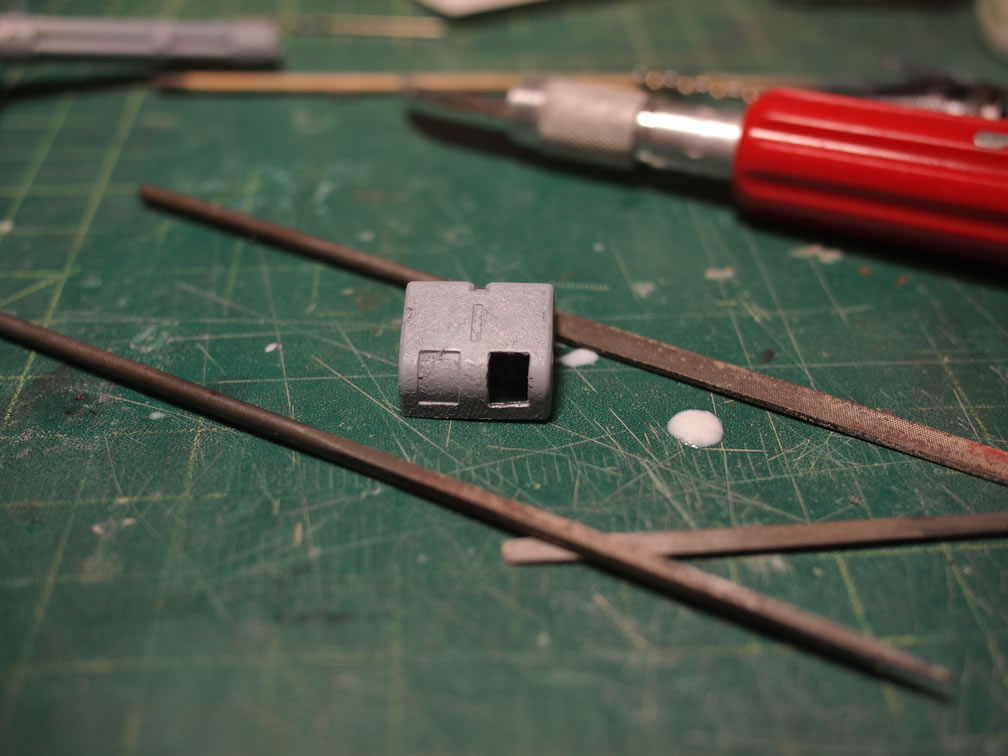
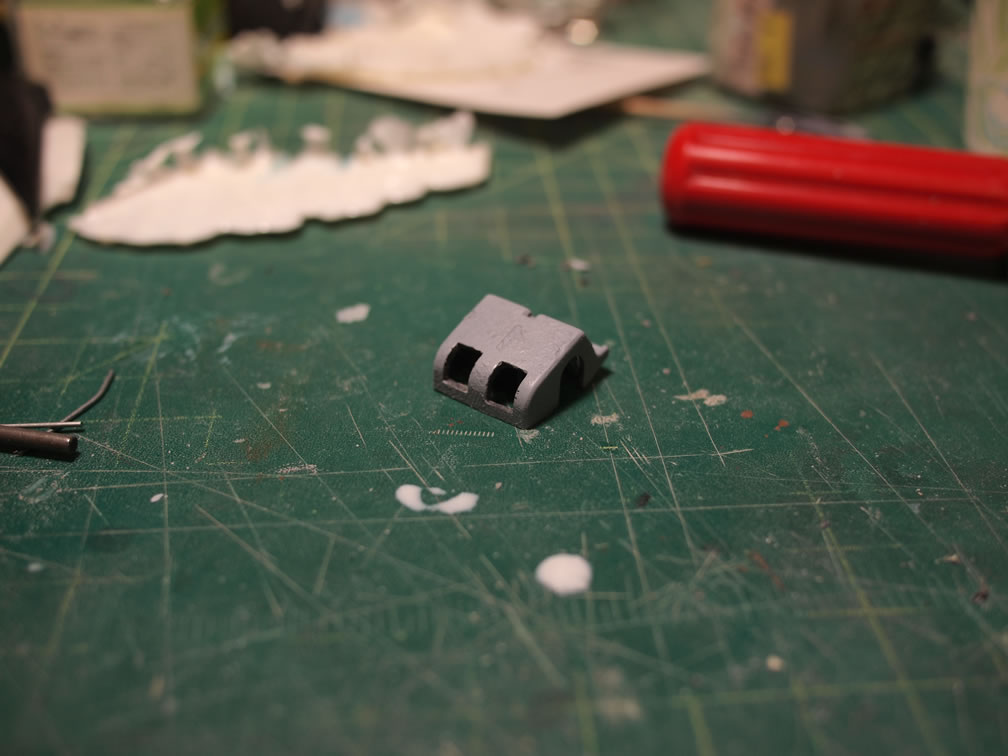
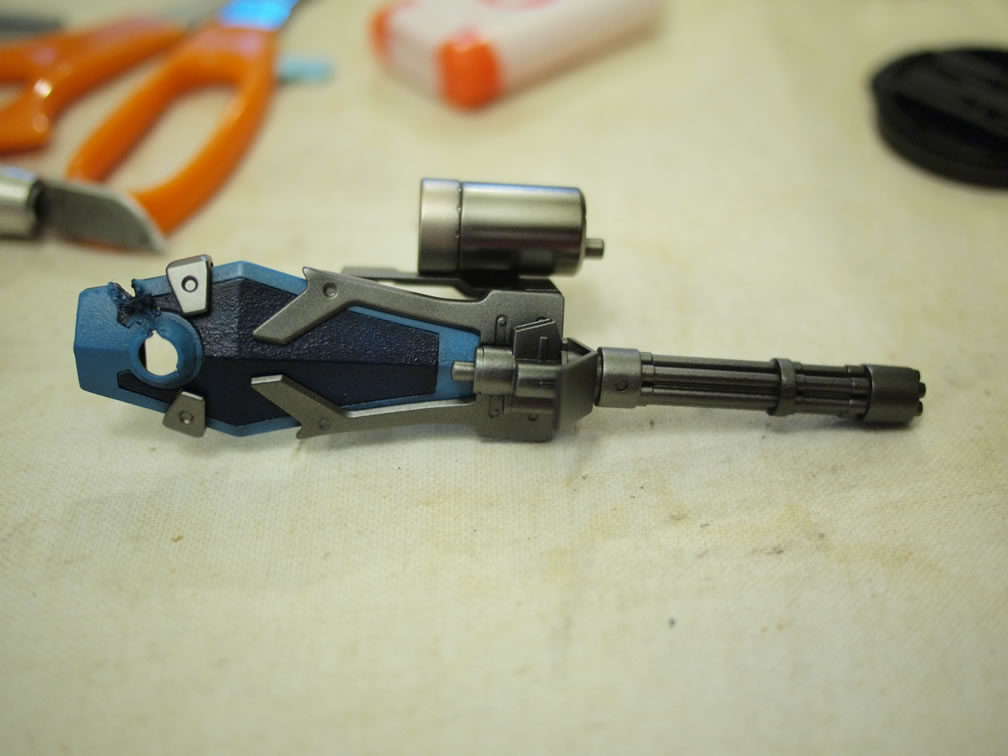
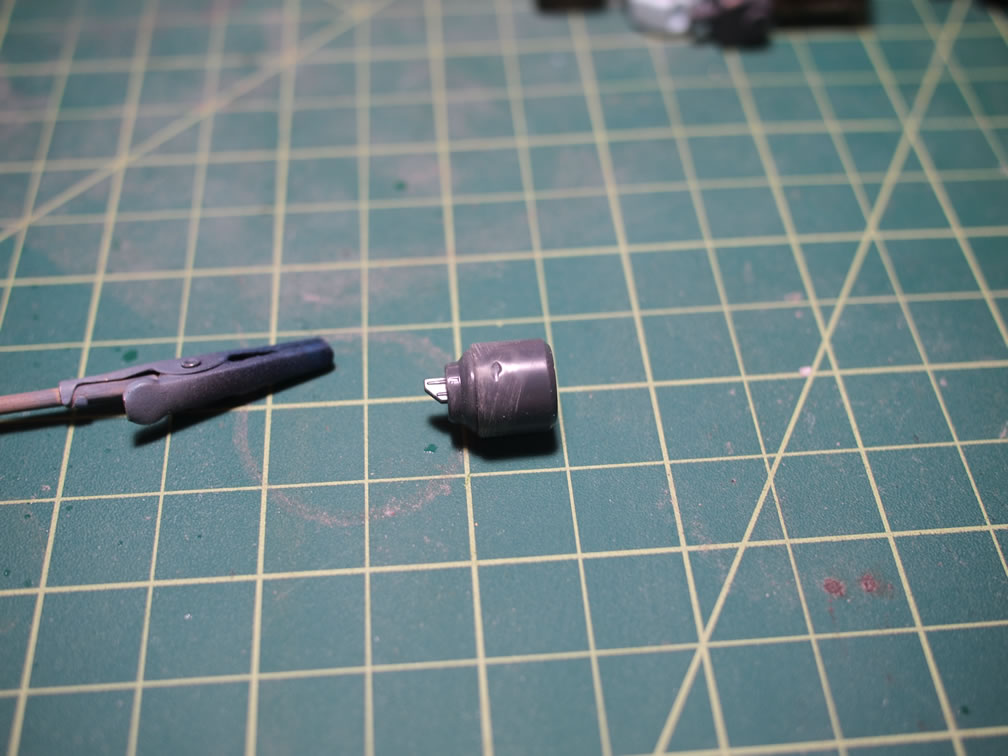
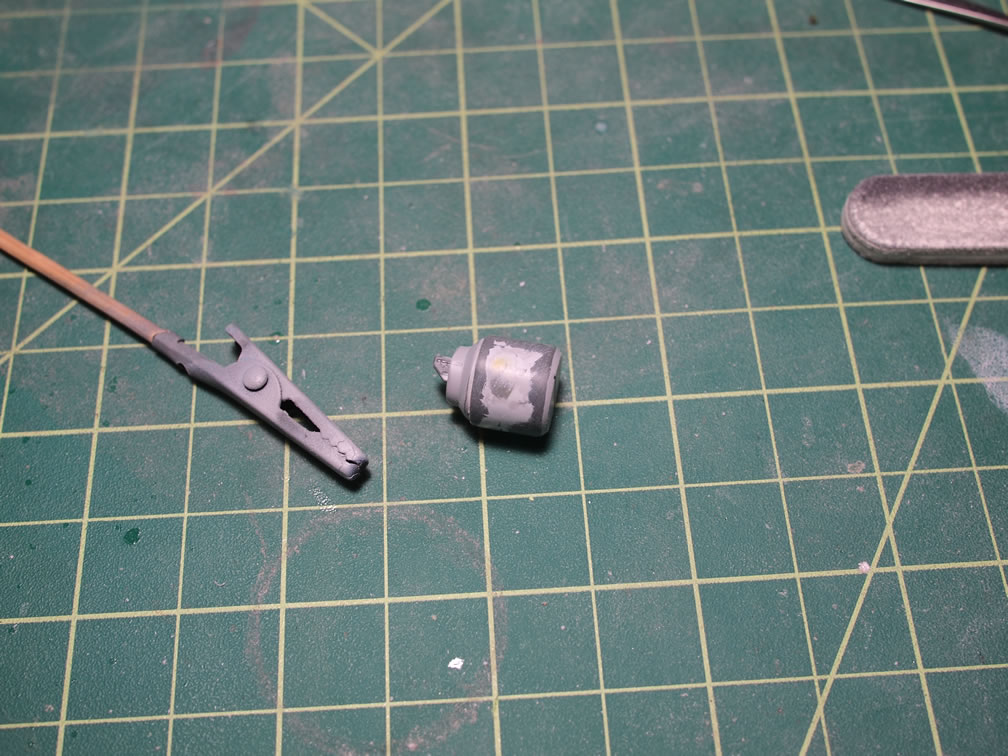
Next up, I drilled out some holes and created a little battery, resistor, reed switch assembly for the chest block. A piece of left over silicone mold is cut and used to house the batteries. The reed switch is at the back of the chest block so that a magnet attached to the back under the backpack cover will turn the assembly on. Then wires are run out the top of the body to a light for the mono eye.
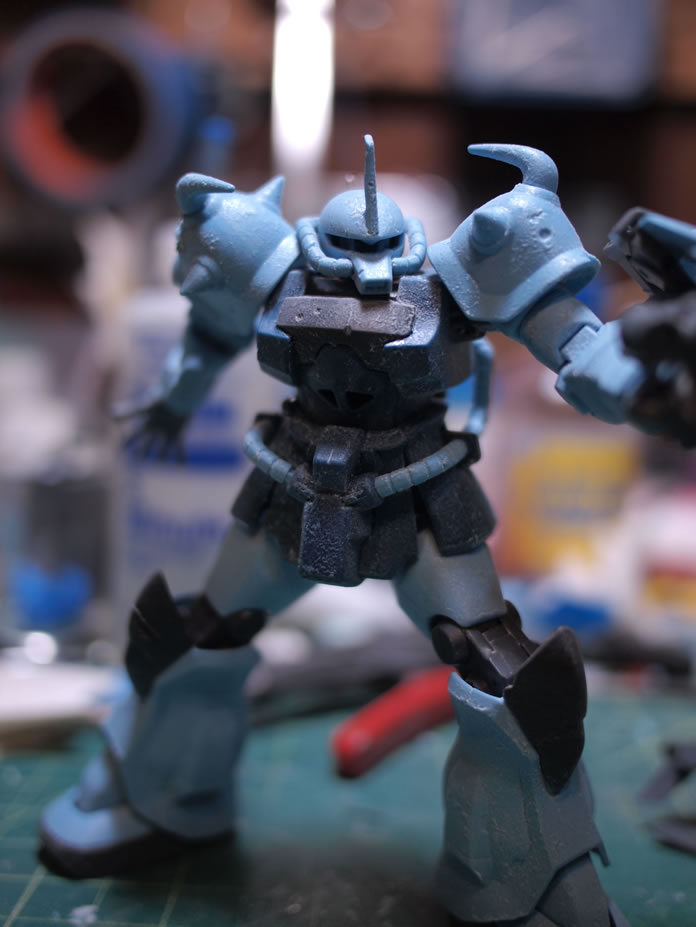
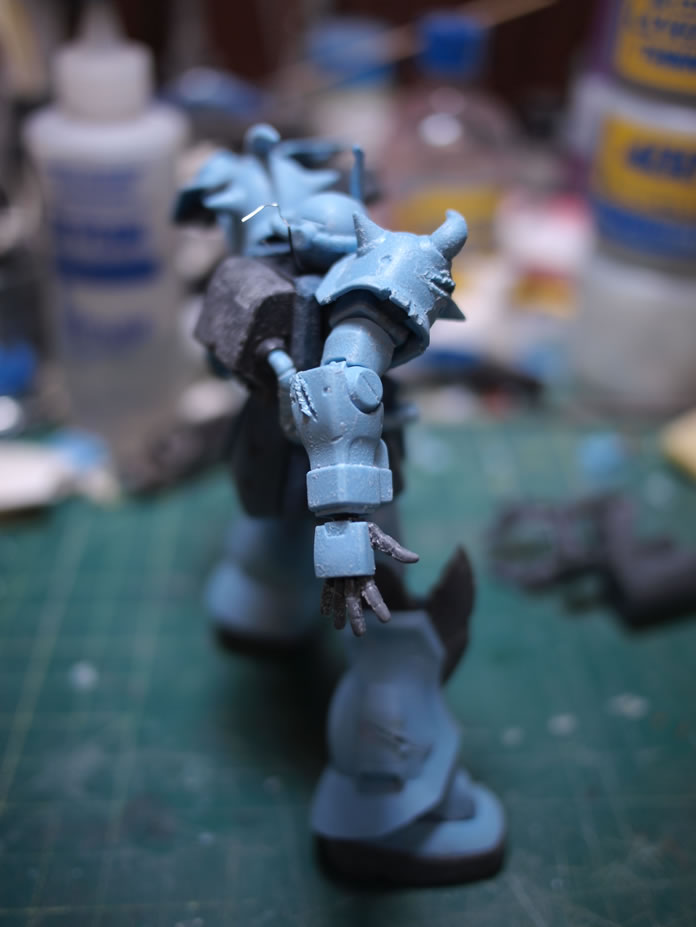
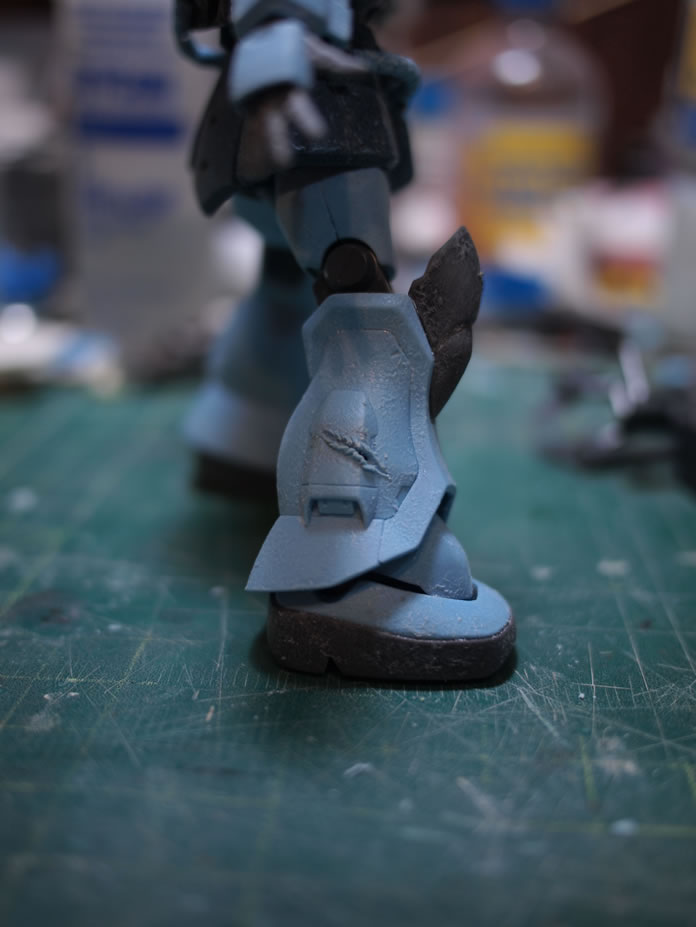
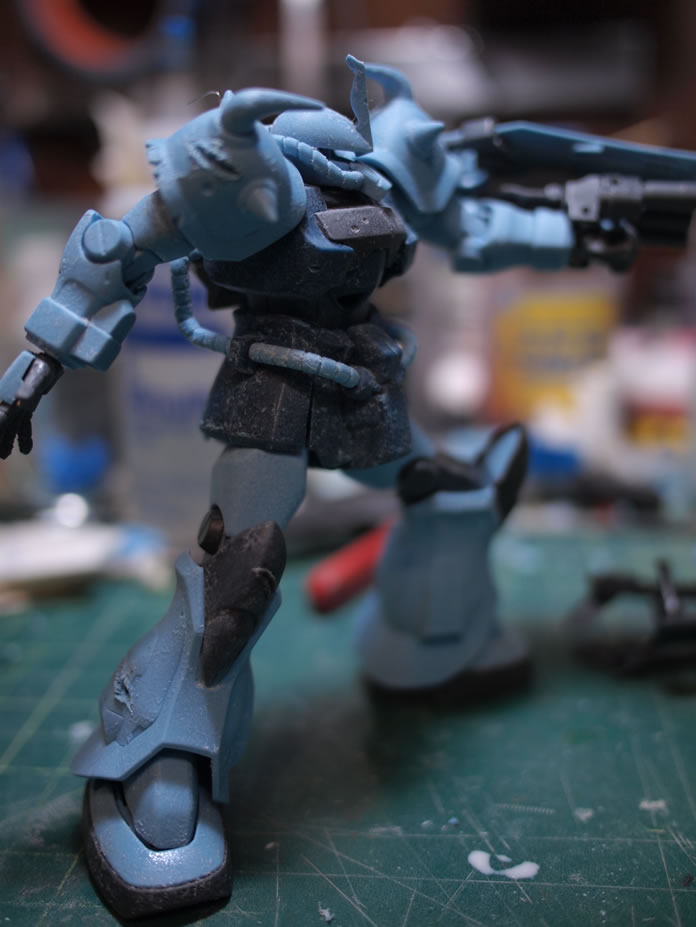
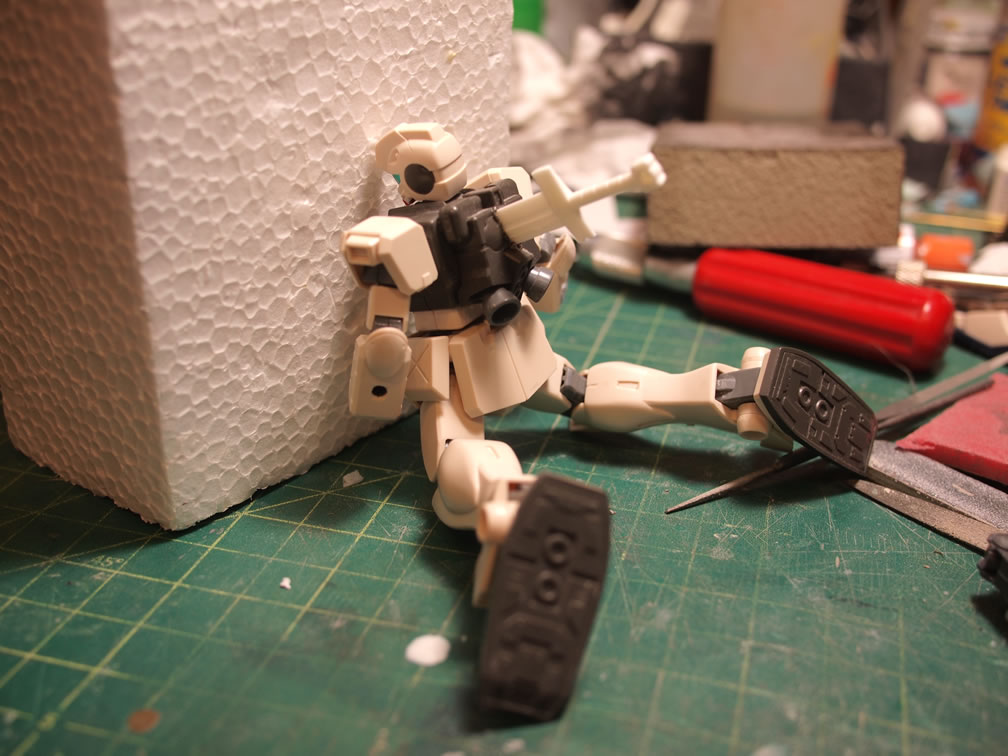
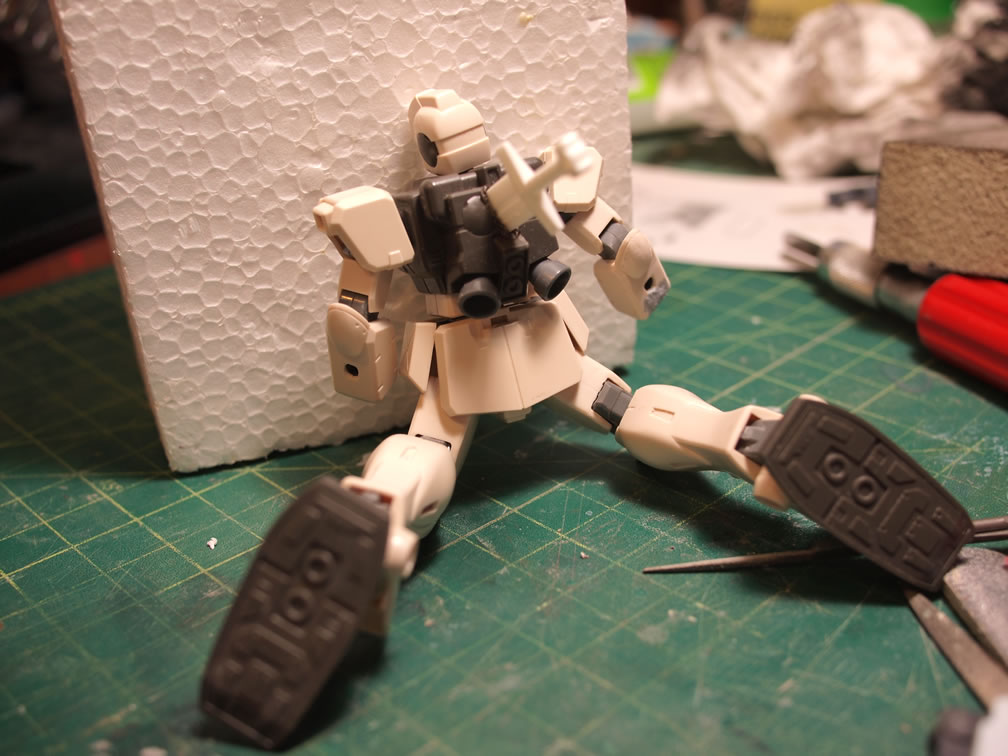
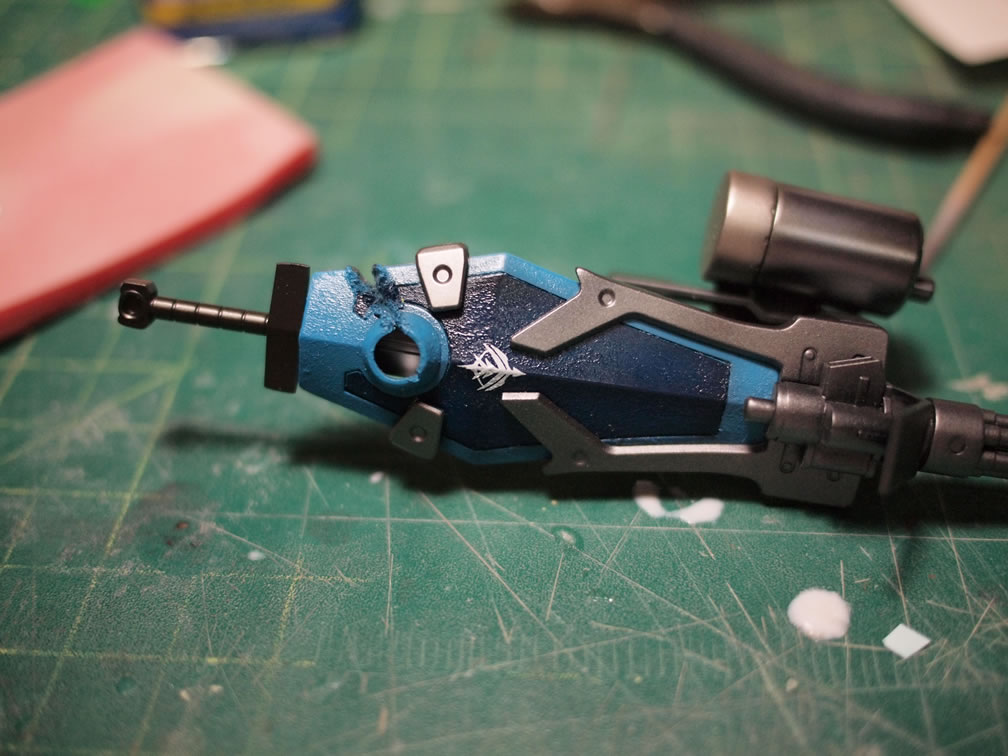
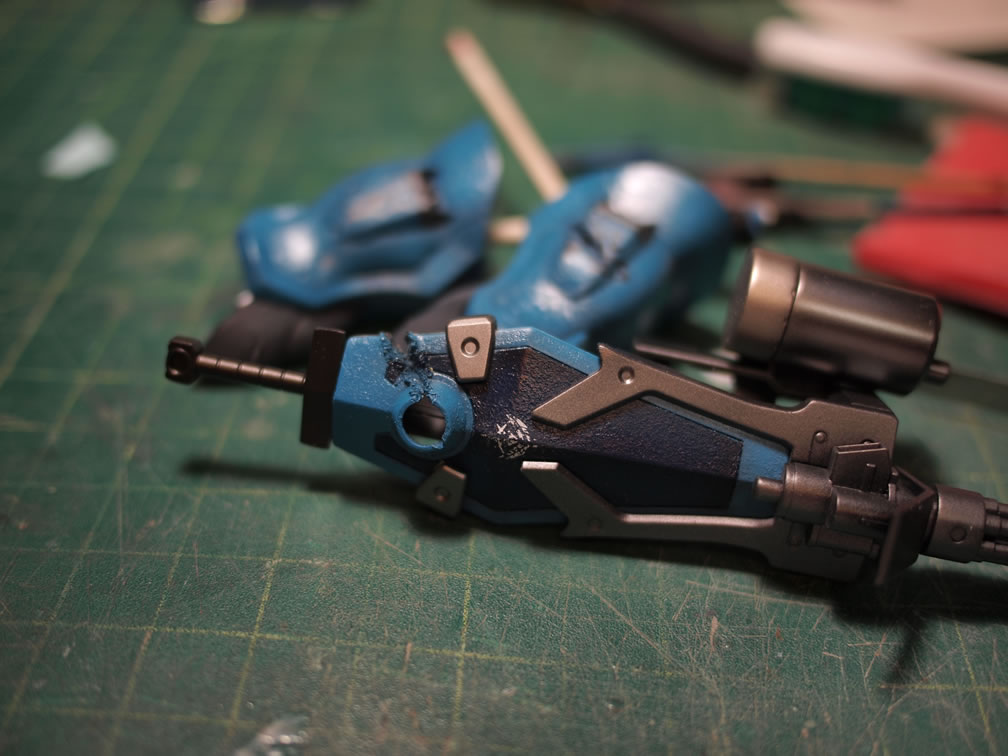
The parts are all sanded down and put together to prepare for the next phase, physical damage to the kit. With all the parts together, it is easier to plan out areas for damages and such.
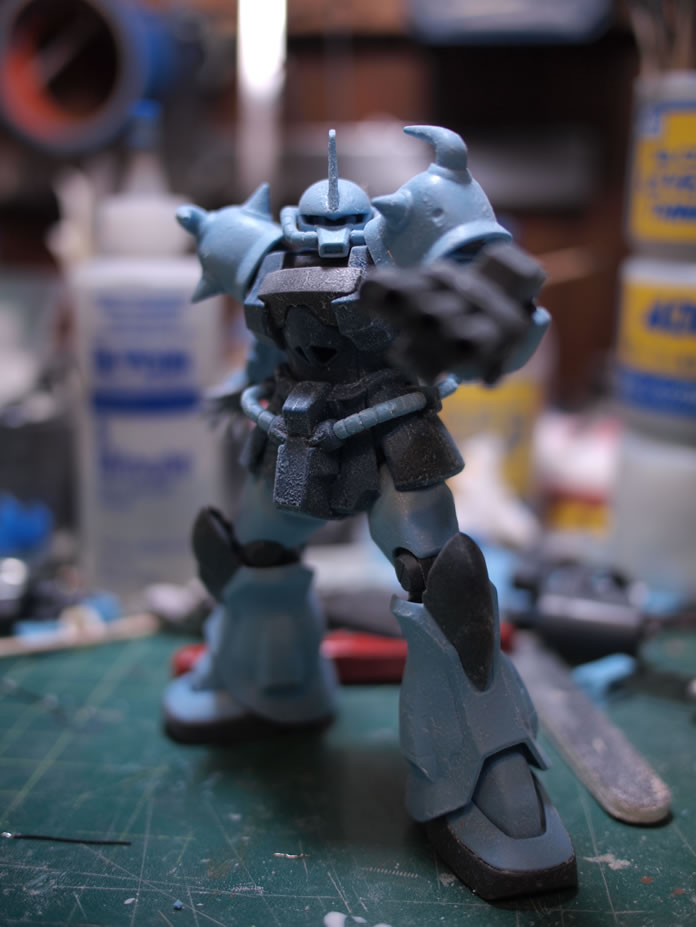
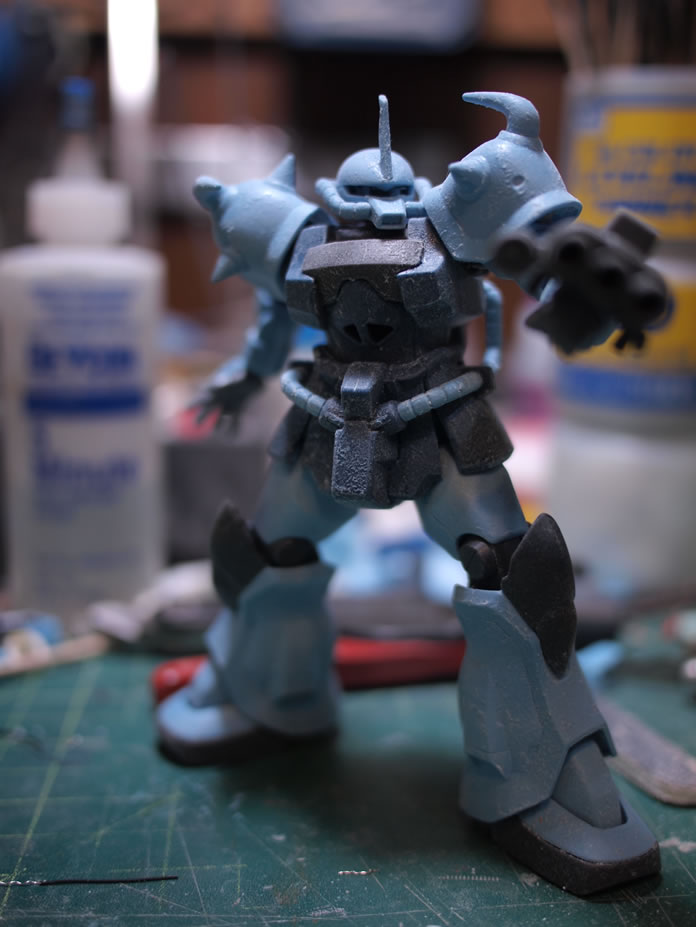
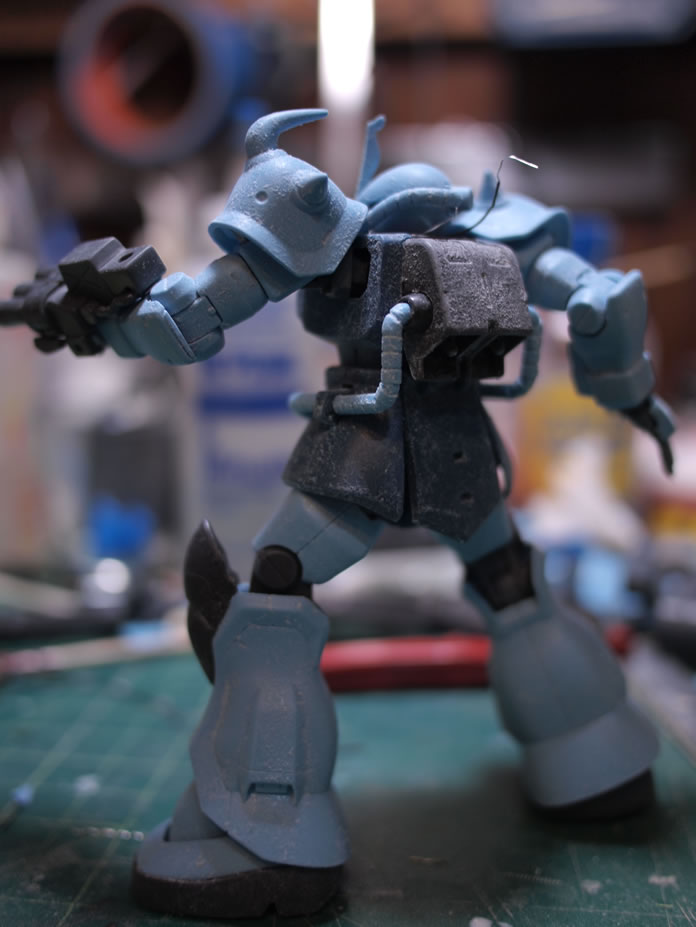
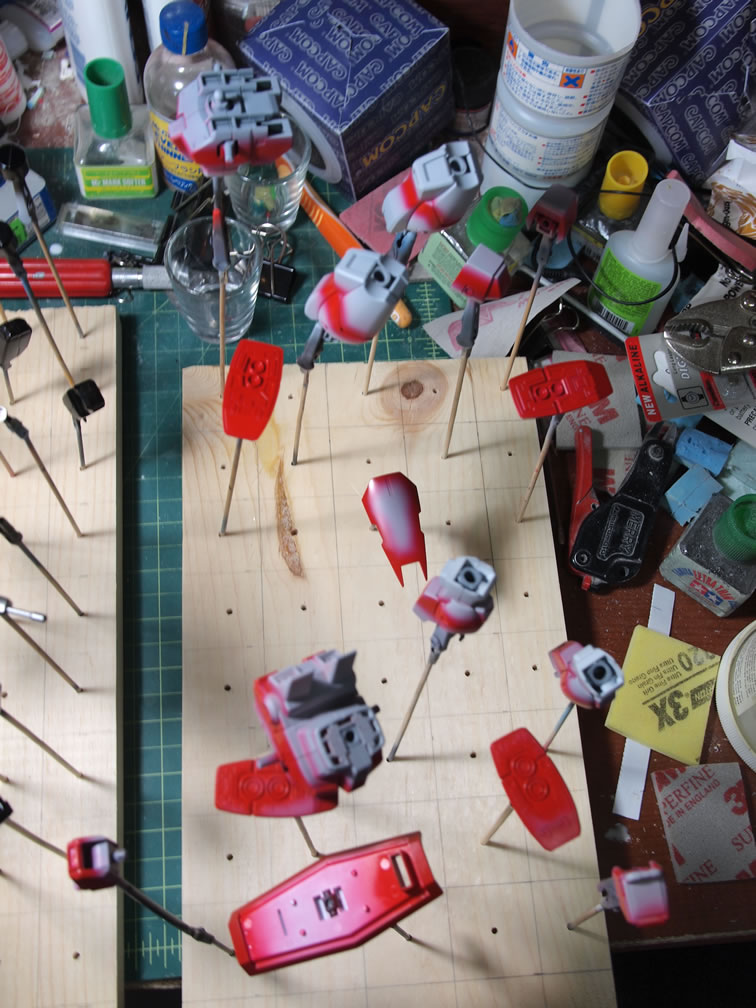
Damages applied. I don’t want to go overboard, but add a significant amount of damage, it is a three GMs on one Gouf diorama.
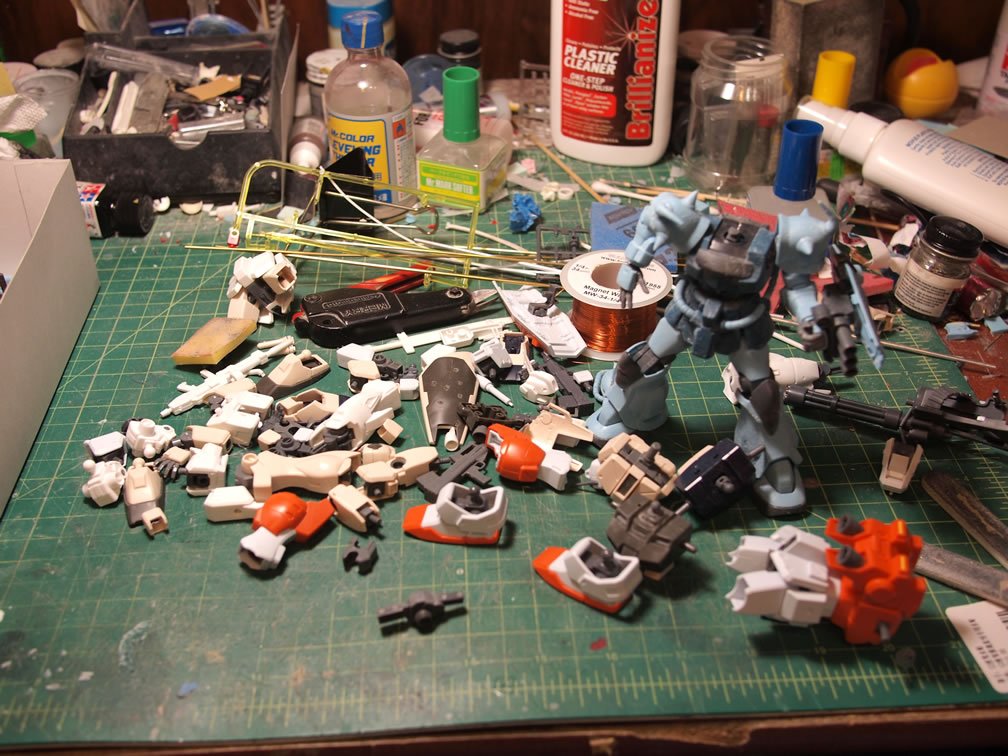
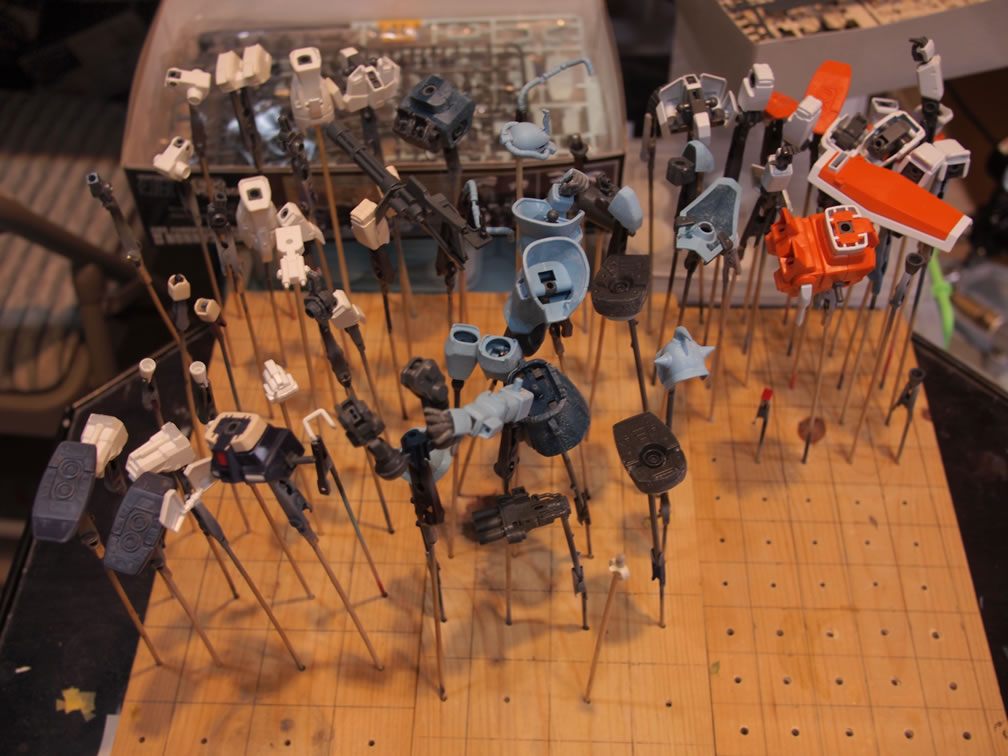
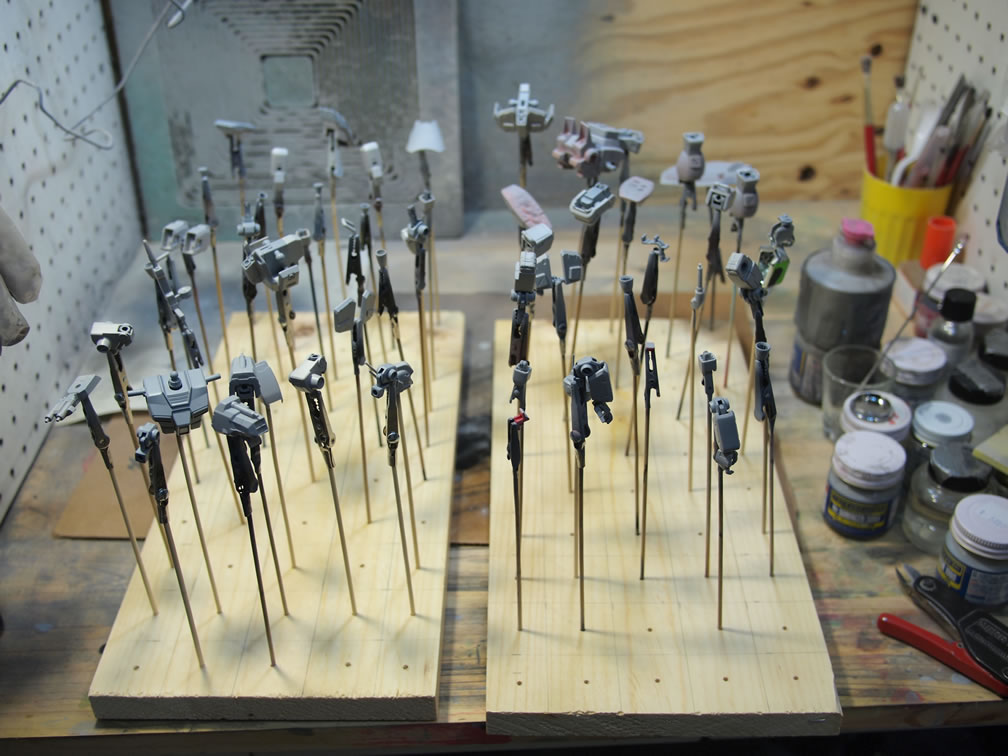
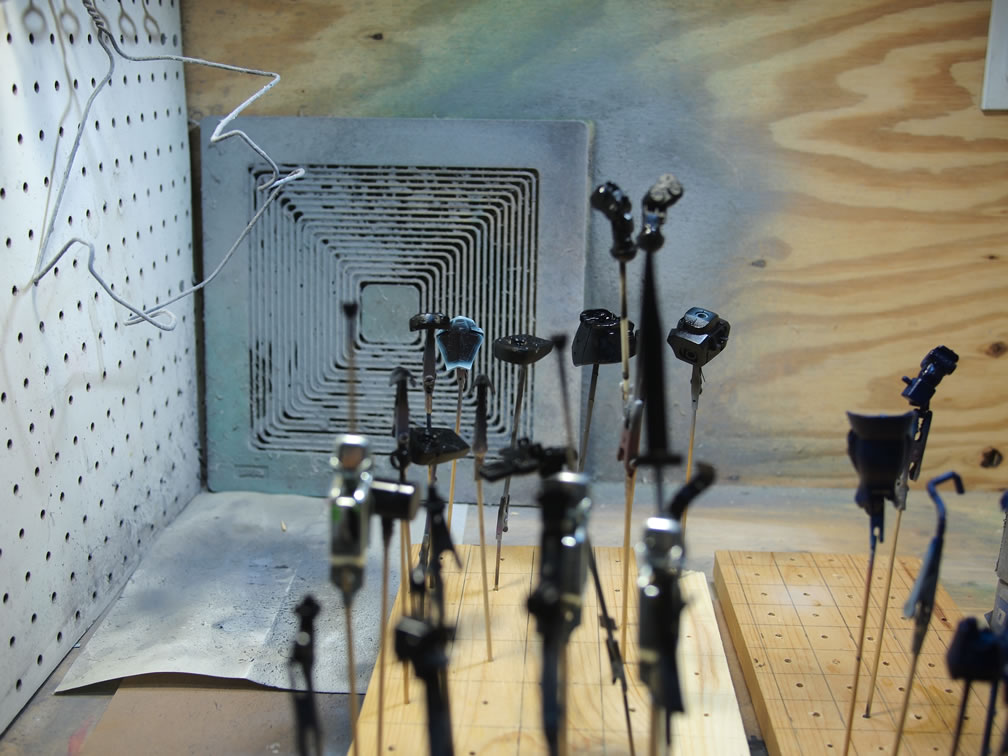
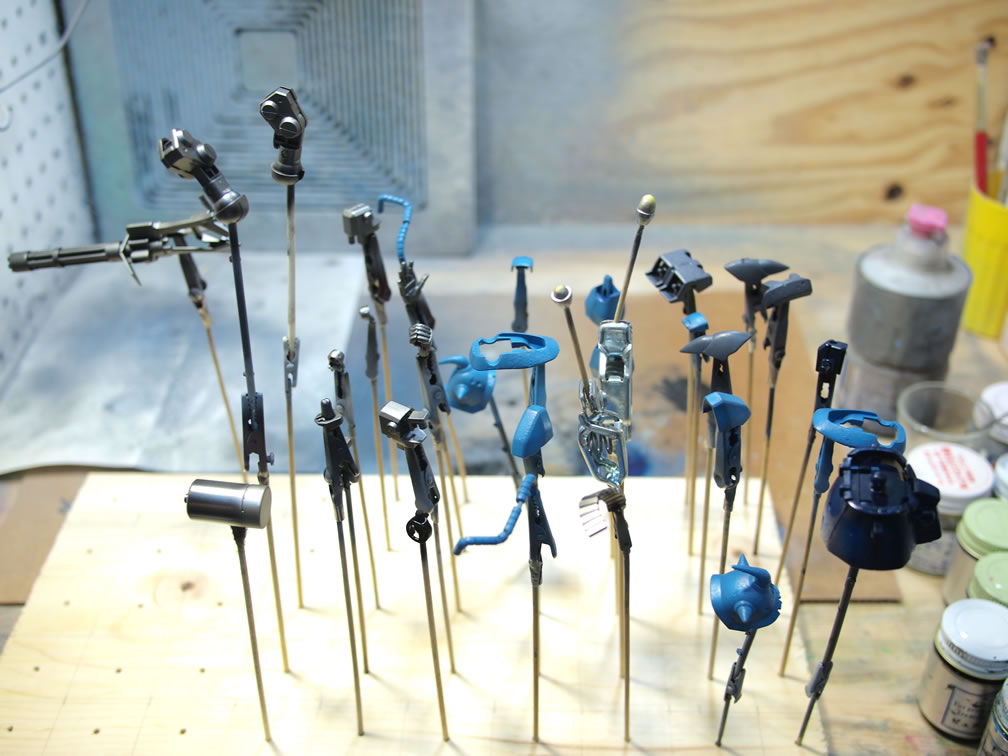
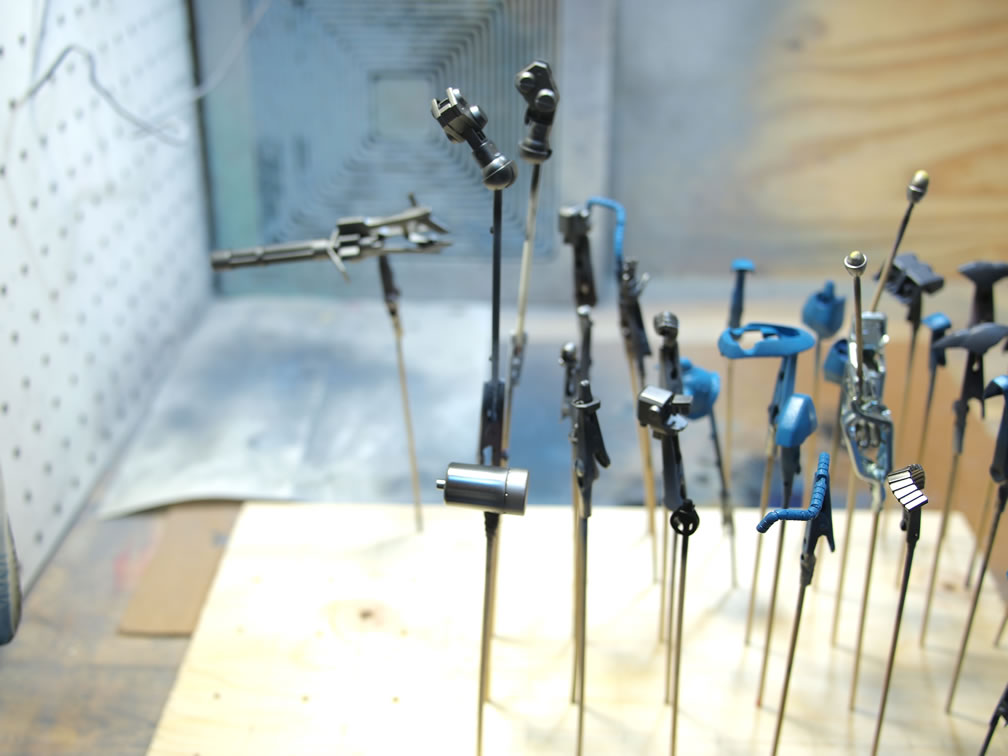
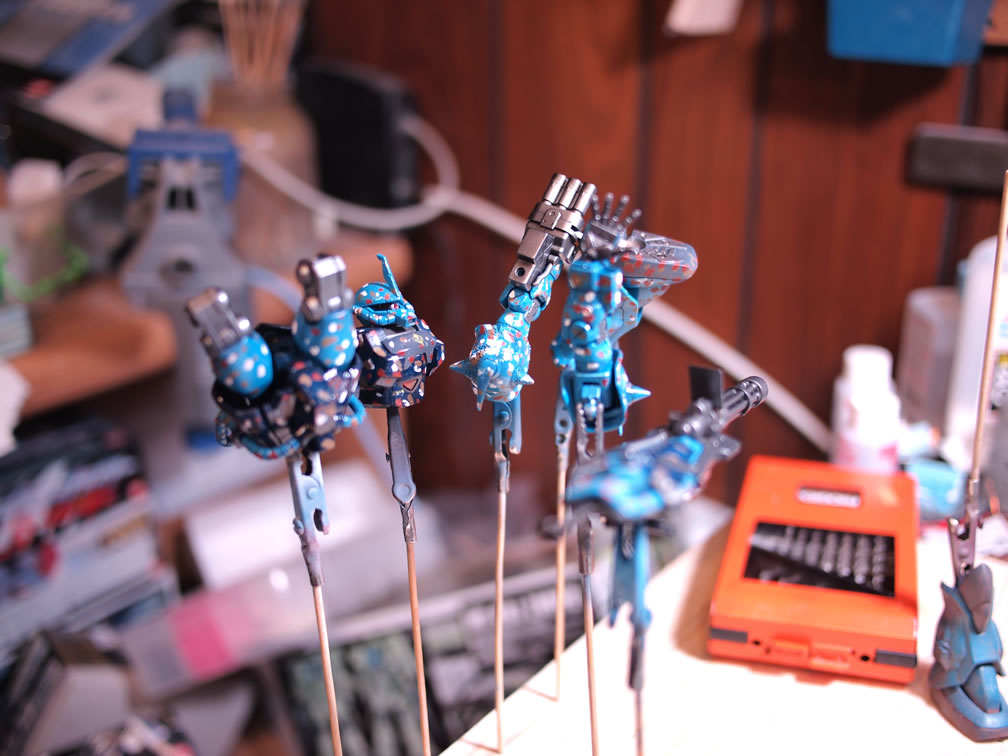
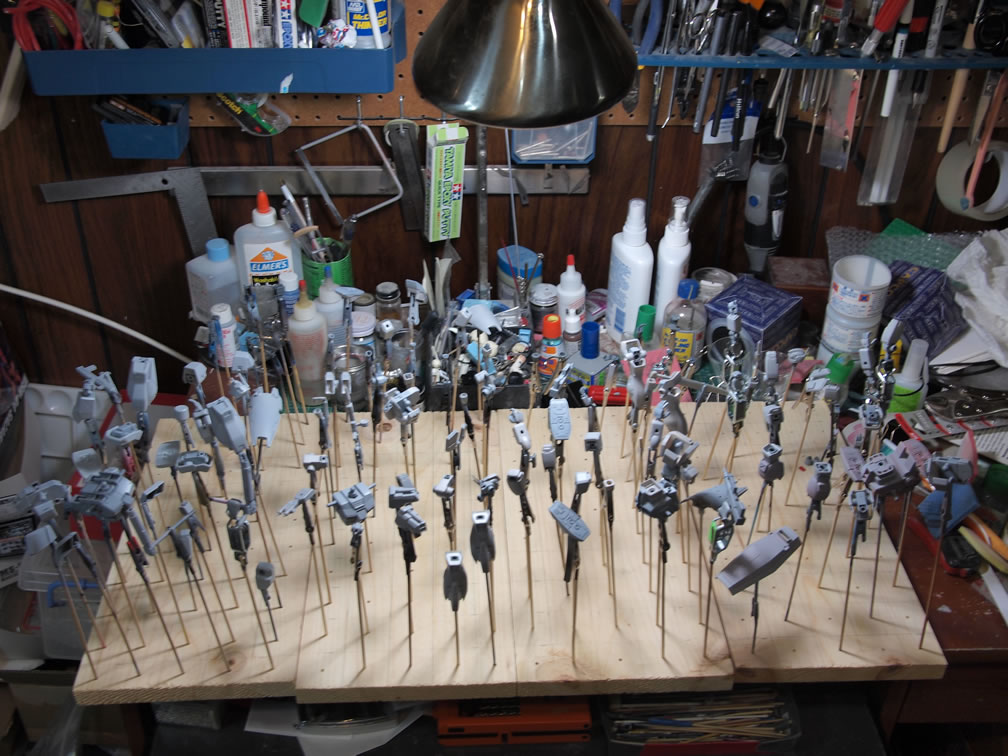
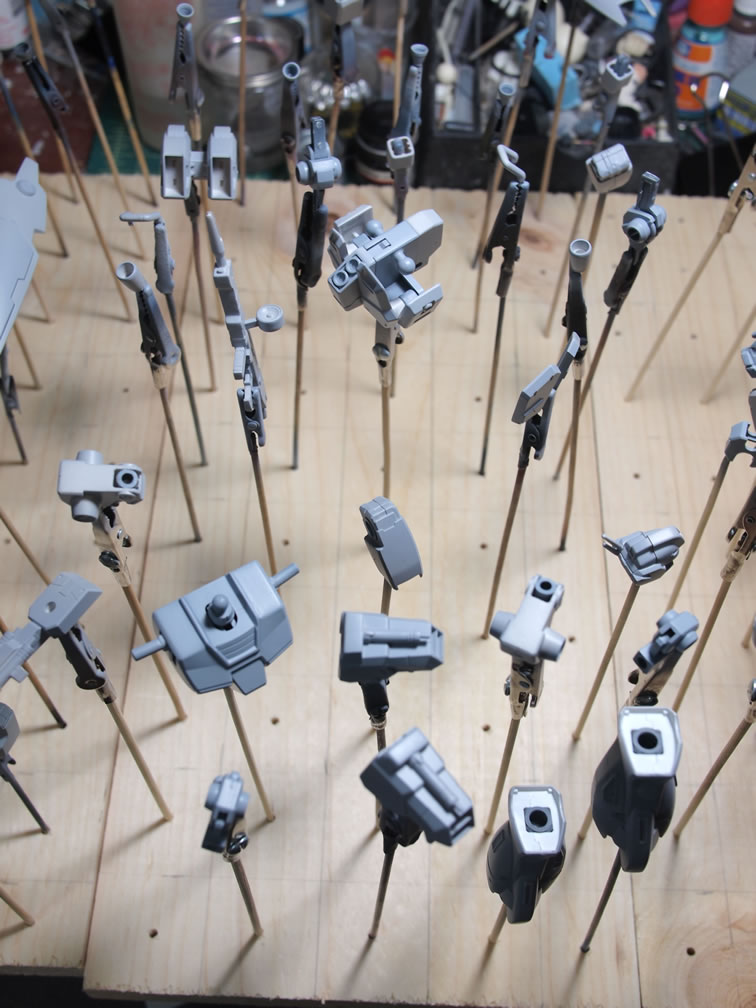
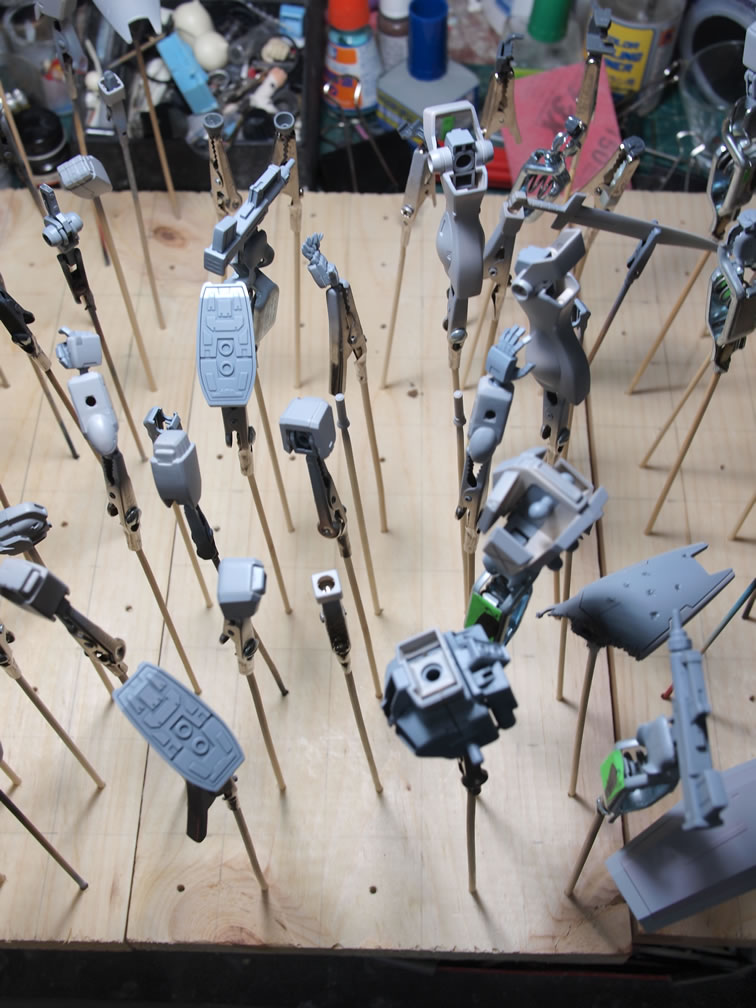
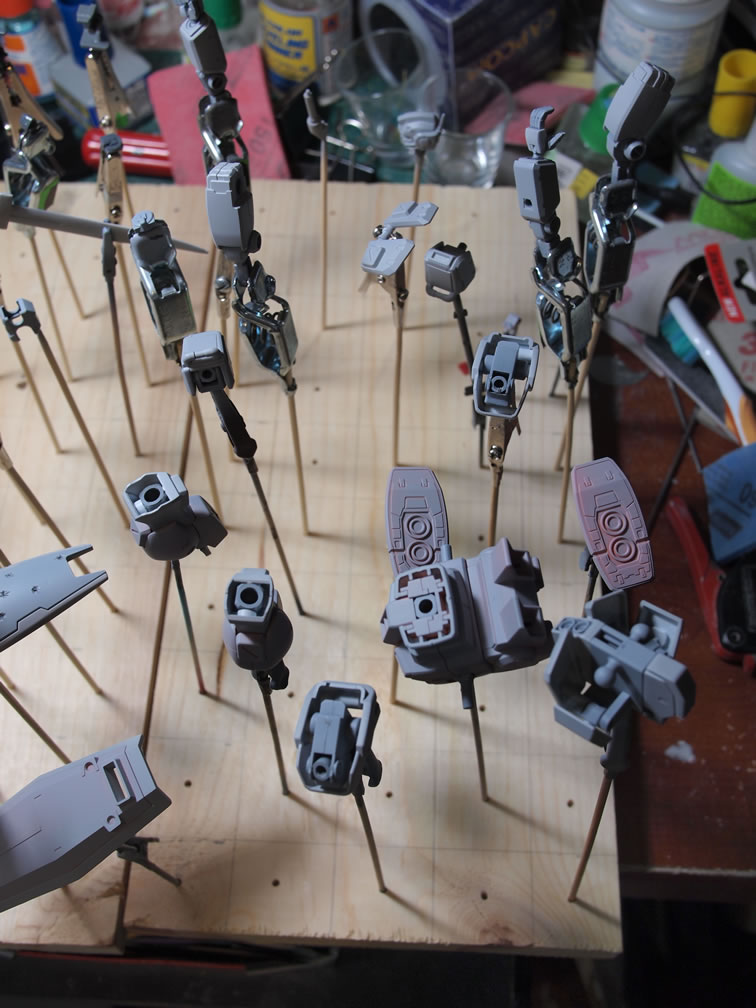
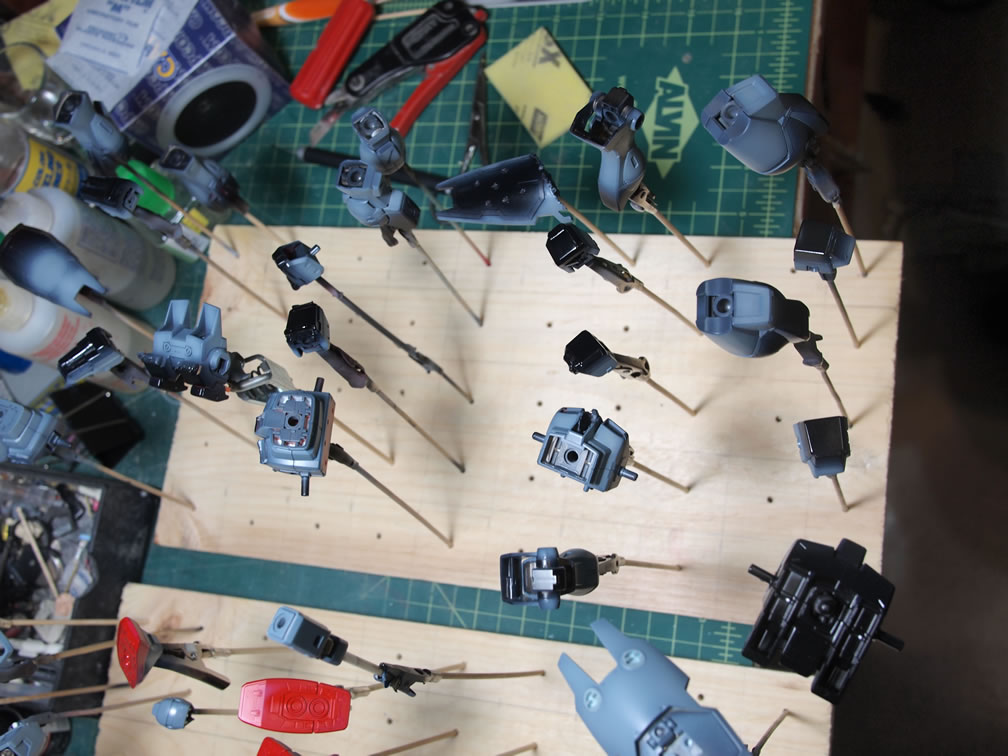
July 6, 2011: Finally getting back to work on this project. The deadline is still November, but the sooner I get this out of the way, the more I can concentrate on the next projects in queue. So recently, I finished off the Sazabi and the SD Nightingale, so now to crack open the box that I ended up throwing all the kits into. Great, a mishmash of GM parts and a headless Gouf Custom. After sorting out some parts and doing some clean up work, there were a few parts that still needed some putty attention. So tamiya basic putty cut with tamiya extra thin cement to the job. Most of the parts are cleaned and placed on skewers. I have enough skewers for three HGUC kits. I’m thinking I’ll need to make more skewers and get some more wood blocks for holding parts.
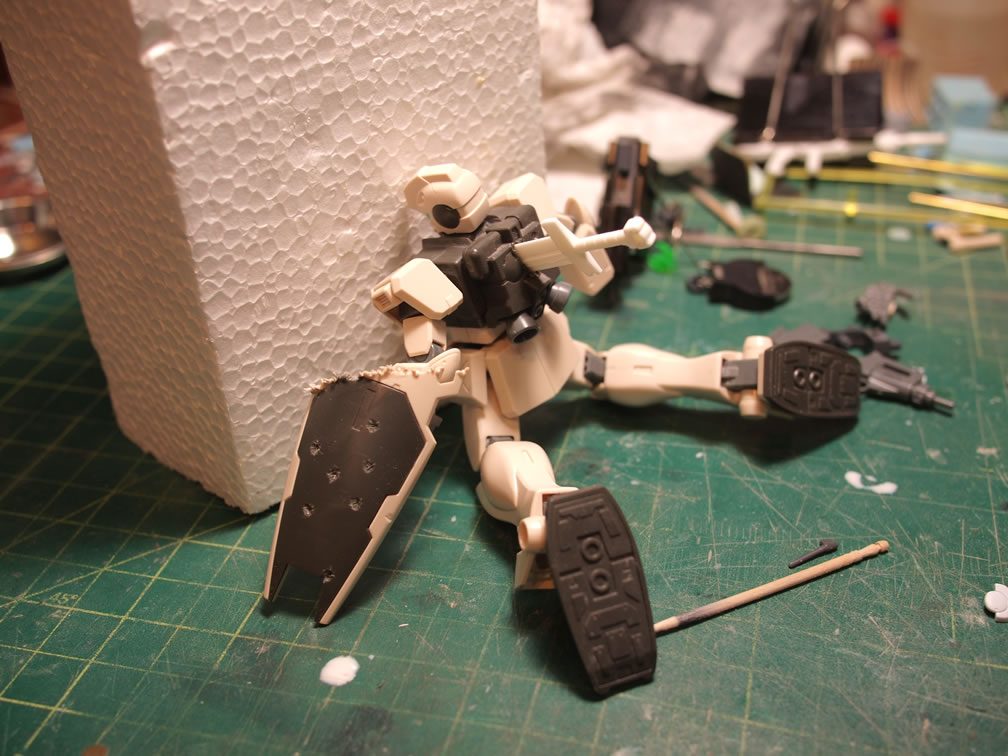
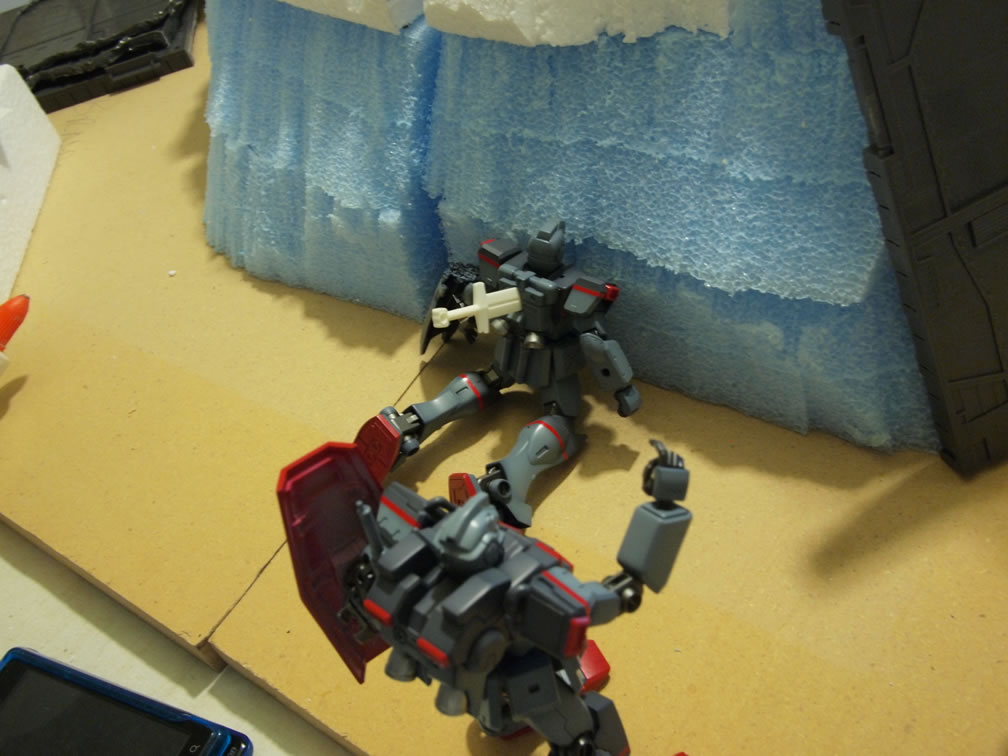
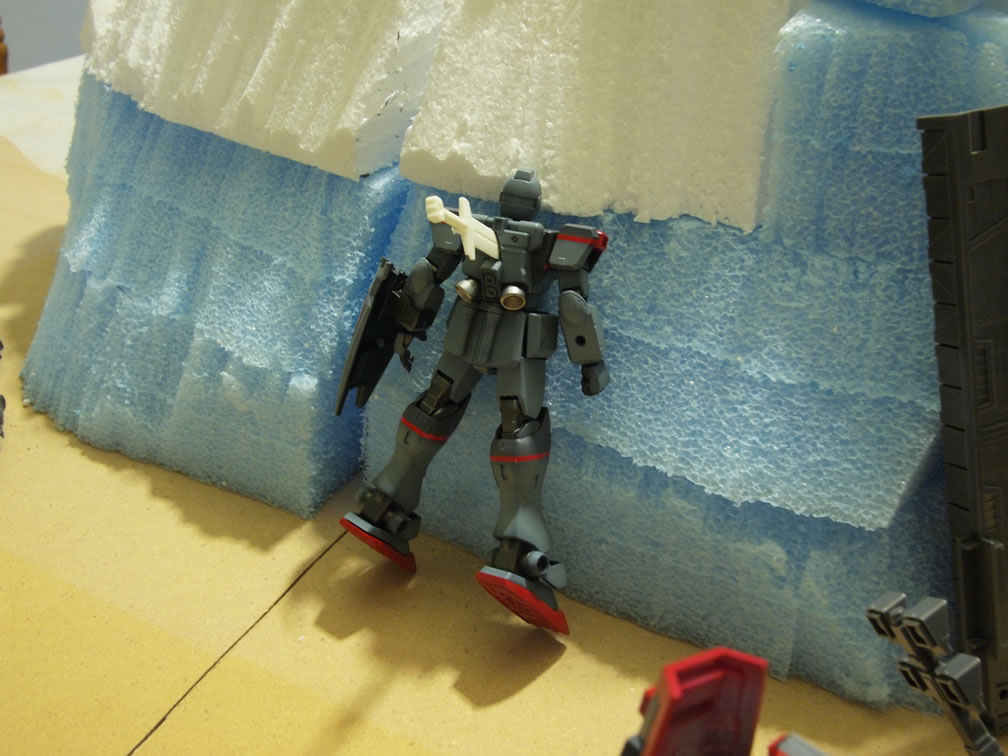
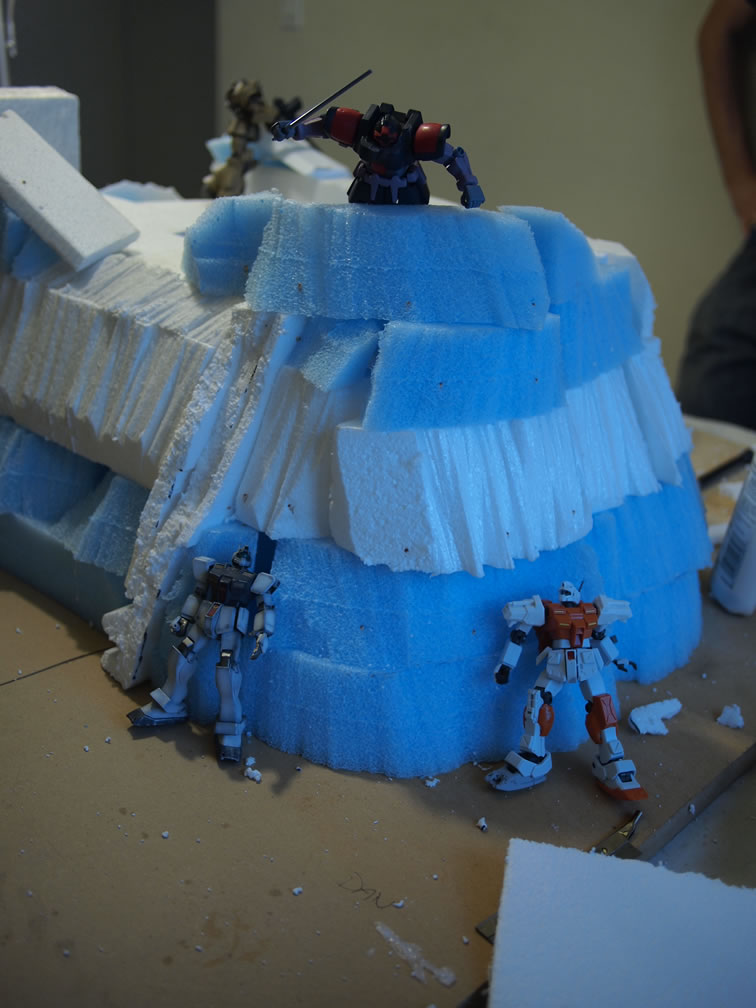
Stealing and modifying Angel’s idea of having a Zaku smashed up against the side of the canyon walls of the diorama, I decided that for my “dead GM”, instead of riddling it with bullets and having him face down in the dirt, I’ll riddle him with bullets and add insult to injury, stick a Gouf Custom sword through him and have him smashed up against the side of the canyon.

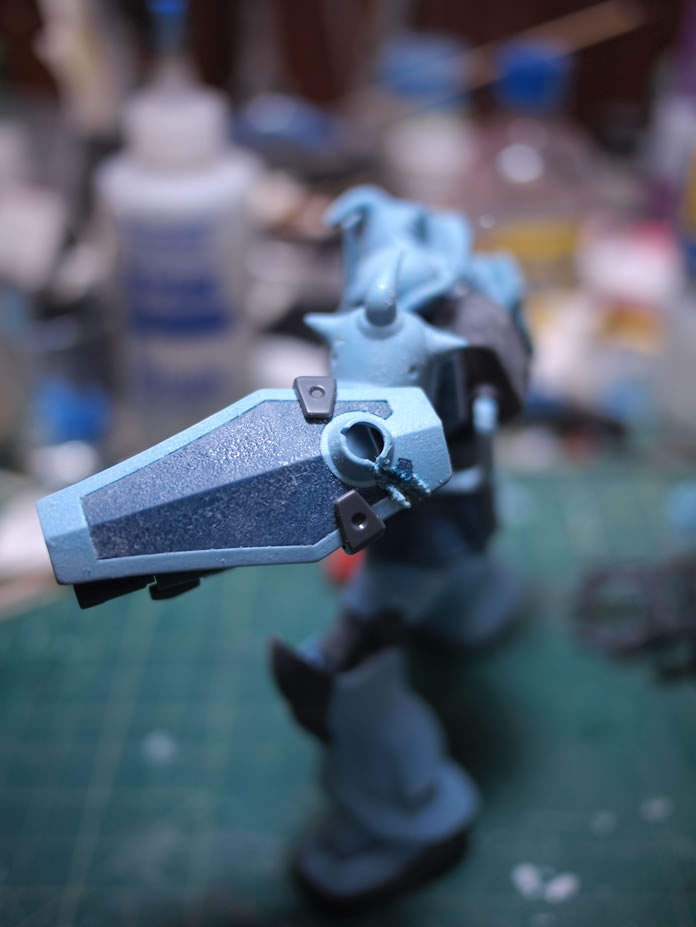
The last thing I did was cut the dead GM’s shield up and rough up the plastic so that it looks like the cut doesn’t look like a hot knife through butter, as is what a soldering iron would do through plastic. The shield was first cut with a saw, then the edges melted carefully with a soldering iron, then using styrene cement, the edges were softened while I used a hobby knife to cut little jagged edges into the damage area.
I still have a brand spanking new GM Cannon II that I want to add to my little diorama.
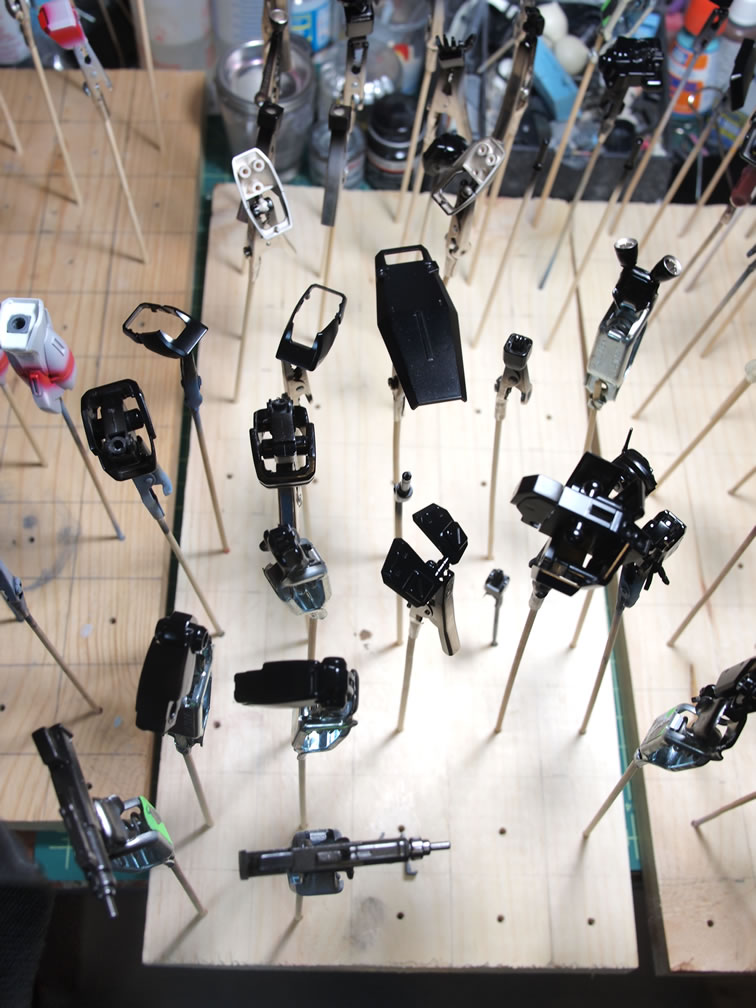
July 14, 2011: Small update. I started priming and got two of the three GMs I had primed. Then realized that I was going to paint them all the same color scheme, and I still don’t have the GM Cannon II done yet, so I put the GMs aside to get the Gouf done. I figured that if I can finish the Gouf in the next two weeks, I can bring the little guy to Otakon and have it sitting next to the MG Gouf Custom that I’m planning on bringing out there. So earlier this week, I got the Wagtail and the Power GMs primed. And then yesterday, I got the Gouf Custom primed.
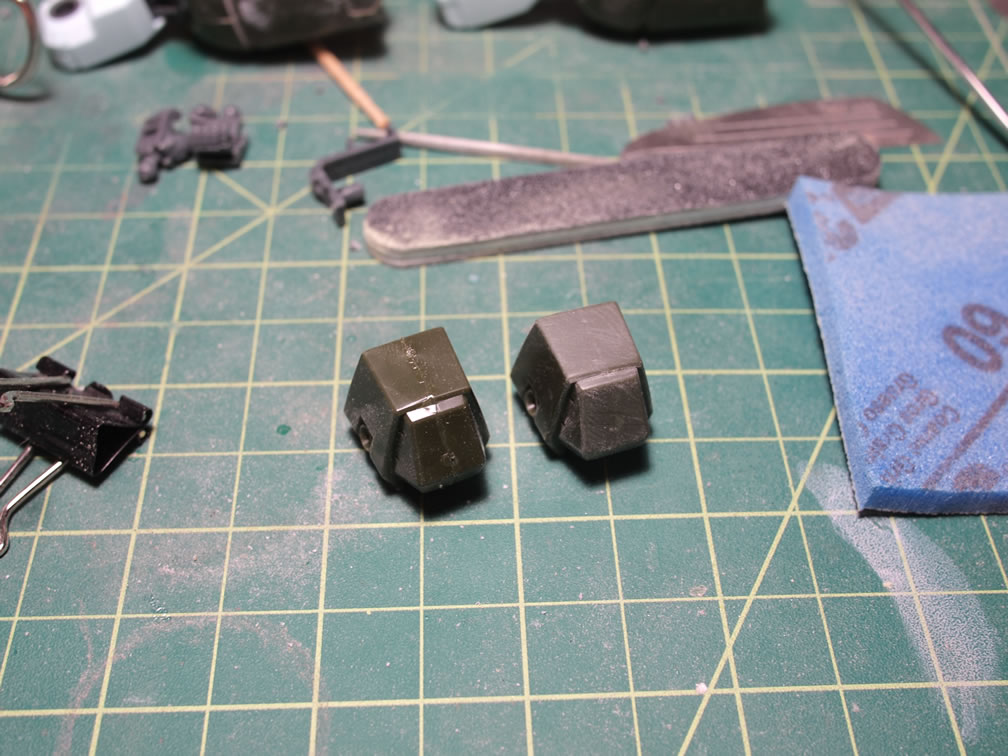
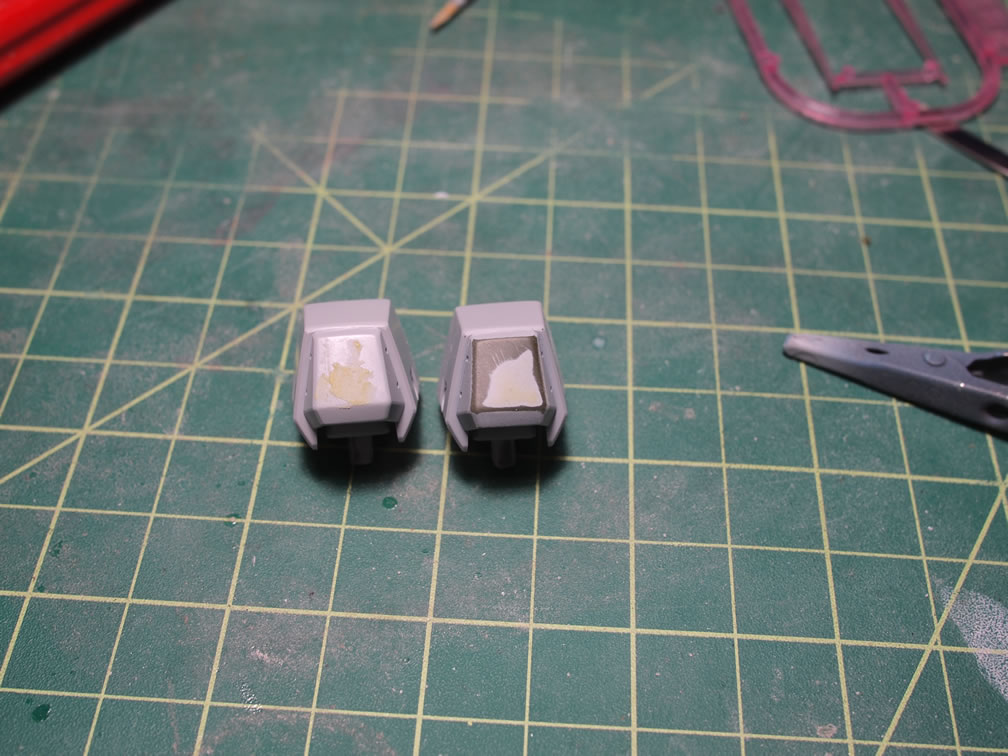
Looking at the primed backpack, I thought about cutting out the little indented details and filling it with mesh. Then figured I’d just leave it alone. That thought lasted all of 3 minutes and I pulled the part from the primed drying racks and started drilling into the area for a pilot hole. Then used the hobby knife to carefully cut out the excess. This is extremely dangerous, a slip of the hands will end in a bloody work bench. I’ve done this far too many times, so I went very slowly.
Getting most of the excess plastic out, I went with files to sand down and give me straight edges. This is a much safer albeit much more tedious process to cleaning out the excess plastic. But once the edges were done, I went on and did the other side. I then glued some meshing on the inside of the backpack, and in my haste, I forgot to take a picture before I based coated the thing in black.
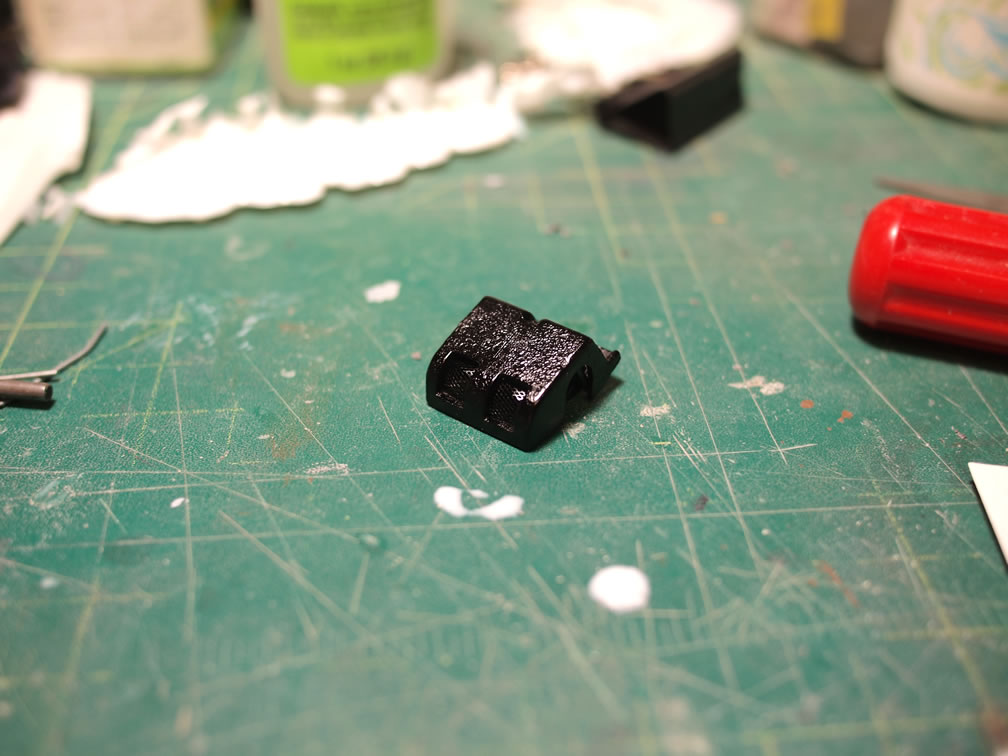
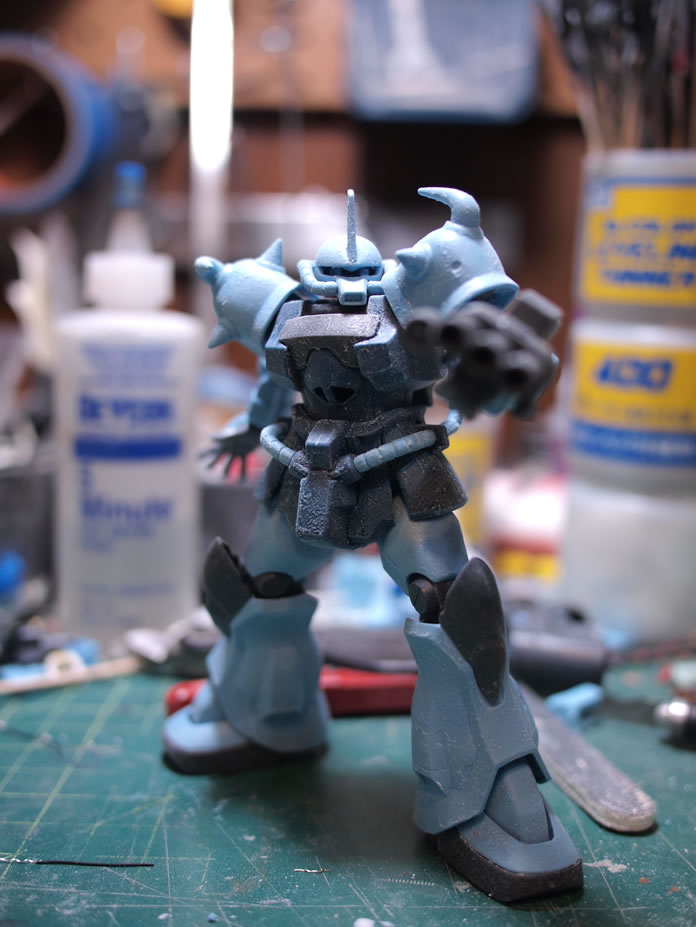
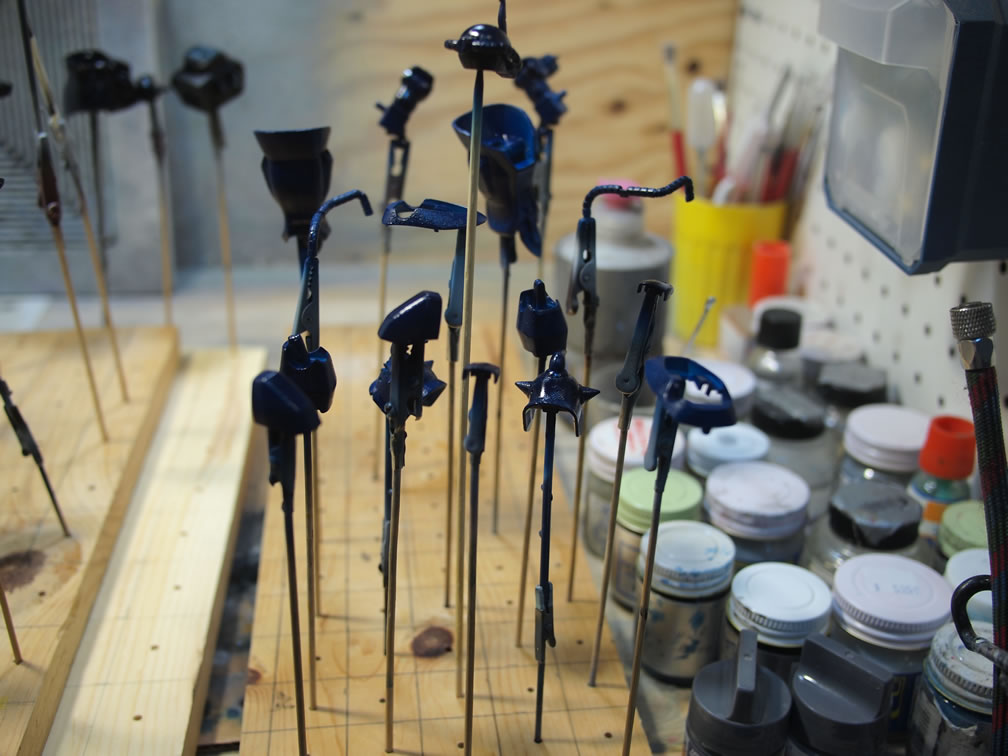
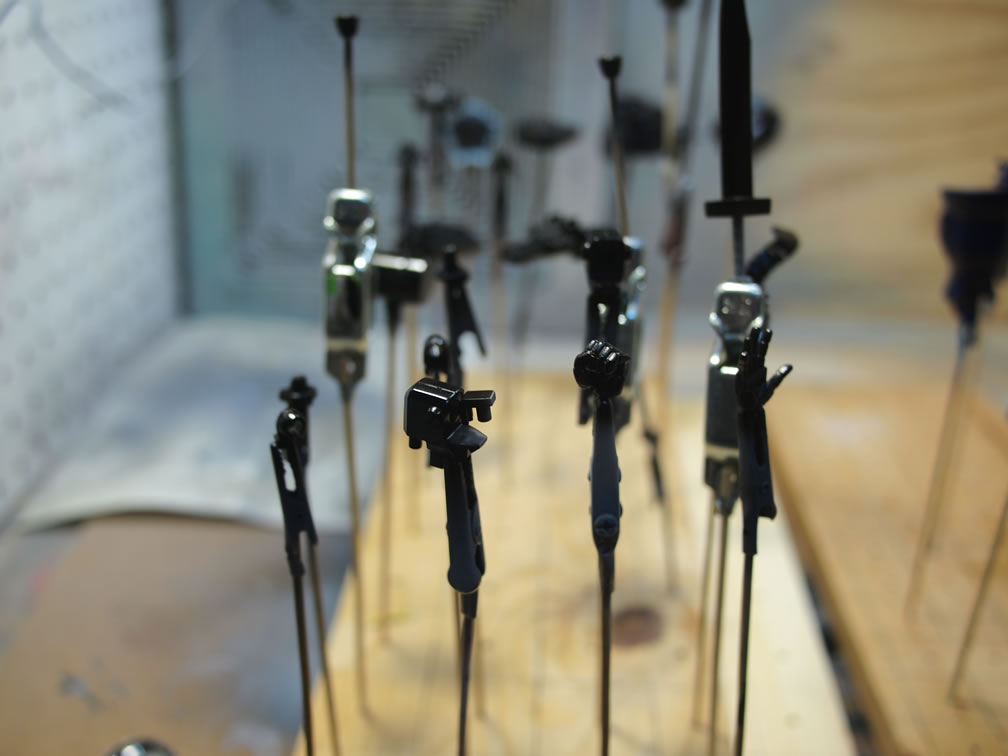
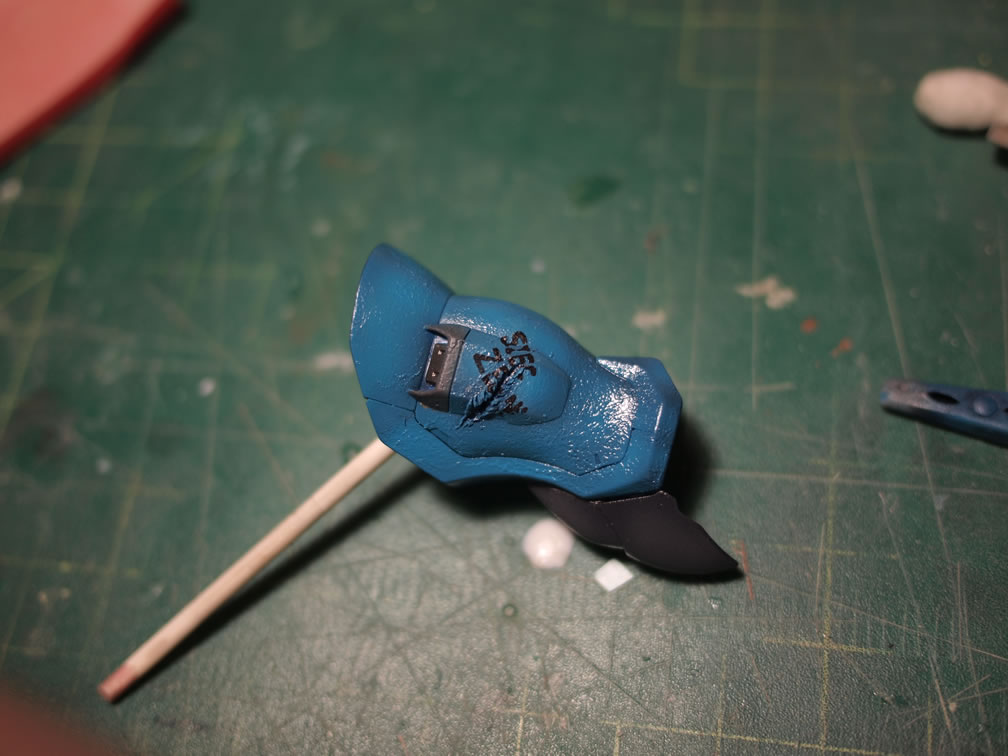
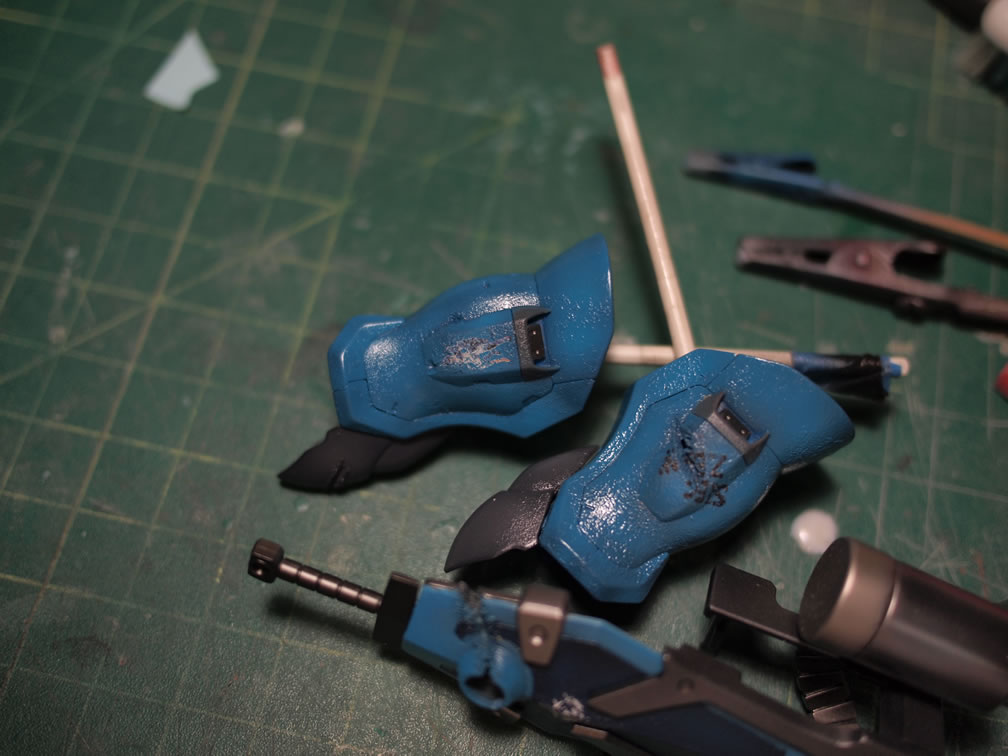
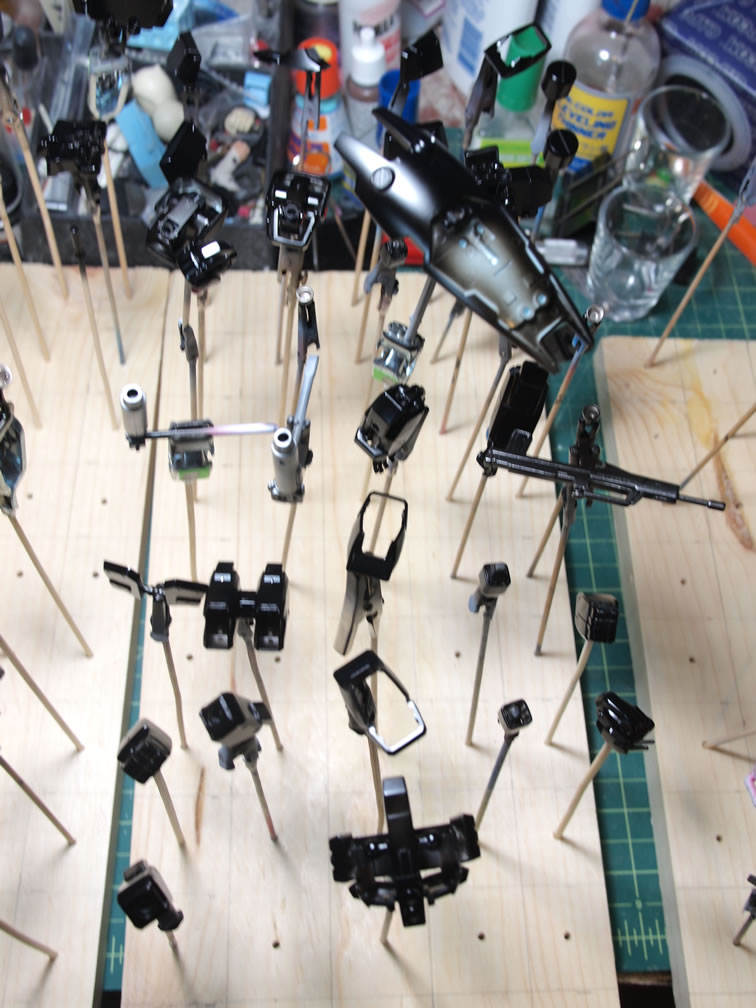
The rest of the parts were base coated. The light colored armor pieces were based coated in finisher’s wolf’s blue. The internals and gray pieces were base coated with gloss black. And finally, the darker blue areas were based coated in finisher’s blue black. There’s a very slight tint of blue, but it looks almost black. Kind of neat color, probably better to use to tint things or just as a base coat for blues.

Next up will be the shading lighter tones and metallics for the internals.
July 17, 2011:
Since the last update, the internals were painted, and the second lighter coats were painted onto the armor pieces.
Since this is an HGUC kit, there is invariably a decent amount of masking necessary, so those parts were masking during the July model build gathering. The parts were masked then painted, and some parts such as the shield needed to be masked a second to time paint a third layer.
With everything dry, today I sprayed on the clear gloss over everything, then several hours later, applied some decals and let those set for another couple of hours. With the decals set, I used a hobby knife and the red 150 grit sanding pad to weather the decals so they do not look brand spanking new.
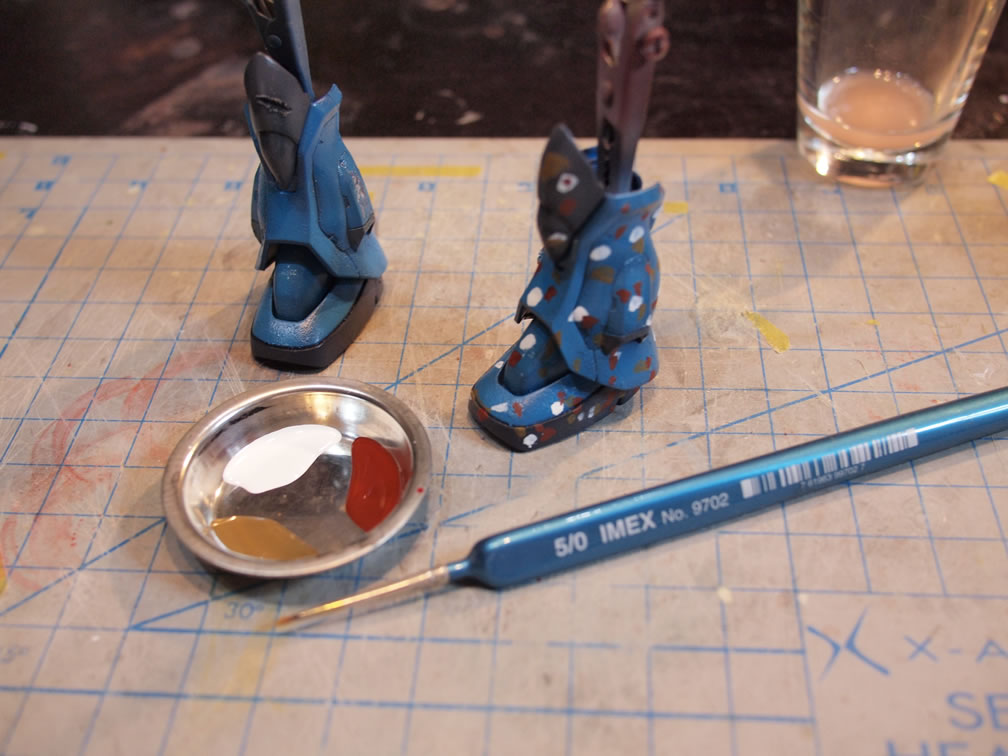
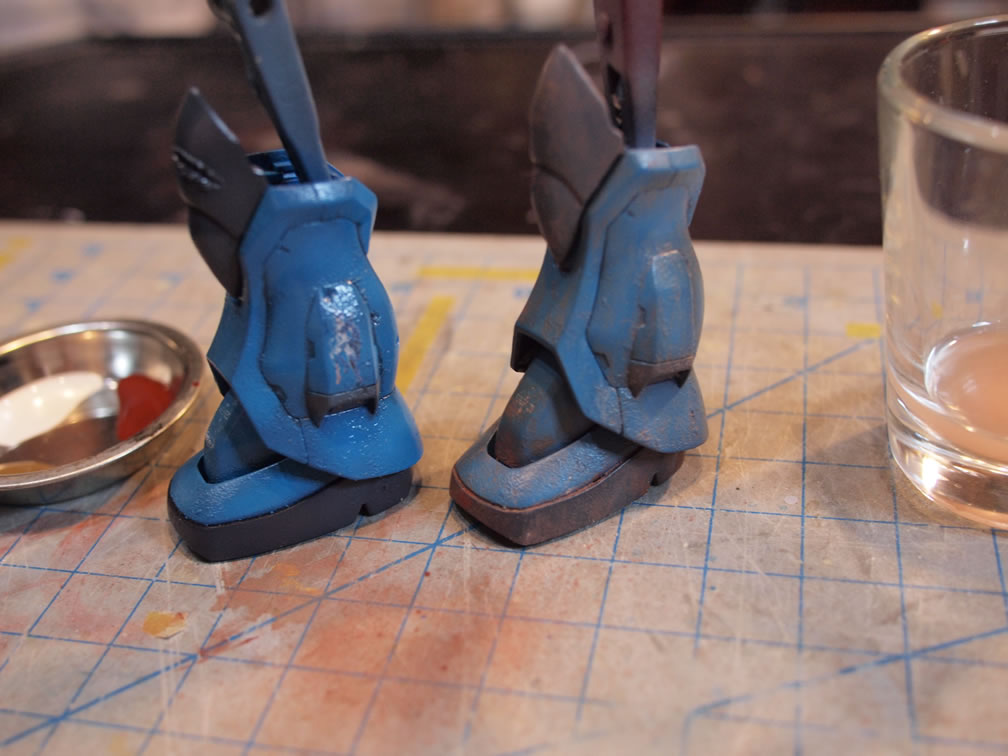
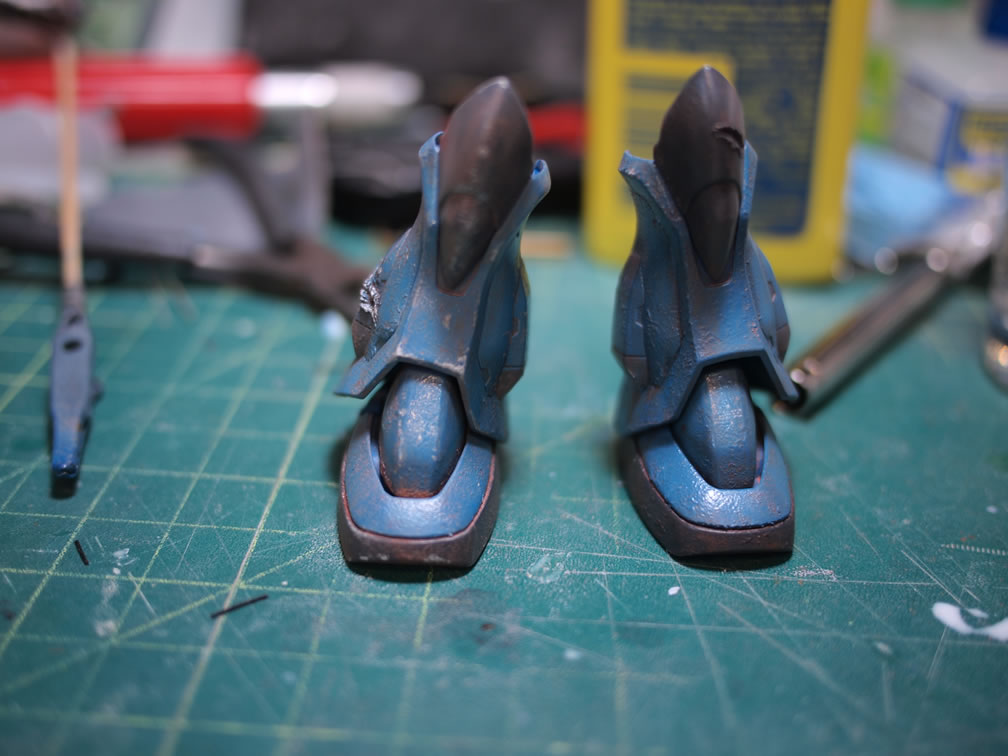
Before and after pictures for the legs with the decals applied and then weathered.
Next up will be the several weathering sessions.
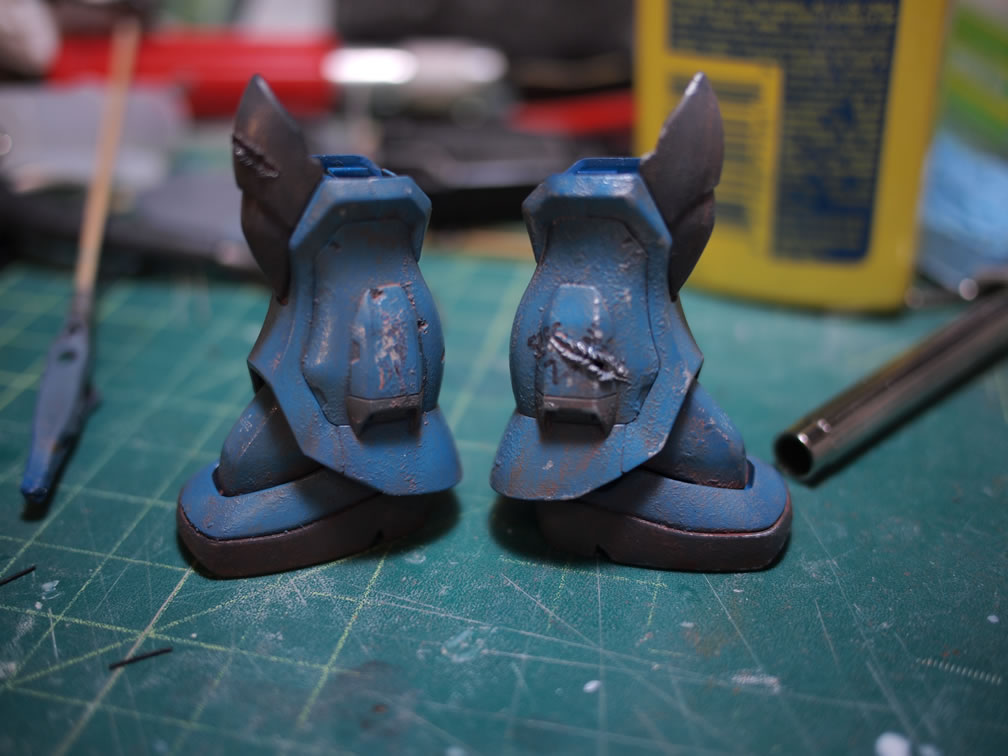
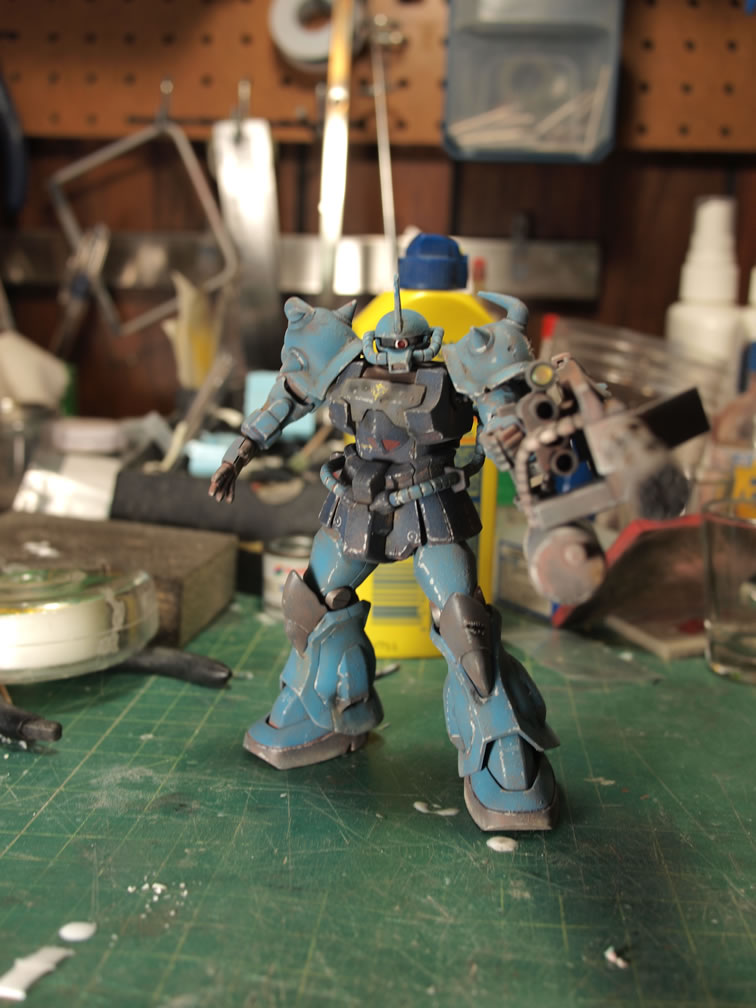
July 19, 2011. Yesterday, I panel lined and clear coated the parts to protect the panel lines from the following weathering sessions.
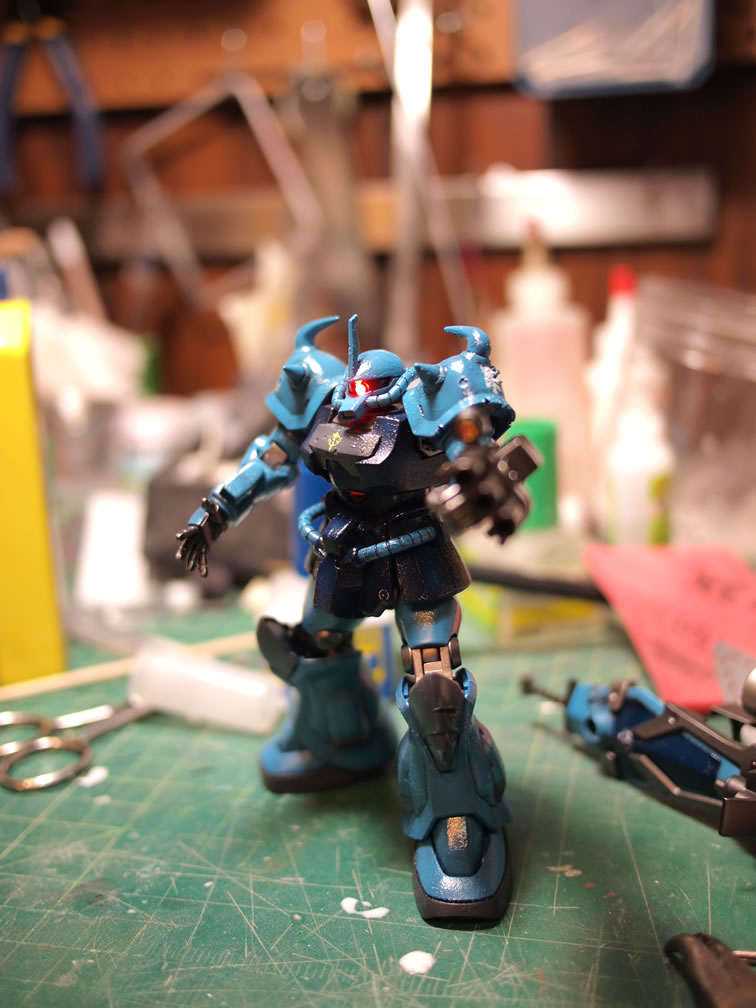
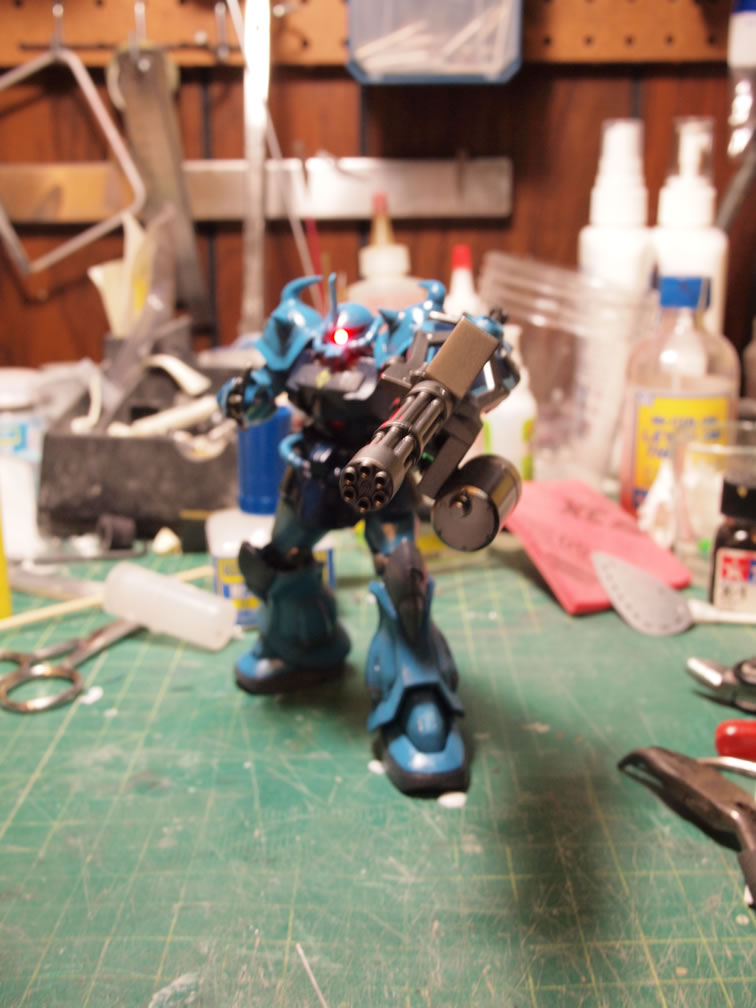
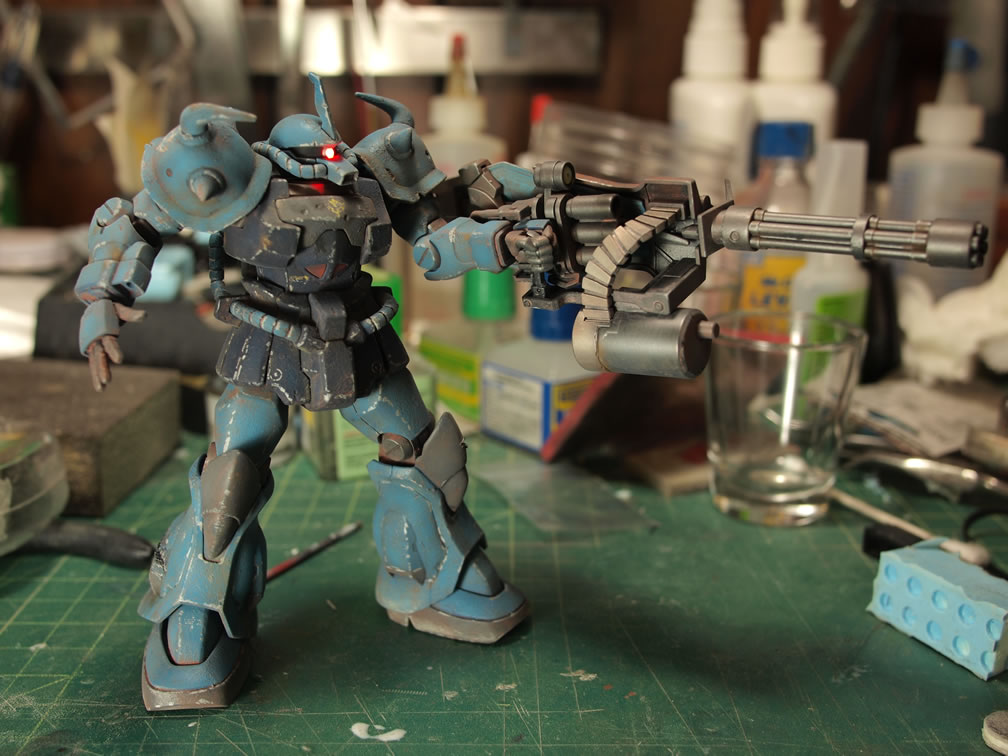
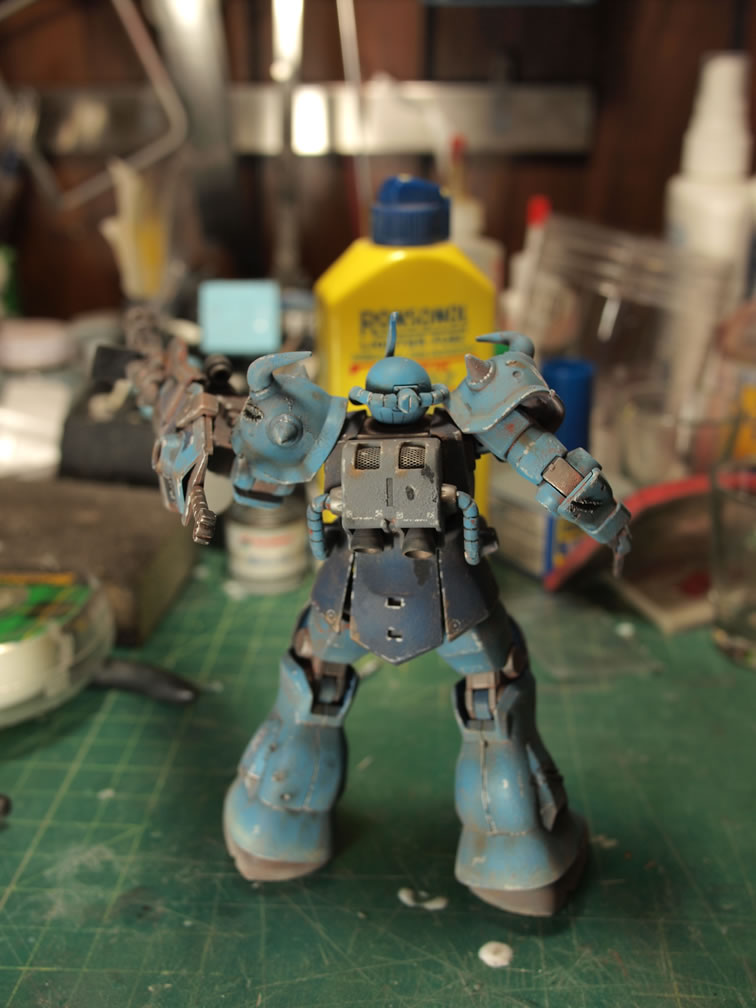
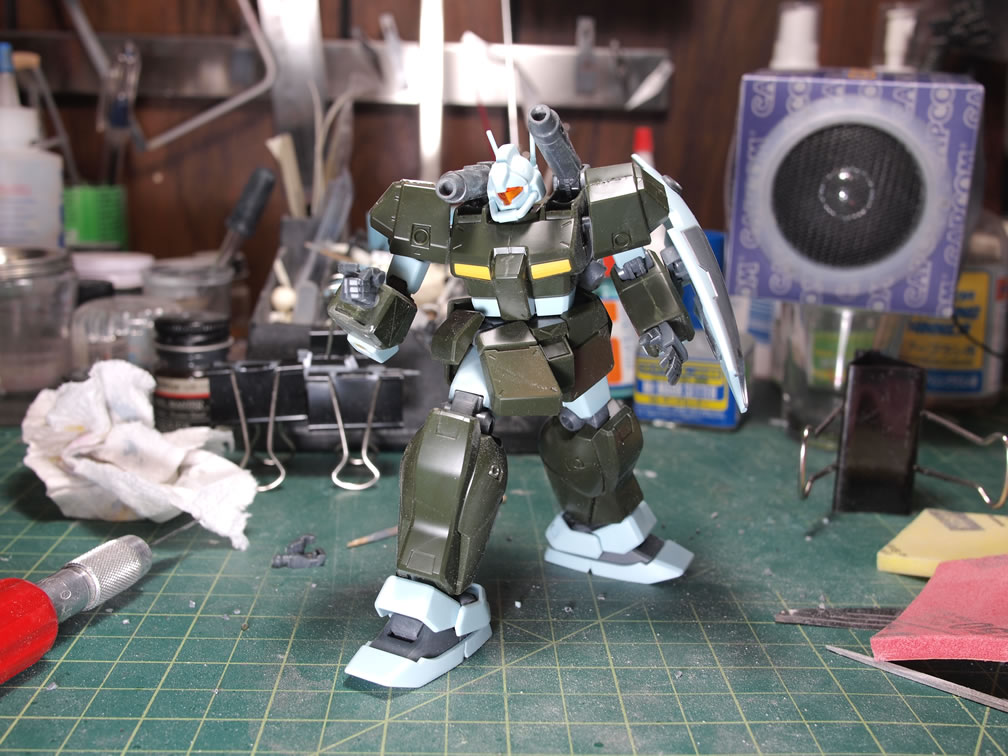
I took the kit and snapped it together as well as wired together the mono eye and the rest of the body. It’s a very simple lighting mod. All the electronics are self contained in the main body. The light is operated with a magnetic switch when a magnet is placed inside the backpack. The I put the entire kit together for some quick shots in it’s glossy wonder.
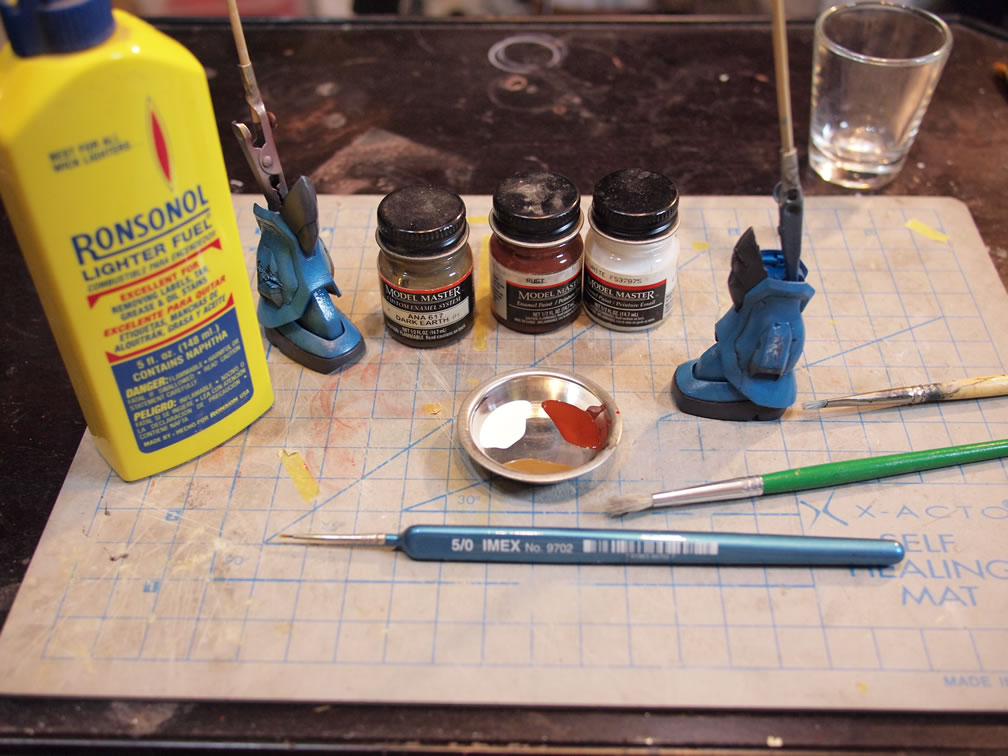
Tonight, I broke the kit down into major sub assemblies and started on the first part of the weathering sessions. The filter. Using enamel paints, white, rust, and dark earth, the kit parts are dotted up and allowed to sit for a few minutes. Then using a very stiff brush dipped in lighter fluid, the dots are washed away leaving the surface with a change in tone and looking dirty.

The rest of the parts are dotted up and clean up. Tomorrow will see the next weathering step.
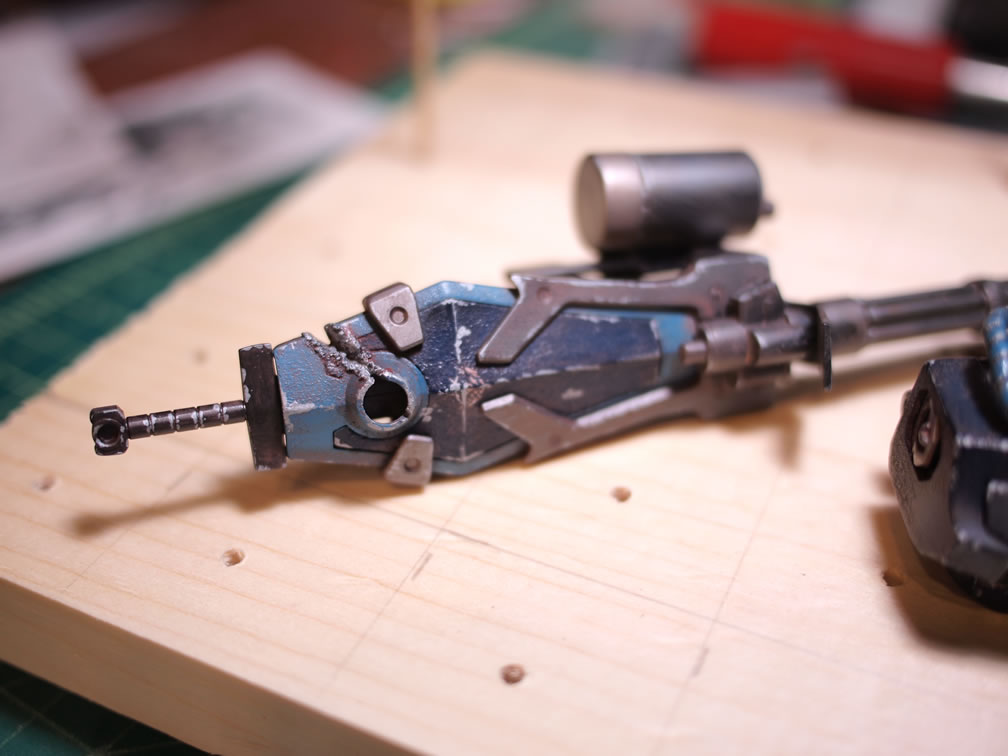
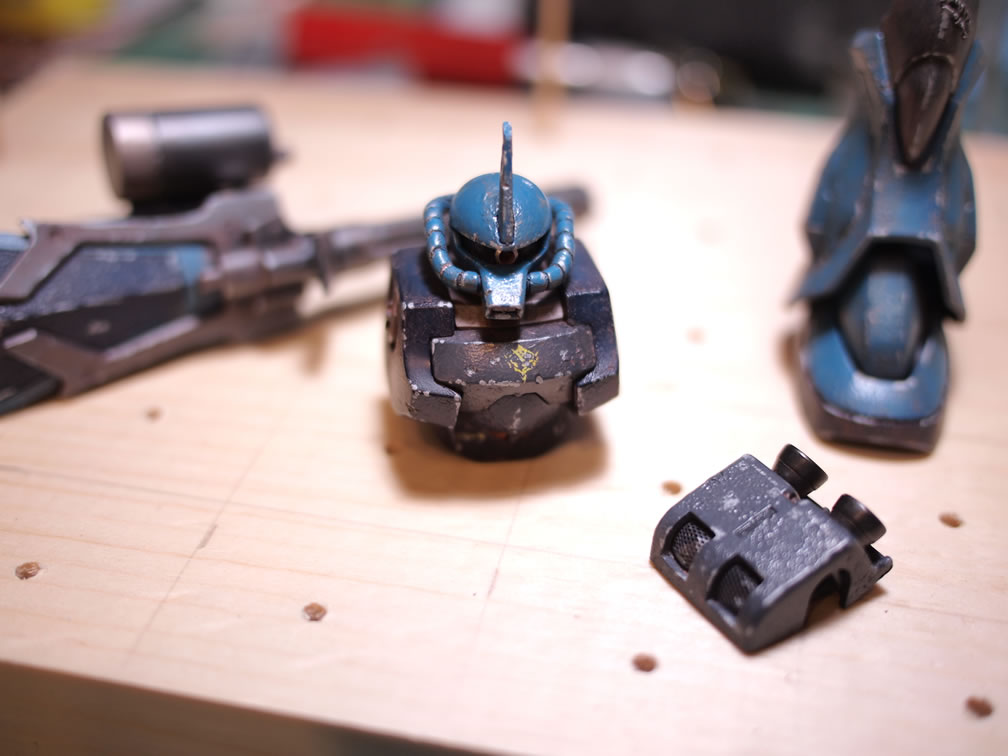
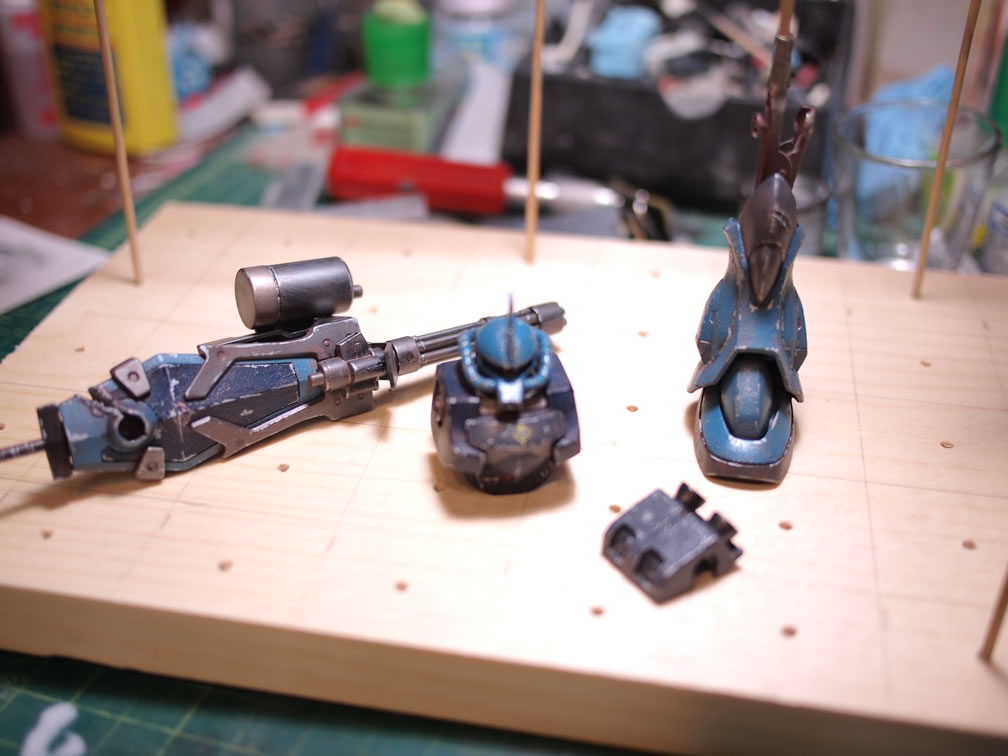
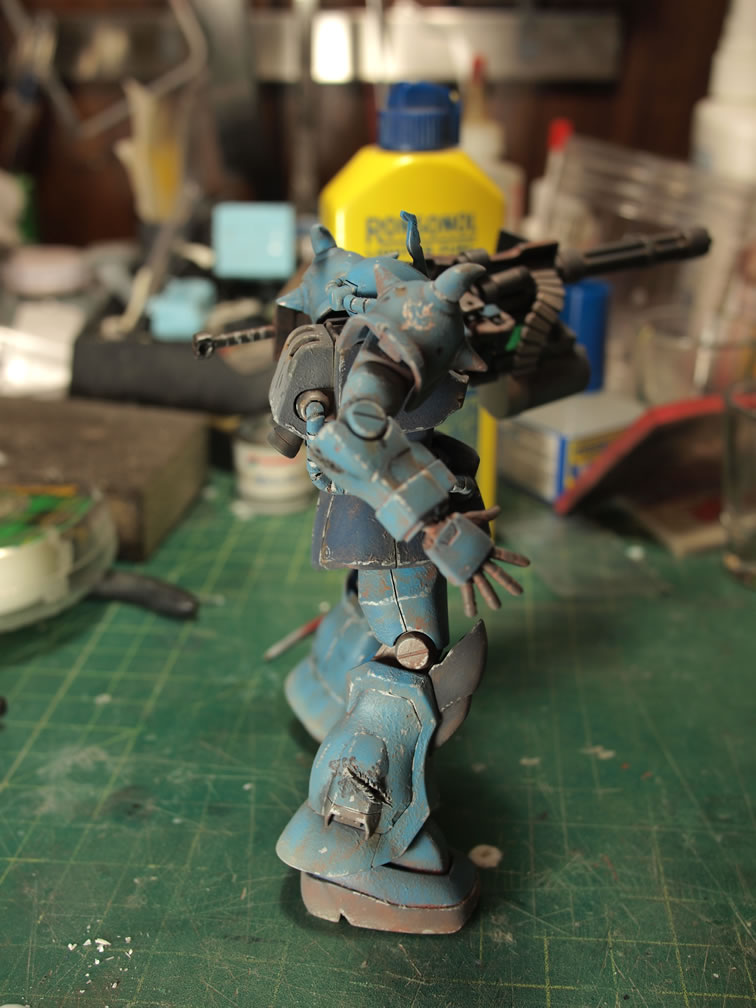
July 20, 2011: Spent the evening doing the very laborious task of paint chipping the kit. The second stage in my weathering sessions. Using an enamel based silver paint and a small brush, little paint chipped areas were applied to the kit.
Some of the close ups looks as though I may have gone a bit overboard. We’ll see how this sucker looks with the pastels and final clear coat. Should be ok. But I don’t know, I started off fairly light and just got heavier as I progressed….
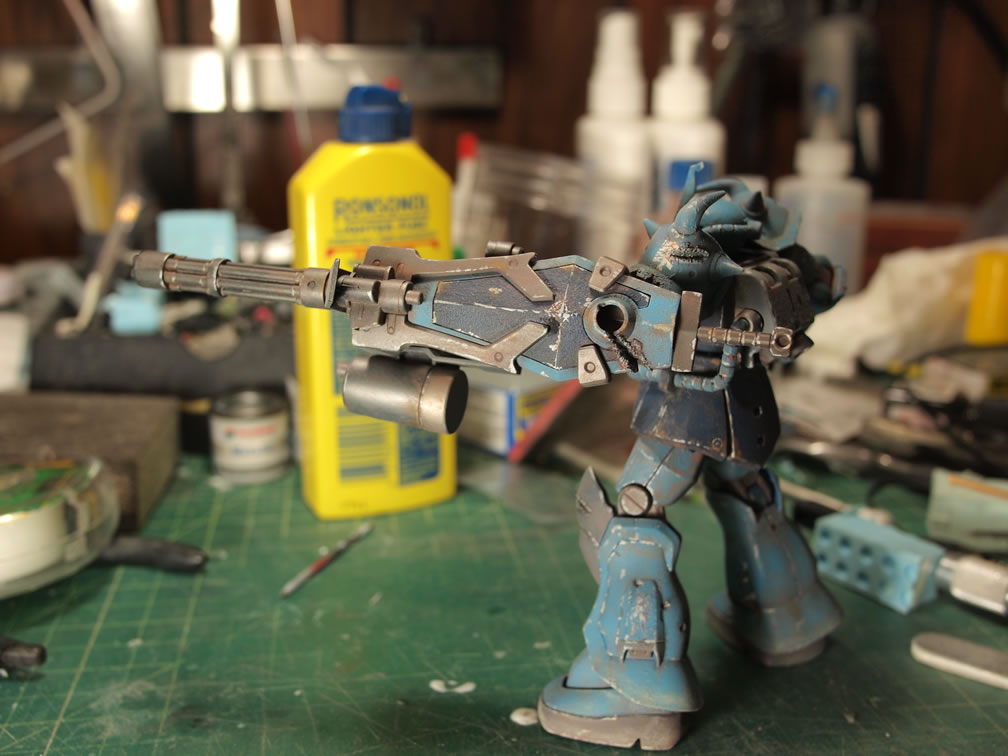
July 24, 2011: Final weathering session is completed. The kit was put together for a quick picture before continuing with the weathering.
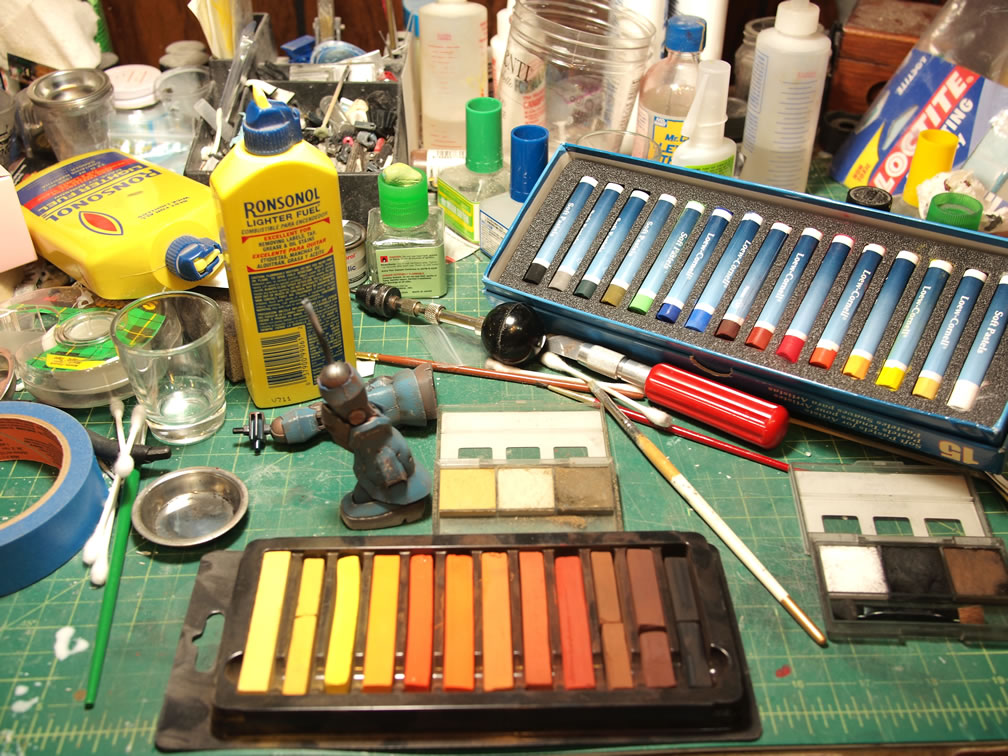
Chalk pastels and pigments to add dust, rust, and some oil stains to the kit to add the final touches of weathering.

And finally a clear flat was sprayed over the parts to seal in all the pastels and pigments. This kit is done, now to get to work on the GMs.
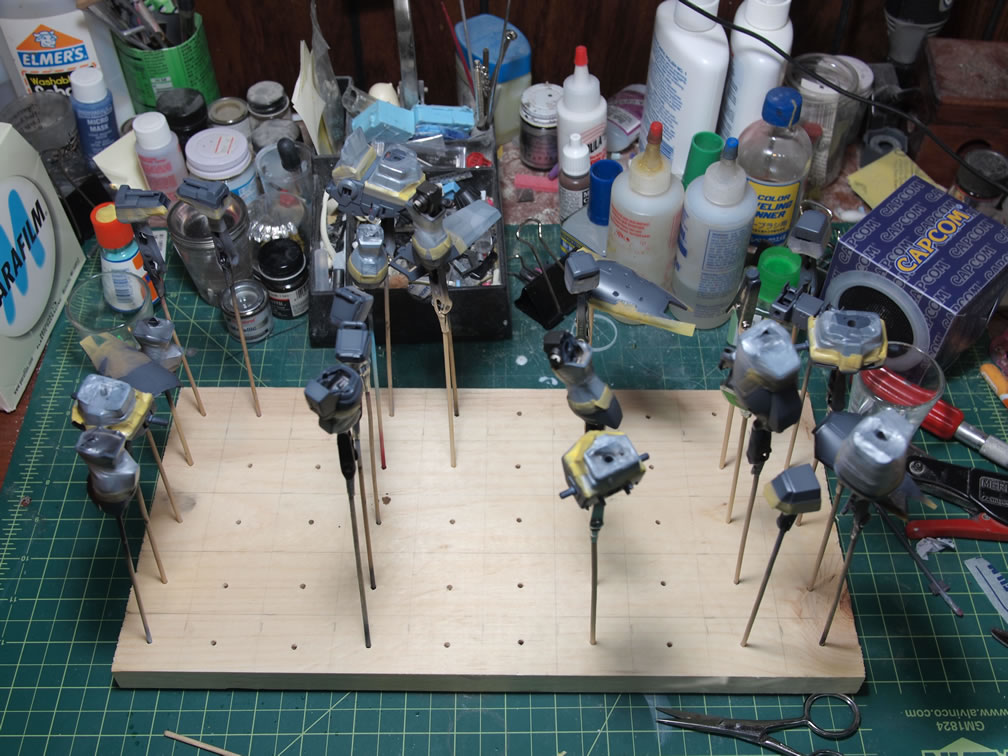
August 10, 2011: After a short break to finish up a resin figure kit, it is back to work on the dio with the last bits of sanding work on the GM Cannon II. The shoulders still needed to be seamed after sanding down the internal frame piece that was seamed up the last time I worked on the kit. Also, I had dropped a part and Hugo got to chewing on it so a little putty work is needed to fix the nice little dent the little bastard put into the part. I finished sanding everything that was seamed up the last time I worked on it. Tonight, I seamed up the gun and sholder pieces and there are a few pieces that I puttied, so tomorrow I should get done with the initial surface prep and get the thing primed like the other GMs sitting there waiting for this guy.
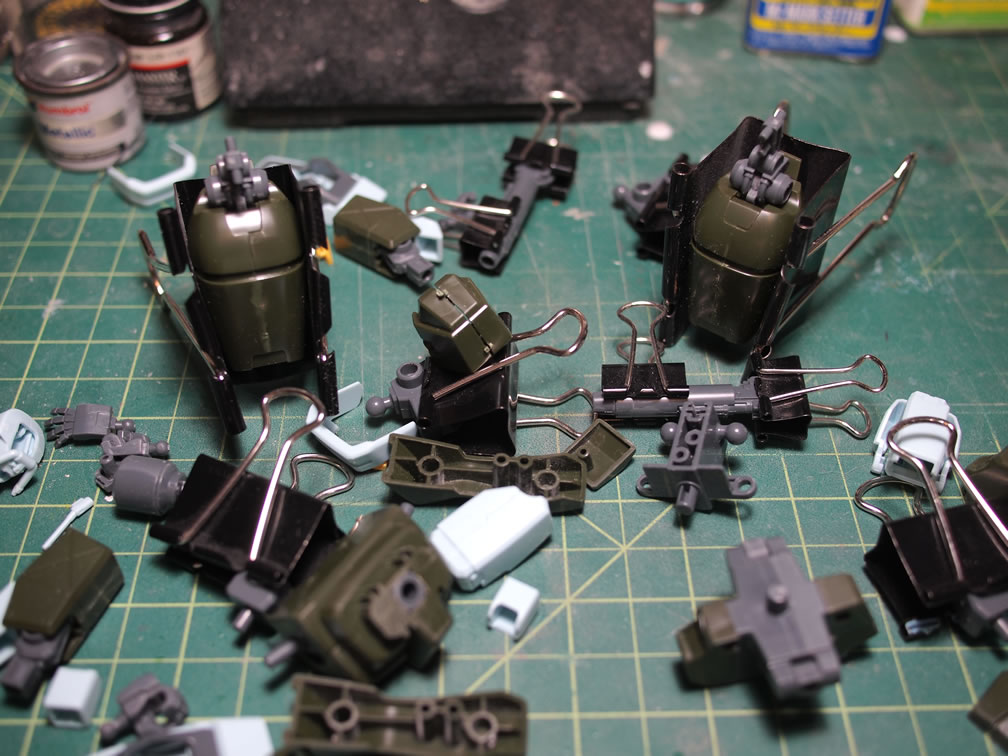
August 11, 2011: Tonight, I finished up the surface prep work on the GM Cannon II. The shoulder seams were fixed. A priming session showed that there was a little hole in the seam that was missed so a very quick application of tamiya light curing putty over the area and a quick sanding job, the part was primed again and the hole is gone. The part that Hugo chewed is also fixed with light curing putty and primed.
The GM Cannon II is primed. Last I left, the GM Command wasn’t primed, so tonight, I primed that guy as well.
All four GM are now primed and ready to start the massive assembly line of painting. From left to right, Cannon II, Wagtail, Command, and Powered. I finalized the paint scheme so hopefully the progress will be smooth. I plan on painting all the kits at the same time so as to not lose motivation once I get one kit done.

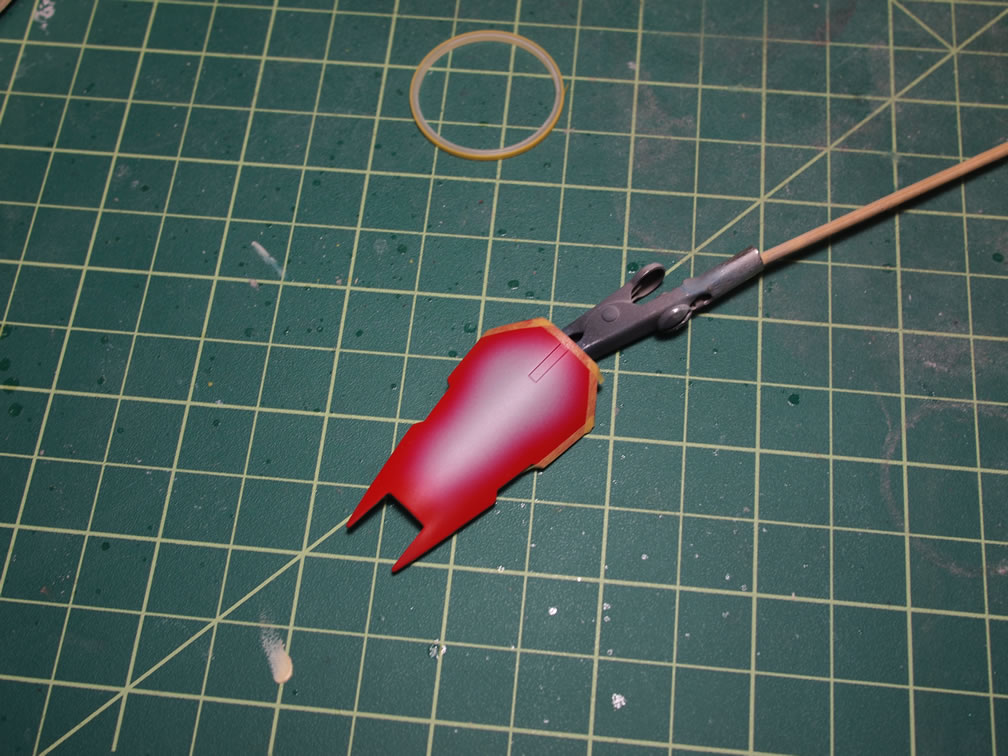
August 14, 2011: A small amount of work on the kits was done over the busy weekend. The shoulders, lower legs, feet, and chest areas were painted with a red stripe. These will be masked off to continue painting as I progress.

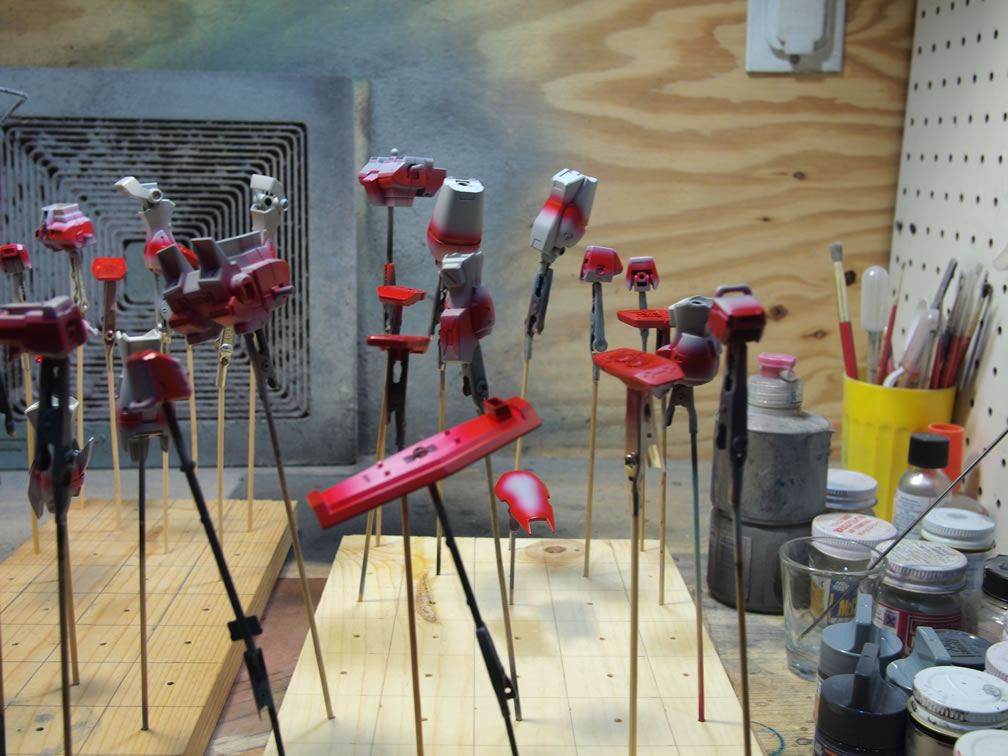
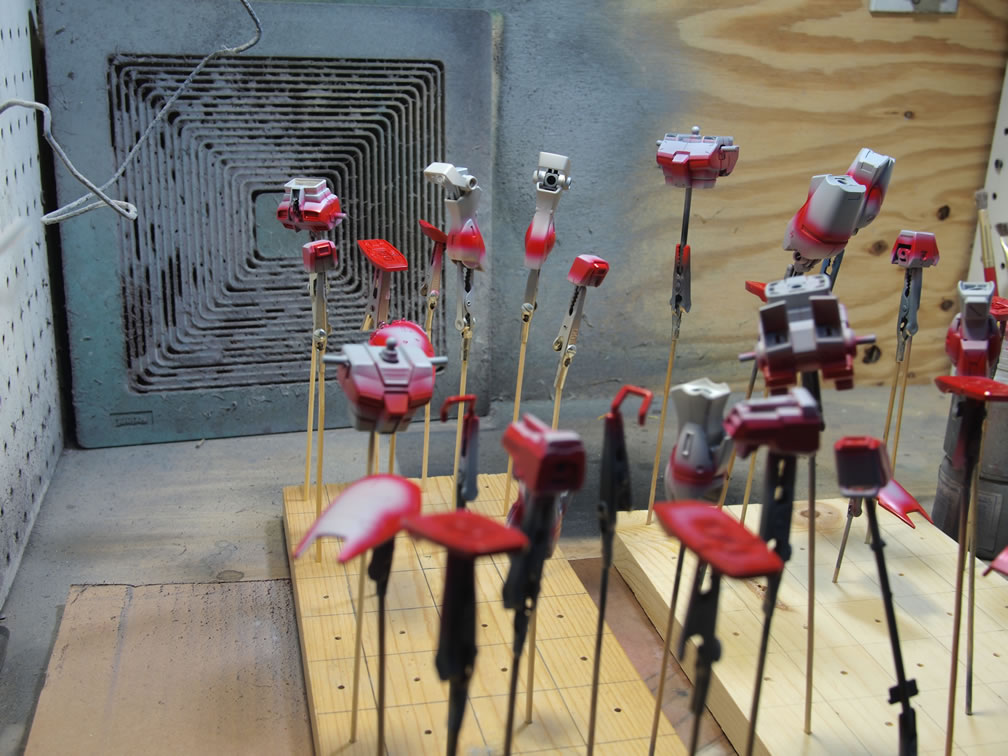
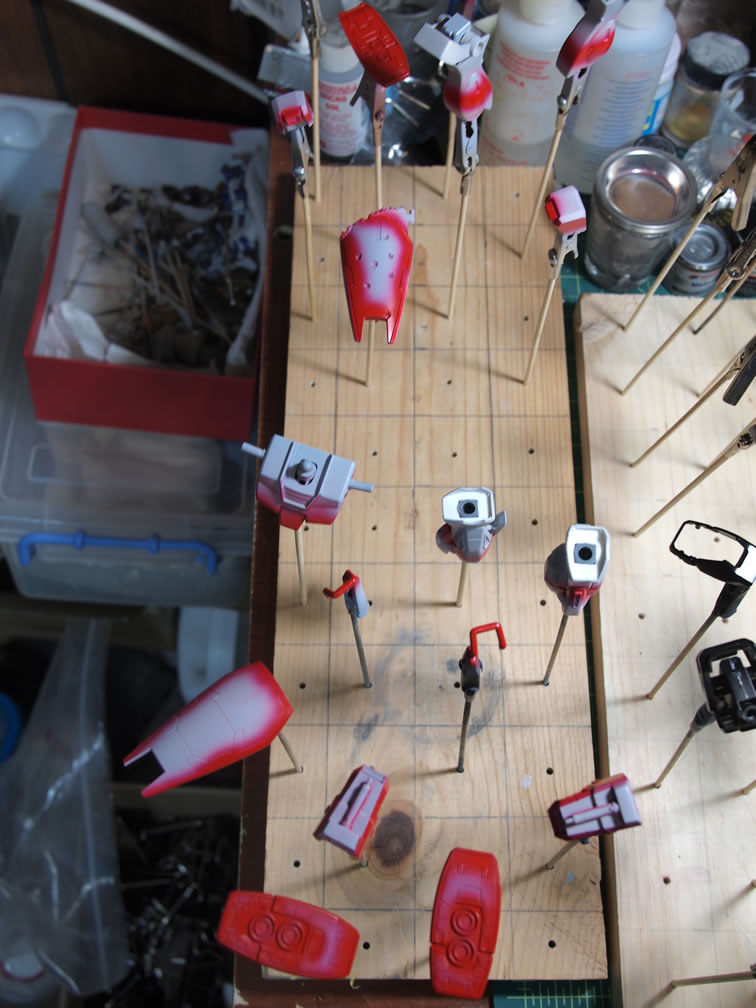
The rest of the parts were painted the a gloss black to prep them for painting metallic for the internal frames and thruster bells. The next step will be masking everything off to start the first of two painting stages.

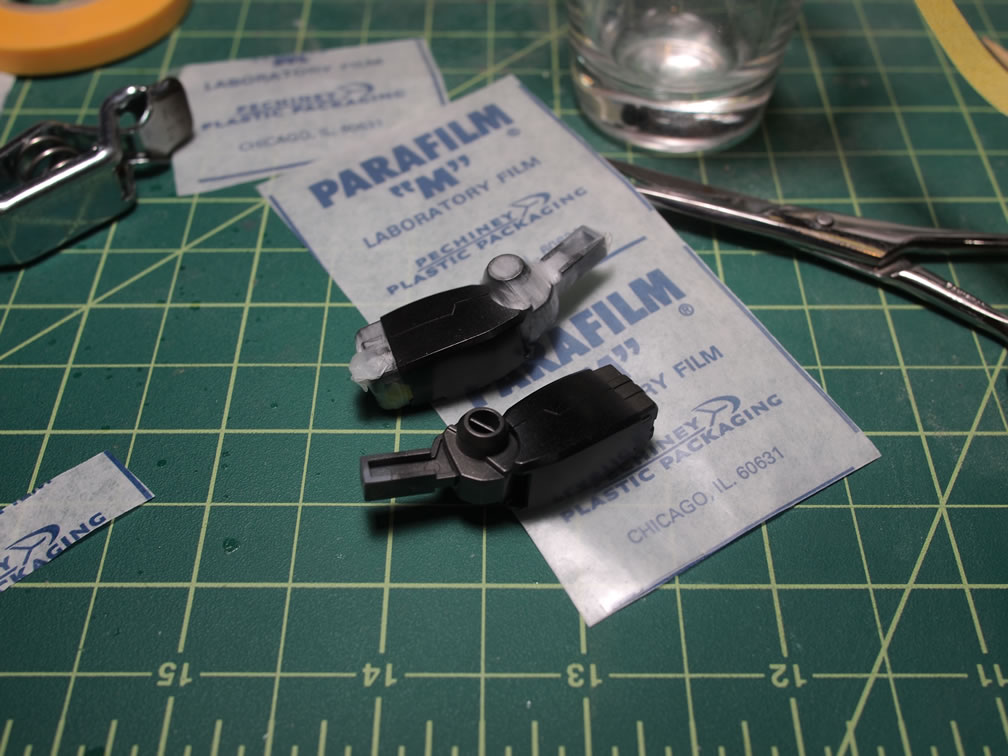
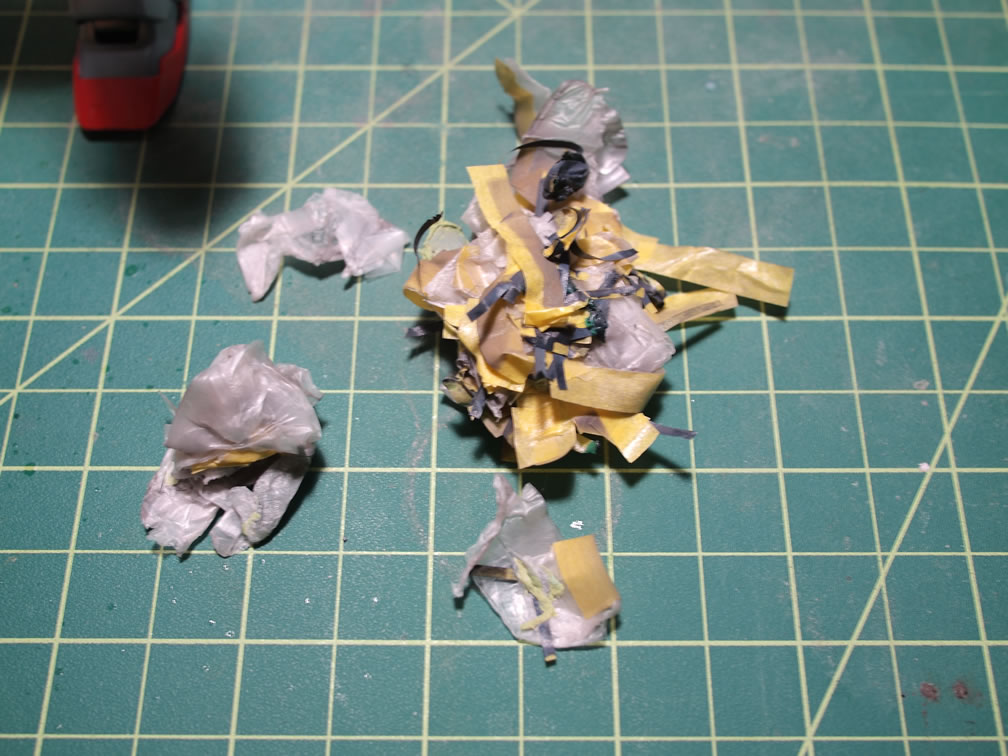
August 20, 2011: Painting update. The past week or so has been spent painting, masking, and painting – repeat. After painting the black on the armor pieces, some of the internal frame areas are masked off. In the following pictures, I use parafilm as the masking tool. The stuff is like saran wrap and sticks very well to itself and makes for a great way to mask and not harm the paint with an adhesive tape. Once painted, the masking is removed.
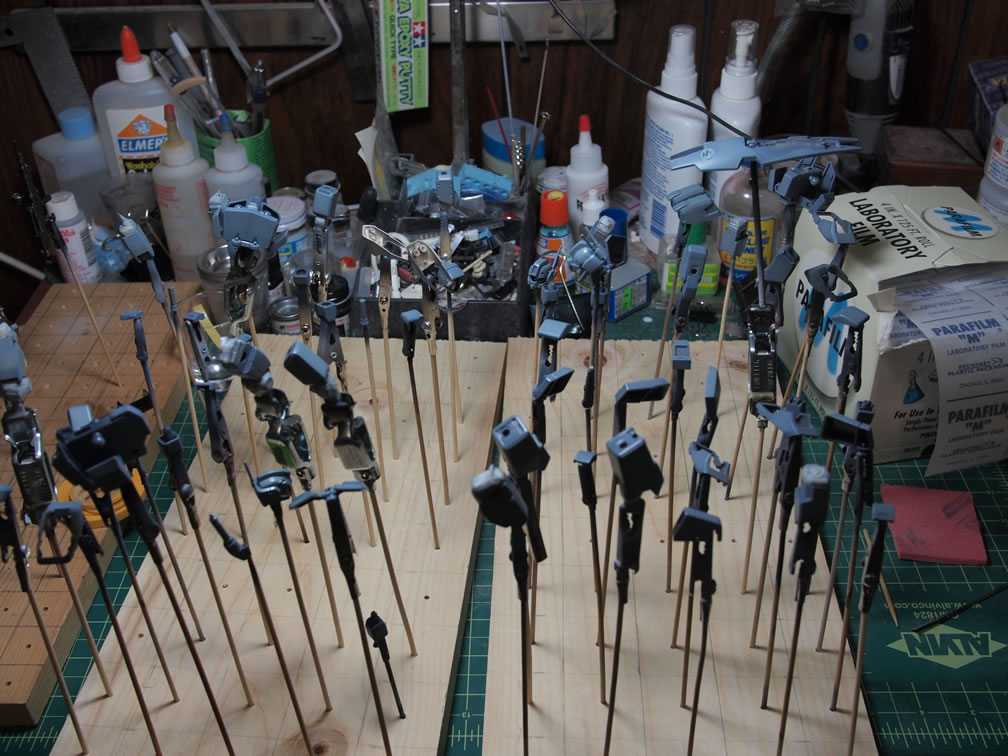

The shoulders, lower legs, chest, shields, and feet are painted with an accent red that will be masked off to paint the rest of the color scheme.
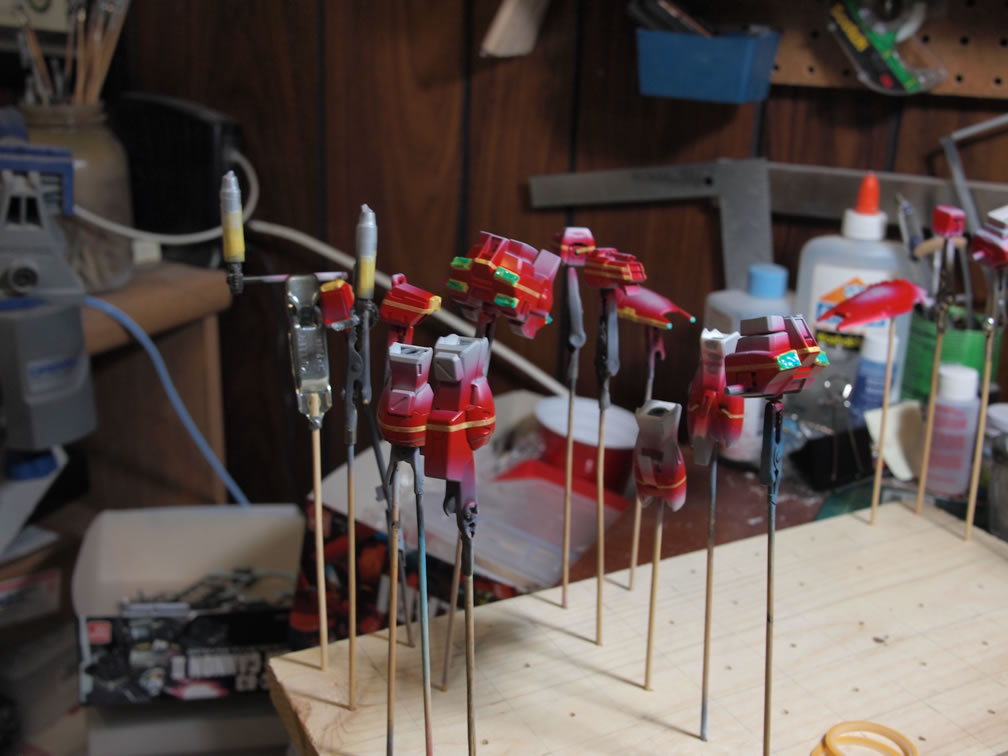
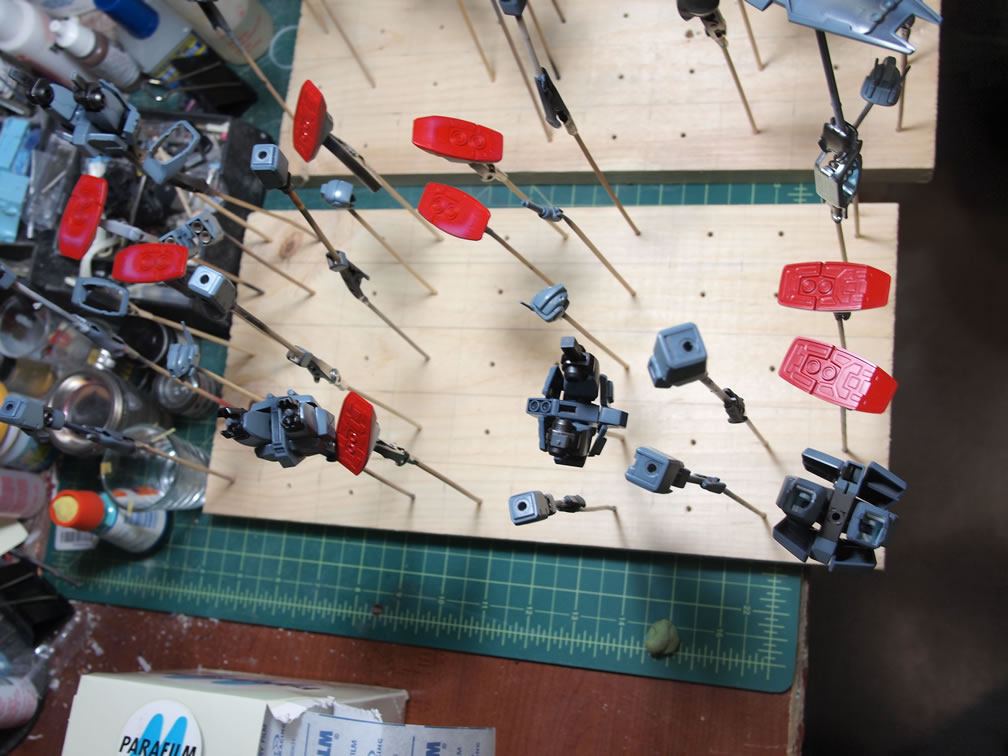
The parts were then painting, masked off to paint a lighter gray tone, then masked off again to paint a darker gray tone to get a dual gray tone with red accent stripes.


When I finished painting the last gray tone, I unmasked one of the shields to get a look at the final product, well close to the final product. I still have tons of detail work as well as the finishing steps for these kits. I just quickly snapped the shield together for a quick picture before leaving for an IPMS meeting and dinner. Later tonight, I unmasked all the parts, here’s the pile of tape and parafilm.

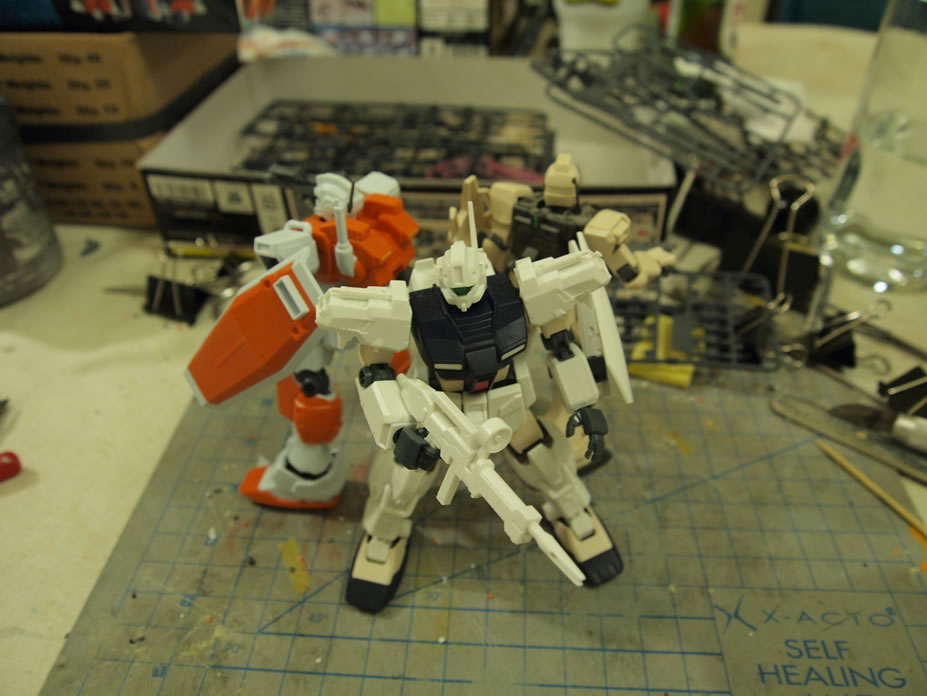
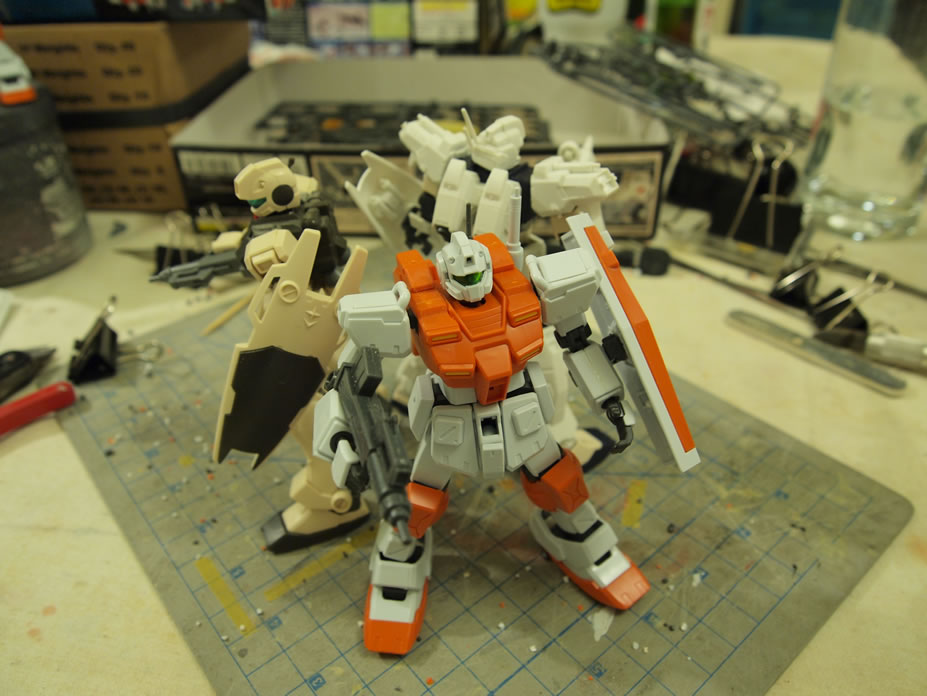
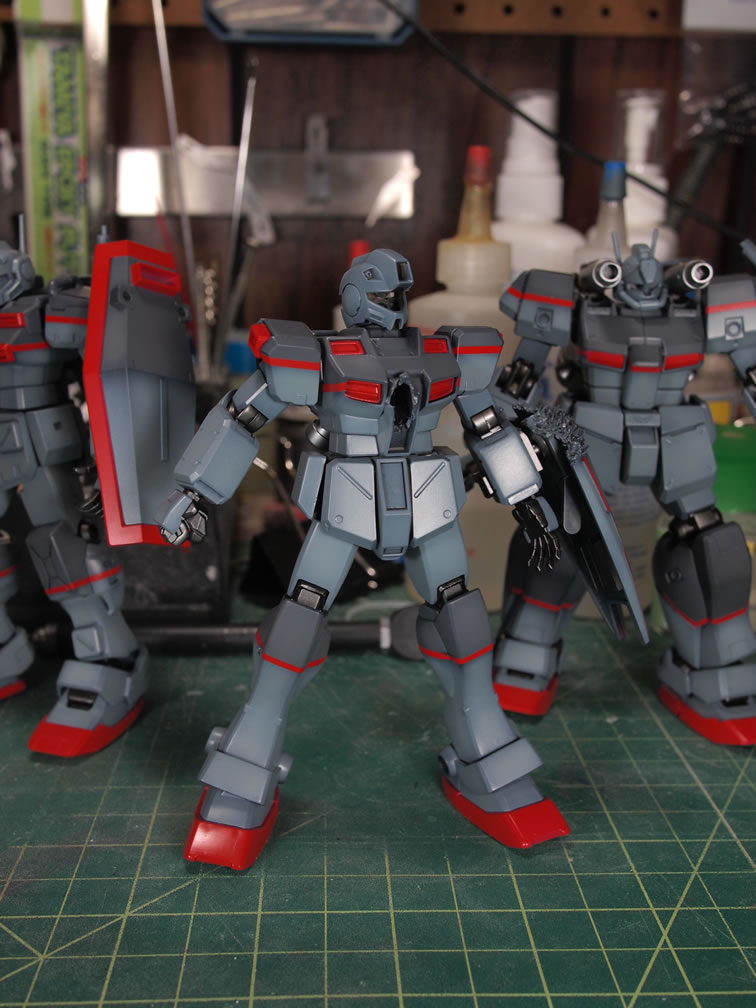
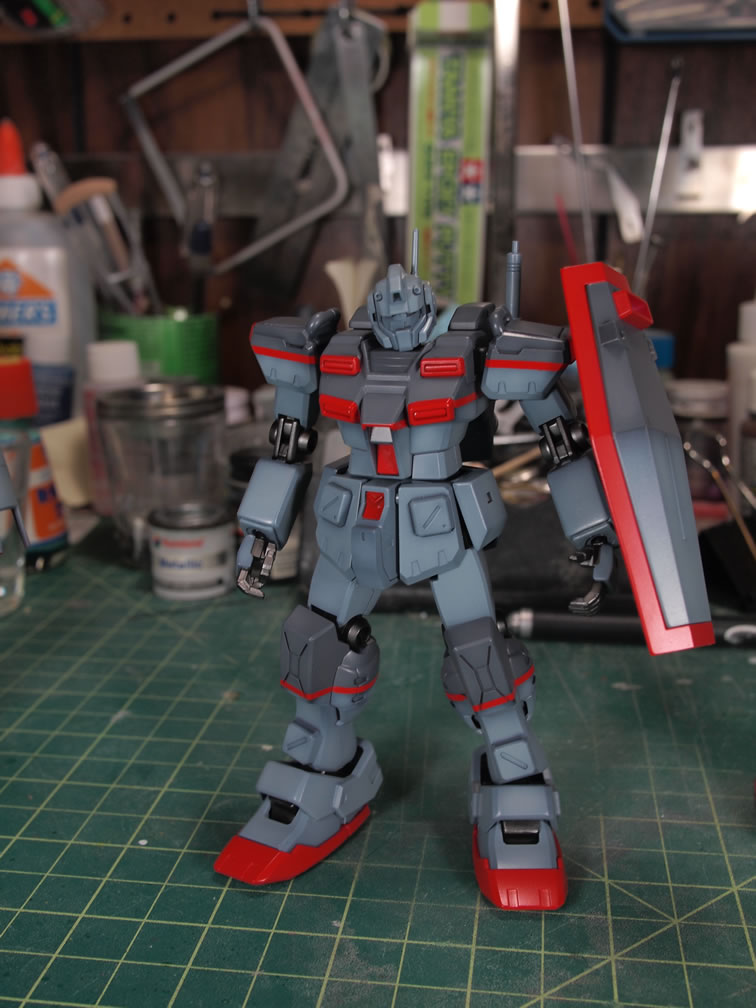
Tonight, after unmasking everything, I put the kits together for a quick look to see the areas I need to now focus on for touch-ups as well as detail painting. Still a long way off, but at least half way there, I think. Here’s the GM team.

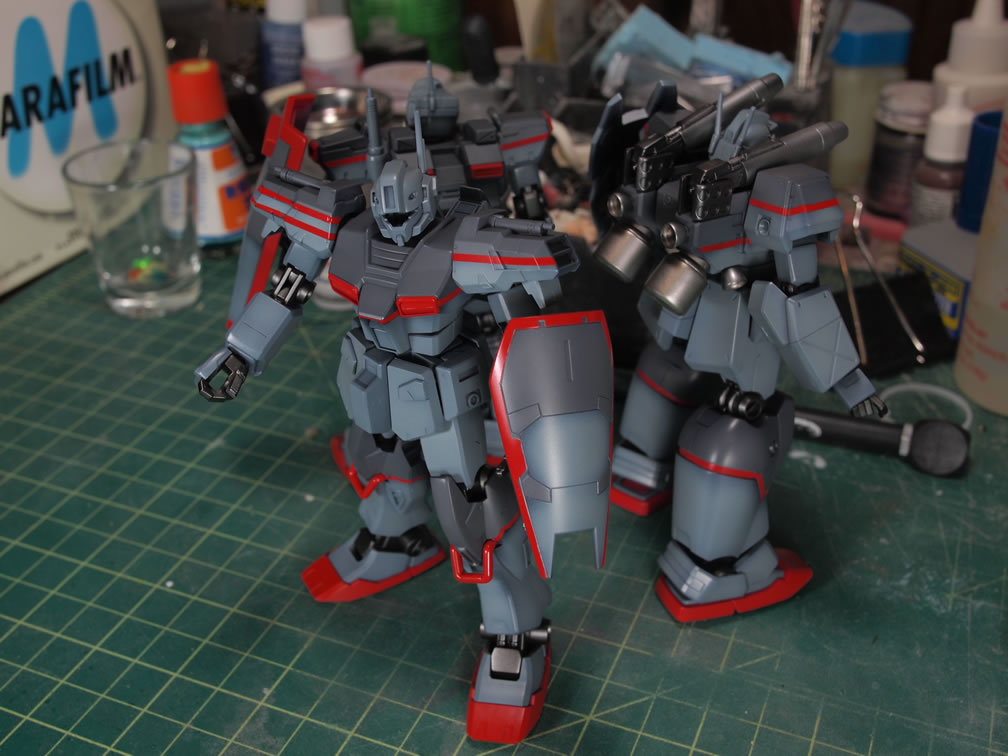
Some quick close up shots.


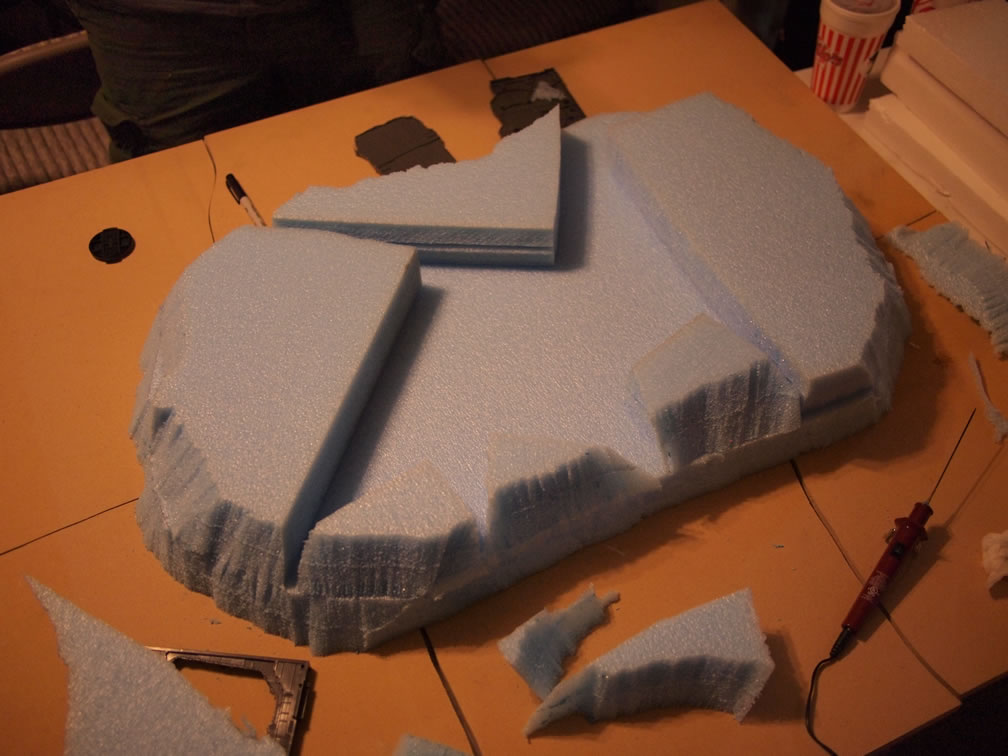
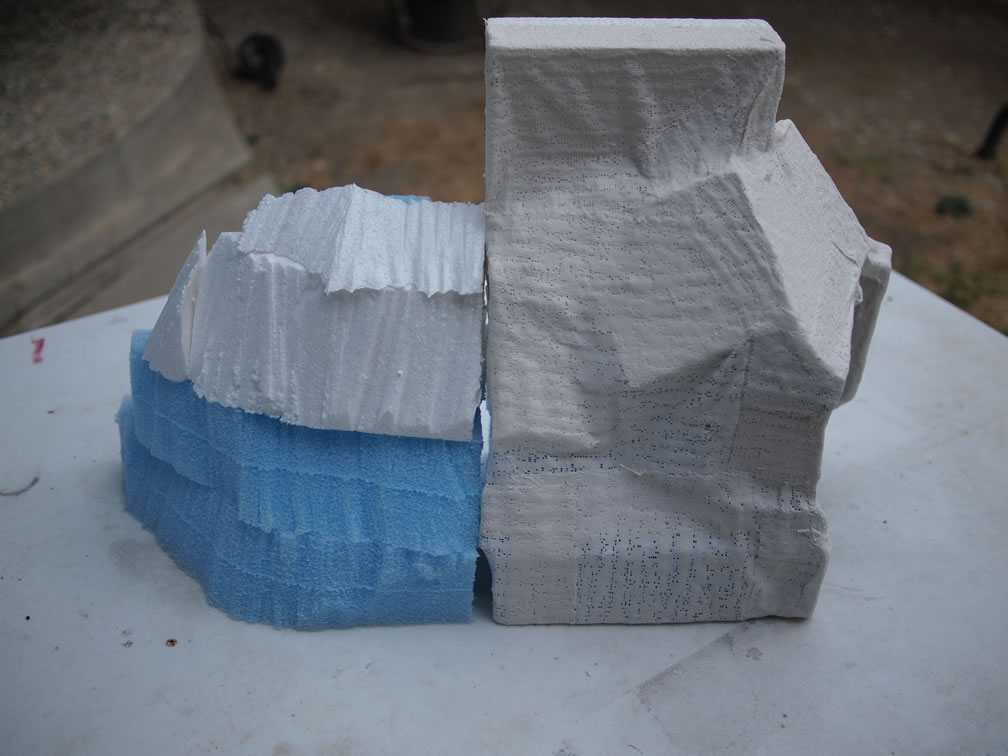
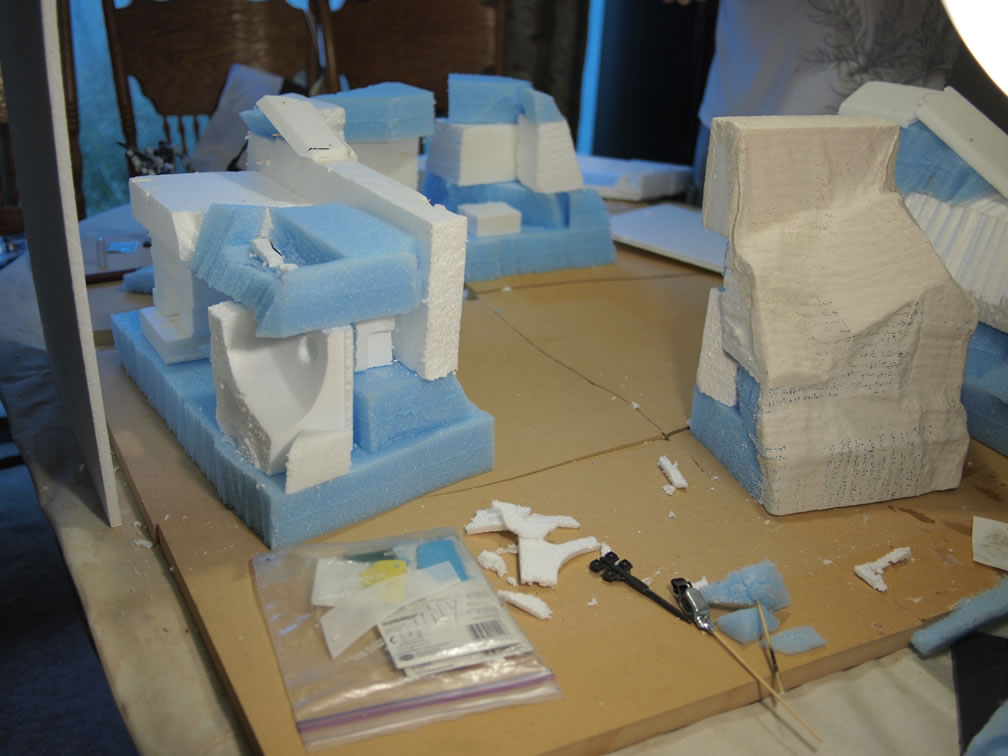
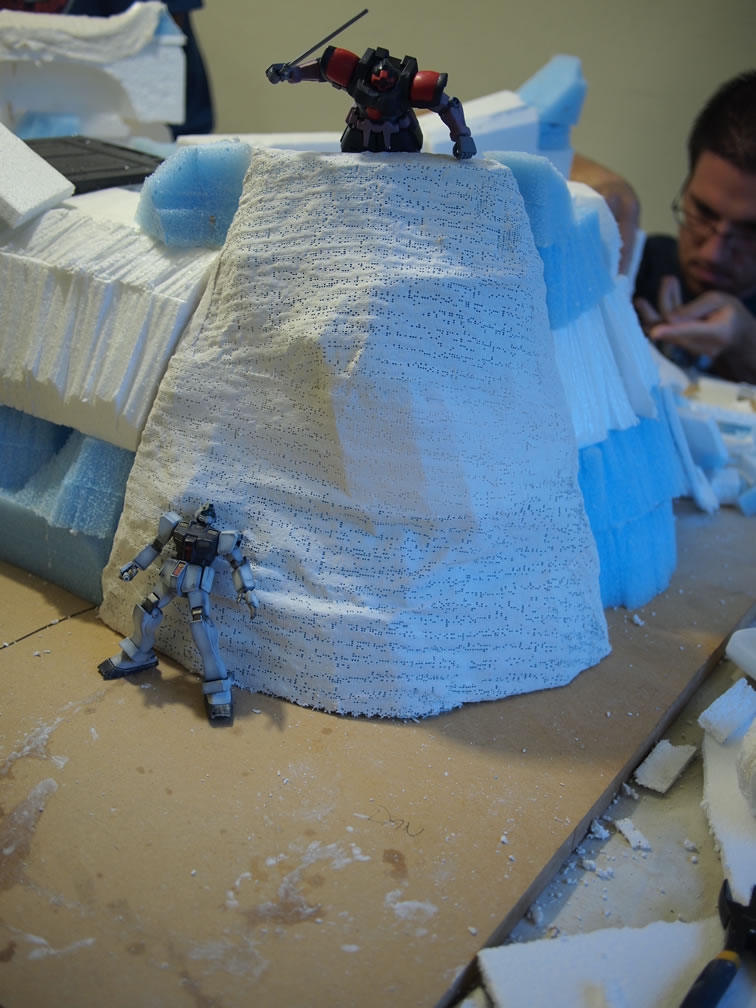
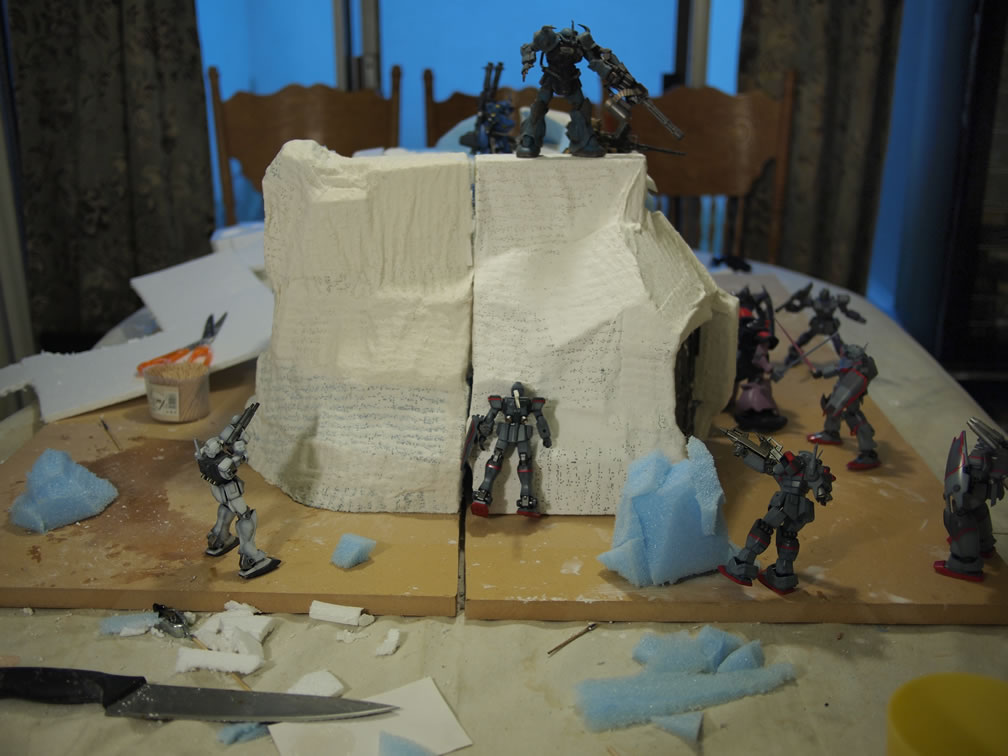
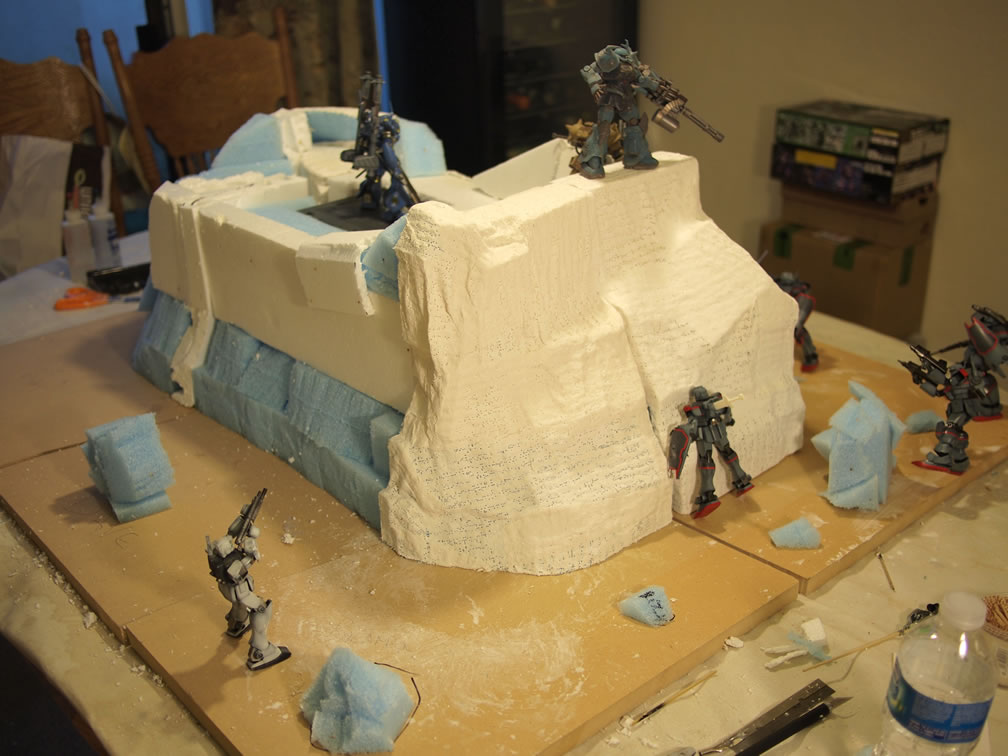
August 21, 2011: Diorama work started at this month’s build gathering. A few gatherings past, we got the board cut for the diorama into 6 pieces. This past build gathering, we got around to building up some of the ground work. The idea for the base is to have the GMs assaulting a hidden Zeon base. The base will be basically a mesa as the entrance to the base with a hidden entrance at the base and another entrance at a crater located on top of the mesa. Below is a reference picture for the base idea.

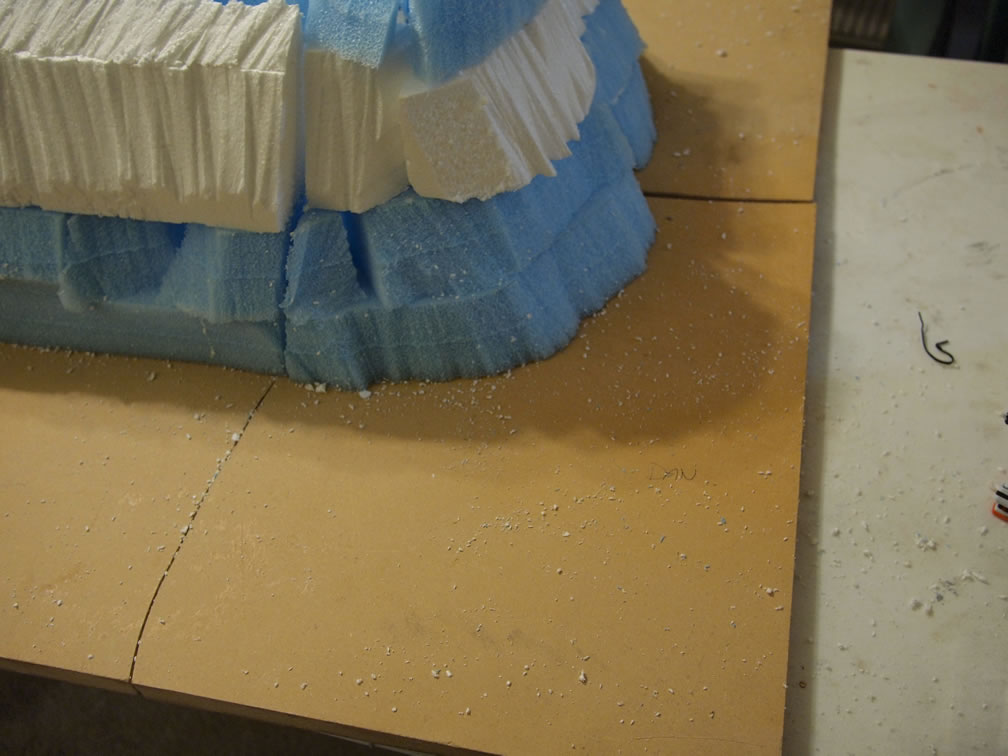
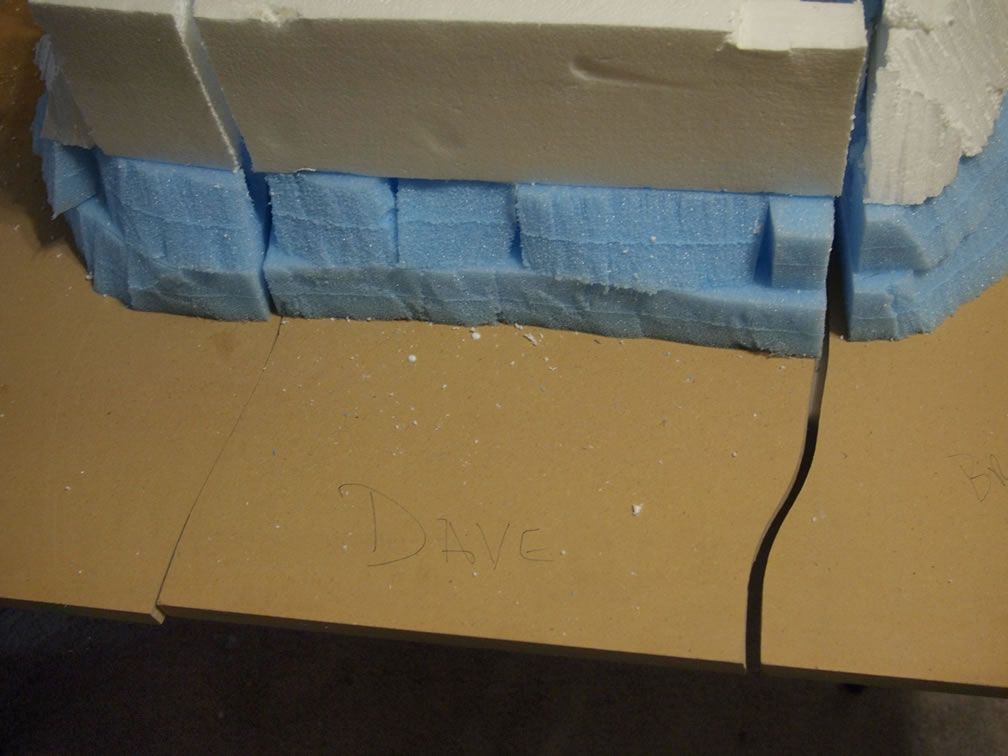
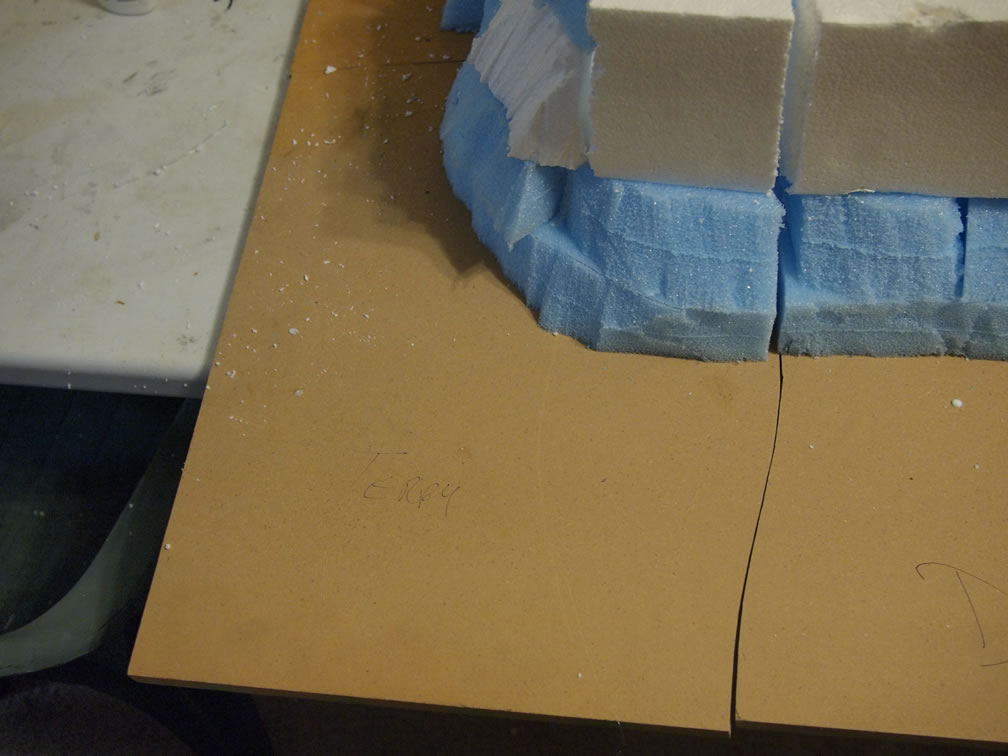
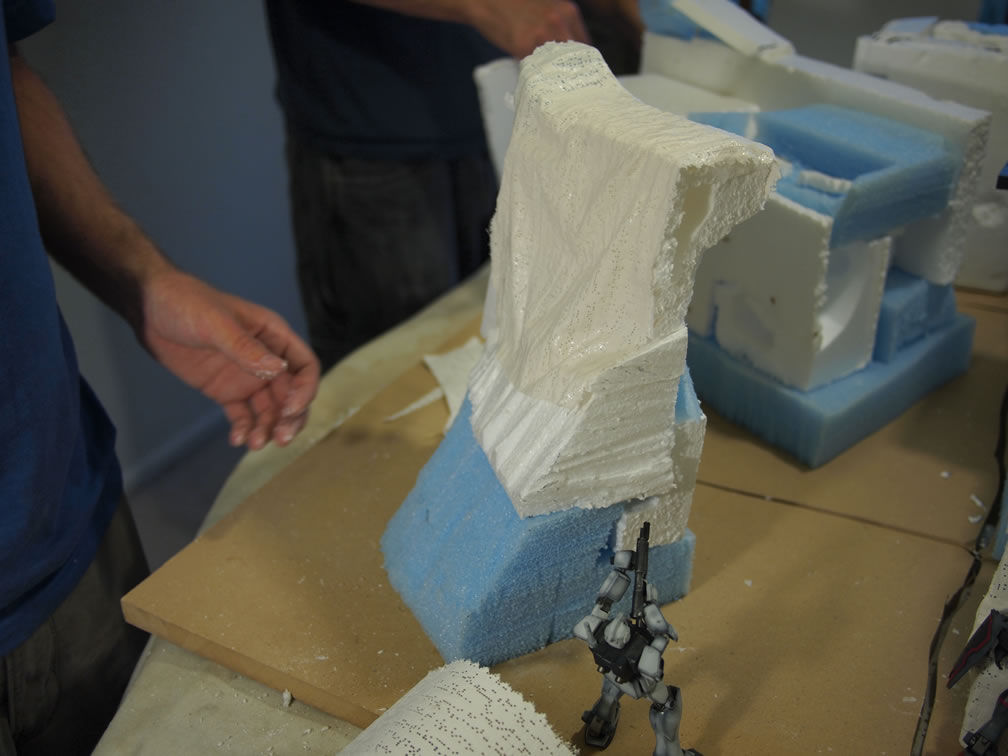
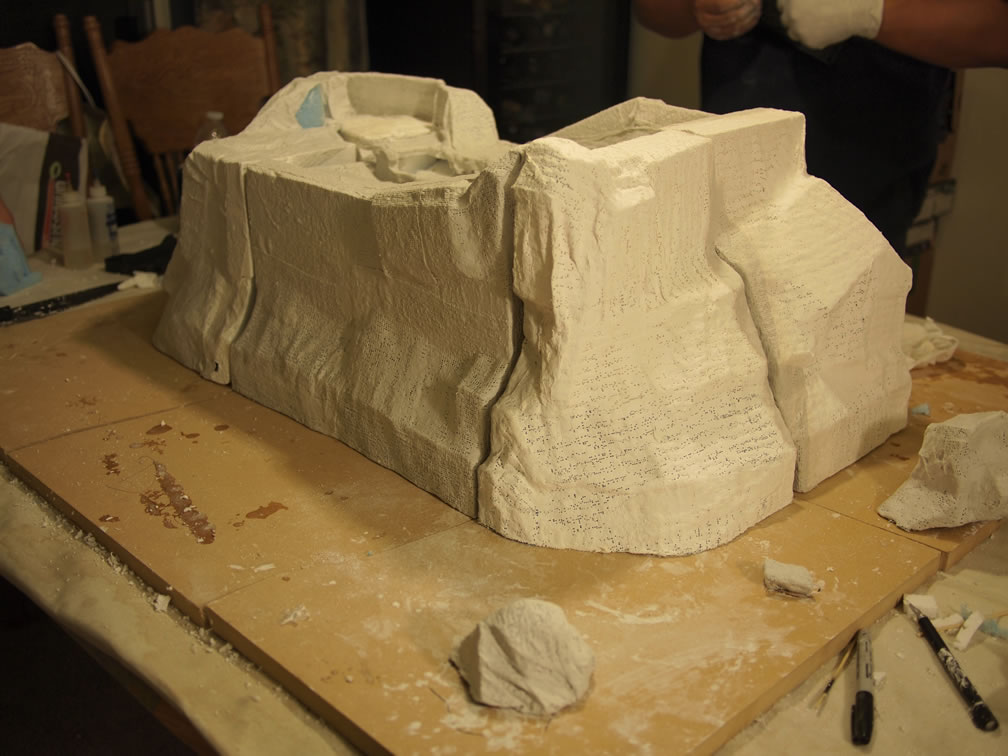
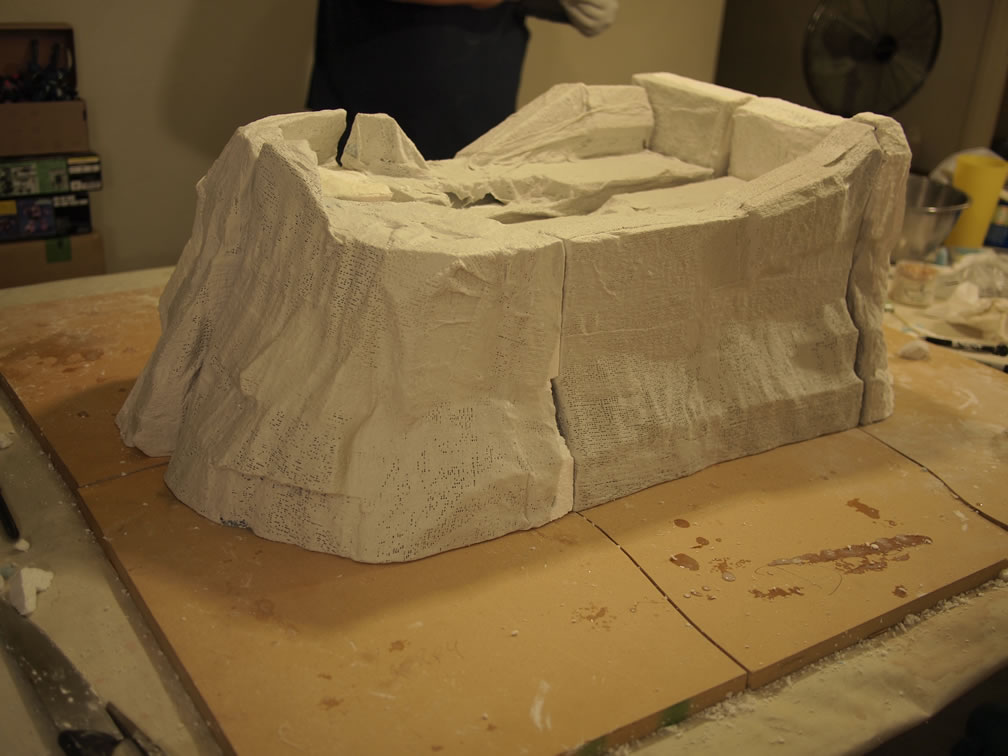
The foam is cut and glued, then cut. We started cutting with a styrofoam cutter until it blew a fuse or just stopped working so we finished cutting the mesa piece with a hobby saw.
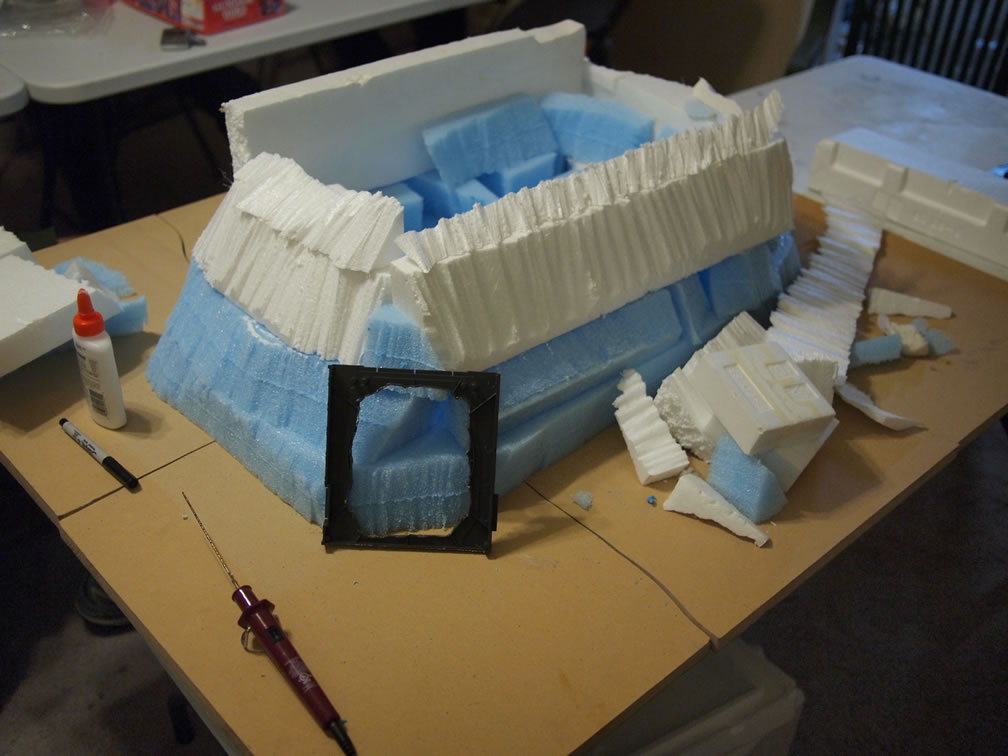
The parts were picked out and we put names on our individual pieces.

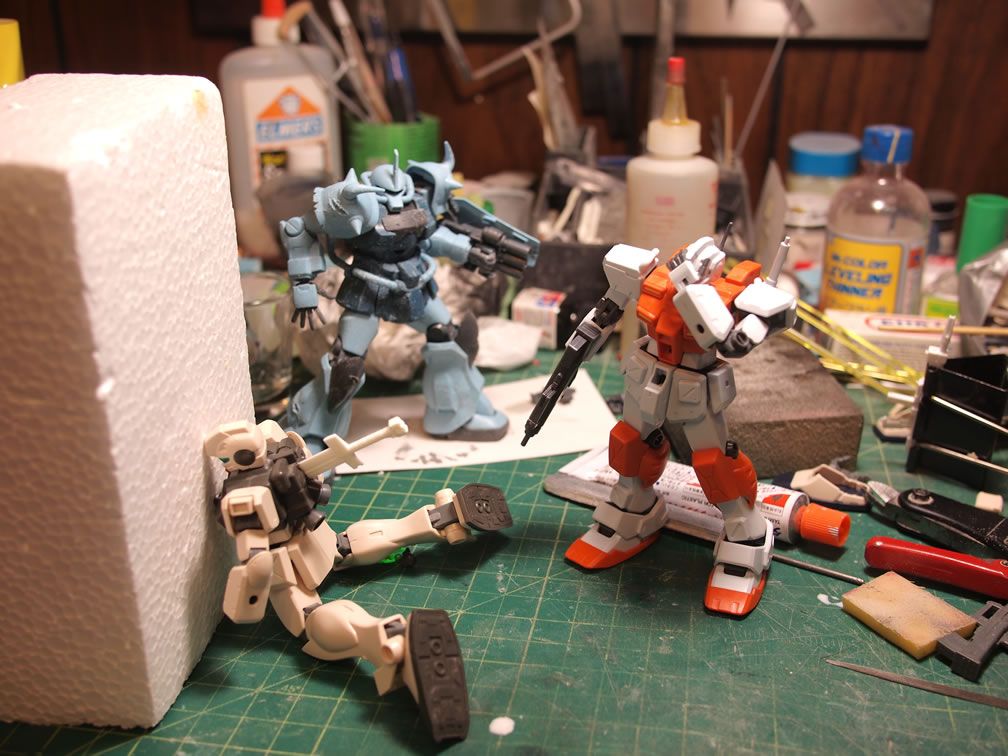
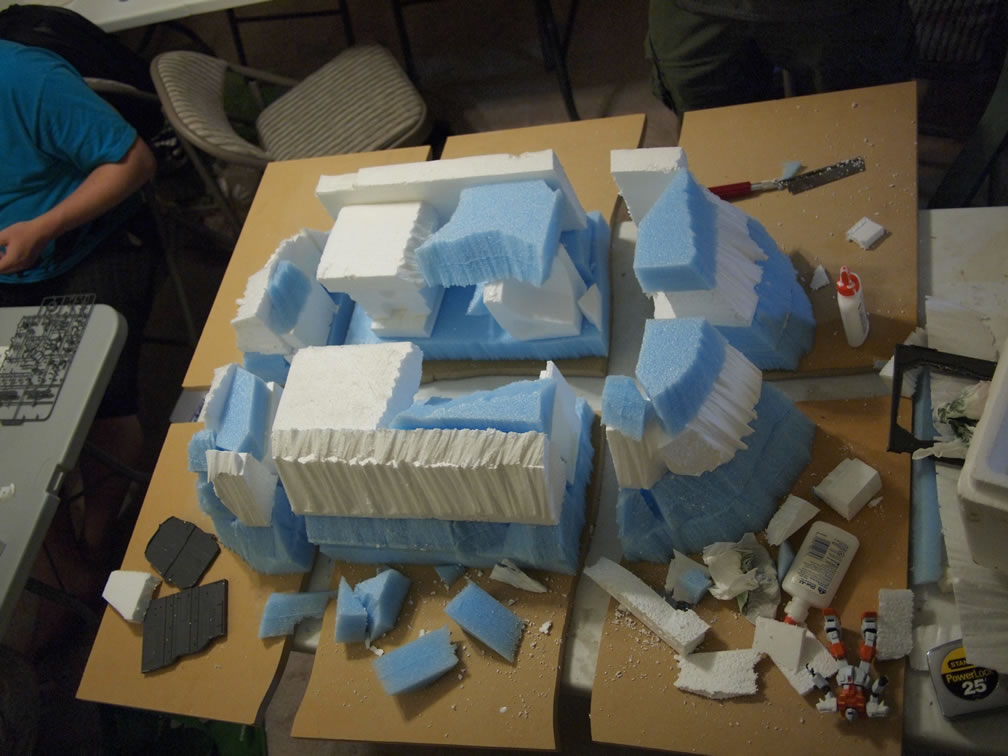
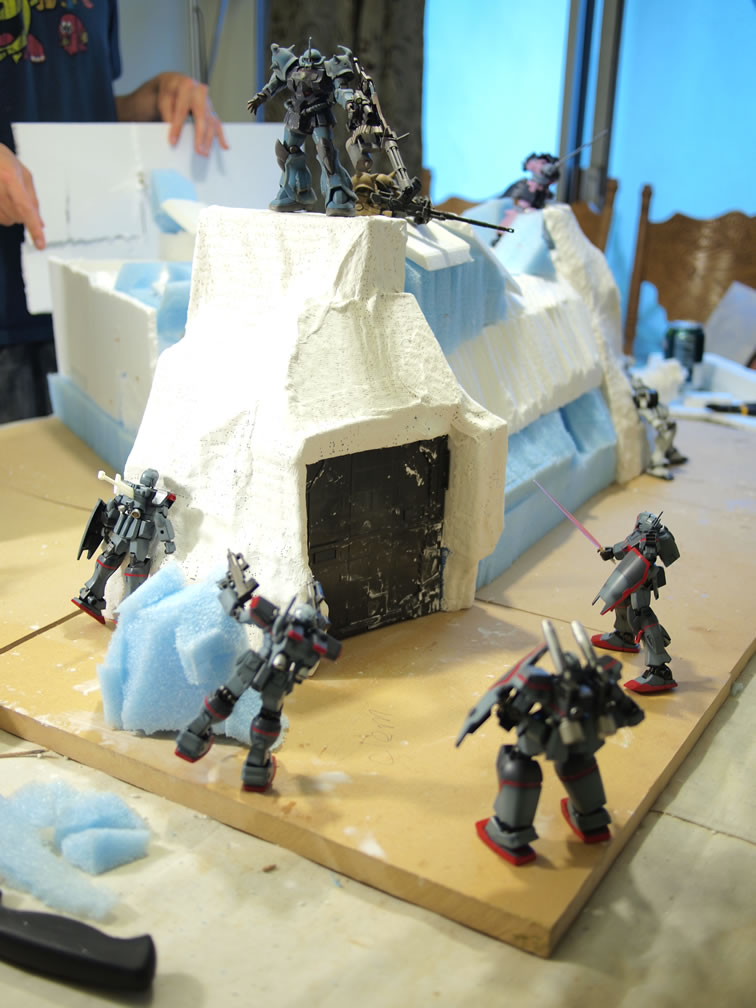
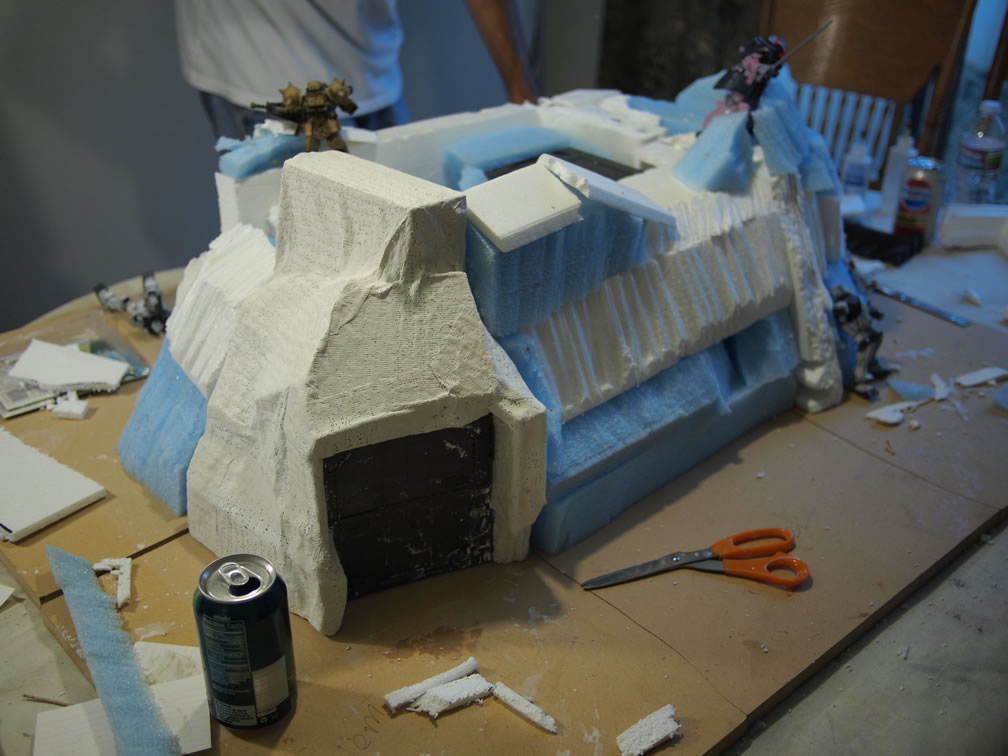
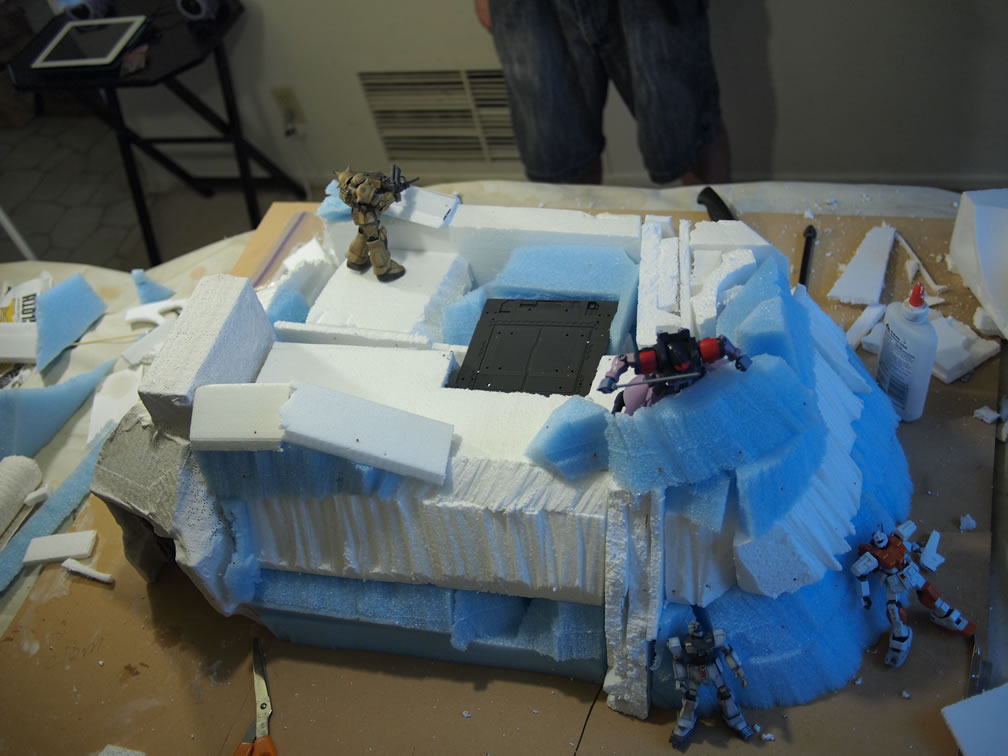
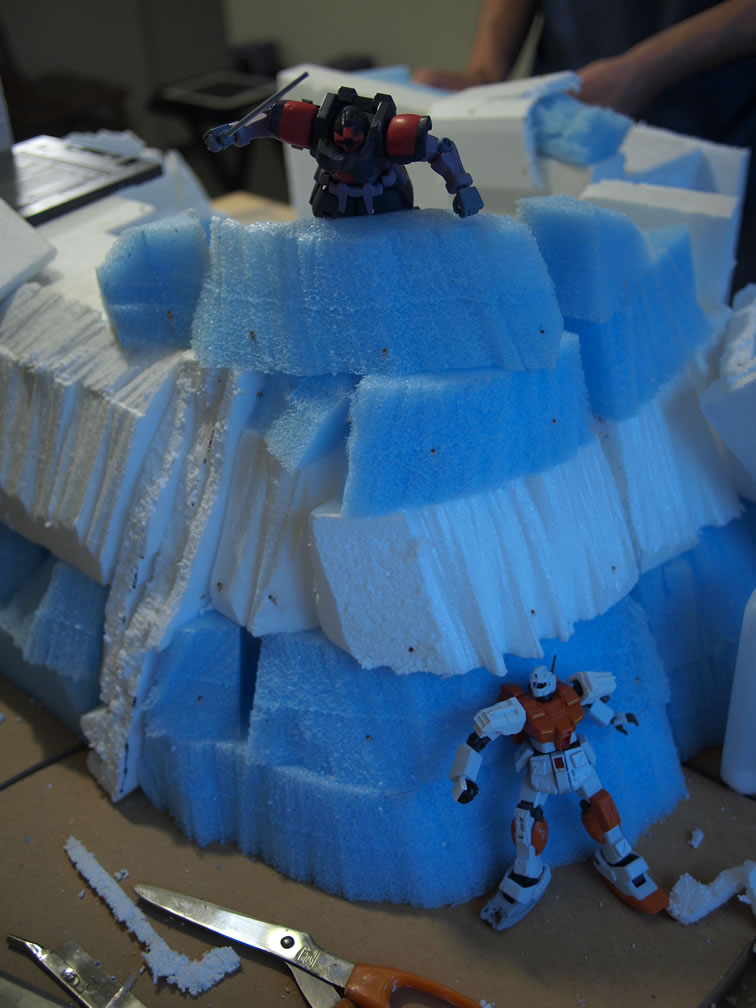
Today, Angel came over and we grabbed our kit pieces and did some test poses to get a better idea on what we want to do and how to position our kits on the base. For added fun we grabbed some other HGUC kits and messed around. It was like we’re little kids playing army.
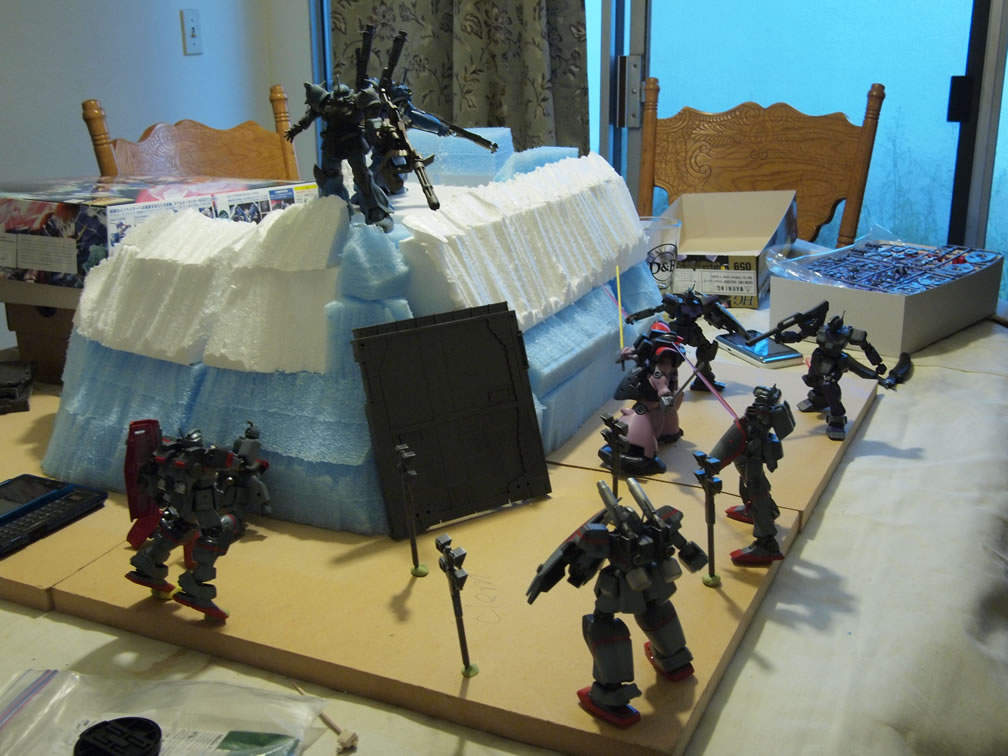
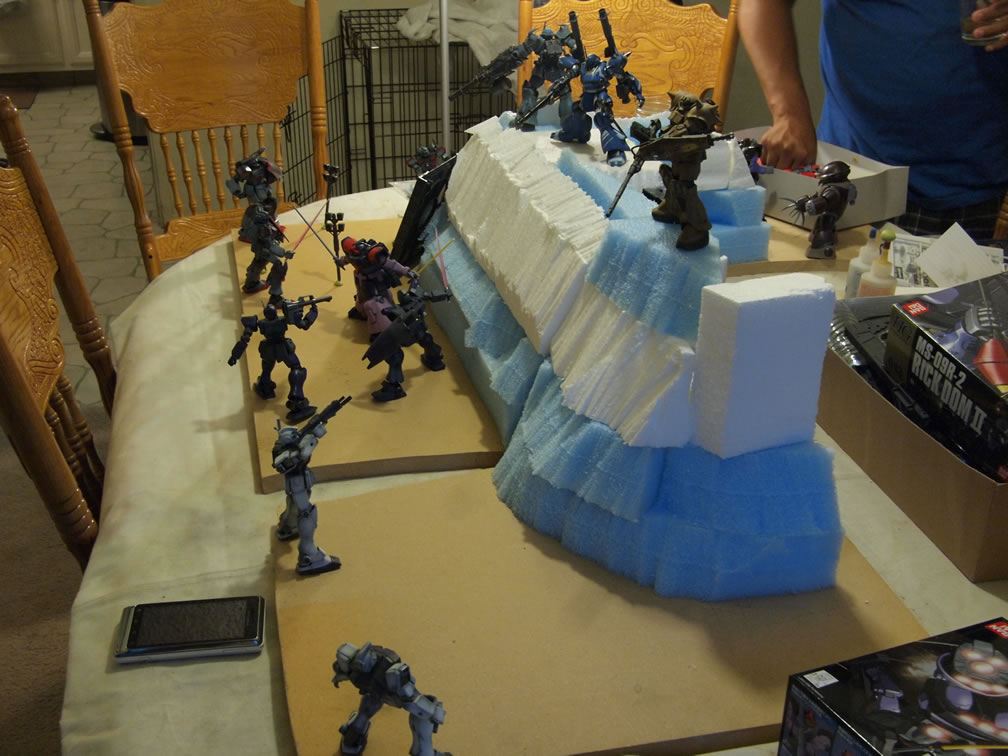
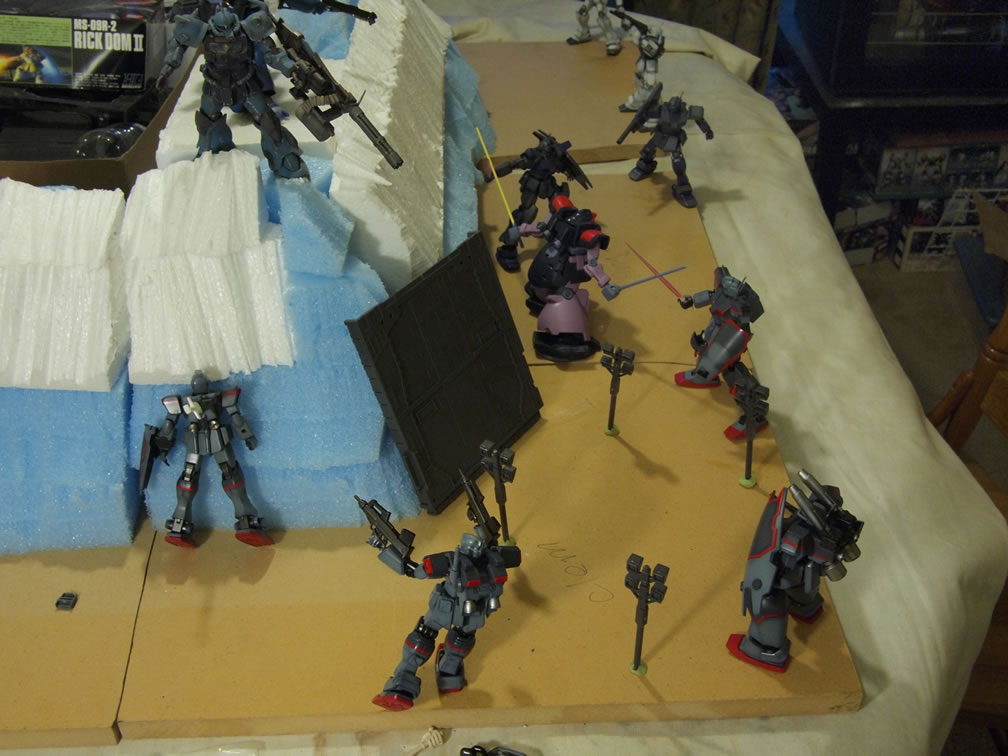
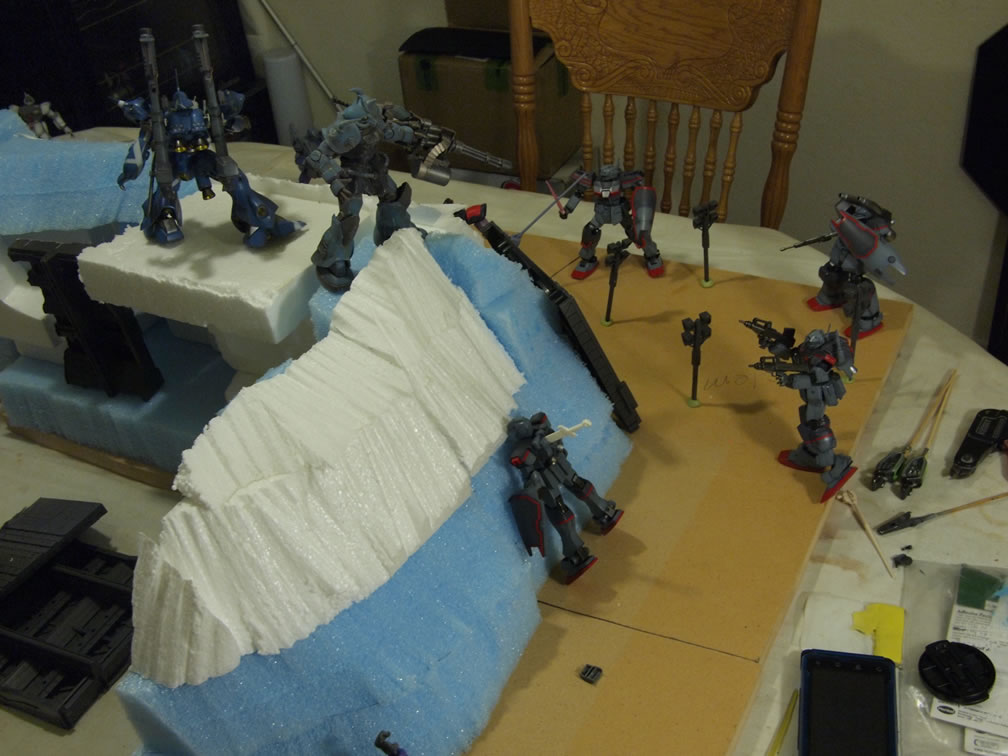
The original idea I had was to have the “dead” GM on his knees with the sword through the body; but Angel said it looked a little funny. So from his suggestion, I repositioned it to have it slightly lifted up off the ground and pressed into the side of the mesa. With the base started, I can get back to finishing the GMs.
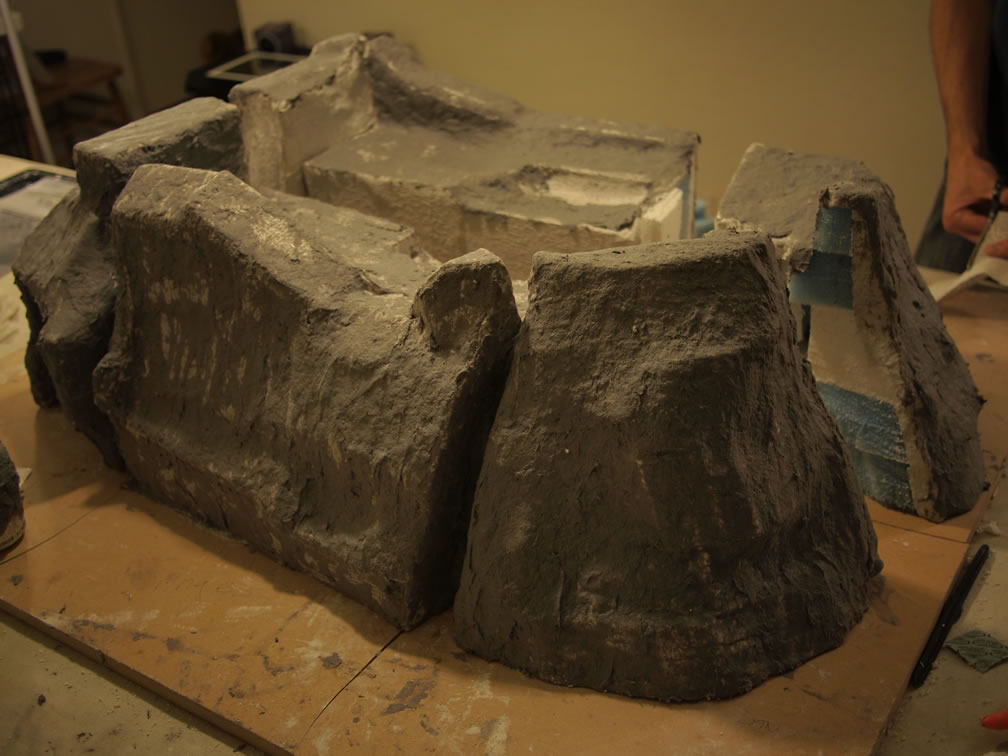
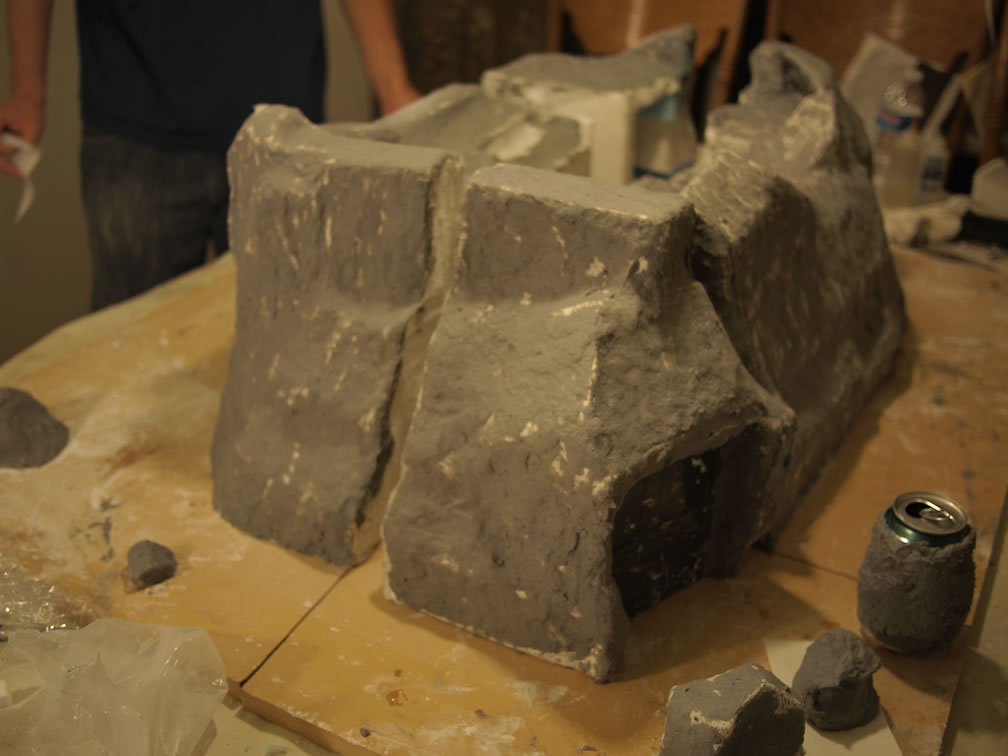
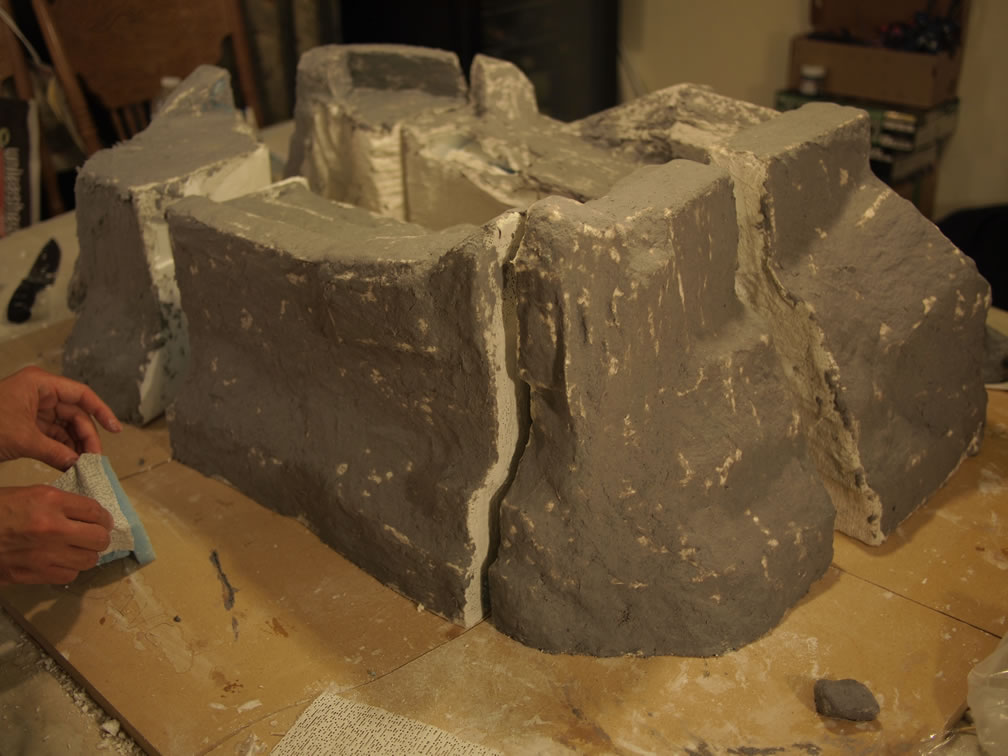
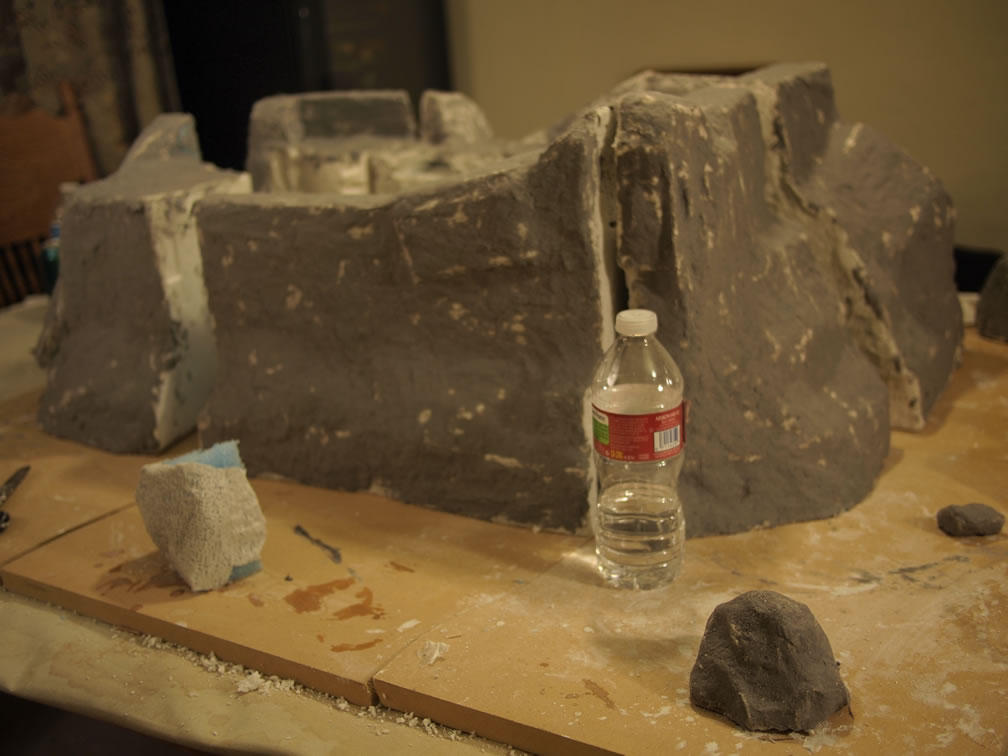
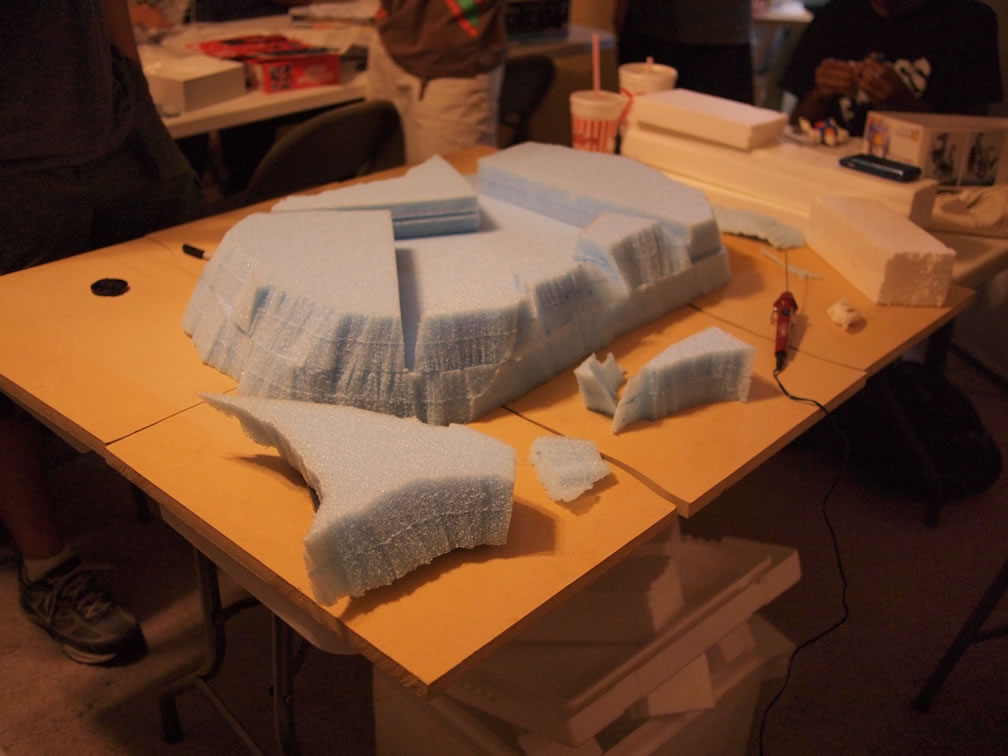
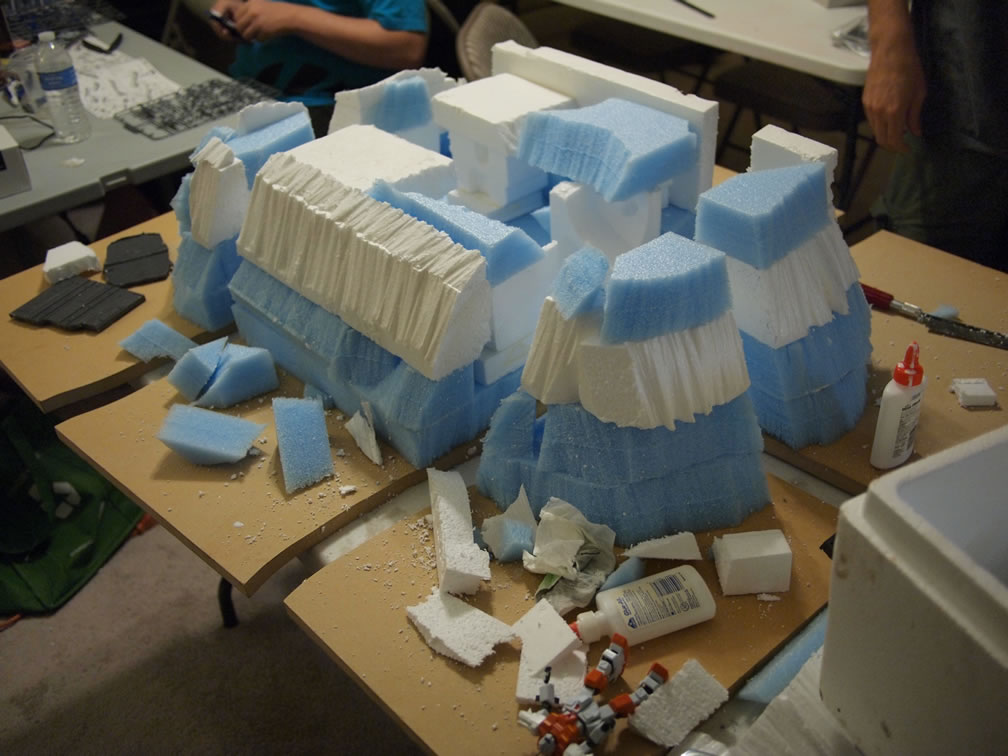
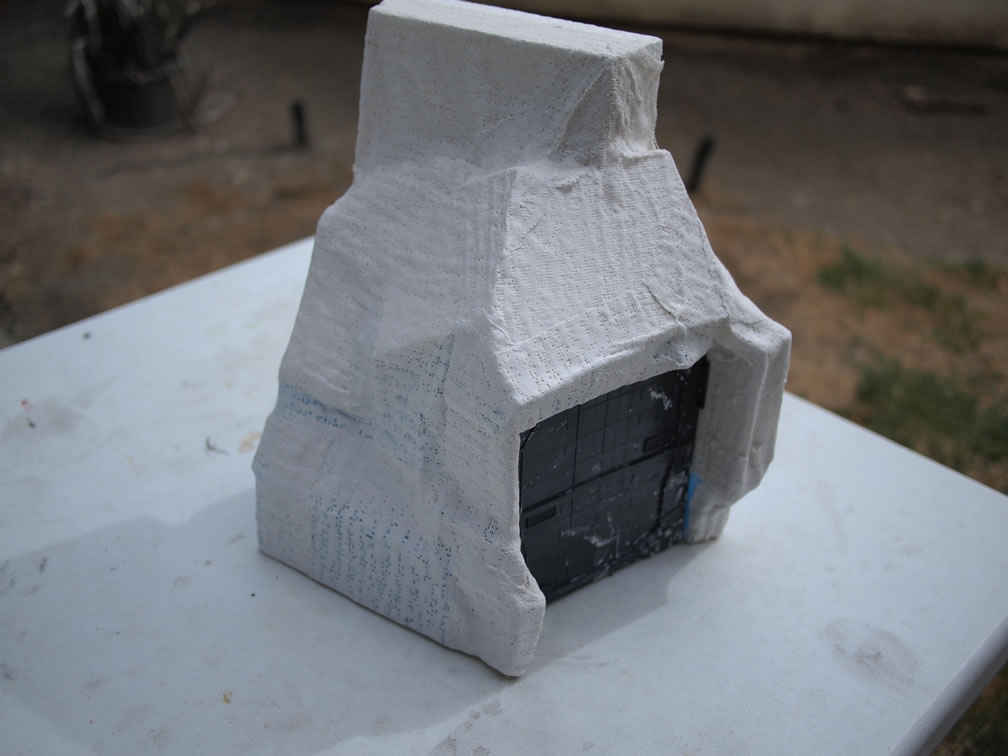
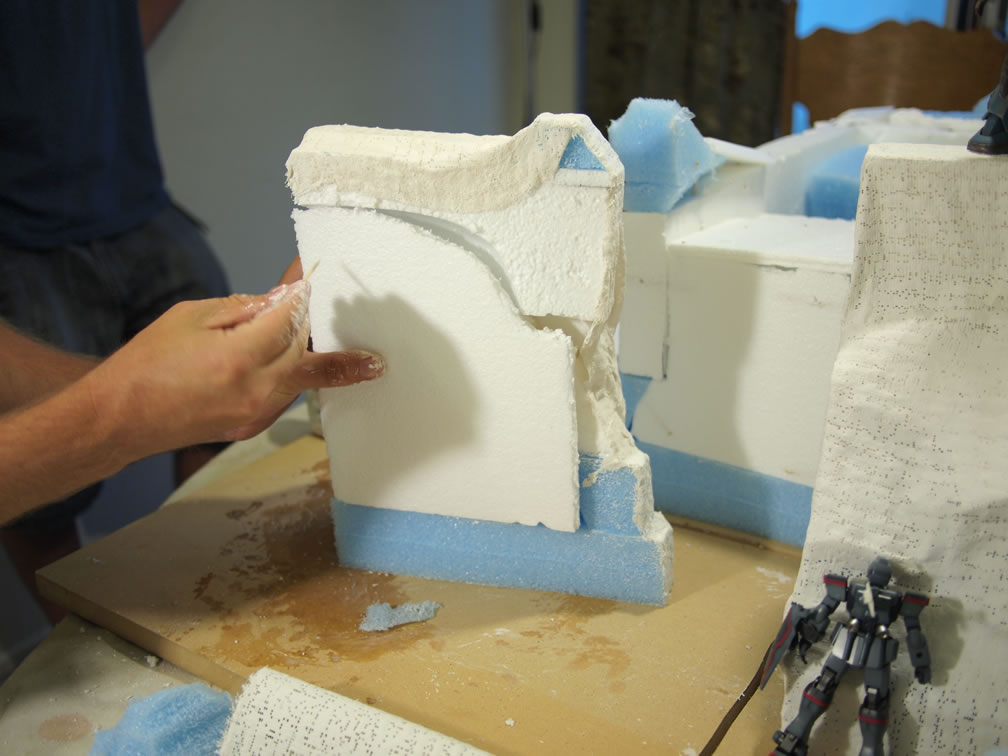
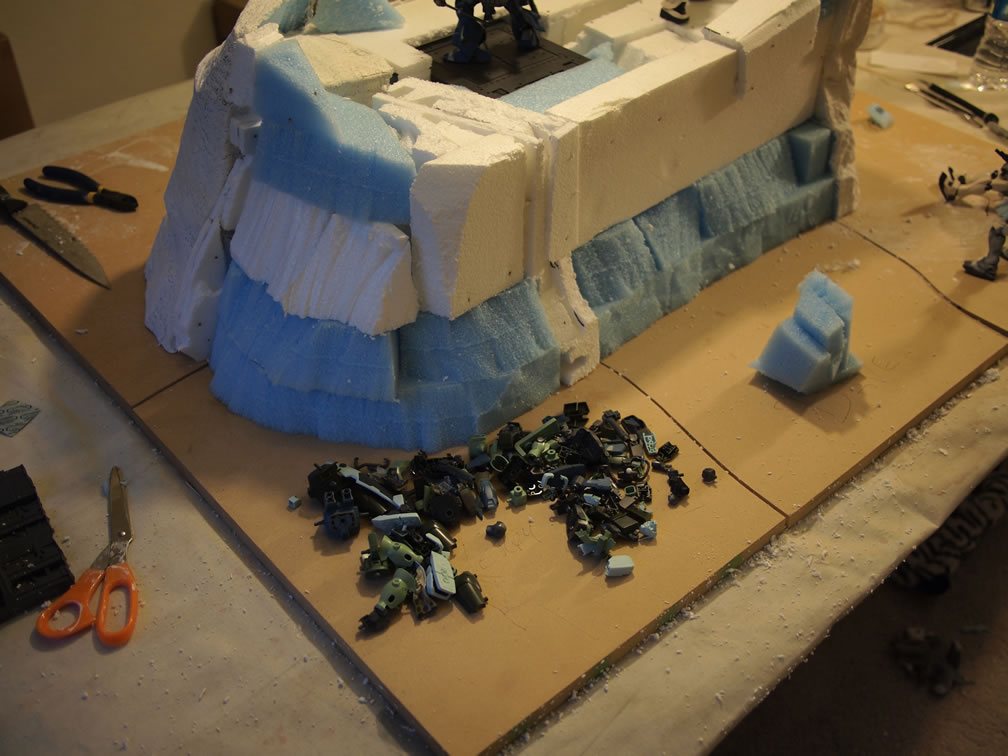
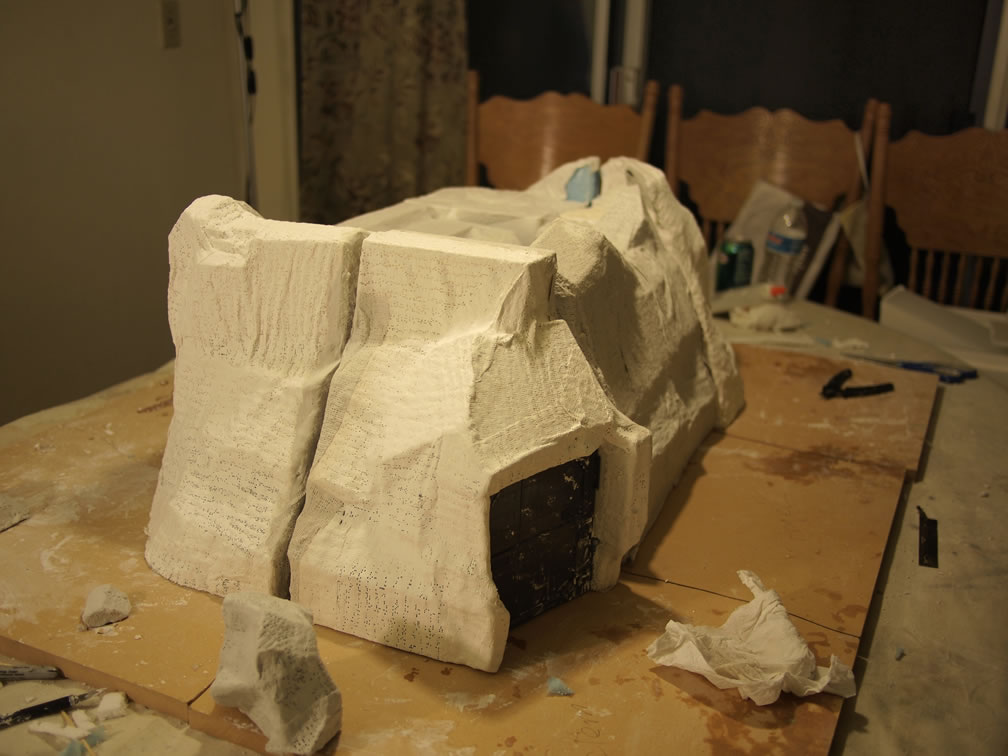
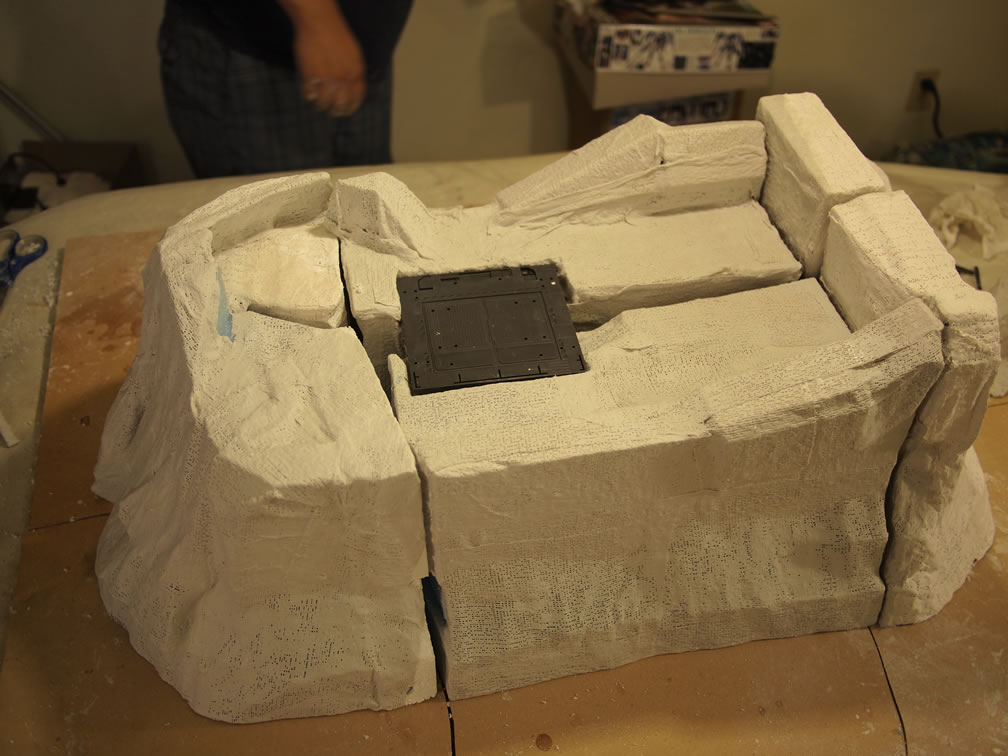
September 5, 2011: It’s been two weeks since the last update which was from the last model build gathering. The group project folks gathered and we got a good amount of work on the base done. The last time we left, we had a styrofoam basic structure created. We refined it a little and I cut away some foam while adding bits and pieces here and there to fit in the door which is off the kotobukia chain bases series. With the foam in place, plaster cloth is dipped in water and applied to the surface to create the main surface from where we will build the diorama.
The group is working steadily to fit thing correctly with the neighboring pieces so that there is some semblance of a cohesive story in the diorama.

Dan works on his corner section filling in little gaps and added final touches to his foam structure, also adding in some borrowed kits as stand ins for his kit placement. Once this is done, the surface is covered with the plaster cloth.
Brandon works on his corner piece that is adjacent to my part. Cutting out some extra foam to fill in the back areas, then on to applying the plaster cloth as well. We had used up the plaster cloth I had in my workshop, so we hit up the local Michael’s Craft ship for more plaster cloth as Dan had texted me that he found the stuff there when he dropped by after leaving my place.
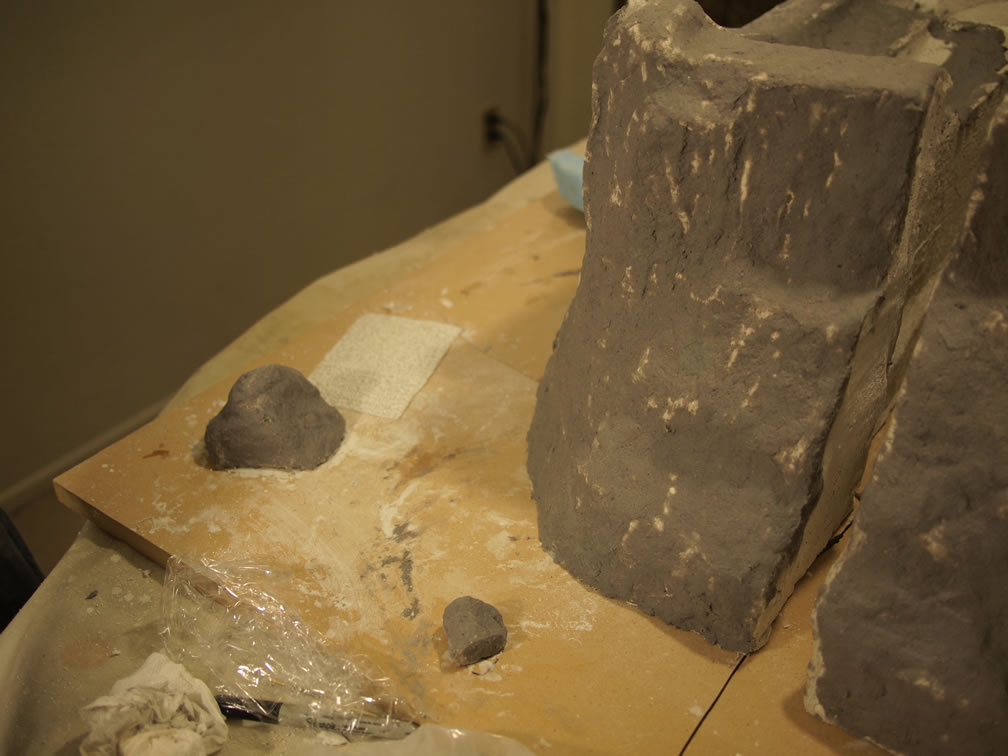
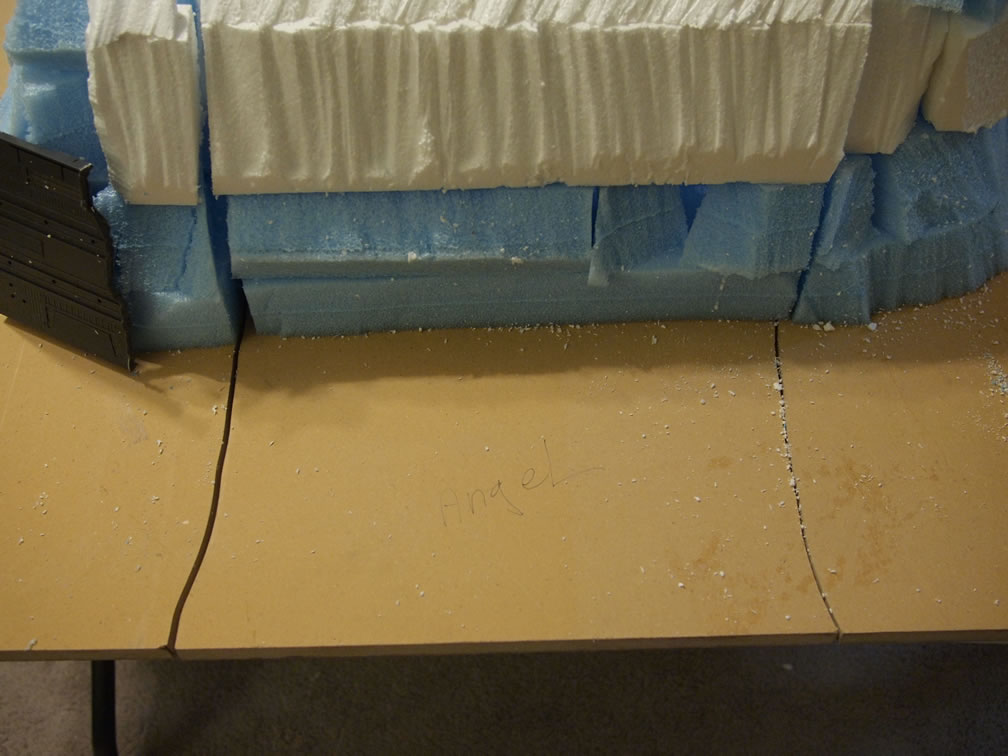
Test fitting the parts we noticed that Dan’s part still had a gap between his and Terry’s section, so we did a little patch work gap filling with some foam.

Before we had learned that Michael’s had the plaster cloth we ran out of, we placed some kits on the base to get more ideas on final poses. Brandon has some amazing ideas, and everyone just has some cool thoughts put into this little project. But before dinner, we dropped by and picked up the needed plaster cloth and continued work when we finished dinner.
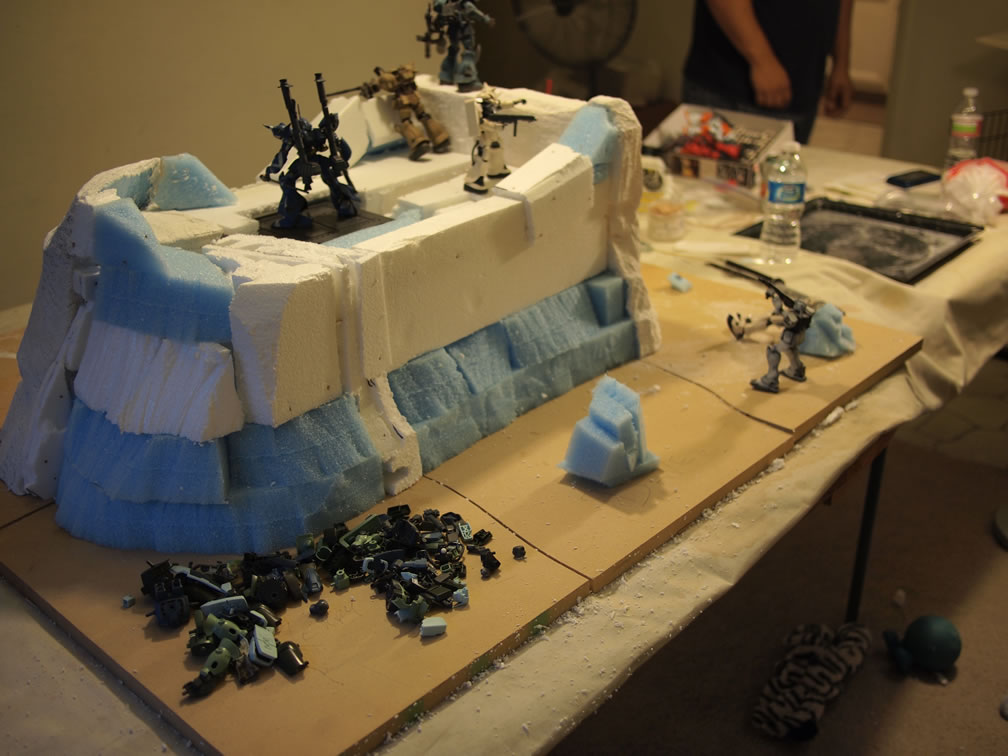
Everyone grabbing strips of the plaster cloth, we managed to use it all up, ever though we picked up two rolls of the stuff. I’ll see about getting another roll of the stuff tomorrow for some additional patch work.
With the plaster cloth well on it’s way to curing, we mixed up some celluclay with water and elmer’s glue to get a sticky paper mache; then applied the mixture in a very thin layer onto the plaster paper. Hopefully there is minimal shrinkage with the celluclay, but I’m skeptical as I’ve worked with the stuff before on other dio projects. But not too bad, once this stuff cures, we can work on adding more celluclay details and then get the sucker base coated, painted, and detailed. At the very least, the base is starting to take shape and actually look like something other than a bunch of stacked up jaggedly cut foam.