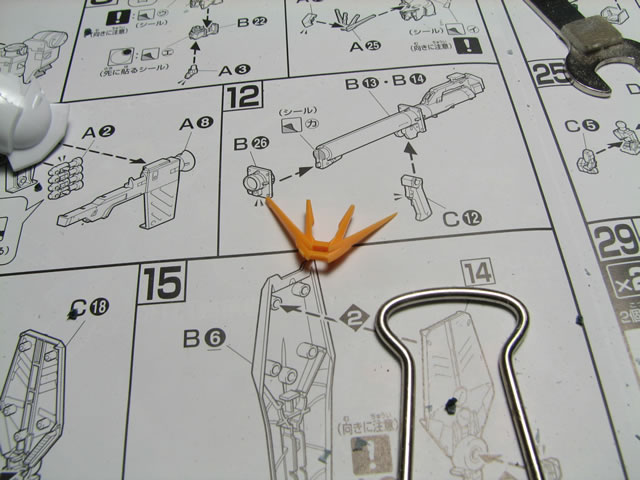
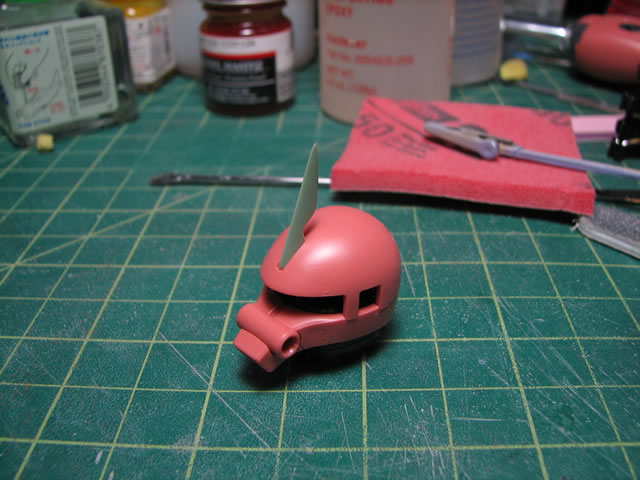
This tutorial covers the basics for sanding down antennas and v-fins to sharpen and thin them. For this example, I am using the antenna from a Zaku II 2.0. The same technique is used for thinning V-fins. Beginning with the out of box antenna, they are fairly bulky and thick. A little sanding is necessary to get them to look considerably better.
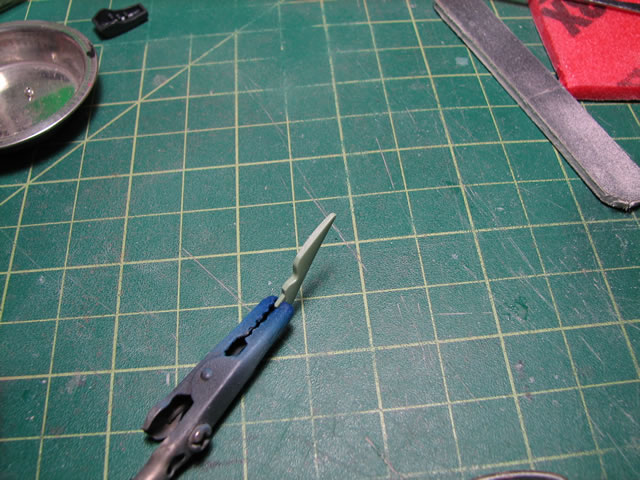
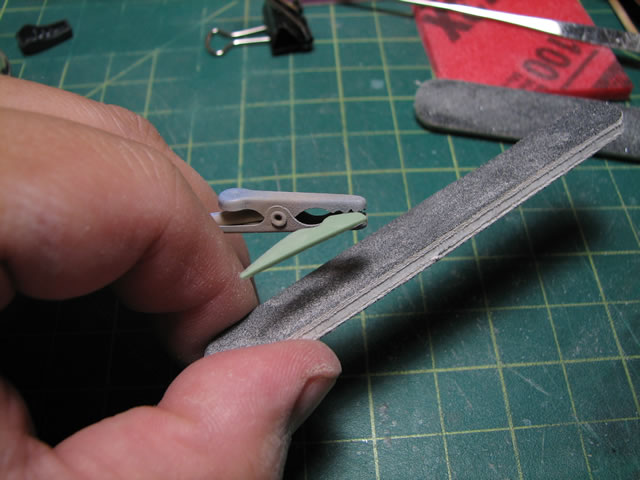
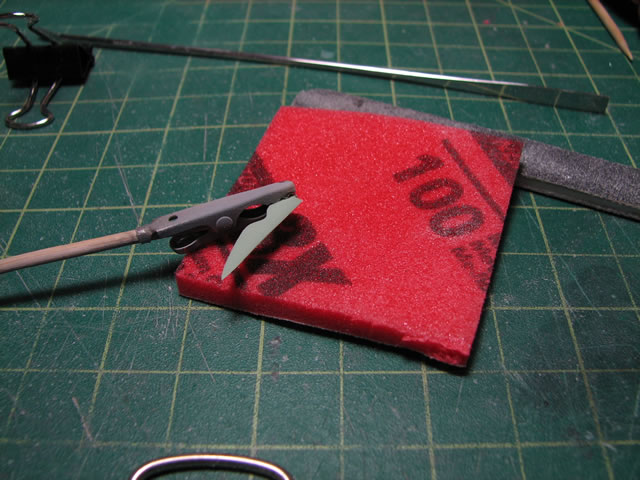
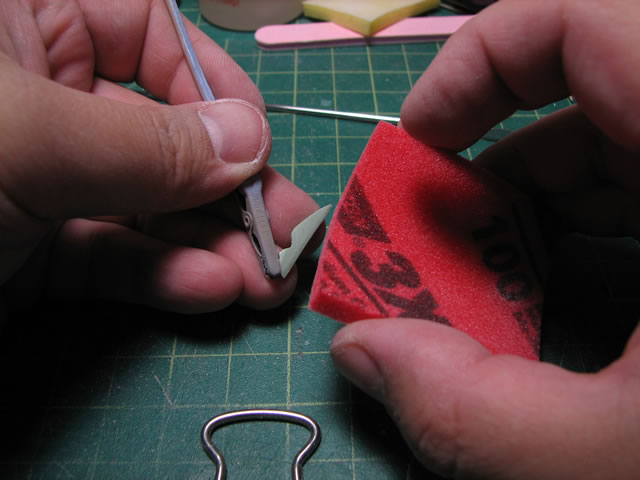
First I start with a holder of some sort to help give stability for holding the part with one hand while I sand with the other. For this I’m using my alligator clip + bamboo stick part holders. On these antennas and v-fins there is always a spot that will be hidden by another part or a tab that connects the part to the head pieces. The alligator clip assembly is holding onto the tab part of the antenna. This gives me added stability while I’m sanding.
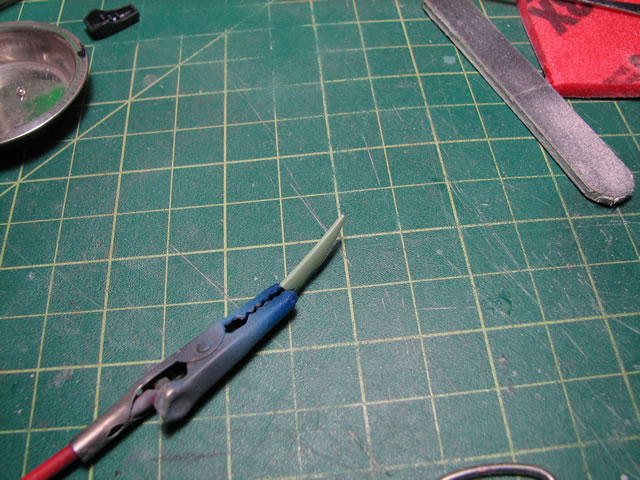
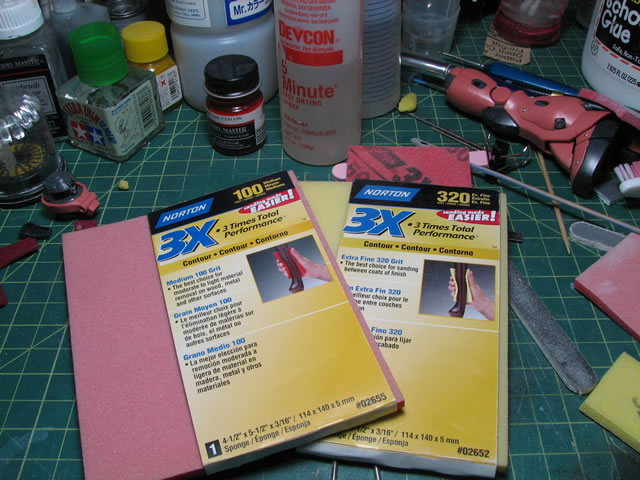
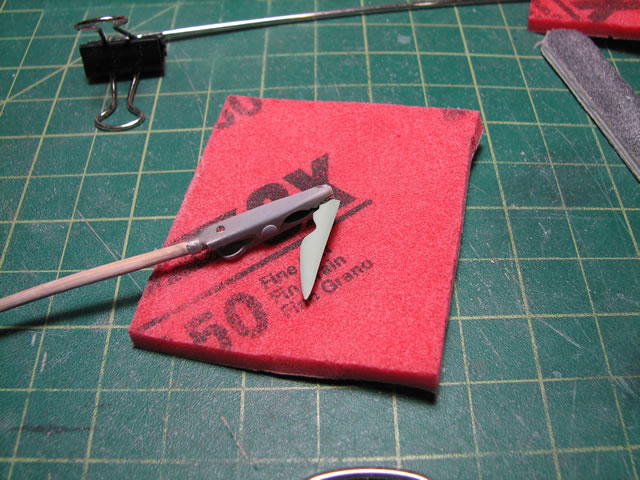
I start sanding with a fairly corse grit of sand paper, I’m using something around 60-80 grit to remove a majority of the material before I move to polishing. In this step, I’m sanding both sides equally and sharpening the leading edge to a sharp edge. Using my thumb and middle finger, I hold on to the bamboo stick assembly while I rest one side of the antenna on my fore finger. The sanding stick is held with my other hand and with this set up I can start sanding. Sanding slowly and carefully will ensure that you get a straight edge while you sand.
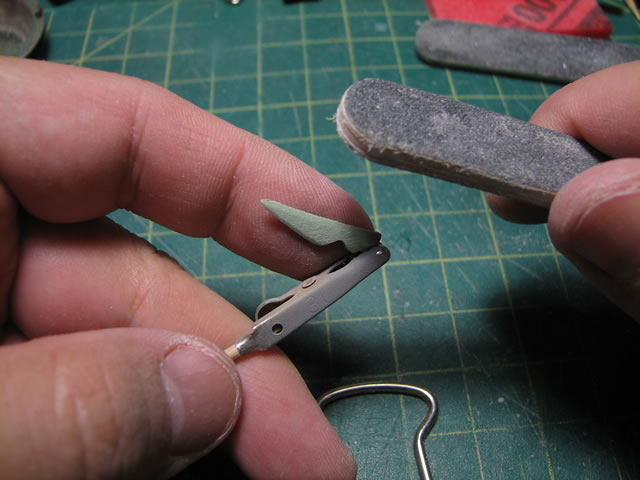
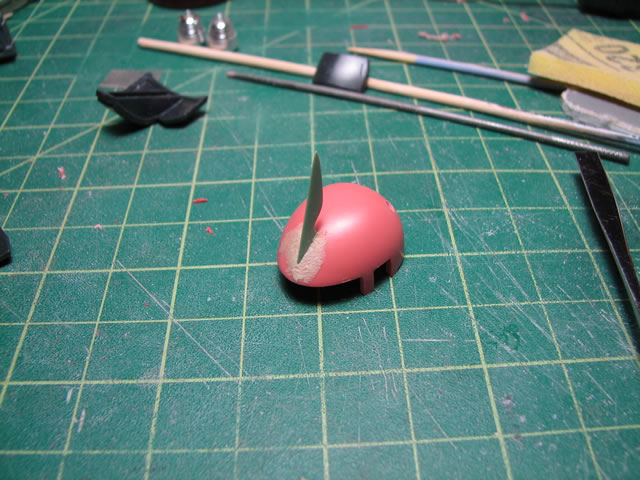
Once the antenna or v-fin is at the thickness of your liking, you can then stop using the corse grit and move to polishing. You can see in the following pictures that although rough, the antenna is considerably thinner and the leading edge now looks razor sharp.

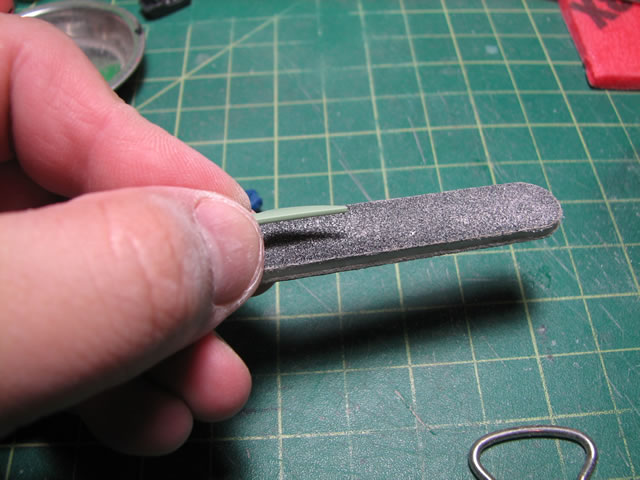
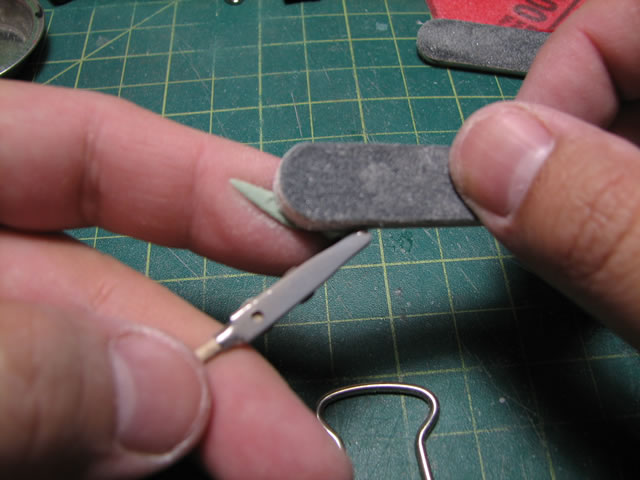
Using sanding pads of different grits, and holding the part as I did in the first sanding stage, I carefully polish away the rough sanding marks left by the coarse grit sanding stick. I continue progressing from 100 grit to 150 to 320. Once I get through the 320 sanding pad, the part is fairly polished and ready for paint.

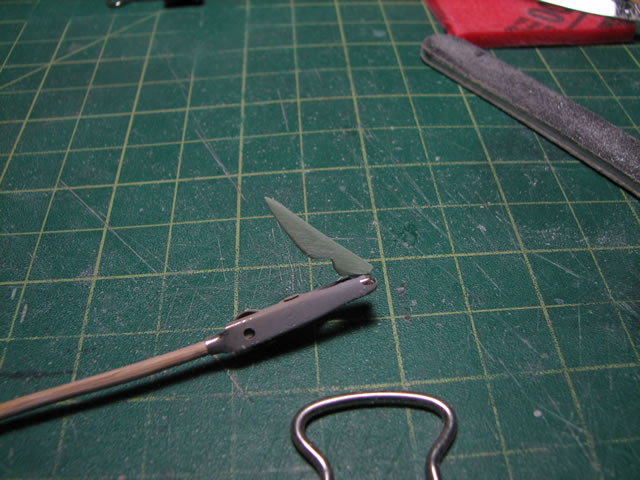
This is the part as it is attached to the top part of the zaku’s head. Notice that I thinned the part a little too much so that there is a bit of a gap from where the antenna attaches. A little epoxy putty will fix that right up. Sanding down antennas and v-fins is easy, the difficulty comes in that these parts are fairly delicate, but using the proper sanding and holding techniques, the process is very easy.
- Recap of the steps:
- Use a tool of some sort to attach to the non painted area of the part as hold support
- Holding the support part between your middle finger and thumb while resting one side of the antenna or fin on your index finger
- Sand and remove most of the material using a coarse grit sand paper, sanding sticks work great
- Polish using increasing levels of sand paper grits
Adding a video tutorial for this process. The same technique is used for v-fins. Below is a video of the sanding process that sanded down the v-fin of a HGUC Nu Gundam
Get the Flash Player to see this player.
And below is a sample picture of the part after thinning down and sharpening the v-fin