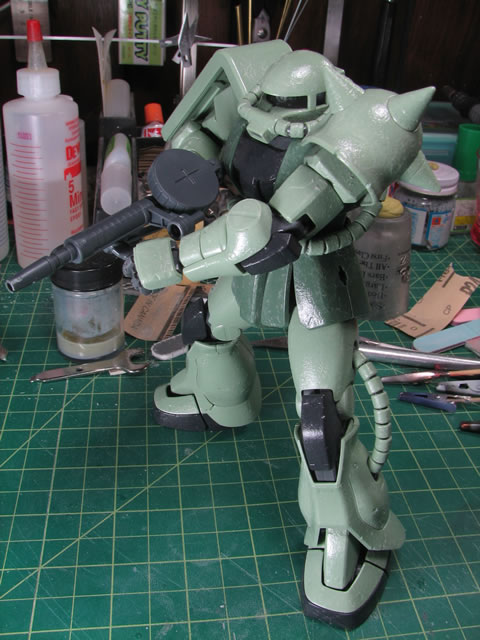
This is a tutorial for applying water slide decals. I prefer these decals over the dry transfer decals for ease of application. There are a couple of important steps that need to be applied to the parts before applying the decals. The most important step is to apply a gloss clear coat and allowing this to cure prior to applying decals. A gloss clear coat creates a very slick and smooth surface on the parts and this is the perfect environment for the decals to stick. If the surface has not been properly prepared, the decals will not stick very well onto the surface.
Beginning with the first step, I sprayed on a gloss clear coat onto my kit. The first picture was taken before the clear gloss application, followed by a picture taken after the gloss coat has been applied. You can clearly see the difference from a dull flat surface to glossy smooth surface.

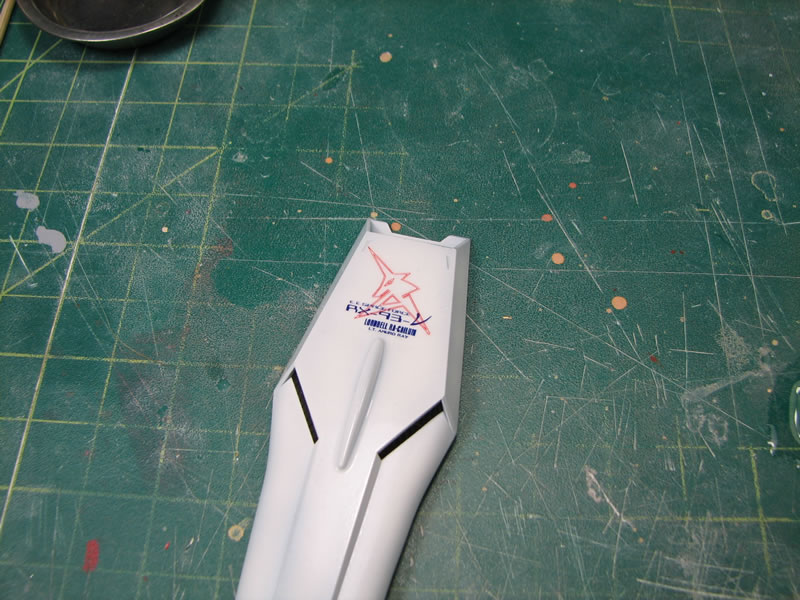
After the clear gloss as cured, plan out your decals.
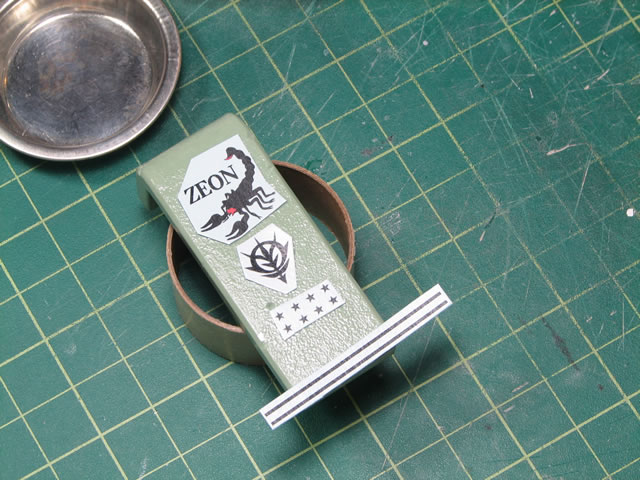
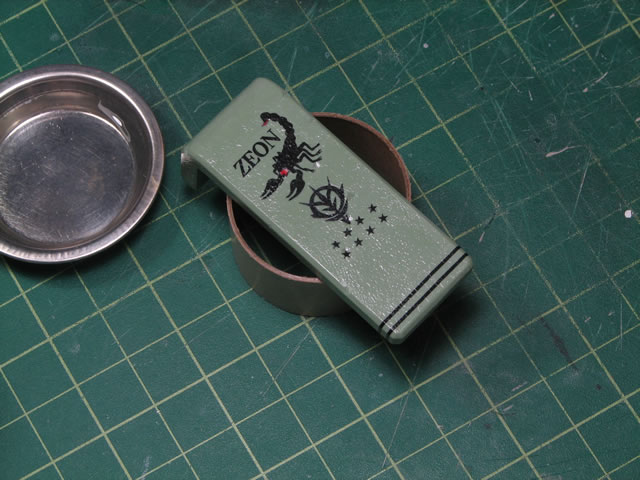
Dip the decal into water and let the decal soak for no more than 5-10 seconds. Remove the decal from the water and set it down on your work area or paper towel. The water will soak into the decal backing and after another 30 seconds to a minute, the decal will easily slide around on the decal backing. Simply slide them onto the parts. You can use a toothpick to position the decals while it is still wet. Another technique to positioning the decals is to use a moist q-tip. With the q-tip, the decal can be carefully lifted and repositioned. Once the decal is in the proper position, take a paper towel to soak up the excess water. Then carefully press the paper towel against the decals to rid most of the water. Let this sit and dry for a while before moving on.
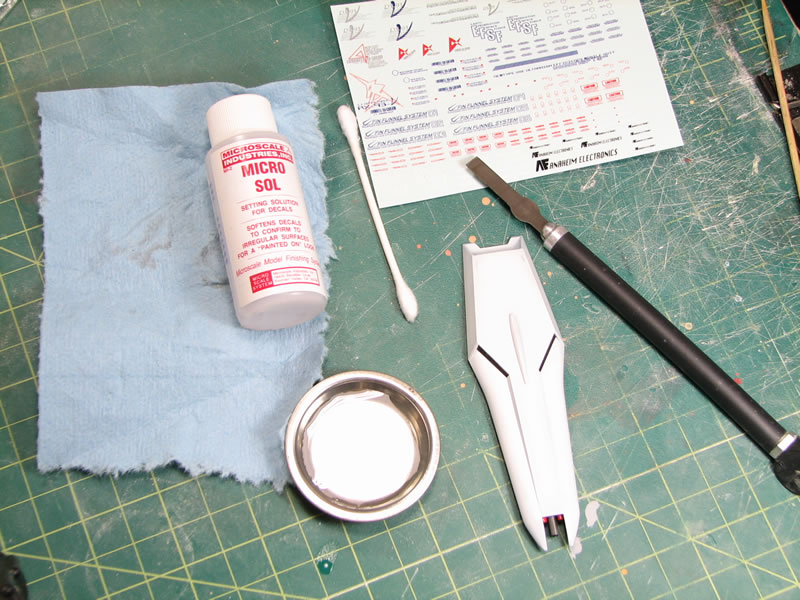
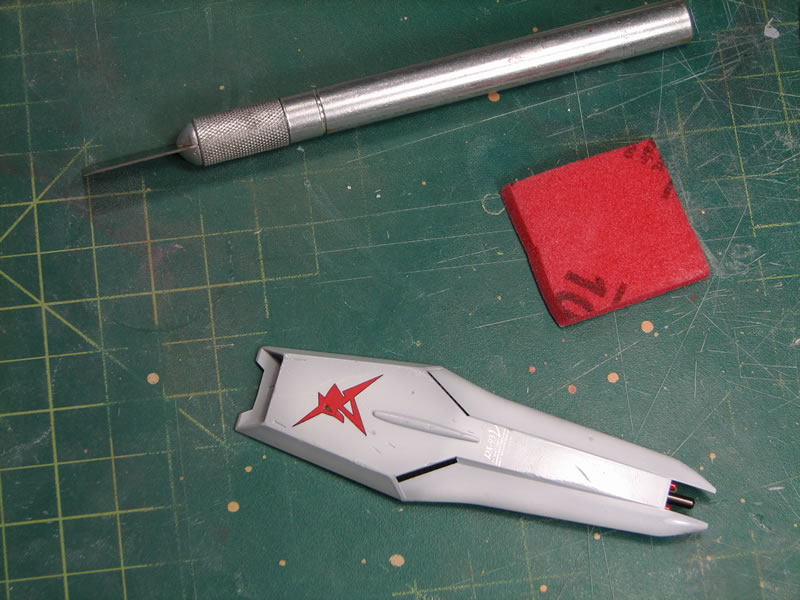
Now that the decals have been applied, you may notice that some of the decal edges are noticeable. Additionally, in the previous picture you can see where the decals sit above the bullet holes I put into the shield. To fix this, I use Micro Sol setter to set and soften the decals. The Micro Sol melts the decals so that it conforms to the shape of the surface. All I do is apply the solution with a brush and let it evaporate on its own. In the following picture, you can see that the shield is wet with the solution. Just let this sit and it will evaporate on its own. Another reason for using decal setter is to make sure the decal sticks to the surface of the plastic. In some instances, the decal will start to wrinkle a little, this is a normal process and the micro sol will smooth out on its own. Just let the decal sit until the micro sol has done it’s job. This is a time consuming process. Check back in half to a full hour. If the decal is still wrinkled, apply another small drop of the microsol to the surface and let this sit and cure.

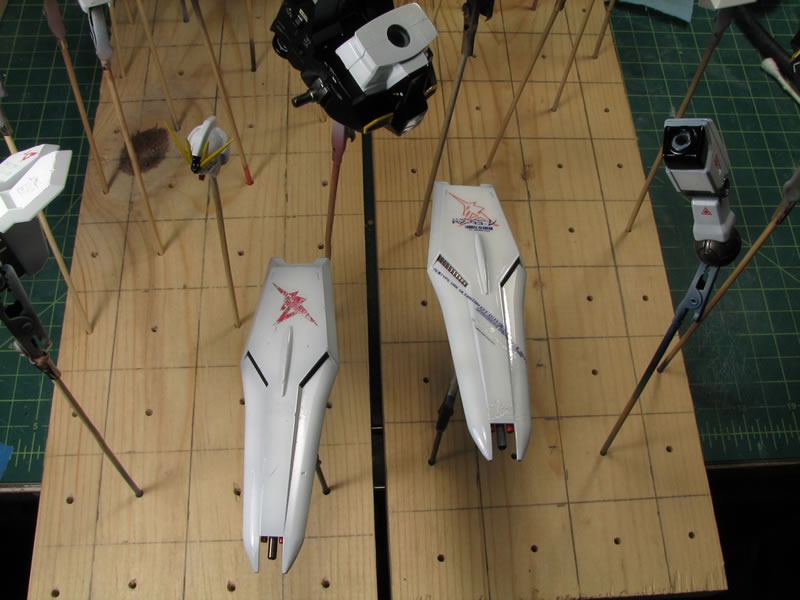
Once the decal setter has fully cured and you are finished applying the decals, spray on a clear gloss to seal the decal. The clear gloss does two things. First, it protects the decal from other steps that may be applied onto the kit after applying decals such as a wash or various weathering techniques. And second, the clear gloss helps to level the decals edges, hiding them. This will help give the decal a painted on look.
This step is for those who are interested in weathering a decal. This step is optional and usually applied to weathered kits; note that this step occurs prior to applying a final clear gloss sealing the decal. To do this step, you must use a decal setter and have the decal and setter fully cured onto the surface of the kit, otherwise the techniques used on the decals will end up lifting the decals or tearing the decals off the plastic surface. I use either a hobby knife or a sanding pad. Just lightly running the knife over the surface of the part and small amounts of the decal ink will be removed creating a weathered decal. A different technique is to use a sanding pad and lightly sand the decal, this will also help remove bits and pieces of the decal.

- Recap of the steps:
- Gloss clear coat
- Plan out the decal placement
- Place decal into water for 5-10 seconds
- Remove the decal and let it sit out of the water for 30 seconds to a minute
- Slide the decal onto the part surface
- Position the decal using a toothpick or q-tip
- Use a paper towel to remove excess water, and press the towel down to rid as much water as possible
- Apply a drop of decal setter and let this sit until it cures, approximately half an hour to a full hour
- *Optional* Decal weathering
- Spray a gloss clear coat to seal and protect the decal
December 17, 2007: Added the video compliment for the above technique. Below is the decal application:
Get the Flash Player to see this player.
Below is the use of decal setter:
Get the Flash Player to see this player.
Below is decal weathering:
Get the Flash Player to see this player.
Below are some pictures of the weathering results: Before and After
May 16, 2008: adding even more videos explaining the process.
Get the Flash Player to see this player.
And below are still pictures of the about process and the results.


The following is another video showing the process for weathering a decal.
Get the Flash Player to see this player.
And below are still of the process and a comparison picture with a weathered and non weathered decal.

Can you please change the text of your site so it can be easily read? The text are too fancy, nice tutorials though, keep it up!
Heh, I’m guessing you’re using an iPad or iPhone… yeah, I noticed that the font looks odd, I recommend using a different browser, then overriding the fonts. It every other browser I’ve tested, the font looks just fine.