March 25, 2007: After some discussions over at HobbyFanatics on spray booth recommendations,the idea to update my current set up popped into my head – so I give you: Spray Booth Ver 3.0 (2.0 was the addition of the large vent. So since I had already drew a picture of the wiring schematic,as the question was posted for, I drew up a new design based off using a Range Hood as the main venting source.Below is the schematic for the wiring from the vents to the switch and to the power cable:

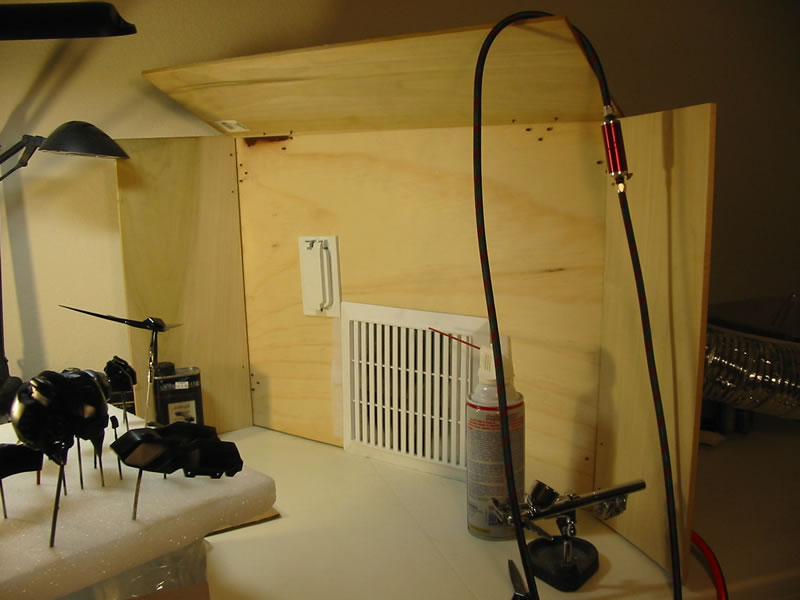
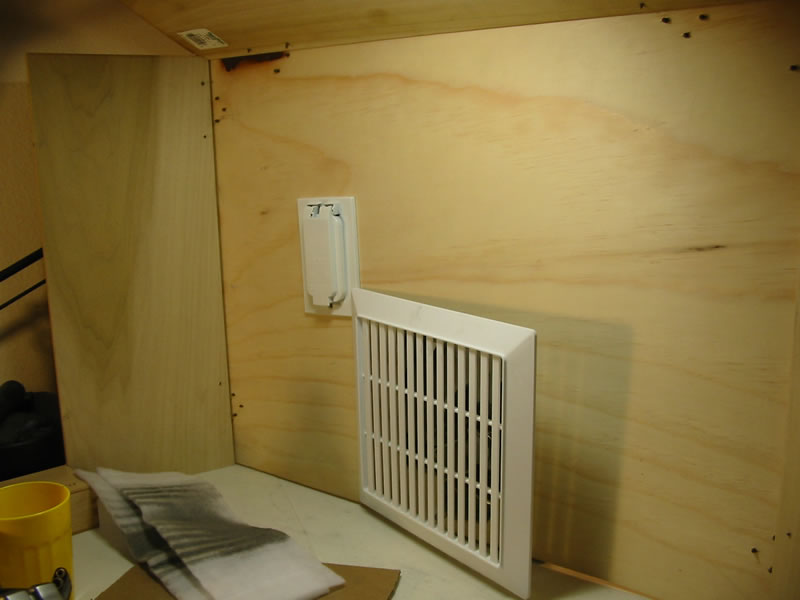
This is the design I settled on. This will be a drastic increase in size from my current spray booth. I have placed the large rear vent in the lowerleft hand corner since that is the direction in which I spray when I’m working. Using more solid building materials, this spray booth is much biggerand studier than my old one.

Using parts from my old spray booth, I still needed to make some purchases which includes the following:
-
32″ X 16″ X 72″ Pine board cut in three for the sides and bottom of the booth: $14.00
-
4′ X 2′ X 4′ Pine plywood for the back of the booth: $6.00
-
2′ X 4′ Partical board for the top of the booth: $6.00
-
Broan 30″ Range Hood: $118.00
-
7″ X 6″ Plain reducer for reducing the size of the exhaust vent from 7″ to 6″: $6.00
-
6″ X 4″ Plain reducer for reducing the size of the exhaust vent from 6″ to 4″: $5.00
-
4″ X 8′ Aluminum flex duct: $15.00
Grand total: $170.00 to completely build a new spray booth.
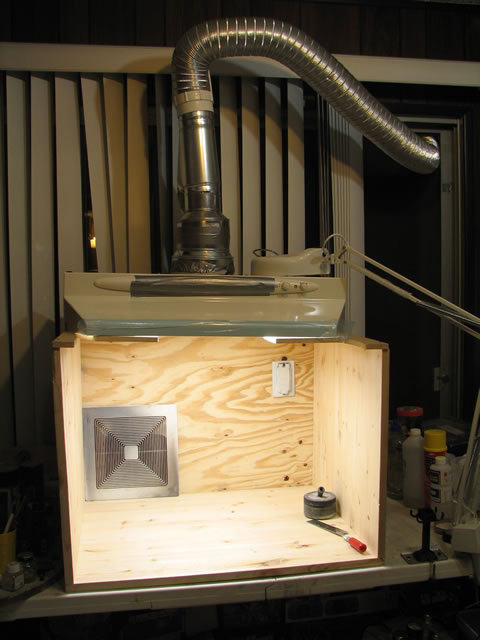
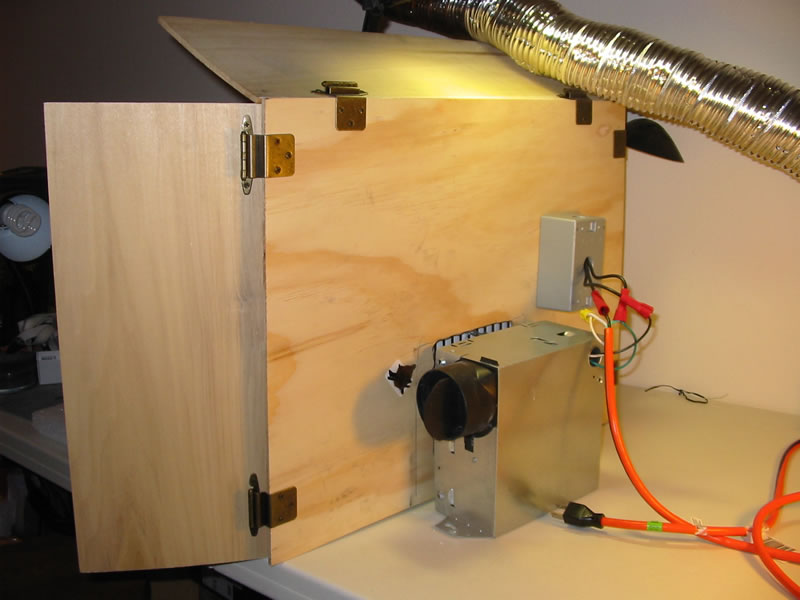
And here are the results. The last picture shows the remains of my old spray booth sitting inside the new spray booth for a size comparison. Ready to get back to working on stuff now.

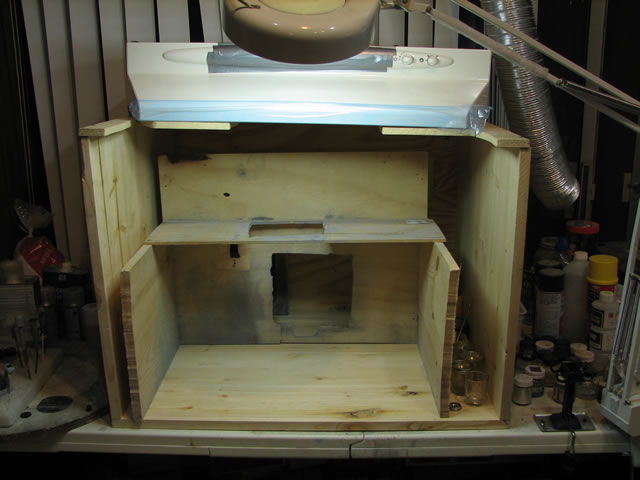
I’m keeping the information on how I build my first spray booth just for historical reasons, and hope that the cheap build will help some folks out. Since moving to lacquers and such toxic materials, I really need a much better ventilation system – as the old one was decent, and perfect for use with acrylics and less hazardous materials.
Before I begin, let me note that this design fits my needs for my current living situation and my current hobby needs. The following two links are some designs for more robust spray booths:
http://www.briansmodelcars.com/tutorials/tutorial.asp?TutorialID=23&CurPage=1
http://users.pandora.be/ronny.noben/website/tips/paintbooth.htm
This is my ghetto cheap spray booth. The following is the list of parts used to build this purchased from the local home improvement shop:
-
Scrap wood (it was cheap)
-
Bathroom ceiling fan
-
On/off switch
-
Heavy duty electrical cord
-
Aluminum ventilation tubing
-
Hinges
-
Circuit box and switch cover
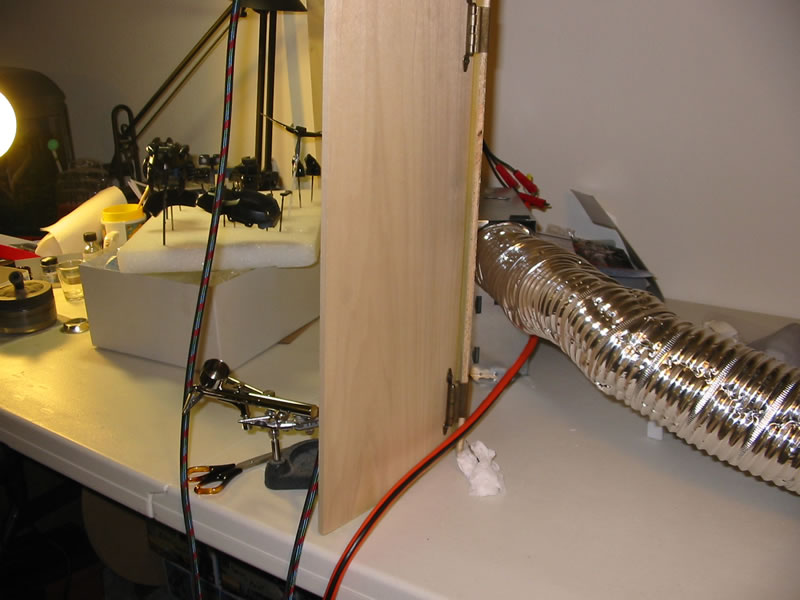
The wood was put together using the hinges and screws, basically, I wanted to be able to fold this away when I’m not using it. I didn’t want a box, but rather a shield of sorts with a fan in the center to catch fumes. Looking at the compact ready made spray booth, I found the design I wanted.
Additionally, there may be issues with the small bathroom fan I am using and the possibly danger of flammable paint fumes (for more information on the spray booth fumes issue, click here. But the design choice was made based on what meets my current needs and work bench requirements. I do not have a dedicated room for building so I cannot build a huge semi-permanent spray booth, so I opted for this design. See the pictures below for a visual description of the basic form my spray booth took.
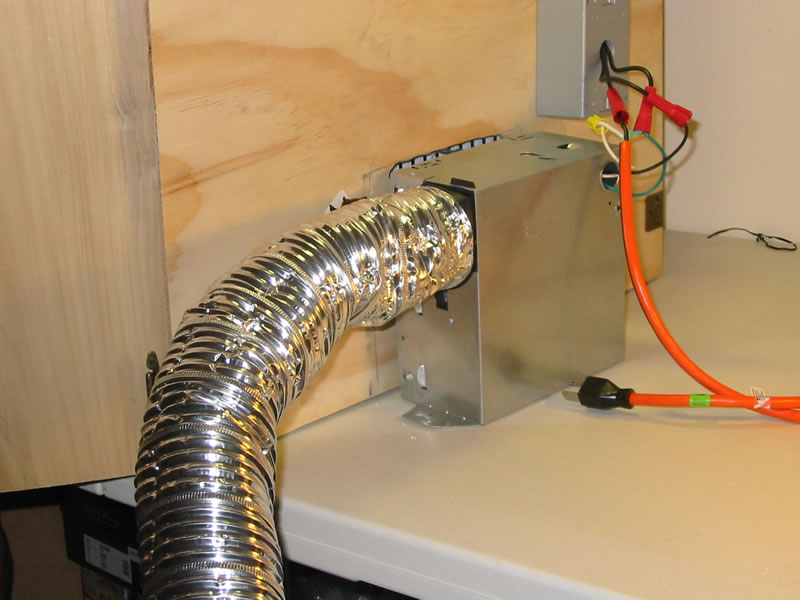
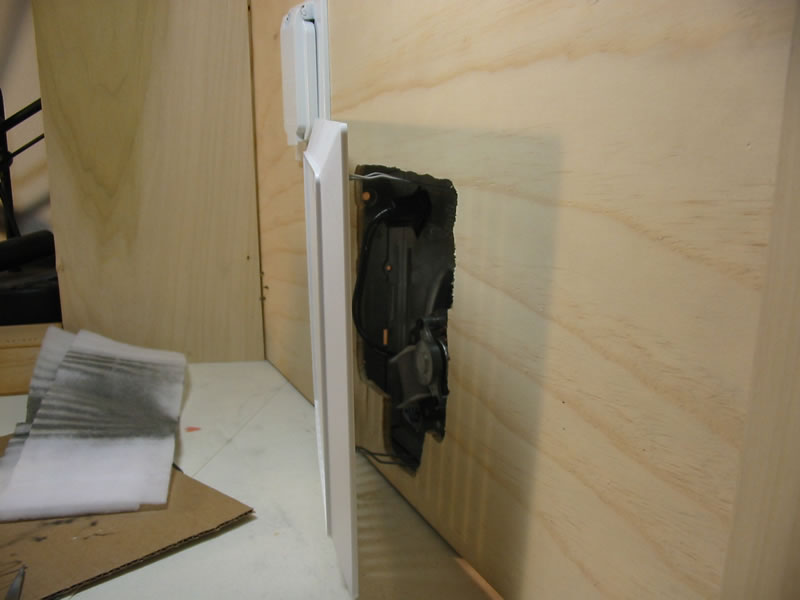
With the basic structure of the booth built, the next step was to cut out a hole for which the fan can suck air through and the hole for the placement of the switch assembly and circuit box. Again, for ease of storage and take down, the fan is not bolted down to the main structure of the booth. Rather, the vent in front, combined with the spring metal attachments allow for a secure clamp on the booth’s structure. The pictures below will better describe this
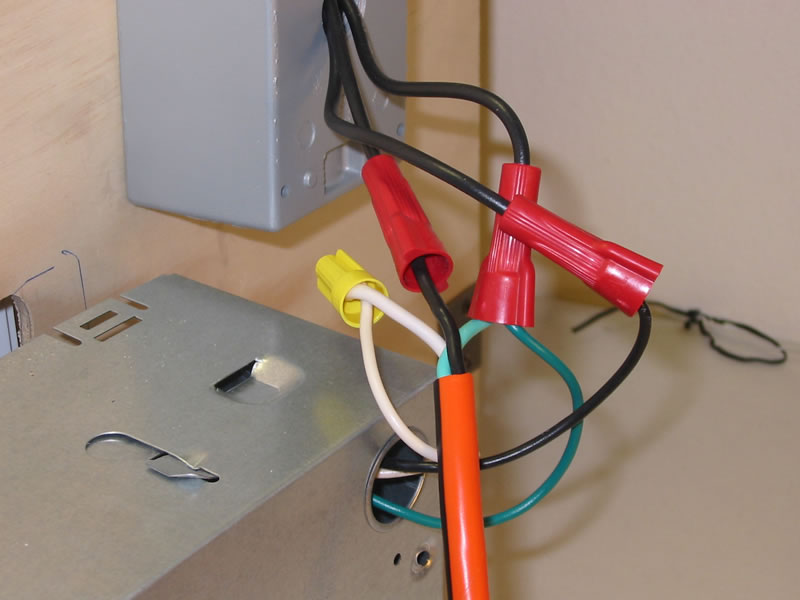
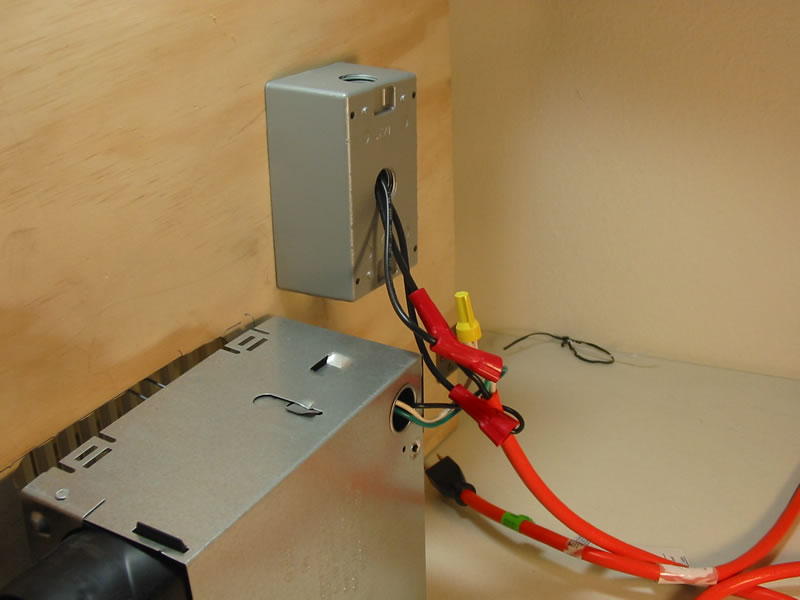
The next step in the assembly of this simple spray booth is the electrics. The wiring was very basic, two opposite negative ends to the on and off terminals, green wires connected to the ground on the switch, and then the red wires are just connected to each other. See the picture below for a visual description
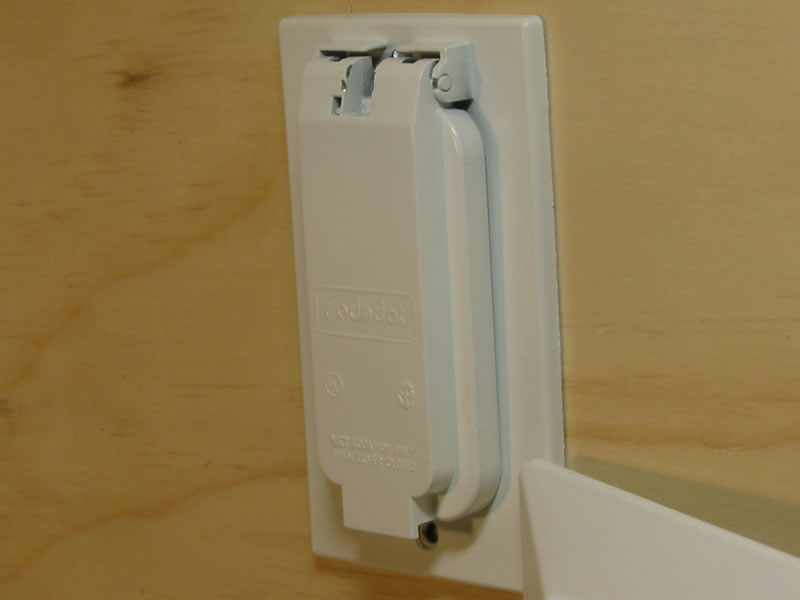
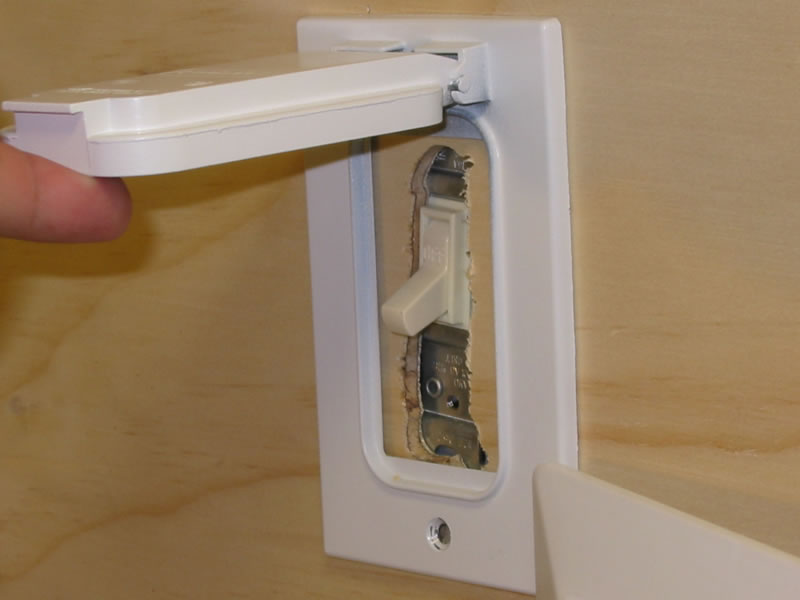
After the wring was done, I added a circuit box and switch cover to make things look pretty. I also wanted to have a cover just to lower the chances of spraying paint or spilling stuff into the switch assembly. See pictures below for the close up shots of the circuit box and switch cover.
After this is done, attachment of the vent tubing, plugging in the electric cord, and flipping the switch to on is all I do before I start to paint. The entire assembly cost me around US $50.00 for all the parts. The only power tool I used was a rotary tool and cutting/drilling bits for cutting out the hole. Sure, it doesn’t look as spiffy as the Mr Spray Booth by Gunze Sangyo, but I enjoyed building it and it only costs a fraction of the price for one.
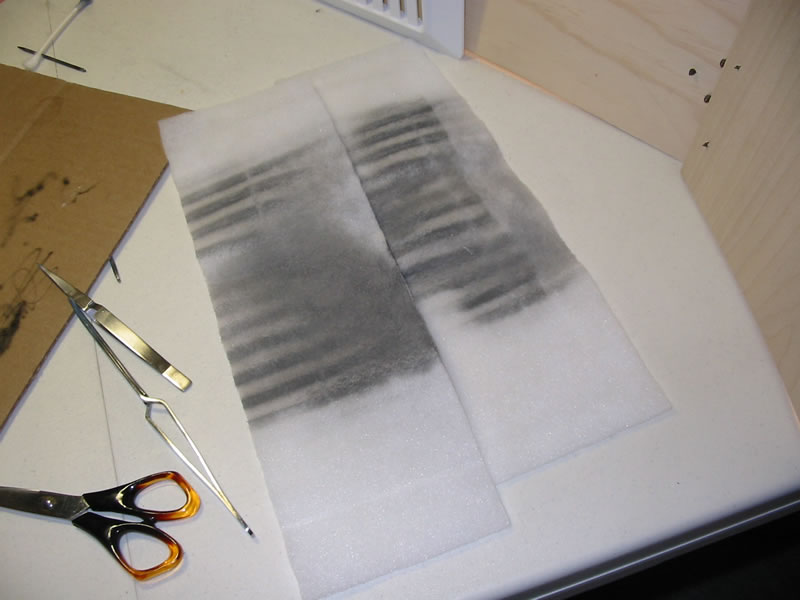
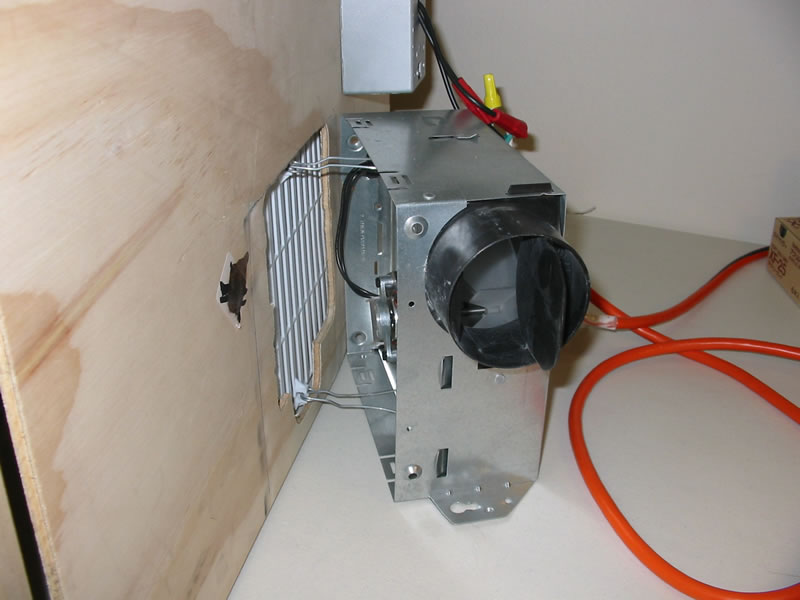
The final pictures are of the vent tube attached to the fan and the filters I place just behind the vent face. The filters actually filter out a majority of the paint particles. Hope this little description of my spray booth build helps others who are strapped for cash but enjoy painting indoors.