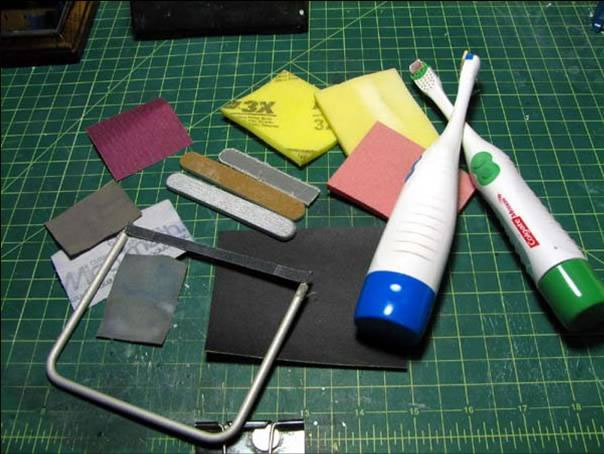
This tutorial covers the basic steps of cutting the parts from the trees and sanding the parts. The sanding process is the part of the bare plastic step in the build layers chart.Below are pictures of the various sanding implements that I have collected so far as I continue to build. Each sanding tool, sanding pad, sand paper, sanding sticks, etc have their uses depending on sanding situations.
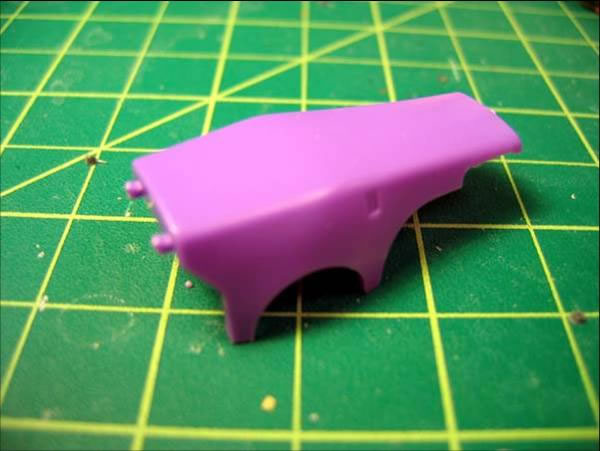
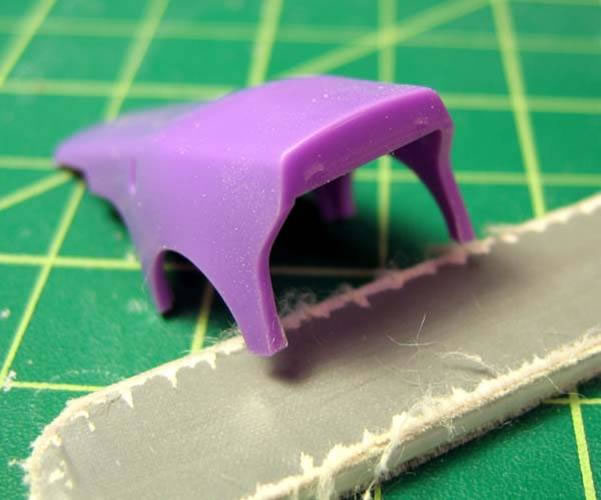
Starting with cutting, I use nippers which have a flat cutting surface that makes cutting flush lines easy. Now the cutting places stress on the plastic and this usually leaves a small amount of white where the stress occurs. To avoid the white stress marks, cut the excess nubs away from the part leaving a small amount of the nub in place. Follow this up with the sanding process and the white nubs will not be present. The below example shows the white stress marks on the nubs. Further down in this page, you will see that the are where the nubs were cut do not have these stress marks.

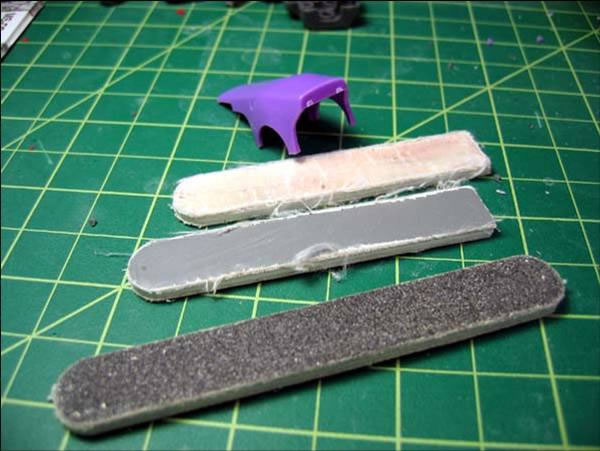
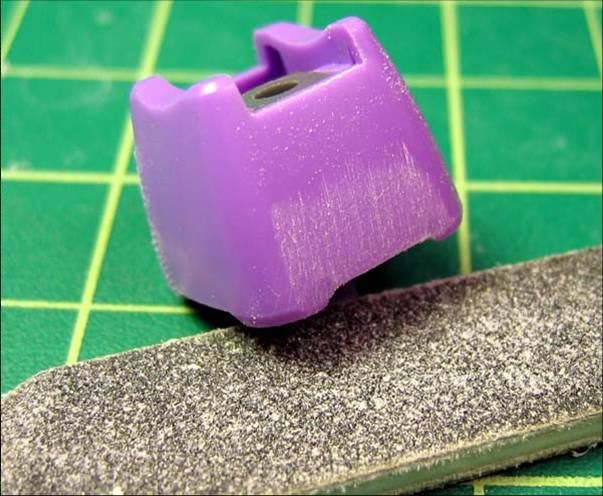
For this example, I’m using 3 different grits (roughness) of sanding sticks. Using different grits of sand paper or sanding pads works as well, it is just a matter of preference in sanding tool. The important issue here is that you must use different grits of sanding implements.The sanding stick I begin with was found at my local hobby shop and at this level, it is used to remove material. Since it is very coarse, it will remove a lot of material, so be very careful when sanding with low grit implements. The sanding grit of the black sanding stick is about 75 – 100 grit. Once the major material has been removed, I move on to the next grit. This sanding stick was purchased at my local drug store in the nail care area. It comes in a single stick with white and pink on one side and gray on the back. The most coarse side is the pink, followed by the white, then the gray. The grit is roughly 200-350 grit. Once the majority of the rough scratches is removed, I moved on to the white sanding side. The grit for the white side is about 400-500 grit. This will further smooth the surface. You will notice that the surface is becoming a little shiny similar to the how the plastic looked before sanding. The final step is to use the gray side and polish the part. This is a fairly high grit at about 800-1000and at this level, the part will be polished to a very shiny finish. Following this gradual progression of higher and higher sanding grits, you can polish the nubs to the point where it looks as if they were never there.
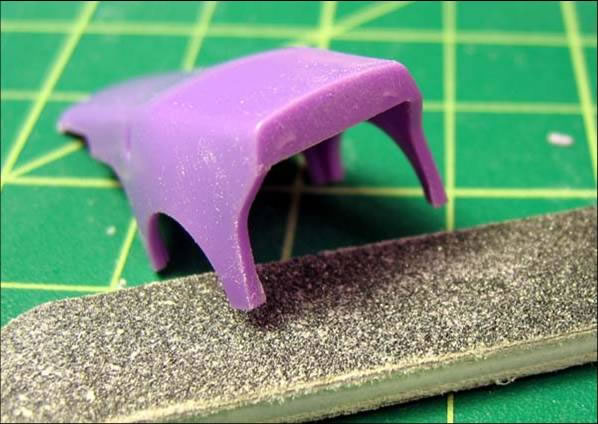

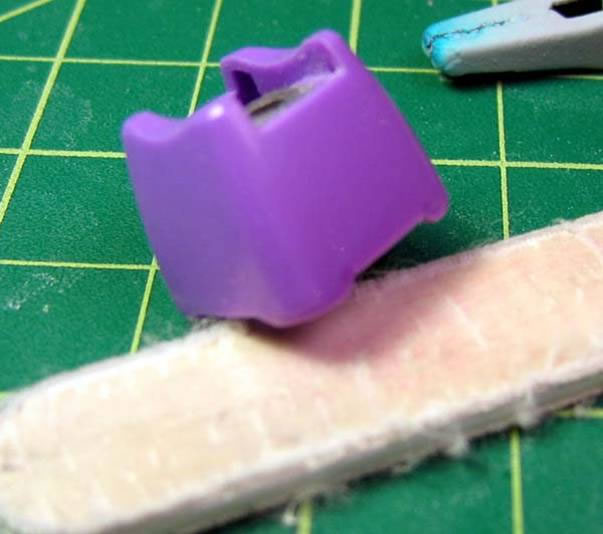
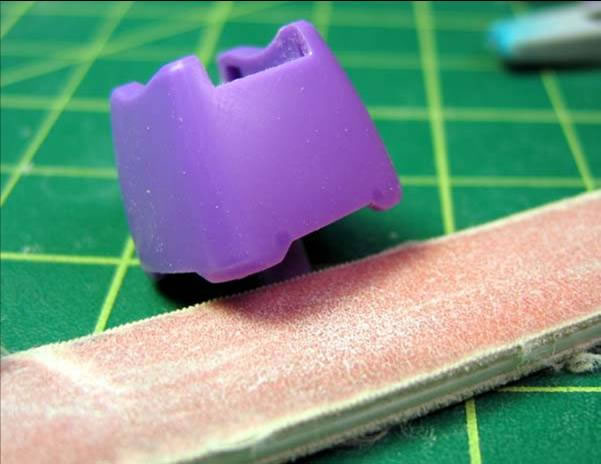
This is another example of sanding, beginning with the low grit stick to the high grit stick.
- Recap of the steps:
- Clip the nubs leaving a small amount of the nub still on the part
- Start sanding using a low grit sanding instrument about 100 grit
- Sand with medium grit about 200-350 grit
- Sand with high grit about 400-600 grit
- Sand with very high grit about 800-1000 grit
Adding to this tutorial is a sanding video for removing the nubs/gates/spruce connections from a part. The process is very simple and follows the steps laid out above.
Get the Flash Player to see this player.
Wet Sanding
Wet sanding is a process where wet sand-able sanding implements such as the sanding cloths or sanding pads I use are dipped in water and then used to sand the surface. The water helps lubricate the surface and give the sanding implement a smooth surface to slide along. The amount of sanding dust is reduced with wet sanding. I use this process after finish applying the final primer coat. Since successive layers of paint build upon the previous layers, the wet sanding smooths out everything so that the color paint layers are as smooth as possible. You will notice the before and after with the surface of the kit looking dusty/rough and after the quick wet sanding session, the part now looks shiny and smooth.
Get the Flash Player to see this player.
Do you sand the inner frame of the gundam model kit? I was asking because I’m going to start building the master grade wing gundam soon. Thanks
Yes and no. For frame areas that are clearly visible and will be painted, those are sanded. Some of the other areas that are completely hidden by either armor or connection to another part, those are usually just cut to remove the excess nub plastic for the best fit. I don’t sand these areas.
Huge fan of all your work, especially your HG Sazabi. My first time airbrushing a kit, I just primed all my pieces and am planning to wet sand. I was just wondering how you clean up your pieces after wet sanding, do you use a dust sprayer or put them through the ultra sonic cleaner? I’ve been spraying at 15 psi, is that sufficient? Thanks for any input!
I typically clean my parts before I start painting. Once I have it primed, I do not wash the kit unless I’m handling it a lot with my hands and oils get on the surface. I only clean the bare plastic. As for psi, that depends on how thin or thick your paint is. I highly recommend trying out different PSI and mix ratios to see what kind of effects you get. You’ll learn what works best for you and get some ideas on cool tricks you can do with the airbrush. There’s no RIGHT way to do anything :) Only what works best for you. Going back to the parts, if my parts have been sitting out in the open for a while (weeks to a year) then I will use a can of air duster to clean off any dust. A can of duster air is always good to keep handy anyways.