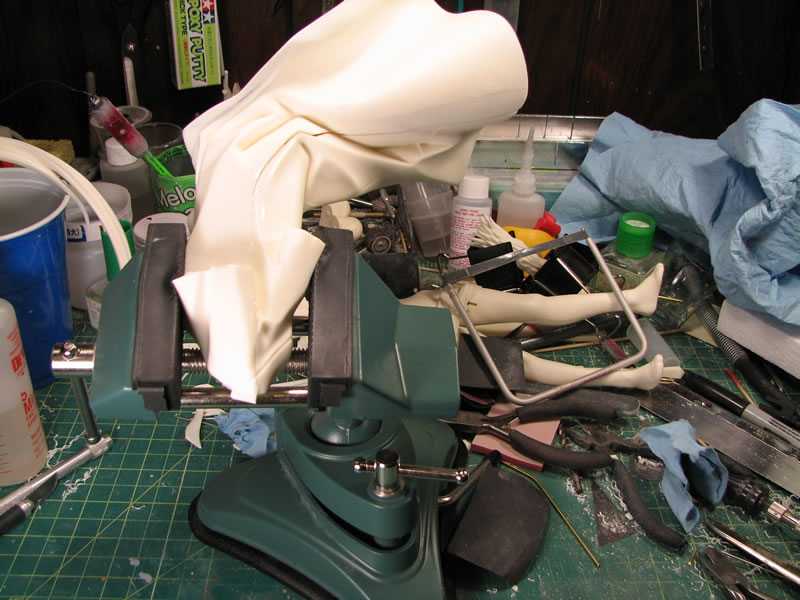
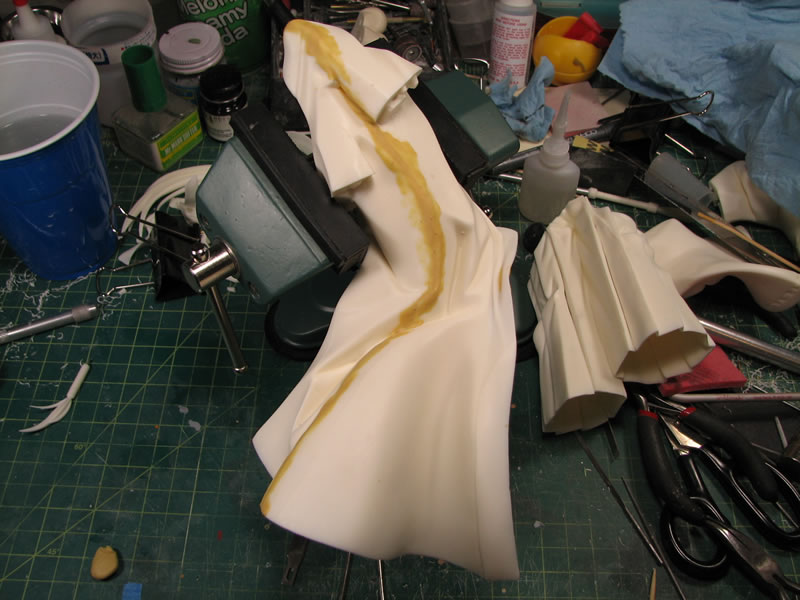
This is a tutorial for gap filling on resin figures. Often, resin kits have areas where two parts meet up and an unnatural gap/seam results with the two parts. These need to be fixed so that when done, the two parts look like one continuous part. The first step to this process is to soak the two parts in an industrial strength cleaning solution that will dissolve the mold release. This step is very important as it will help the glue bond with the parts and help the epoxy putty that will be used to hide and fill the gaps to bond with the parts. Once the parts have been properly washed, the next step is to glue the parts together. The below part has been glued and pinned together. I used a vice to help press the top section of the robe together and reduce the gap as much as possible. The vice can be used here since the area in this section of the parts were solid resin. For the lower section of these parts, the vice would have snapped the thinned out areas, so I did not employ the vice for that area.
The following video discusses the initial steps to gap filling.
Get the Flash Player to see this player.
Here is an image of the above process
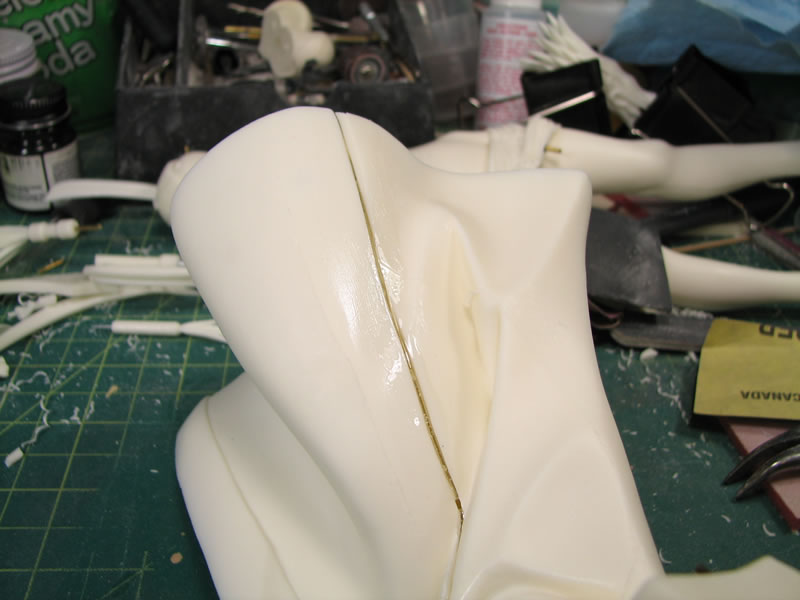
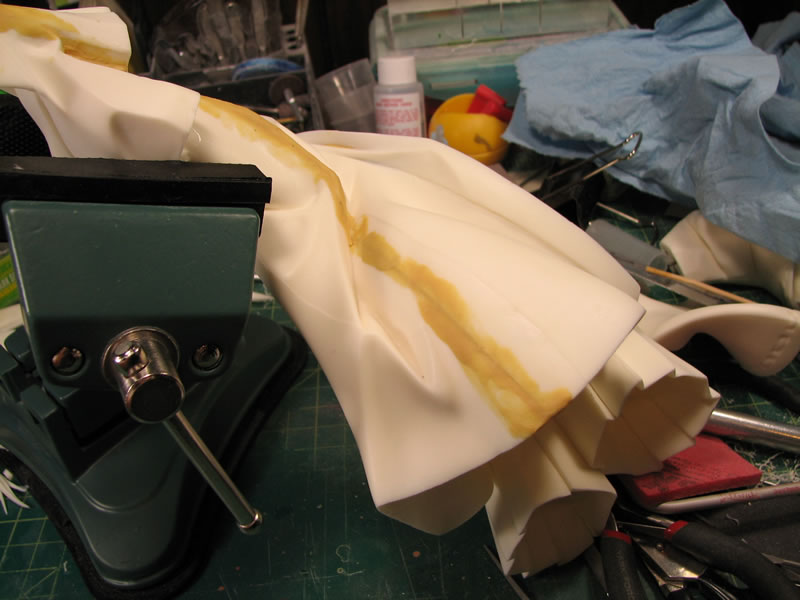
Next, I fill the majority of the gaps with epoxy glue. The glue flows easily into the gap and is a great filler that adds strength to the bond between the two parts. The epoxy glue will act as a good base for the epoxy putty to grab. Below is a video showing the use of epoxy glue as a gap filler.
Get the Flash Player to see this player.
Here is an image of the above process
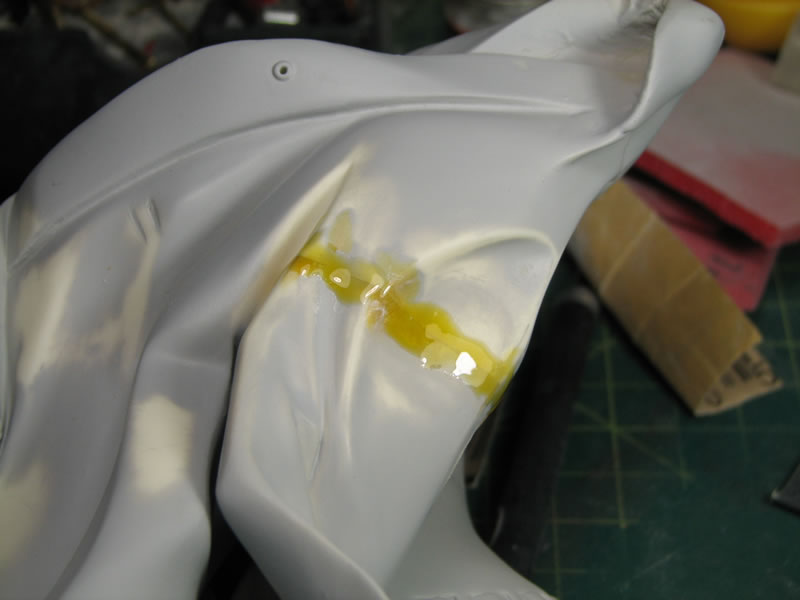
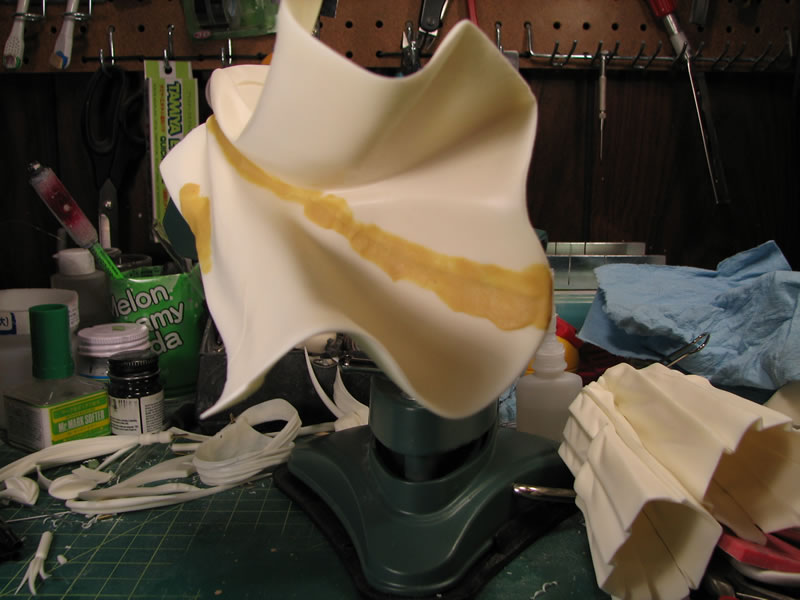
Once the epoxy glue has cured, I can then mix up some tamiya epoxy putty quick type and add it to the seam. To help with adhesion, I take some fairly low grit sand paper or a sanding stick and sand the surface around the gap to give more surface area for which the epoxy putty can adhere. The putty is then pressed into the part and left to cure. The following video shows the process of applying the epoxy putty.
Get the Flash Player to see this player.
Here are some still images of the above process
Light Curing Putty
Tamiya has a product called Light Curing Putty. This is a putty that cures when light shined upon it. The curing is fastest under natural sunlight, but will cure in about 2 minutes under normal household lighting. This putty is considerably more expensive than other types of putties, but for folks that want a very quick curing putty, this is it. I use this for spot fixes and filling small defects such as pinholes I find after the initial priming session. Turning off my main work light, the ambient lighting in the workshop isn’t powerful enough to cure the putty, so I have a good amount of work time. I apply the putty using a toothpick and once the parts have been puttied,the parts are placed under my workbench light source and the light is switched on. Two minutes later, the putty is cured. There is a oily residue I can only guess is a byproduct of the curing process. I use a paper towel and wipe away the residue. Once this is done,the putty can be sanded down. The texture and sanding consistency is that of resin. It is very easy stuff to work with, and the quick curing property makes quick fixes easy. Below is a video for the process.
Get the Flash Player to see this player.
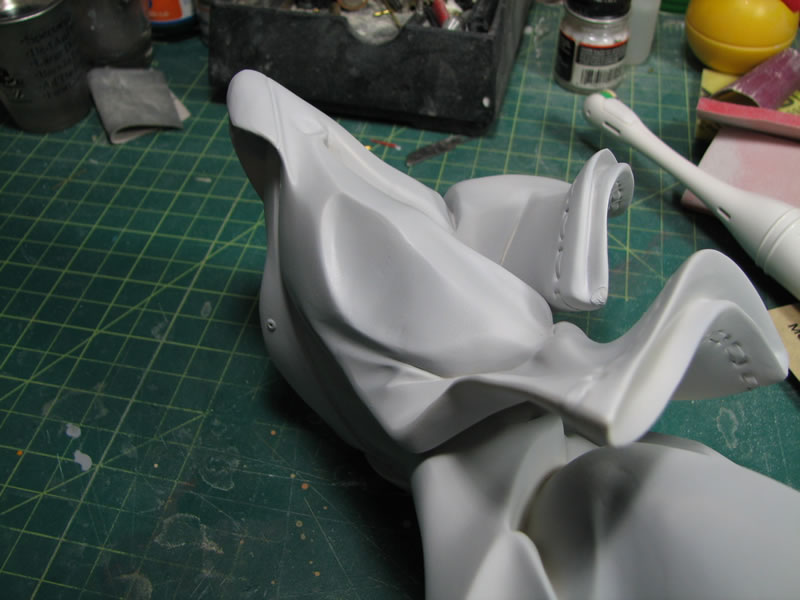
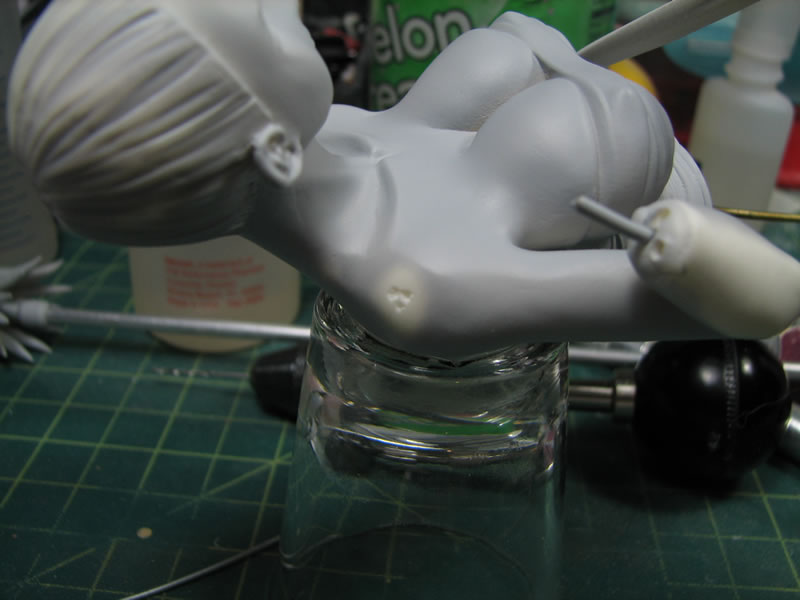
Below are some still pictures from the above video. While sanding the shoulder, I uncovered some bubbles in the resin surface. These bubbles are only the top of the bubble, so putting putty over this surface does not work as the putty is only sitting over the top of the bubble, there is no surface area that the putty can grab. So the first thing I do is to take a hobby knife and open up the bubble exposing the bubble and creating an easy surface for the putty to grab. Next the putty is applied to the surface and once cured,the area is sanded down and prepared for priming.
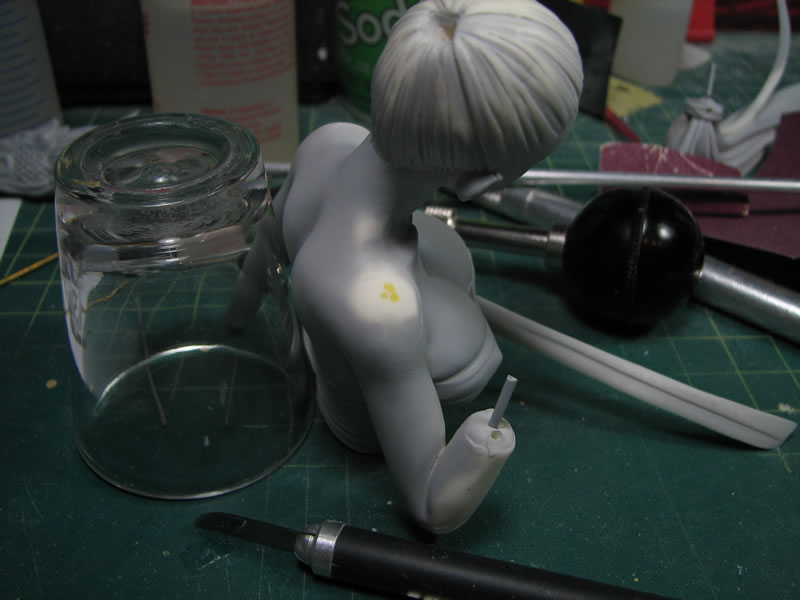
And here are some additional example images of the light curing putty on a different part. The first picture shows the putty as it cure sand the oily residue is easily seen. Next, the oily residue has been wiped away, and the part is ready for sanding. And finally, the last picture shown is the part after it has been sanded and reprimed.