This tutorial will go through the basic steps that I use for painting resin anime figure eyes. The biggest obstacle to this technique is the mental block. But broken down into small steps, this process is actually very easy and not difficult at all. Below are the basic steps for painting eyes:
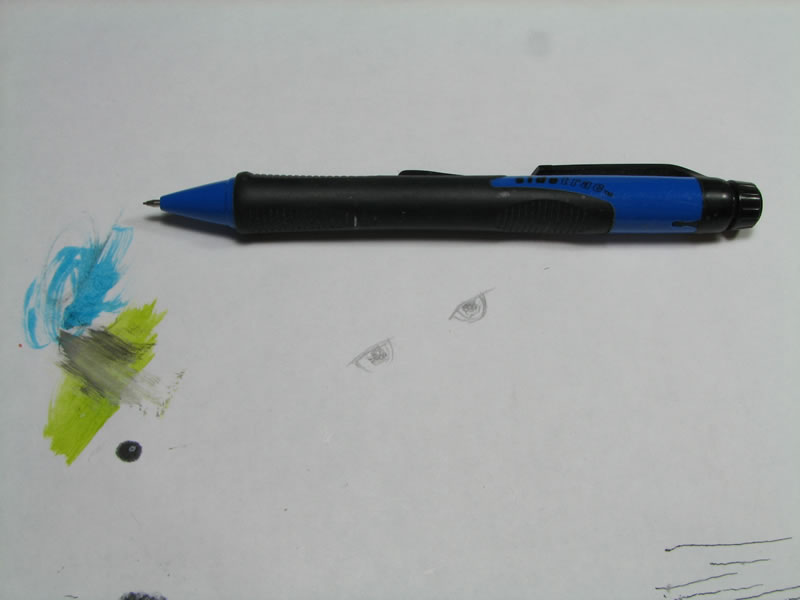
- Practice drawing eyes on a sheet of paper
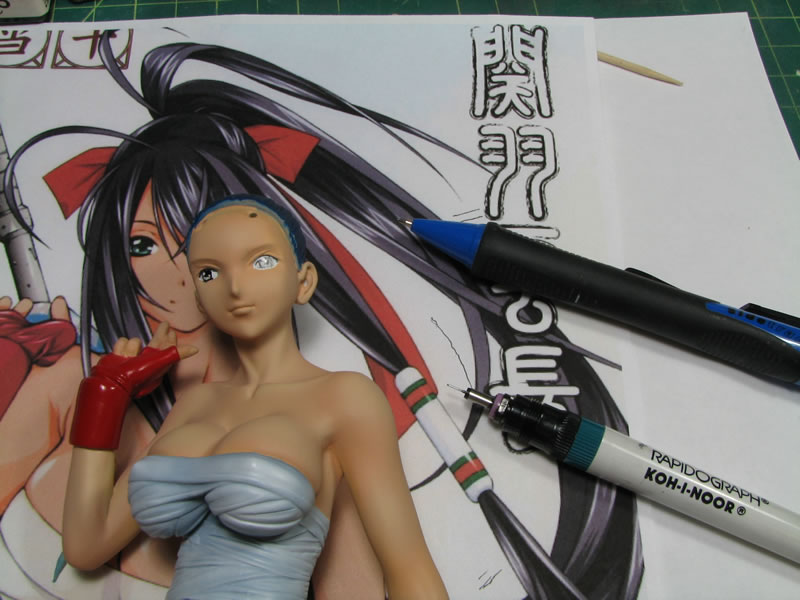
- Using a mechanical pencil, draw in the eyes on the figure
- Trace over the pencil lines using a technical pen
- Paint the darker iris color using enamel paints
- Paint the lighter iris color using enamel paints
- Paint in the white highlight dots if they were not already drawn in from the previous steps
- Clean up any details using the technical pen or paint colors
- Apply a gloss clear coat to the eyes
For eye painting, I use several items, a radiograph technical pen that has a .13mm tip, your standard mechanical pencil, enamel paints, lighter fluid for thinning, a reference picture, and a blank sheet of paper. To begin, I practice drawing the eye from the reference on the blank sheet of paper. Getting my hands used to the motion of drawing the eyes helps relax and helps the hands learn the motions for drawing a decent eye. Once I have practiced enough, I move on to the kit.
Get the Flash Player to see this player.

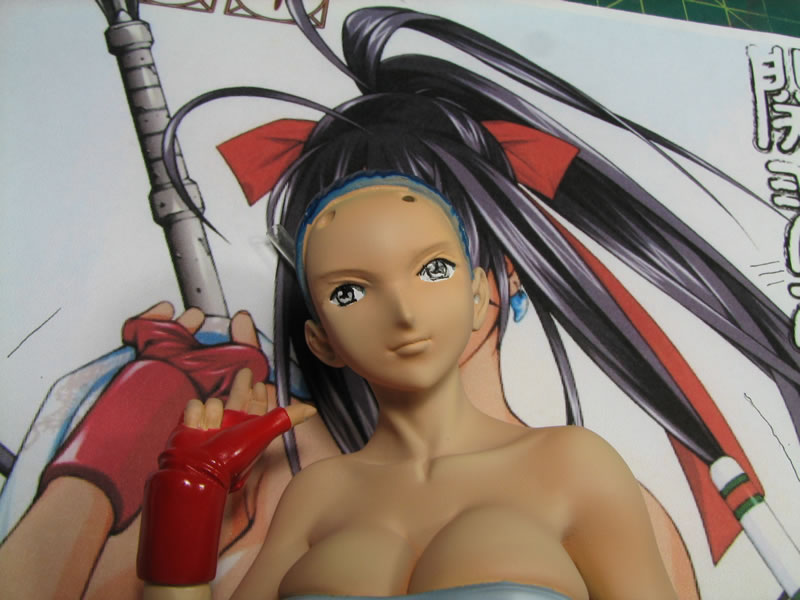
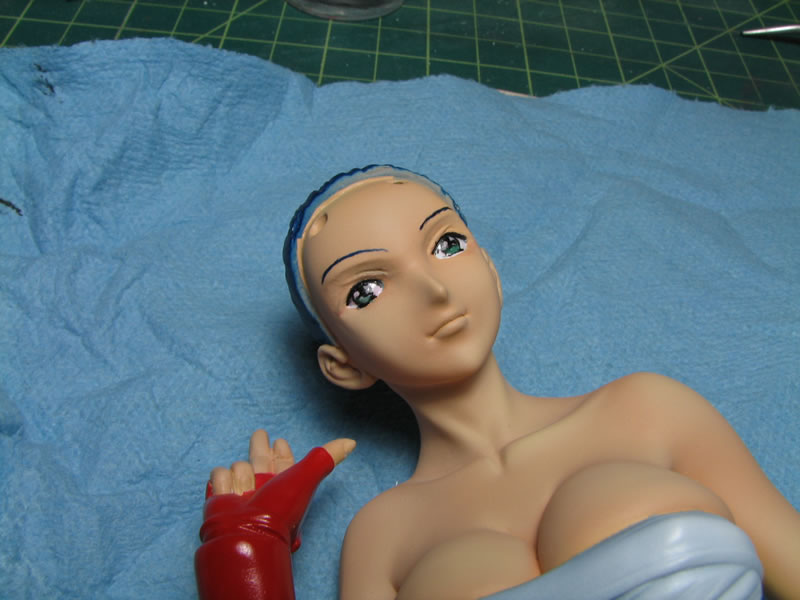
I first draw out the eye using the mechanical pencil on the kit. If I make any mistakes, I can simply erase the drawn eye and start over. Once I am satisfied with the eye drawing, I trace that out using the technical pen. The eye ball, white highlight areas, and eye color areas are drawn negatively, meaning I just draw around those areas and leave those areas white to be addressed later.
Get the Flash Player to see this player.
Below I have both eyes traced out in black ink. I’m not going to worry too much about messing up the left eye because that area will be covered by Kanu’s hair.
Get the Flash Player to see this player.
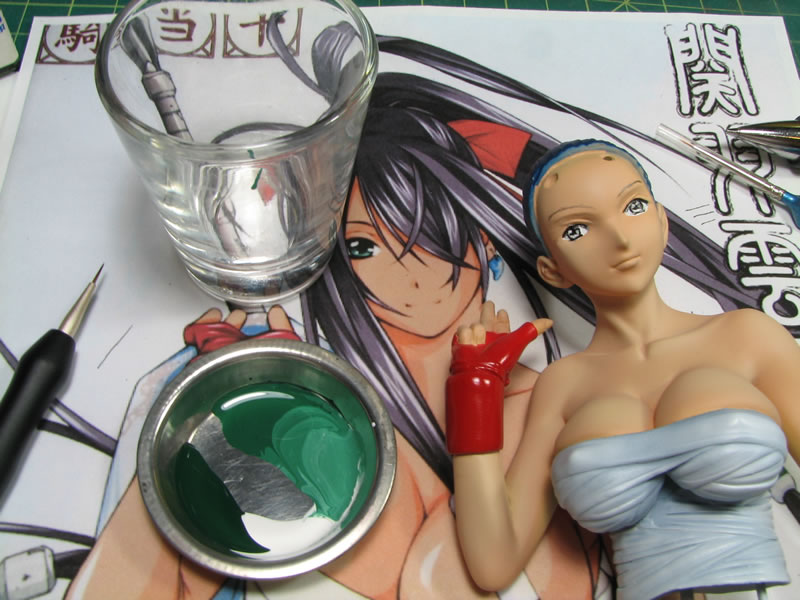
Next up is the first color for her eyes. Running off the reference picture, I mixed several shades of a green eye color that I will be using for the main eye color and highlight areas. And using a 000 sized brush, I paint the darker iris color.
Get the Flash Player to see this player.
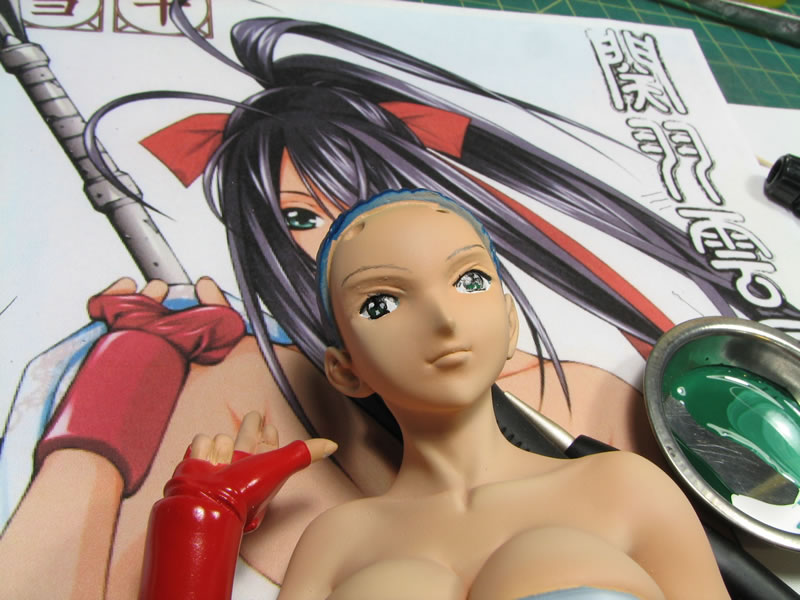
The wonderful thing about enamels is the slow dry time, so this makes it easy to blend colors. A lighter shade of the green is applied and blended in from the darker shade. First the right eye:
Get the Flash Player to see this player.
Next the left eye:
Get the Flash Player to see this player.
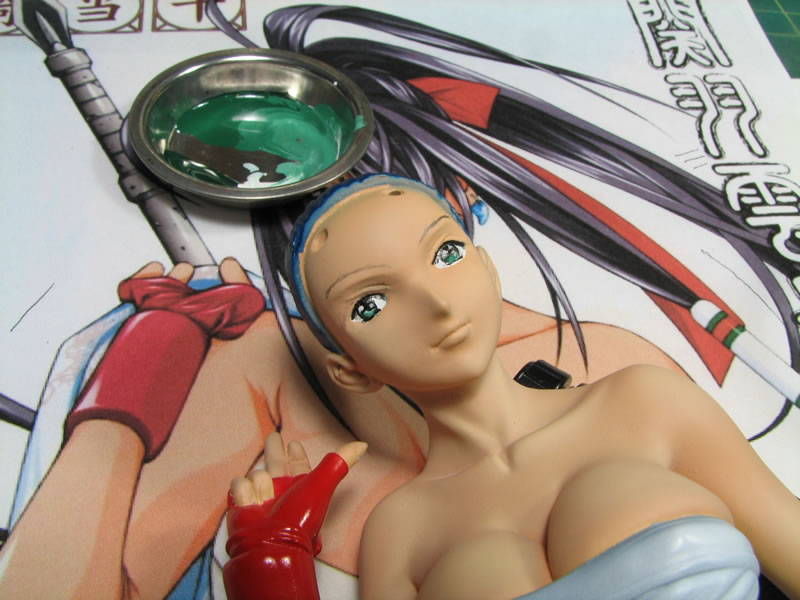
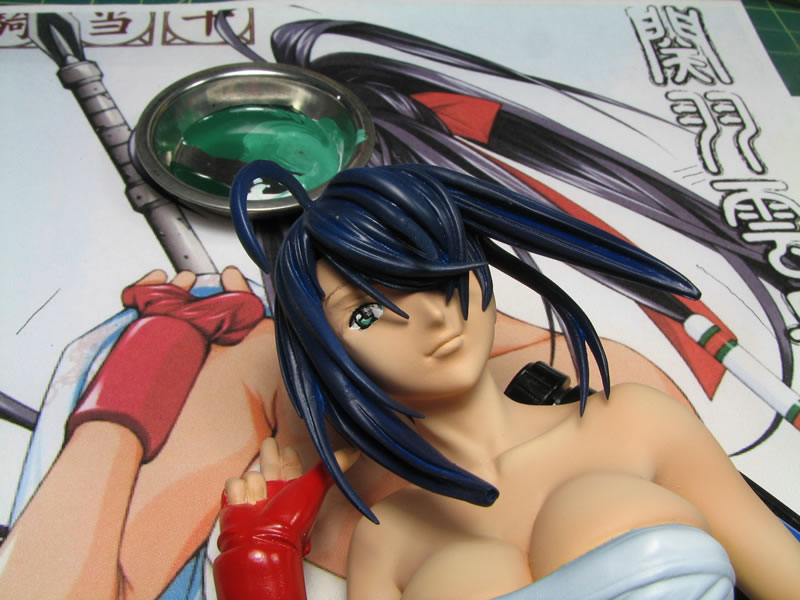
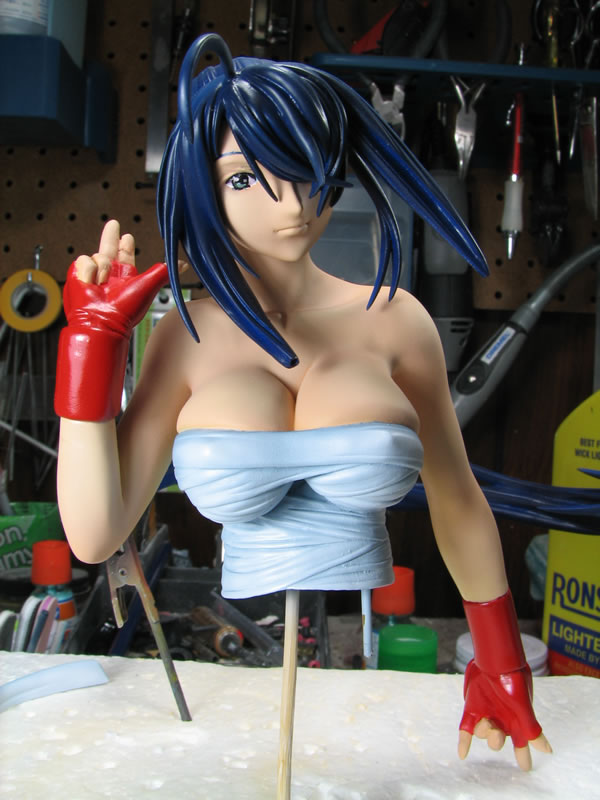
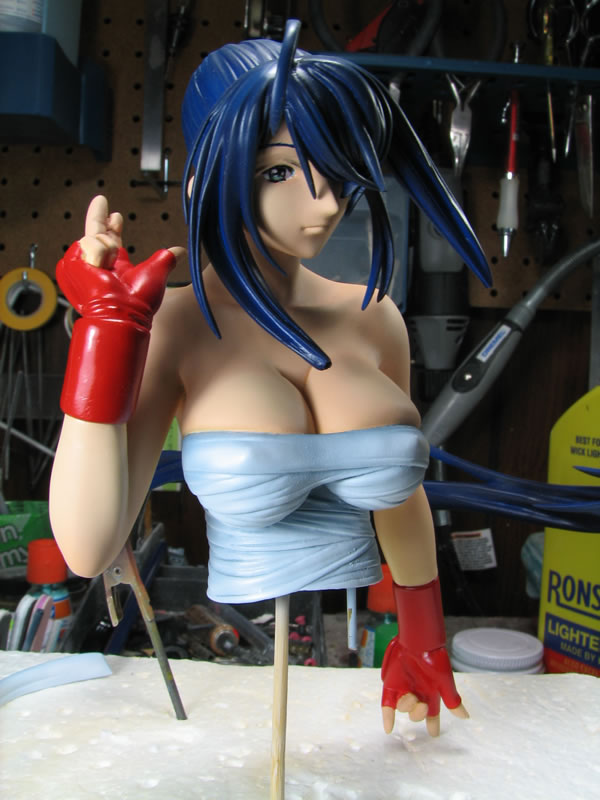
With the eyes painted, and allowing the enamel paint to dry for a couple of hours, I spray a light coat of clear gloss to give the eyes a wet look to them.
And with that, her eyes and face is done.
Do you think you could have more figure tutorials, for example how to make skin tones and other painting methods? Maybe a noob friendly step by step guide or something.
I have been using your guides for gunpla and they have done me great, but i was thinking of getting into the figures and i’m scared I will totally ruin them.