This tutorial will discuss some advanced airbrushing techniques. Preshading is the fourth step in the build layers chart. The basic primes to this techniques to have a base color on the part that is a couple of tones darker than what you want for your final color. If you want a light blue finish, base coat with a dark blue. Since I’m using white in this example, I decided to give the shading a bluish/gray tint, so the base color I used was Intermediate Blue.The white I use is Finisher’s Pure White. For this technique there are several factors to be wary of:
- Air pressure
- Thinning ratio
- Airbrush distance
- Hand control
Since I will be spraying fairly close, I drop my air pressure down to about 8-12 psi. The thinning ratio is important as you do not want to have overly thick paint, slightly over thinning the paint will be helpful. This technique begins with spraying the lighter color on the center areas of the parts. Paint is then carefully sprayed out from the middle towards the edges but stopping just short of the edges of the part. When all the sides of the part are painted, raise the air pressure up to 18-20 and increase the distance between the part and the airbrush. This will allow for a misting of the paint as it flow out of the airbrush. The greater distance increases the footprint of the spray pattern and effectively, this blends the edges of the part with the center areas creating a shaded effect. The heaviness of the shading is a personal preference and my own personal preference is a very subtle shading effect which is mentioned in the following video.
Get the Flash Player to see this player.
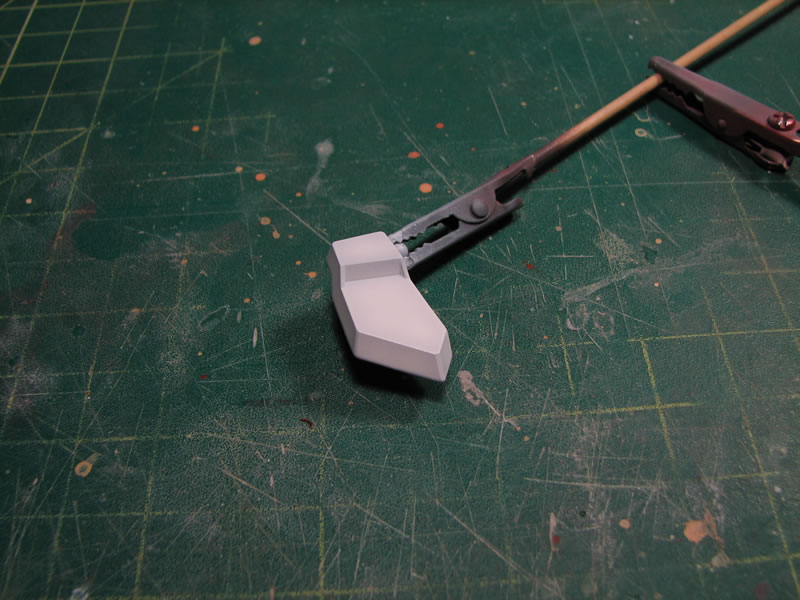
Below is a picture of the part resulting from the above video.

Below is another part example for preshading.
Get the Flash Player to see this player.
And the picture after the part dried:
Here’s an updated video for basic airbrushing and shading: