I picked up a bunch of these little guys when I was in Japan a few months ago. They’re not quite 1/35 scale, but pretty close. The UC Hard Graph 1/35 Ramba Ral Commando kit’s Zaku head is bigger than this; so I would guess it’s about 1/40 or so. Hell, since this is a gashapon toy, it’s pretty much non scale. I have been buried in the GM Sniper project since the beginning of the year so it is time to build something simpler. I cracked one of these guys open at the June build gathering and started doing a little sanding and assembling. The kit is VERY simple. It comes in a ball – the irony yes.
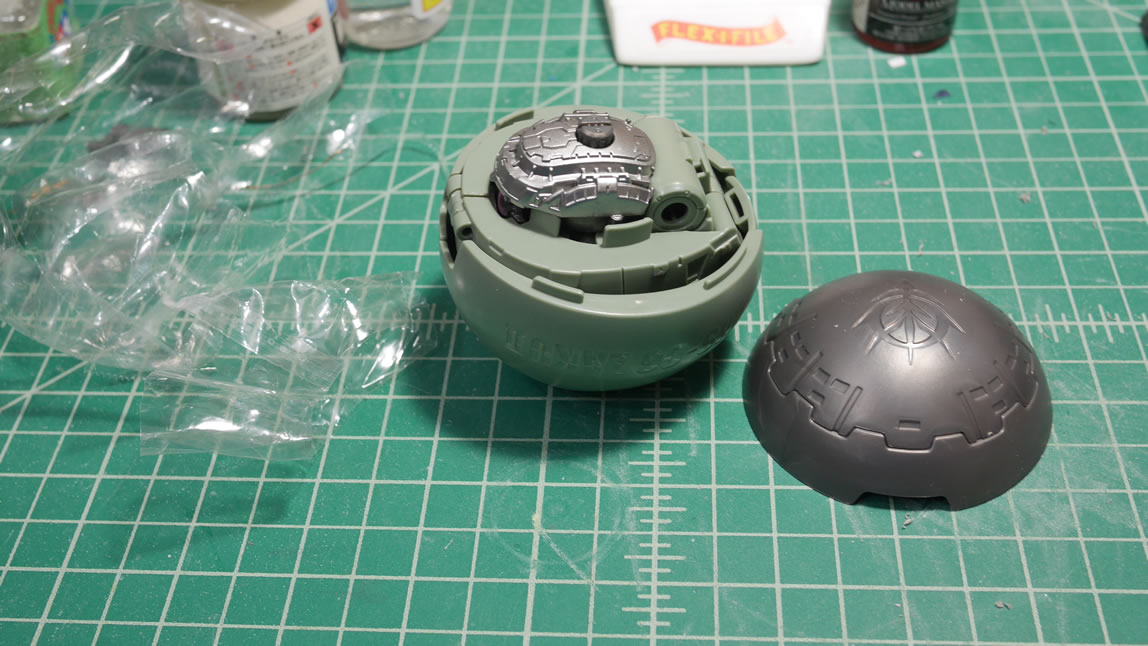
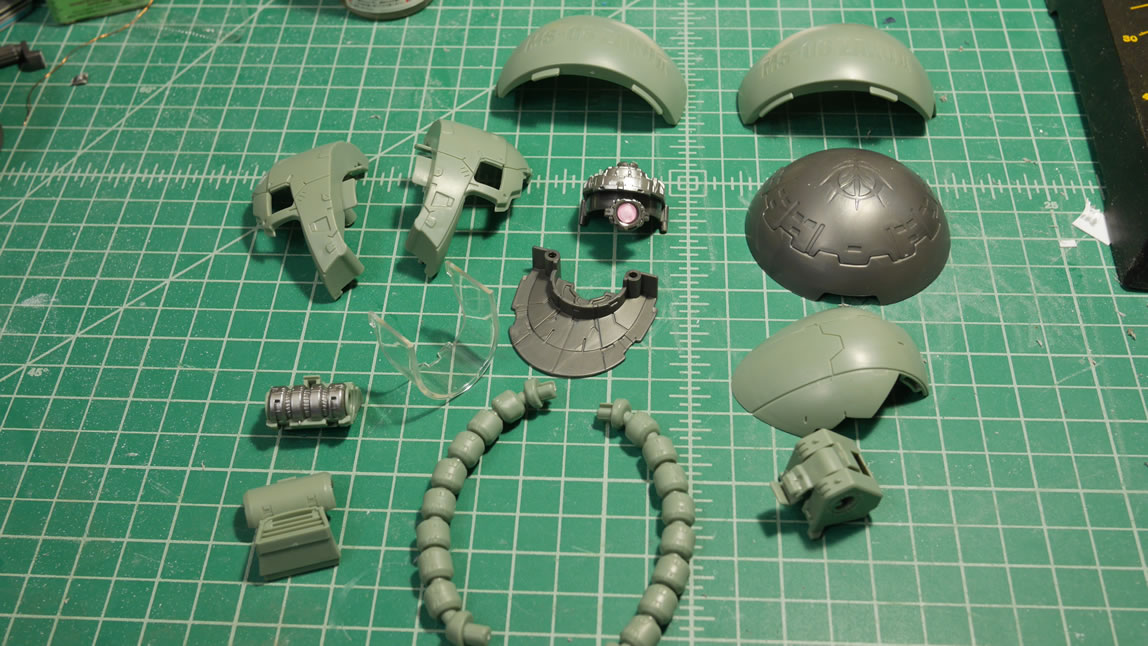
Because I started to do mods on the tri-stars Zaku, I cracked open and built the Green Zaku (which is basically the same). The difference is the color and pre-decaled black tri stars emblem on the head that I had already sanded away. Let’s get to unwrapping the little bugger. Once unwrapped, it’s just a matter of disassembling it from the ball form. There is a bag with the cables separated into 3 pieces and the clear visor piece. After taking it apart, it comes back together fairly simply and you’re pretty much done. It’s a pretty cool display model all by itself. But there are some issues. There are a few nub marks and several circular mold marks that need filling.

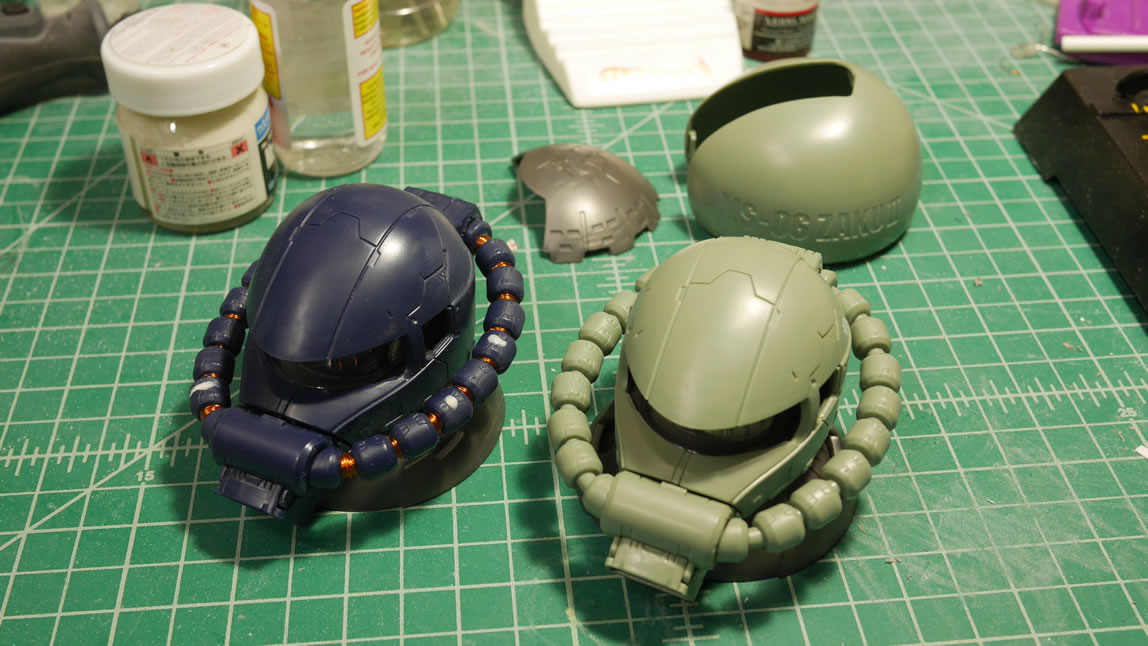
Here’s what the assembled Zeeks looks like. The green will now just be used to compare the mods and fixes as I progress.
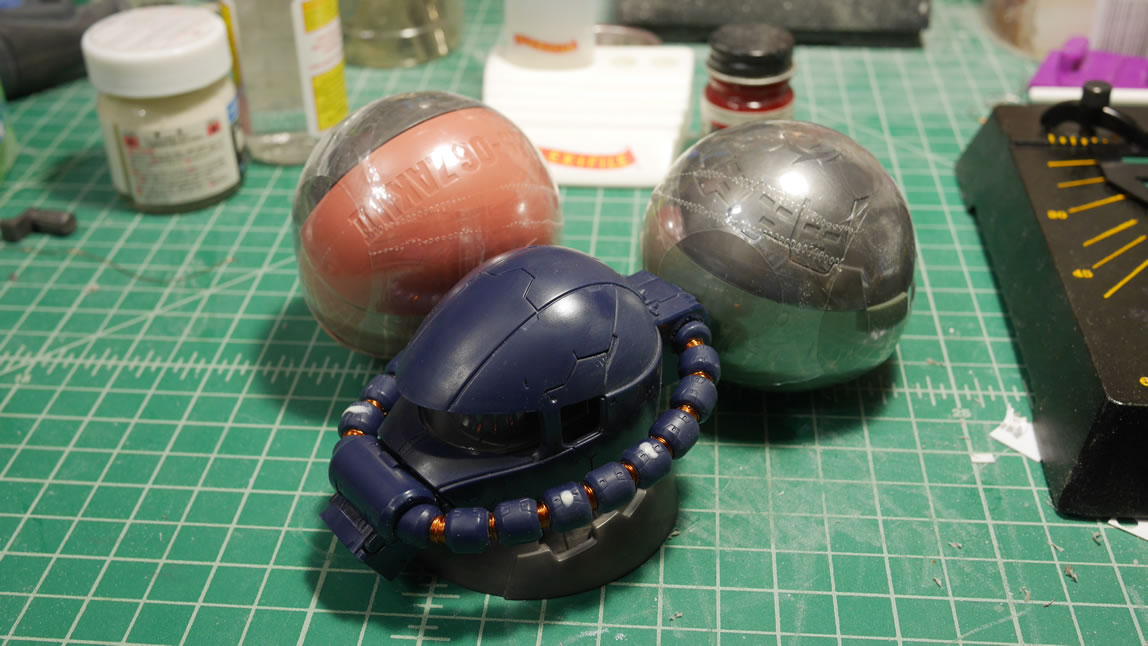
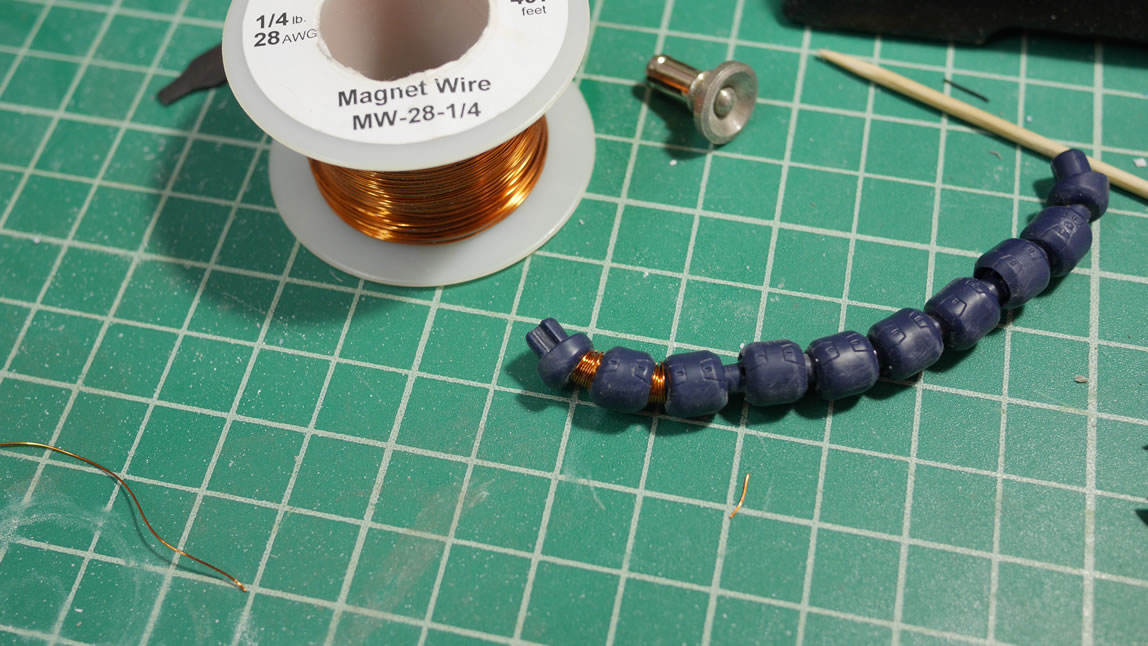
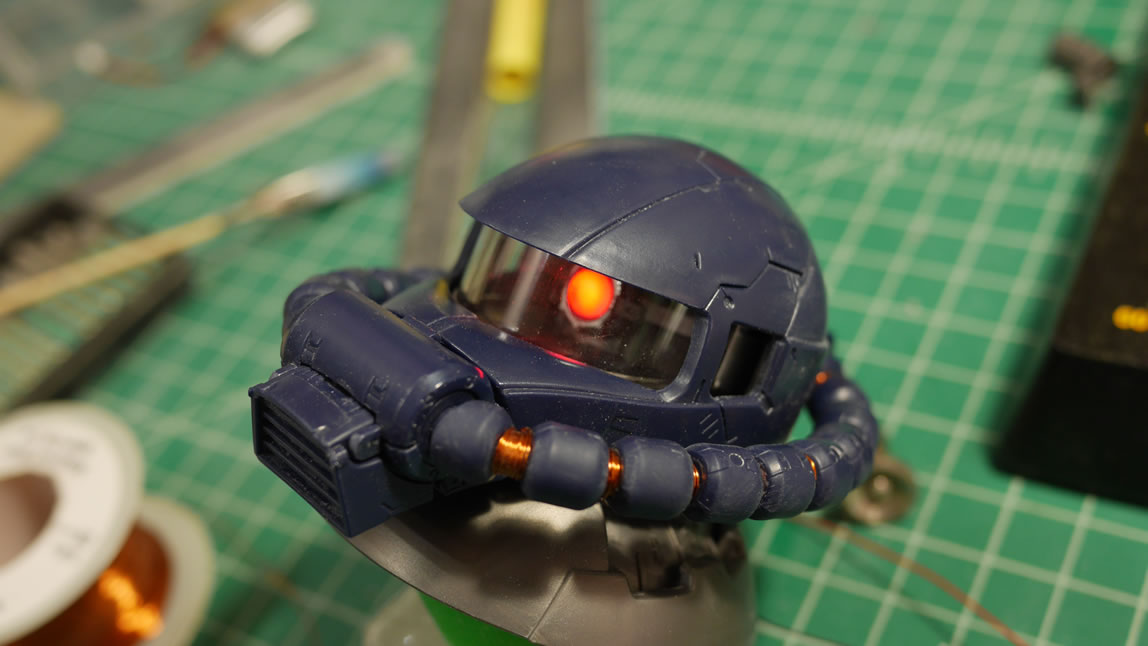
Stepping away from the green Zeek, we return to the tristars version. First thing I did was sand down some of the nub marks and start to fill in the mold marks with putty. Next up, I wrapped the spaces between the cables with some magnet wire. It’s a small amount of detail that is easily done. The nose vent is see through, so I added some corrugated styrene to the inside as a quick bit of detail.
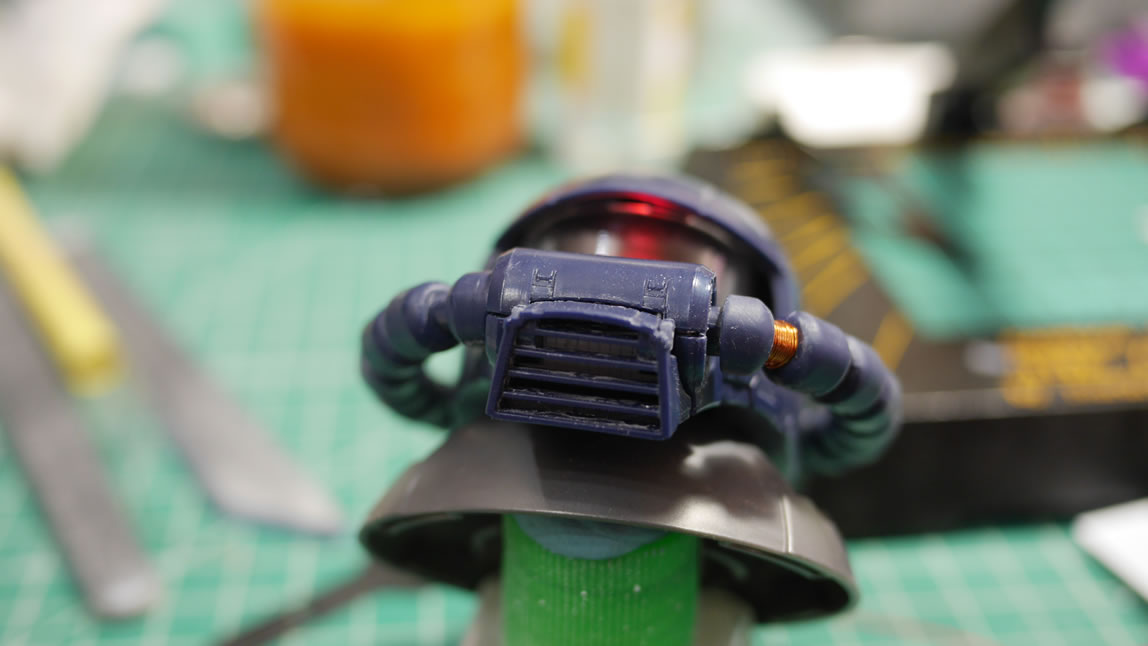
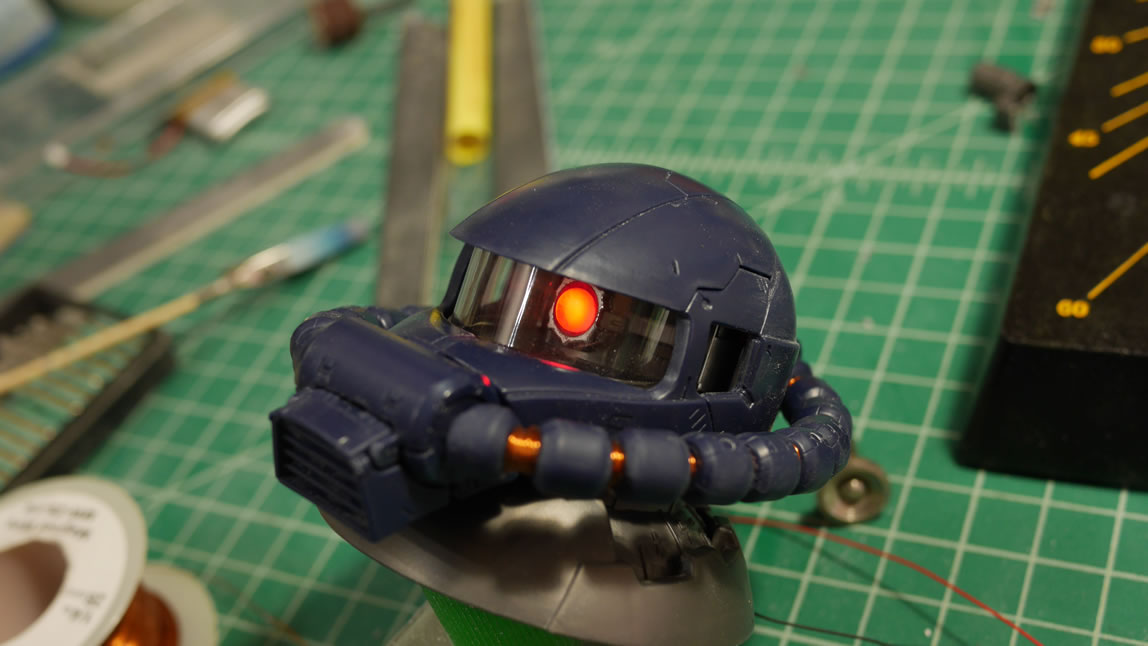
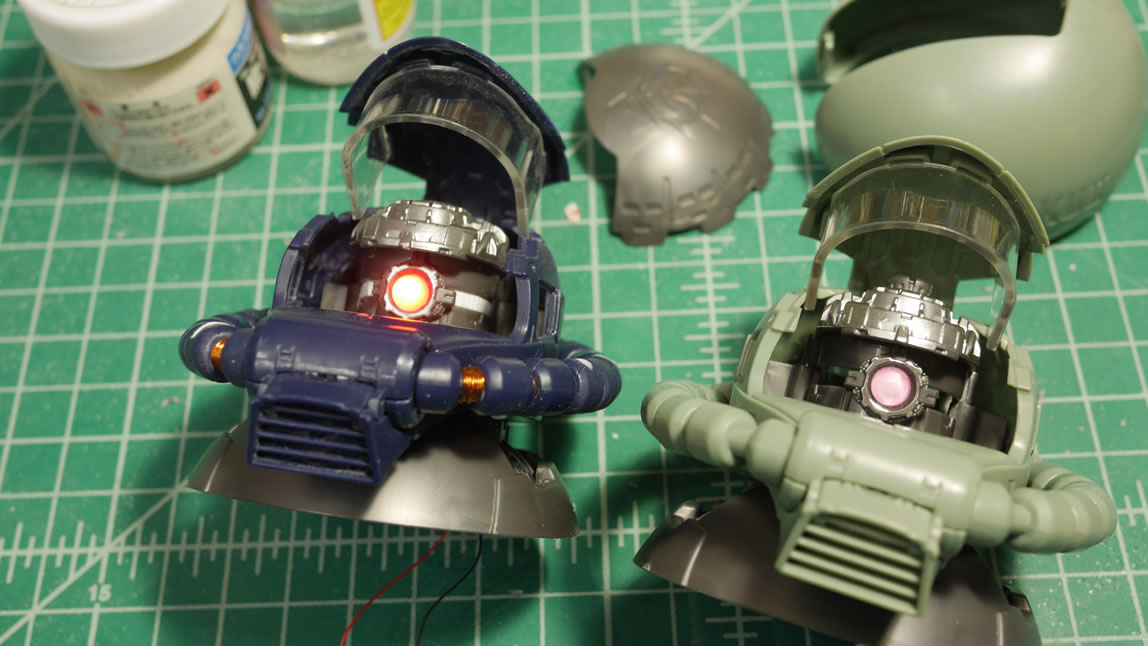
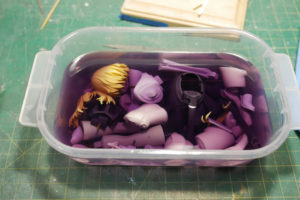
Then there was the mono eye. The detail for the eye piece is quite nice. I was going to scratch build a new one but if I used the original, it would save a bunch of time. So i started taking the mono eye apart. The lens came off fairly easily. There’s a sticker on the back for the pink metallic color, so that came off and the back of the lens has a mold mark that needed to be sanded down too. Once that was done. I clipped the back of the mono eye assembly. I don’t need it to move since I’m making it static. Which brings up the empty space that is the track for the moving mono eye. Plastic strip and corrugated plastic is glued and that gap is now filled. The mono eye piece is drilled out and an LED is glued into the back. With the lens in place, the mono eye assembly looks normal, albeit clear, but once powered on, there’s a nice lighted mono eye.
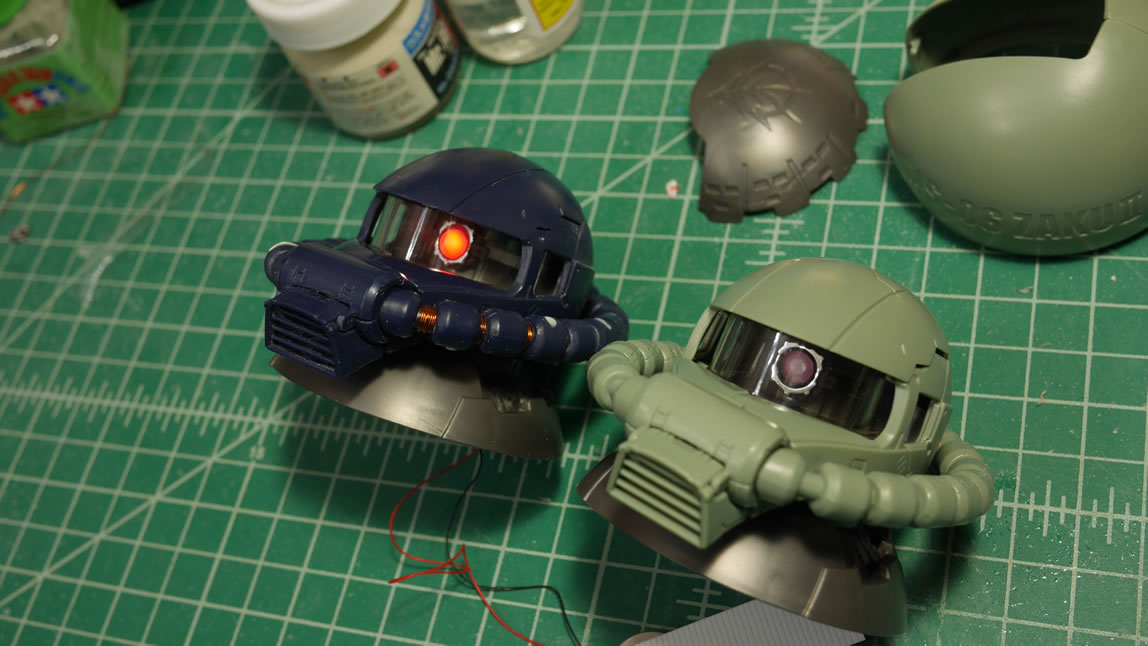
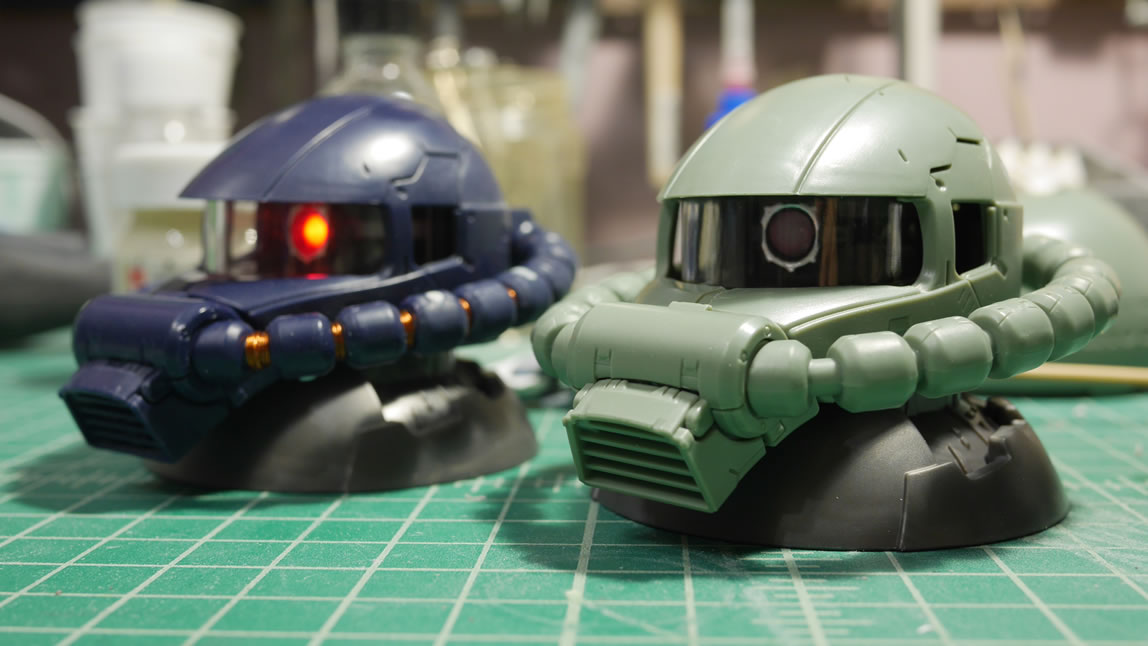
Here are some comparison shots with the stock green. Visors opened for easier visuals of the internals with the power off. Next with the power on. And finally, with the visors down.
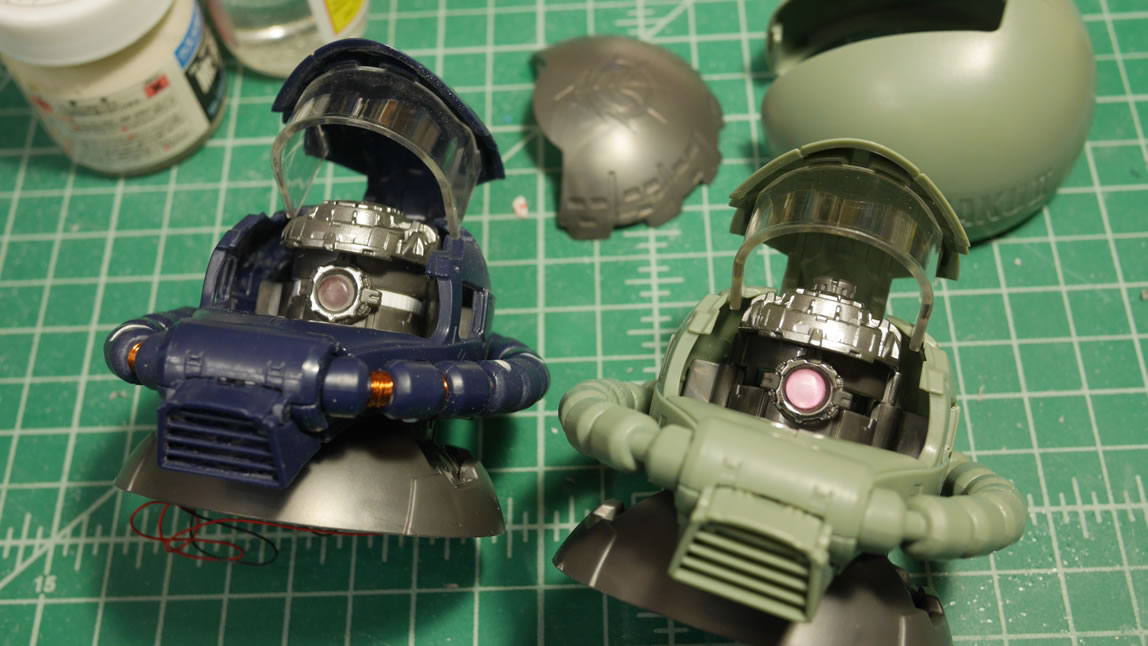
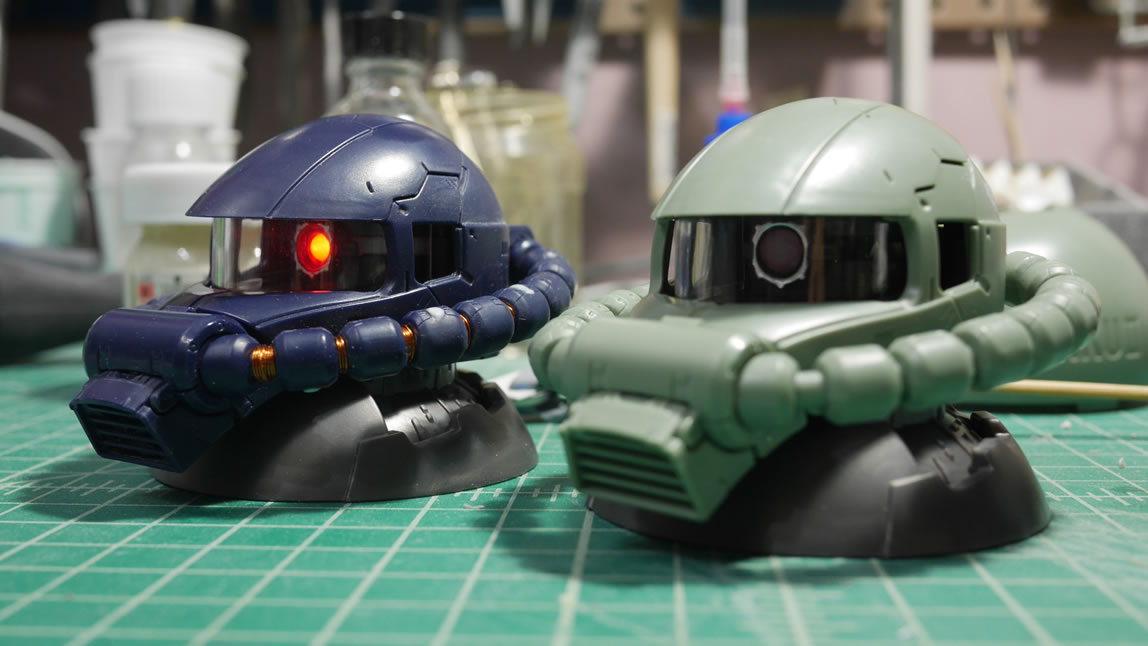
And finally another comparison from the head on angle with each kit in focus.
I am still debating on adding more details as I look at the kit and more and more ideas float into my head. So there will be more to come, hopefully sooner than later. AX is coming up, so I still need to prepare for that. But I’ll still get some work on this guy when I have the time. This is going to be a relaxing build, so this may take some time to complete.