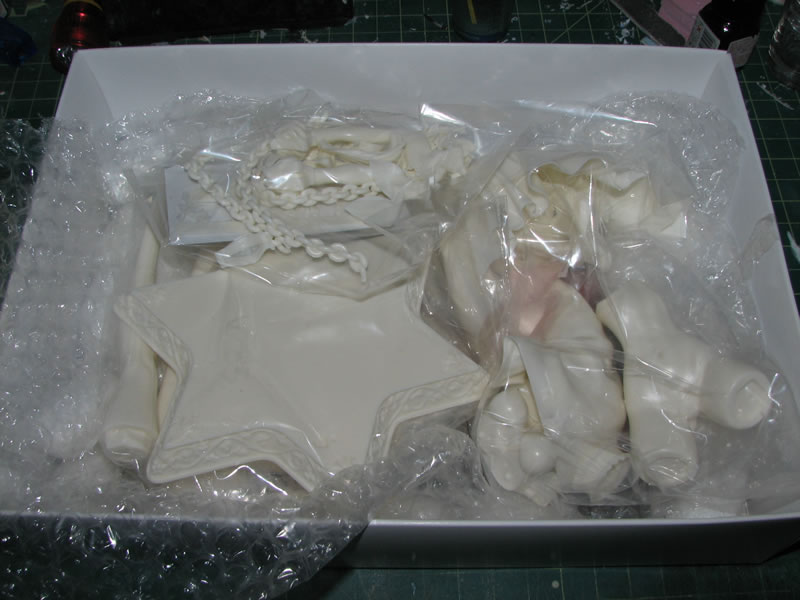
May 20, 2009: This is an Odin Sphere kit sculpted by Bubba. The size of the box for this particular kit is larger than usual for kits of similar size.

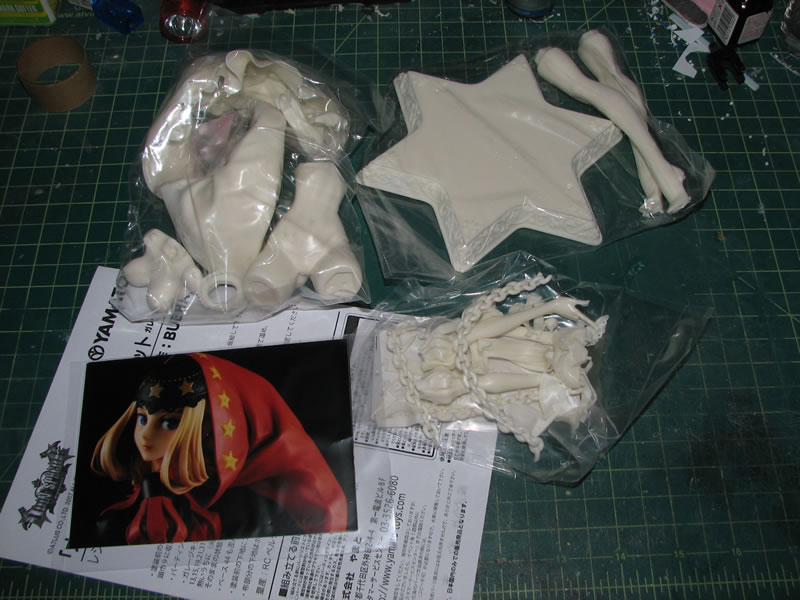
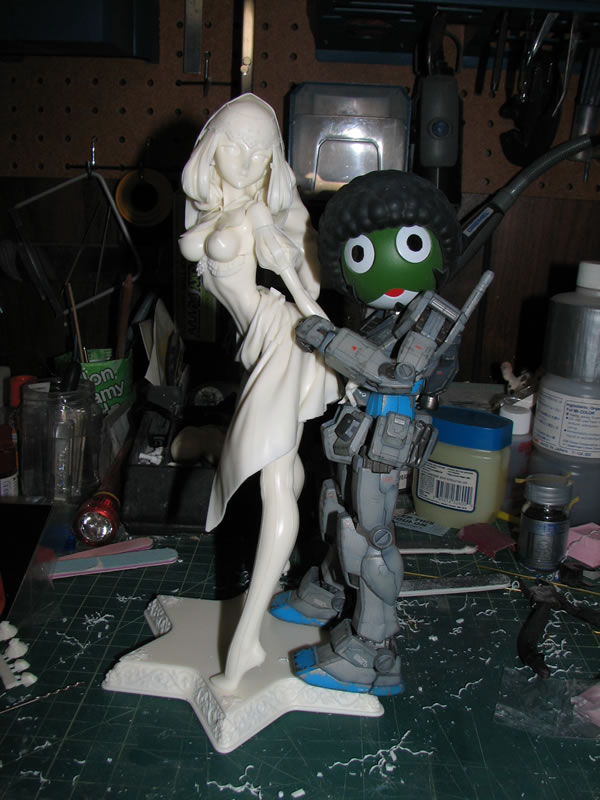
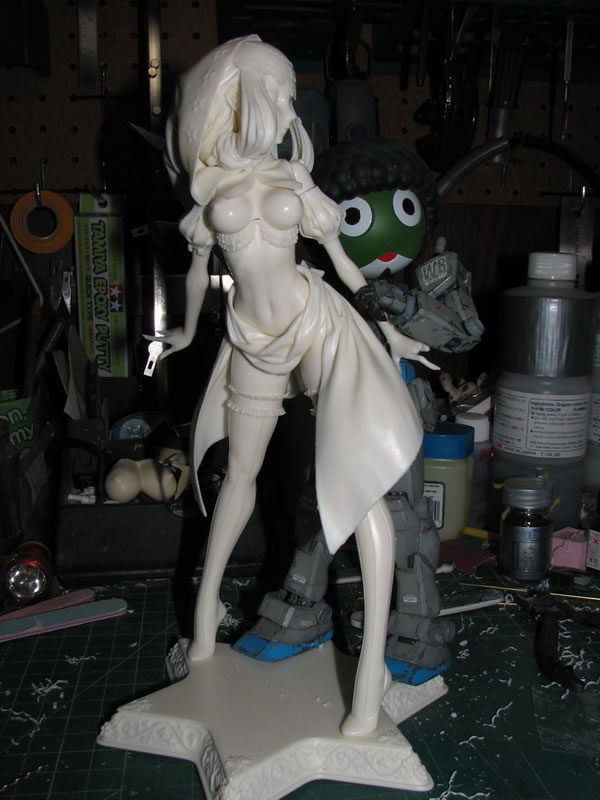
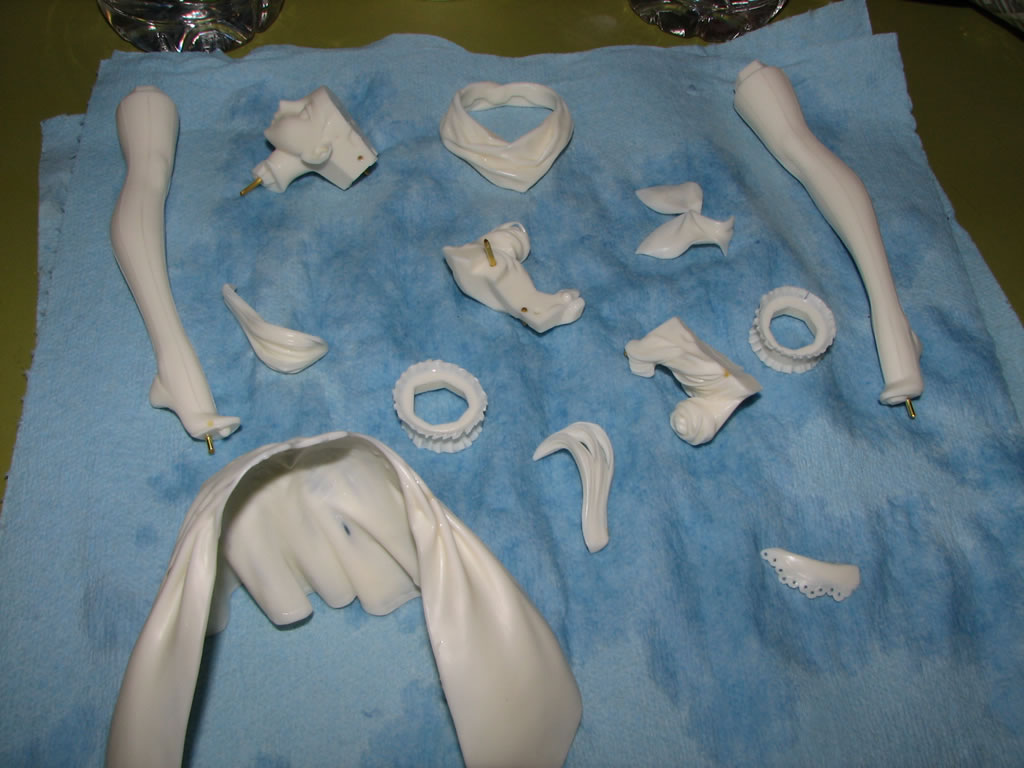
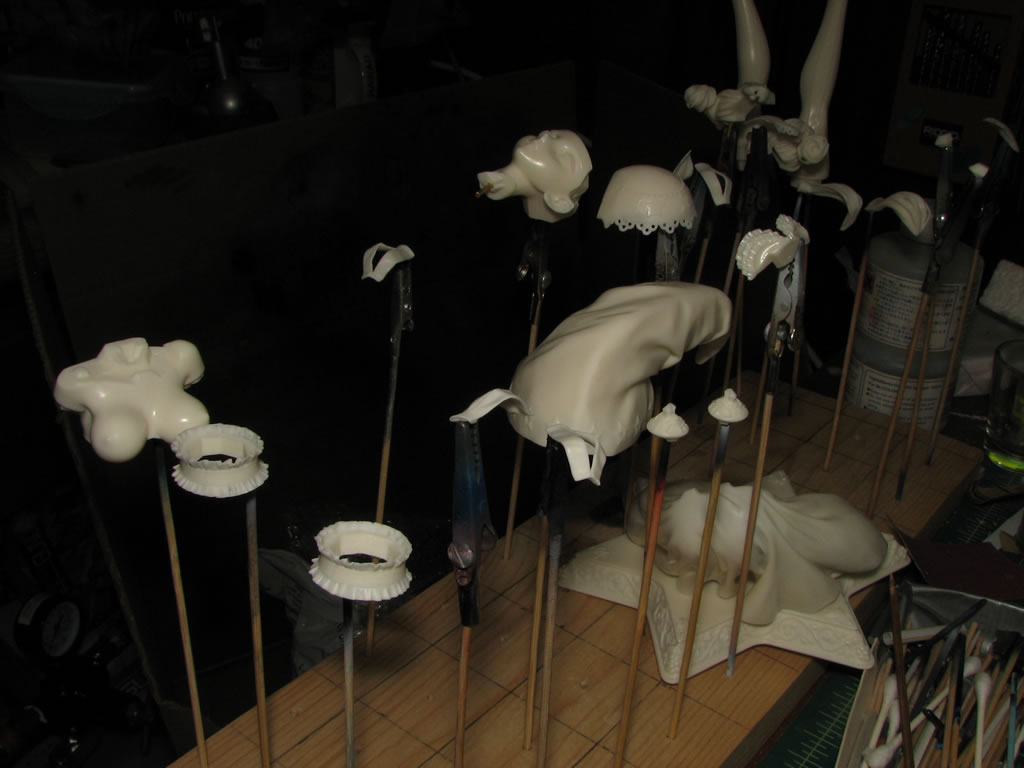
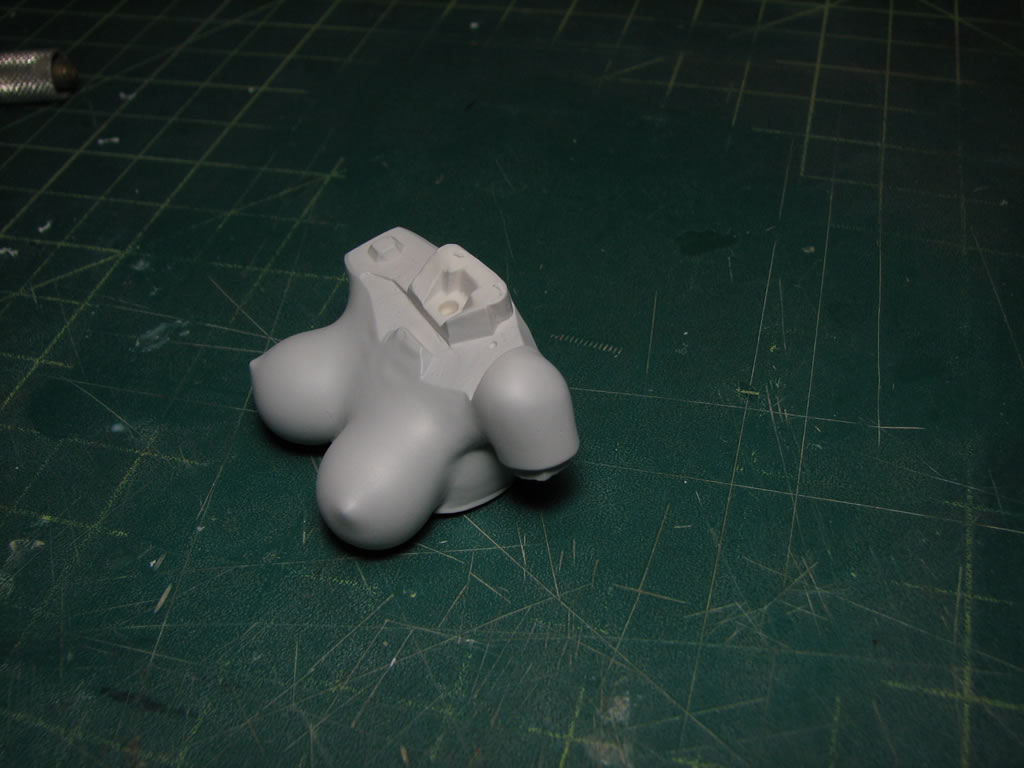
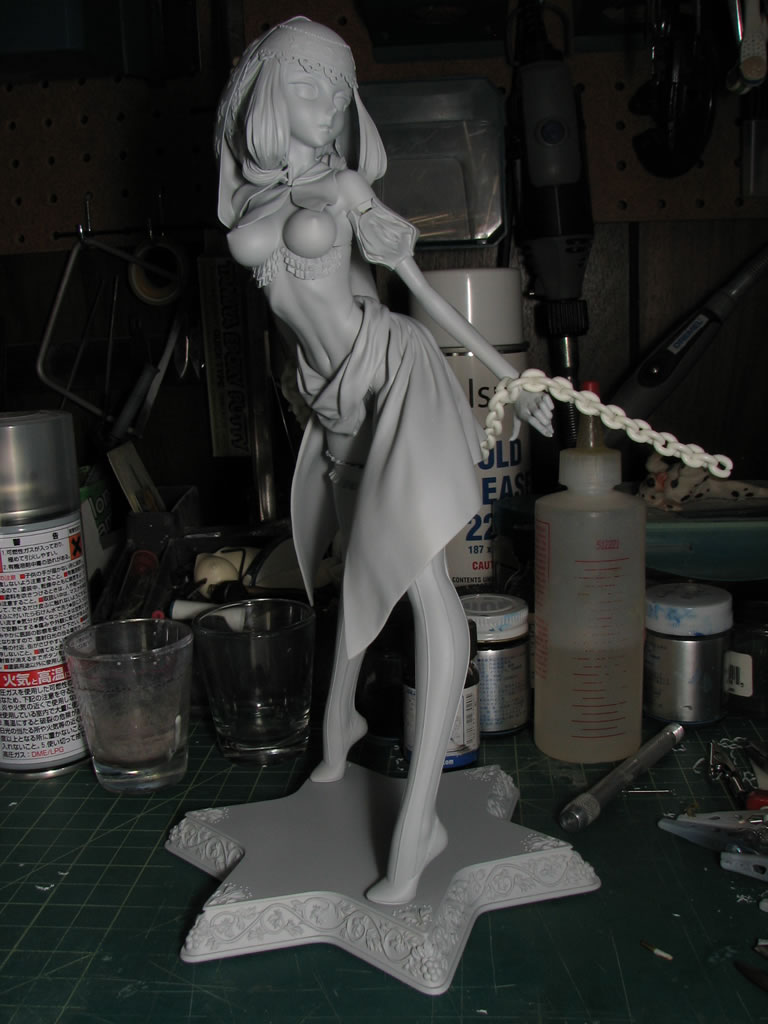
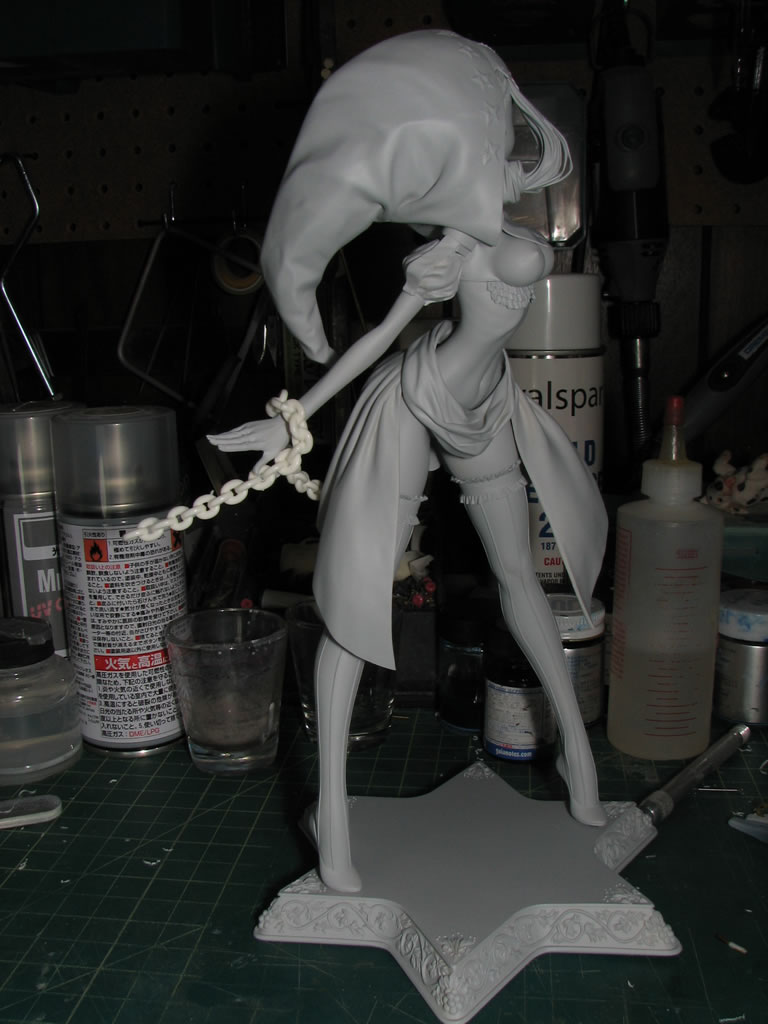
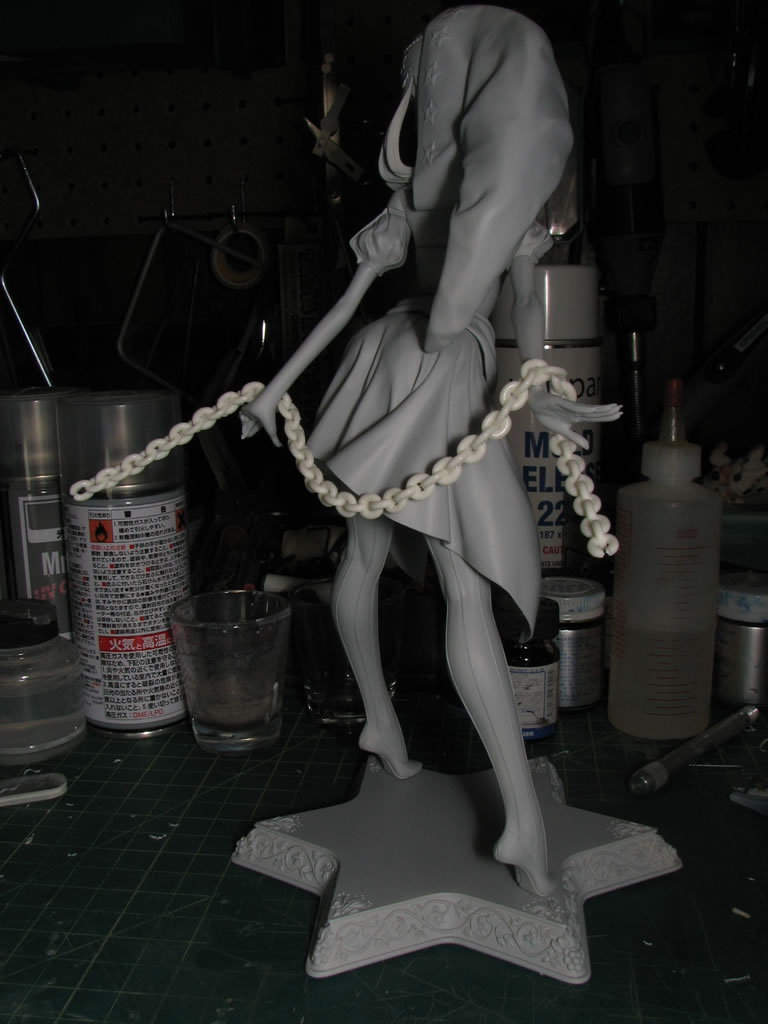
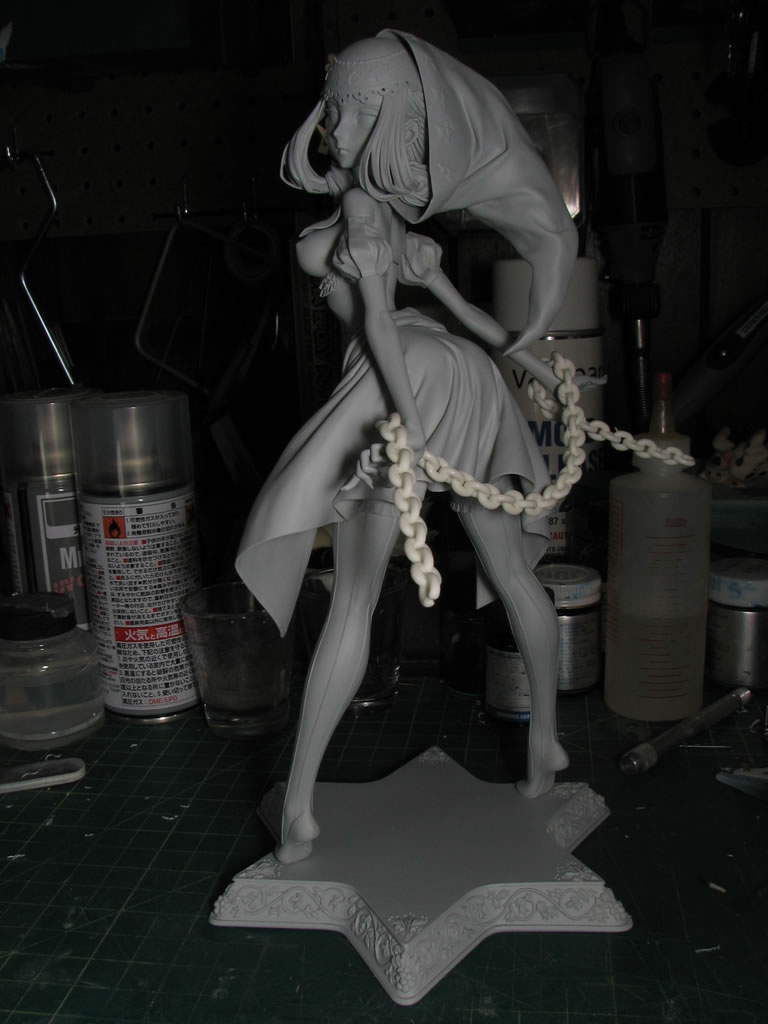
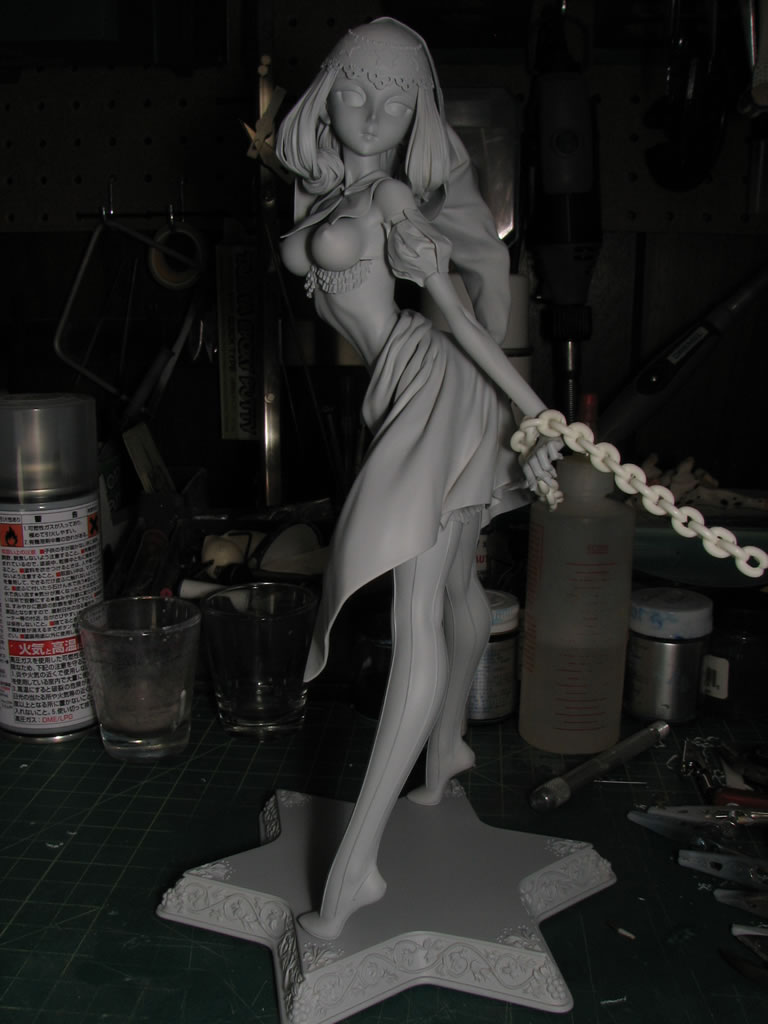
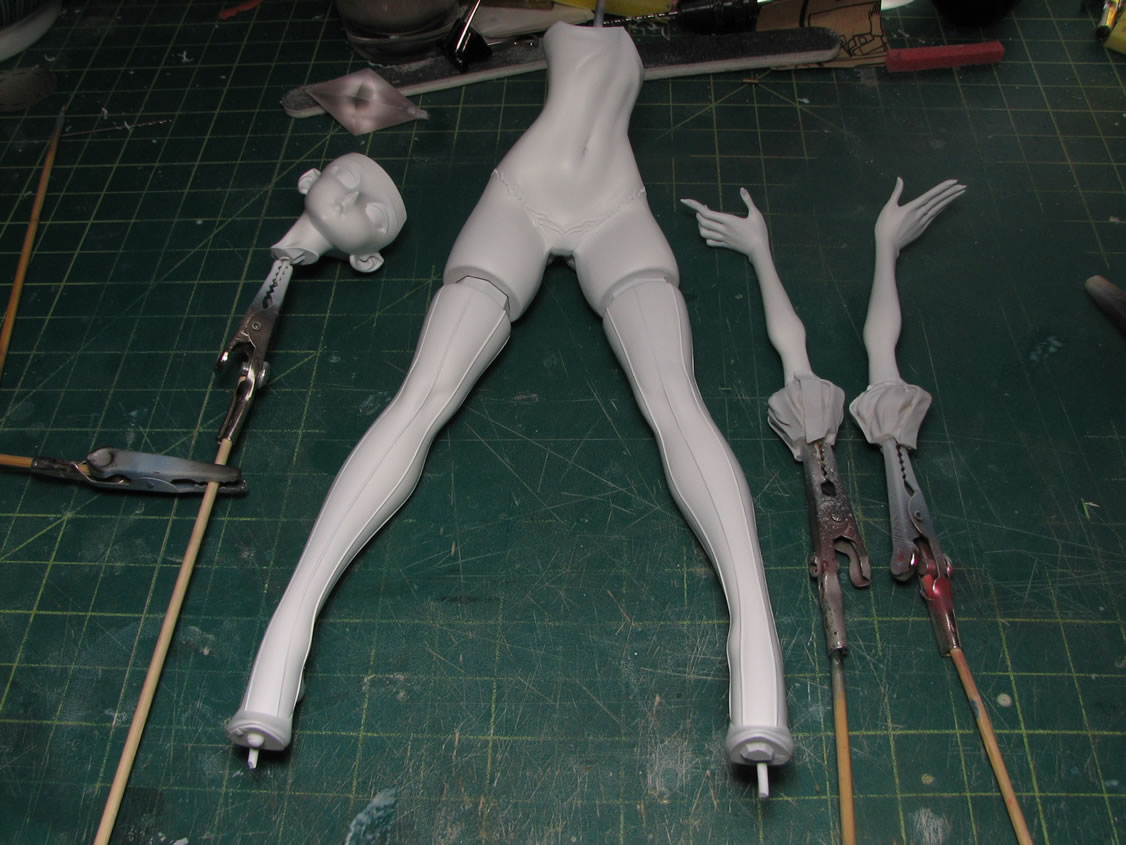
May 21, 2009: Took about an hour and a half worth of time and pinned her up. Bubba has wonderful breakdowns on his sculpts, so the kits are very easy to pin and build. I didn't pin in the small delicate pieces such as fingers and her chain weapon. I mostly wanted to get the major pieces pinned so I can get an accurate size comparison.
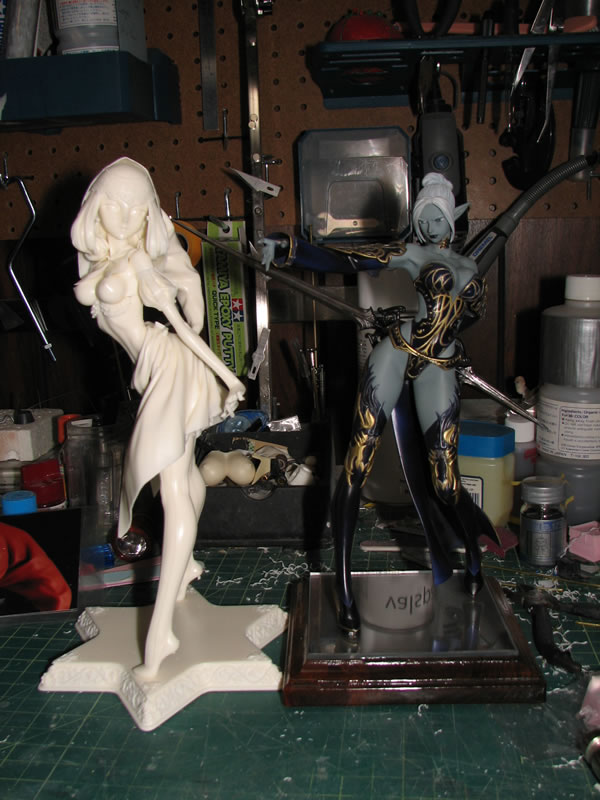
Size comparison with Mr. G3 Keroro and a dusty dark elf kit. The dark elf kit is somewhere between 1/7 and 1/6, so Velvet is taller and bigger than the dark elf so I would guess the size to be just shy of 1/6.
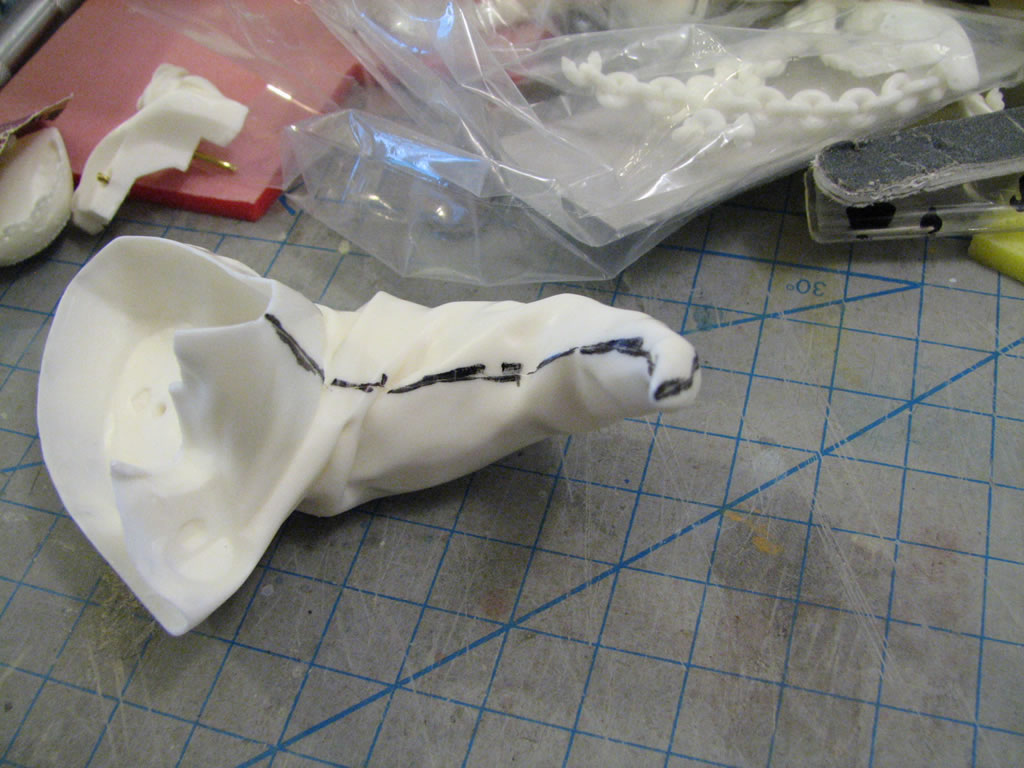
July 27, 2009: I returned to work on the kit at the build gathering, sanding the mold lines and fixing small surface defects. Mold lines are first marked off with a sharpie then sanded down to remove the mold lines.
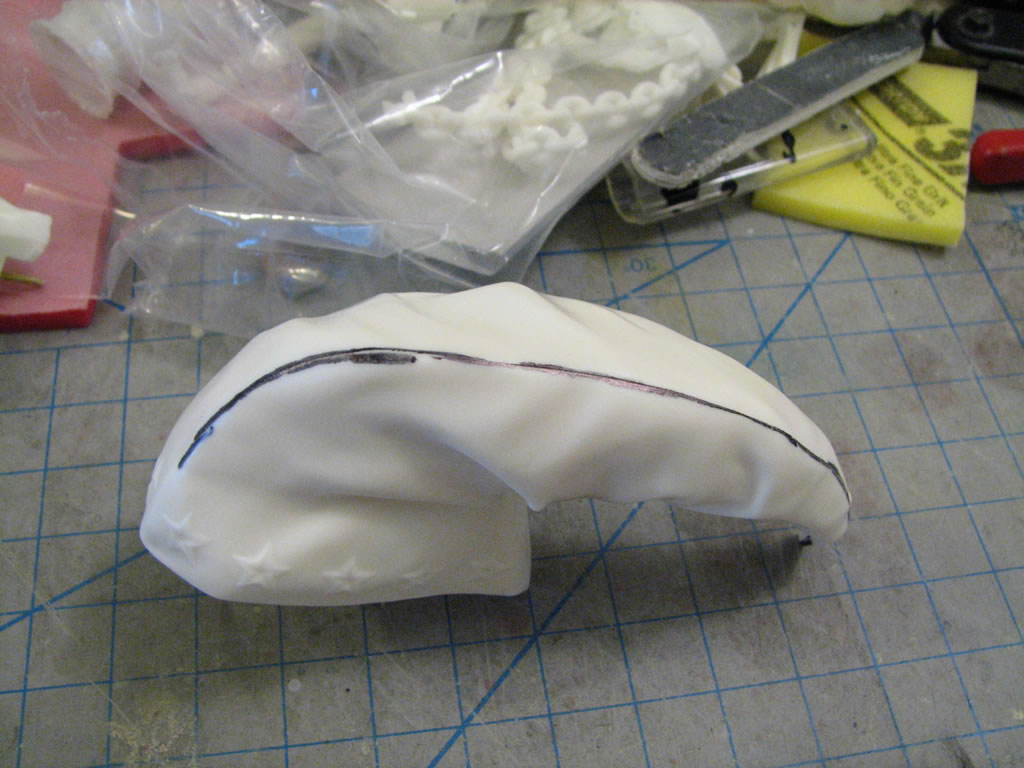
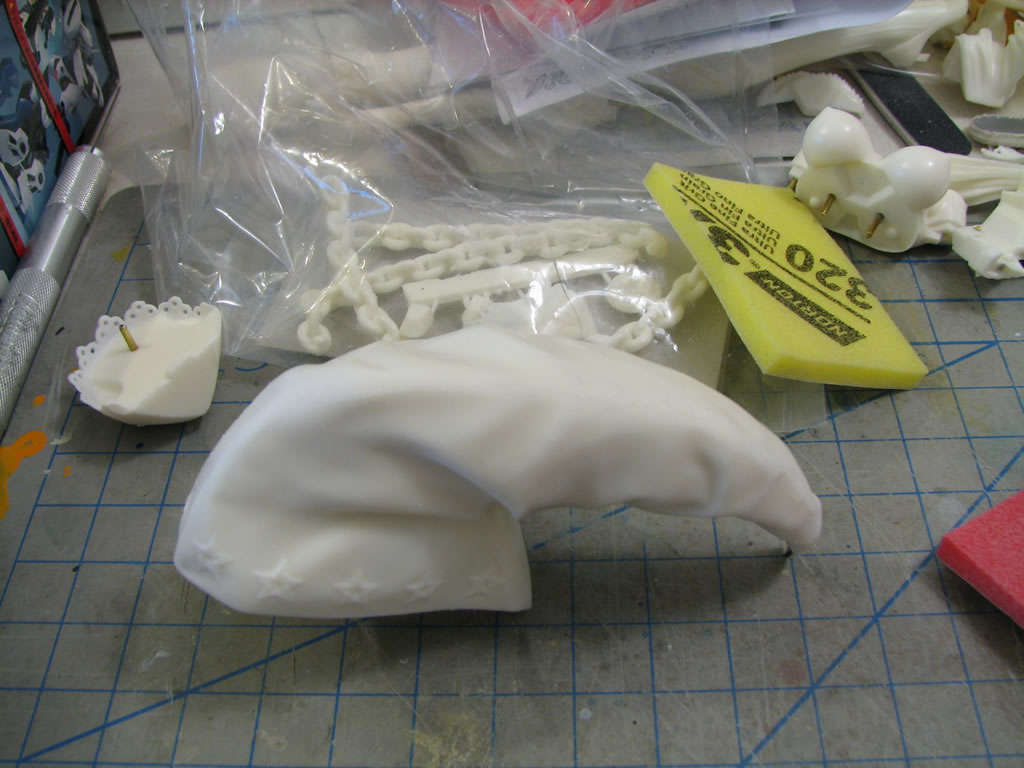
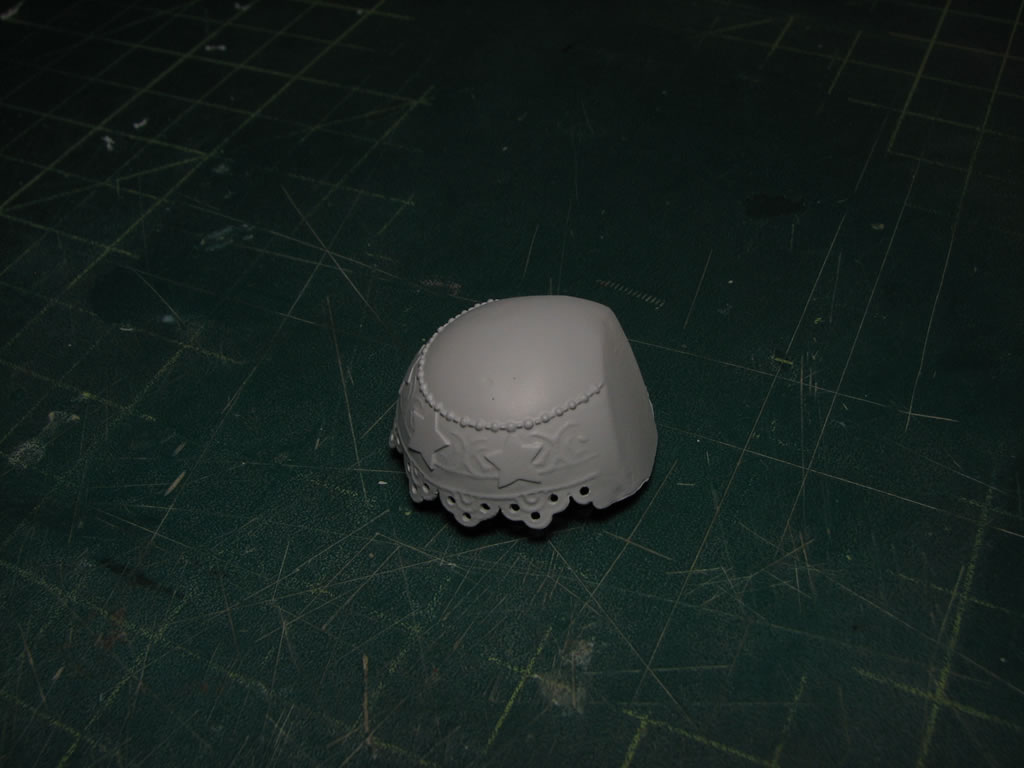
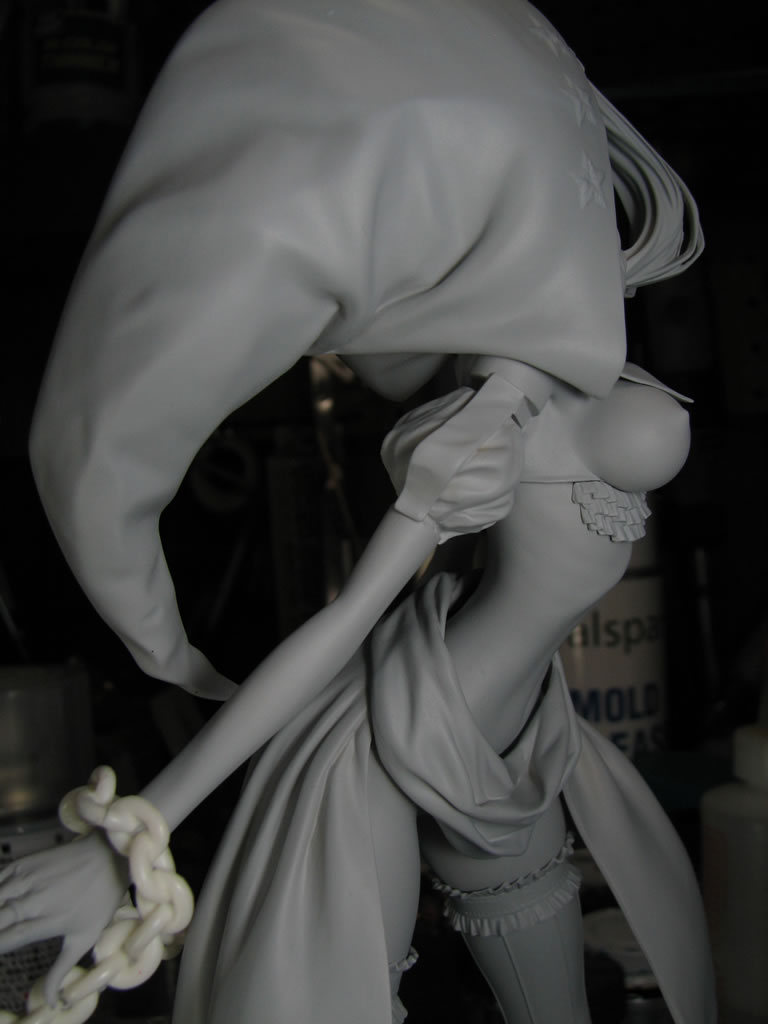
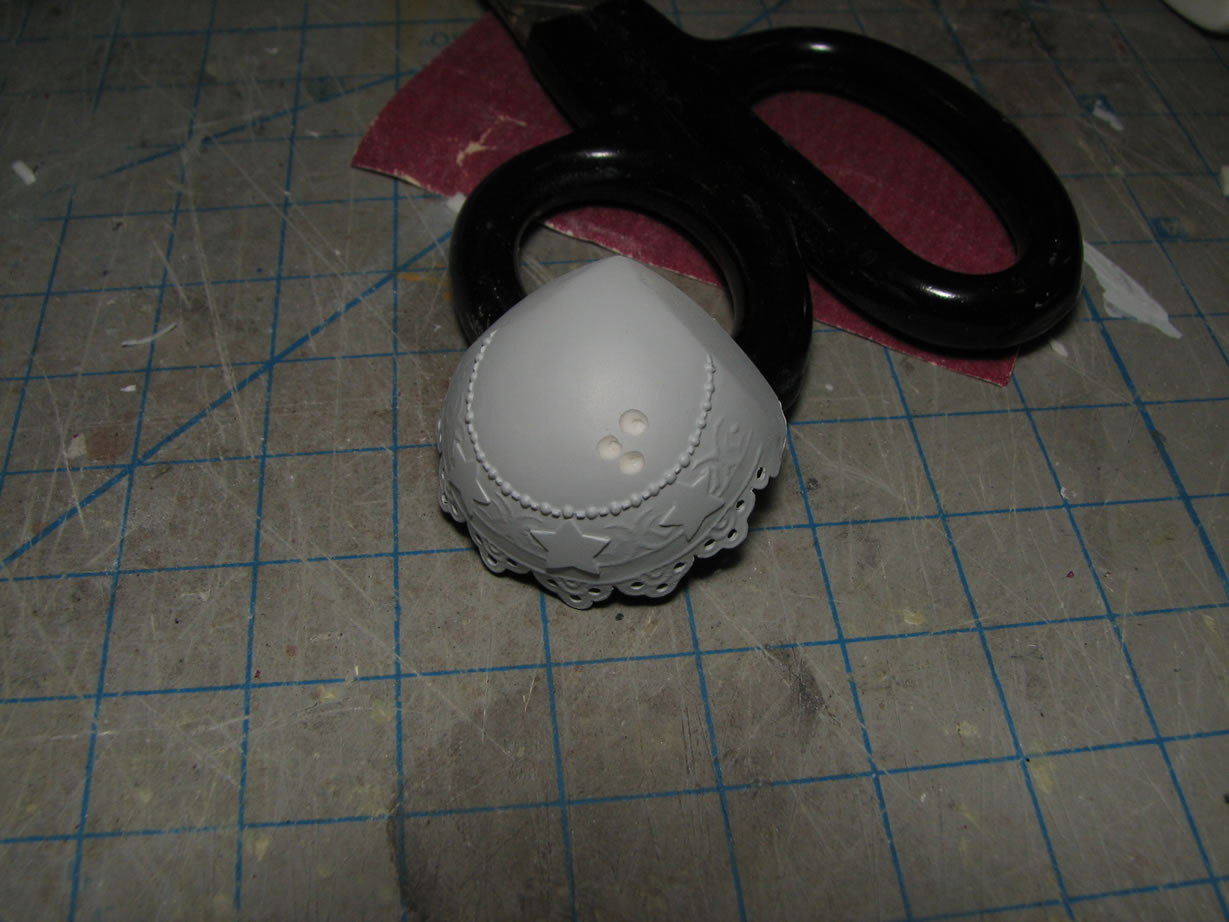
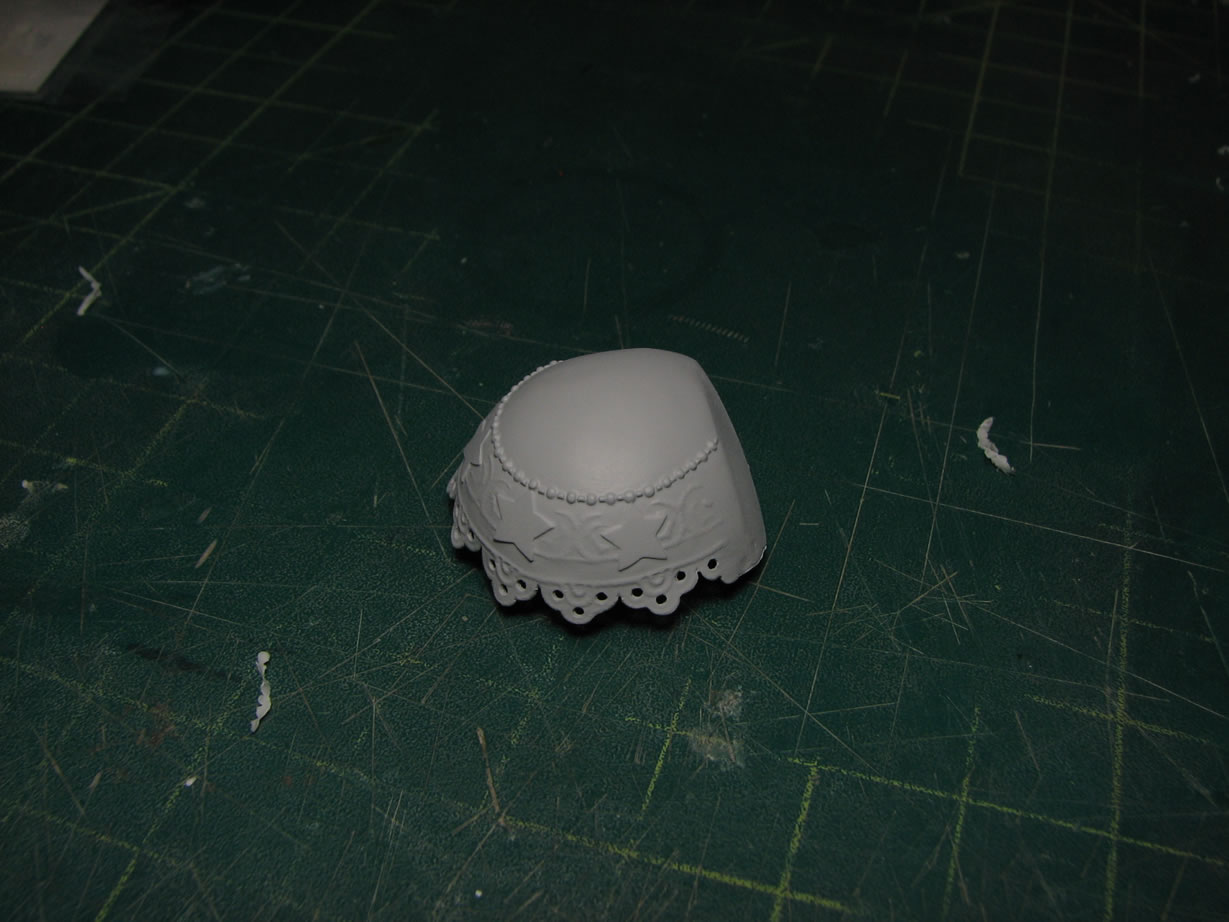
I found a couple of bubbles on the surface of the hat. They are cut open to expose the entire bubble, then tamiya light curing putty is placed over the bubbles, cured with a light source, then sanded smooth.
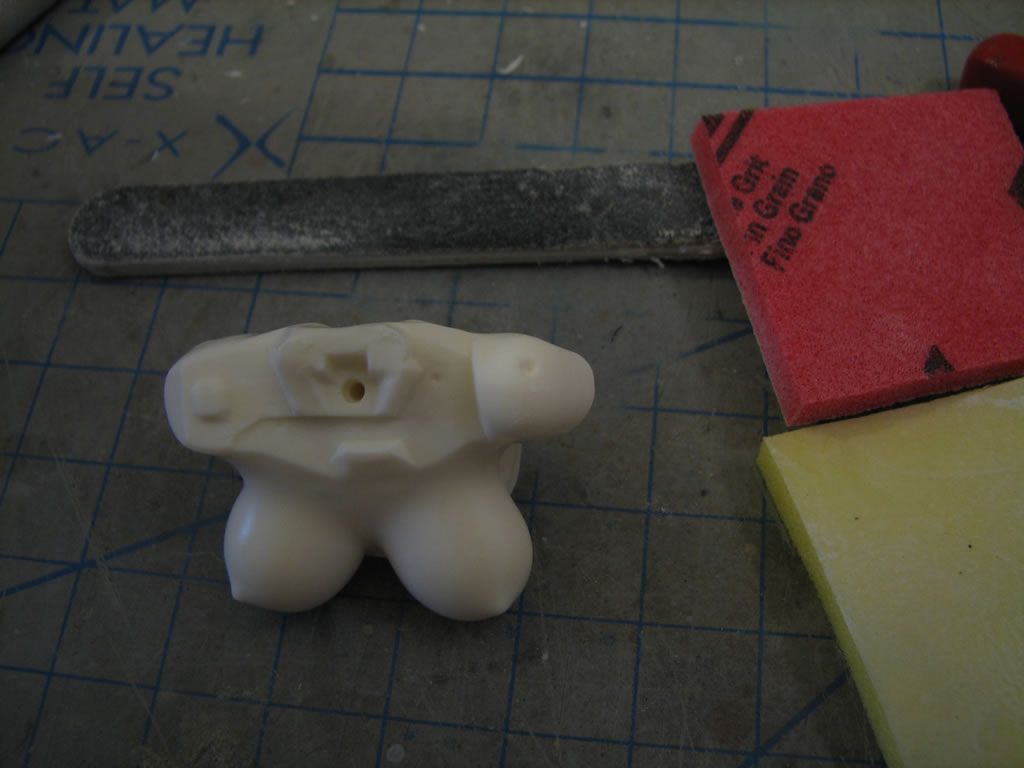
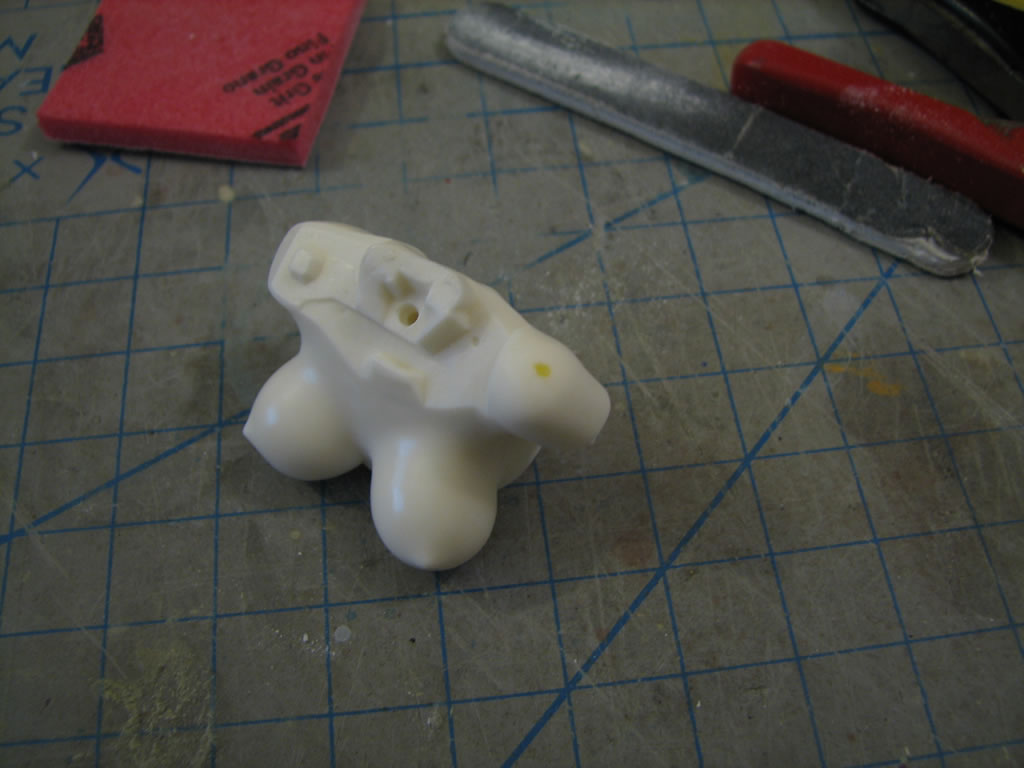
The same is done on a bubble found on one of the shoulder.


One of the hair pieces is missing a chunk, so a quick repair with the light curing putty is used to resculpt the missing piece of the hair.
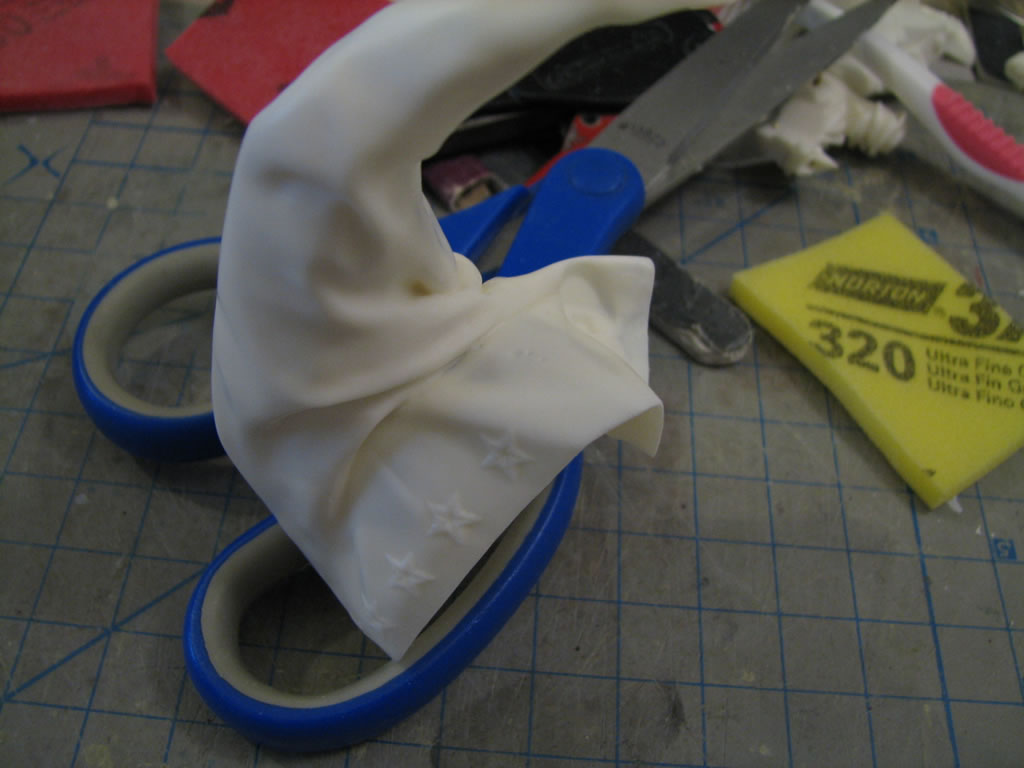
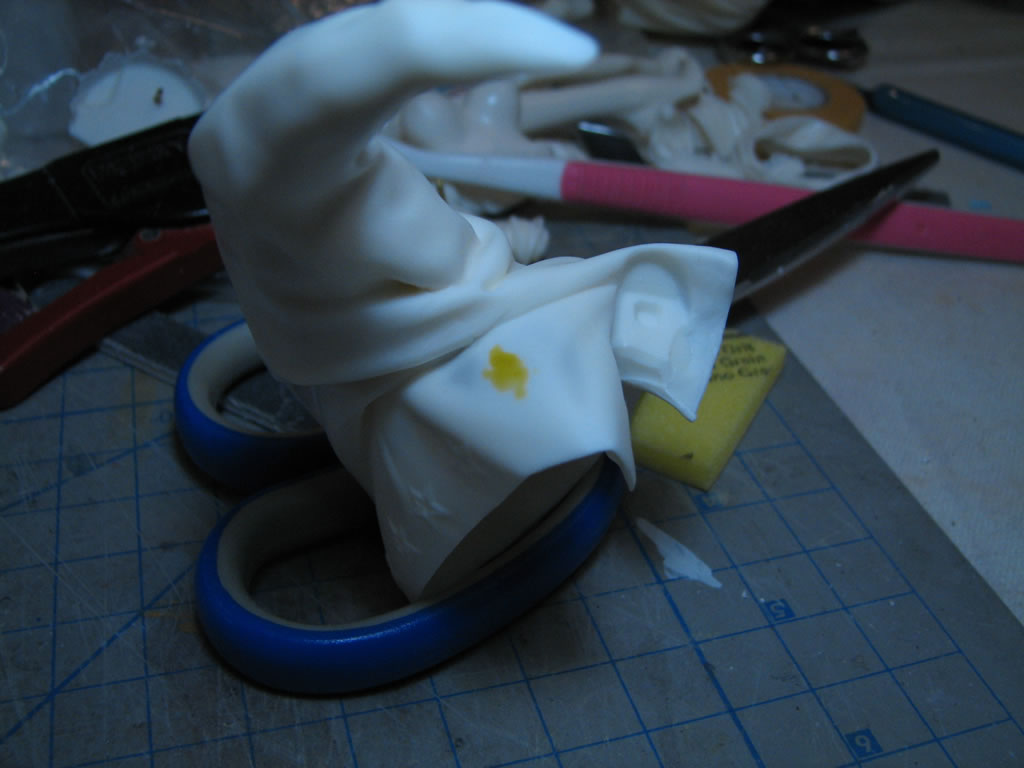
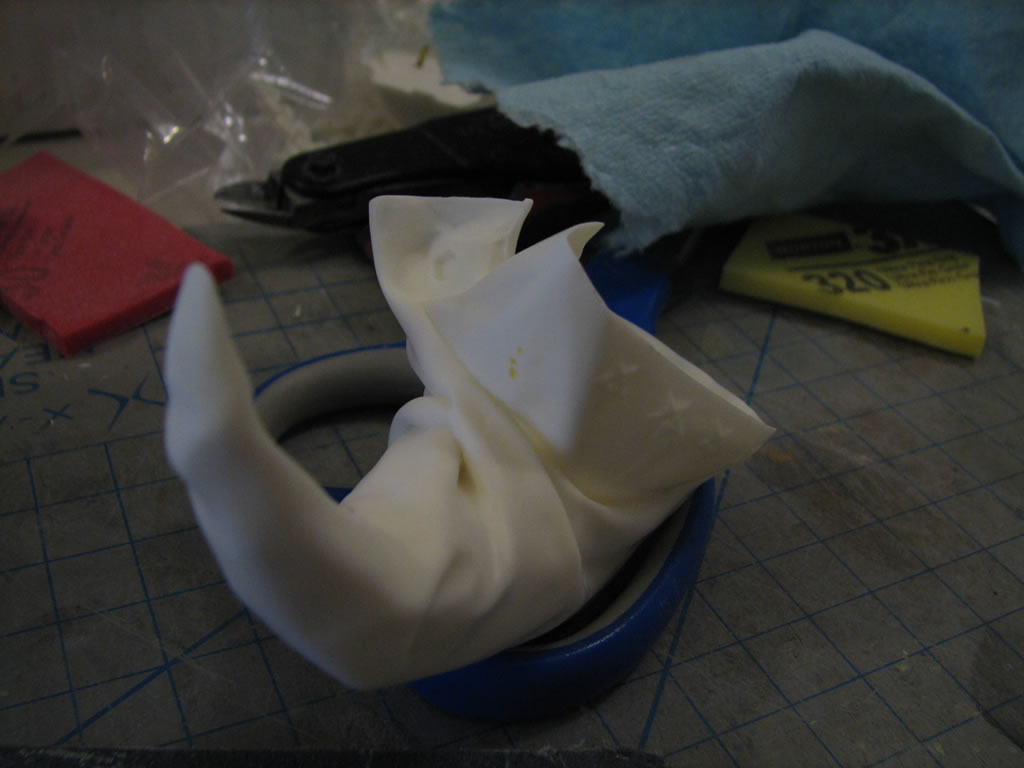
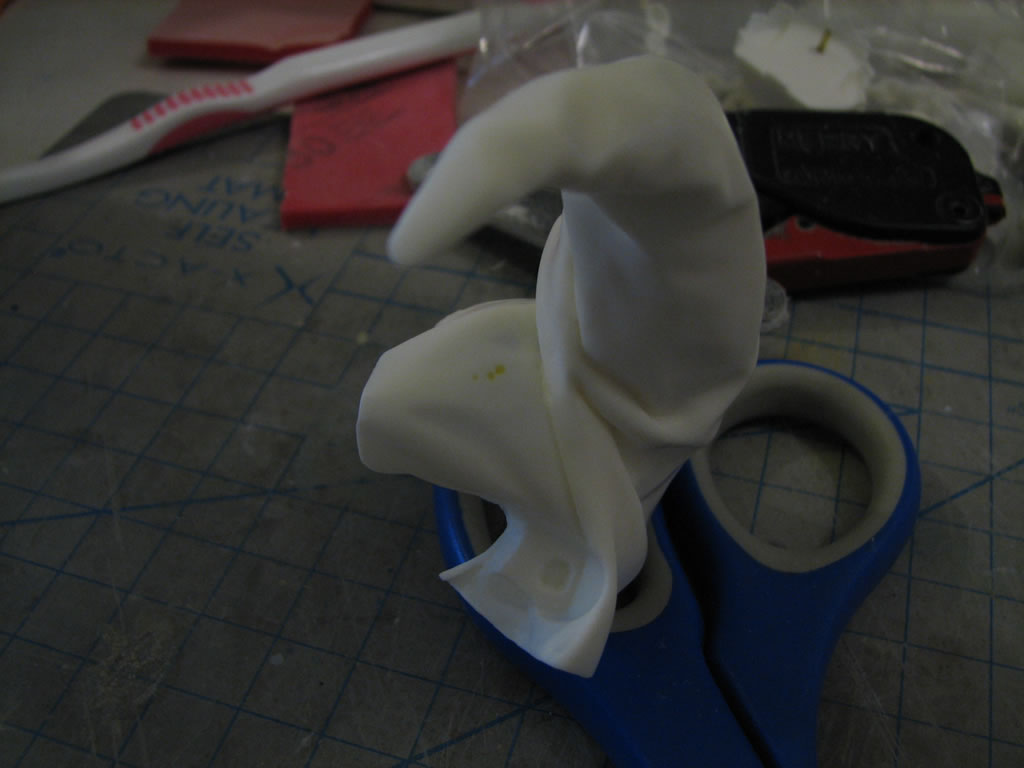
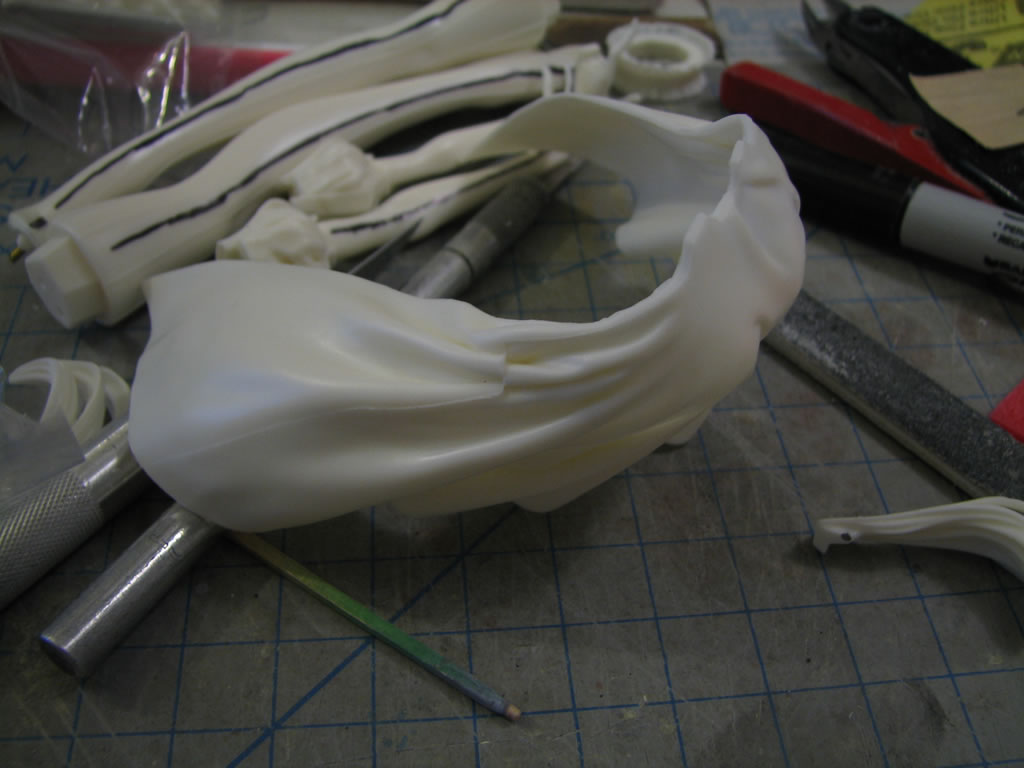
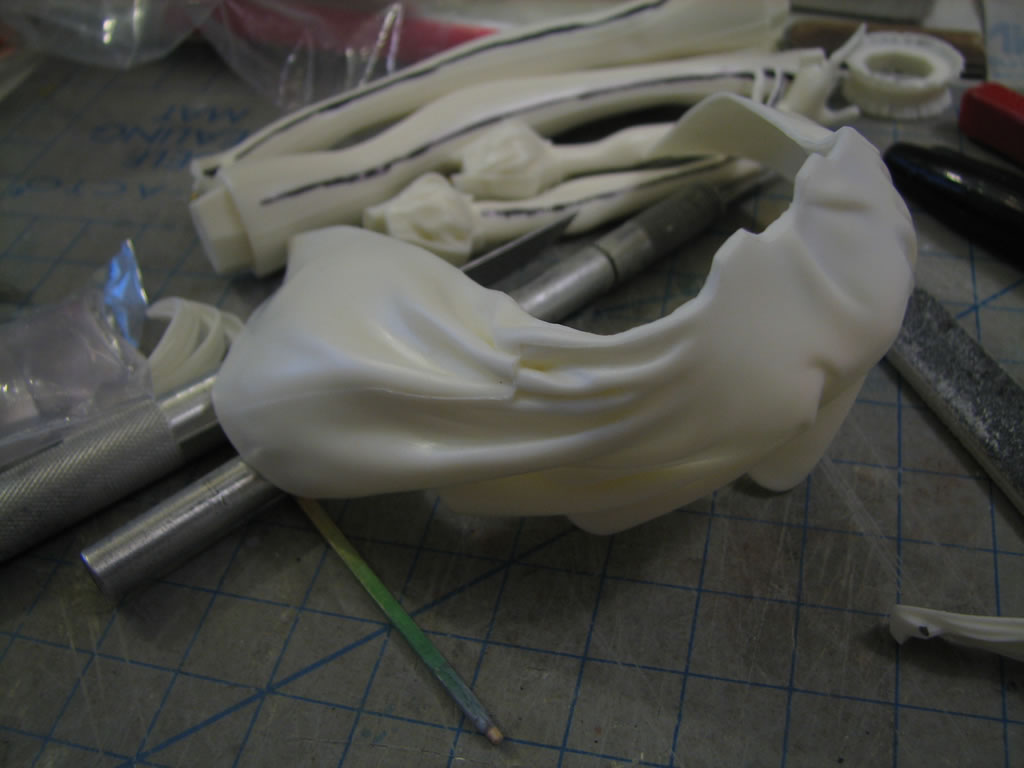
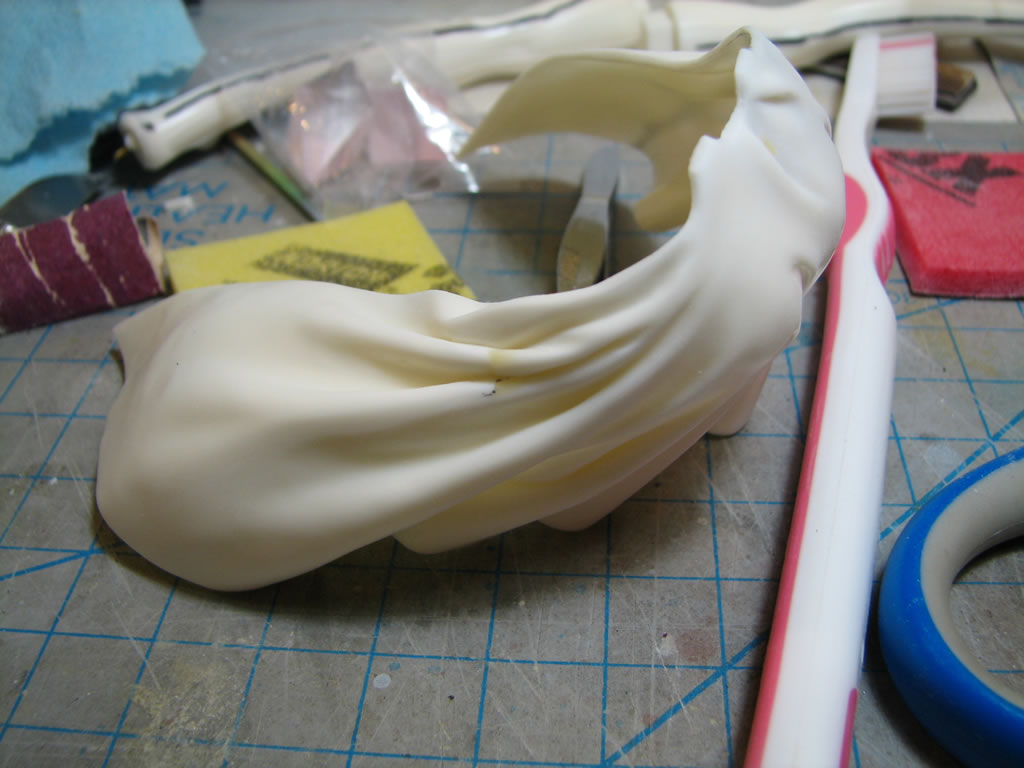
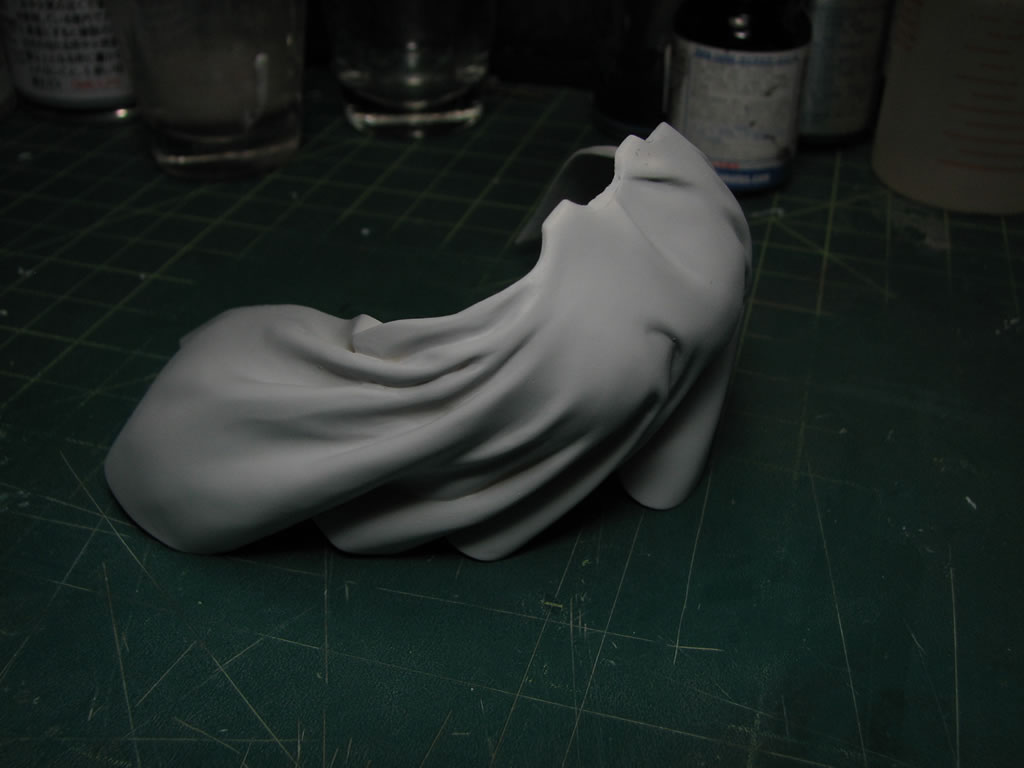
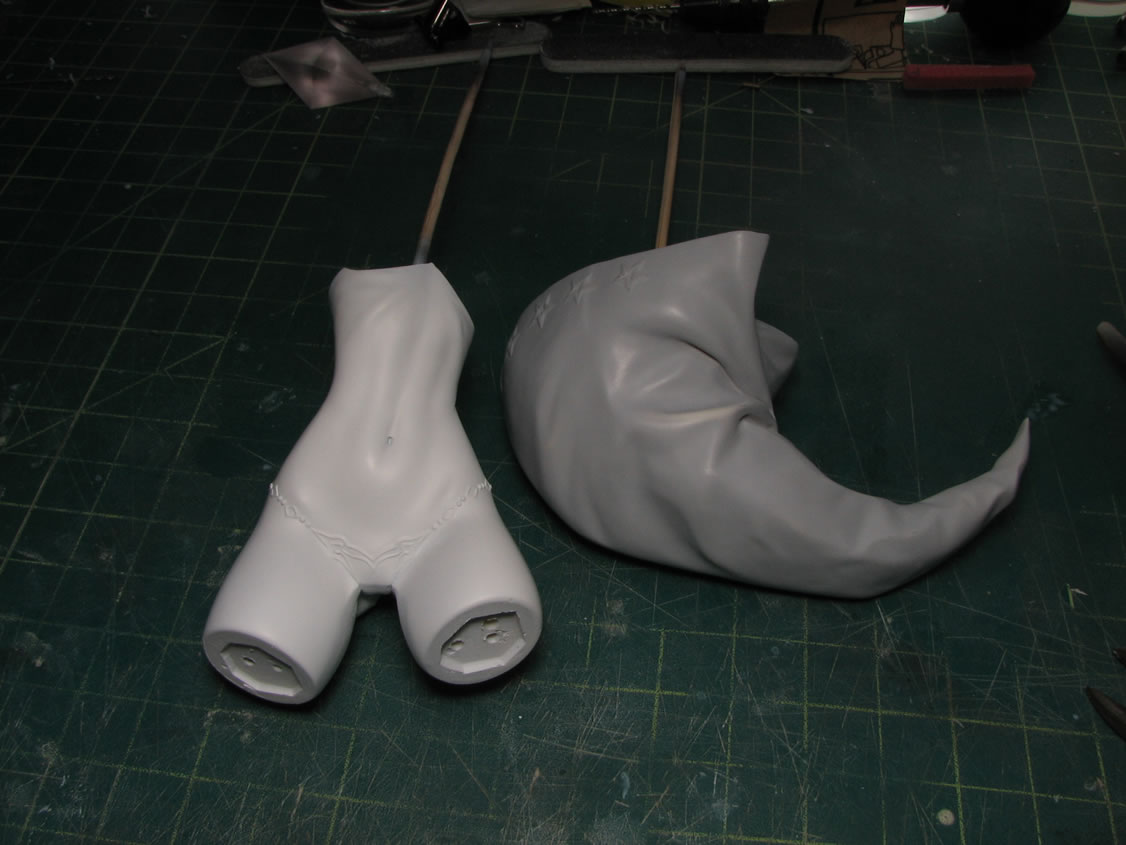
With Velvet's skirt, there is a section of the skit that mostly likely got casted wrong. Some of the skirt folds do not match up properly, so some sanding and more light curing putty comes into play to fix things.
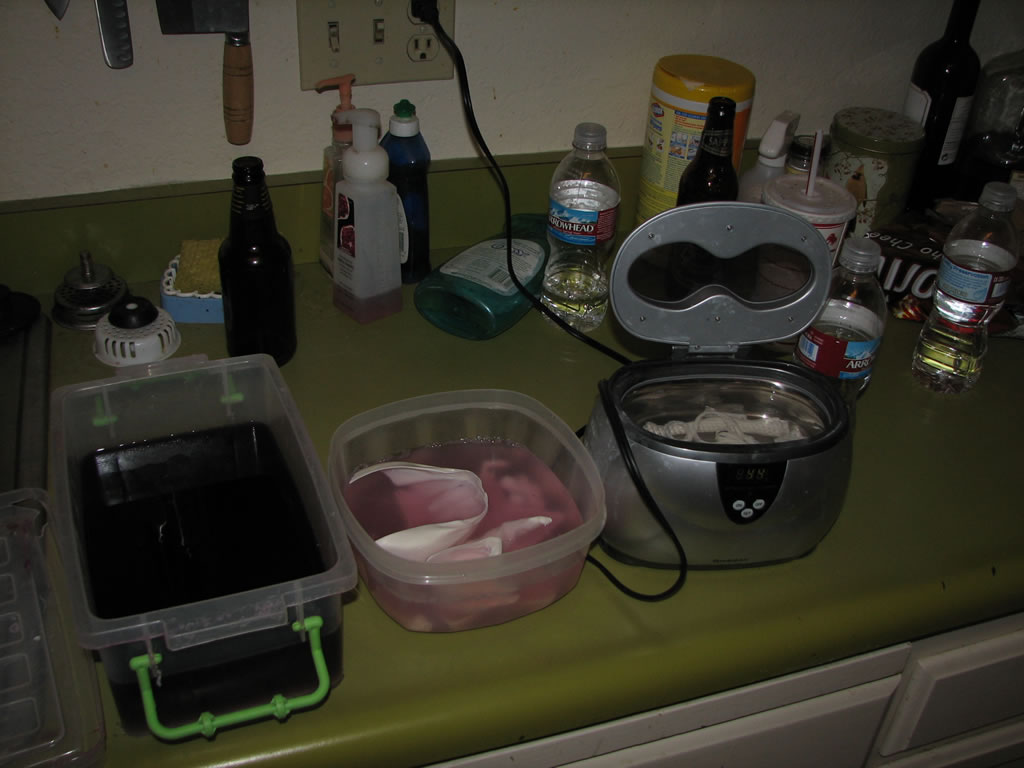
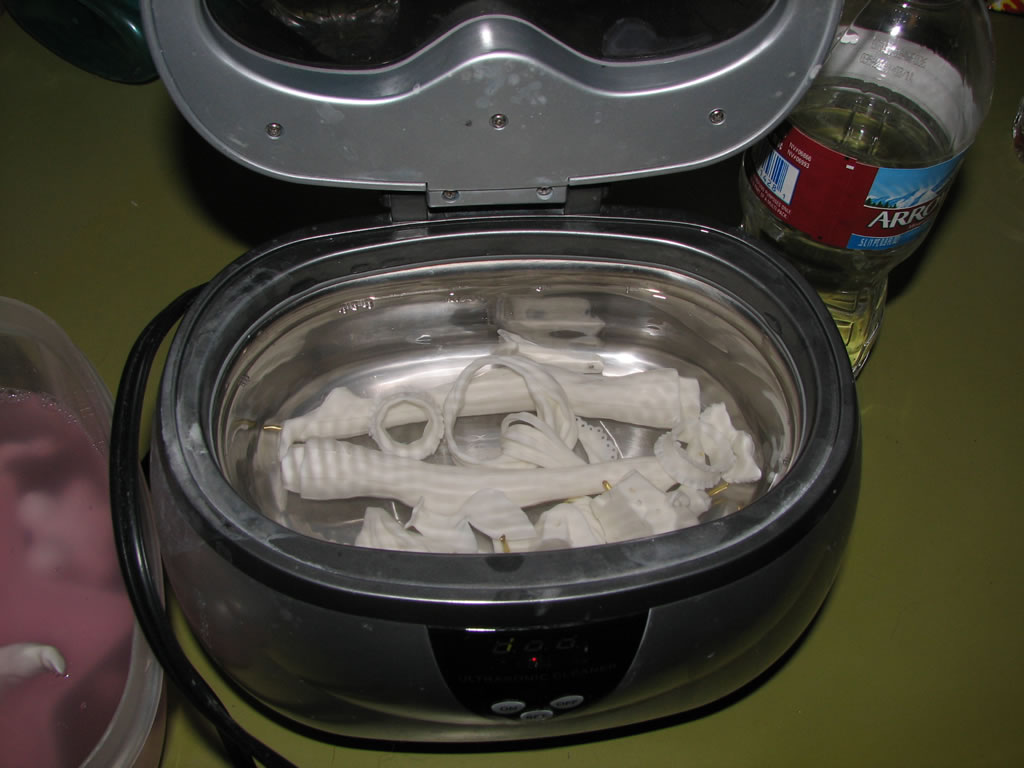
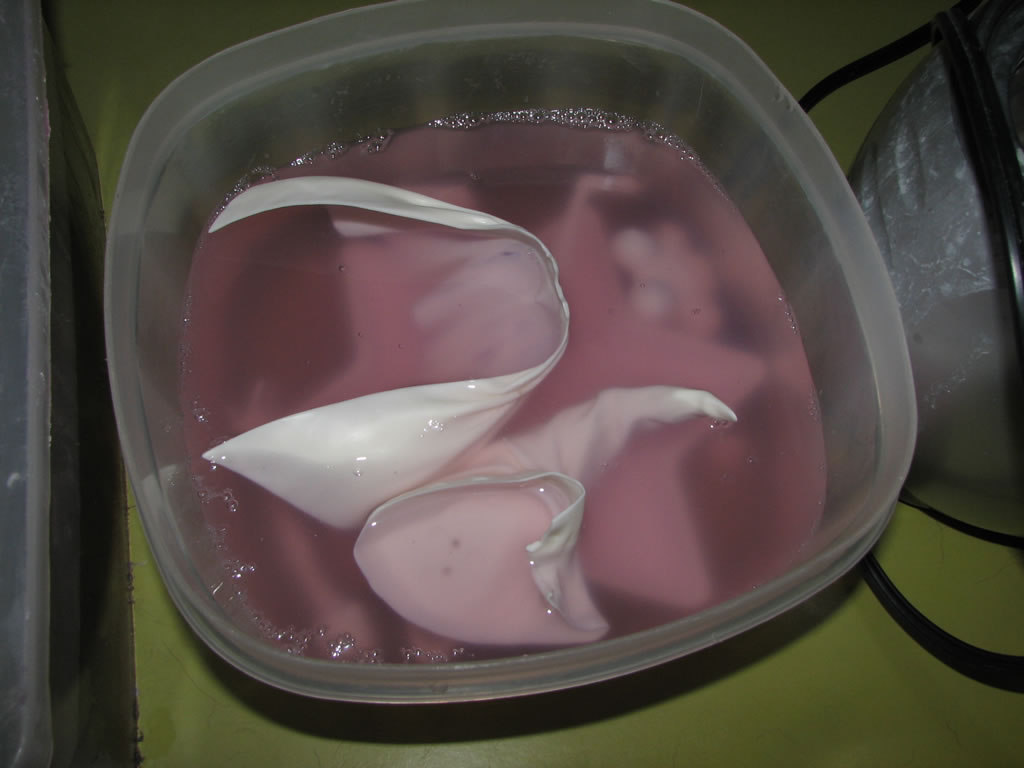
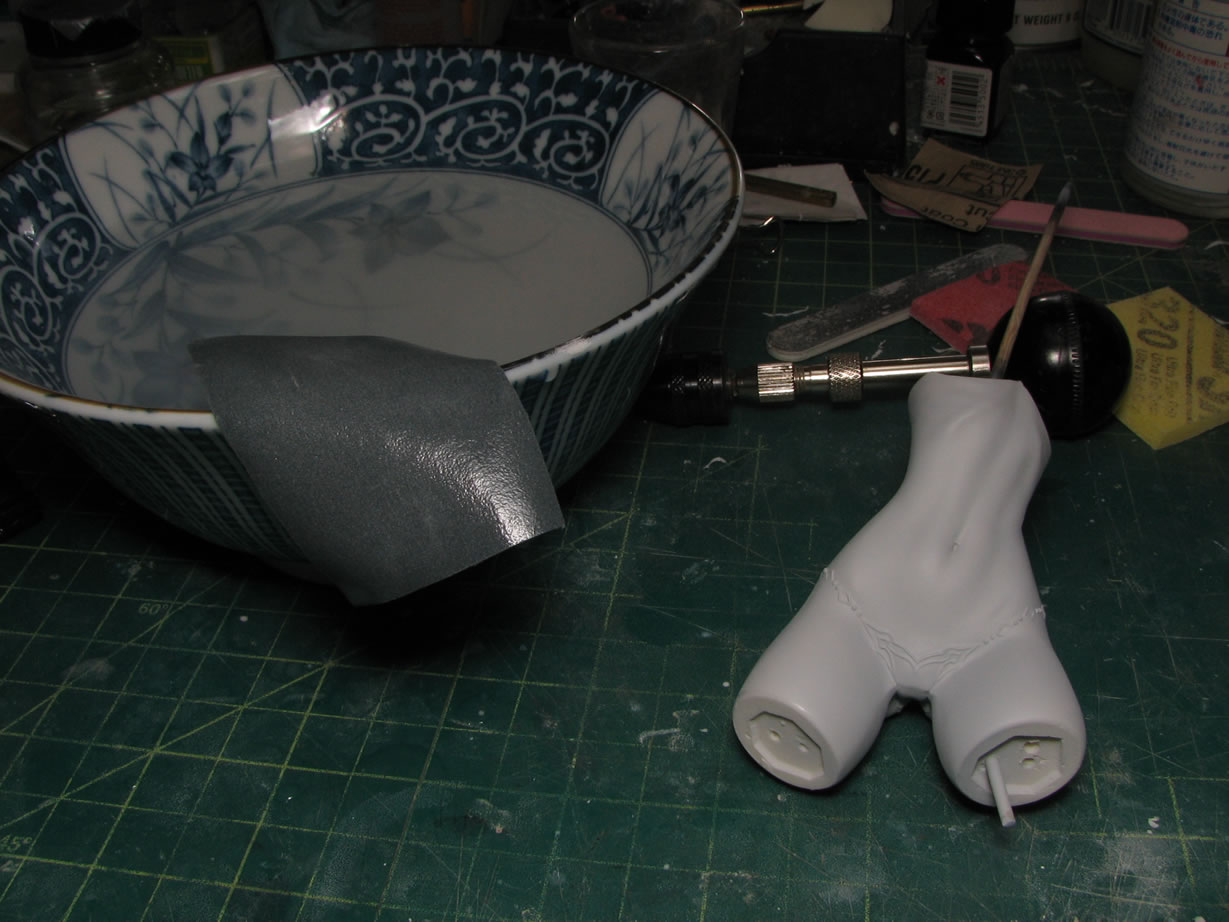
The parts are placed in purple power to soak over night. Then pulled and placed in some regular water, thrown into the ultrasonic cleaner, then placed onto some paper towels to dry.
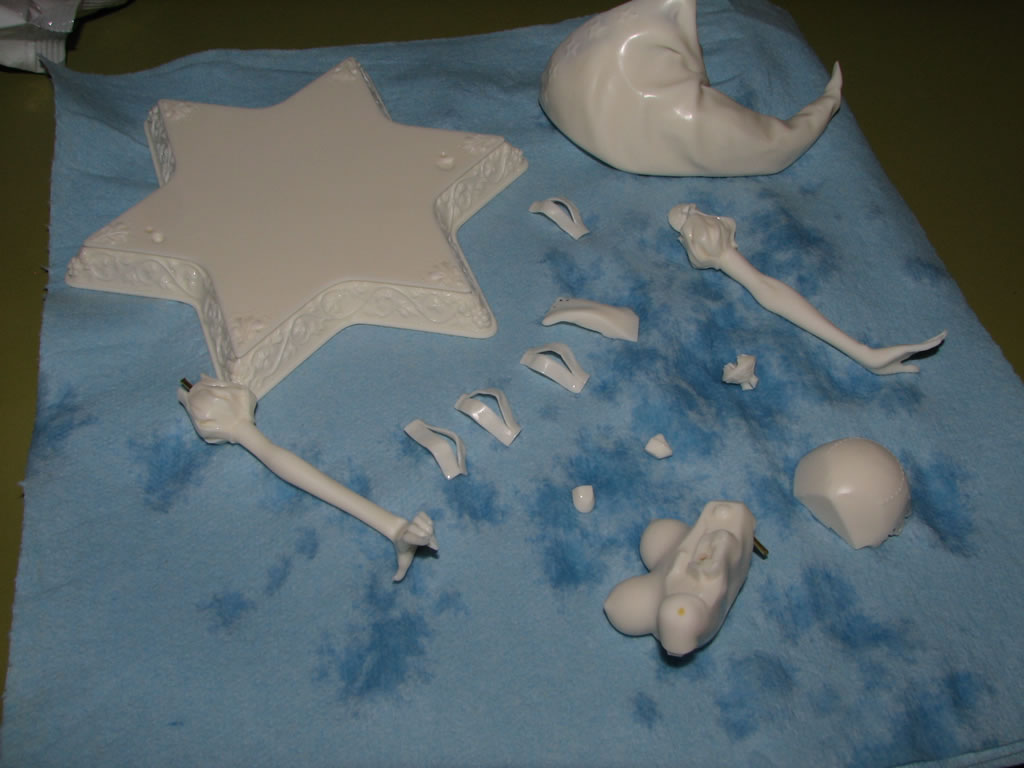
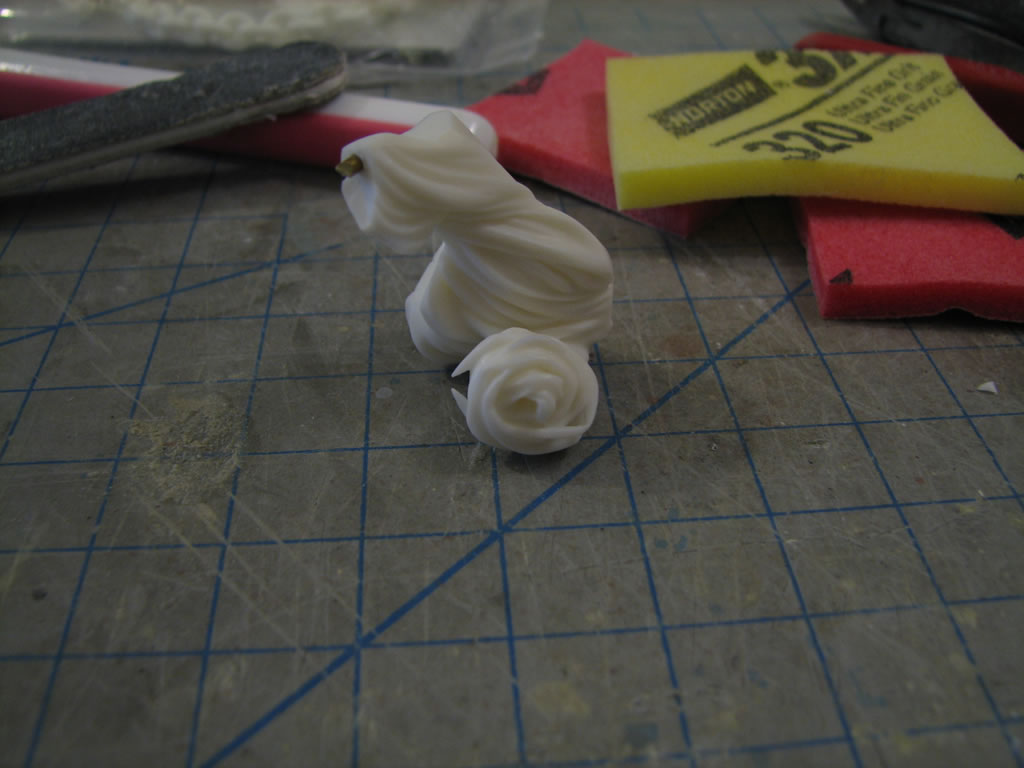
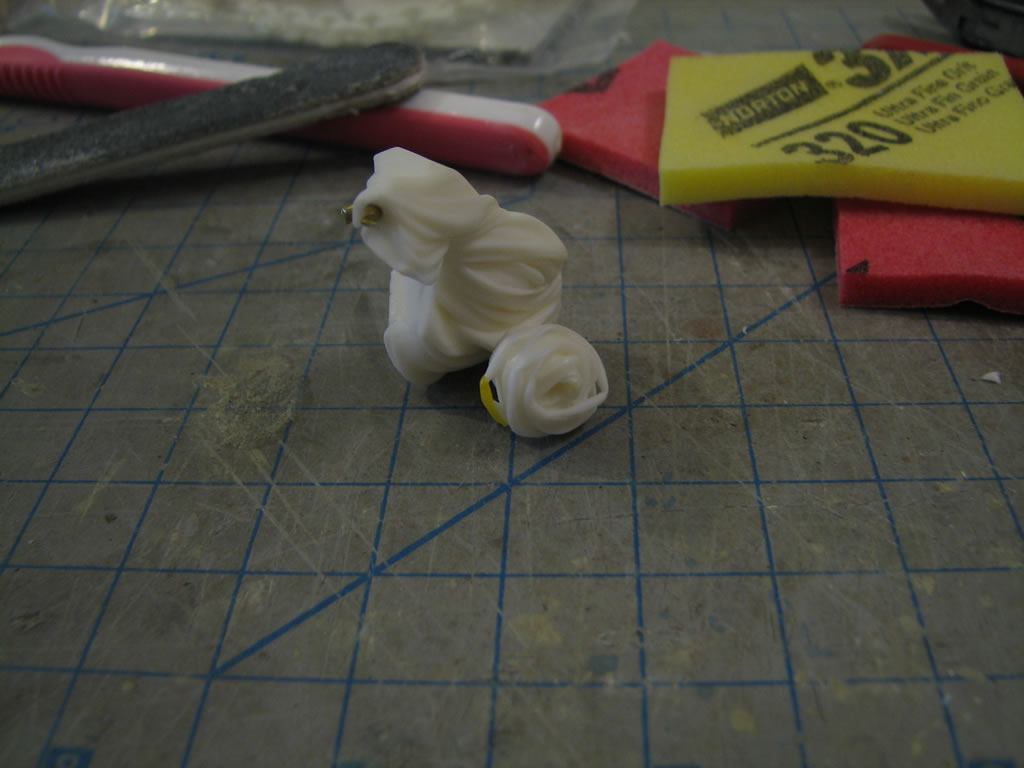
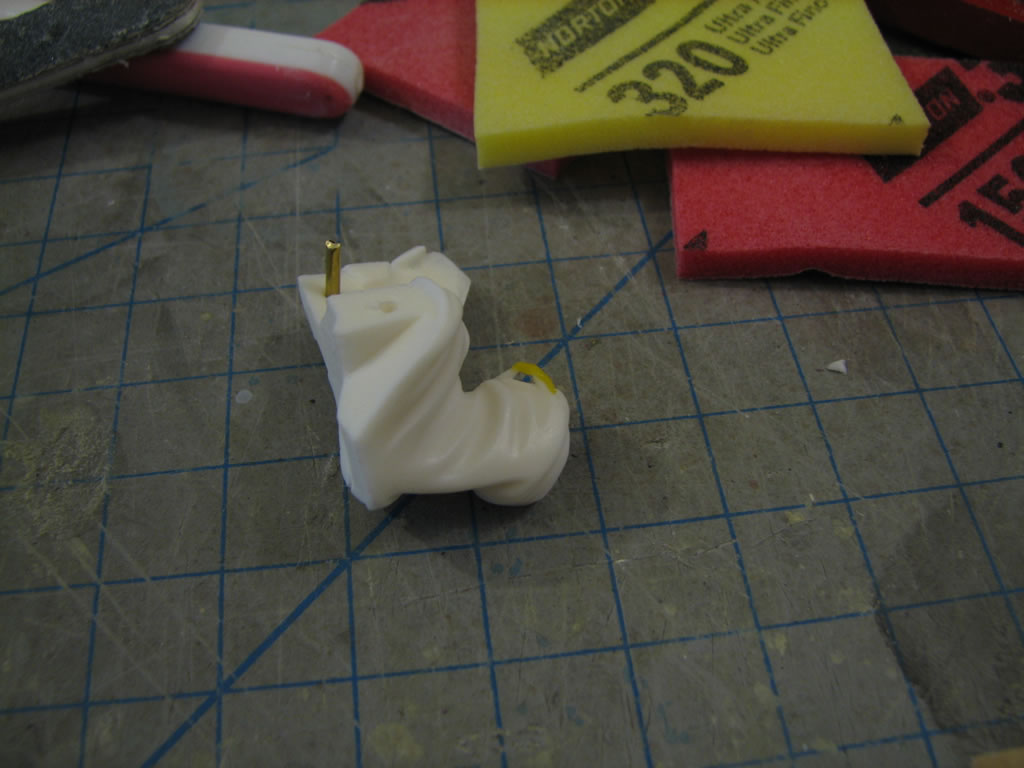
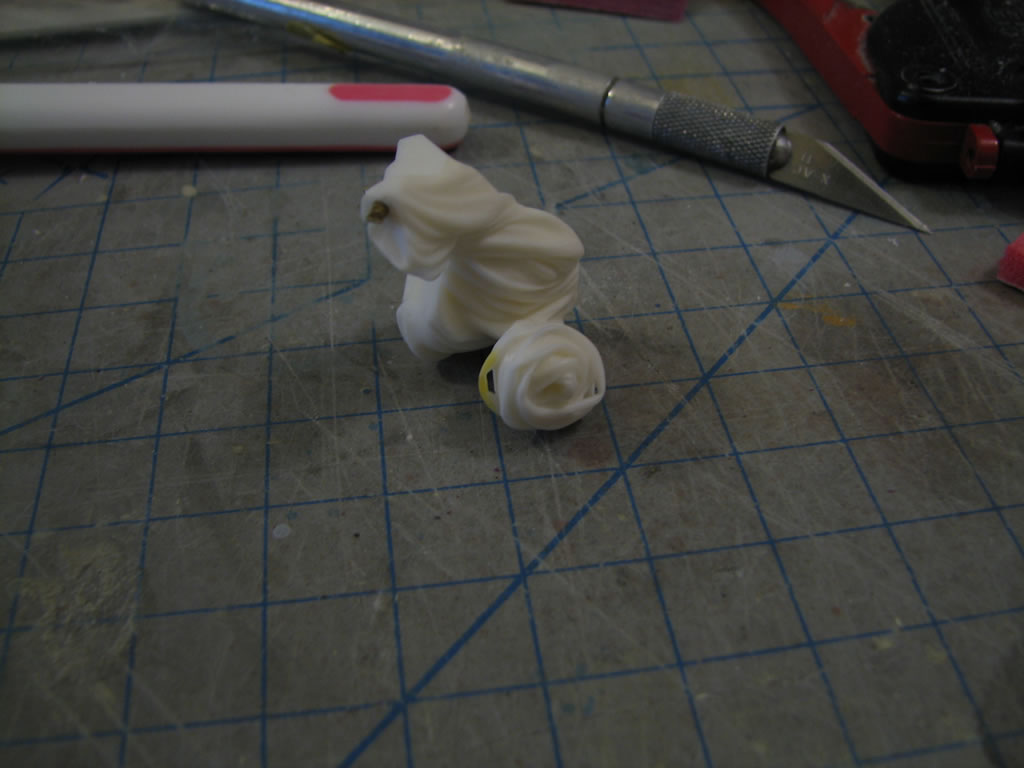
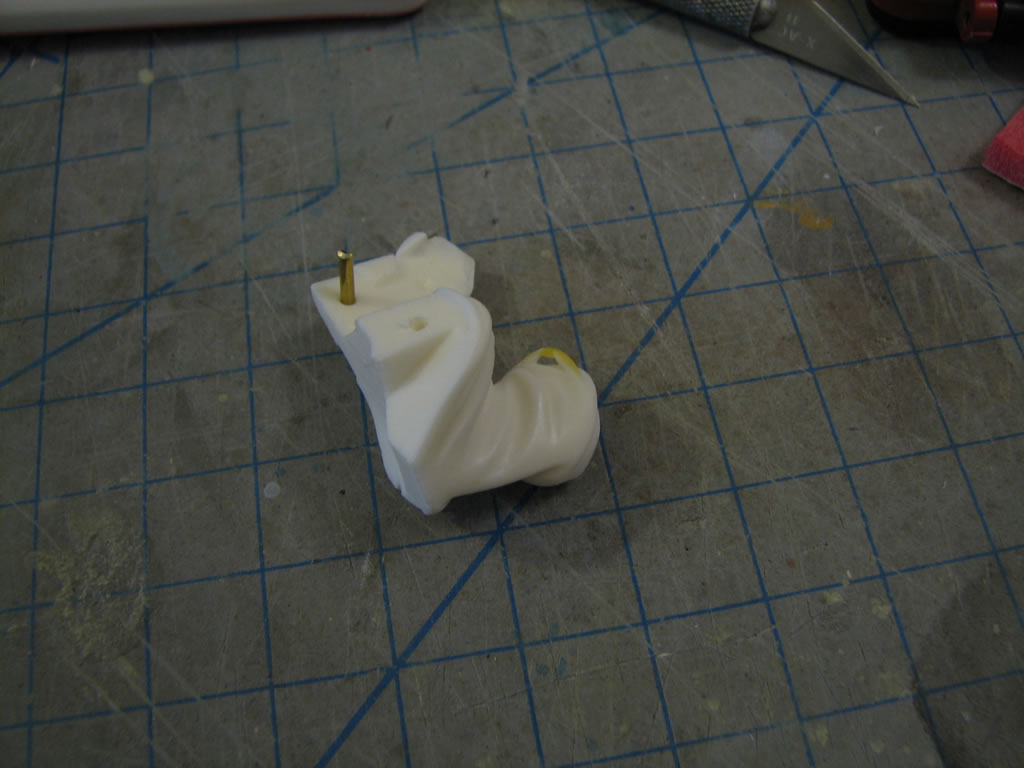
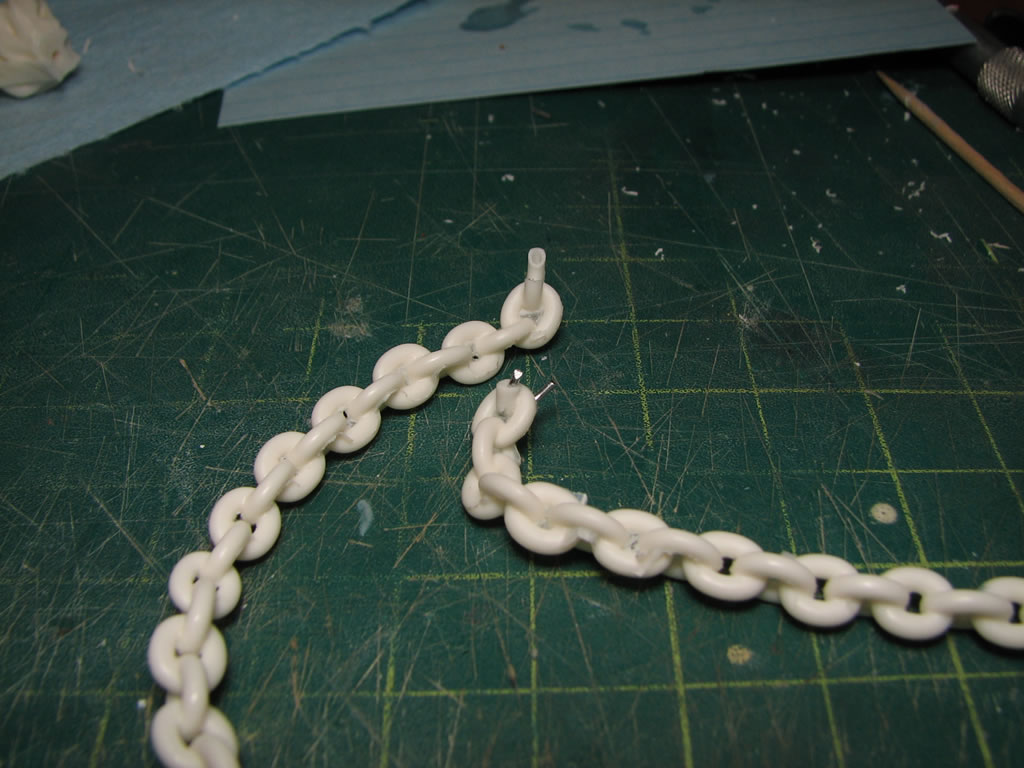
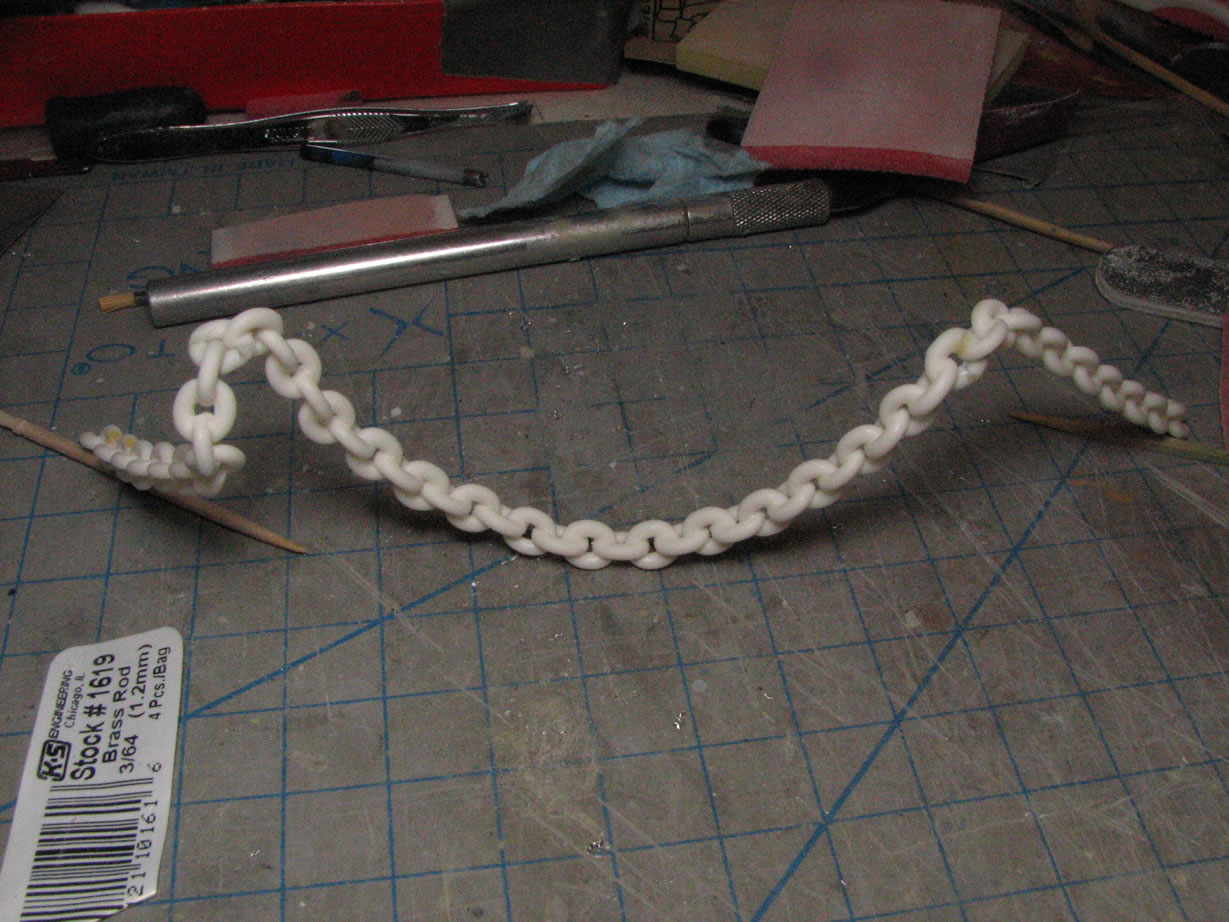
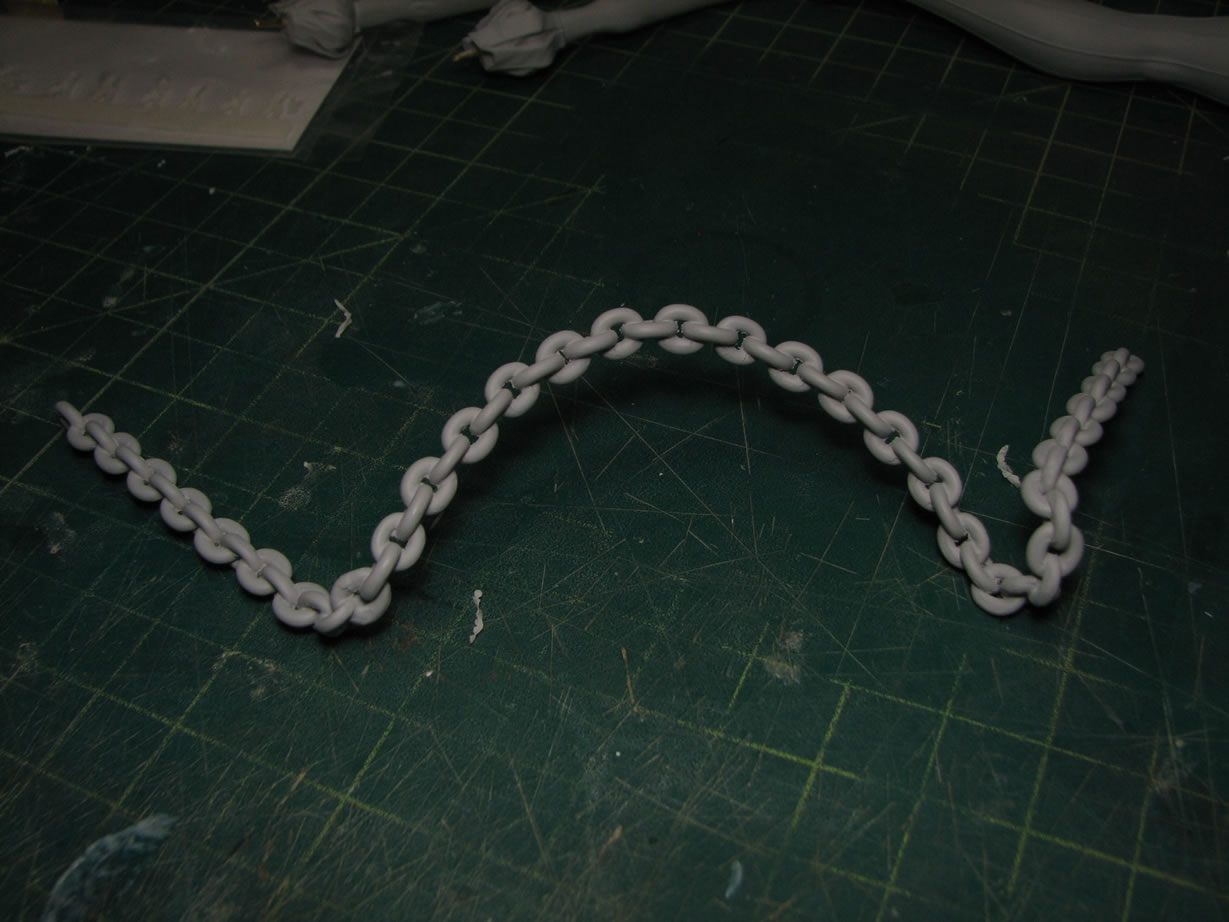
Small holes are drilled into the chain pieces and small pins are used to reinforce the final glued together structure.
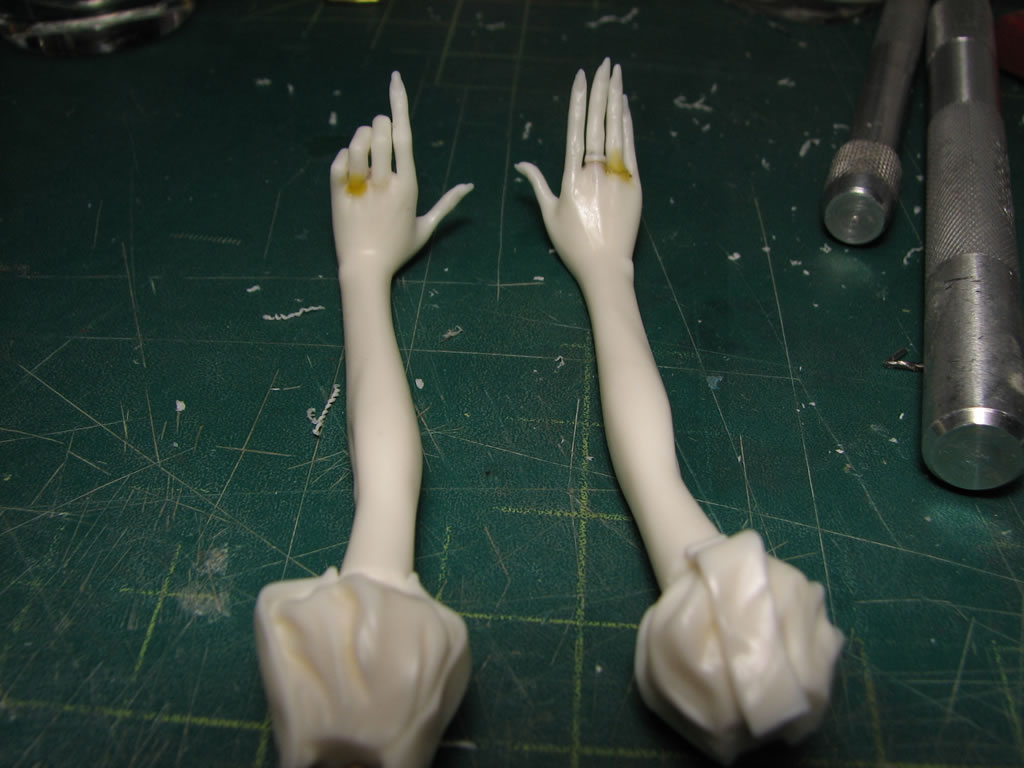
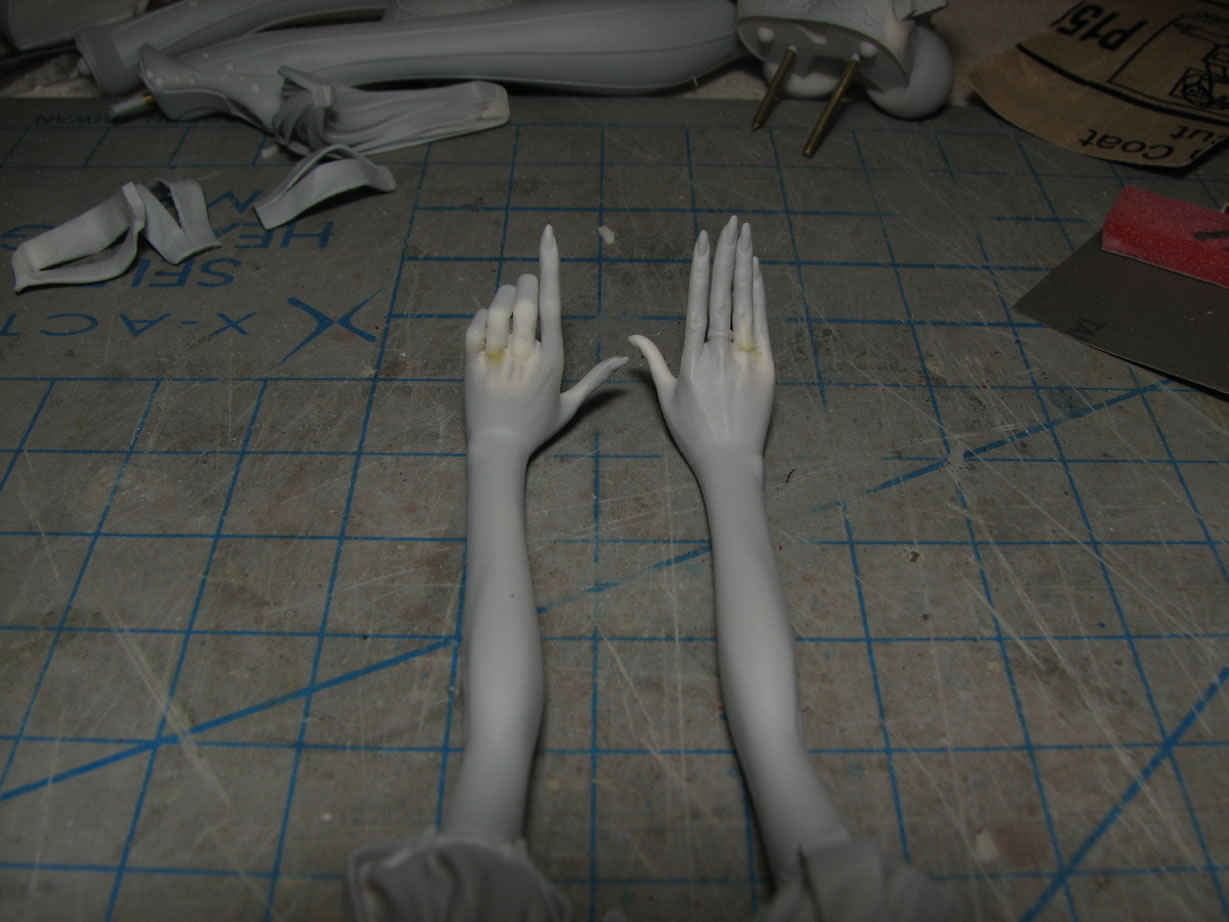
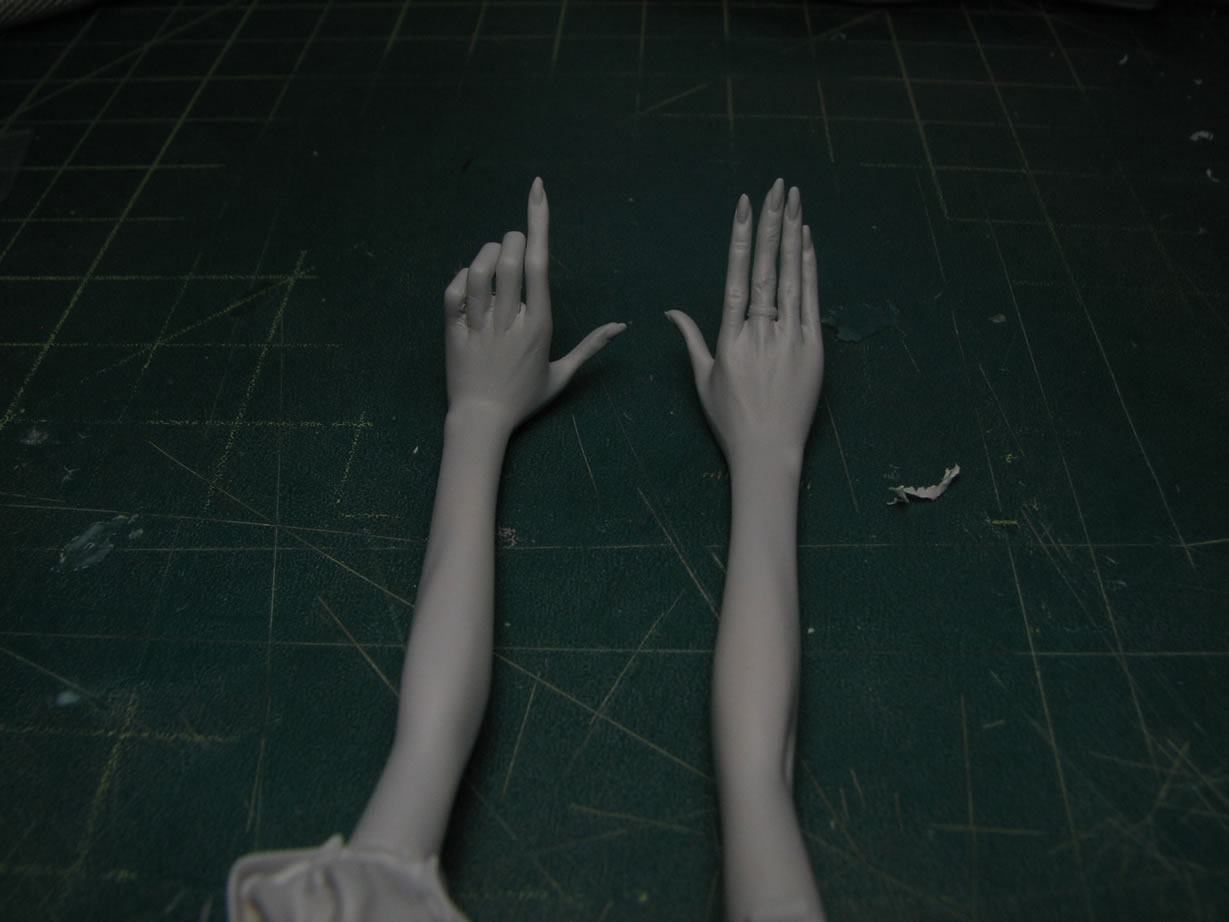
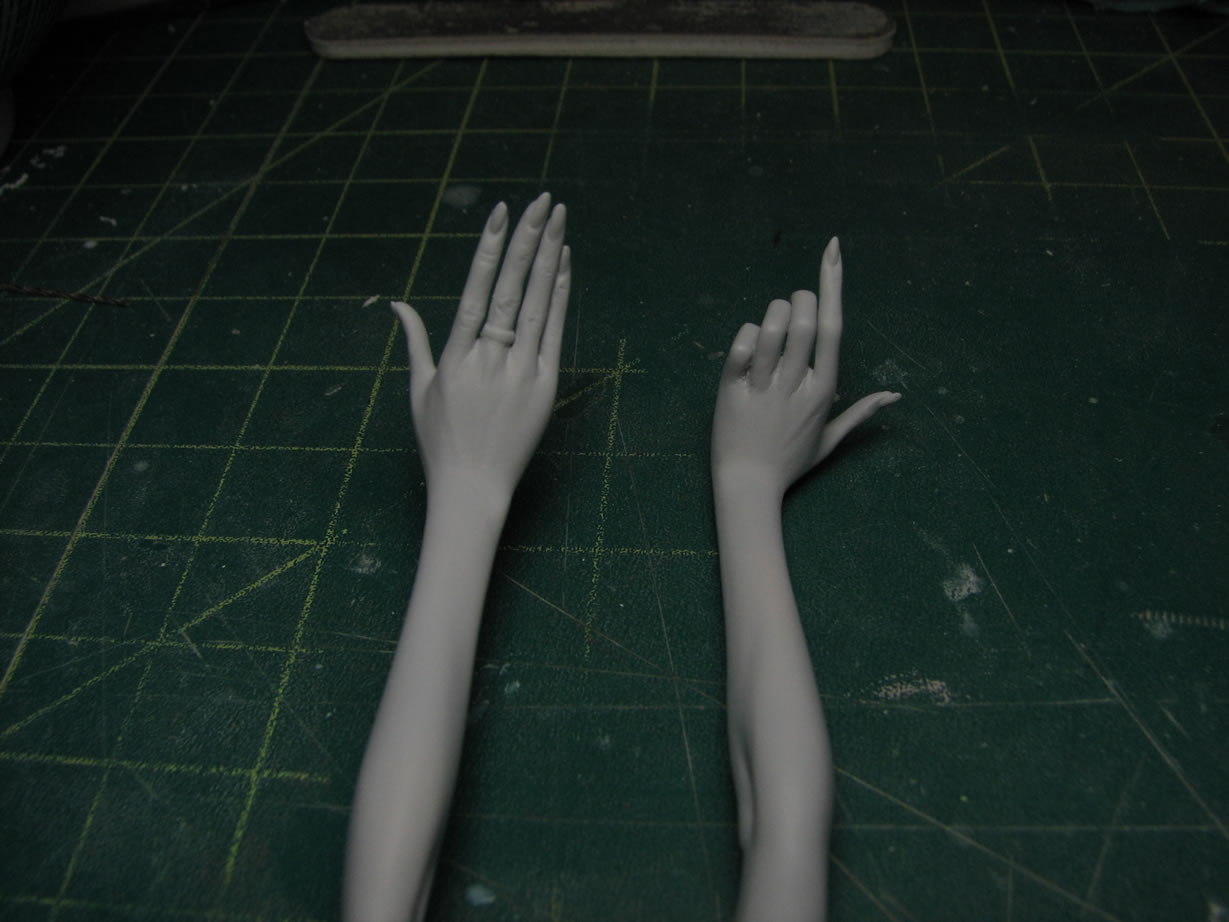
The middle and ring fingers are glued to the hands and the rest of the parts are pretty much ready for the initial priming session.
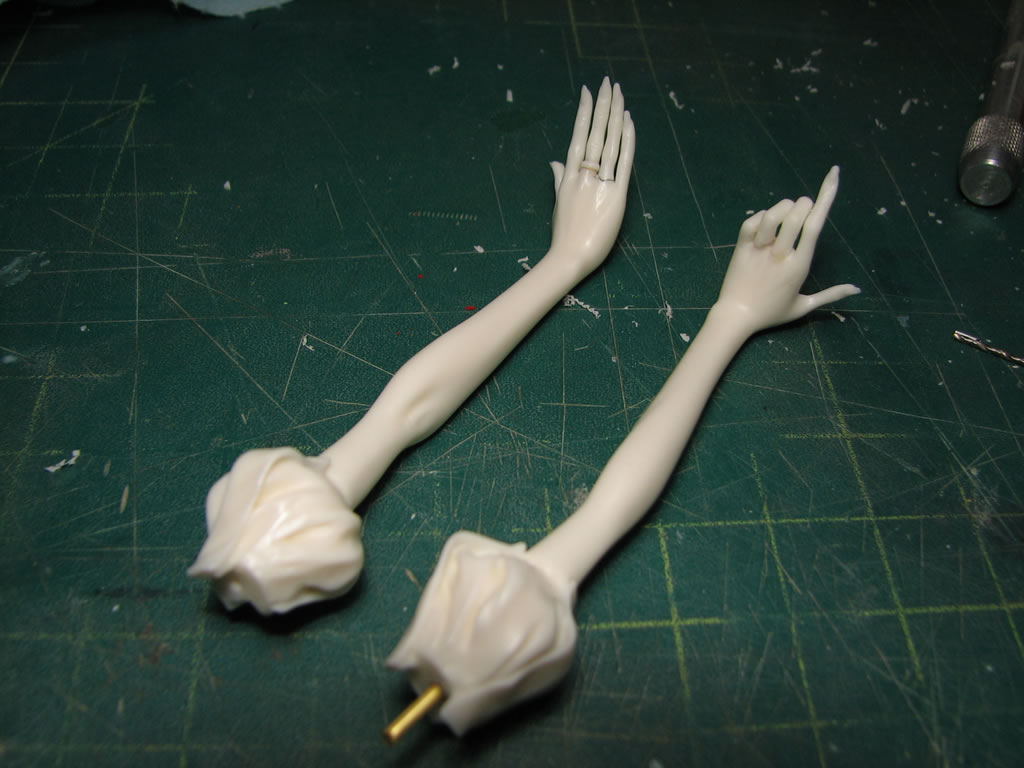
July 28, 2009: The fingers are puttied to fix small gaps and glue issues from the fingers to the hands.
The parts are primed using Mr Resin Primer. After priming, the previously fixed areas on the skirt, shoulder, and hat shows successful fixes.
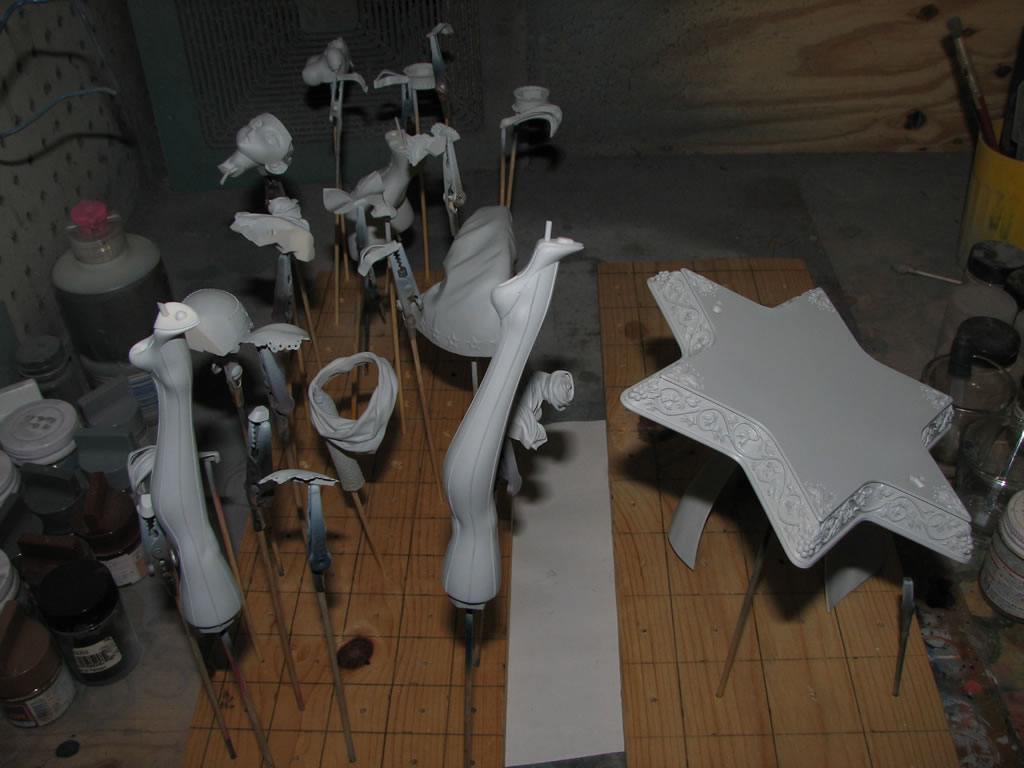

Priming also shows all the missed defect areas such as missed seam lines and small bubbles that are very difficult to see in the white resin.
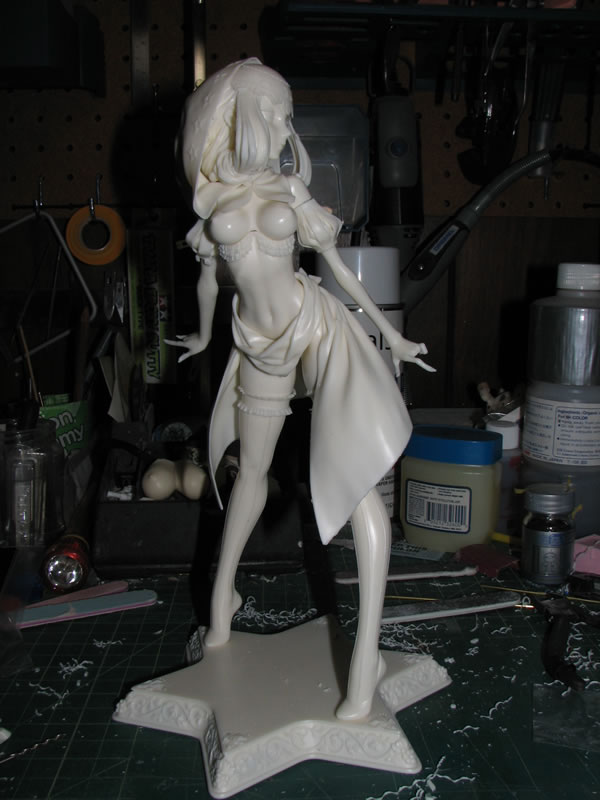
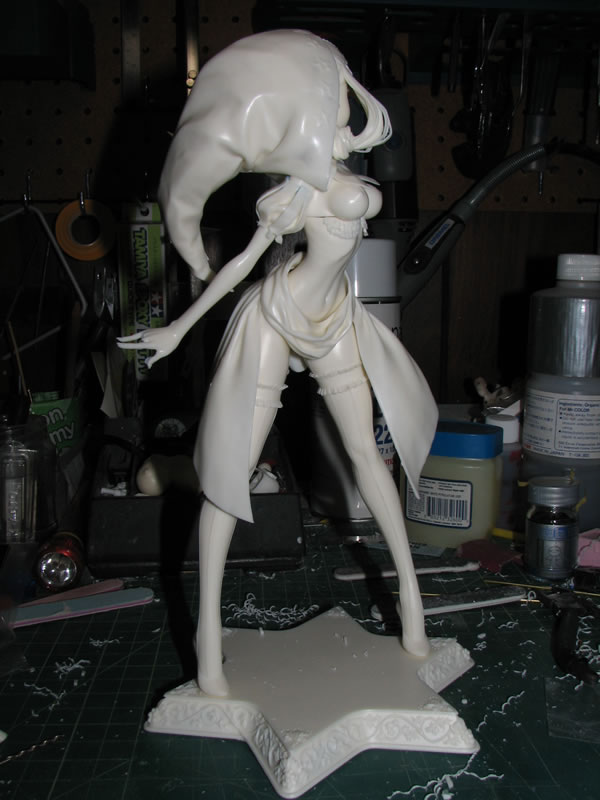
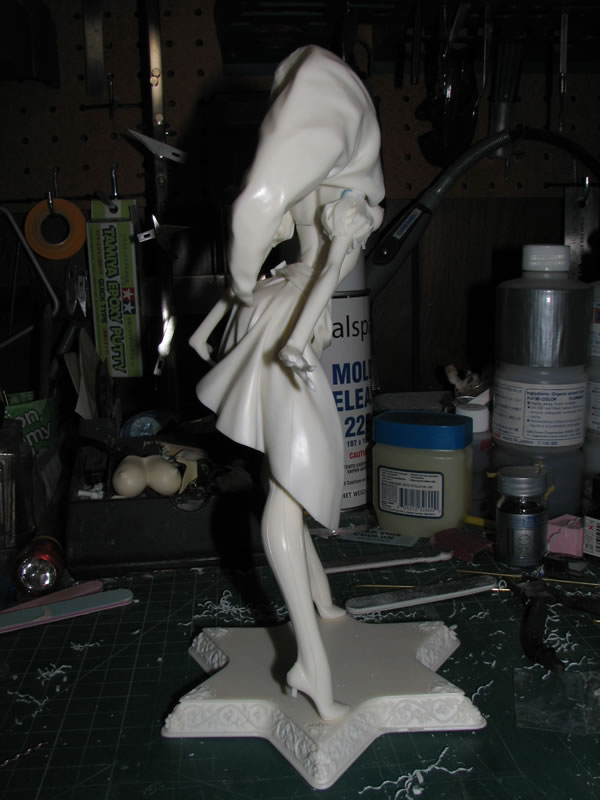
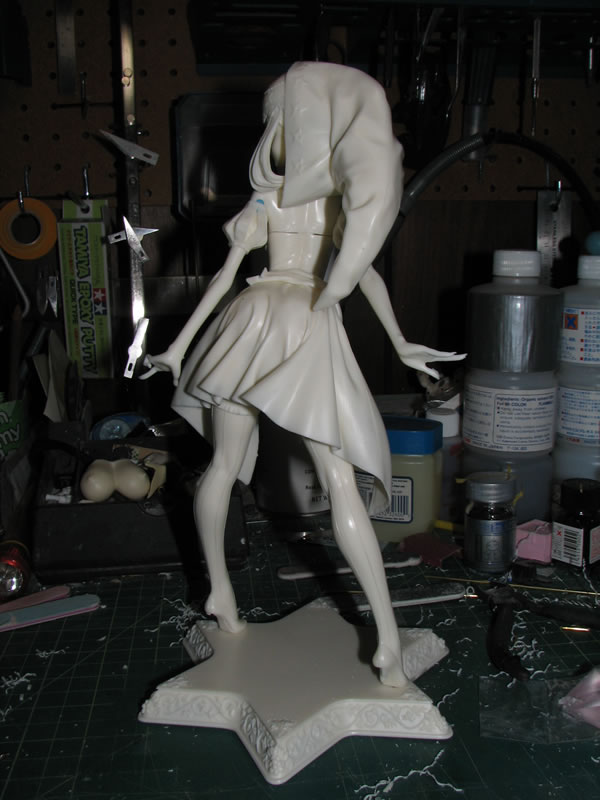
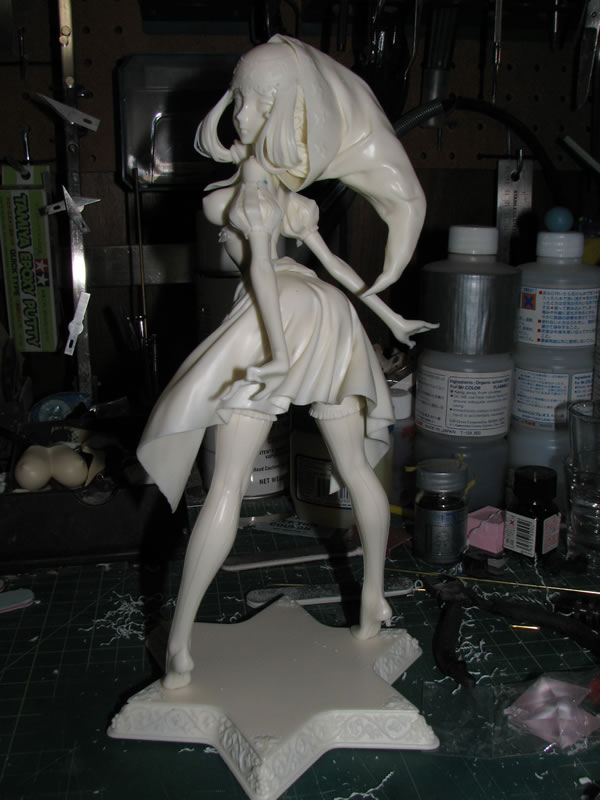
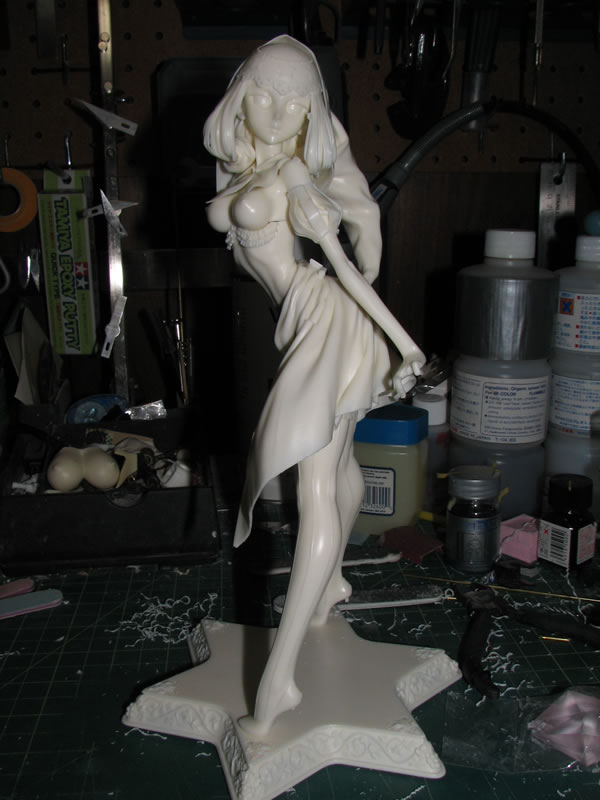
With the primer dried, the parts are put together for a quick test fit and pictures.
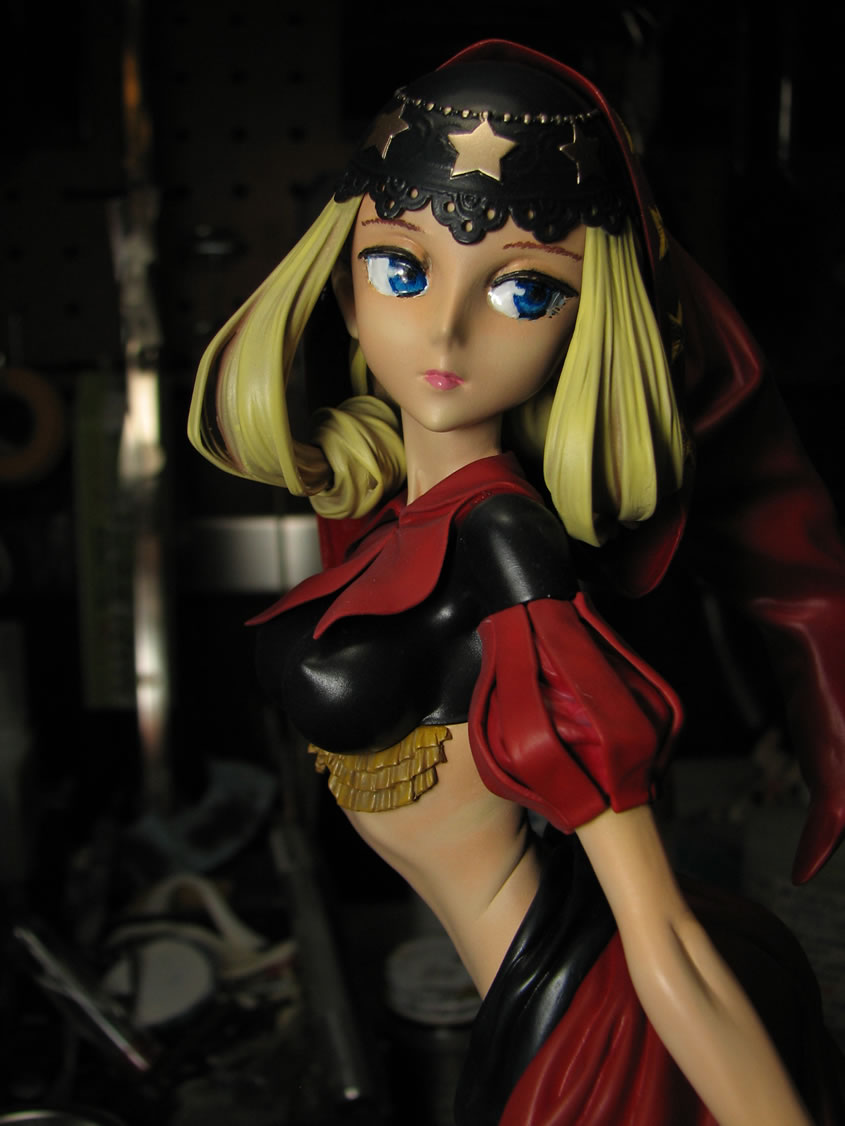
Close up pictures. Next up will be the fixes and repriming.

August 2, 2009: Over the weekend, I got a little bit of work on Velvet. Starting with the surface bubbles I found after priming, the holes were opened up and fill with tamiya light curing putty.
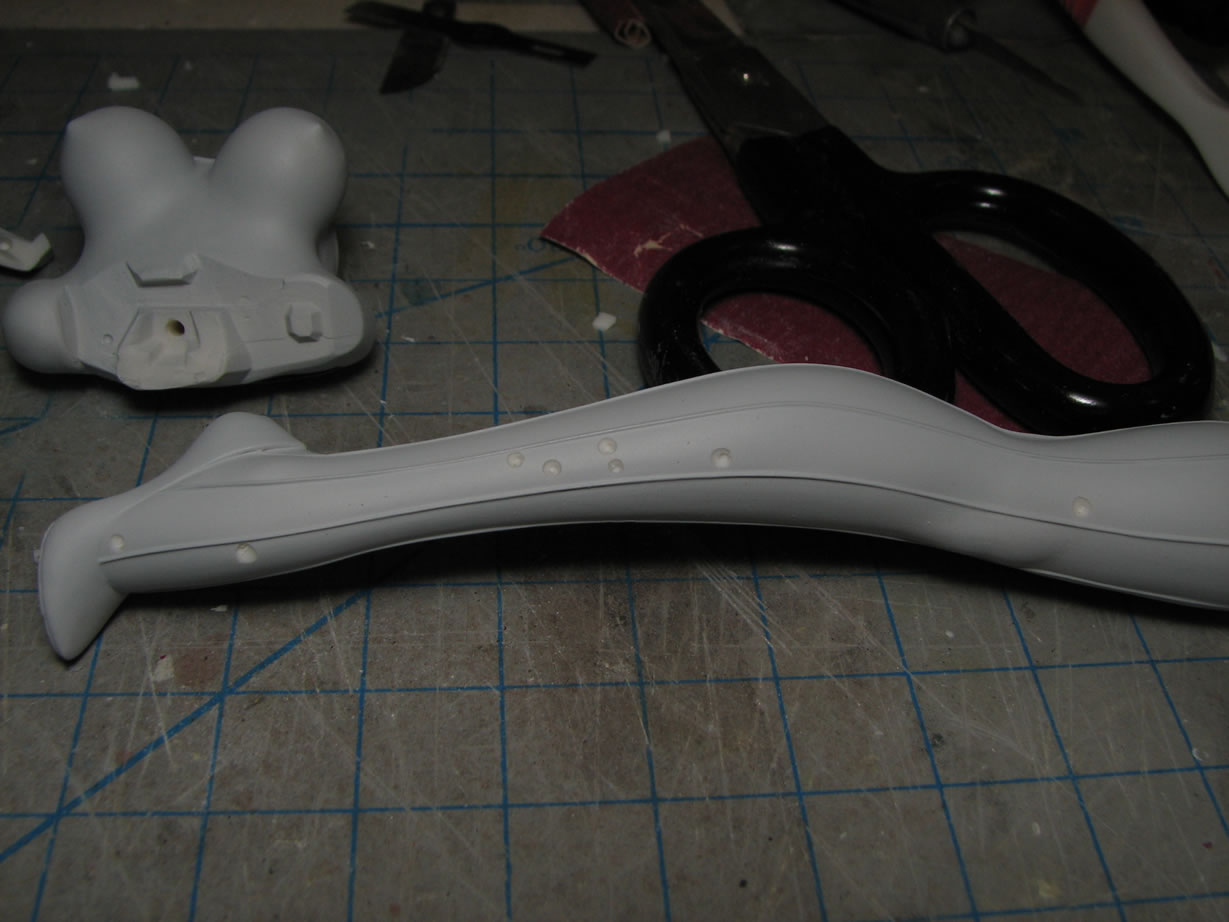
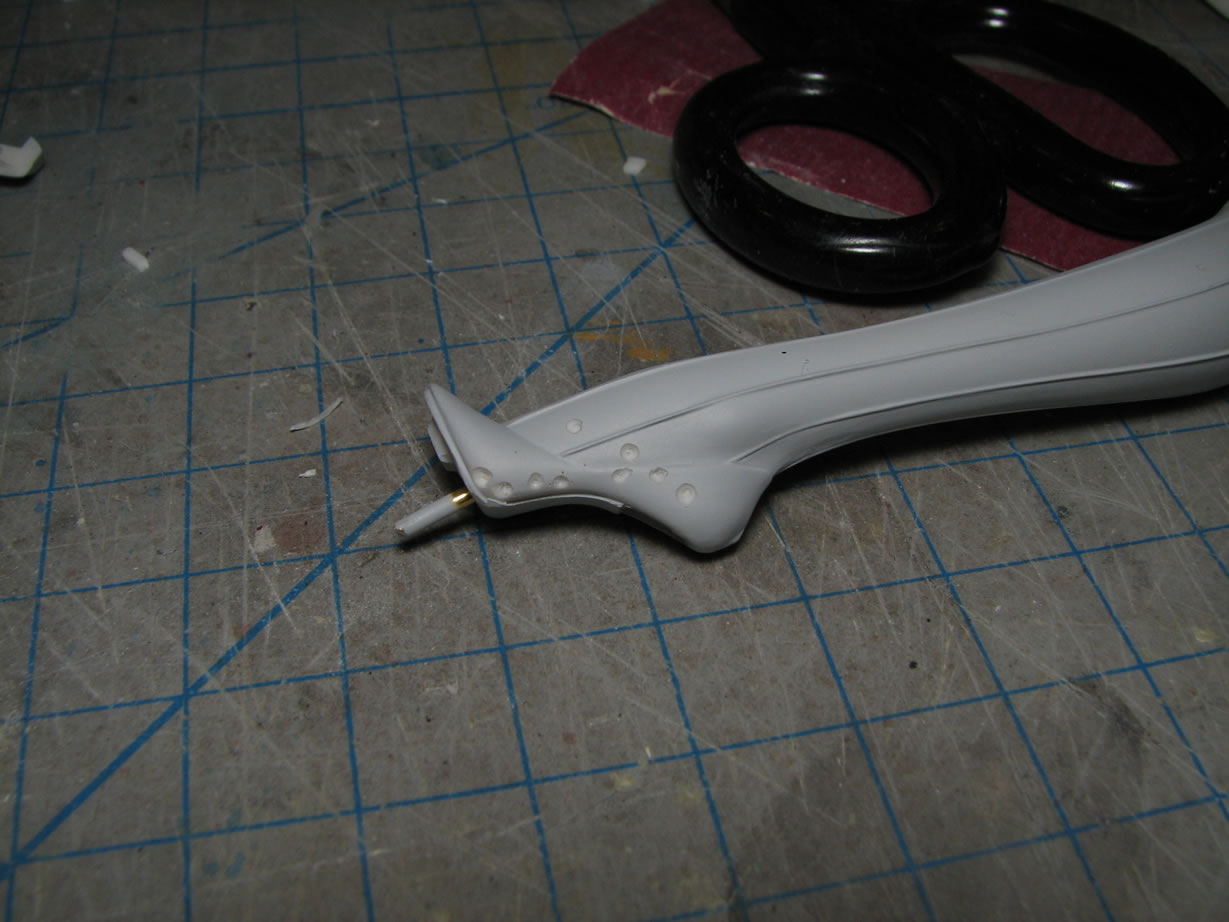
The putty is sanded and reprimed. Some of the areas were covered but there are still some rough spots and will need more attention.
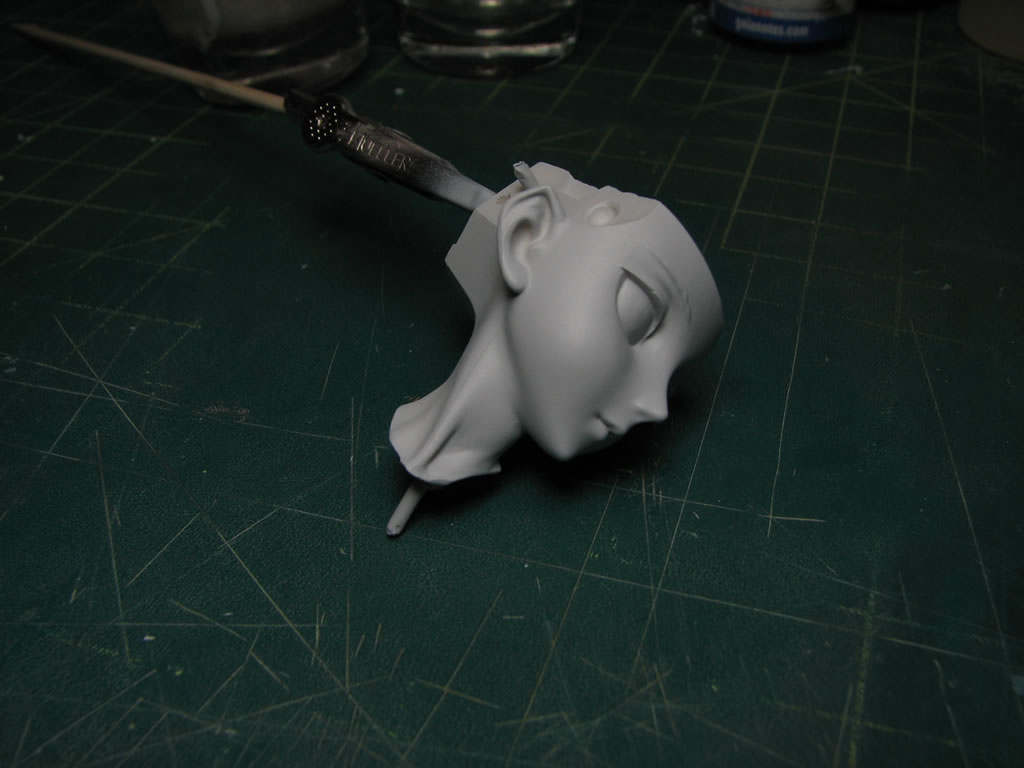
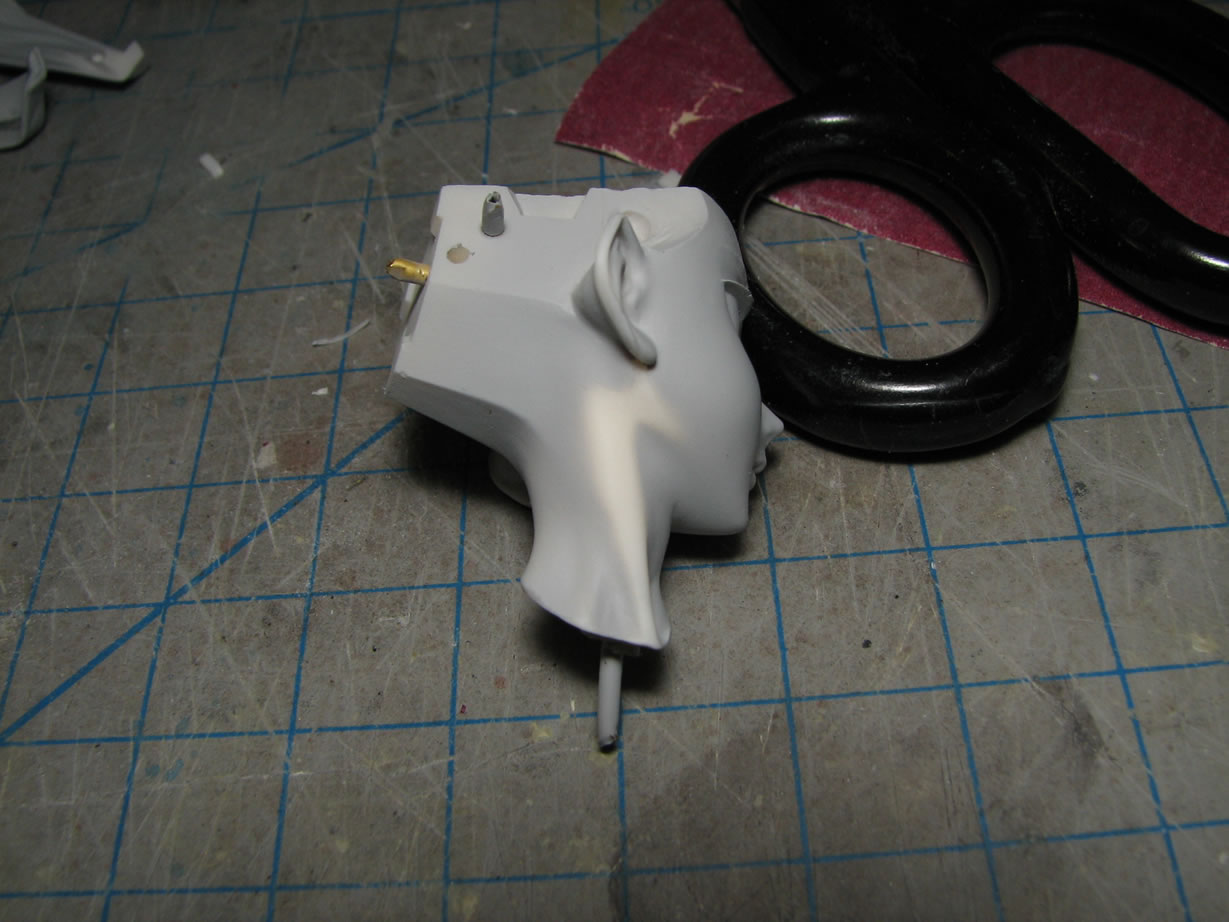
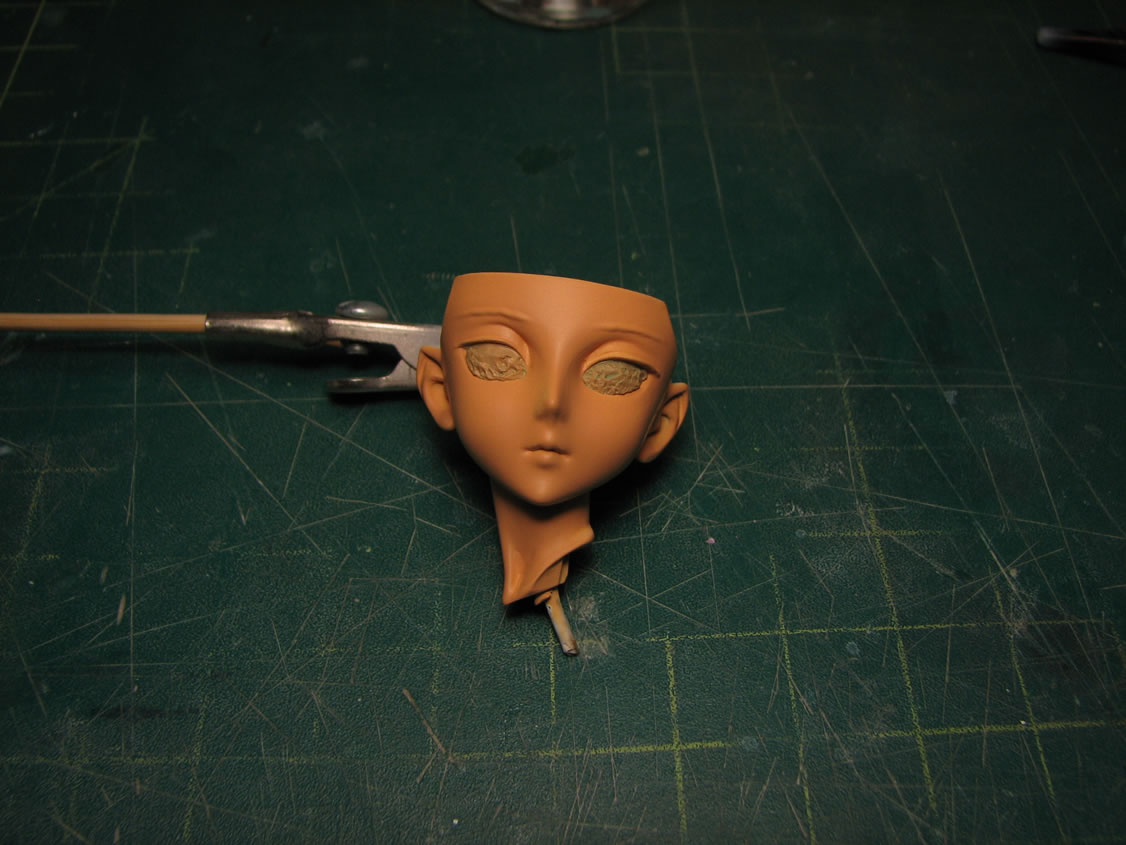
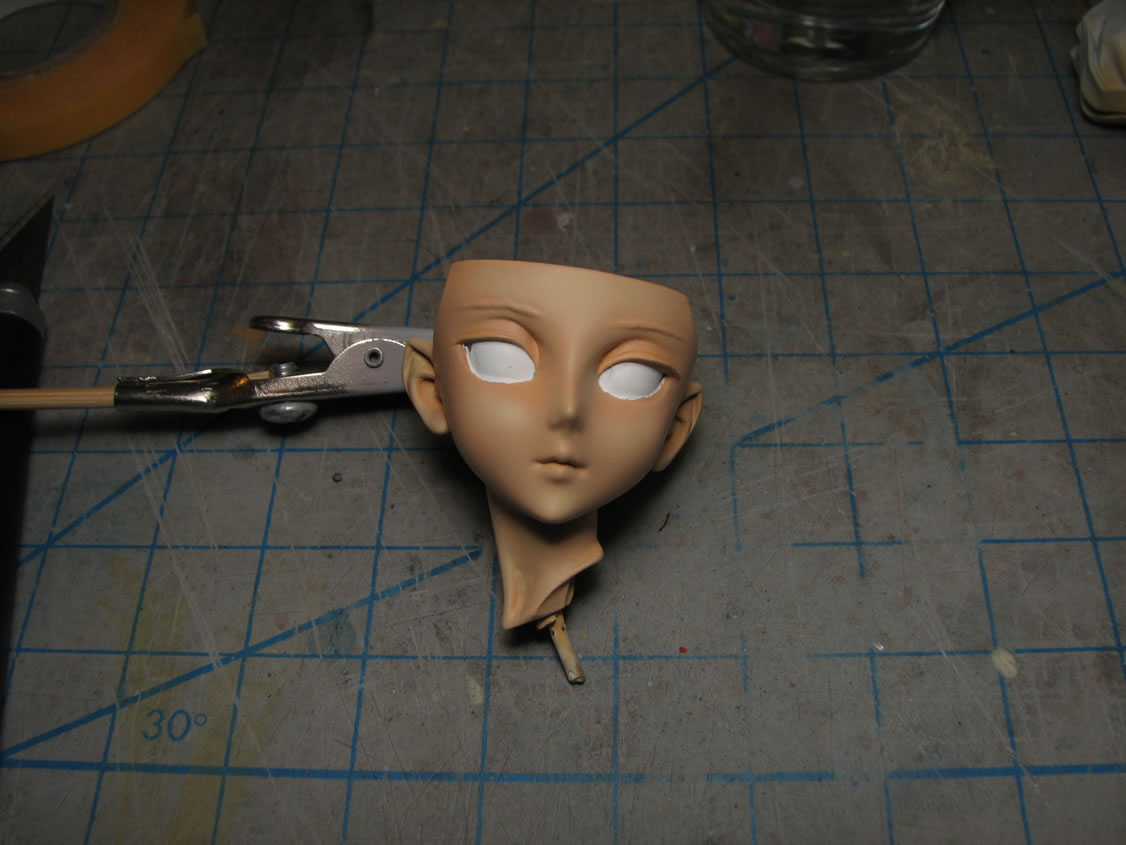
The surface problems on the head piece were cut open, filled, sanded, and primed. Problems gone.

The main head piece's neck seam is removed. The fingers were sanded to remove the excess putty and reprimed. There is still some work needed to clean up the fingers.
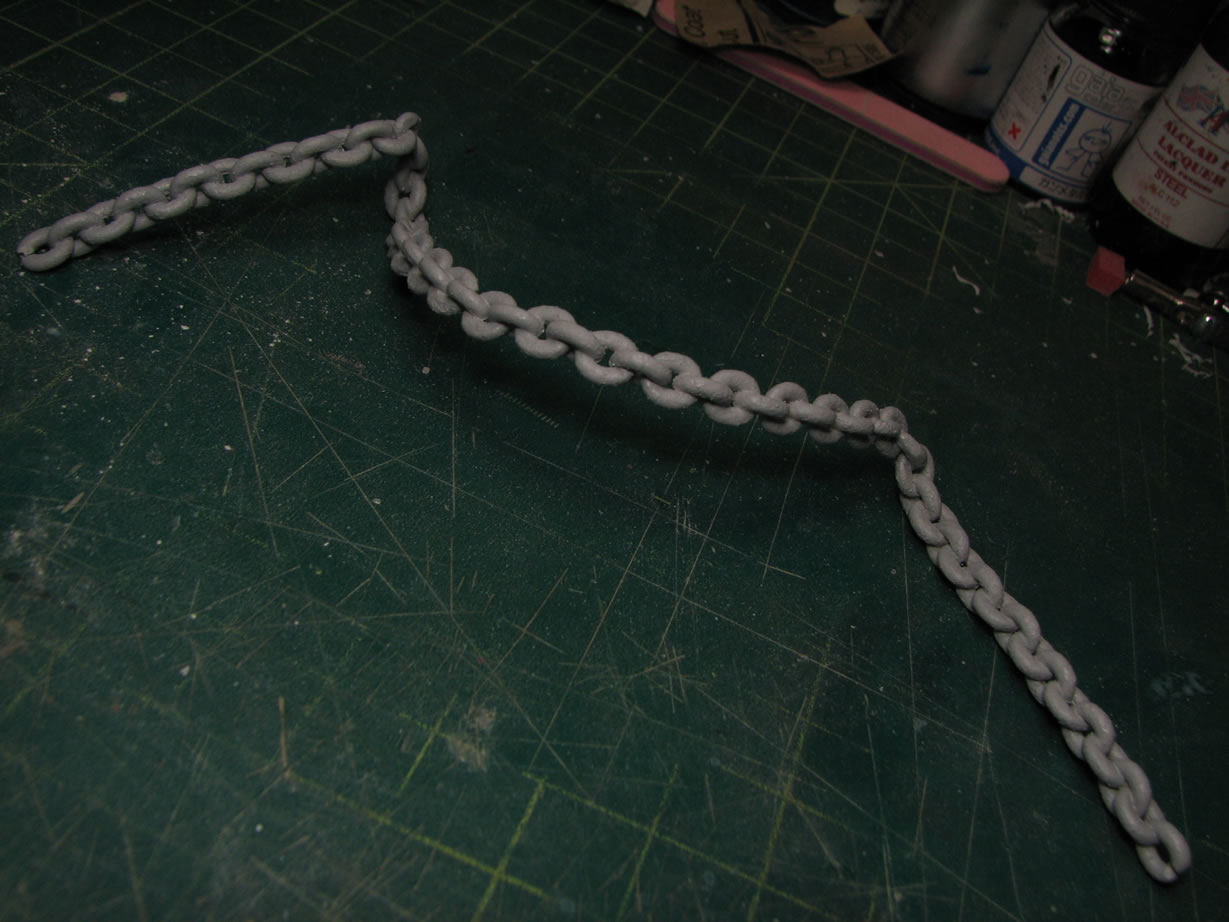
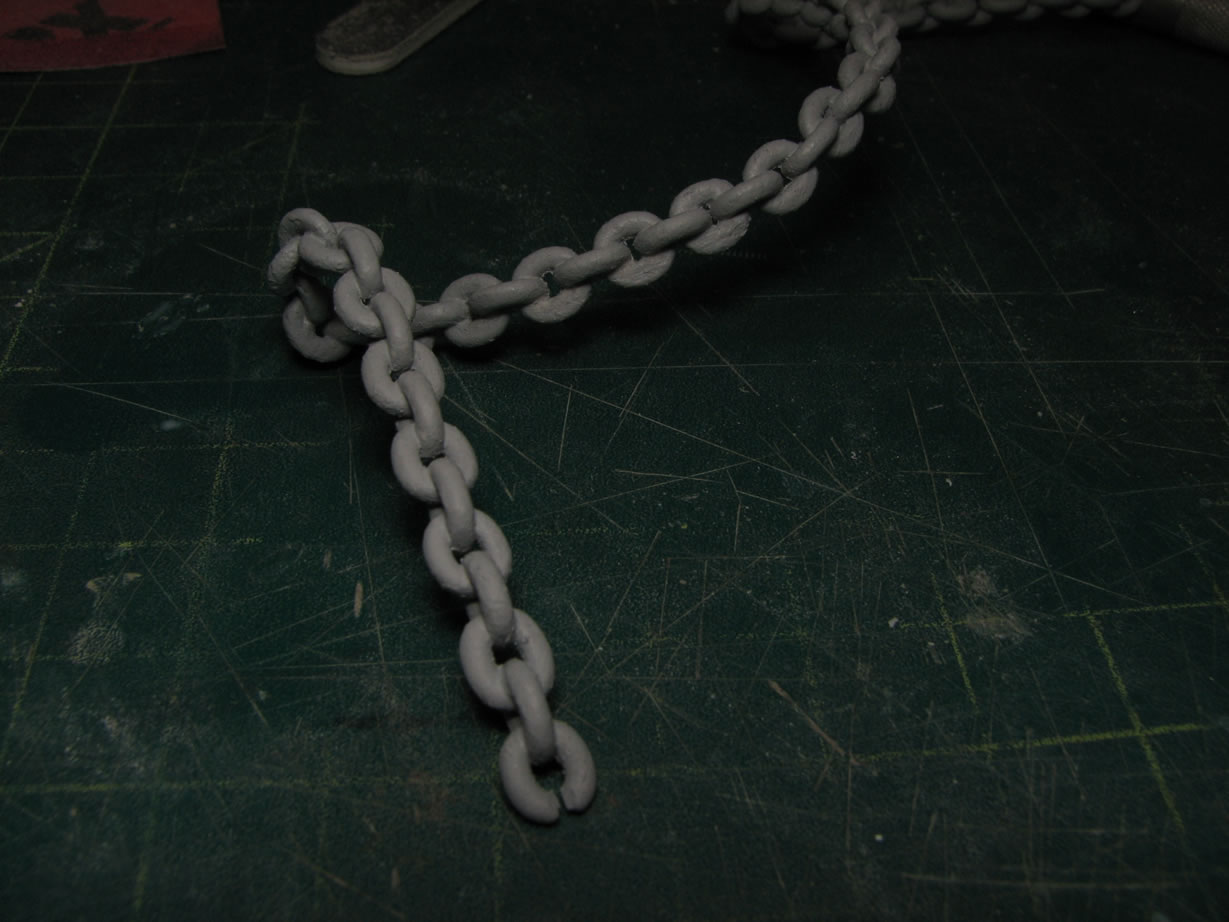
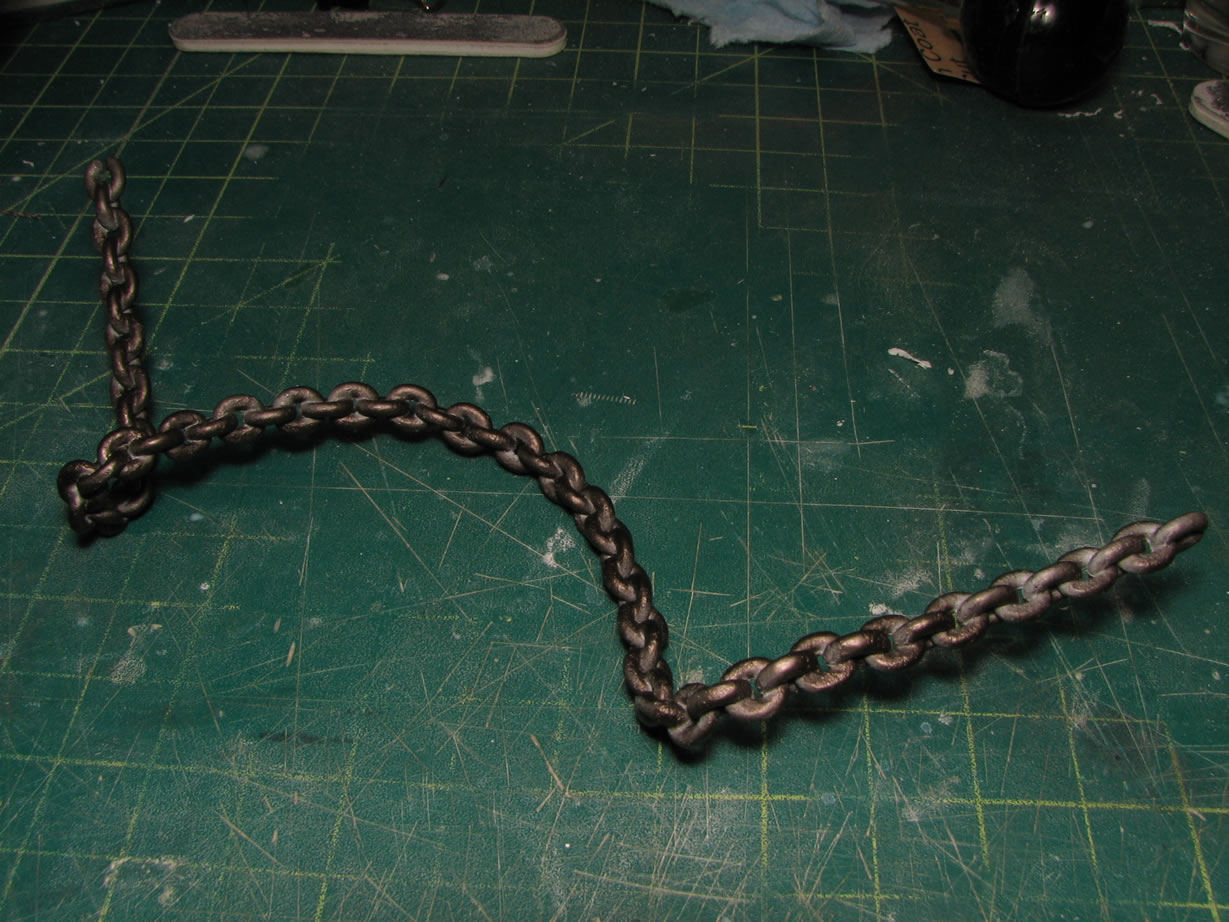
Work on the chain piece. With the three chain pieces glued together, the joint areas were puttied, sanded, and primed. There is a ton of work to clean up the chain. I'm not planning on putting too much effort into cleaning up the chain to be as smooth as the figure kit itself since I'm going to be applying a cast iron effect to the chain to make it look a little rough and more heavy duty. But from the priming session, a great deal of work is necessary to remove excessive burrs and surface defects.
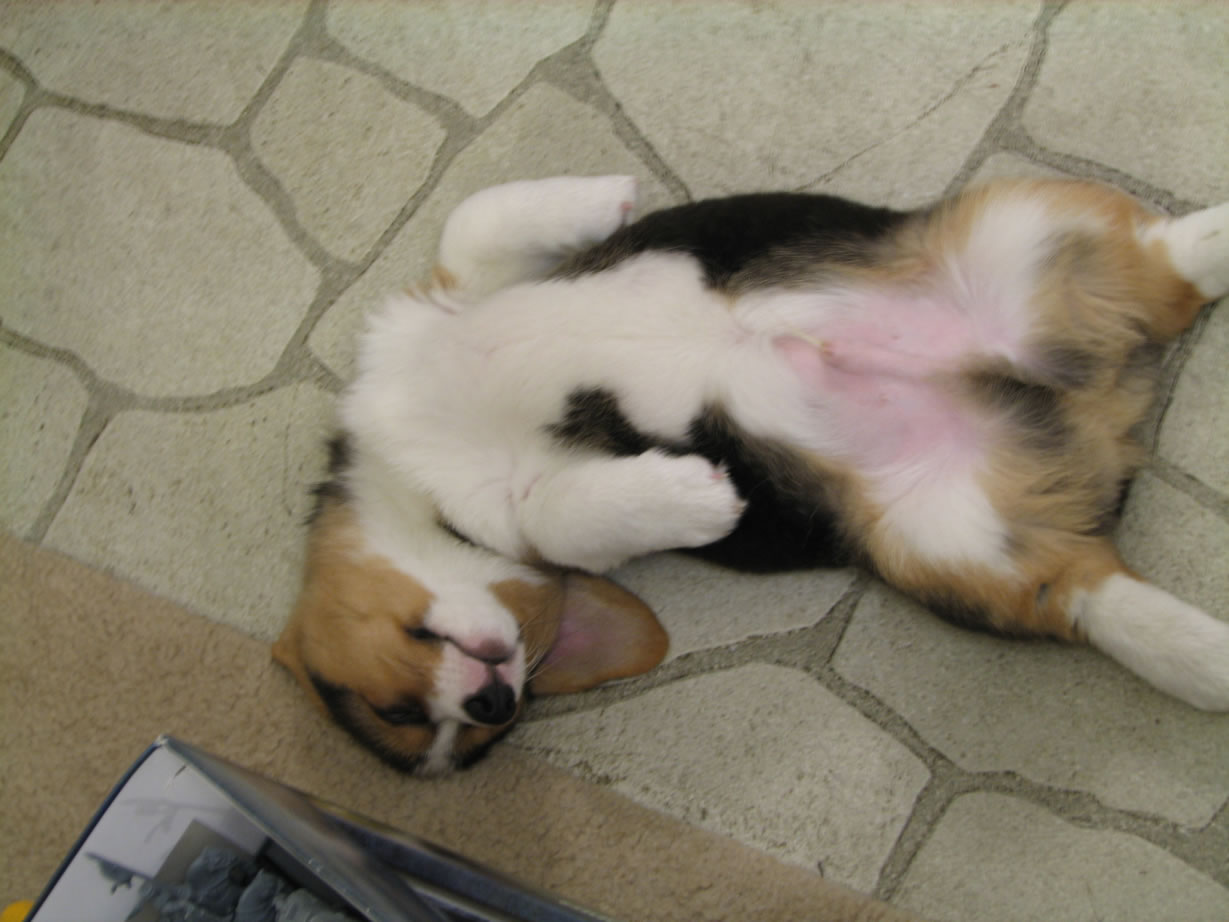
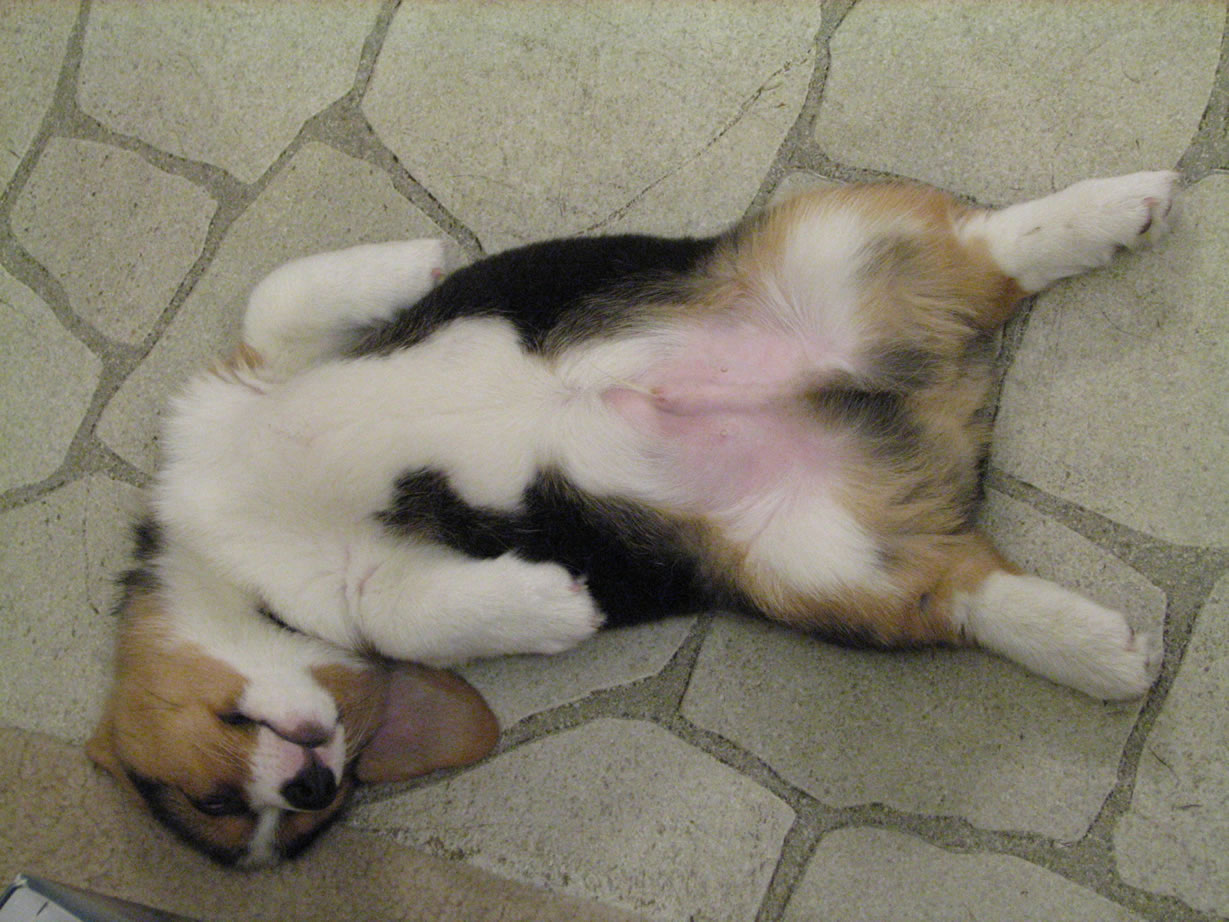
For good measure, Duke was around while I worked, but passed.
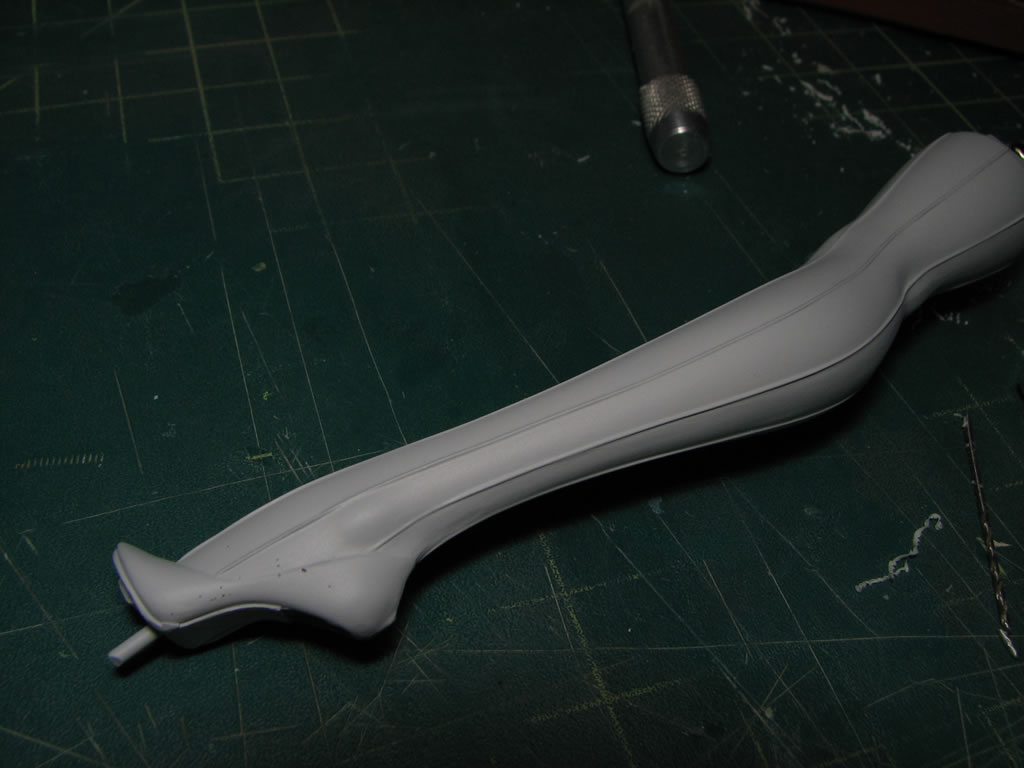
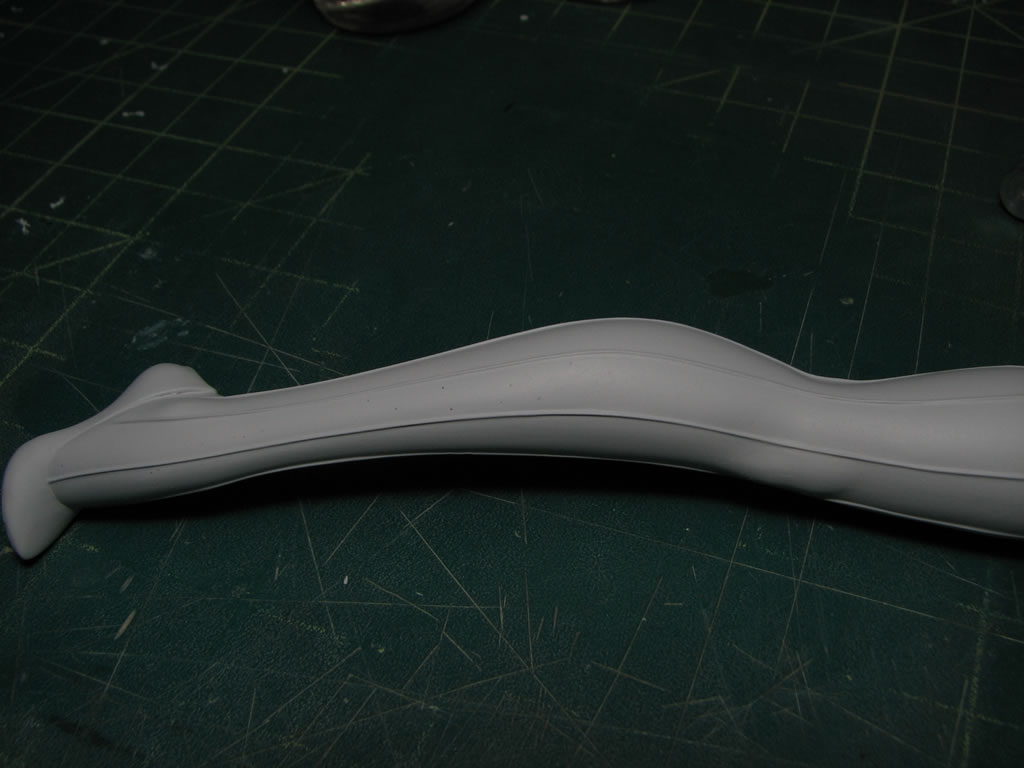
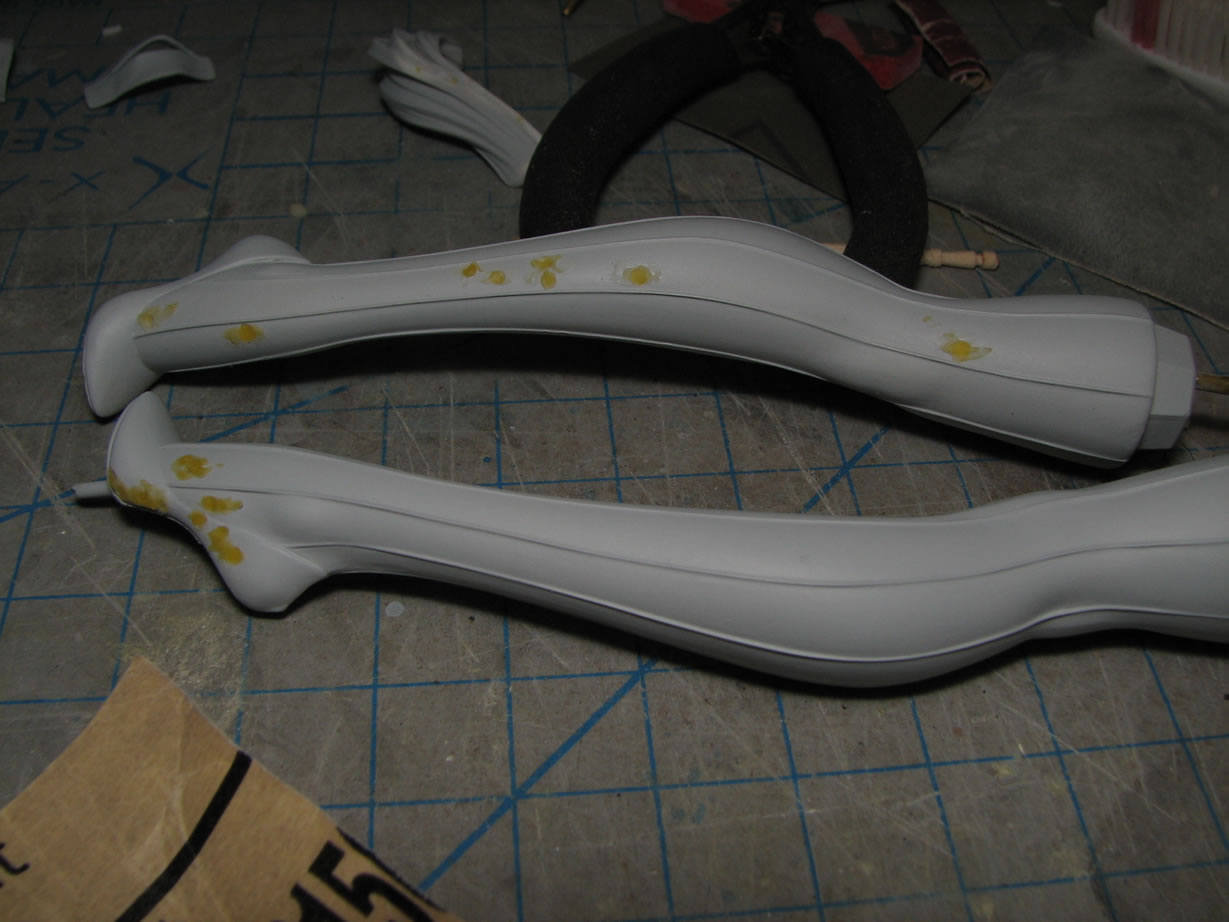
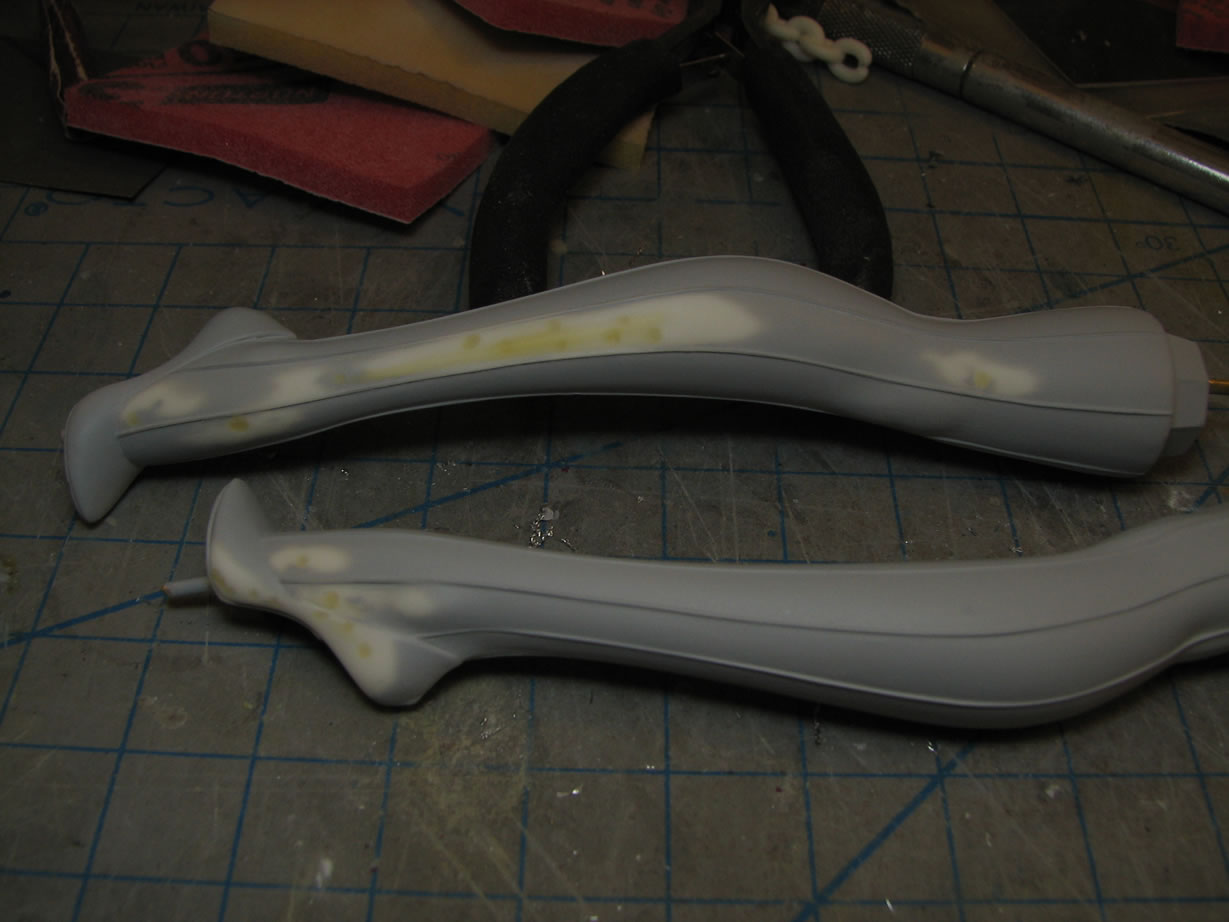
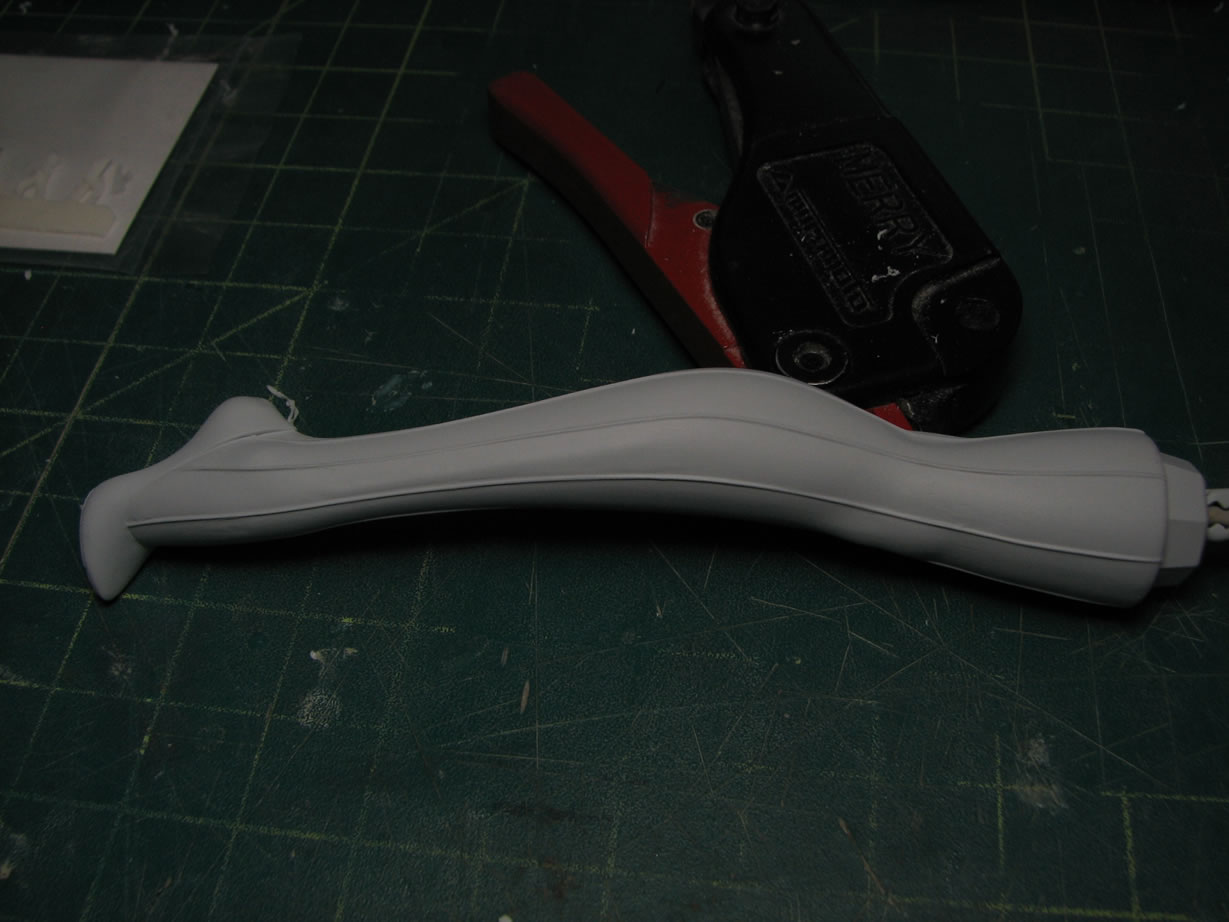
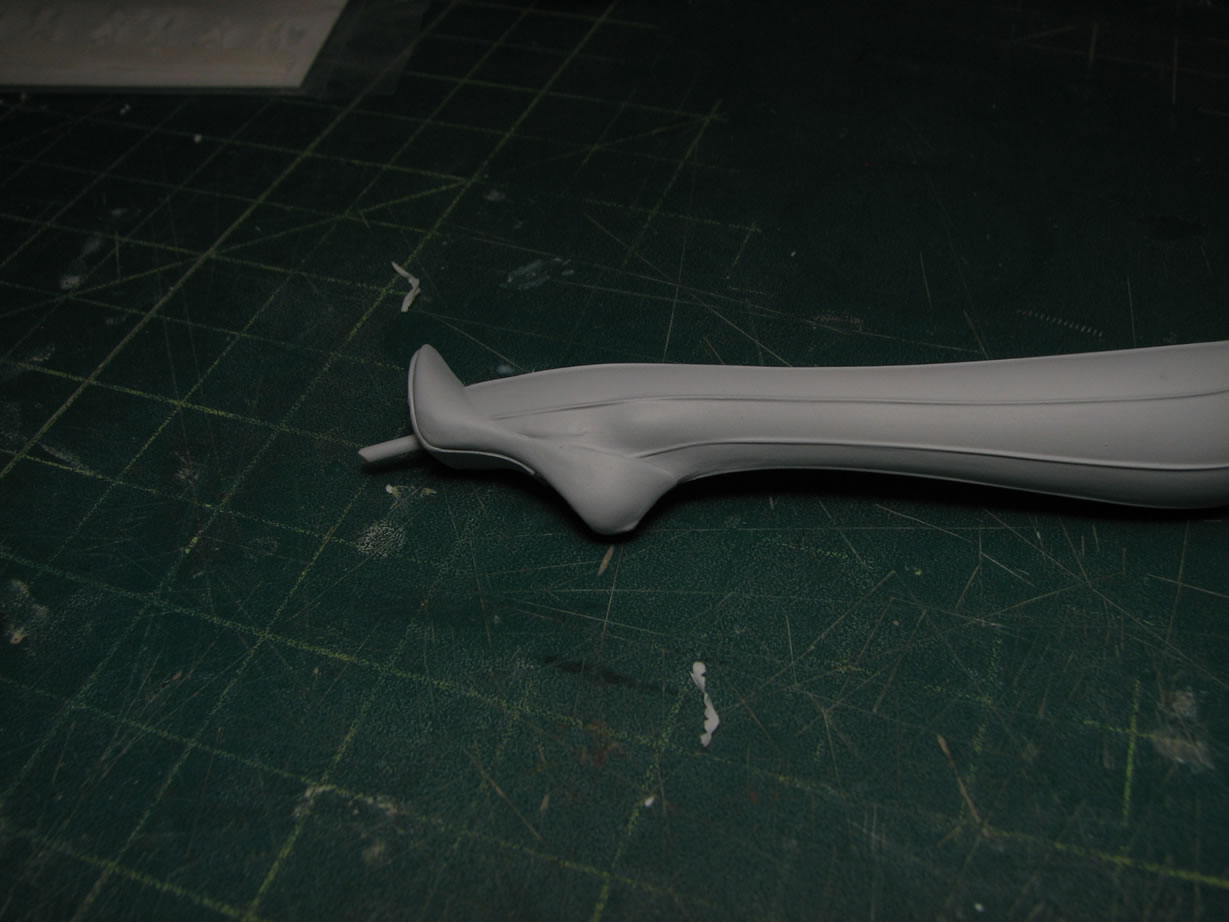
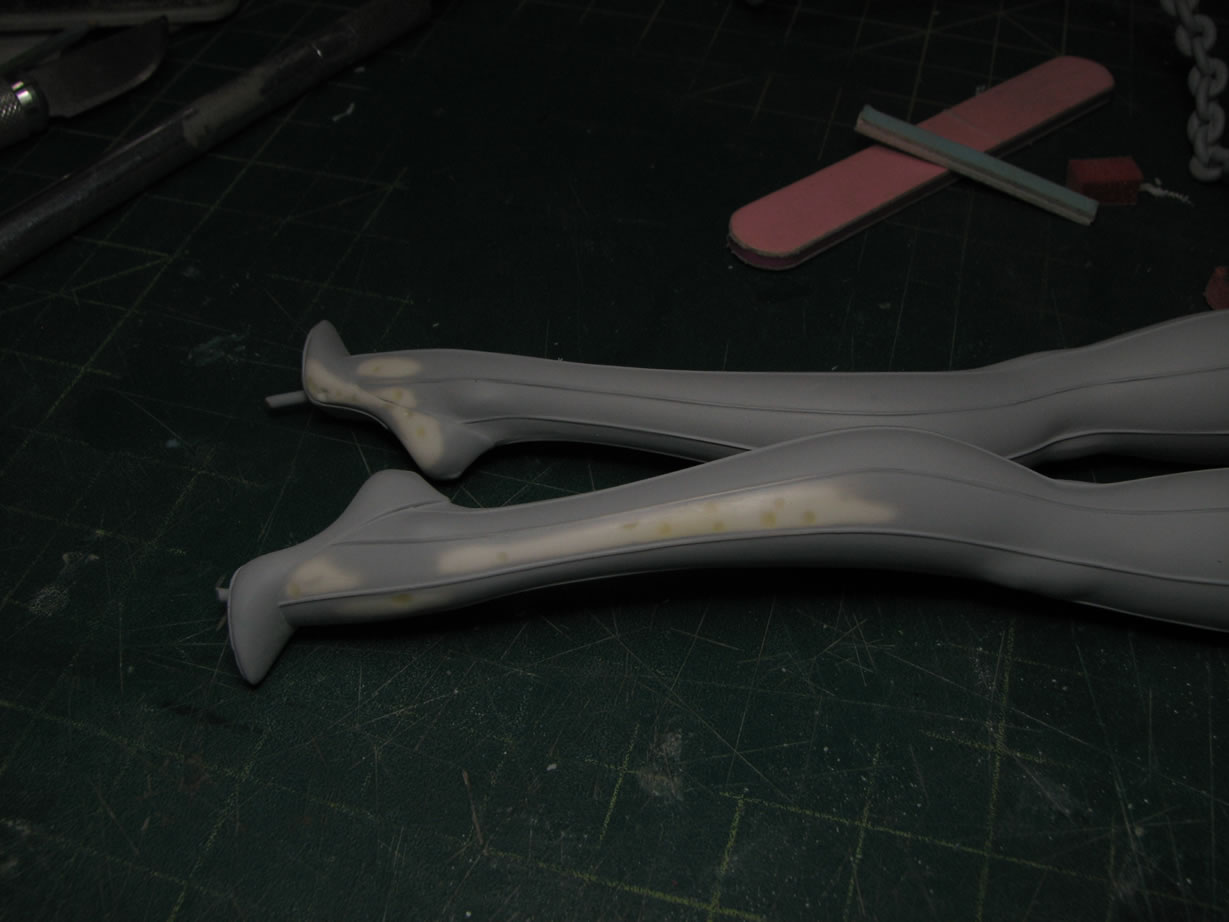
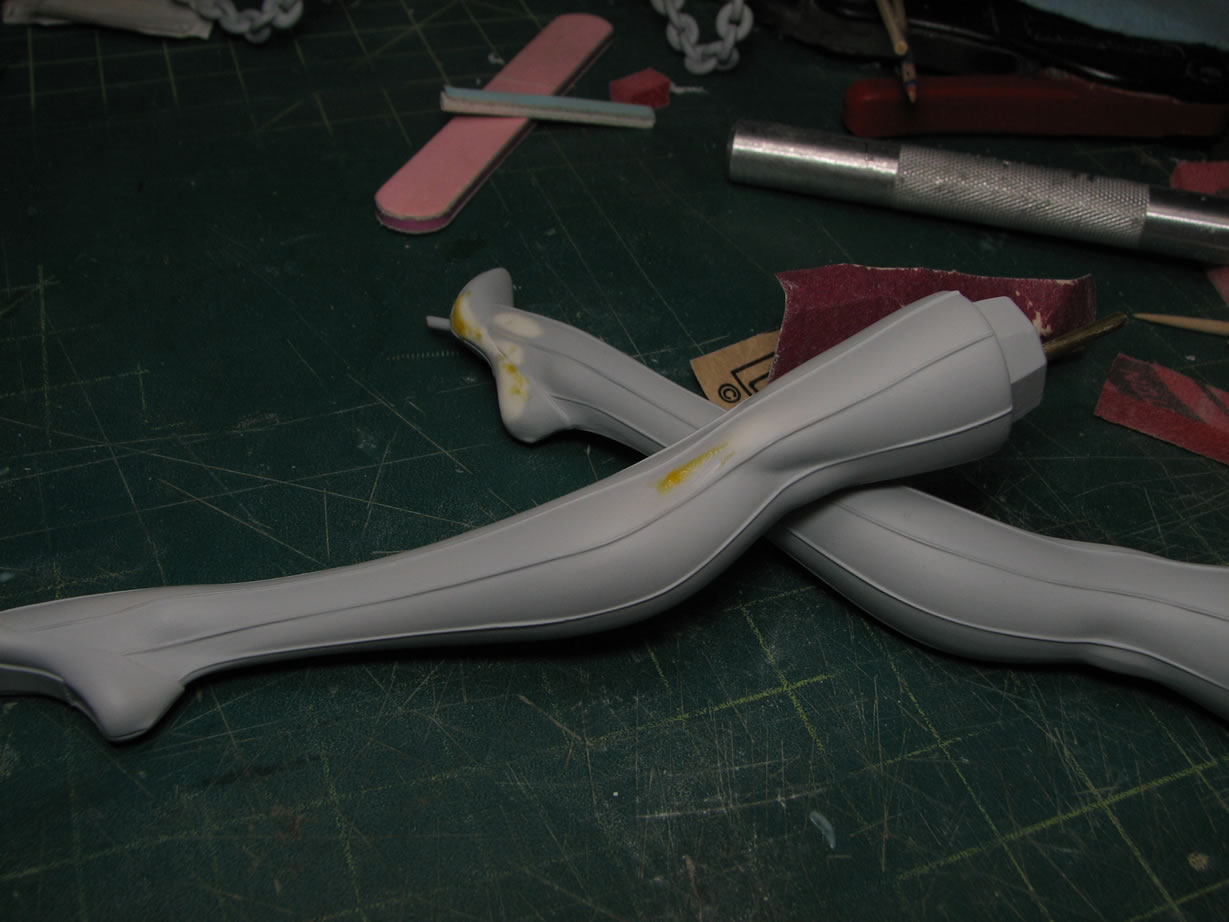
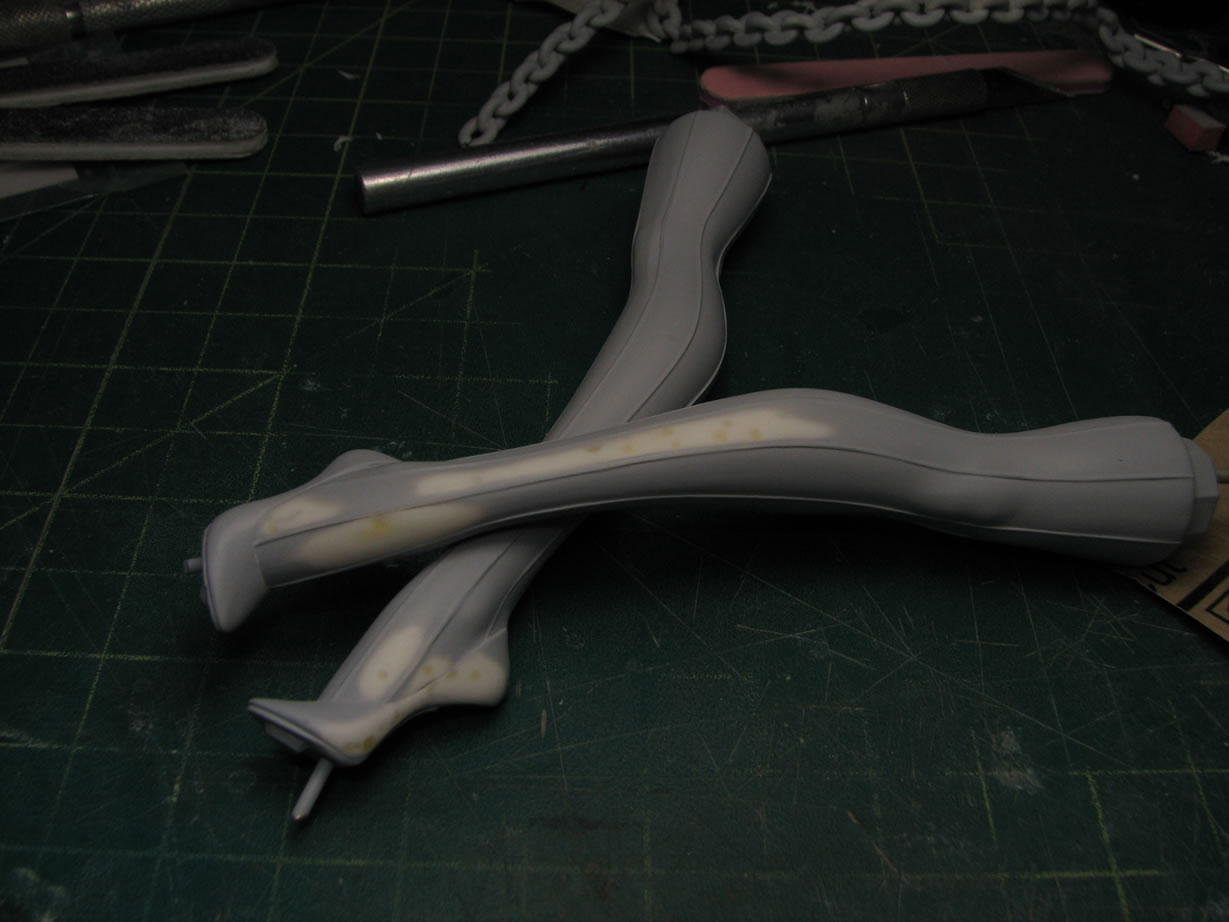
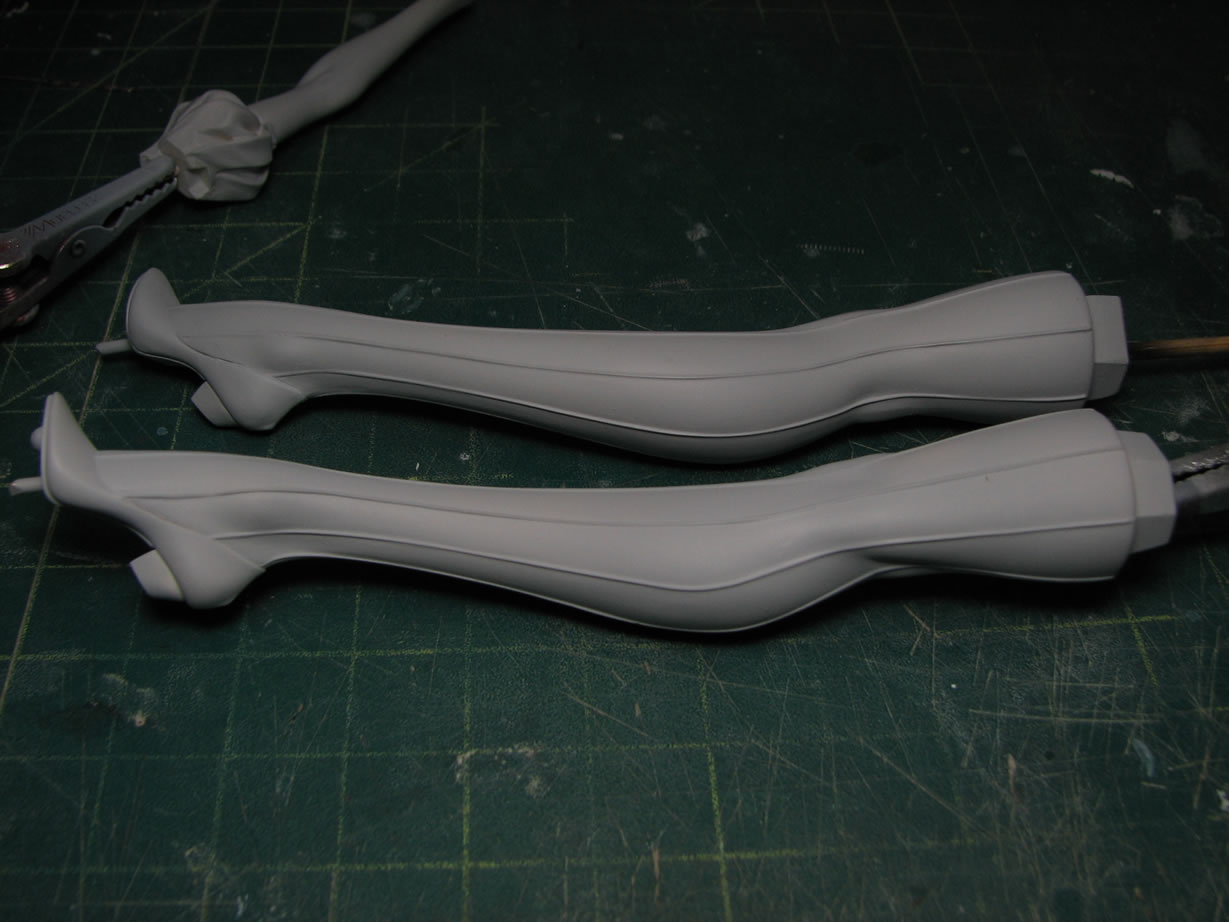
August 5, 2009; mid week update. Slow progress as other things are getting in the way of building. But back to the legs, the rough spots were sanded, and a few areas of putty needed some more atention. Those have been taken care of and the parts are ready for another priming session.

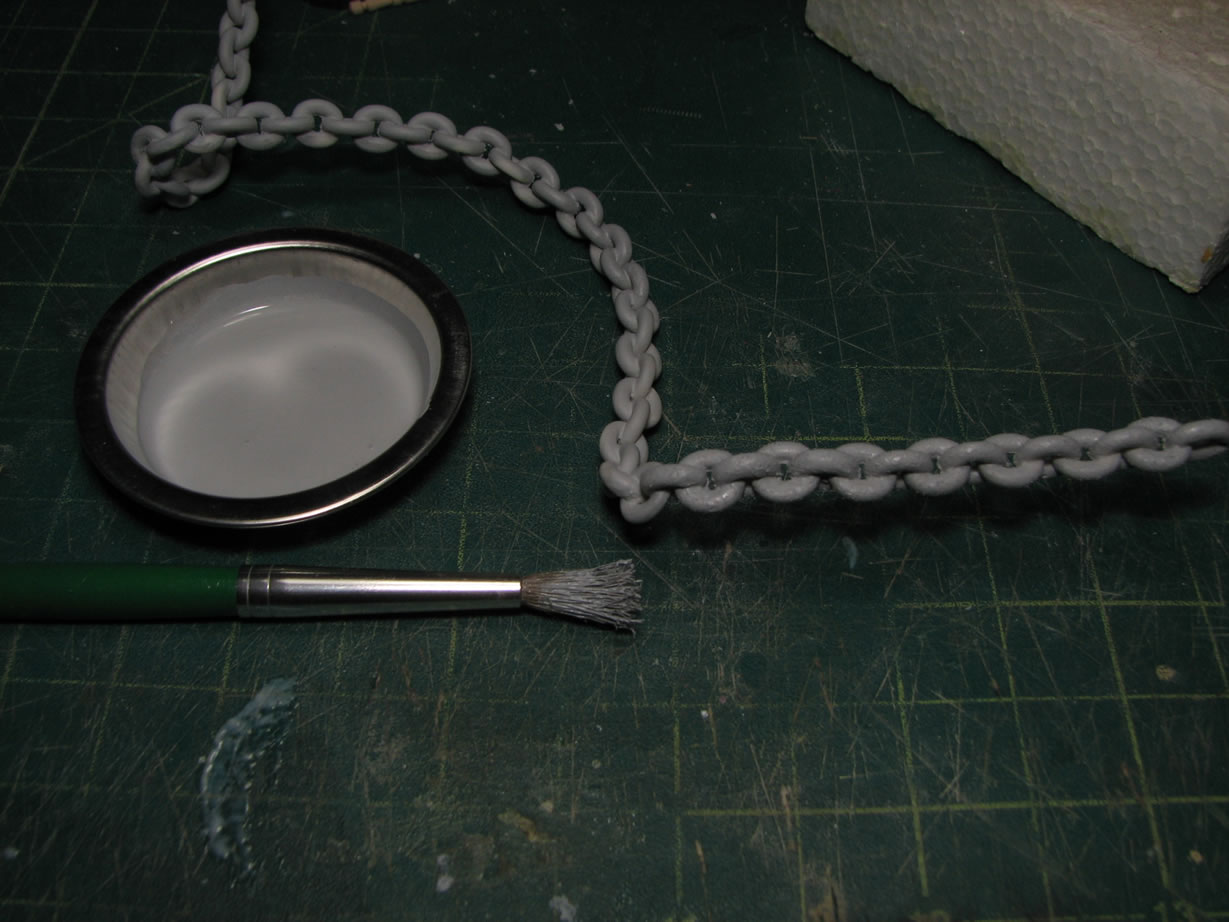
Next up is the work on the chain. The chain had tons of issues with residual resin, rough spots, etc. I was planning on doing a cast iron effect on the chain to make it look a little rough and and some texture to it, so my cleaning on the chain was minimal. I did take care of the bigger rough spots. After all that, I took a rough stiff brush and applied some Mr Surfacer 500 in a stipling action to create the cast iron texture.
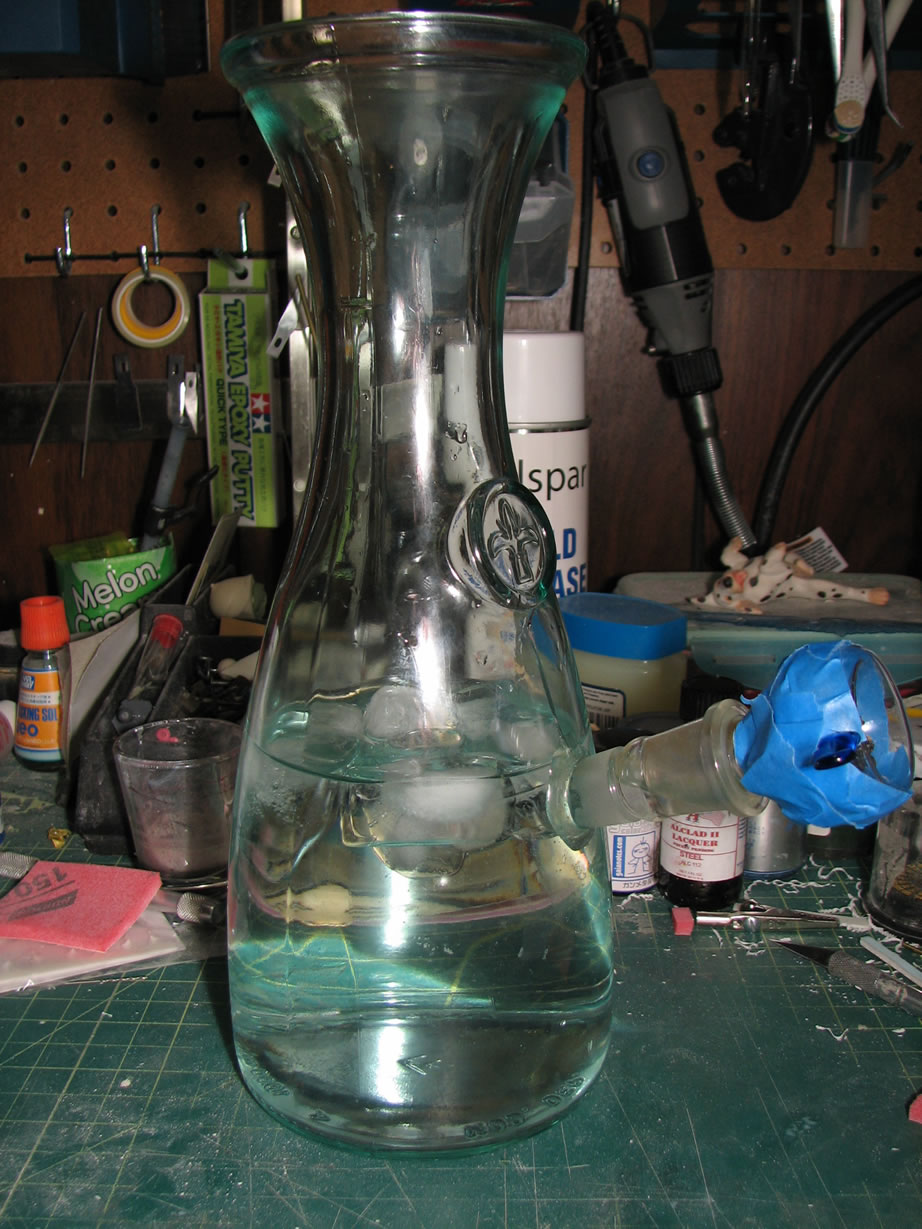
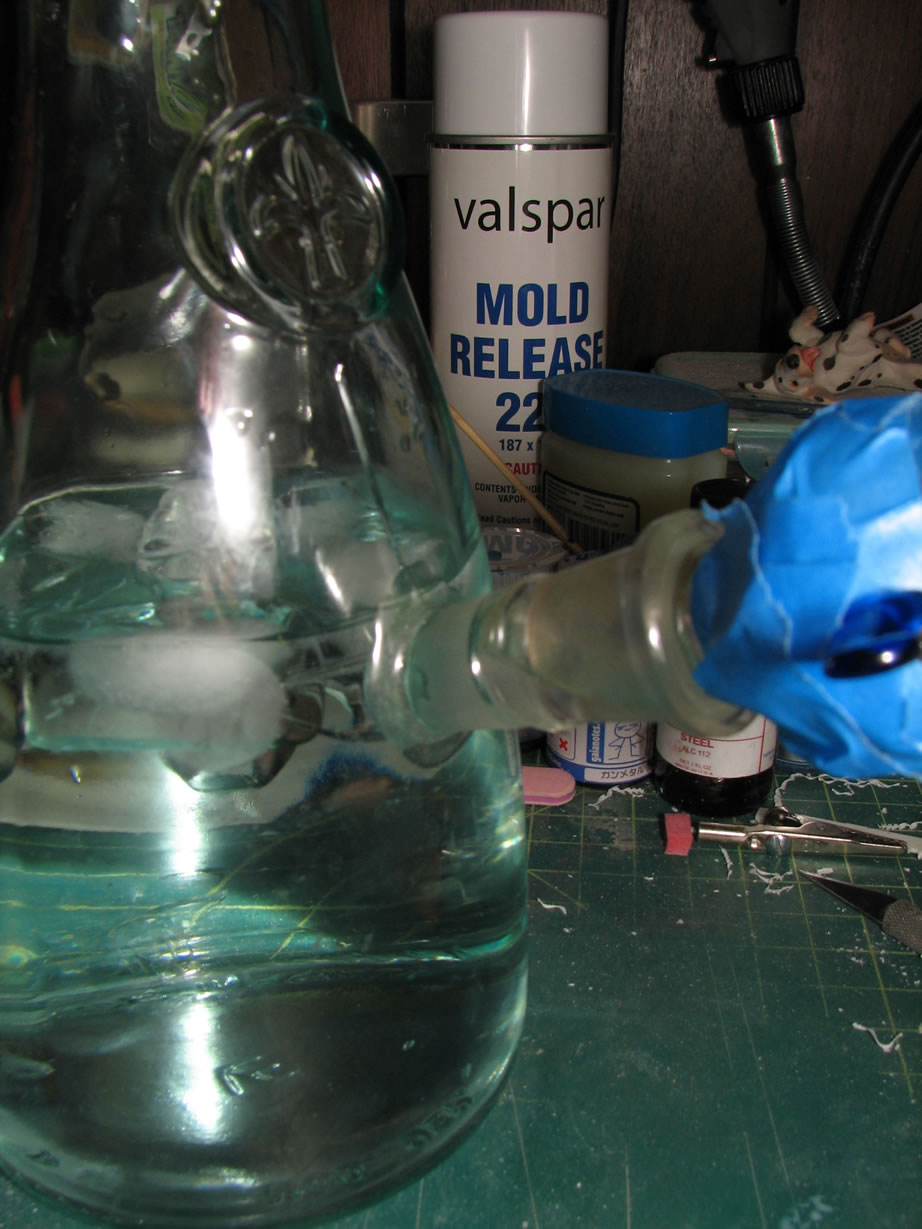
In the middle of all this, I helped a friend build a home made bong. Fun times.
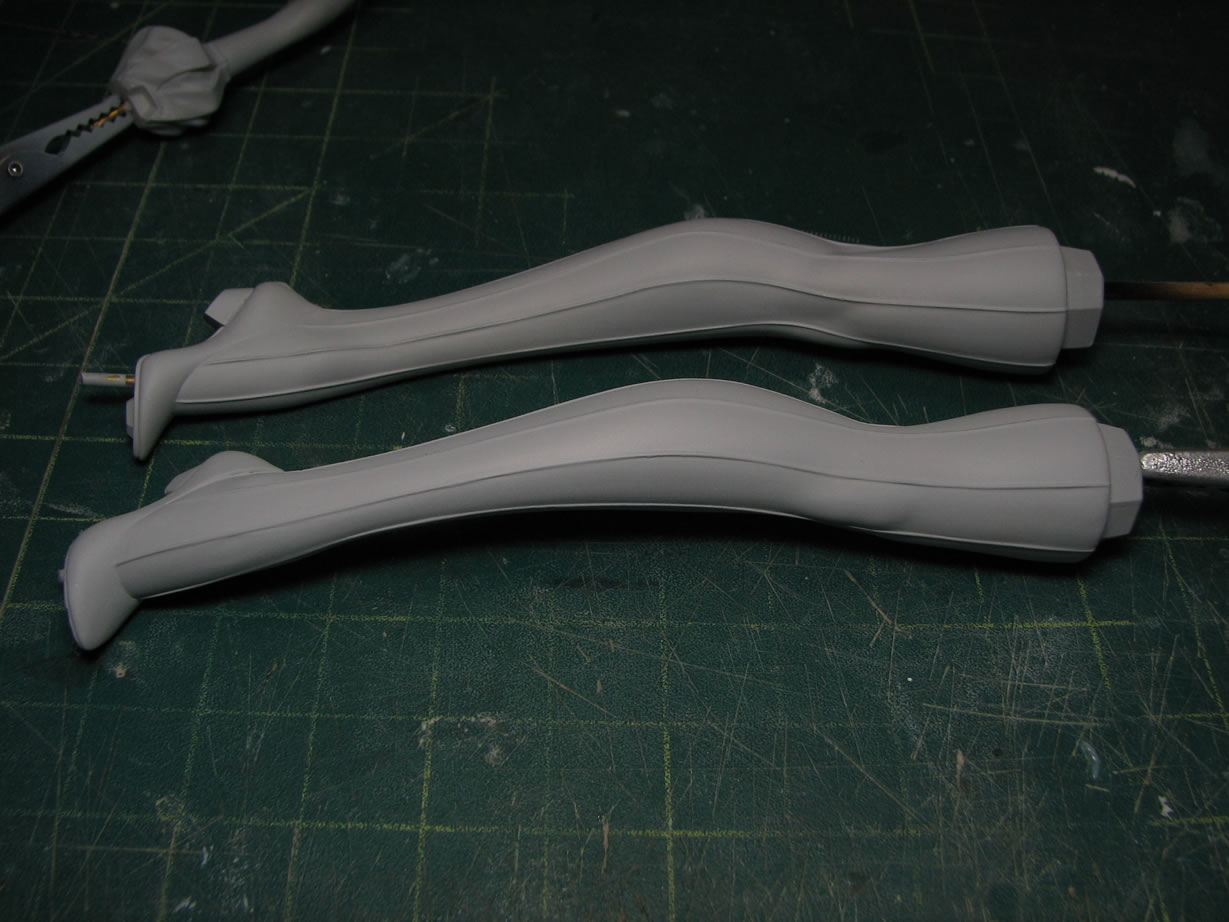
August 10, 2009: I got a little work in for velvet tonight. The legs and fingers were reprimed to check for surface issues, most surface issues are now gone.
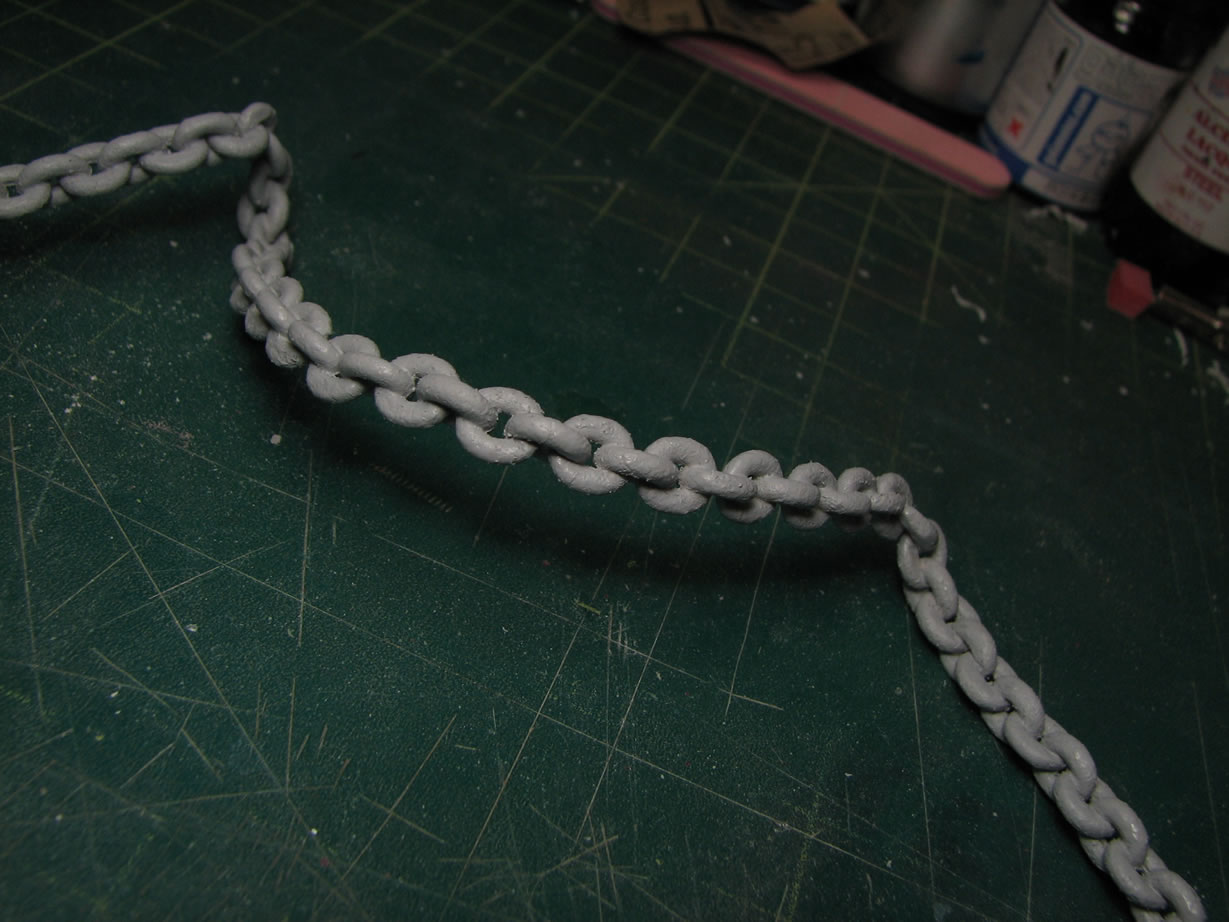
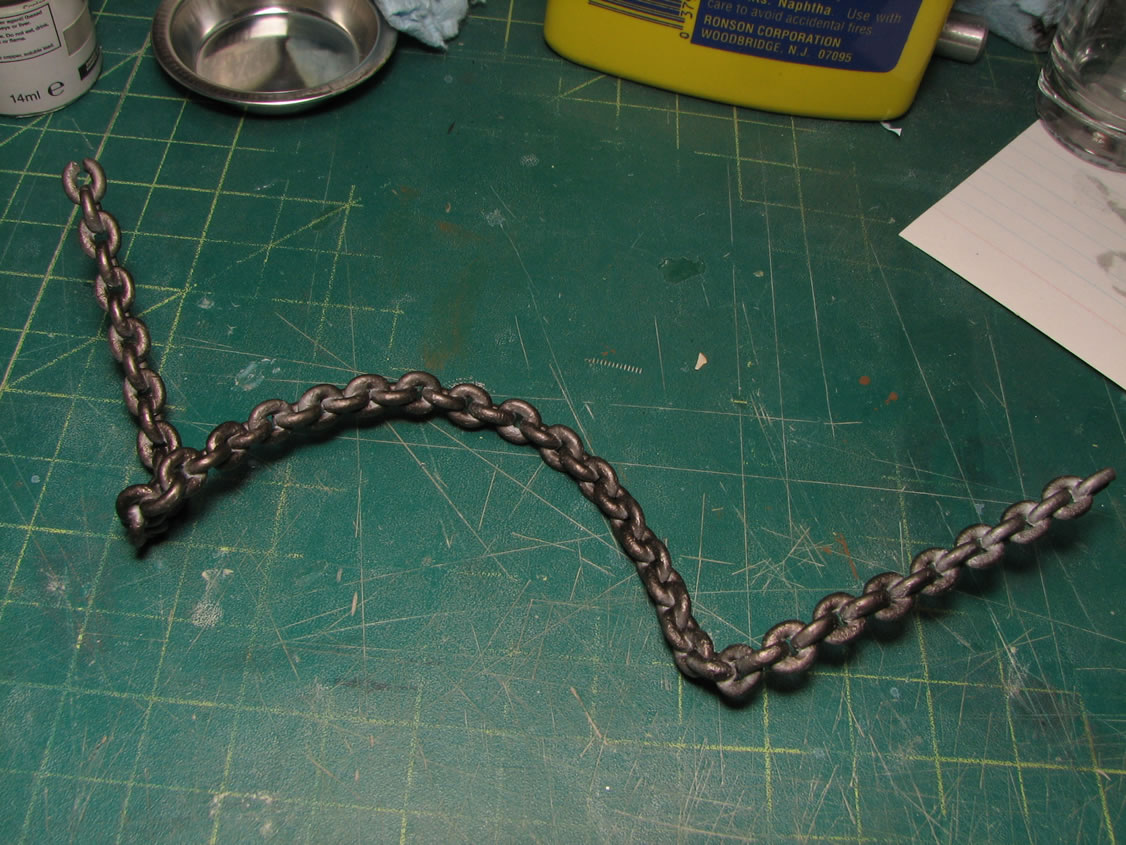
Last we left, the chain was rough with the cast iron stippling effect. Using a 150 grit sanding pad, a quick scrub cleaned up the rough spots while leaving a bit of the texture effect on the chain. The first picture has part of the chain sanded with the rest of it still rough for a comparison. Next I sprayed alclad jet exhaust as the main color for the chain. There is still another step for the chain before it is complete.
The primed pieces from a week ago under go a quick wet sanding session with a 3200 grit sanding mesh to smooth out the primer. In the following picture you can see that the part looks dusty and rough, but after the wet sanding, the surface is nice and smooth. The wet sanded parts are now ready for base paints.

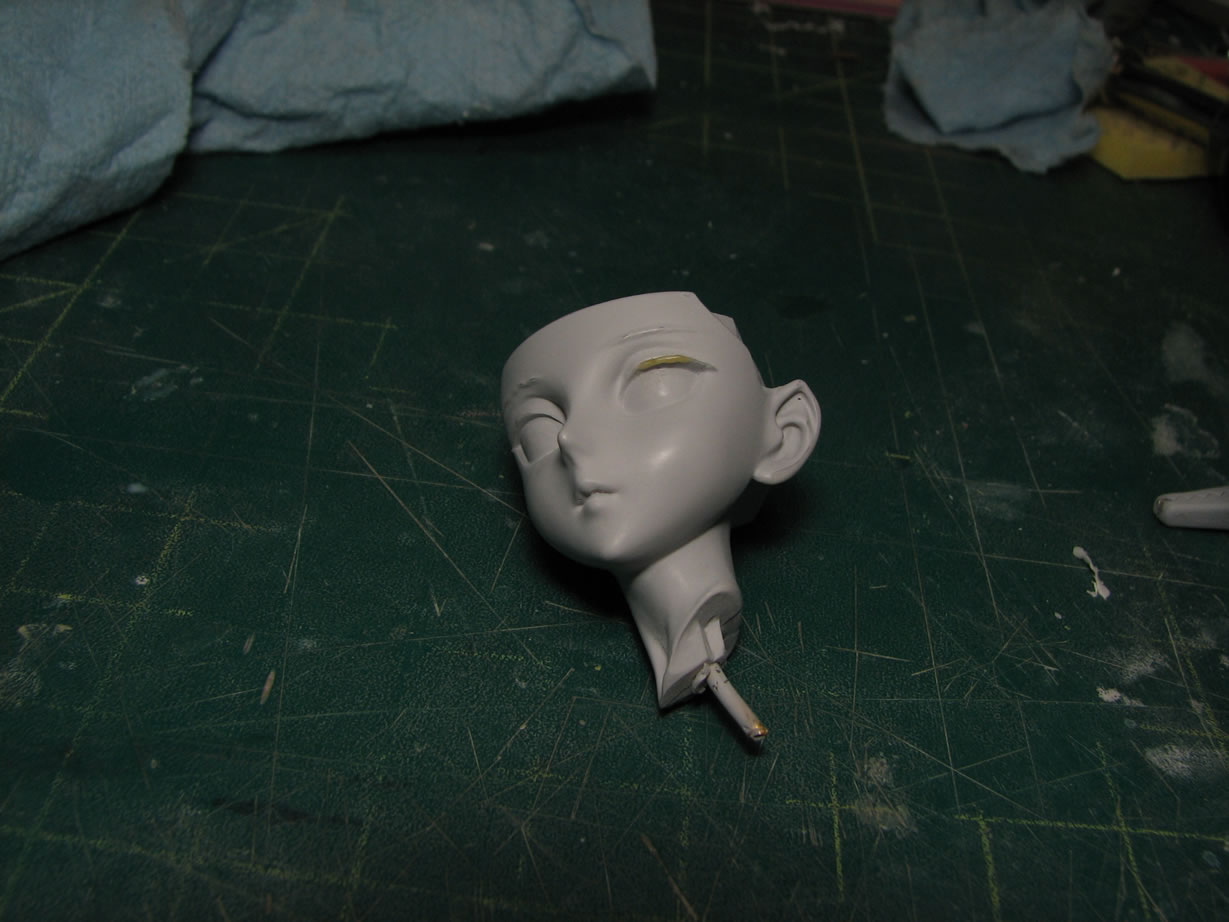
While wet sanding, I broke Velvet's left eye lash, as it is a very thin layer of resin and I was a little too rough with the wet sanding. So a call to the light curing putty for a quick fix, sanding, then priming to check the fix. All done in the span of about 10-15 minutes. Next update should have some painting.
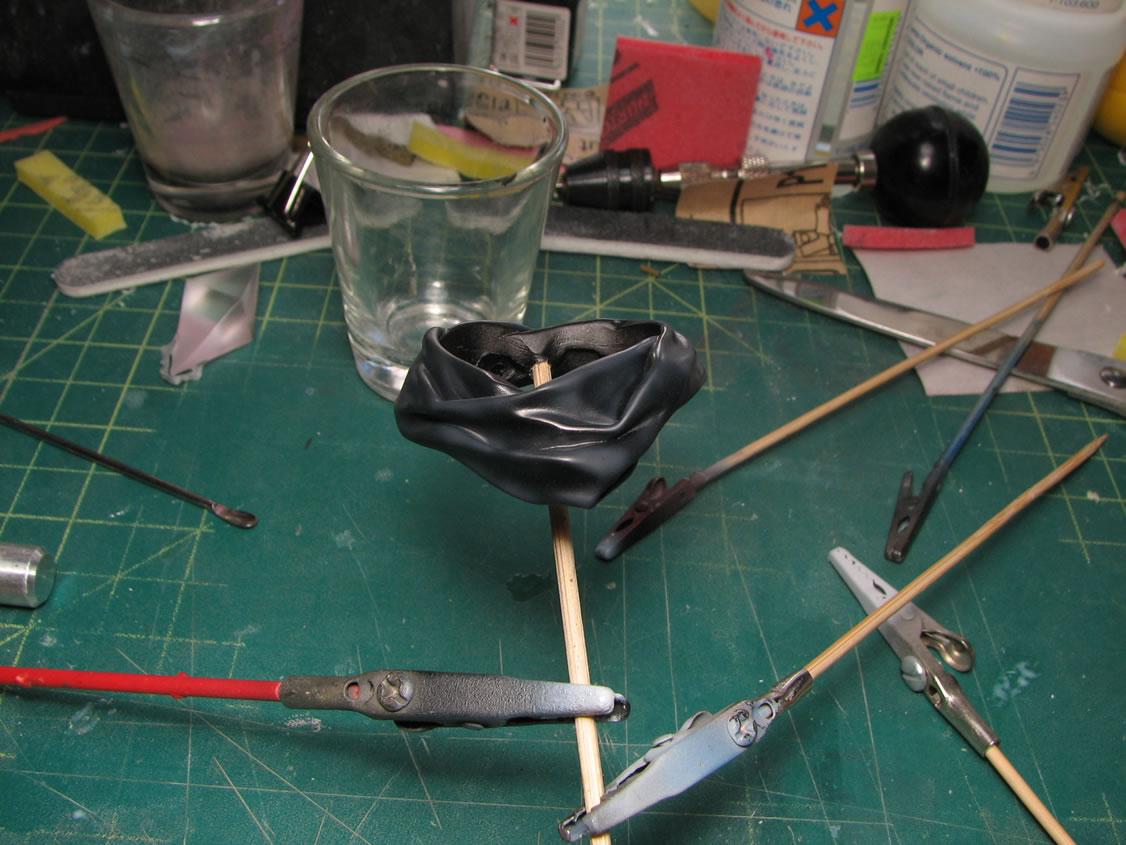
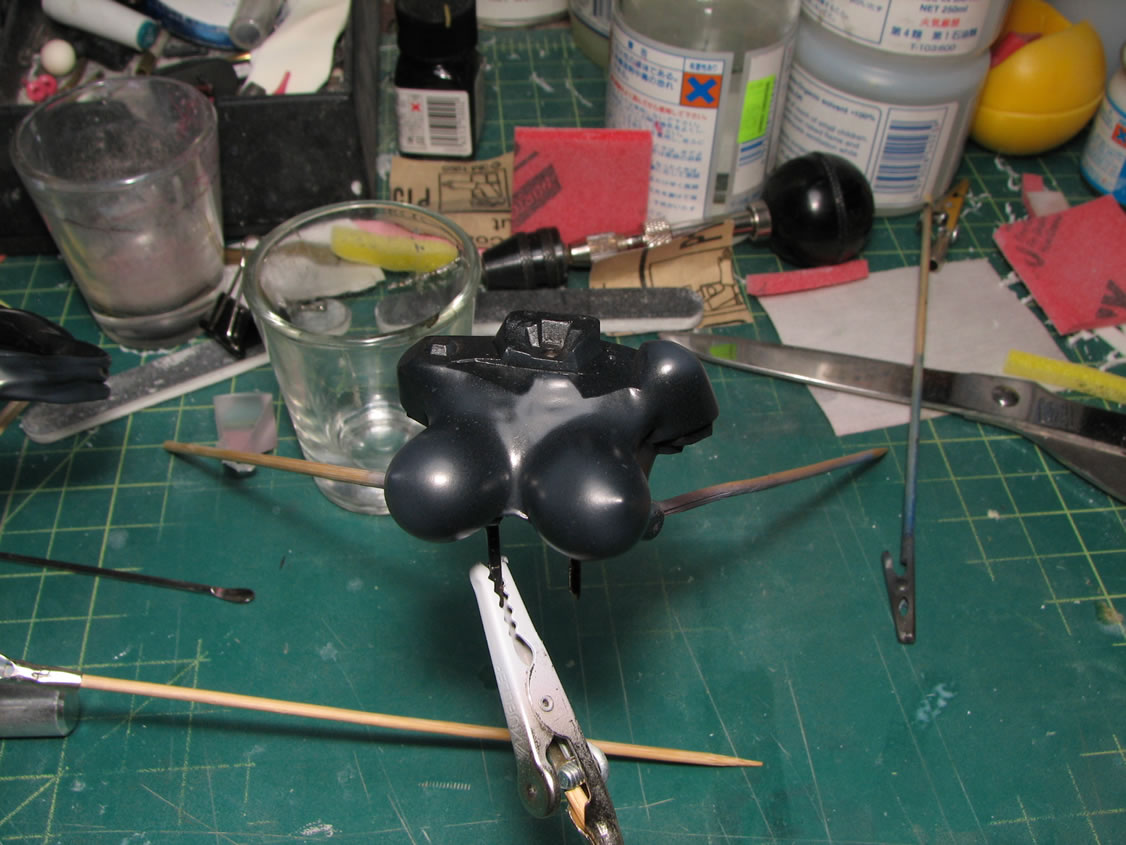
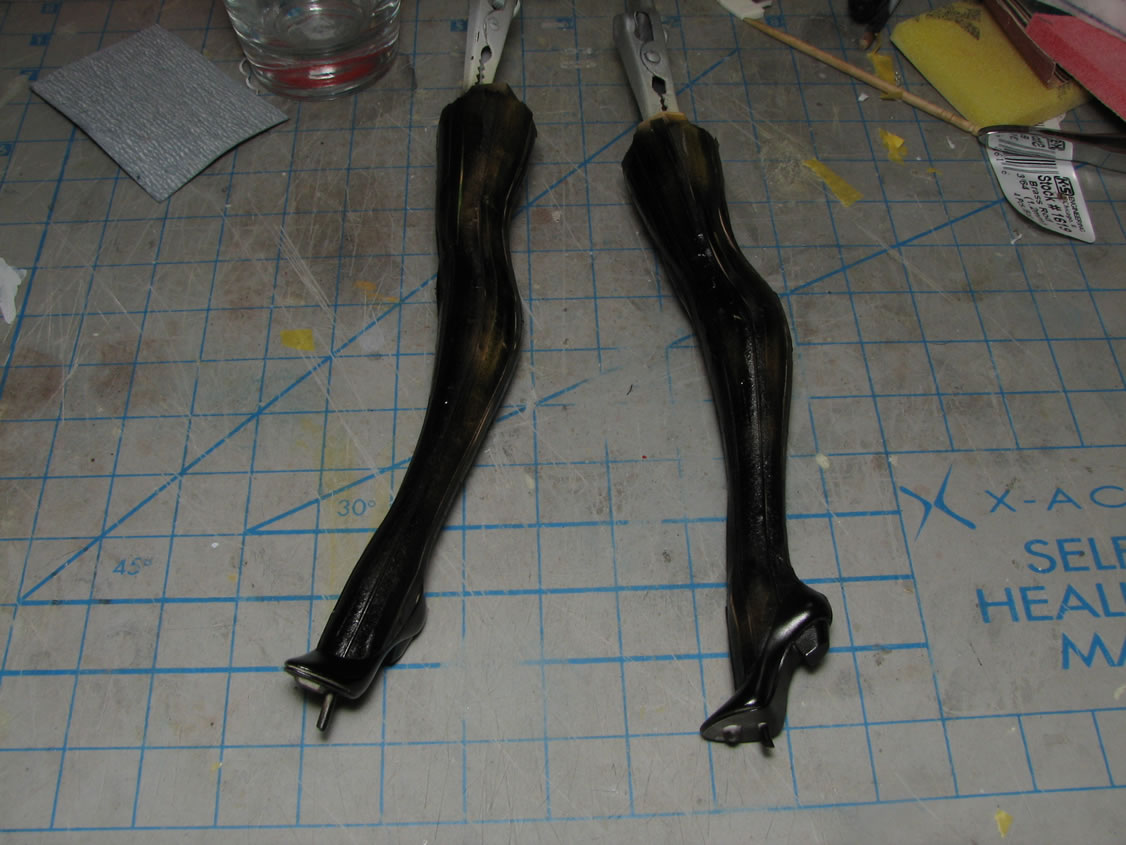
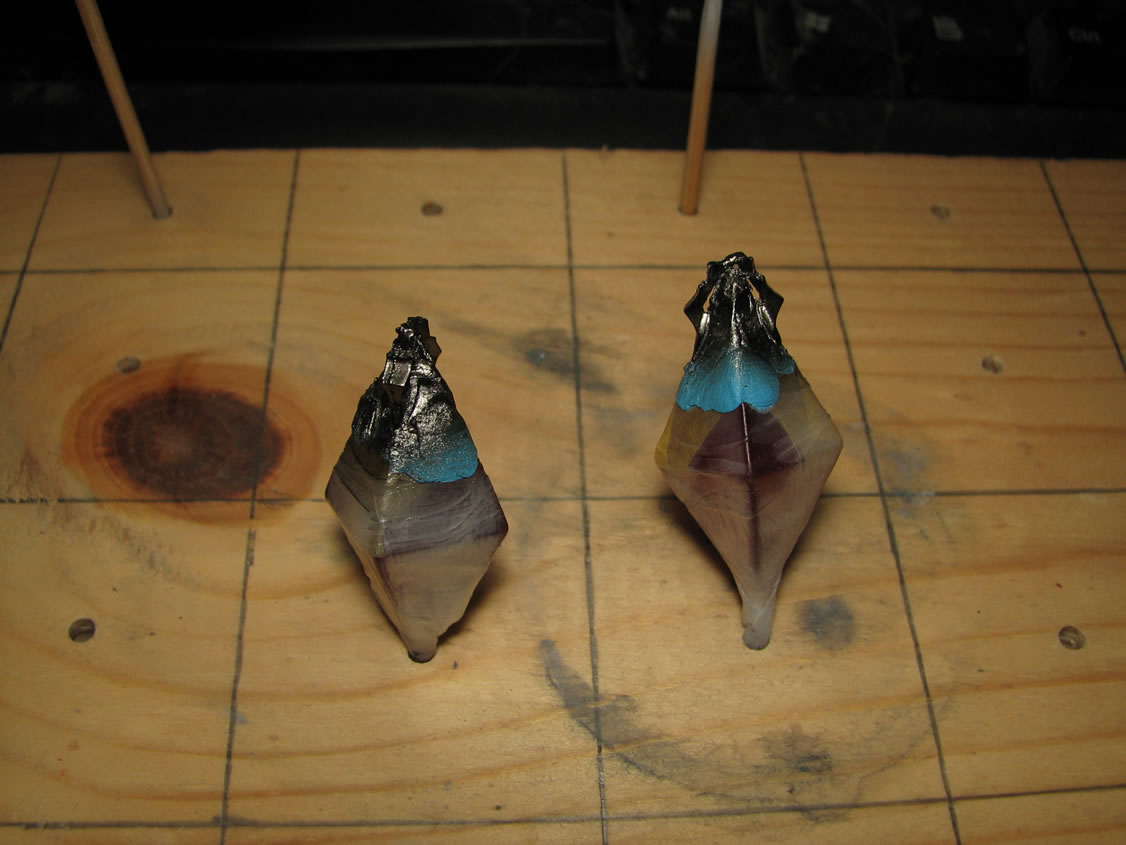
August 12, 2009: Mid week update. Painting for majority of the kit begins. It is fairly difficult to shade black, so I first base coated the black pieces with a gloss black. Then used some carbon black with a small amount of white to lighten the carbon black and preshaded the black parts with the lightened carbon black.
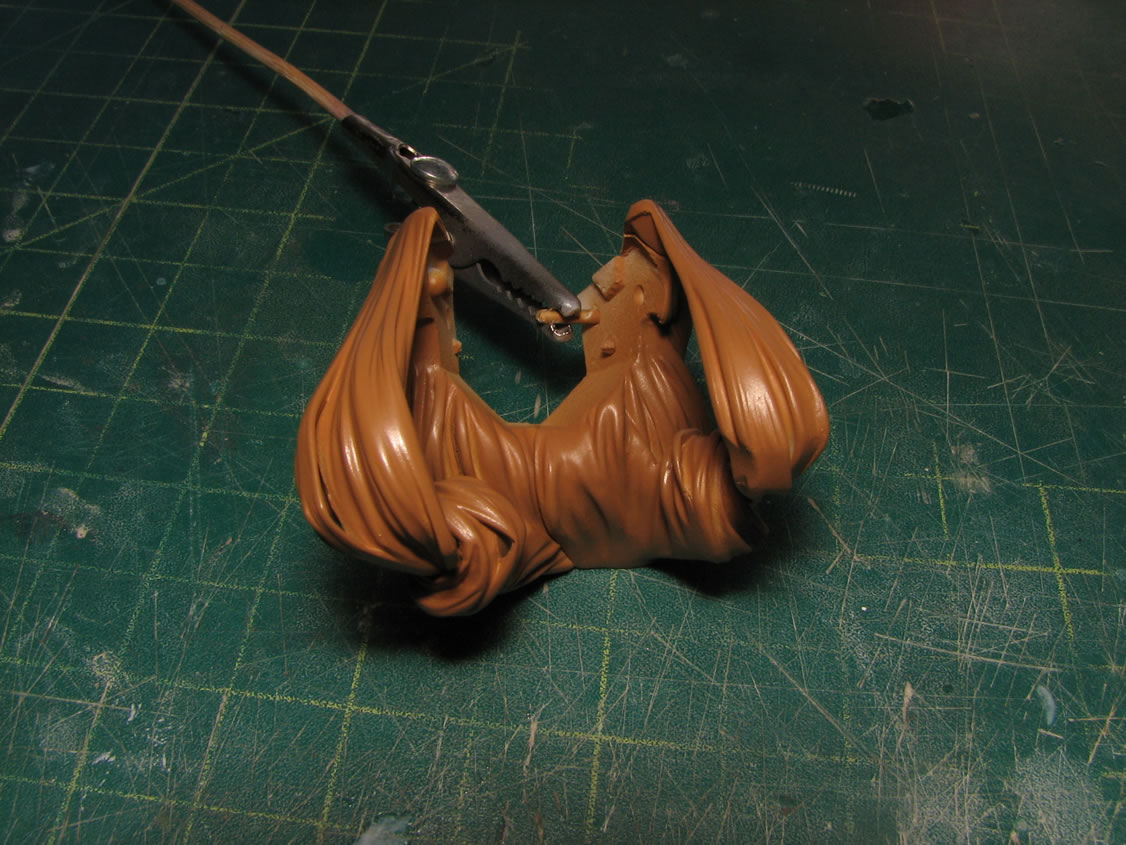
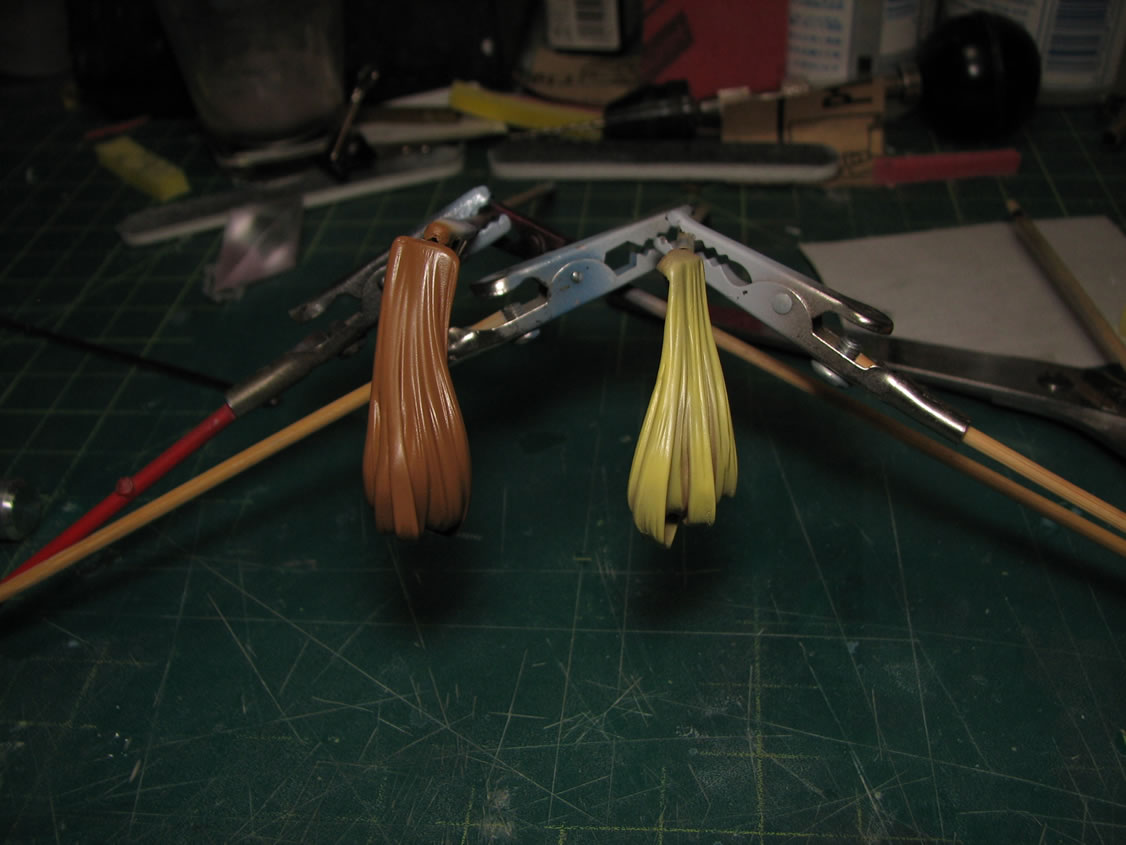
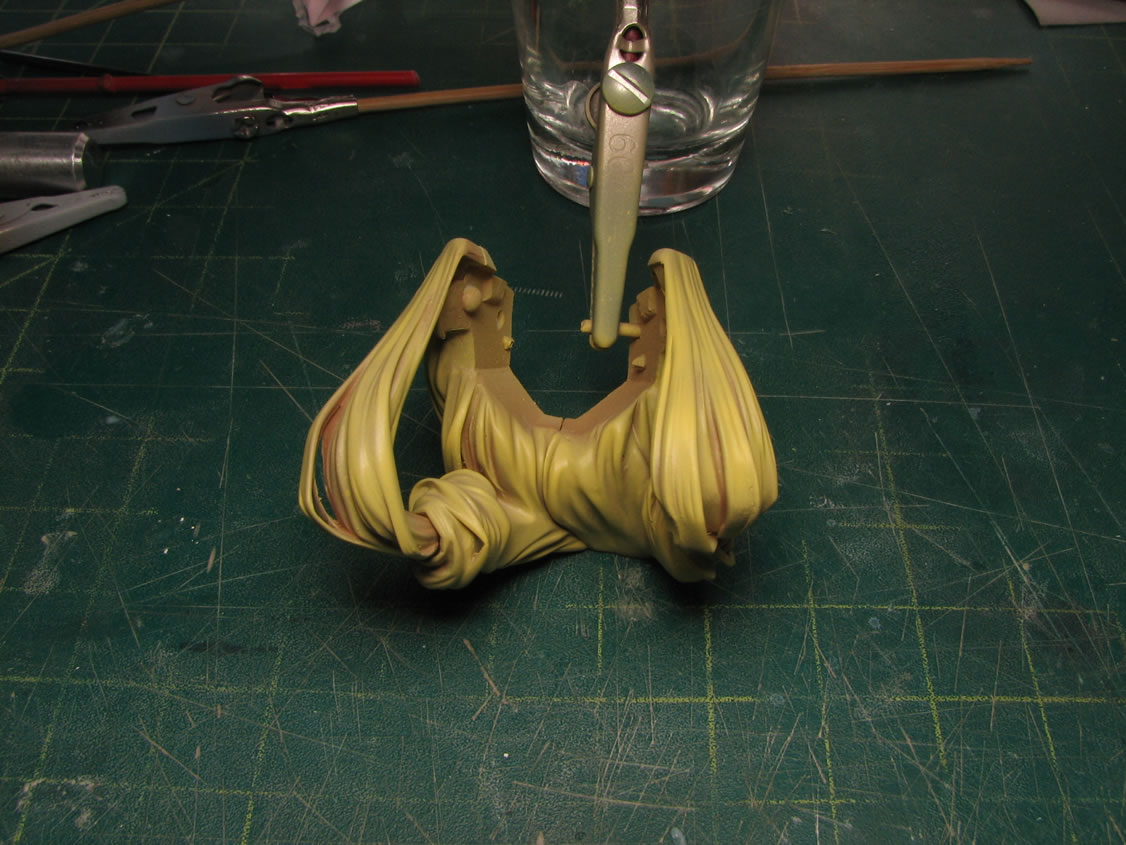
The hair pieces were first base coated with sand yellow, the preshaded with a custom mixed blond. The sand yellow helped darken the fairly light tone of the blond. Nothing else is needed for the hair pieces so I sprayed a final coat of clear flat.
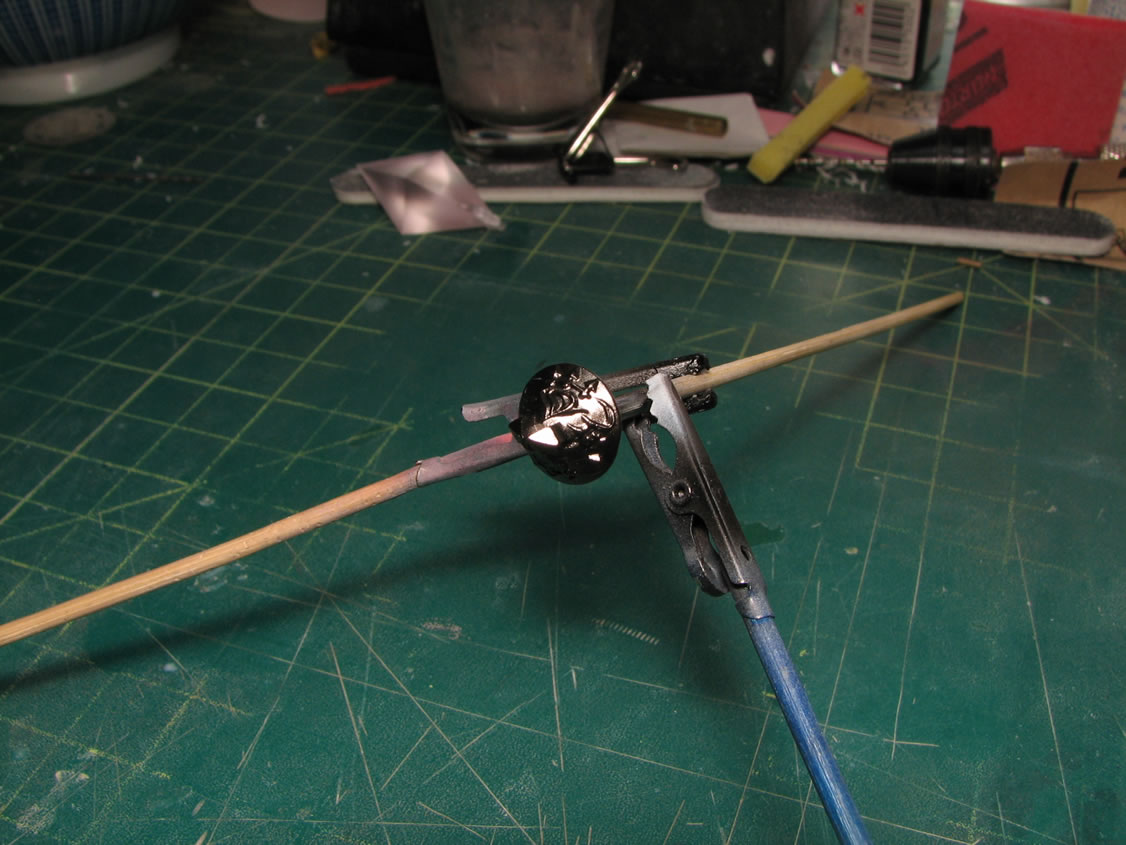
The chain end pieces were painted with gaia color's gun metal. It works nicely with the chain that was painted with jet exhaust as a slightly differently toned metallic. The shirt frill piece was based coated with the sand brown then shaded with finisher's deep yellow.

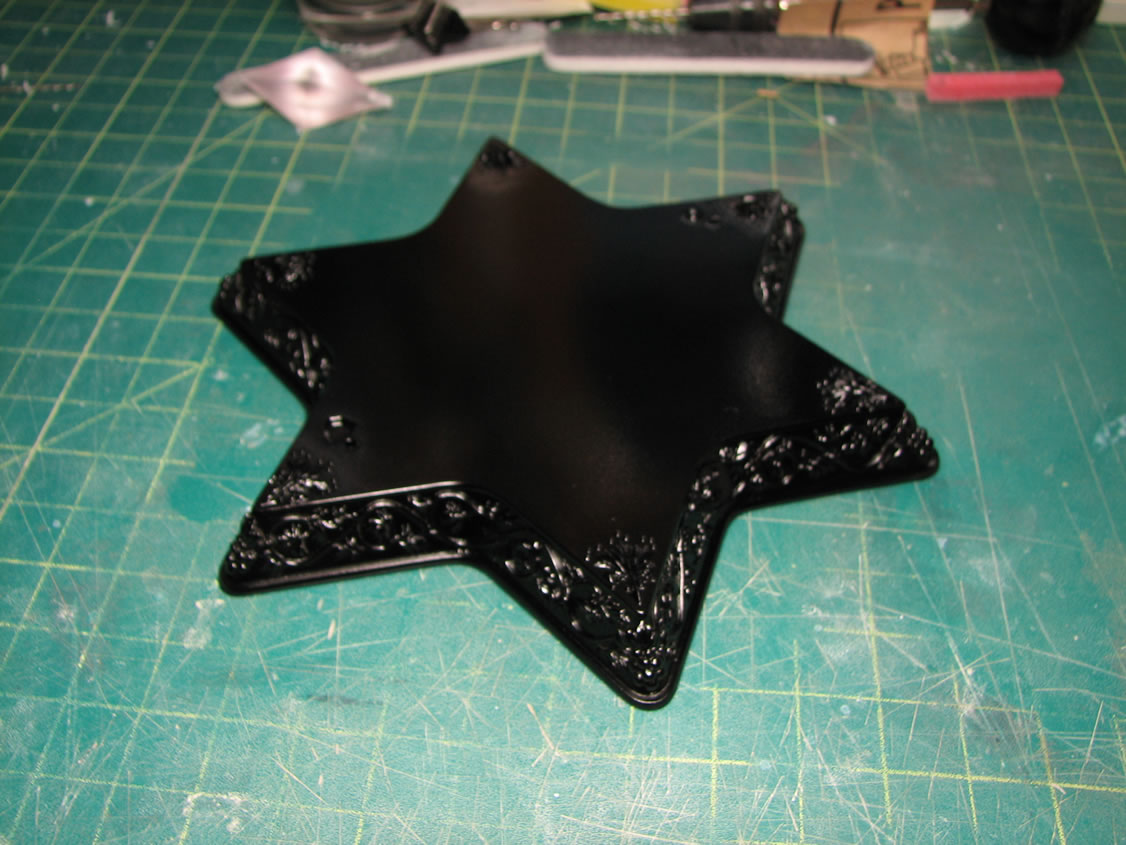
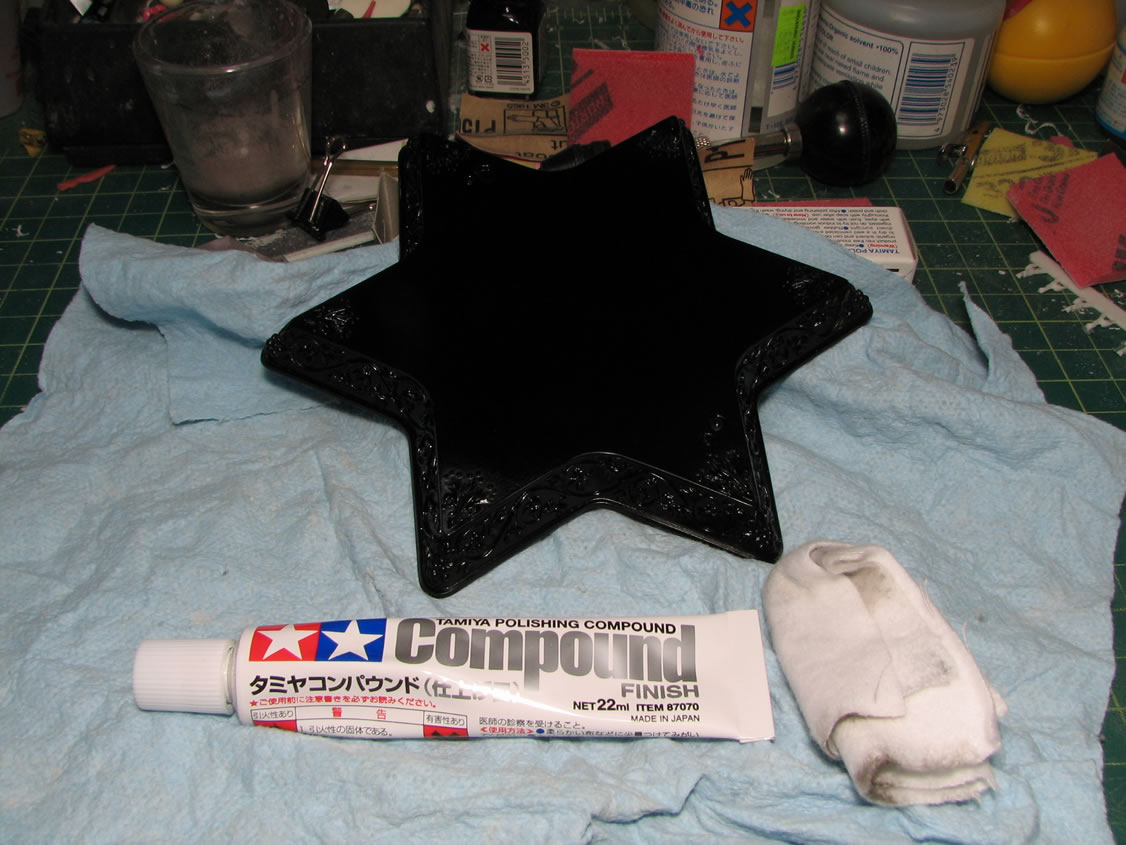
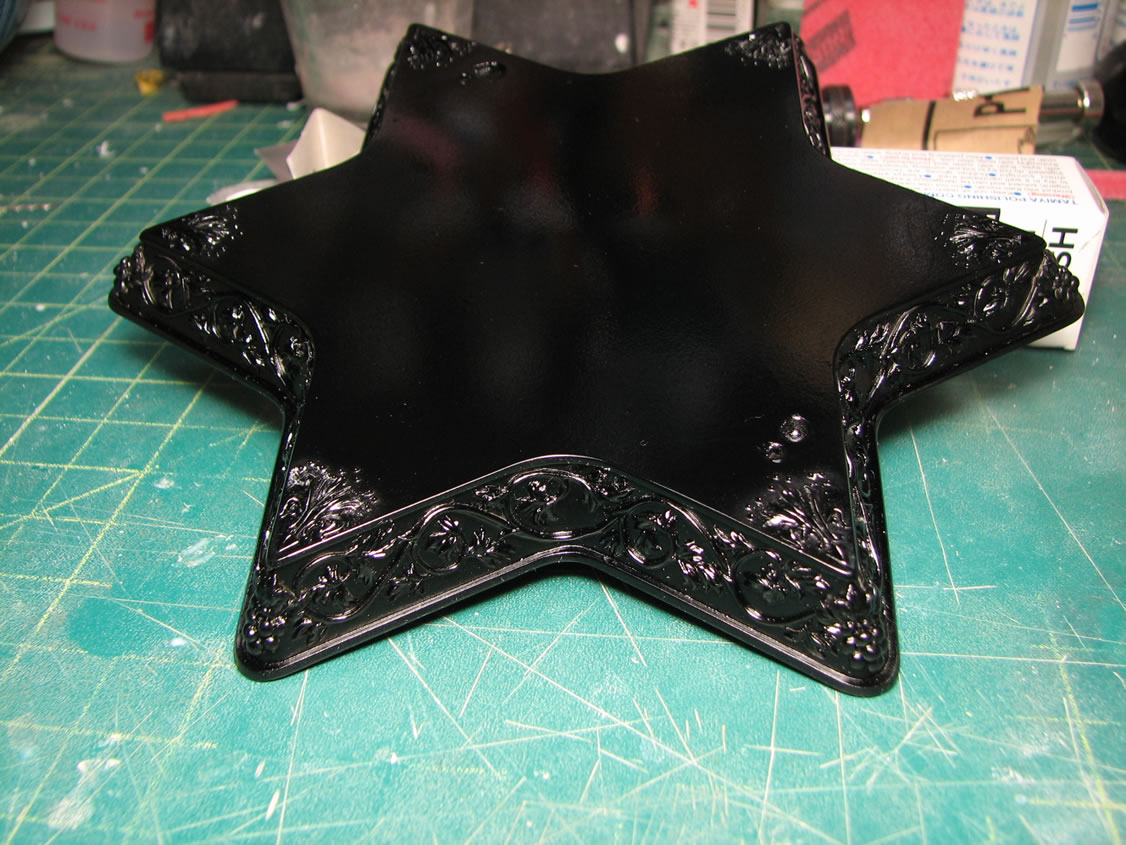
The base was painted with finisher's gloss black. After curing for a day, tamiya polishing compound is used to buff out the surface of the base for a very shiny and mirror like finish.
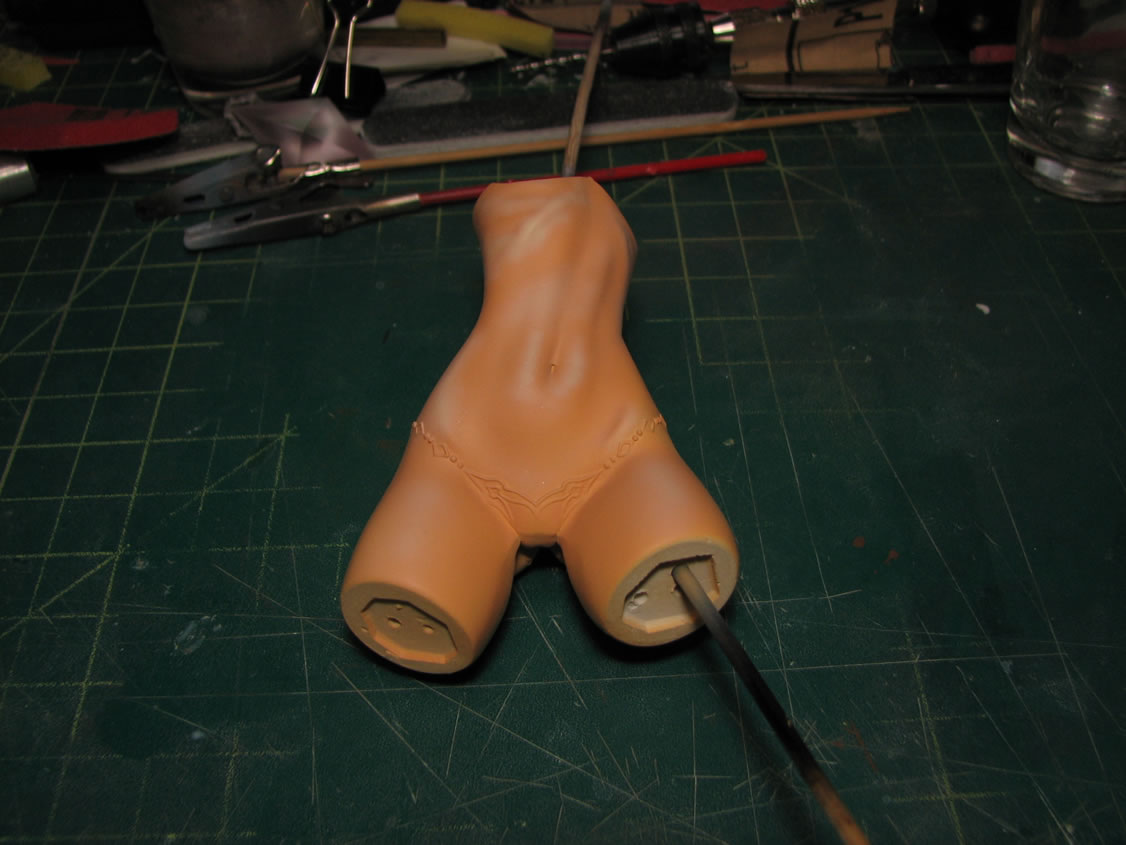
The skin pieces are based coated with base white to neutralize the gray color of the primer. This removes the possibility of having a grayish skin tone.
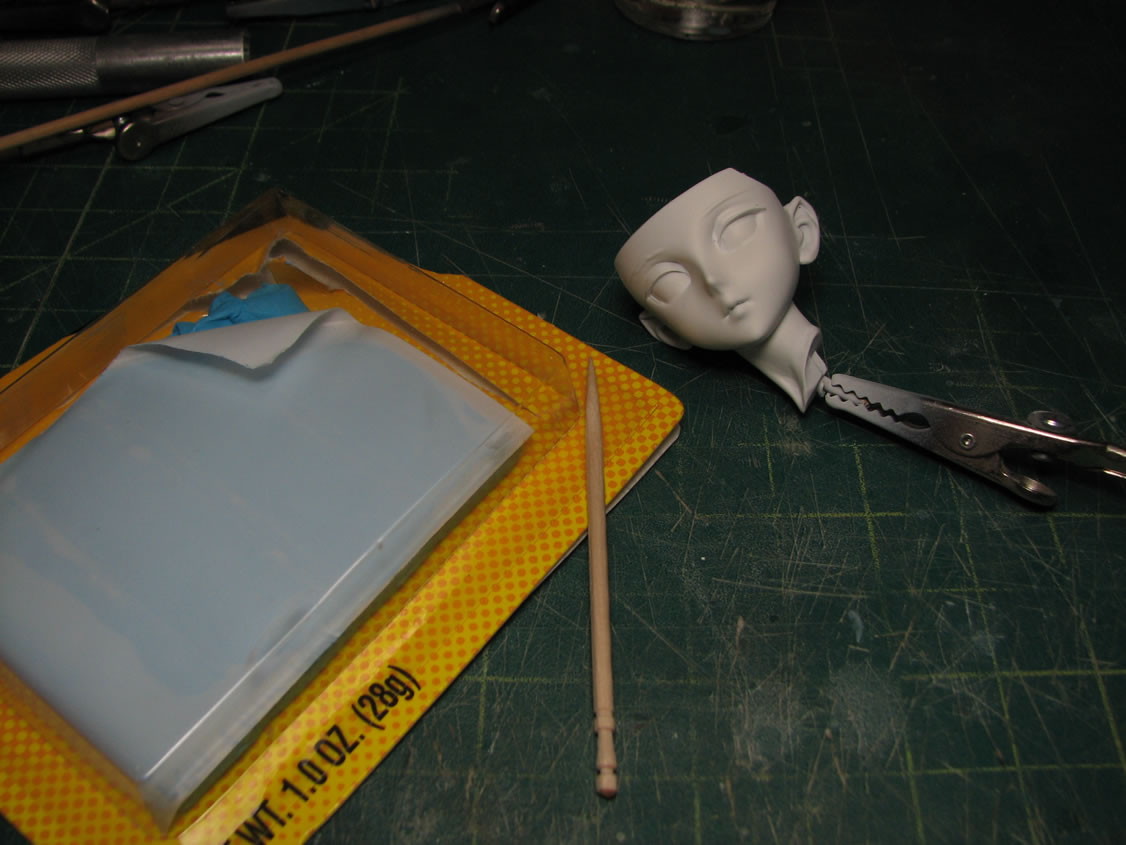
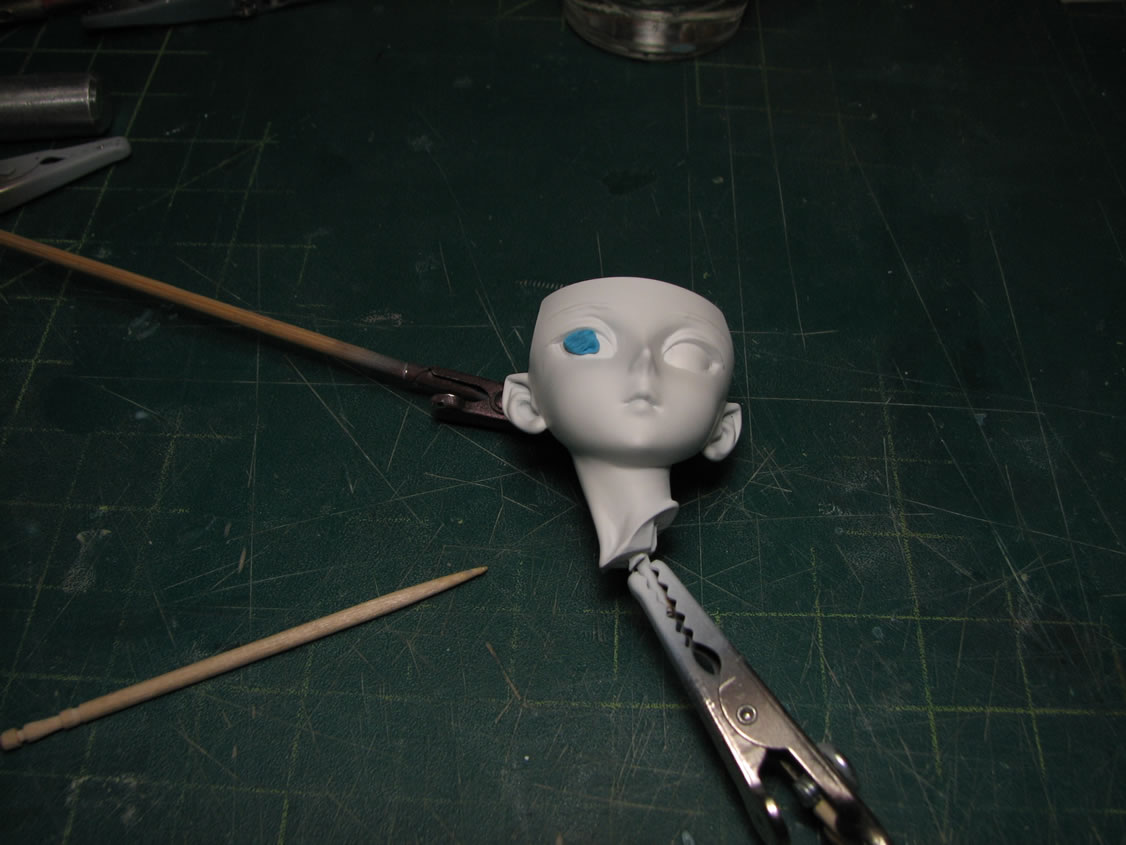
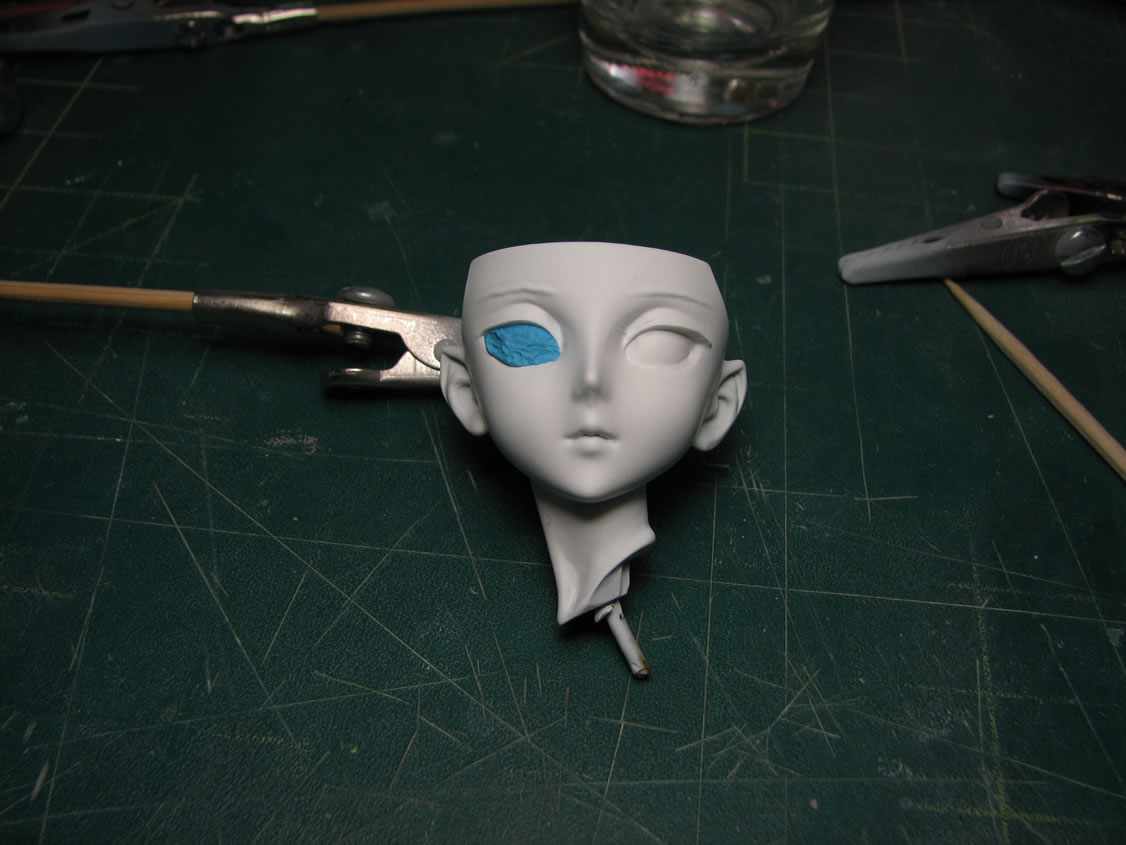
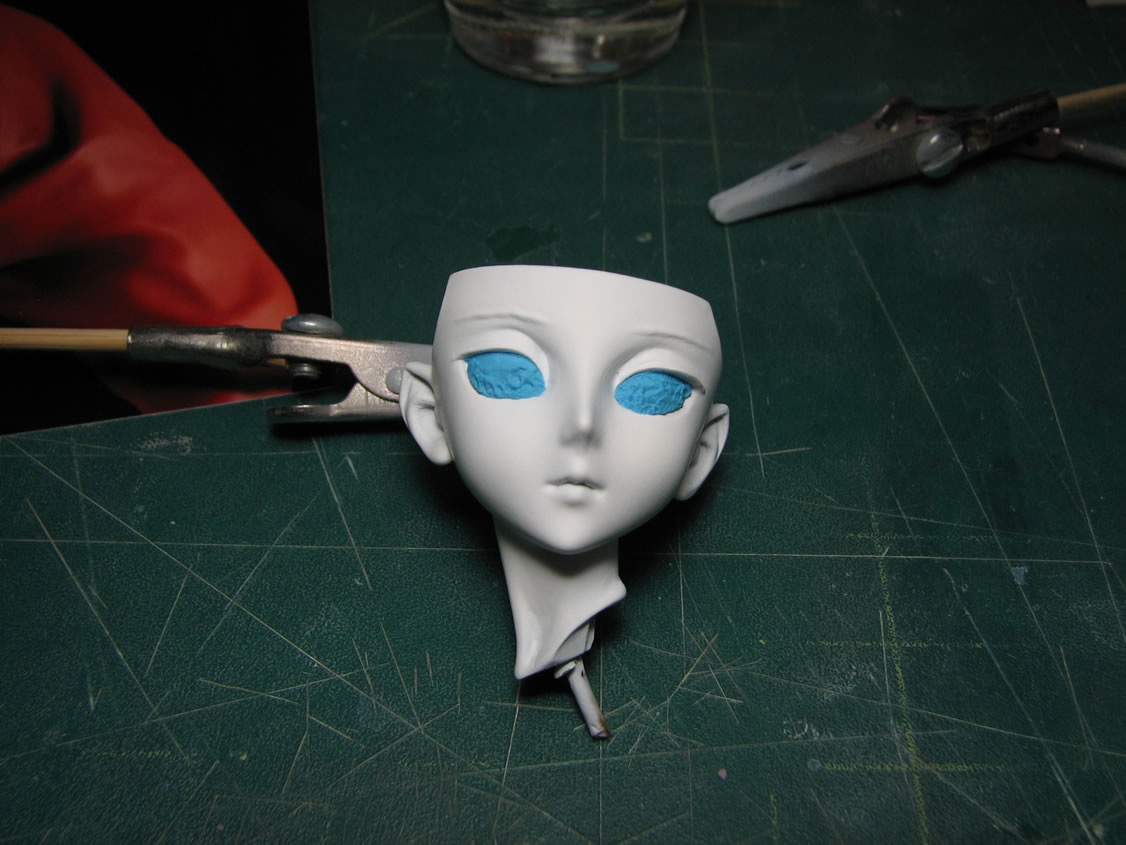
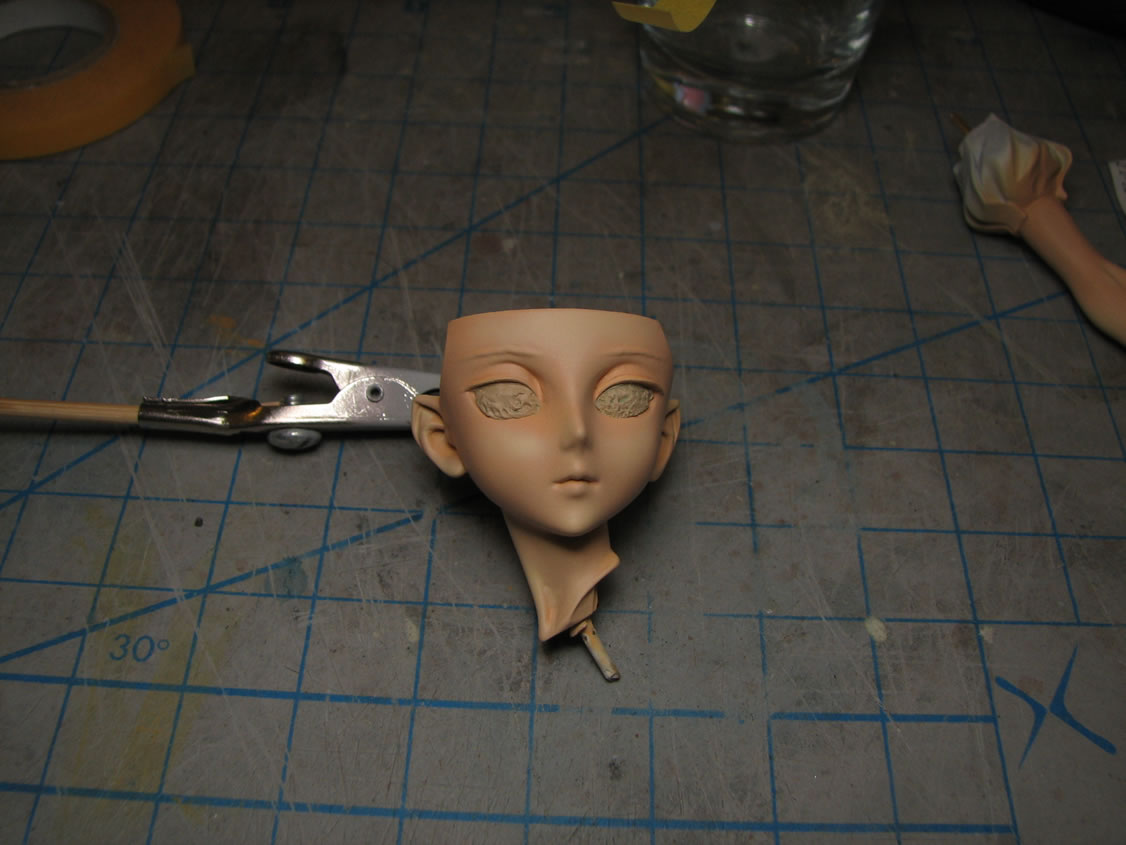
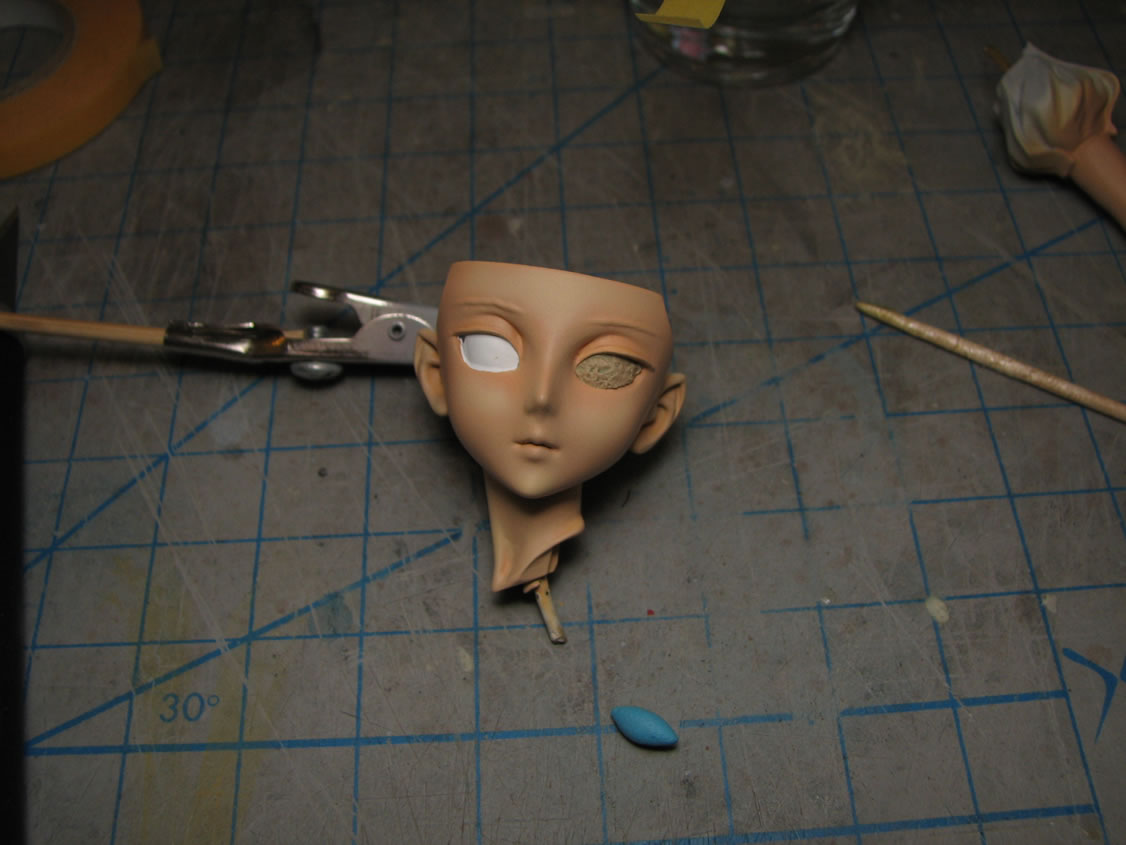
Since the eyes are now painted white, I can mask them off and paint the skin tone. Masking is done with blue sticky tac, a small amount if used and put into place with a toothpick.
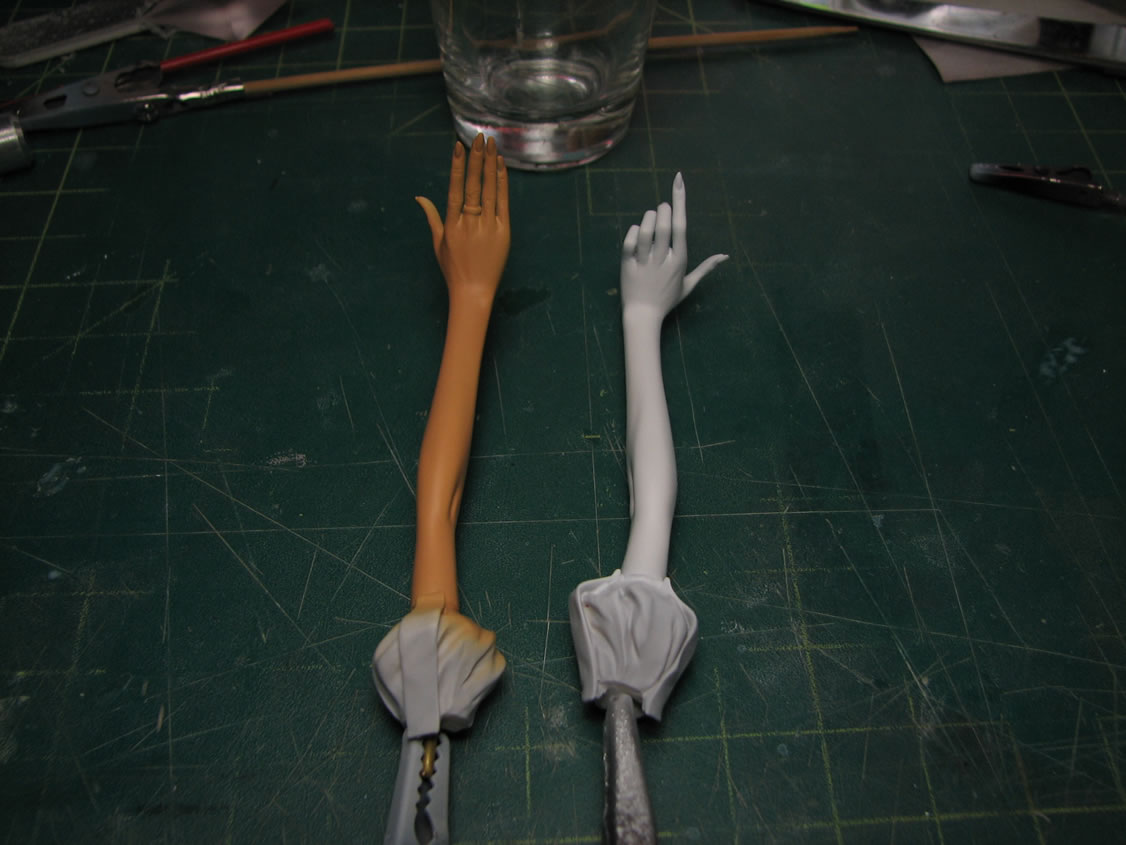
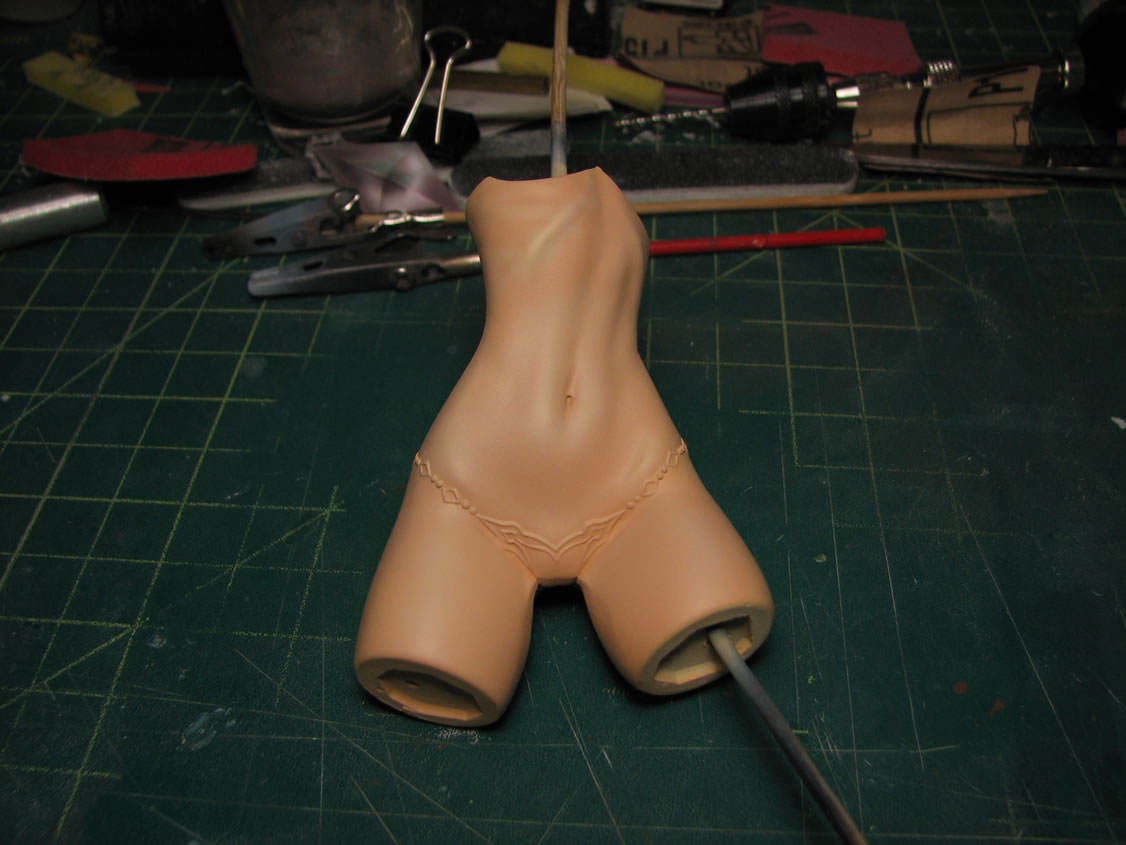
Base skin tone is painted. In this stange, the skin looks sunburnt. Next up will be the shading session for the skin tone.
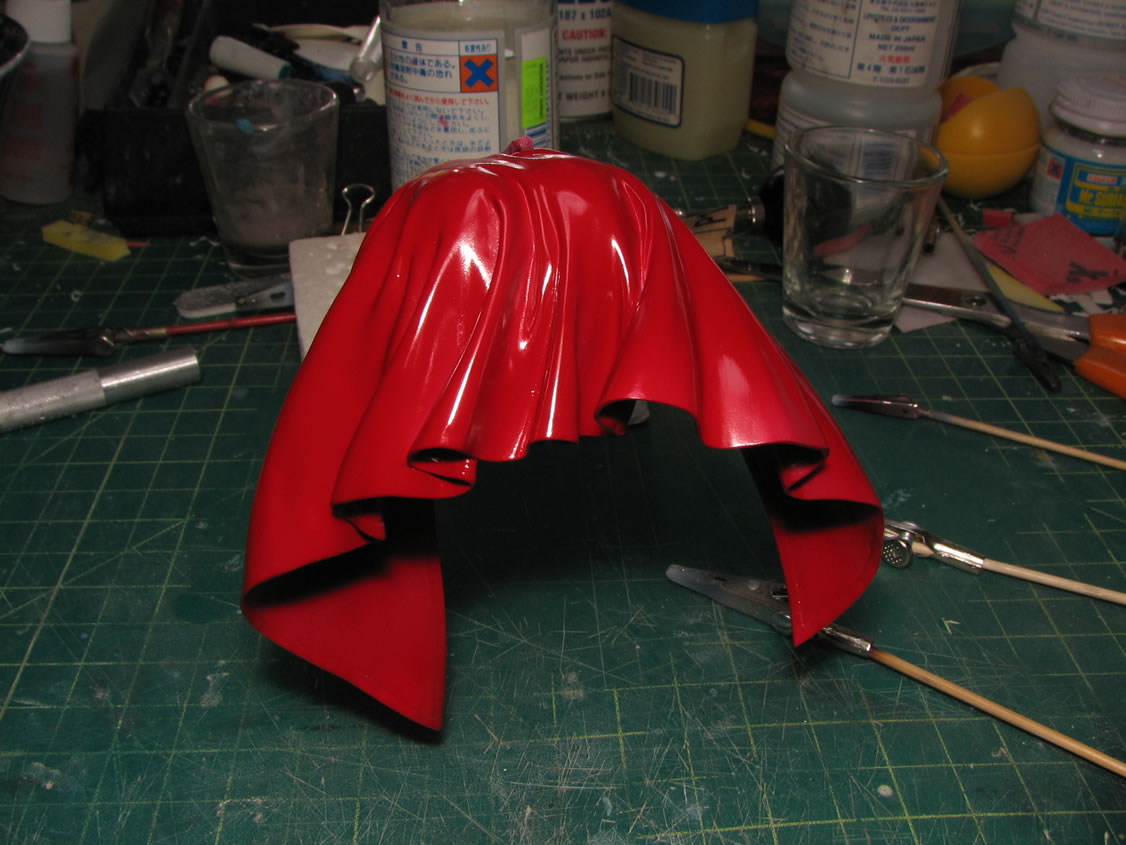
The red pieces are base coated with wine red.
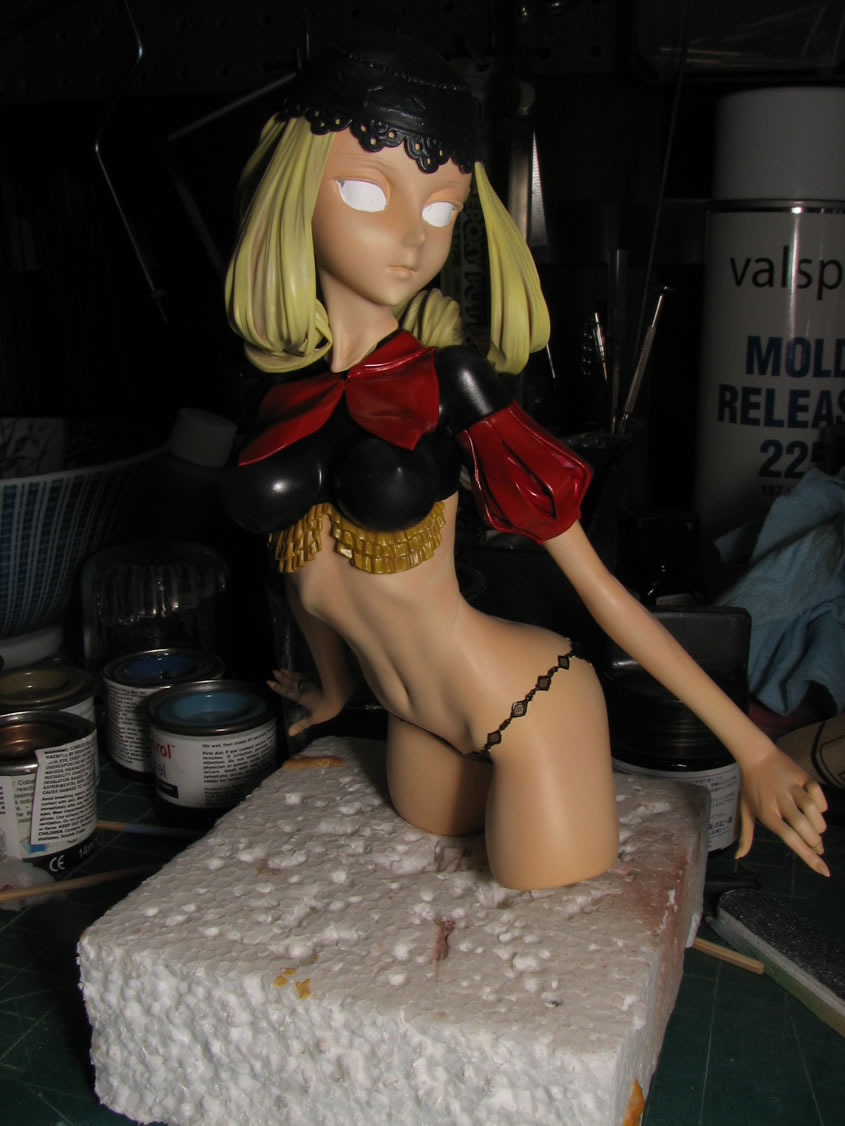
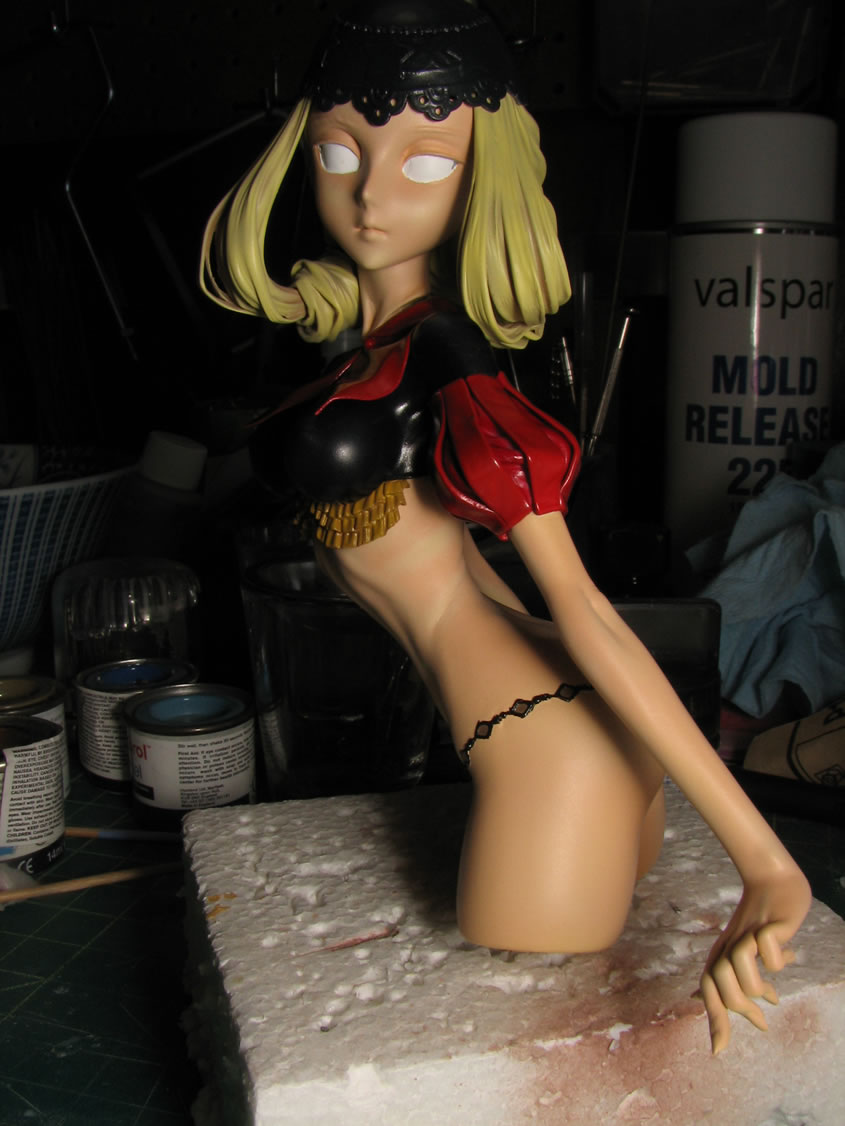
August 16, 2009: Weekend update. Starting off by finishing the skin tone, last we left, Velvet was a little sun burnt, so on with the shading. Using a very light version of the skin tone I have, specific areas were highlighted. After all the areas were highlighted, a medium tone is used to blend everything together.
After painting the skin tone, the masking on the eyes can be removed. There are a few spots that will need to be fixed as some paint chipped but this isn't a problem and will be address when the eyes get painted.

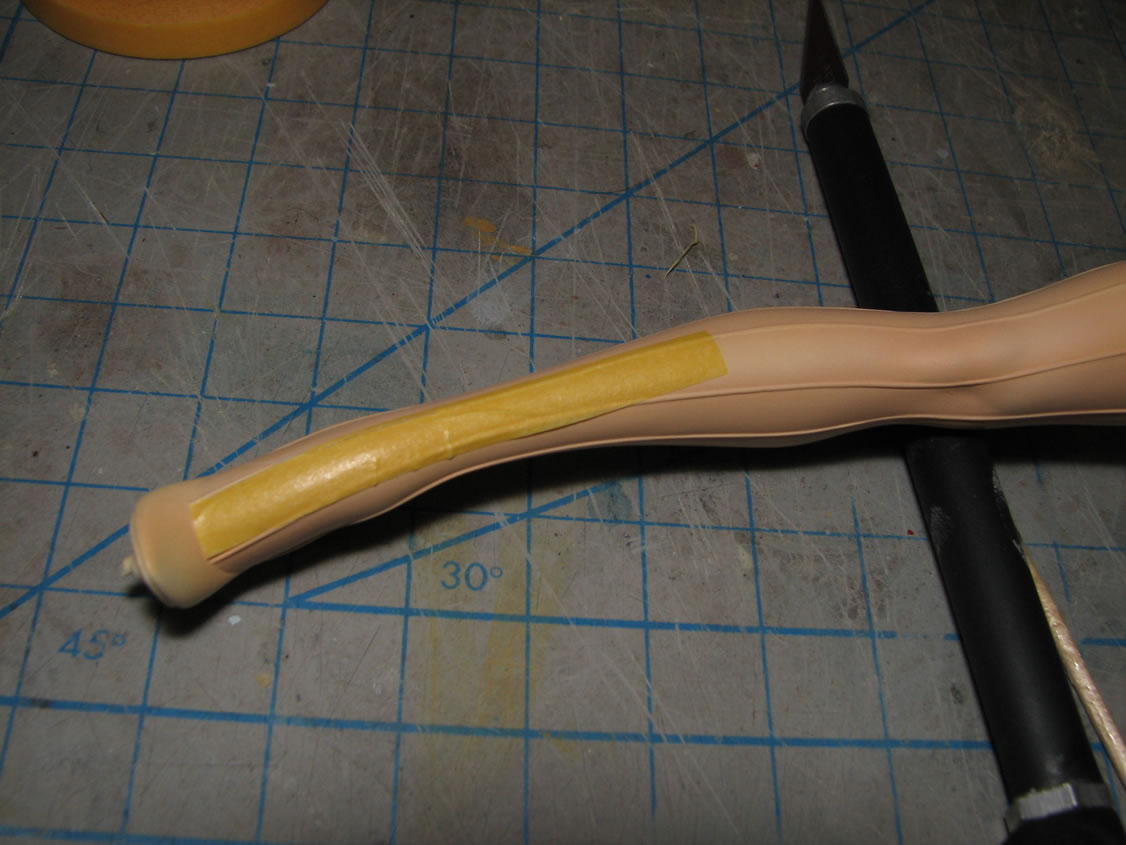
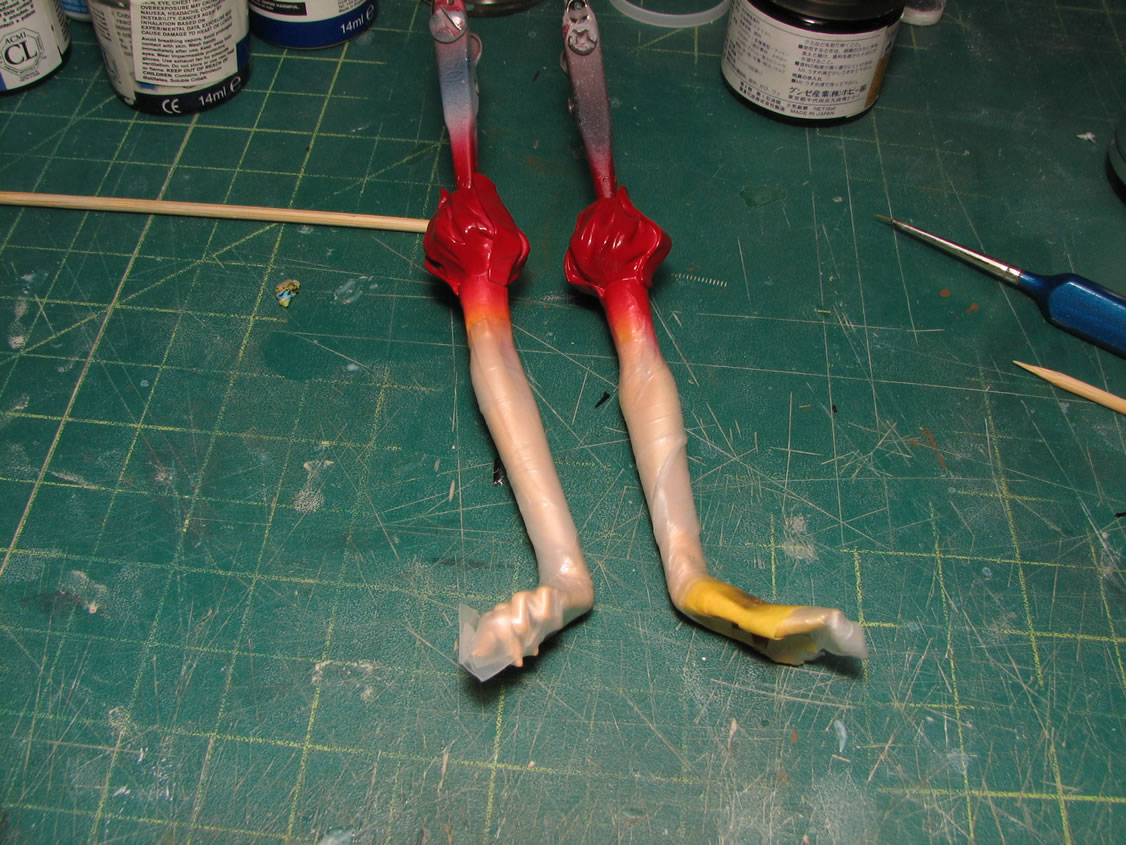
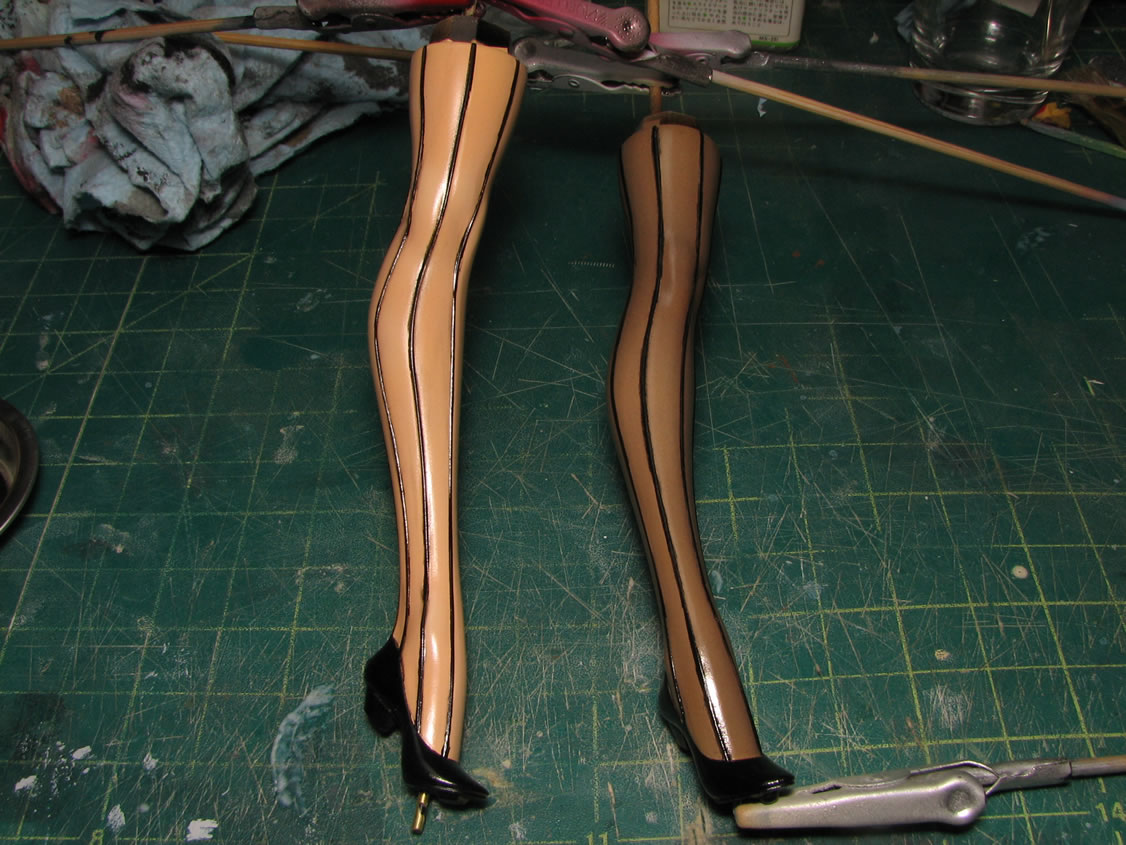
The stripes for the legs are masked off and painted. I didn't do a very good job masking, so a decent amount of work will is now needed to "fix" things.

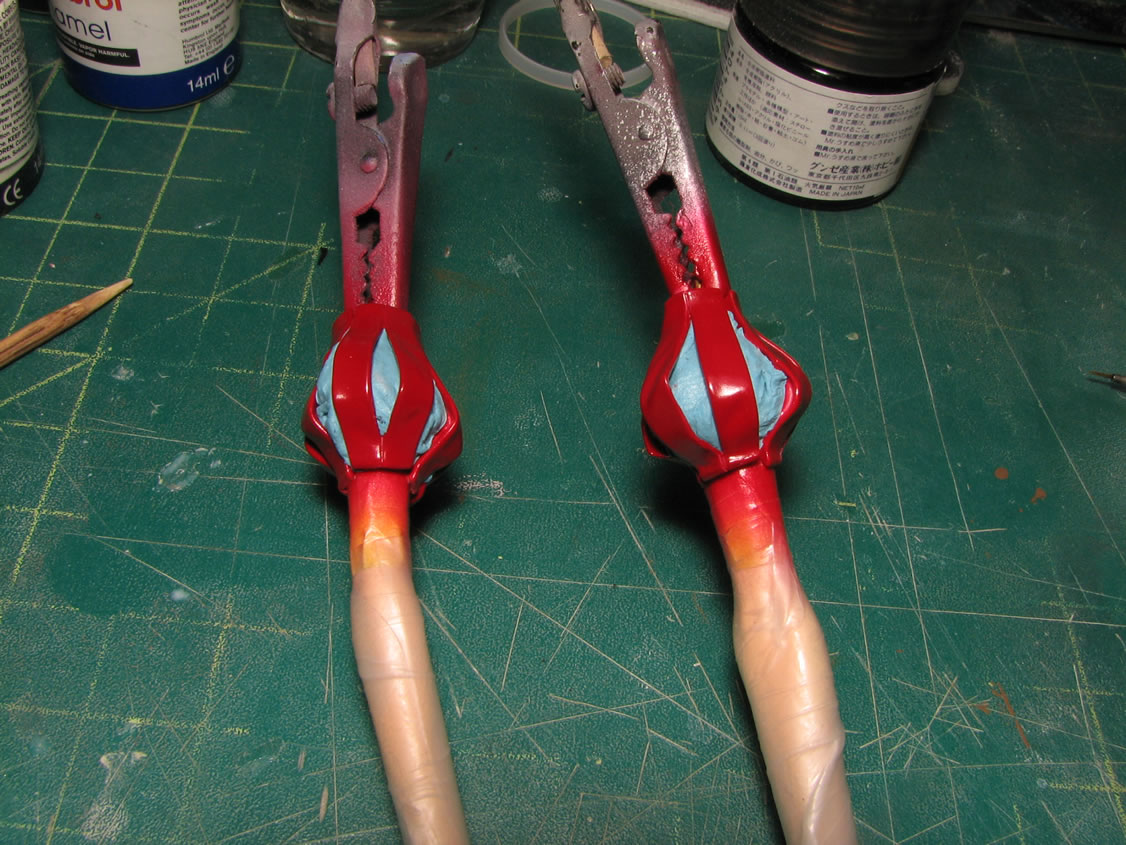
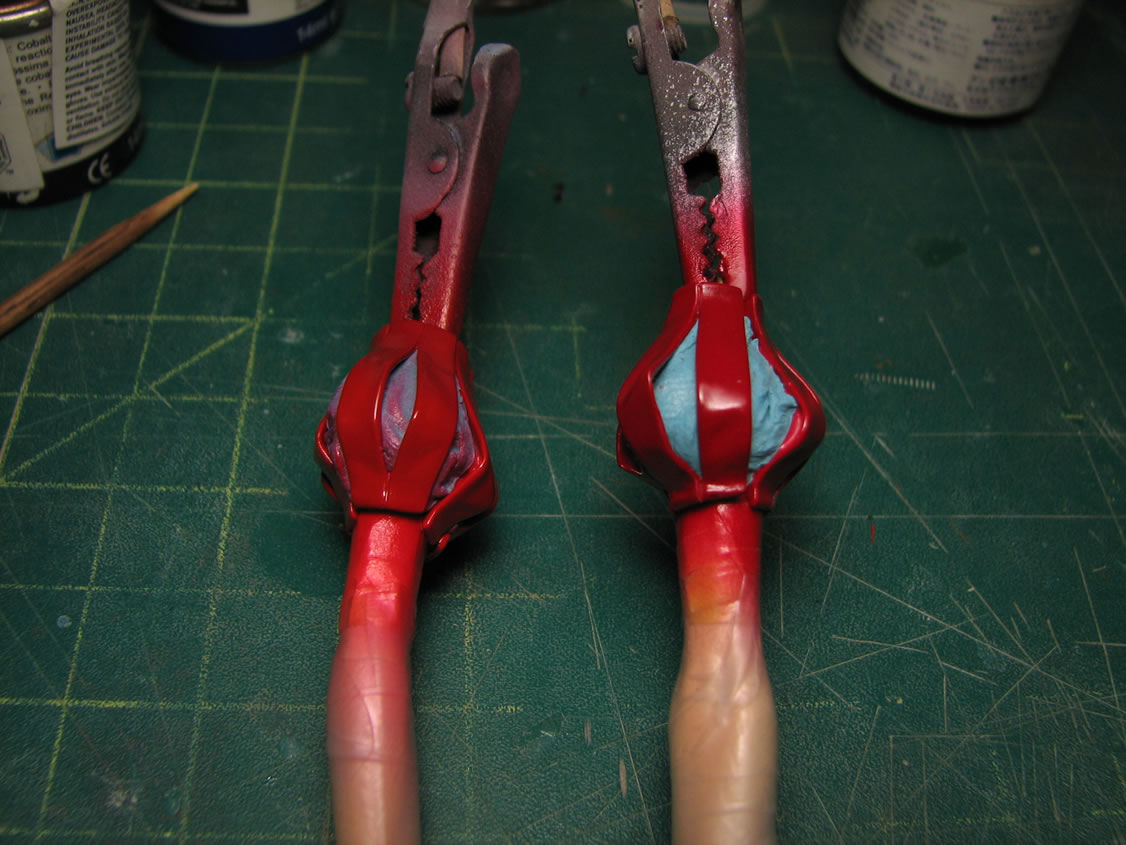
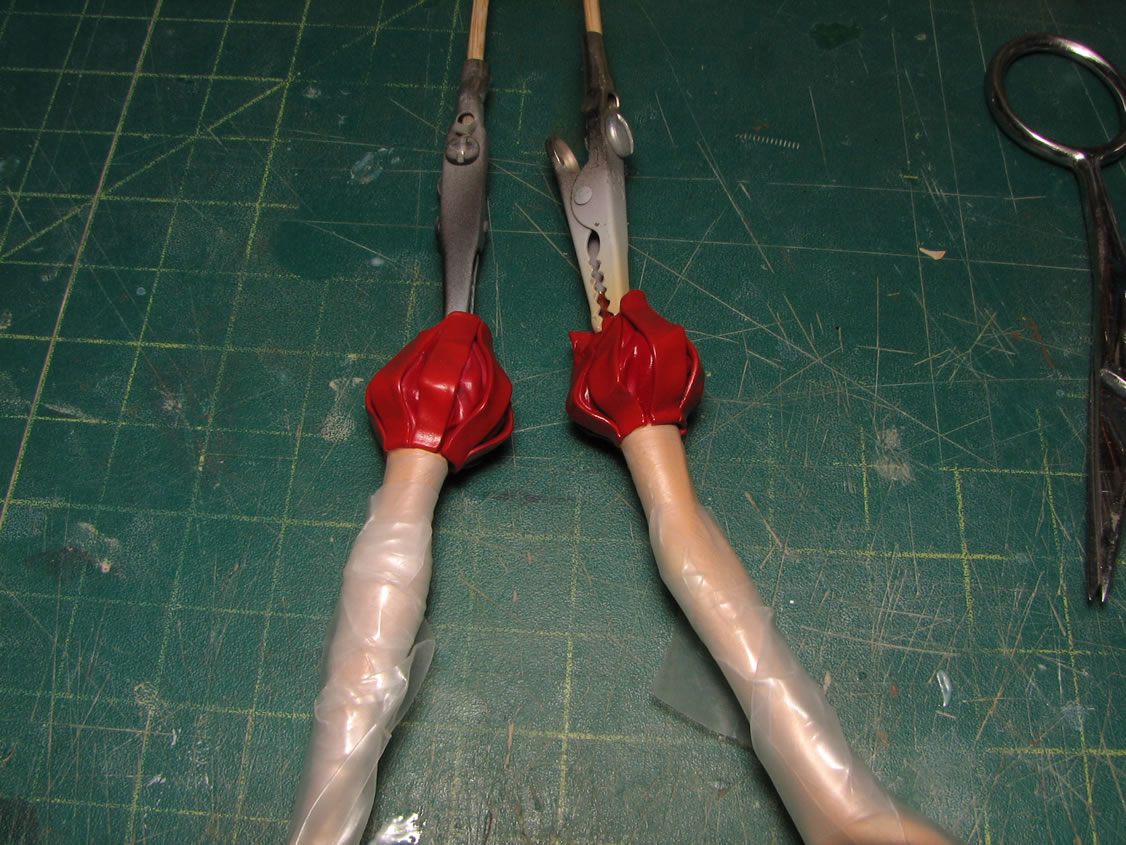
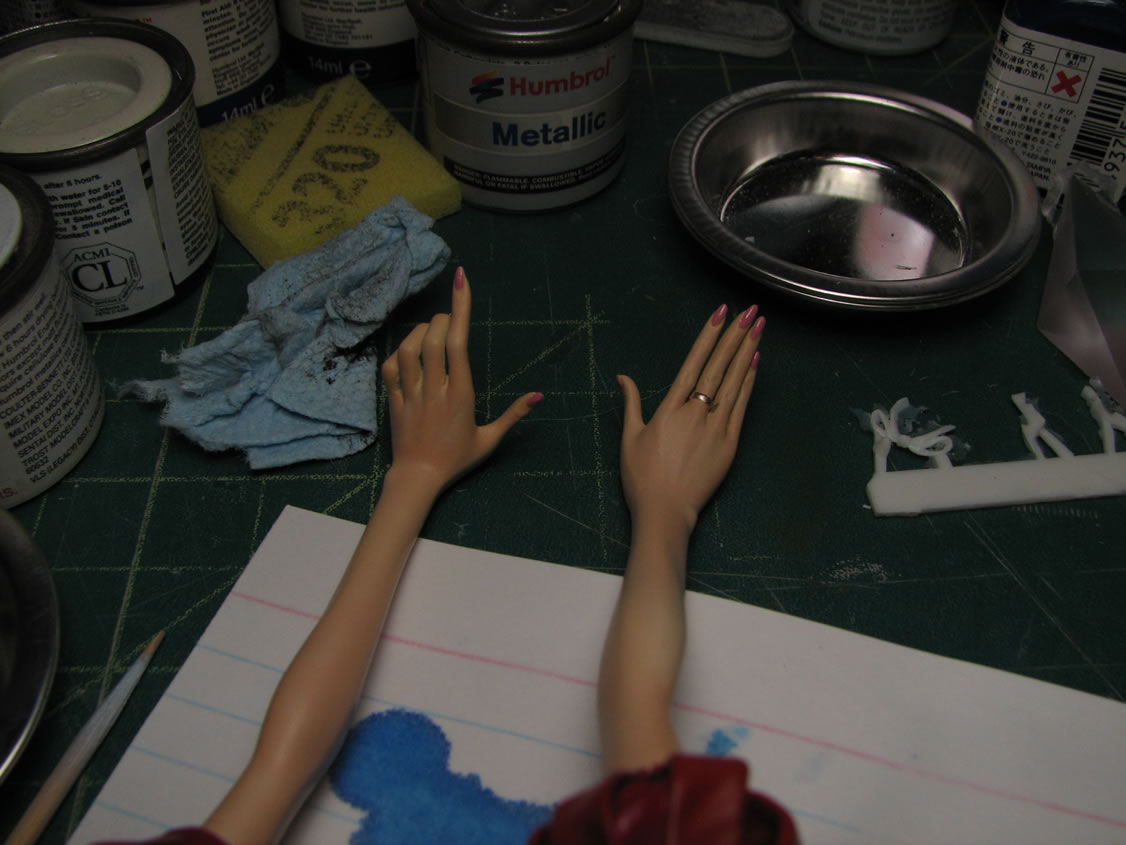
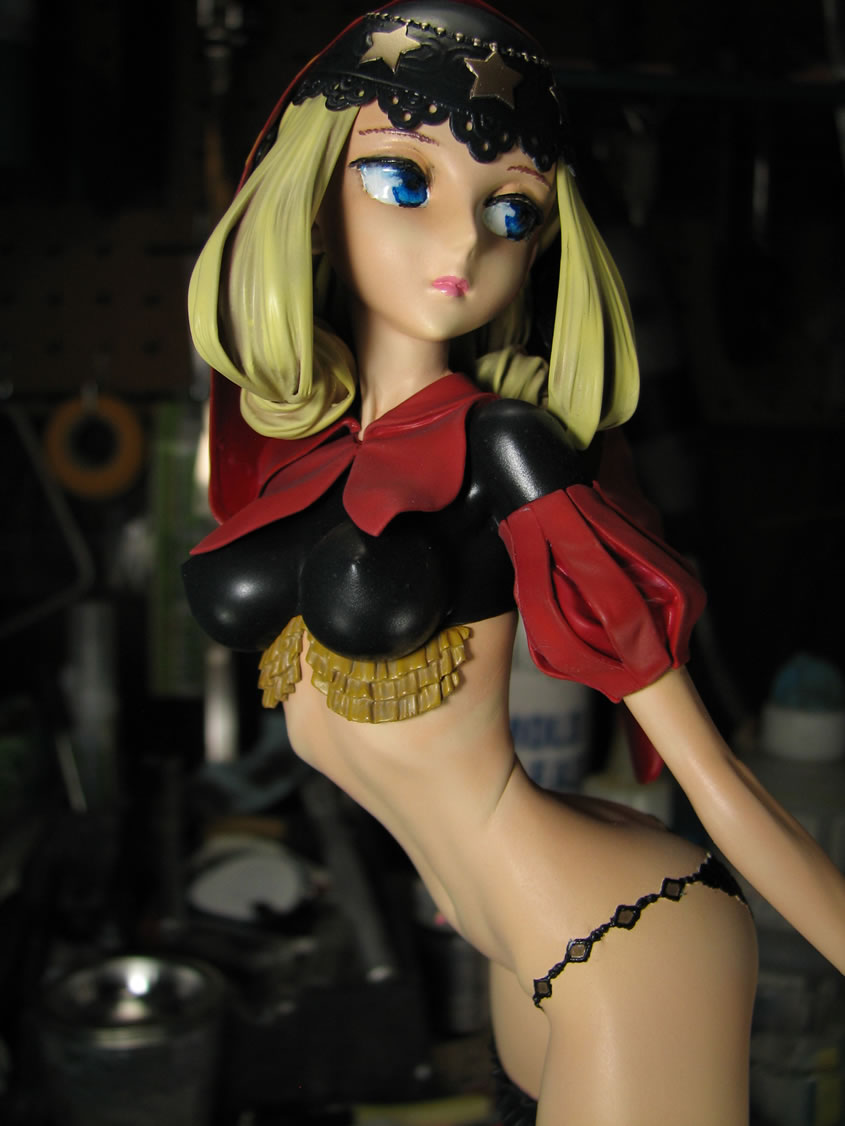
The arms were masked off leaving the shouders and ring exposed. The ring was painted with finisher's knight's gold. The shouders were based coated with wine red. After the red dried, sticky tac is used to mask off the inner areas for the upper arm pieces and the outer pieces are painted with finisher's bright red. I have a comparison picture between the shaded upper arm and non shaded. The rest of the red parts have been shaded with the bright red.
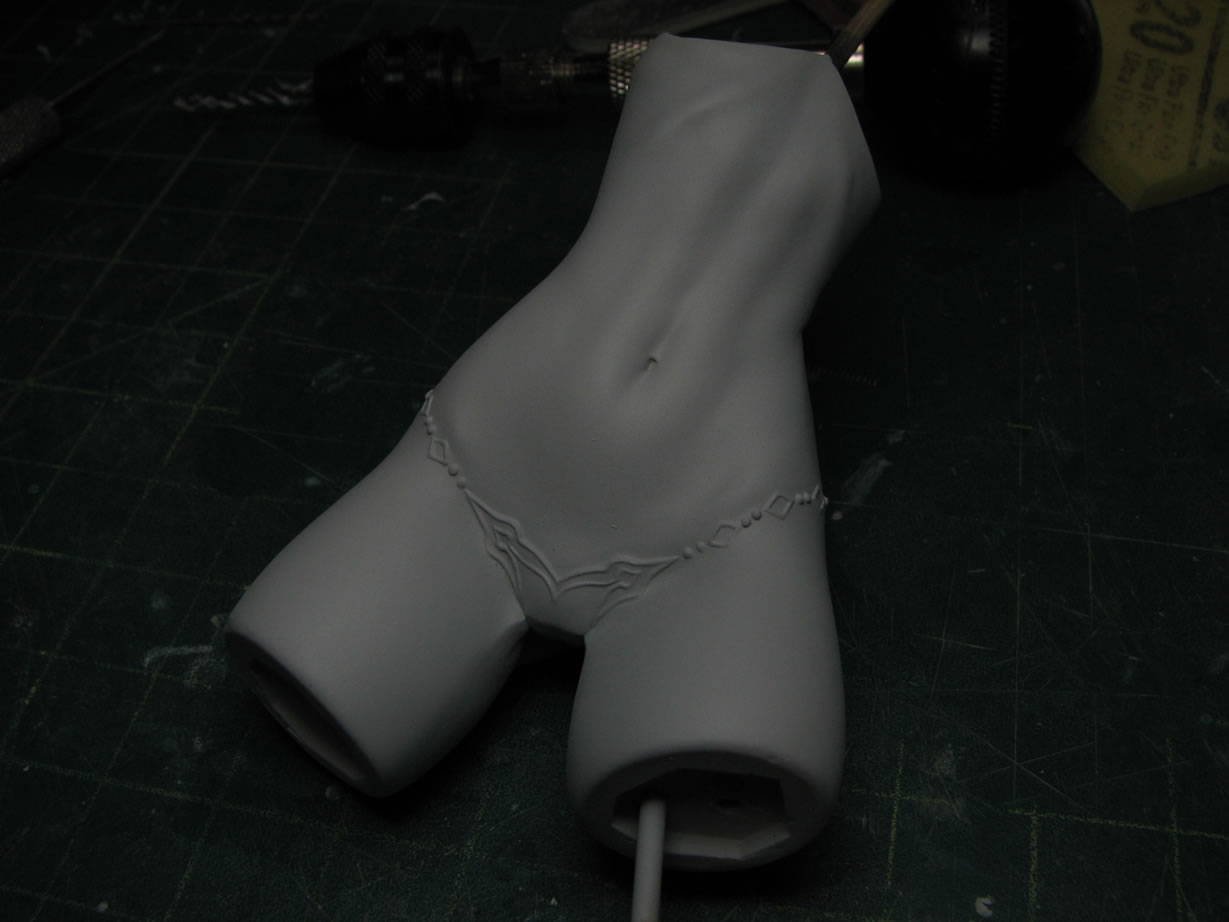
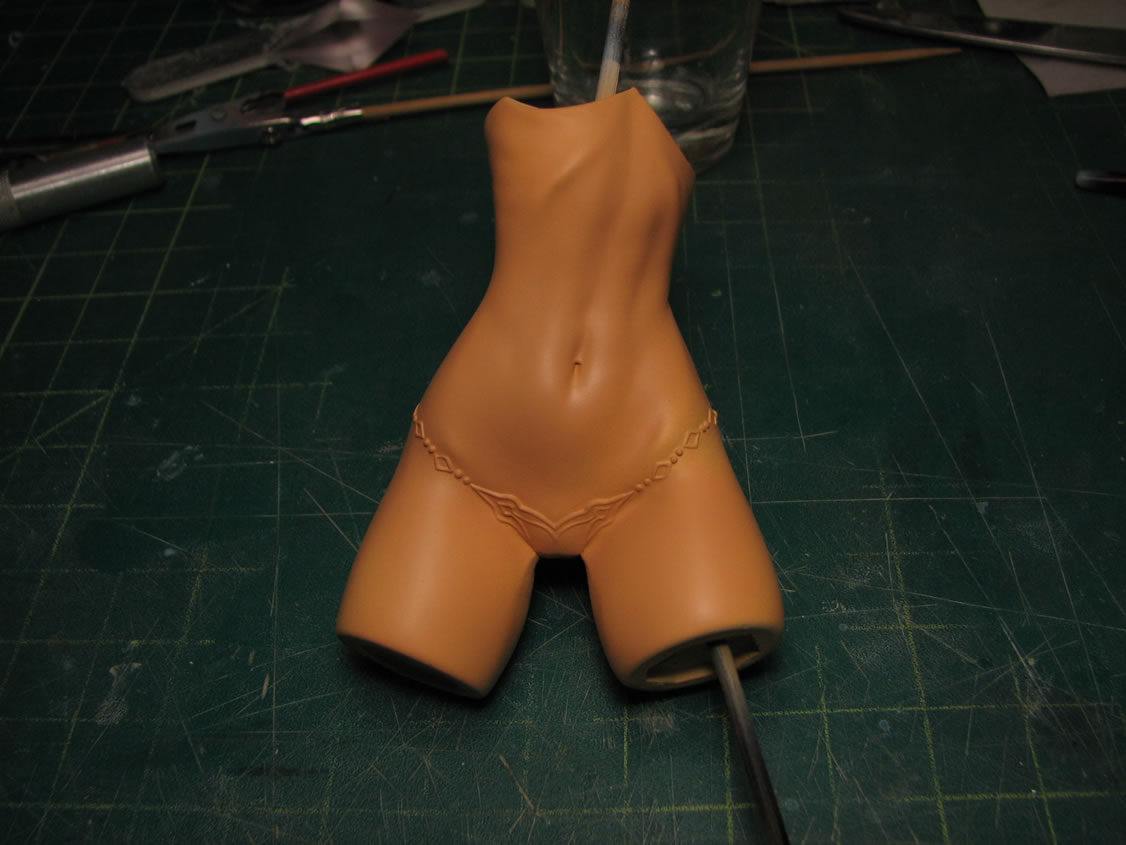
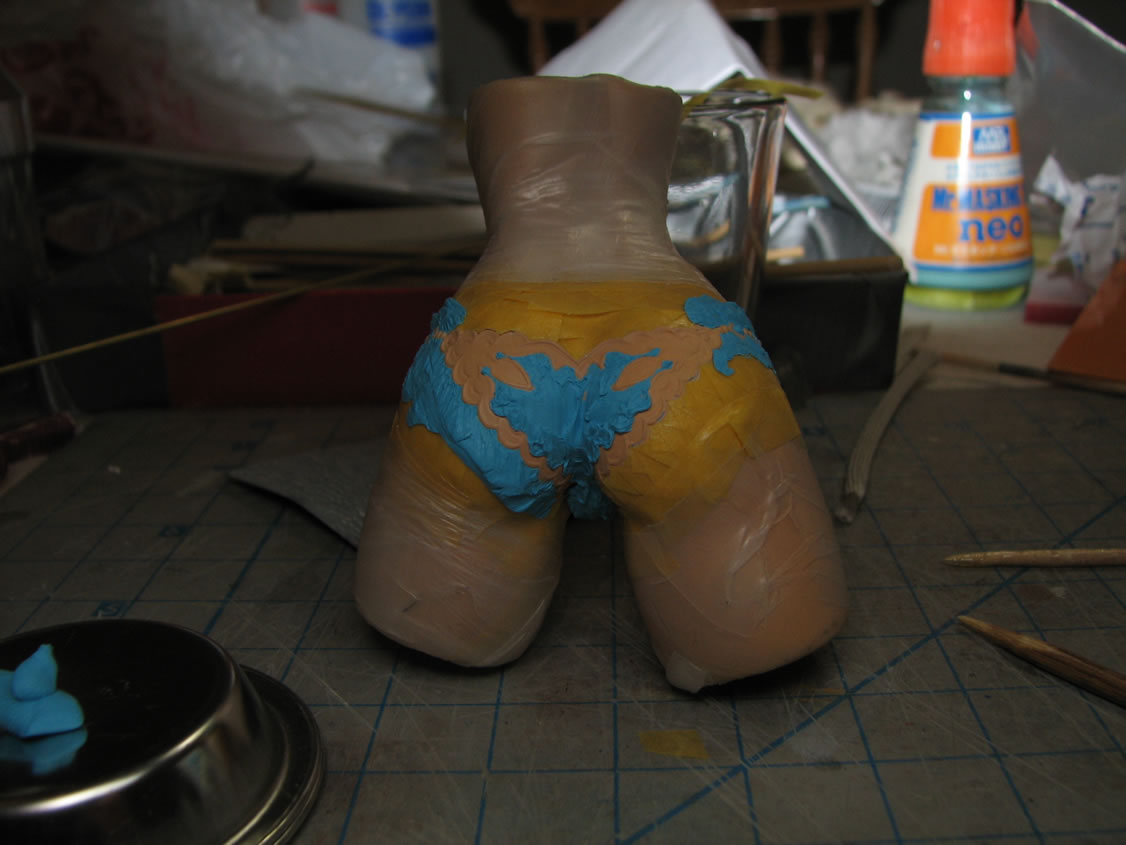
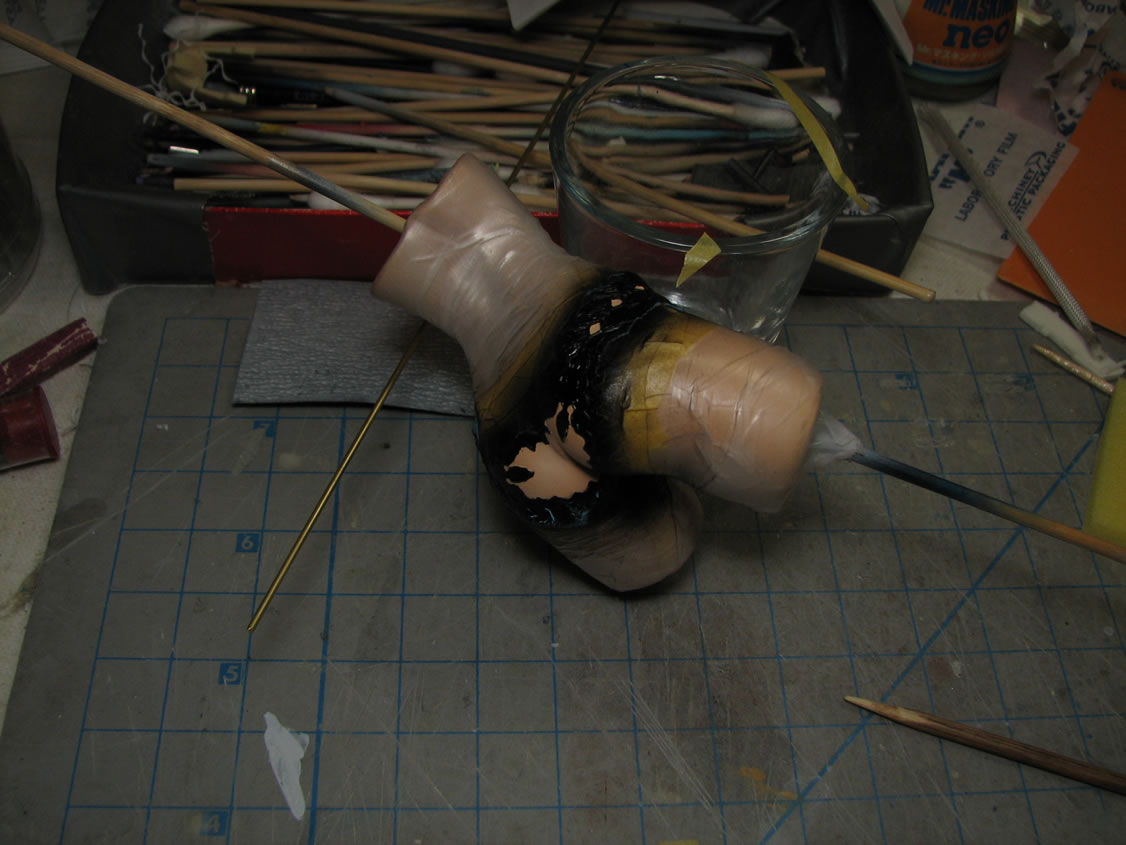
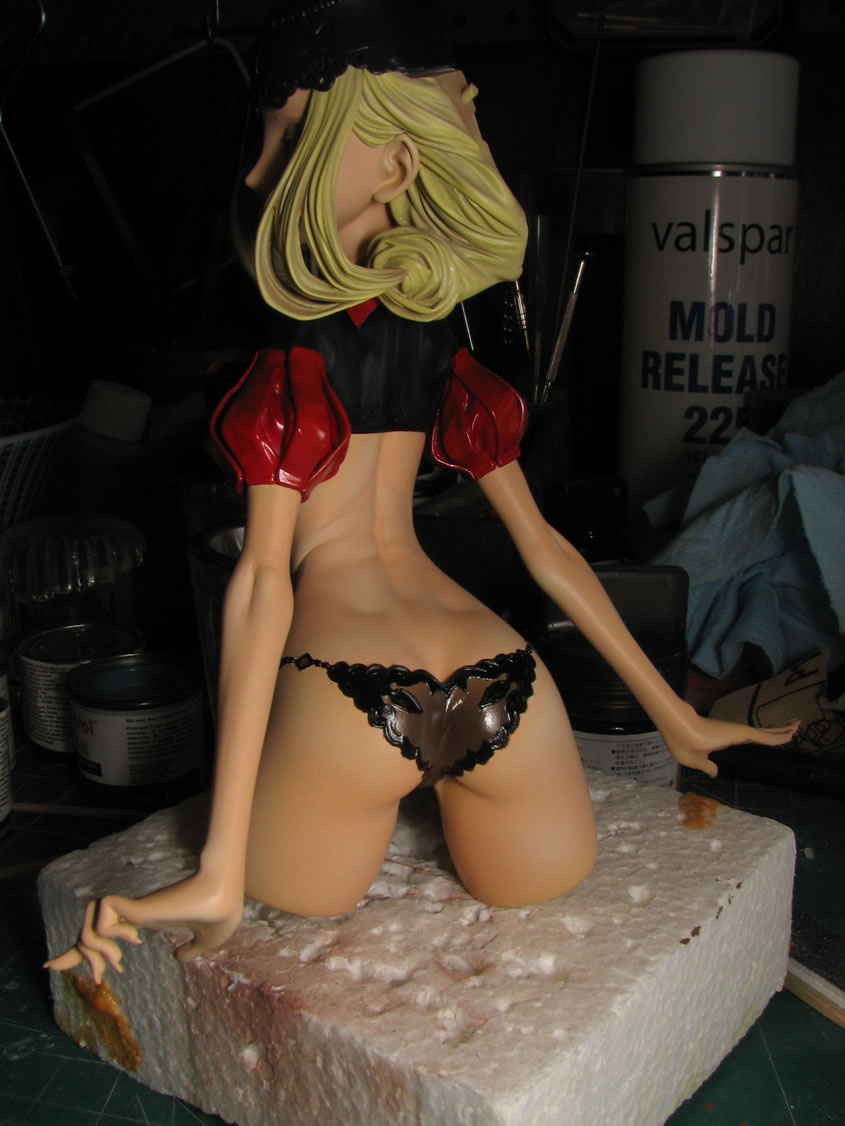
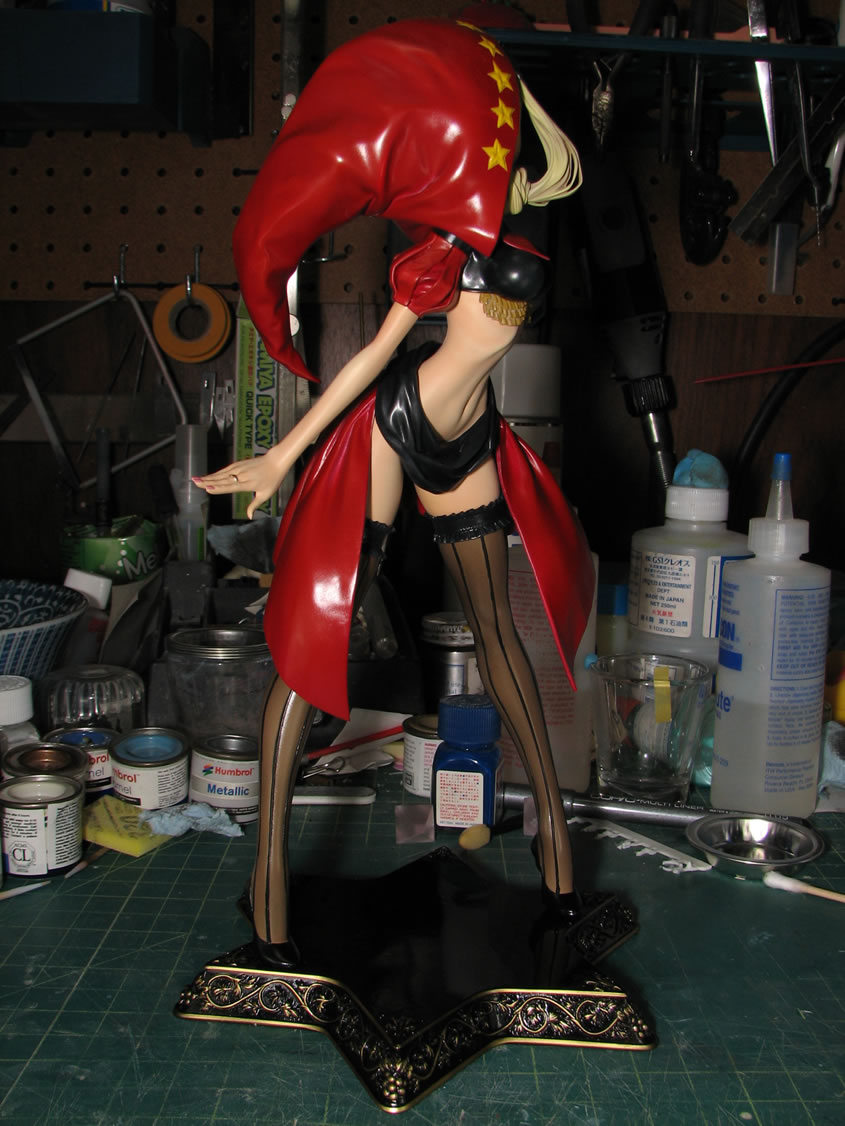
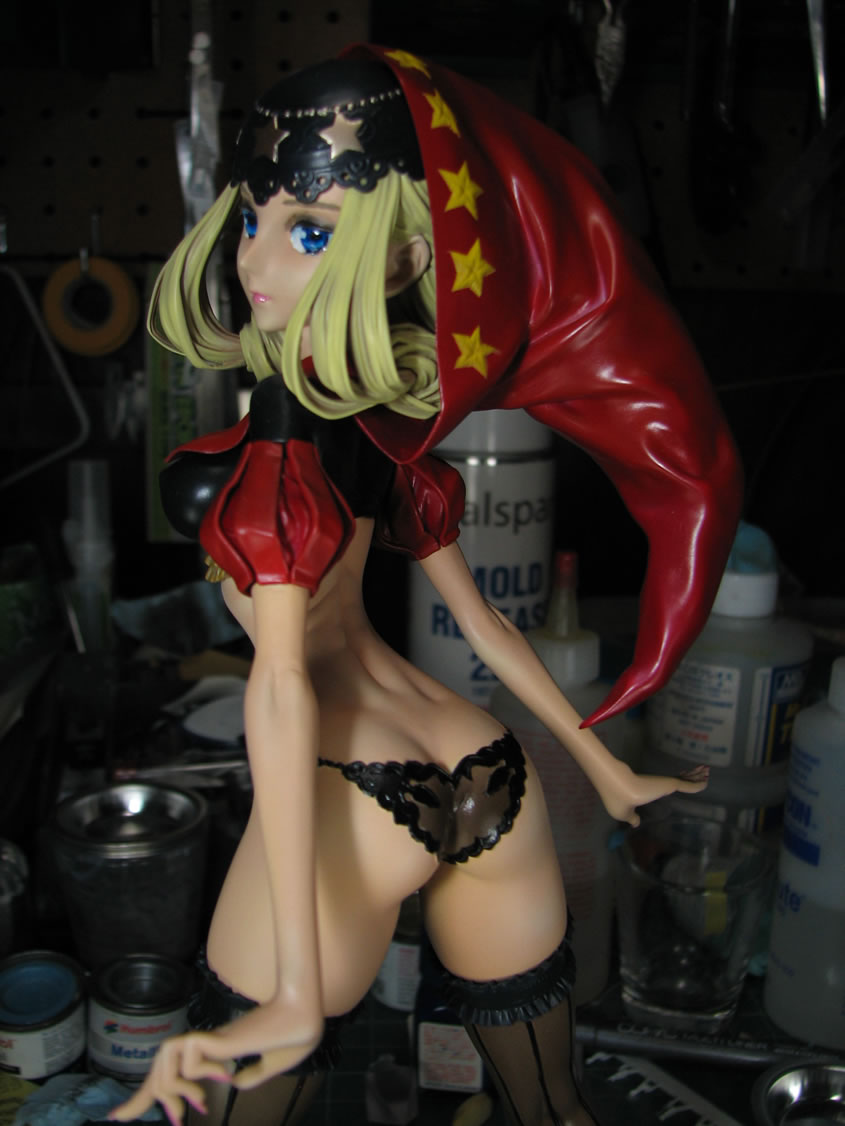
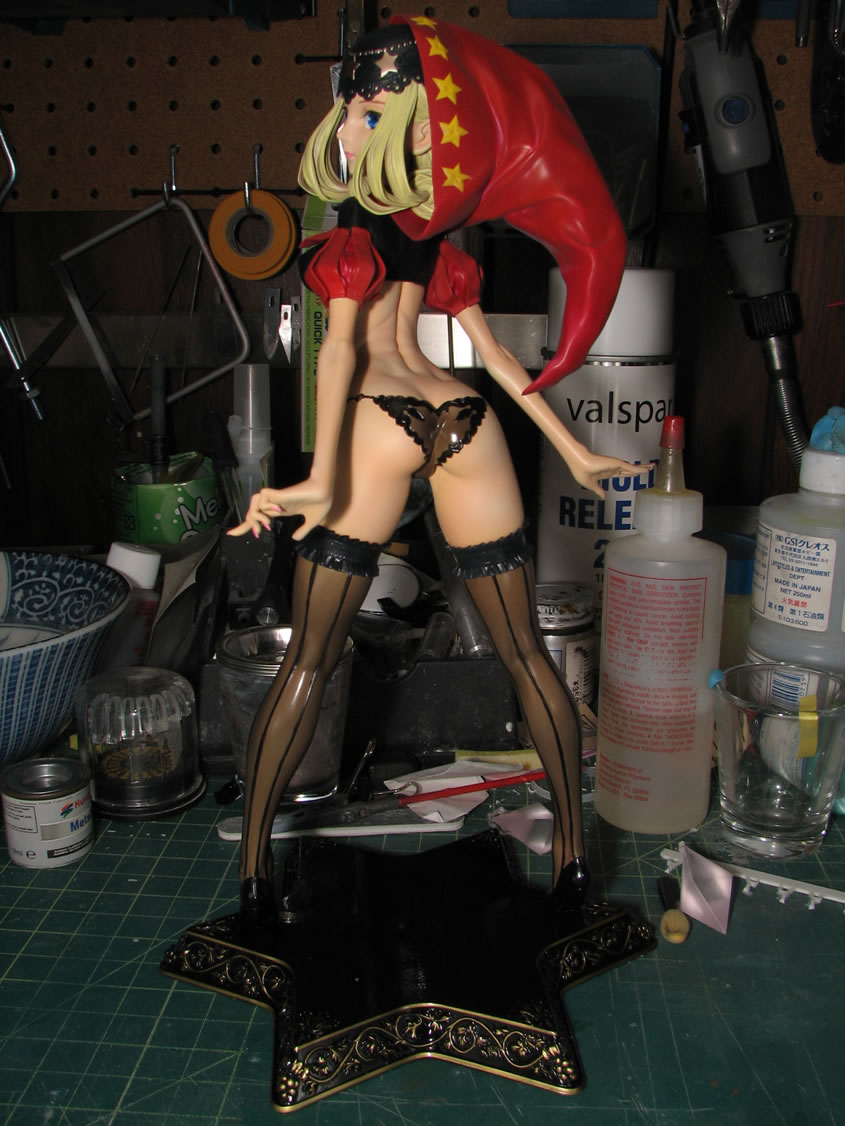
Now granted that Velvet's panties are going to be covered, but so much attention was given to the detailing, the same amount of attention is needed for painting. The skin is masked off and the panty areas are masked off in two steps. With everything masked, finishers pure black is painted, Then the middle section and little detail area masks are removed. With one of two masking layers removed, I sprayed on mr color smoke gray which is a clear gray over the exposed skin colored areas on the panties, creating a sheer panty detail. After curing for about an hour or two, all the masking materials are removed and the surface is checked for mistakes. I had a few masking mistakes but they were easily taken care of with a brush and some paint and with careful airbrush touching up.

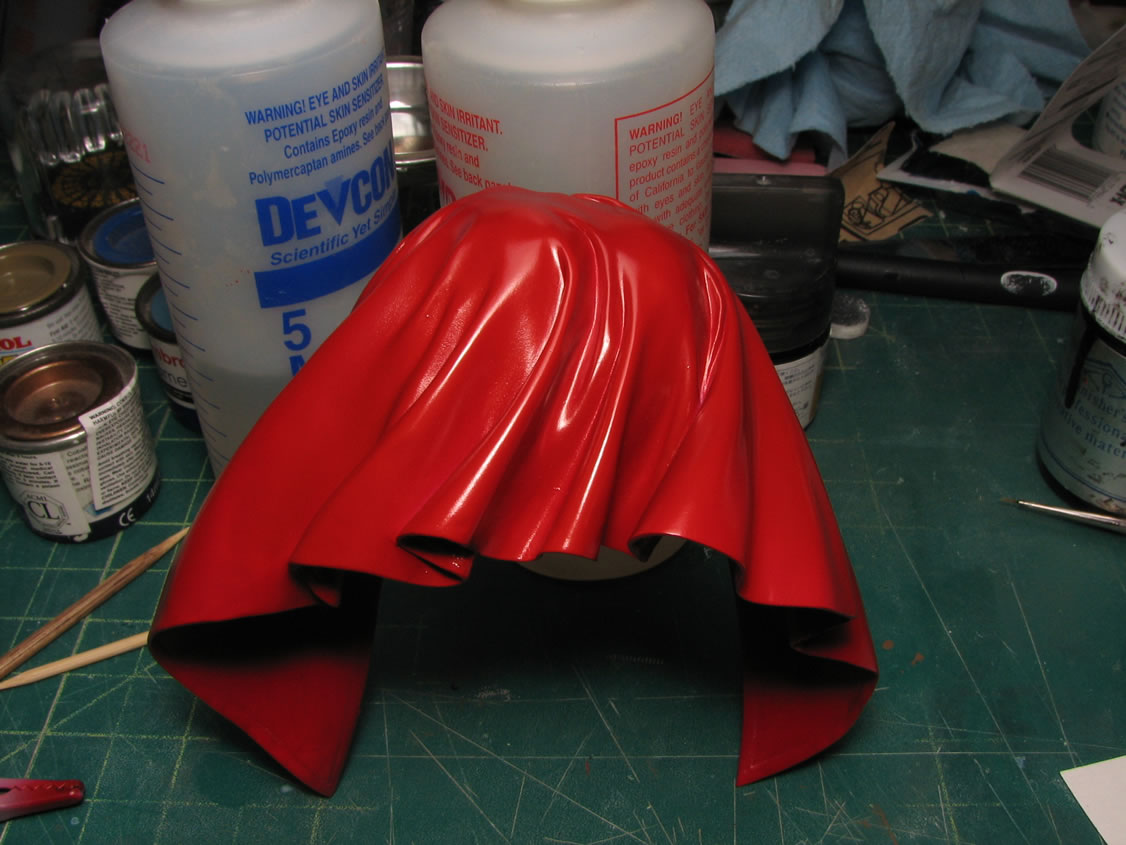
Her skirt is painted with the bright red over the wine red, which will be covering the above panty details.
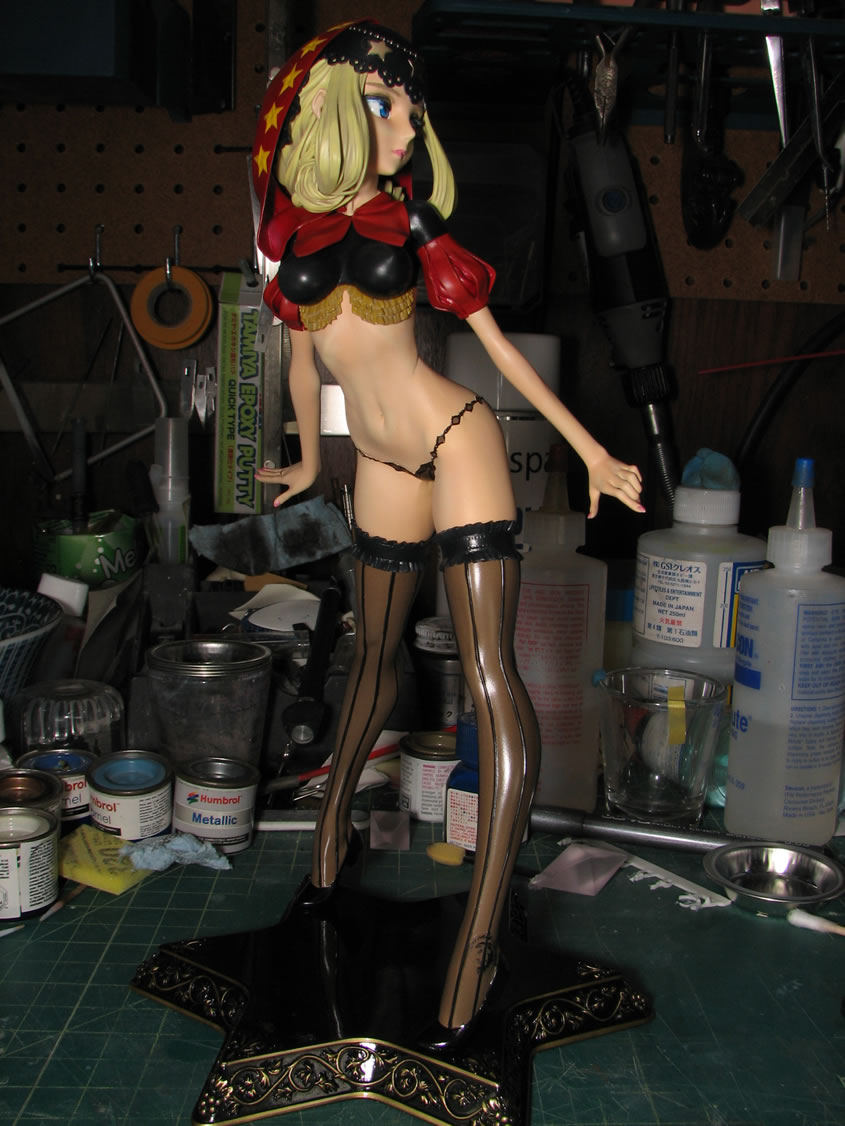
Just a quick test fit with some of the finished pieces. I still have the eyes to paint in, a few areas to mask off and paint for details, the base her chain thingy to complete, and fixing the leg line issue. She's getting pretty close to completion.
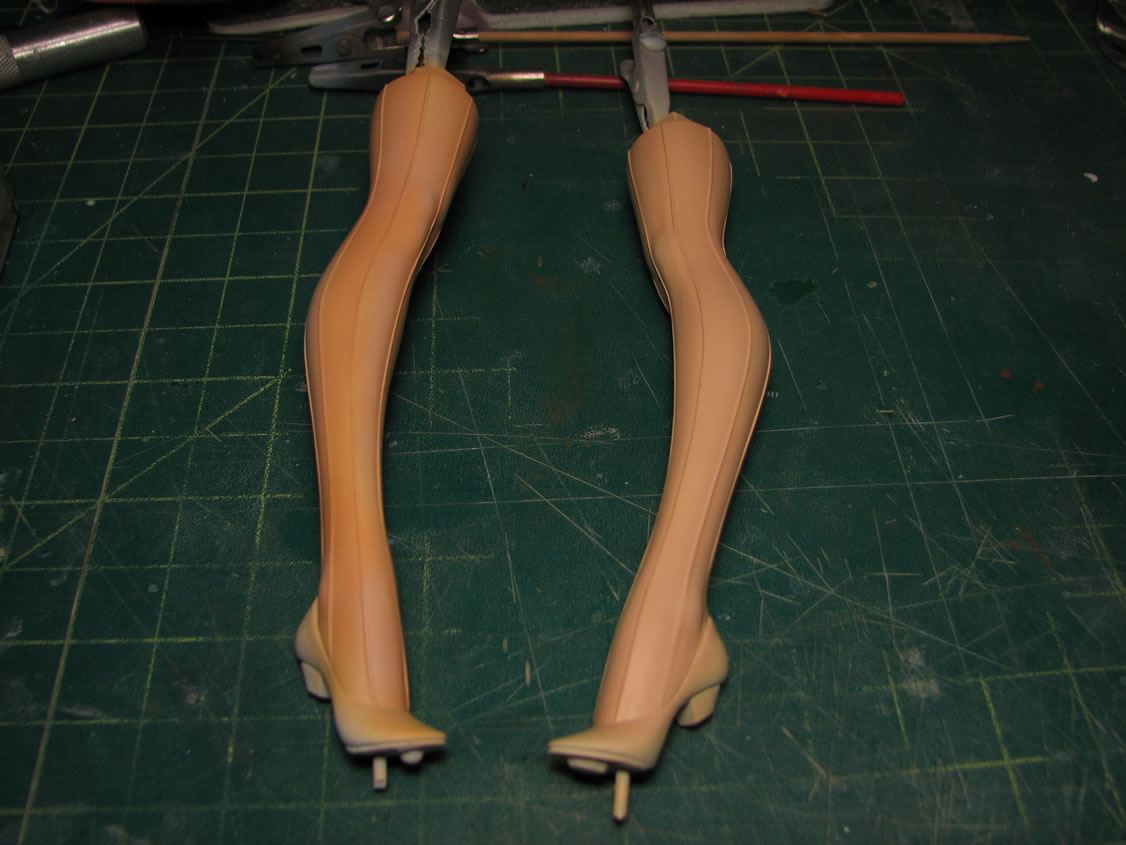
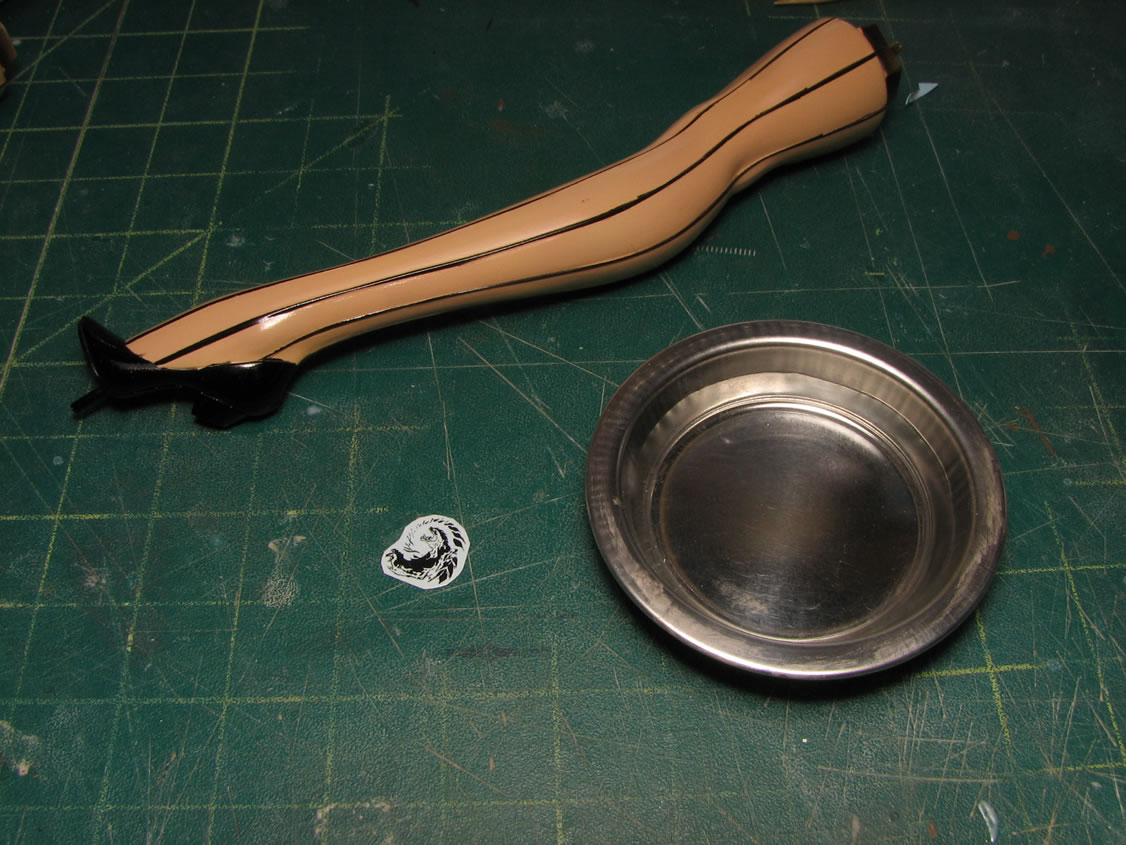
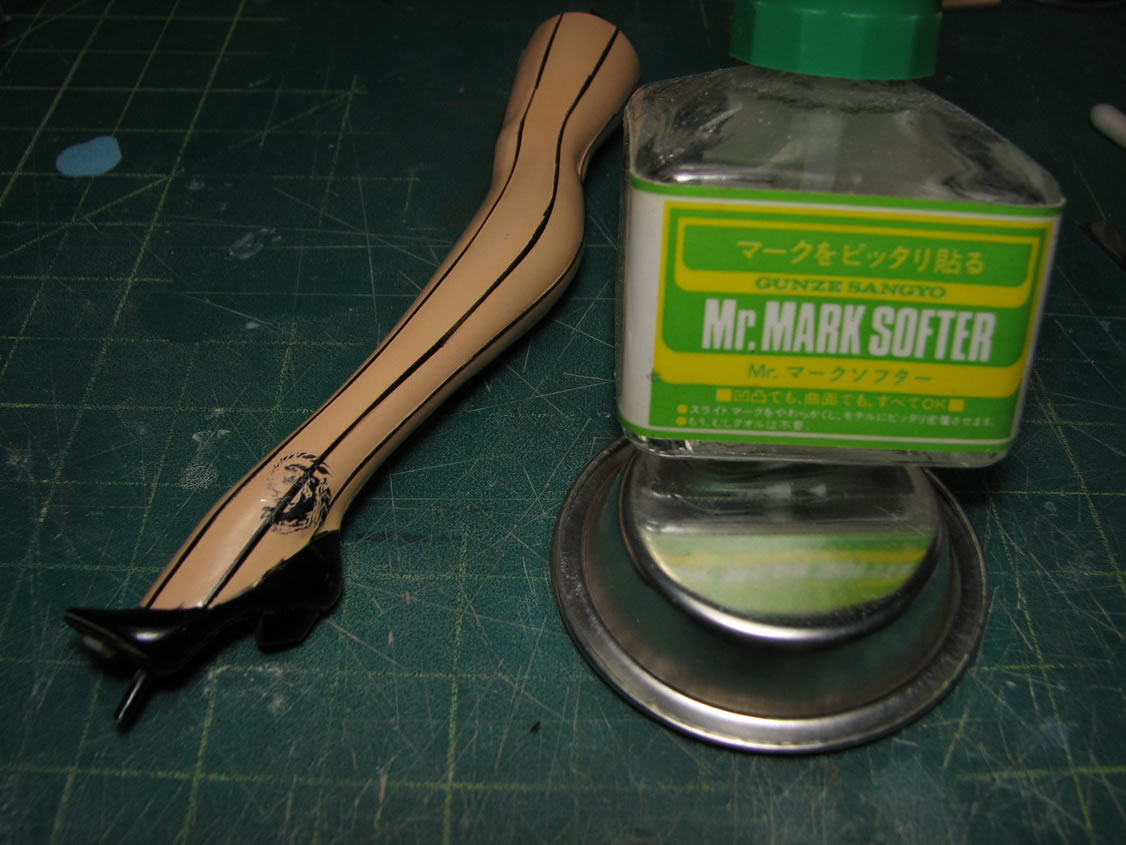
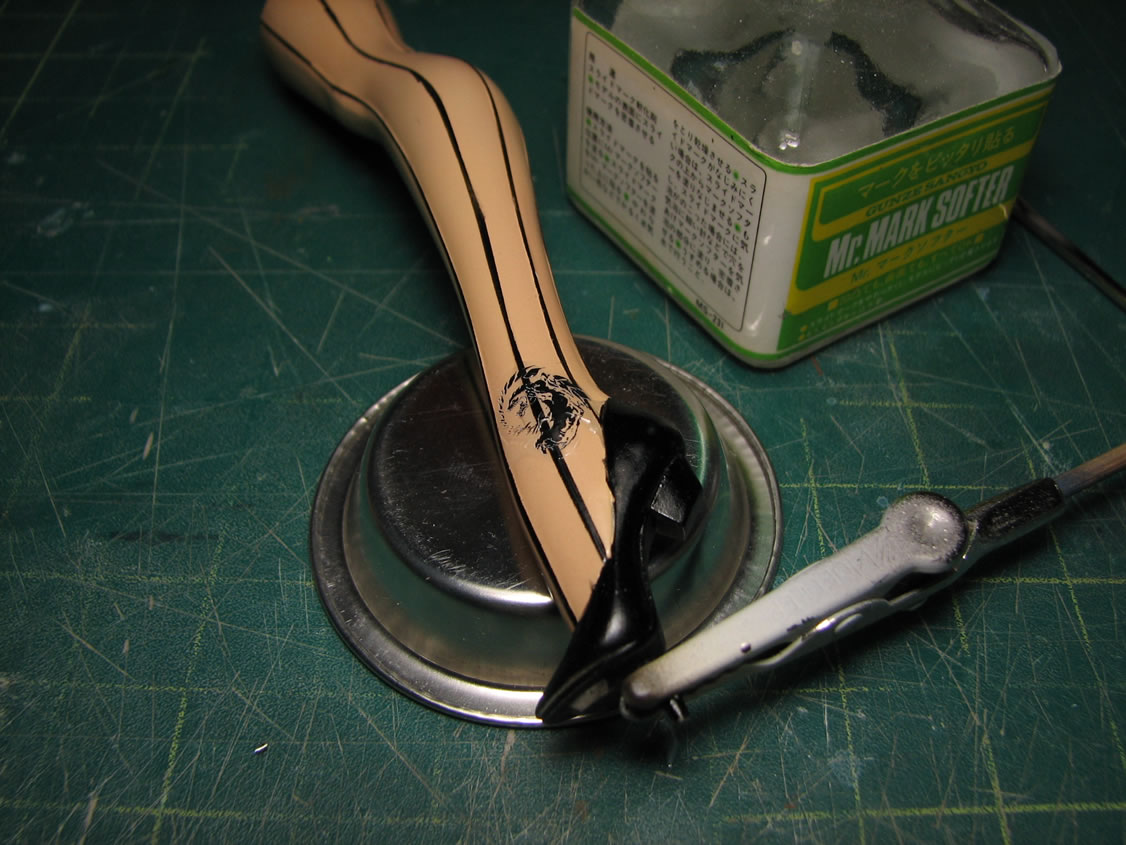
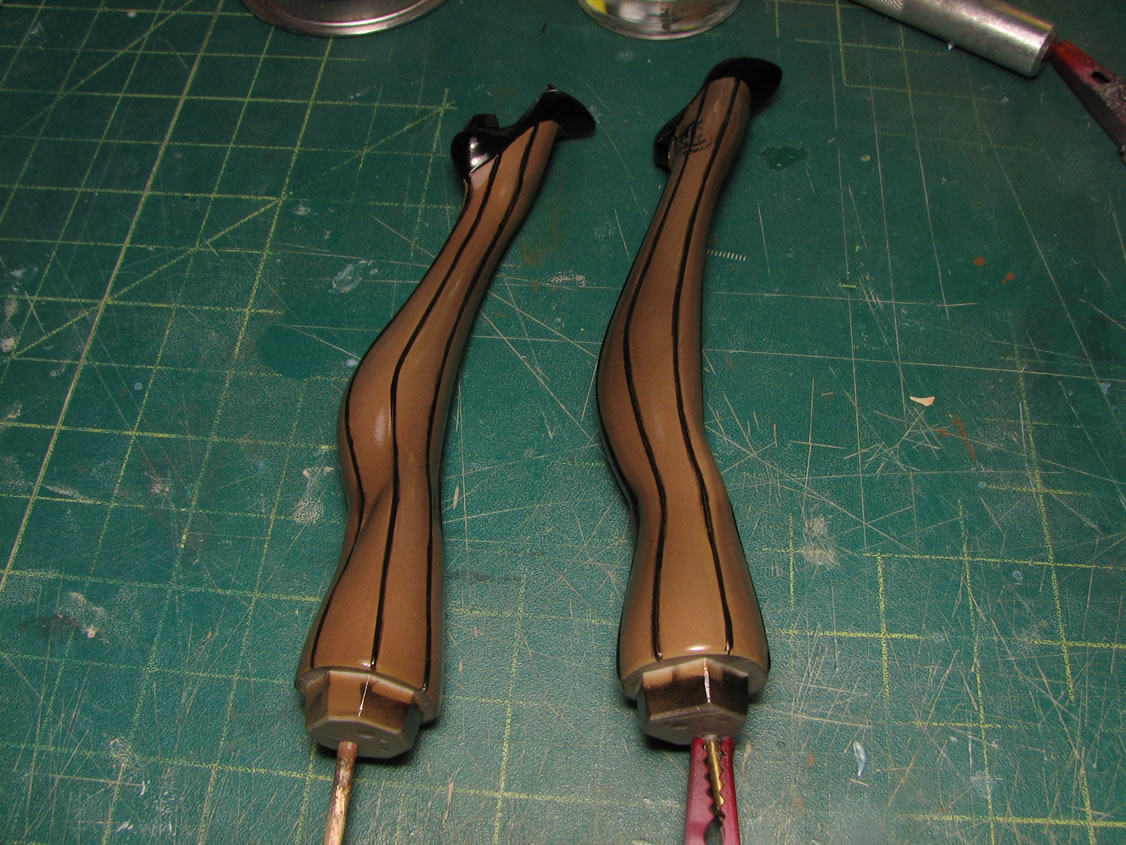
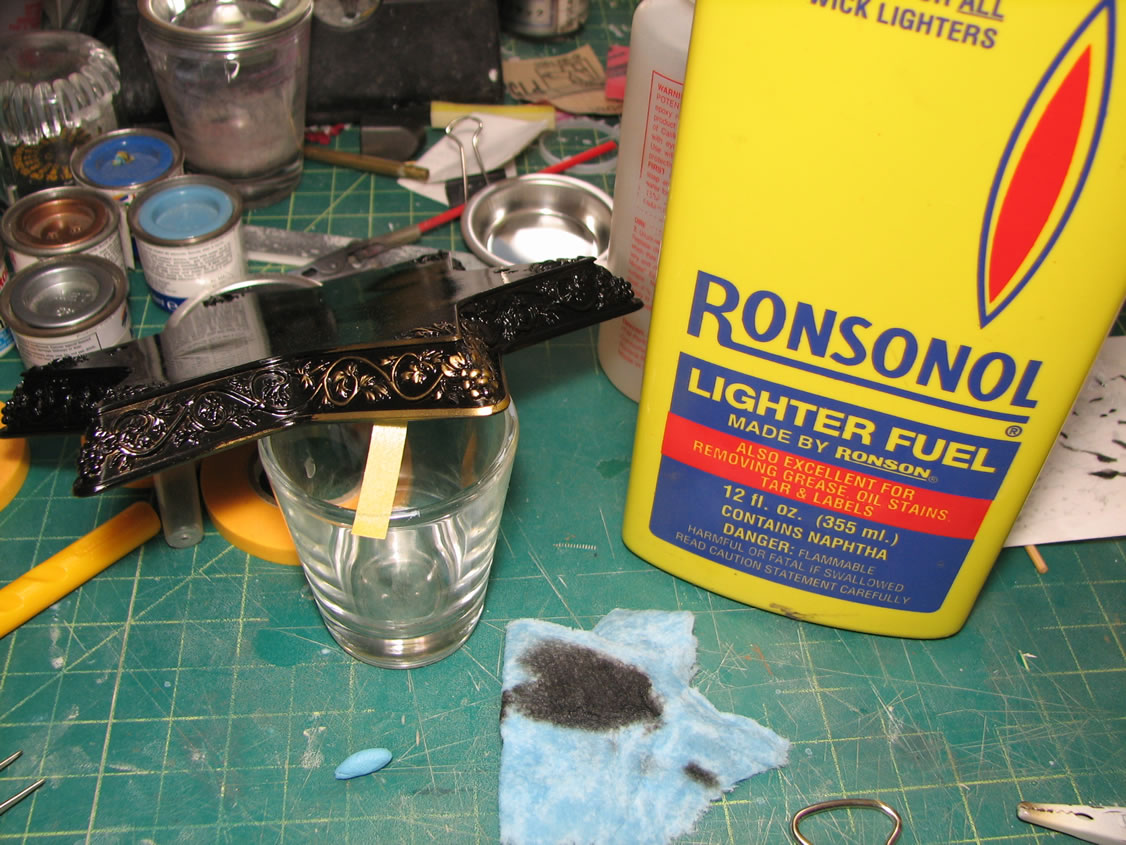
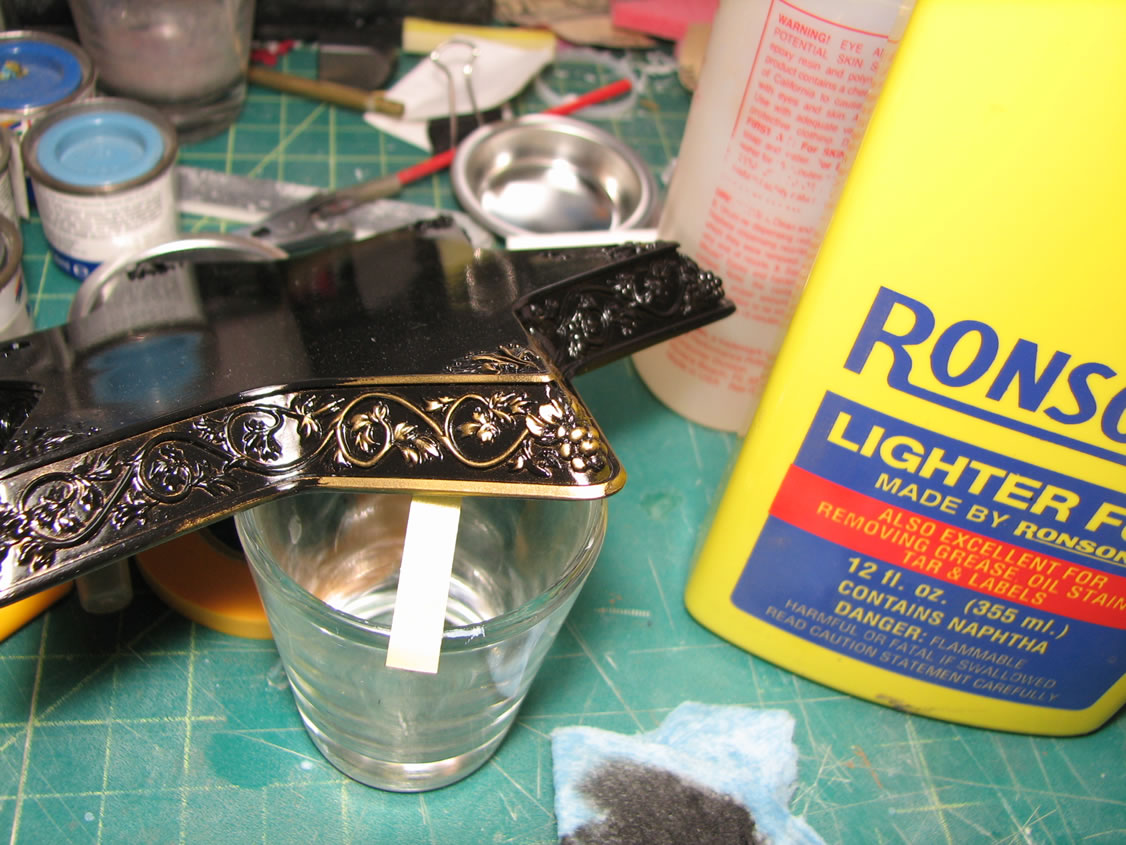
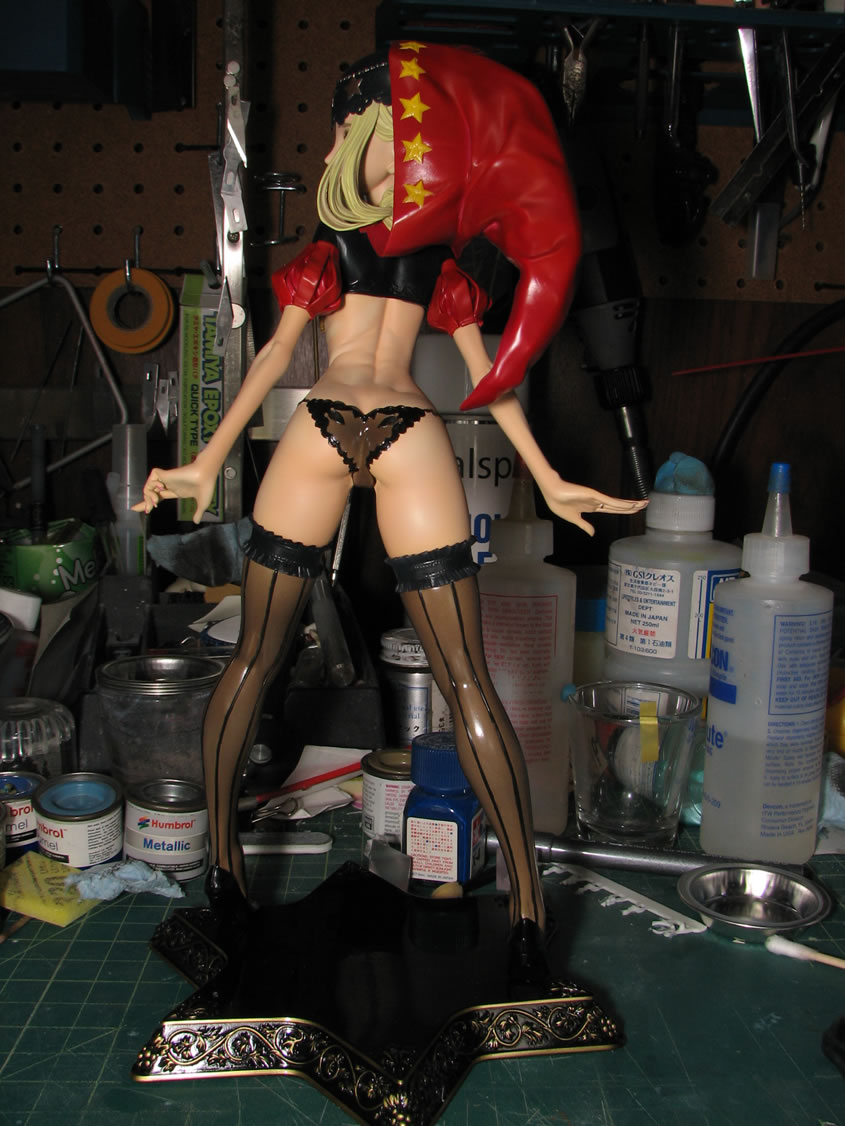
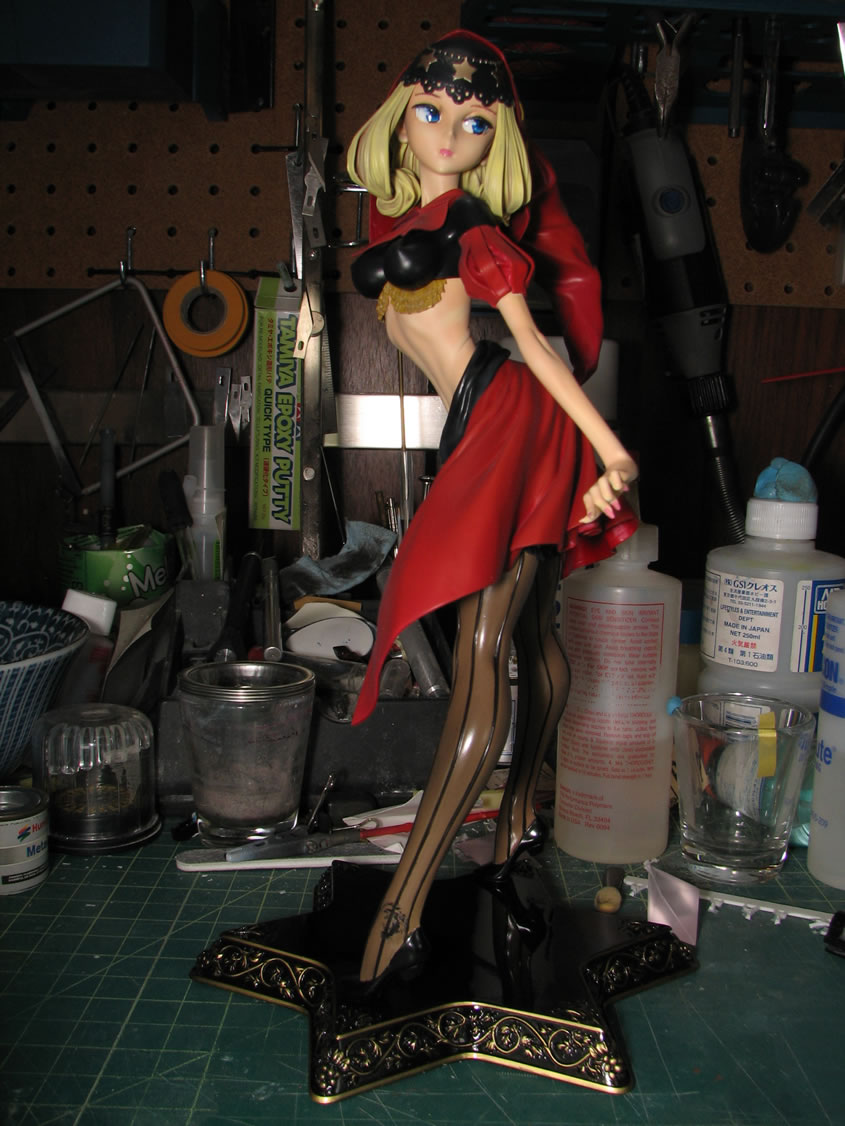
August 19, 2009: As stated earlier, I wasn't satisfied with the masking and painting job for the leg lines. The damn things are very difficult to do. I sprayed on a clear gloss to protect the skin tone first and foremost. Next I applied my standard decal tattoo. Set the decal with Mr Mark Softer, then went to fix the lines. A wash wasn't working out too well, so I used a copic .05 liner to fix the lines. Mistakes were taken care of with the handy dandy lighter fluid. I fixed to a some what decent finish. It's no where near perfect but I may go back and do some more additional work.
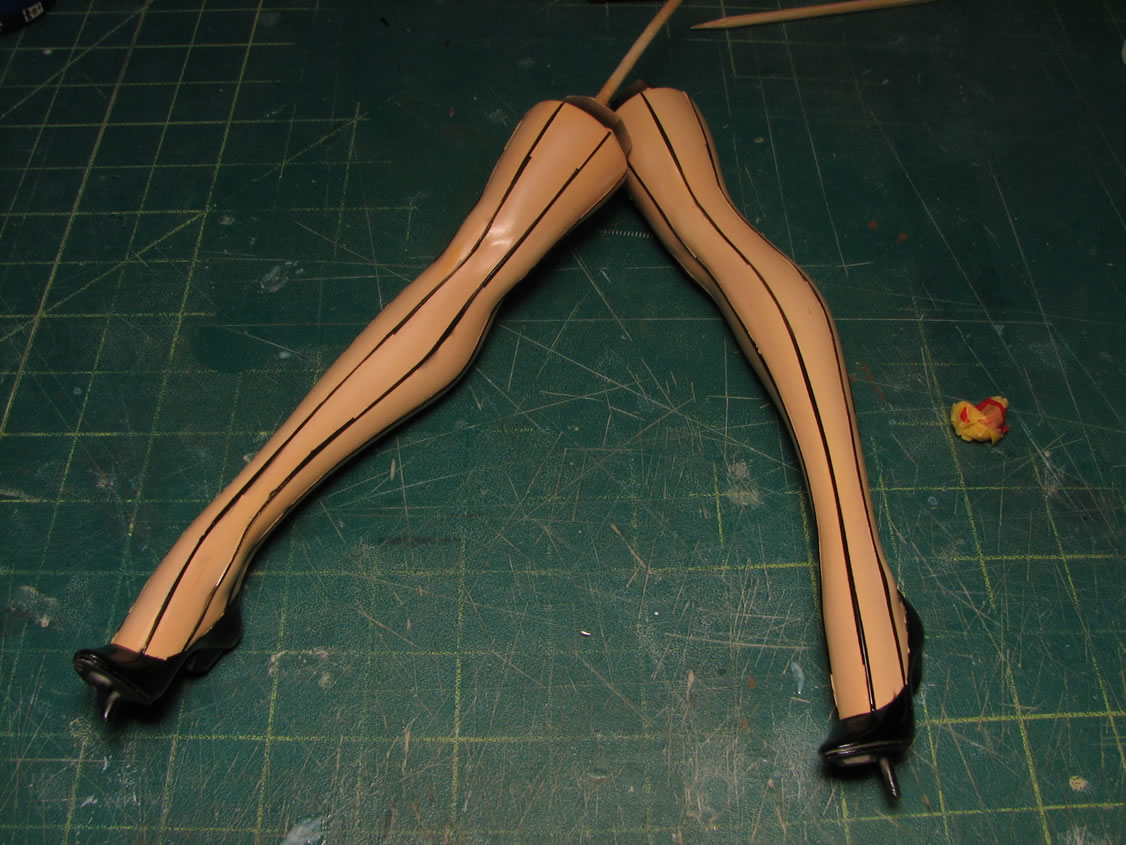
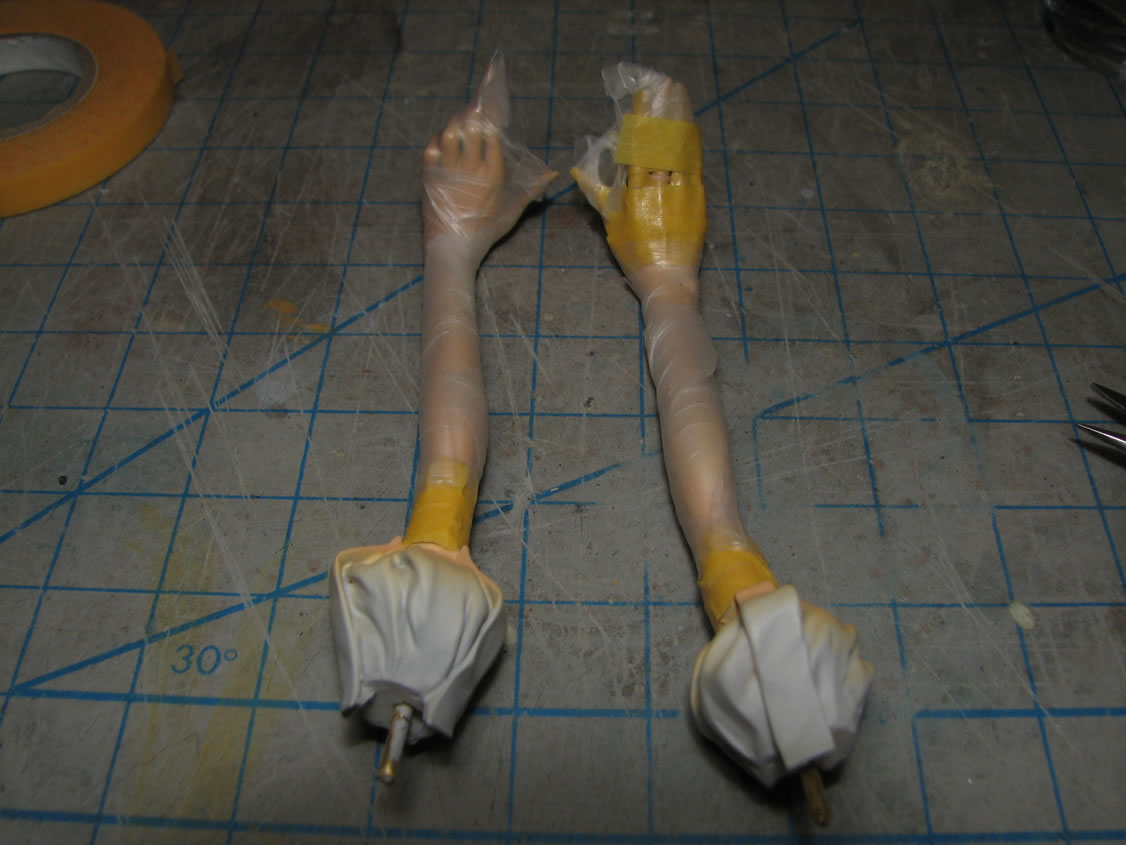
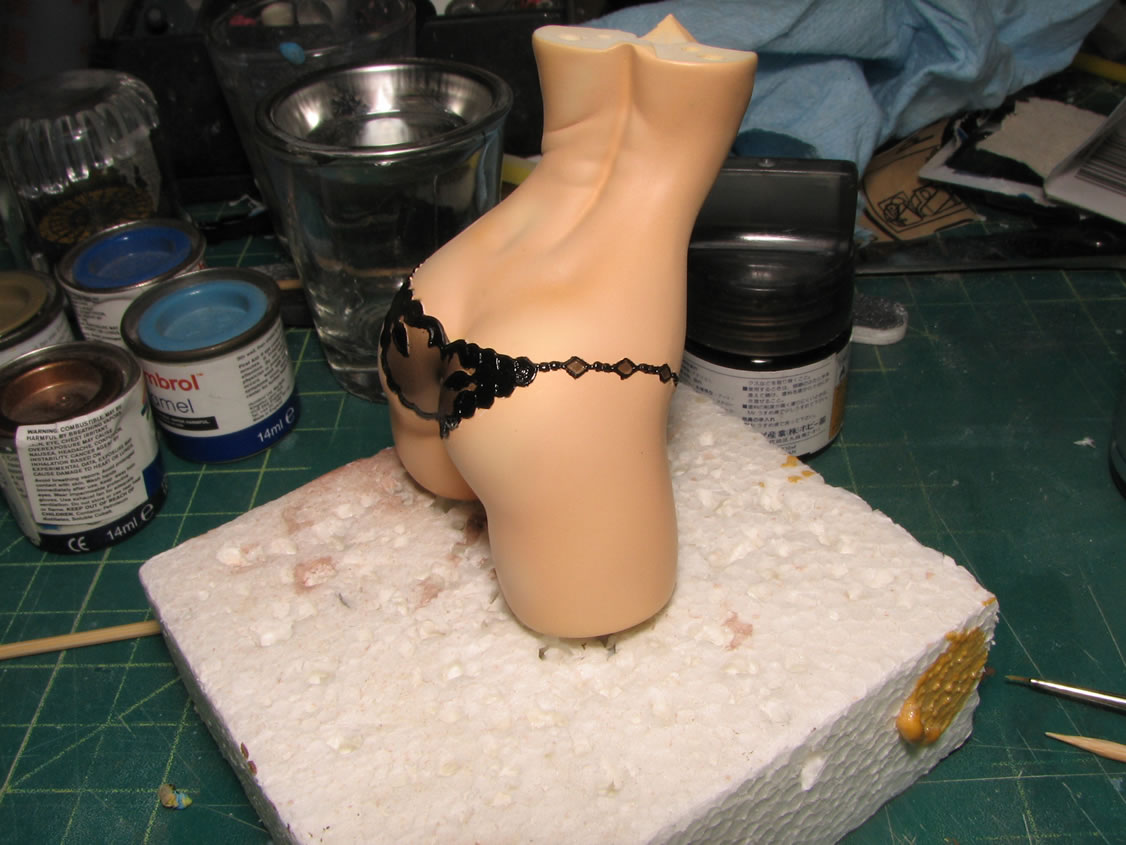
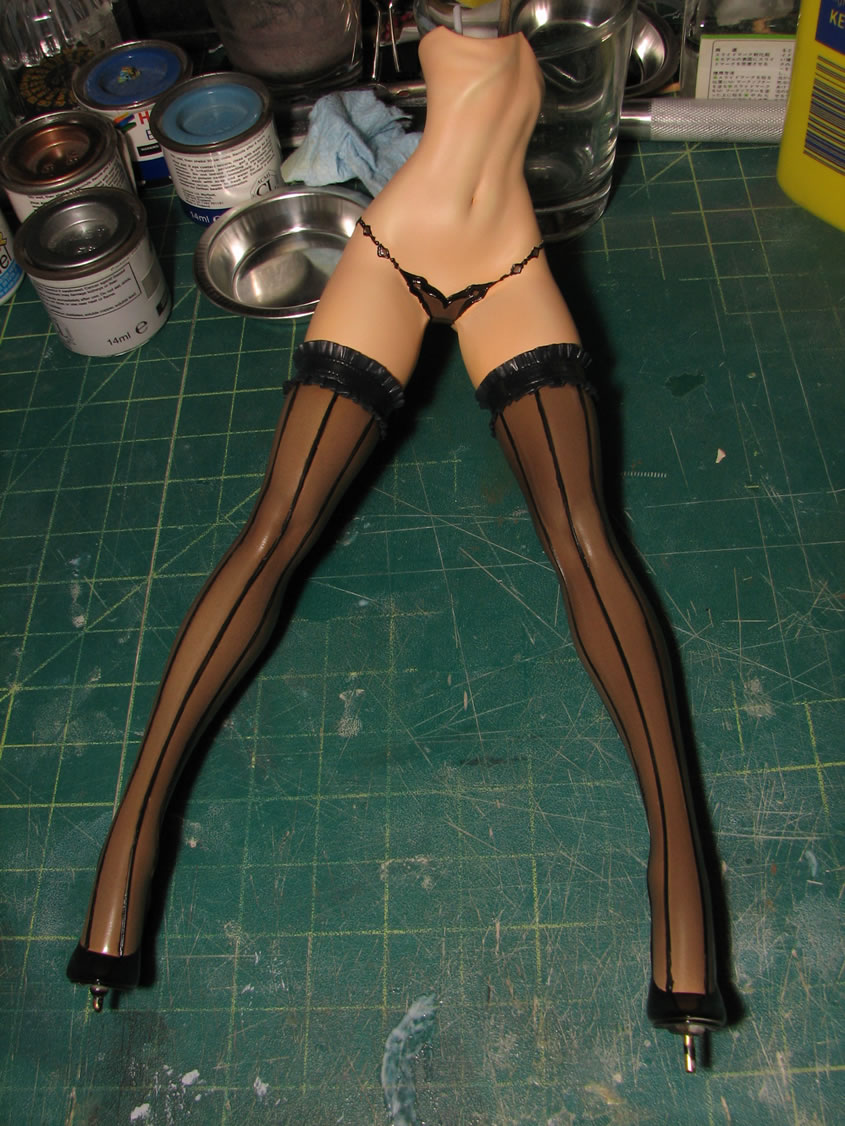
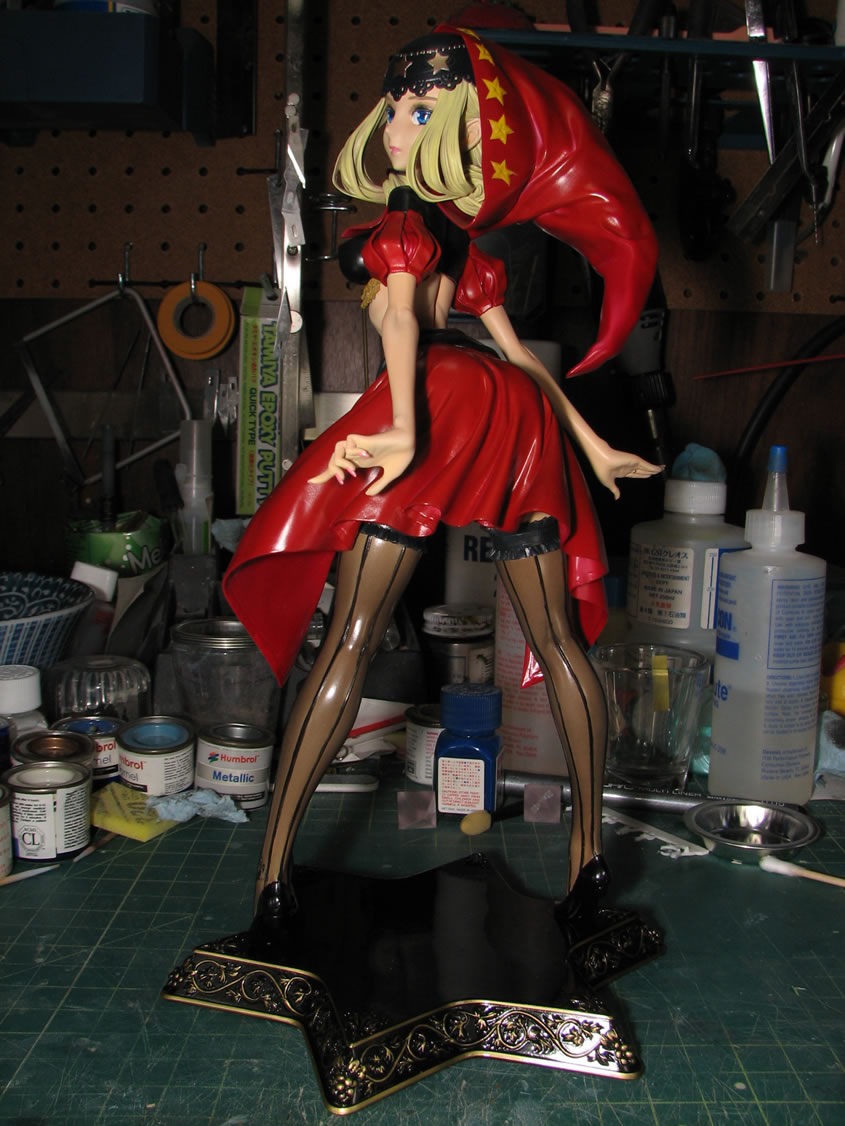
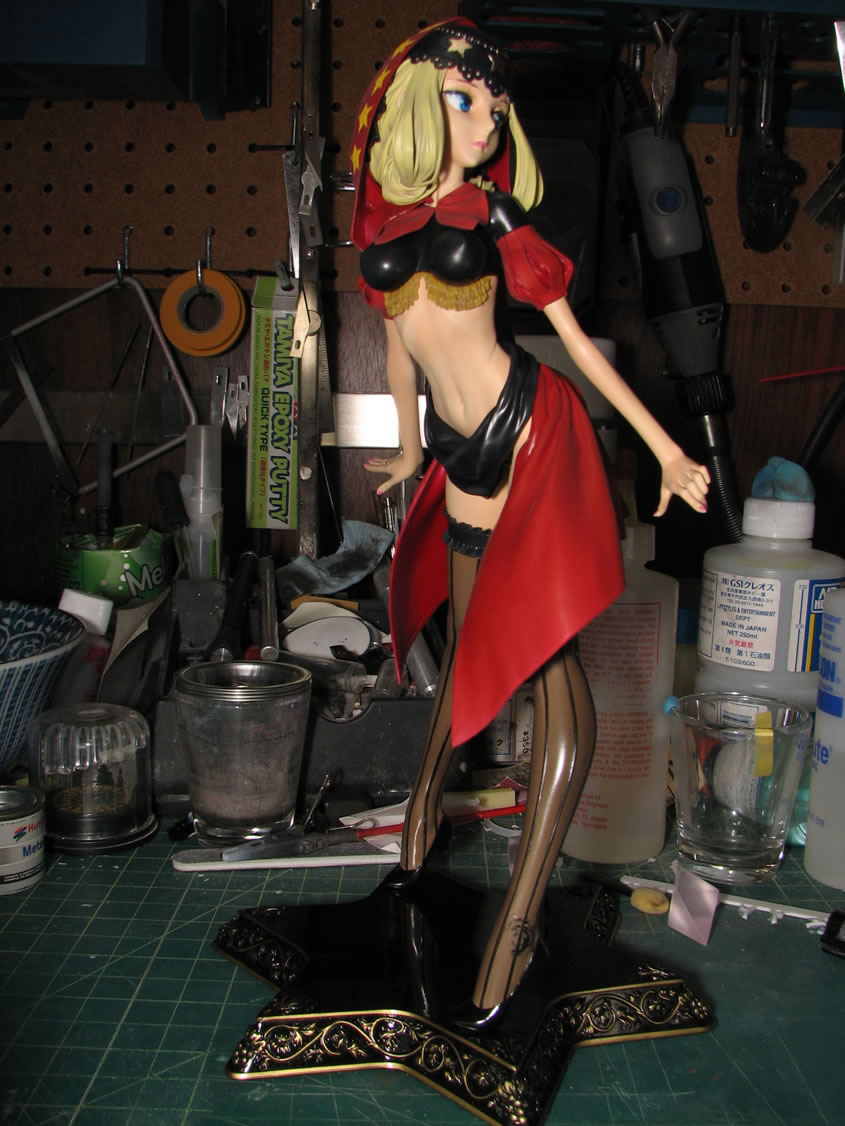
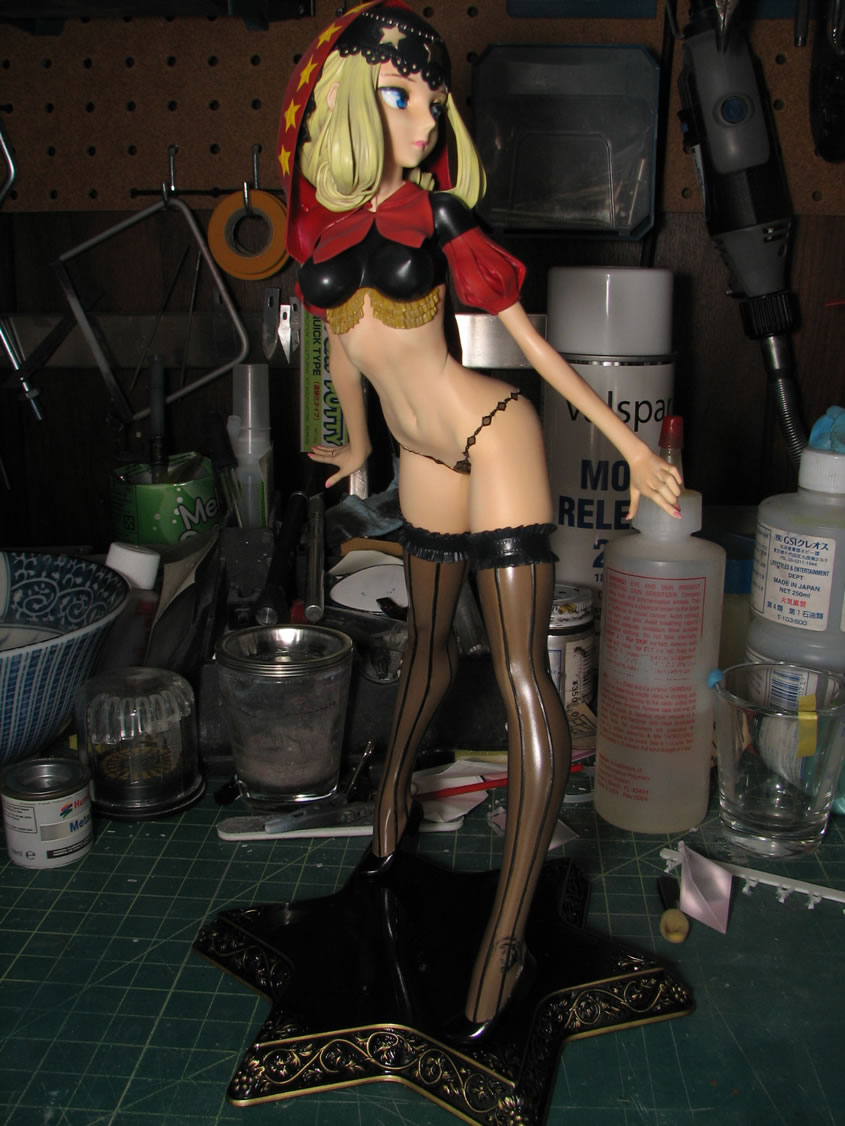
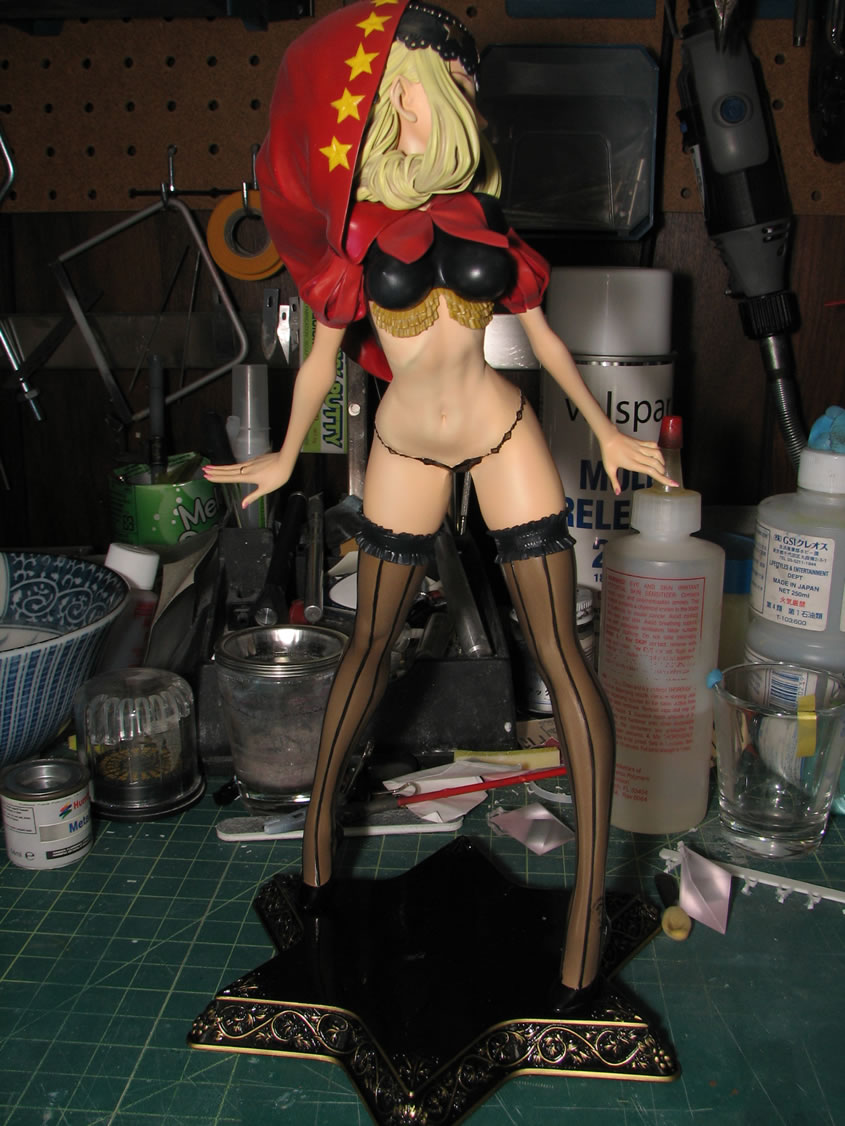
Next up, the same smoke gray that I used for the transparent panties, I used here to give the legs the look that she's wearing stockings. Since there were already stocking line details, I didn't feel like sanding down the lines and resculpting them, cutting the shoes off, and creating a nylon sock as her stockings. Besides, I have yet to create the illusions of stockings through the use of paints. I think it came out decently. I also sprayed on a clear semi gloss to drop the ultra glossy finish that was left after spraying the clear smoke gray.
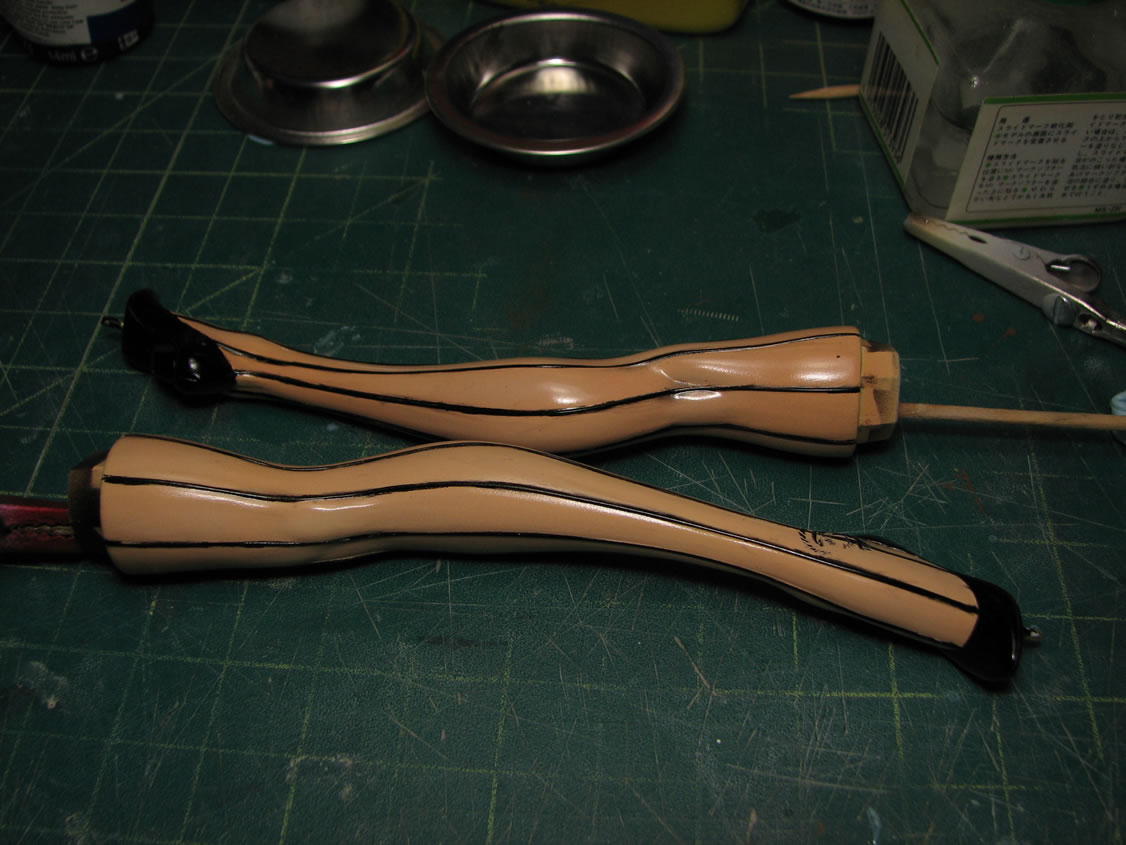
The semi gloss was also sprayed on the other black and red pieces. After the legs dried a bit, I attached them to the body for a quick picture.
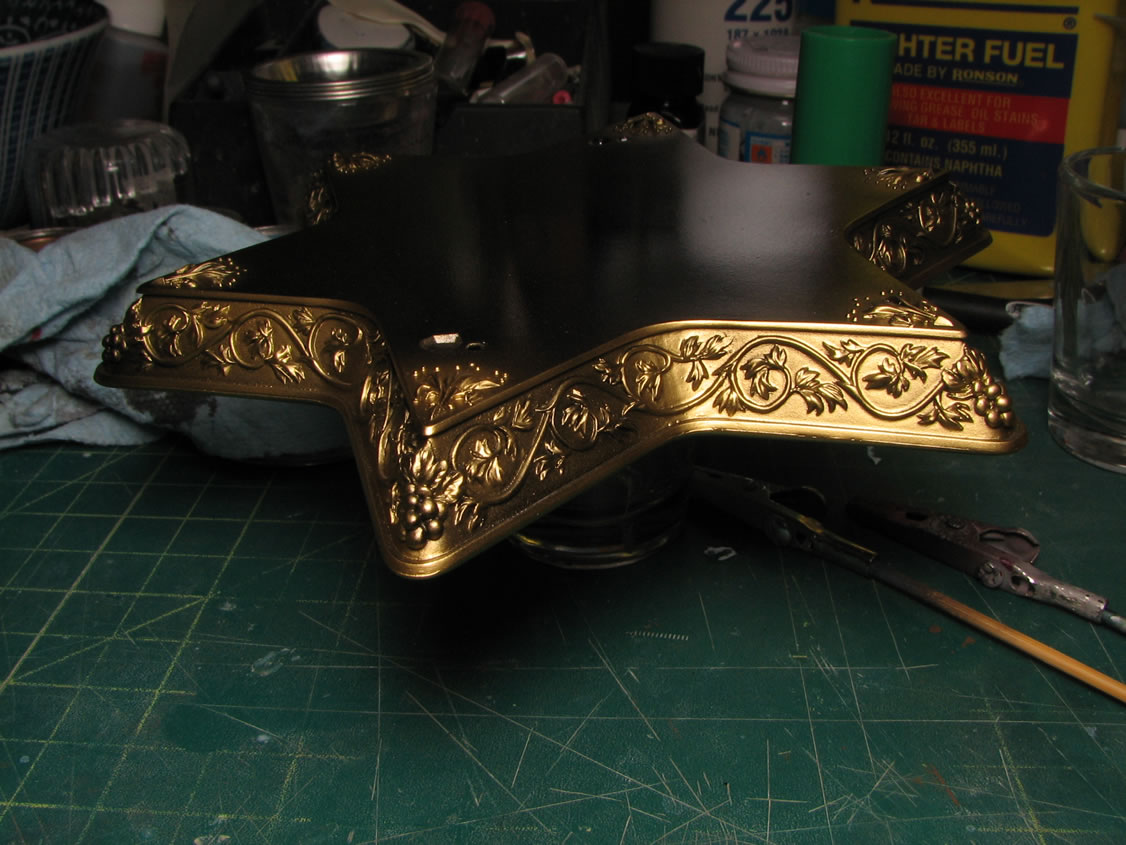
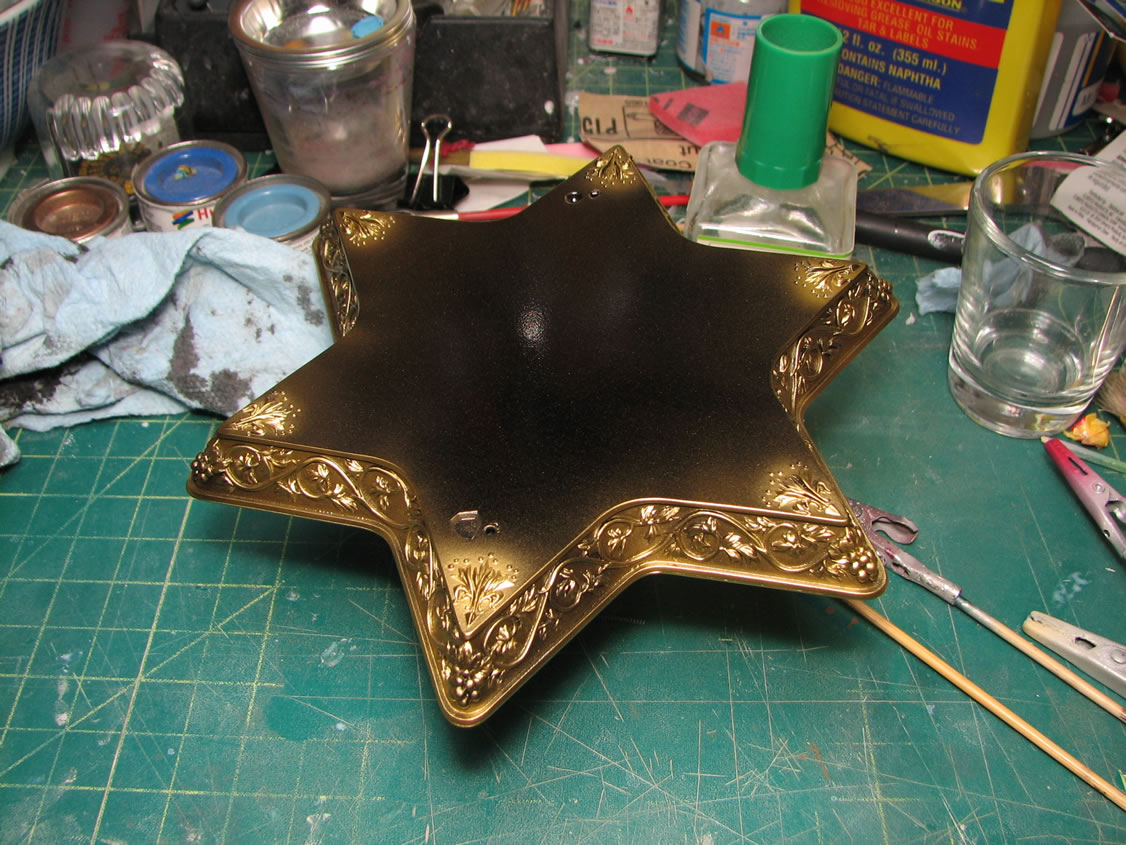
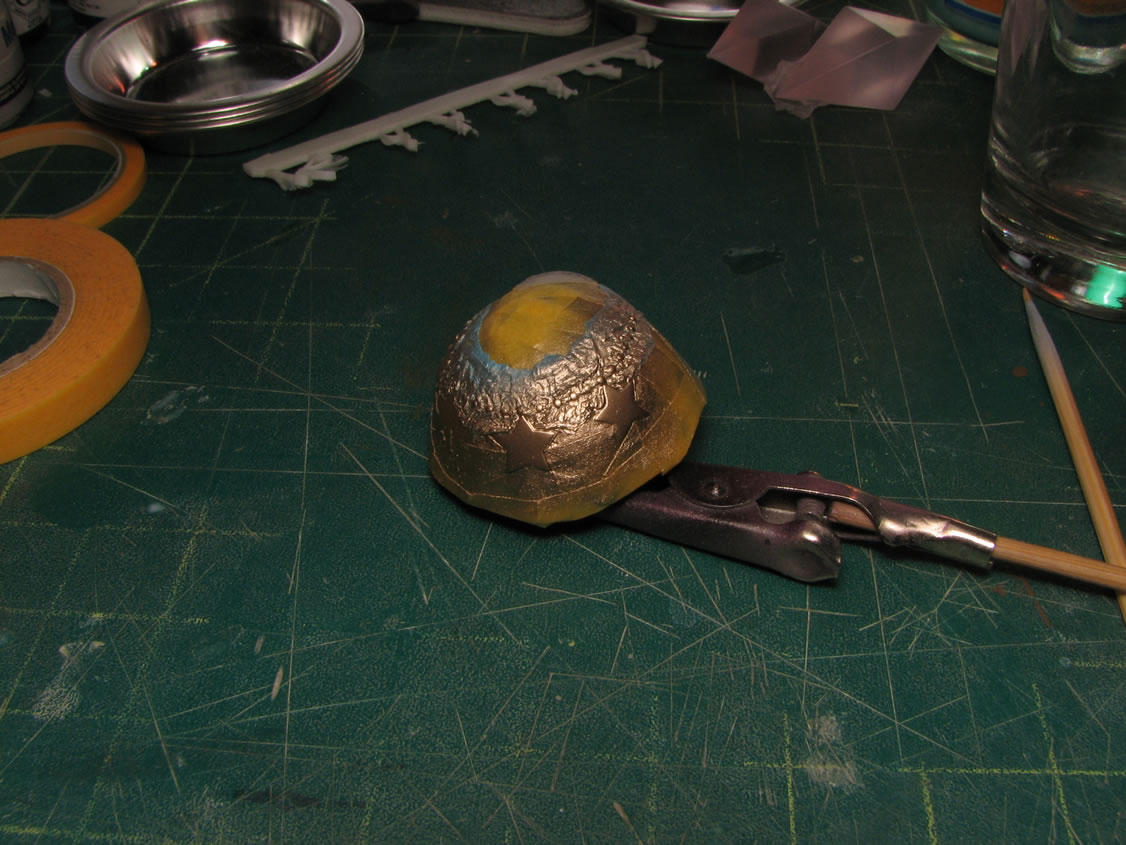
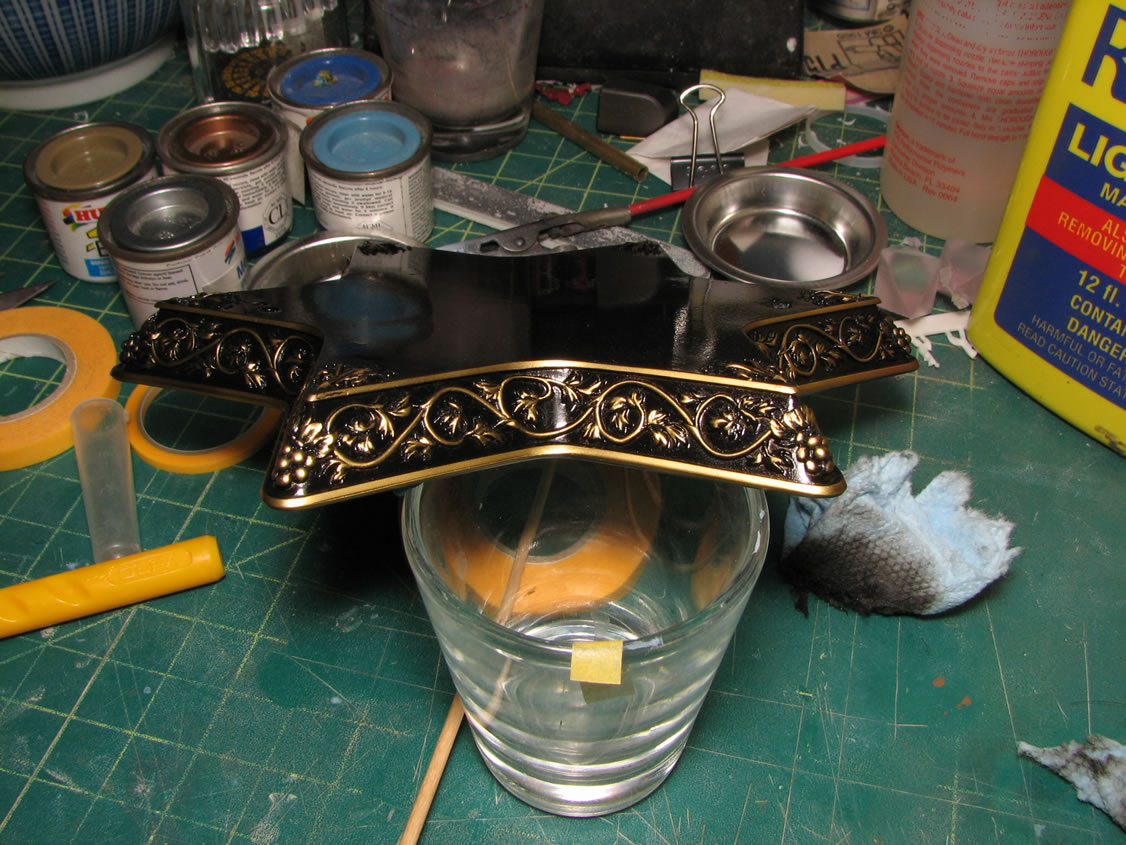
I'm going to try a new technique for painting the gold details on the base. I had first painted the surface with finisher's pure black which is a gloss and lacquer based paint. Over this, I used finisher's hot gold (red gold) and just sprayed the details areas. Hopefully, the next update will show the continuation for this techinque.
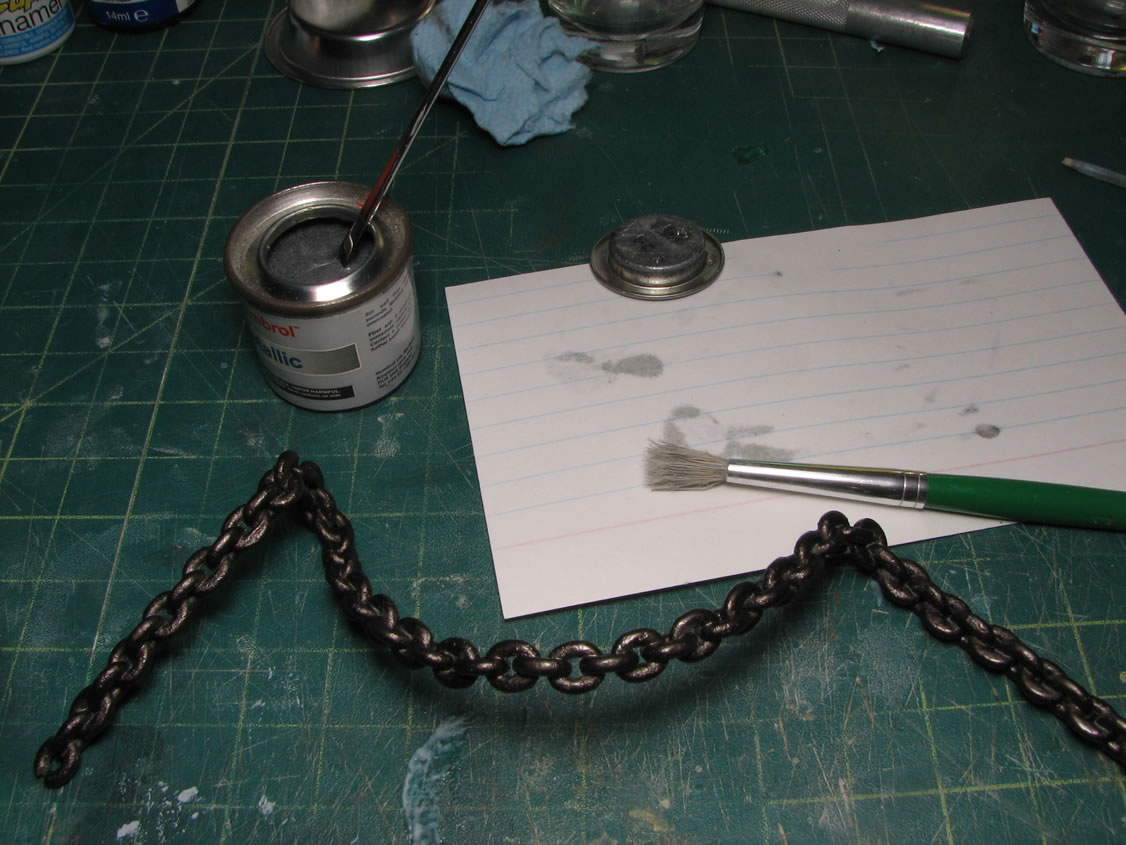
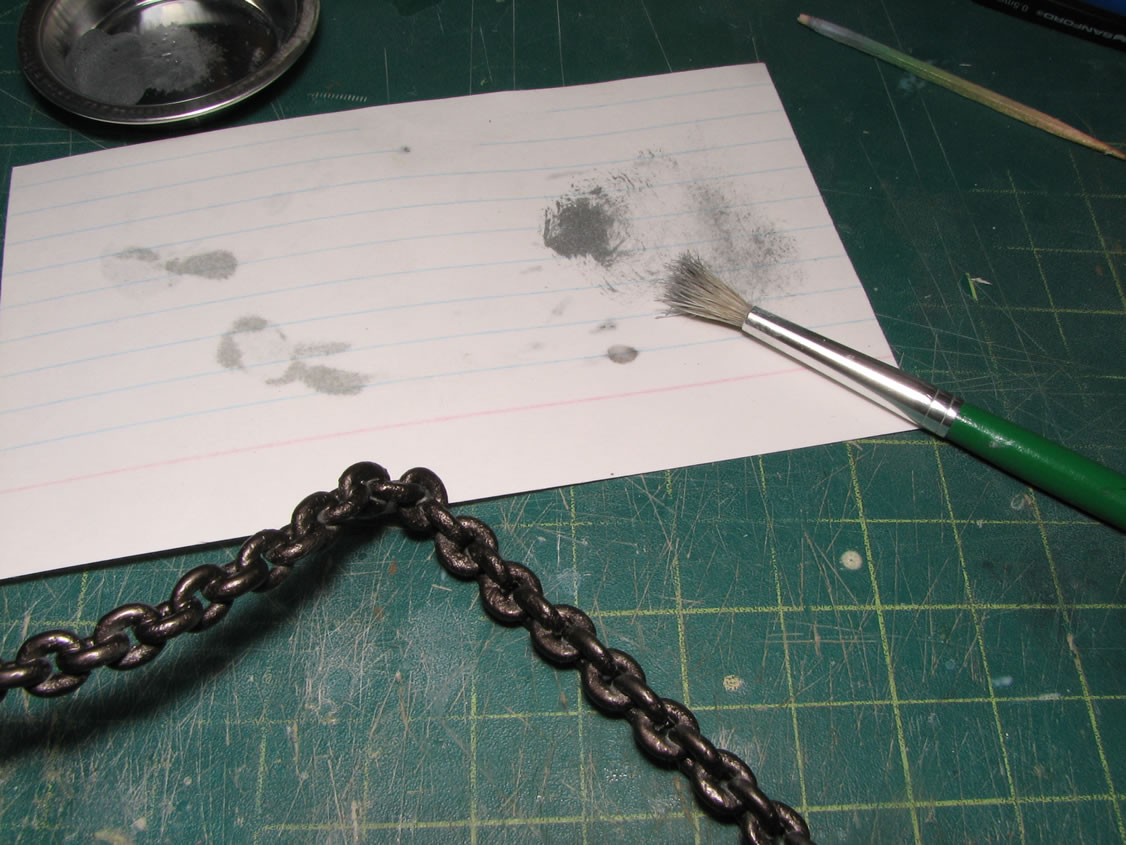
I applied a dry brushing session of aluminum to the chain to give it some added depth. I still need to finish sanding and working on the rest of the chain parts.
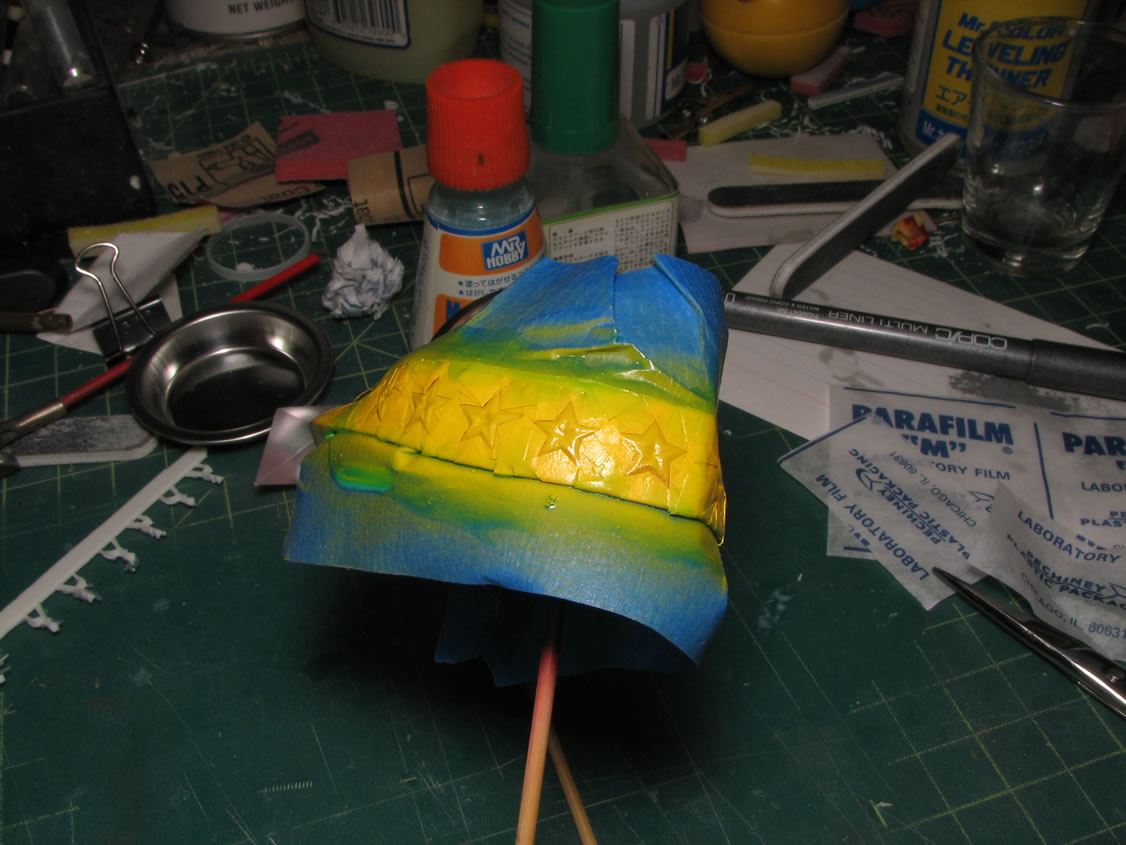
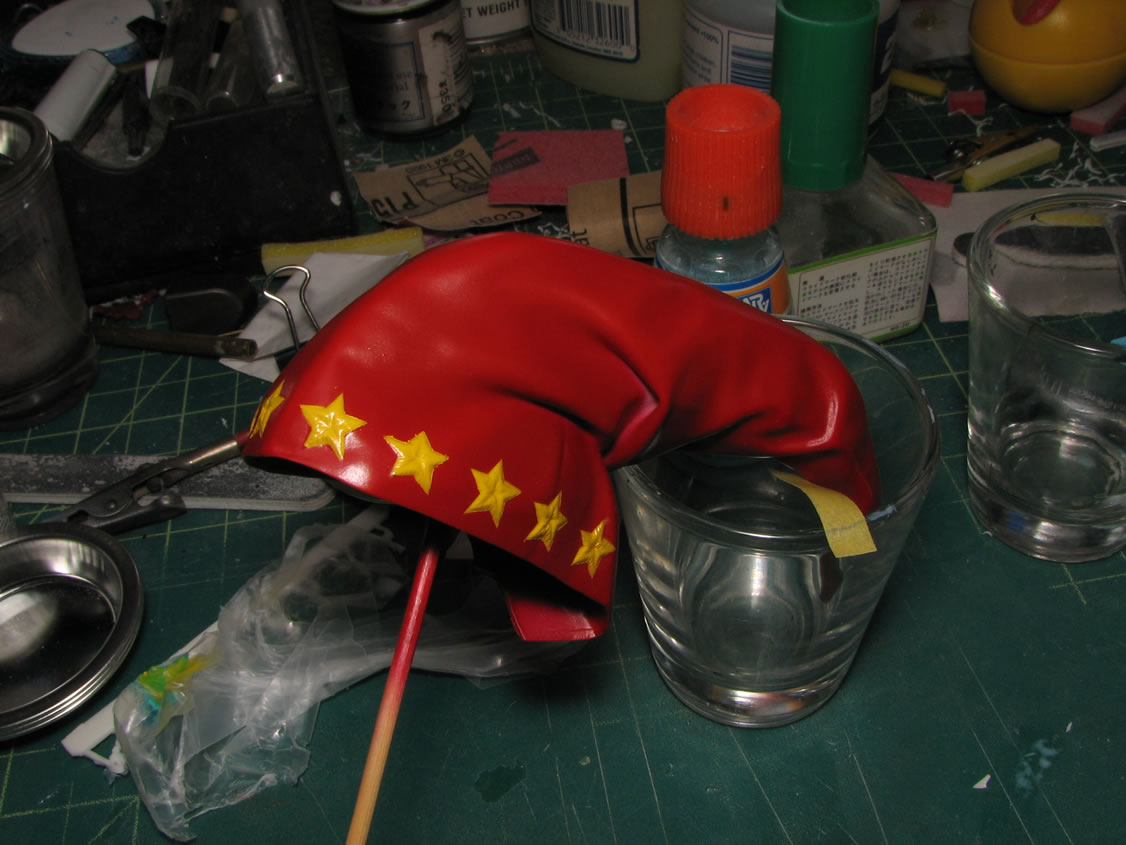
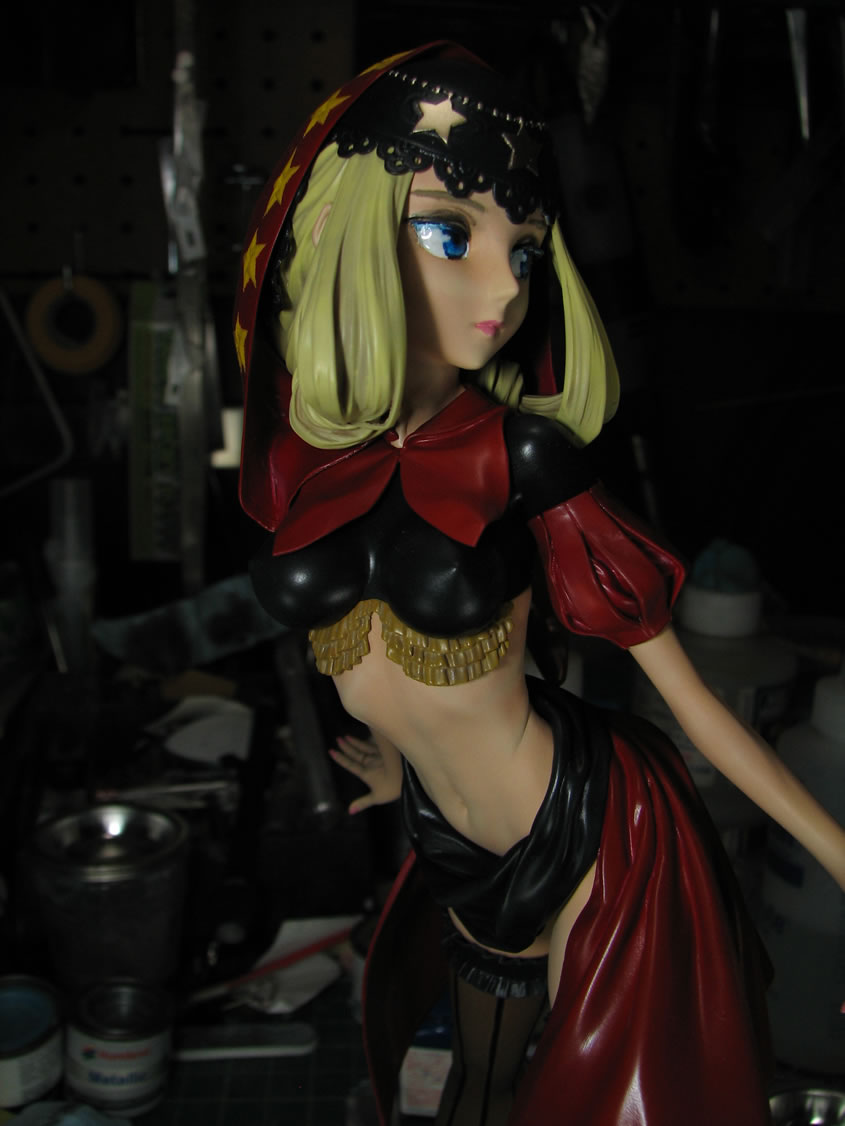
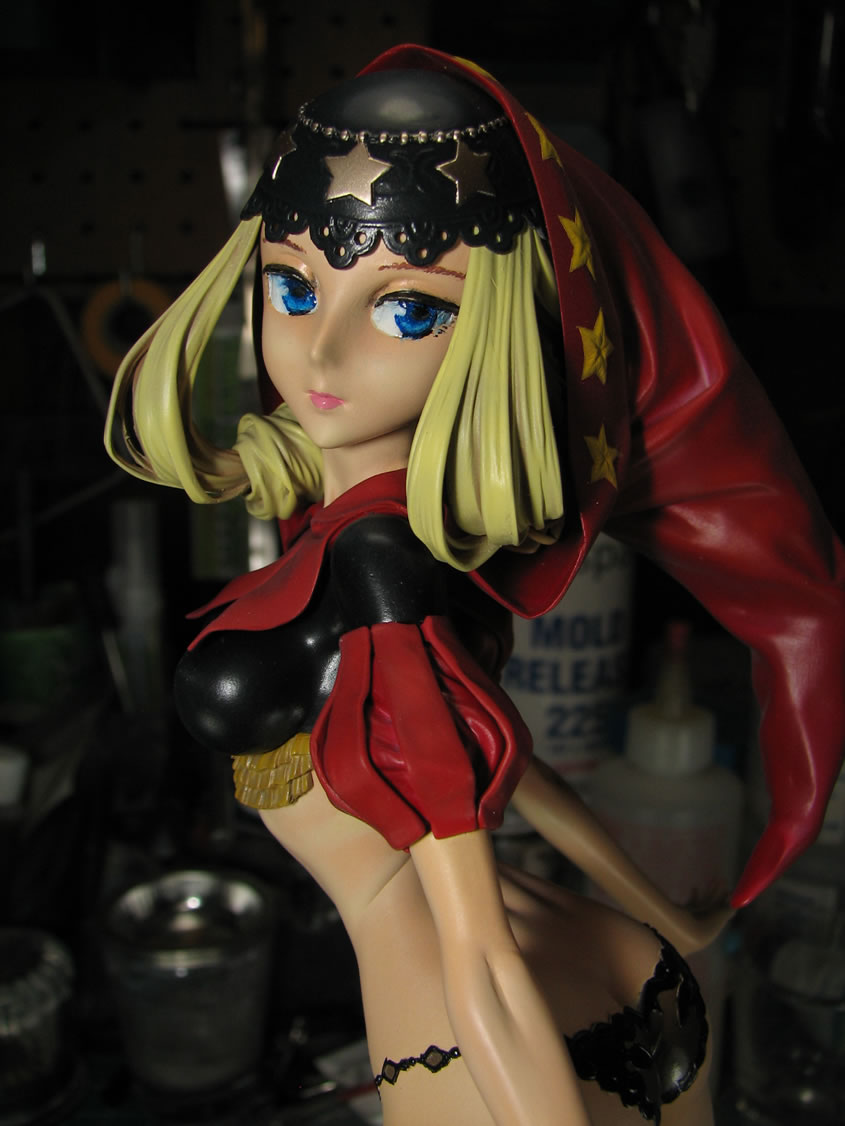
August 21, 2009: Quick little update before the weekend starts. I masked off the hat and her head piece to paint in the details.
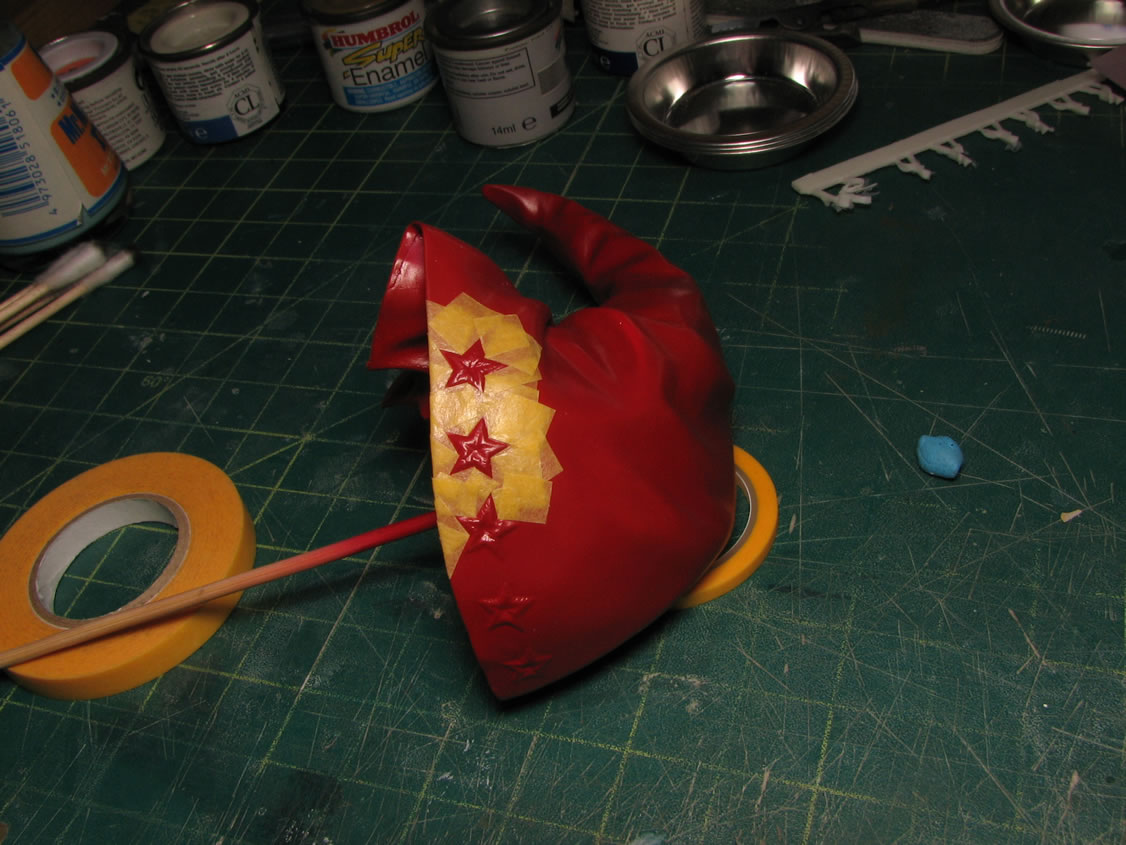

The head piece. I used Finisher's Knight's Gold so as to differientiate from the other gold I used on the base.
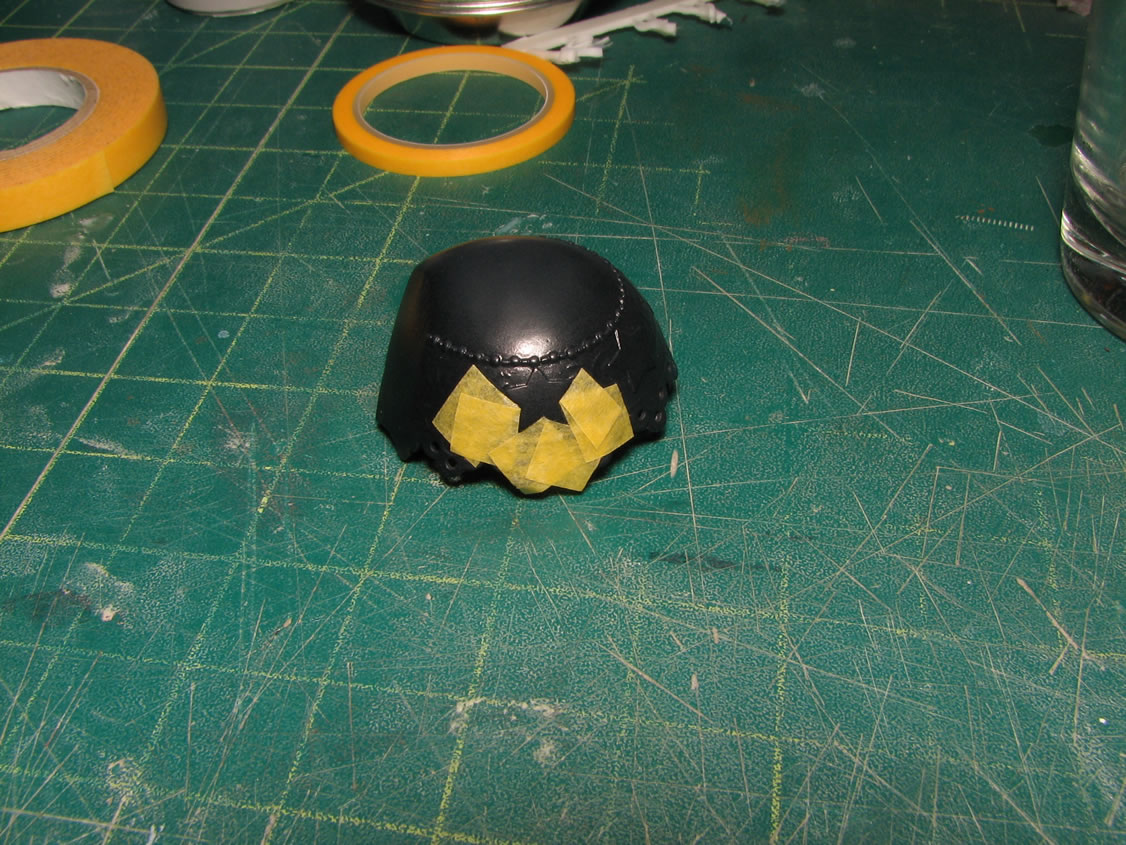
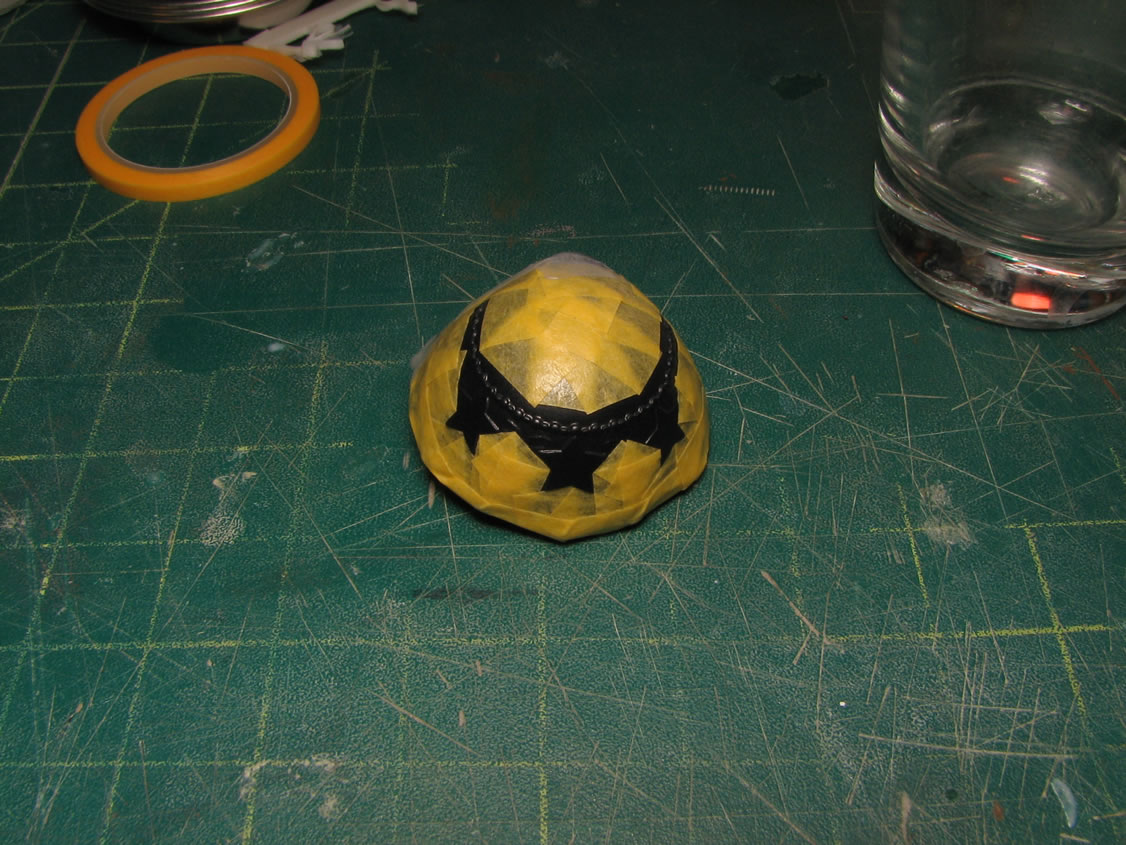
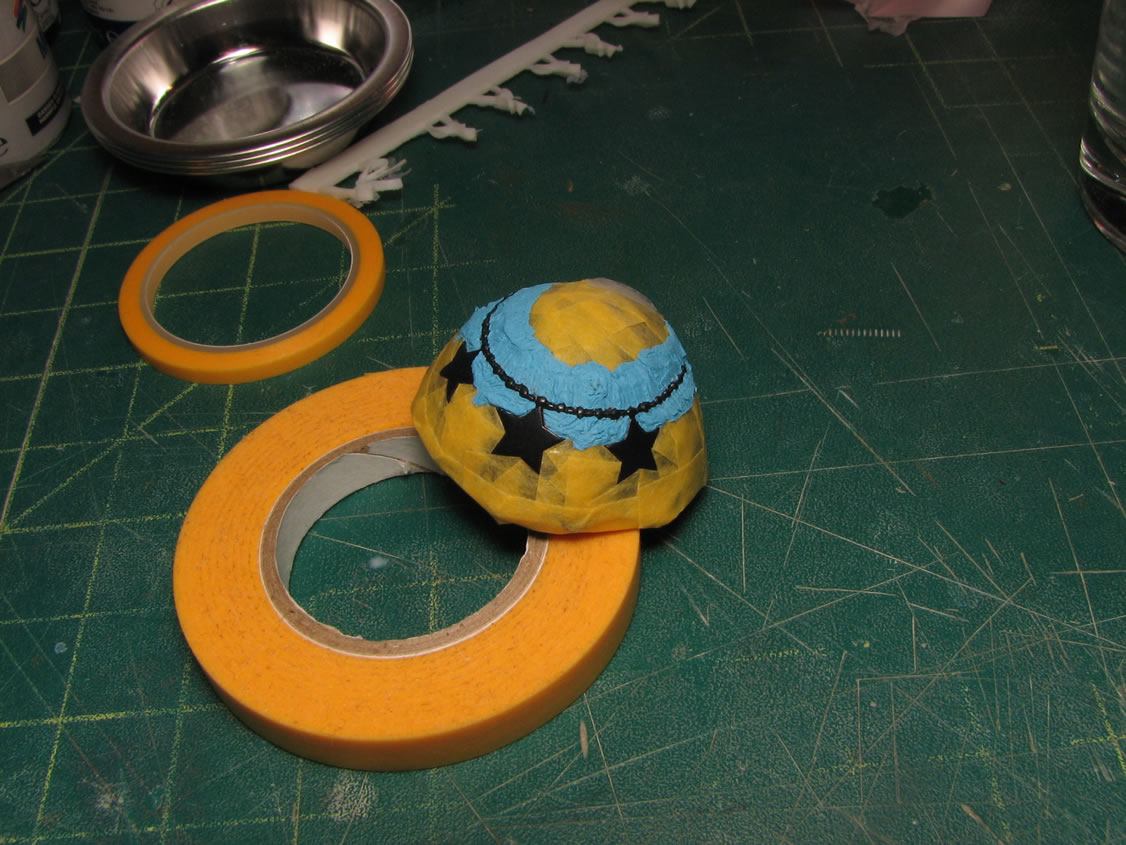
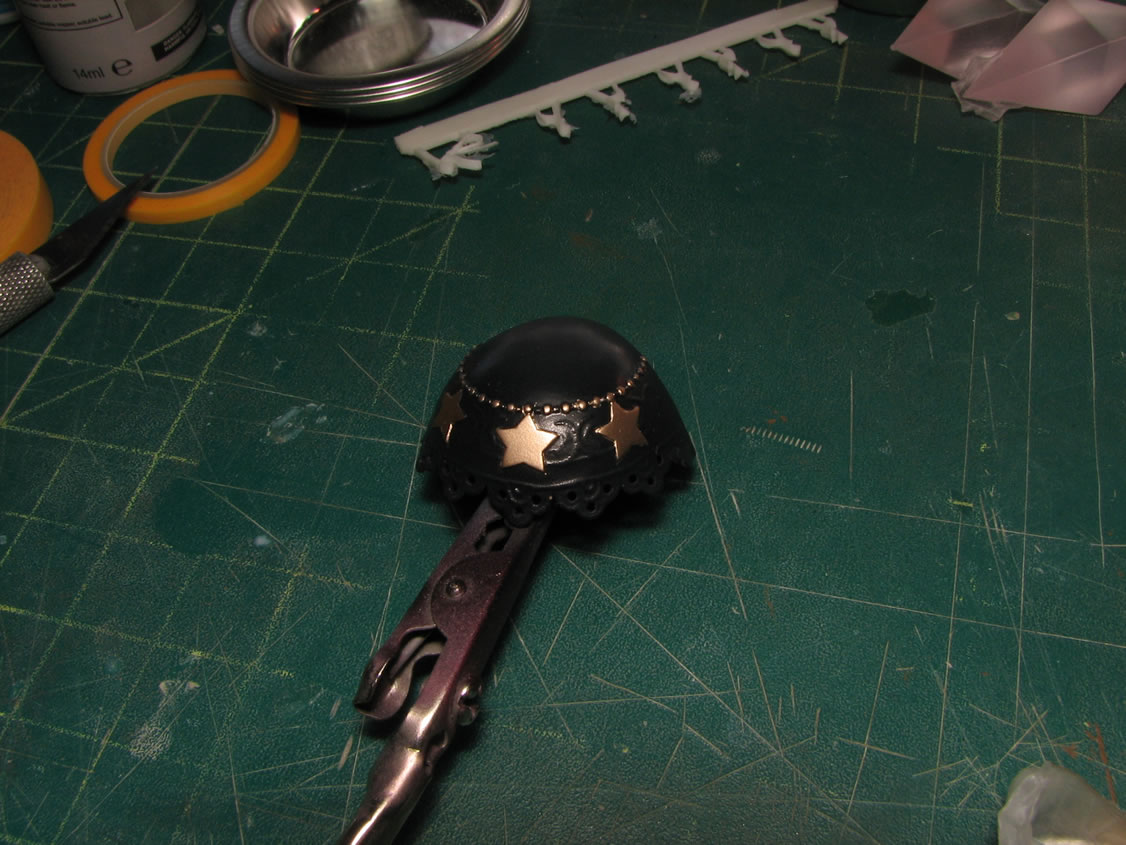
This is a technique I will name the "reverse wash". Basically, using the properties of the different paints, I can paint in fine raised details without the trouble of masking off the large areas. For more details on this technique, read here: Reverse Wash Tutorial
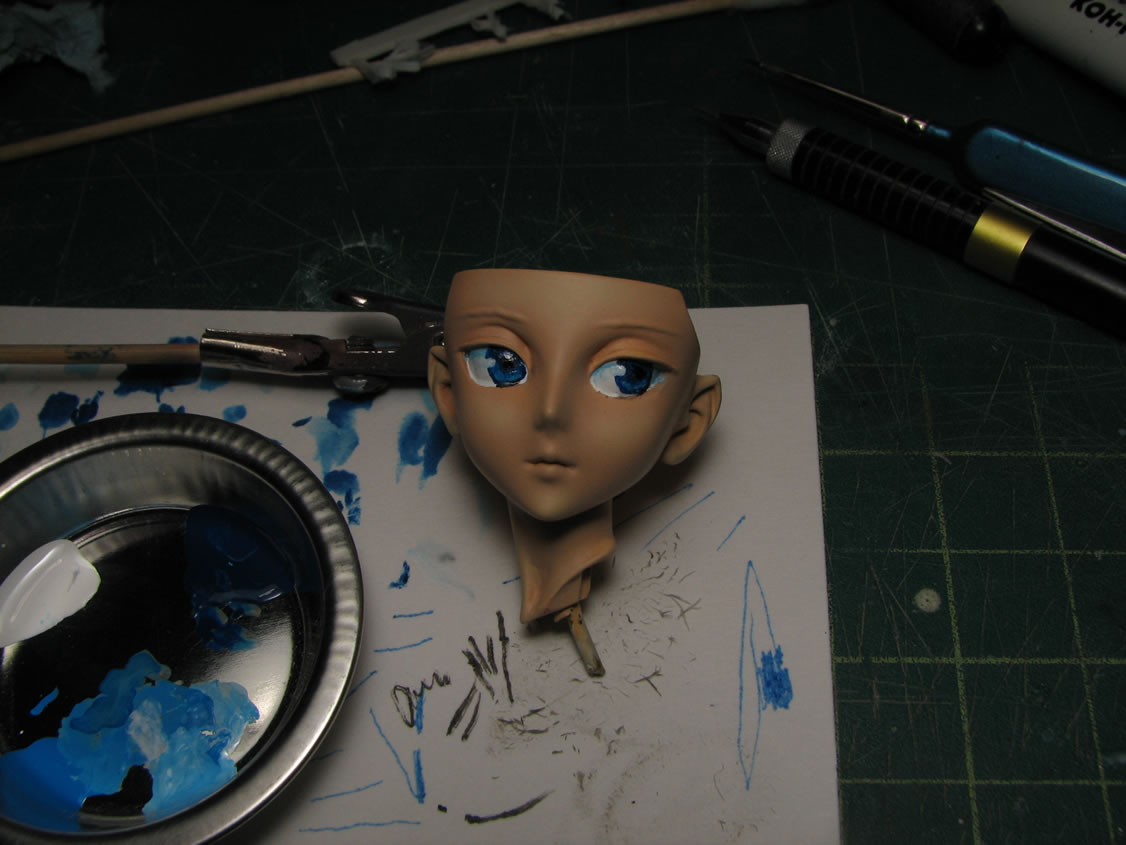
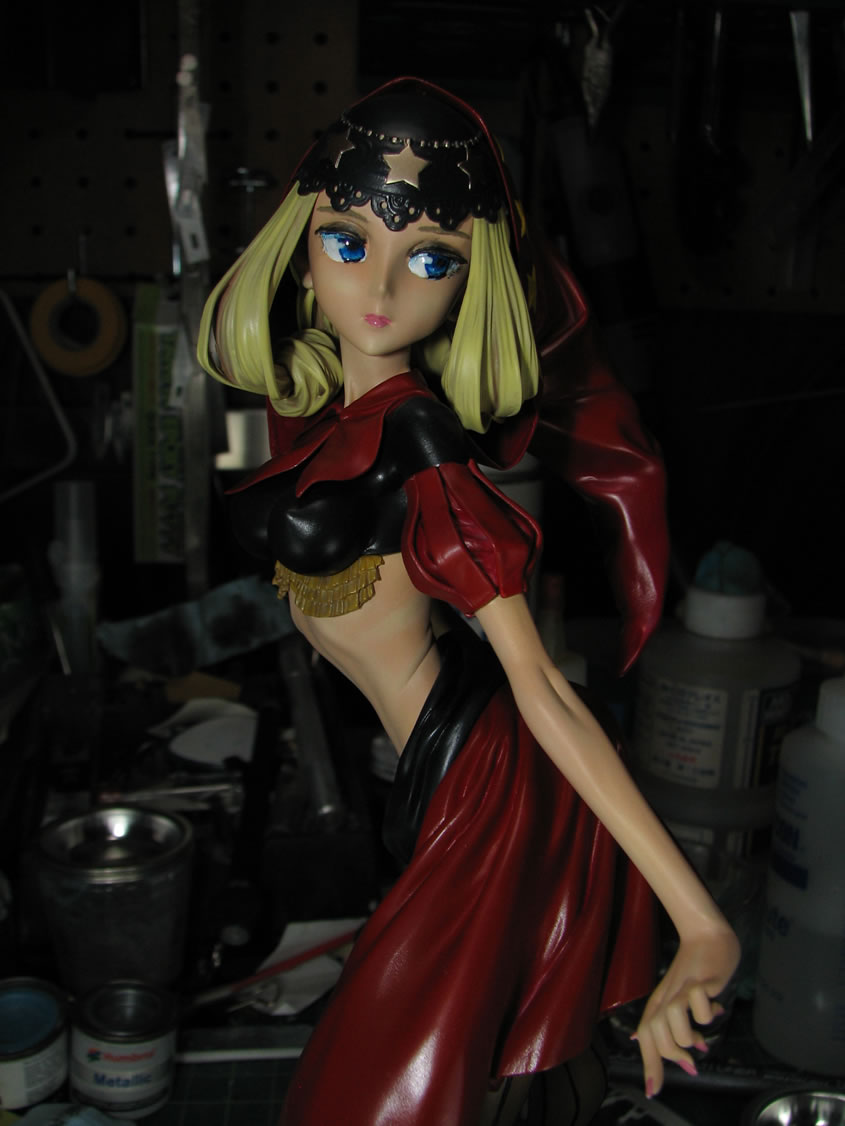
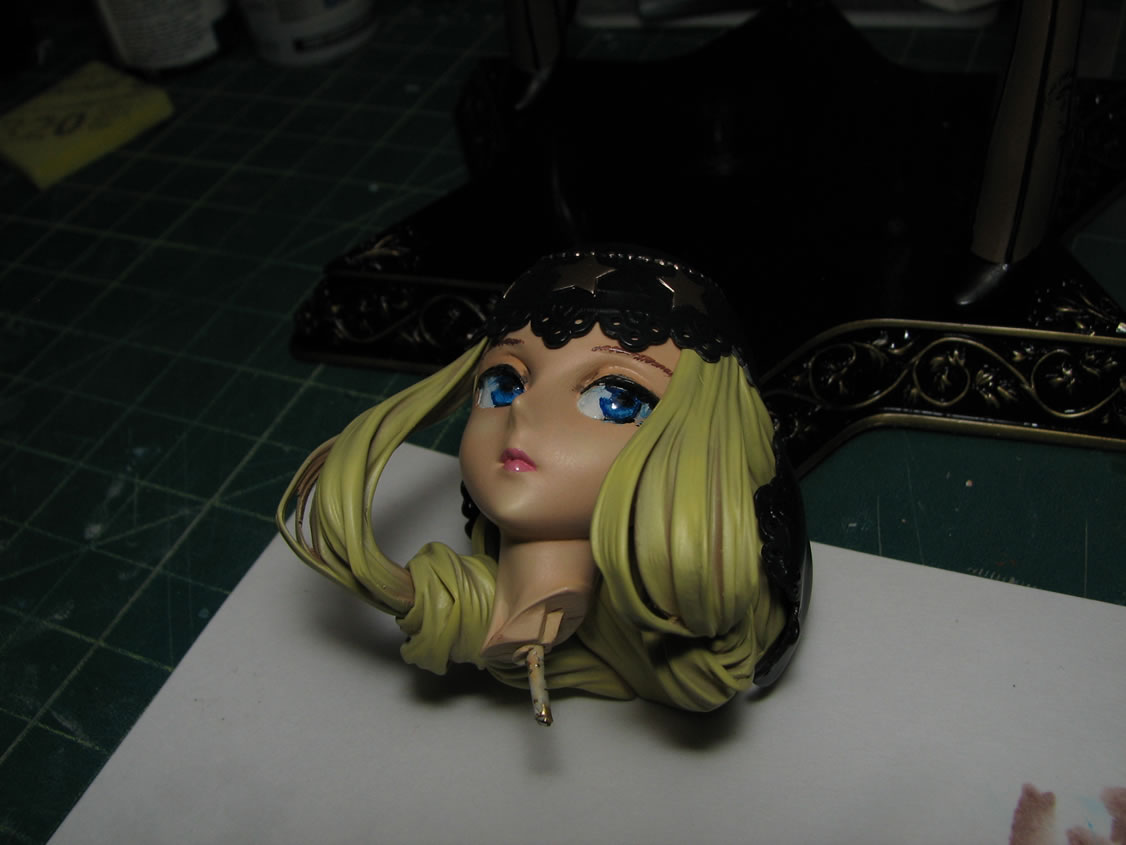
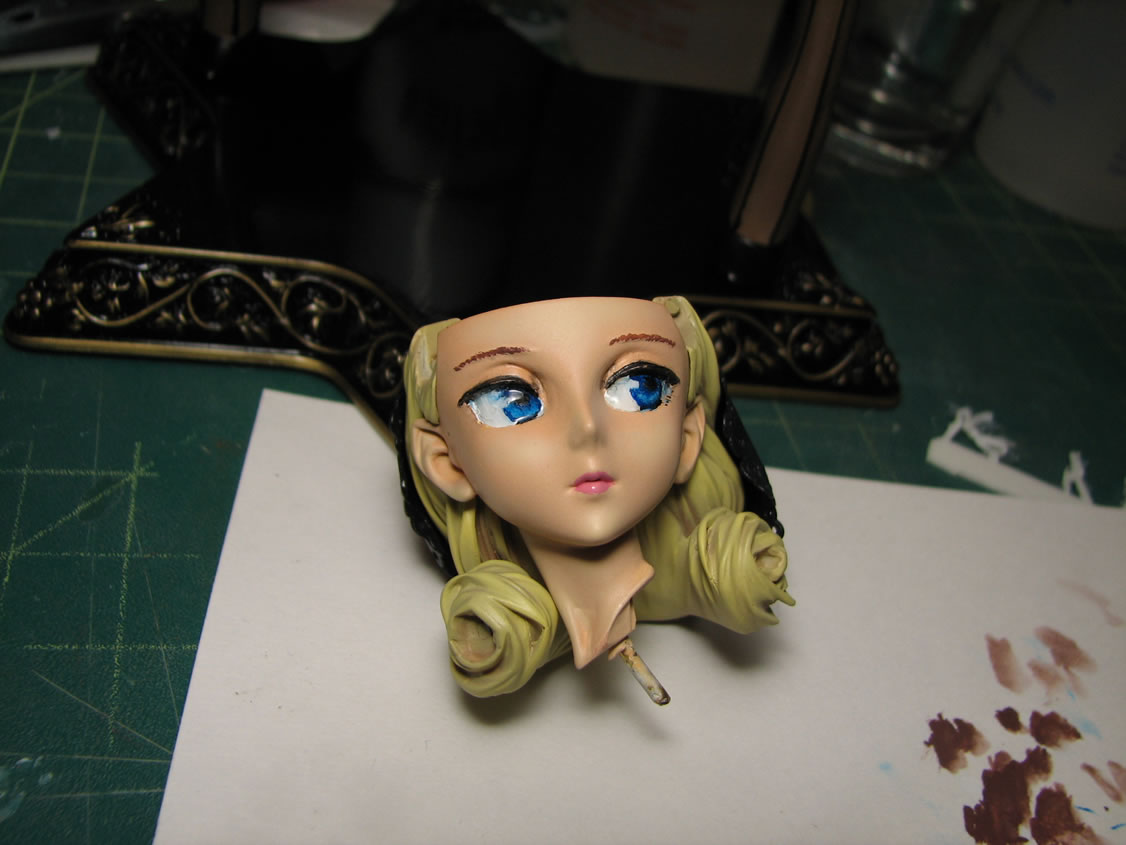
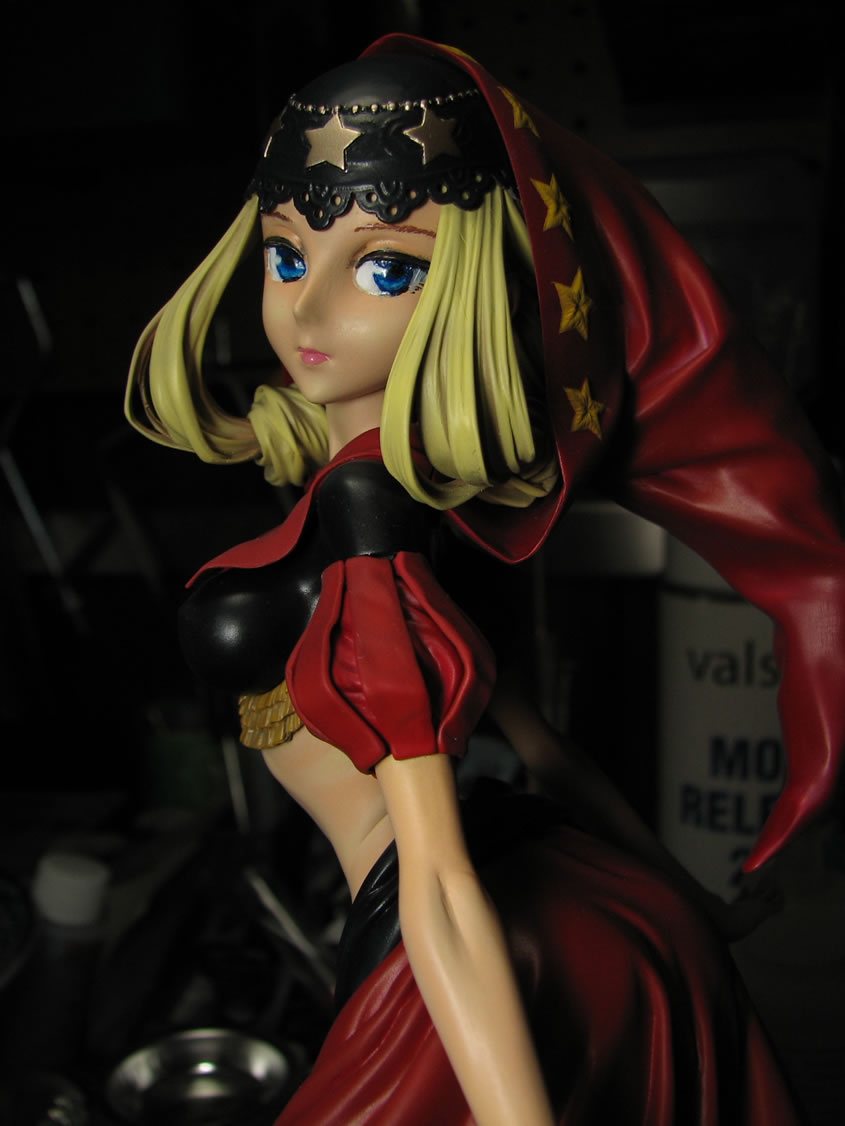
August 25, 2009: Finally got some time to get the eye painting done. Not as clean a job as I would have liked, but the reference had eyes that were a little on the messy side, at least in extreme closeups. I start off with a mechanical pencil, then lined the pencil in with a rapidograph filled with blue ink. The eye balls were painted in with a copic marker, then the eyes coloring was done with tamiya enamels.
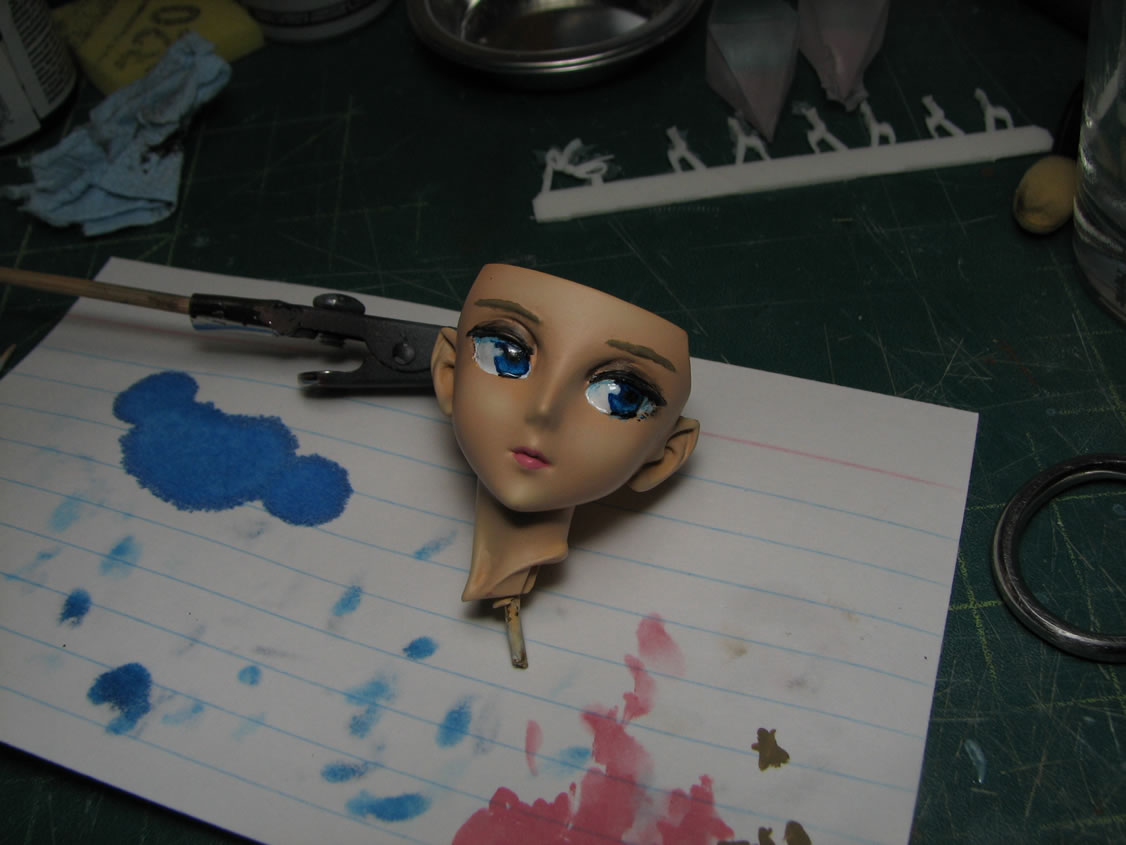
Lips and finger nails were painted with a mixture of tamiya enamel pink and clear red to get a darker pink color.
I still need to finish up the chain piece, but for all intents and purposes, she's done. I'll be hitting up some touchup areas here and there.
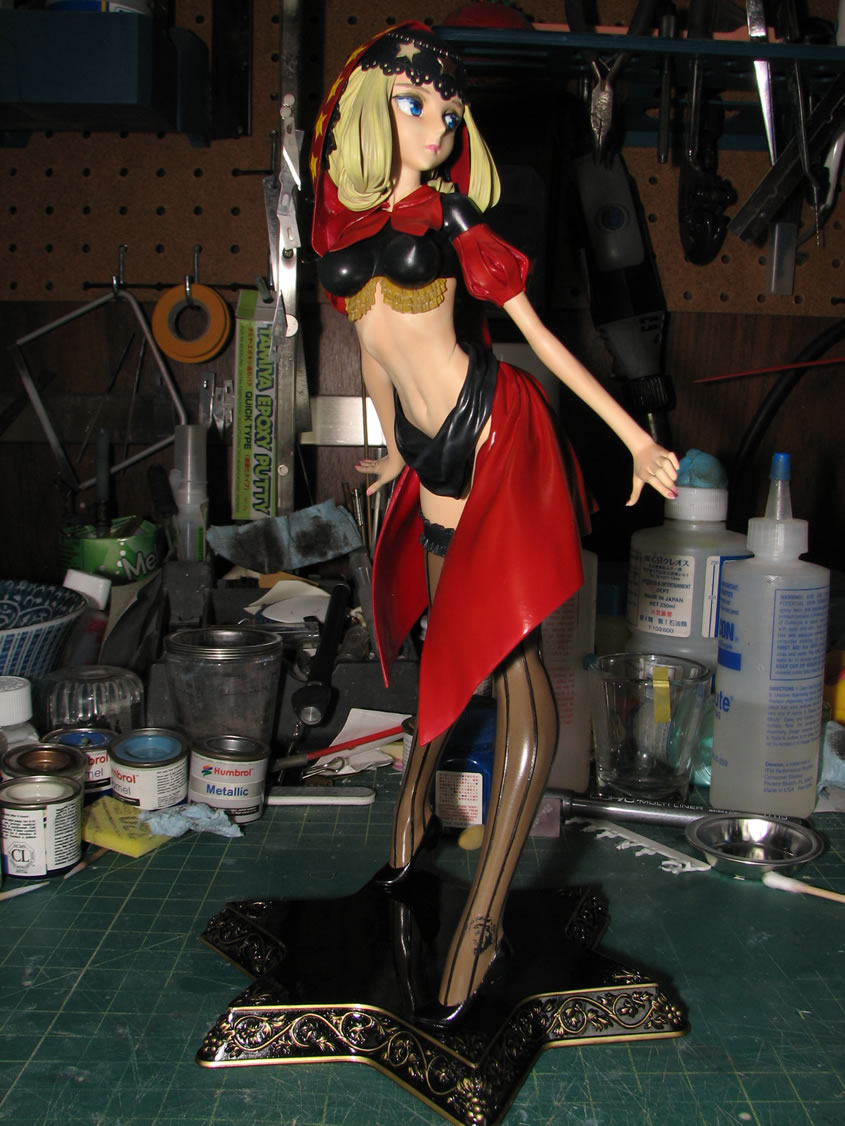
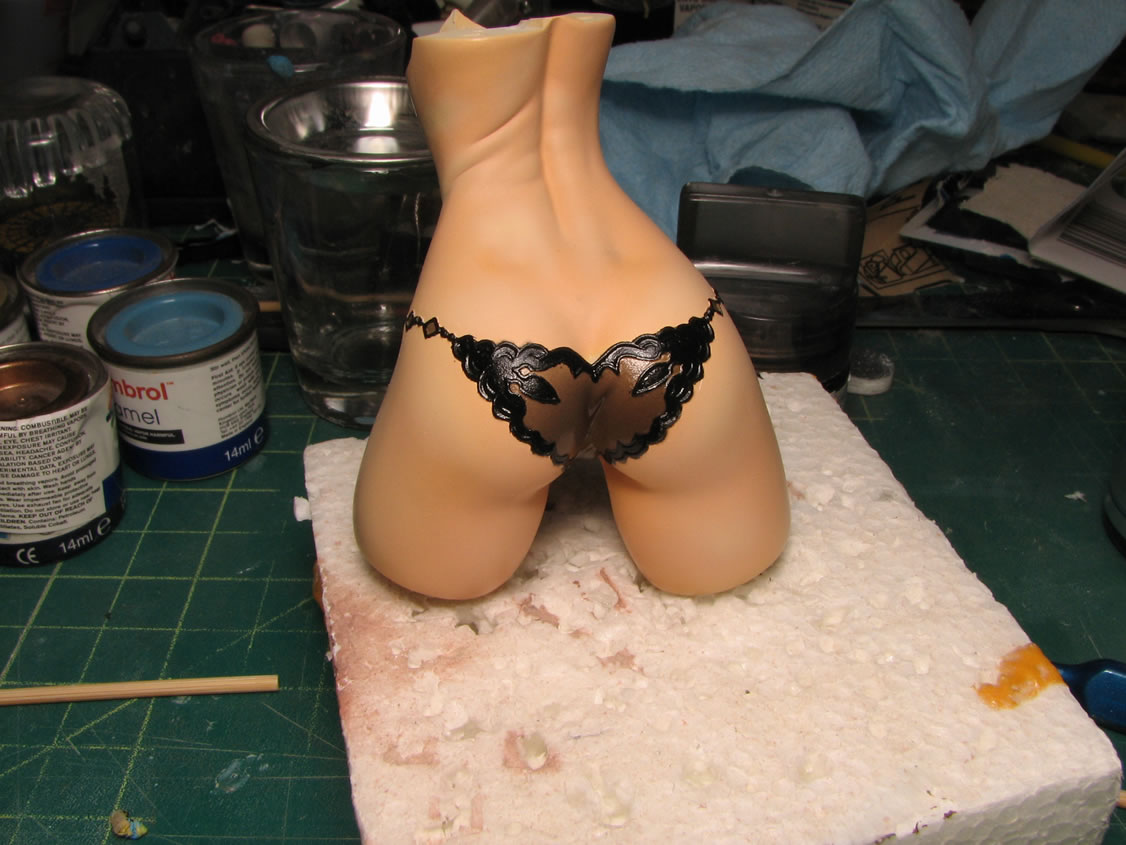
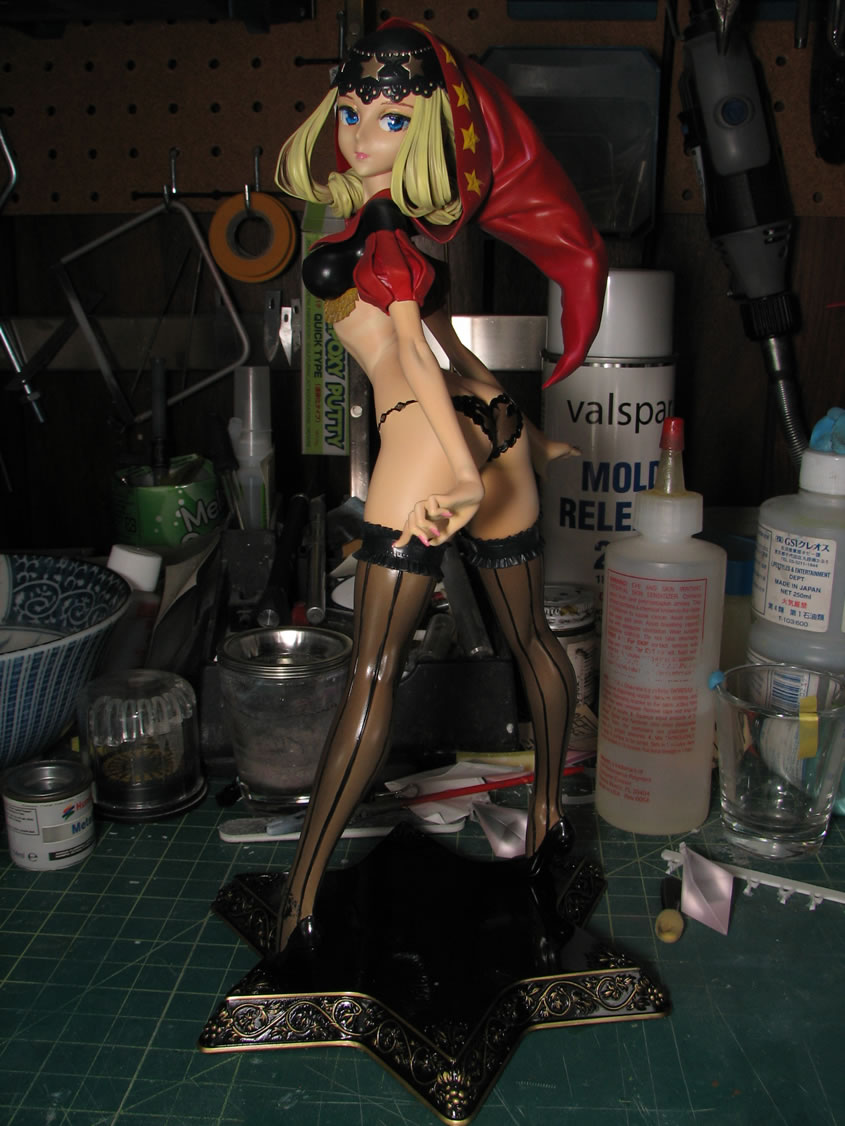
Gratituous panty shots....
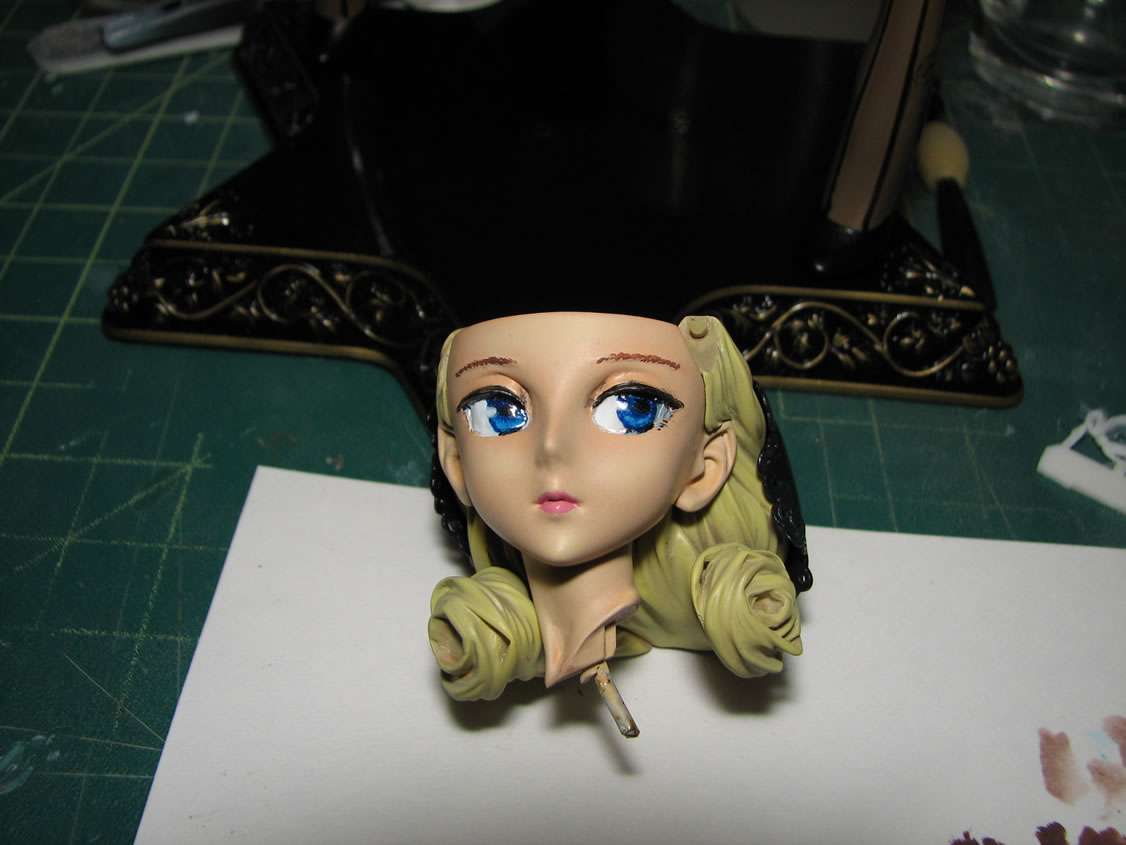
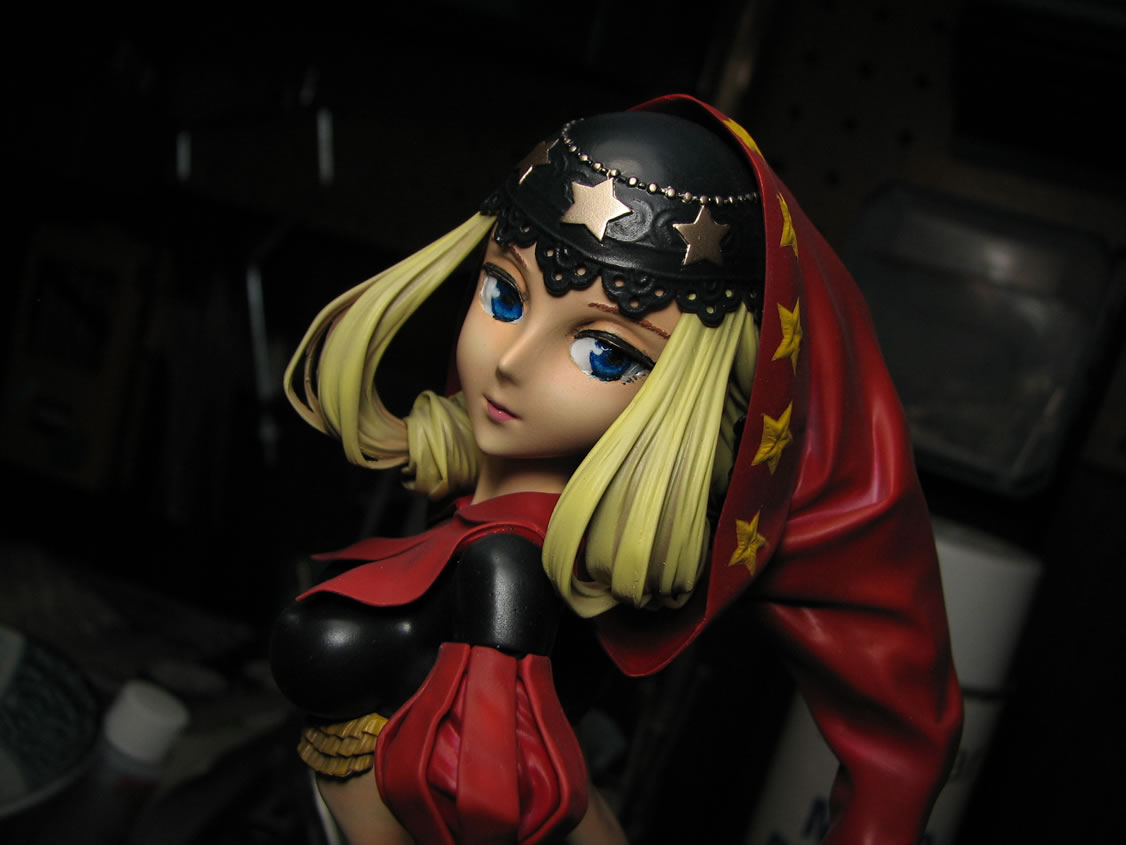
August 26, 2009: After looking at the eyes a but more, they just bothered me and I felt the need to fix them immediately. I did some clean up on her eye lids, and cleaned up a few areas around the eyes. A few areas were defined a little better. I also wiped off poorly painted eye brows.

The eye brows were repainted. And a clear gloss was painted over the eyes.

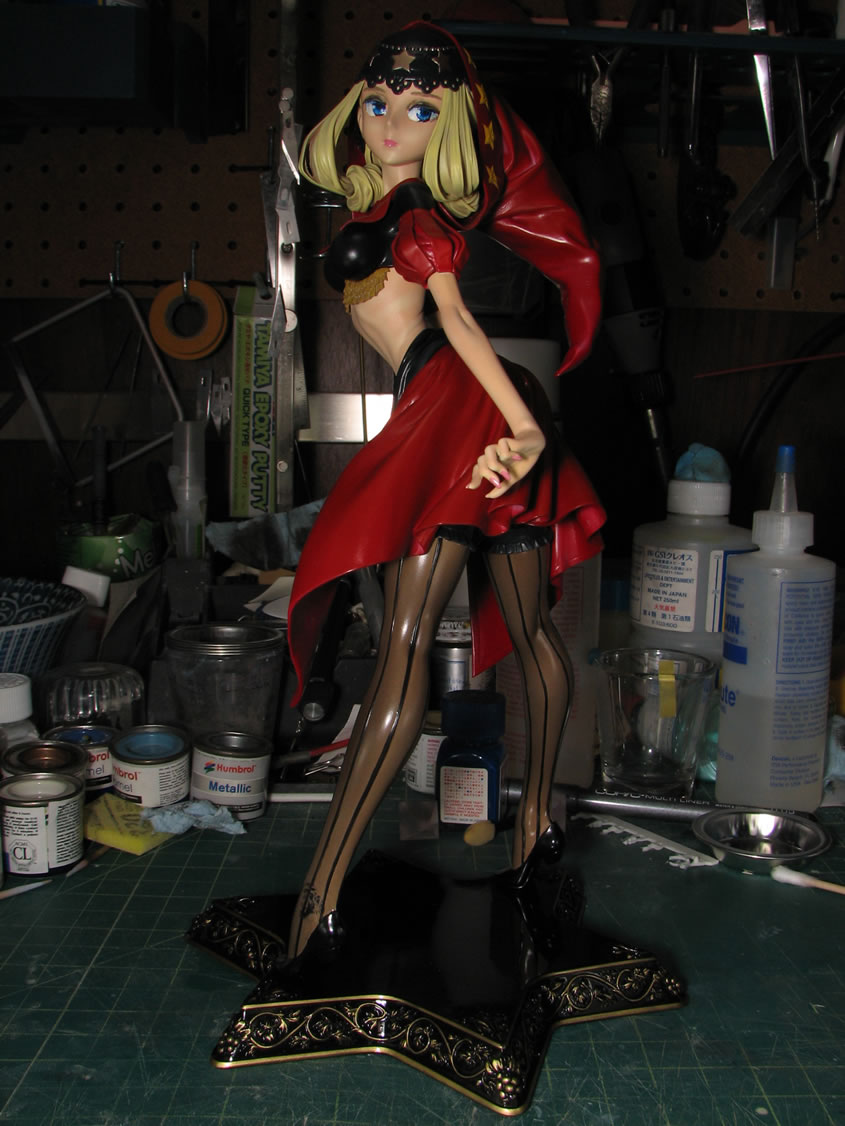
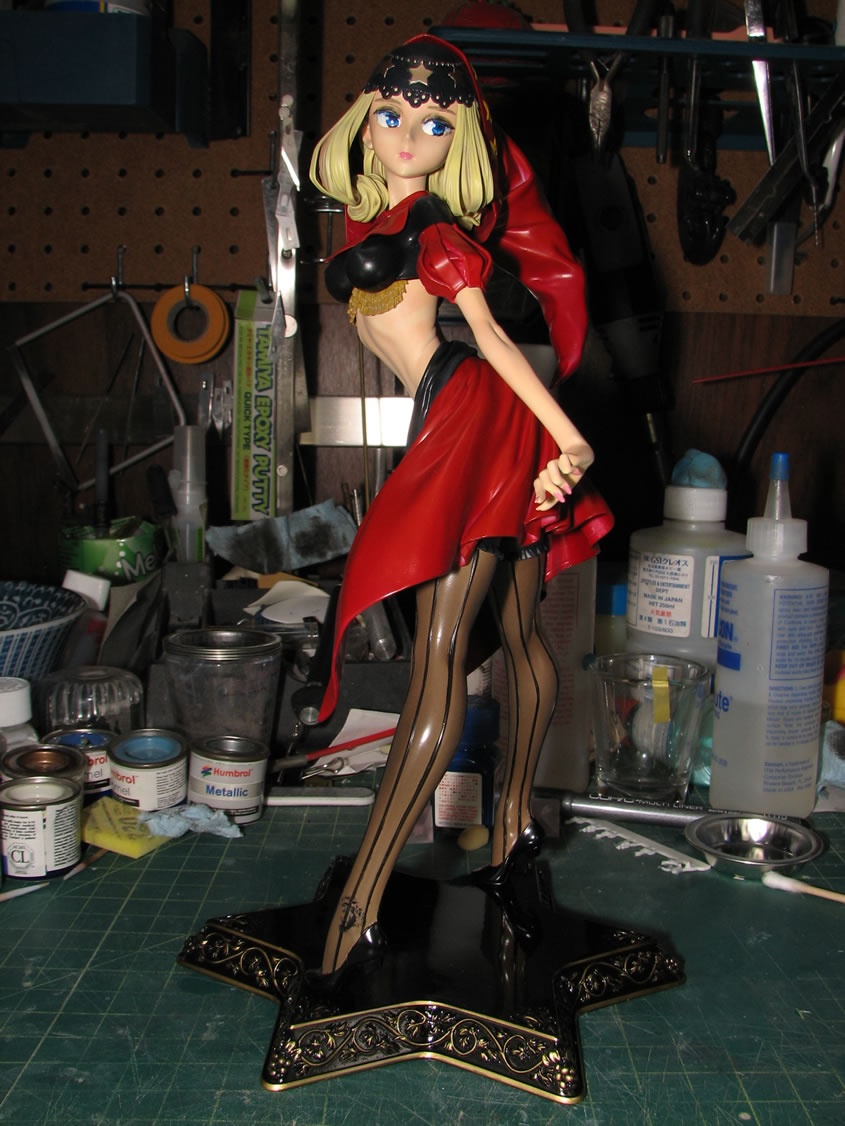
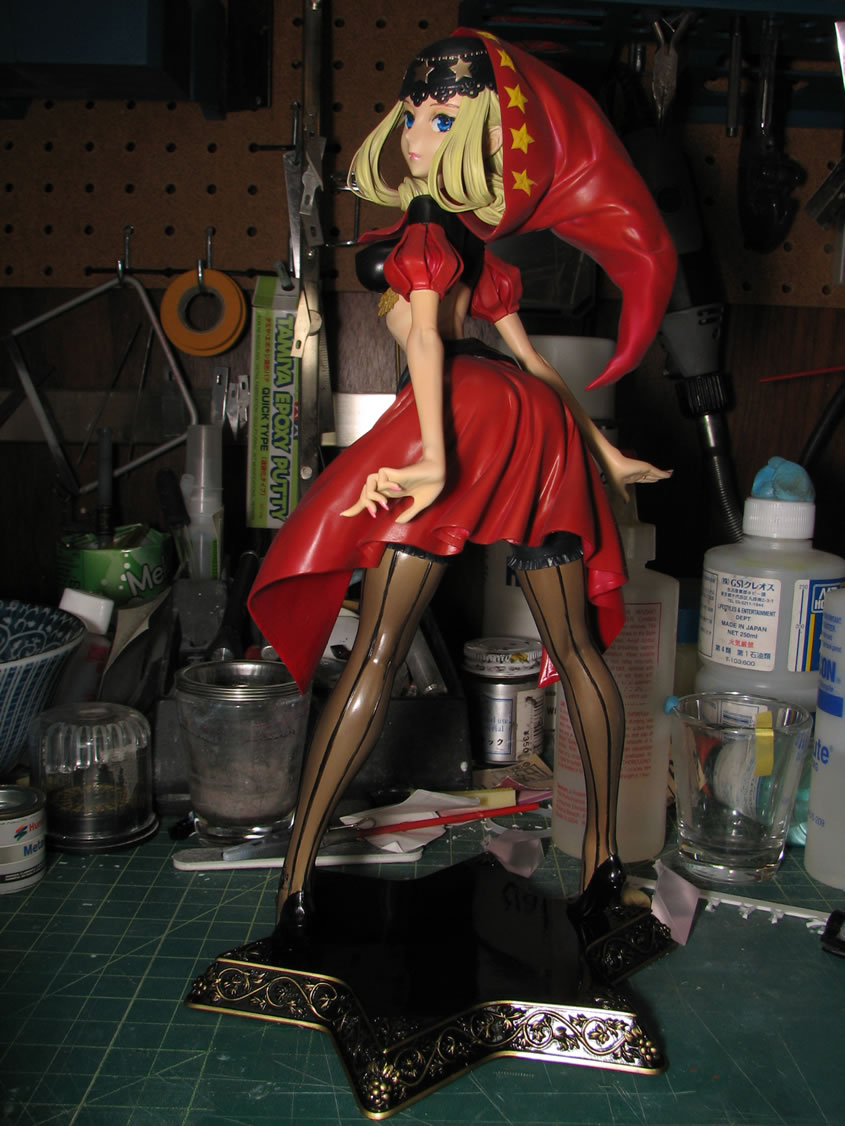
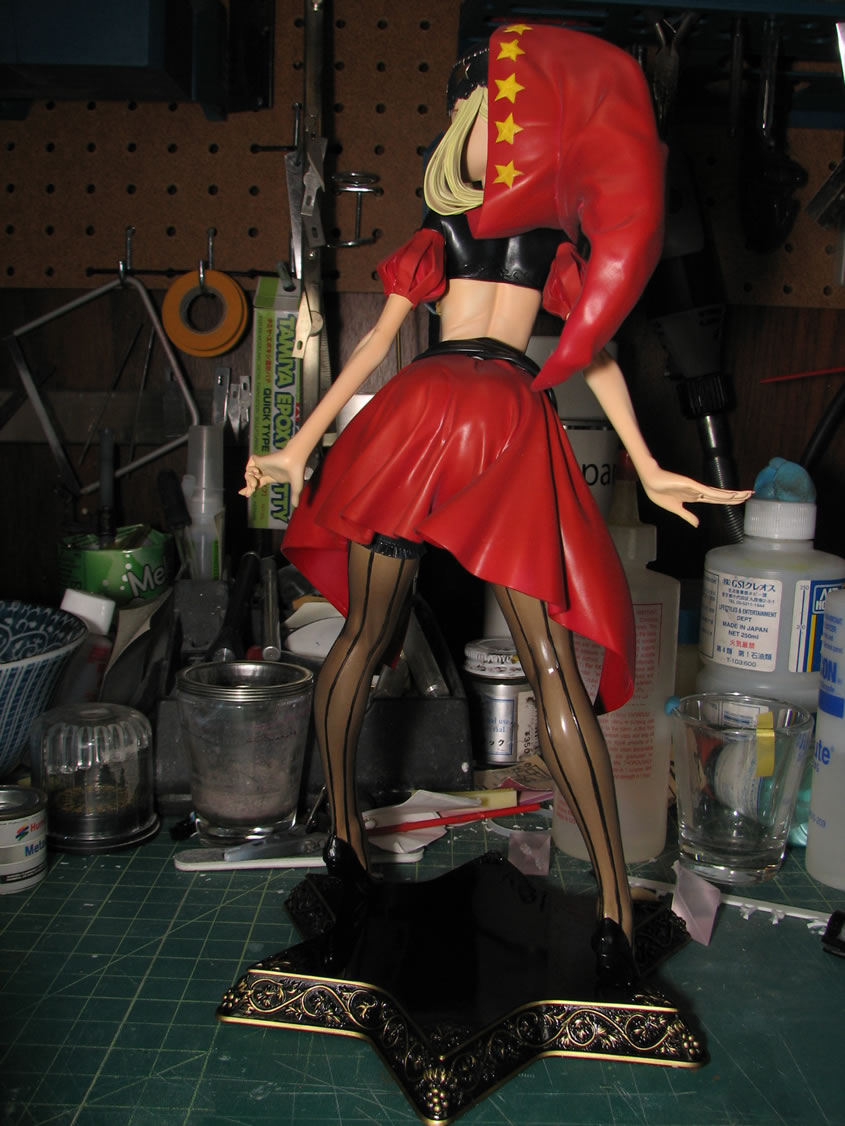
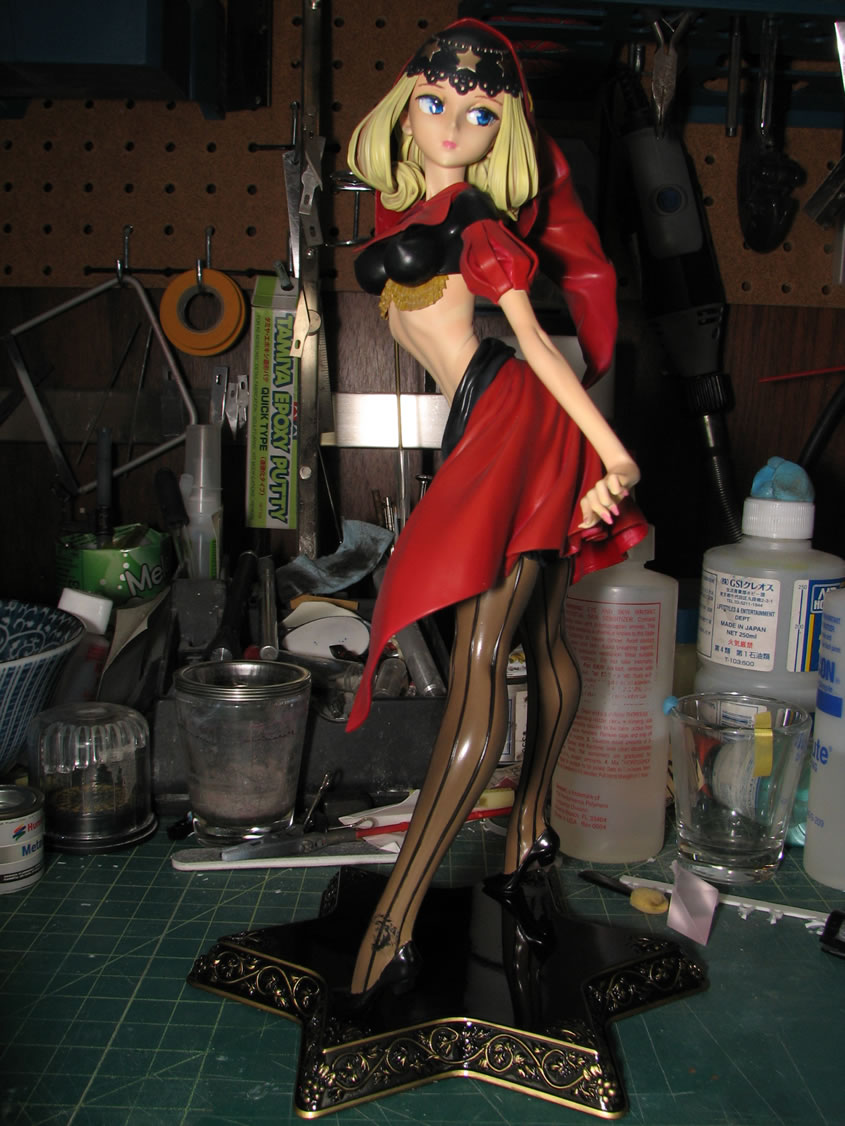
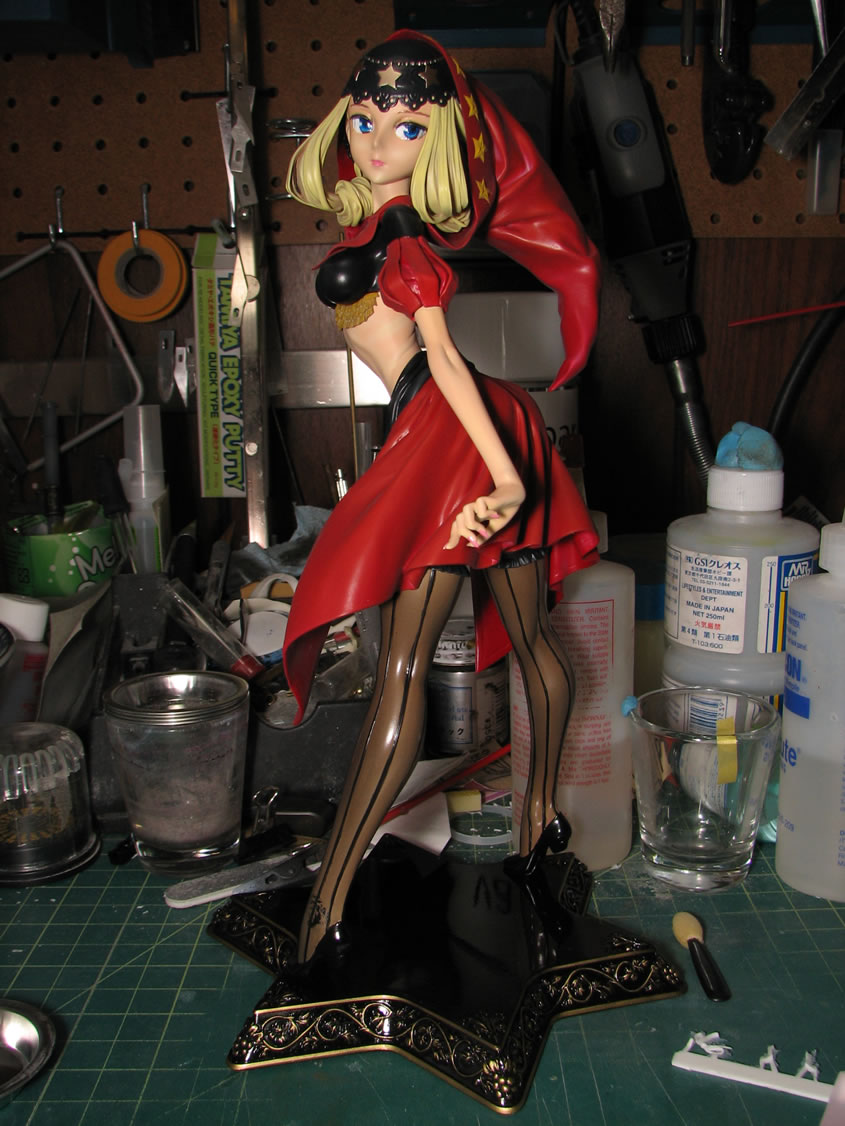
Time to redo the pictures taken yesterday with the rest of the figure put together with the exception of the chain.
Full figure shots.
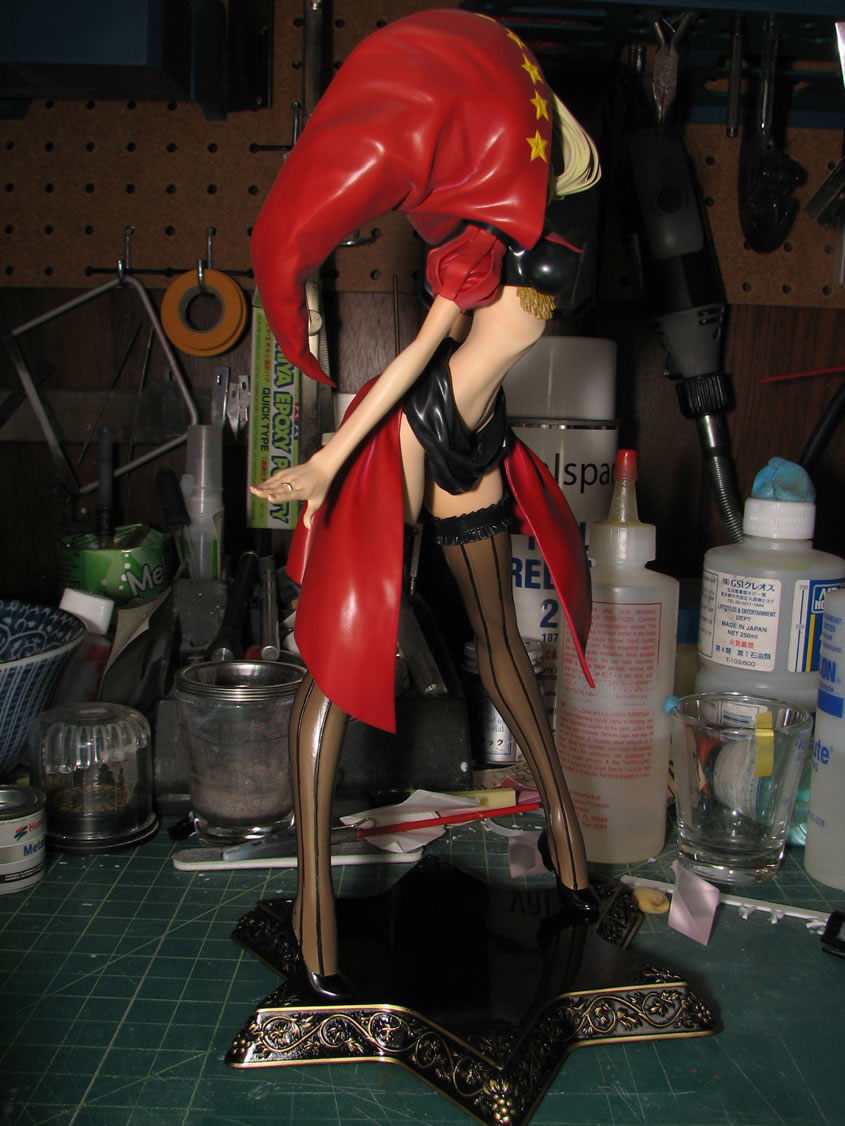
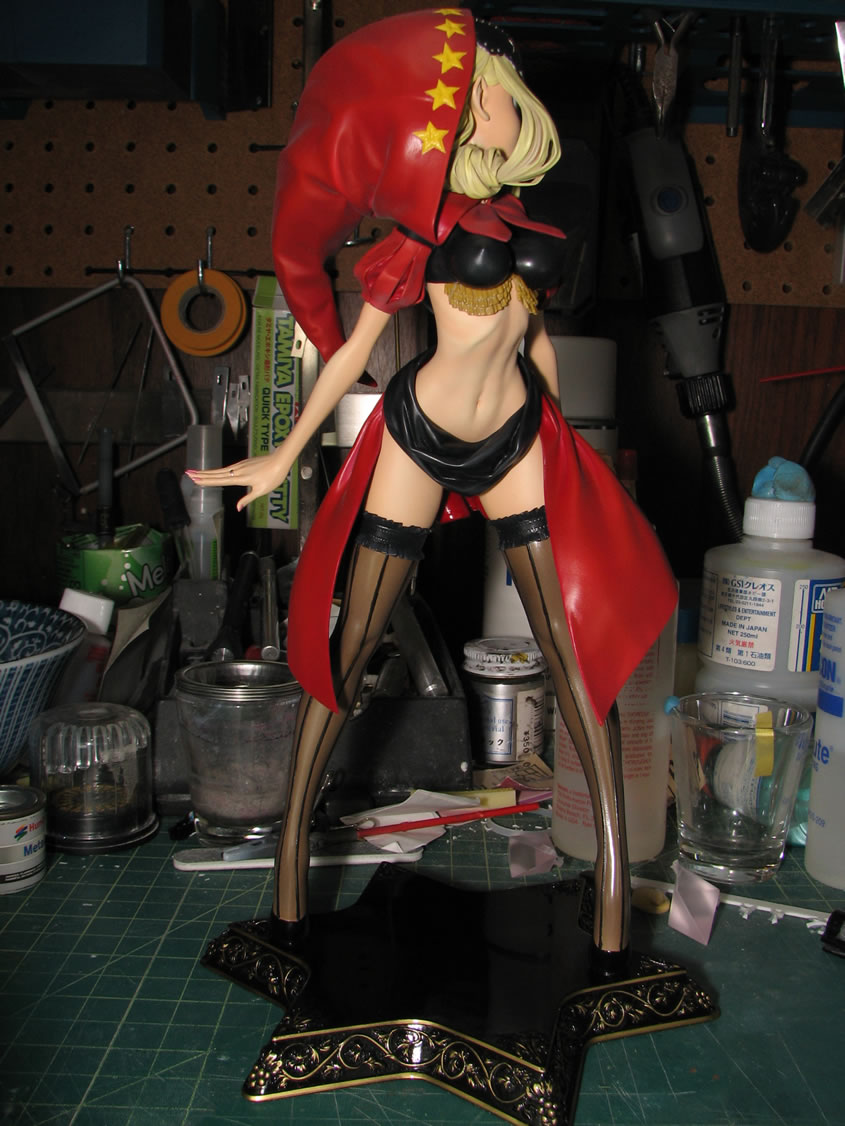
And of course the gratituous panty shots....

And a few hours later, still unsatisfied with the bloody eyes. Actually, annoyed with the right eye as the clear gloss I applied made some of the enamels run a bit. So back to fixing things...
Who know's I may just go back and strip the damn eyes to redo things... But for now, I'm satisfied, at least for the next few hours....
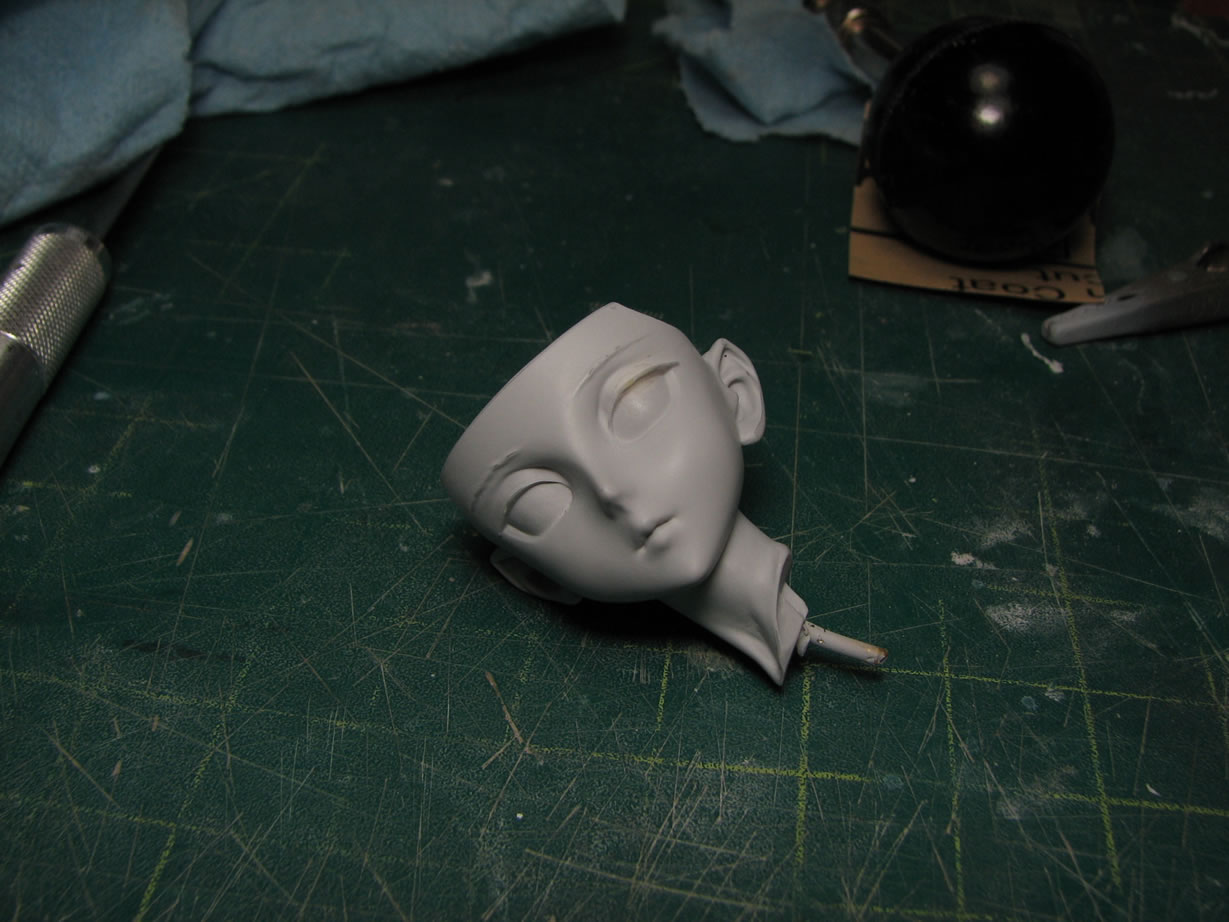
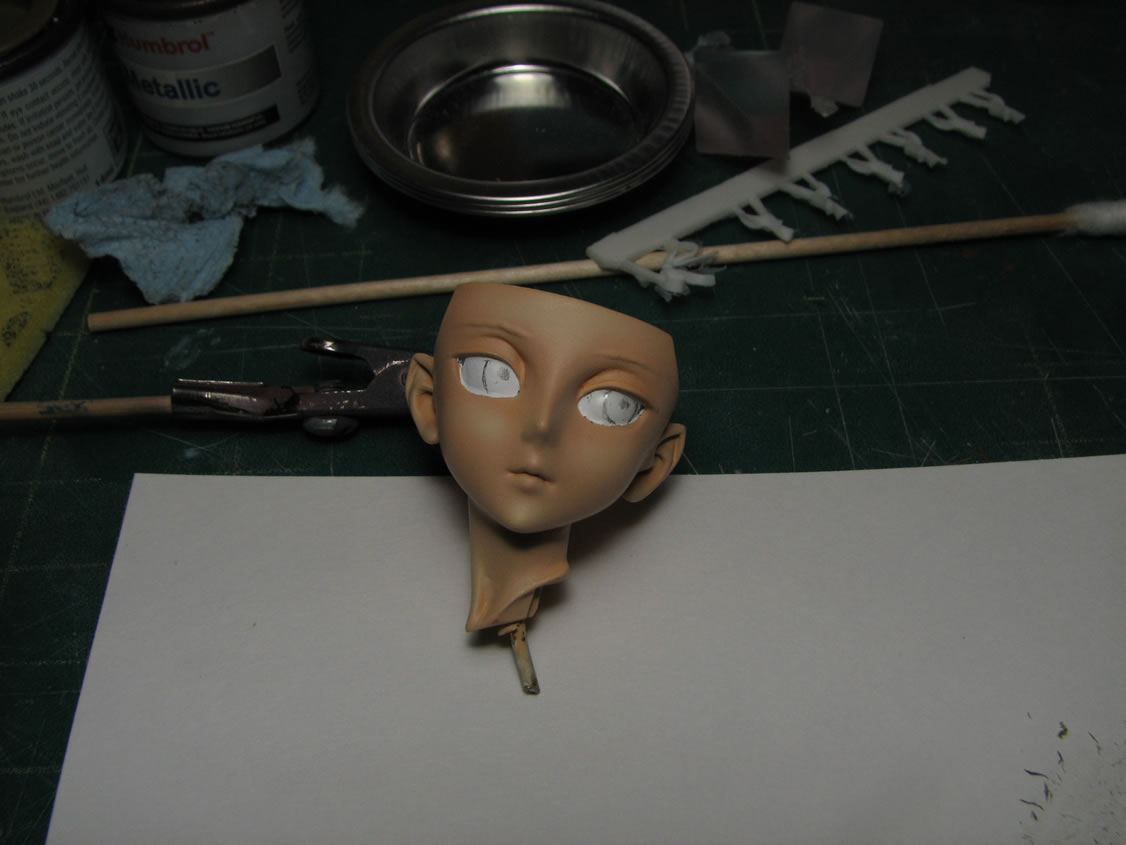
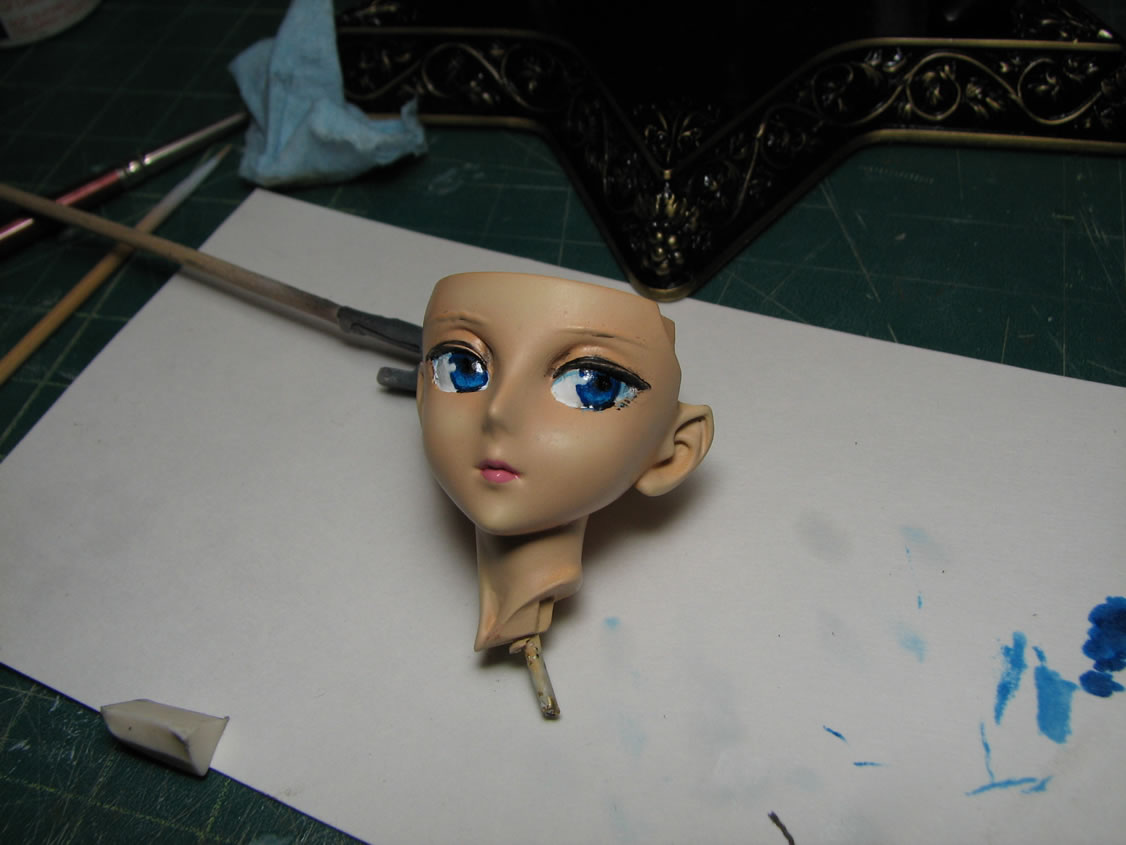
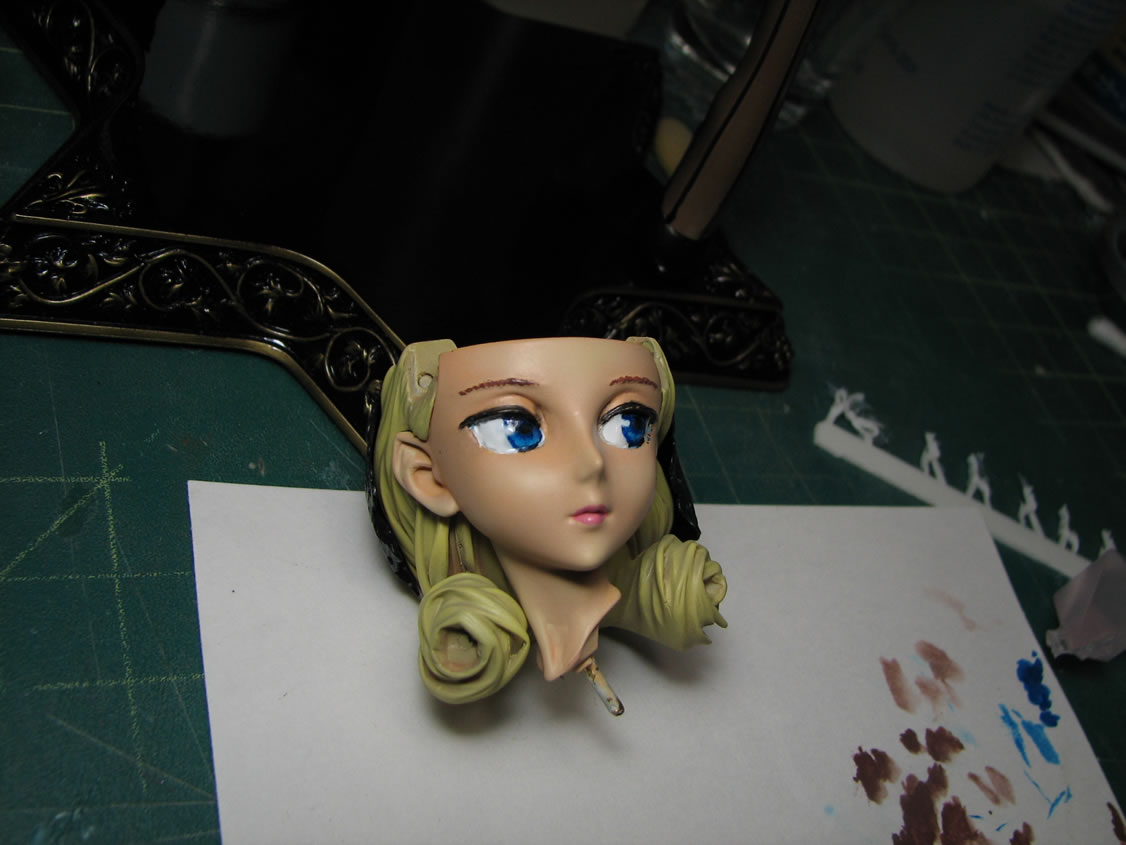
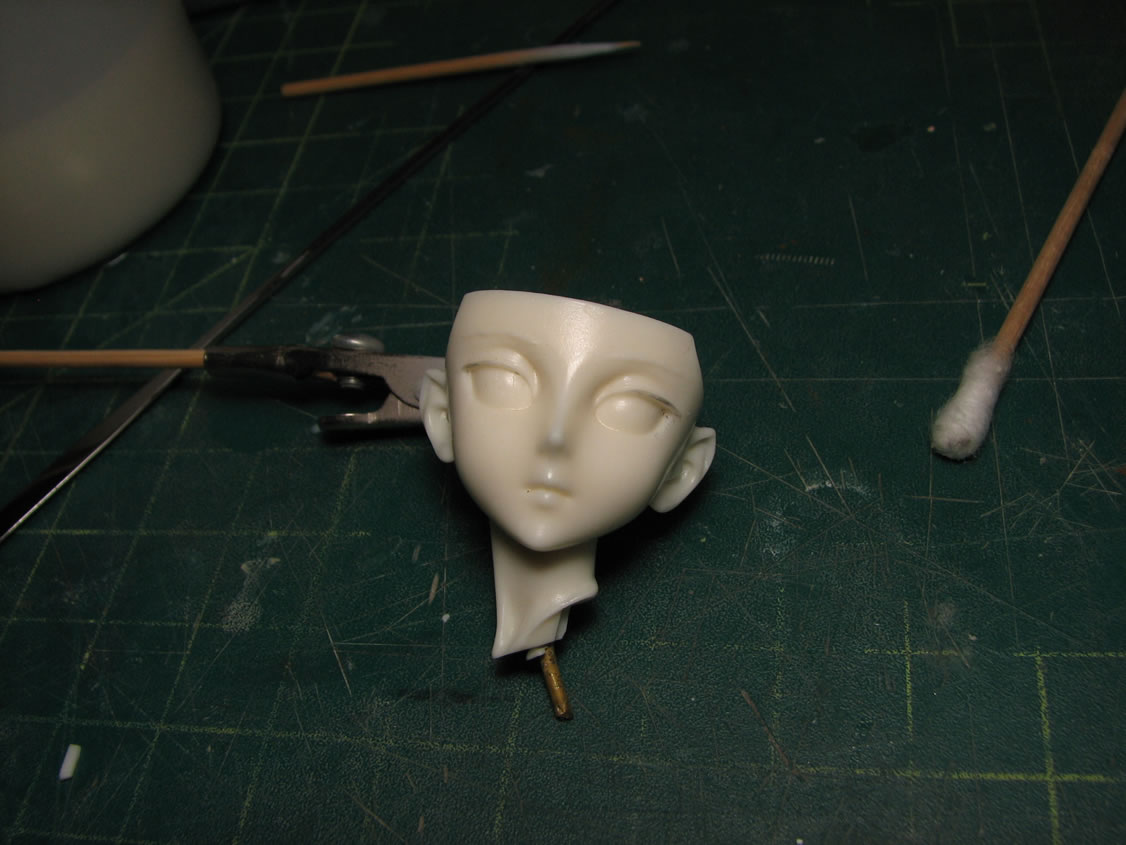
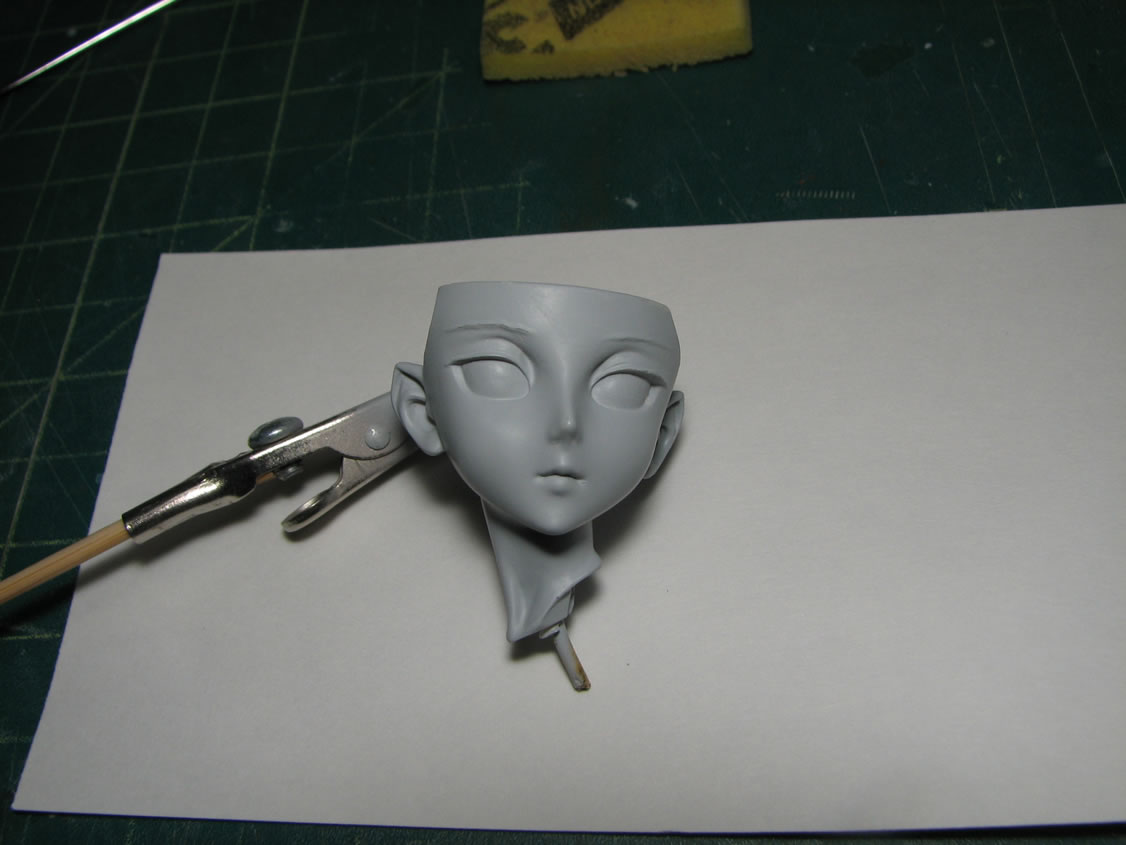
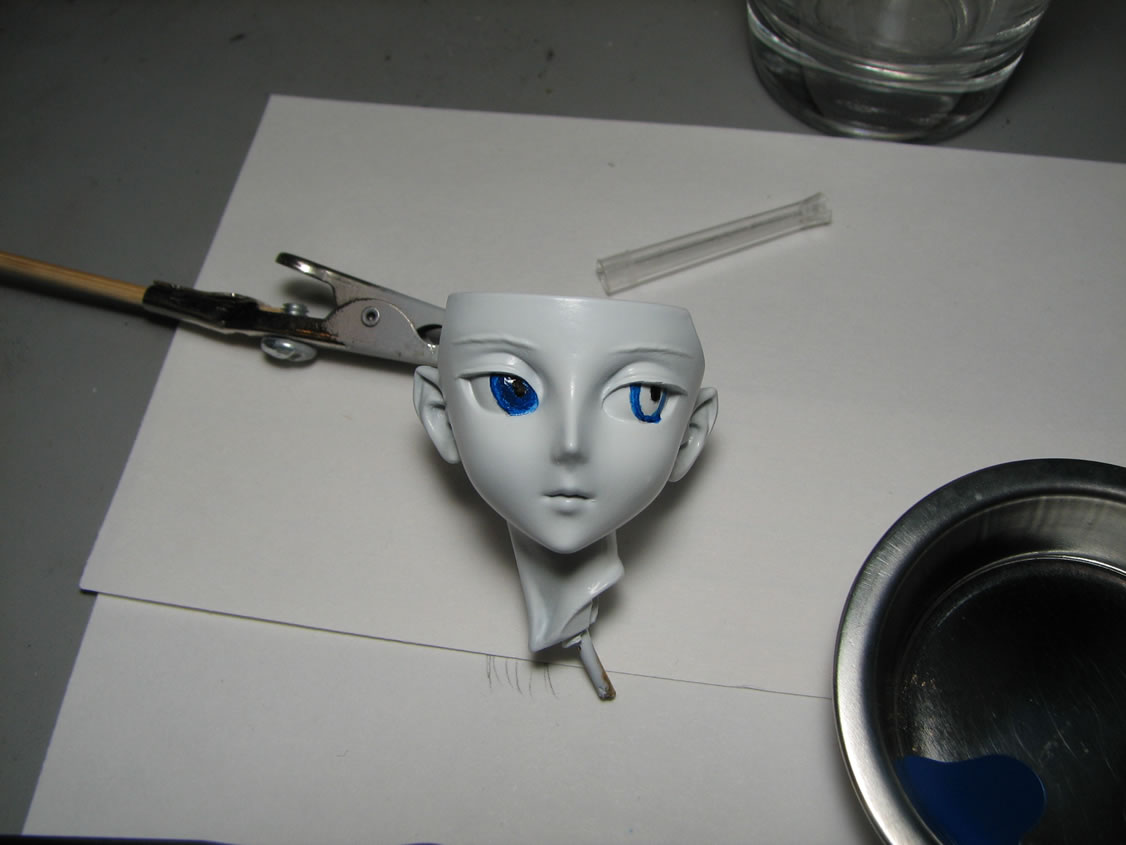
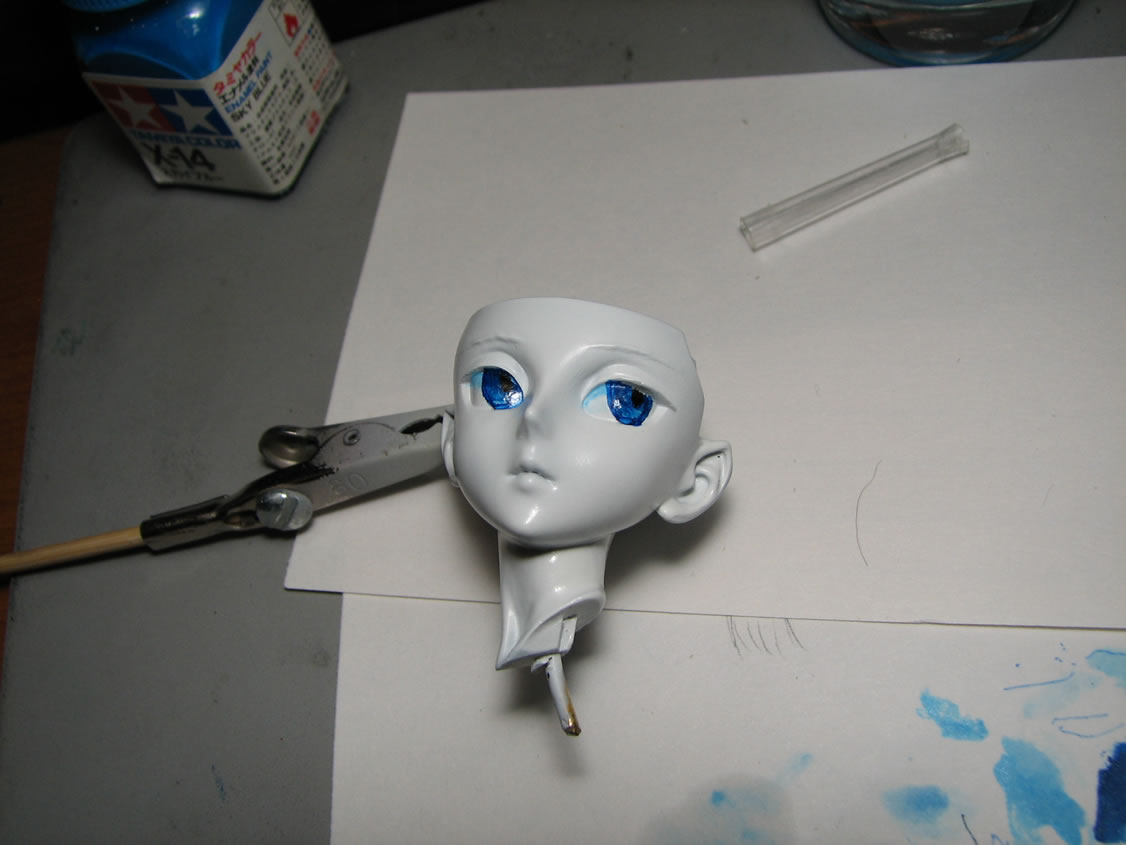
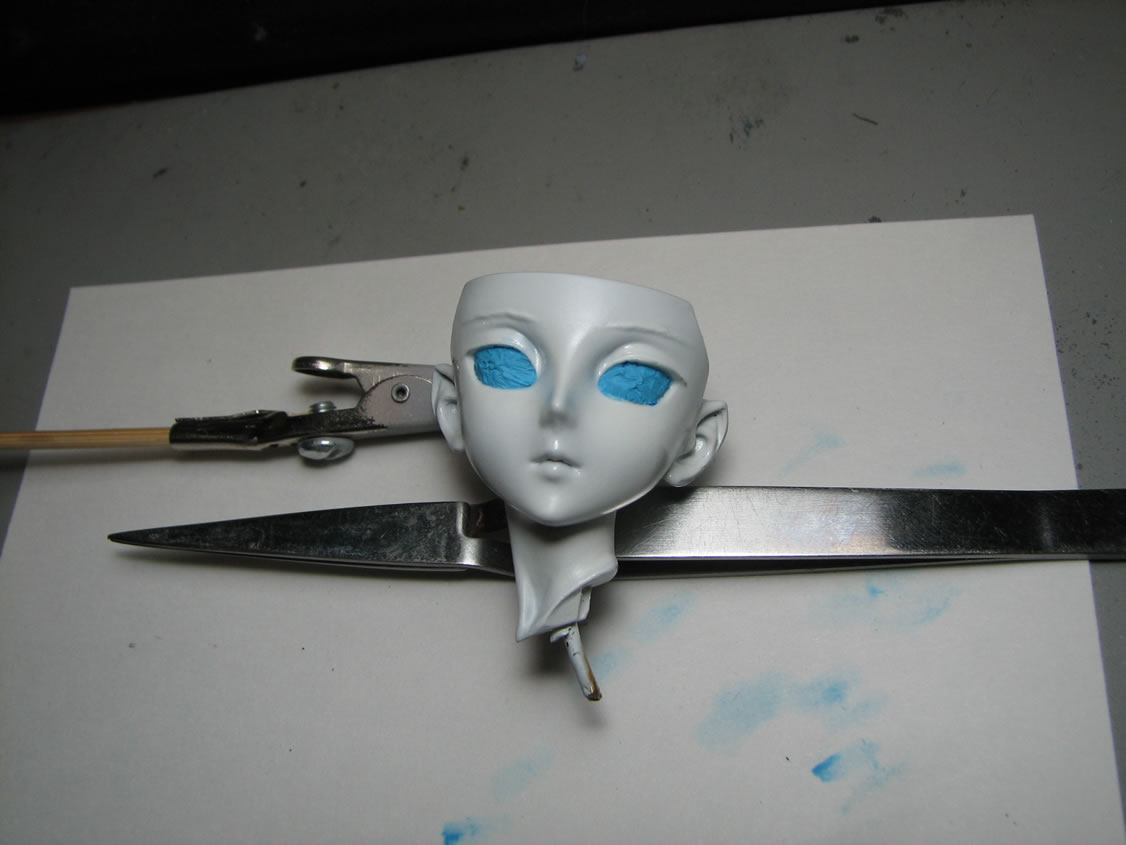
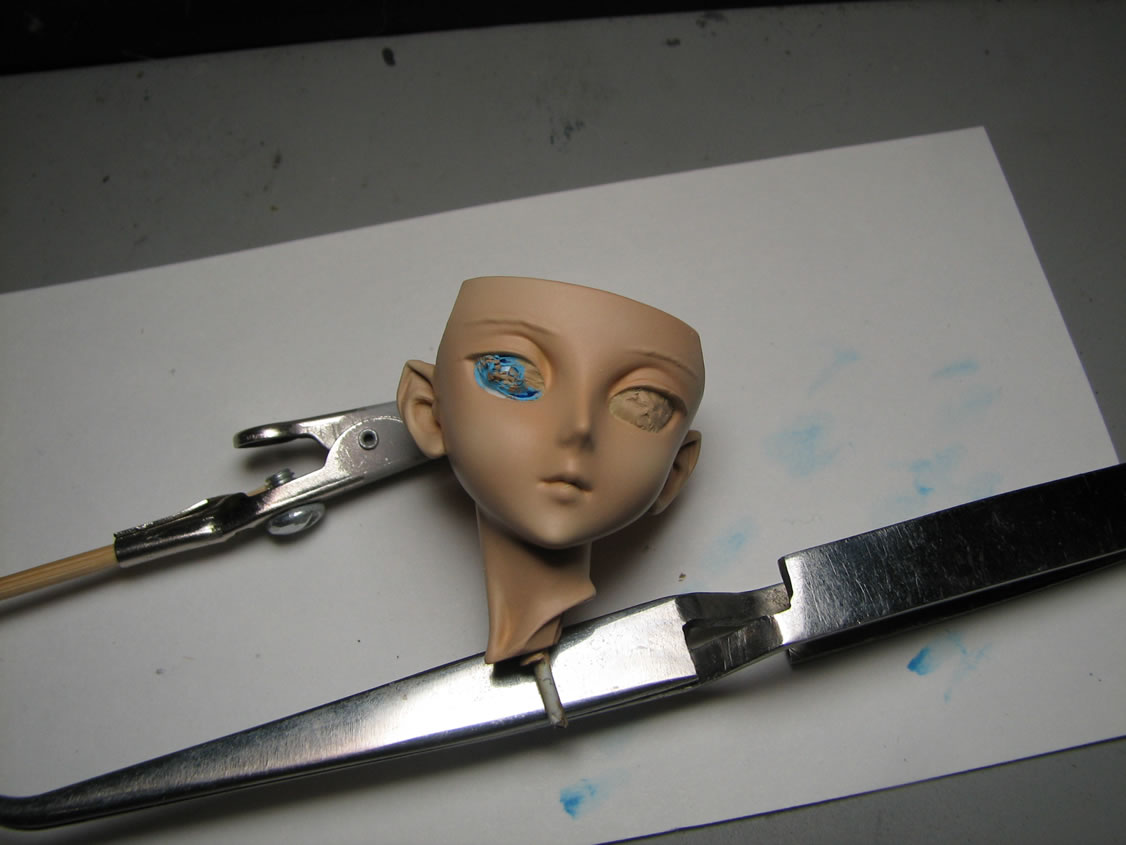
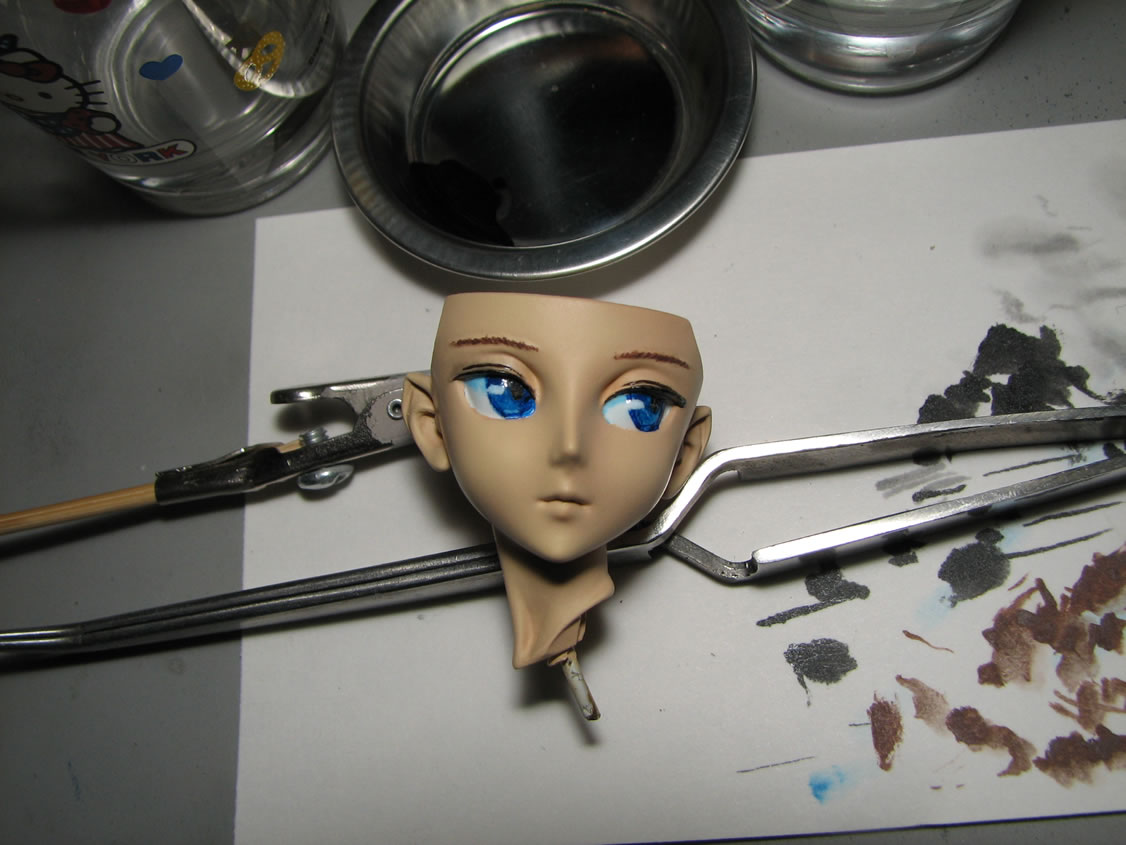
August 31, 2009: Between diving from Friday through the weekend, I went back to work on Velvet's eyes. First and foremost, I stripped everything back down to bare resin to start from the beginning. Once stripped, it is primed with Mr Resin Surfacer then sprayed with Mr White Base.
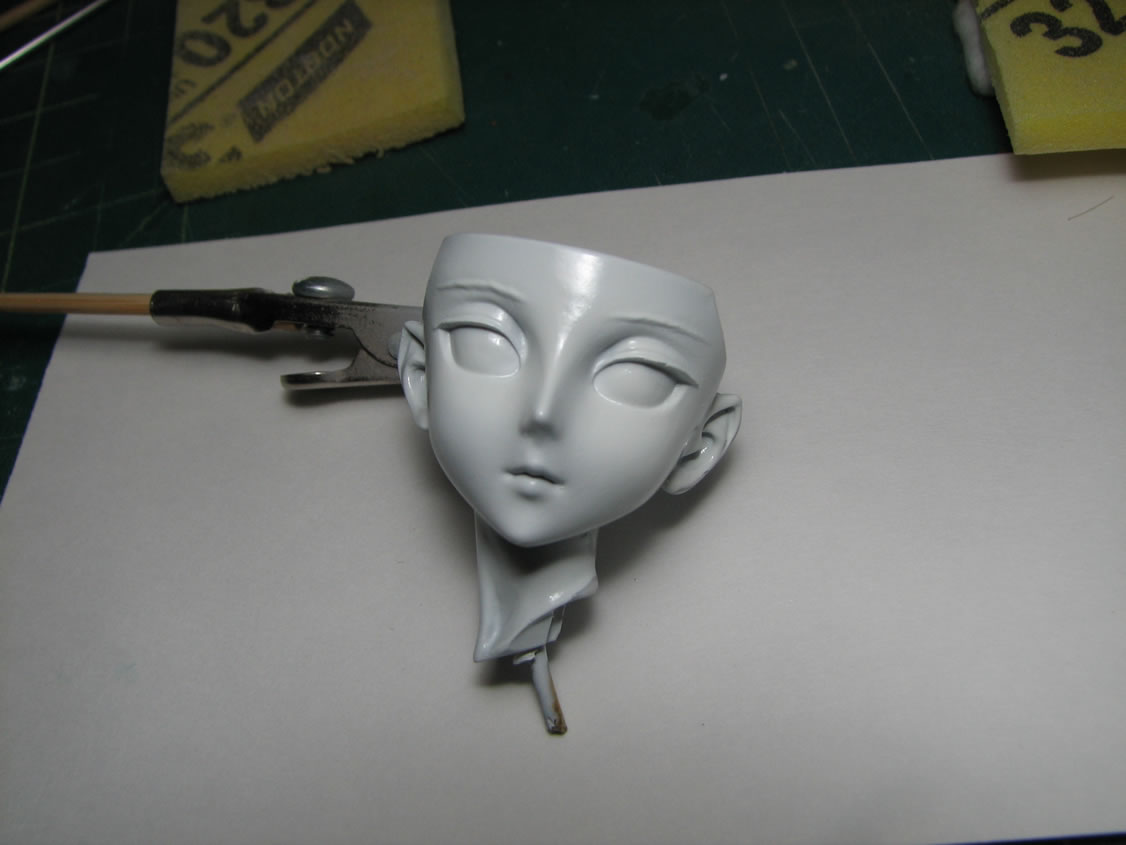
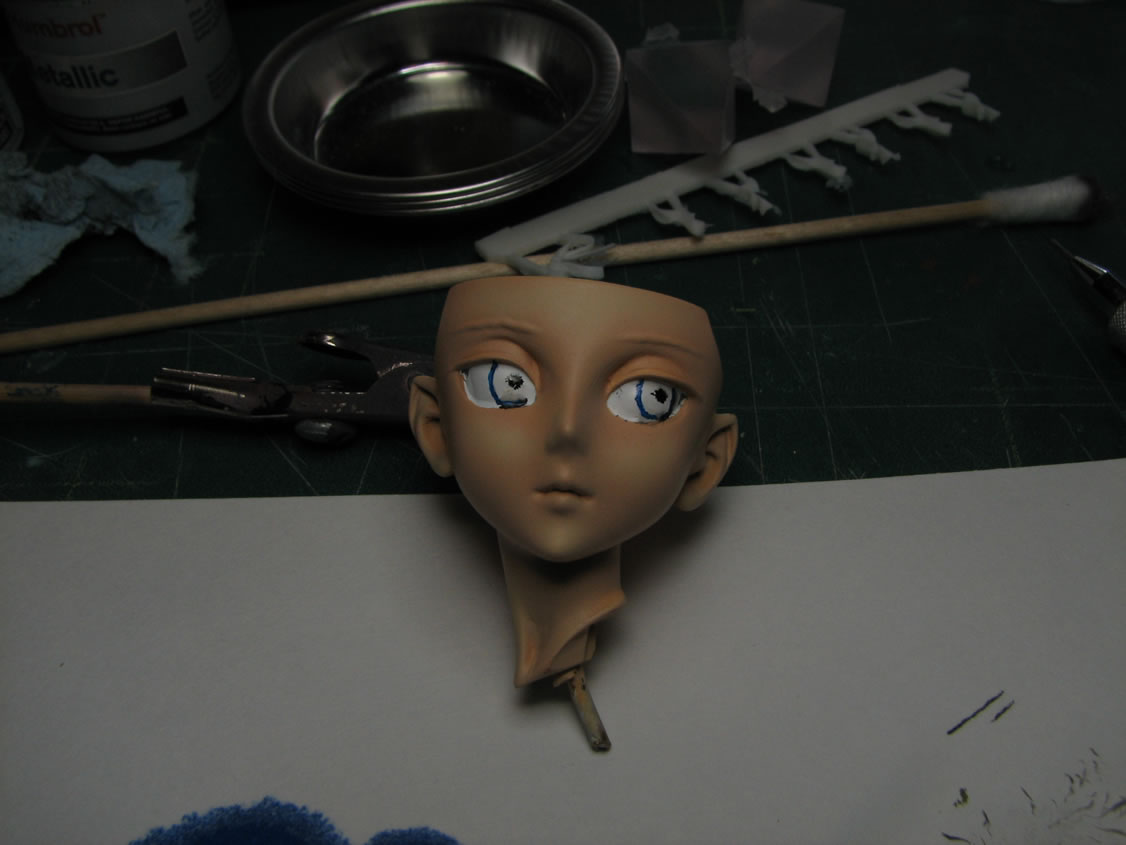
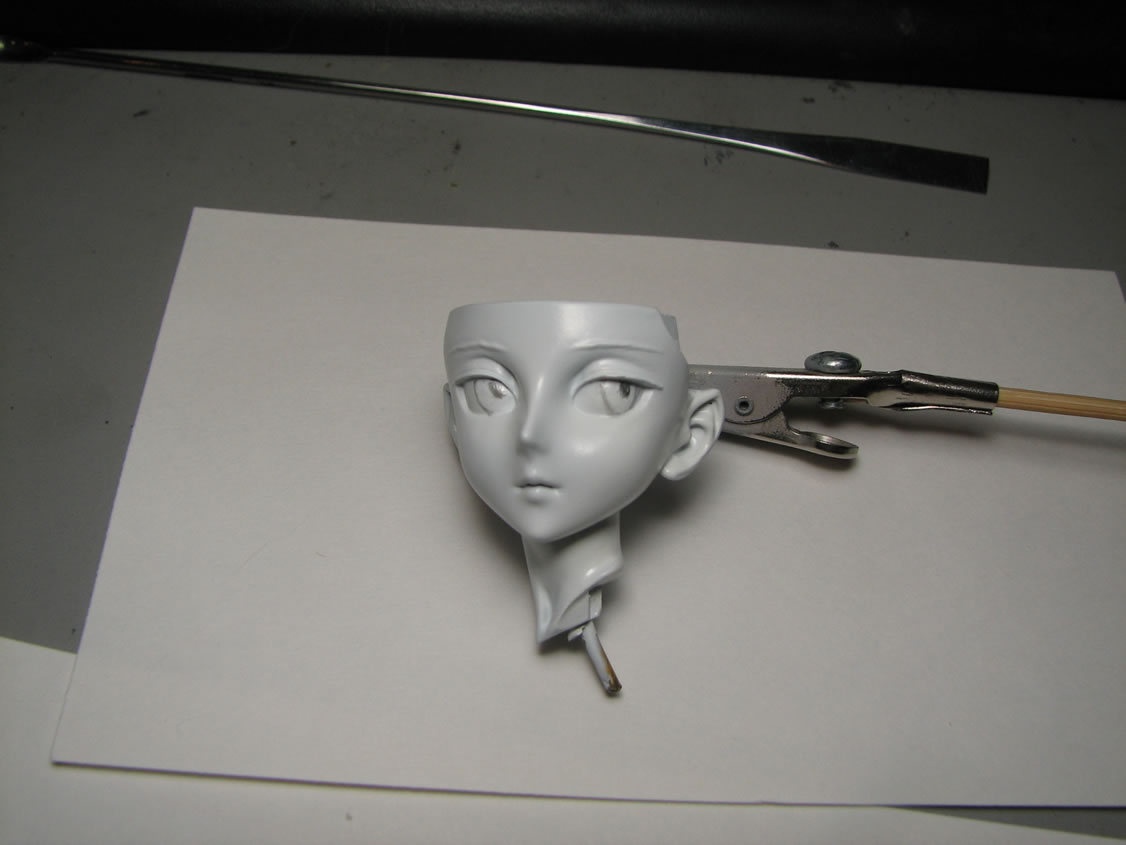
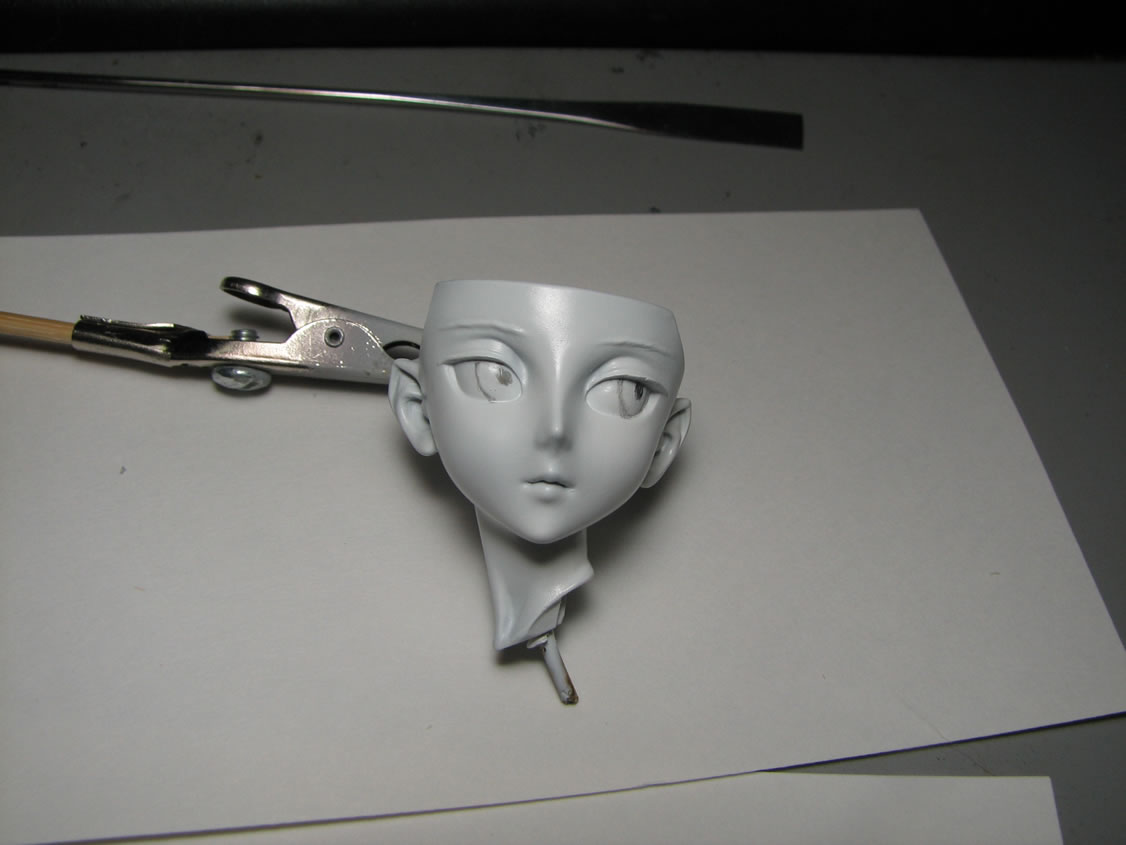
Eyes are drawn in with a pencil then inked with a rapidograph.
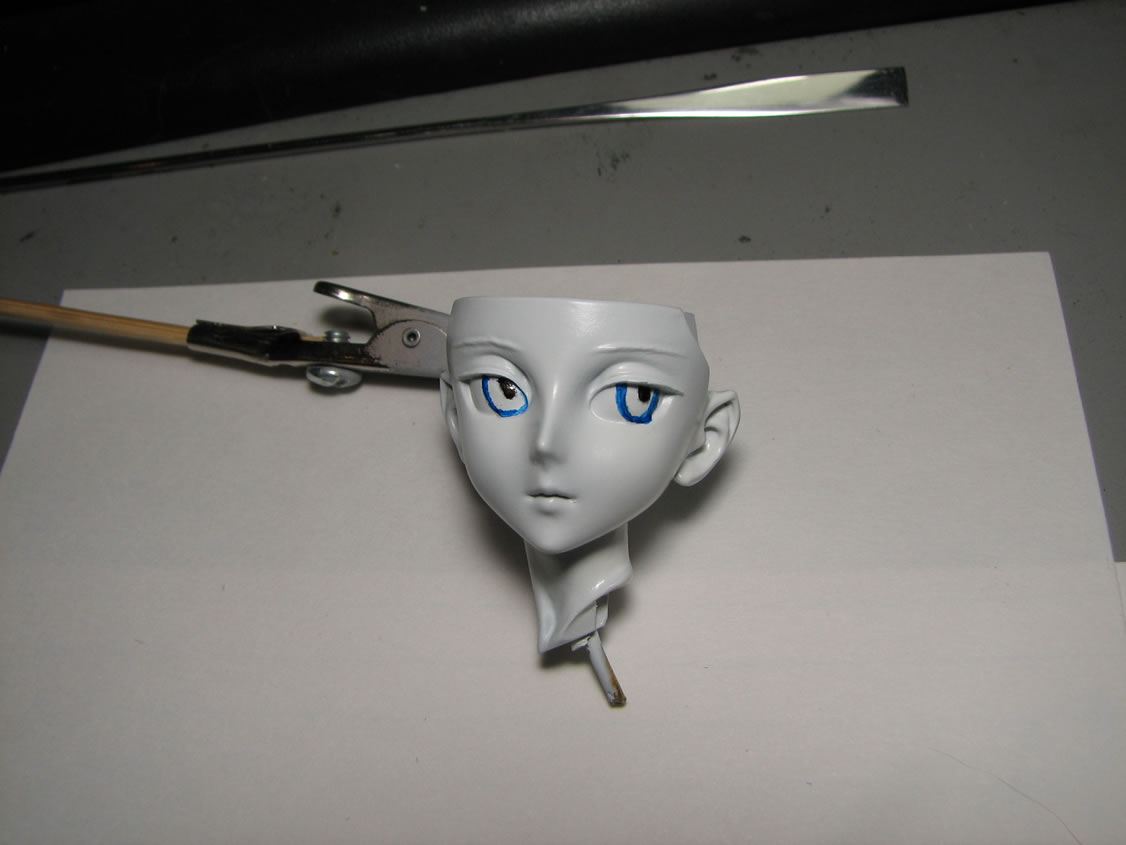
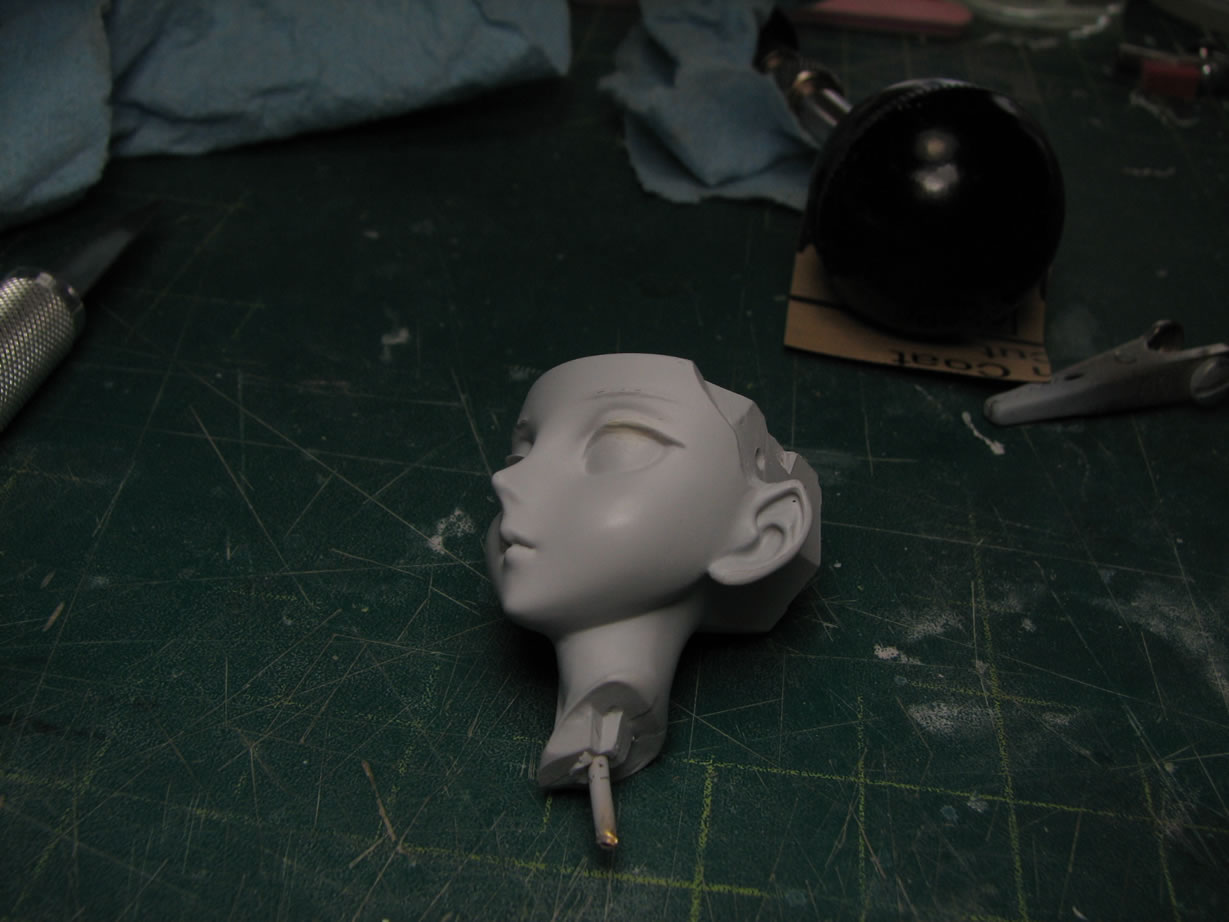
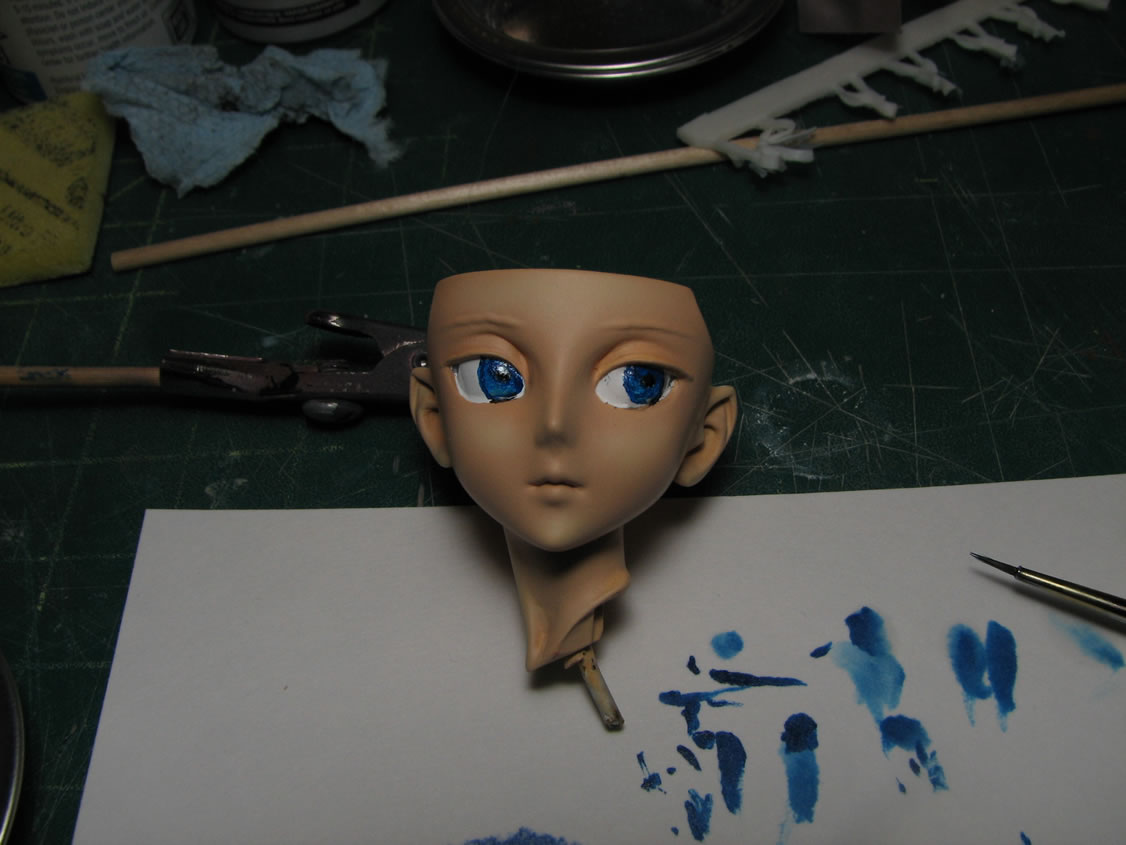
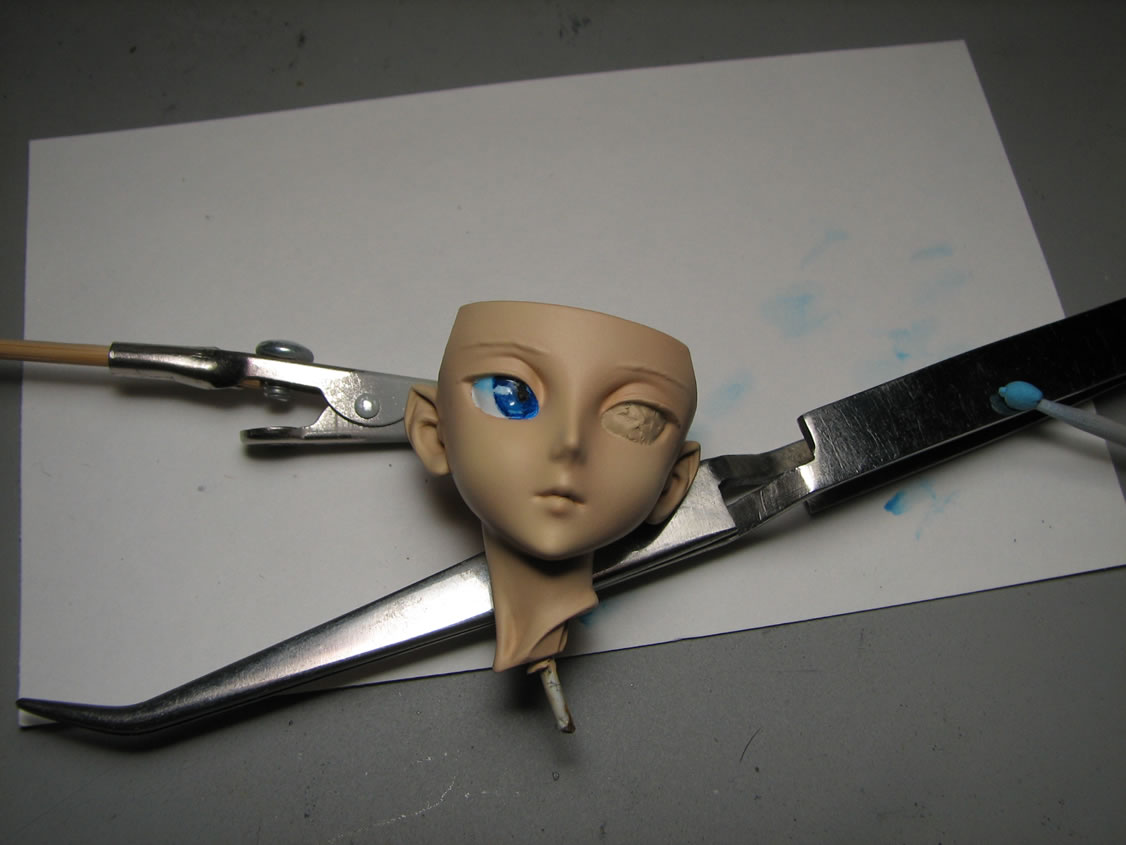
Main eye color is painted.
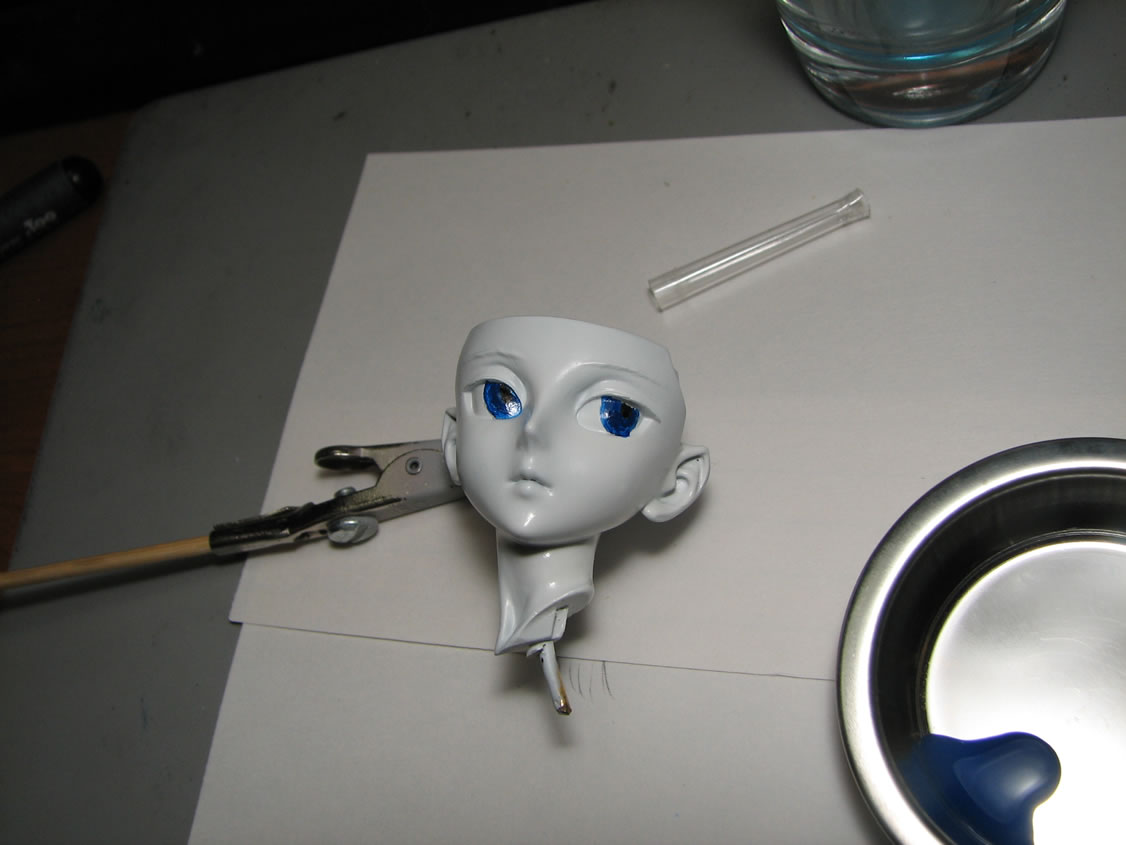
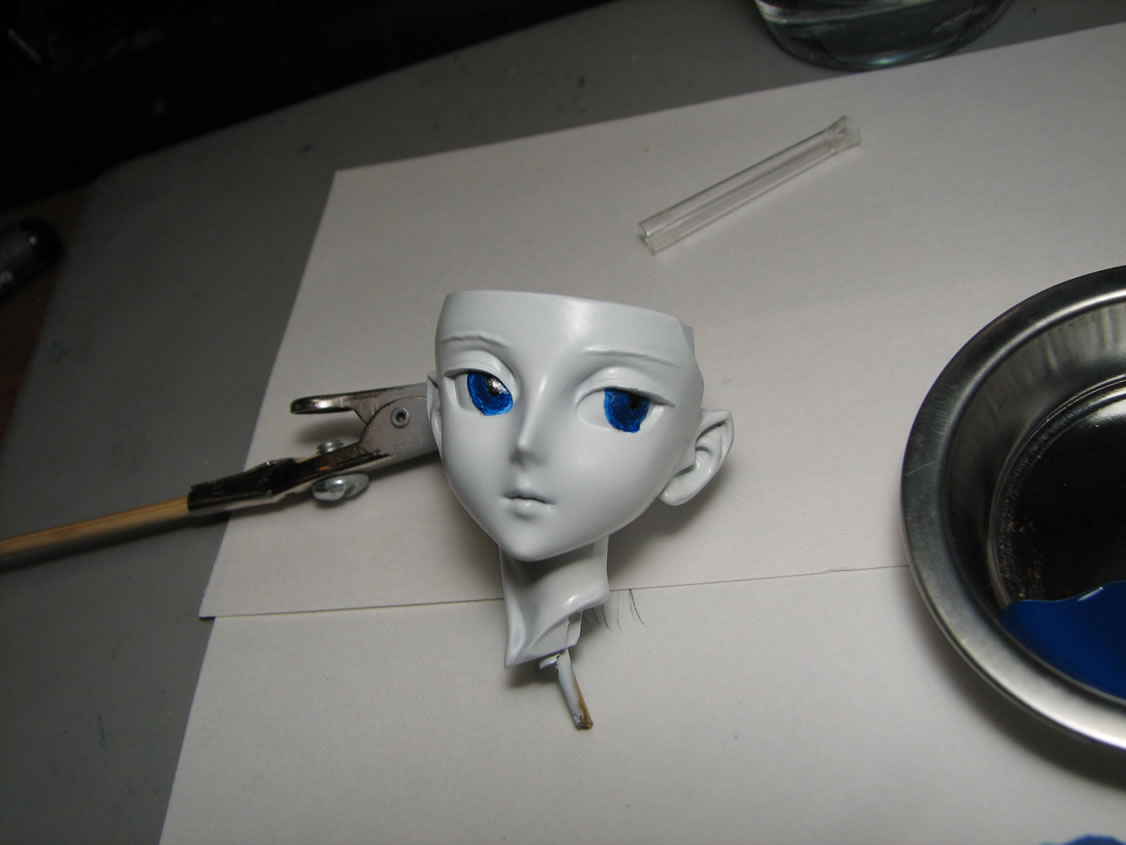
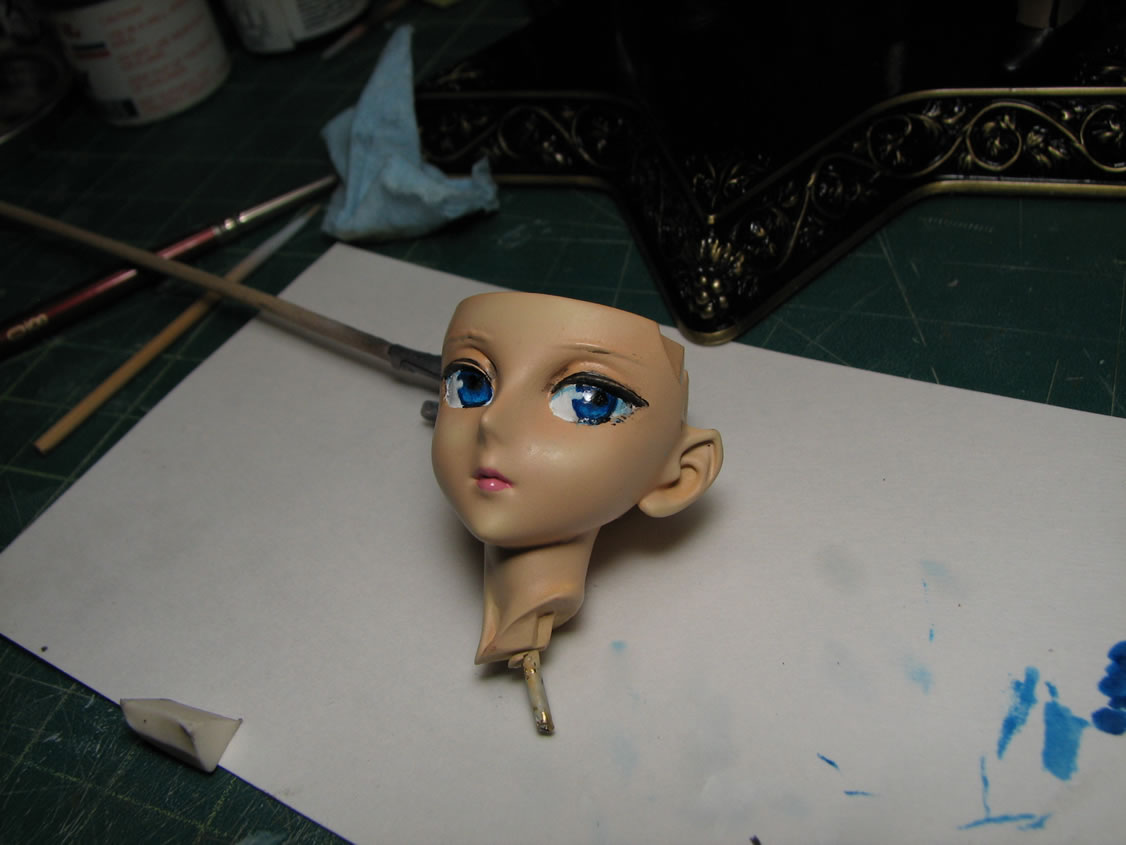
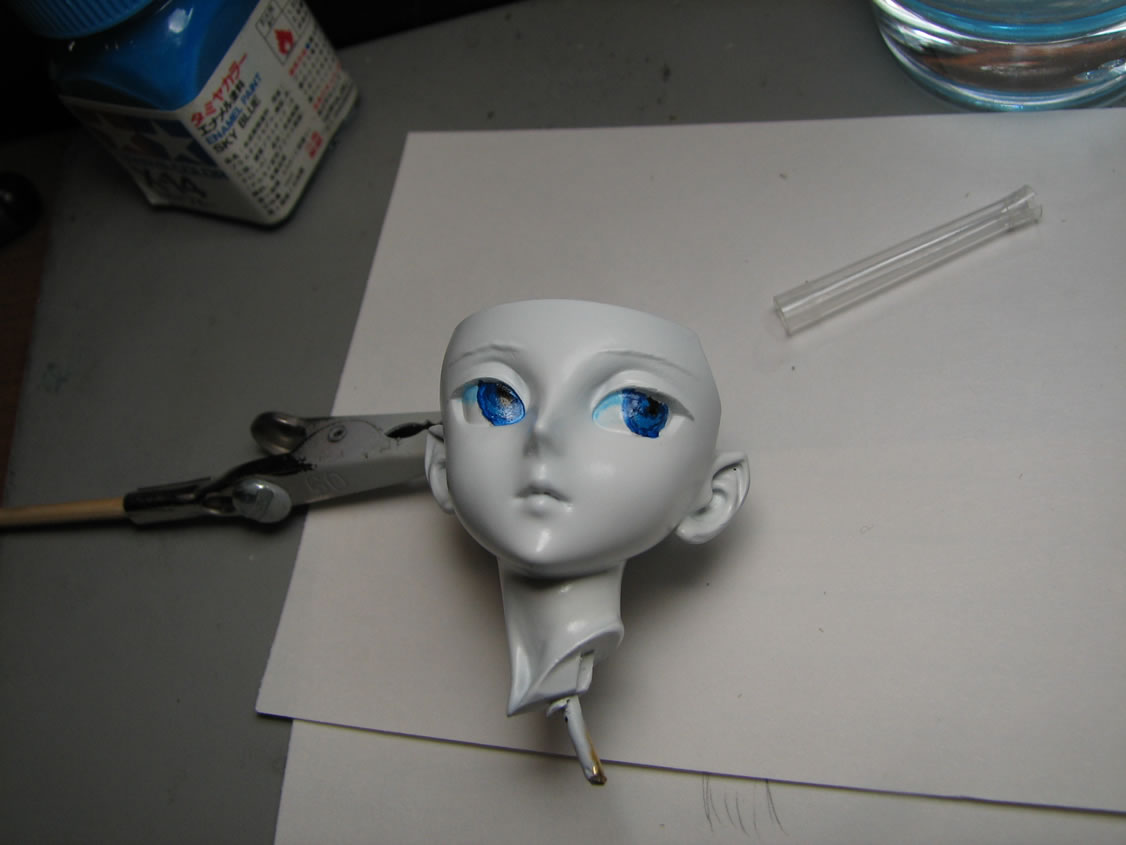
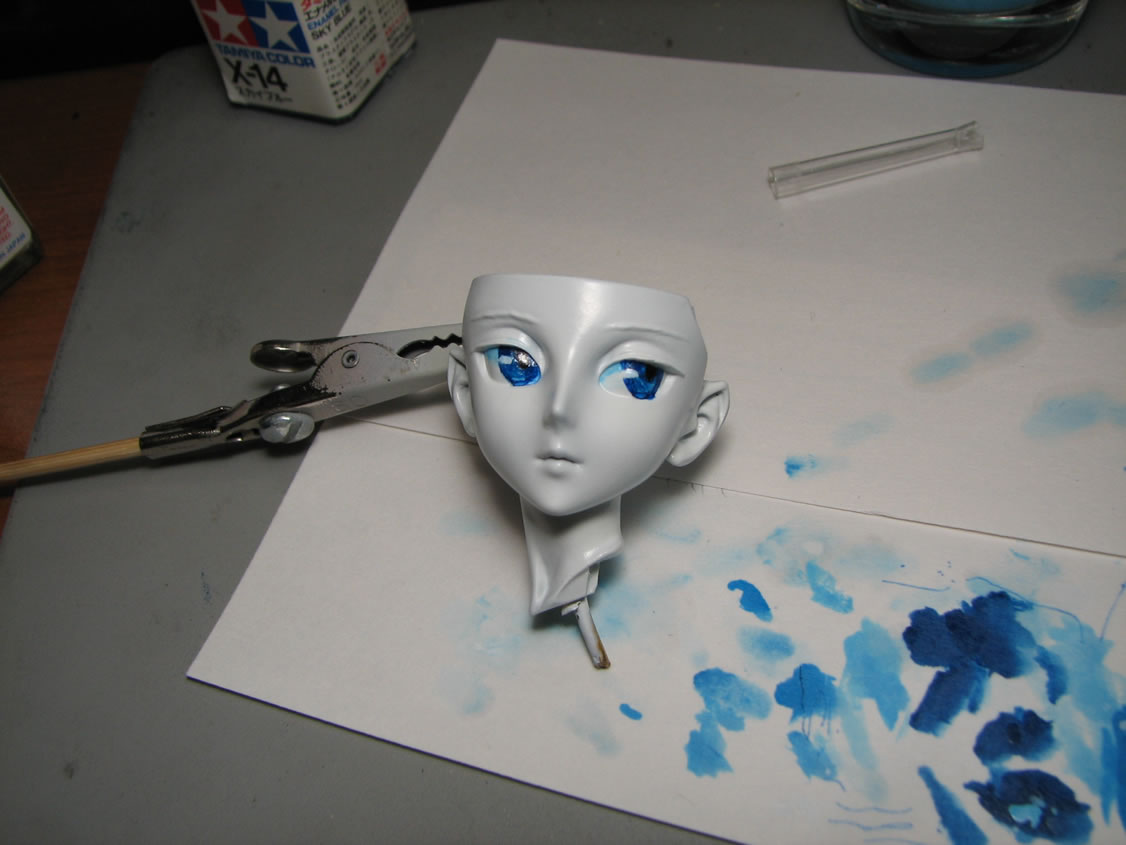
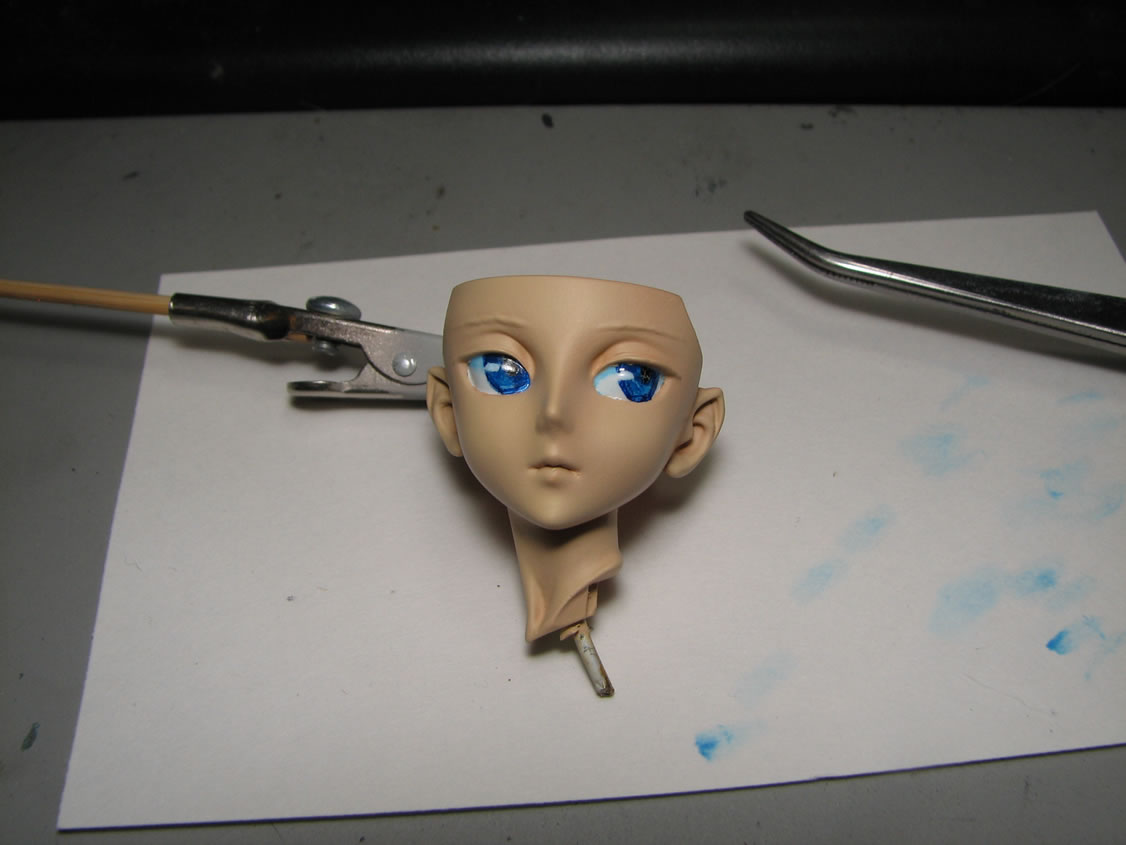
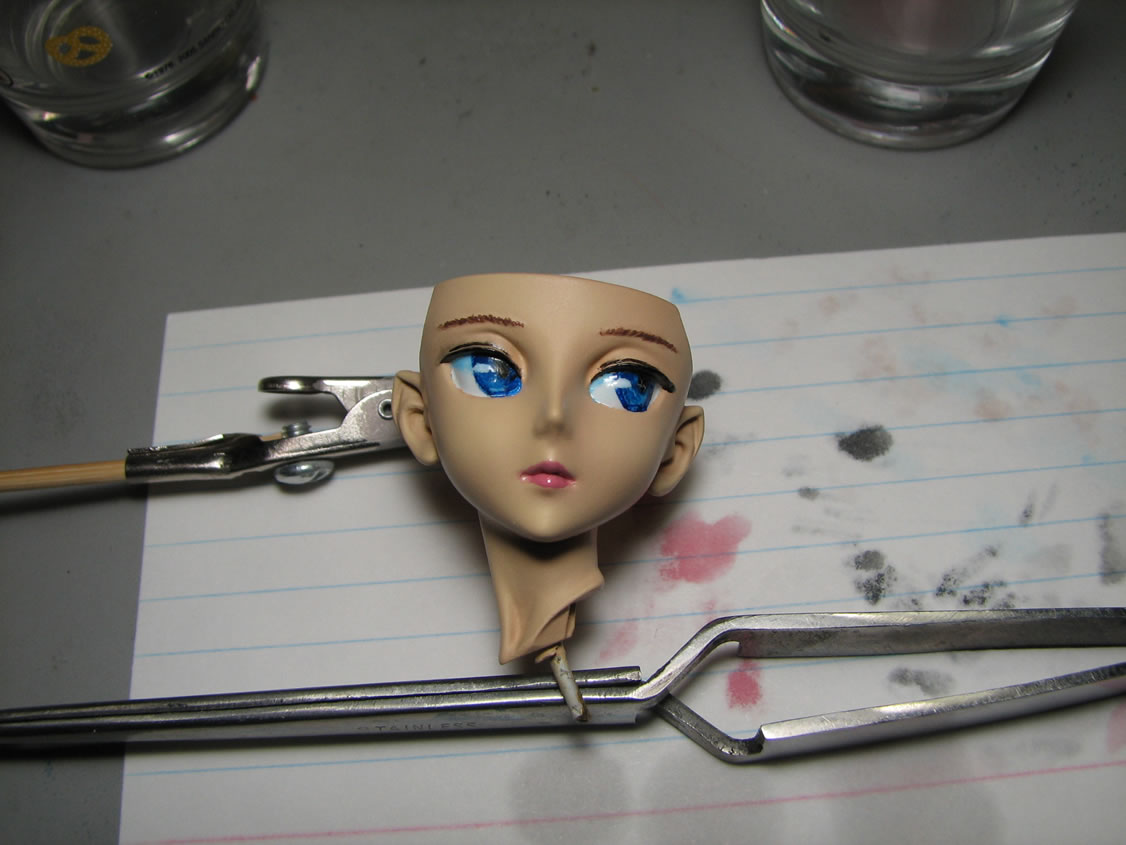
Lighter highlights, white highlights, and final clear coat to seal everything and give the eyes a wet look is sprayed.
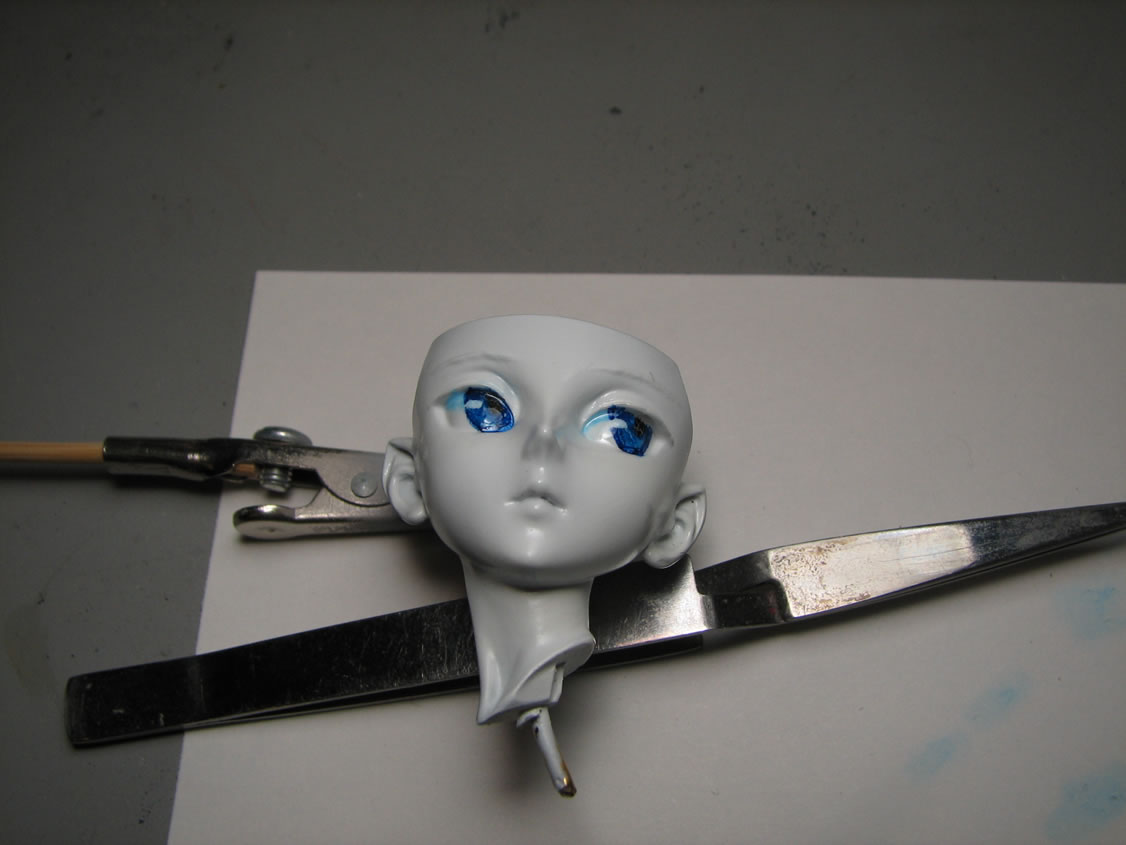
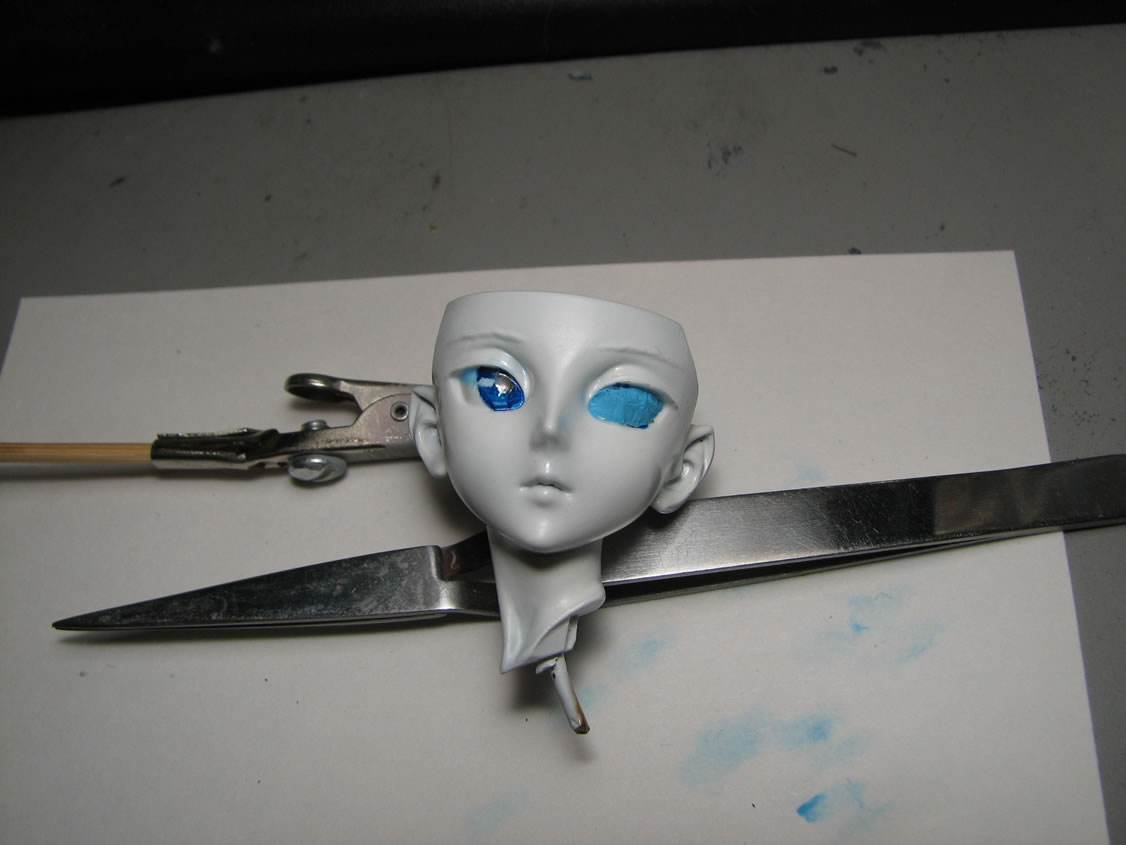
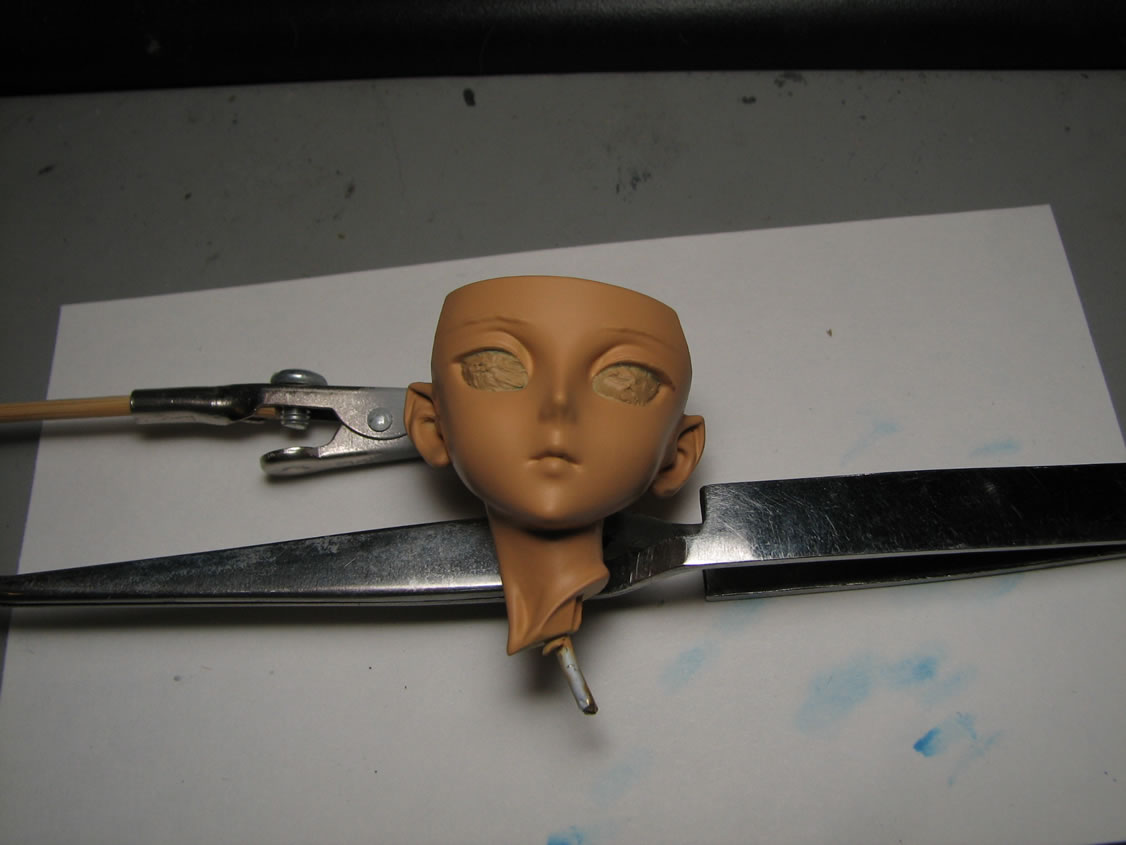
After a full day and a half of cure time, the eyes are masked off with blue sticky tac.
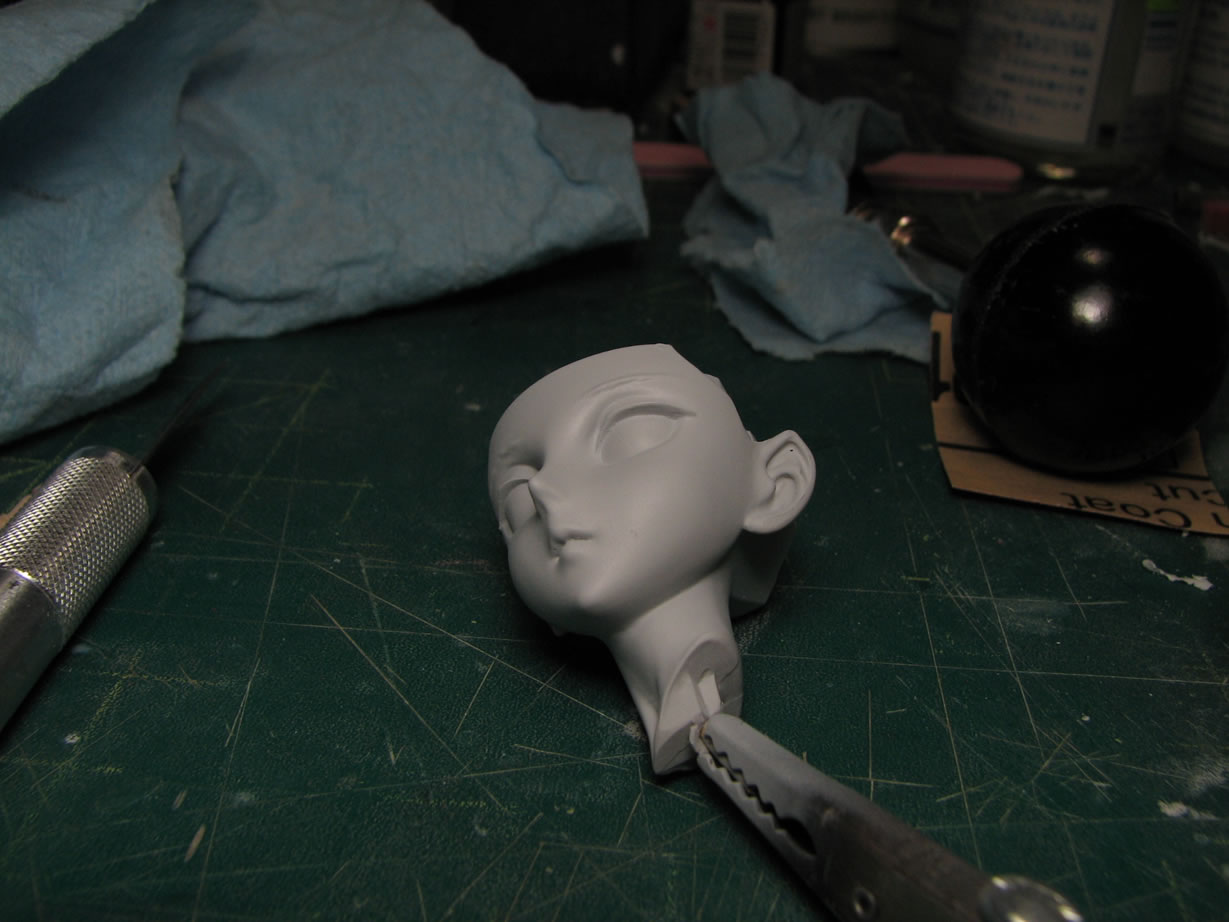
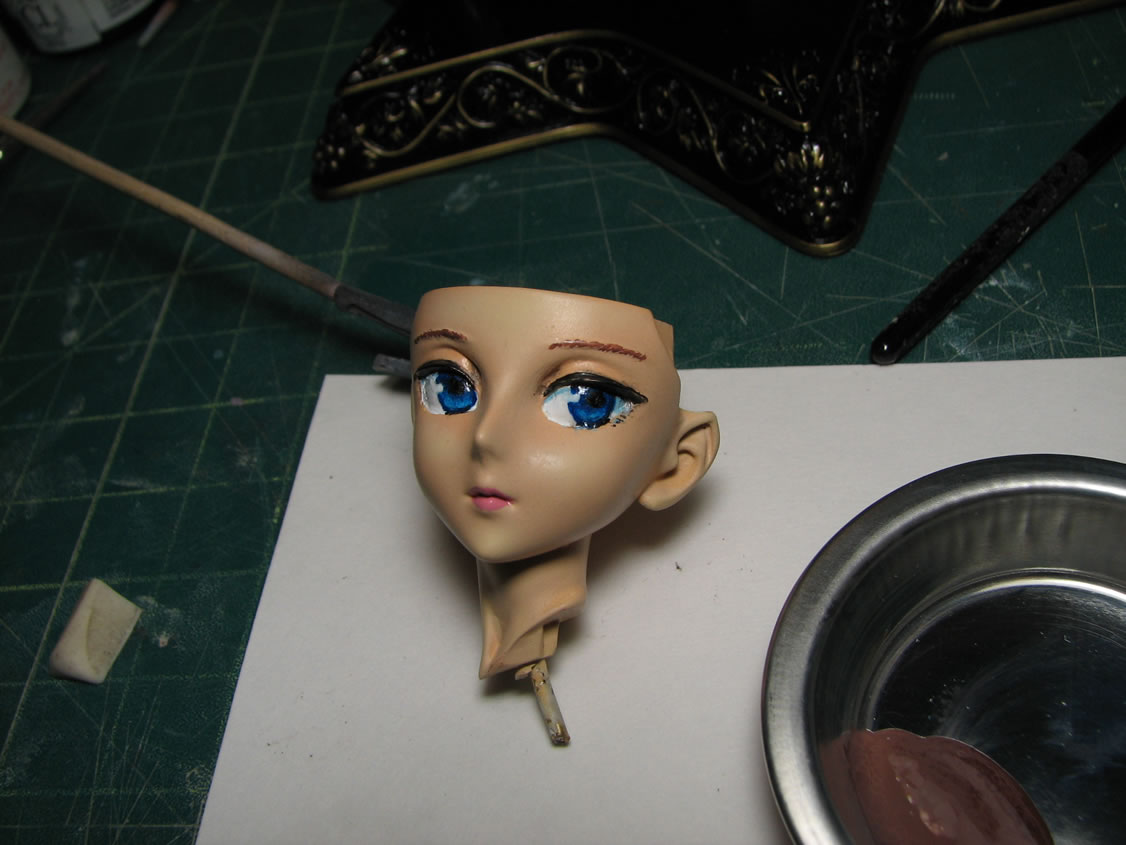
Skin tone is painted, base skin tone, highlights, then medium tone for blending.
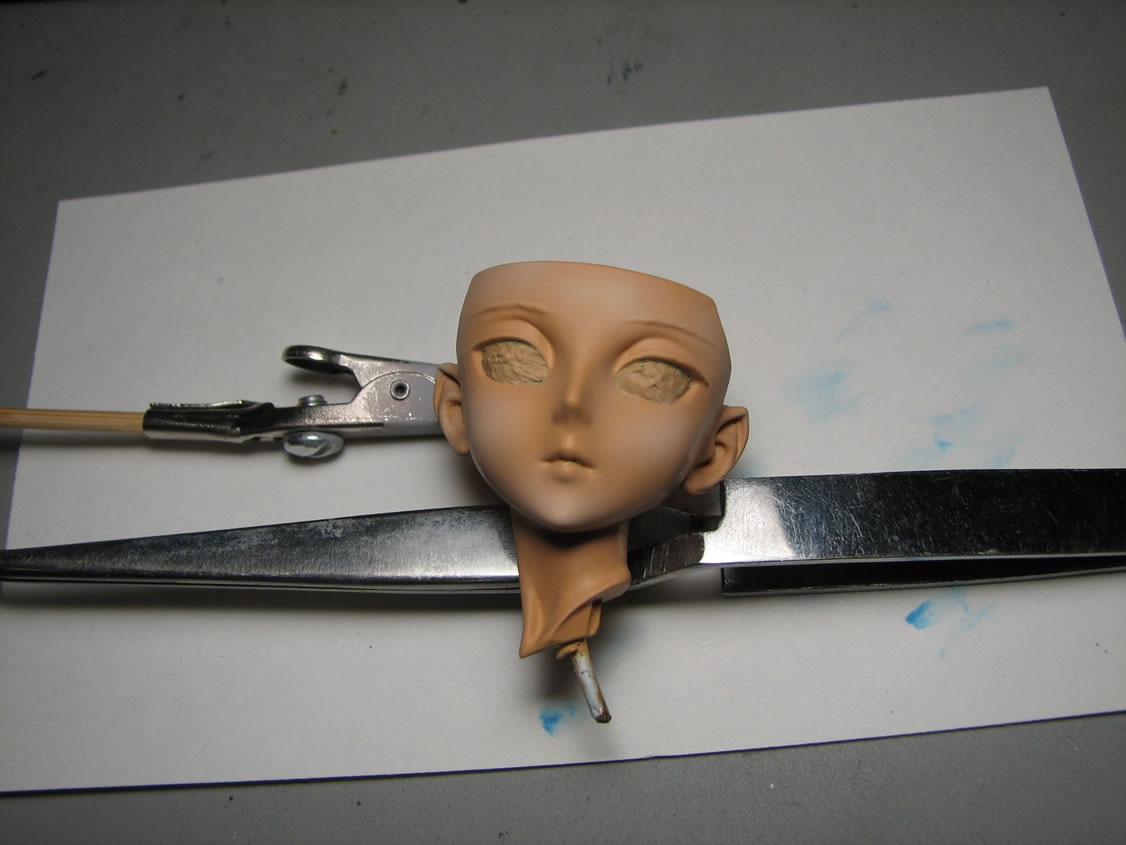
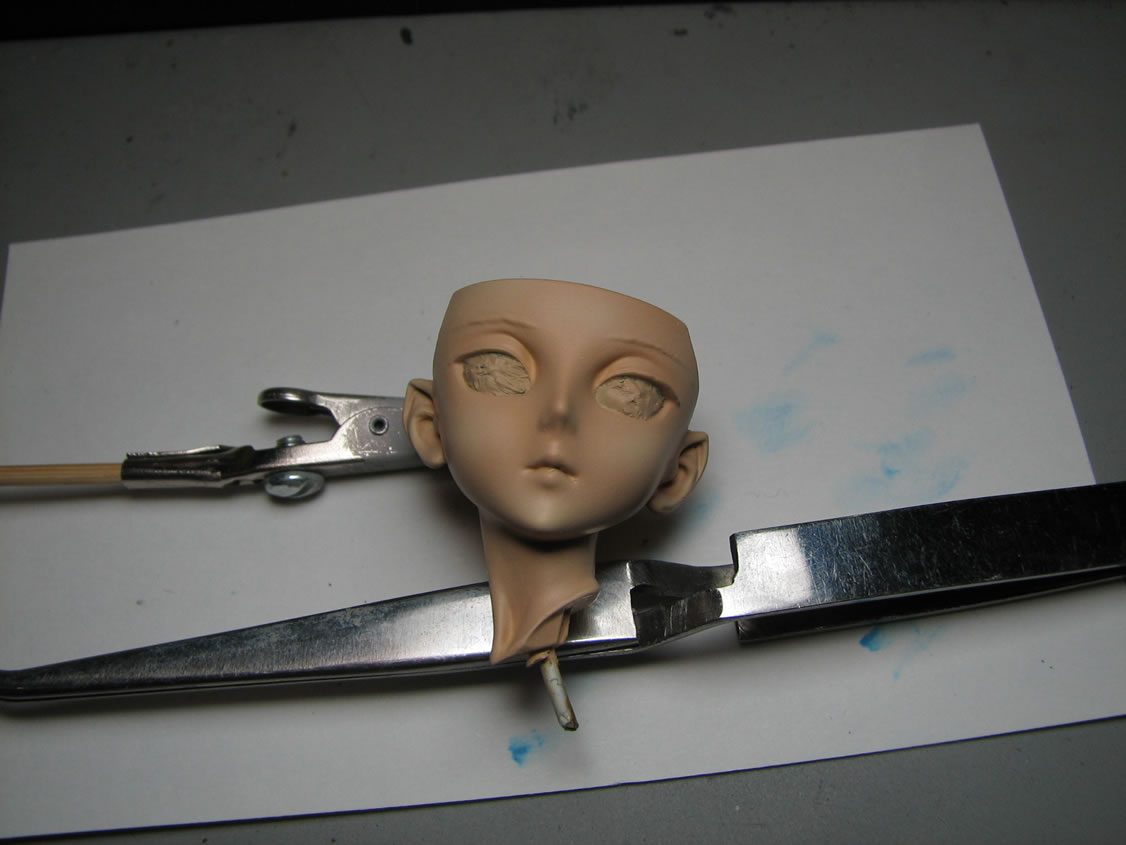
Masking tac is carefully removed.
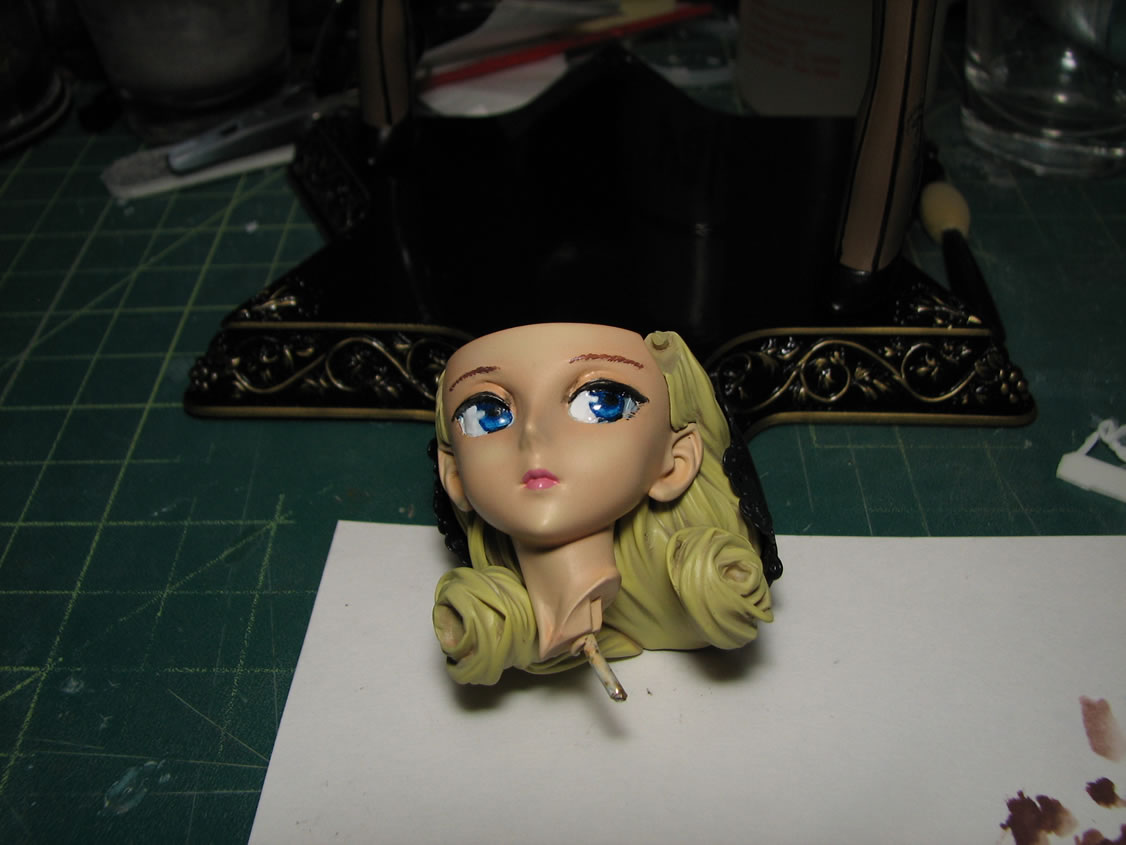
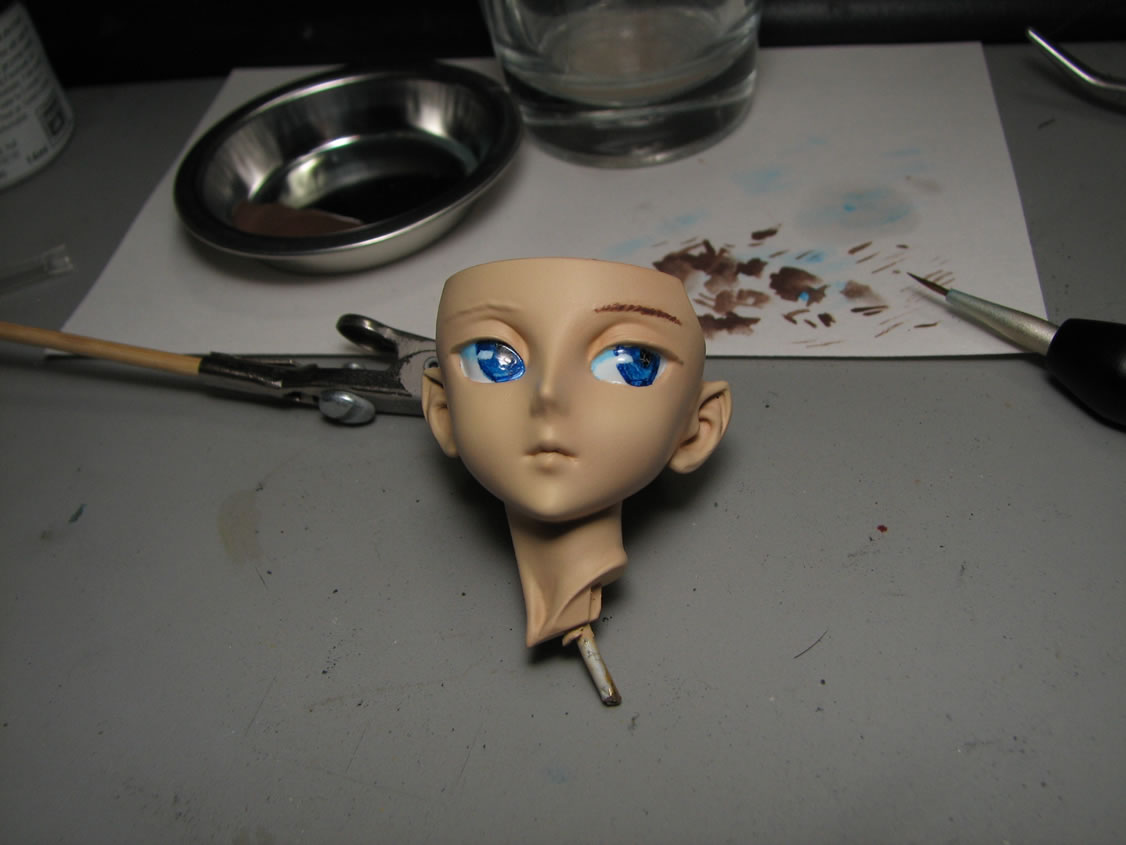
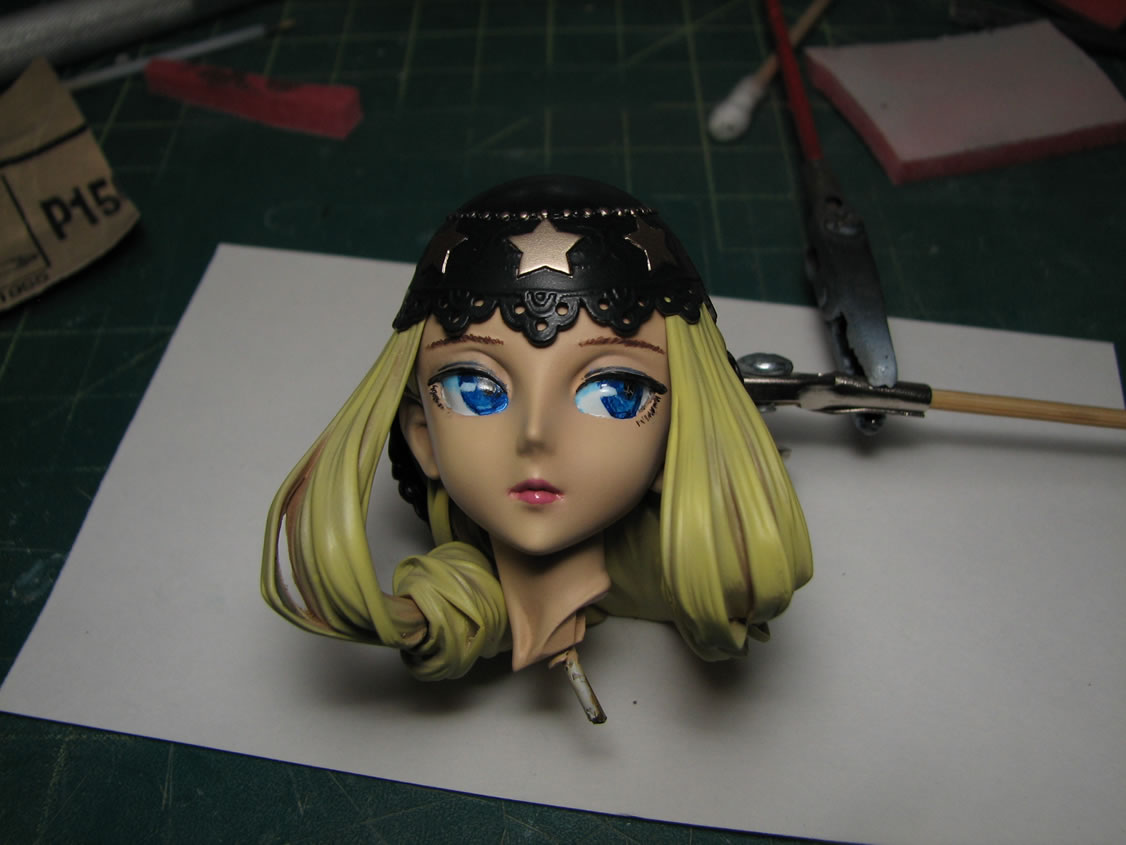
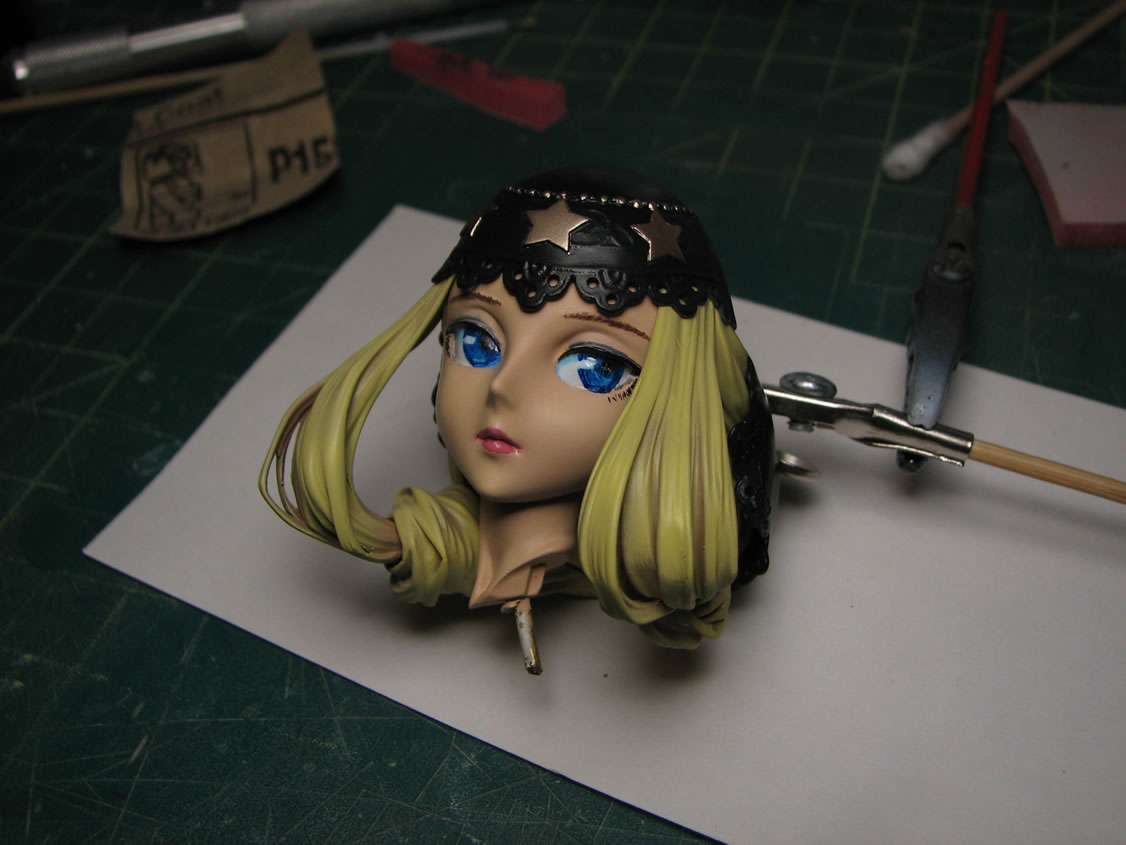
Eye brows are painted, eyelids painted, and lipstick painted. And I'm finally satisfied with the this version, however, I did notice that one eye was slightly bigger than the other... *sigh*, nothing is ever perfect... but this mistake could have been avoided earlier when inspecting the penciled in eyes.

But alas, I'm decently satisfied....
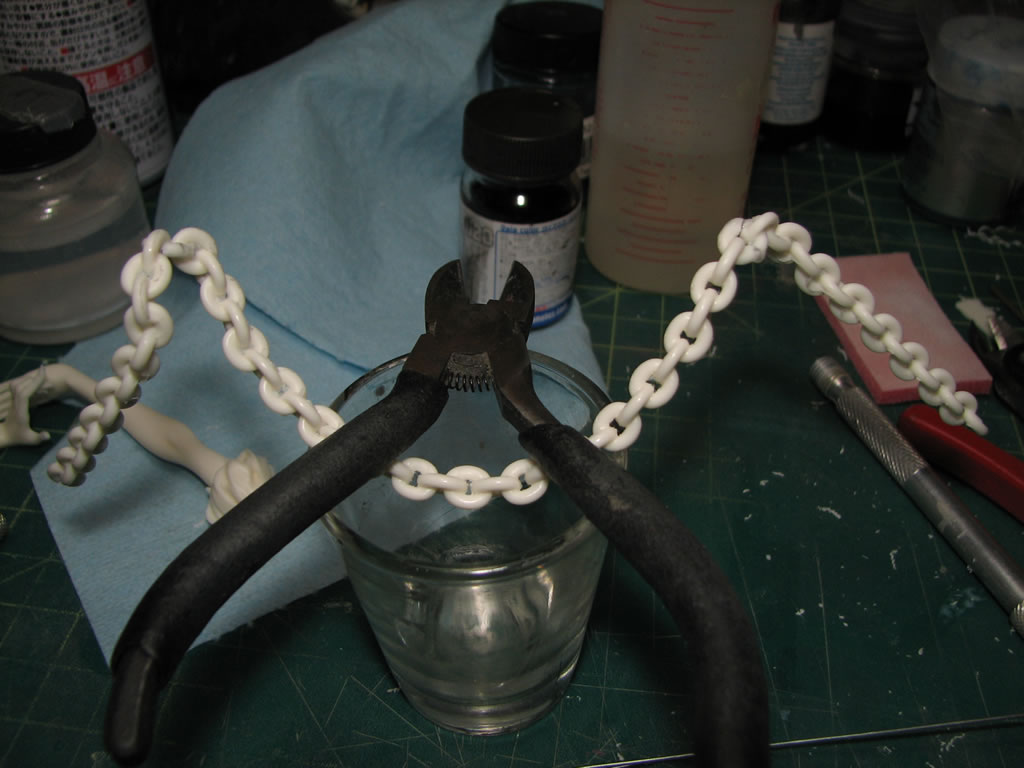
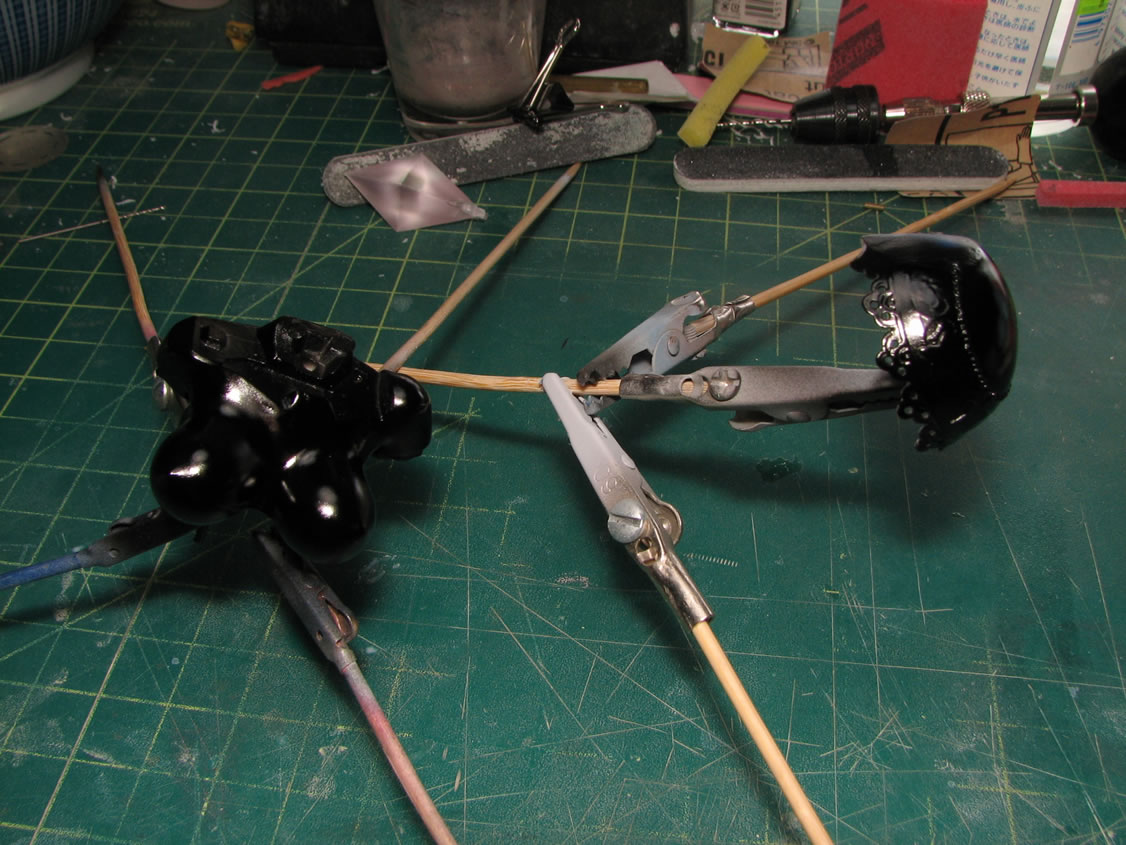
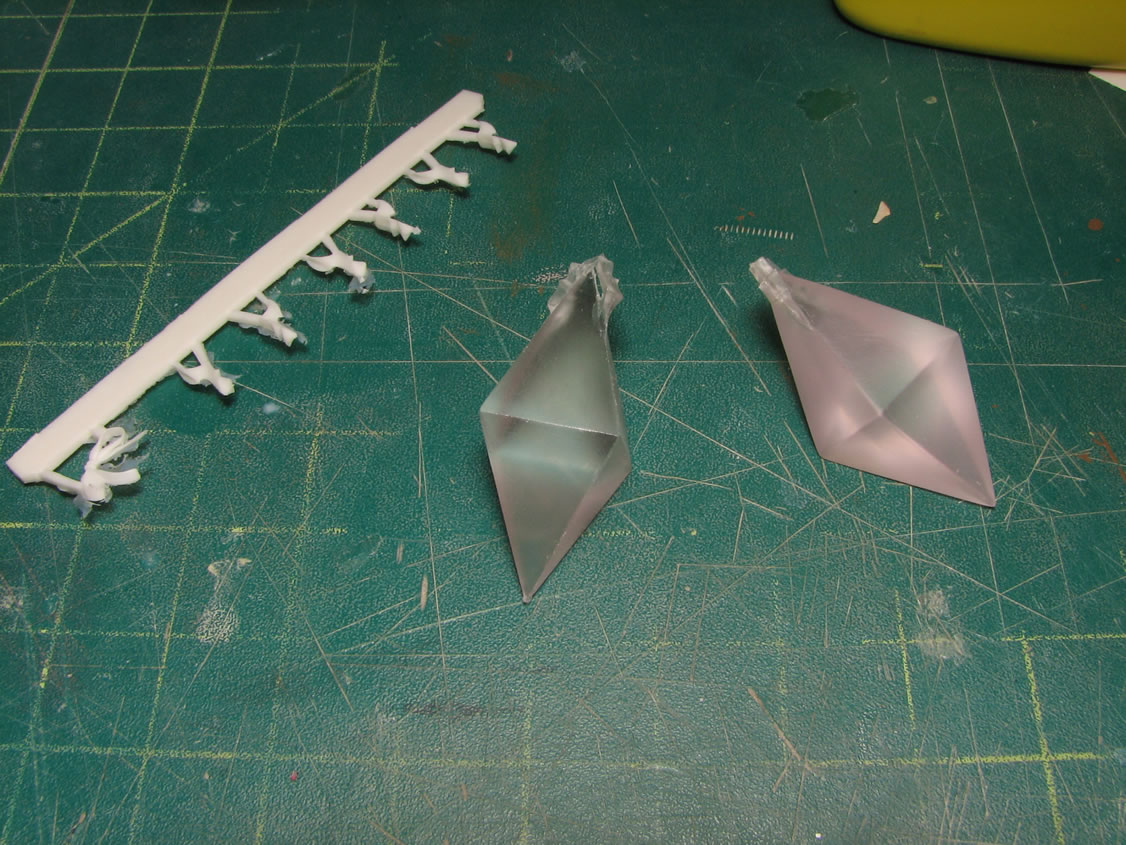
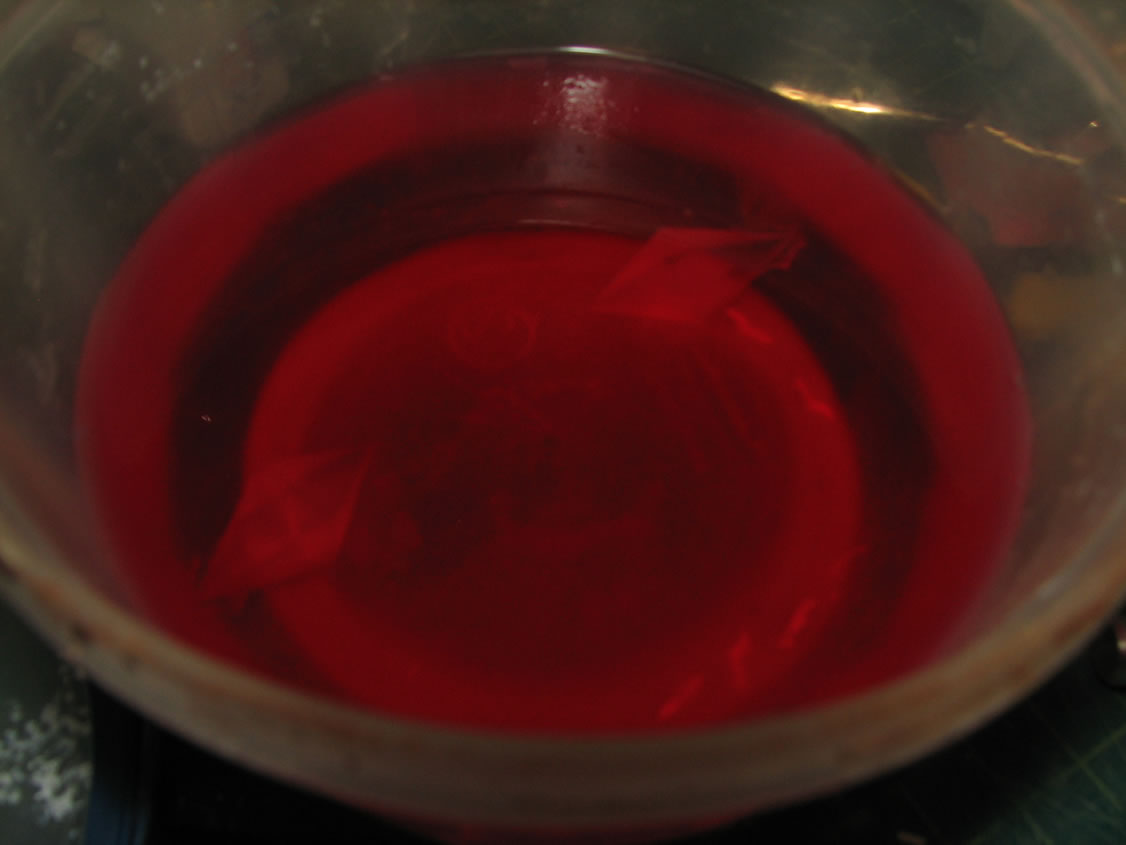
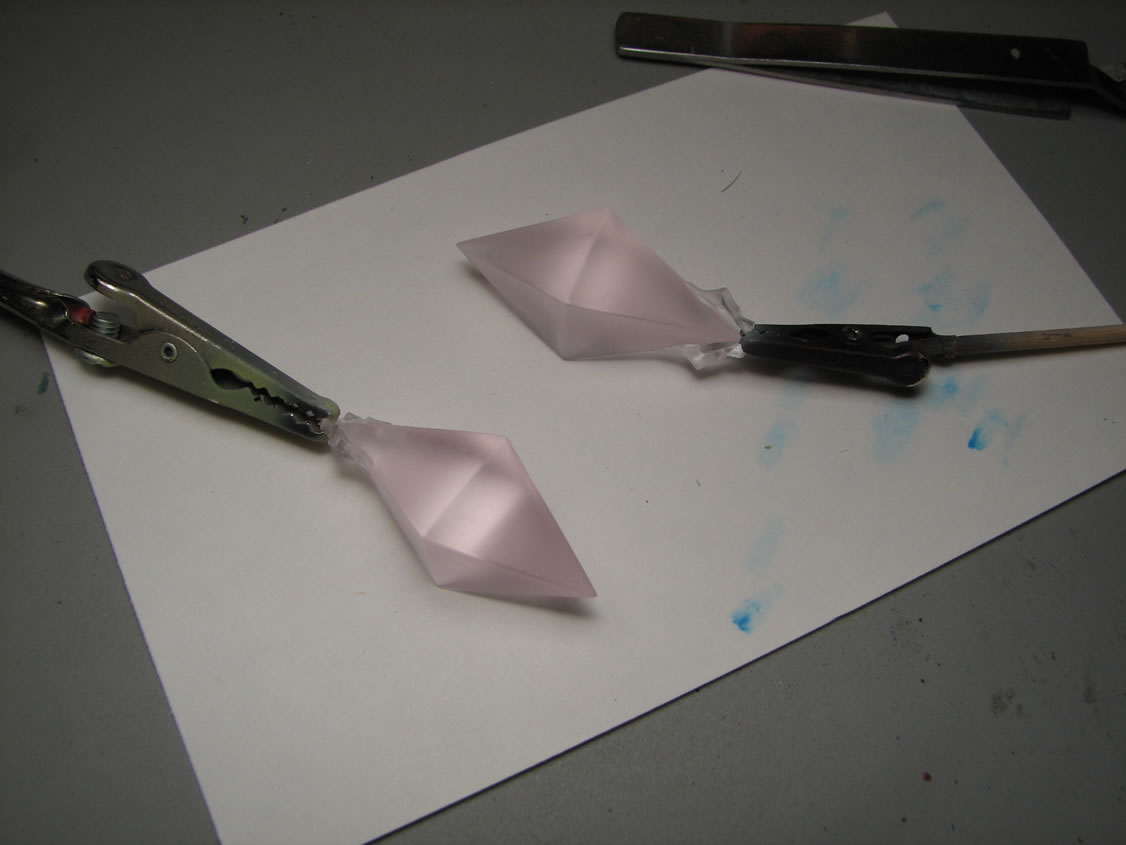
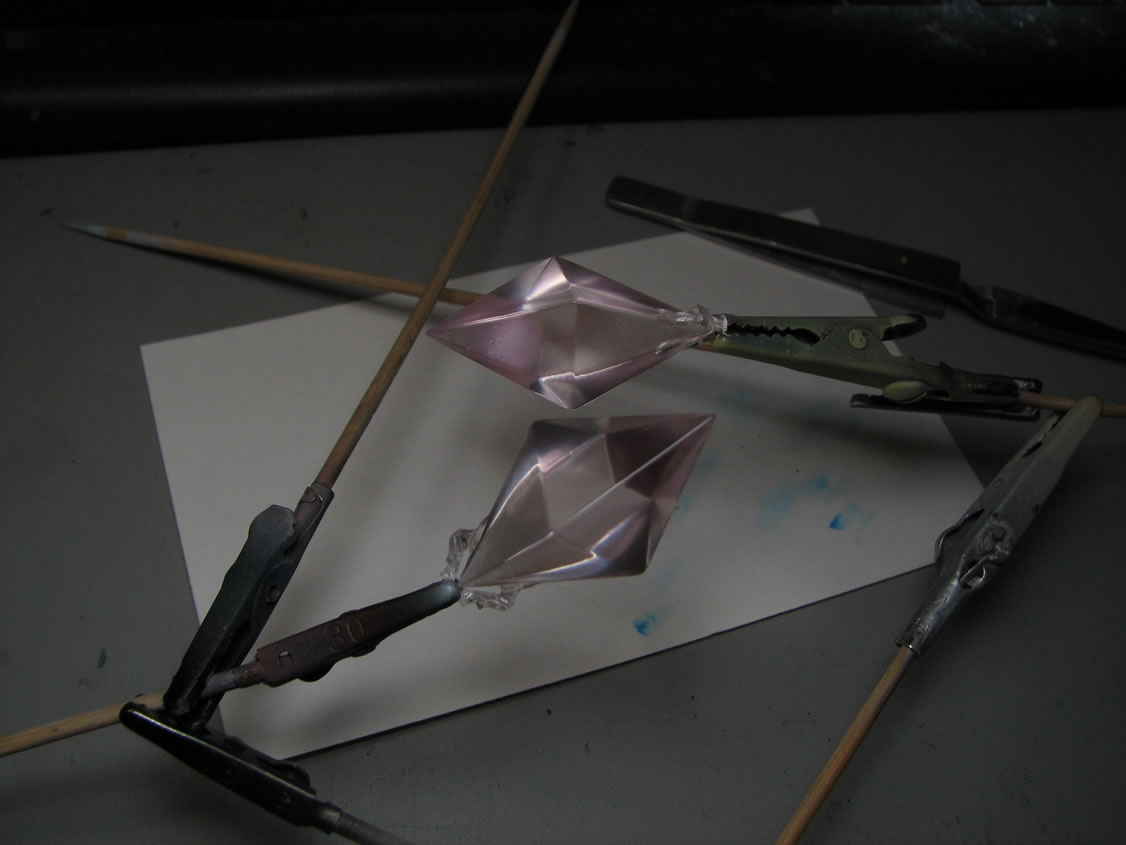
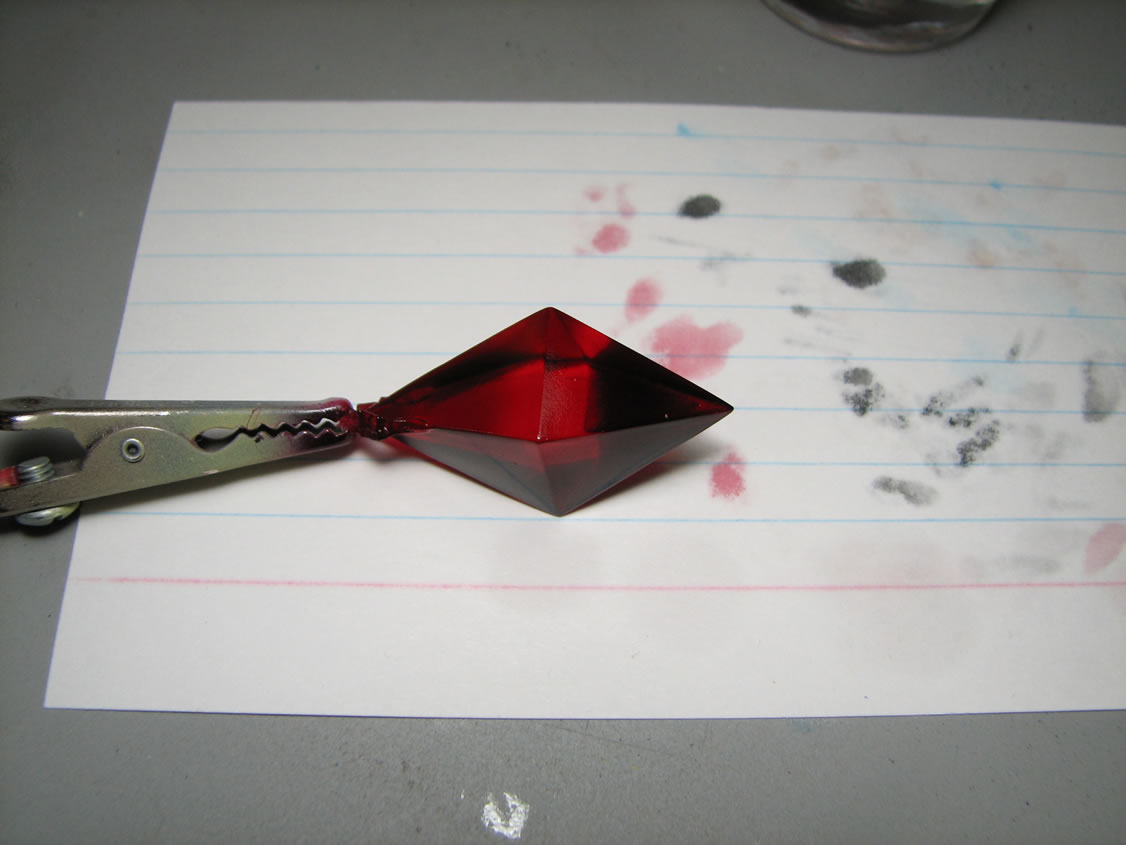
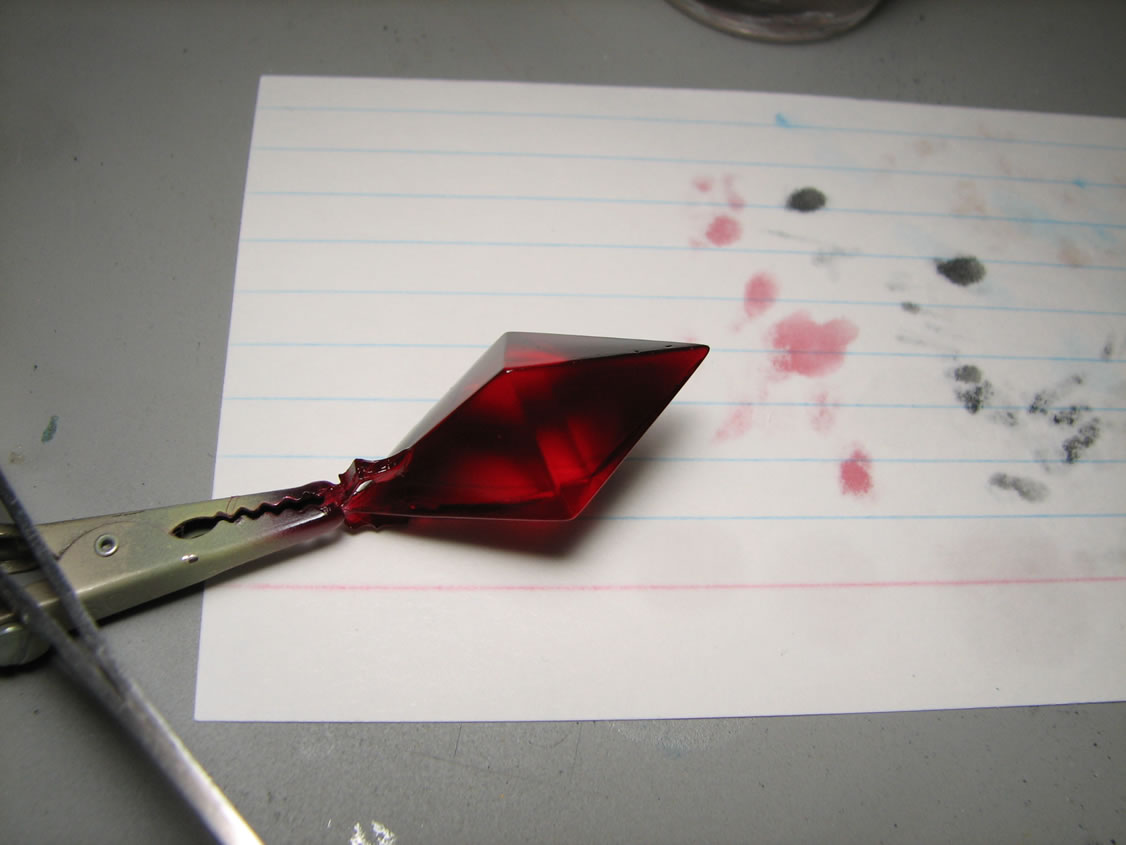
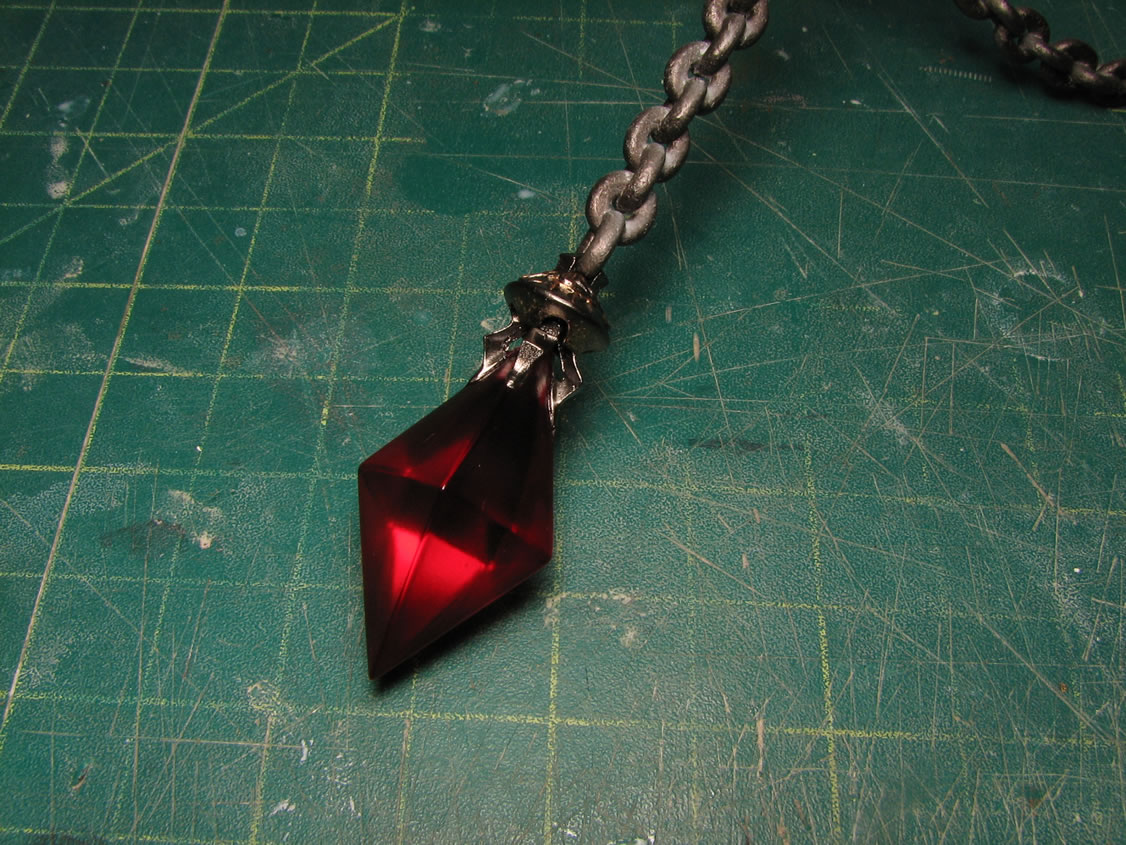
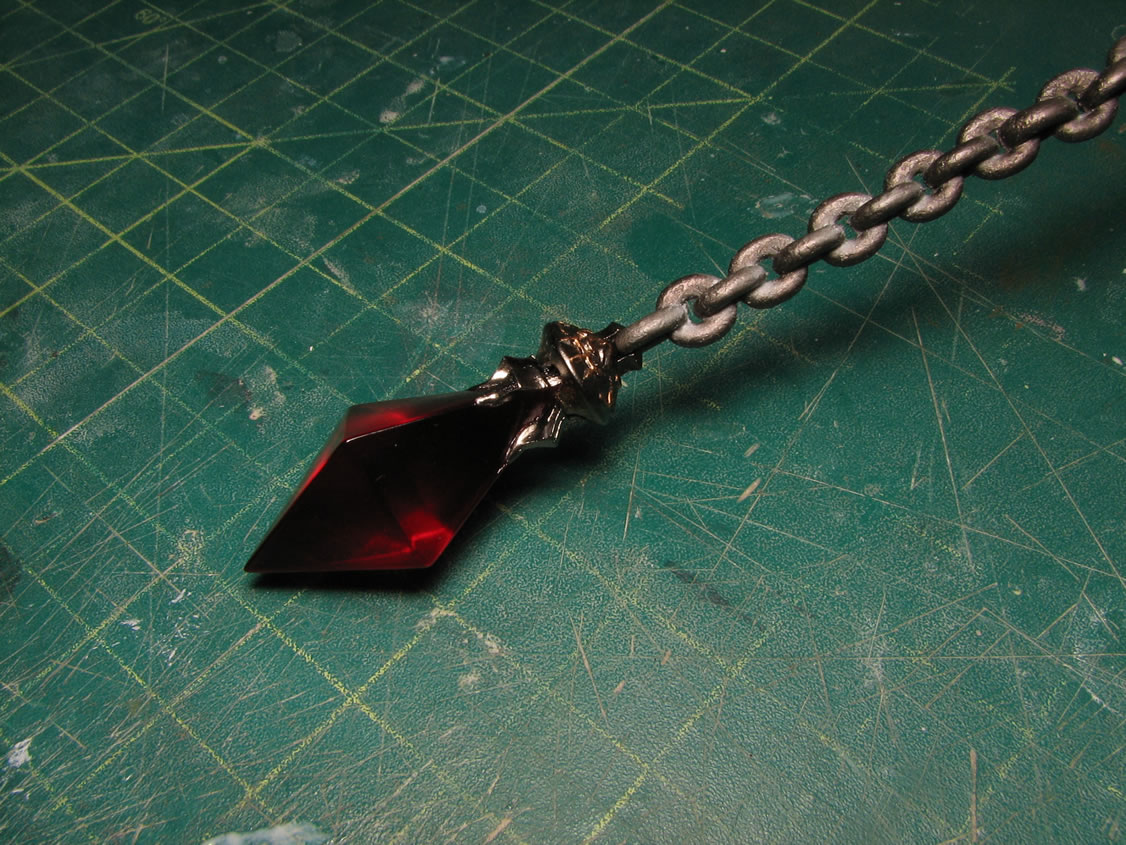
Work on the remaining chain pieces. The parts are sanded and dunked into purple power over night, then placed into the ultrasonic cleaner for a scrubbing session. The clear parts need to be primed with a gloss clear, then clear red is painted, and a final clear gloss is sprayed. The end is very near!
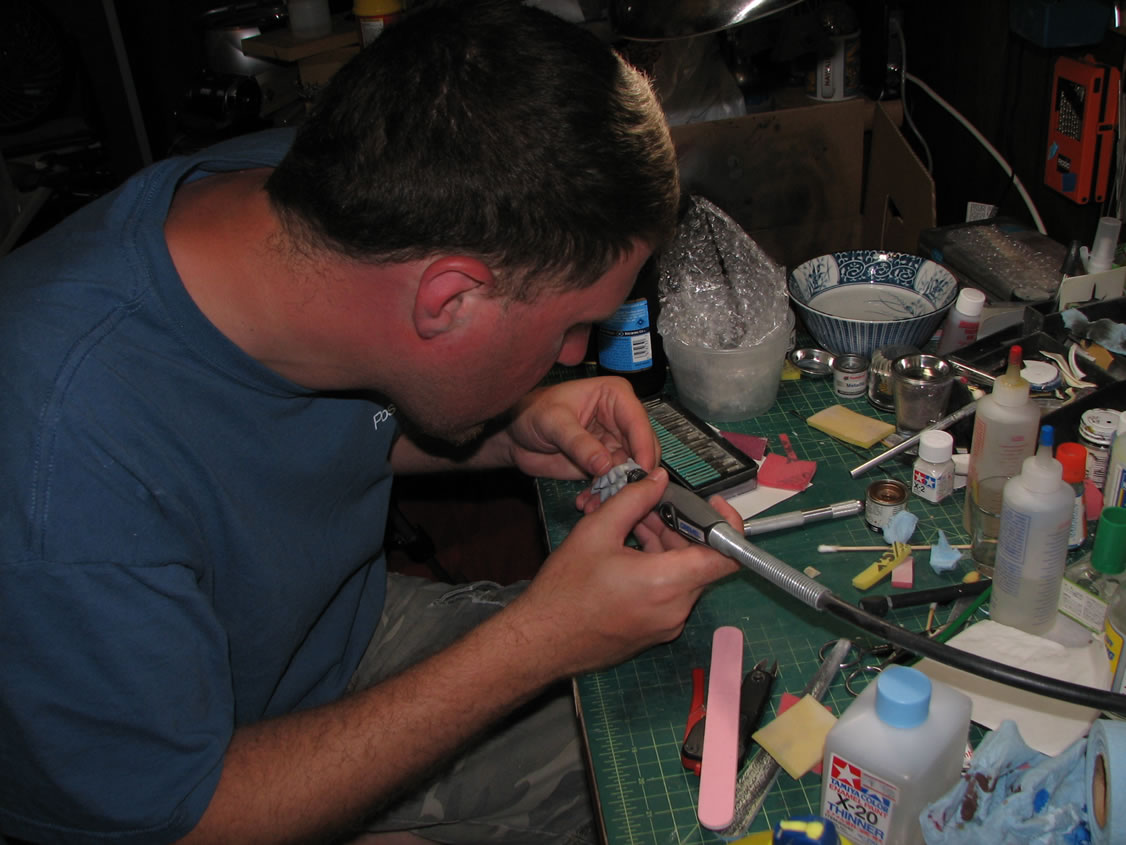
Brian is out here for a weekend of diving, and in between dives, he works on his little resin figure kit as well.
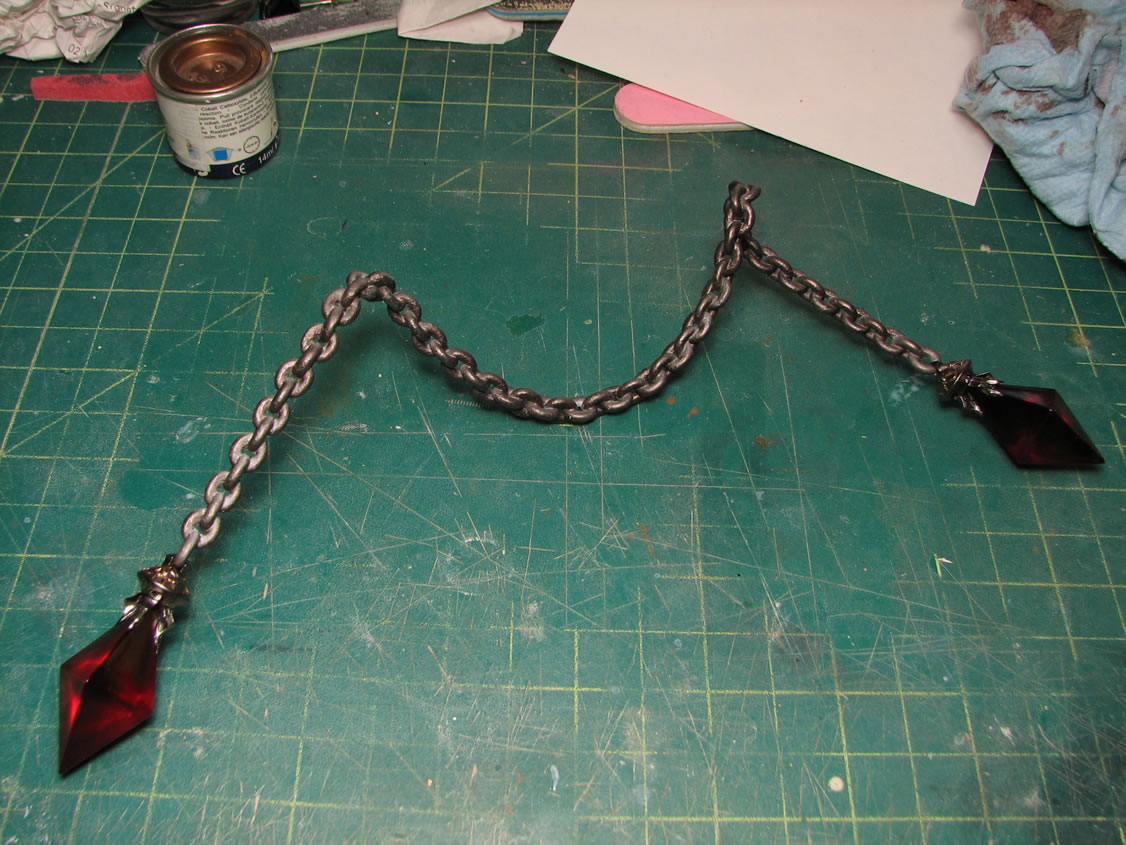
September 1, 2009: Last progress update as with this update, I'm done with the kit. The crystals were masked off so that the metallic areas could be painted. The separate metal handle pieces were also painted.
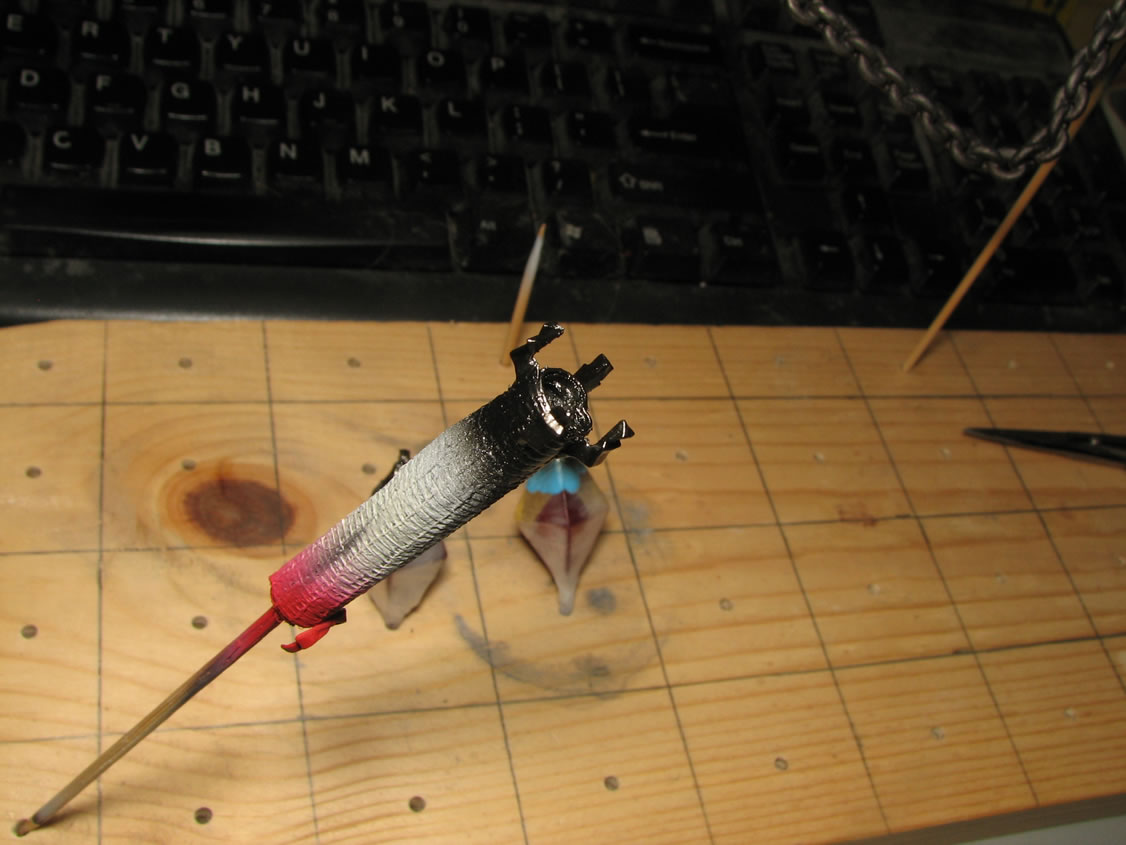
With the last bits painted, the mask is removed then everything is glued together using epoxy glue for the greatest strength.
The bow that goes at the top of Velvet's scarf like thingy is painted and clear coated.

The crystal pieces are held onto the chain by friction. This should make it easier to travel with the kit.
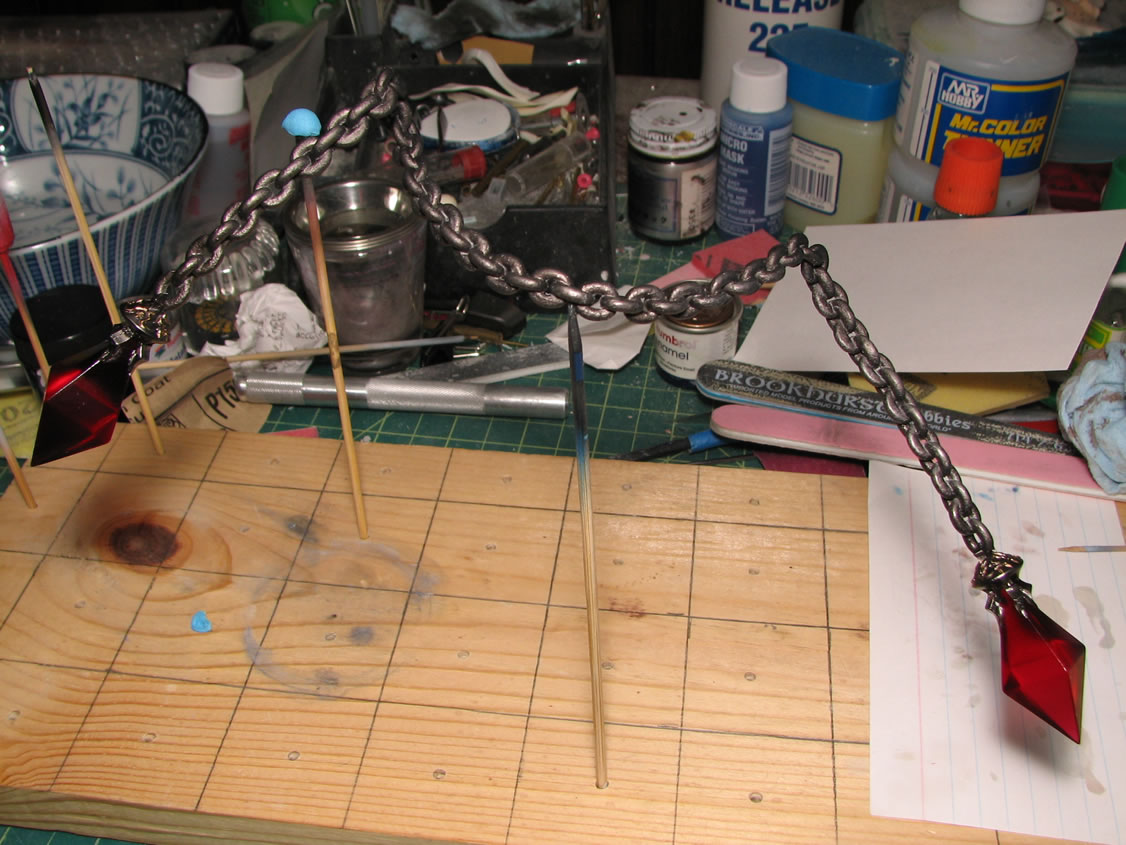
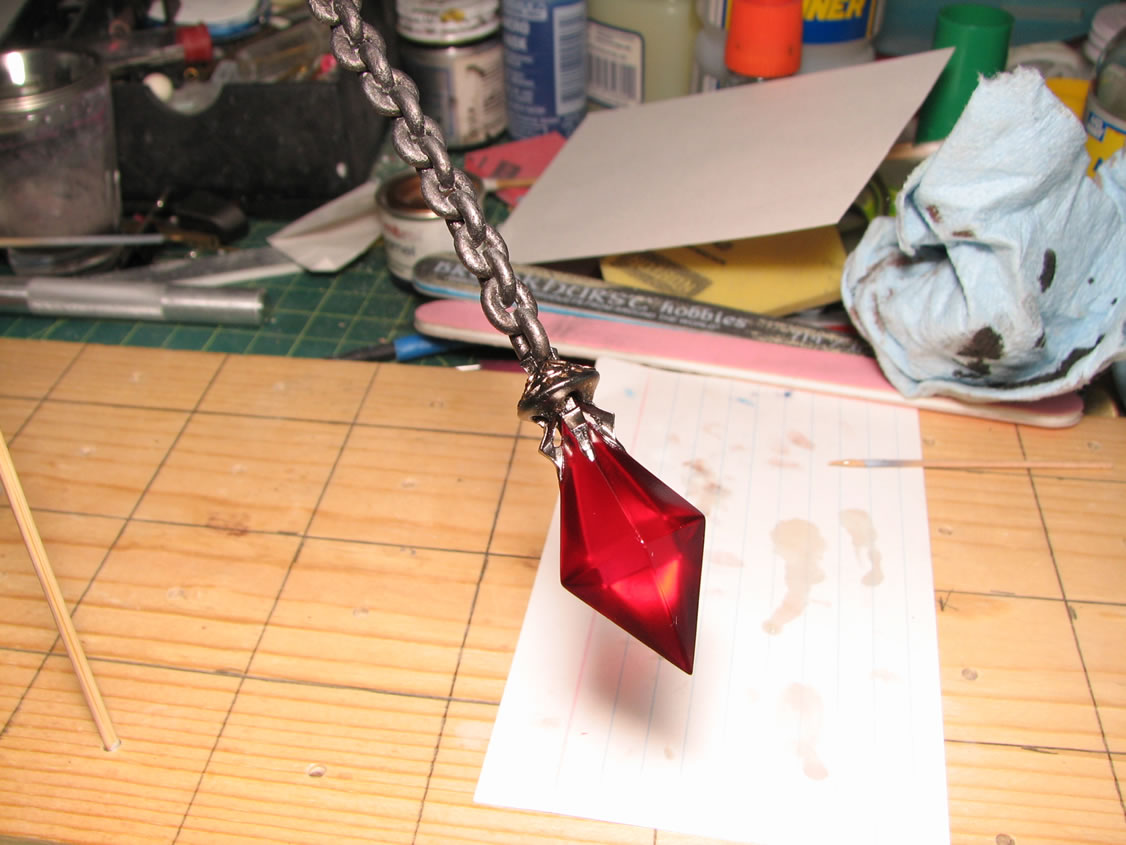
Another angle and some close up shots of the crystal. With this, the kit is complete. I still need to wait for the clear coat on the chain to fully set up before attaching it to the main kit as I don't want to have any of the metal paint scratch off onto the arms. This will complete the build progression for this kit. I'll post an update to the completed pictures page when I have those done, most likely in the next few days.
September 2, 2009: Click here for completed picture.
May 20, 2009: Velvet from Odin Sphere.
Initial priming session to find mistakes.
Fixing surface problems and sanding mistakes.
Surface problems part two and cast iron effect on the chain.
Chain work, wet sanding, quick minor fix
More masking and the Reverse Wash
Completely redoing the eyes and chain work