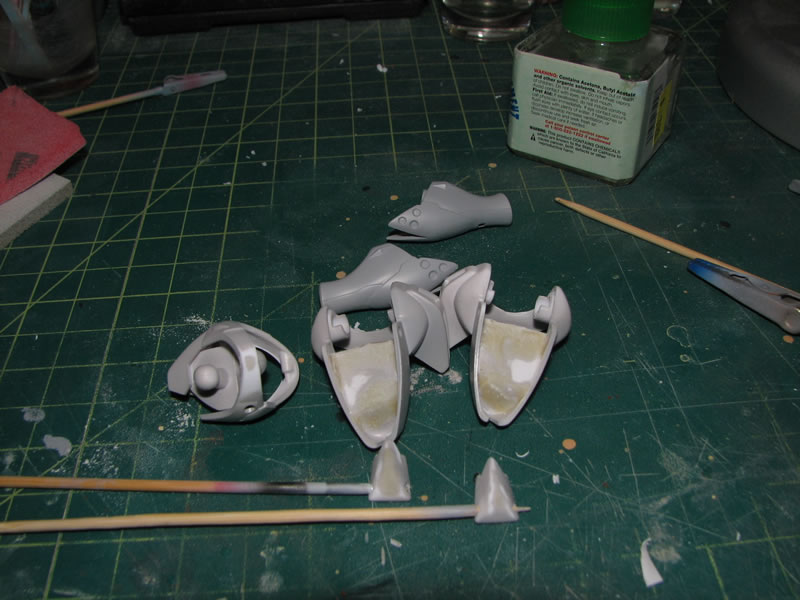
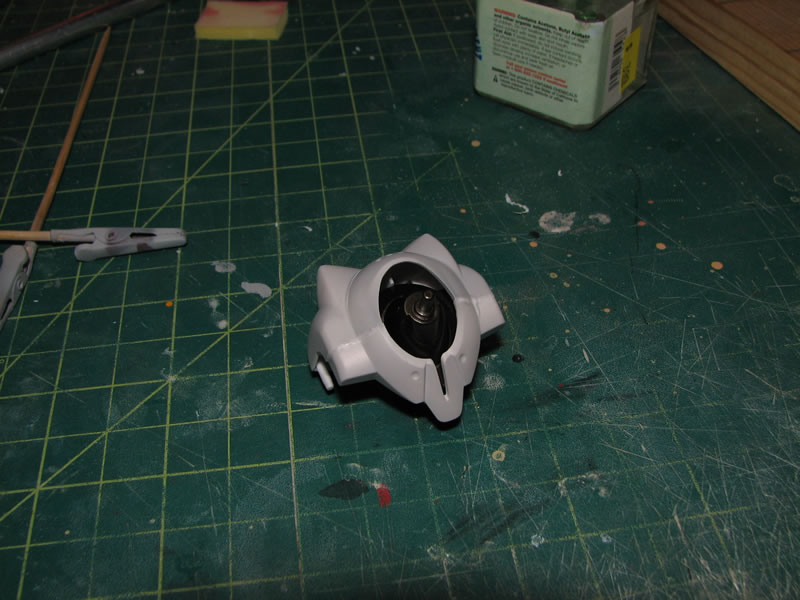
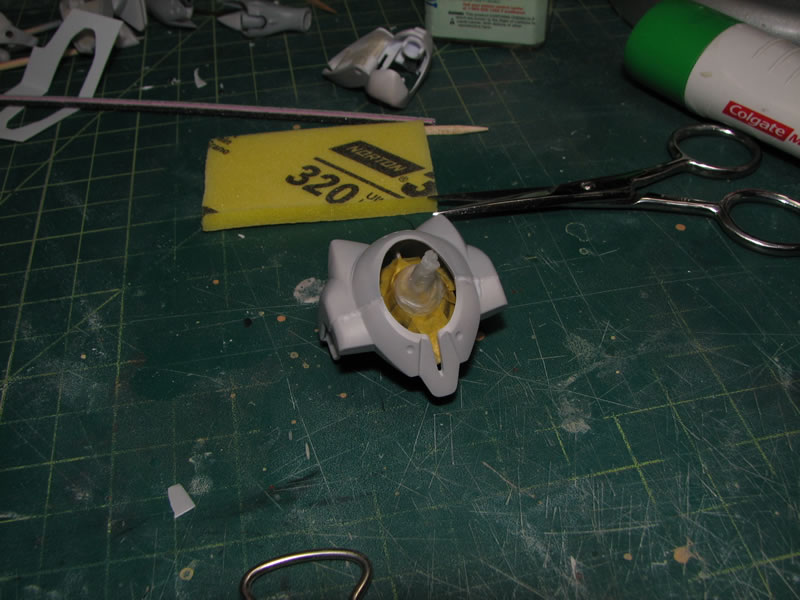
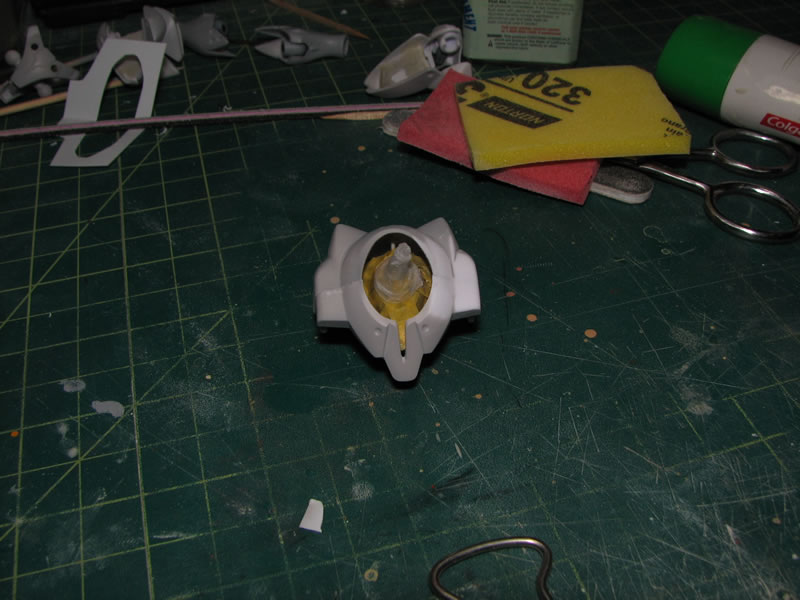
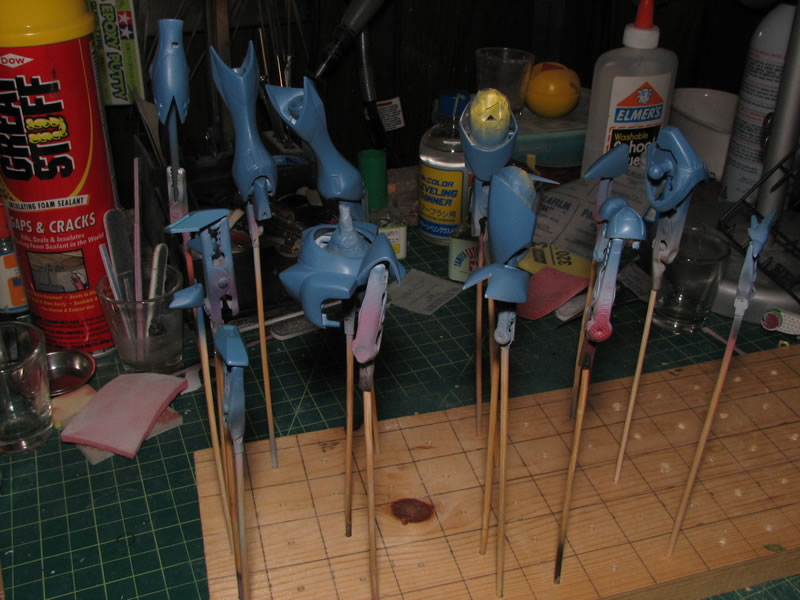
November 24, 2008: This is a Tekkaman Blade kit that I started gluing and sanding a few weeks ago. This is an out of production kit from the early 90's. This is the second kit of this series that I am building. Taking cues and what I've learned from the previous kit, this kit should be a great deal better when completed. I skipped out on taking pictures of the test fit and sanded parts. Below are the parts after the initial primer session
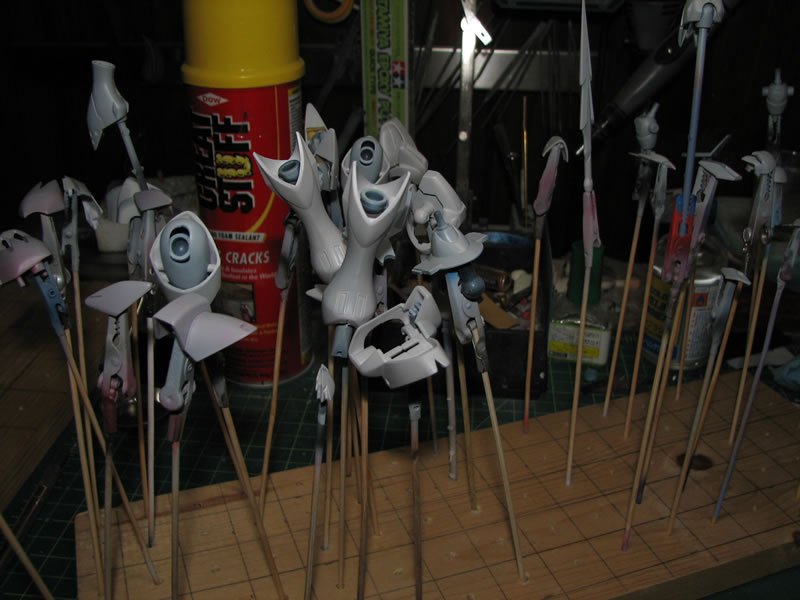
After priming, there are a few pieces that show rough sanding spots that need to be addressed and a few areas where I added some pla plate to cover up some rather unsightly design flaws in the kit. Some putty work is coming up.
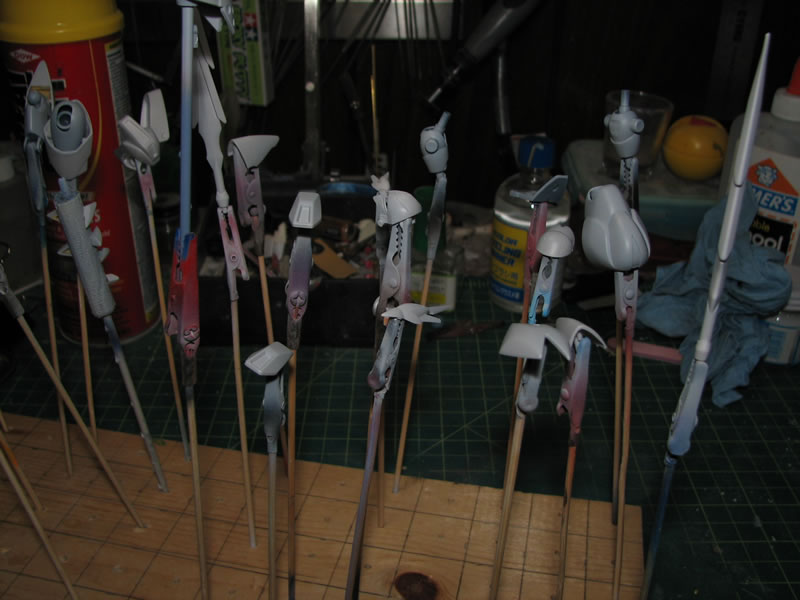
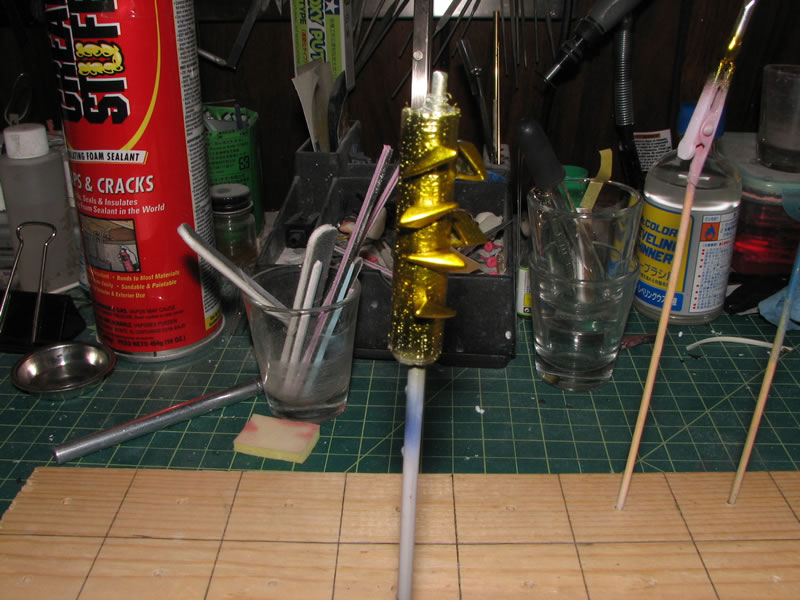
For a good number of the primed parts, there were no sanding errors so painting has begun on the kit. Below is the base red. I will be pre-shading a different red. I ran out of dark reds and will need to hit up the local hobby shop for some more Mr Color reds. The yellow pieces have been based coated with gloss black. I will be kandy painting this with a clear yellow, for a very bright and metallic yellow finish.
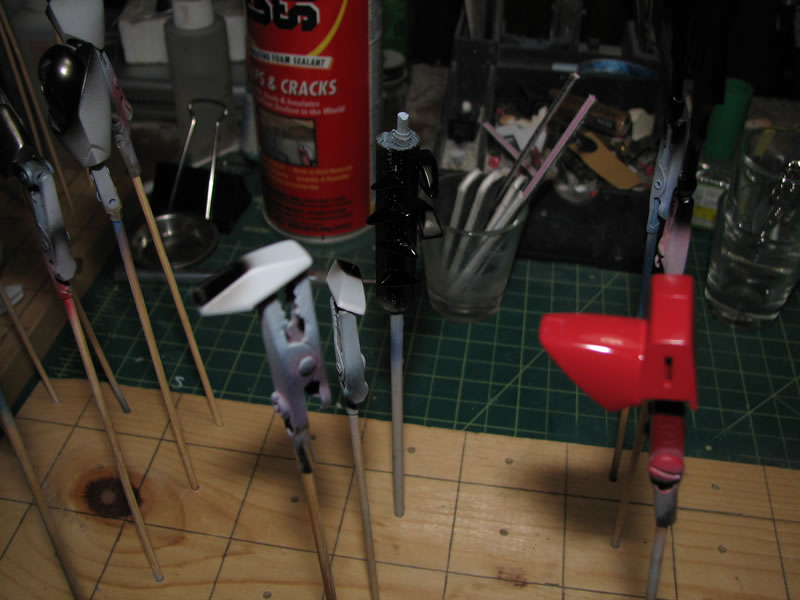
Finally, I had picked up some gaia notes metallics. The join areas and dark gray areas have been painted with gaia notes' gun metal. I am fairly pleased with the results.

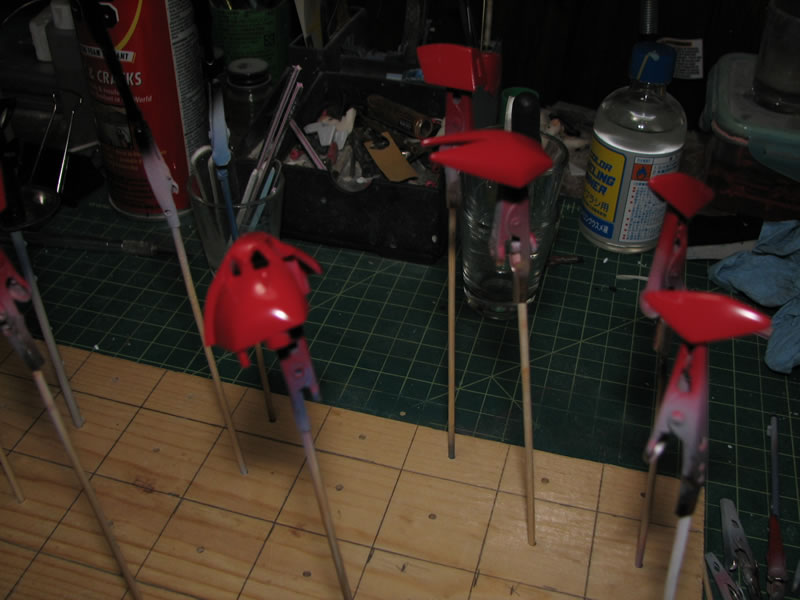
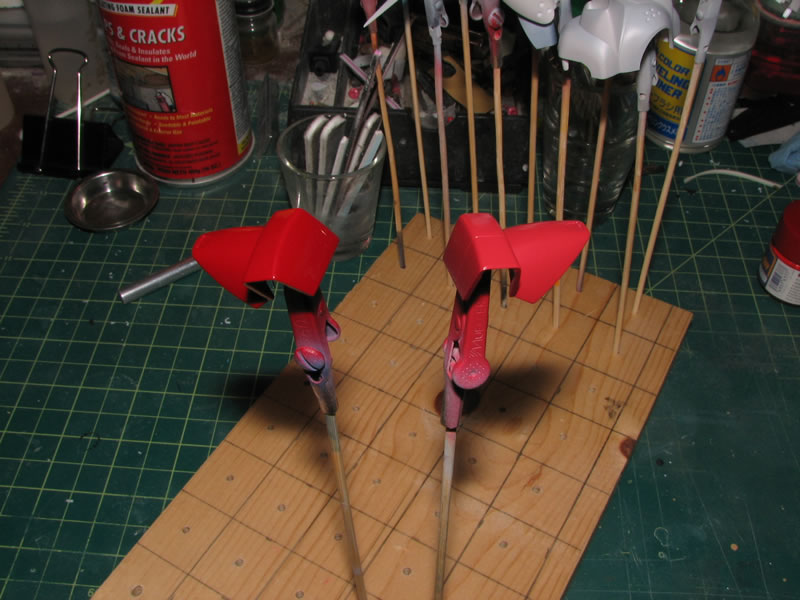
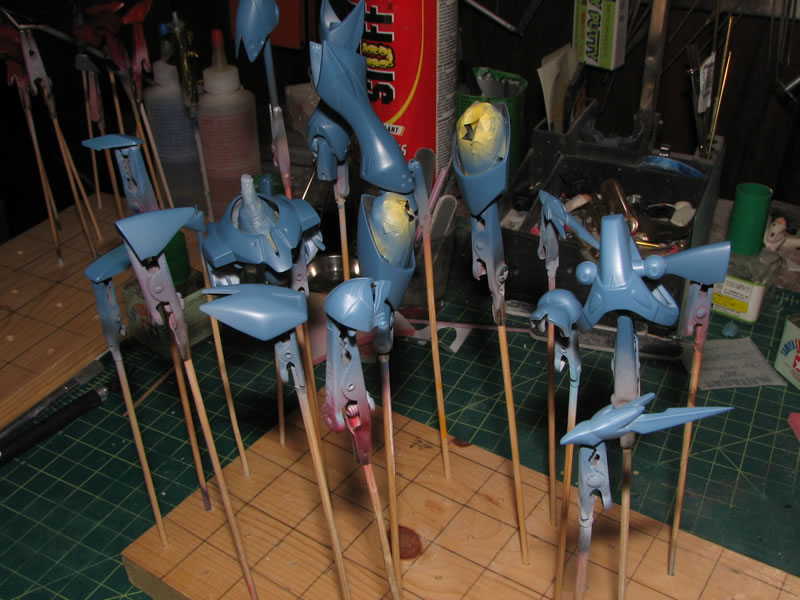
November 25, 2008: I picked up some new reds and painted over the previous red. The first picture in the below set shows the comparison with the darker wine red in comparison to the russet. Next I used Finisher's Bright Red to get a shaded effect on the parts. And with that, the red pieces are done.
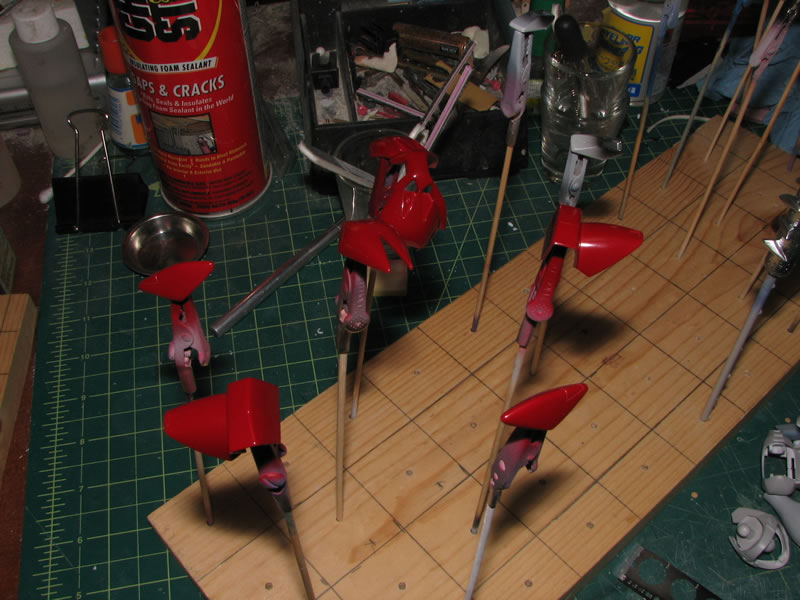
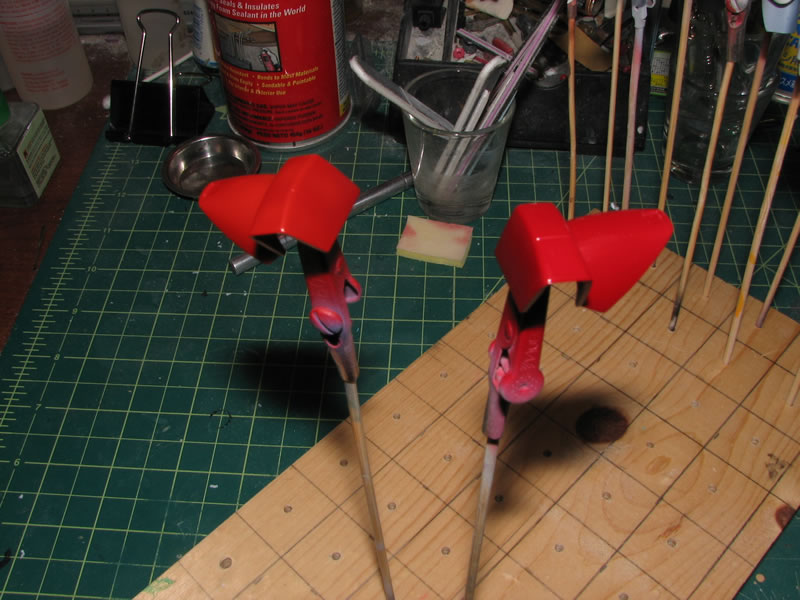
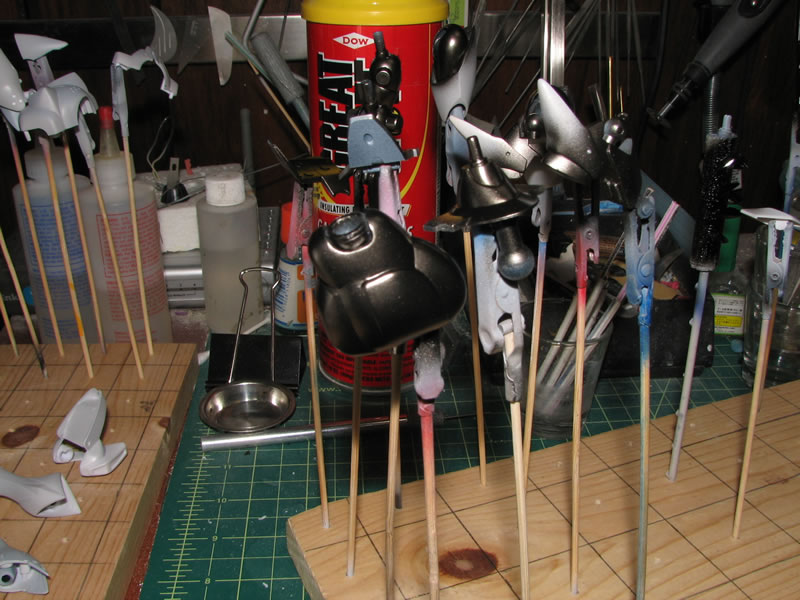
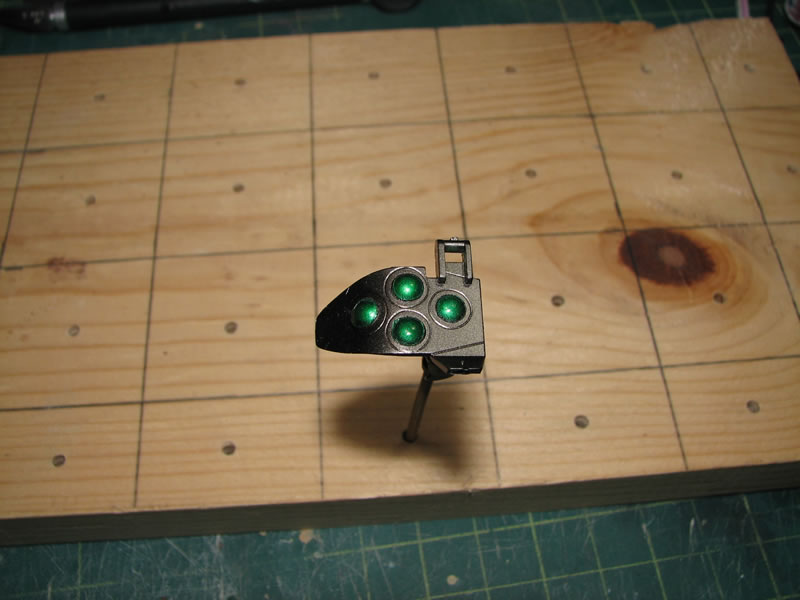
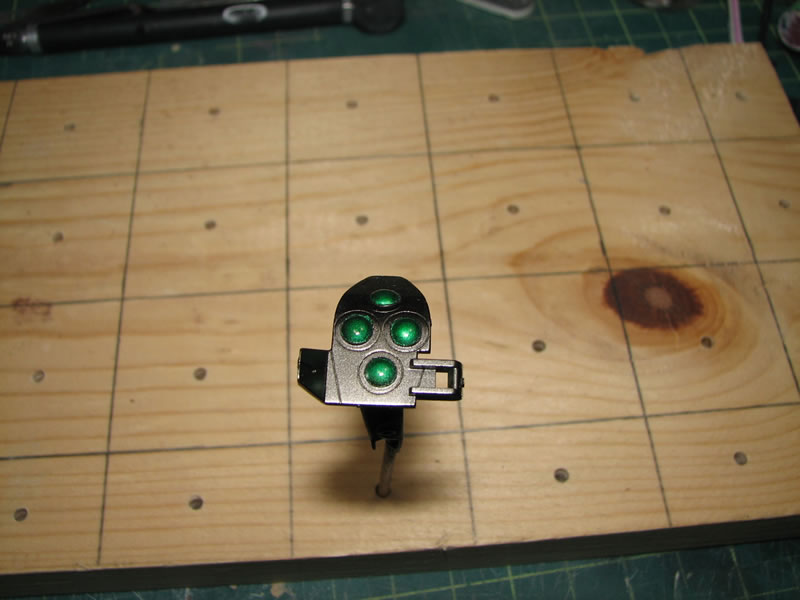
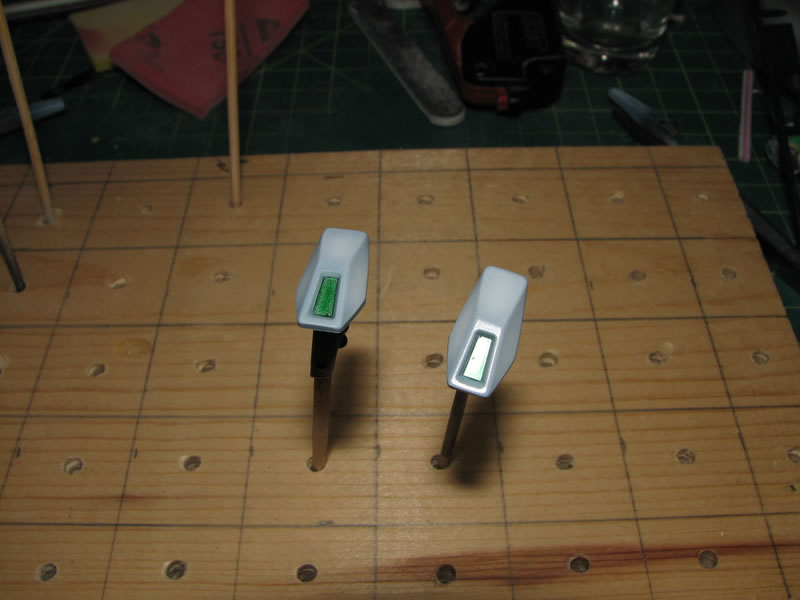
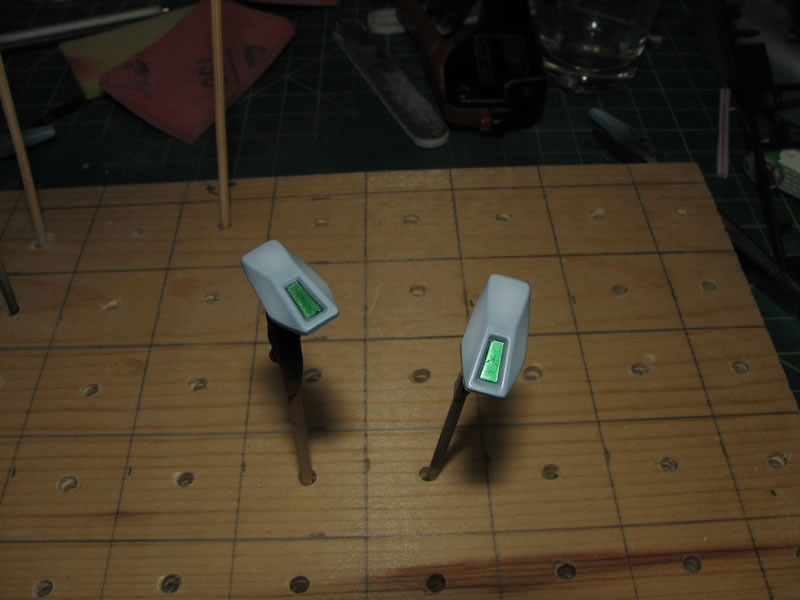
The gloss black pieces were painted using gaia notes super bright silver. On top of this, clear green and clear yellows were painted.

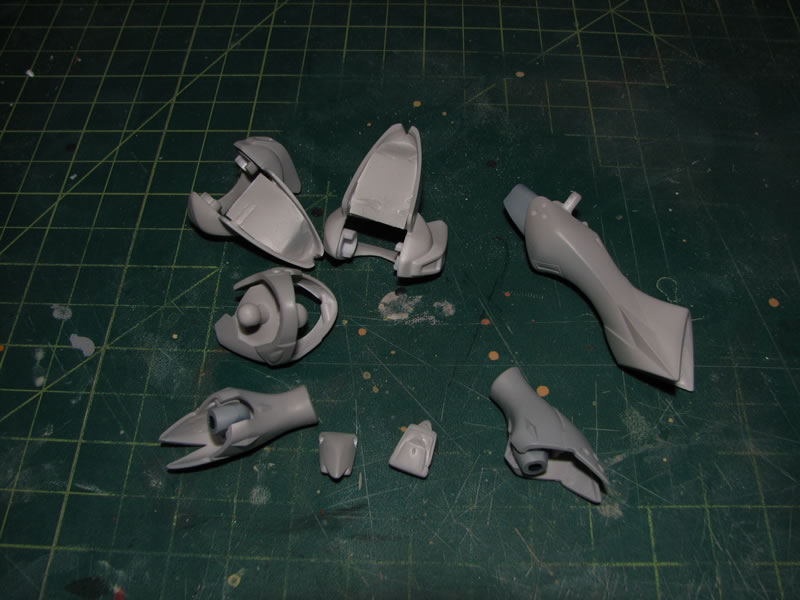
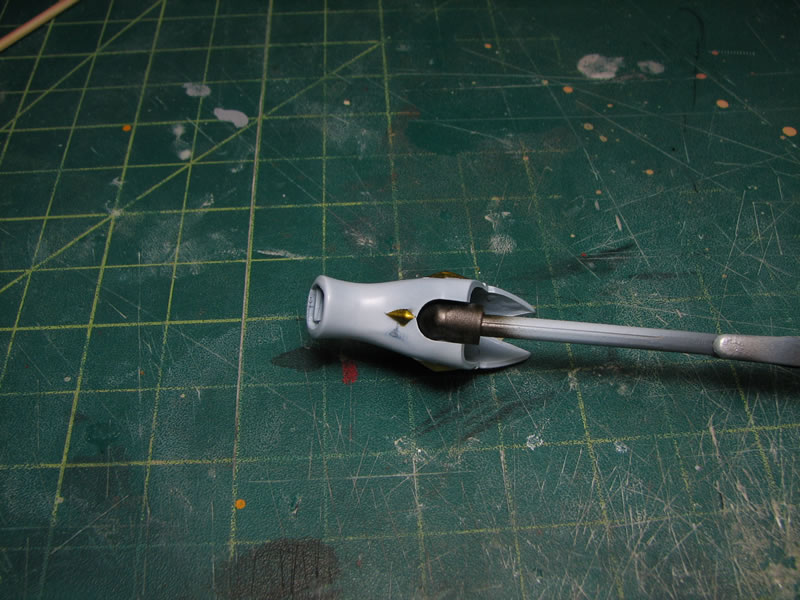
Returning to the parts that need putty work, light curing putty was applied then placed under lights to cure. Once cured, the parts get some rough sanding.
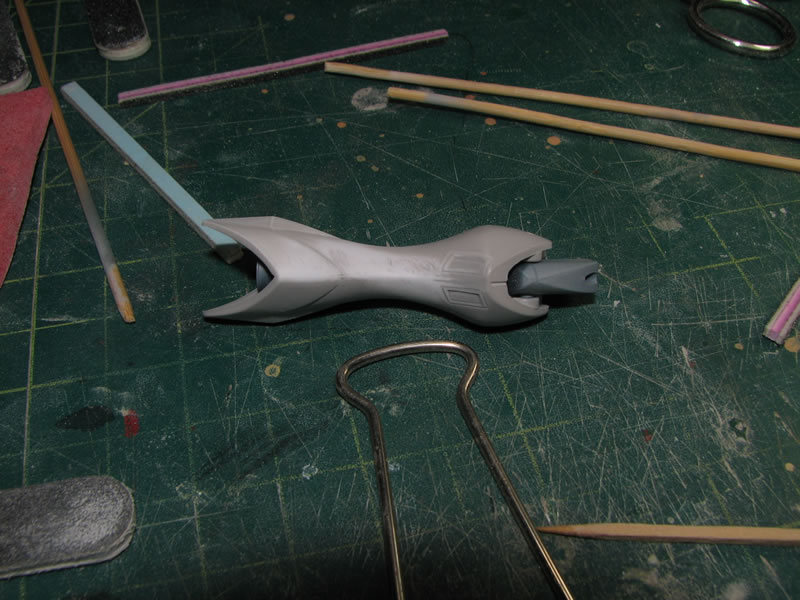
With the neck piece painted, the two chest pieces were glued together. The seam will be sanded and this part should be ready for paint soon.
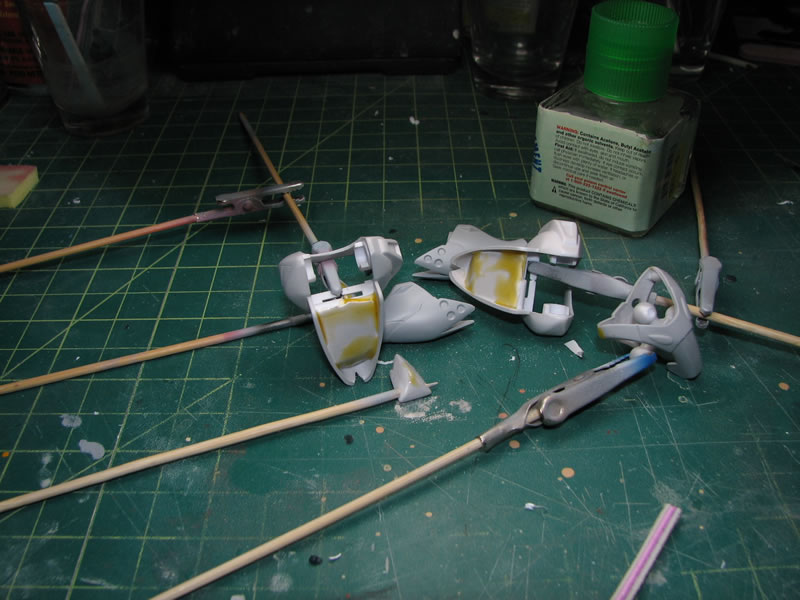
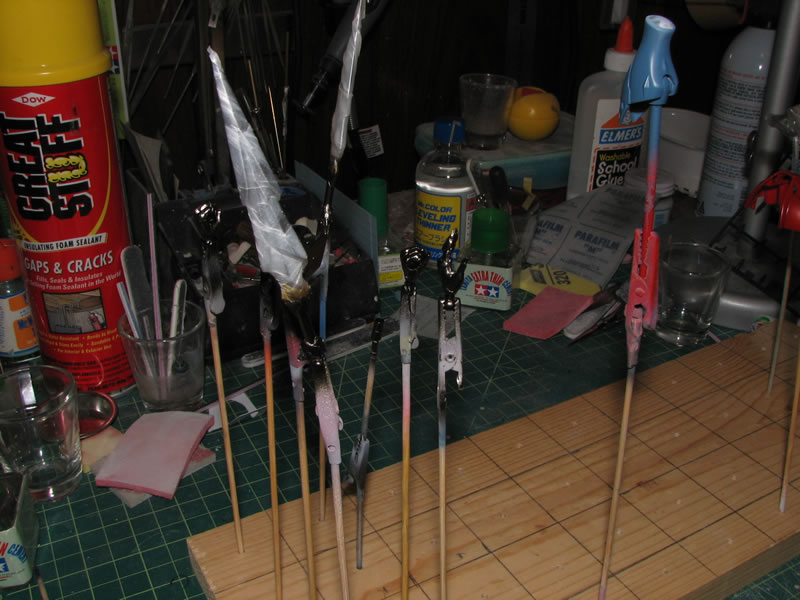
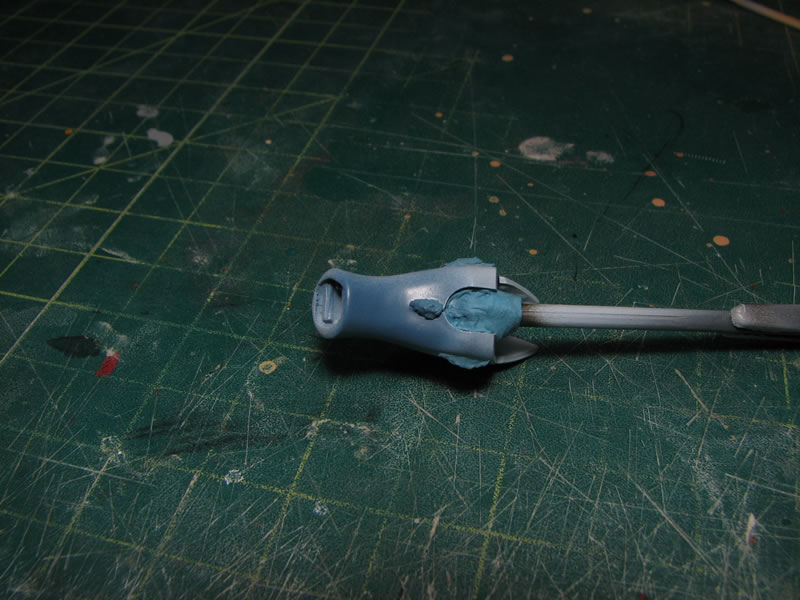
November 27, 2009: Thanksgiving day update. The chest piece was glued and sanded. I found some defects in the surface so those were filled using some tamiya light curing putty.
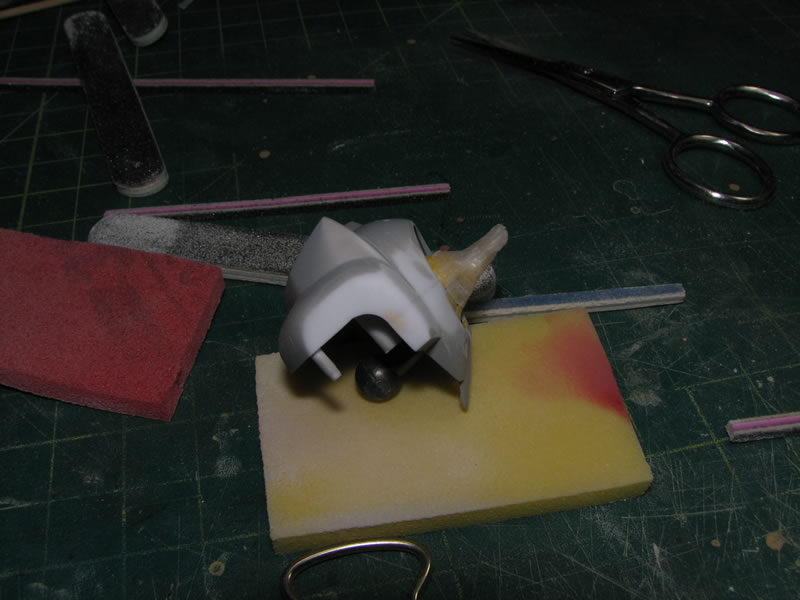
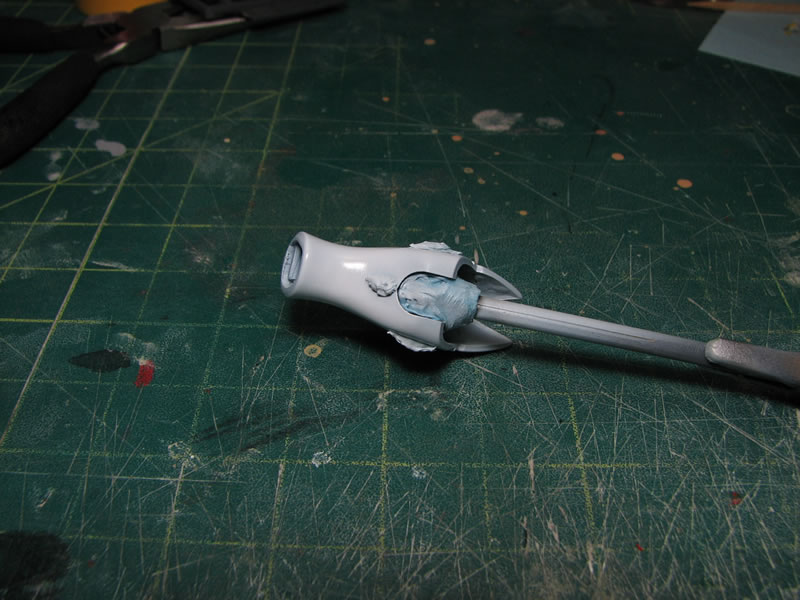
More areas that needed attention, poor sanding that needed to be addressed and some surface defects filled with tamiya light curing putty sanded and ready for paint.
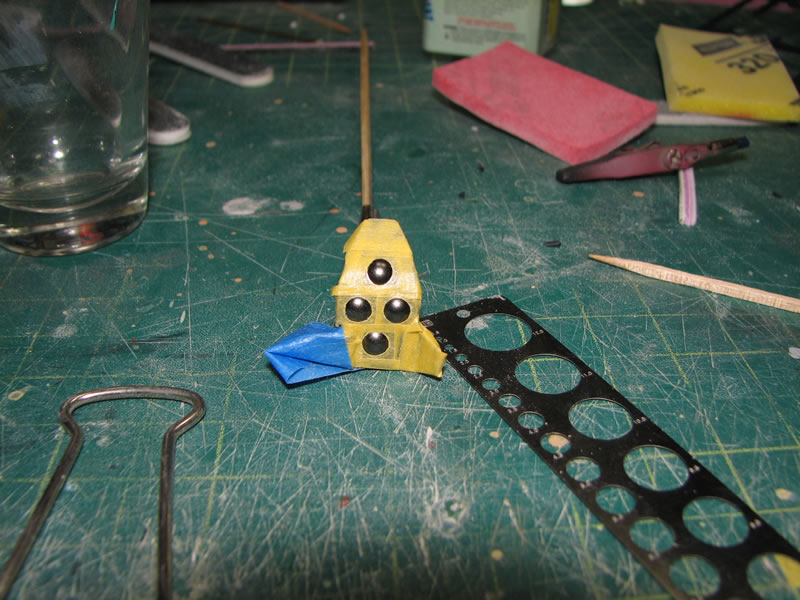
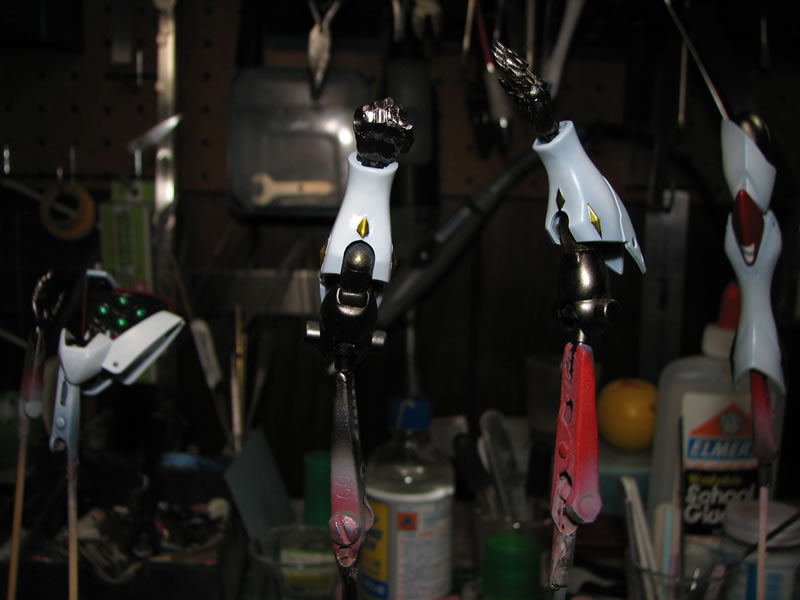
The base color I used was intermediate blue from the Mr Color line of lacquer paints. The blue will be used as a pre-shading effect. The rest of of the joint areas were painted using gaia notes gun metal. Polished aluminum is used for the base metallic in the kandy paint scheme.
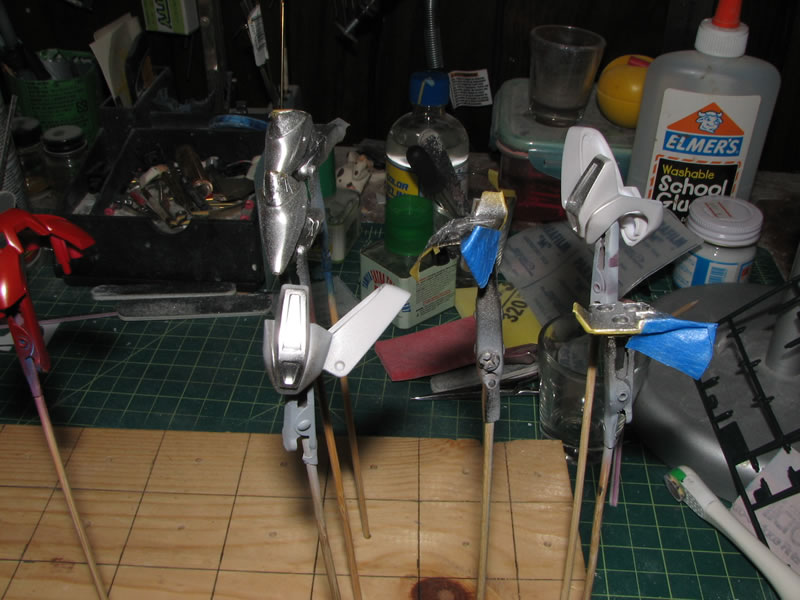

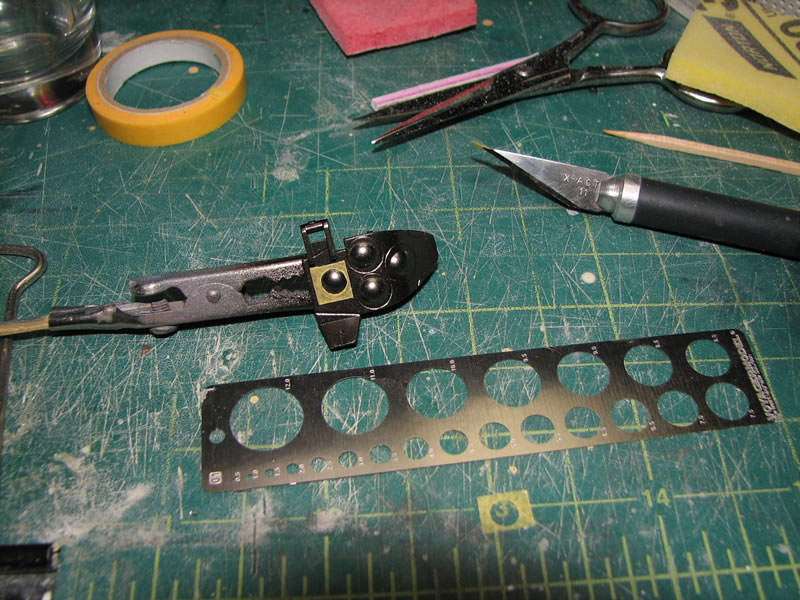
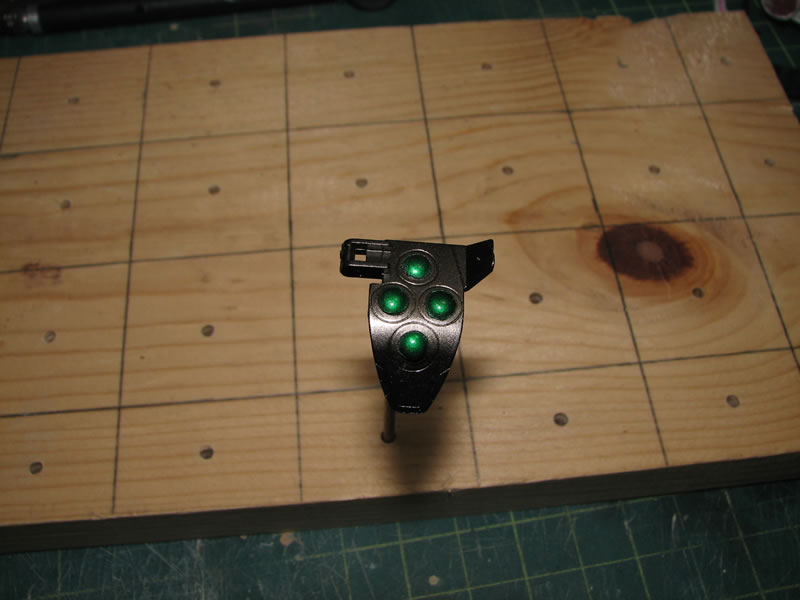
To mask the little circular shoulder mounted weapon system, I used a template and a very sharp hobby knife. Negative circle masks were cut then placed on the part. Then the base gloss black was sprayed followed by the alclad polished aluminum.

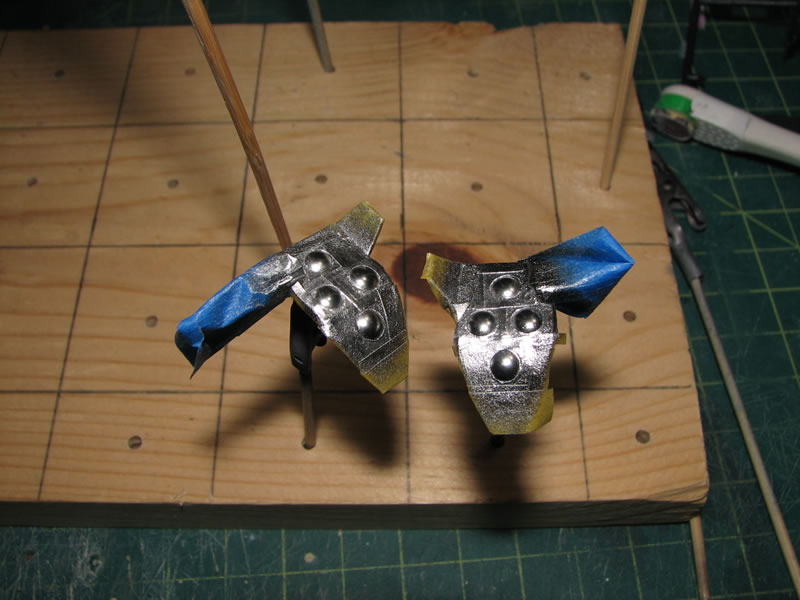
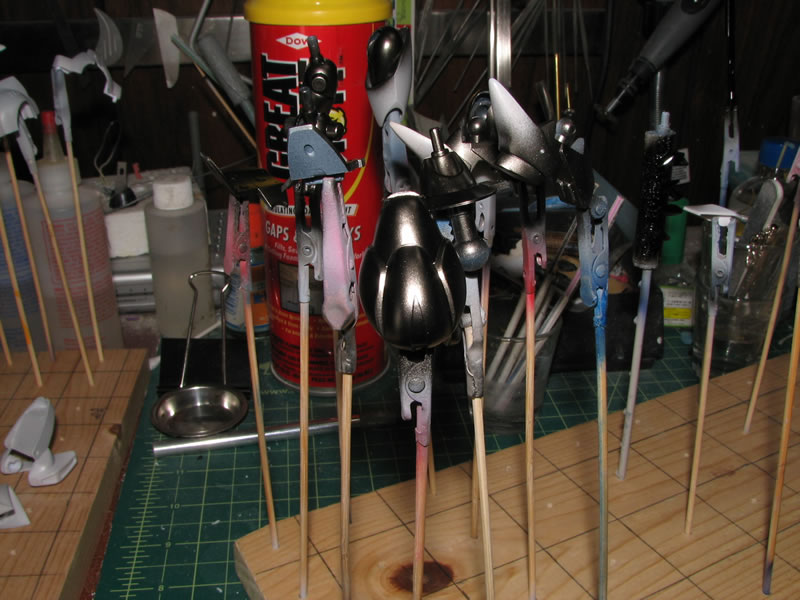
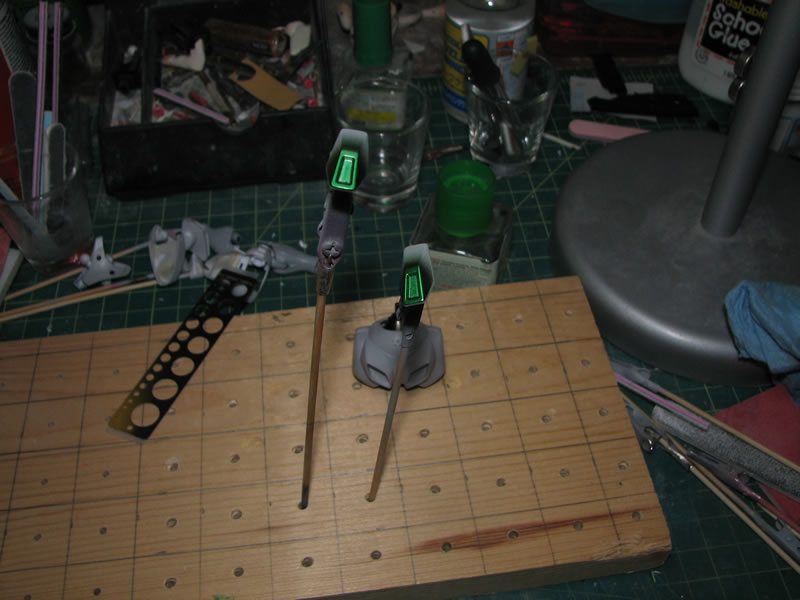
Finally, a clear green was sprayed.
Even after base coating the main armor pieces, I managed to miss a surface defect. So that was sanded and repainted.
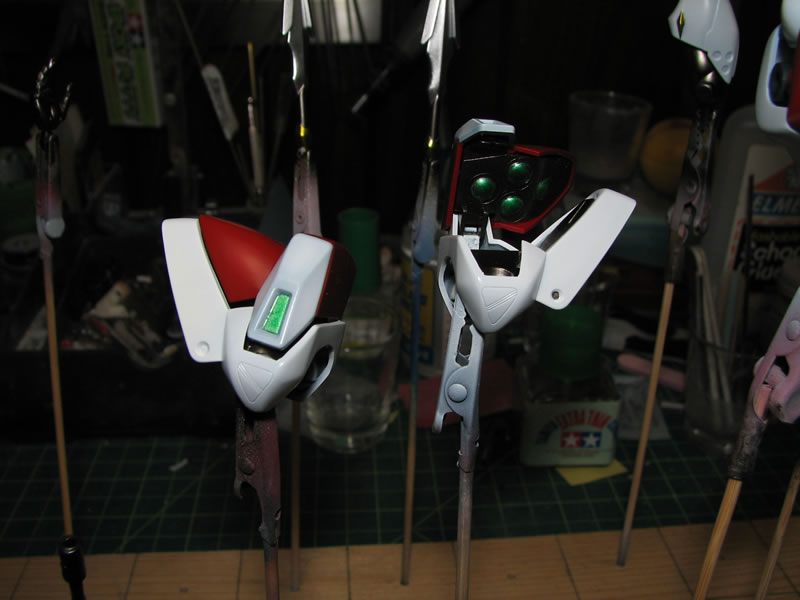
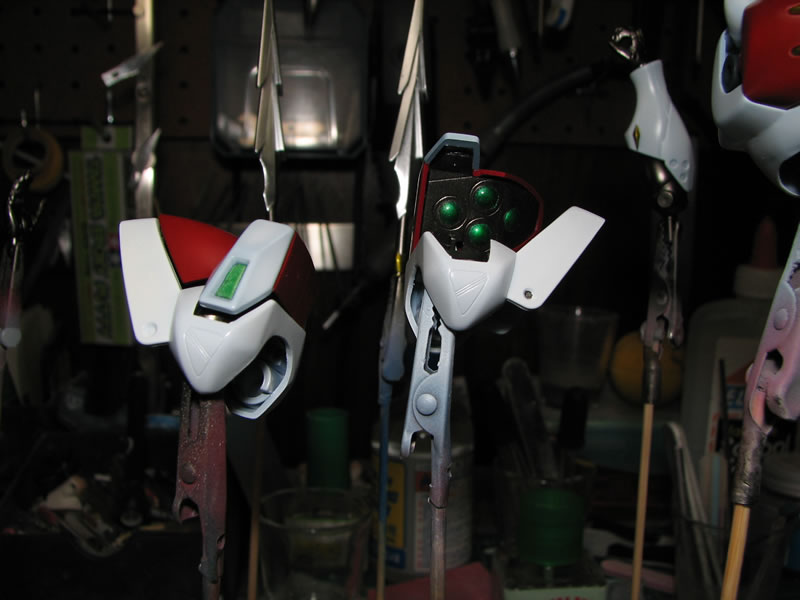
More kandy green painted parts.

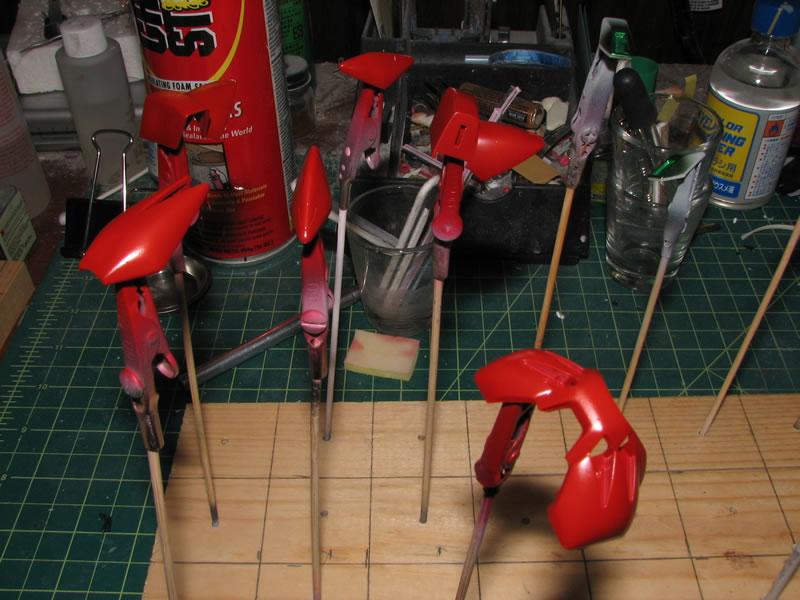
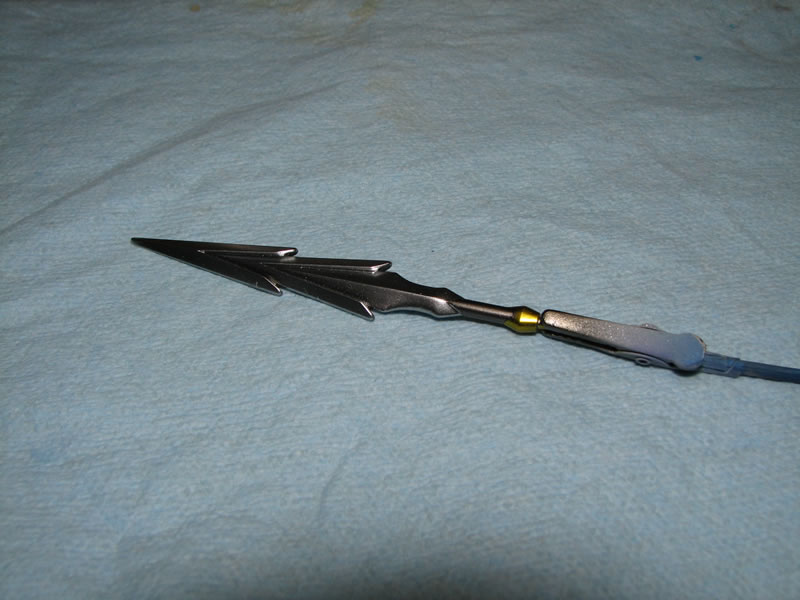
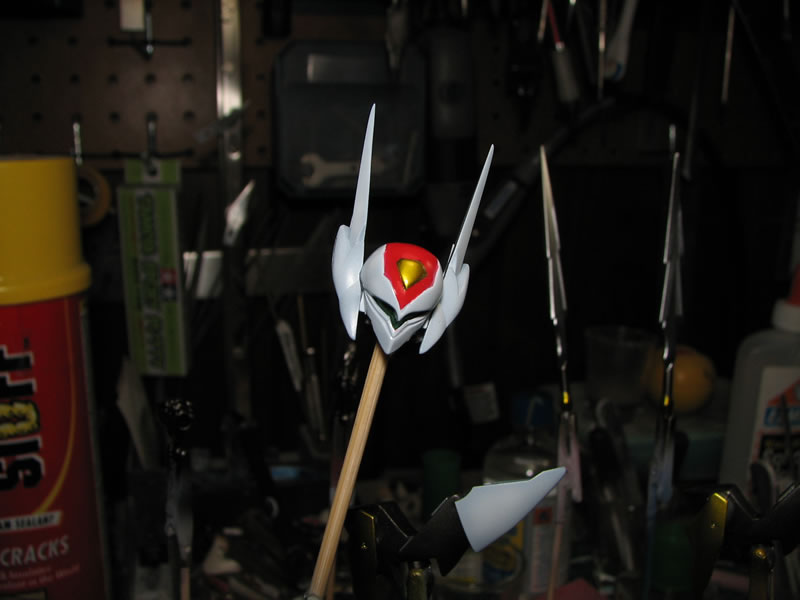
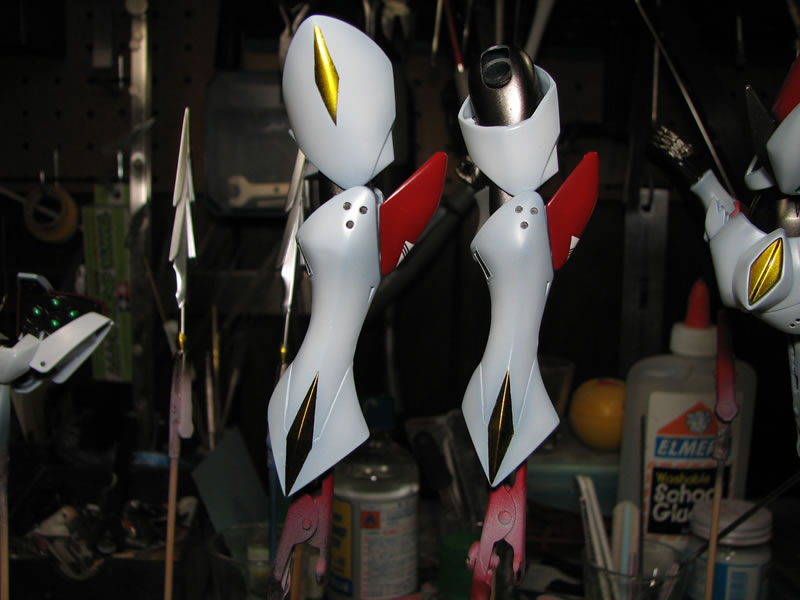
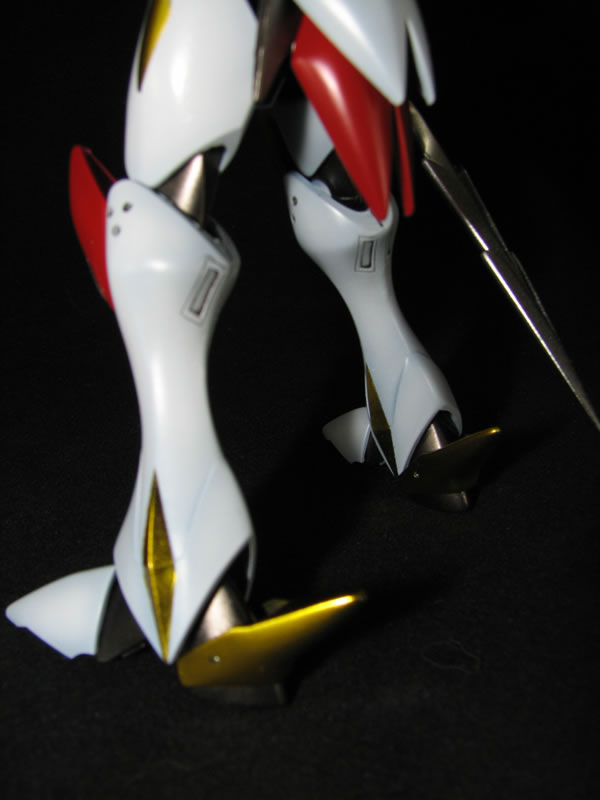
The preshaded parts were then painted using finisher's pure white. The shading is fairly subtle. Here are also pictures of the finished foot, with the metallic yellow. The spear weapons are also done. There are only a few steps left, and I should be able to finish this kit fairly soon.

November 30, 2008: I finished painting the kit. The last step is to do a wash for the panel lines but I will wait a few days before I do that to make sure all the paints have cured.
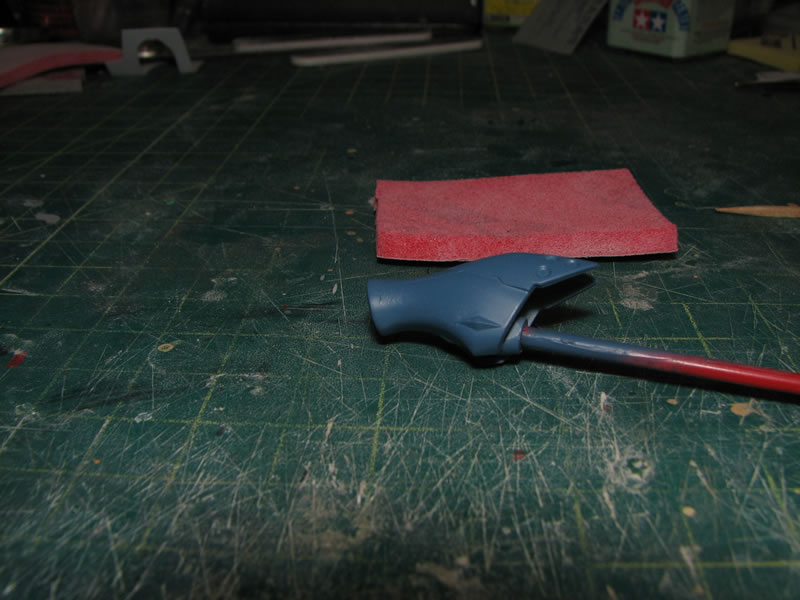
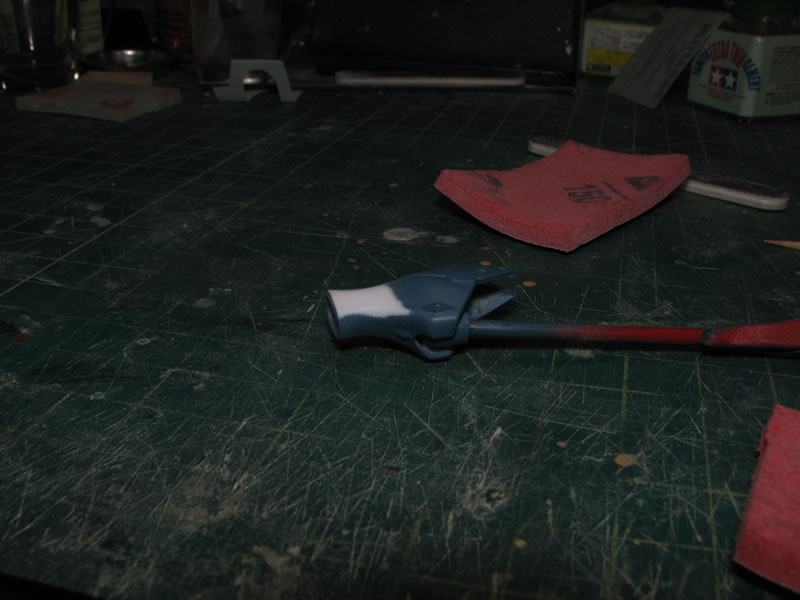
While painting, I ran into a small problem with the forearm. The small area needed to be sanded, then masked off, and repainted. Below are the pictures that document this; there were a few other parts that had to be addressed as well.
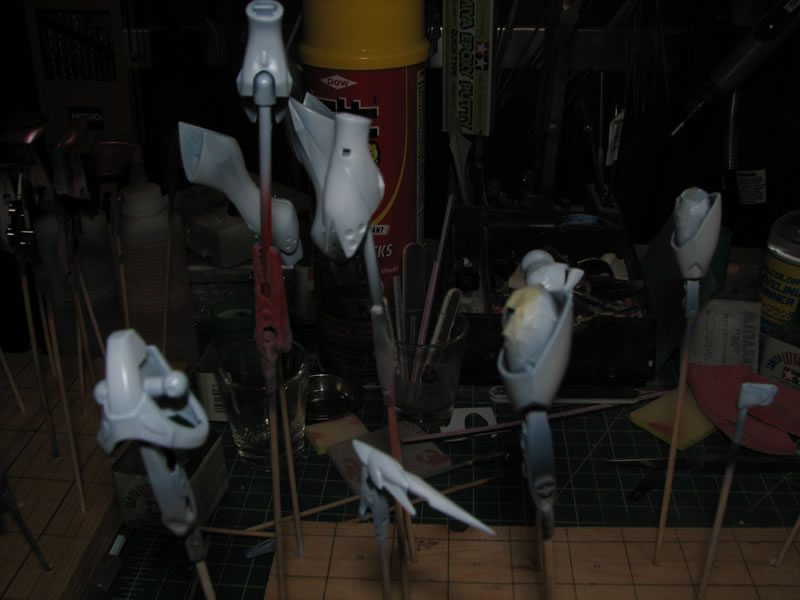
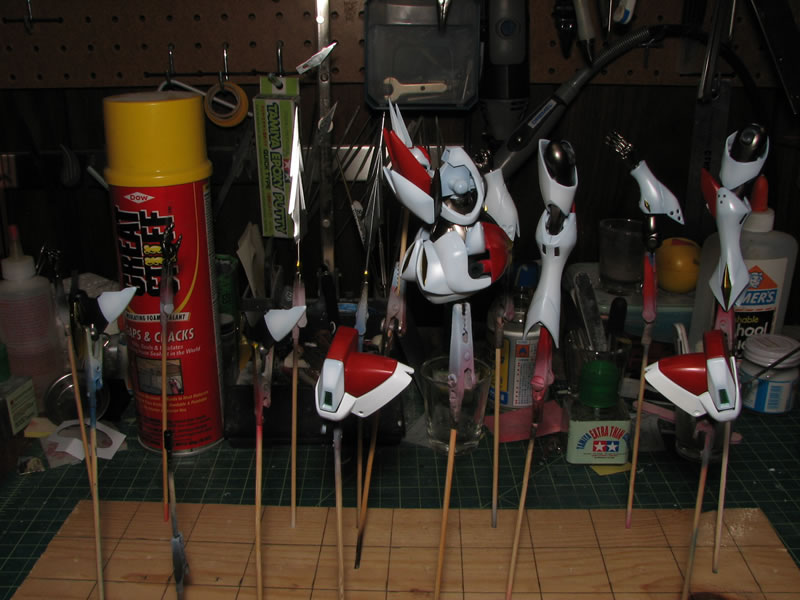
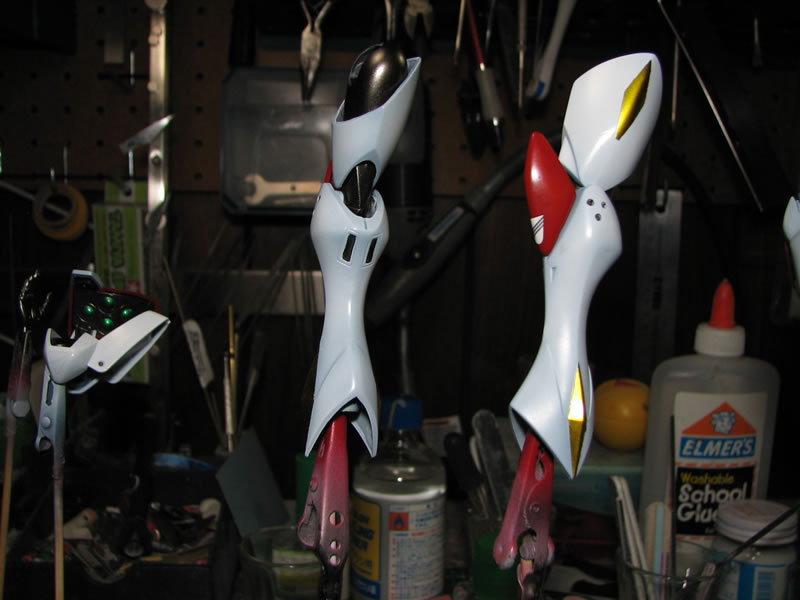
Here is what the kit looks like now. Most of the major subassemblies have been put together such as the feet, legs, arms, main body, and head. Baring anything catastrophic, the next update should have completed pictures.

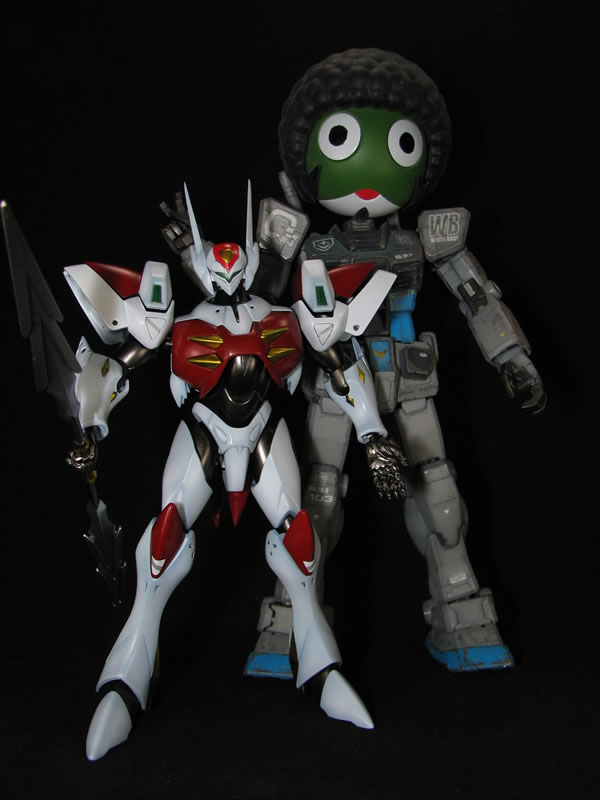
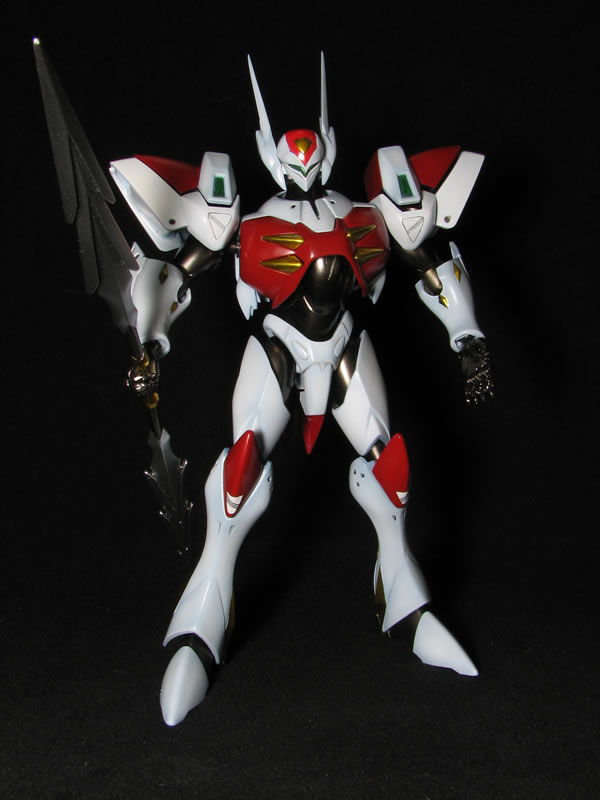
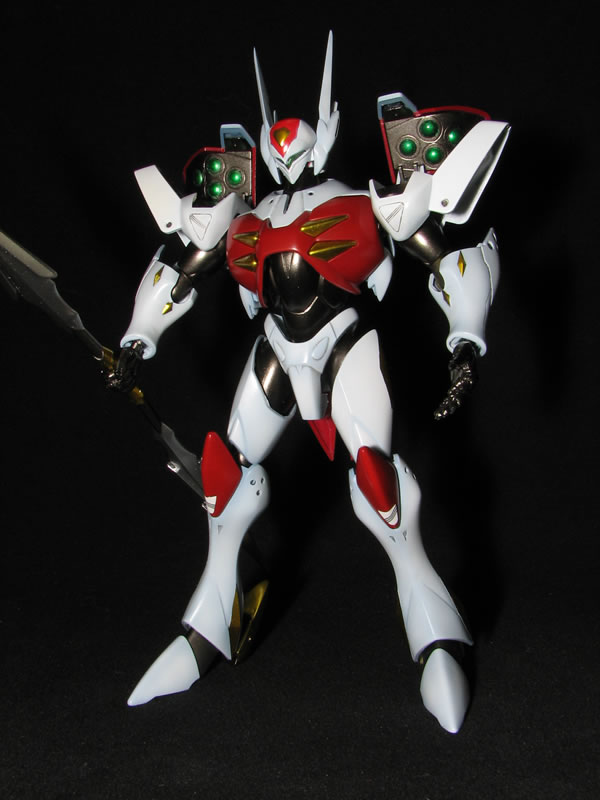
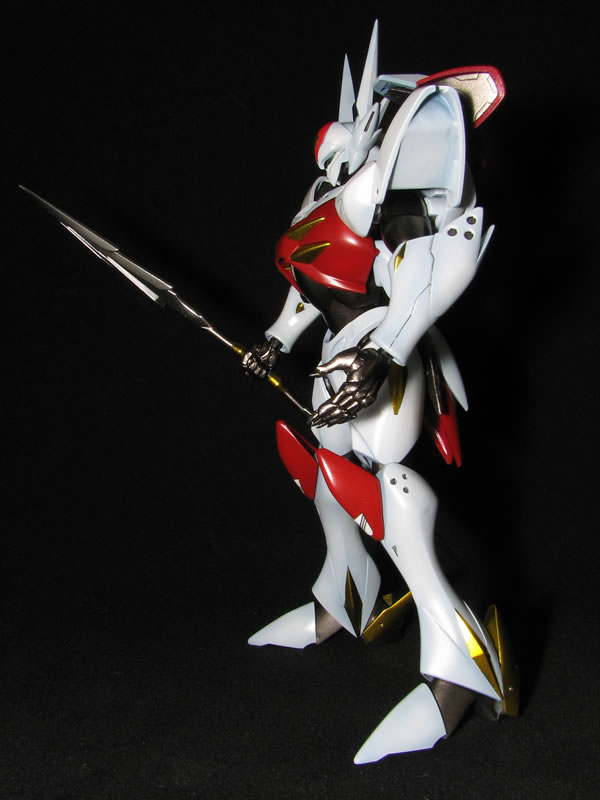
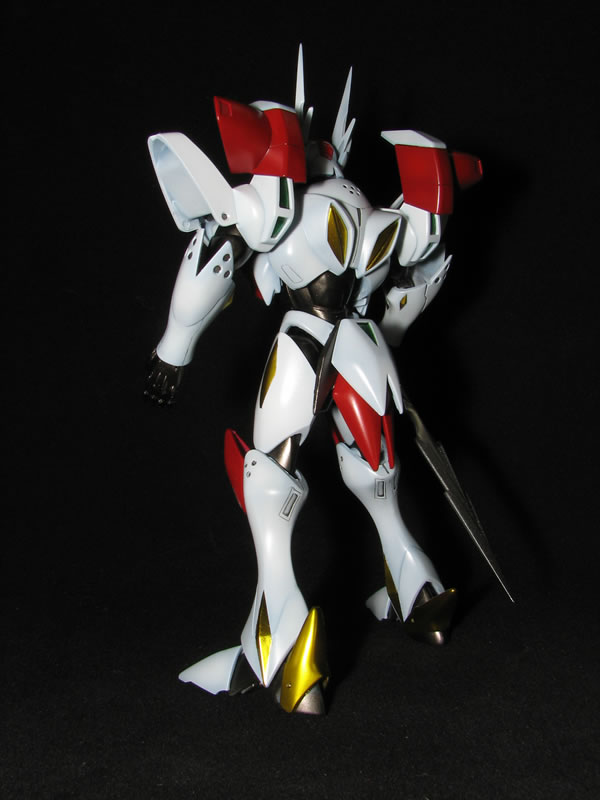
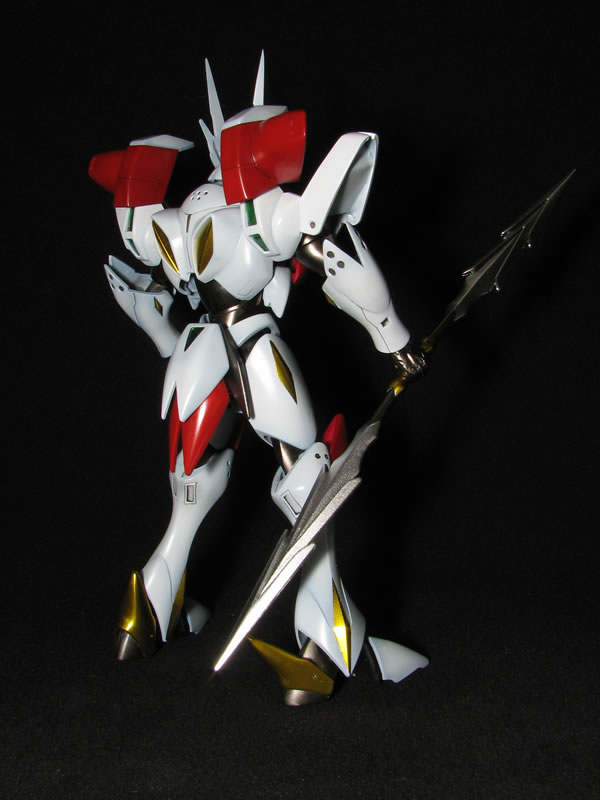
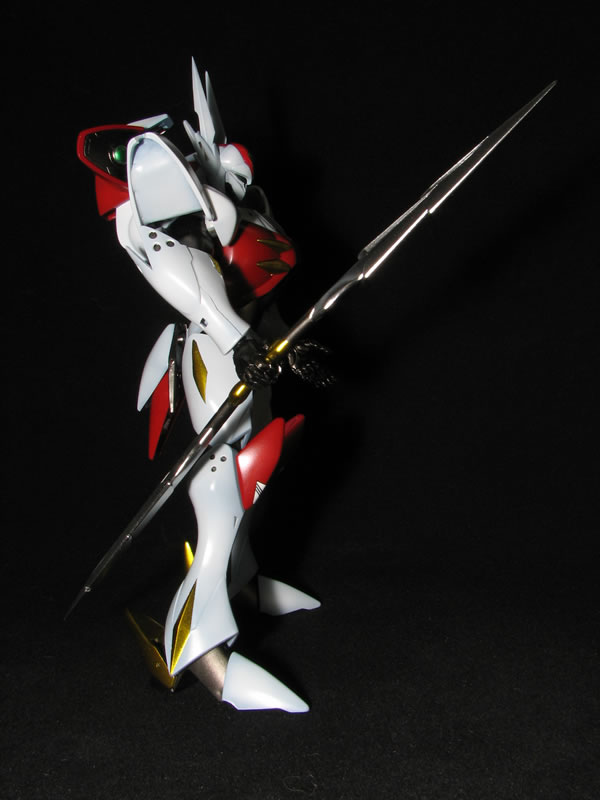
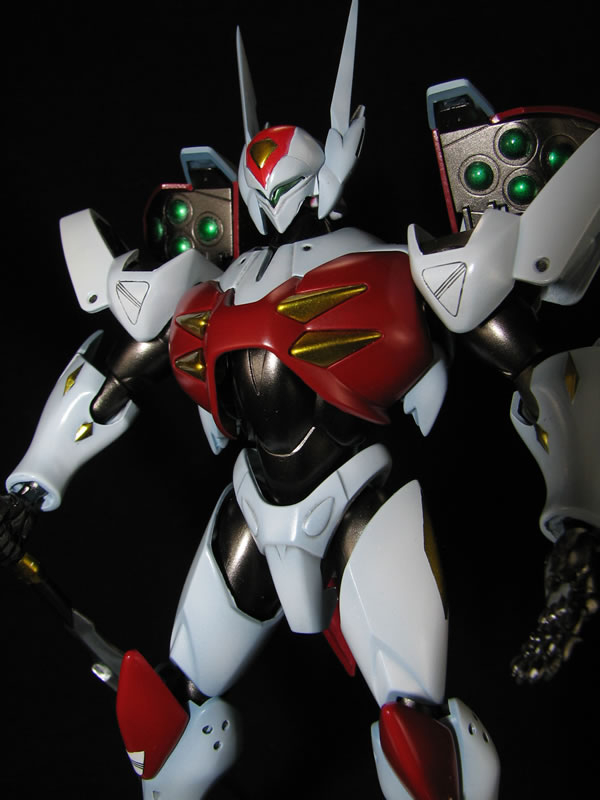
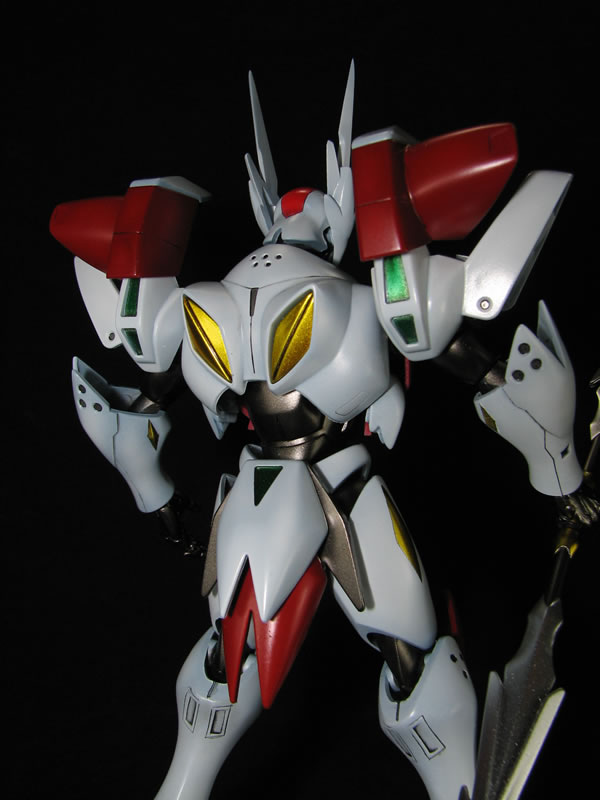
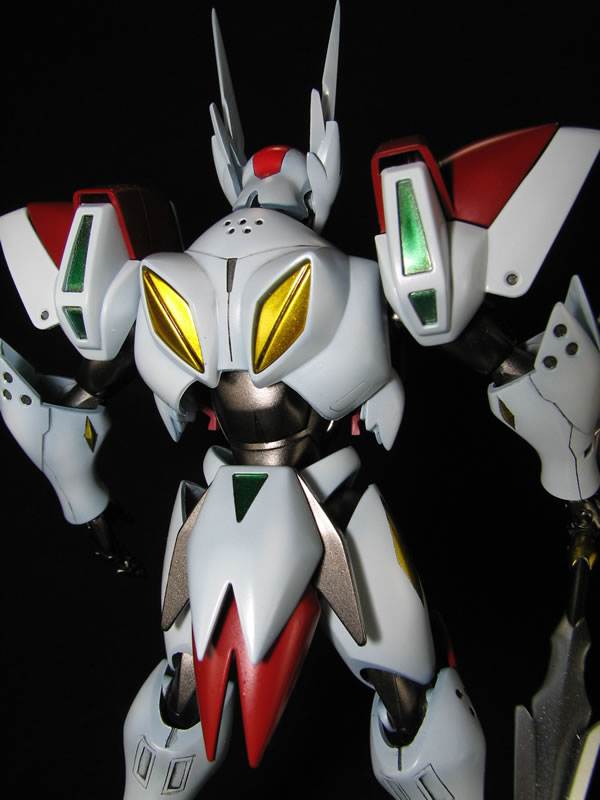
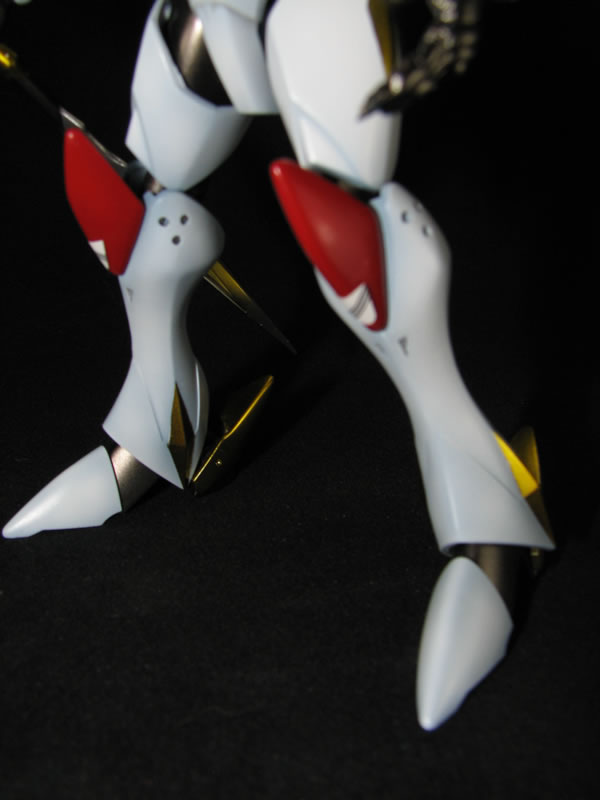
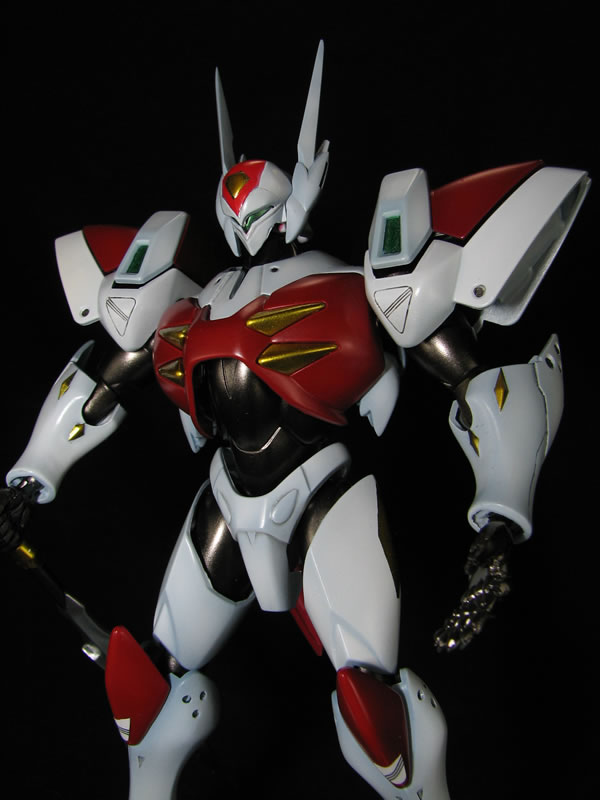
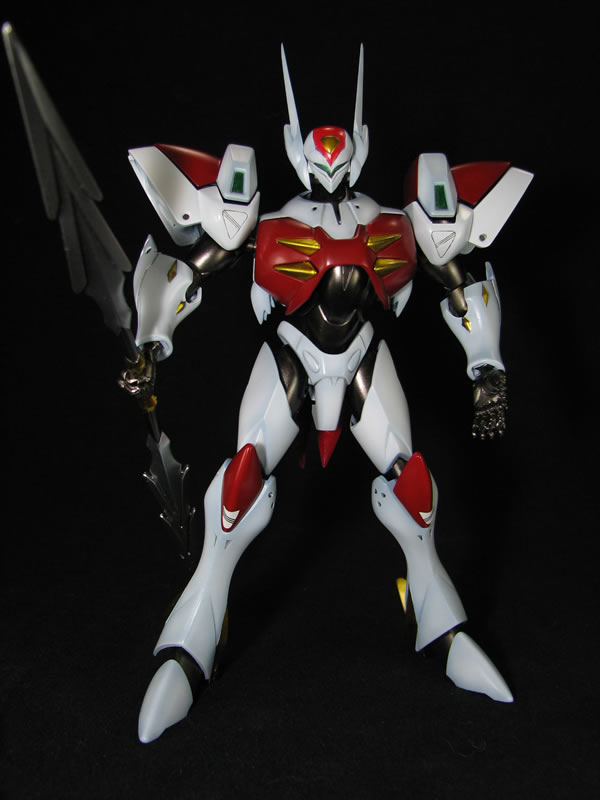
December 2, 2008: The paint has been allowed to cure for a few days, so the panel line process was completed and the kit was put together for final pictures.
|
|
|
|
|
|
|
|

|
|
|
|
|
|
|
|
November 24, 2008: I started working on this commission piece a few weeks ago but haven't taken the time to put up a progress page yet.
Sanded, primed, and starting to paint
Paint work, light curing putty, clear colors over metallics
More paint, masking, pre-shading, getting close...
Small defect fixes, and final painting sessions