October 14, 2009: This is a project I started off and on for the past two months or so. I saw a new tutorial on doing a marble effect so I grabbed the little guy for some testing. The past month or so I've been debating on the paint scheme, colors and stuff and finally came to a decision last night. After finishing my night's work on the Tekkaman project, I got to work on guy.
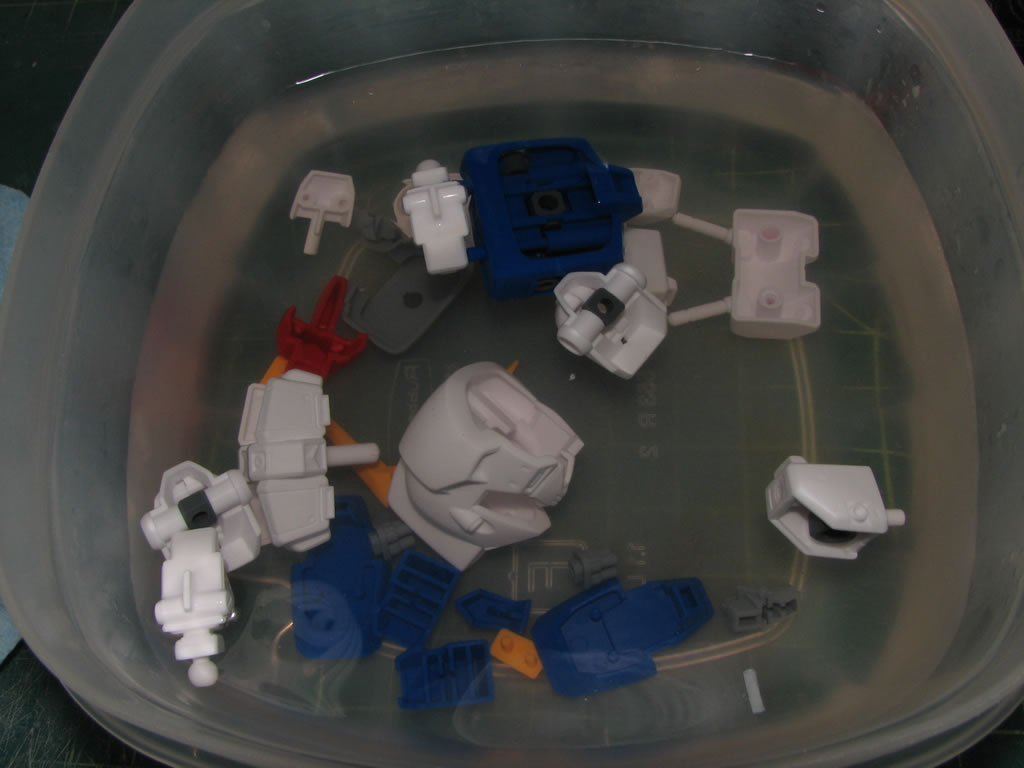
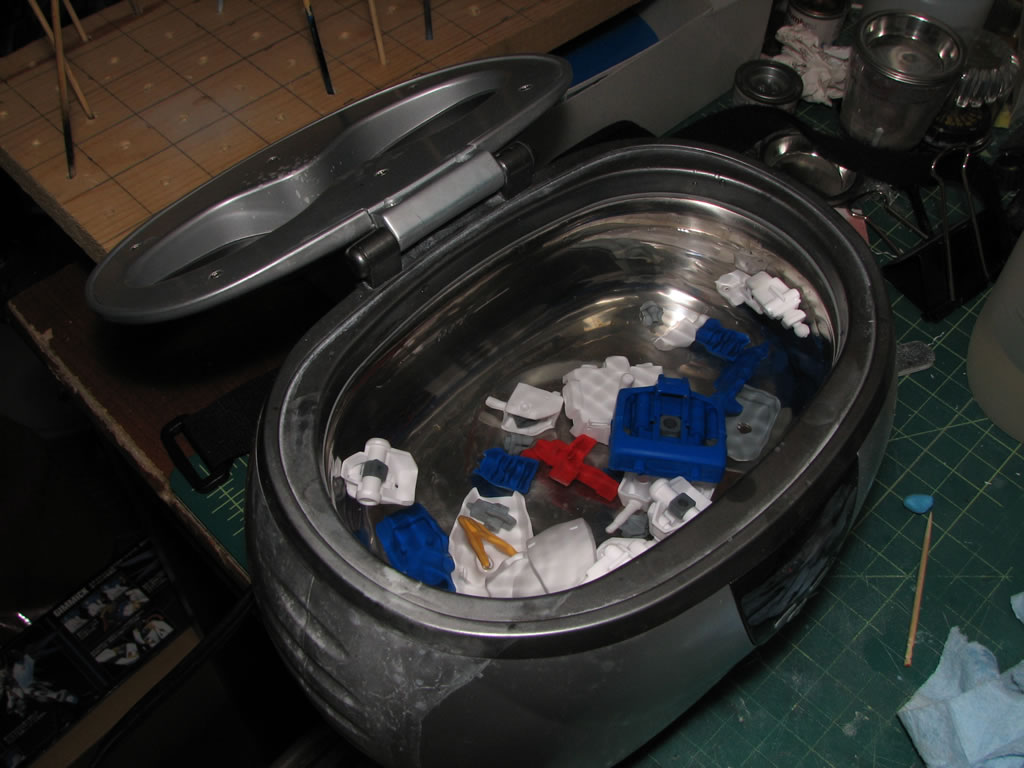
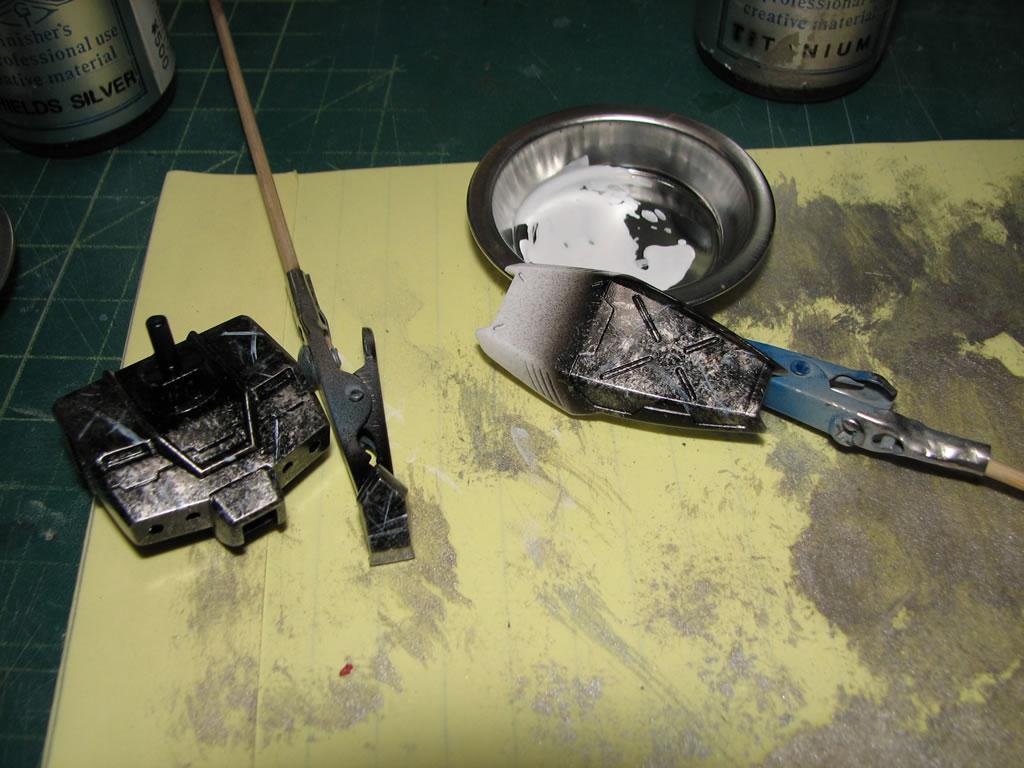
First off, since I've been sanding the guy off and on for the past two months, when I finally decided to get down to painting the parts needed a quick soak, rinse, and run through the ultrasonic cleaner to prep the parts for paint.
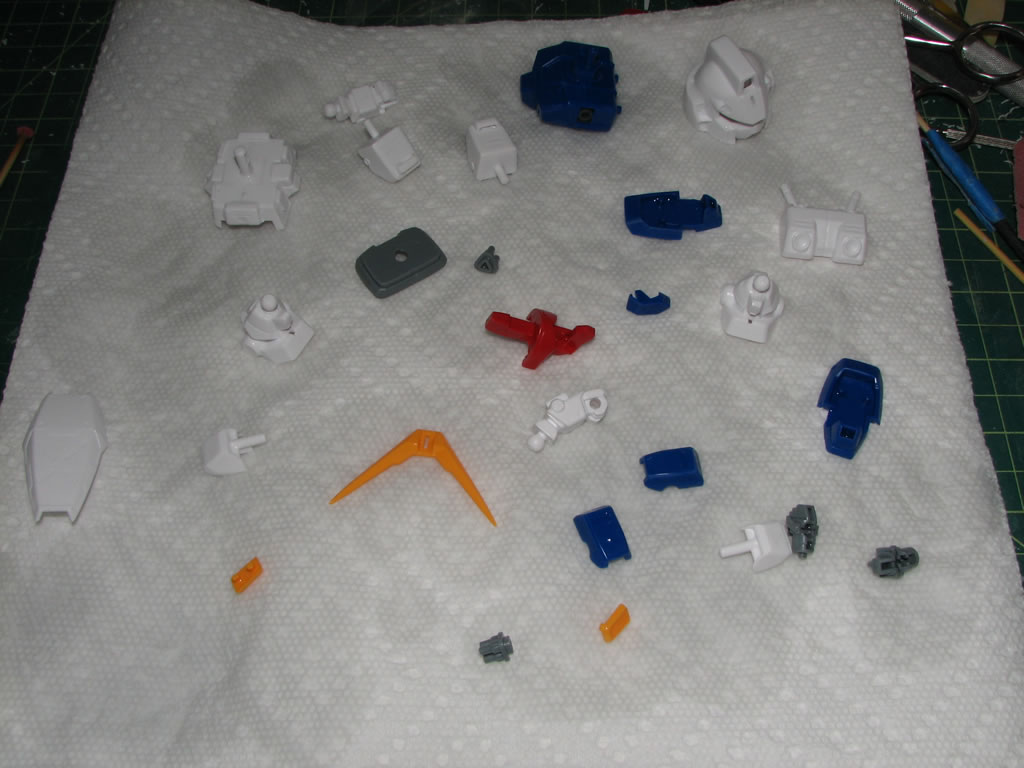
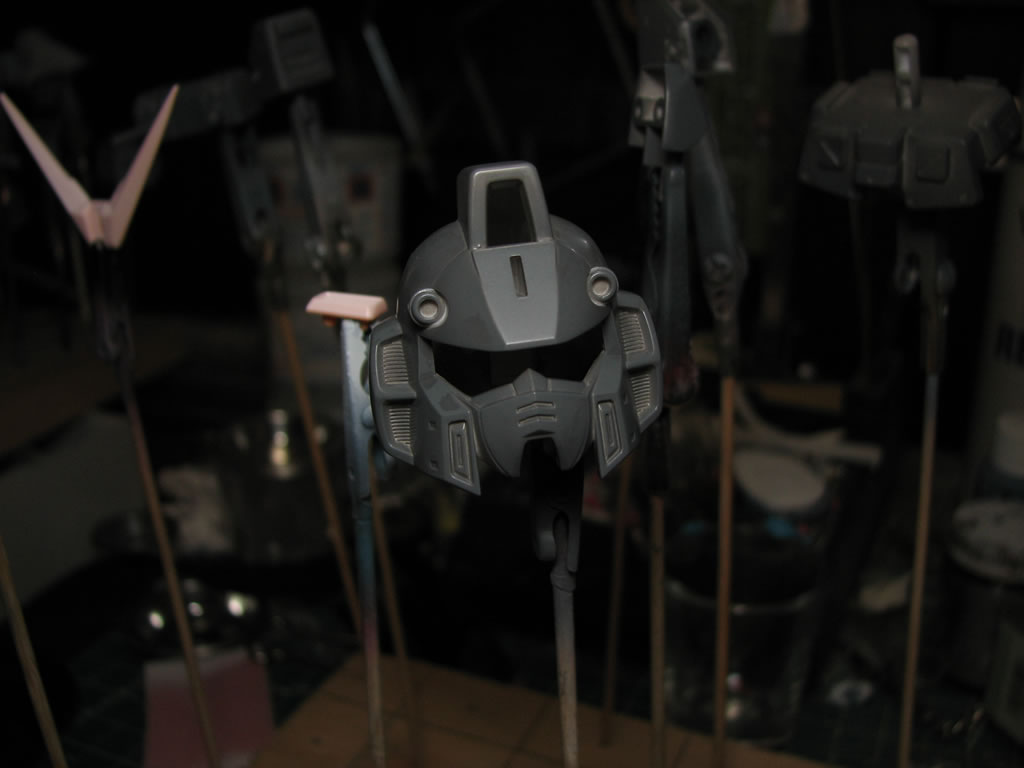
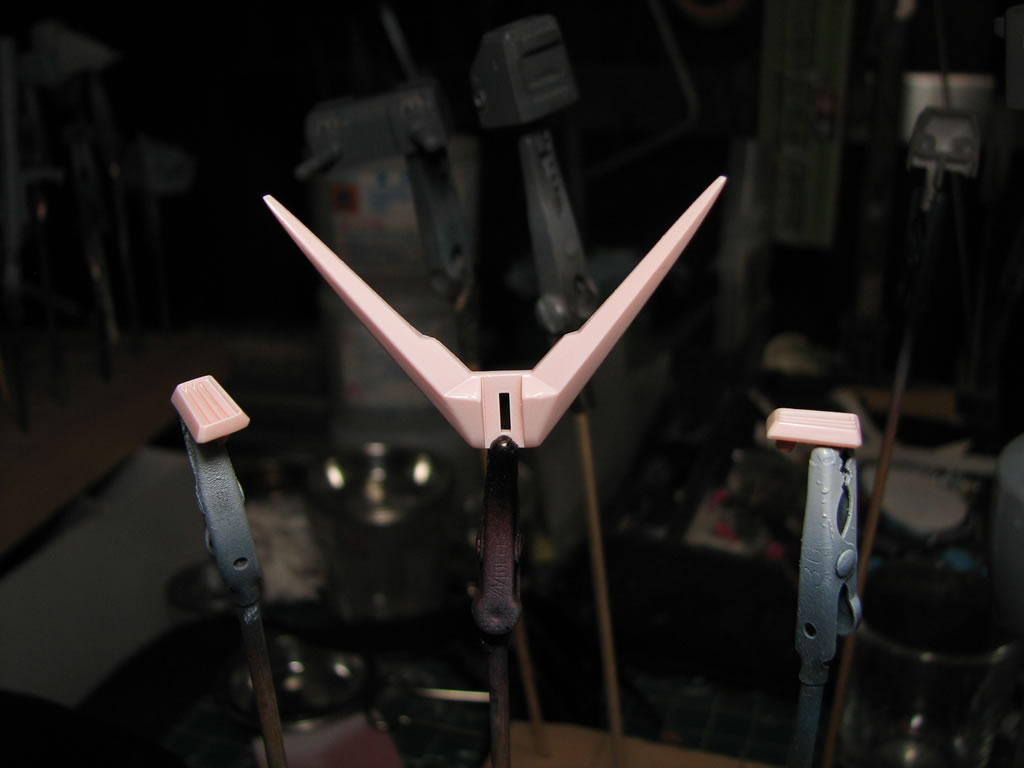
With the parts dry form the previous night, they are skwered. The blue sections of the kit are sprayed with a gloss black base. The white areas are painted with a base gray, and the yellow areas are painted with a base white.
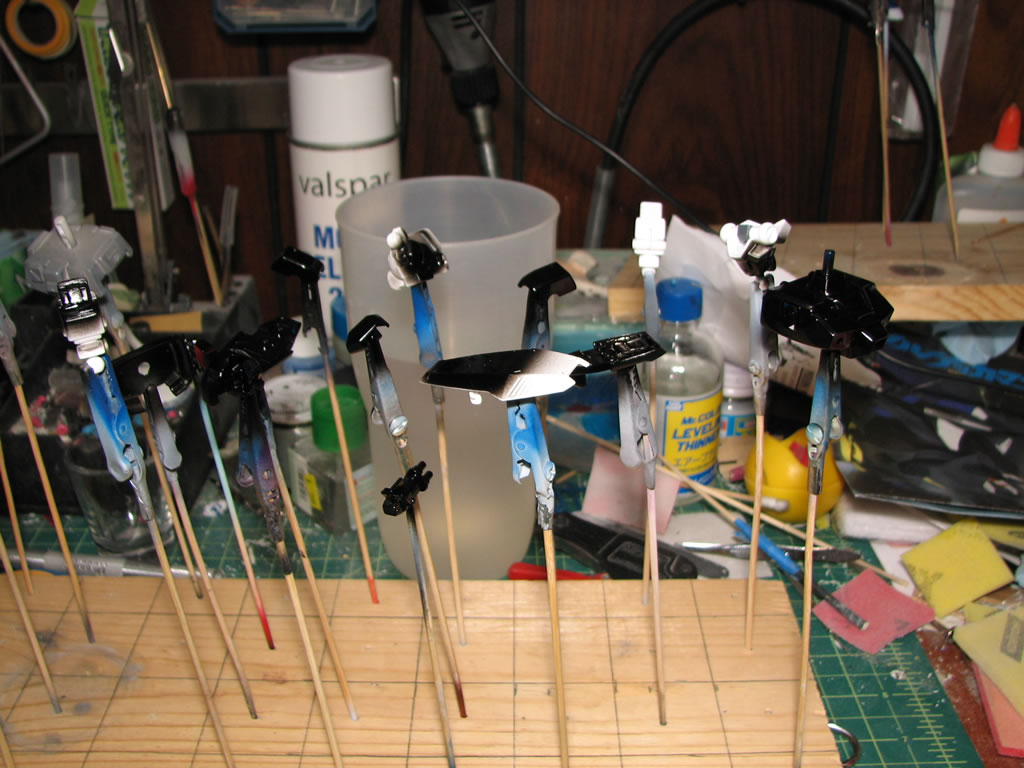
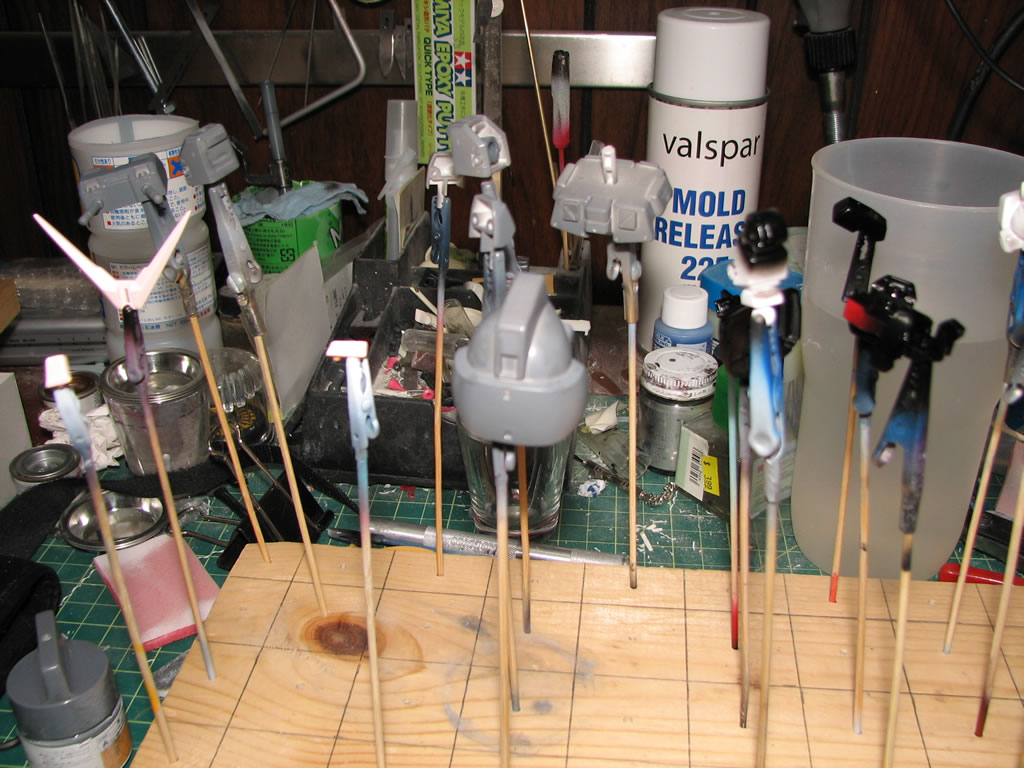
Starting with the blue parts, I'm going to run through the new technique for painting marble. The first step is the gloss black.
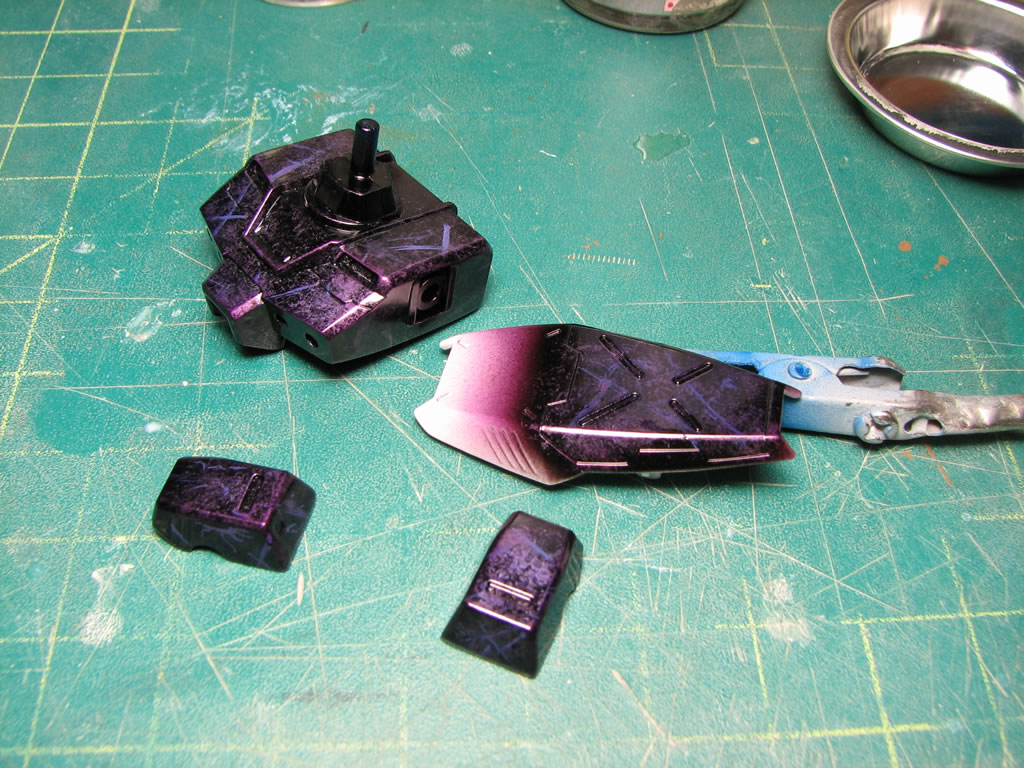
The next step is to apply metallics with a stiff brush. I find that having a soft brush to apply the paint works to add a different texture to the paint. The technique is similar to dry brushing, so after removing as much paint as possible off the brush, the brush is just stamped against the surface of the part. This is similar to the sponge stamping but without the mess of the sponge. I used Finisher's Shields Siver
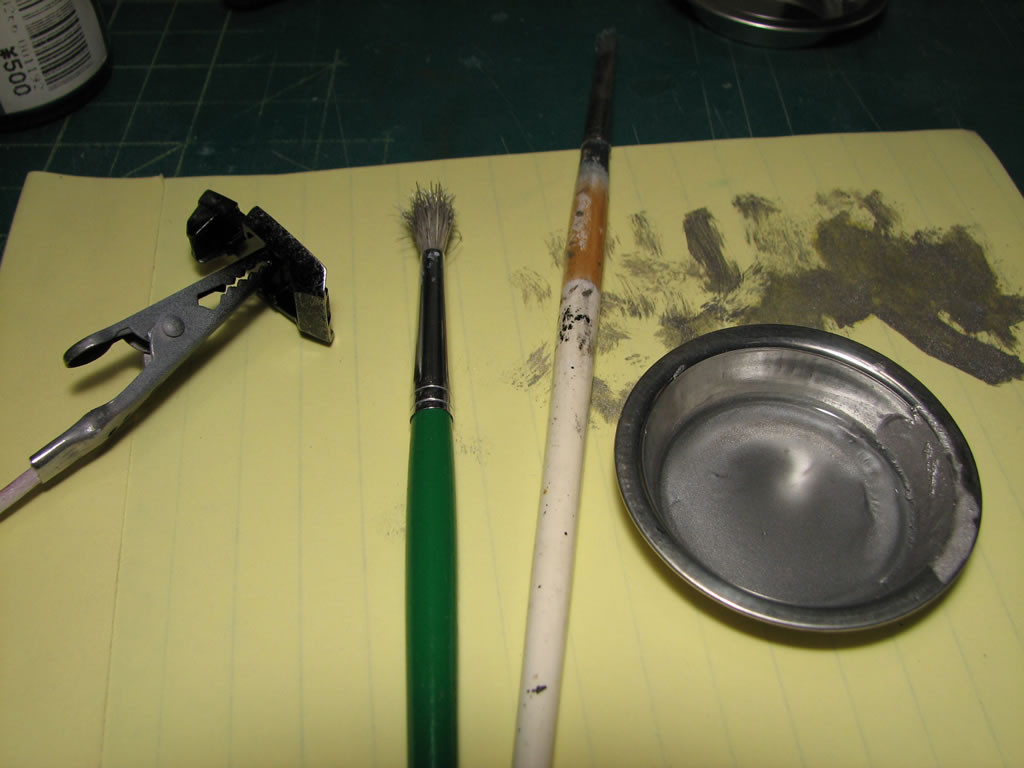
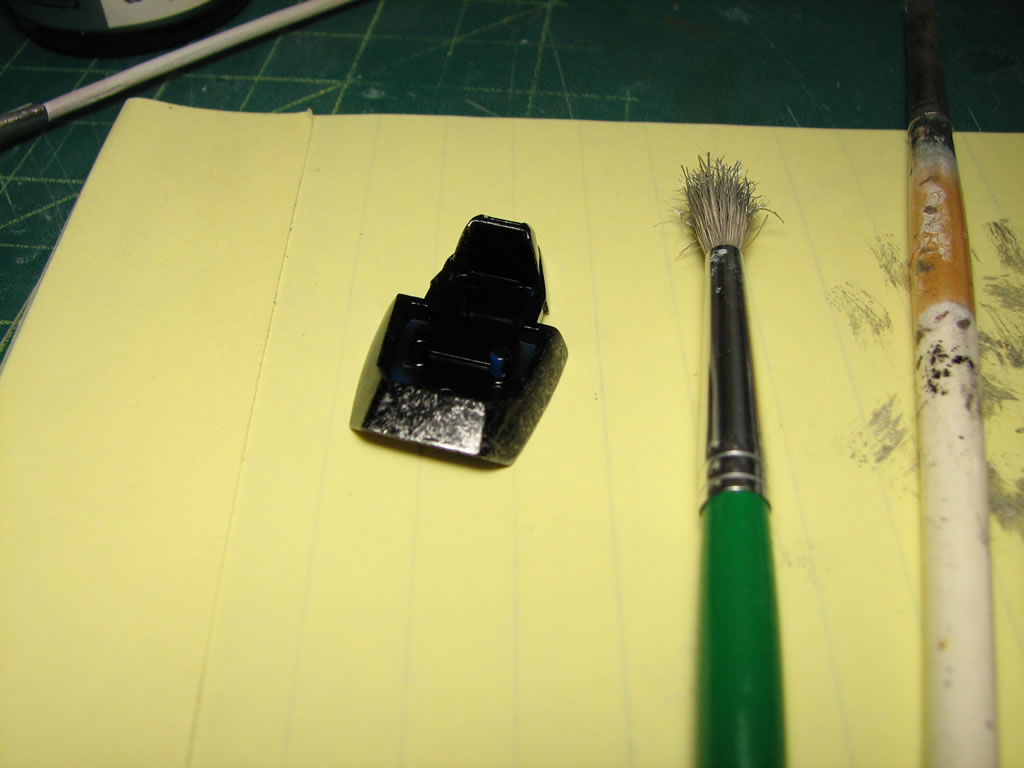
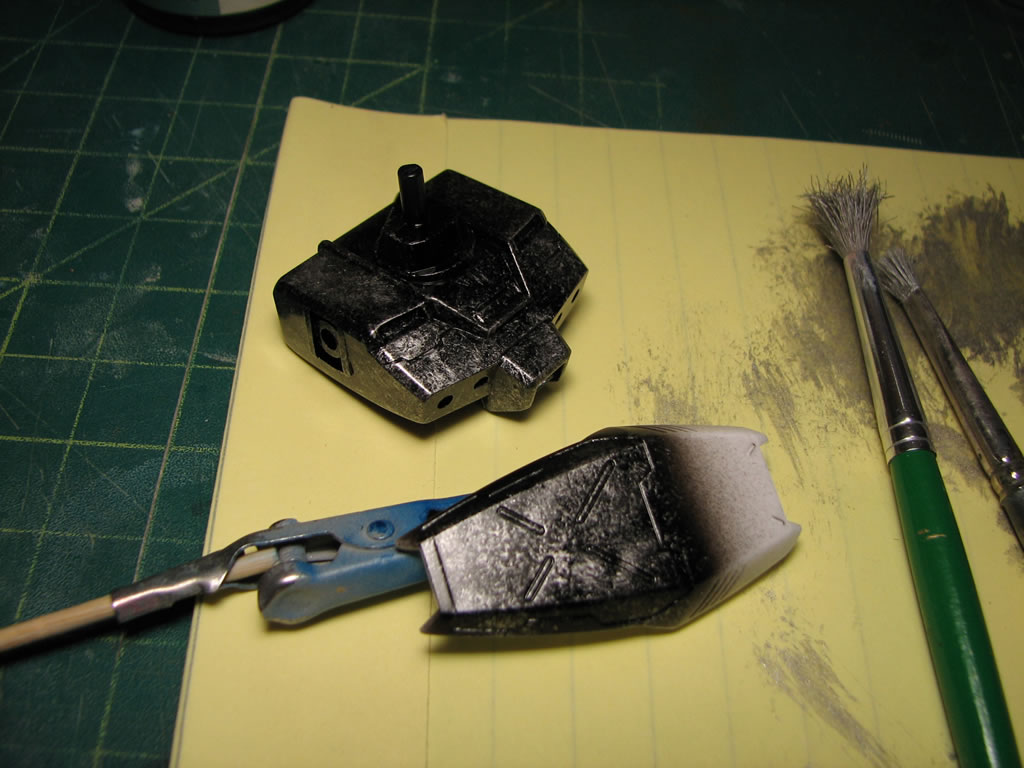
I followed up with a light stamping (same technique) but with Finisher's Titanium. I wanted some additional color variance.
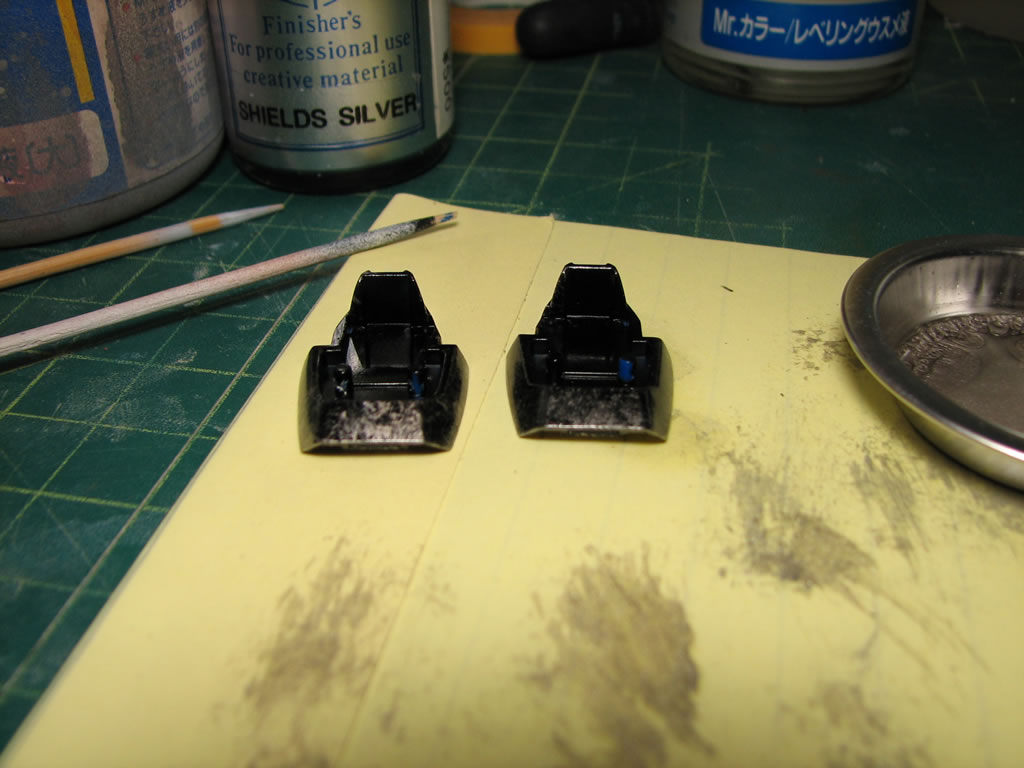
This was followed up by applying strokes of white using a very fine brush. Just random strokes of white were applied.
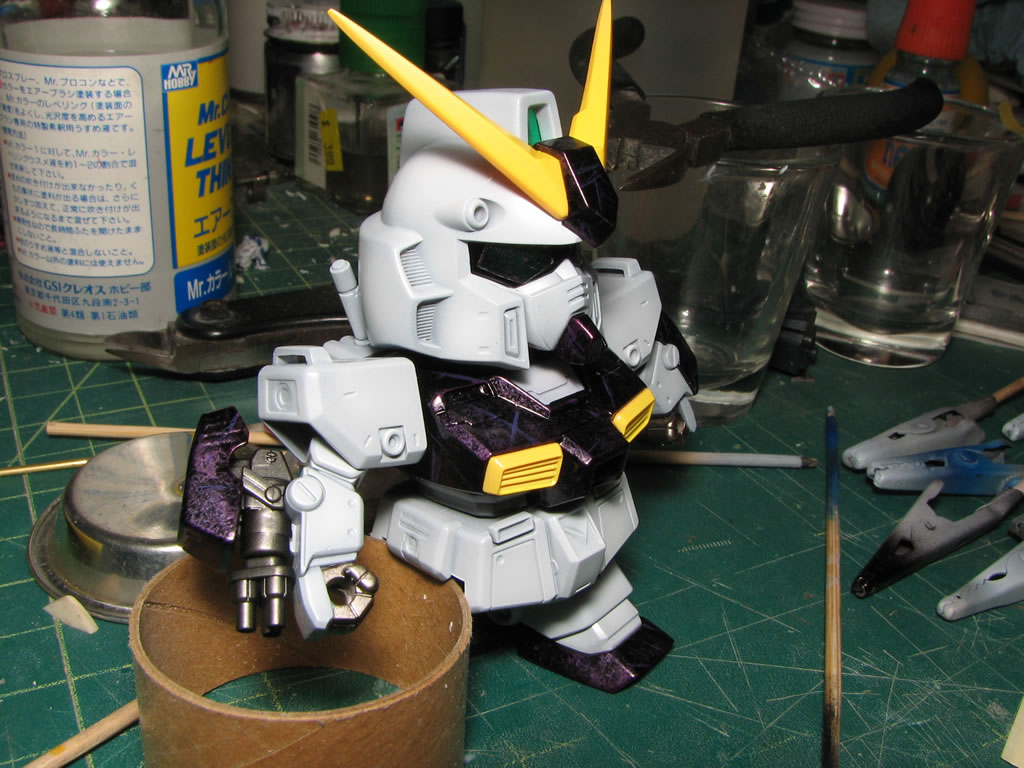
The final step is spraying on a clear color. I used a mixture of clear purple left over from the Asagi project. It's a very interesting technique. Similar to the other marble technique but refined. The sponge technique left the paint with raised points so the surface needed some wet sanding to smooth out rough spots. Using the metallics and the stippling didn't leave so many rough raised spots. I can see the application of this technique using different color paints, not just metallics for interesting effects with the clear paint. This is yet another project I want to have finished by the time Orange Con rolls around, about 3 days from now, but hey, it's an SD, they fun quick little projects.
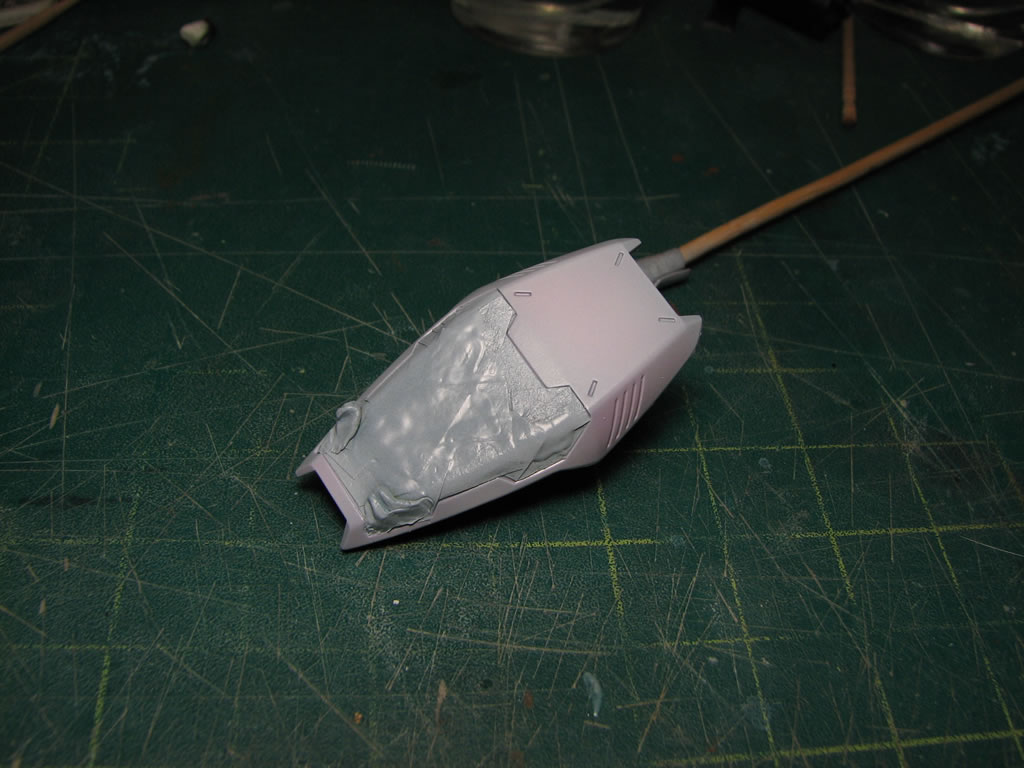
October 16, 2009: Final masking and painting for the kit.
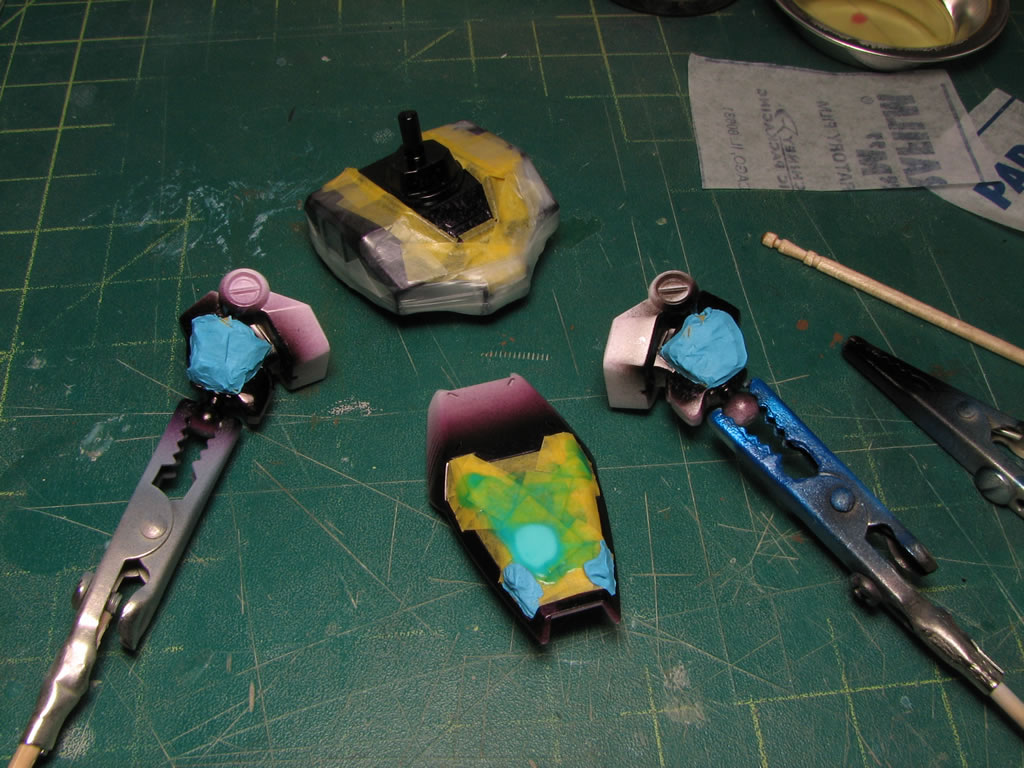
Shield work, mask, prime, paint, remove mask, strip paint... lovely. Time to redo things.
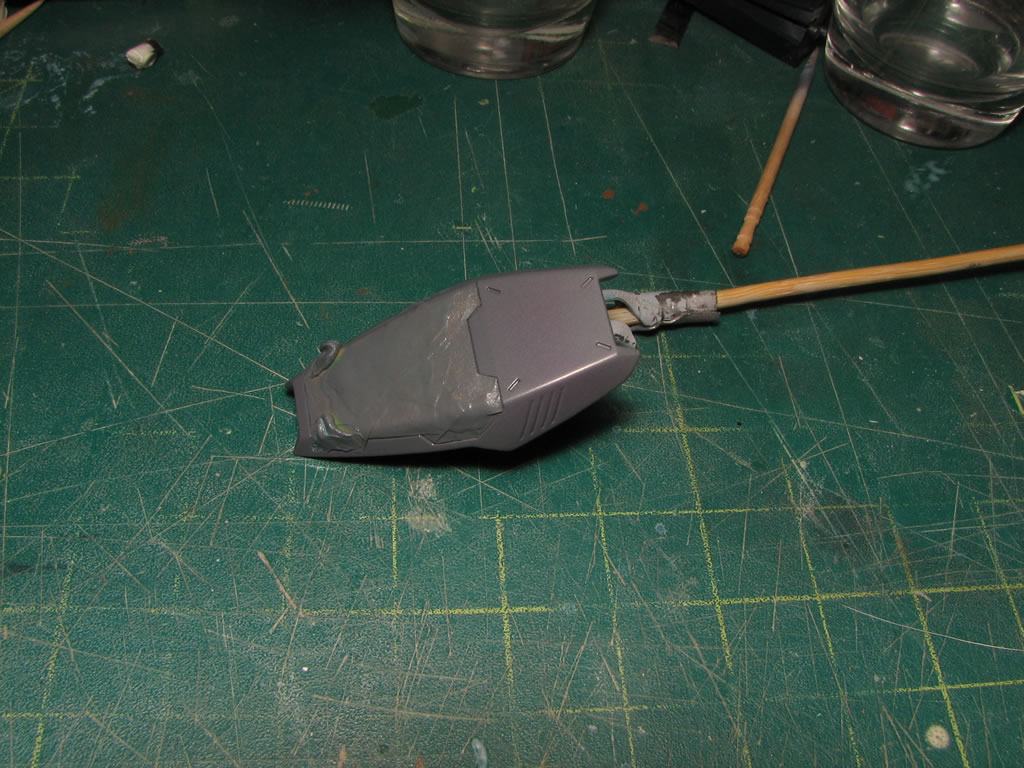
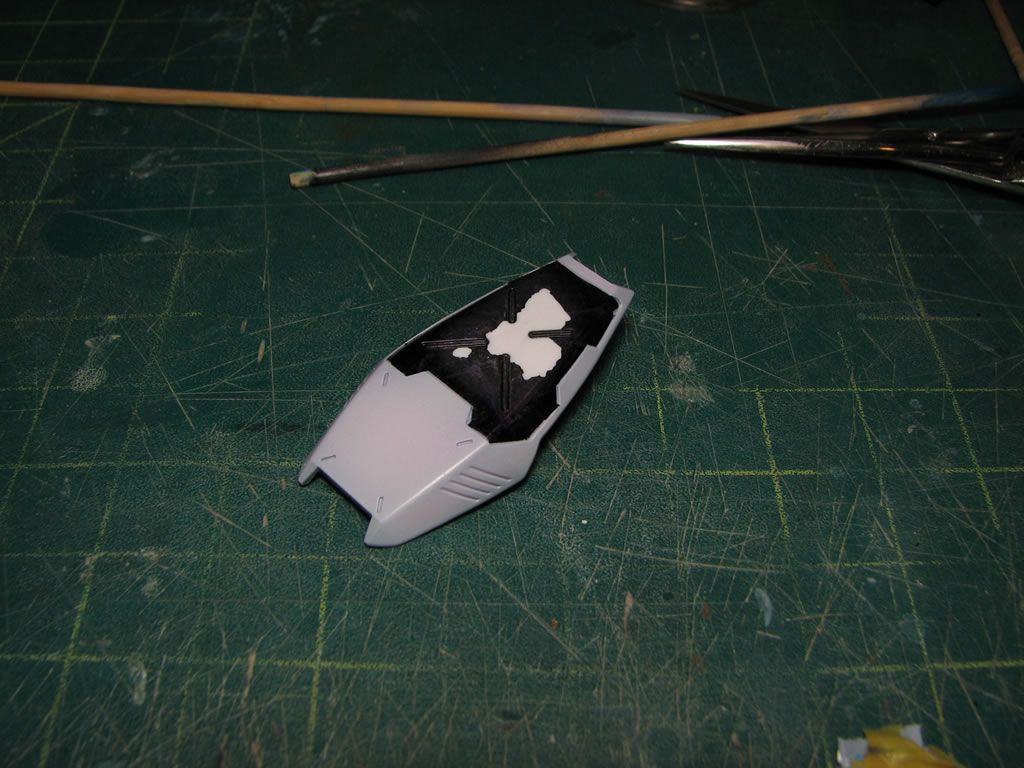
Almost done, still need panel lines and detail painting.
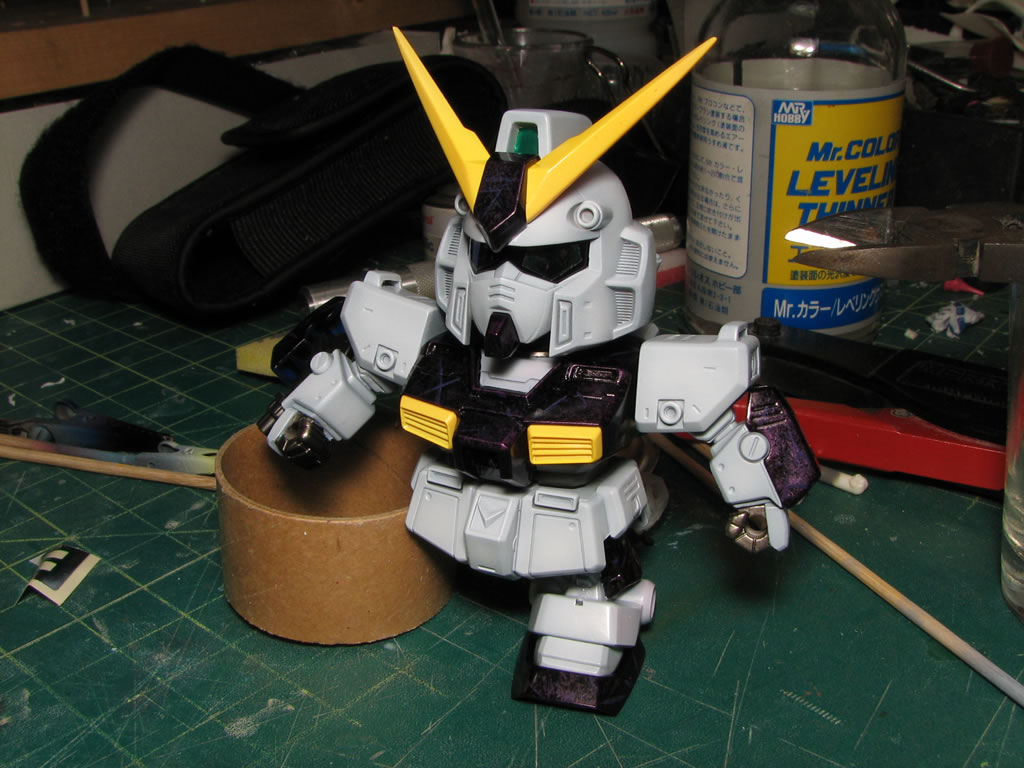
October 14, 2009: Started painting the SD Gundam NT-1.
And it's done. Click here for the completed page.