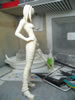
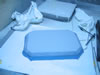
November 30, 2005: I ordered this kit a few weeks
ago from www.hlj.com. This is my first original kit. After soaking her
for about a week or so in some industrial strength purple cleaner fluid,
I took her out and scrubbed her down with some dish soap, toothbrush and
warm water. Today, I got down to the pinning, rough sanding and added
some Mr Surfacer 500 to some of the small pin holes I found.
This kit had a good amount of mold lines/flash and pin holes. Interesting
comparison to a recasted kit where some of these areas are fixed before
the recasting process so in some cases, a recast would require less work.
However, the details of the original are crisp and far outmatch a recasted
kit.
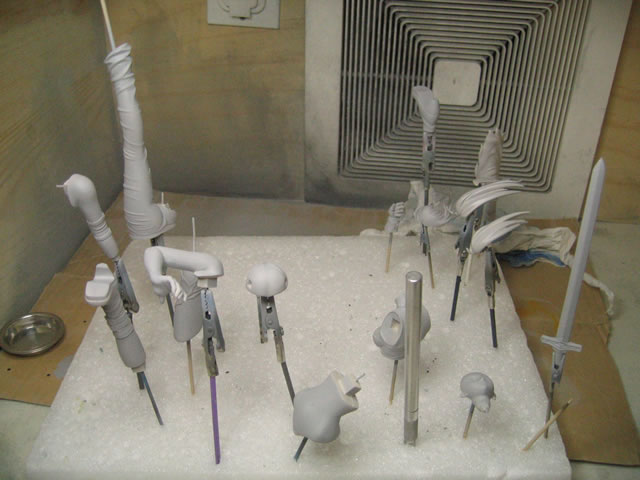
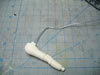
Tonight I did the pinning, and realized that I did not take pictures
of the pinning process for any of my resin works. For the sake of helping
out others who are also new to building resin kits, I added some pictures
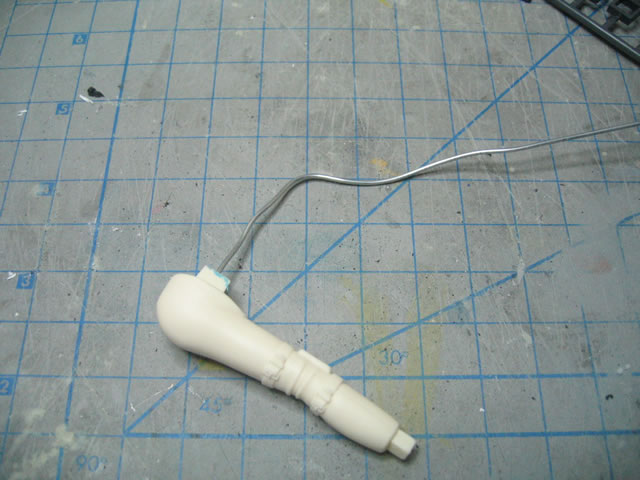
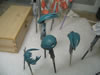
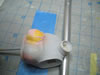
to help describe the pinning process. The first picture is the right arm.
I drilled a hole then added a small amount of glue and then inserted some
metal wire (the pin). I cut the pin and drilled an adjacent hole to the
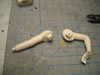
attaching part - the upper torso, and there, a pinned piece. The next
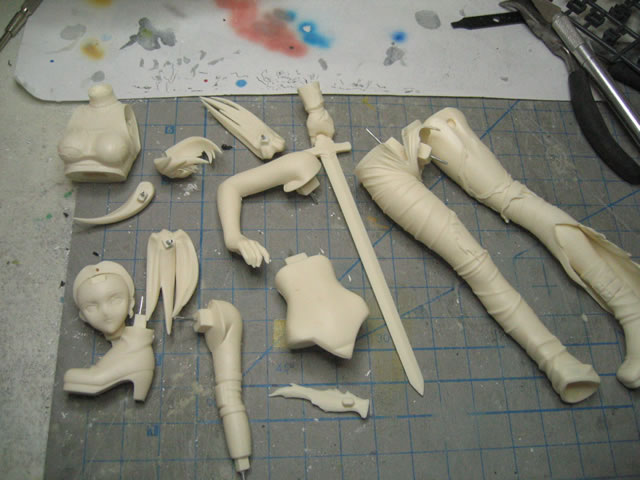
pictures are the two arms and their pins followed by a picture of all
the parts pinned and ready for assembly.

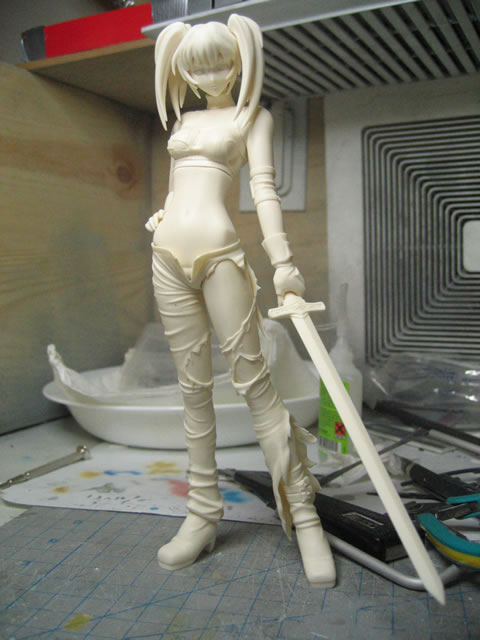
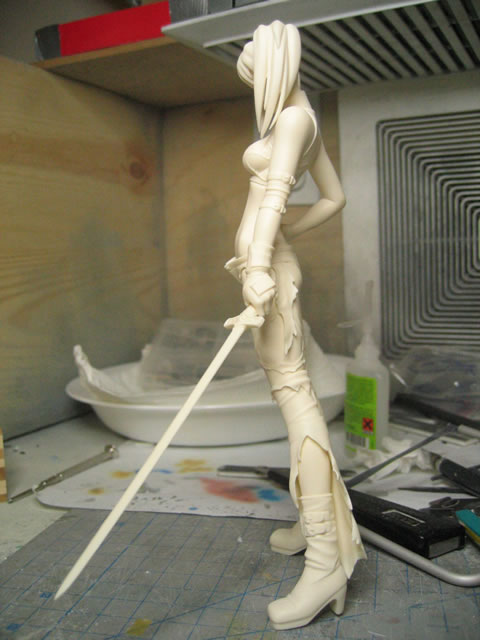
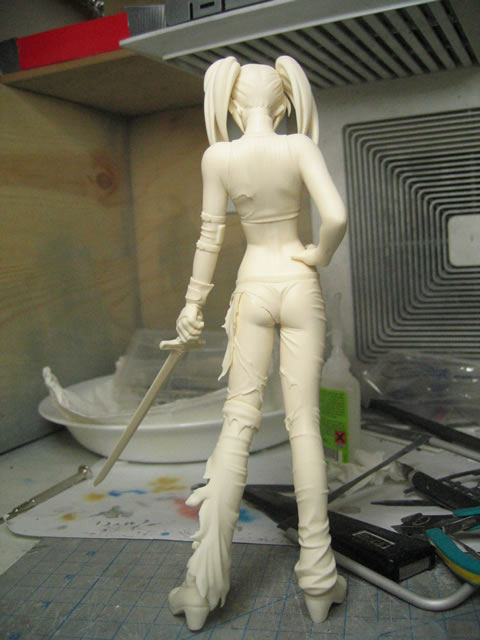
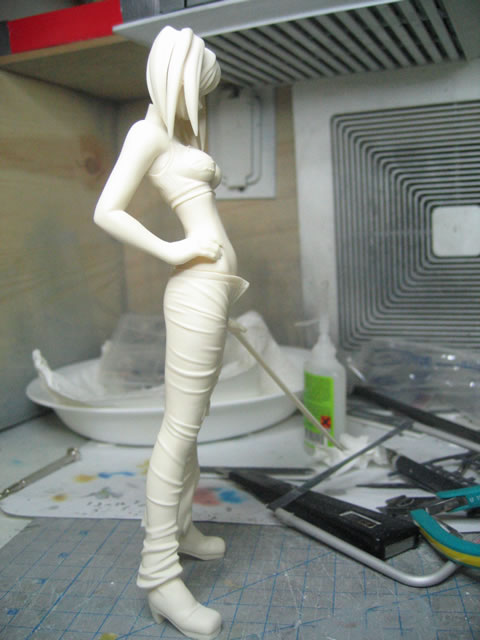
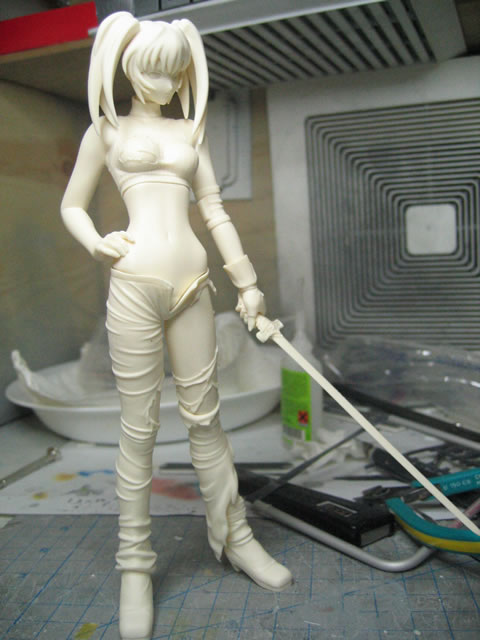
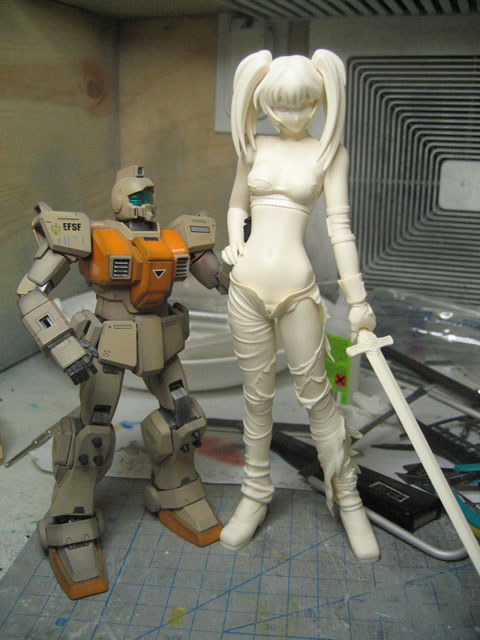
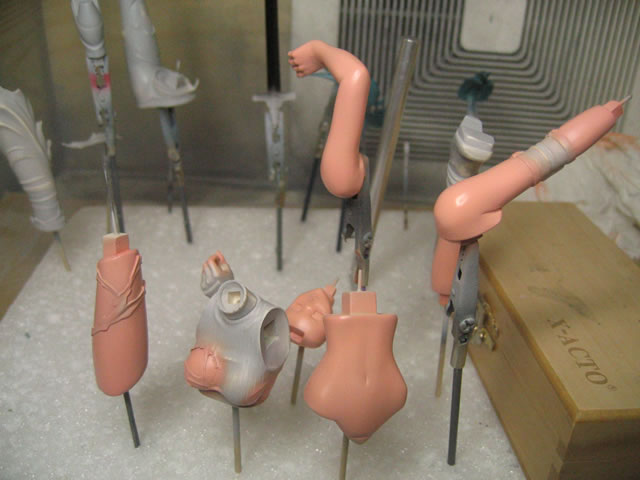
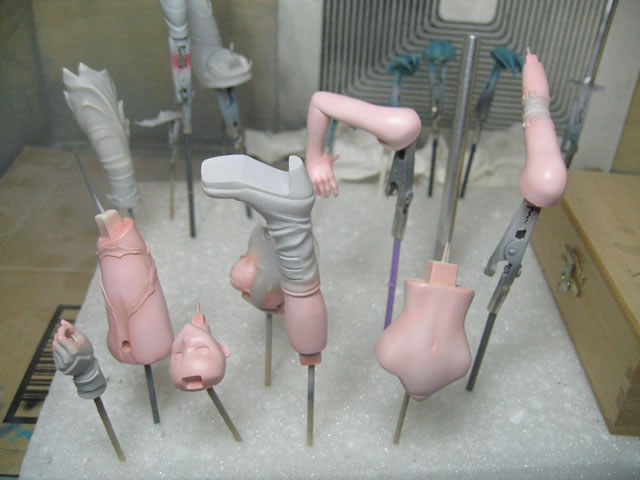
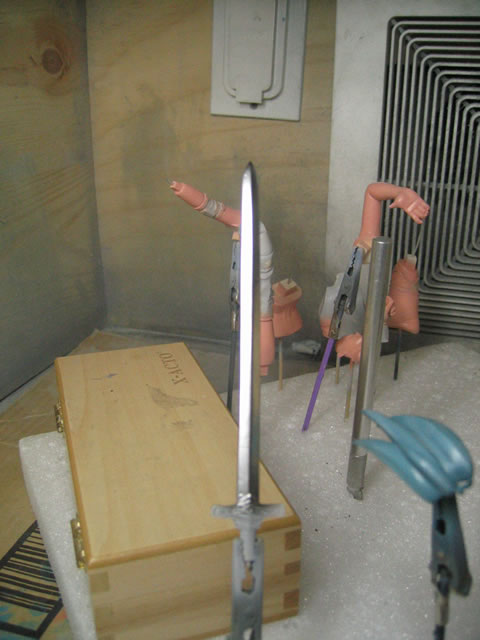
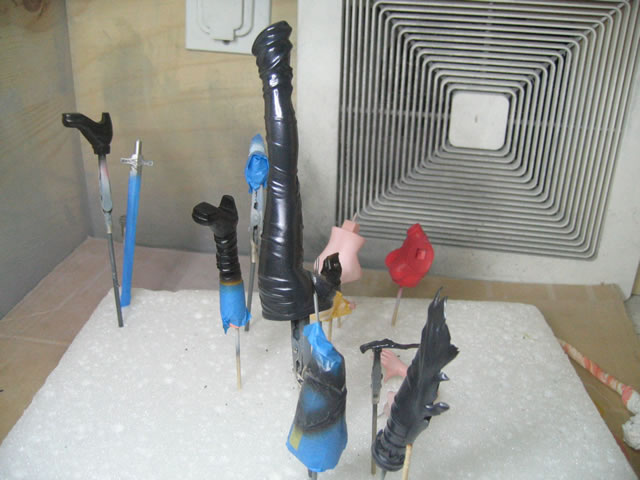
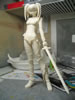
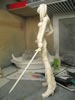
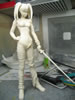
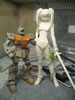
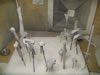
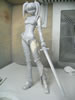
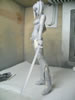
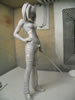
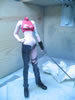
The following pictures are the test fit. Another noticable
different from an original and a recasted kit. The pieces fit very well.
No missaligned areas; that sometimes plague a recast. Very nice. And yes,
the RGM-79[G] is there for size reference and to touch Ryofu.

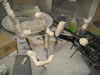
Last of what I did tonight was brush on some Mr Surfacer
500 in hopes to fill some of the holes. There's an area where I believe
I need to use some epoxy putty, but I'll see what results I get from Mr
Surfacer tomorrow.
December 3, 2005: I finished filling the pinholes with Mr
Surfacer 500. The stuff worked wonderfully for filling in the minor seams.
I finished up the sanding and fine sanding. Then primed the kit with Mr
Surfacer 1200. This is the first time I used Mr Surfacer 1200 from the
bottle. I overthinned it because I was a bit used to thinning Mr Surfacer
500 and 1000, so on my second pass, I thinned less and it went on nice
and smoothly. Next up with the wetsanding and fixing more pinholes that
showed up and other minor areas. This was followed by another test fit.
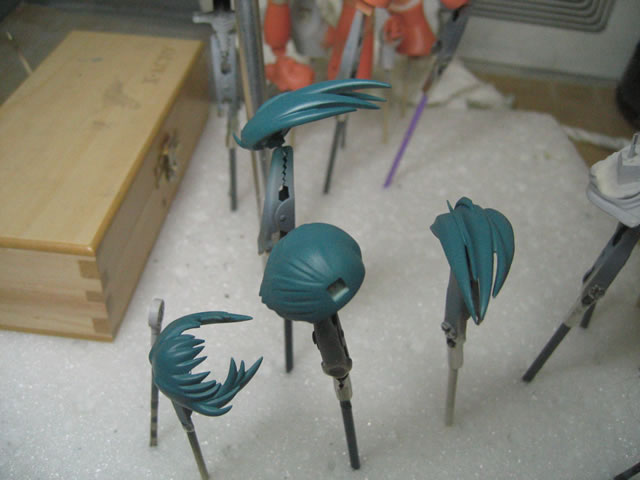
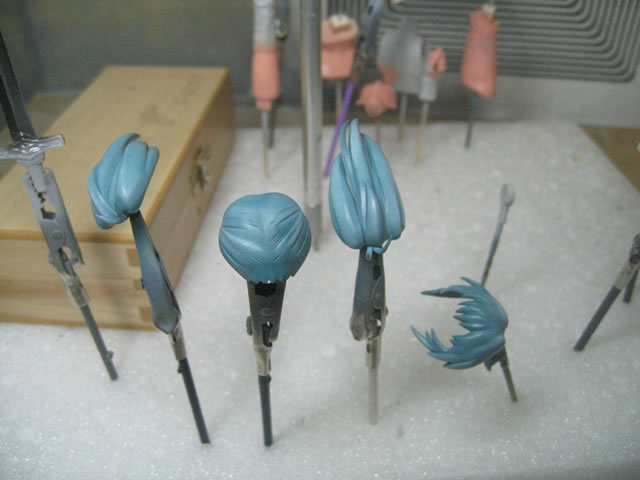
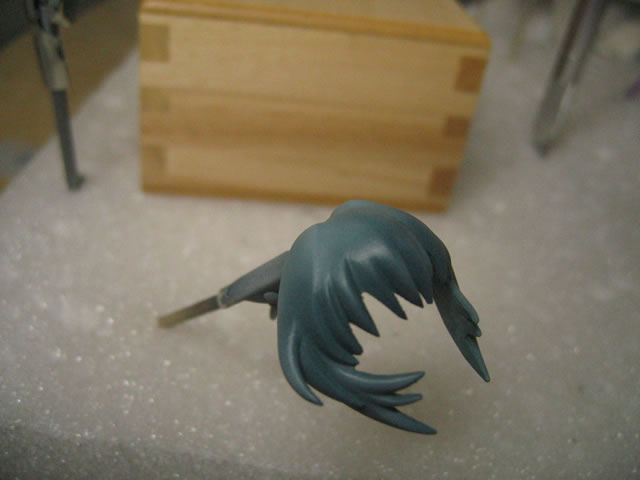
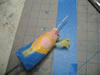
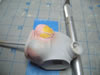
Next up was the base colors. I mixed a batch of base flesh
tone and painted the skin areas. The hair took a bit of time to get a
color mix that I was satisfied with. The base color for the hair was painted.
Lightened tones of the base colors were used for the final color. I was
debating on if I should use some pastels for some more shading, but I'm
fairly happy with the current resuts. I laid down a coat of satin finish
future/flat base and once that cures - at least afew days; I can go into
much dreaded masking phase and continue painting the other parts.

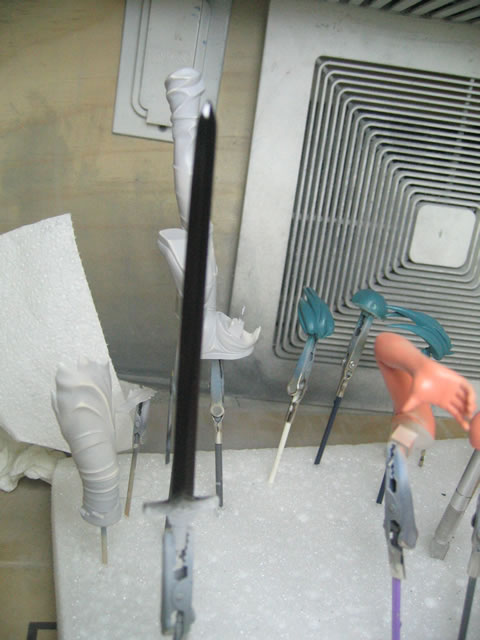
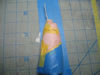
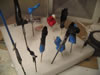
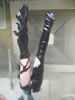
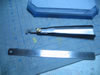
I've decided to go with a chrome for the sword's blade color.
The blade was painted with a gloss black lacquer and then the Alclad II
Chrome was applied over that.
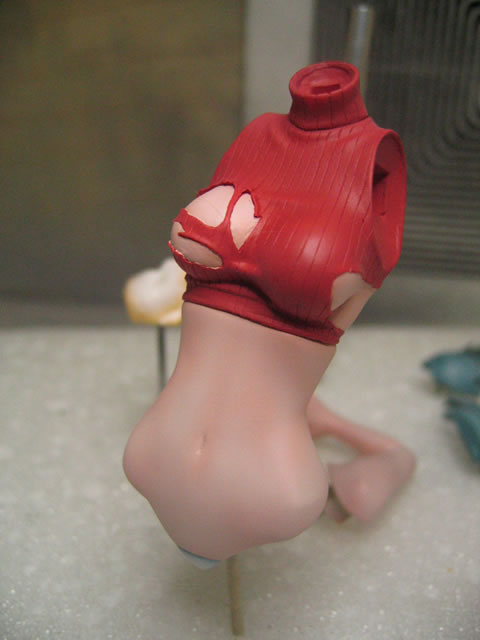
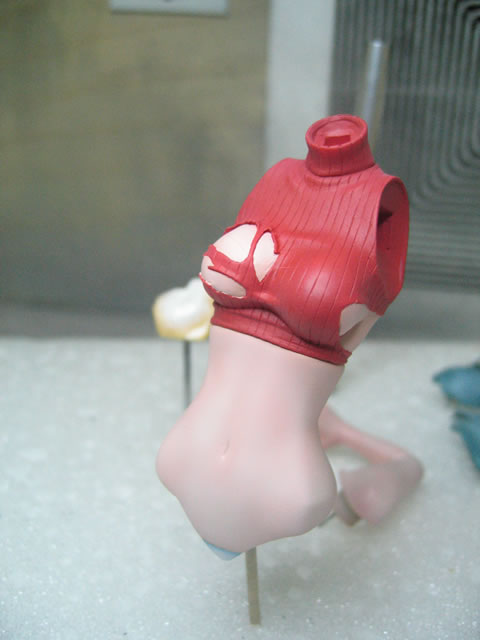
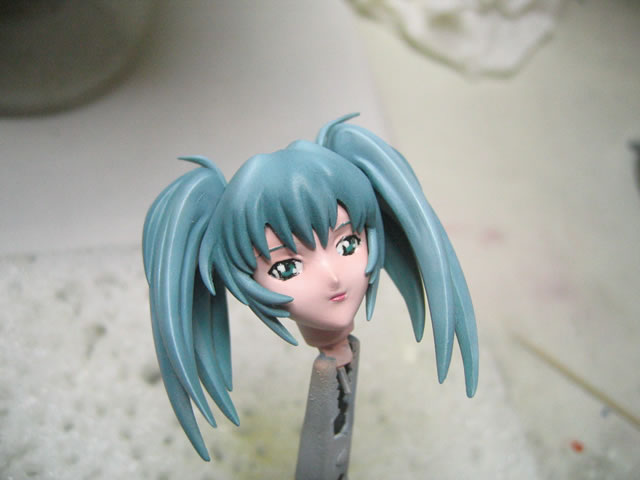
The below two pictures are close up shots of the finished
hair painting and the sexy mid-drift.

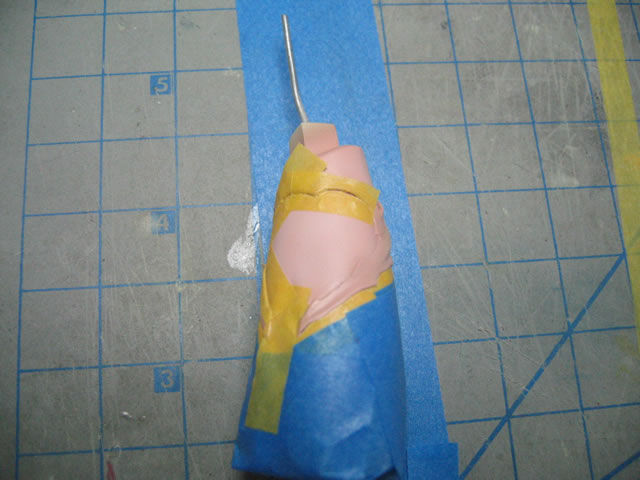
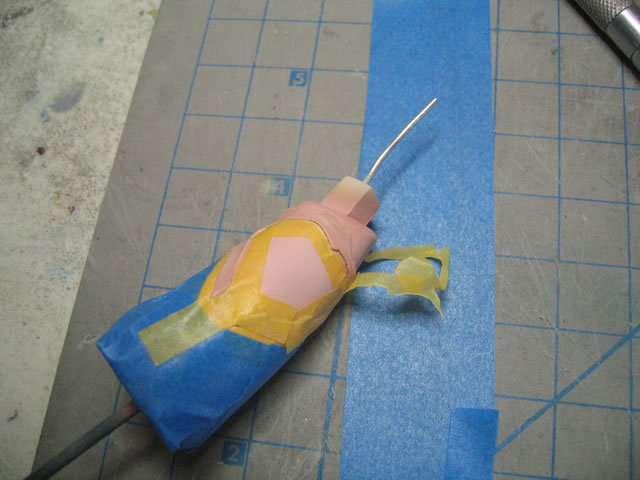
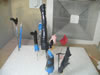
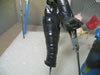
December 11, 2005: Ok, parts I left for curing last week
have cured and so I moved on to the masking phase. Masking was a bit more
extensive due to all the jagged edges and curves. Good old tamiya masking
tape and a fresh knife blade went to work and the masking went fairly
well. I have yet to peel away the mask to see if I made any mistakes (I
hope not). But below are the pictures of the masking process.
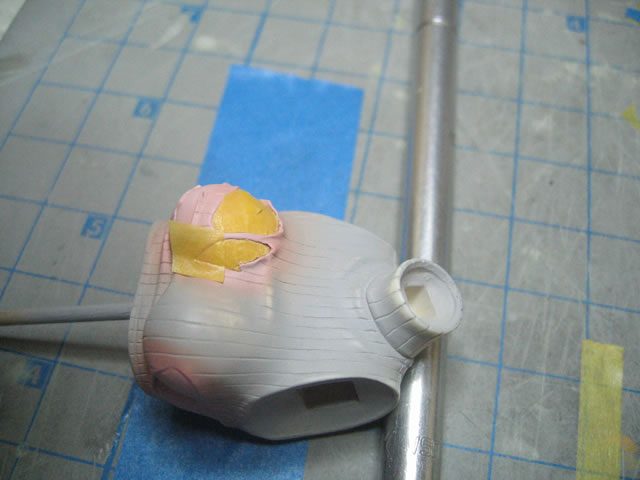
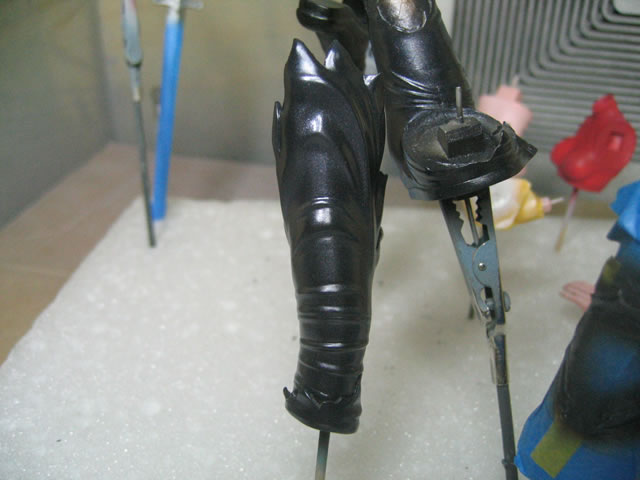
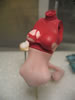
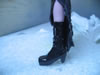
Next up was the painting for the pieces after the masking
was complete. For the pants, I used a Midnight Blue and did some light
shading. For the sweater, I went with a Red Madder, trying to get as close
to a blood red as I could; also with some light shading.
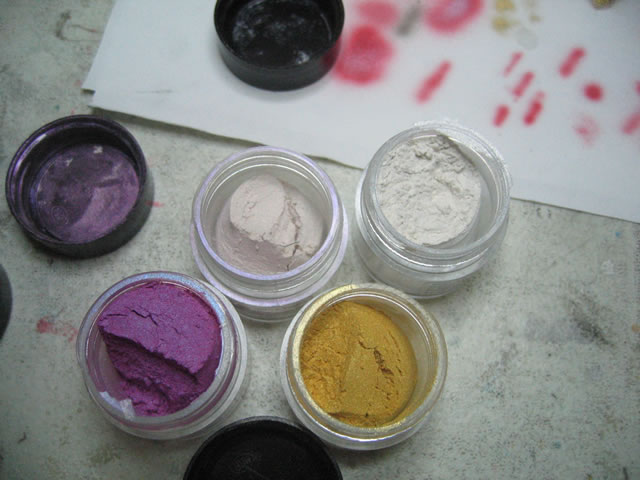
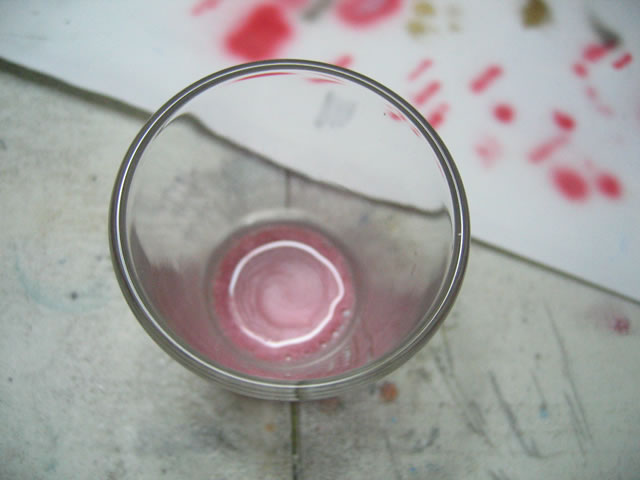
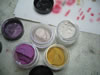
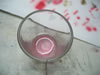
A mixture of pearl powders and future to add a little satin/shimmering
effect was added to the pant legs. For the pearl powders, I added a small
amount of the pearl powder to my usual mixing shot glass and then used
future floor polish as my medium for airbrushing. Your normal clears should
work well as a good medium too.. The consistancy is similar to your basic
metallic paints. Similar look and similar feel when spraying it through
your airbrush. Do not use too much of the powders since it will clog your
airbrush. Some metallics will clog airbrushes or are a little difficult
to spray due to a high concentration of the big metallic particals. Same
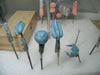
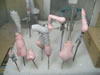
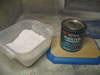
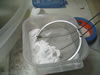
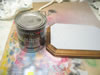
principal here with the pigment powders. Below are pictures of the pearl
powders before mixing, and then the mixture of future floor polish and
the pearl powders. The next two pictures are the results of applying the
mixture.
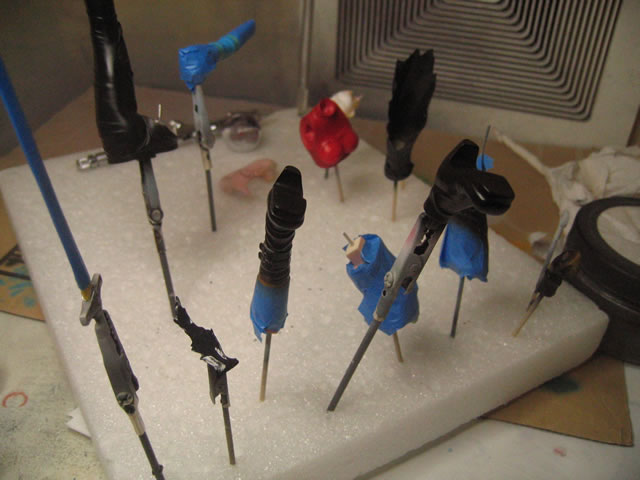
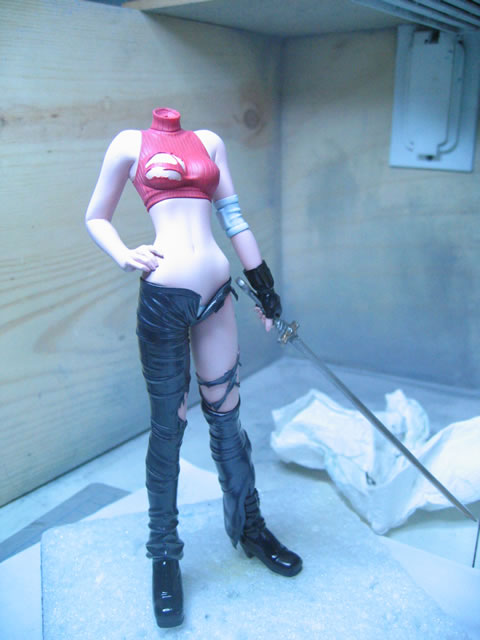
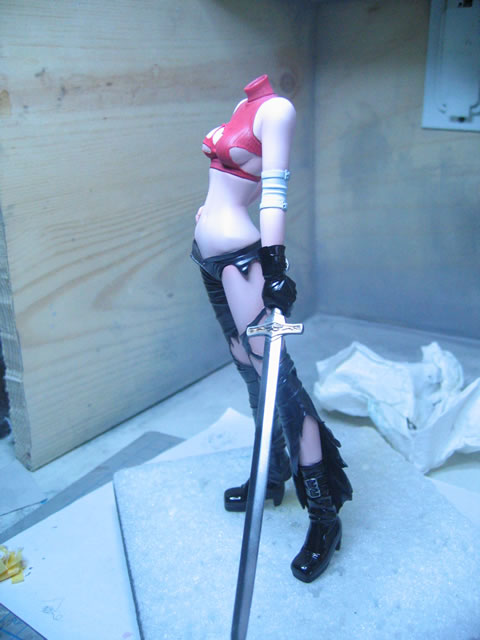
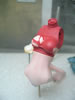
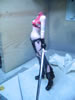
The two pictures are just a few quick snap snots of the
current progress. I still have some touch up work for the sweater, and
detailing to do and the face. Getting close.
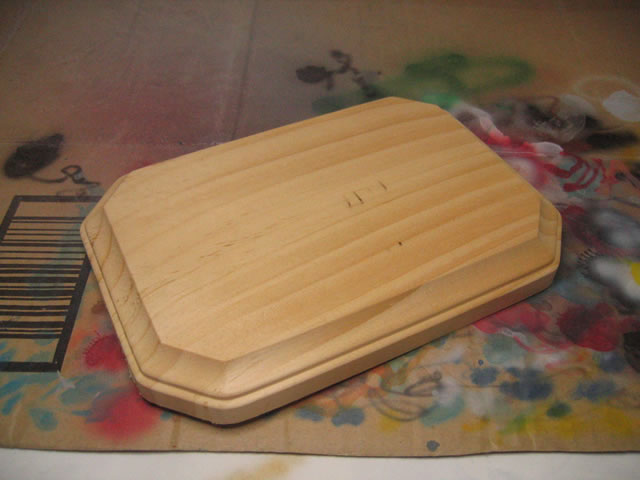
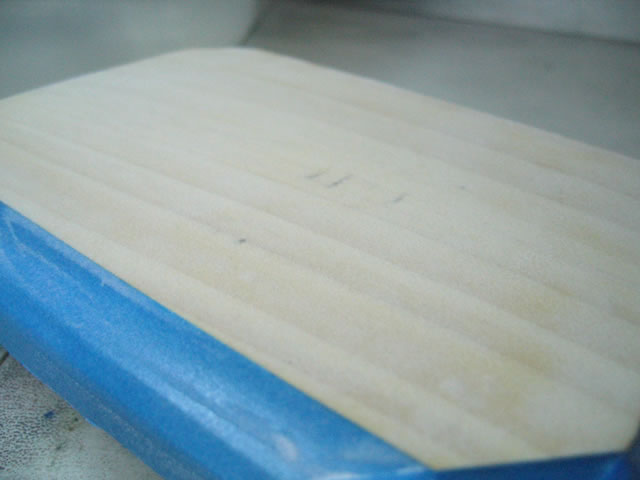
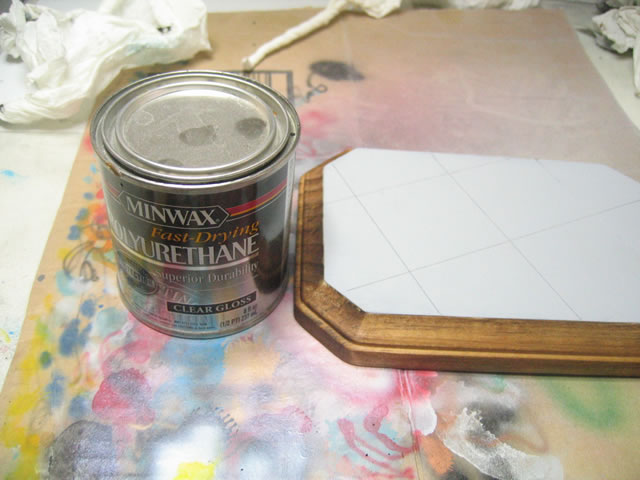
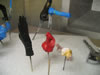
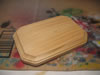
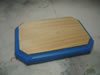
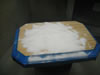
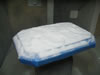
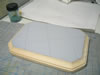
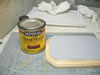
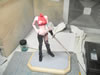
Base work: The following pictures are the progress for the
base I have planned. This will be a simple asphalt type base. Beginning
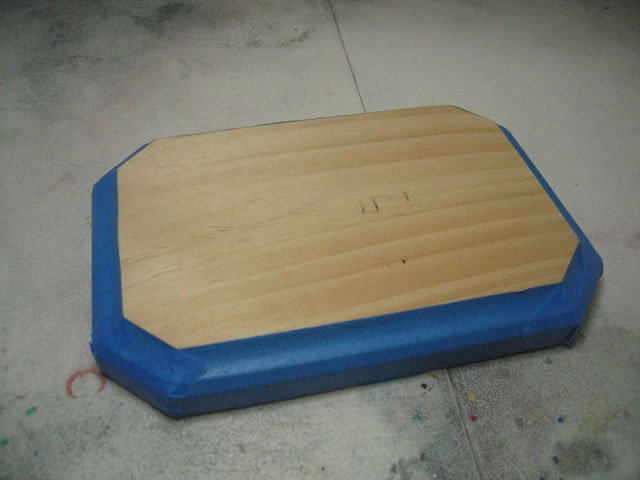
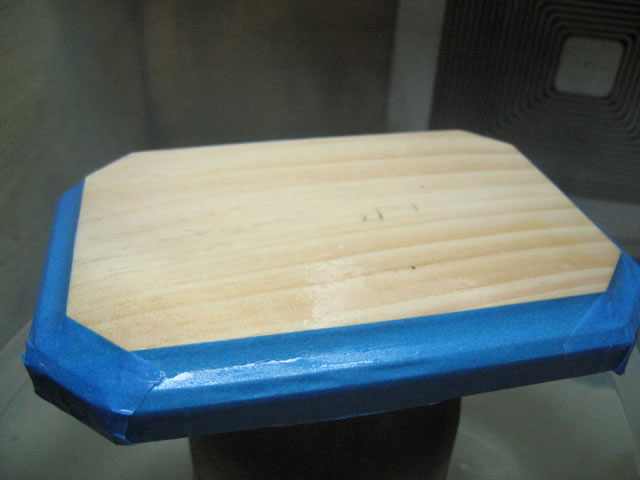
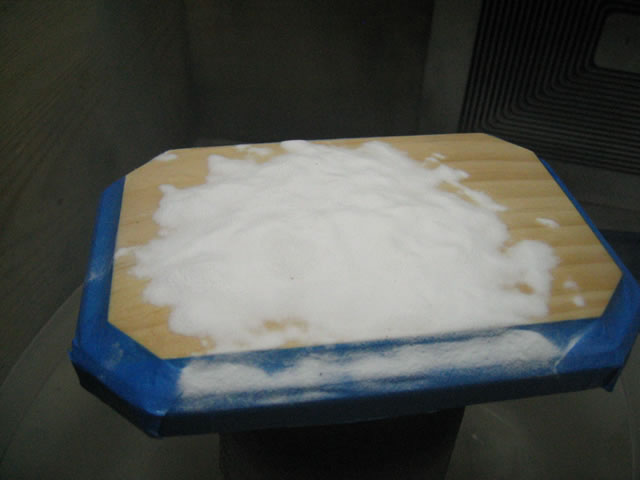
with a piece of unfinished wood from my local craft's shop. I masked off
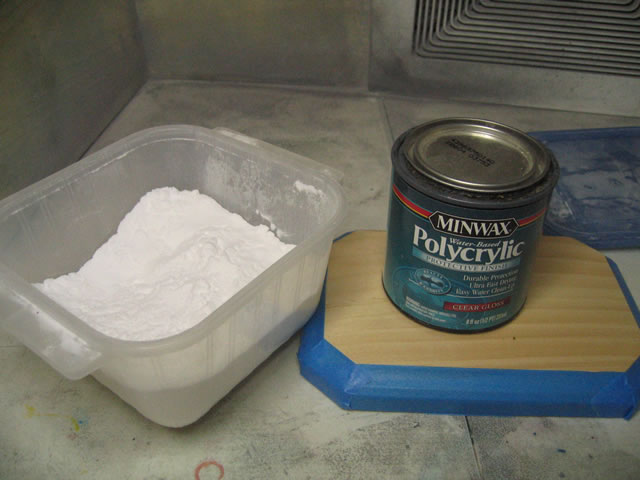
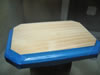
the areas that I plan to stain and clear coat. Then I gather the ingrediants
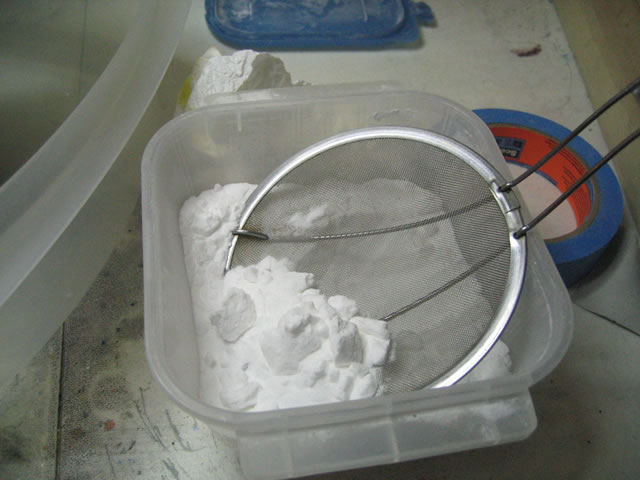
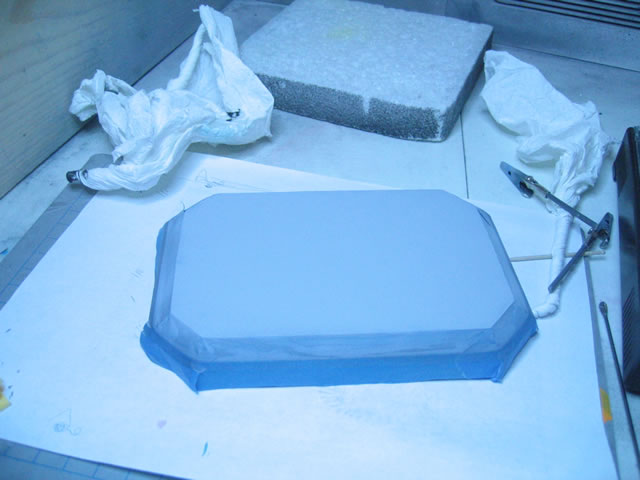
for creating the asphalt surface. I use a clear acrylic medium and brush
on a thin layer onto the wood base. While the acrylic medium is still
wet, I sift baking soda onto the wet surface covering the entire area,
and now need to wait 24 hours before I can continue work.
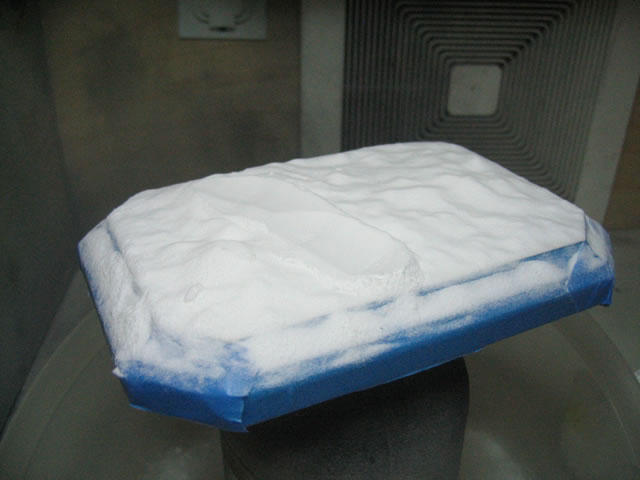
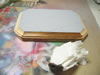
December 13, 2005: I have removed the baking soda from the
base and then lightly sanded. Only making this update because I finished
the Zaku head. More updates to come.
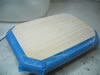

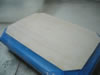
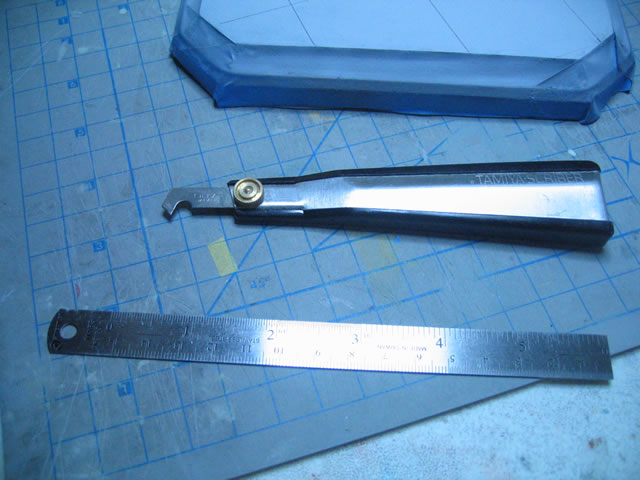
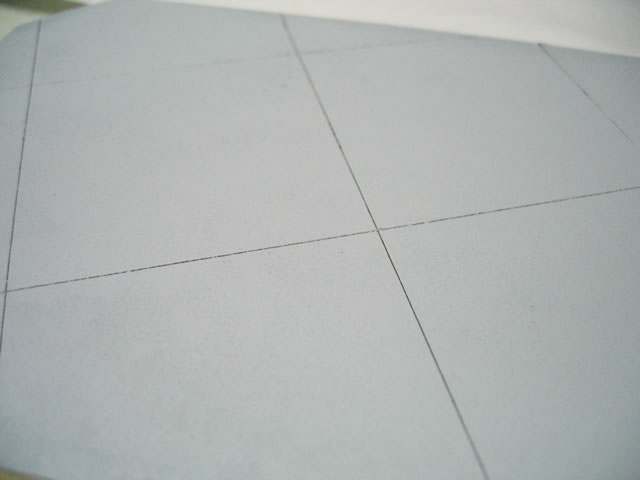
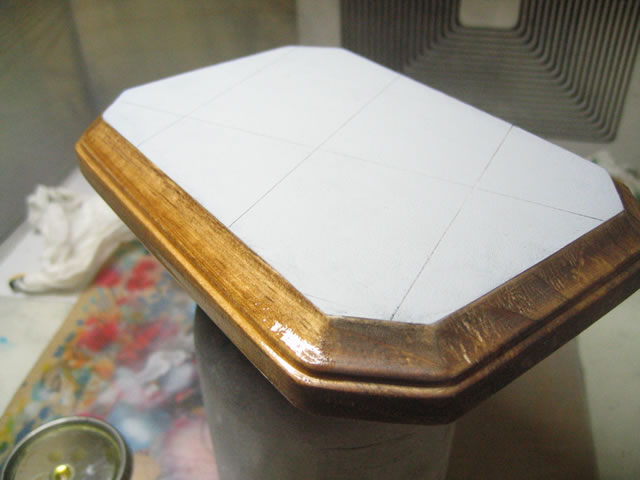
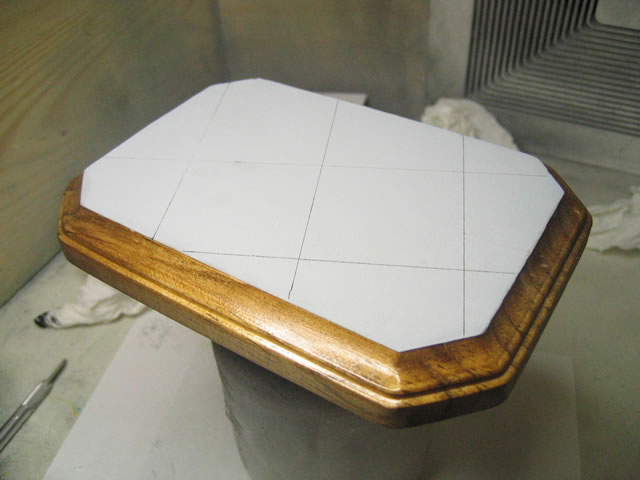
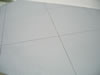
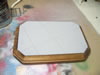
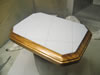
December 17, 2005: More work on the base progresses. From
what I had up above, I applied a coat of Mr Surfacer 500. Once this dried,
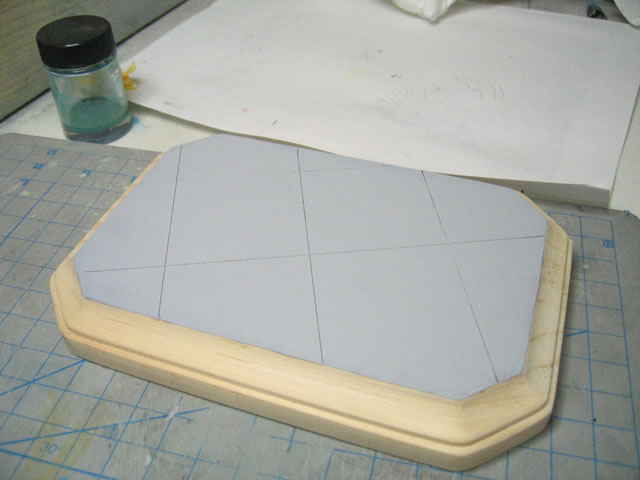
I scribed in a few lines to create a sidewalk like base. Some of the photos
are a bit blue due to the wrong color balance that I was using when taking
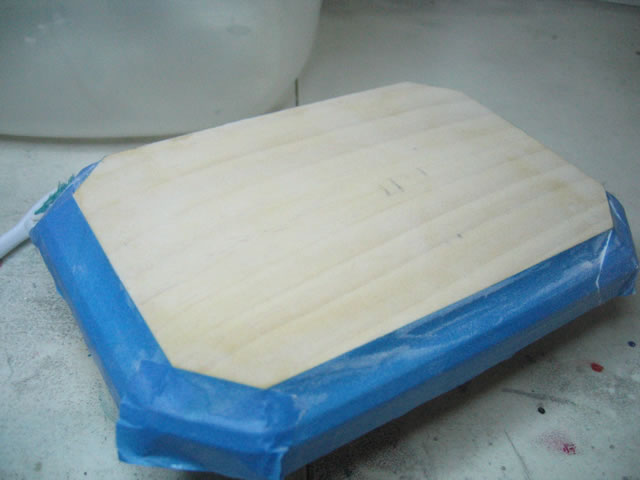
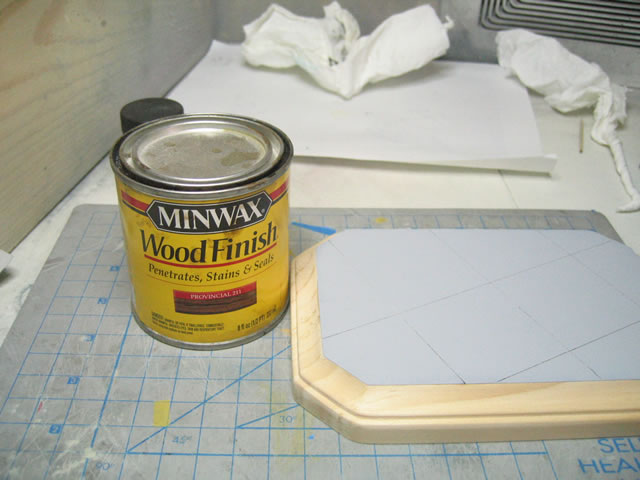
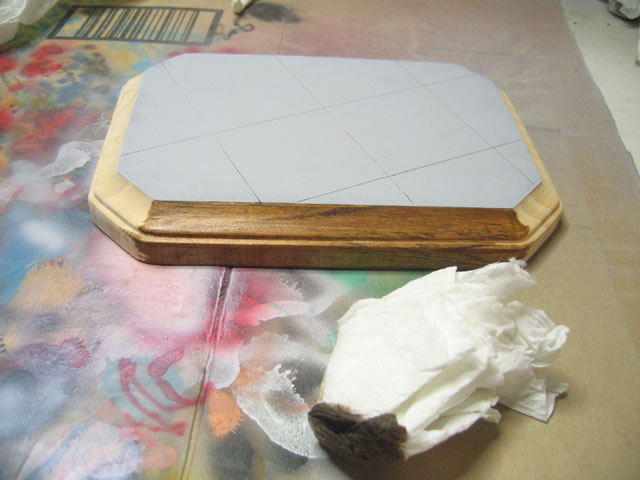
the pictures. I eventually fixed it. Once the lines were scribed, the
masking tape came off and I stained the sides. I used a towel and dipped
it into the stain for the application since I didn't want to darken the
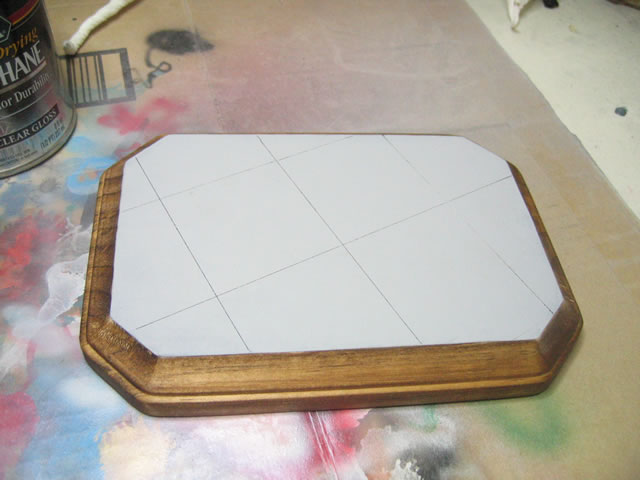
wood too much. Following the staining, the process of applying the polyeurathane
gloss clear coat begins. This will take several coats since the wood will
absorb a good amount.

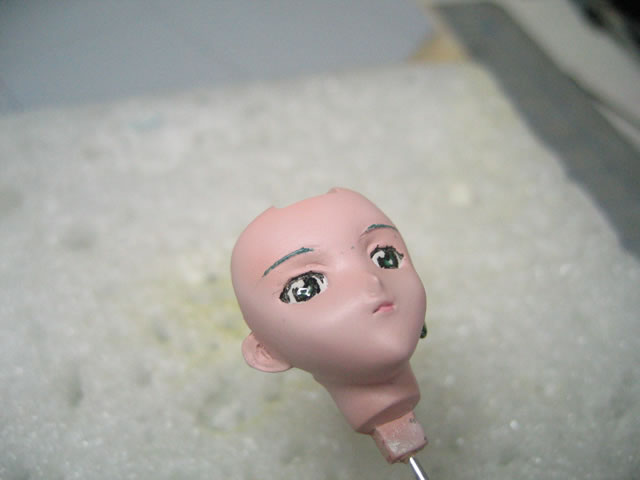
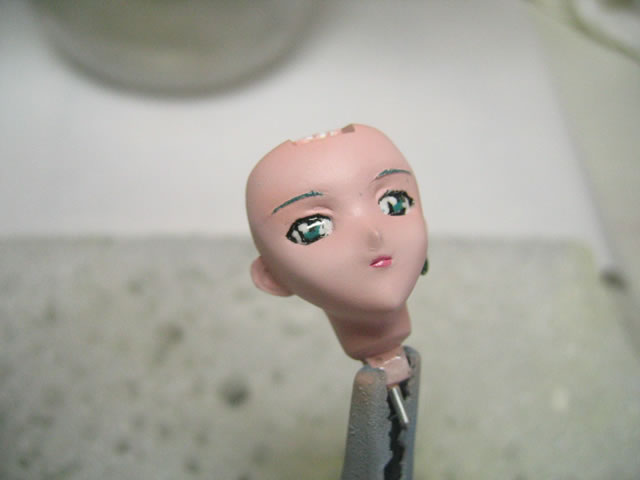
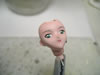
Now for some progress on Ryofu herself. Everything but the
face has been completed. I'm currently waiting for the future that I applied
onto her eyes to dry so that I can continue to "fix" them. I
originally painted them too small, and in a few days I can finish up the
work on her eyes and by then, the clear coat process of the base should
be done. Here are what the eyes look like now. Which is reason enough
for the need to "fix" them.
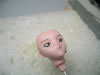
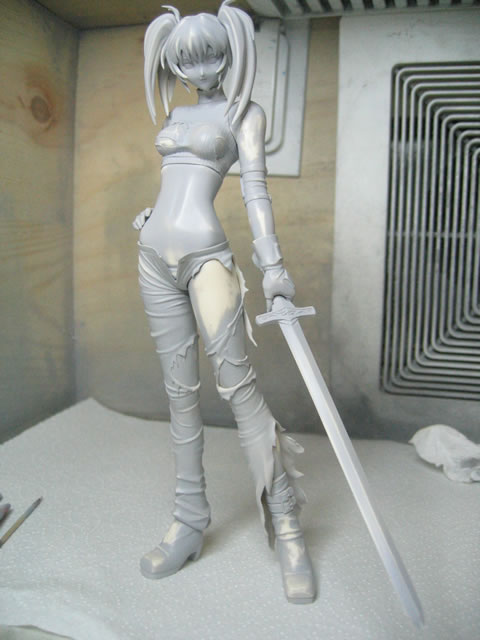
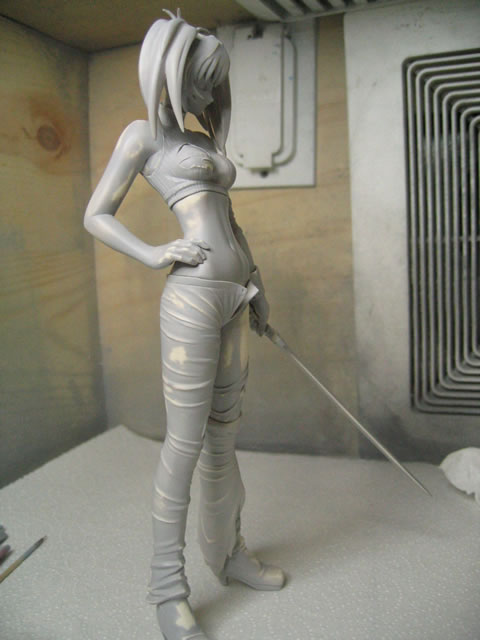
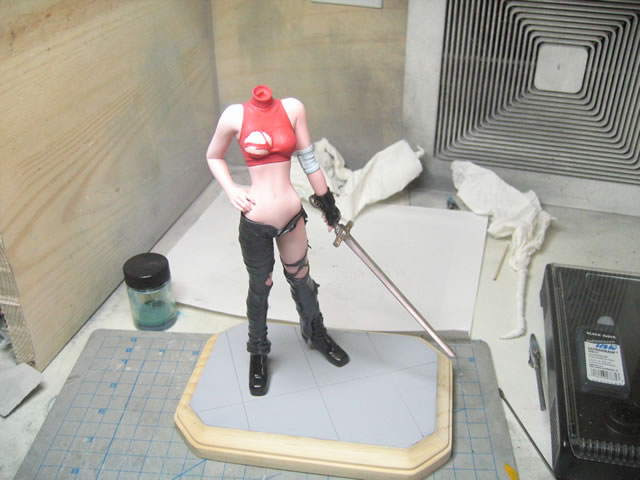
Here are some pictures of her so far. Next update should
include the completed page. Pending I don't continue to screw up the eyes
or anything else for that matter.
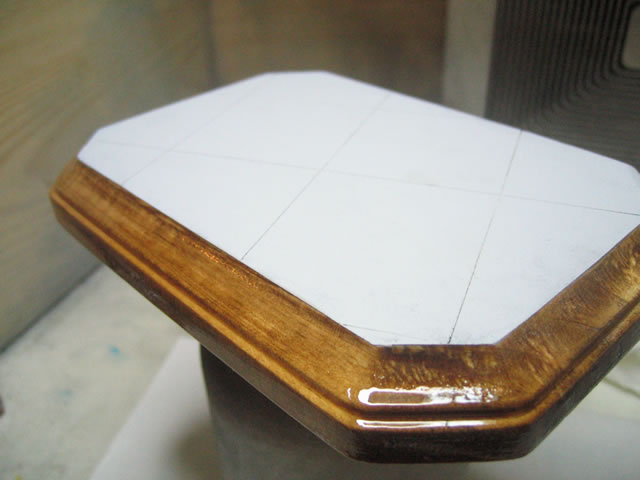
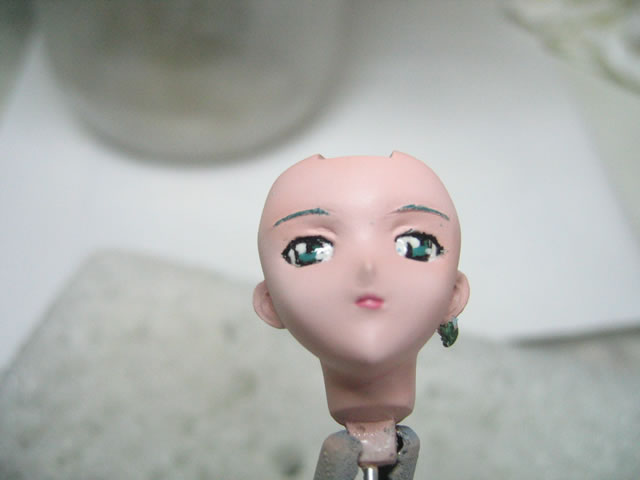
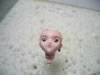
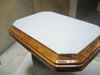
December 18. 2005: Completed her today. With the base, here
are a few more pictures of the base. The first is after 3 or so coats
of clear gloss. The last is after about 5 or 6 coats of gloss. Next are
pictures of the completed eyes. I believe these eyes are better looking
that the ones above. If not, oh well, I feel I'm done wiht them. Then
there's the picture of the head assembled.


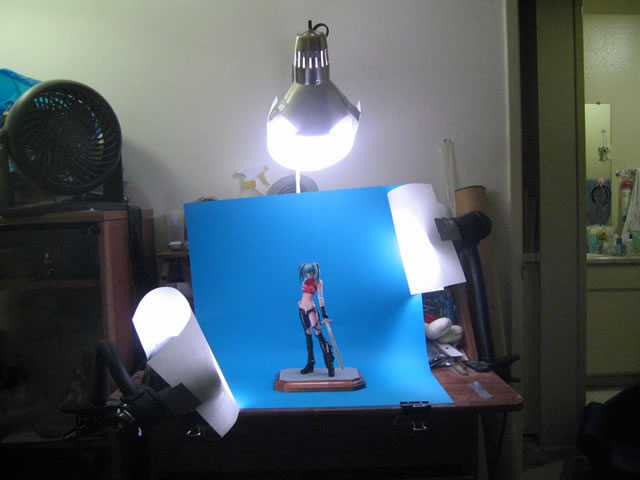
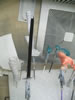
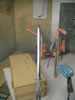
The last picture is my lighting set up. I have three lights
that I use. One overhead/back lighting lamp. And two lamps that face the
centered object; one from the front directed upwards and the second from
the rear directed downwards. The bulbs I use are GE Reveal light bulbs
and over this I place some white sheets of paper to help diffuse the light.