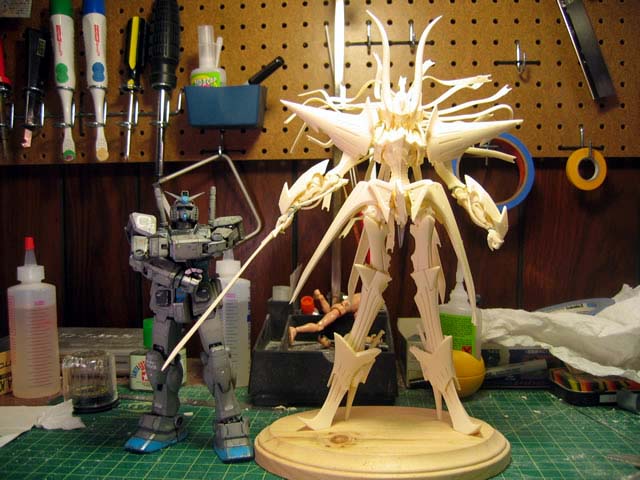
March 25, 2006: This is my first progress page for
an Five Star Stories (FSS) kit. This isa recasted kit that I recently
received. I had started pinning another Phantom that I received about
2 years ago; but lost interest once this version came along.
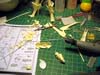
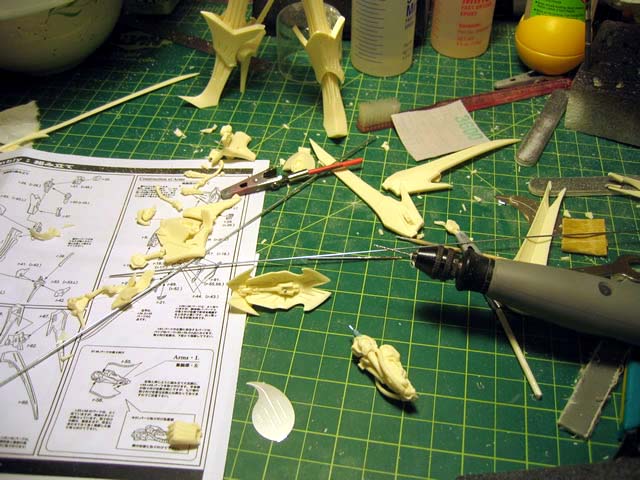
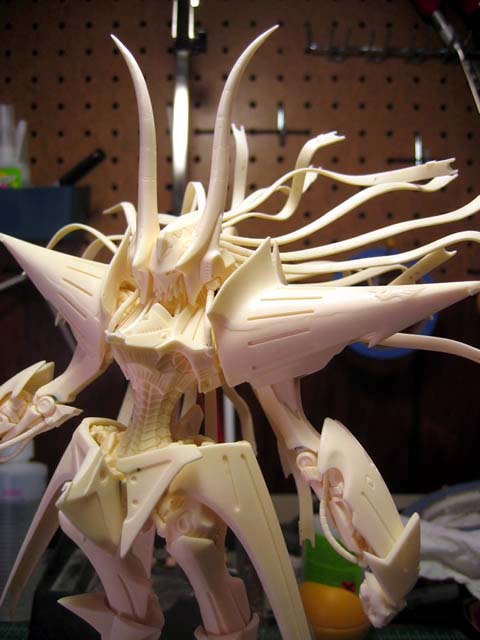
As far as recasts go, this is not too great a recast. Alot of the parts
were misaligned during the casting, so there's alot of sanding fixes that
need to be done and rescribing of details. Not the worst recast I've worked
with, but still not too great. You get what you pay for I guess.
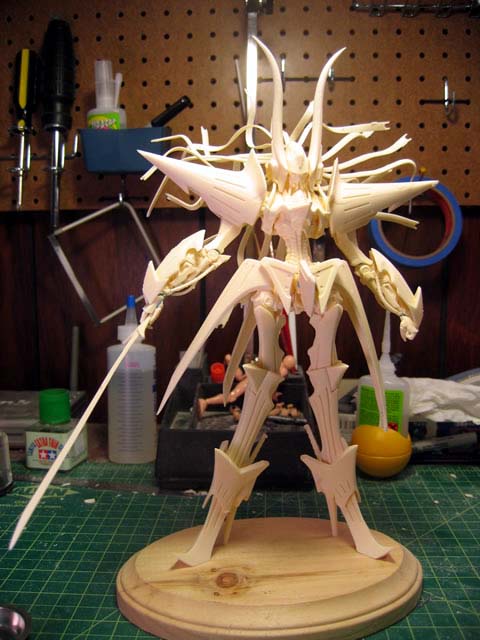
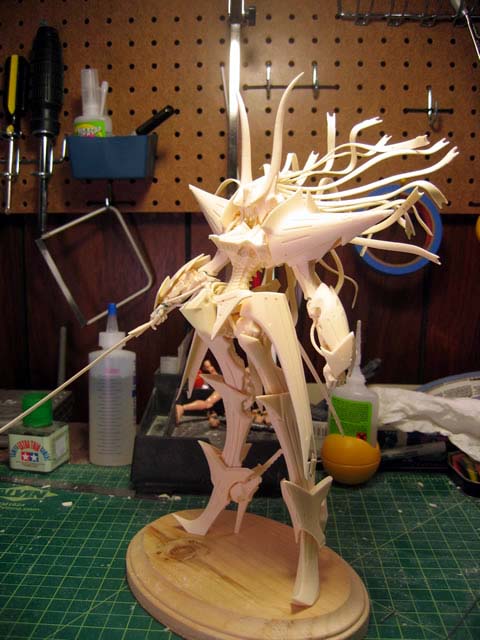
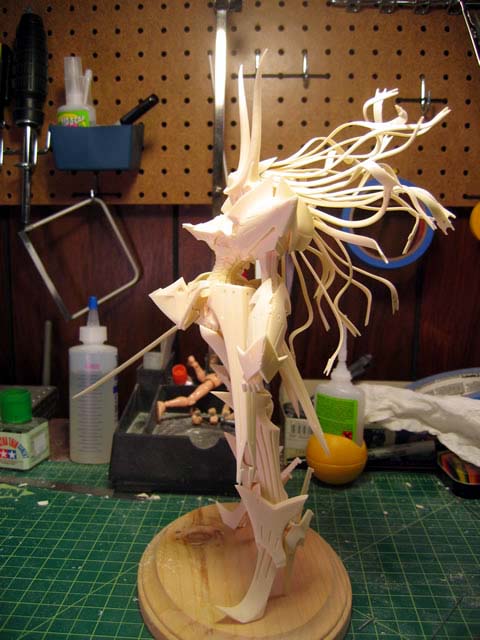
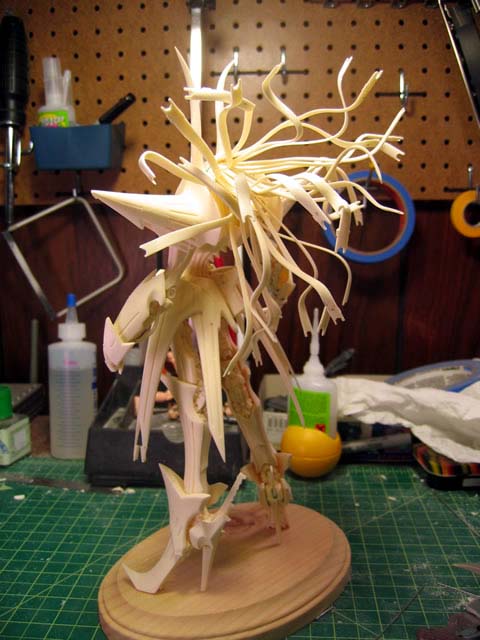
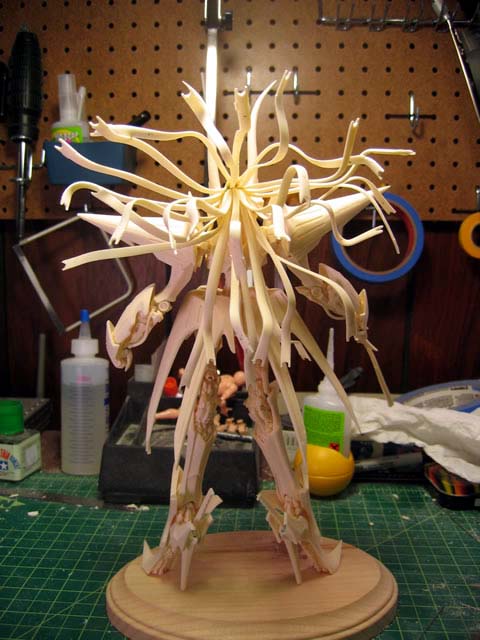
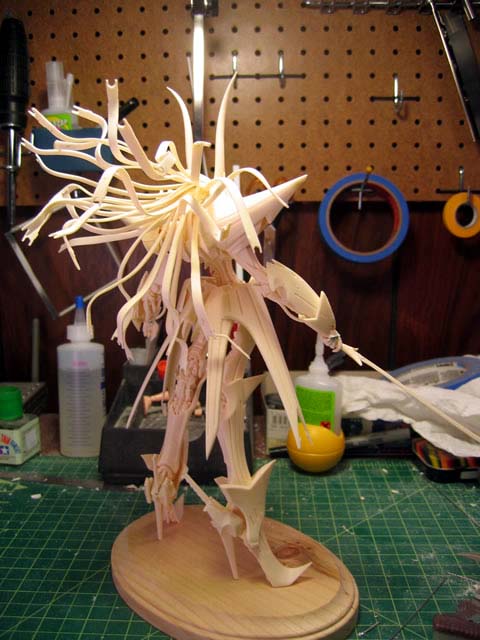
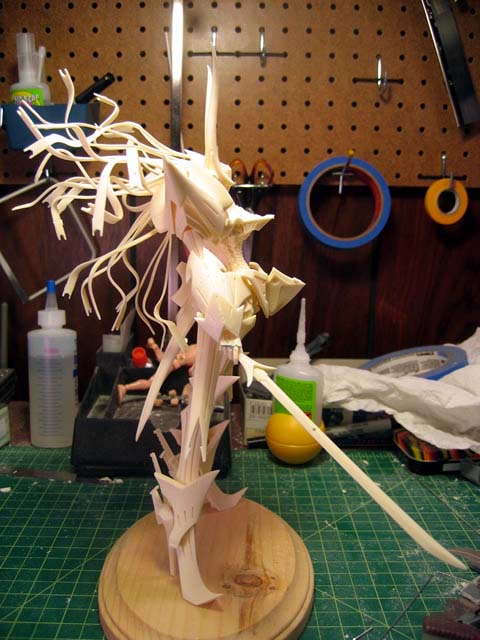
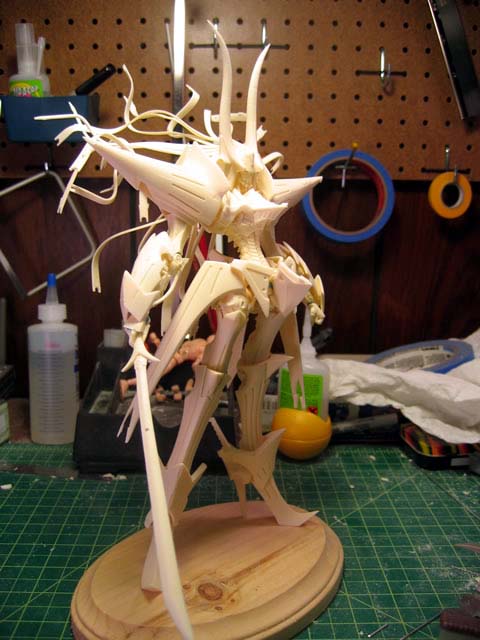
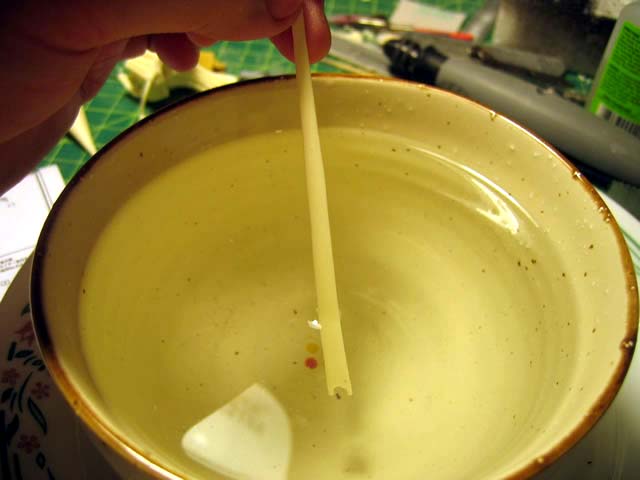
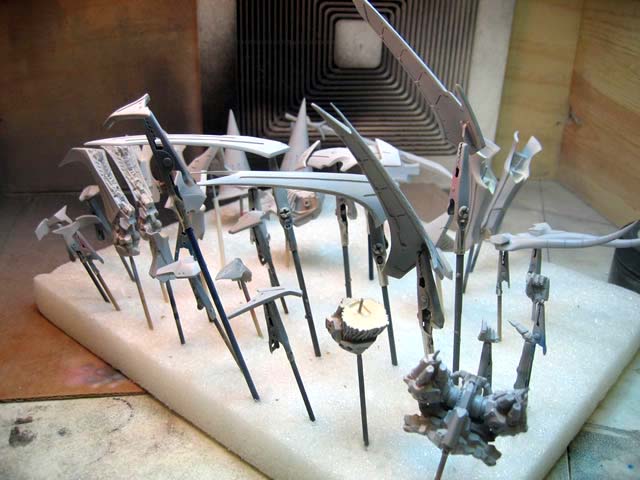
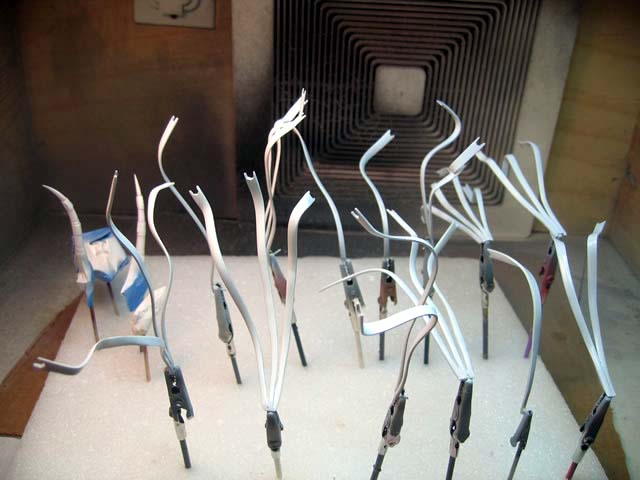
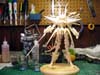
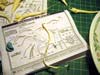
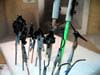
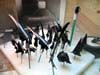
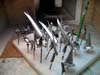
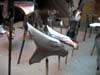
So far I have done all the work to get it pinned.
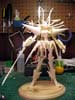
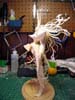
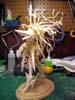
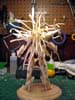
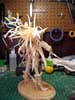

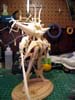
Minor clean up and sanding here and there. Some of the joint areas are
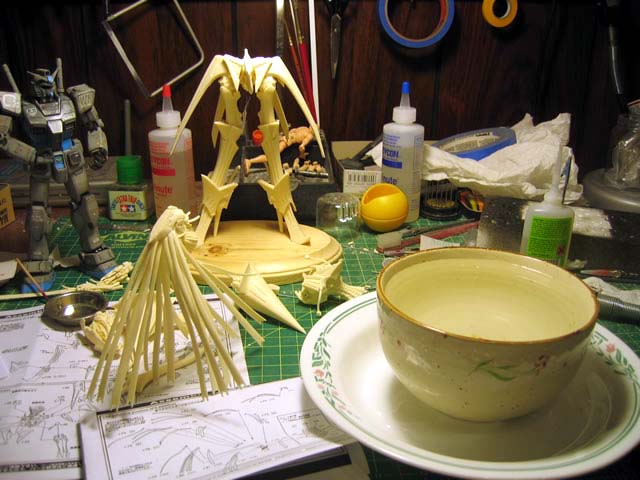
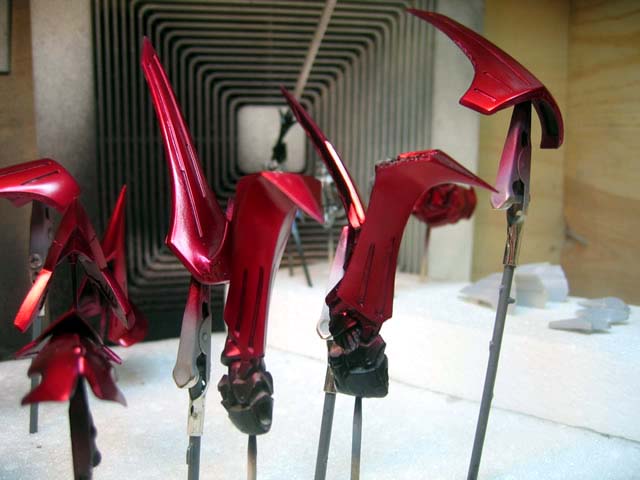
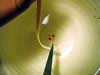
glued. All the "hair" is pinned and using a bowl of very hot
water, I reshaped the hair. Next up is the entire sanding process.
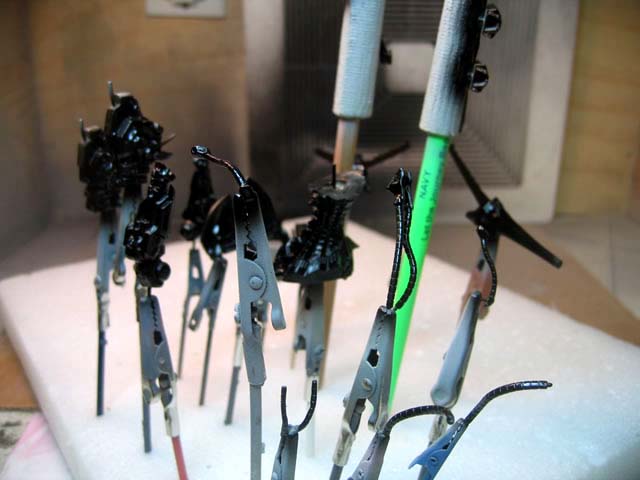
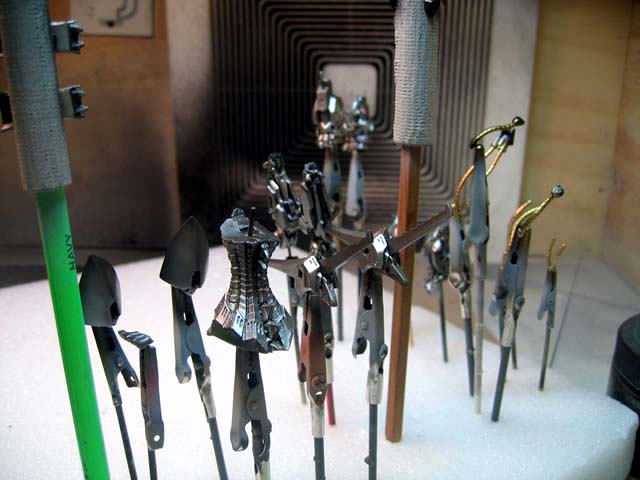
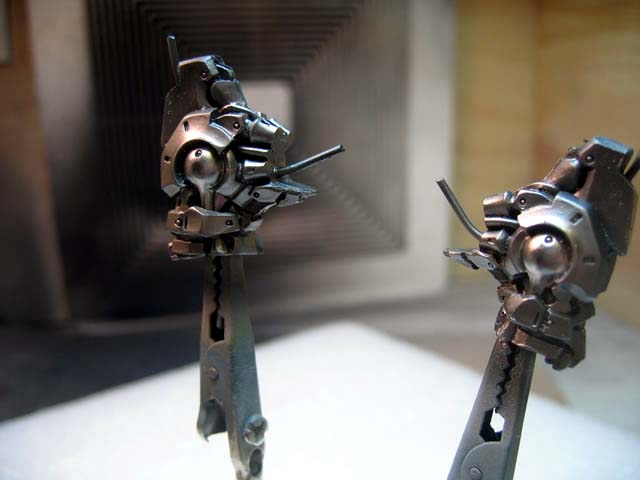
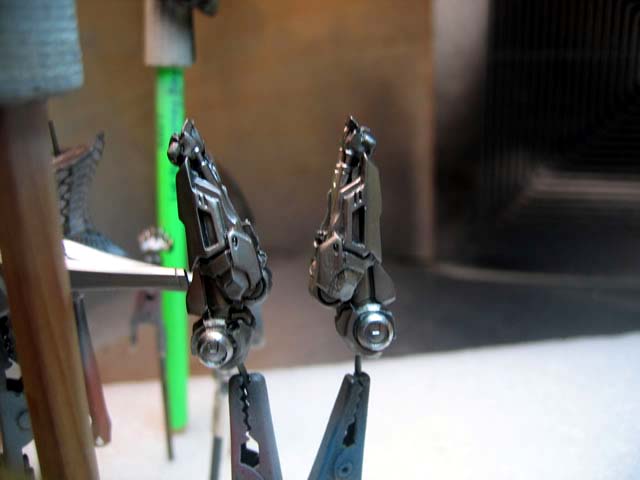
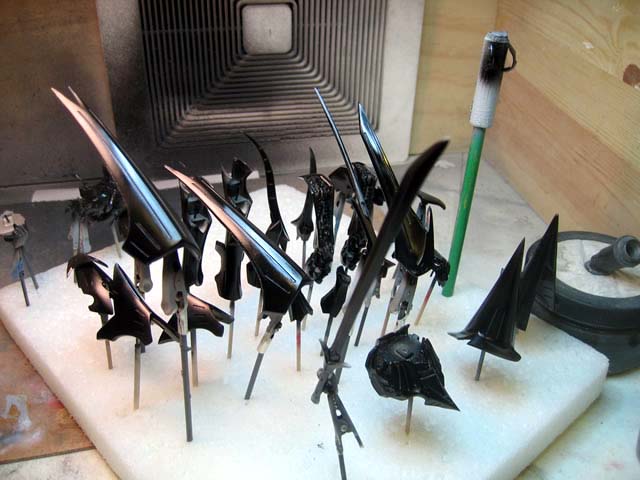
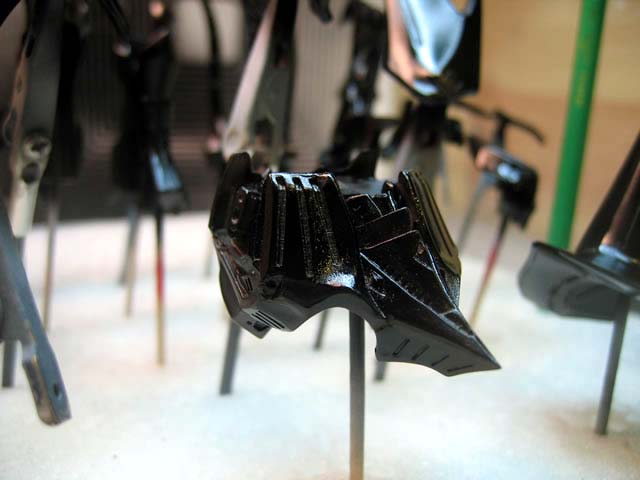
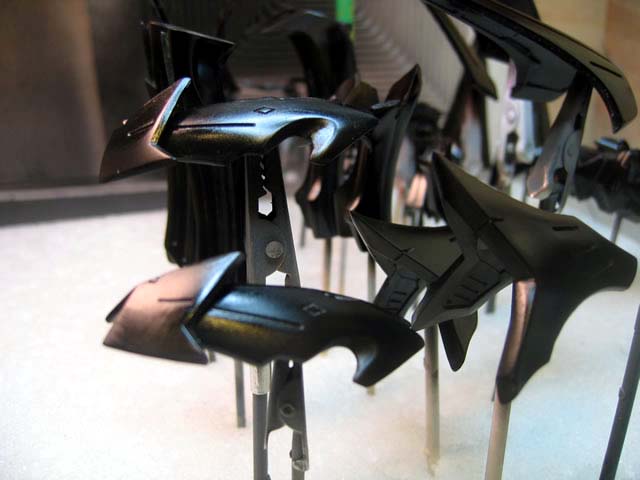
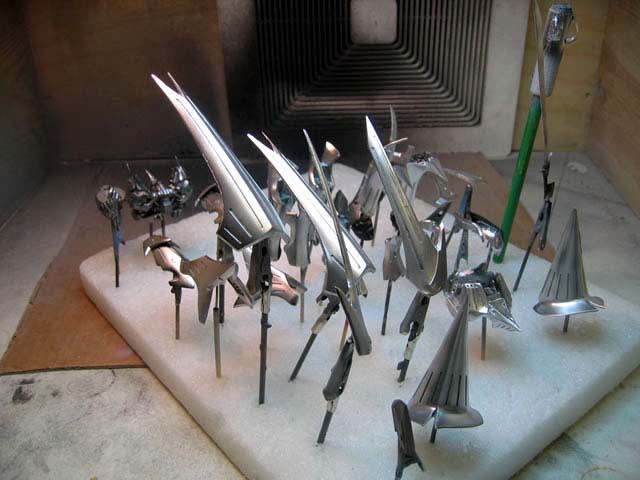
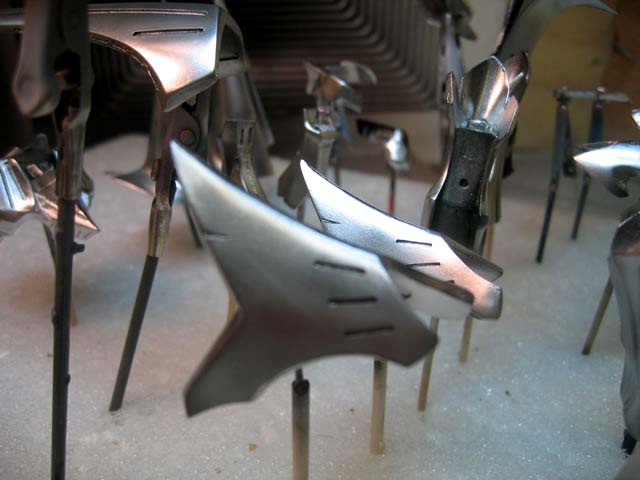
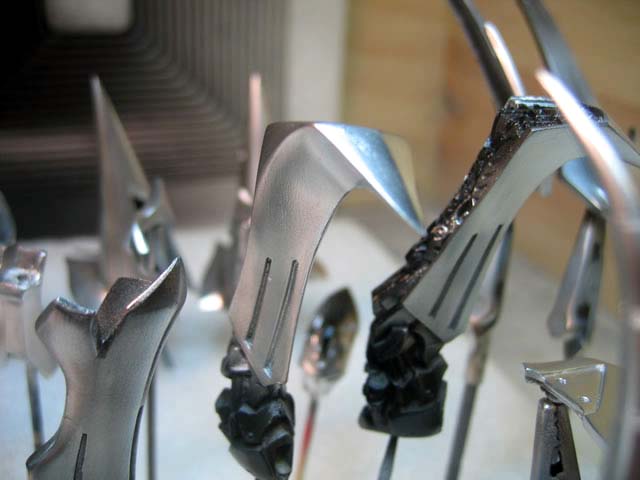
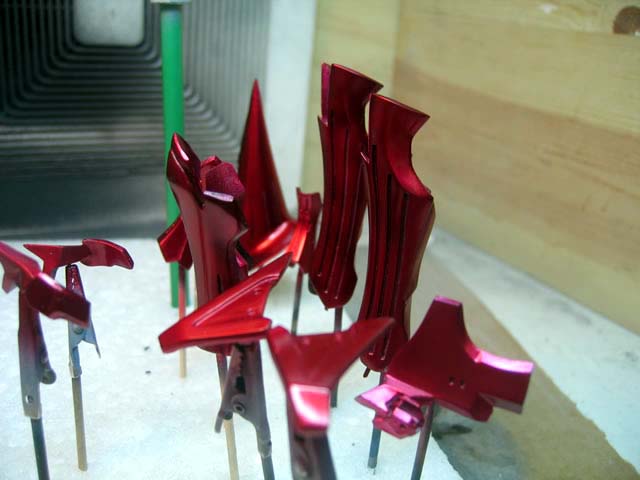
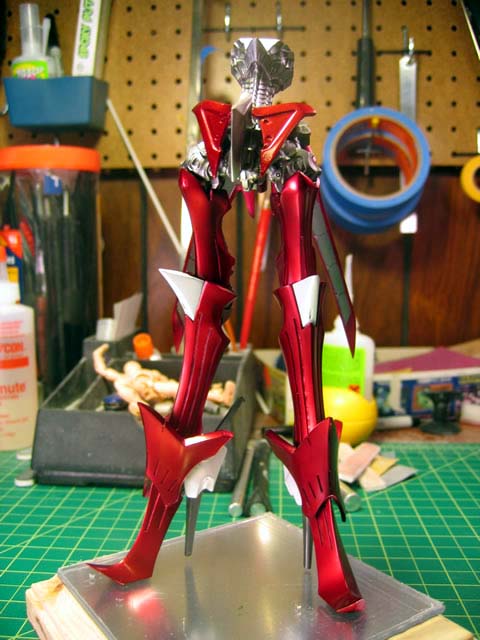
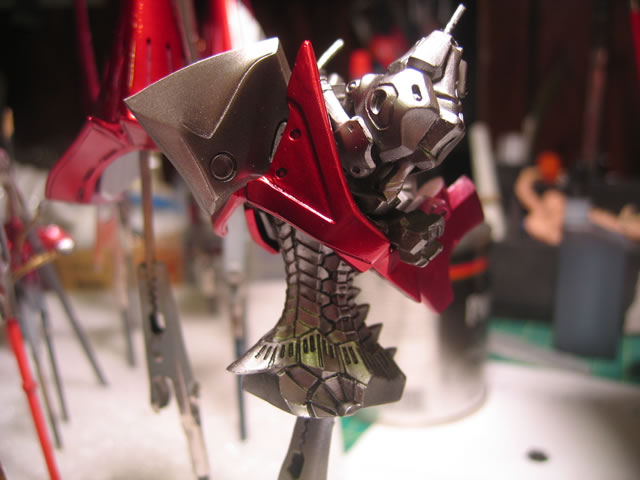
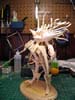
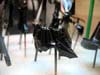
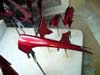
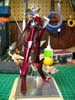
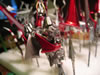
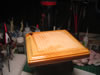
April 2, 2006: Weekend update. Sprayed on primer, sprayed
on base gloss black, and then proceeded to paint. For the internals I
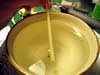
used Alclad II Steel and Stainless Steel. The connection hoses used Alclad
II Pale Gold.
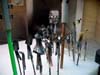
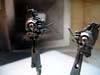
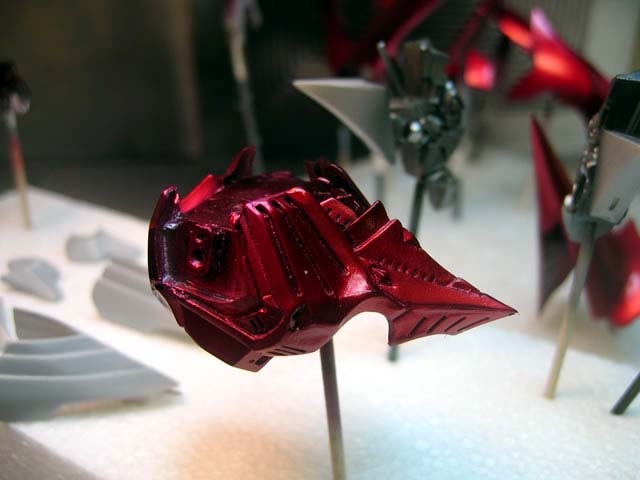
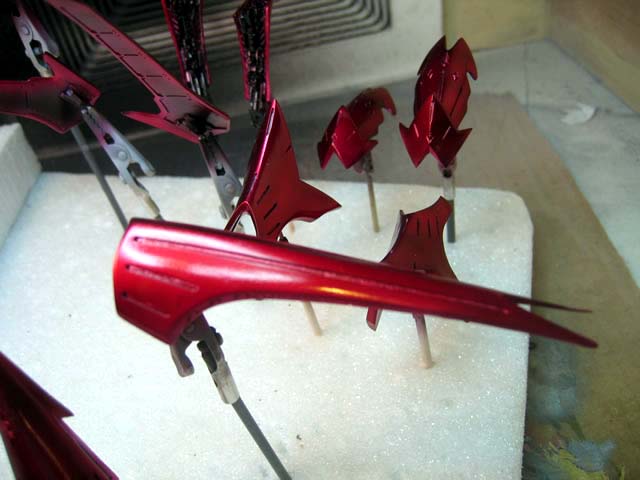
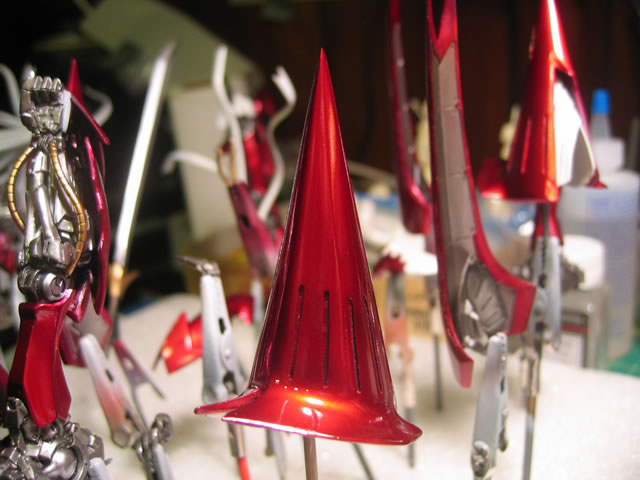
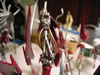
The main armor pieces used Alclad II Polished Aluminum ontop
of the base gloss black as the base for the clear red.

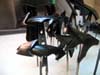


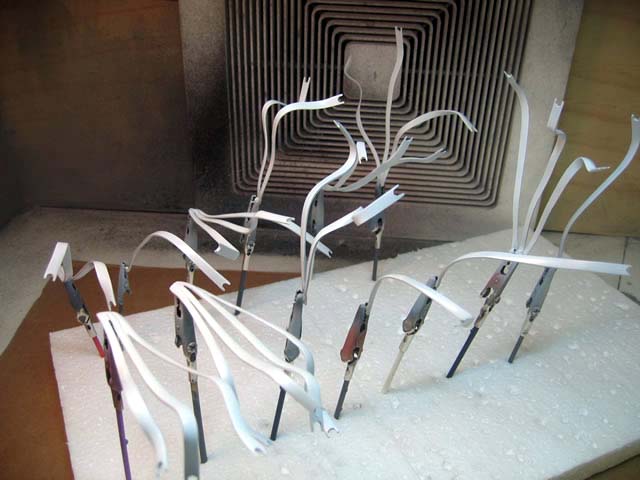
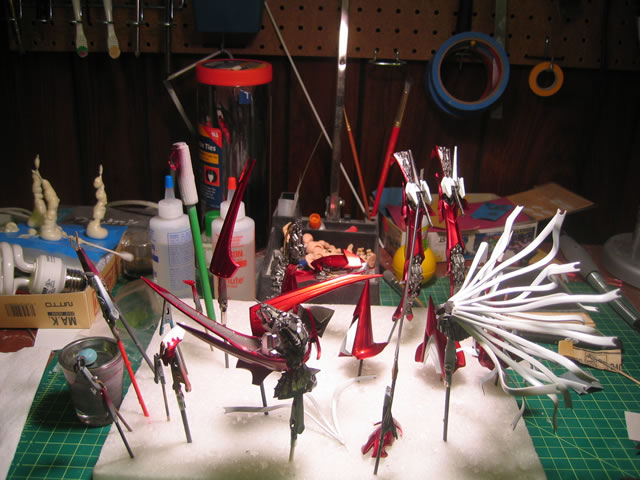
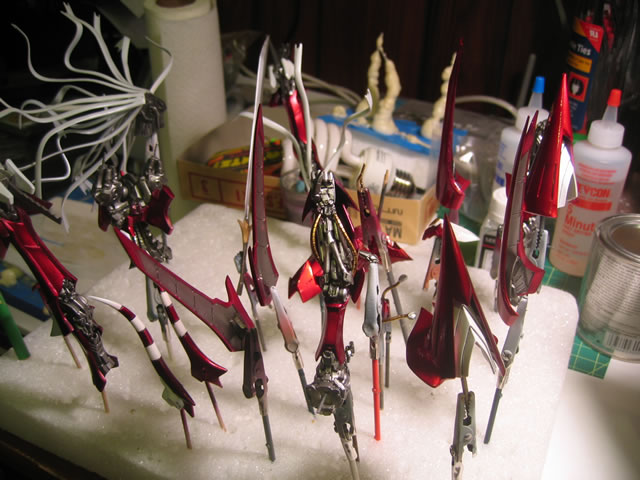
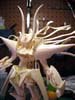
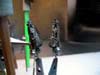
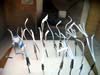
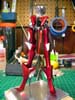
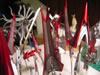
April 6, 2006: A little bit of an update. The white parts
have been painted. However a couple of mistakes is leading to repainting
of the horns and chest. Right now those three pieces have been stripped
of paint and are primed. I decided to use a pearl coat over the white.
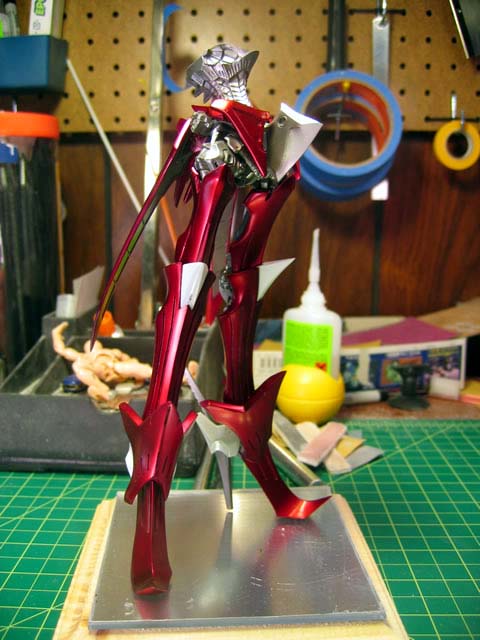
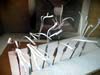
Most of the smaller parts were then glued for sub assemblies. Still have
the wash to complete and a couple of final coats of future to shine this
guy up.
April 10, 2006:


Update Information:
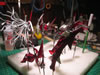
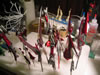
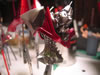
April 10, 2006: These are the final progress pictures. Just
the finished painting, panel line wash, clear coating and base. Click
here for the completed page.