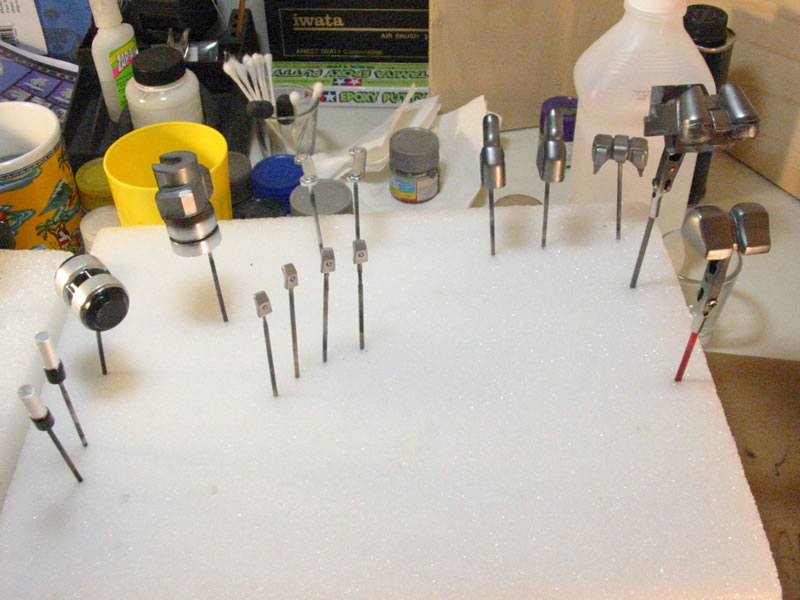
The following pictures are of my new spray booth. I actually bought the materials and built the booth several months ago, but it was never completed until today (5/9/2004). Completing included cutting out the hole for the ventilator and switch assembly, and attaching everything together. All in all, about an hour's worth of work finished the booth. It's fairly simple and works, since right after, I started airbrushing (see pictures above). The thing works like a charm. I should have built one of these things years ago. Replaced the spray booth pictures with this link to the Spray Booth Build Page Another update - 5/10/2004 Did some chrome painting and another base layer for the main parts. After the gray, I will be putting on the final color. I also have some other masking and painting for the internals. Fun times.
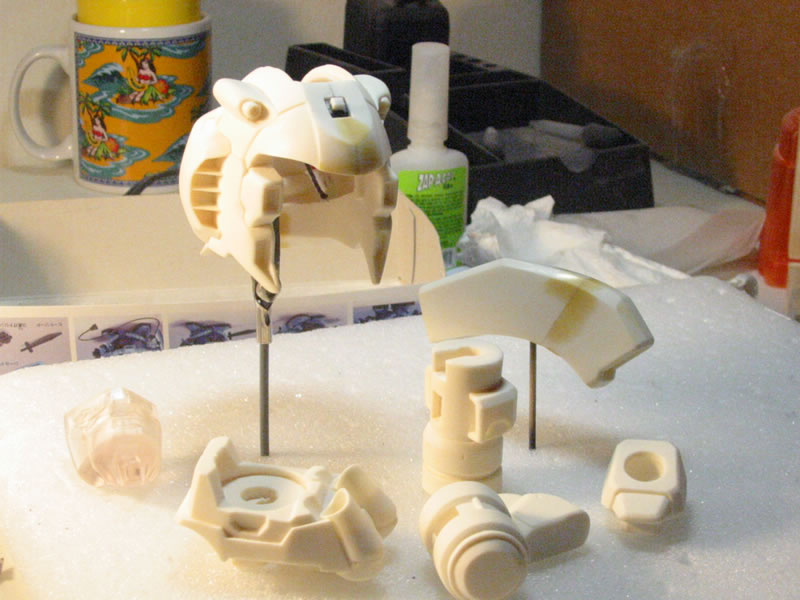
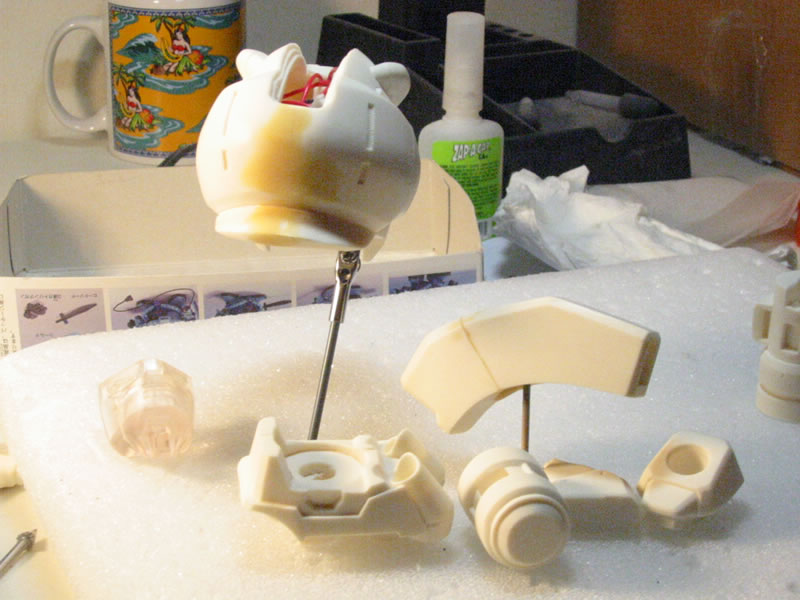
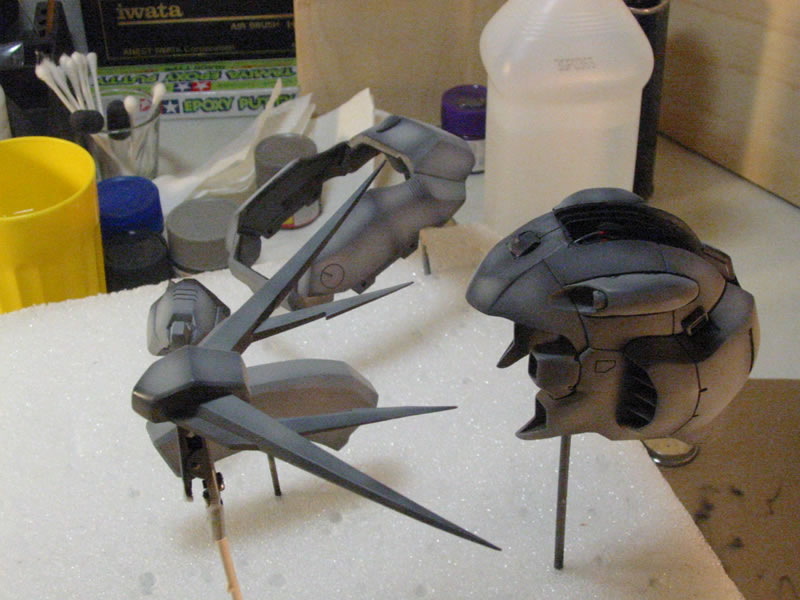
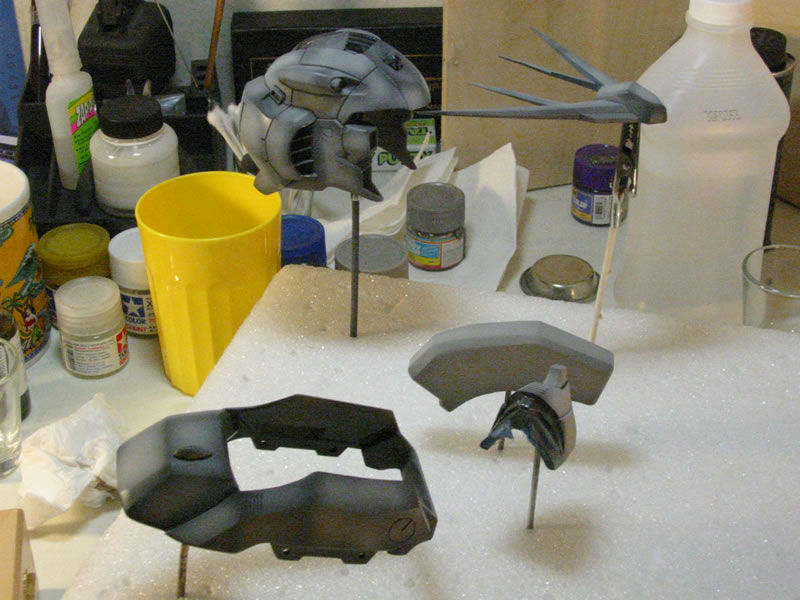
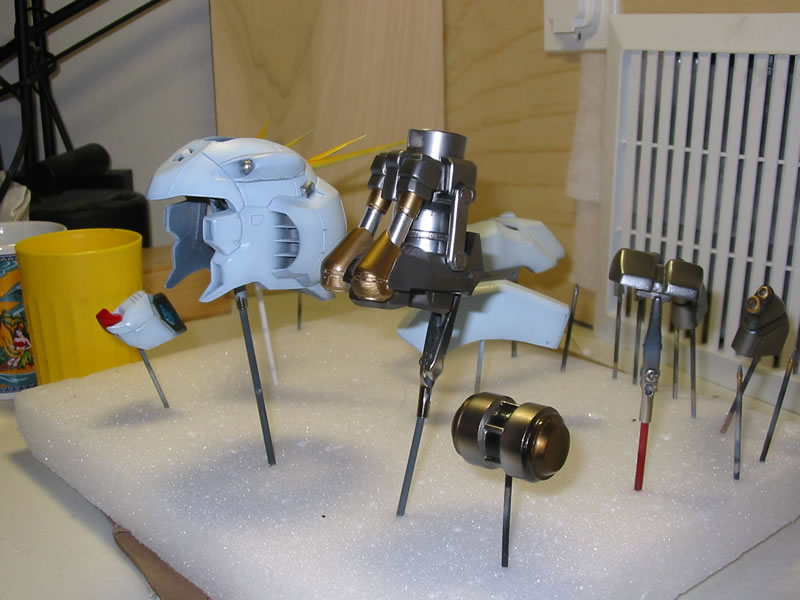
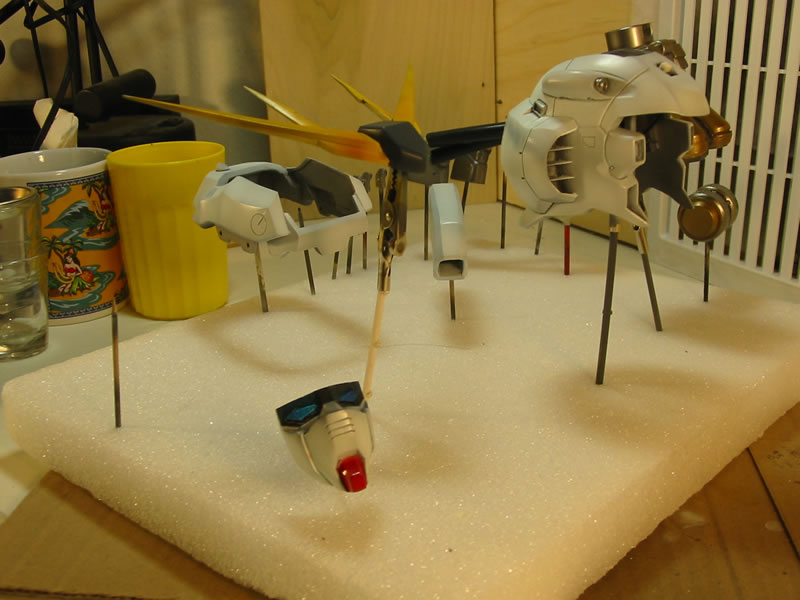
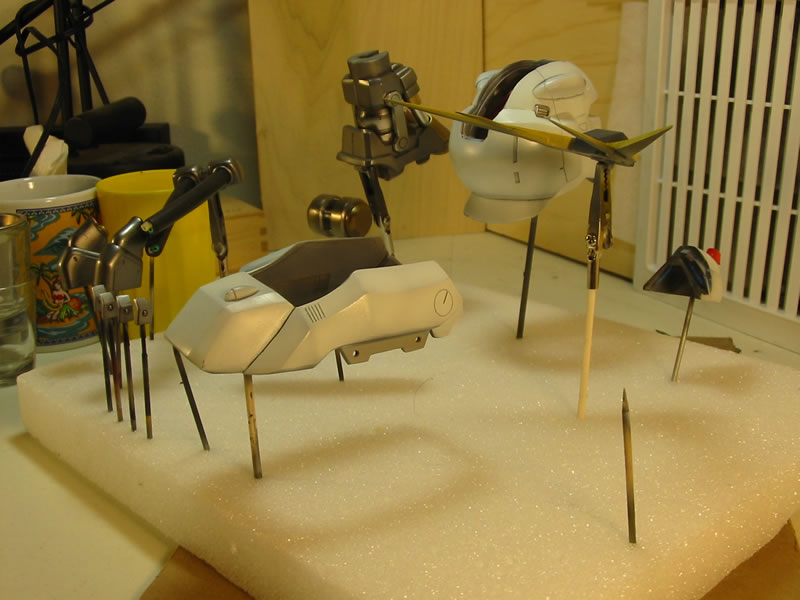
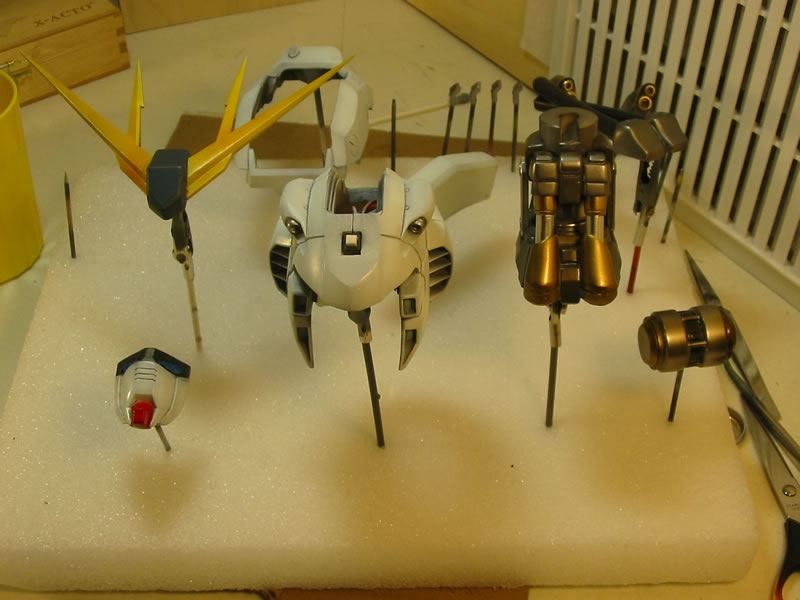
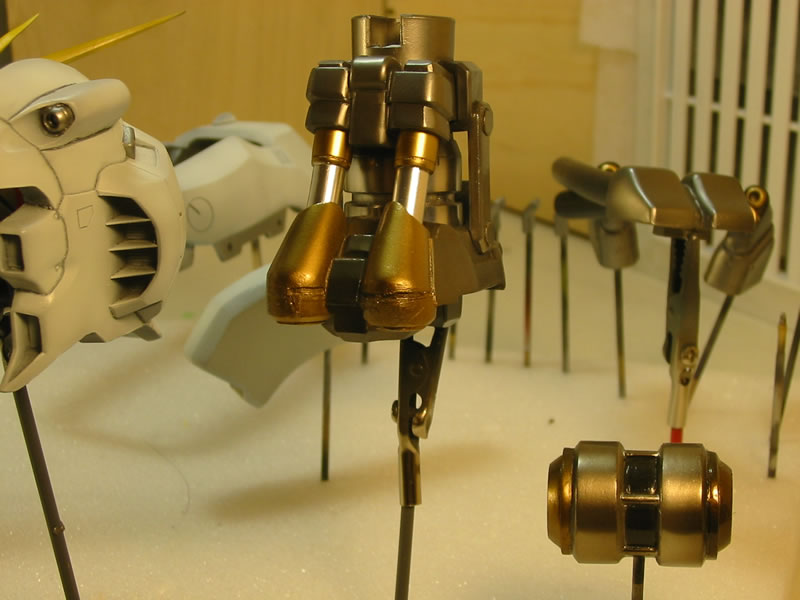
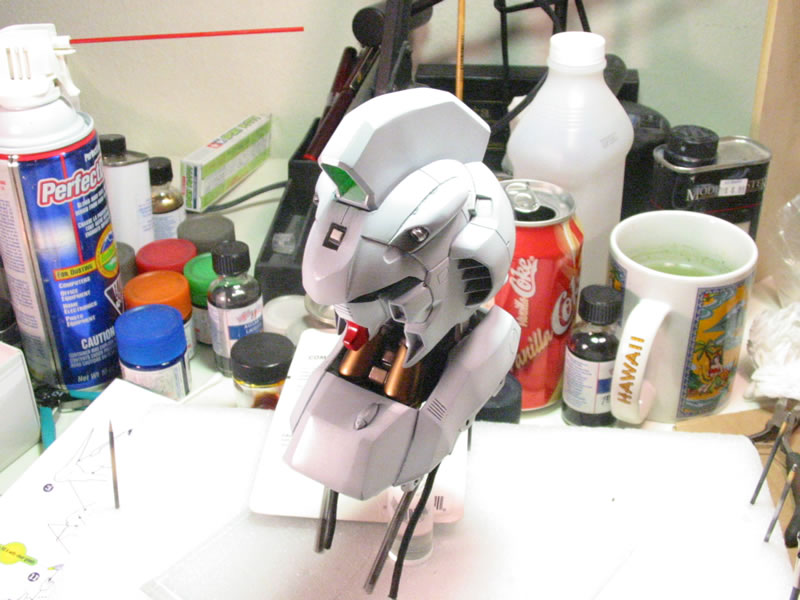
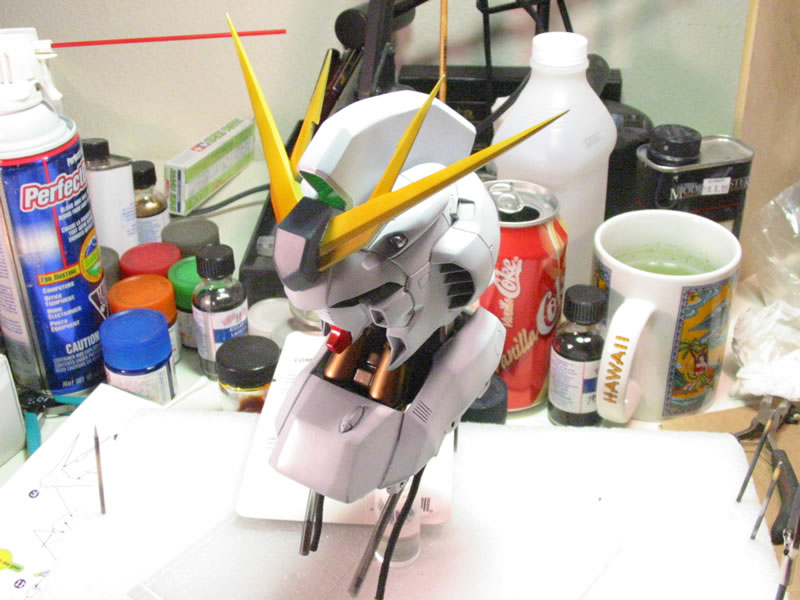
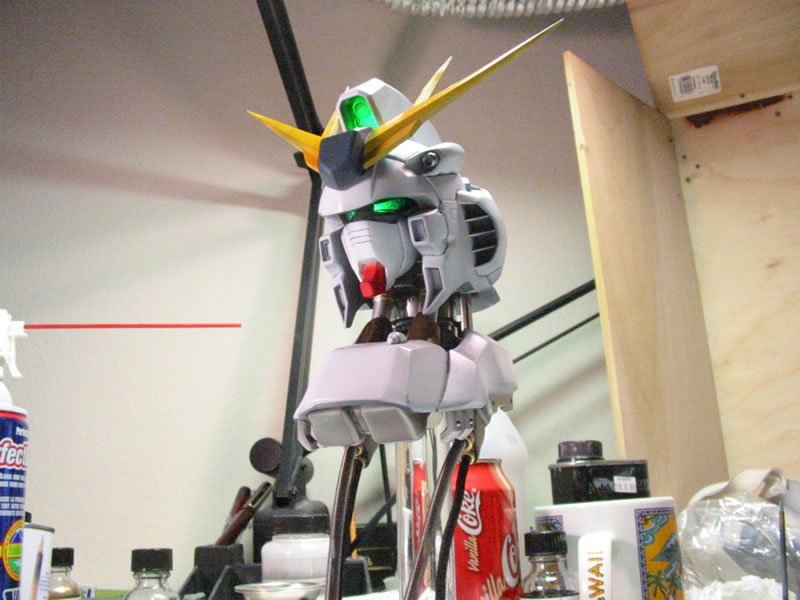
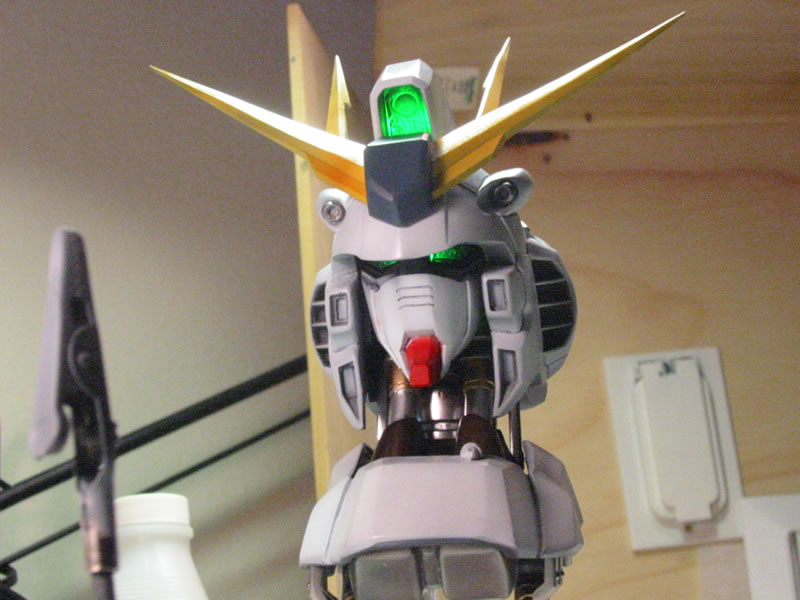
Update - 5/17/2004 Painted the all the exterior pieces with a mixture of gloss white and a small amount of clear blue for a very slight blue tint. I tried not to over shade, but I'm still debating on if I want to weather this piece or not. Other parts were painted with clears over the white, and the center of the V fin was painted in Navy blue, with an attempt to have the white undercoat act like a highlight. The V fin itself is painted in a mixture of clear yellow with a small amount of clear orange. The chin is painted in clear red. The following pictures are with and without flash for comparison sake. As you can see, at this point, I am far from done. I just want to allow more time for the touch up layers of paint to completely cure before I start moving on to building and applying future (not necessarily in that order)
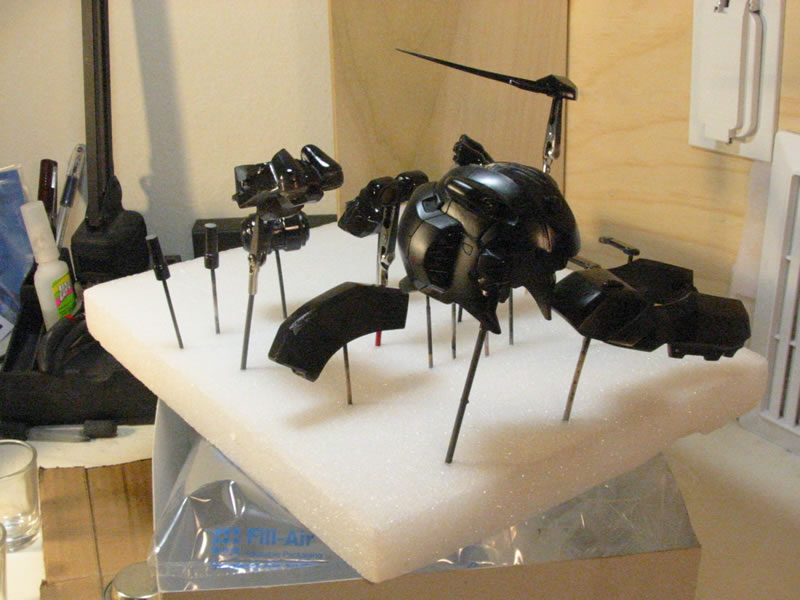
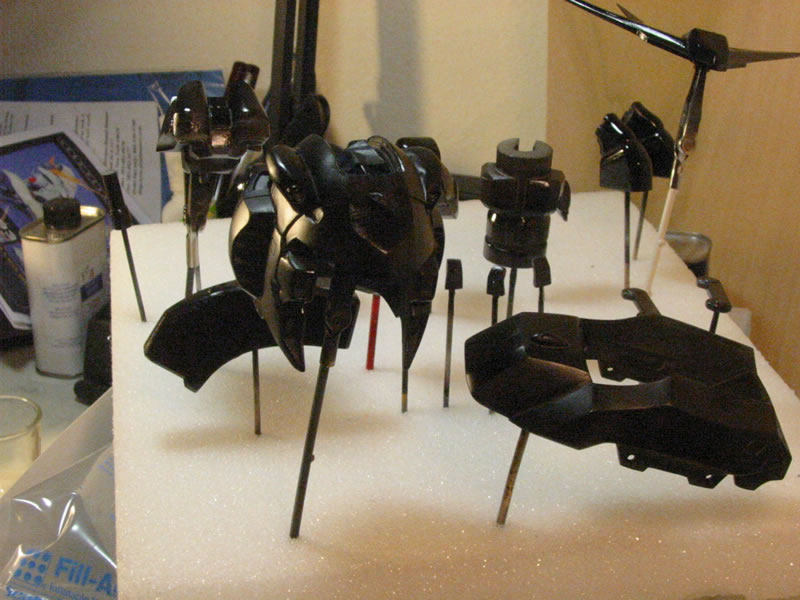
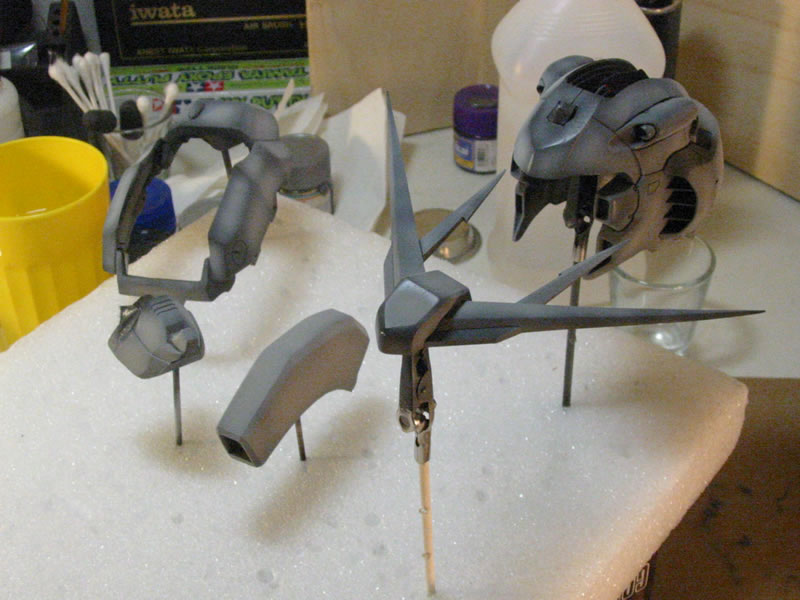
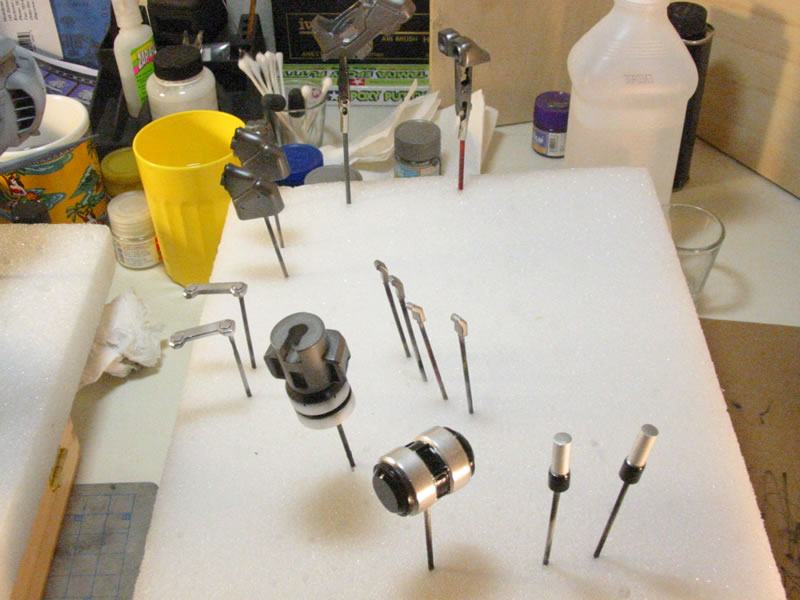
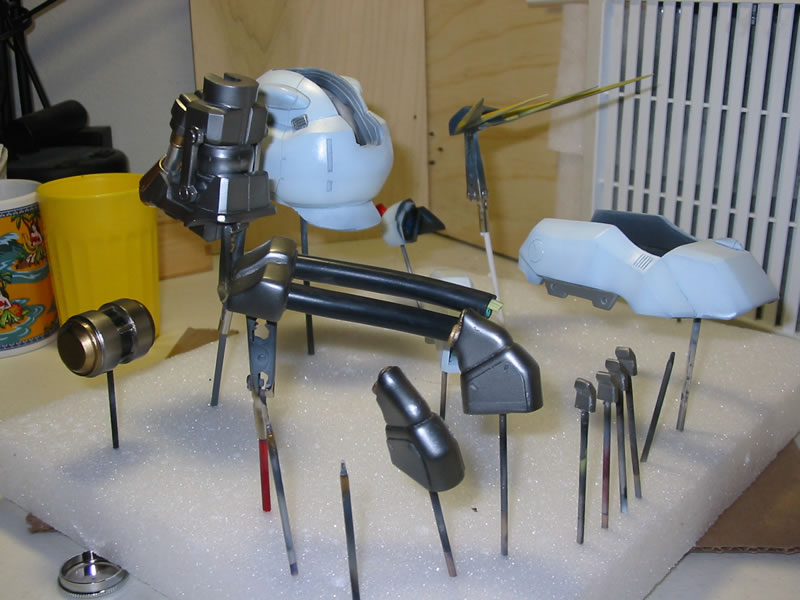
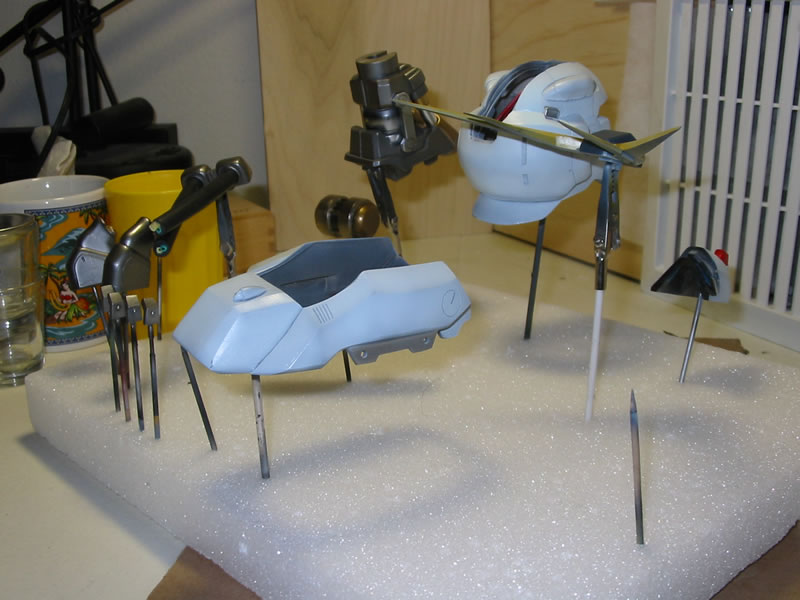
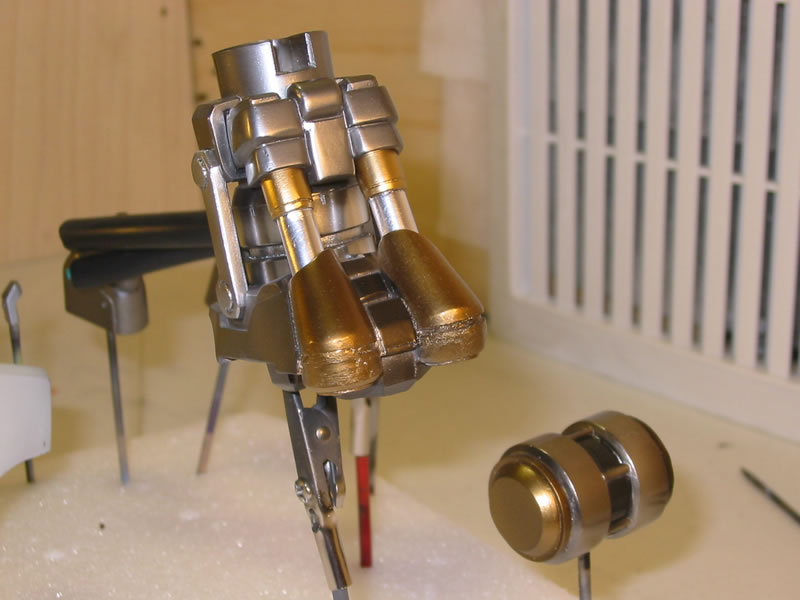
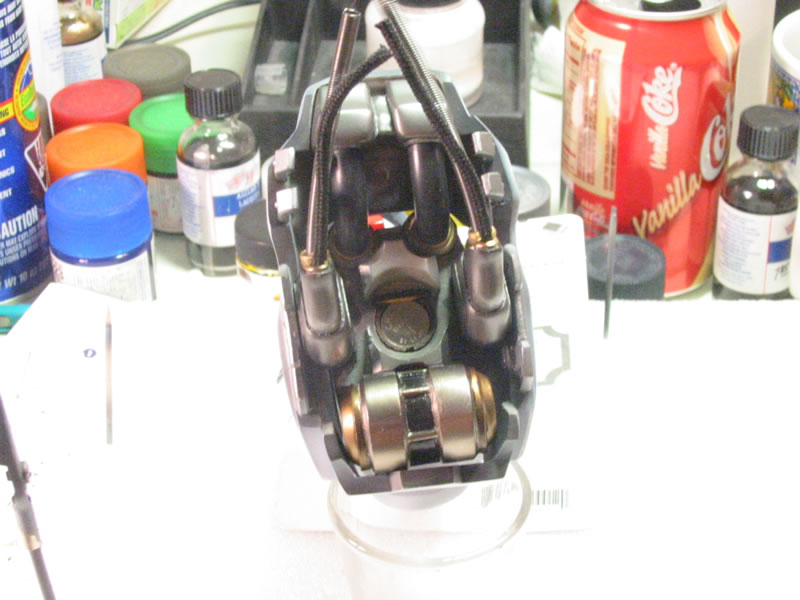
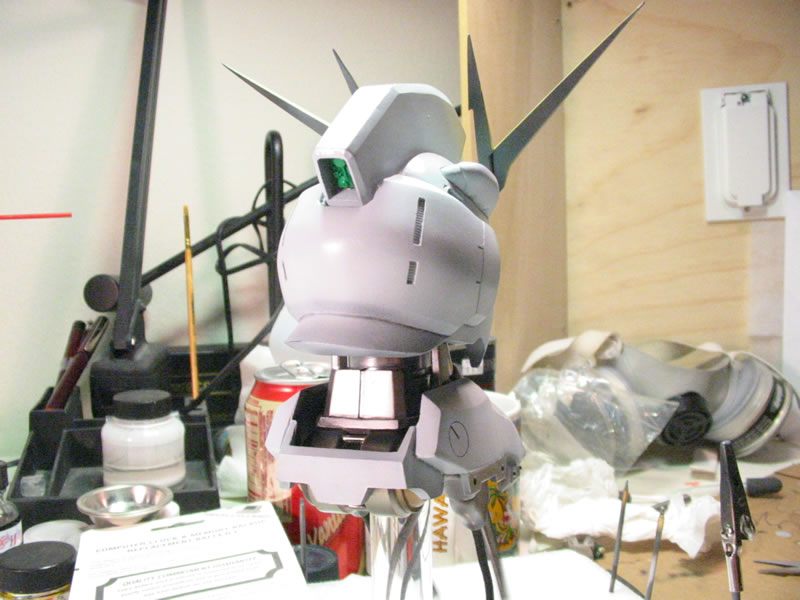
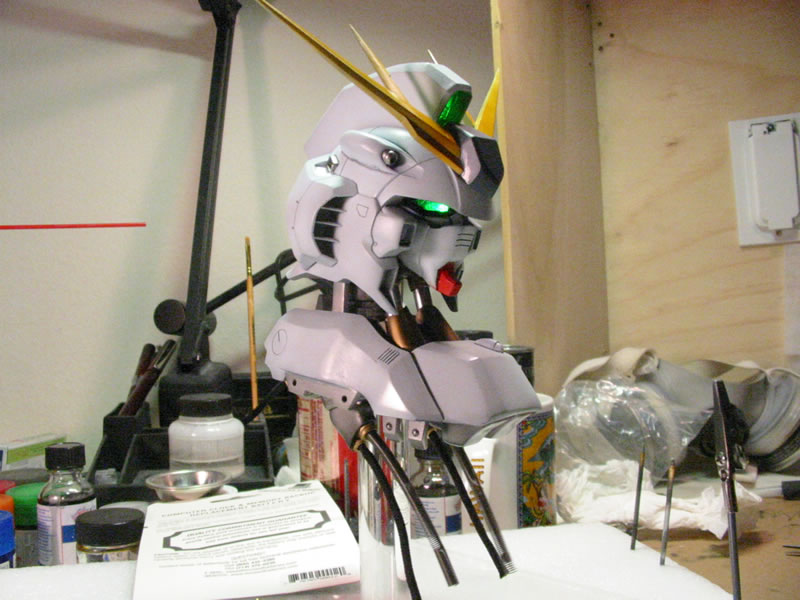
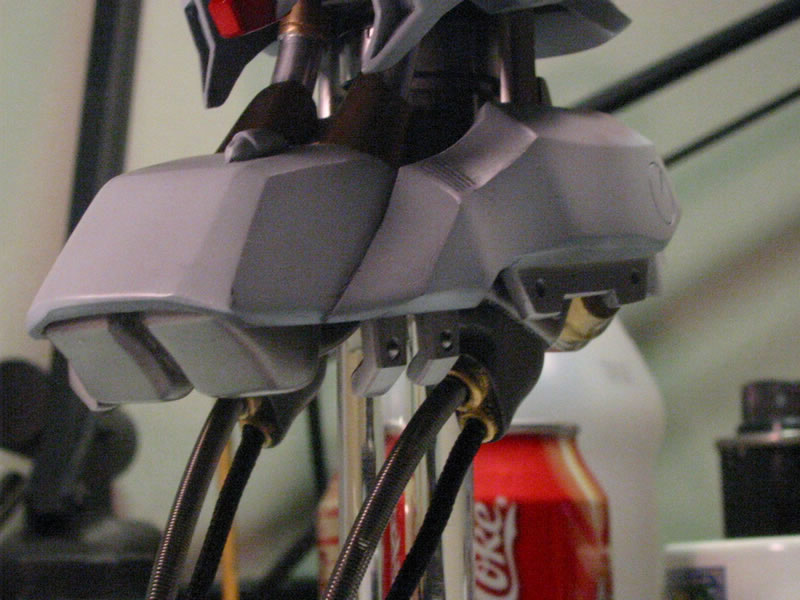
Another update: 5/21/2004 It's cure enough for me to start slapping the thing together. I connected the wires from the battery section to the lights/switch combo using the smallest wire connectors I could find. These things are nice, thread the exposed wires through to the metal center and then clamp down using some pliers and you have a solid connection. I can't imagine someone soldering these wires together. You cannot do the wiring before you build anything, it has to be done while building. Well the most straight forward method is this, I supposed one could cut out holes only to putty it back later just to avoid wiring while the entire kit is painted, but that would be more work that it is worth. If this does not make any sense to you, well, I guess you really need to build one of these things to fully appreciate this. After the wiring, I started to glue things here and there, and then just ended up with the pictures below. Granted, I still have a ton of work to do, like weathering, overcoats, and the decal (not necessarily in that order), but it's actually starting to look like something now. Ok enjoy the pictures Hopefully I'll have some more free time to complete this.
|
I sorta finished this, but not too happy with the final results so I didn't both taking final pictures.