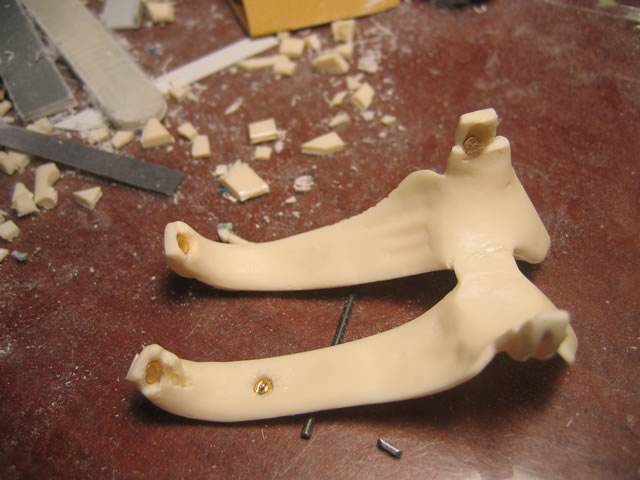
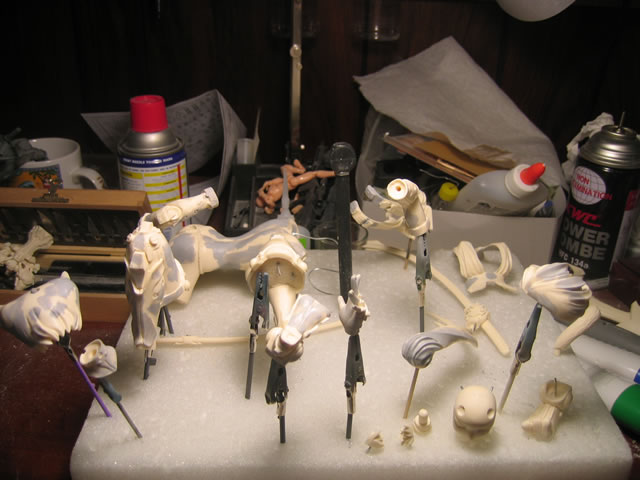
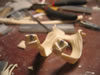
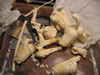
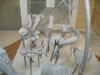
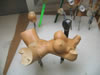
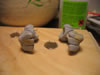
January 25, 2006: While pieces of my SD Kampfer
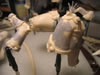
cure so that I can continue to mask, I started pinning the lynx girl.
She's been soaking in purple industrial cleaner since before I moved.
I finally got around to scrubbing her with soap and water. Tonight I got
the pinning down and will get to sanding when I'm not working on the Kampfer.

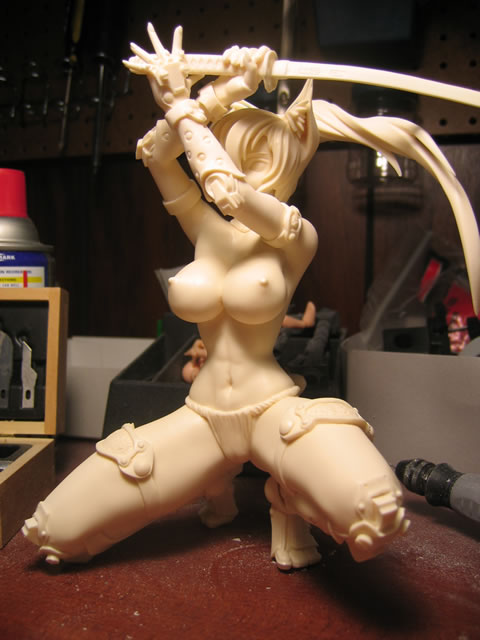
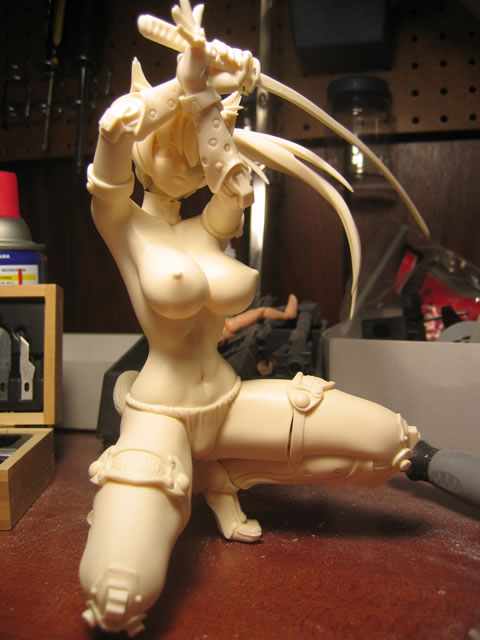
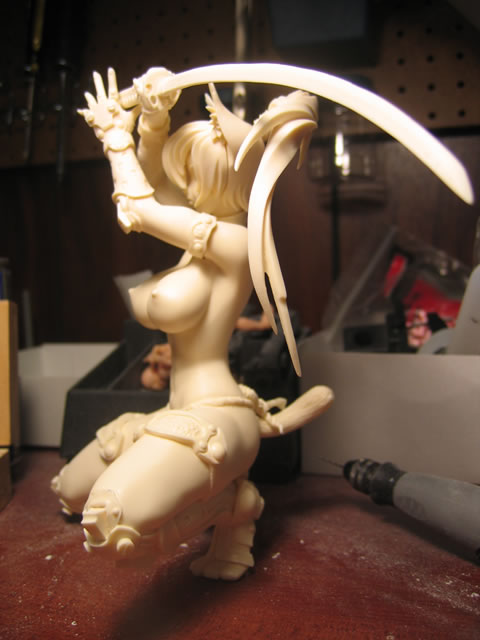
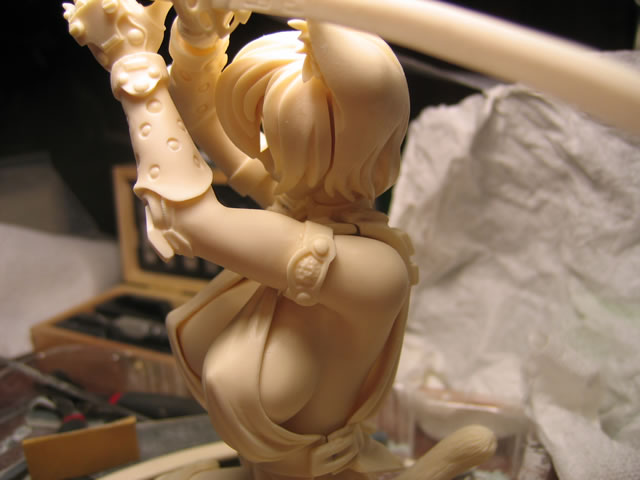
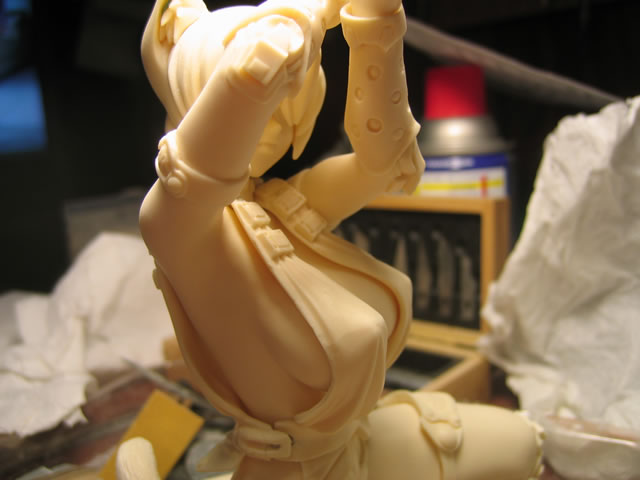
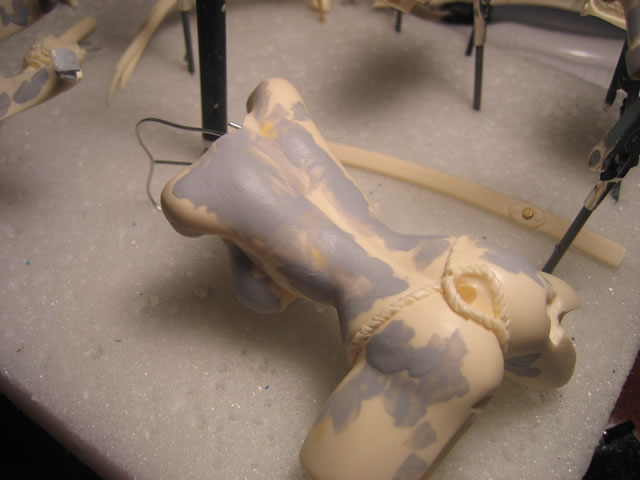
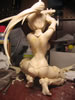
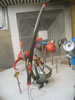
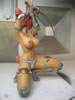
January 30, 2006: Ok, SD Kampfer is done, back to work on
this little hottie. Yesterday evening I started work on the sanding. I've
gotten most of the seams sanded down for the main parts of the body. Only
the clothing, sword sheath, and the top of the head are left for sanding.
Following this I will be brushing on some Mr Surfacer 500 to fill in pinholes
and level things out. There are some bigger holes that I will be filling
with some epoxy putty.
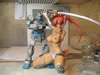
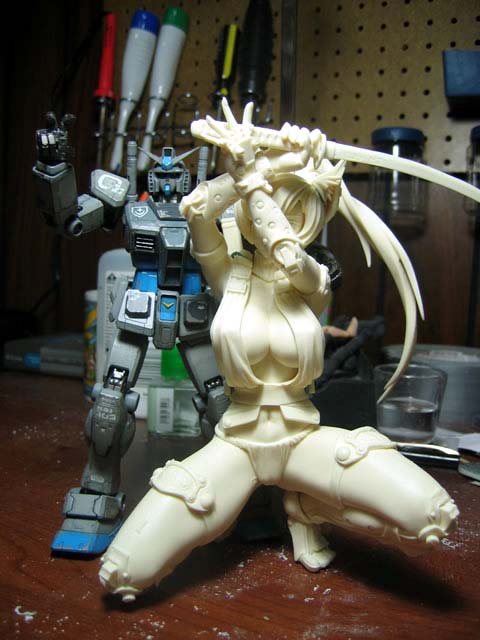
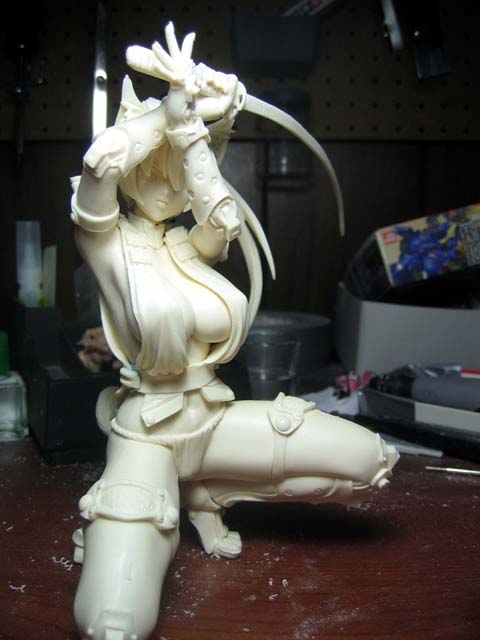
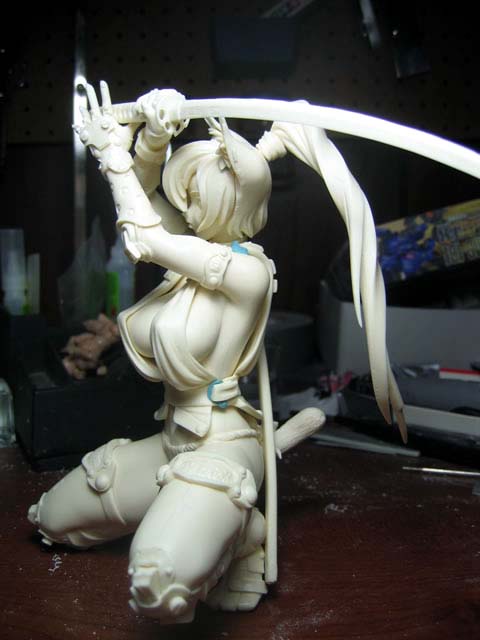
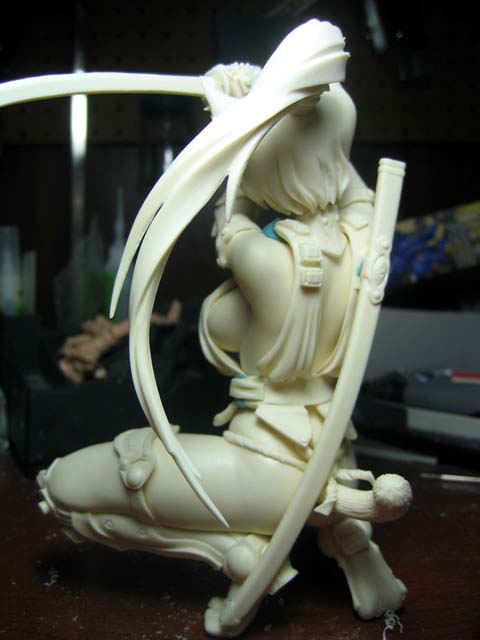
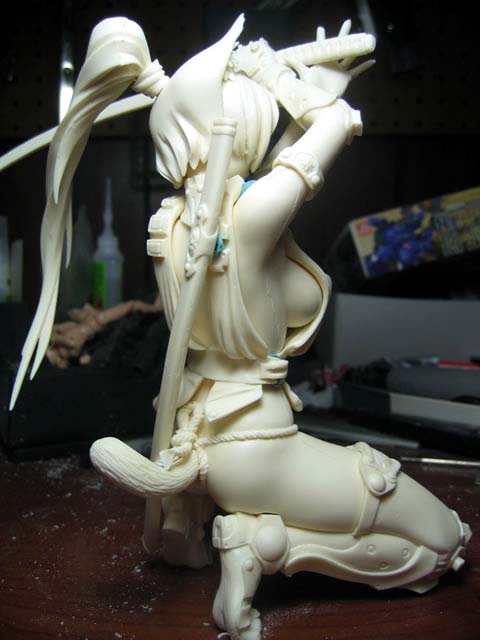
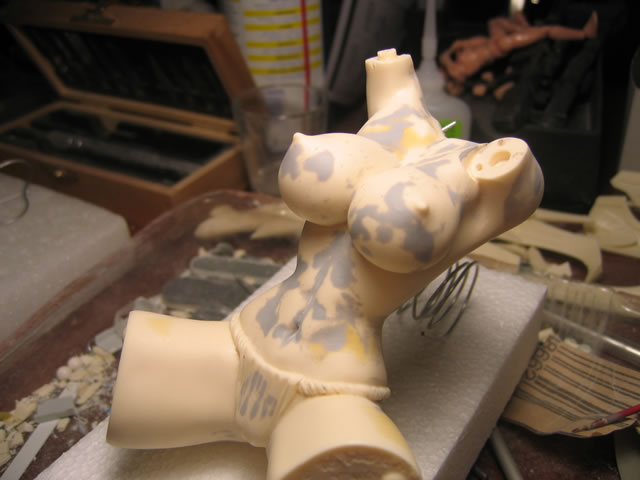
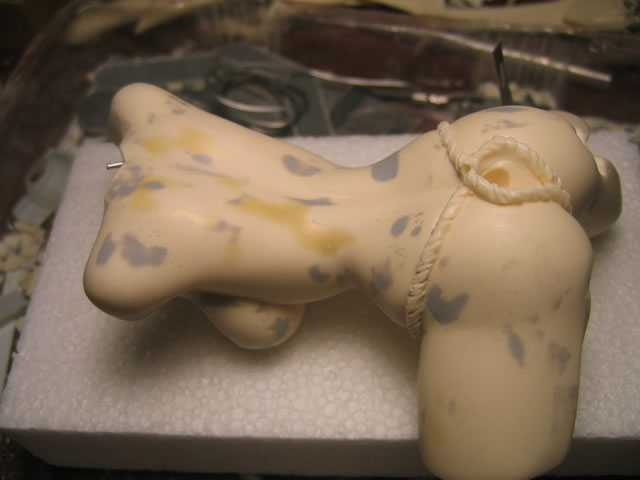
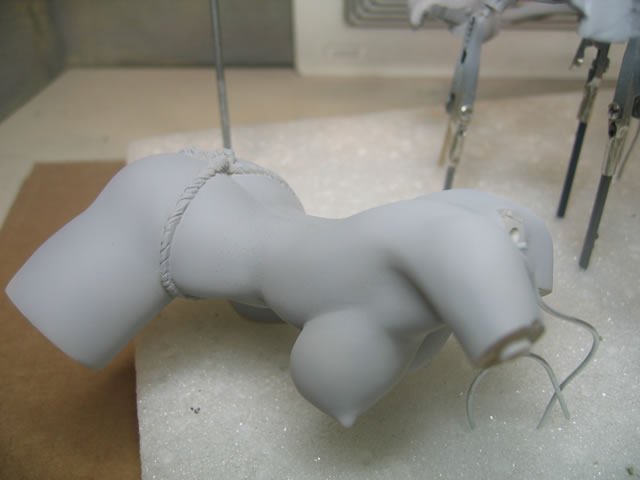
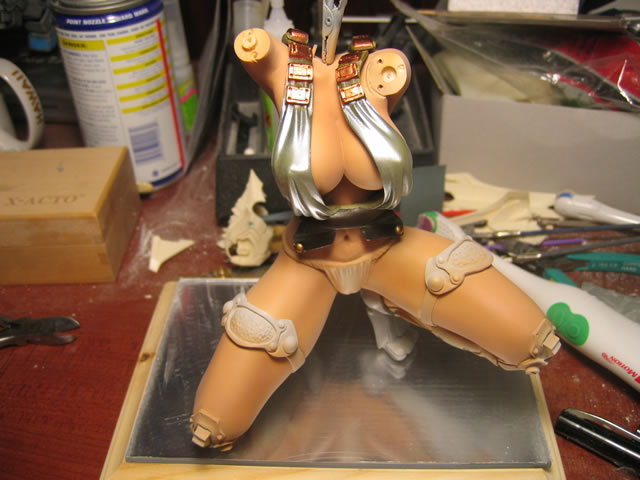
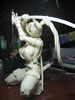
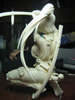
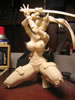
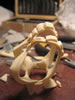
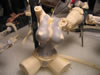
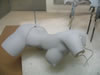
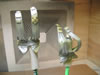
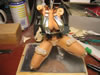
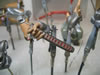
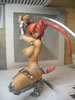
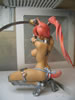
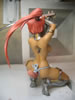
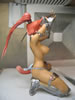
I'm waiting on some magnets to arrive. I ordered some of
the smallest sized magnets I could find and this will be the main mechanism
for creating the removable clothing as well as the attachment method for
the sword sheath. Here's what she looks like so far:
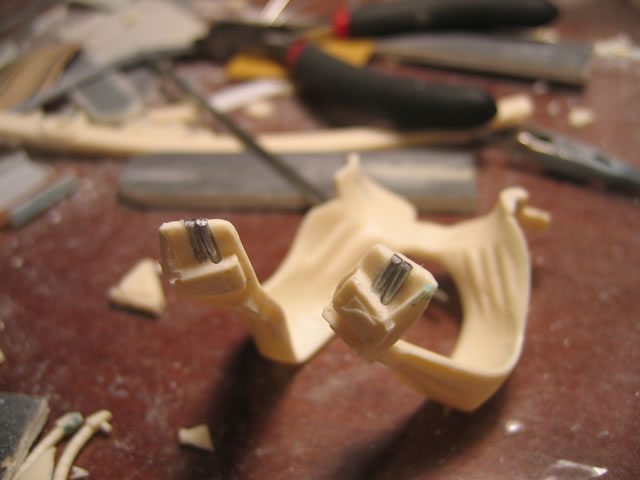
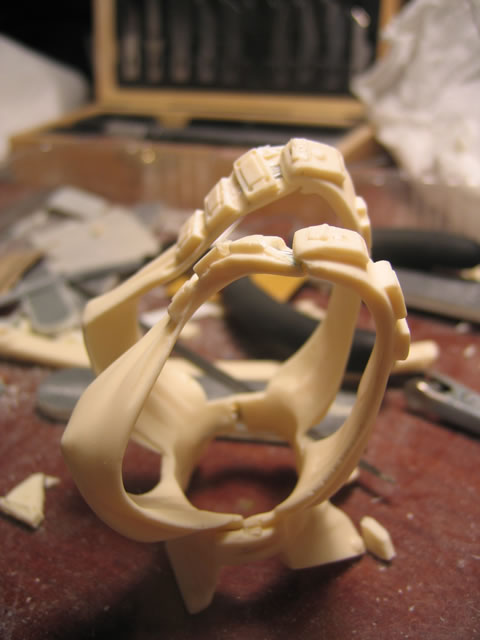
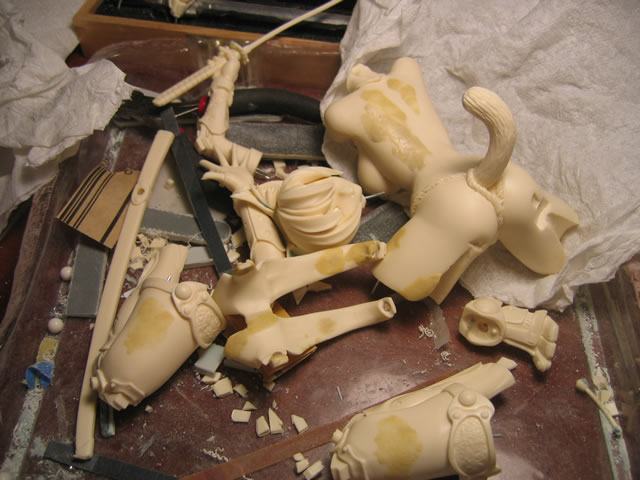
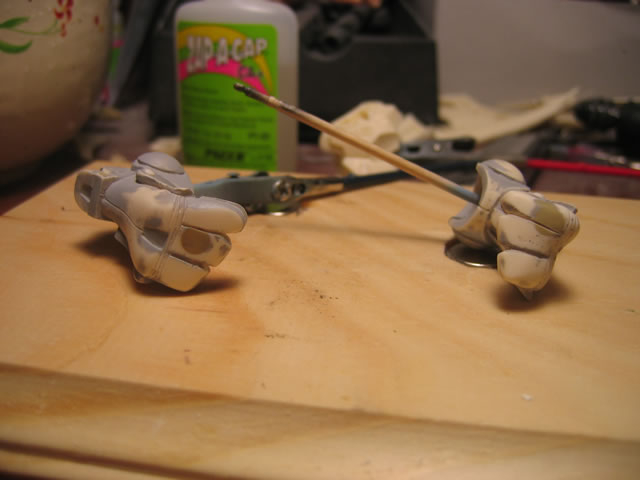
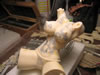
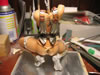
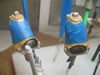
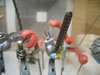
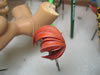
February 1, 2006: Magnets came in today. I drilled a few
holes and placed the magnets into areas where they fit. Some of the contact
areas were too thin for a corresponding magnet so I used some metal wiring.
After this was done, I went and epoxy puttied the holes I made as well
as some of the pin holes. Tomorrow I'll start up another sanding session.

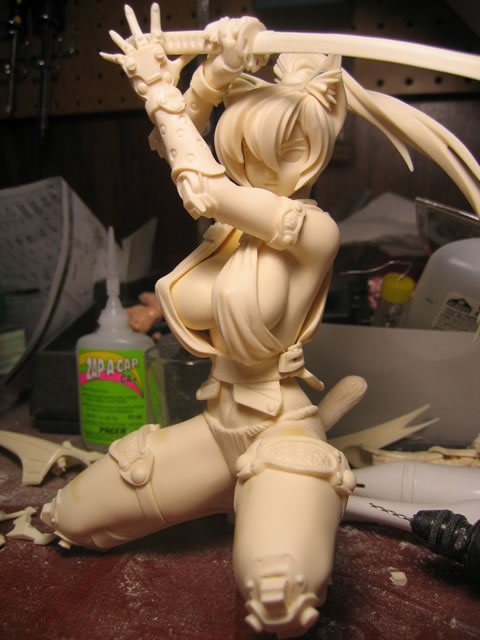
February 3/4 2006: Ok a few updates. The first set is the
sanding down from the epoxy putty. This was followed by hand brushing
Mr Surfacer 500 on to areas where there were pinholes and such. This was
done yesterday.


Today I finished fine sanding all the parts. Took a little longer than
usual because I was watching tv. Judge Dredd is a REALLY awful movie.
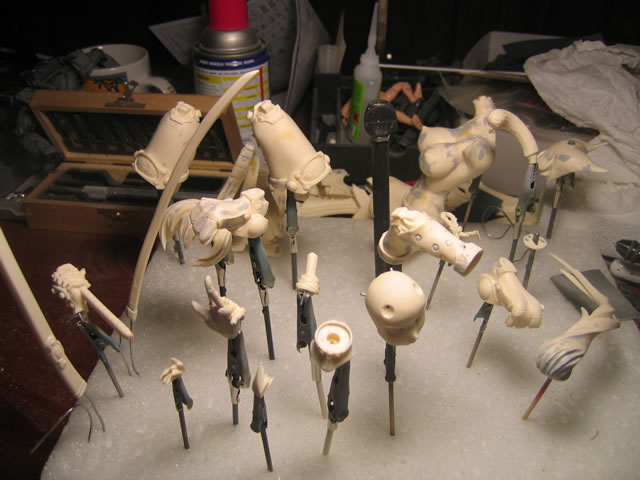
At about 4:00 AM February 4th, I started spraying on the primer - Mr Surfacer
1200. Later on when I wake up and finish my errands for the day, I will
wet sand and get down to the fun part of building kits... painting.


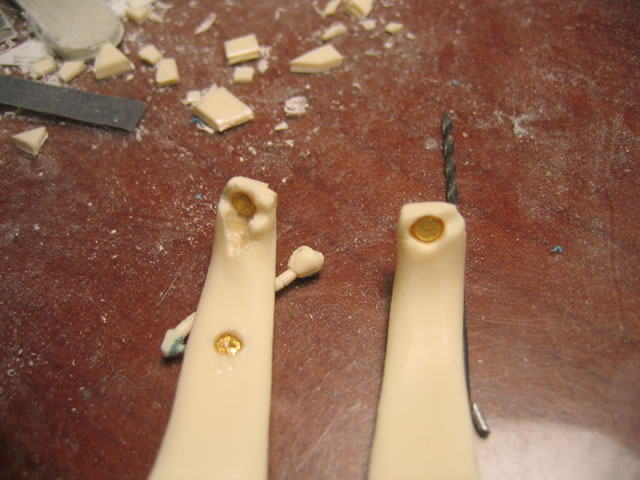
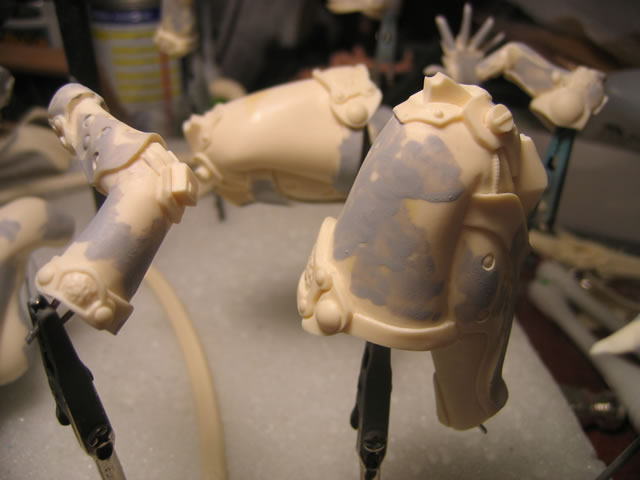
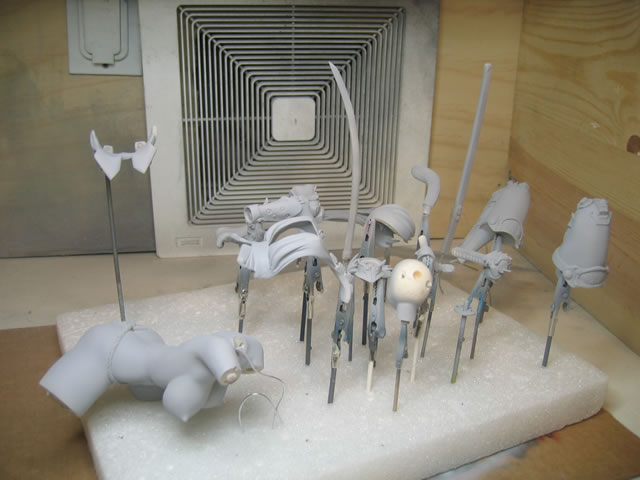
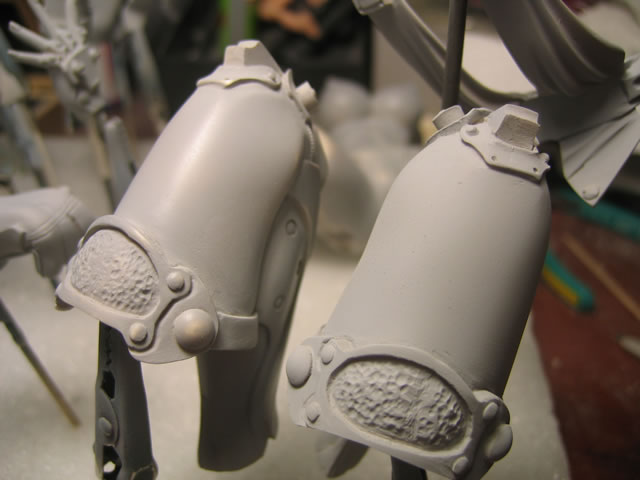
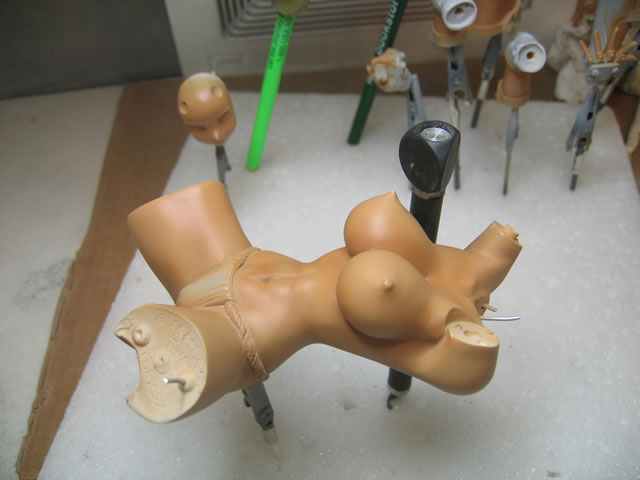
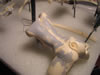
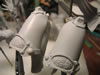
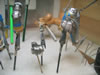
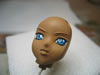
February 4/5, 2006: Today I wet sanded the primed pieces
using a 2400 grit sand paper to smooth out the priming. In the first picture,
the leg on the left was wet sanded while the leg on the right was not.
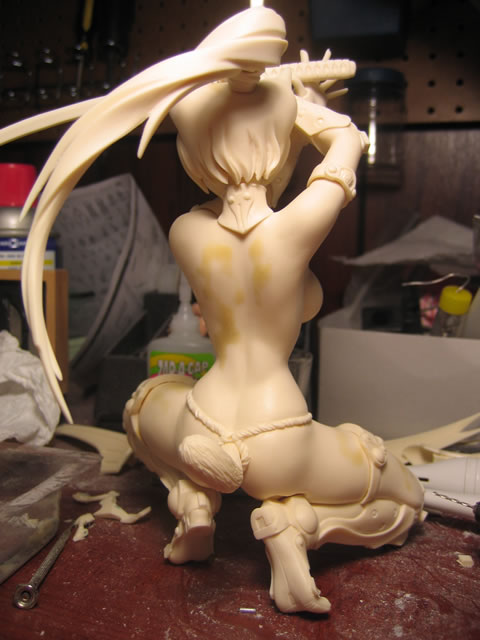
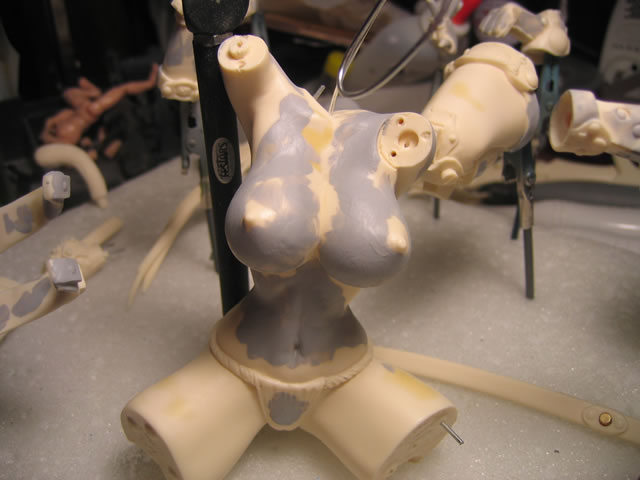
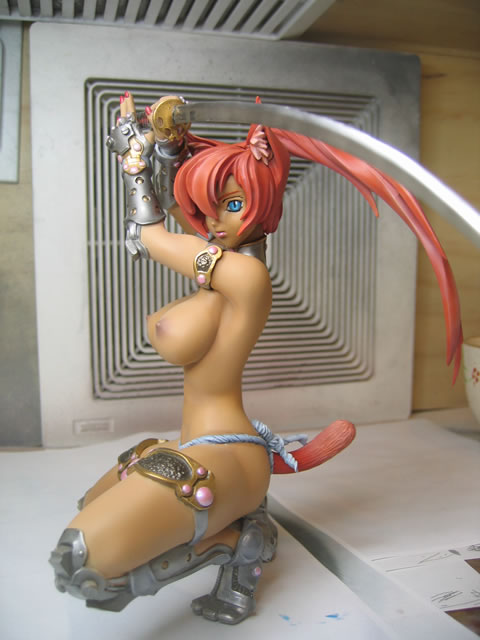
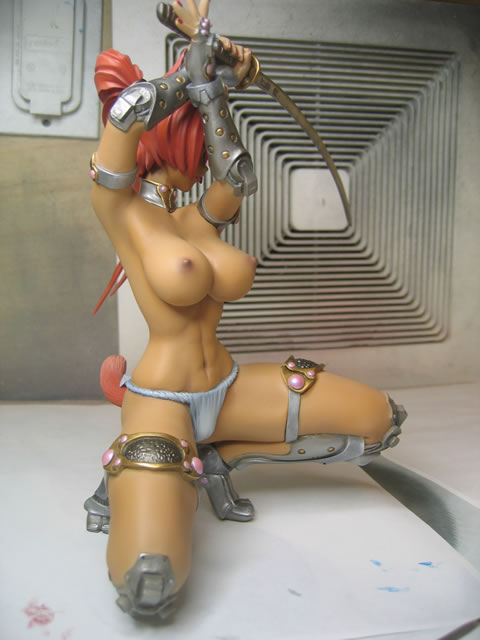
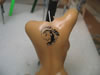
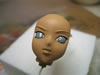
Tonight I did some flesh tone mixing. I wanted a darker
color this time. Hopefully my flesh tone looks decent. Keep in mind that
I am color blind. I only got most of the blouse and the skin done tonight.
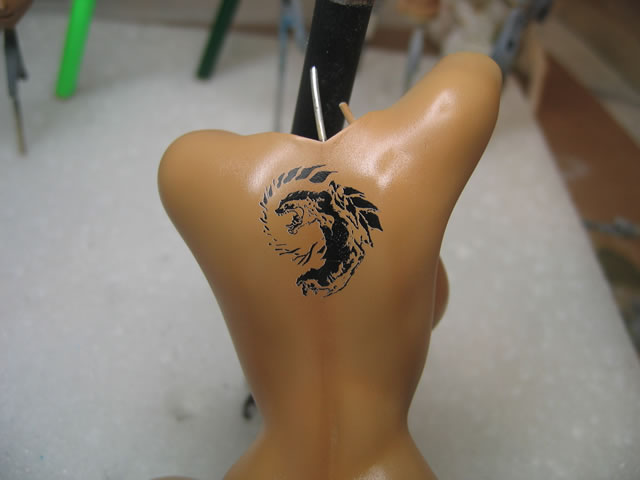
I did one coat, then shaded with a darker color after the first coat.
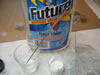
On top of this I added some Mr Color super clear that I picked up today.
I did not want to wait for the future to cure before moving on, so I used
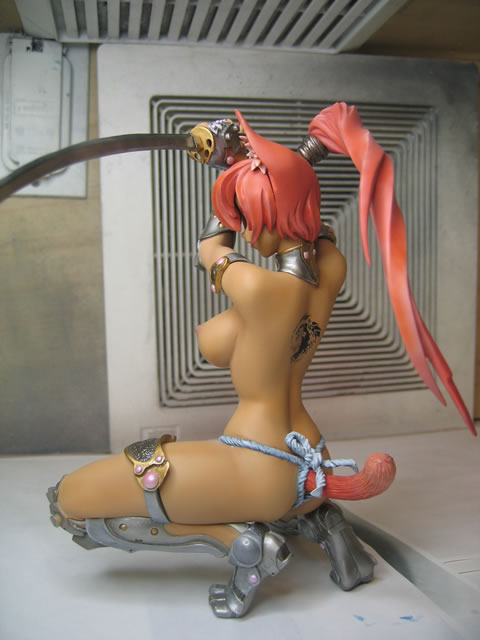
the super clear. On the back I added a little "Gamera" tattoo.
Tomorrow I mask and hopefully start painting the other pieces.

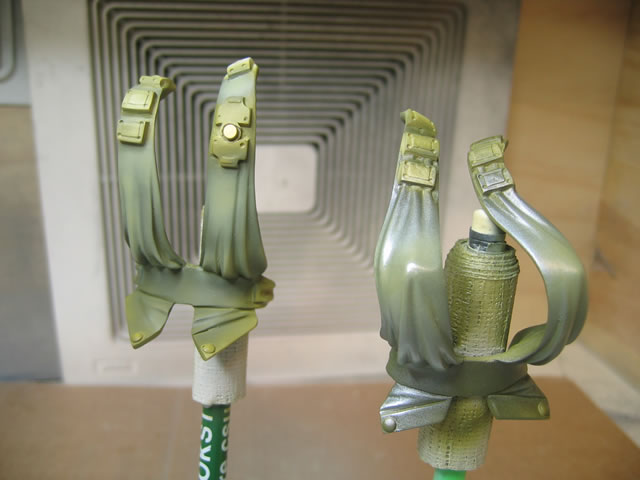
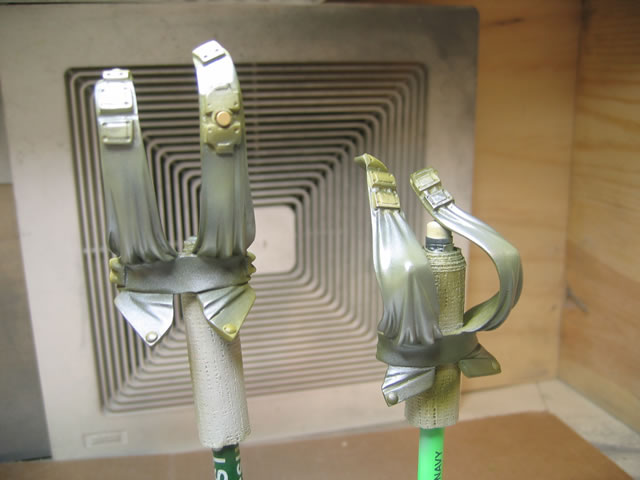
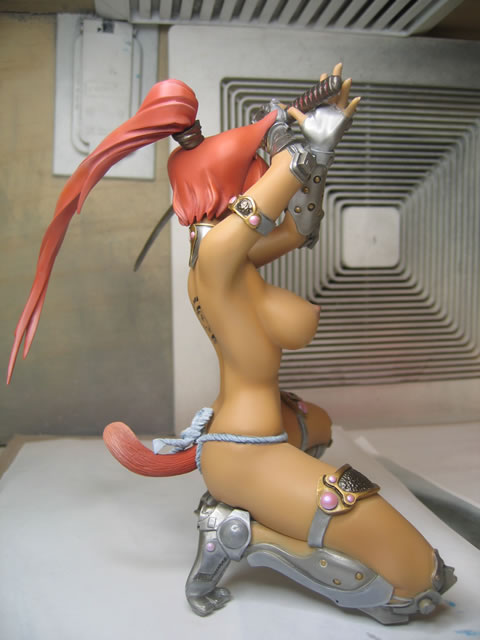
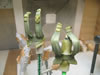
For the blouse, I used a dark green, then highlighted some
areas with a lighter green. This was followed by a mixture of future and
micro pearl powders to create a metallic/velvet/shimmering cloth look
to the blouse. I learned something today as well. Mr Color super clear
does not mix well with the pearl powders. I ended up with a gloopy shimmering
mess floating in the mixture of Mr Color thinner and Mr Color super clear...
So much for trying to move things faster with solvent based products.
Remember kids, don't mix pearl powders with solvent/lacquer based products.

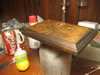
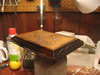
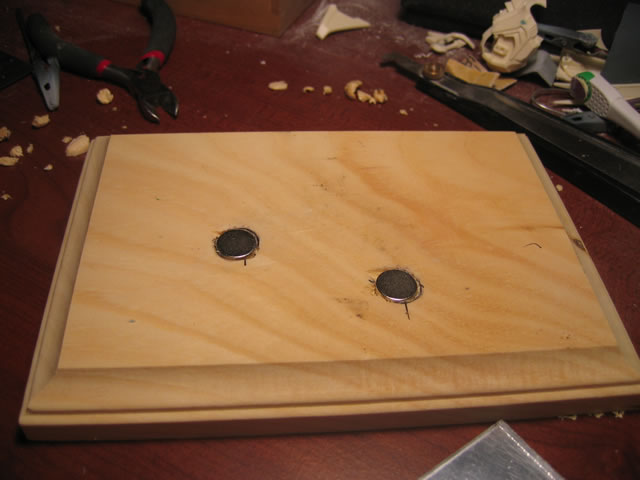
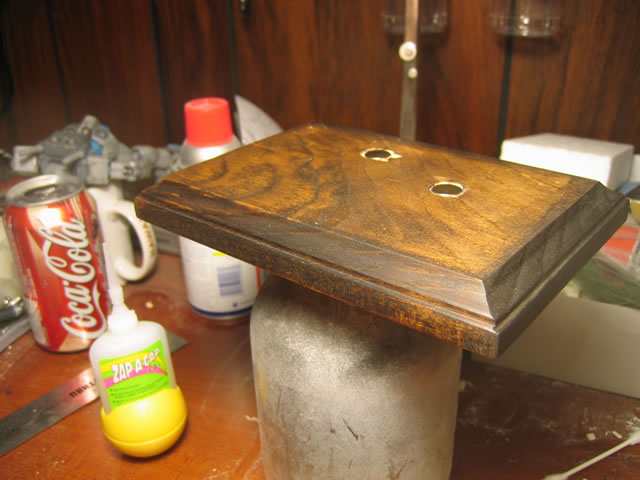
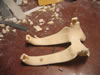
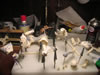
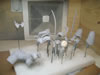
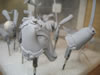
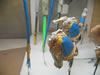
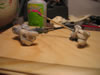
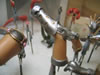
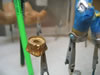
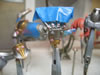
February 7, 2006: Ok update inclusive of yesterday's small
amount of work. Yesterday I started work on the base. Simple wood base,
with two holes drilled to hold some magnets. I then drilled small holes
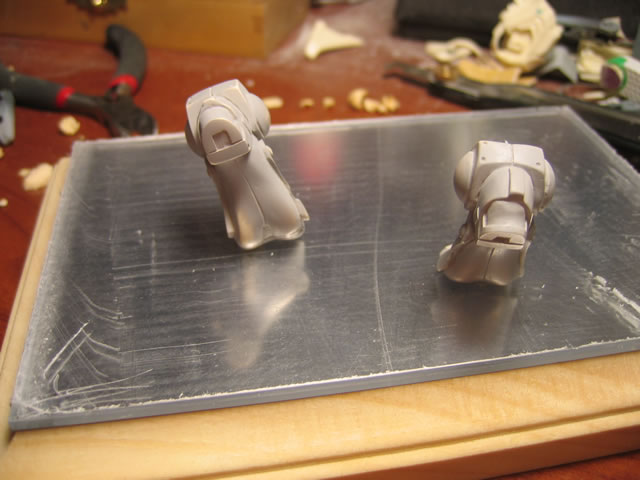
in the toes of the figure and added magnets. On top of the base I will
be placing a mirrored acrylic plate. I glued the magnets to the feet and
then covered the area with some epoxy putty.
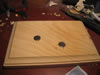
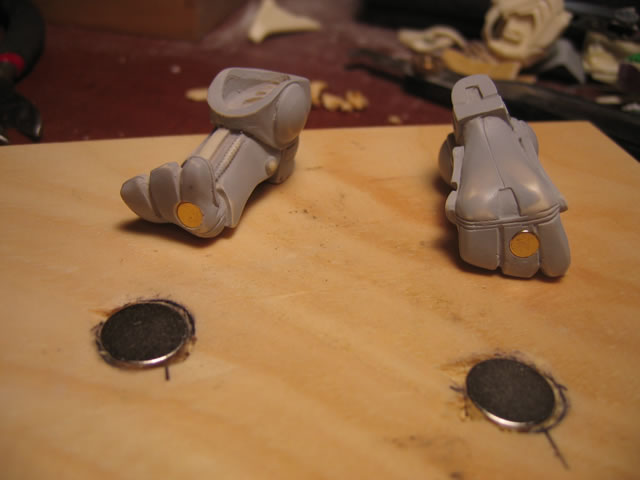
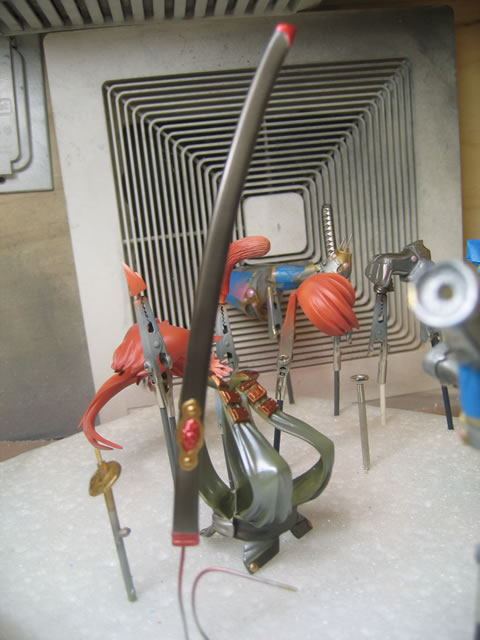
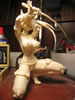
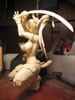
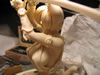
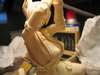
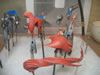
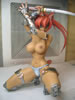
Below is a test fit with the magnets in place and figure
partially put together on top of the wood base.
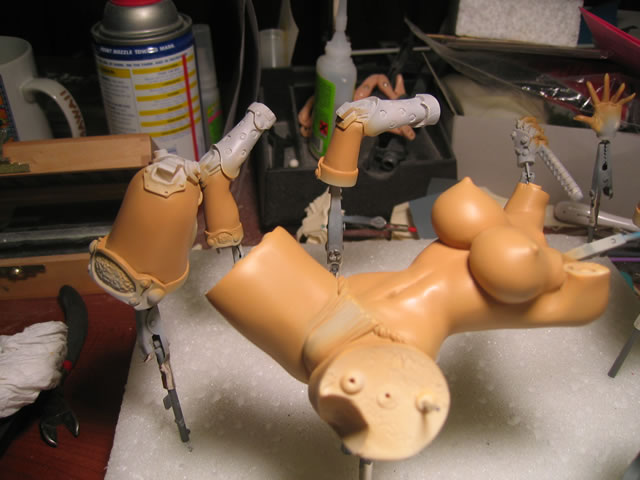
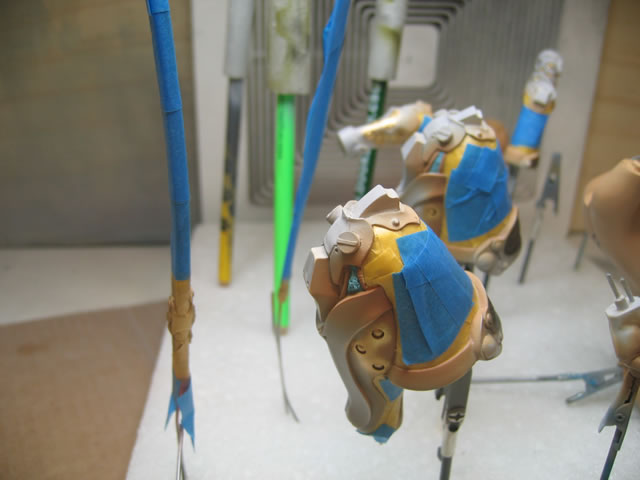
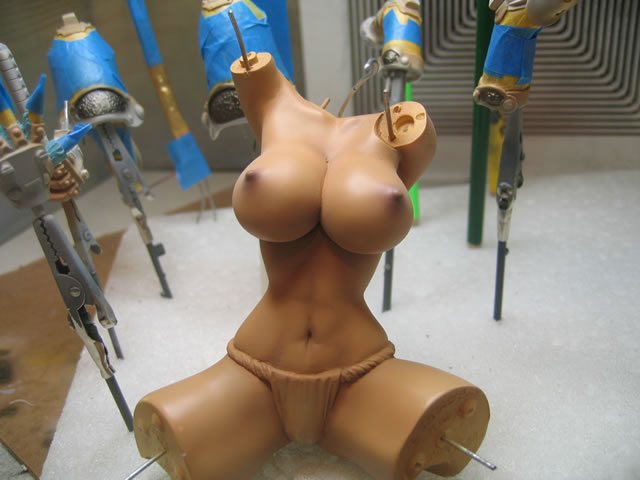
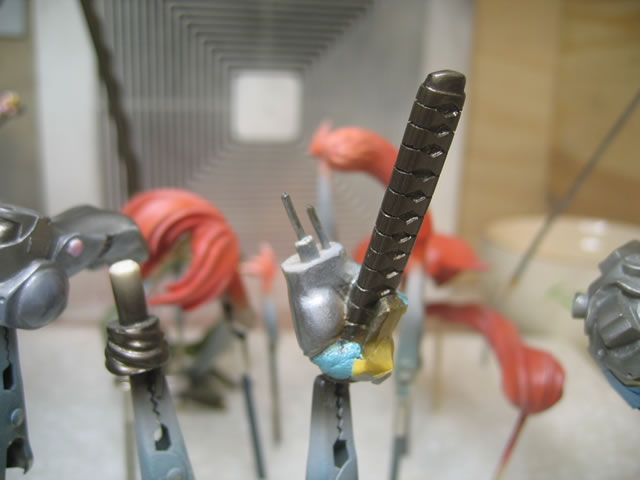
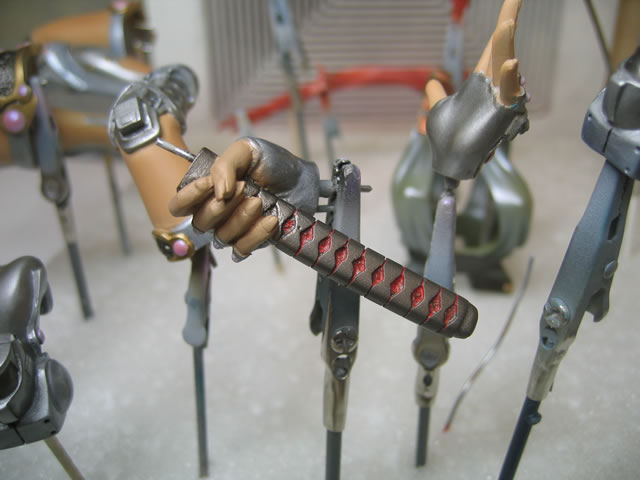
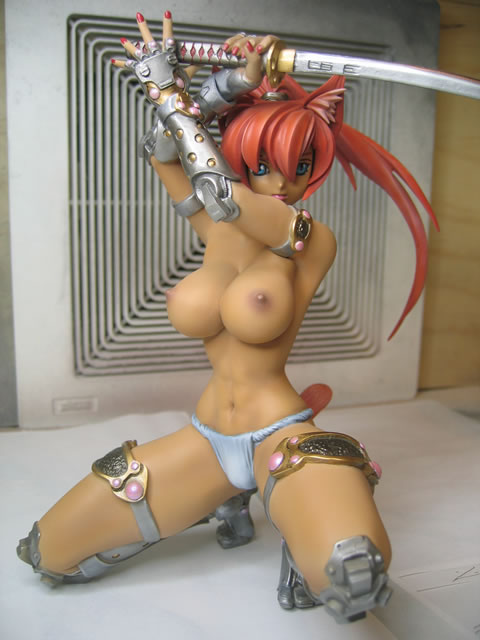
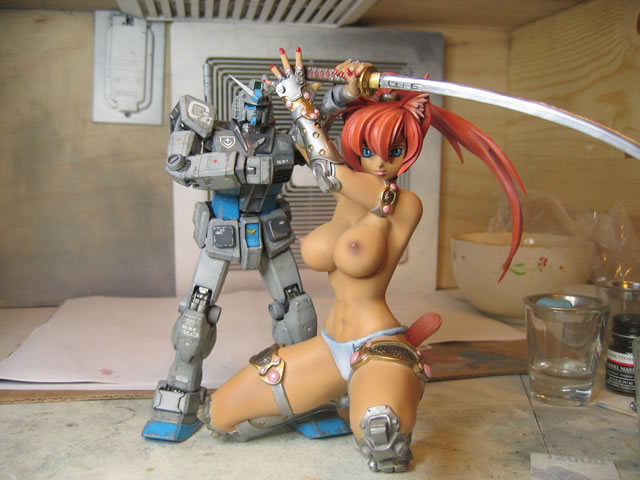
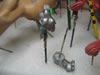
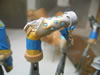
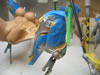
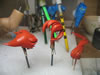
Tonight I did all of the masking for the legs and arms and
did a little painting on them. The sheath is completely painted but I
haven't removed the masking yet. Sword blade is also completed. And the
last picture... mmmMMMmmm boobies....

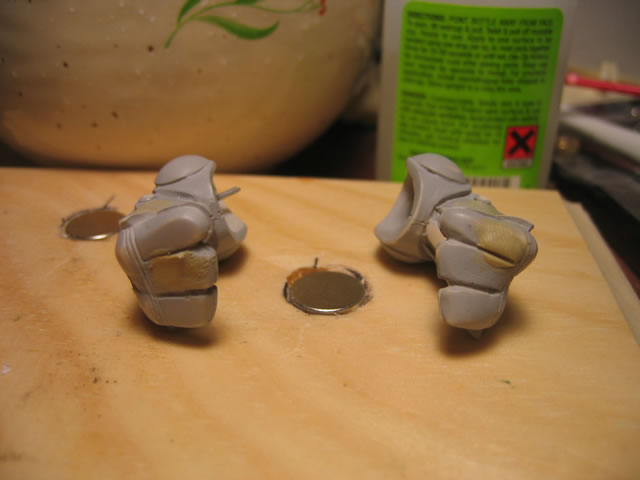
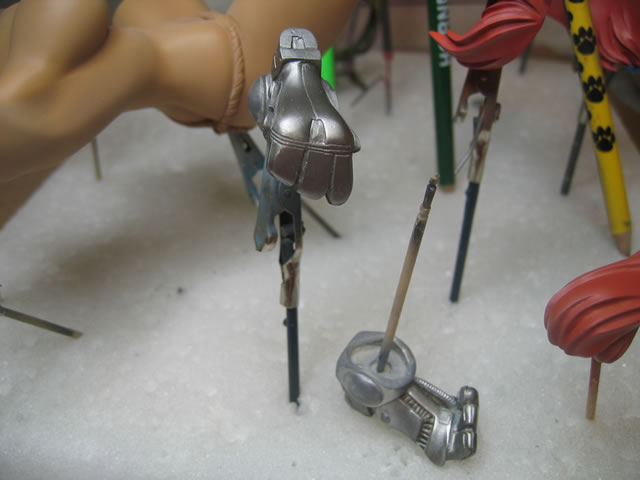
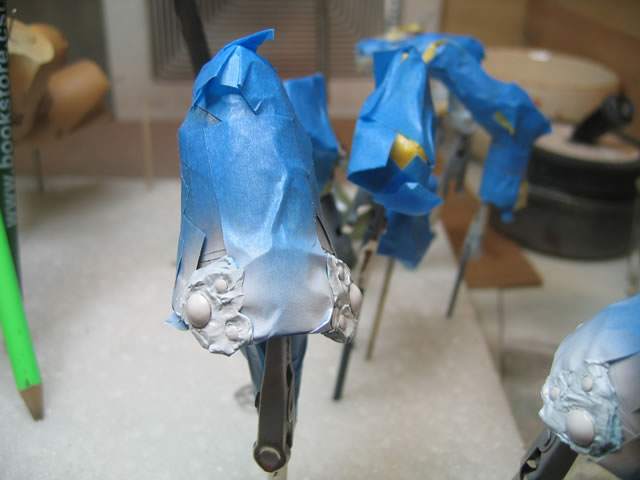
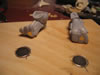
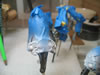
Feburary 21, 2006: Ok rather big update since I was away
on a ski trip, last week was a bit hecktic. I still worked on her, but
didn't have time to upload pictures. The first set of pictures are the
puttying and painting of the feet.

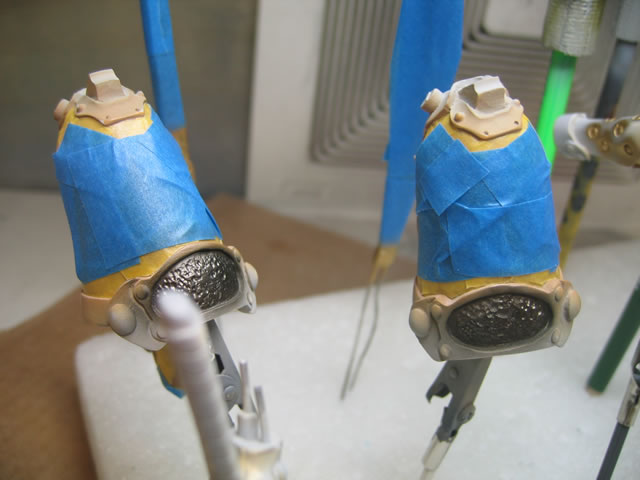
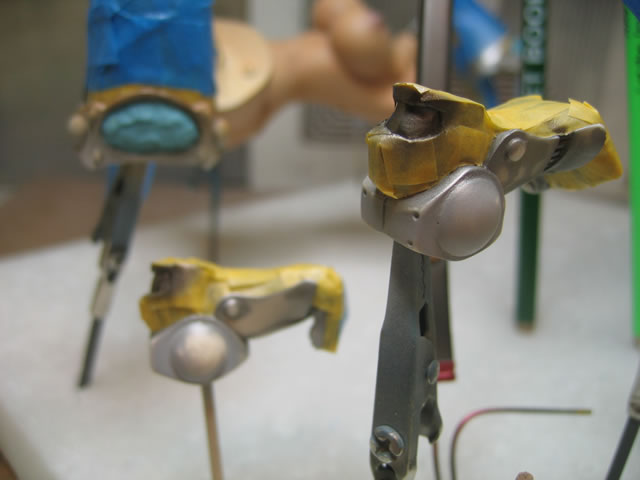
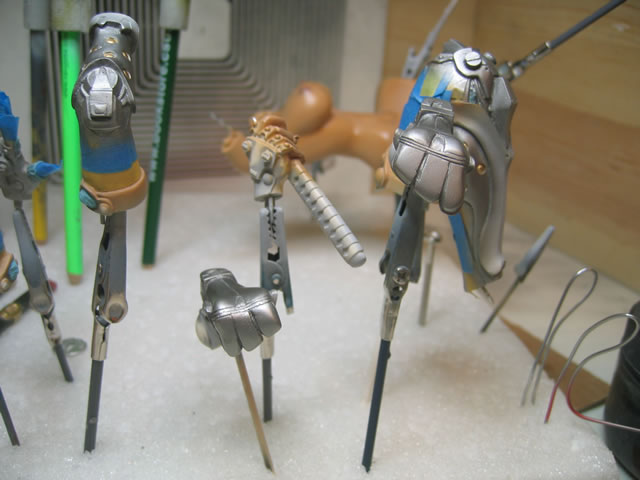
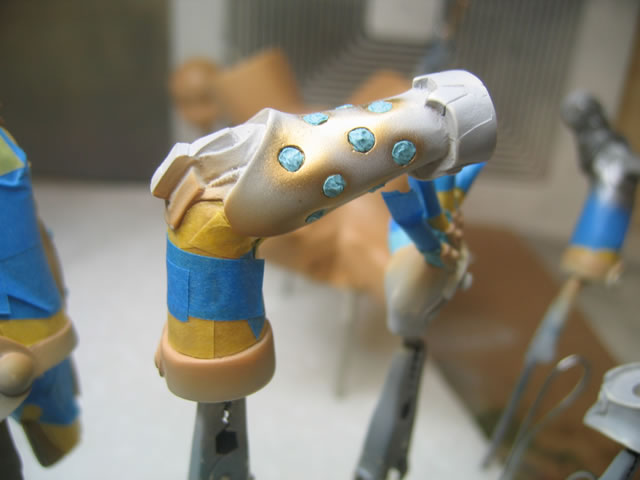
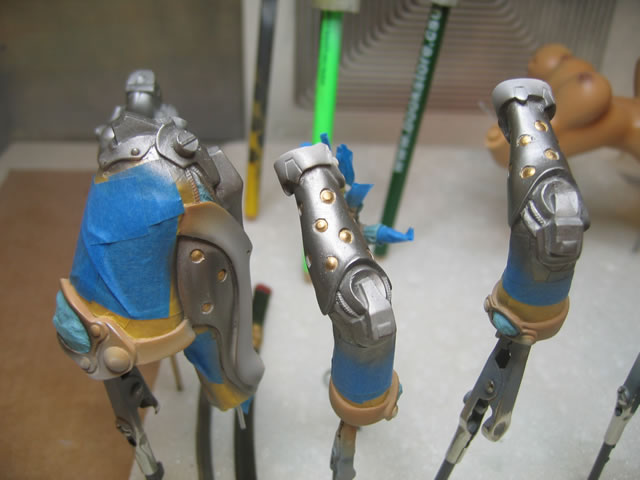
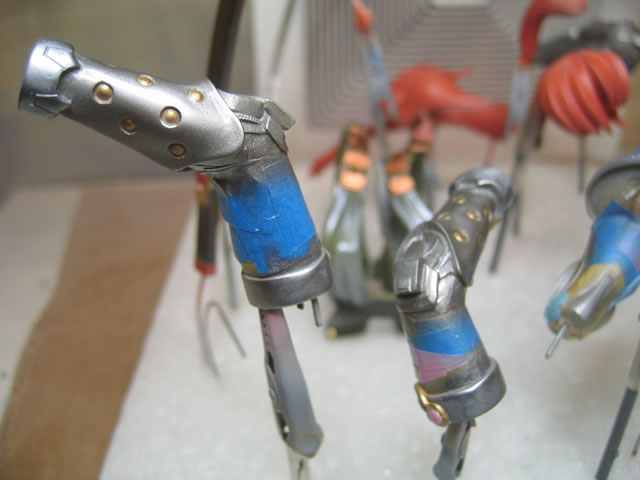
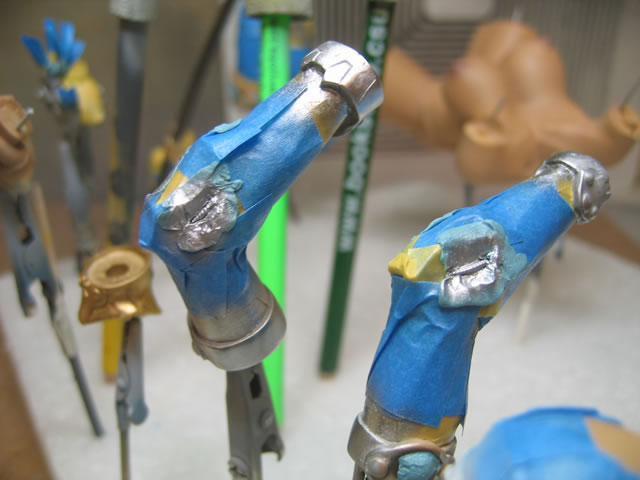
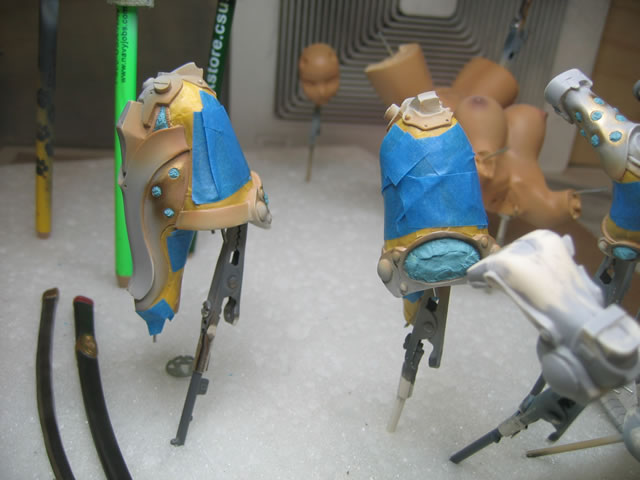
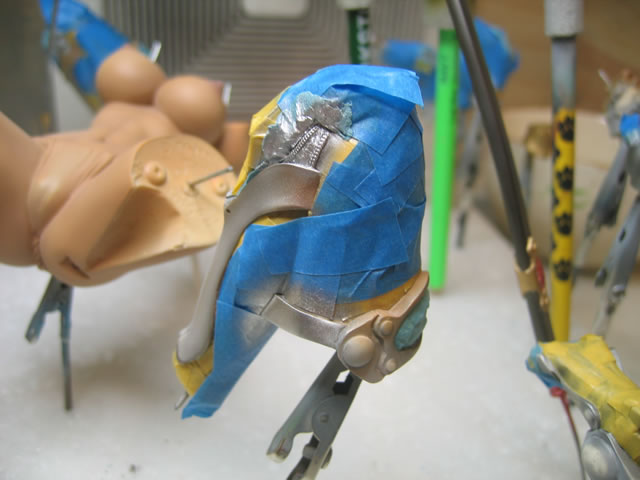
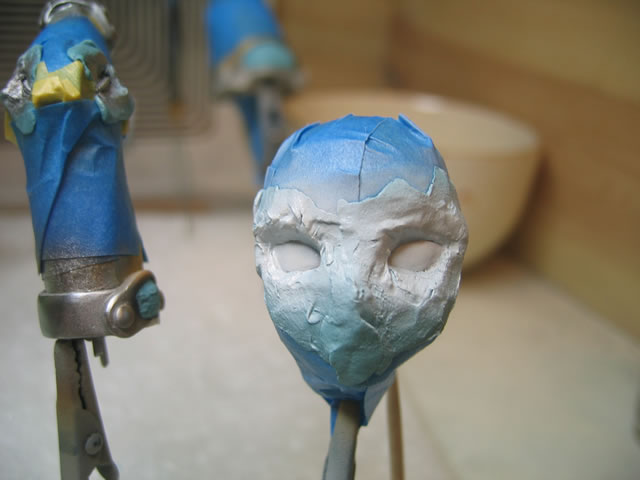
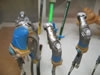
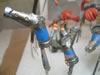
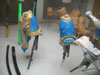
Next up is the masking painting, remasking, and more painting
for the armor parts:


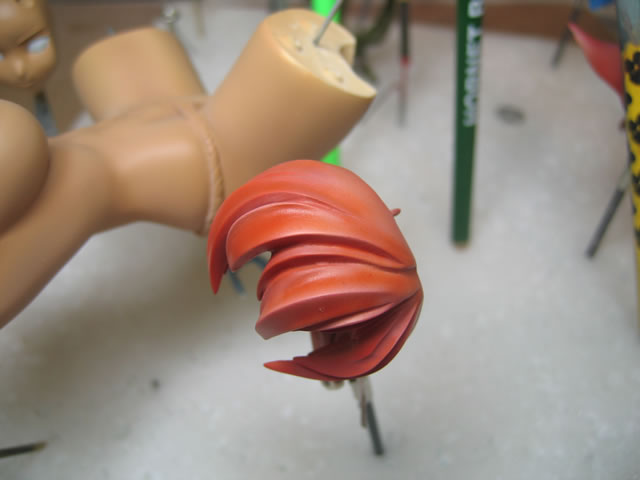
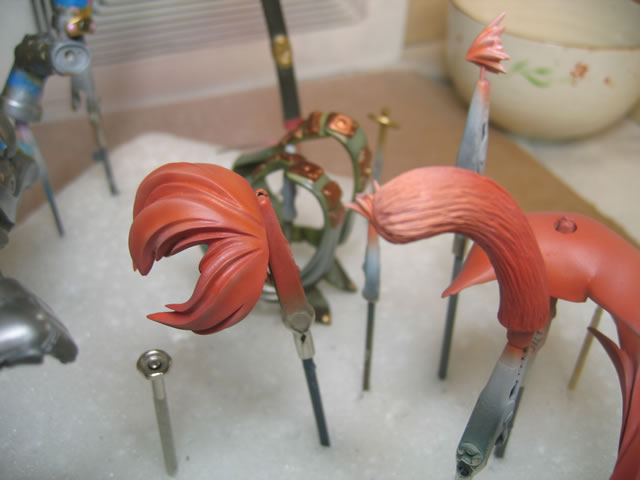
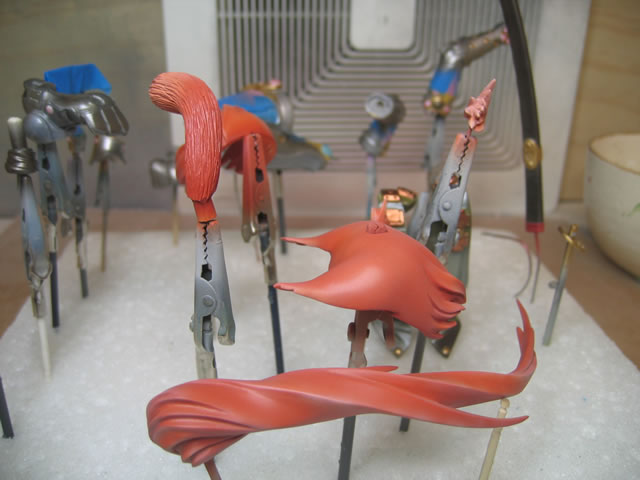
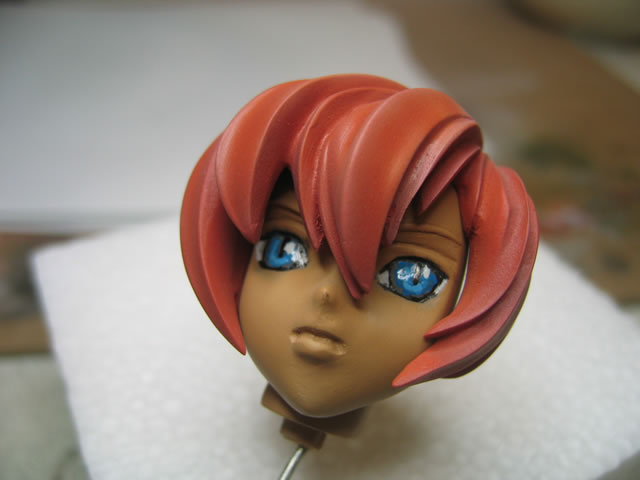
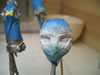
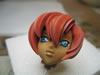
The following set is her hair:

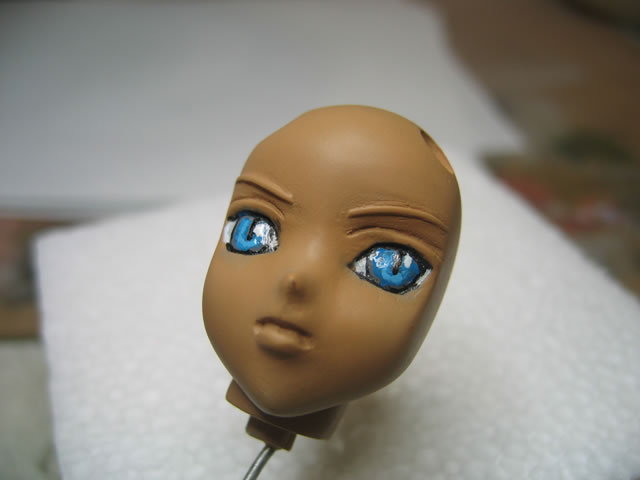
And finally, the fact painting. And this is where I have
been since the ski trip. I hope to get back to work on her and finish
her up this week, or at the very least, by the weekend.
Feburary 22, 2005: Ok finished up the touch up painting
for the nails, eye brows, lips, and a few other areas. Next up is the
base for which I will be working on in the next couple of days while the
paint on her continues to cure.
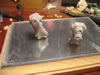
Feburary 23, 2005: A couple of shots of the base. I lightly sanded away
the rough spots and applied a light coat of dark walnut stain. This is
followed up with the first couple of coats of polyurethane. And another
picture that I couldn't resist doing