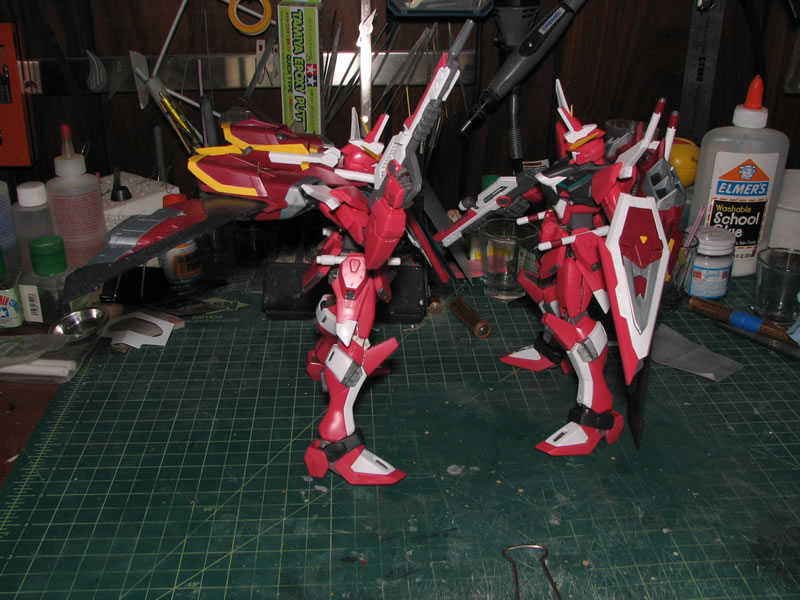
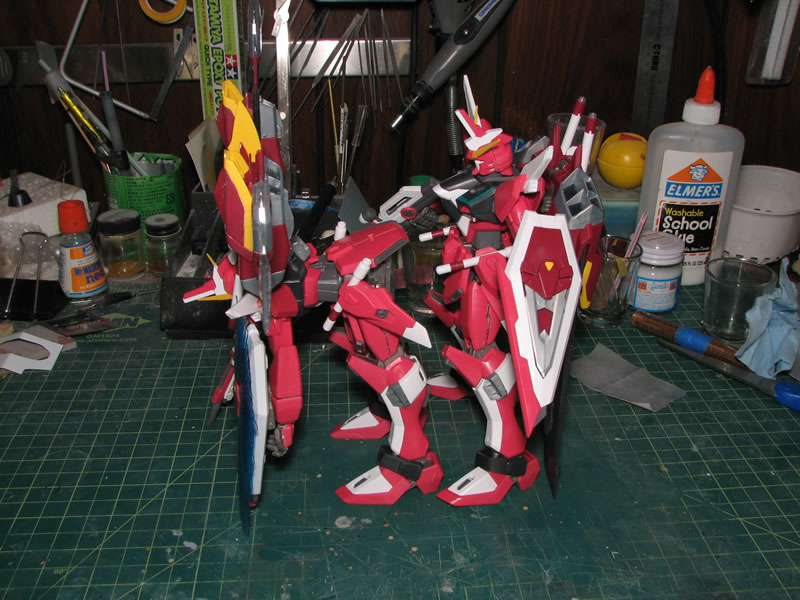
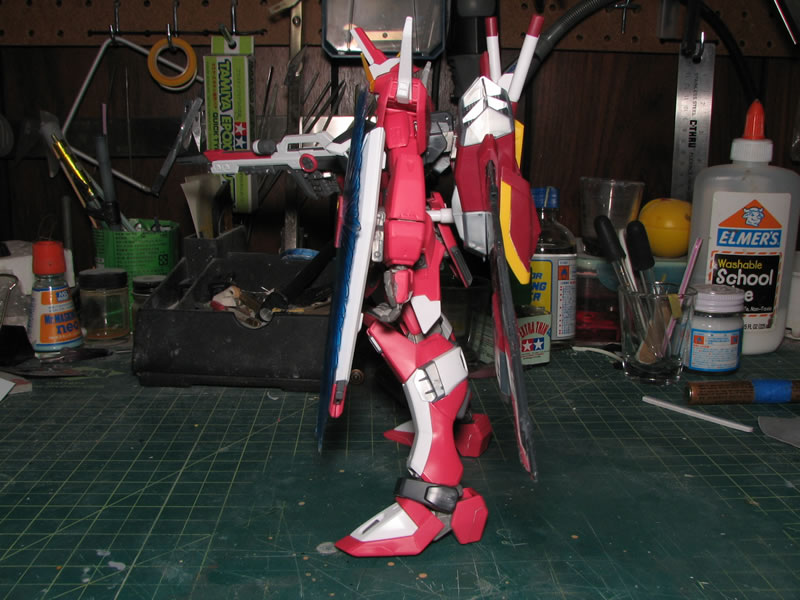
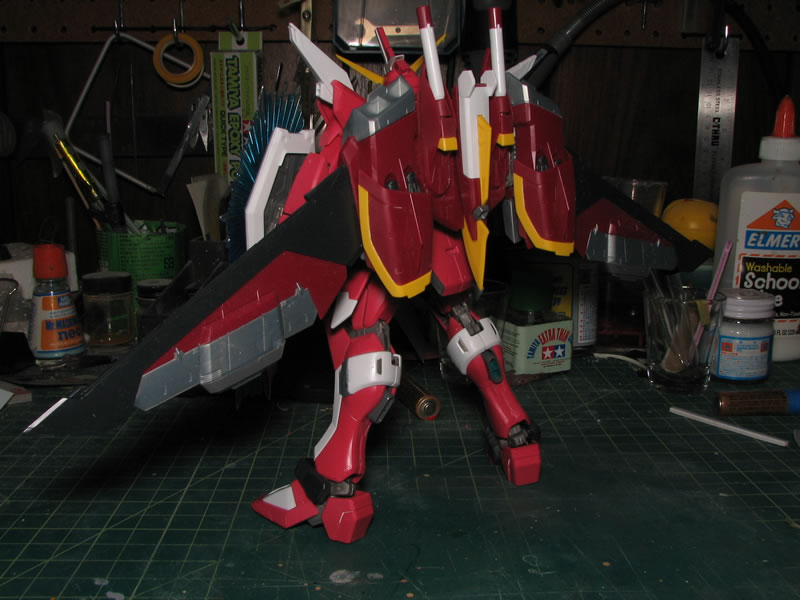
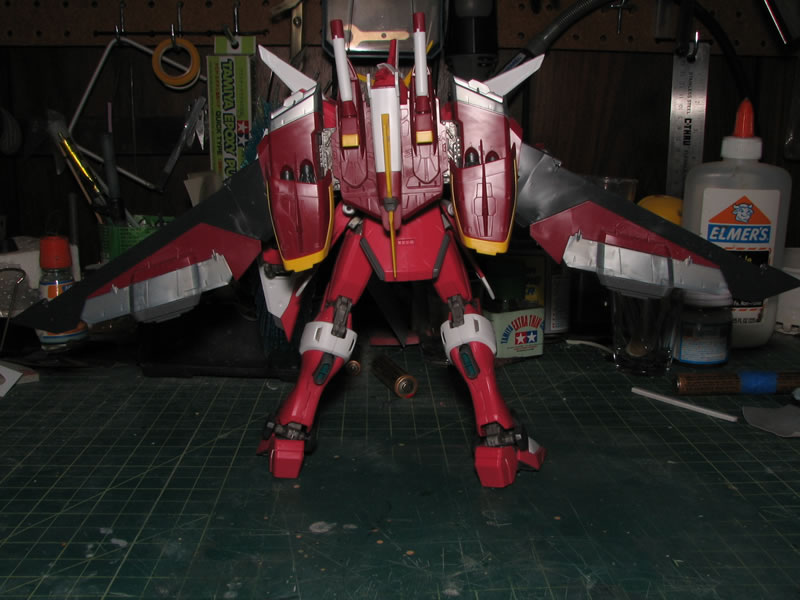
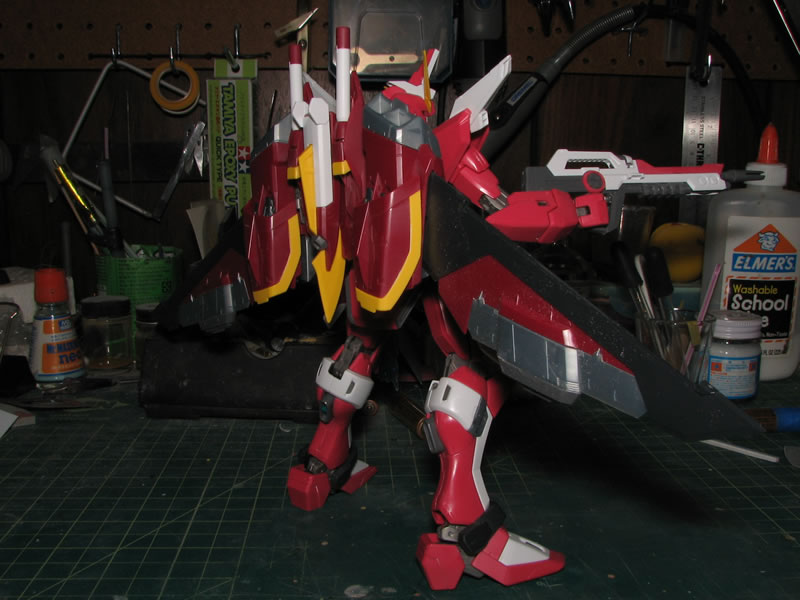
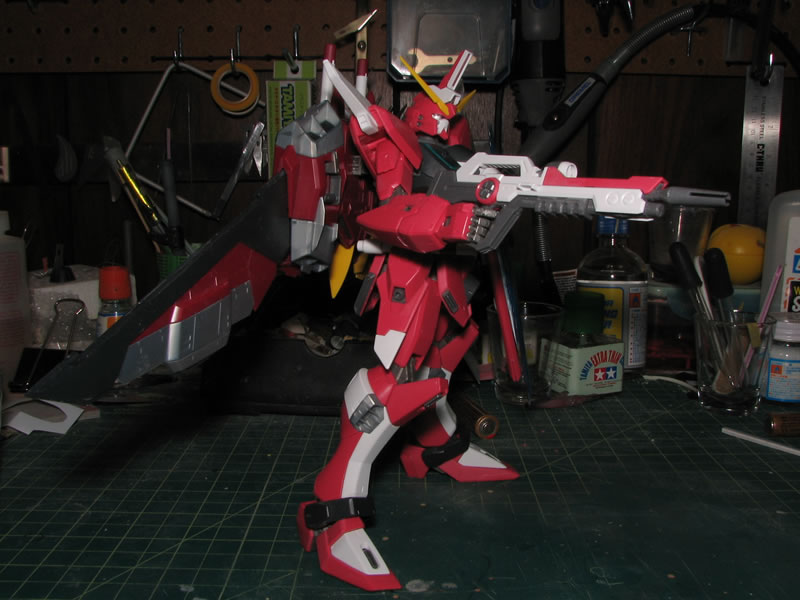
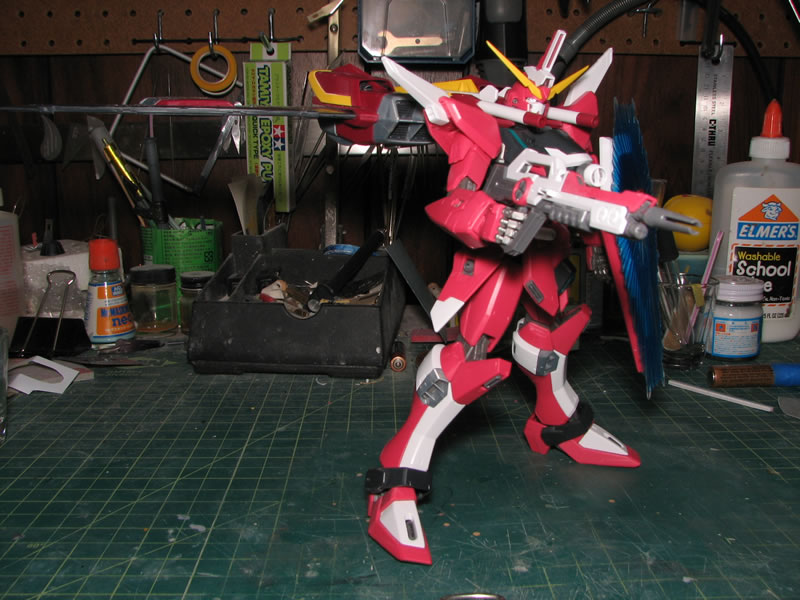
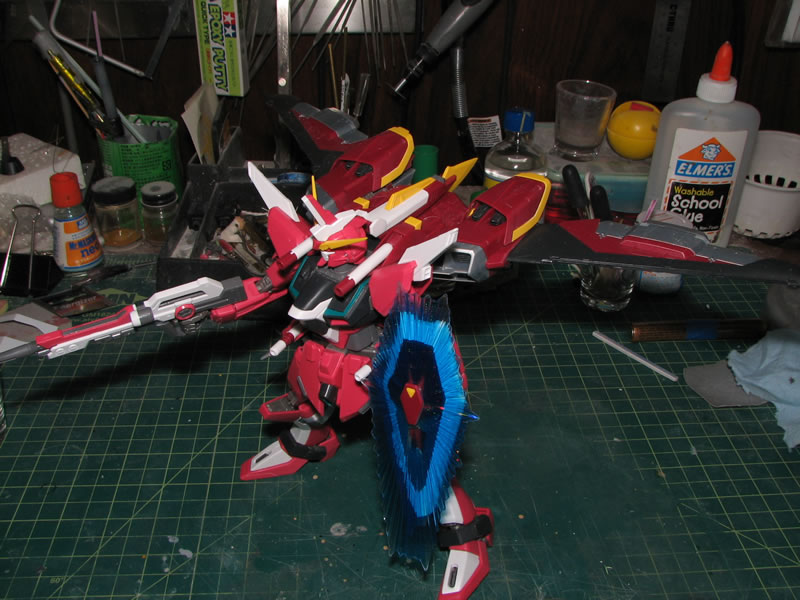
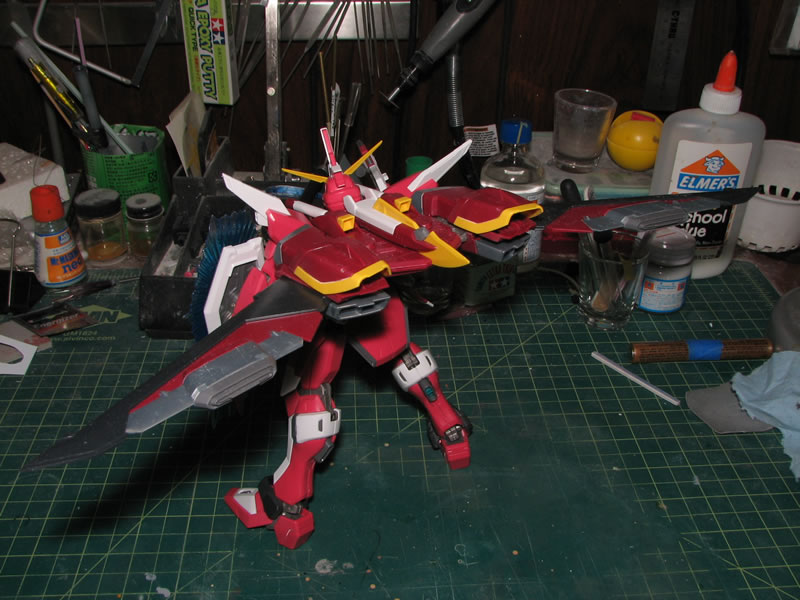
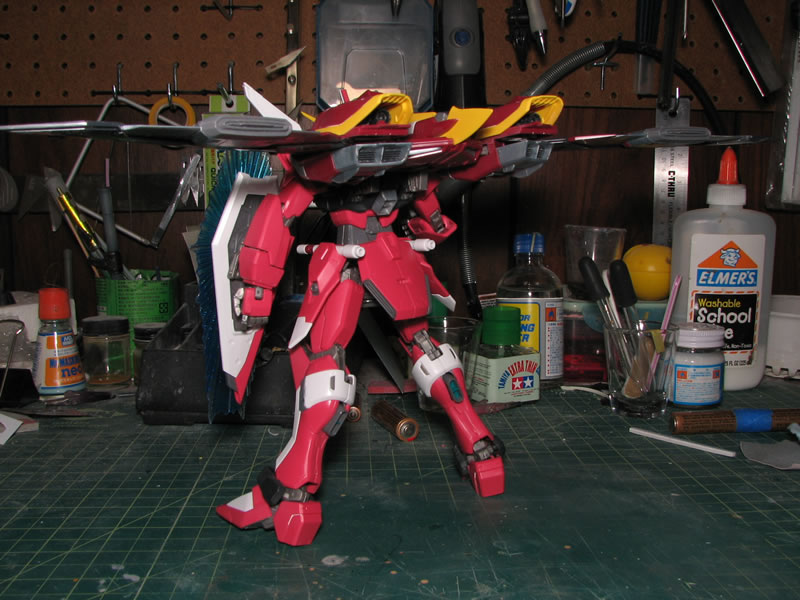
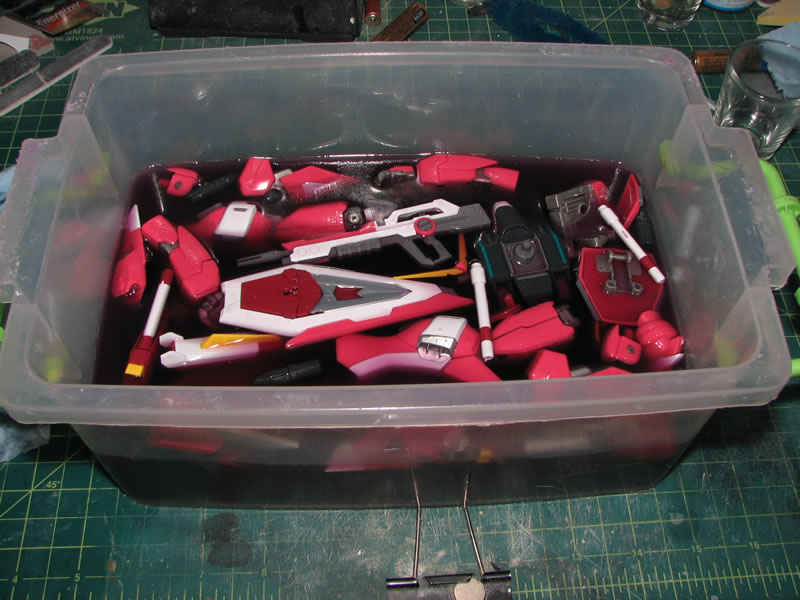
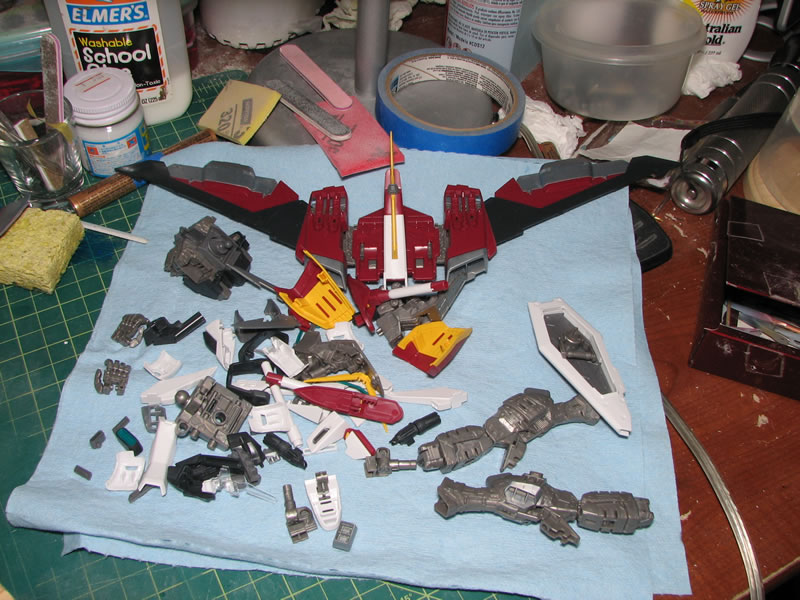
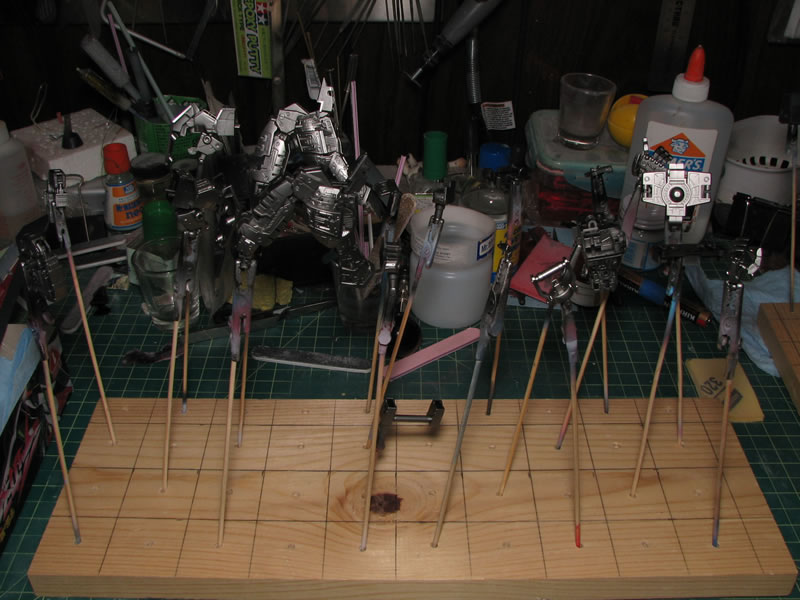
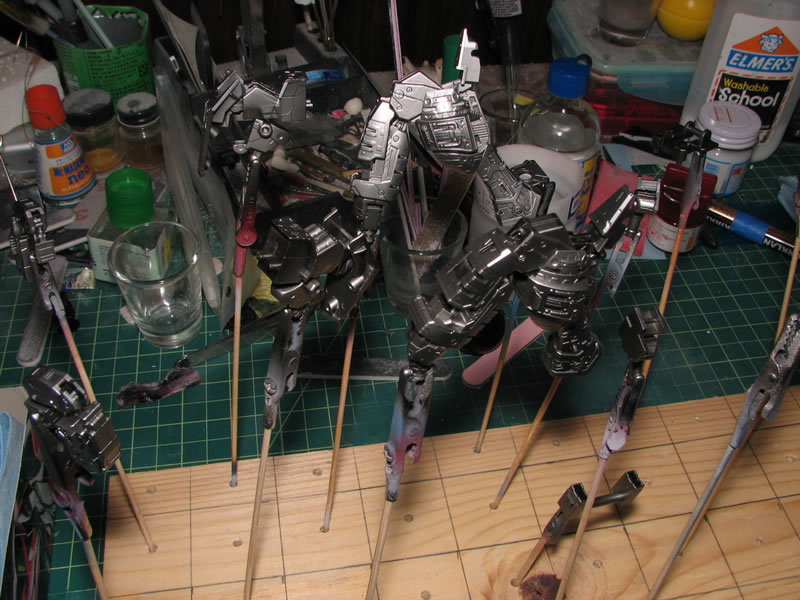
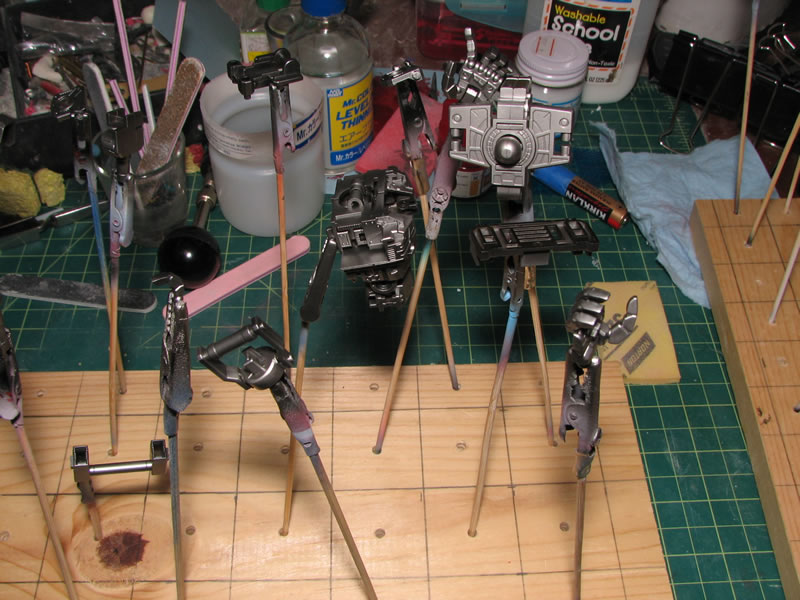
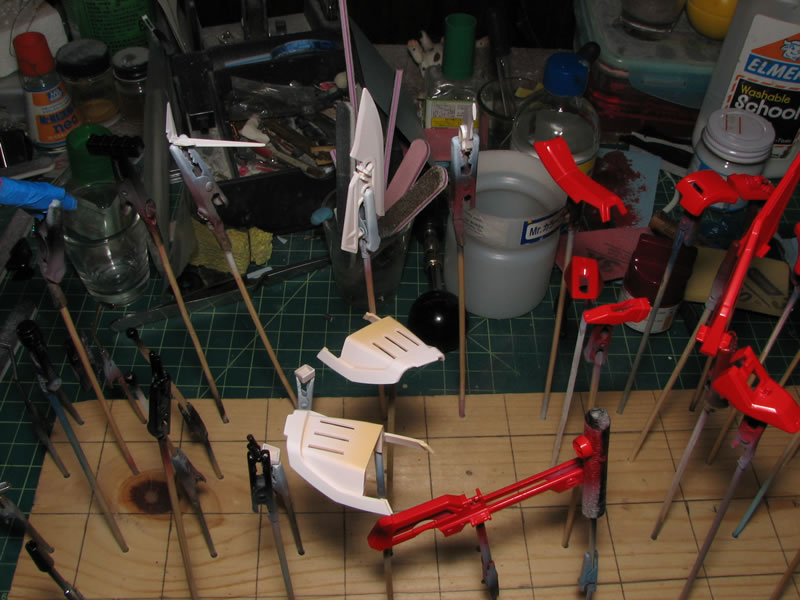
December 8, 2008: This is an MG Infinite Justice kit that I started clipping and sanding a few weeks ago. Holy hell is the thing partsy. Very interesting engineering and design. After sanding and snapping the entire thing together, I new get to take it down into sub assemblies and throw it into some industrial cleaner to rid any dust, finger oils, and other things that works against paint adhesion. Then it will be on to the fun painting sessions. The second IJ in the picture was built pretty much at while I built mine. It's Angel's.


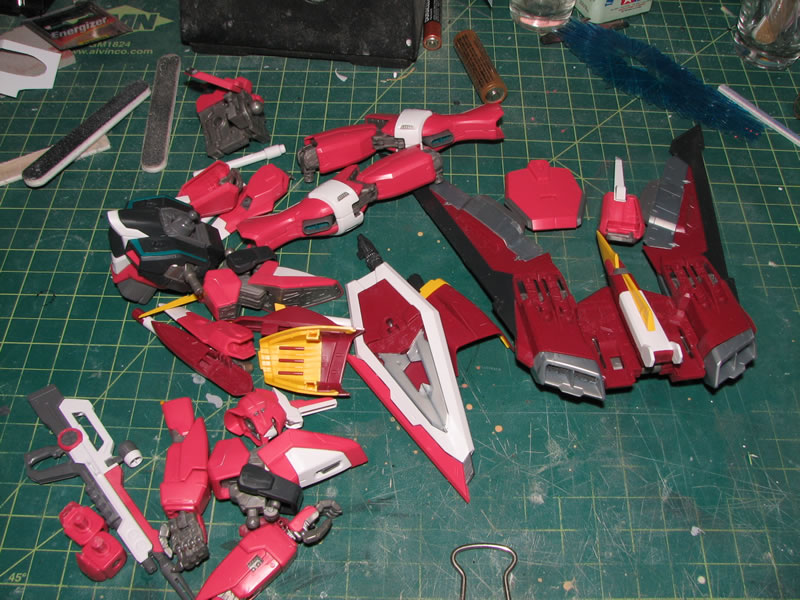
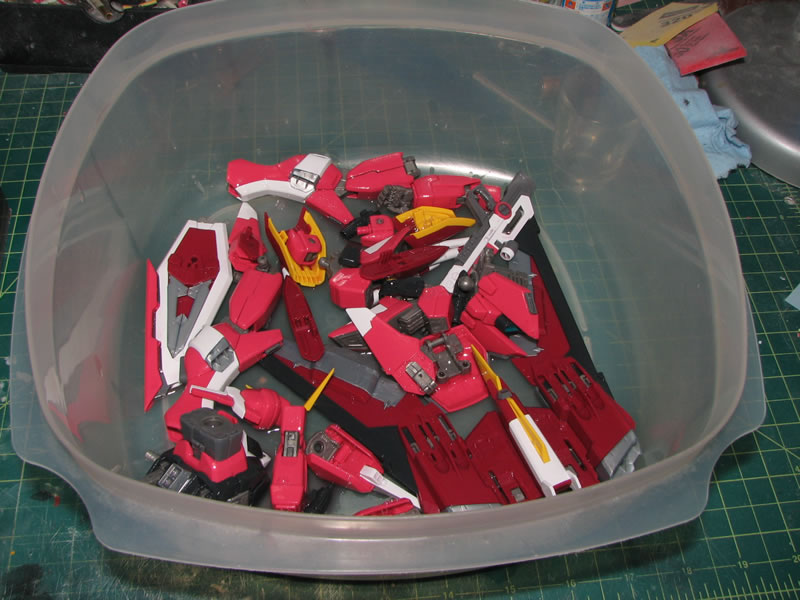
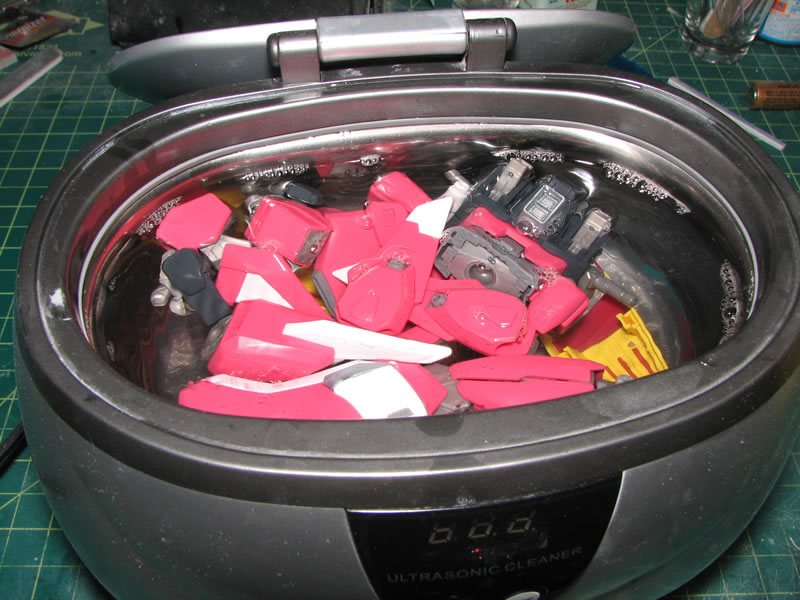
December 9, 2008: The past few days saw the dissassembly of the kit into major subsections, then a quick dunk into some industrial strength cleaning solution (purple power) for about a length of 20 minutes to half an hour. Once done soaking in the purple bath, the parts were taken out into a large tub filled with water to rinse off the purple power.
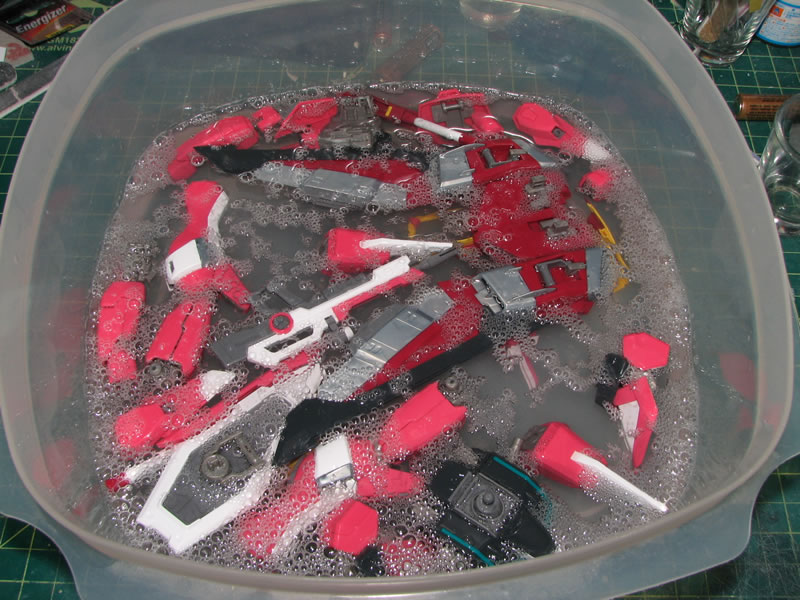
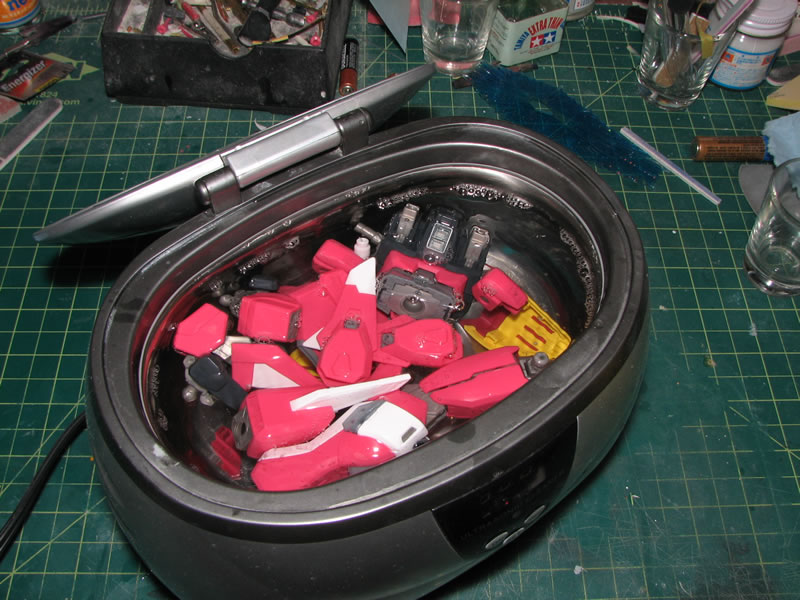
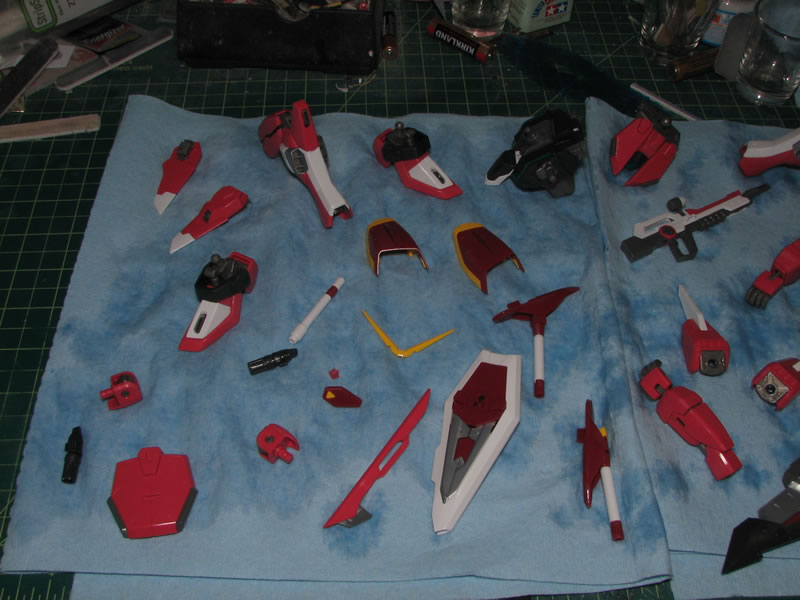
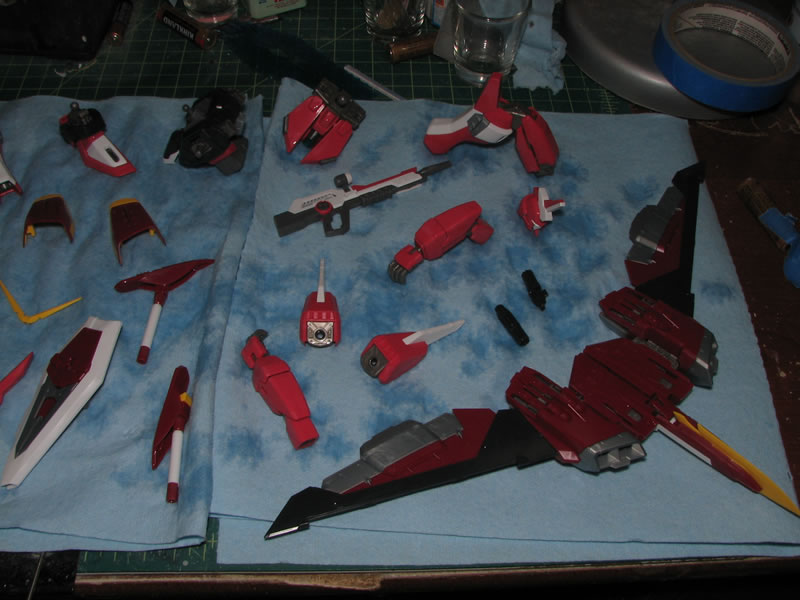
With the parts rinsed, they then go into the ultrasonic cleaner to get a thorough scrubbing in water. And then are removed and placed on some paper towels to dry for a full day.
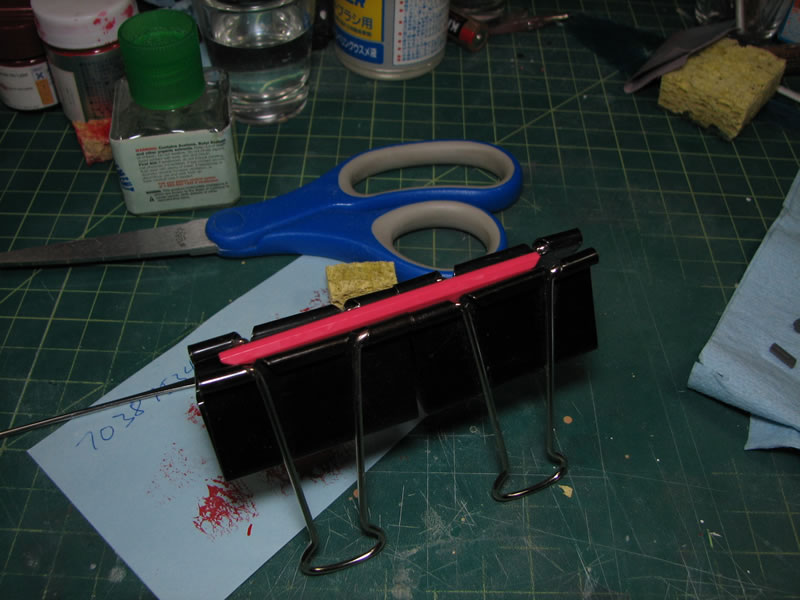
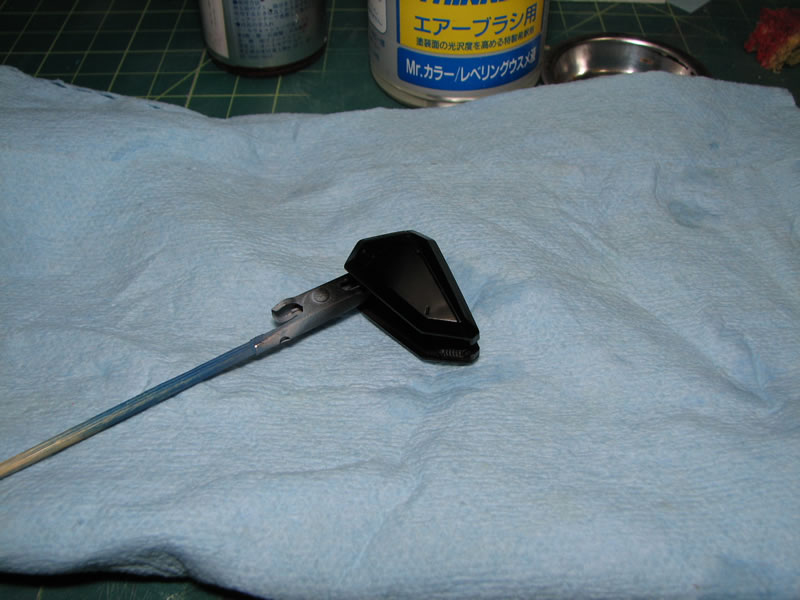
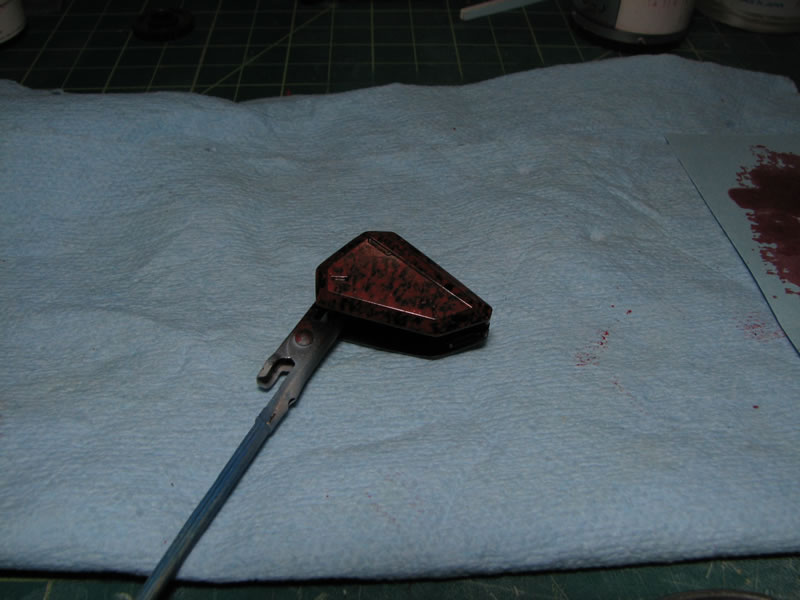
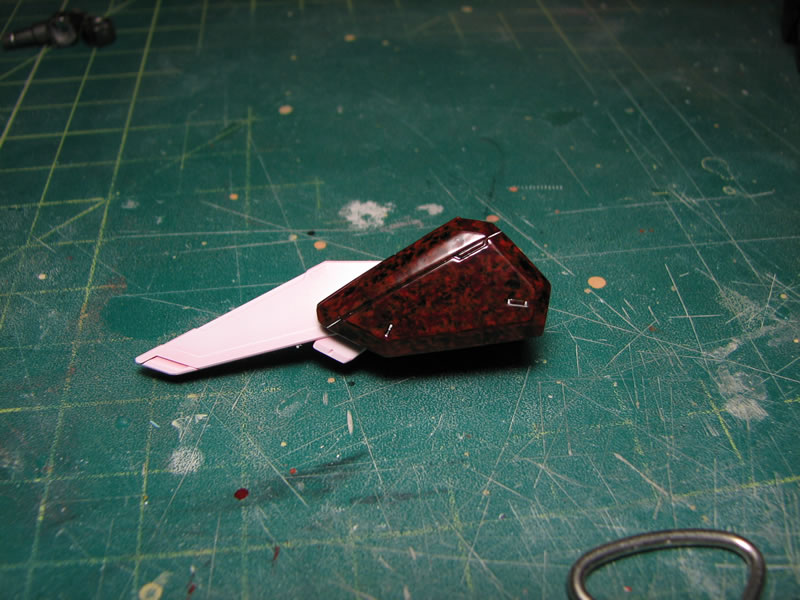
I recentely saw a paint scheme done on an MG Shin Musha Gundam from this site And I figured it was time I tried my hand at the marble paint effects, so after thinking about the technique for a little bit, the cloest thing to reproduce the effect would be a sponge. So taking my trusty test piece, I first sprayed on a black gloss coat. Once the black cured, I started first off with Mr Color Wine Red and the sponge. Turns out that the dark red is a little too dark a tone. So I went with Finisher's Bright Red, which for the experiment was satisfactory to my expectations. I may go with a slightly darker red for the IJ kit however. But the black is pretty powerful so I may stick with the Bright Red. Once the red cured, I did some light sanding with a 6,000 grit piece of sanding mesh to smooth out any rough areas.
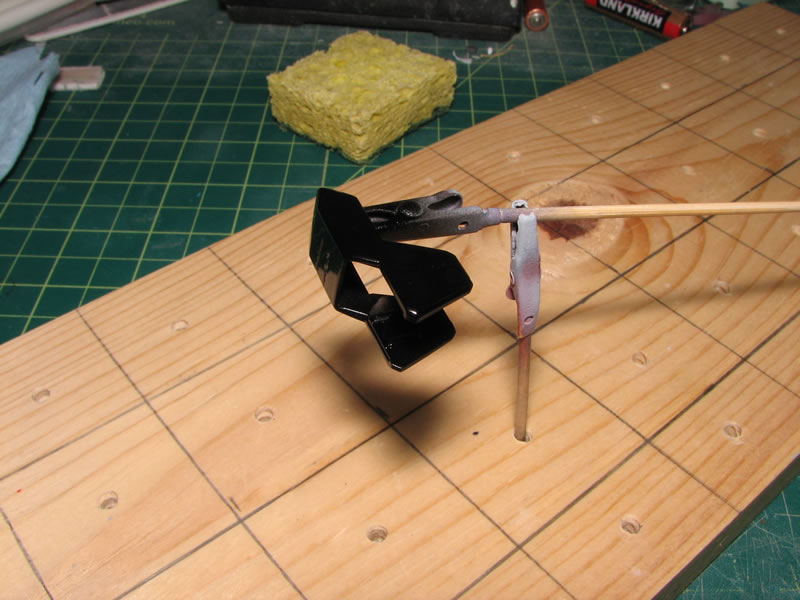
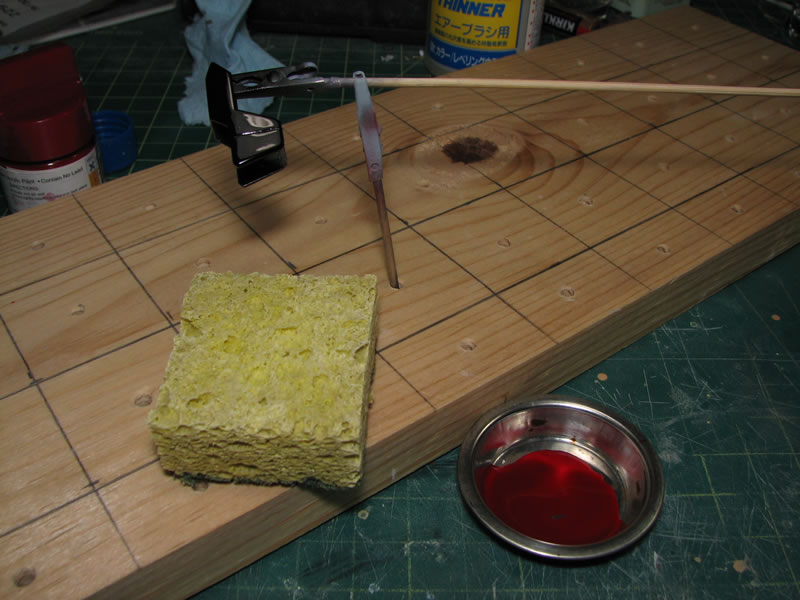
With the paint smooth, I sprayed on a heavy gloss clear to help give the paint scheme some depth.
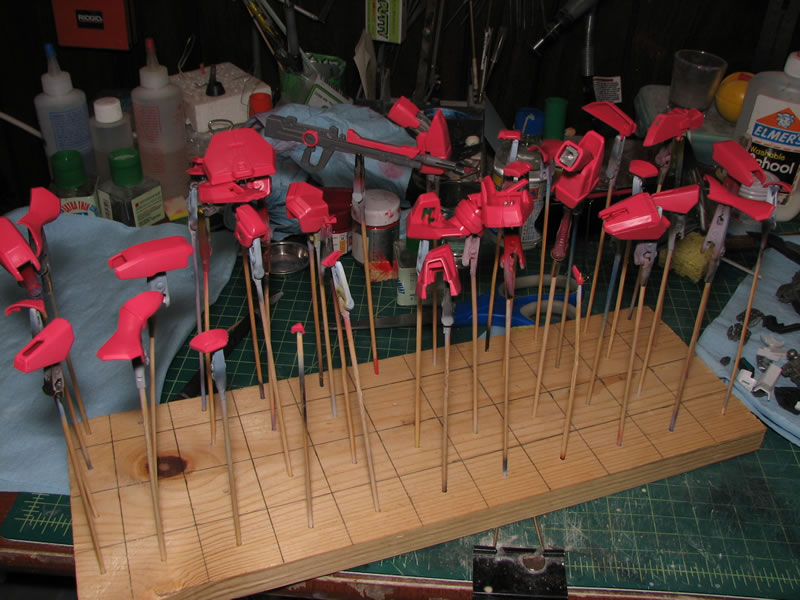
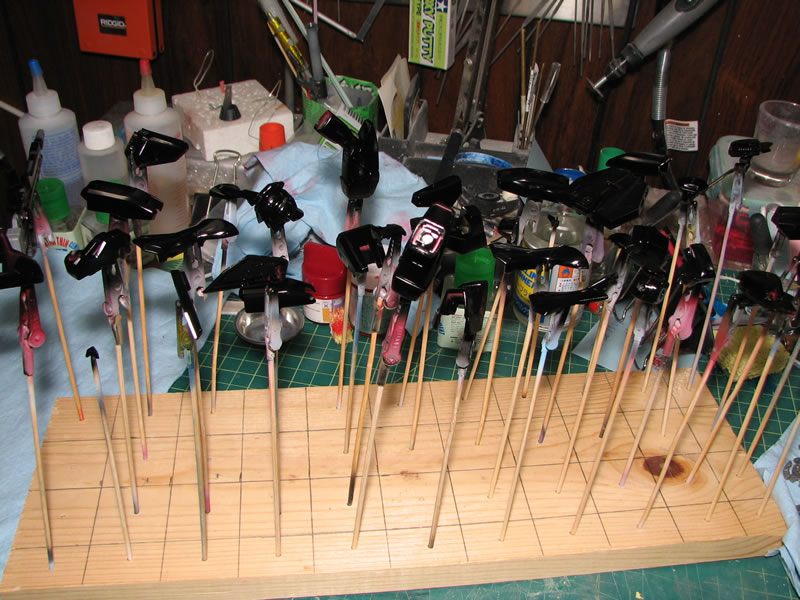
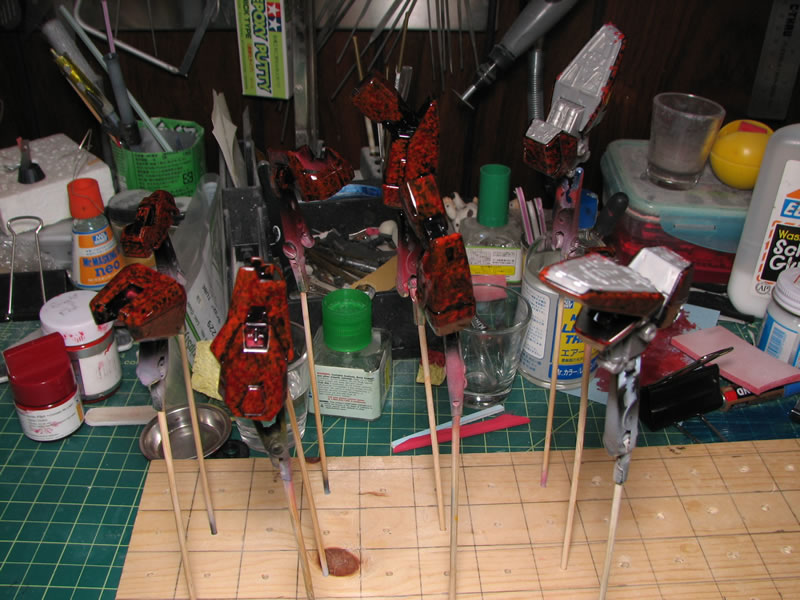
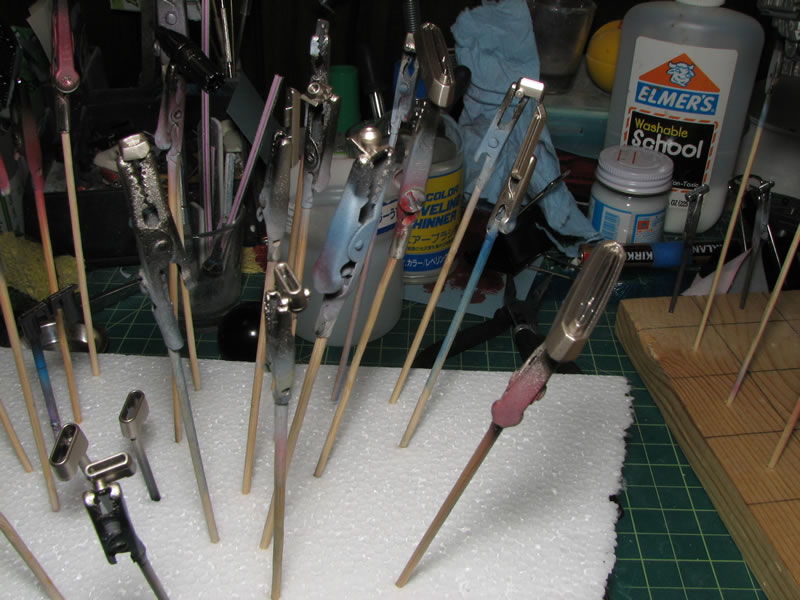
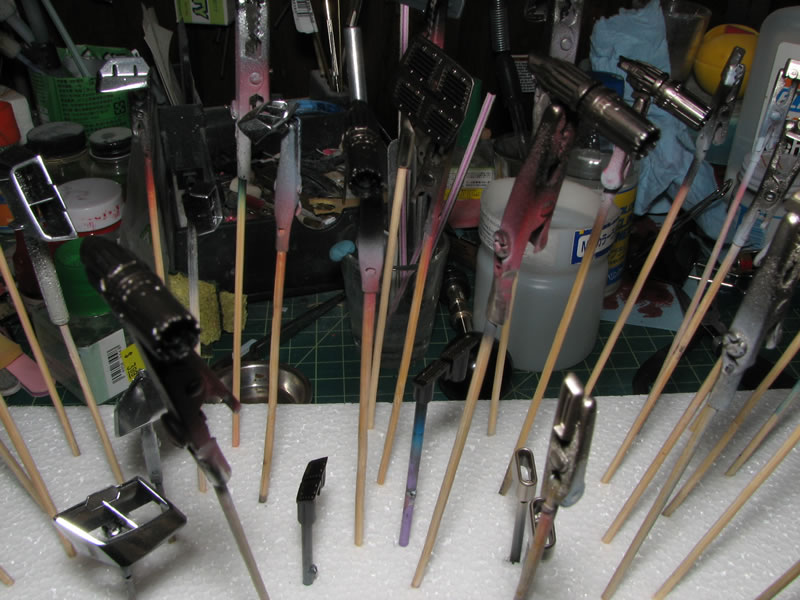
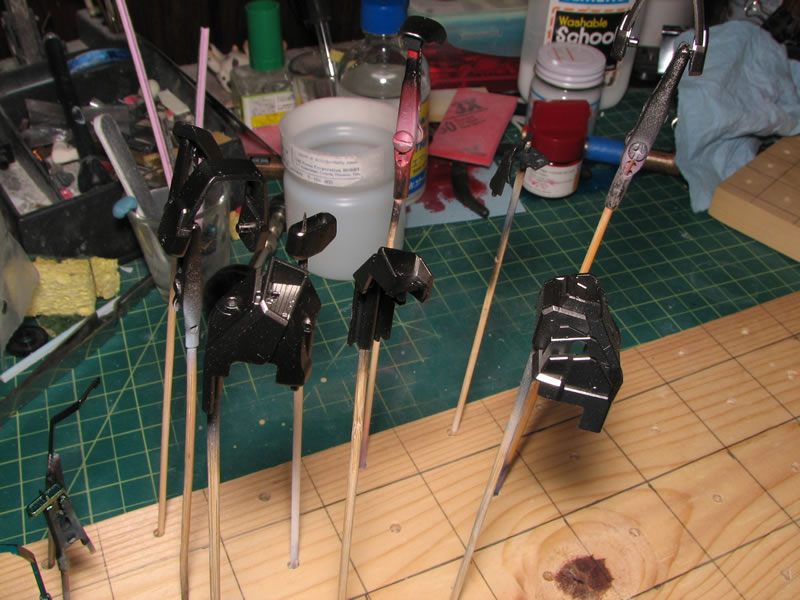
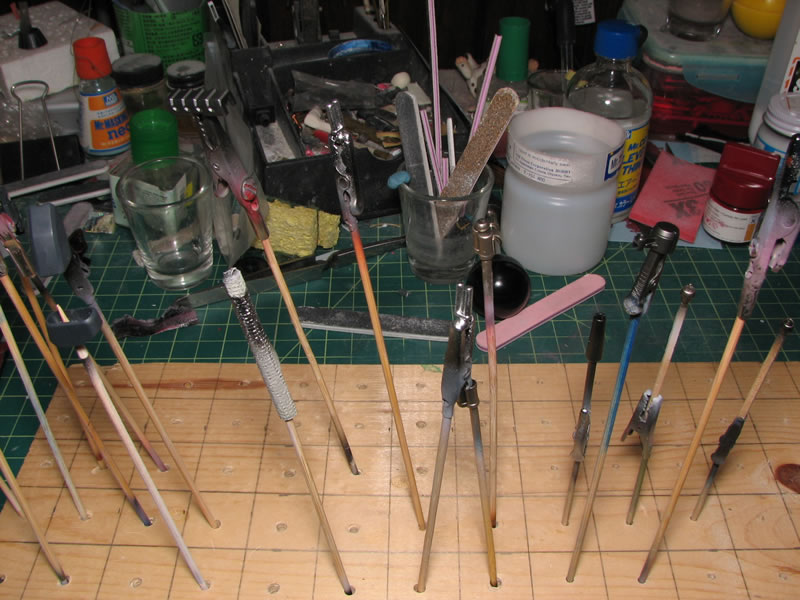
Being fairly satisfied with the results on the test piece, I went ahead and put up all the original "pink" pieces on to the part holders and sprayed on the gloss black. I will get to the red sponging tomorrow. Also in the picture is one of the very few pieces that will require any seam line attention.
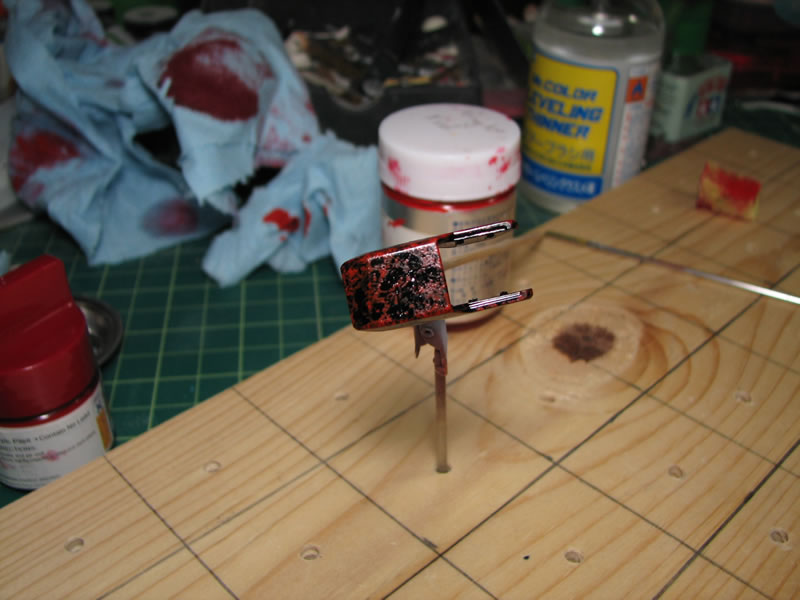
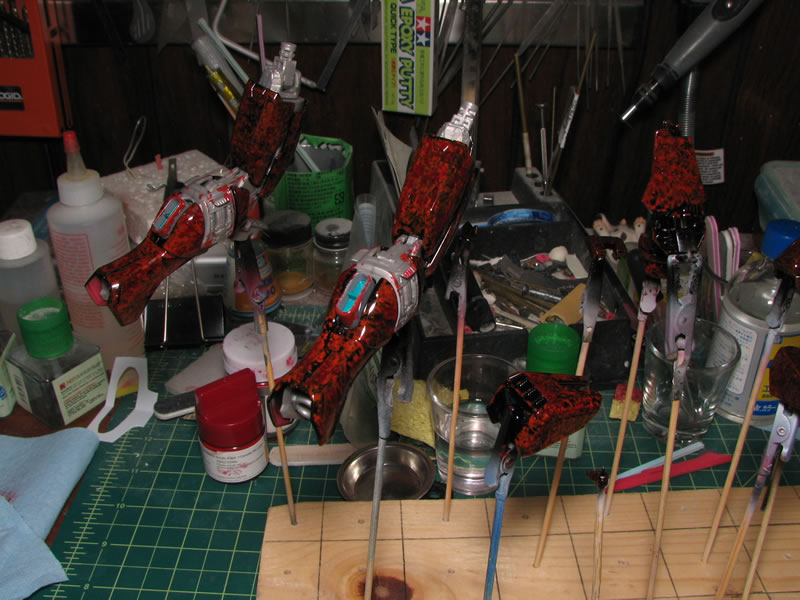
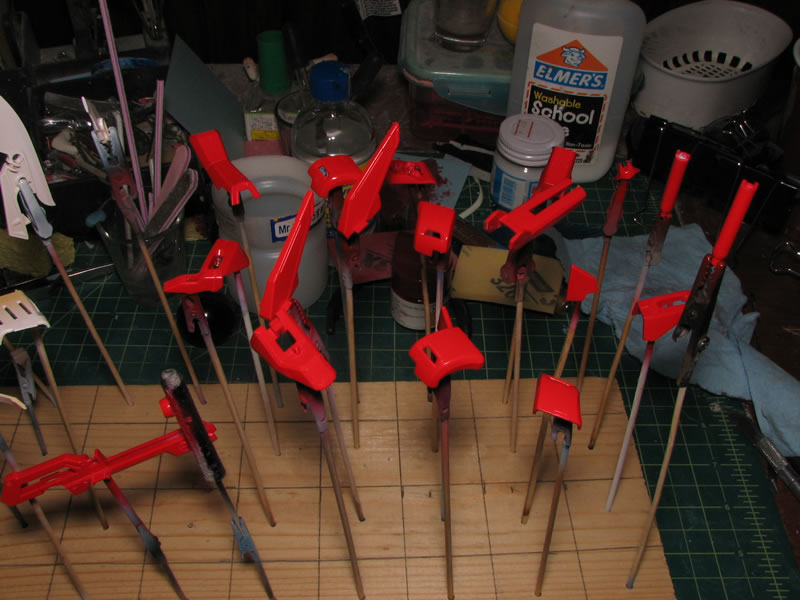
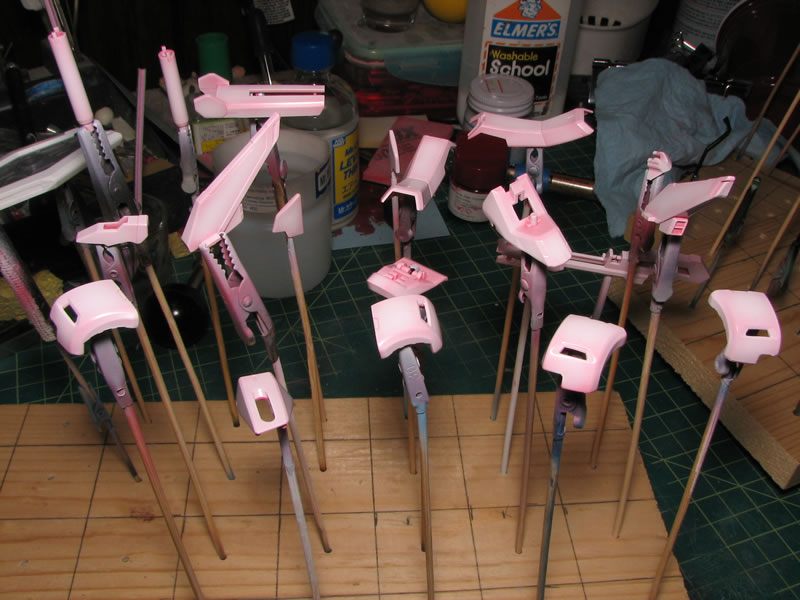
December 10, 2008: I got the marbling done on most of the "pink" armor parts. The skirts are being saved as I have a request to work on filling them, and I still need to sand down the seam for the boomerang piece. With the gloss black cured over night, the first step was to apply the marble with a sponge and the Finisher's Bright Red. Once that was applied to all the pieces and allowed to dry, the second marble color of wine red was applied much more sparingly than the first color. This was then allowed to dry for about an hour and the parts were wet sanded with 6,000 grit sanding mesh and water. Additionally, I took some quick videos of the process.
The Bright Red:
Get the Flash Player to see this player.
The Wine Red:
Get the Flash Player to see this player.
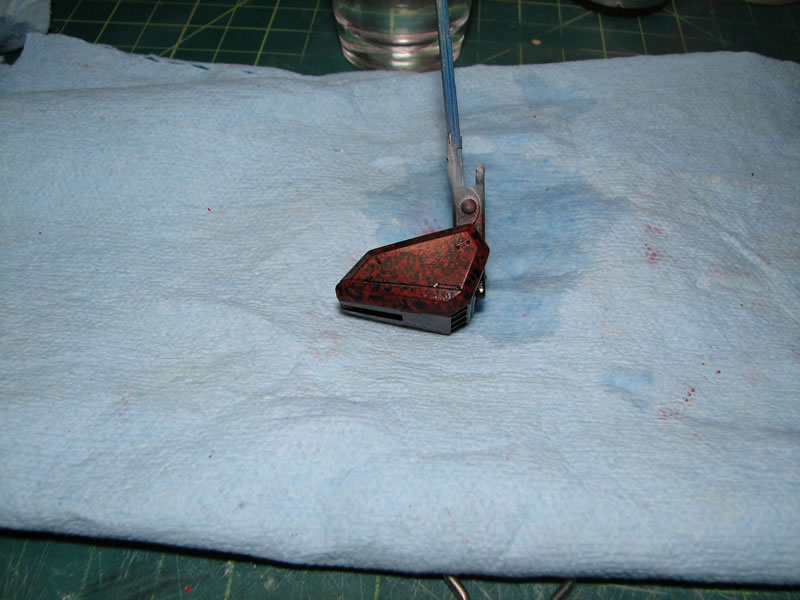
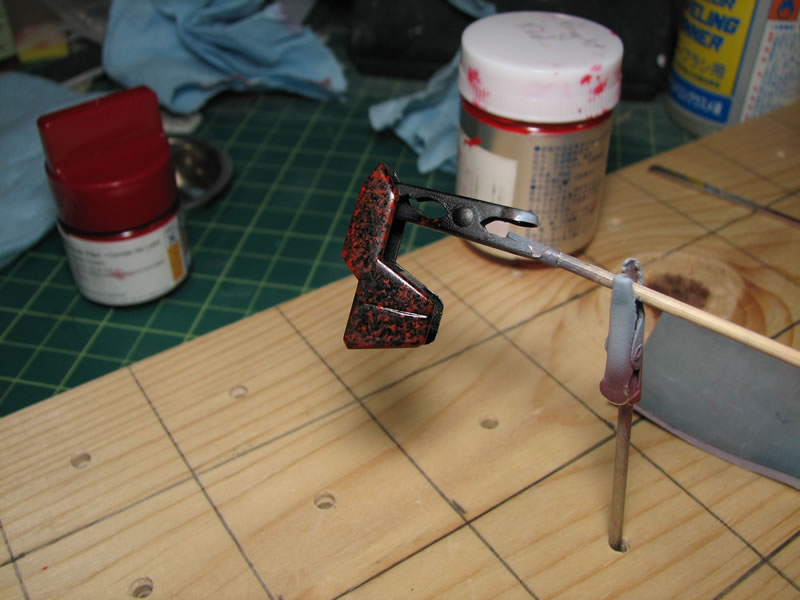
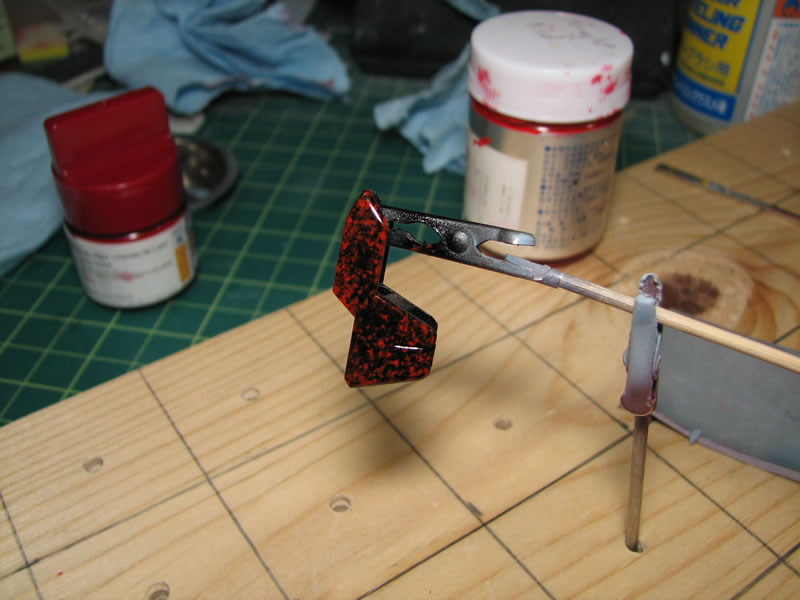
After sanding, a couple of heavy coats of clear are sprayed onto the parts to finish them up. I'll let them sit for three to four days to fully cure up before handling the pieces and removing them from the skewers and internal pieces.

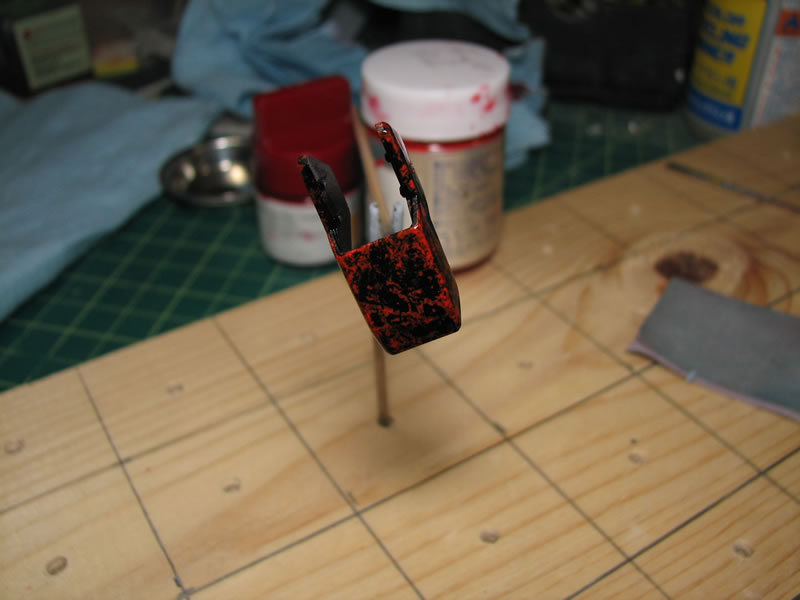
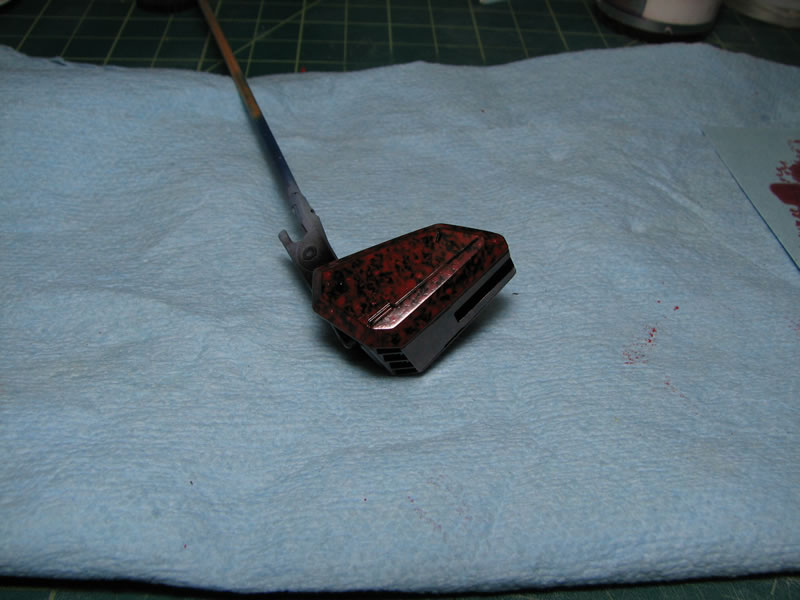
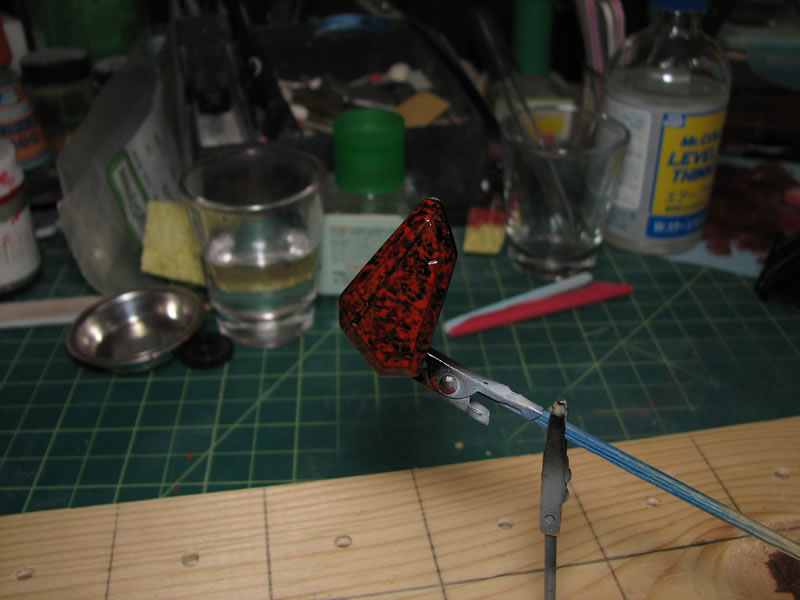
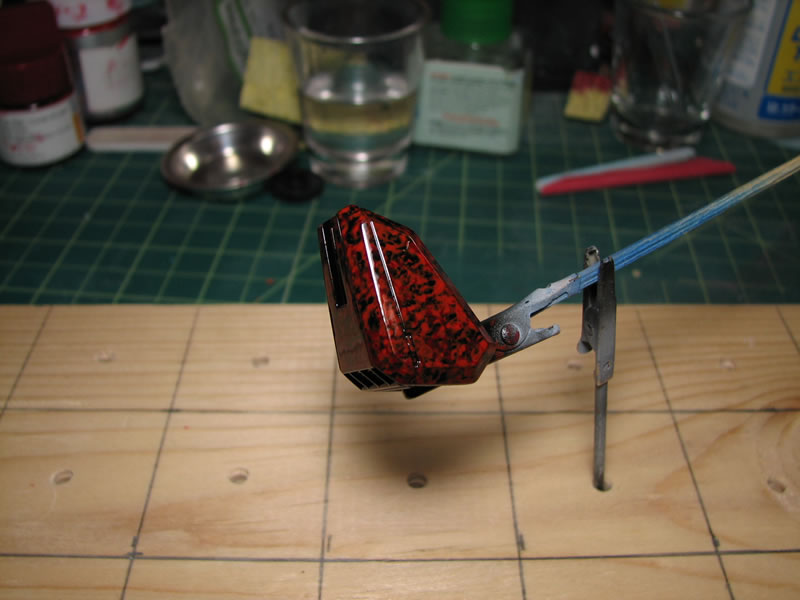
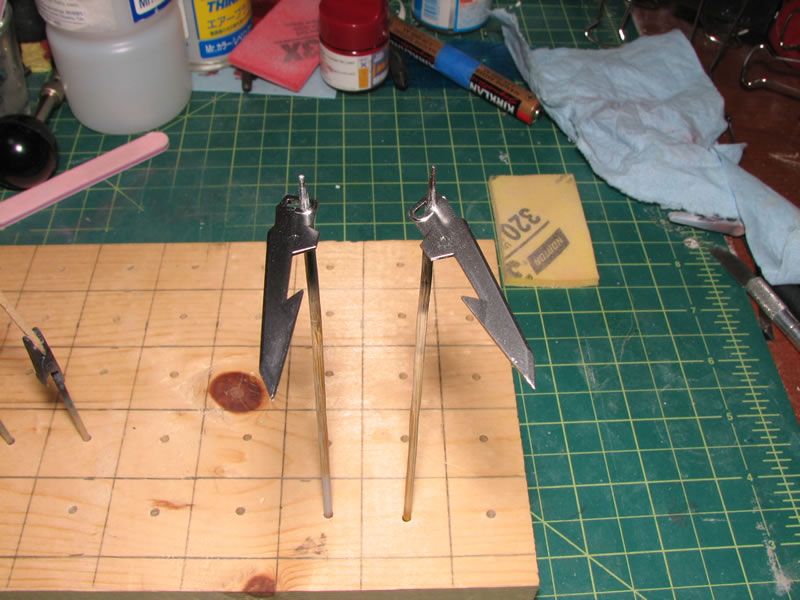
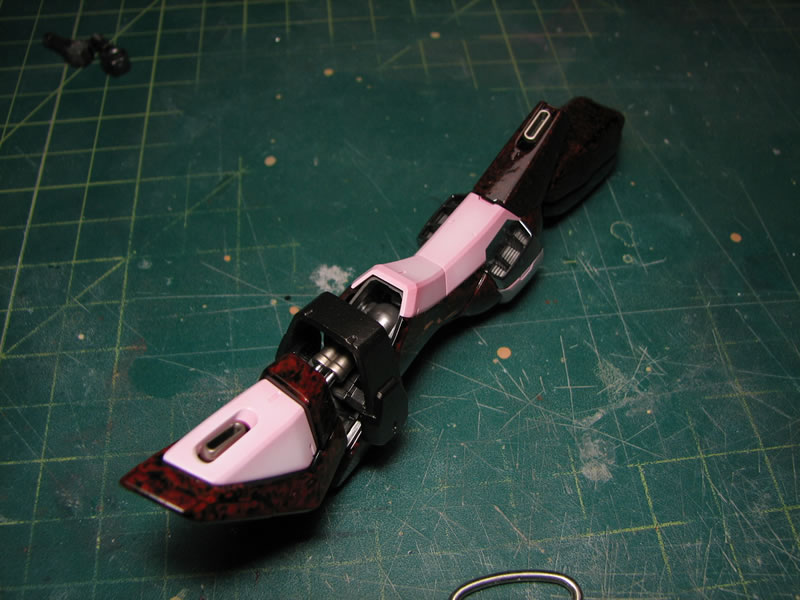
And here are some close up shots from different angles of the shoulder piece I used in the video after clear coating.
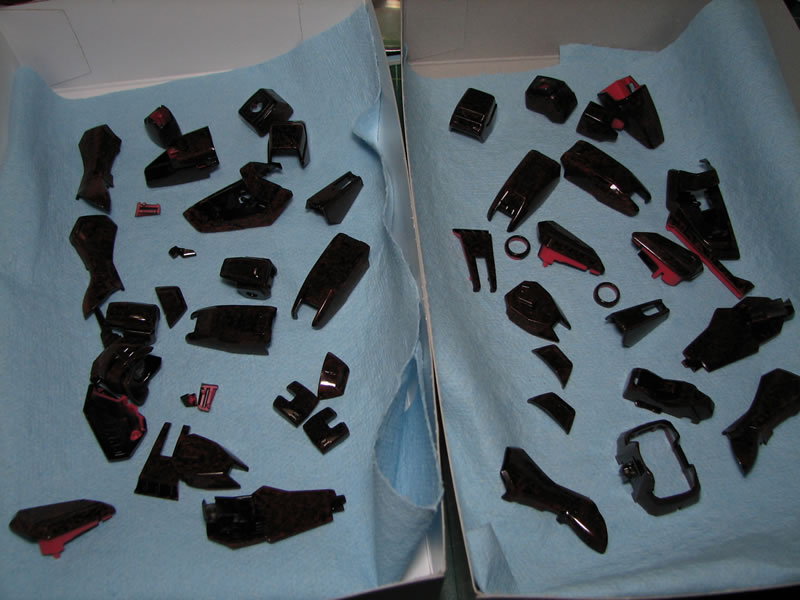
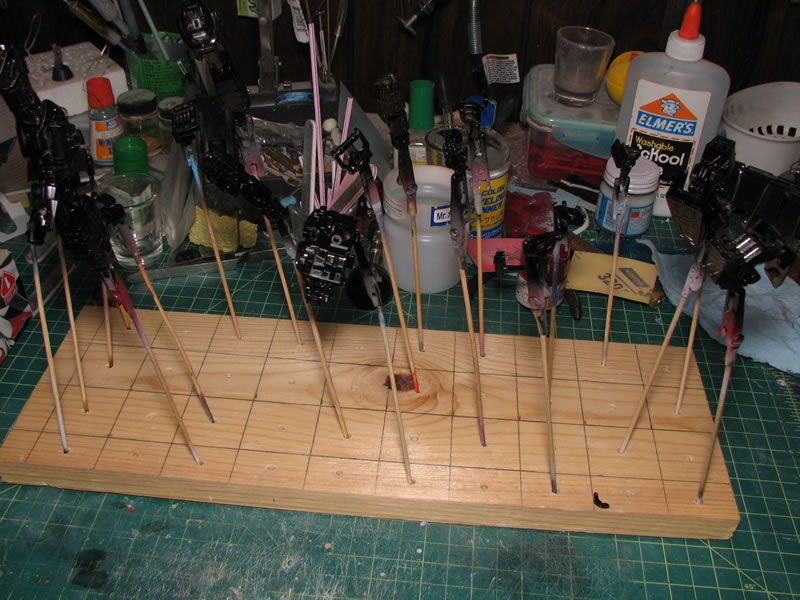
December 14, 2008: Small weekend update. The pink armor pieces were pulled from their spots and placed in a box for storage while the other parts of the kit are worked on. The casting for some detail parts has also started up. Below is a picture of the curing silicon mold. Once this sets up, some resin will be poured and I will start getting some resin details for the kit.
Painting for the thrusters and some of the internals has also begun. Starting with a gloss black base layer (not pictured), Finisher's Titanium was used for the thruster ports. Alclad Jet exhaust was used for the internals of the vents as well as the backpack wing's jets. Alclad Steel was used for some of the internals around the lower torso, neck, and cockpit. Polished aluminum was used for the other exhaust ports. Next up will be the rest of the armor pieces and the internals.
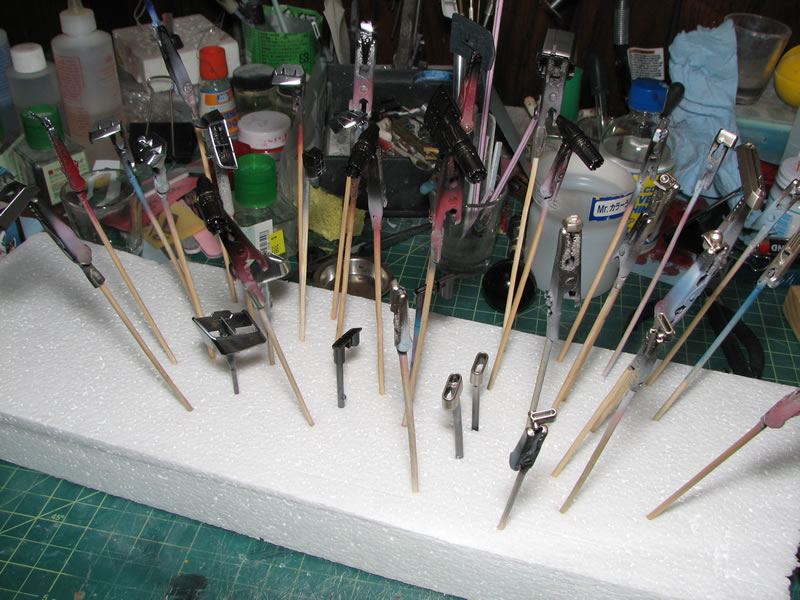

December 16, 2008: More painting. The internals were painted with the Finisher's gloss black, without primer (this is important for later in this update). Then Alclad Magnesium was sprayed onto the parts. The dark gray armor pieces were painted with Gaia Notes Gunmetal.
The claw blade thingy was painted with alclad stainless steel, which give them a shiny slightly blue tint to the metallic finish. The green pieces were first painted with polished aluminum then finished off with clear green for a metallic green finish.
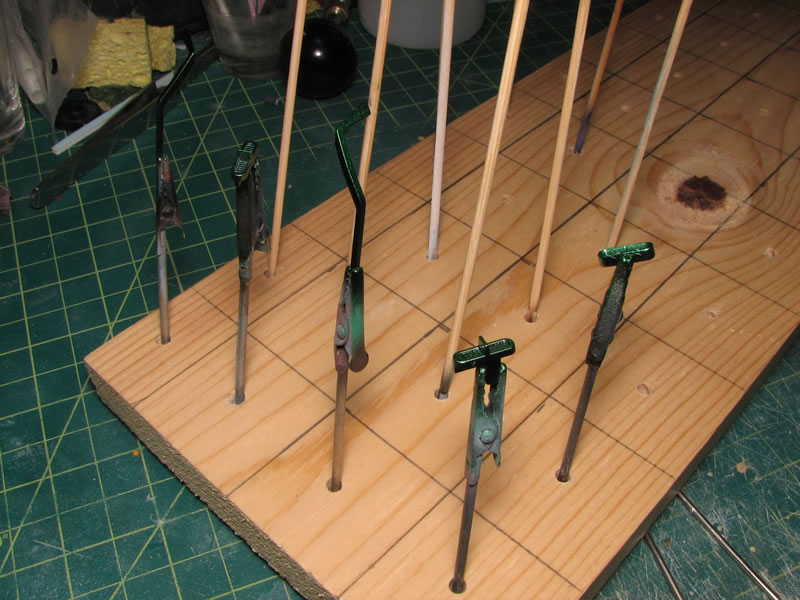
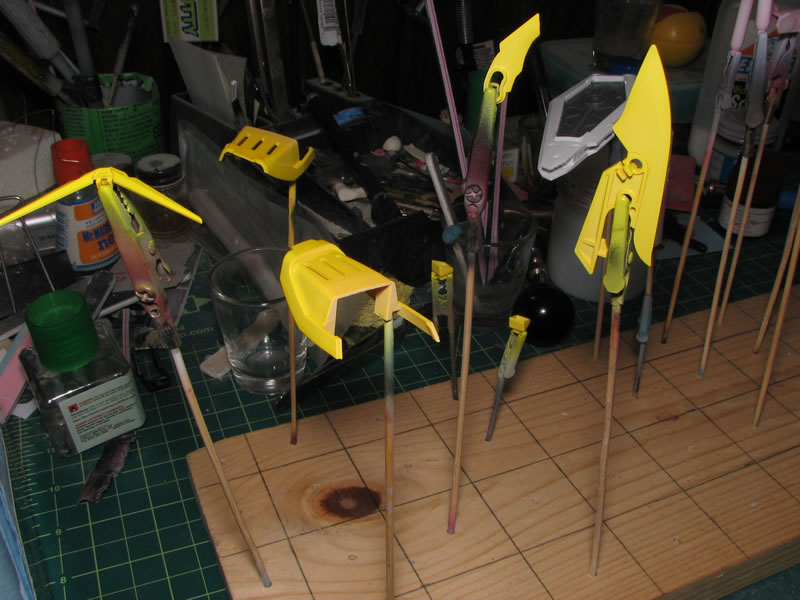
The white armor pieces were painted first with bright red, then shaded using white as the second coat. I want a slight red tint to the shading to match up with the red of the marbled armor. The yellow pieces were sprayed with a white, then a clear yellow for a much brighter yellow finish.
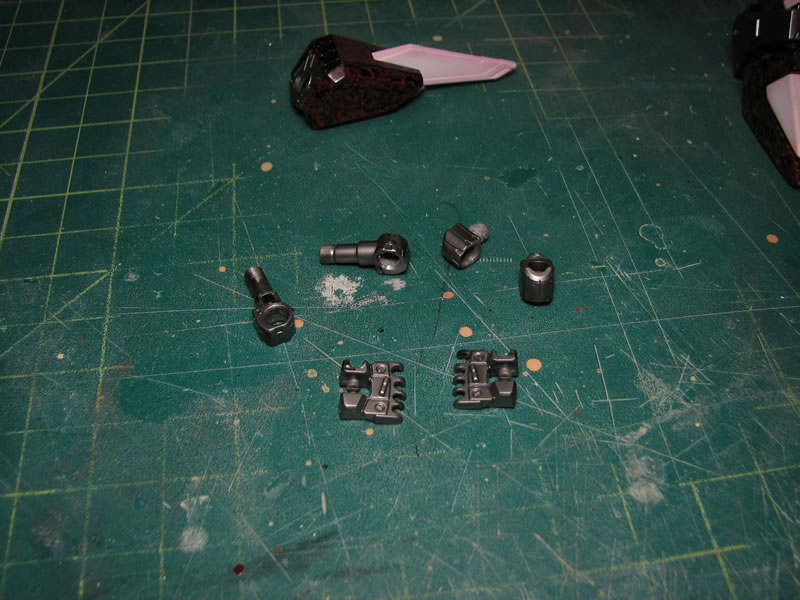
Problems.... The abs joints for the hands, and shoulder joints were either weakened by the purple power or the Finisher's paints applied without a primer layer.... My guess would be the problem with the primer skip as I've soaked numerous kits in purple power without any adverse affects. But I do not completely rule out the possibility that the purple power hurt the integrety of the plastic. I'll just have to do more research on the issue. I do know that Finisher's is fairly hot paint, and it could have easily attacked the abs weakening it causing it become completely brittle and break at the slightest of touches. These parts will need to be cast in resin as I'm not about to go buy another kit or go through the hassle of ordering the entire ABS parts tree. For the rest of the pictures, I have the shoulders done and the legs. I just need to deal with the problems I'm running into for this bloody kit.

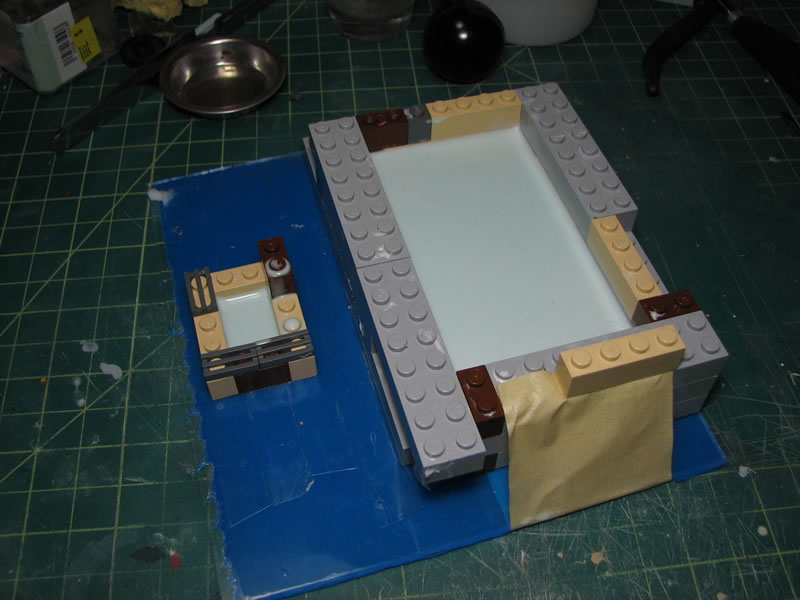
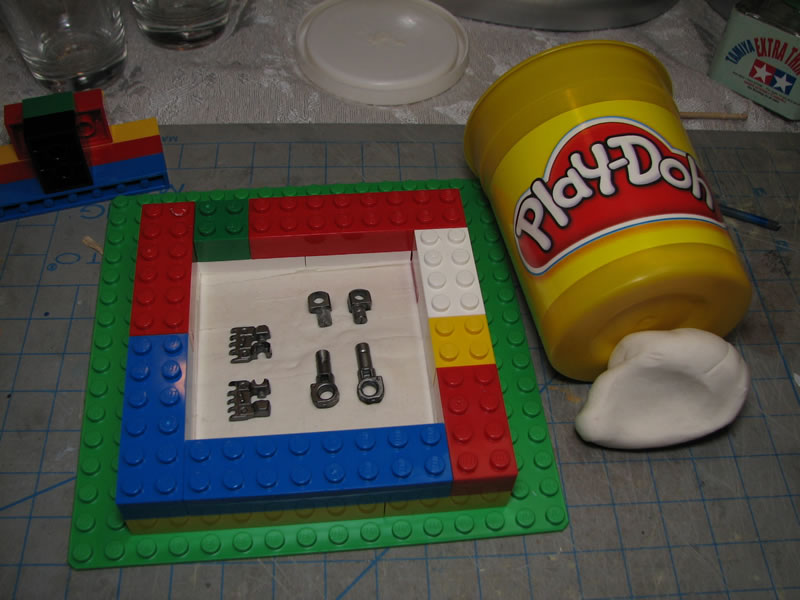
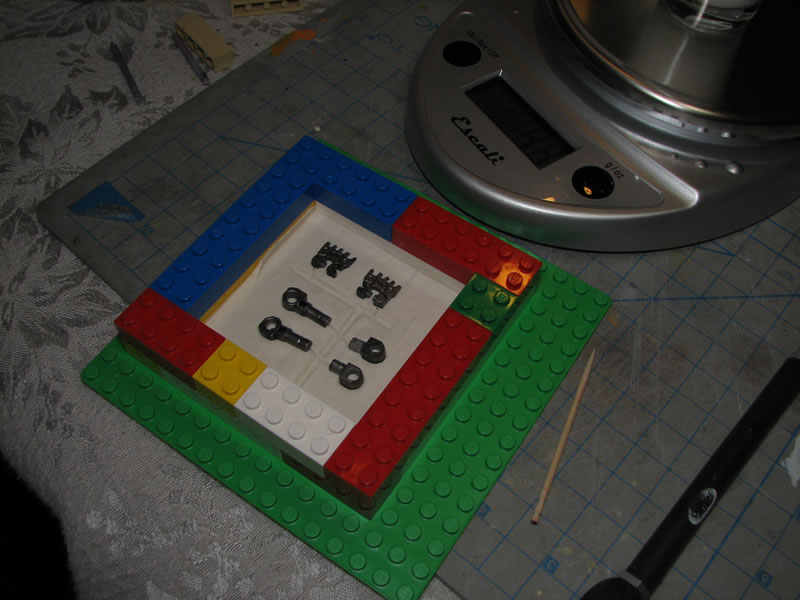
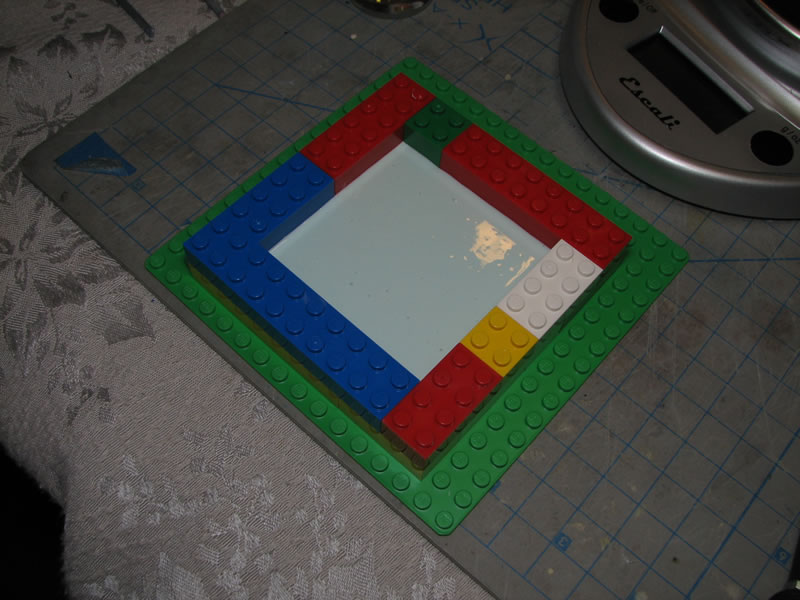
January 7, 2009: Progress has slowed for the kit as I was busy over the holiday season playing host to a number of events and gatherings. Even slower is the creation of the molds for casting replacement resin parts. Below I start with a playdoh base that is surrounded by a lego enclosure. The parts are placed into the playdoh.
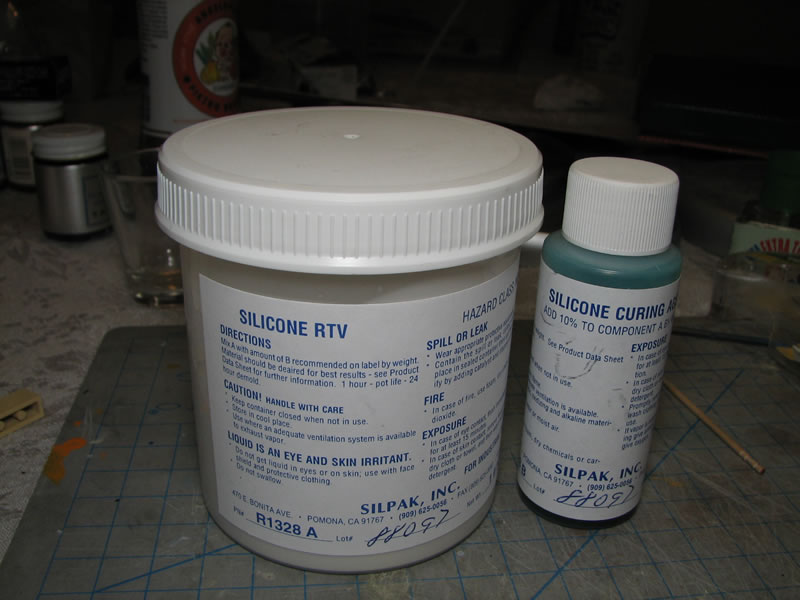
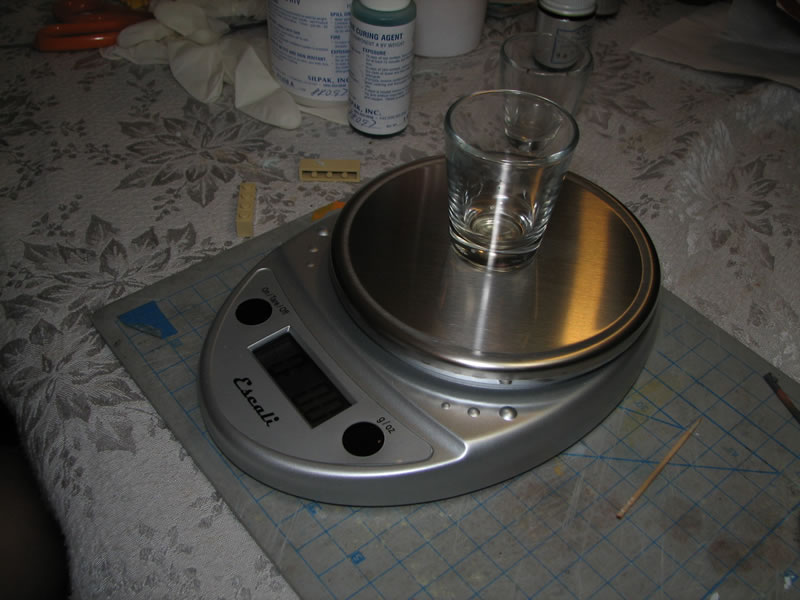
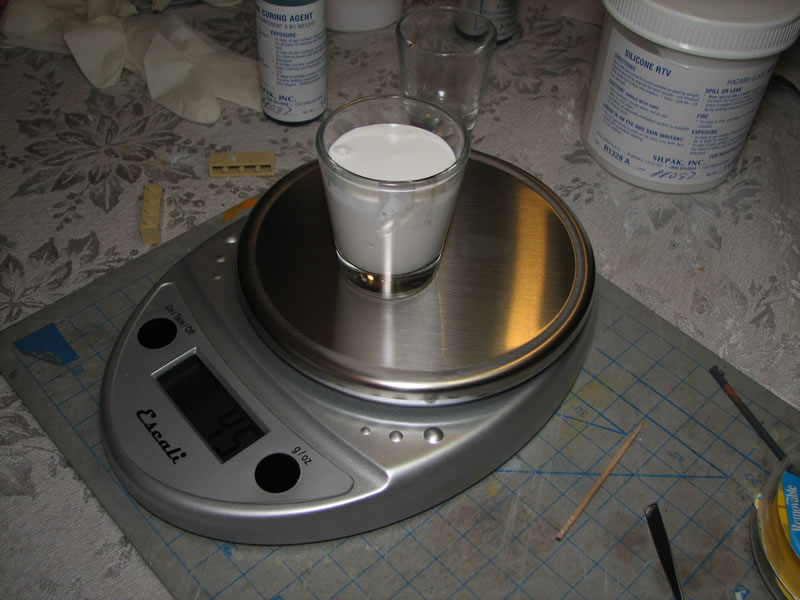
Next up, silicon RTV is used. The stuff is measured by weight and mixed accordingly. Using shot glasses, the scale is zeroed and the rtv is poured into the glass. Then 10% of the weight of the rtv in the shot glass in the silicon curing agent is added and the mixture is slowly mixed to ensure a consistent combination. Slow stirring is a good idea to keep the smallest amount of bubbles from forming. The mixture is then left to sit on the scale for a 10-20 mintues to allow for any bubbles that form to gas out.
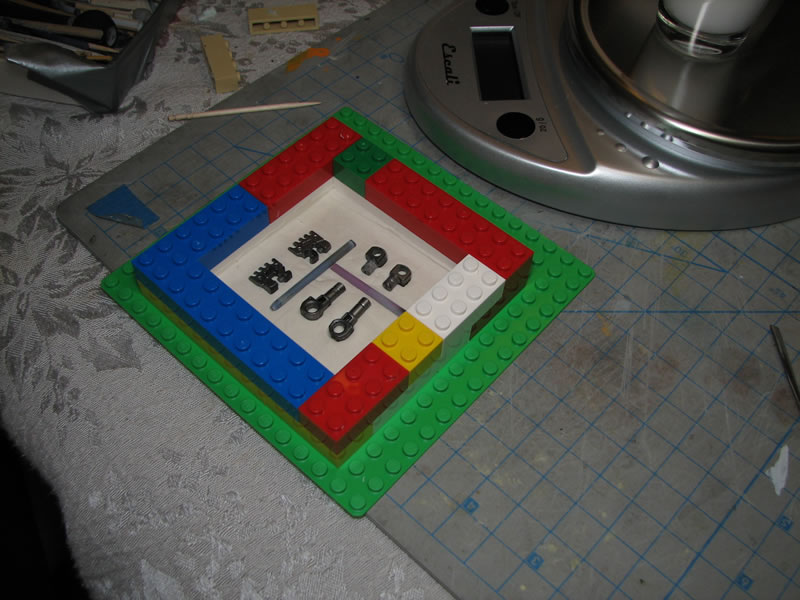
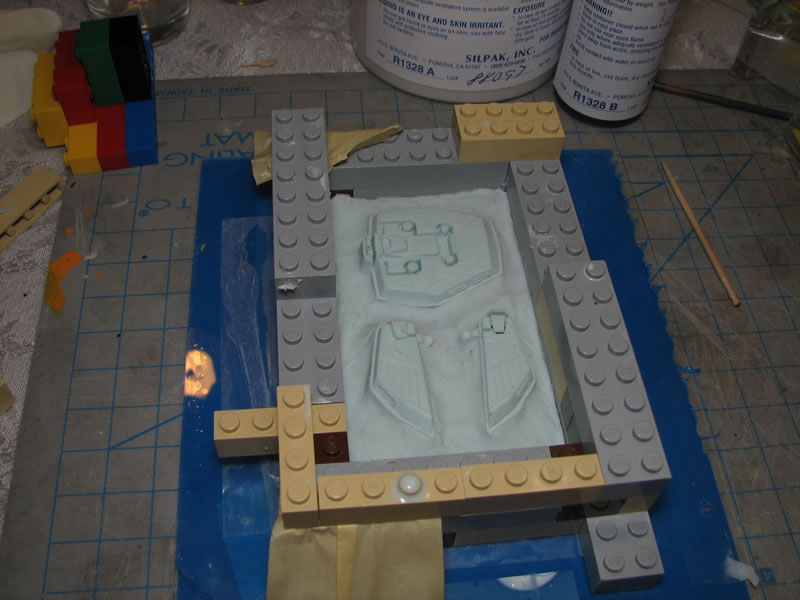
The mixture is then poured into the lego frame and then allowed to sit and cure for the next couple of days. It is best to keep from moving or poking at the mold to keep the number of bubbles to a minimum. And after a few days, I can remove the mold and cast the other side. The other picture below is a picture of the mold after it has cured.
Feburary 8, 2009: Making the two part mold, vasaline is applied to the side already molded, then silicon is poured.

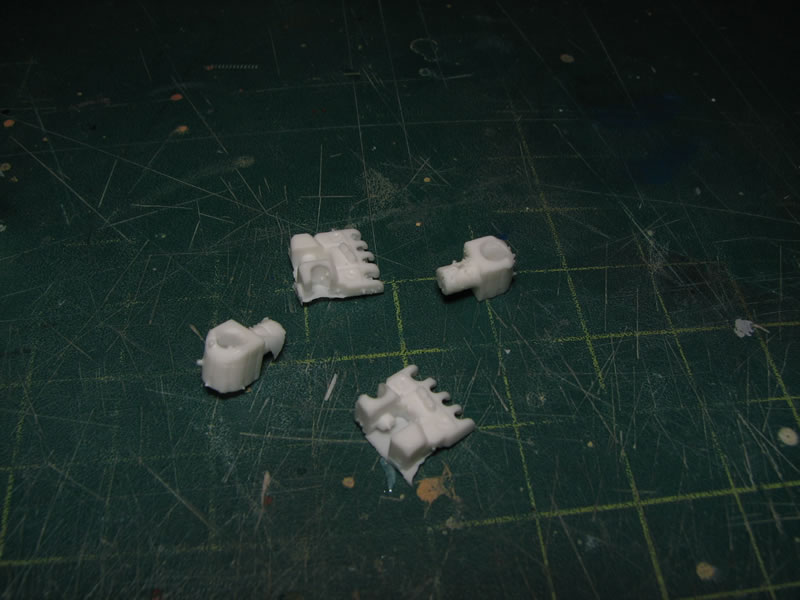
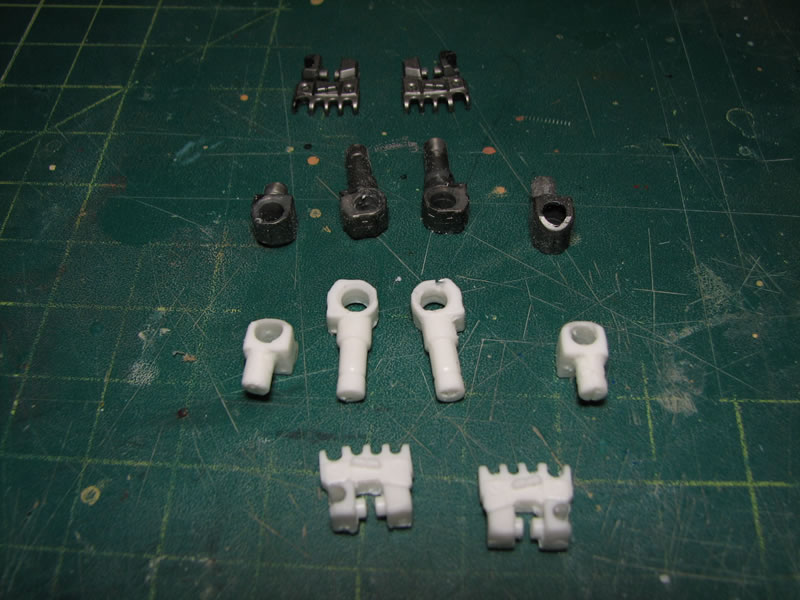
With the success of the casting in the pressure pot, the shoulder joints and hand internals were casted. They are MUCH stronger than the original metallic colored abs plastic joints.
December 7, 2008: I started working on this commission piece a few weeks ago in the middle of the Tekkaman Blade commission. The damn thing is damn partsy.
December 9, 2008: Washed, test paint, and base gloss black painted
December 10, 2008: Marbling with videos!
December 14, 2008: Mold making, and metallic paints
December 16, 2008: More painting, problems with ABS
January 7, 2009: Silicon Mold making
Feburary 8, 2009: Second mold made, and joints casted