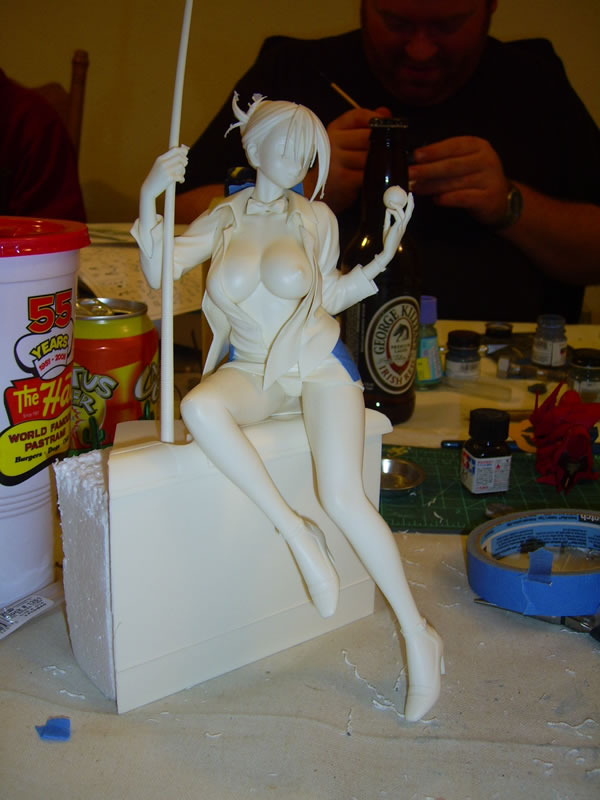
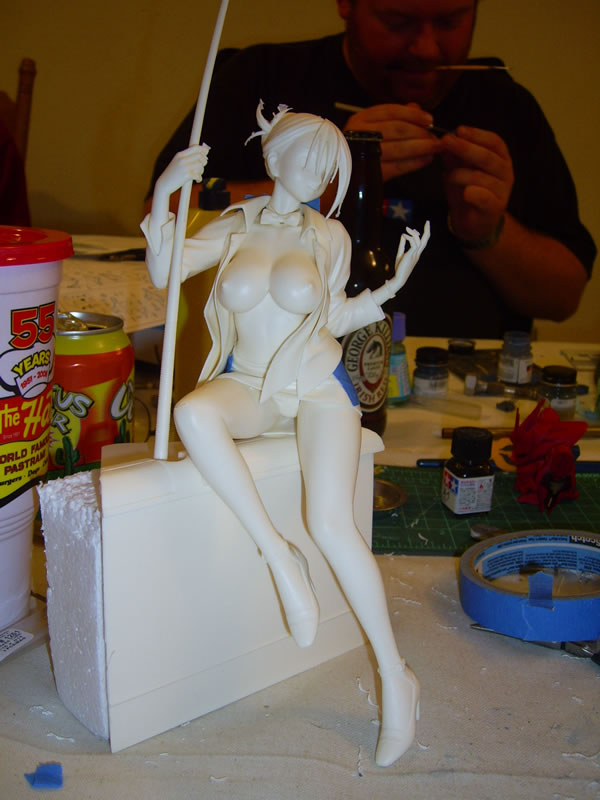
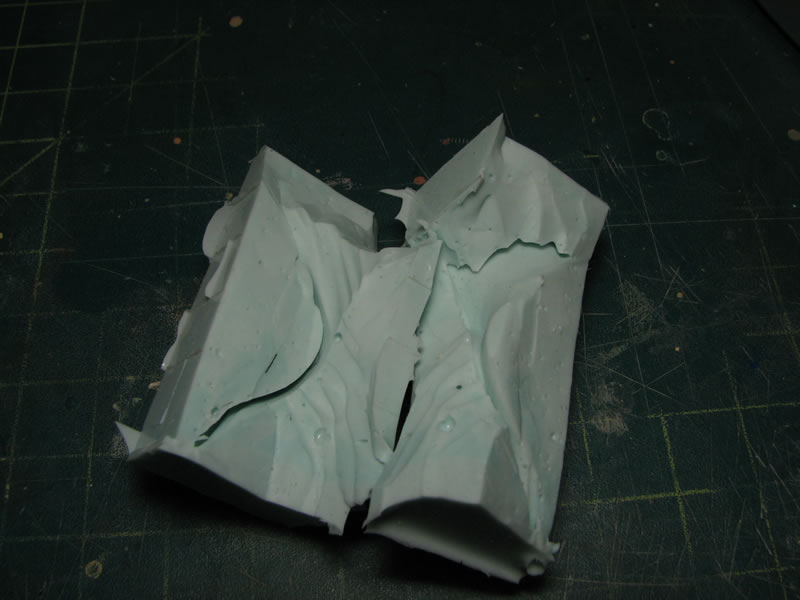
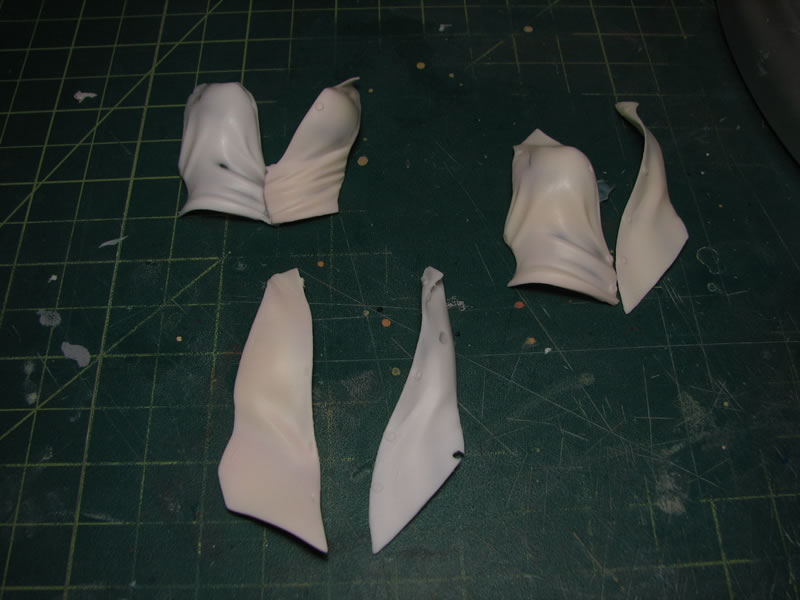
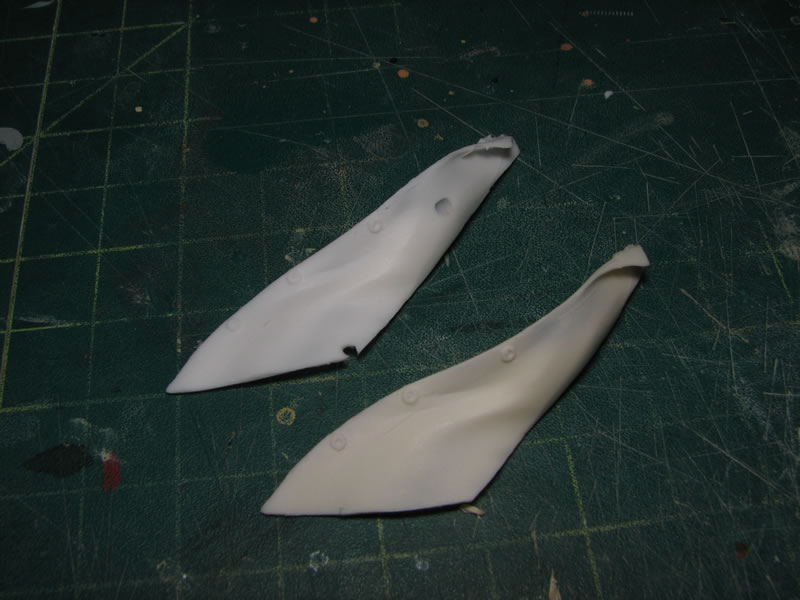
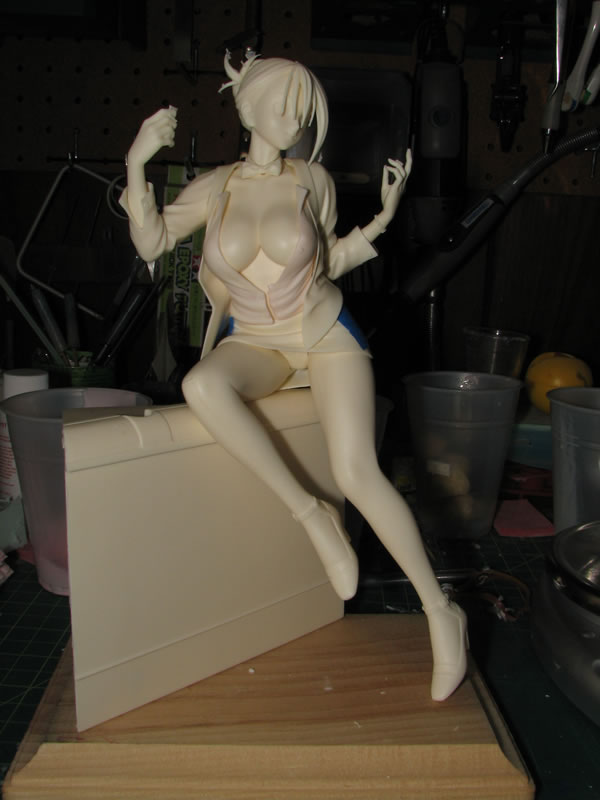
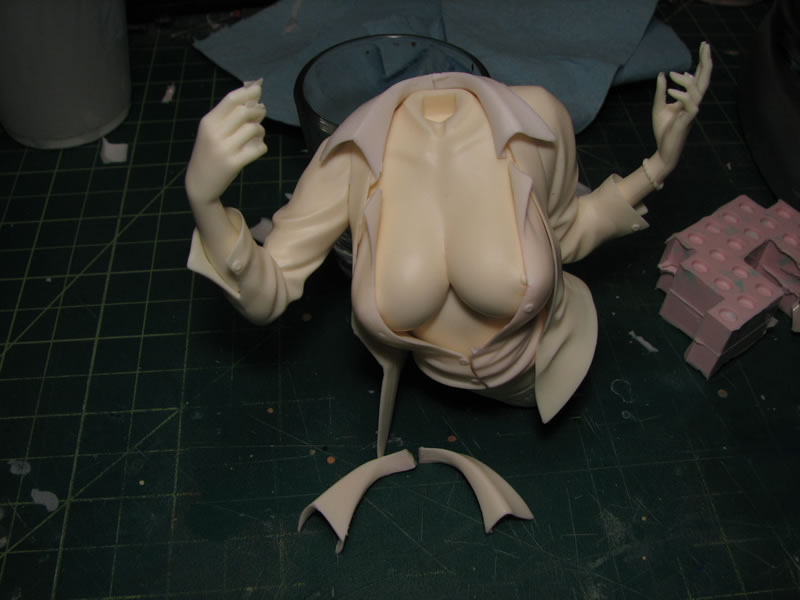
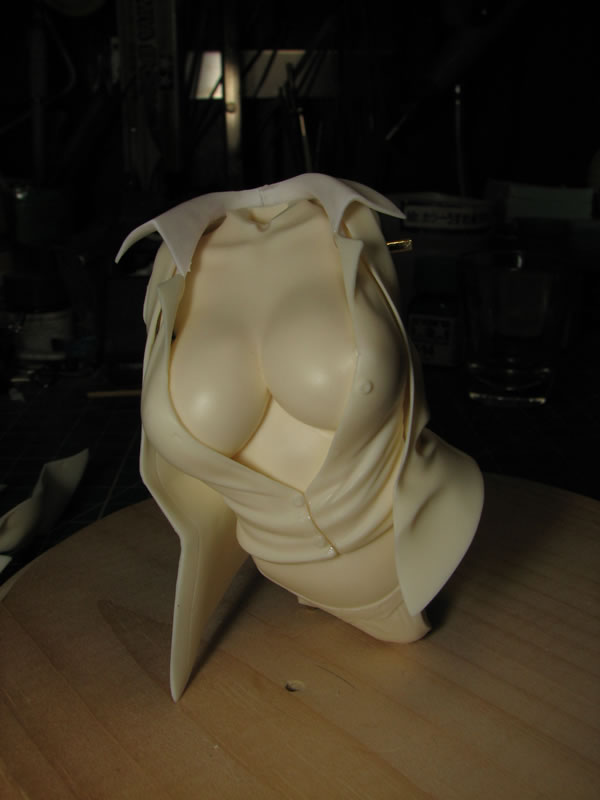
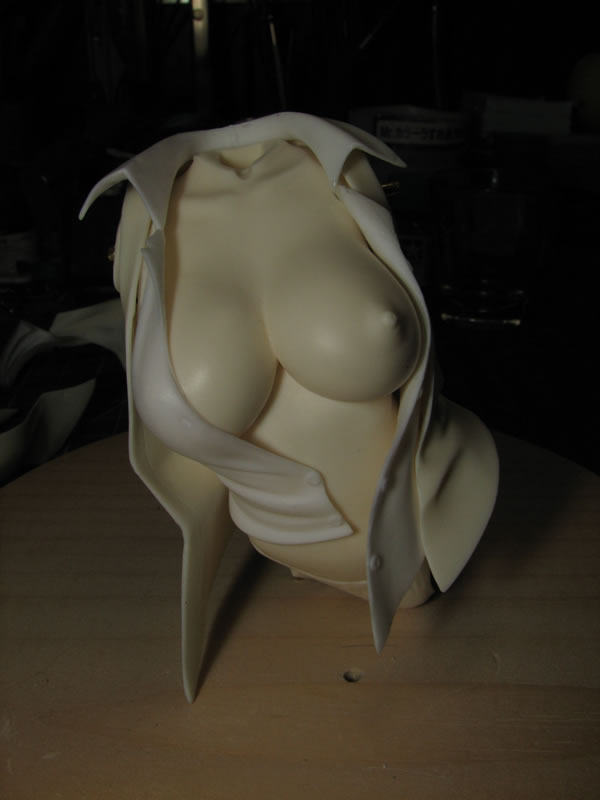
Feburary 2, 2009: This kis a kit from Orchid Seed that came out at the last HobbyComplex event. I started this kit at the last build gathering. I took a couple of minutes and pinned the kit. The kit came together very nicely and most of the two part pieces are broken along natural seams. The kit has optional parts for various displays of her shirt under the vest. With the vest cut along a natural seam, it is actually easy to swap out different versions of the shirt. The only problem is that there is one collar and I want to build the kit utilizing the break down of the vest and hide all the seams between the collar and the shirt parts. Here is the kit pinned with the different versions of the shirt displayed.

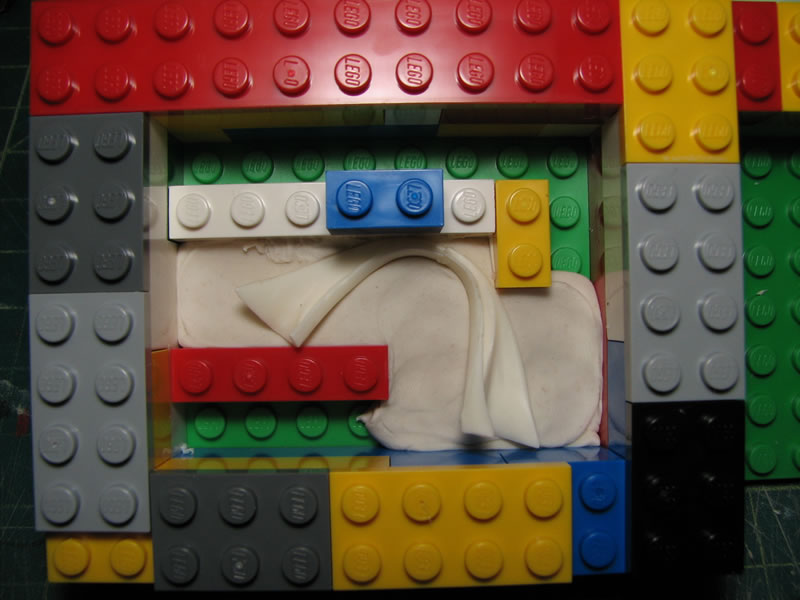
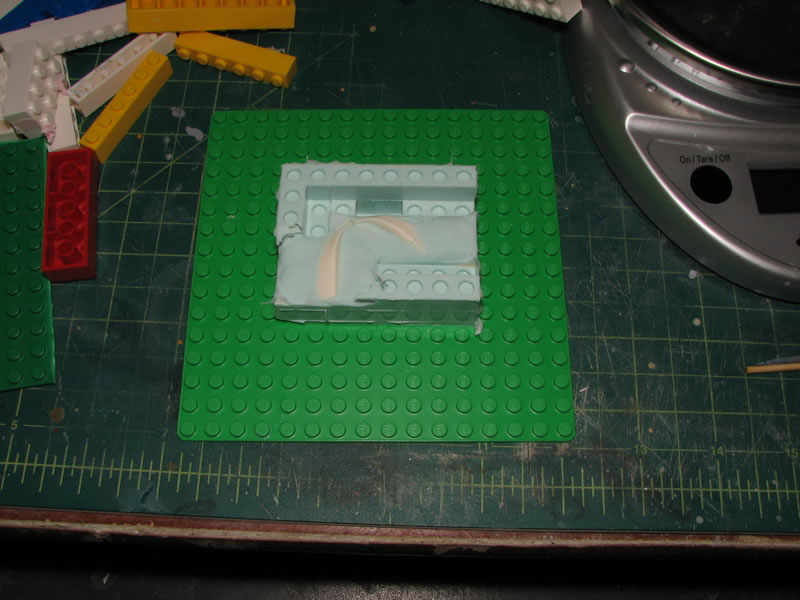
The solution is to cast copies of the collar and shirt pieces, and build three versions. Closed, half open, and fully open. The two pieces of the collar are glued together and then casted. To improve the mold quality, I picked up a pressure pot that will hopefully reduce the bubbles in the silicon and resin while it sets up and cures.
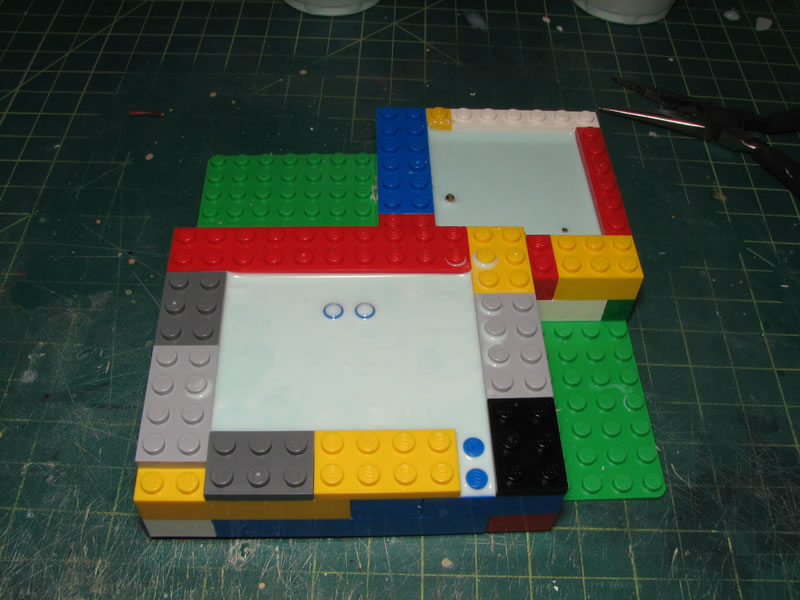

Feburary 3, 2009: The difference between making a mold with and without a pressure pot is below. Without there are tons of little bubbles that formed in the surface, and with the pressure pot, the mold is amazingly smooth.
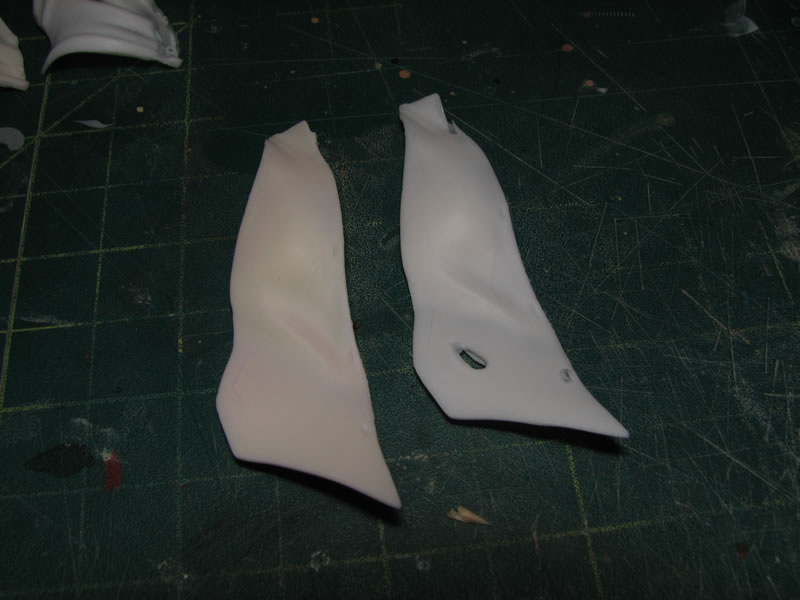
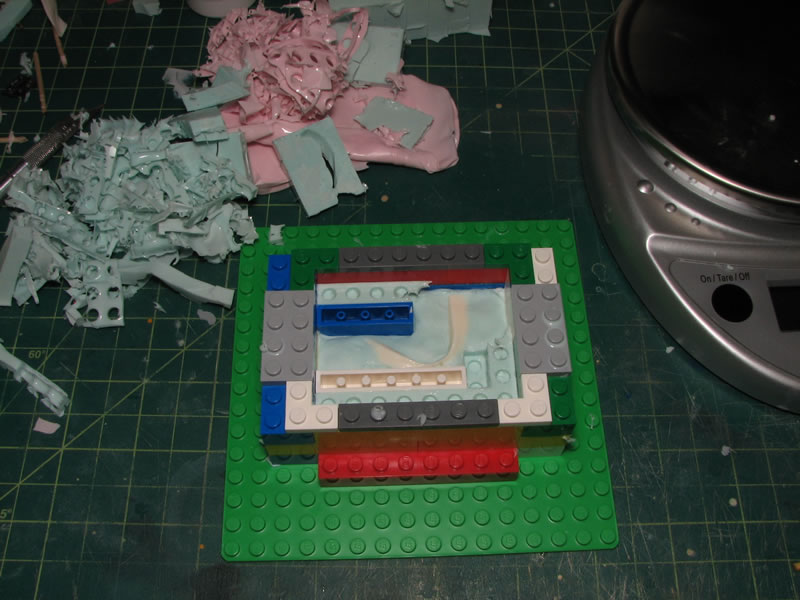
Molds of the shirt parts were made the previous night and placed into the pressure pot to cure. Once cured, the original parts were pulled and then the molds were prepared for casting. This is my first casting attempt. The resin sets up VERY fast, so I need to work quickly, to fill the mold then put the mold into the pressure pot while it sets up. Since I'm making three sets of clothing, I'll use the originals with the castings to make three different shirts.
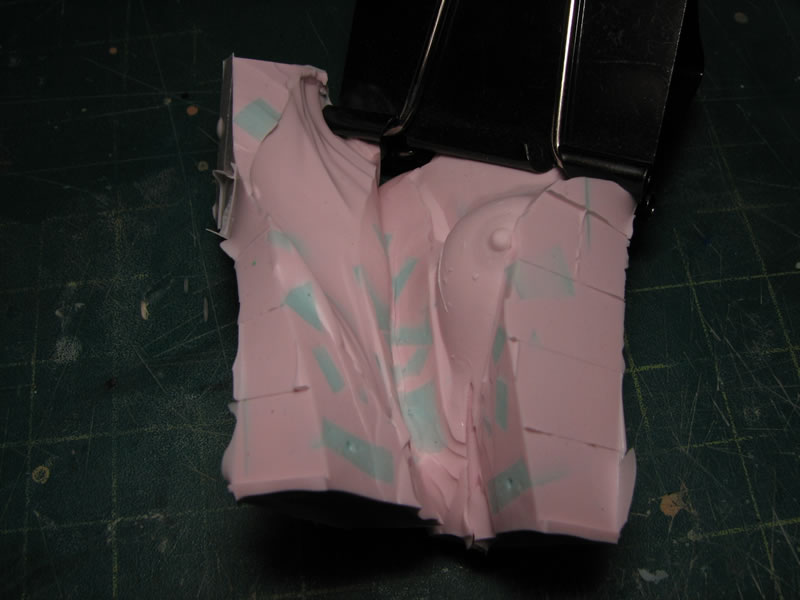
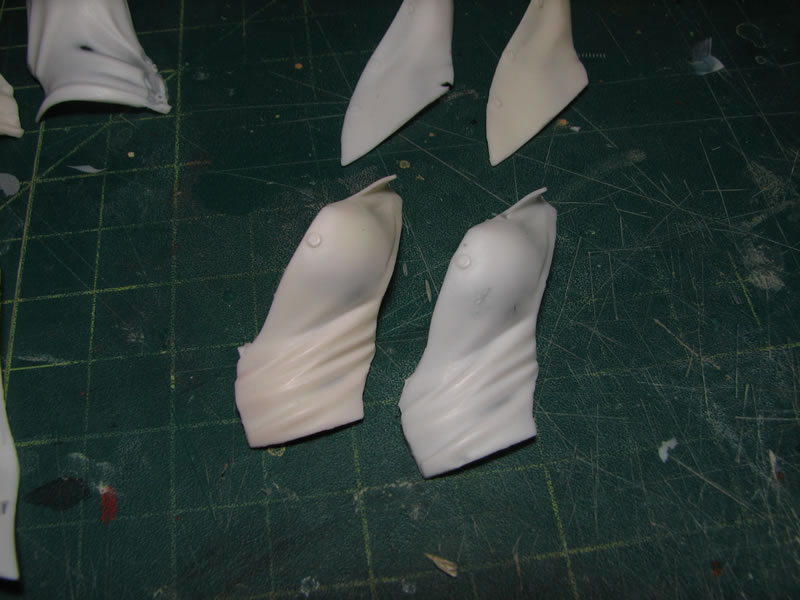
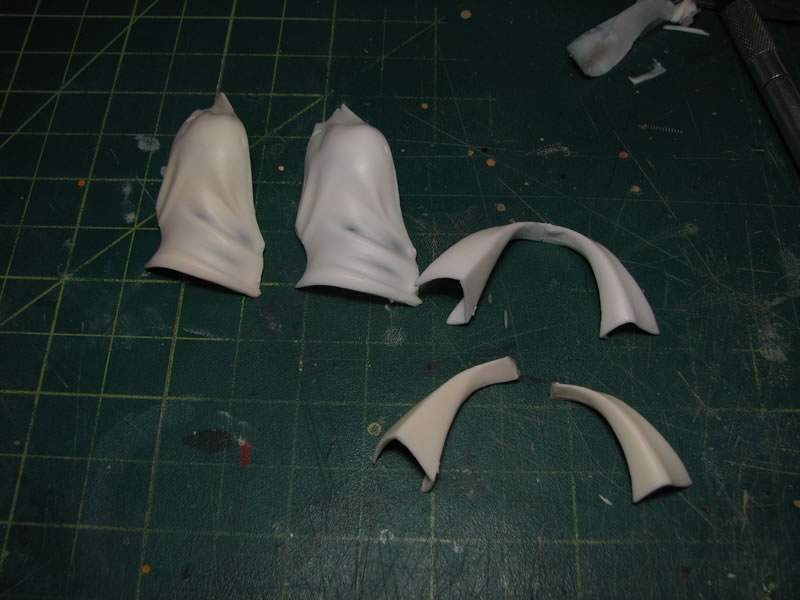
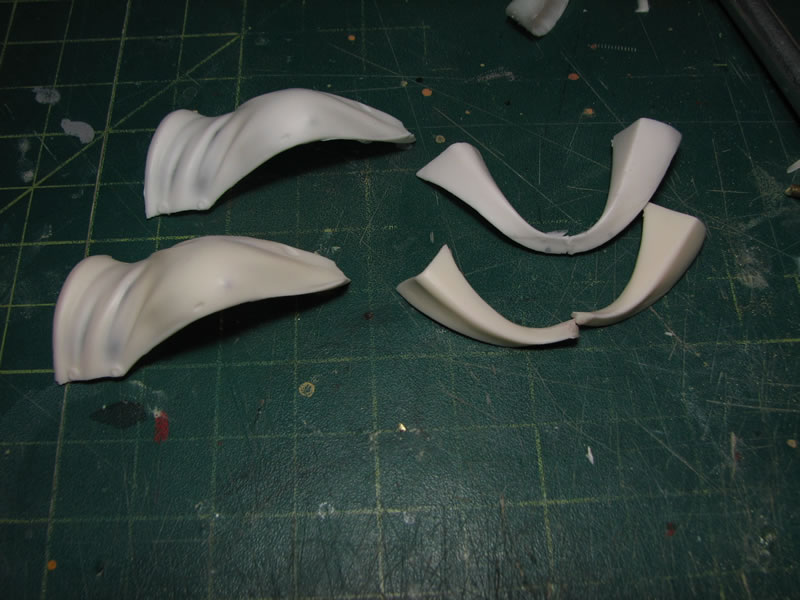
Below are the examples of the castings. Not too bad for my first casting attempt. I will do another casting round tomorrow with what I've learned from today's casting attempts. The white parts are the recasted pieces while the off white parts are the originals.

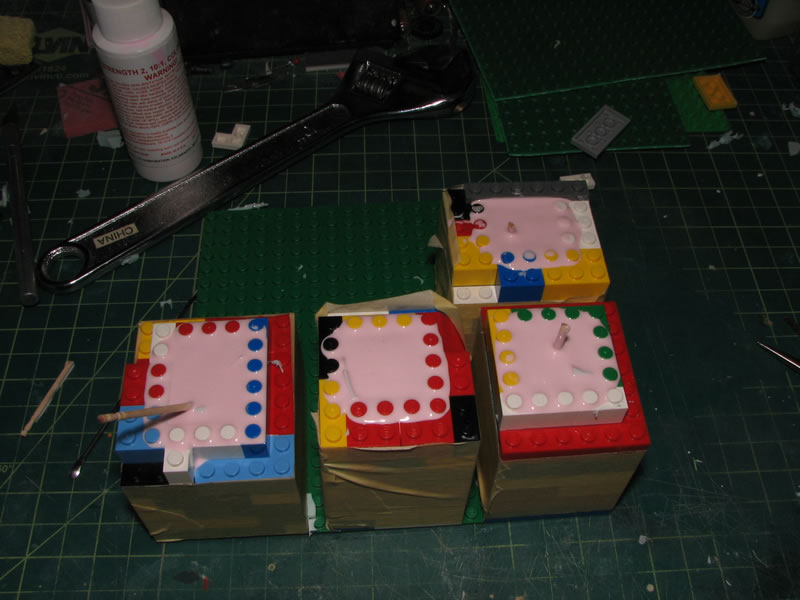
The second part of the two piece mold for the collar is prepared for mold making. Vasaline is applied to the silicon and the mold is filled with more silicon and placed in the pressure pot for curing.
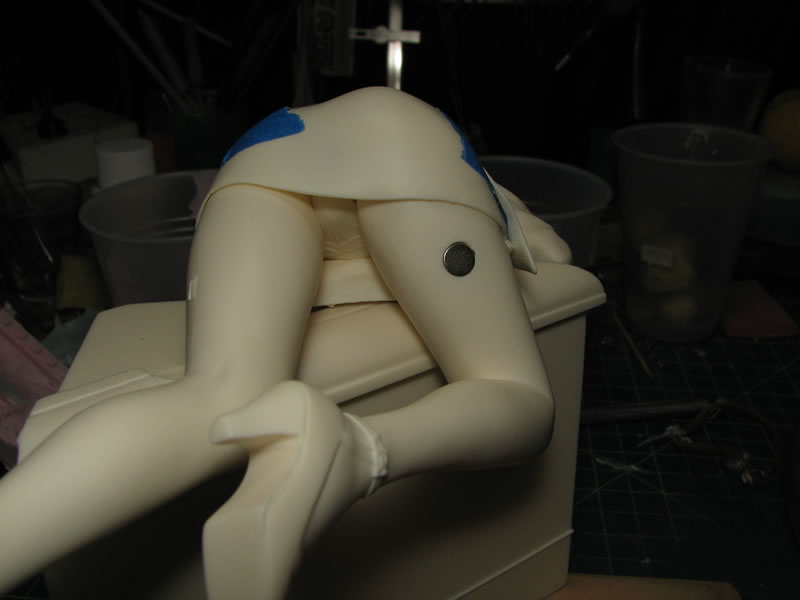
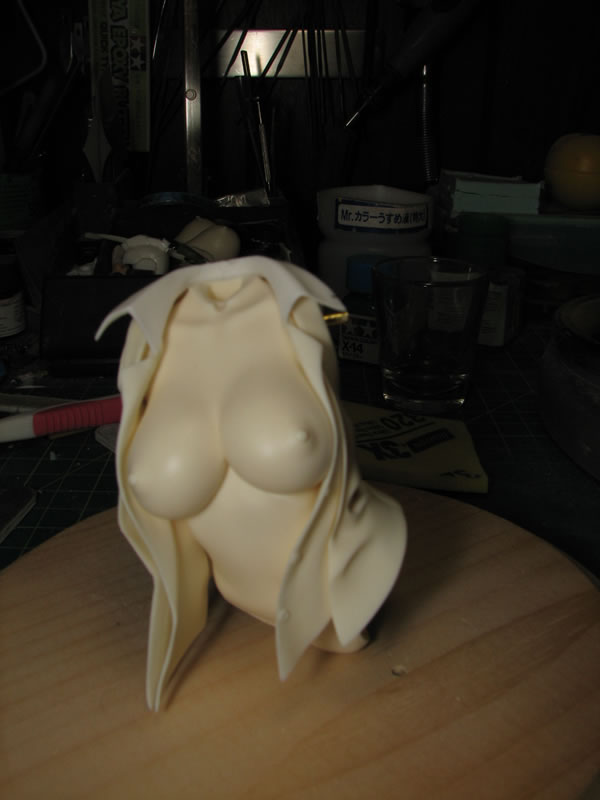
Feburary 5, 2009: Little update, I took some pictures of the magnet placement. Here is a clearer picture with the magnets in place.
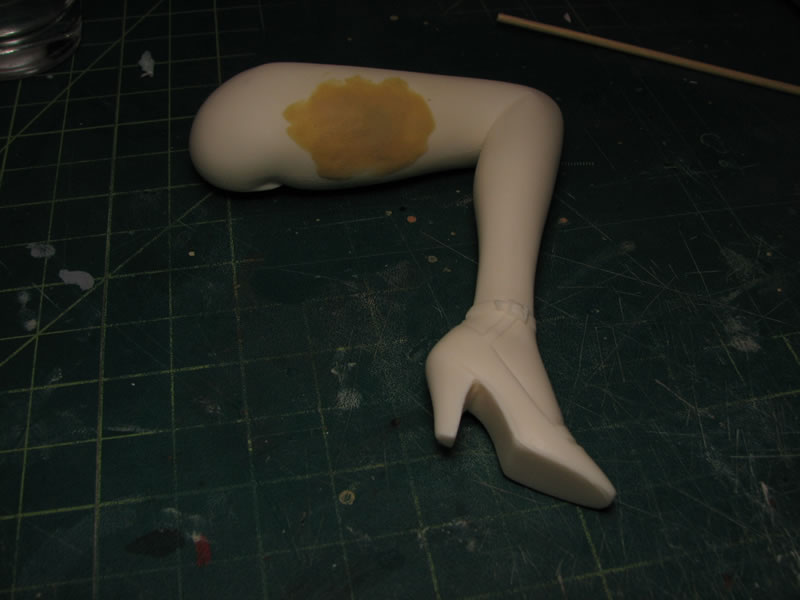
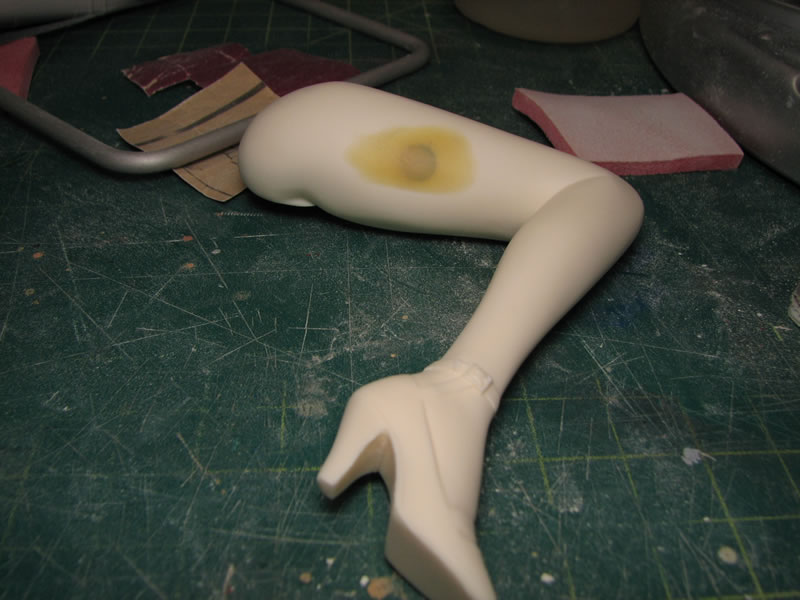
I placed a magenet in the pool table, the corresponding part in the leg, and in the vest.
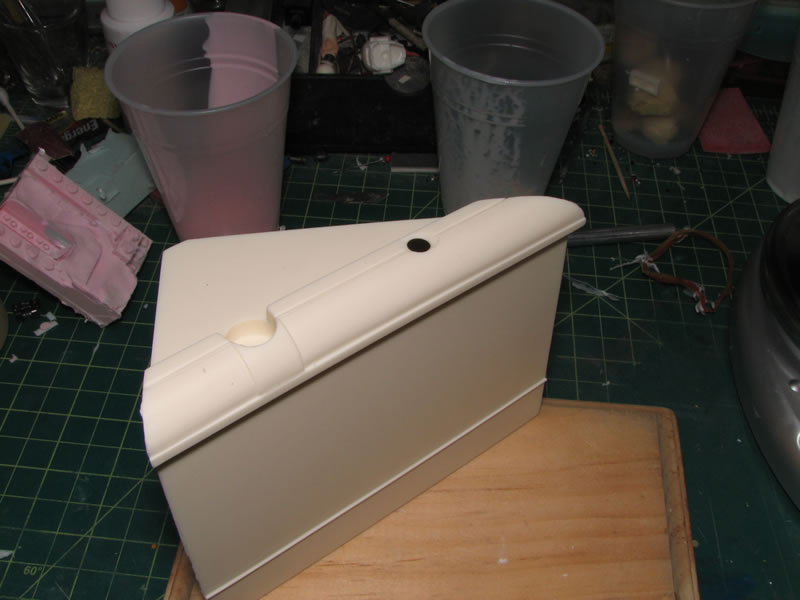

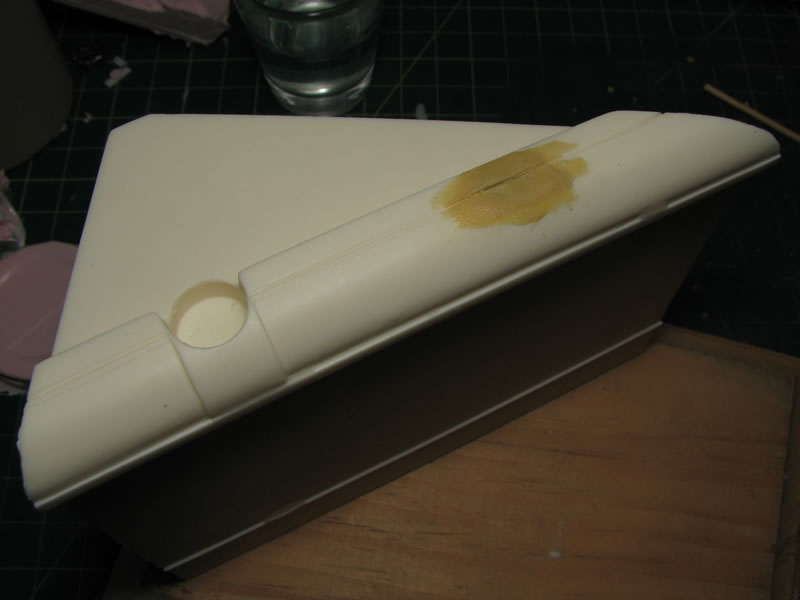
The pool table rail and leg are puttied with tamiya epoxy putty quick type.
I'm getting better with the casting. I casted the first of three collars and I think it came out well. I also casted another shirt part, and this time around, the cast is much better then my first attempt.
Feburary 8, 2009: The parts have been initially sanded, soaked in an industrial strength cleaner, and rinsed through the ultrasonic cleaner.
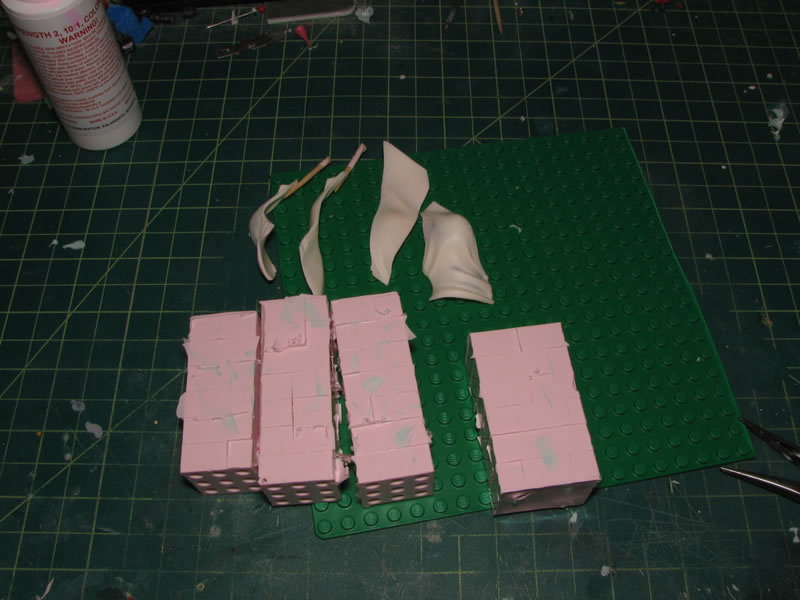
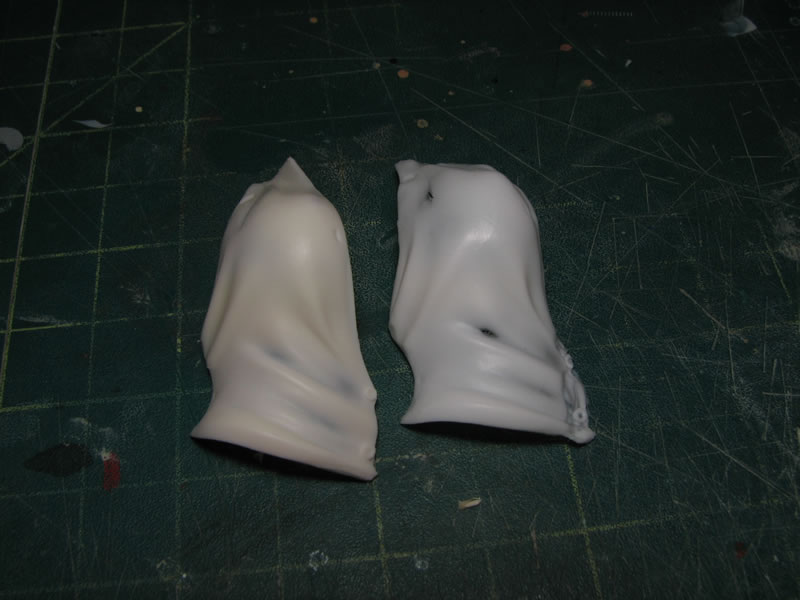
With three collars casted and the additional shirt pieces casted, the parts are glued together.

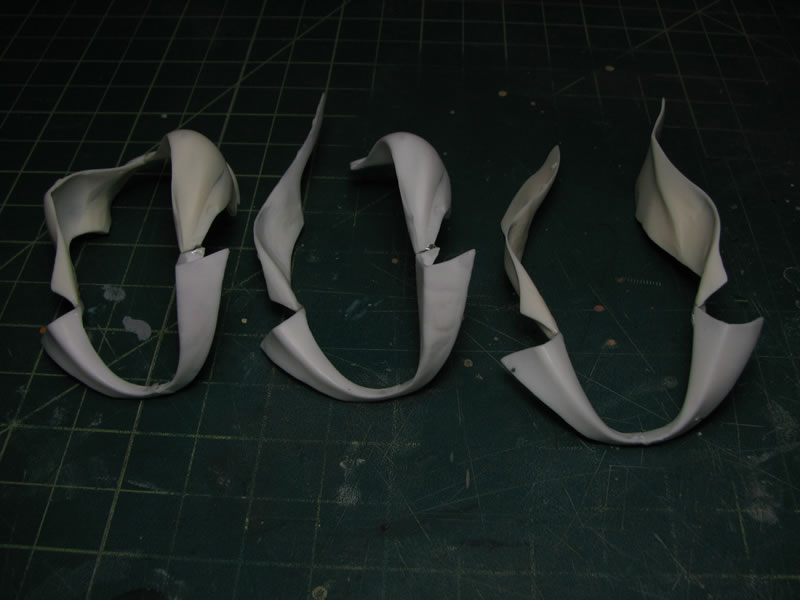
The three versions of the shits; swapping them when the kit is completed will be a very easy task.
Feburary 2, 2009: Pinned and casting additional shirt parts.
Magnets, putty, and more casting fun.
Sanding, Cleaning, and three shirts.