April 5, 2010: I picked this kit up a few weeks ago when I was commissioned to build those two 1/12 HYGM kits. I liked the design and figured it would be a good platform for doing a flashy paint finish. I believe that this is my first personal MG kit that is ouside the UC realm of model kits. The other non UC MG kits I have build or worked on in the past were for clients. This will most likely be a very straight forward out of the box build, nothing fancy. I just want to paint.
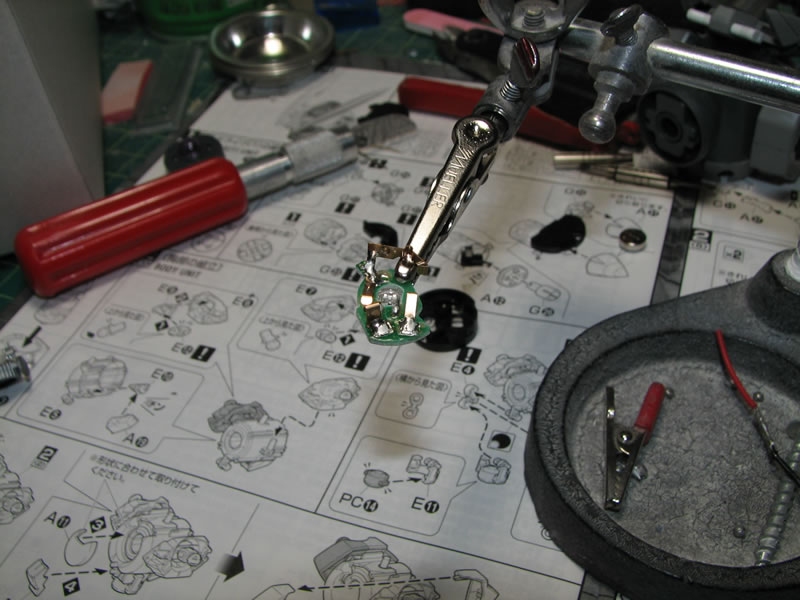
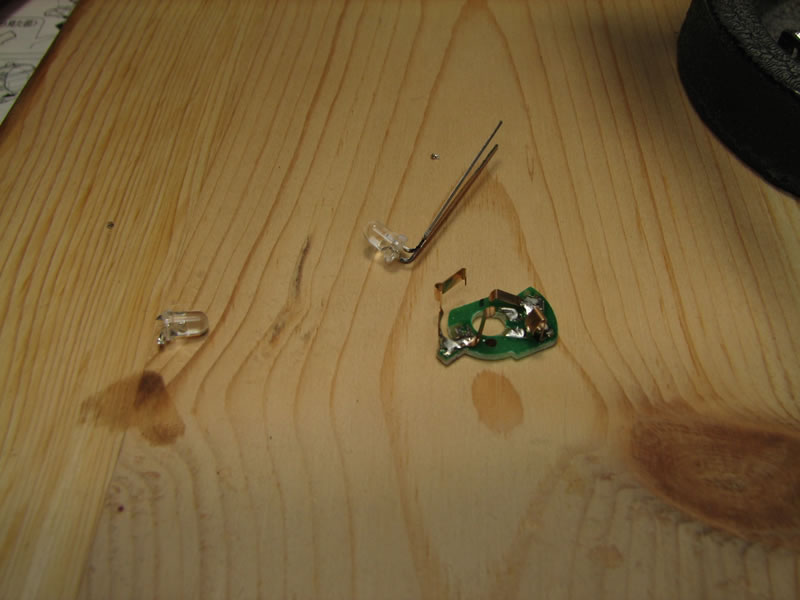
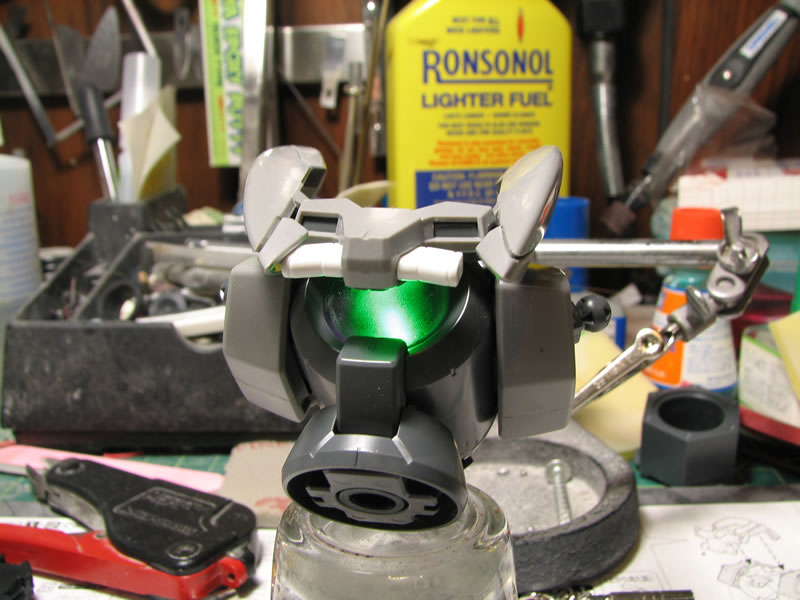
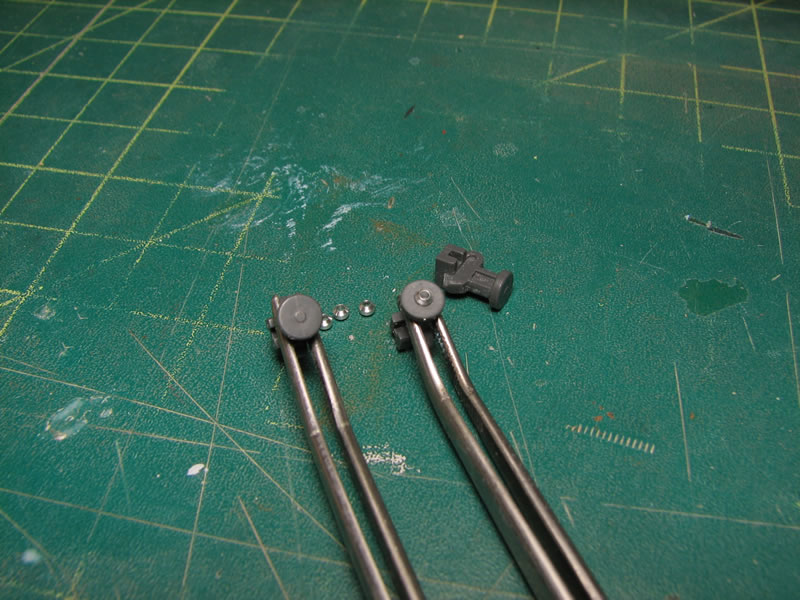
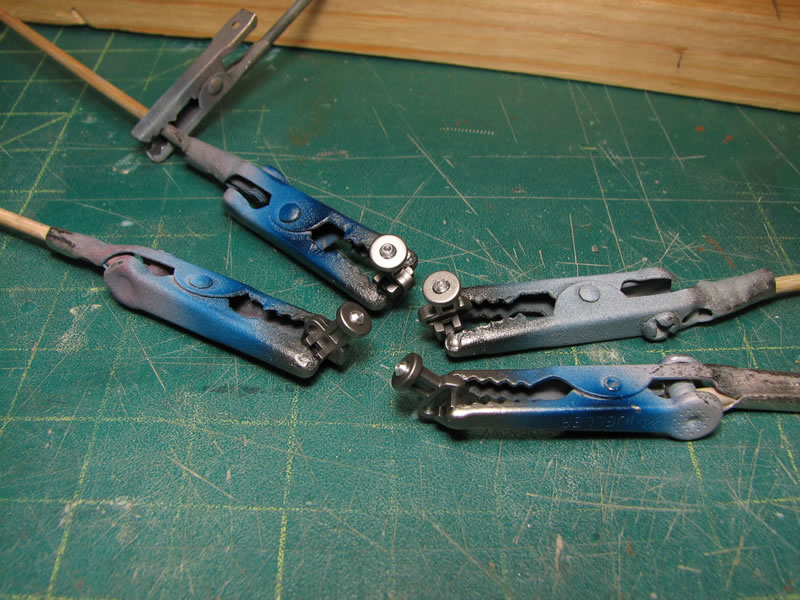
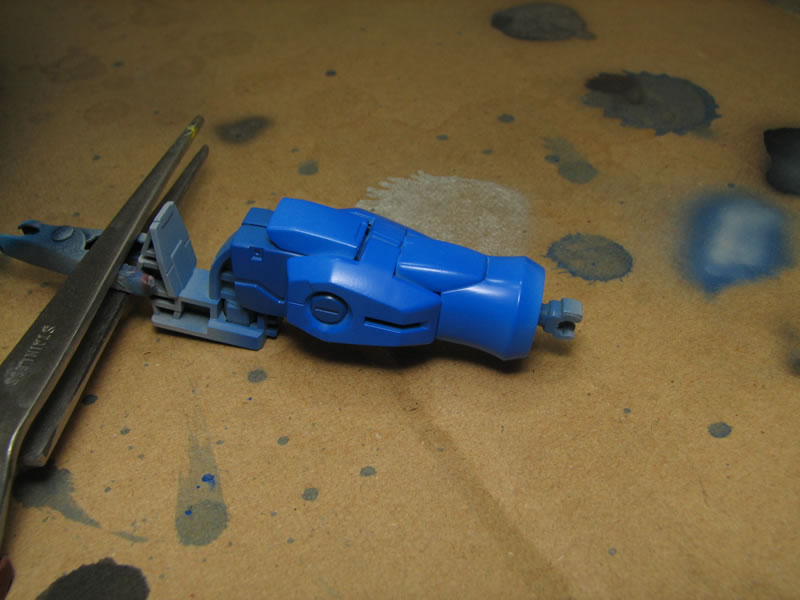
I grabbed the lighting sets from the special edition Exia MG and used them for the GN-X's GN Drives. The plastic clear pieces are dyed purple, so the green LED from the Exia kit over powers the color and it looks kind of odd. I was going to just leave it, but after looking at it for a while, it got to bothering me, so I decided to see about swapping out the LED.
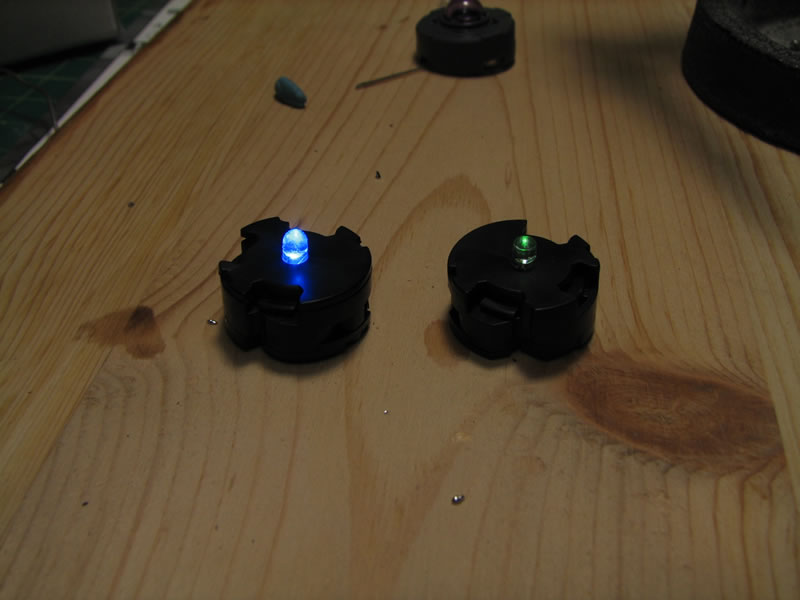
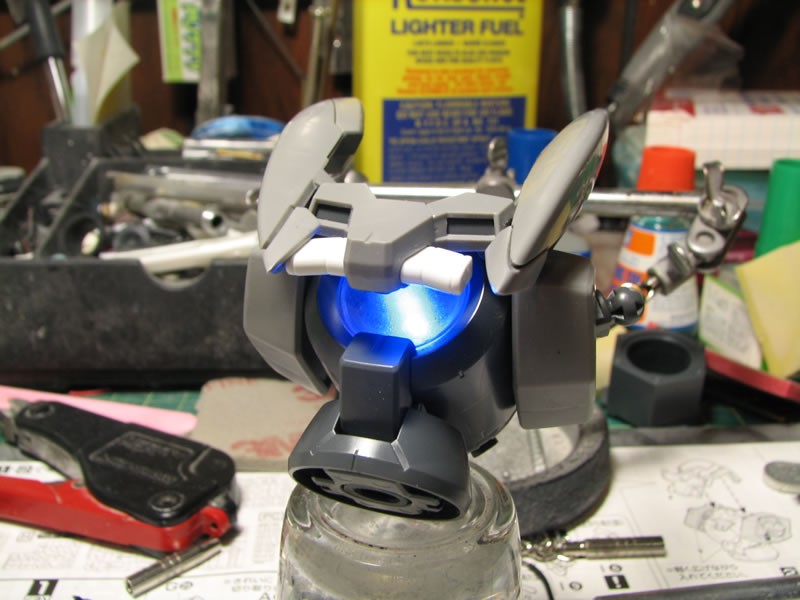
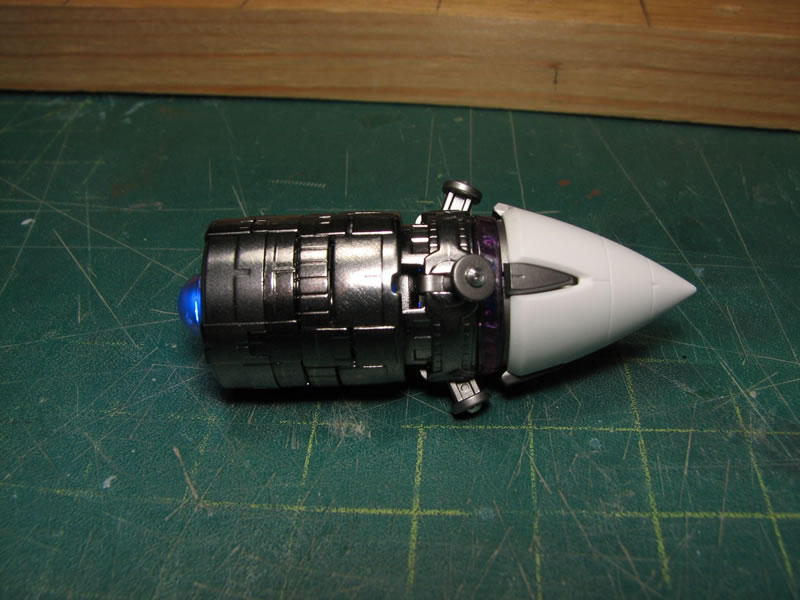
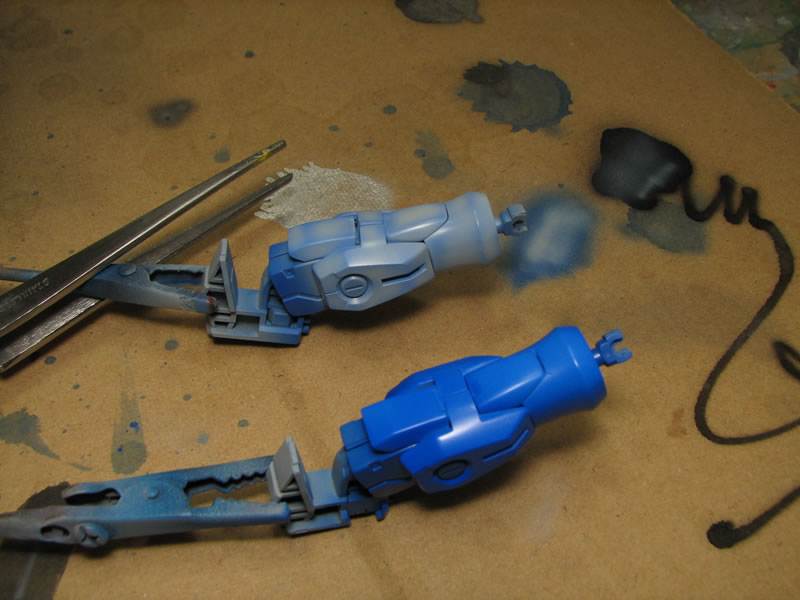
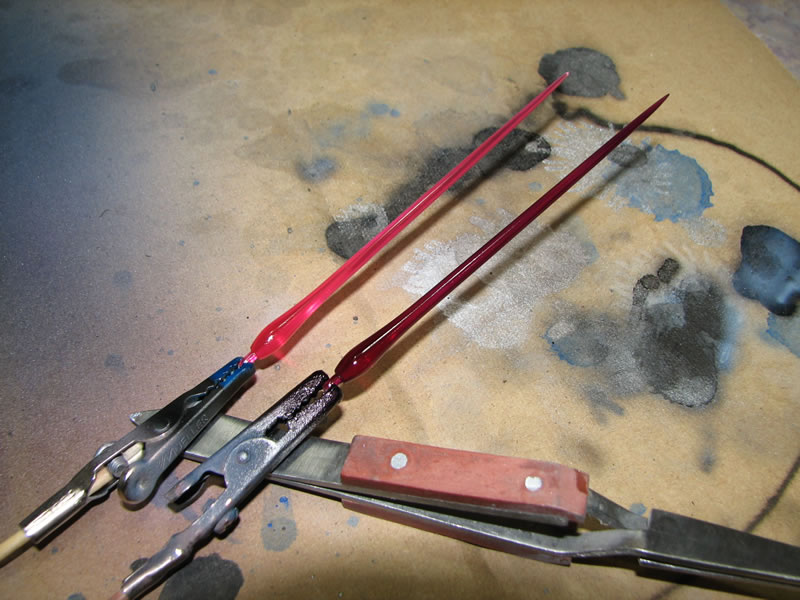
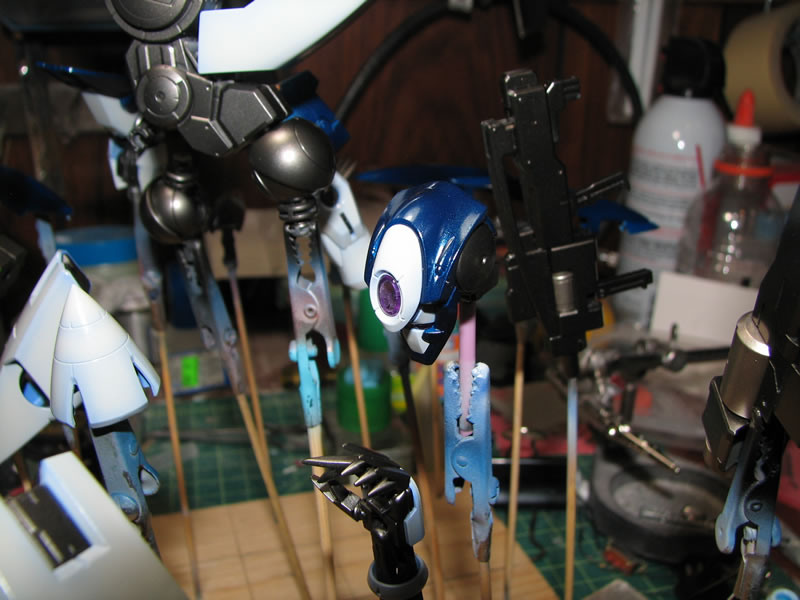
Here is a comparison picture with both LEDs. I replaced the green led with a clear blue LED that I had in my box of electronics.
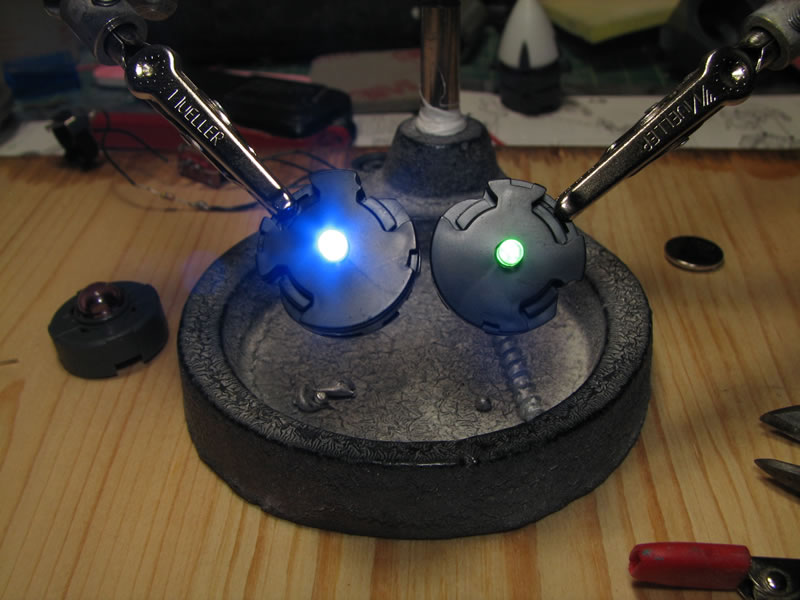
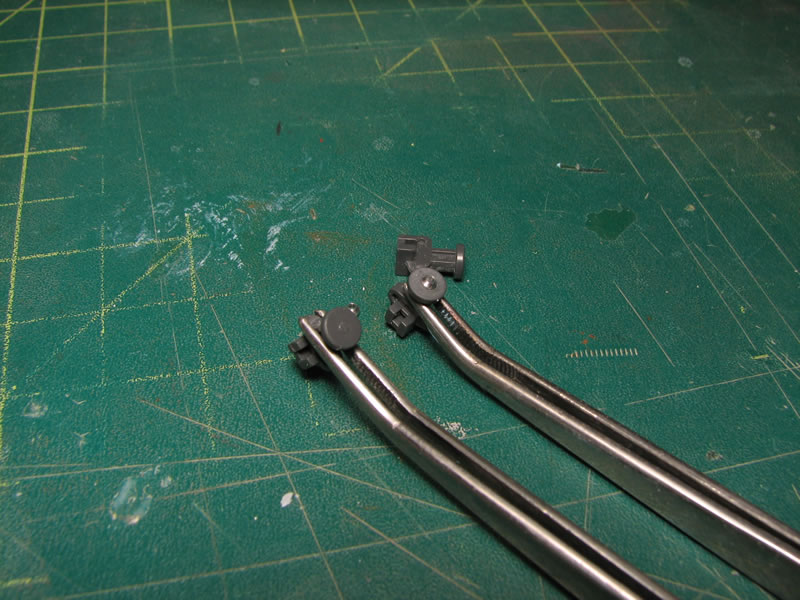
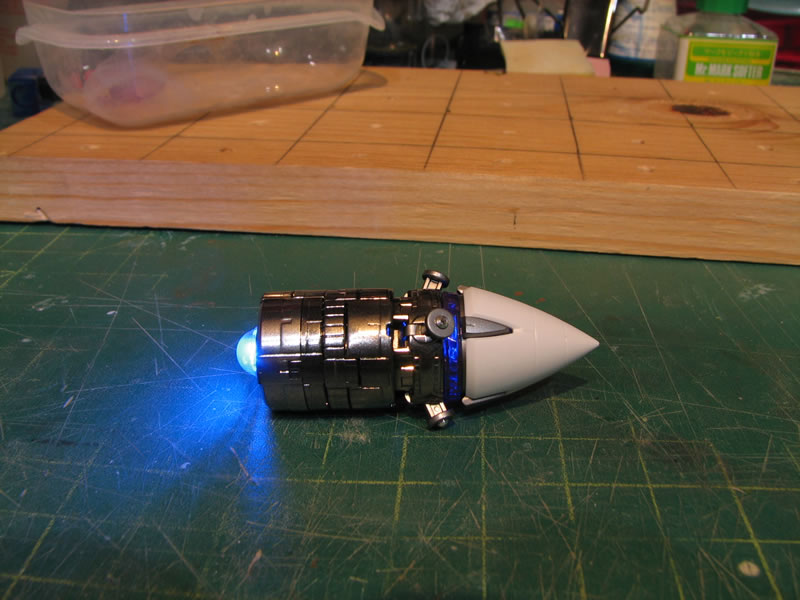
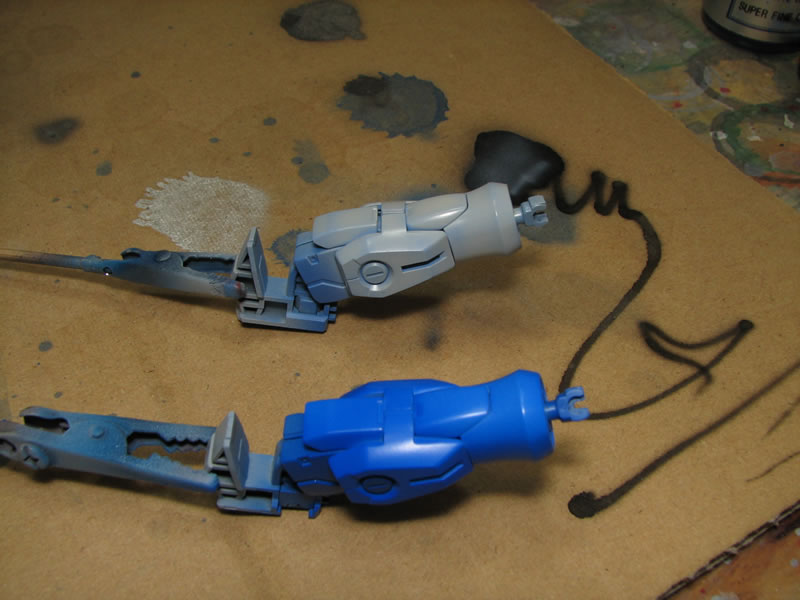
And a comparison picture with the original green and the blue. I think it works out much better with the blue LED, and this should match up well with the paint scheme I had in mind as well.
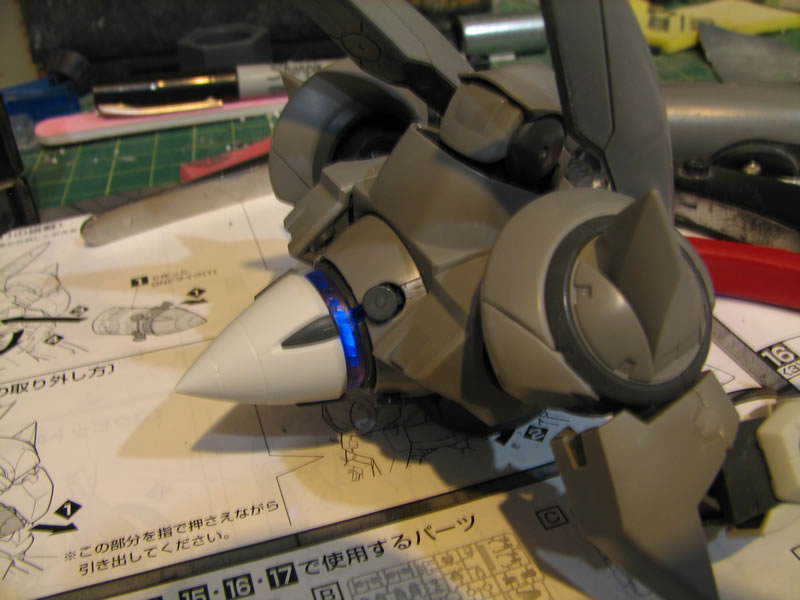
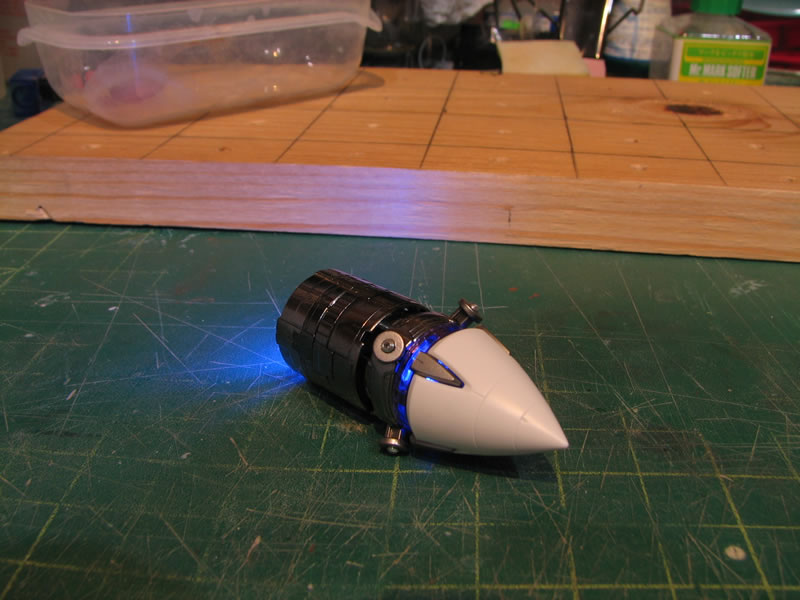
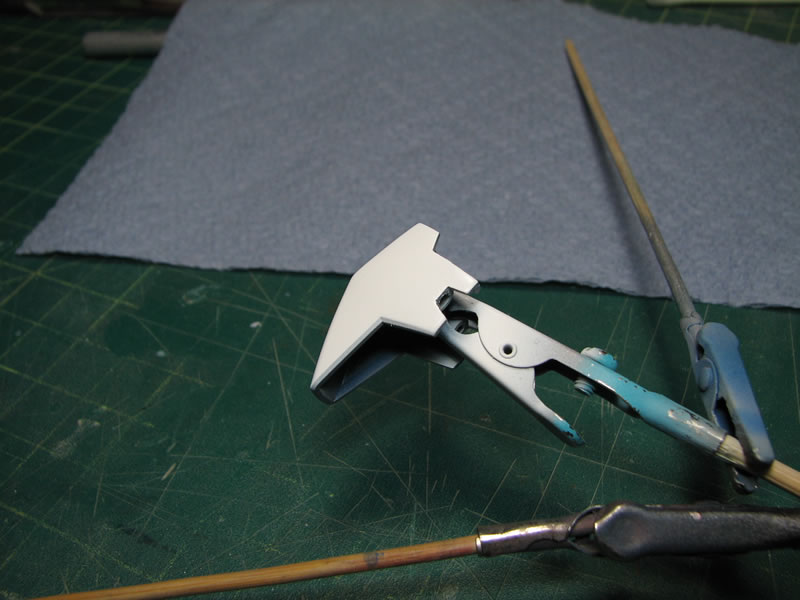
I swapped out the LED on the other light unit so that I could also light up the back of the GN drive. Then on to finish the sanding and absolutely most tedious part of building these types of kits.
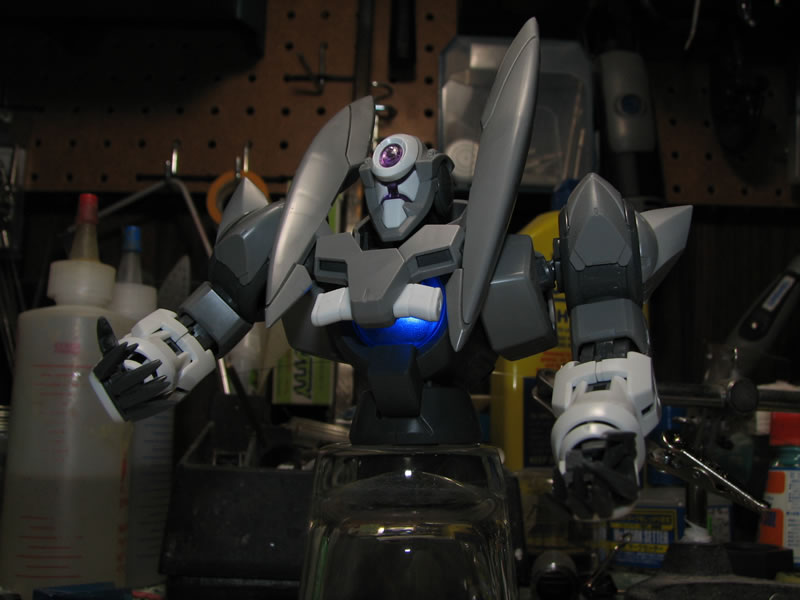
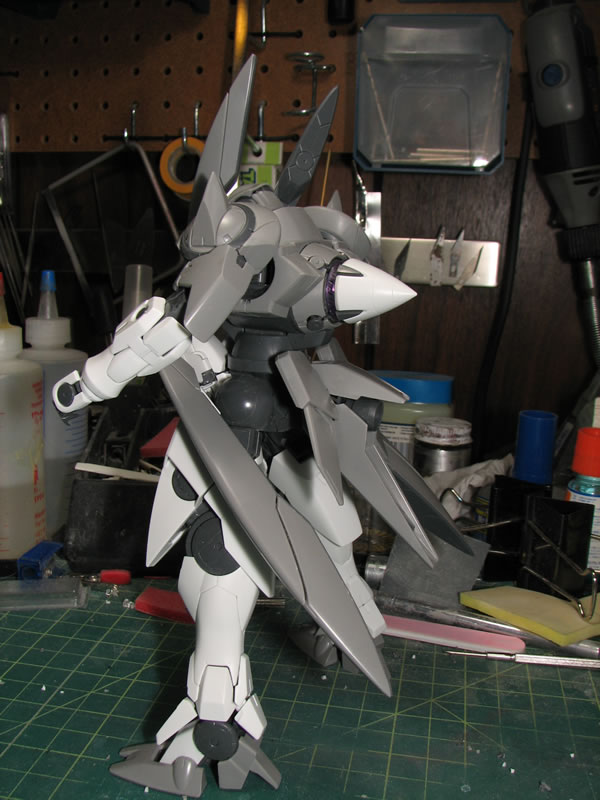
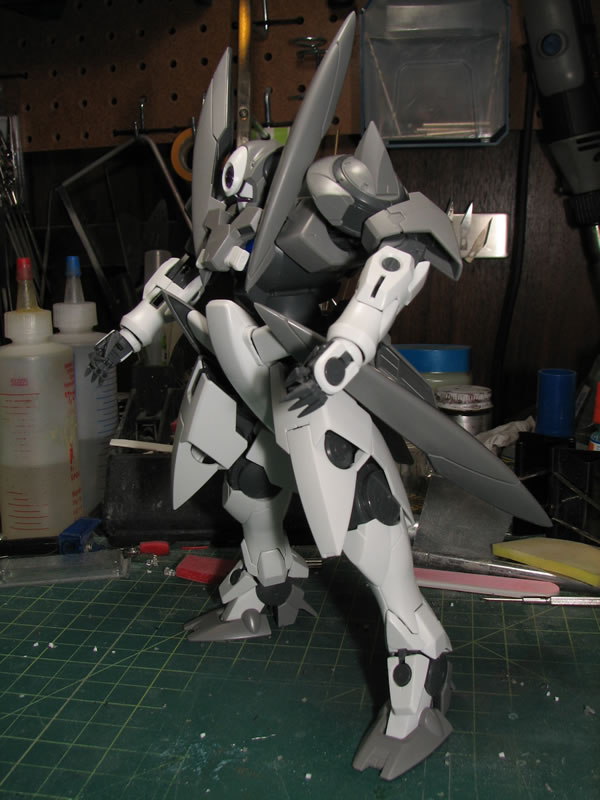
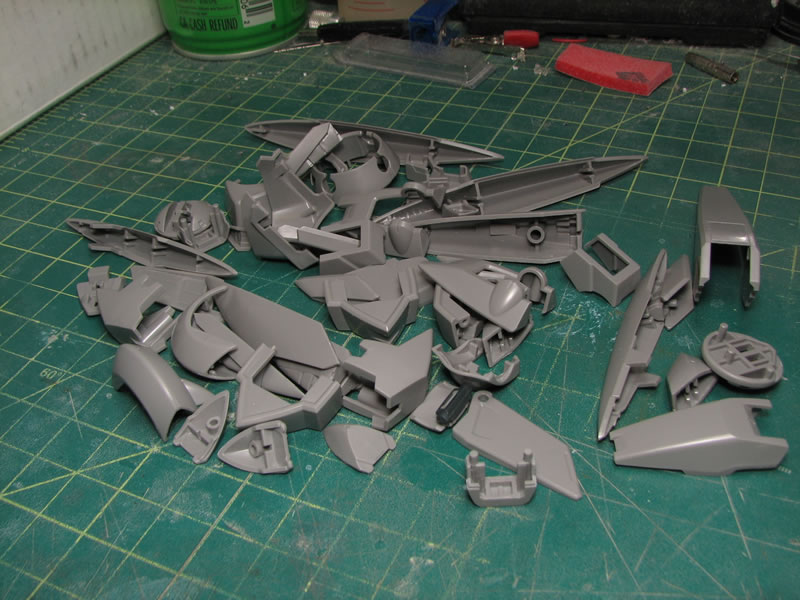
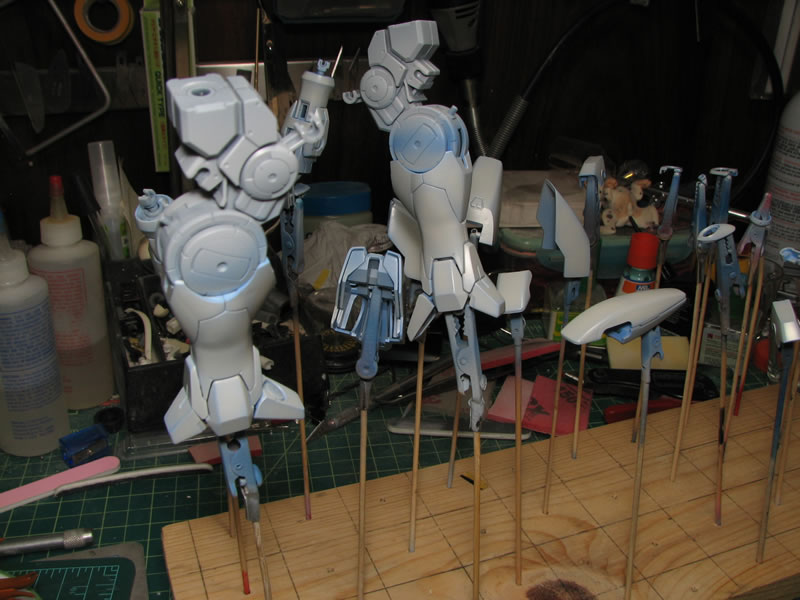
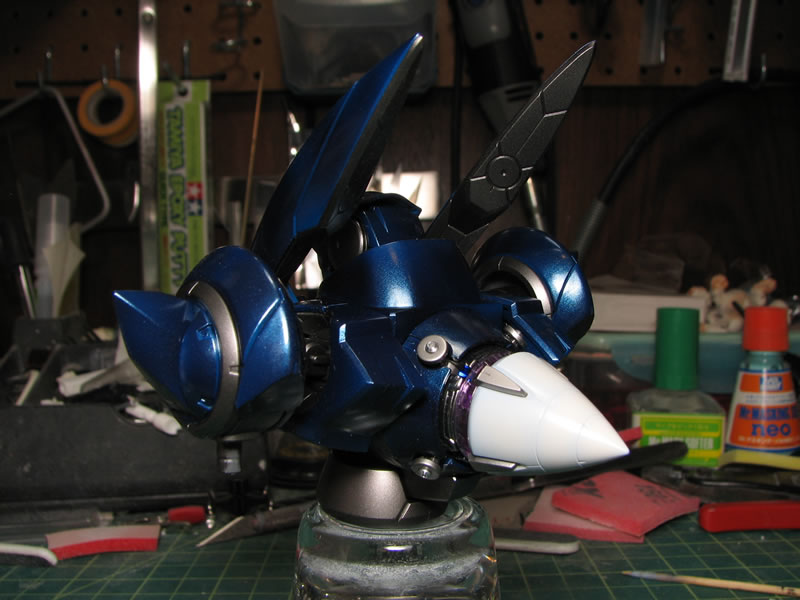
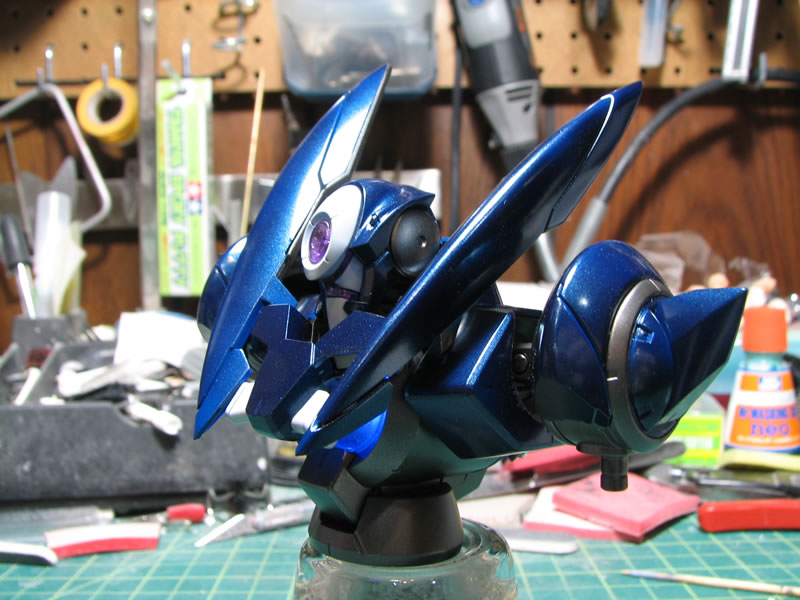
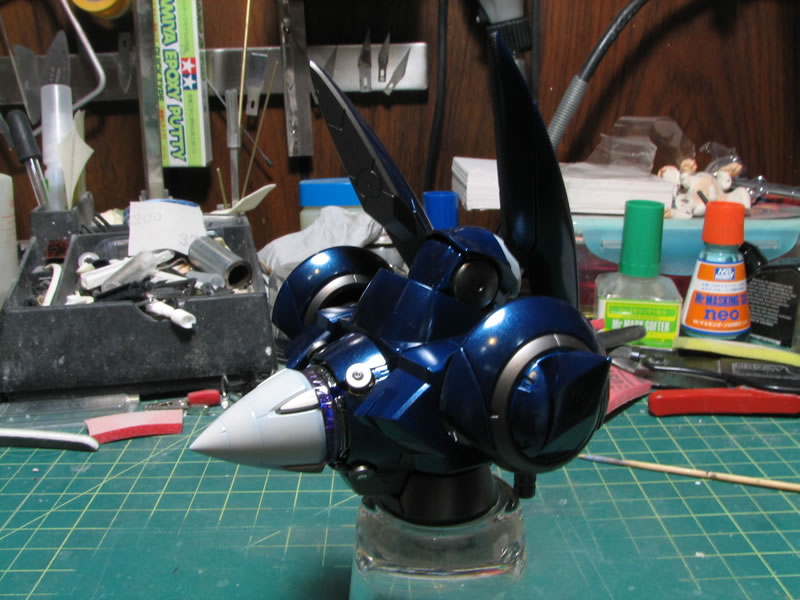
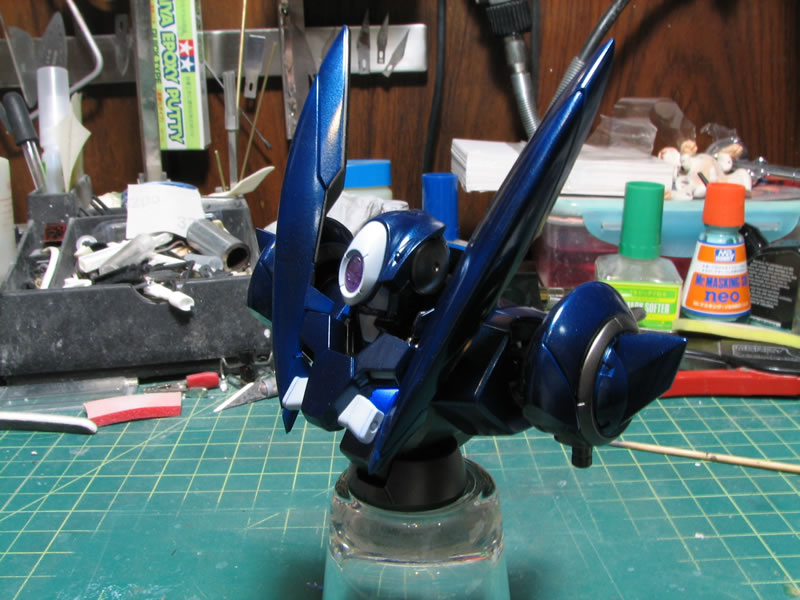
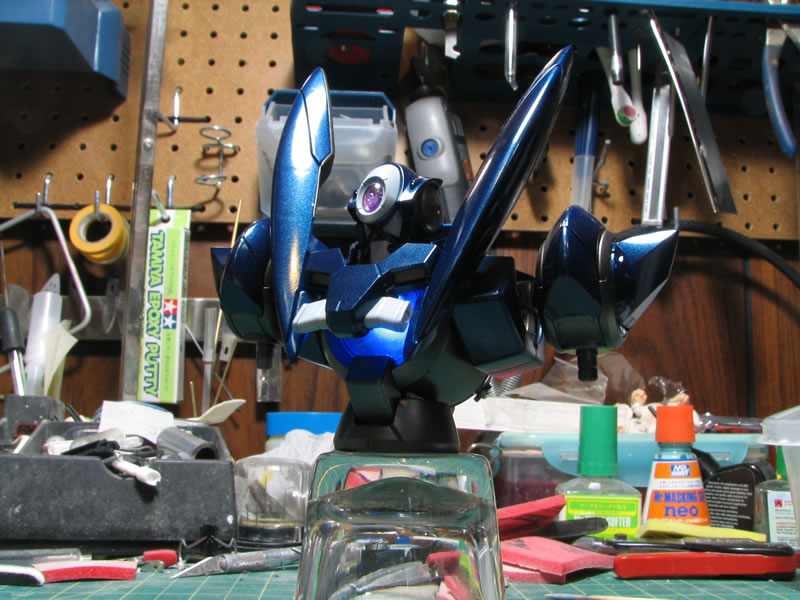
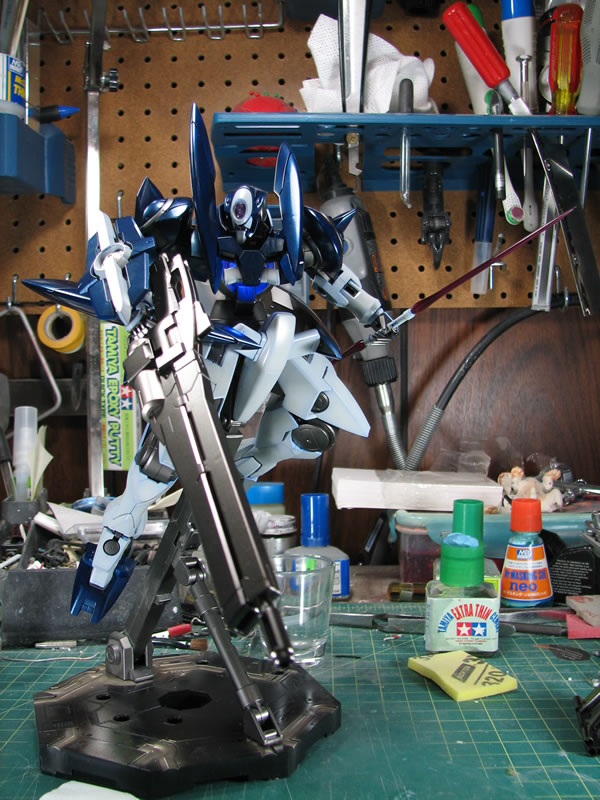
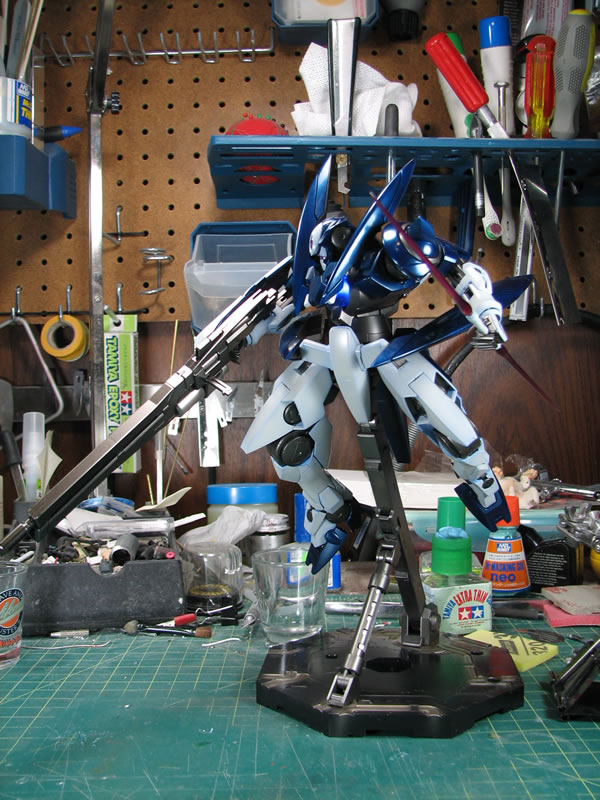
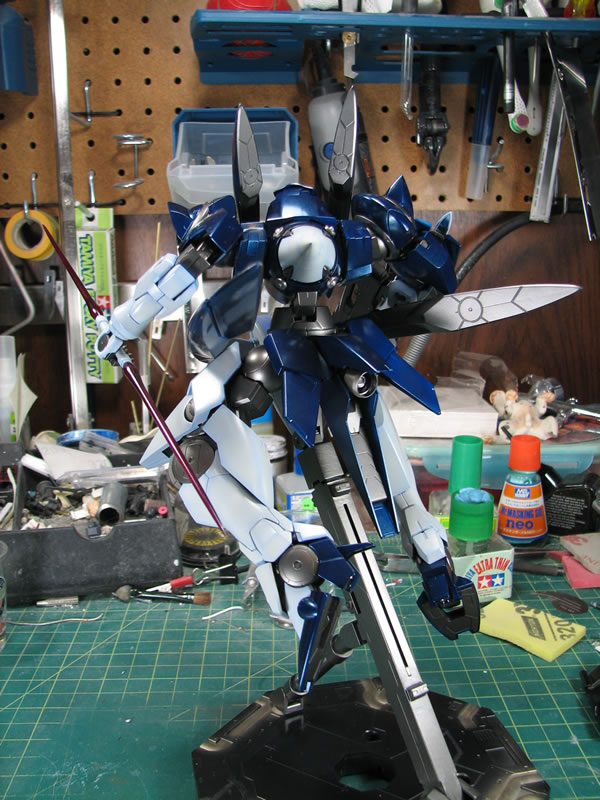
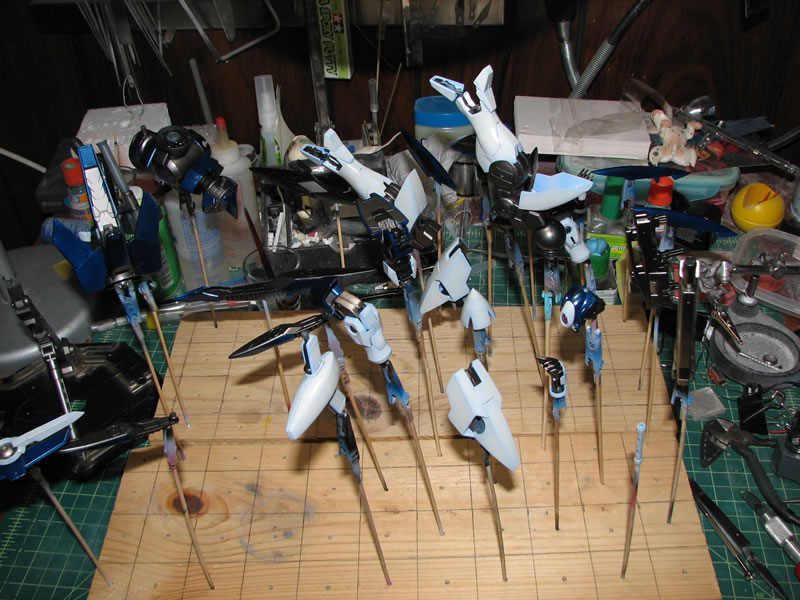
With the parts sanded, the kit is assembled to check for fit issues, get an overall idea on how my paint scheme will look, and just go get a look of the thing put together.
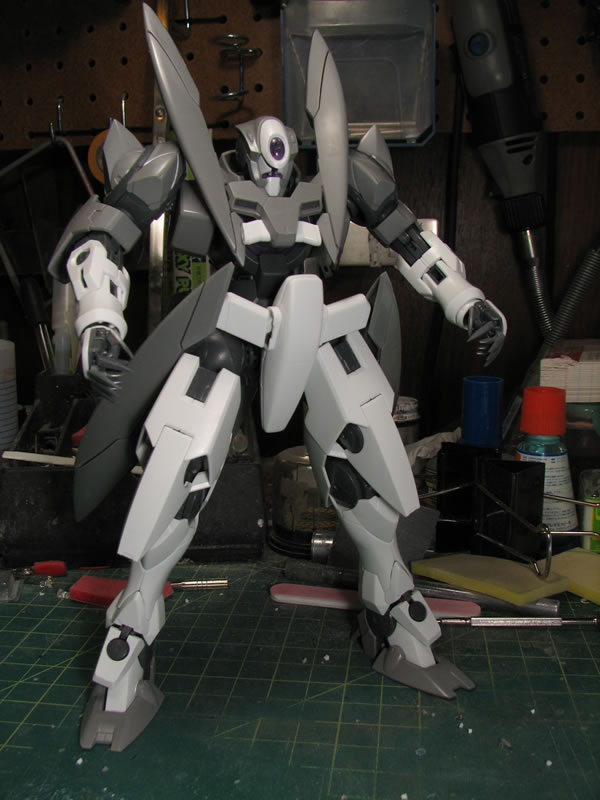
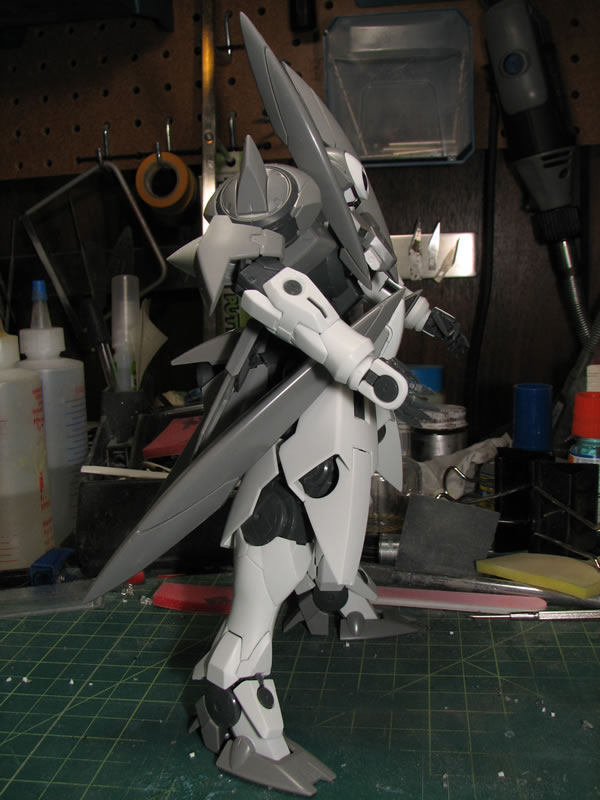
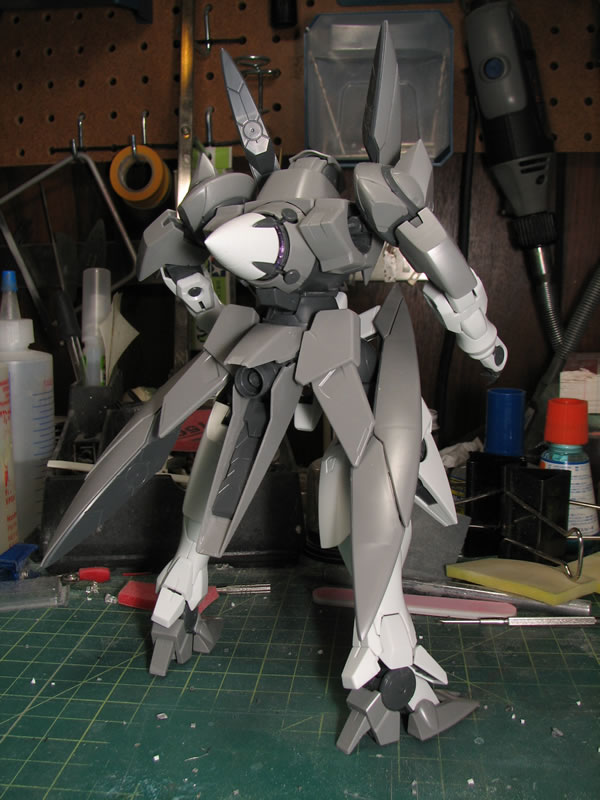
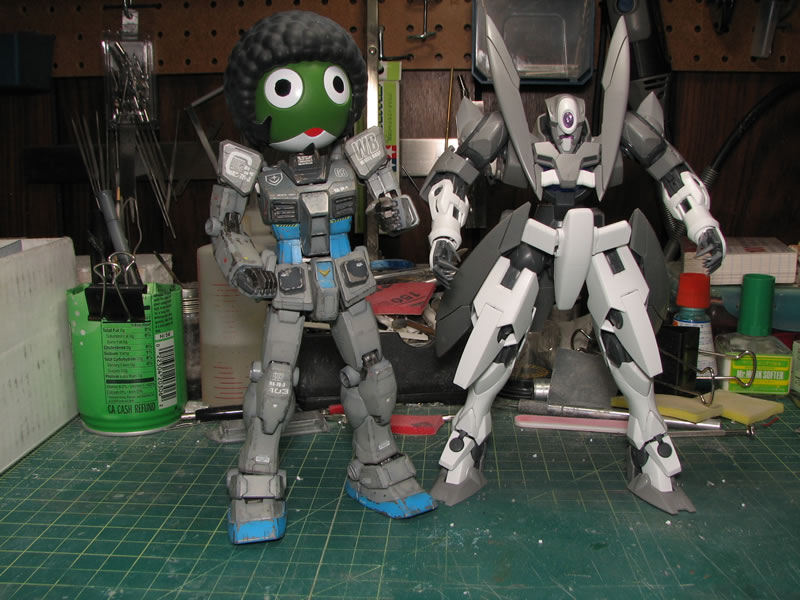
Pictures with Mr. Keroro G3 for size comparison.
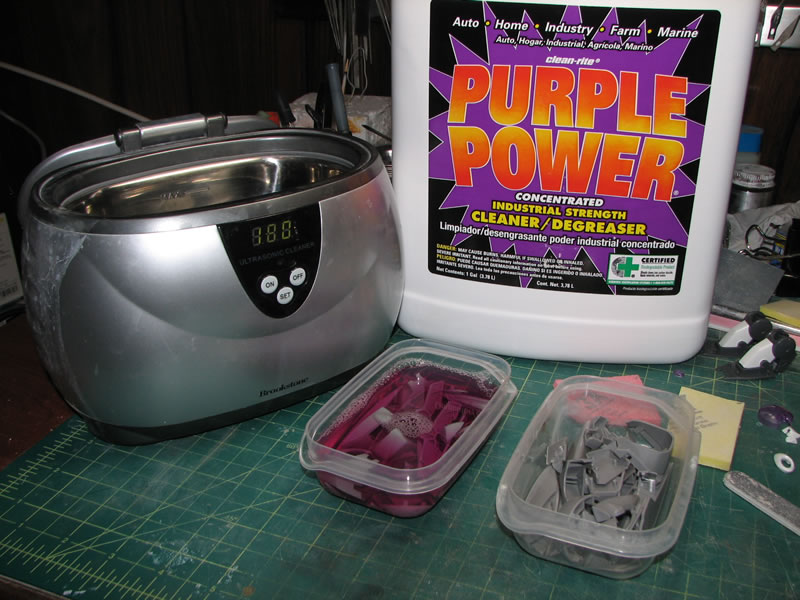
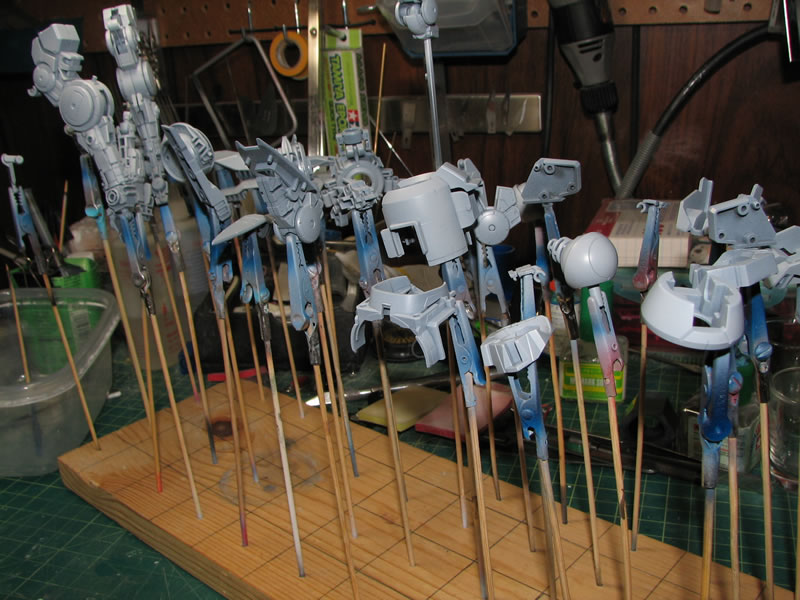
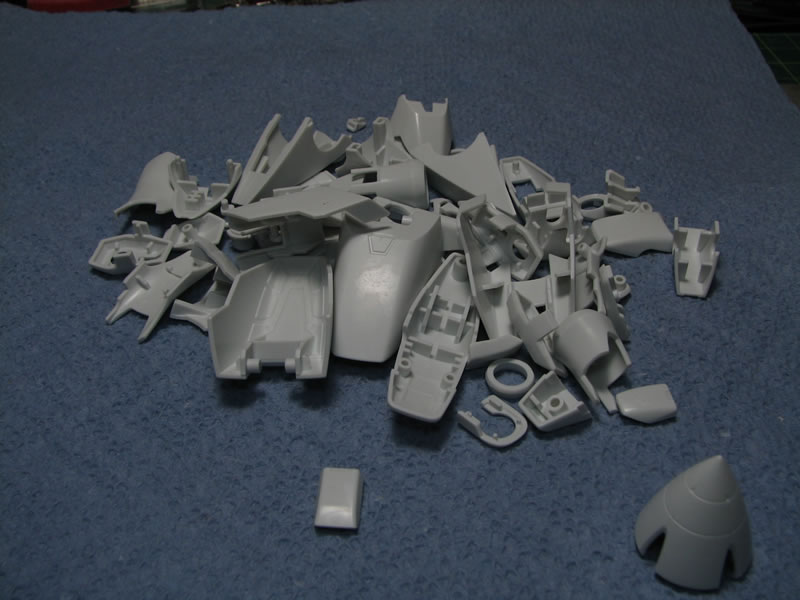
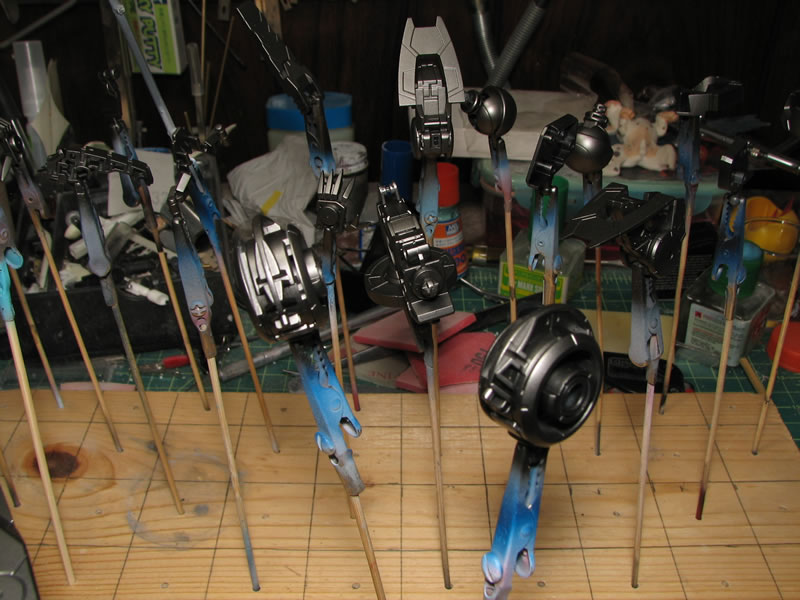
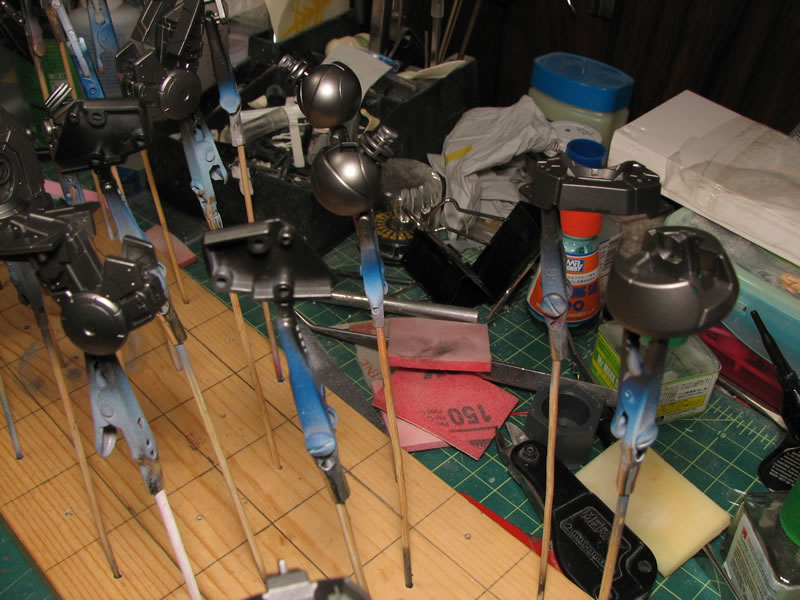
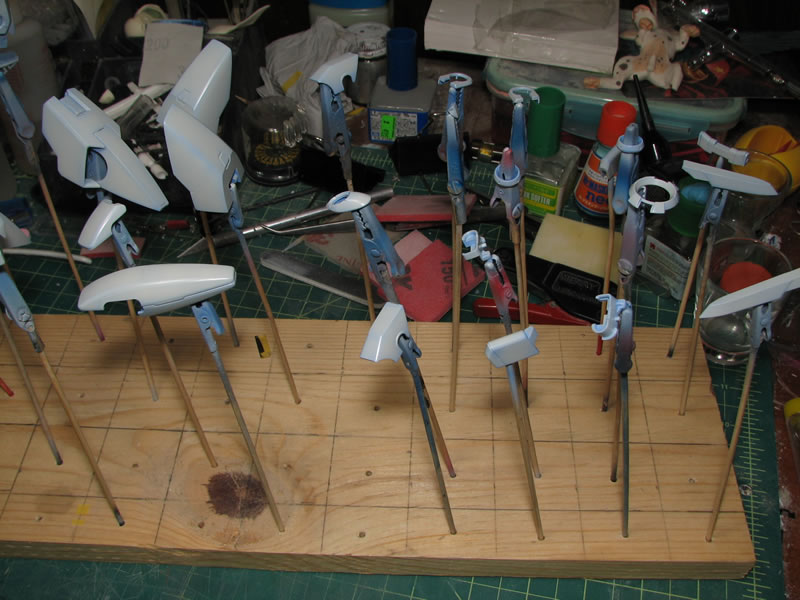
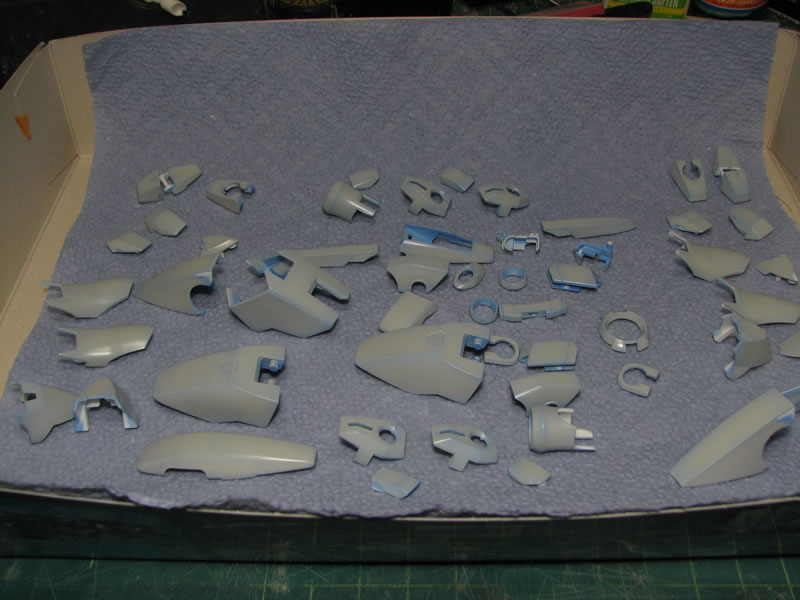
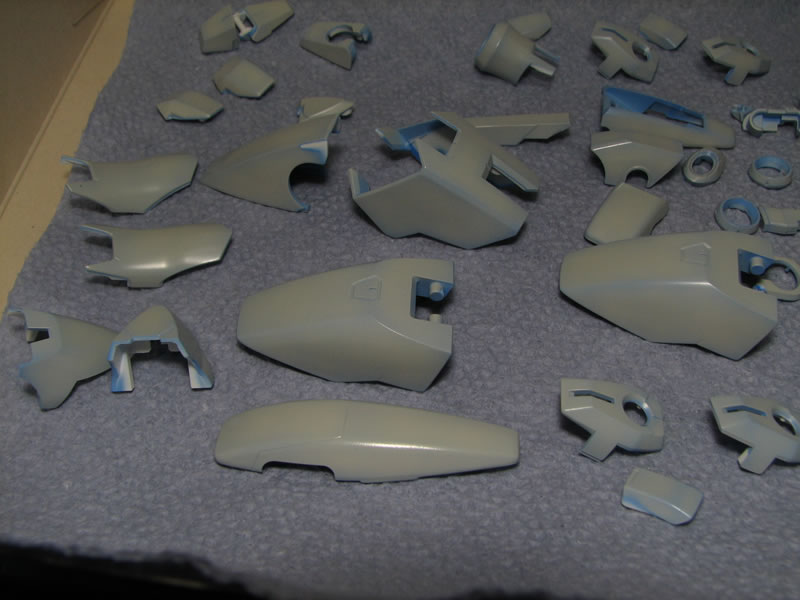
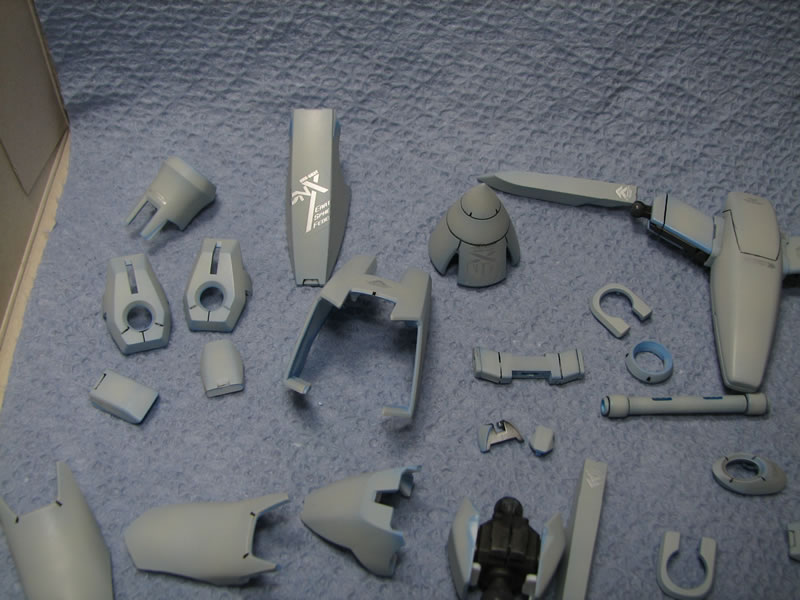
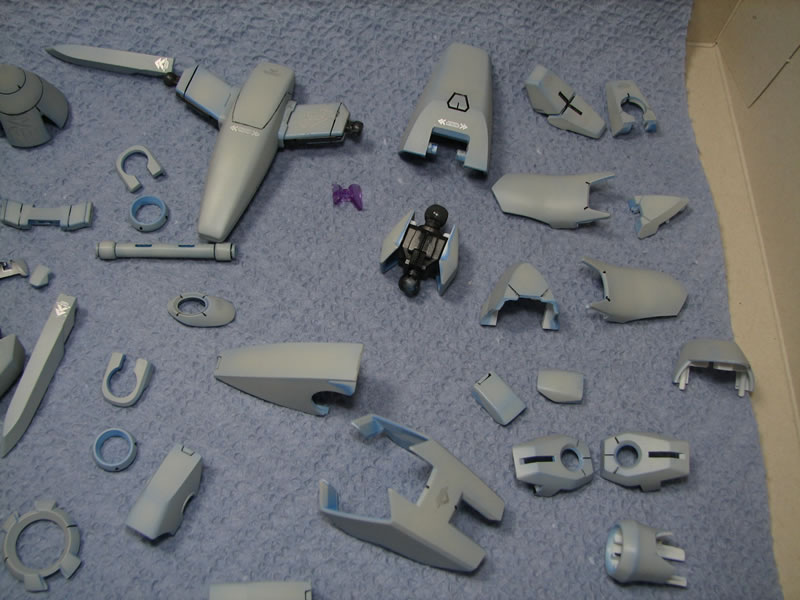
The kit is taken back apart and the parts are seperated into coloring sections. I'll be painting the gray sections first so into a bath of purple power, floated on some water in the ultrasonic cleaner, then run through the ultrasonic cleaner to scrub the parts down. The parts are then taken out of the purple power bath, placed in another tub of water to rinse, then pulled out and dried. Once dried, the parts are placed on skewers or attached to aligator clips and ready for painting.
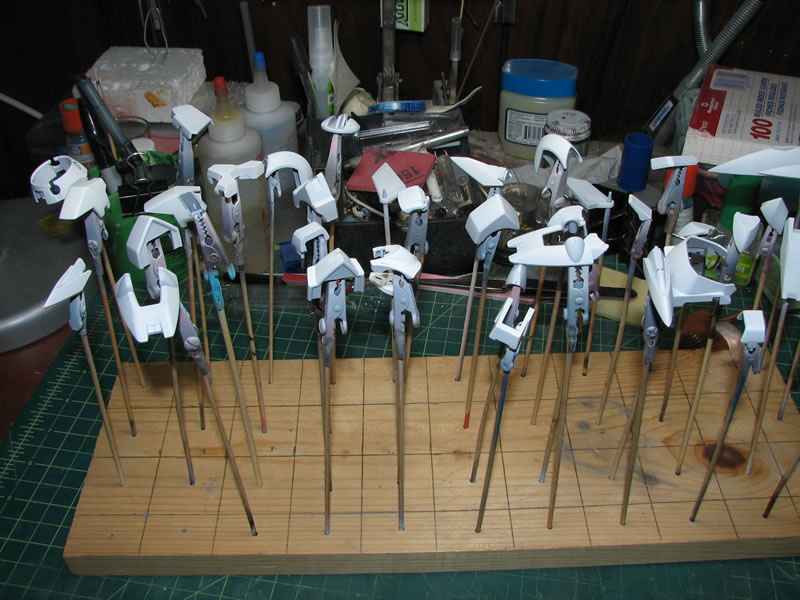
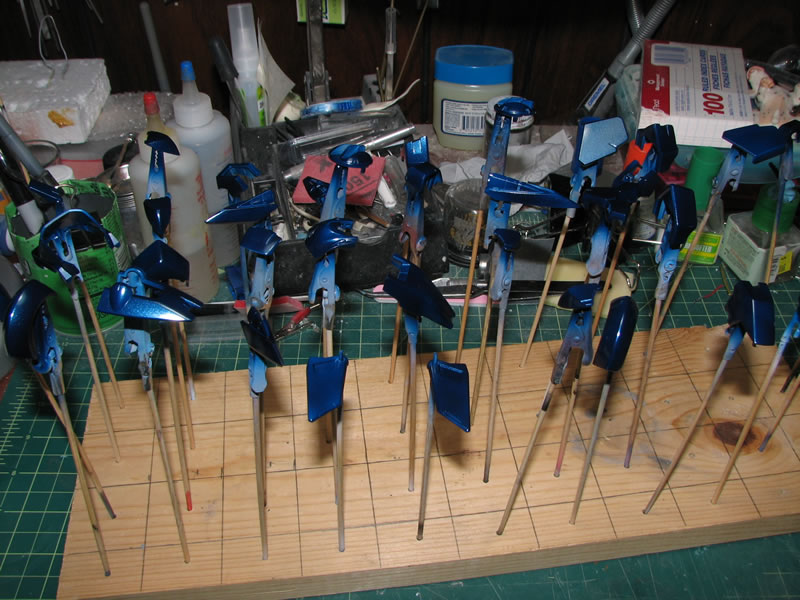
Initial base coat of white base as the primer of choice. The parts were primed the previous night the allowed to cure for a full day before moving on to the next painting step. Since I'll be using a blue, I want the prior surface to be bright for a brighter final color product - hence using white base instead of the gray mr surfacer primer. I used Finisher's Metallic Indigo for the metallic purple color. Standard wet spraying technique was used to get a glossy finish with the Finisher's paints.
April 6, 2010: I didn't care for how the little piston like thingys for the back of the GN drive looked so I grabbed some metal tubes and drilled a small indention for the tube placement.
The internals were primed. I've run into problems with using Finisher's over Bandai's ABS plastic that they use for joint parts - the Finisher's would weaken the plastic and the ABS became brittle, so to protect that from happening on the moving parts, I primed the parts with Mr Surface 1000. These will sit for a day to cure before I move on to base coating the internals.

Non moving internals such as the GN drive, thrusters and a few other parts were painted with Finisher's gloss black, then sprayed with alclad II paints. The main drive parts were sprayed with alclad II stainless steel, and magnesium for the pistons and rear piece of the drive. Using epoxy glue so that I had a fair amount of work time, I glued the metal beads into place.
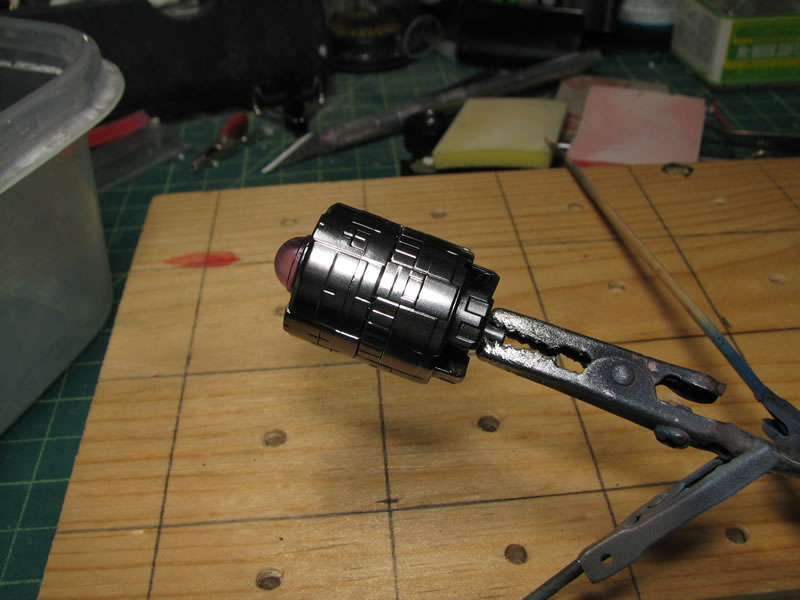
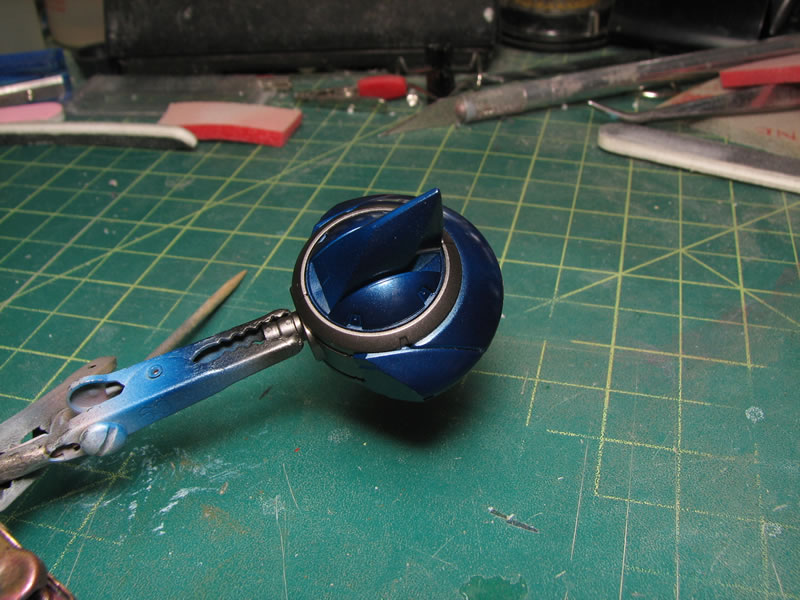
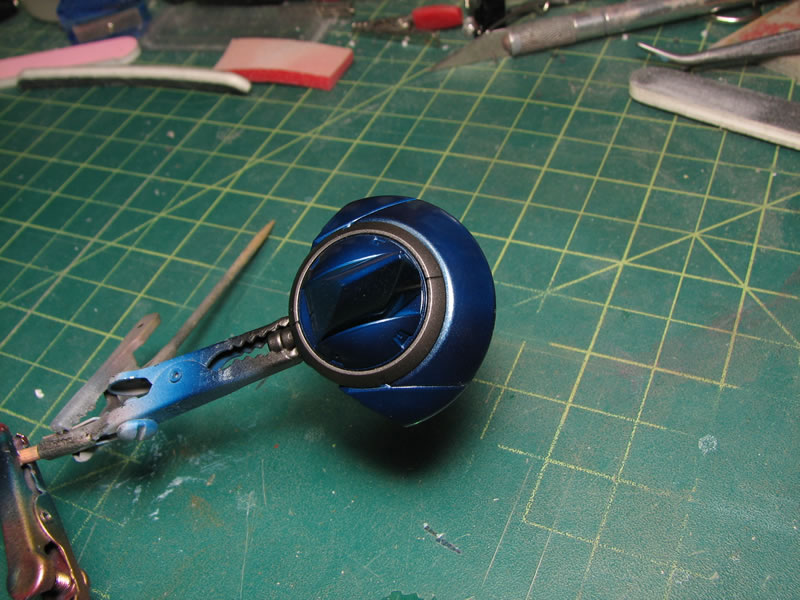
With the exception of the end white piece, the GN drive is complete. I still need to paint the end white piece. Debating on if I should stick with the standard color I'm using for all the white pieces, or paint this part of the GN drive a color separate from the rest of the white areas. But it looks fairly decent painted and with the blue LEDs
April 7, 2010: More work on painting the internals and the white parts of the kit. The white pieces were separated, but since I'm planning on doing some shading, I need the parts that go together on the frame parts together. This greately reduces the chance of having tonal difference on the parts if I were to paint the parts individually. This may not make much sense, but as an example I've had parts that when I painted and shaded separately, I ended up with two different tones for two halves of a thigh part because I painted and shaded them as separete pieces.
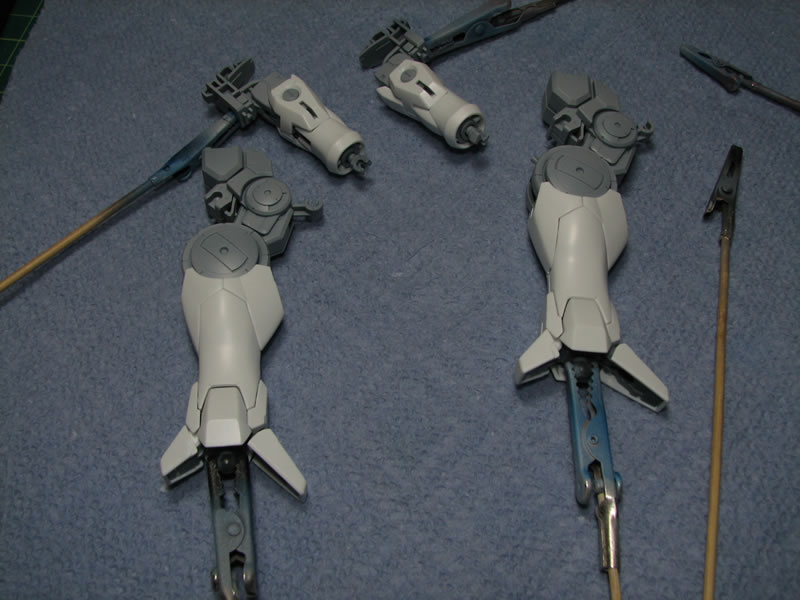
With the arms and leg pieces together, the white parts got a base coat of Mr Color cobalt blue. I will be painting on a very light gray over these parts, but I wanted a blue tint to the shading. For a starker contrast, I could have used black. But I'm going with a subtle shading effect that's tinted blue. Hopefully it'll come out how I imagine.
The other internal parts that are not attached to the above white pieces were base coated in Finisher's pure black over the cured primer that was sprayed yesterday.
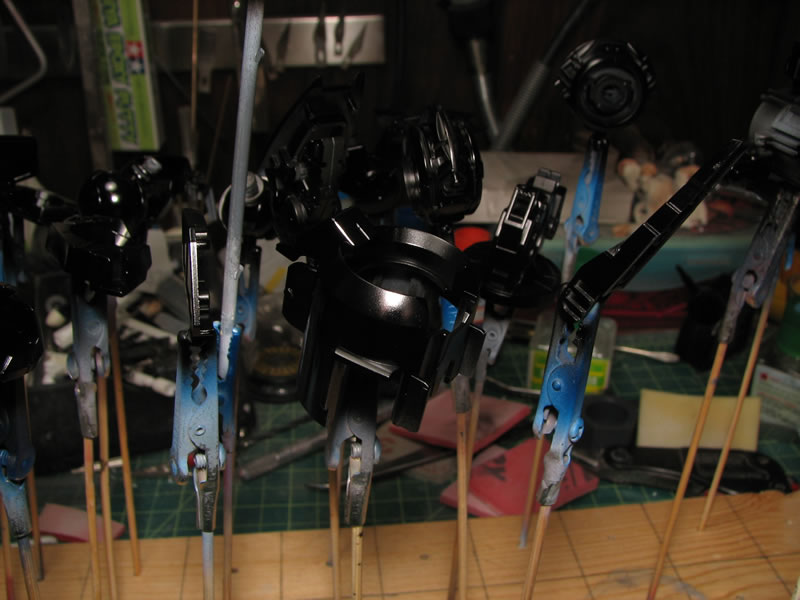
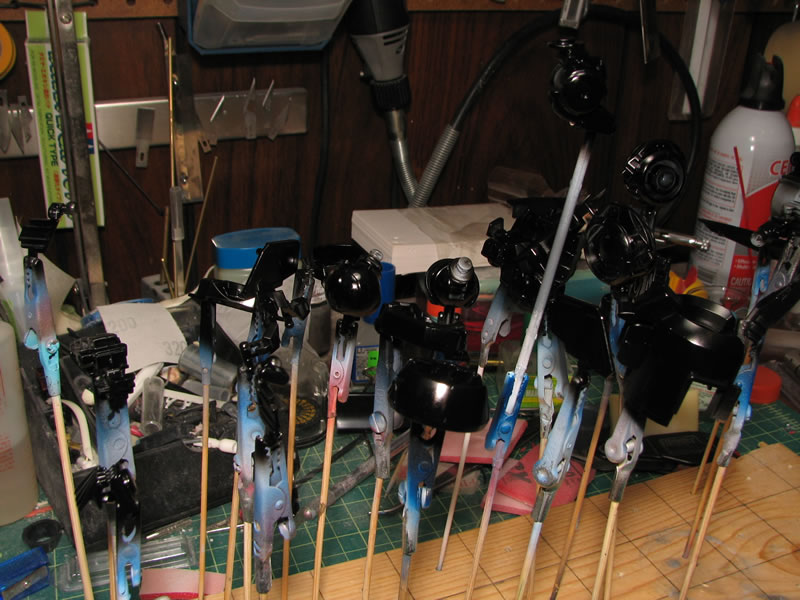
Alclad II magnesium is sprayed over the gloss black parts to finish up the internals. This will now need to sit for a few days to fully cure up before I can move onto the next step.
And to satisfy my own need to see some sort of progress in all this painting, one of the shoulder pieces is put together with the parts painted a few nights ago. It's coming along.
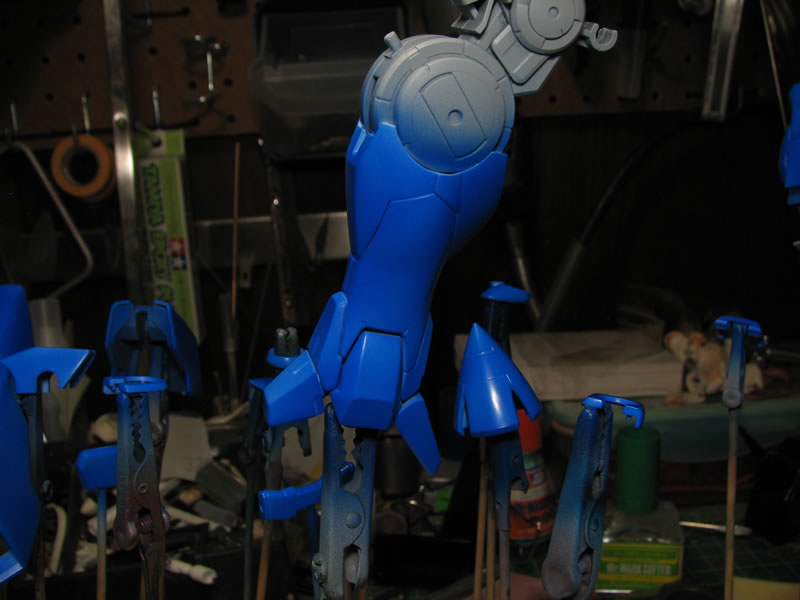
April 8, 2010: Pre shading painting and final frame parts were painted.
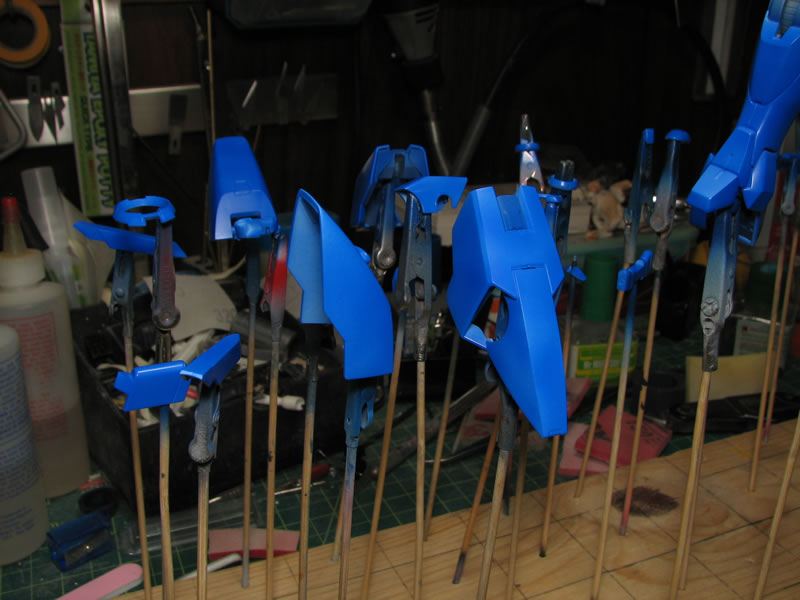
Starting with the blue based coated parts, the shading starts with paint in the center of the parts getting as close to the edges but leaving the edges dark with the base color. This is followed by opening up the airbrush pressure and spraying from a distance to mist and blend everything together.
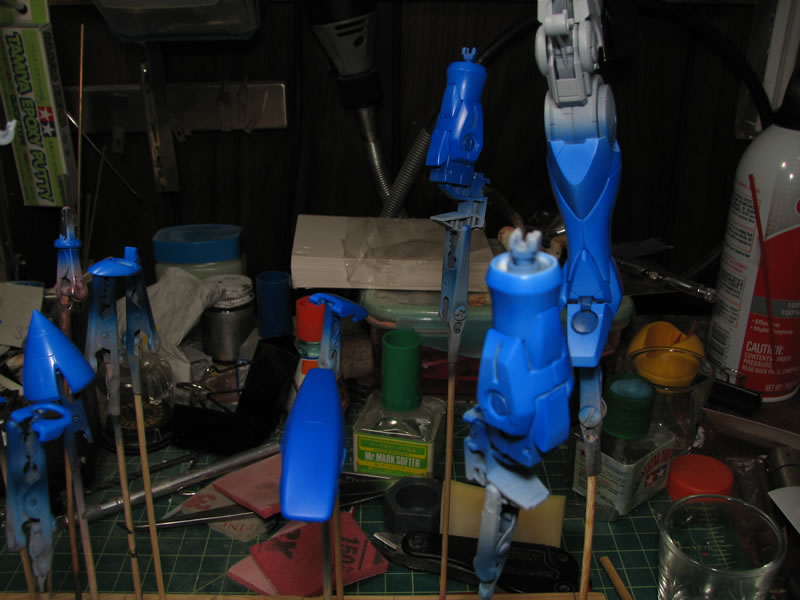
The white parts have been painted with a very light gray.
The white parts attached to frame pieces are removed so that the frames can get painted.
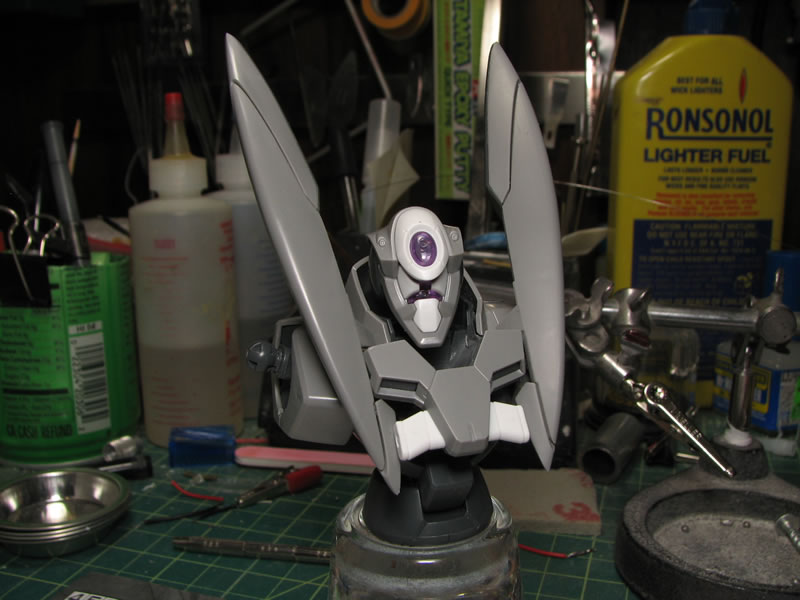
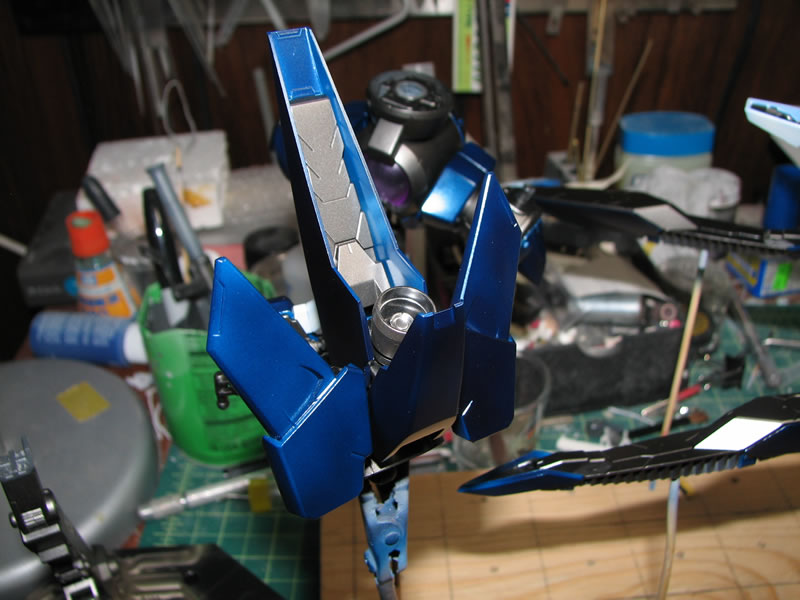
Small chest mockup taken with the flash.
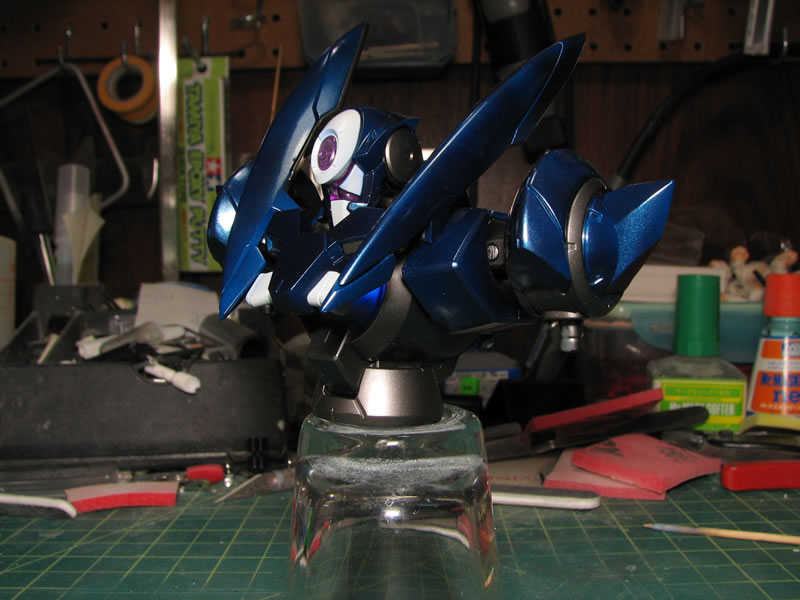
Small chest mockup taken without the flash.

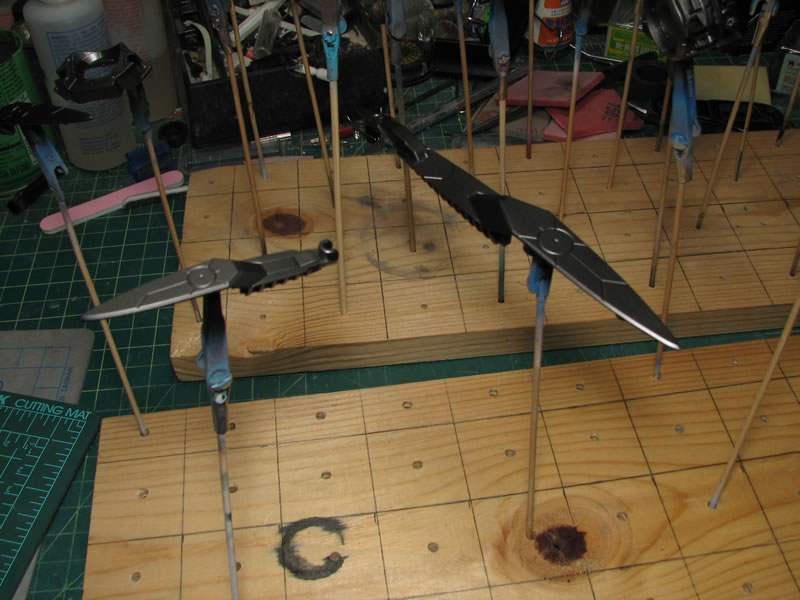
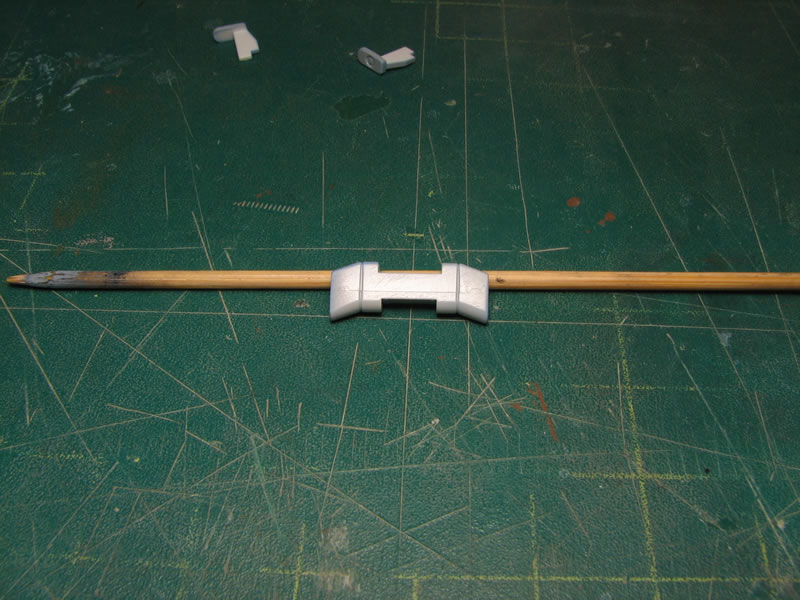
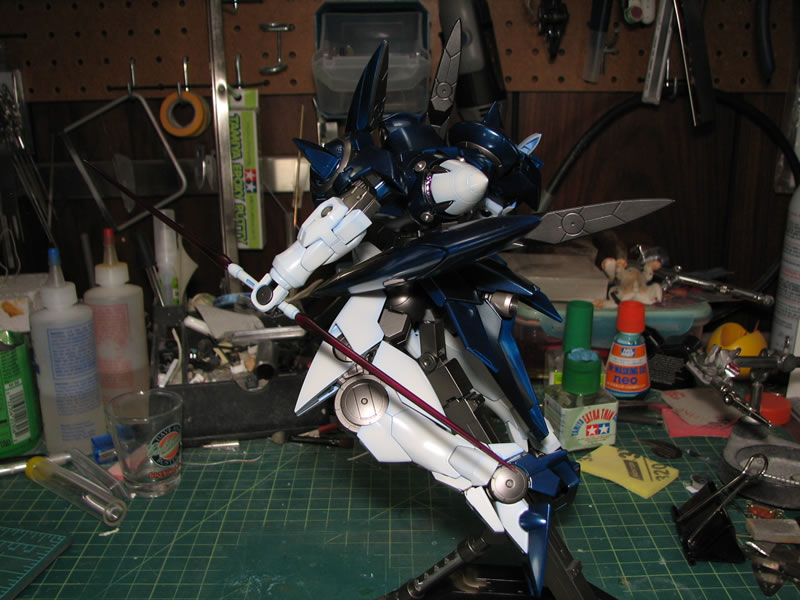
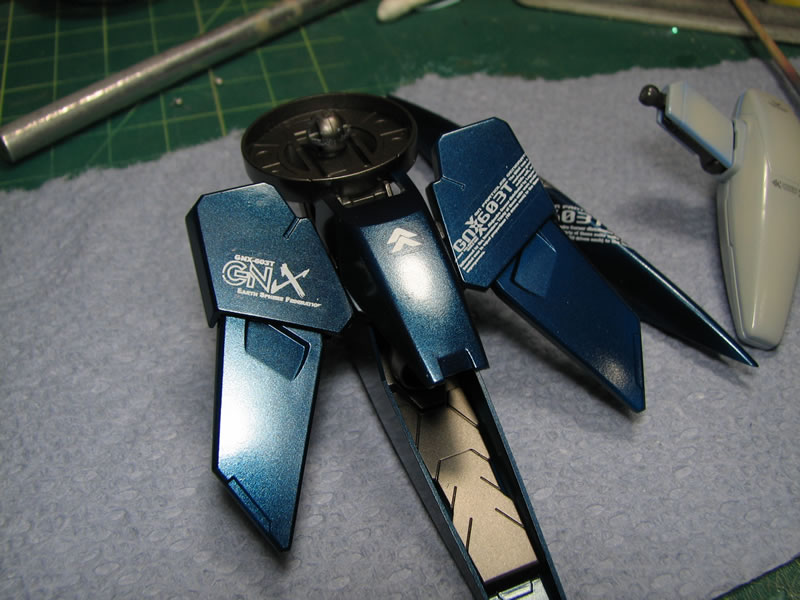
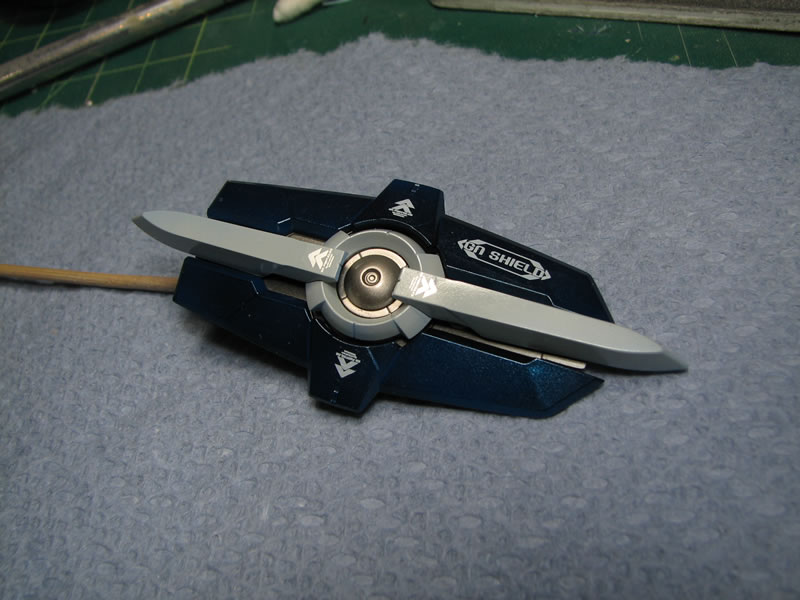
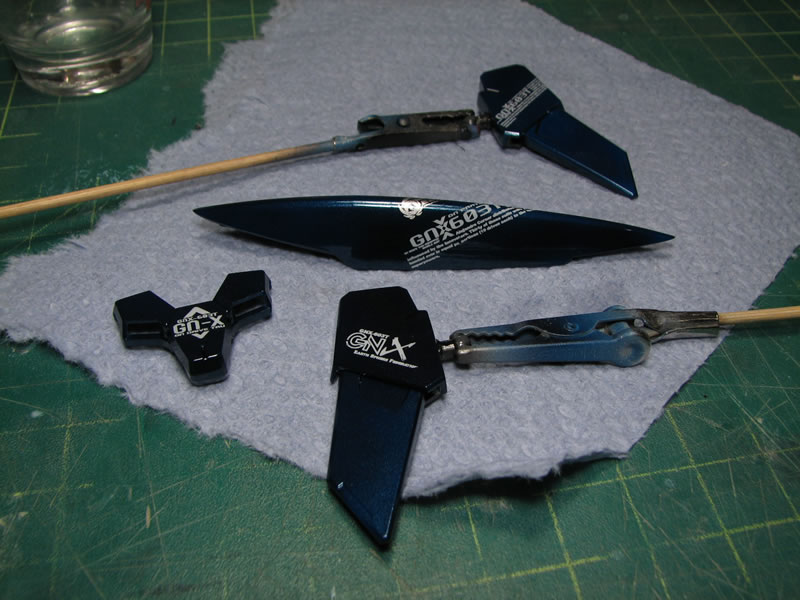
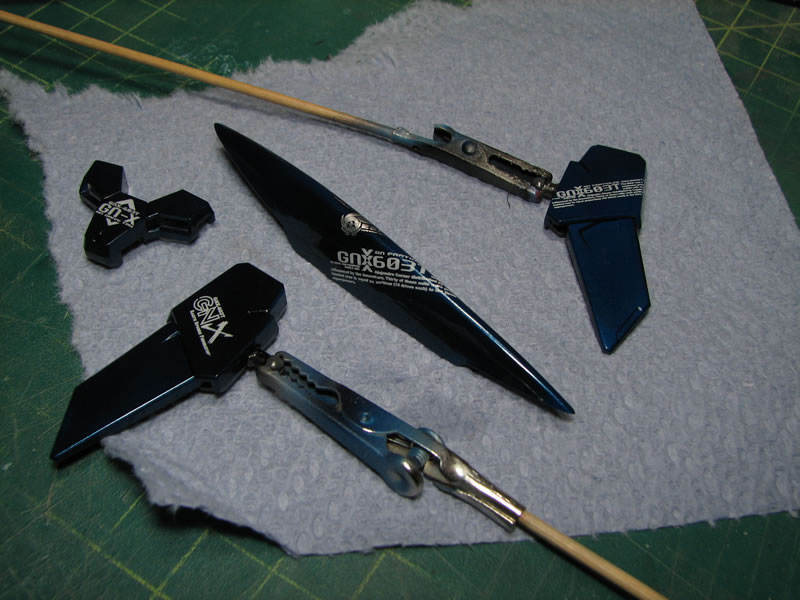
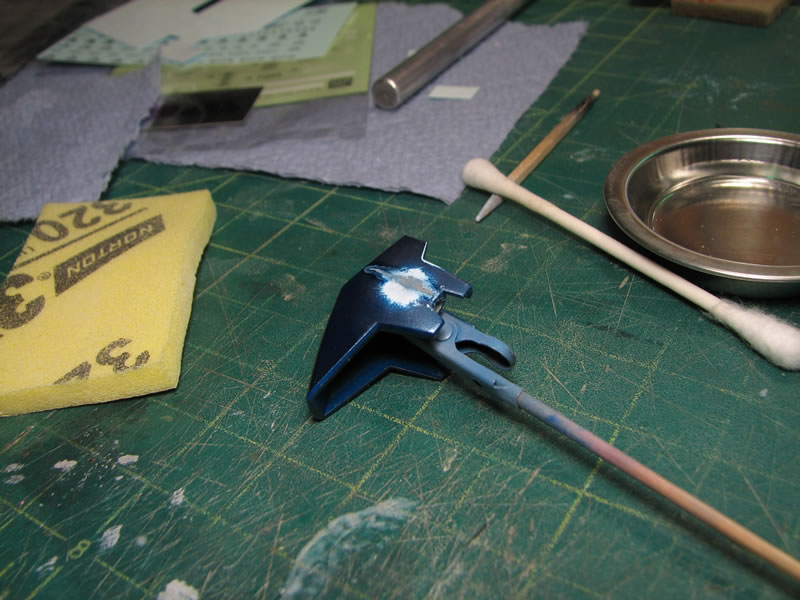
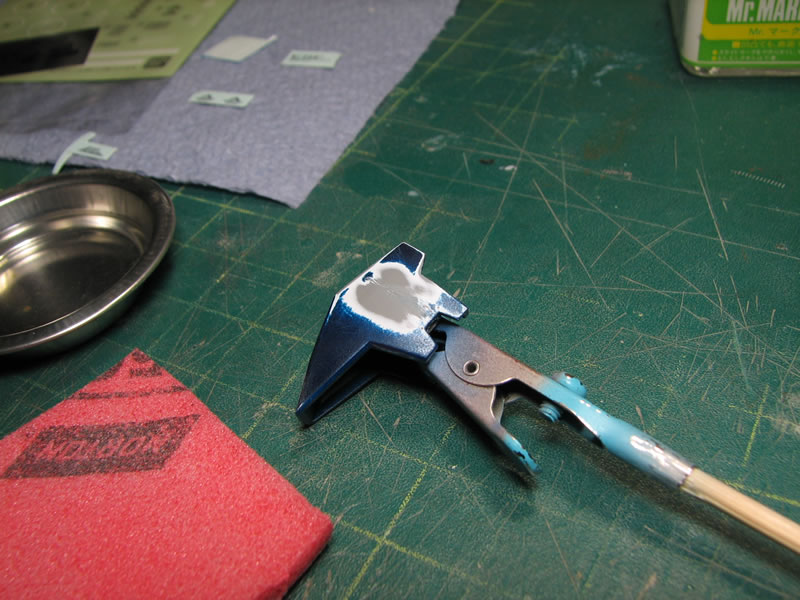
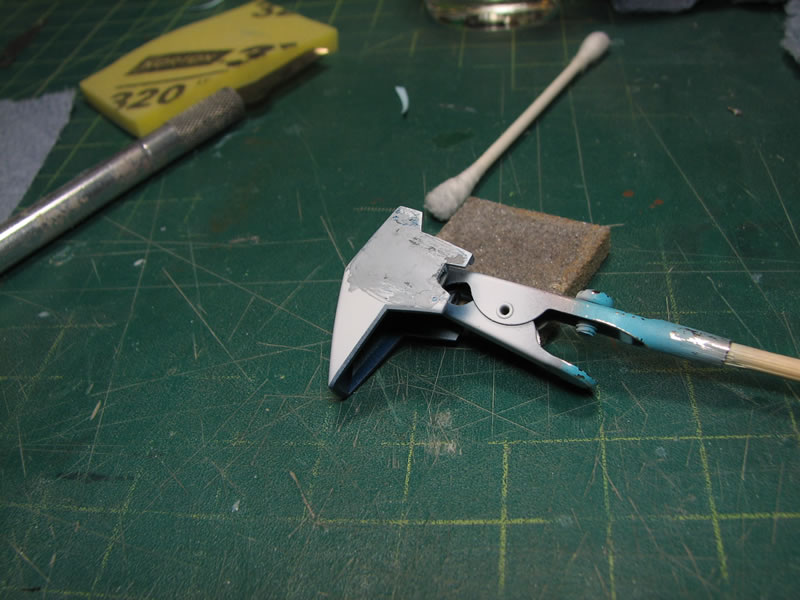
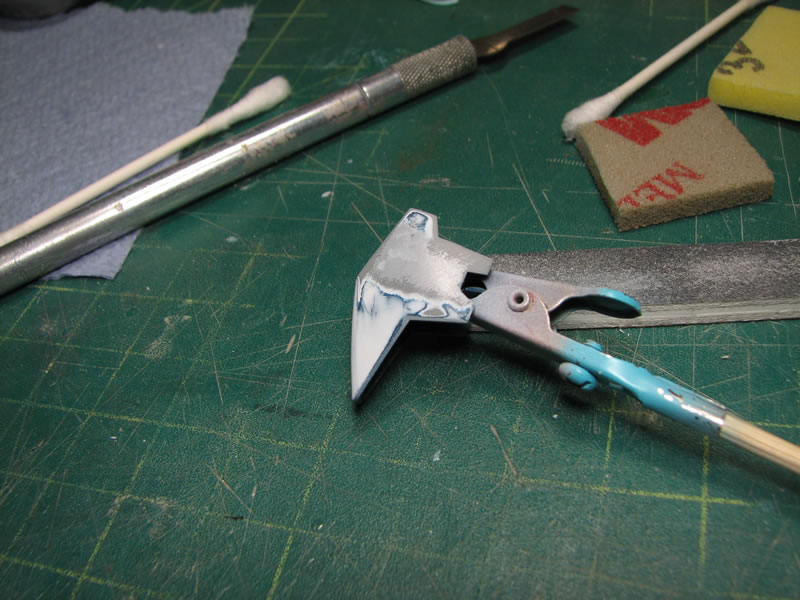
April 11, 2010: Weekend update for the kit. Most everything has been painted and has just been sitting around curing over the weekend. However, I did have to work on the weapons during the build gathering. The parts for the gun was sanded and painted at the end of the weekend and the beam sabers were modified slightly to create a dual edged saber. Returning to a part that I had already painted, I saw that I missed the mold line that runs across the part, so it was taken back to the bench for a new sanding session then repainted.
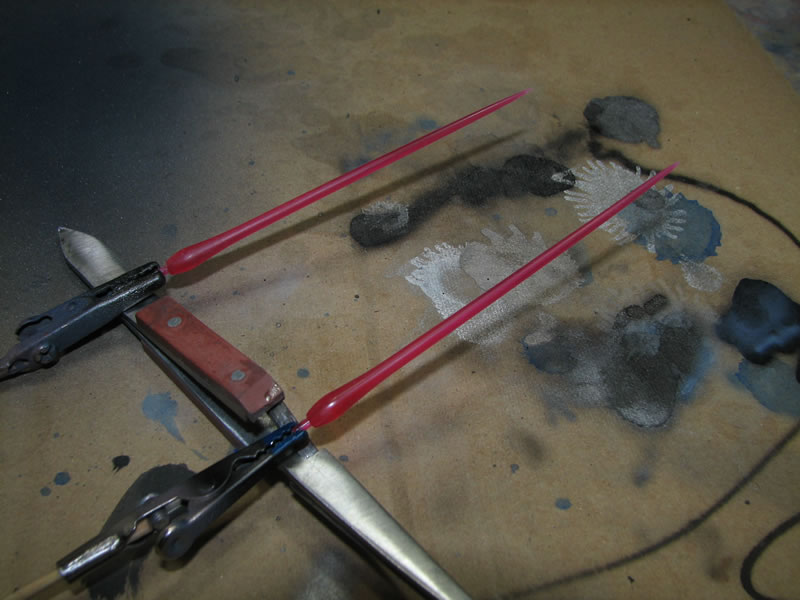
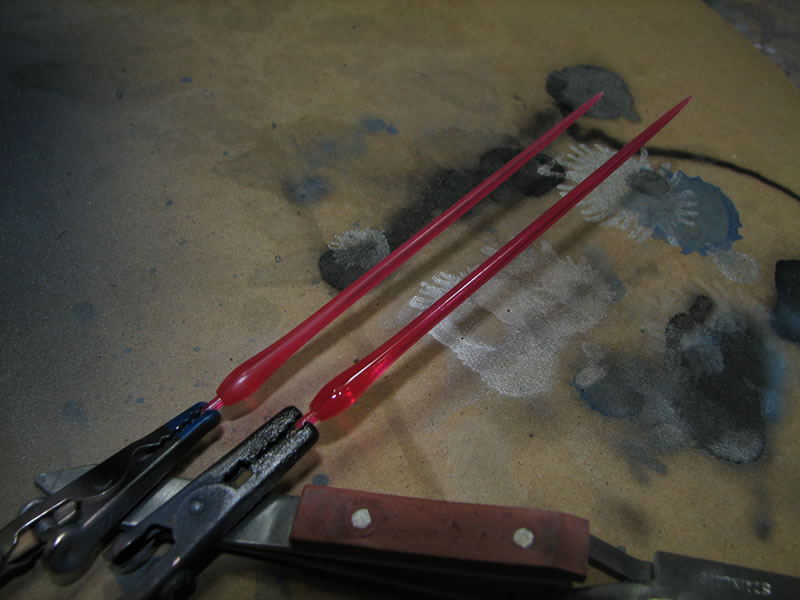
Sanding the sabers always leaves small scratches or the clear part is cloudy from the sanding process. To fill in some of the small scratches and clear up the cloudness, the part is clear coated with a gloss clear. Once the saber beams were clear coated, I painted them with a clear purple I had left over from the Asagi build. They may look a bit on the dark side, but they're still clear if held up against a light source.
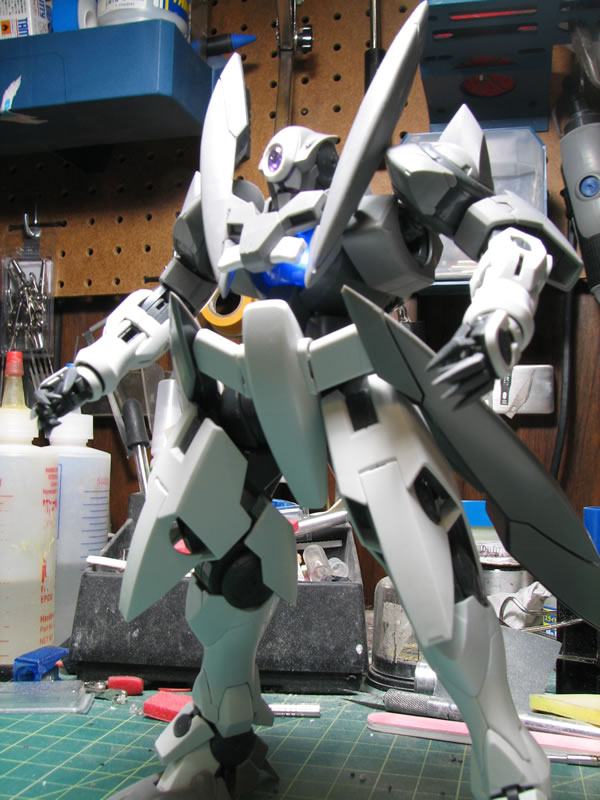
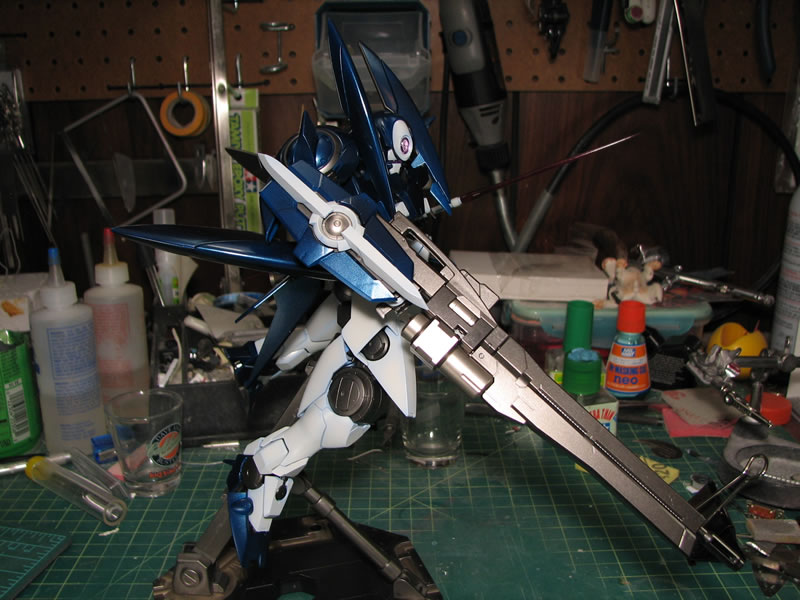
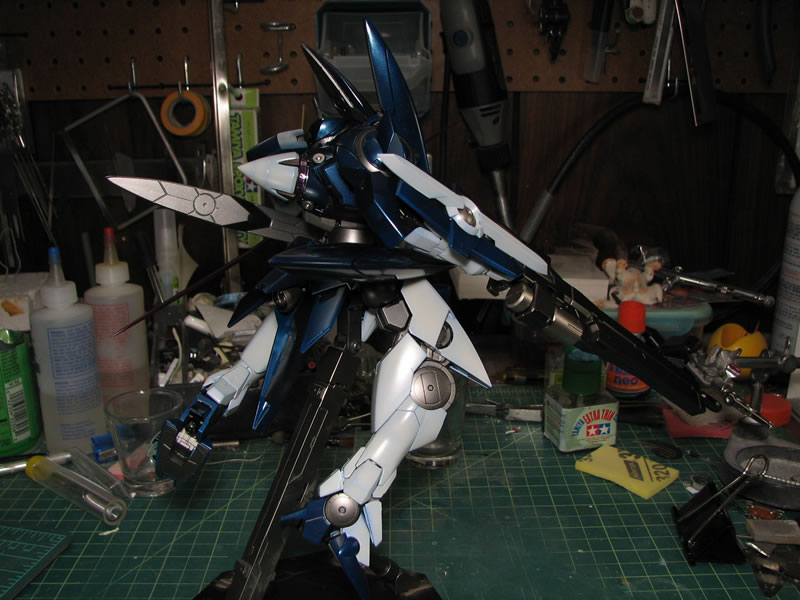
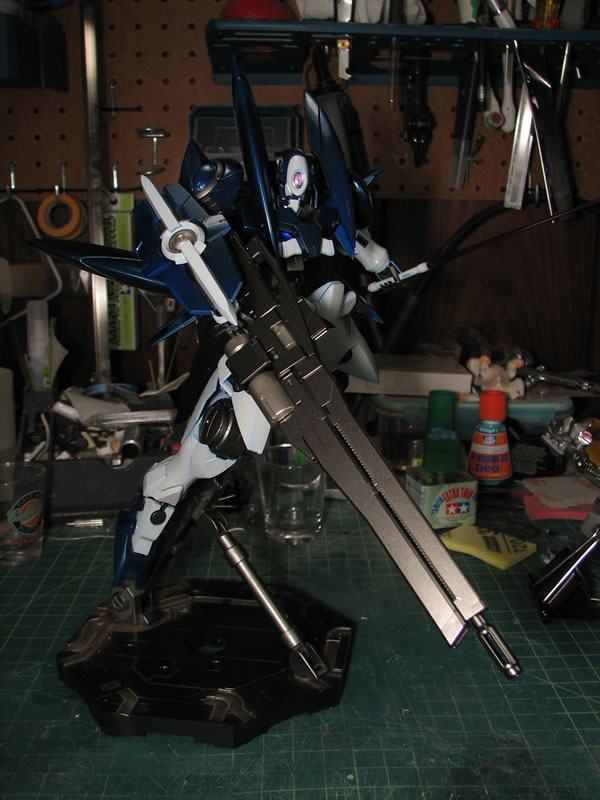
The next step is the clear coat, but to make life easier and to keep form stacking too much paint on unseen and connective areas, the kit was put togehter. I will break the kit back down into sub assemblies such as the arms, legs, torso, waist, etc for the actual clear coating session. But for now, the first pictures of the fully painted kit.

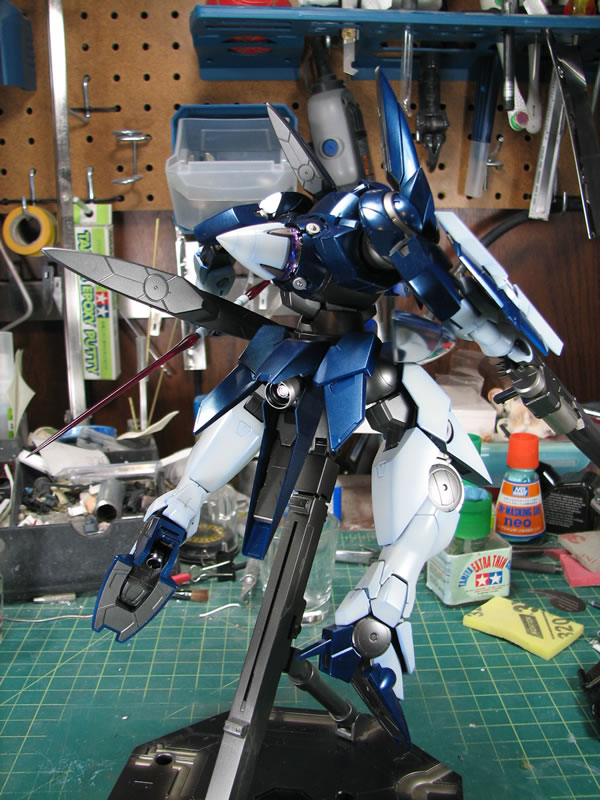
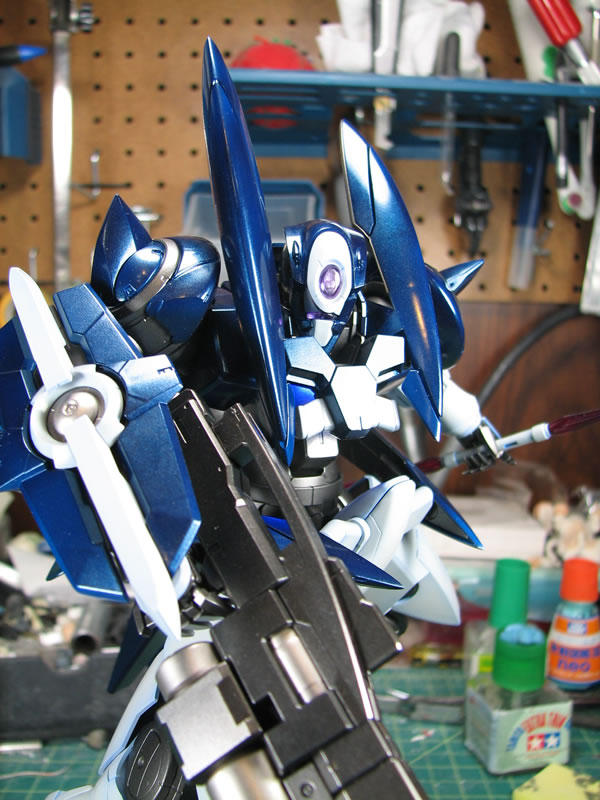
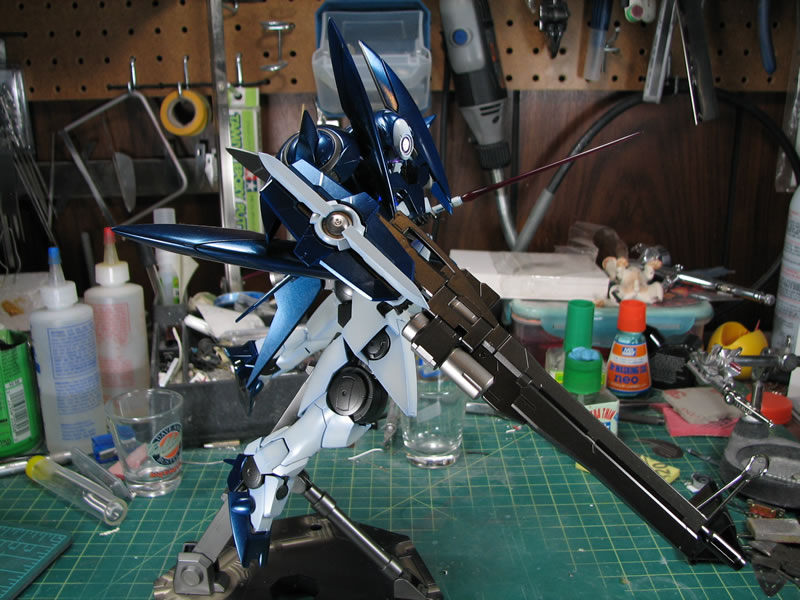
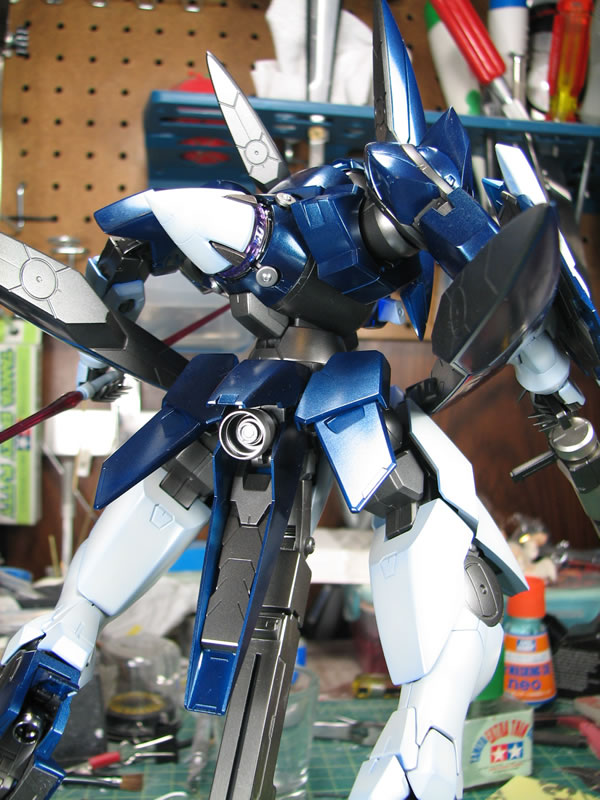
And for tonal difference, pictures with the flash incorporated.

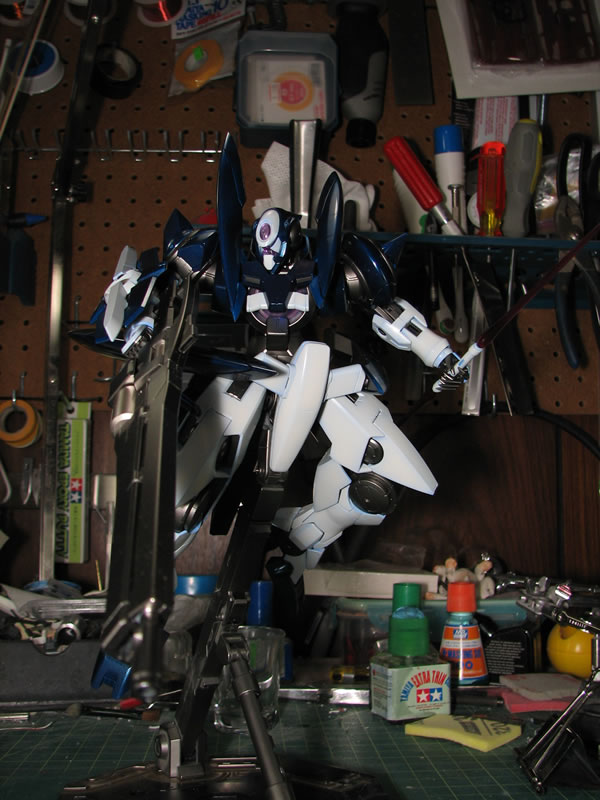
April 18, 2010: Weekend update. The progress towards the end slows down considerably as most of the progression is not very visible. With the kit fully painted, the parts are clear coated with a gloss to prepare the surface for decals that stick better and reduce silvering of edges when applied to a glossy surface. The gloss needs to dry/cure over night before the decals can be applied. The decals I ordered arrived on Friday, so the kit was gloss coated on Wednesday where I last had an update.
Friday night was spent placing decals. From the pictures, the decal lines are still pretty visible, even with the application of a decal softening solution applied over the placed decals.
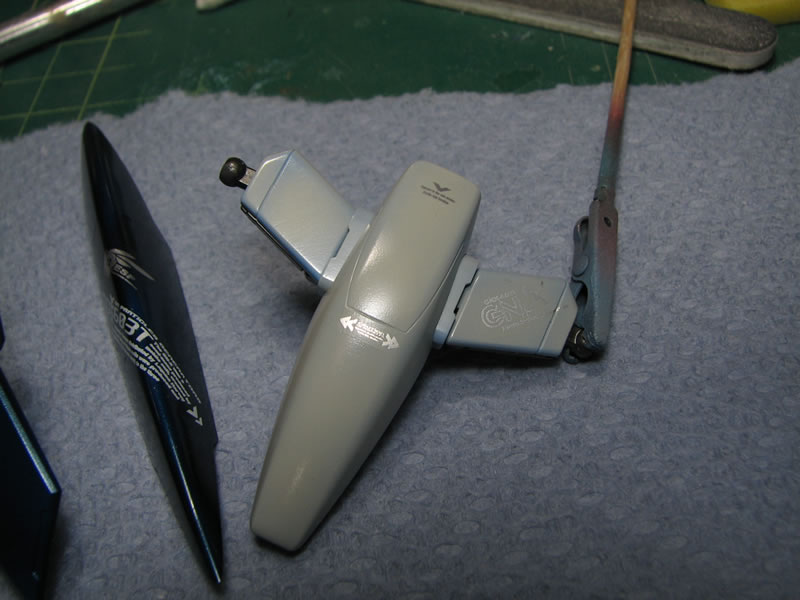
A flat coat was sprayed over the white areas after the panel lines were applied to finish the work on the white areas. The internals were sprayed with a semi gloss to reduce the gloss from earlier and return the metallic tone to the parts.
The decal areas recieved about 5 coats of clear gloss to very slowly build up the area around the decals to help hide the decal lines. The rest of the blue parts were also coated with about 5 coats of clear. The panel lines were applied to the parts, then a final clear gloss was sprayed over the blue areas.
While applied decals, I noticed that there was a hair line fracture in the paint of one of the parts. Looking closer, it was actually a crack in the part itself. While putting the sucker together, I had heard noise that sounded like snapping plastic, but didn't see the issue, so I continued. The part was glued, then sanded and primed to check the work. The issue was still there so I applied a little bit of tamiya putty over the area and let that sit over night before returning to the part to sand and prime. With the primer on, the fix was checked and the part was repainted.
April 5, 2010: Work on GN-X begins.
April 19, 2010: Completed Click here for the completed gallery page.