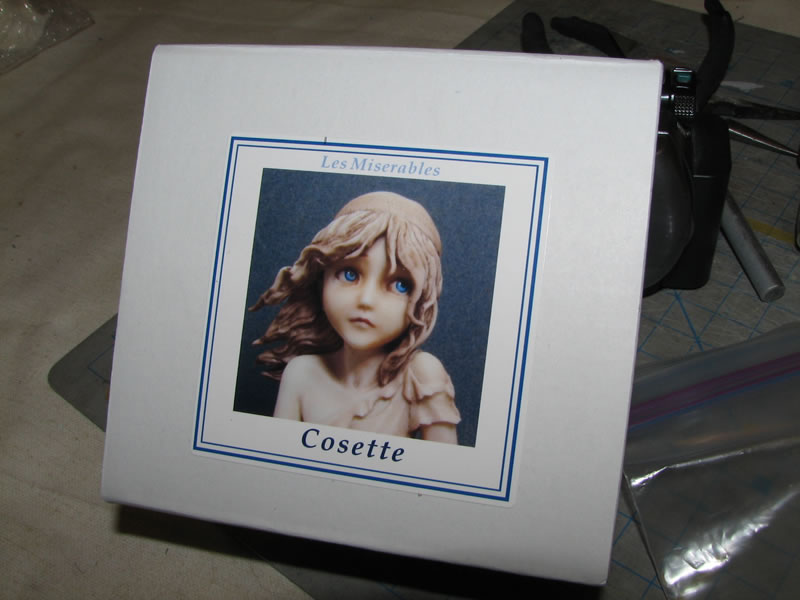
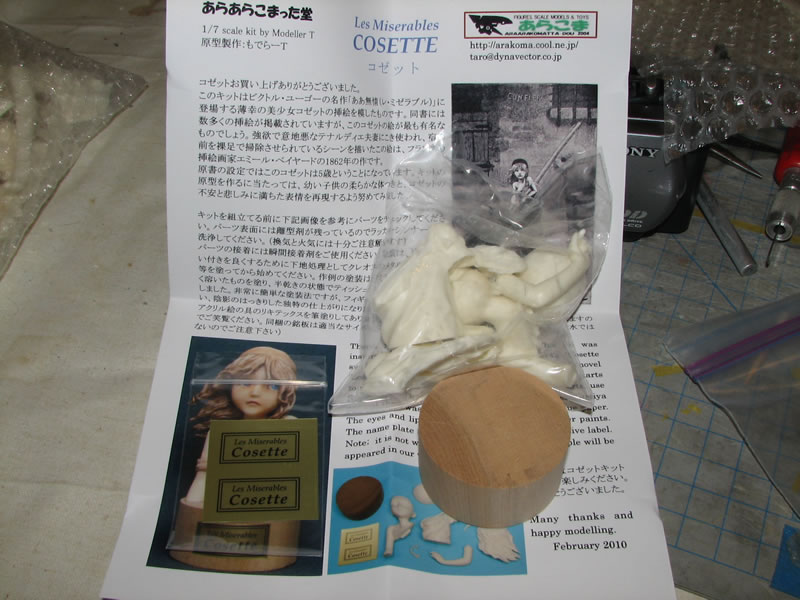
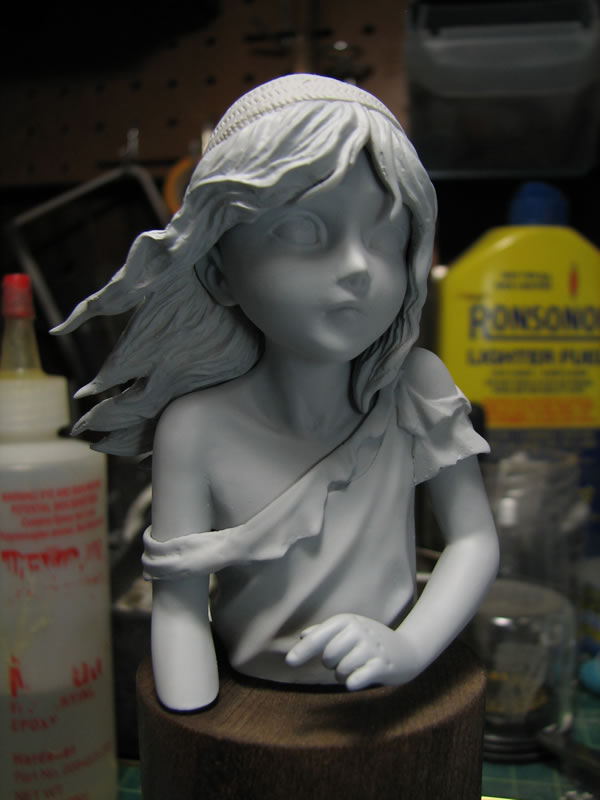
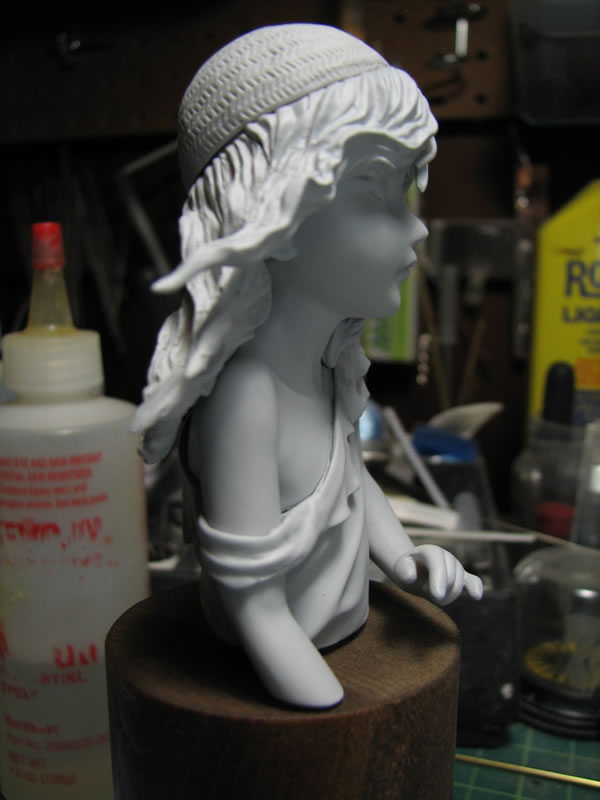
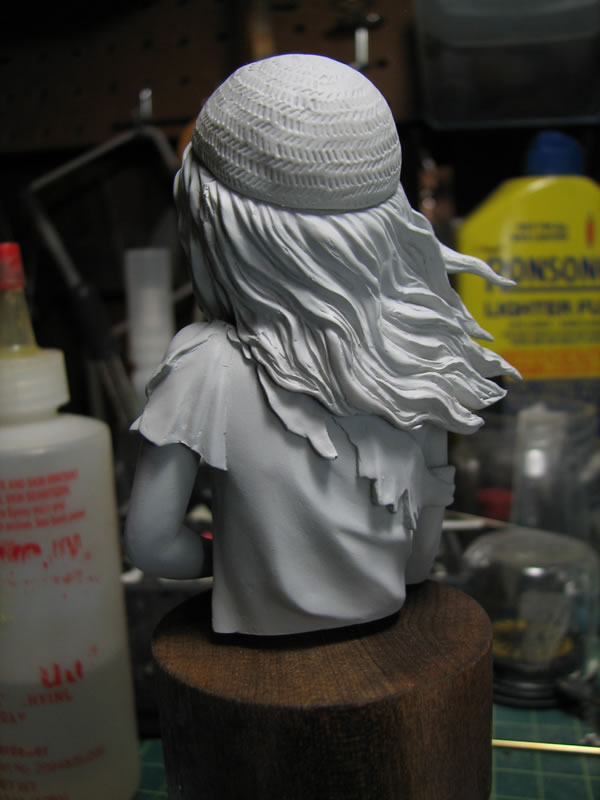
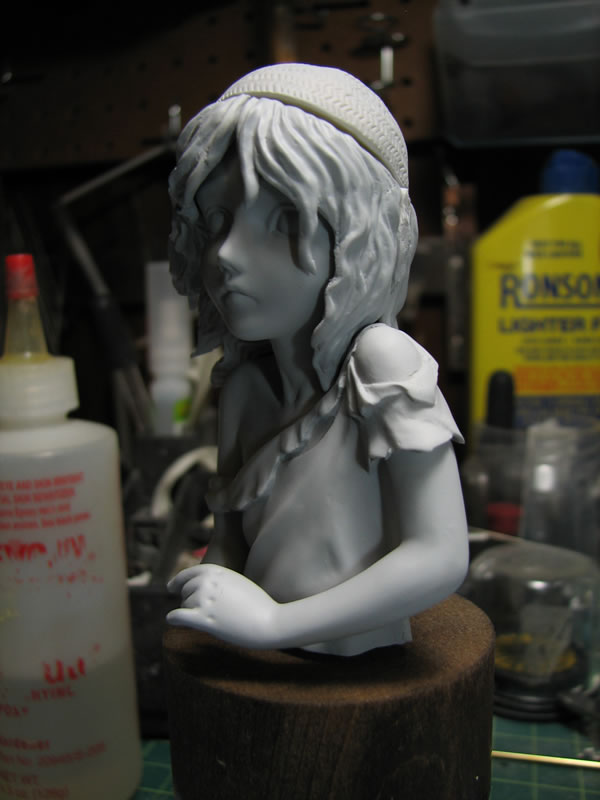
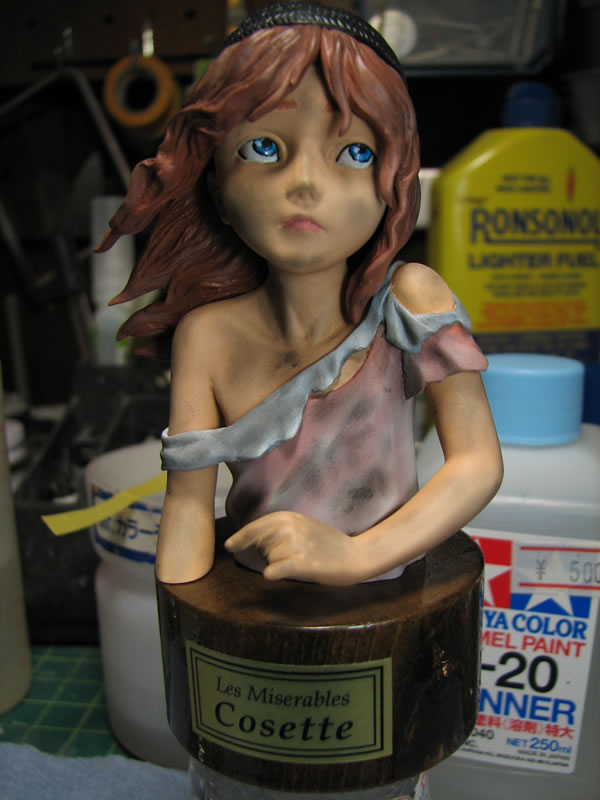
Feburary 23, 2010: I picked up this kit off Wonderfest 2010 Winter. The kit is sculpted by a circle named Modeller T and is sculpted after an illustration by French Artist Emile Bayard for Victo Hugo's Les Miserables which depicts a young Cosette sweeping.
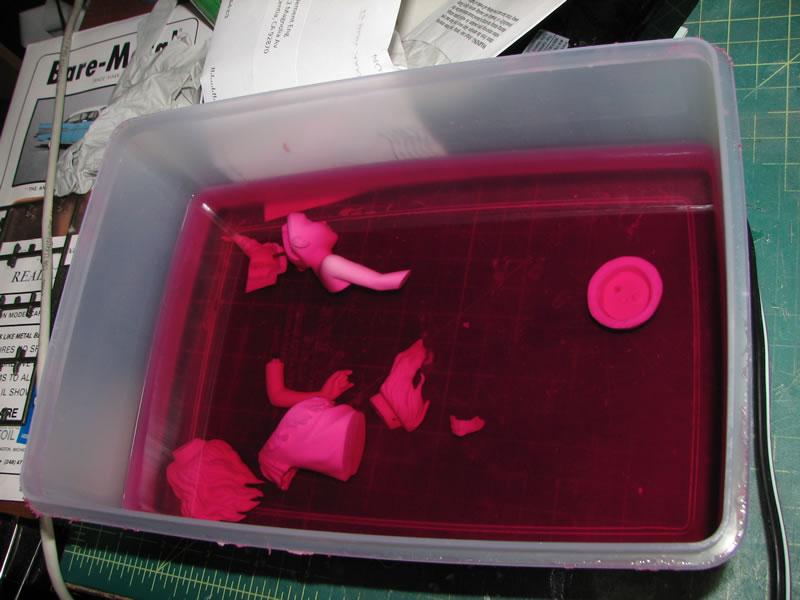
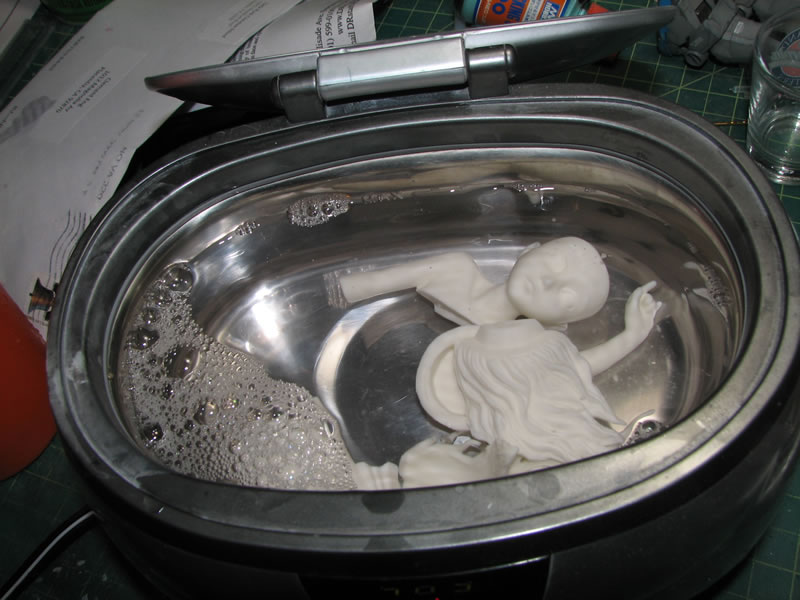
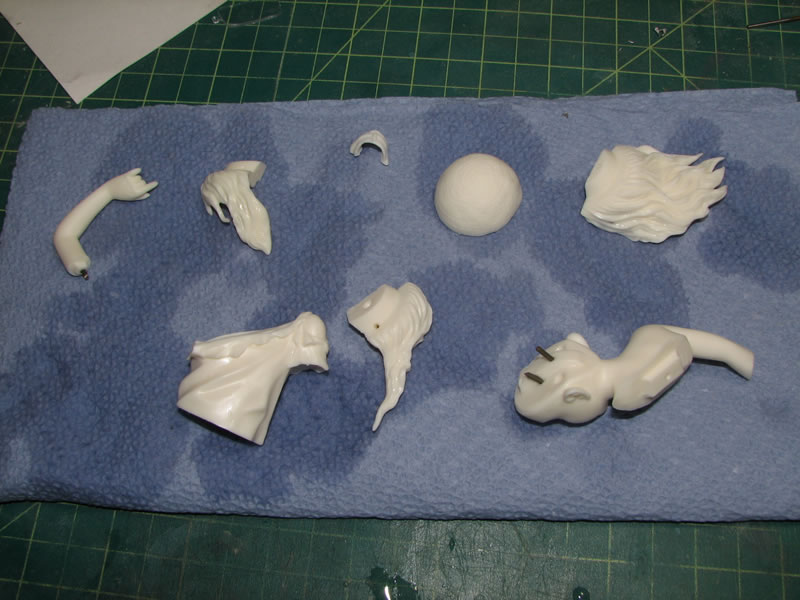
After the intial pinning, flash clean up and sanding; the parts are seperated and thrown into a purple power bath to sit over night. Then the parts are thrown into a ultrasonic cleaner for a scrubbing then dried.
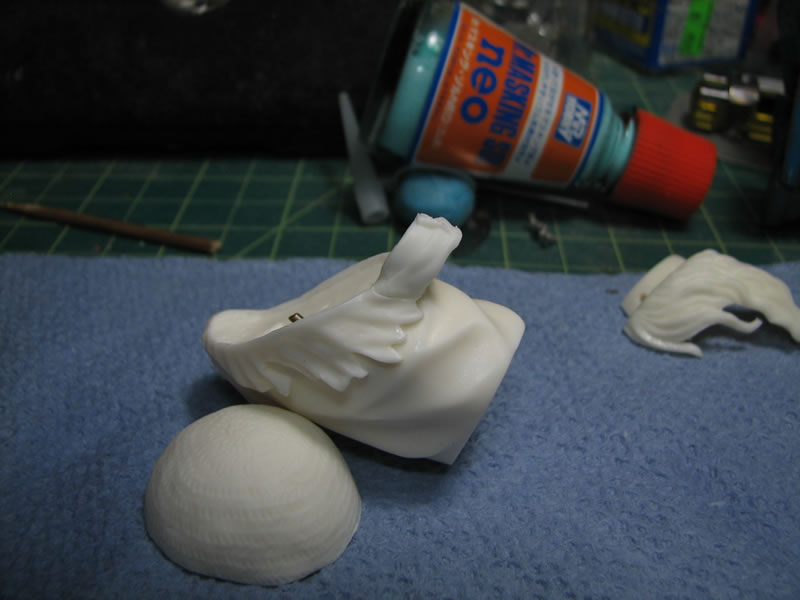
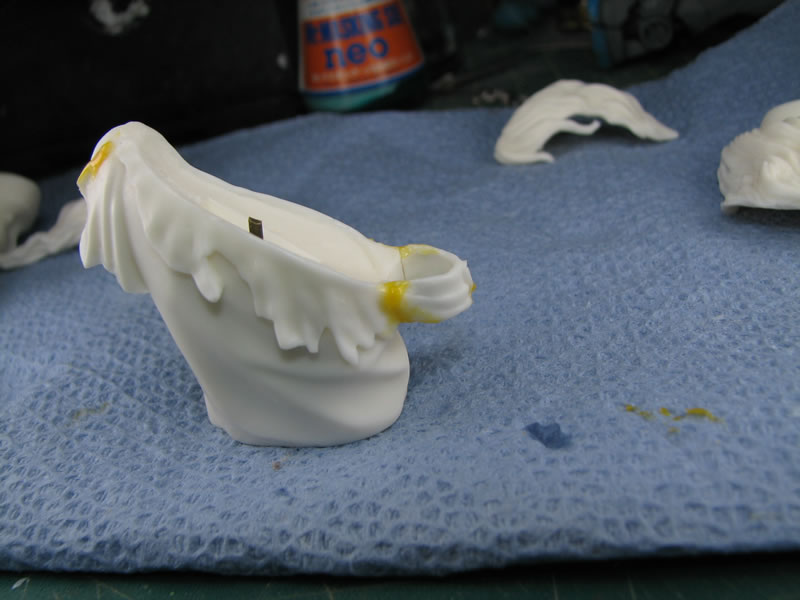
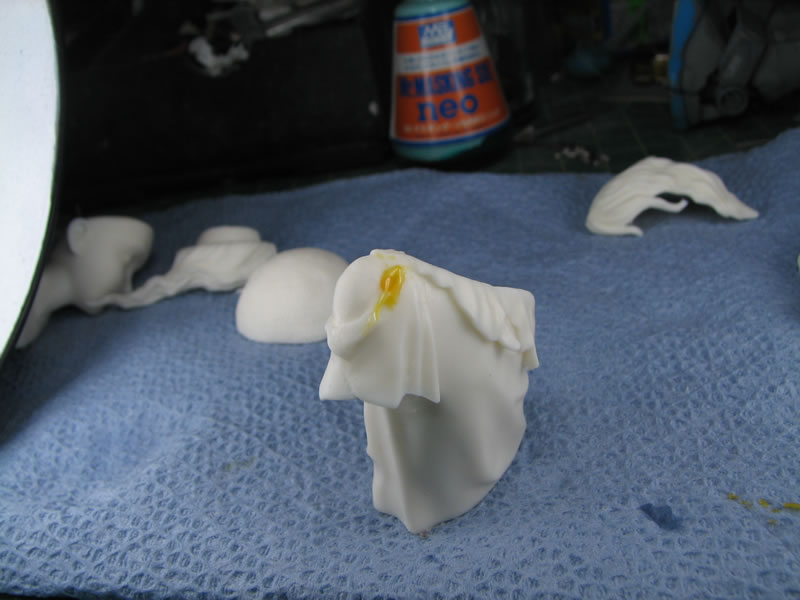
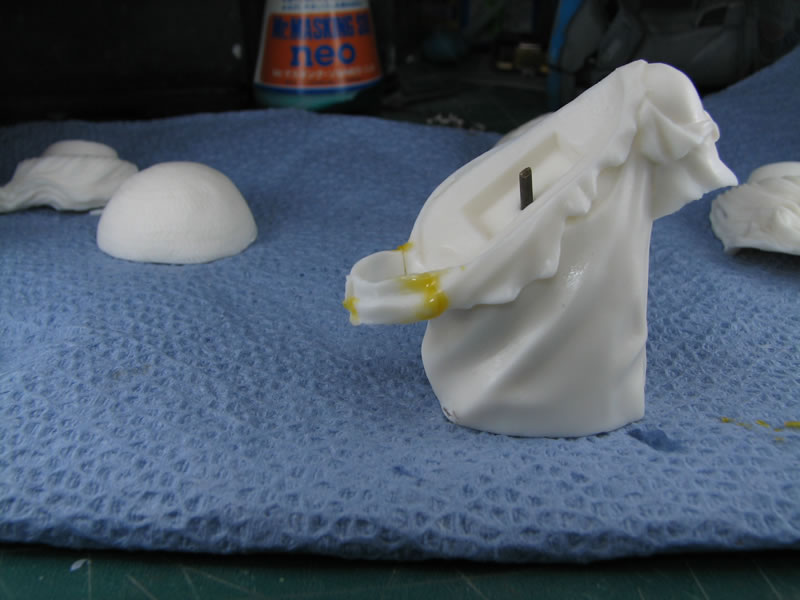
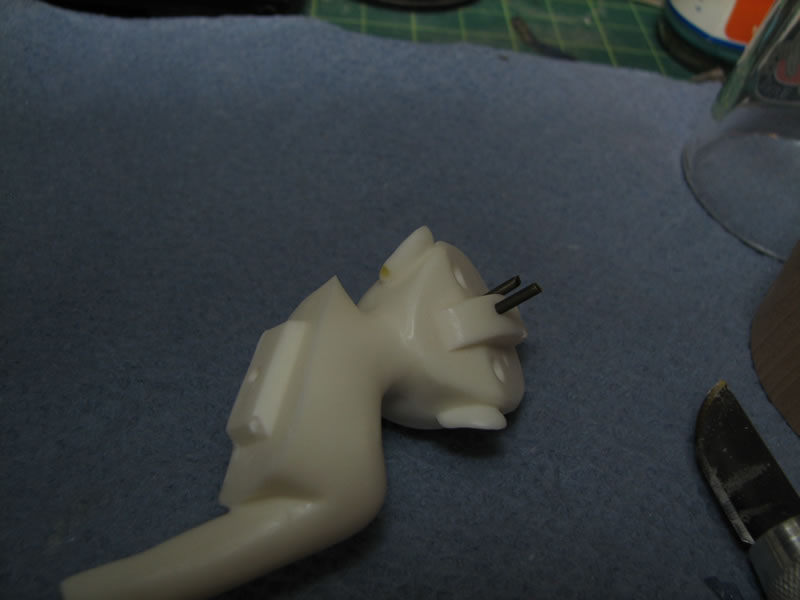
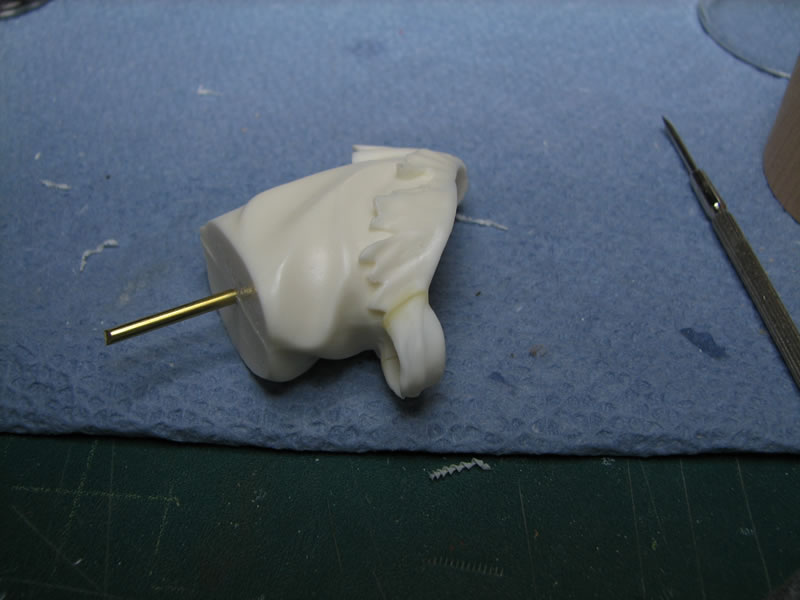
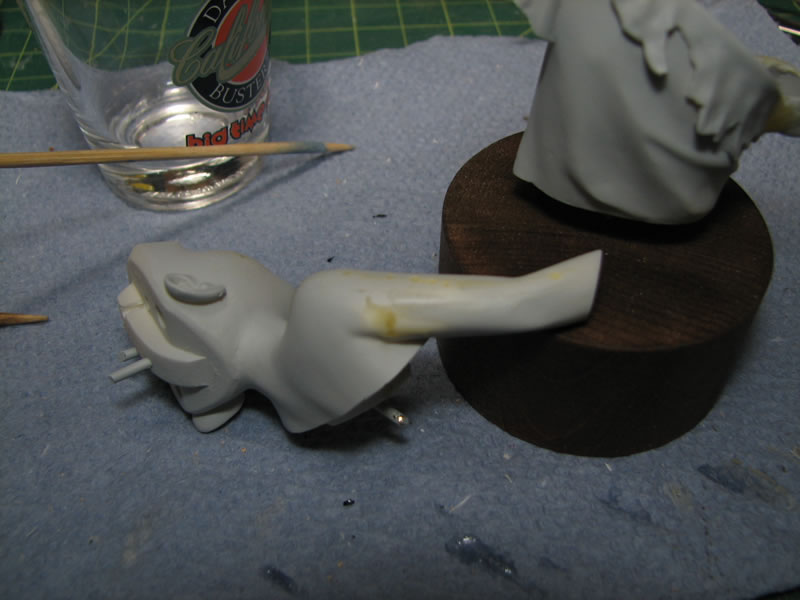
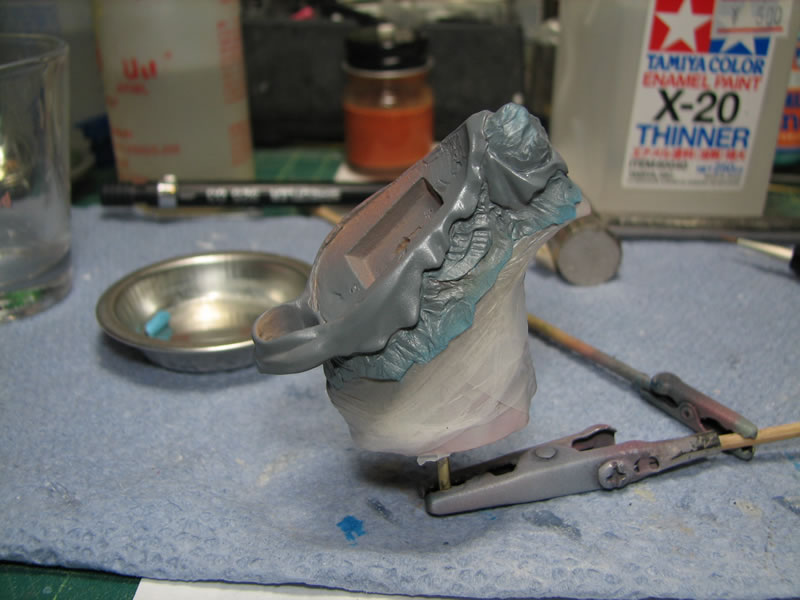
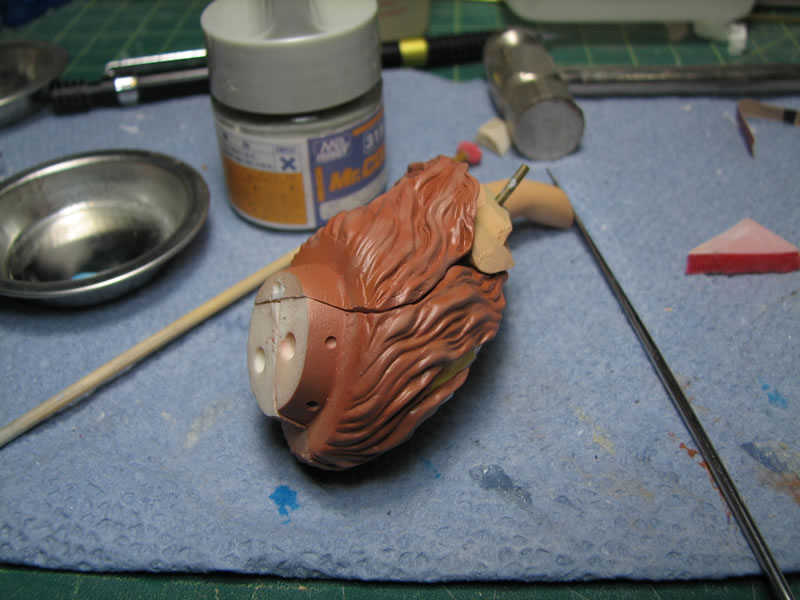
The sleeve piece is glued to the main body with some epoxy glue, then the gaps are filled with some light curing putty. There are a few bubbles that needed filled with the light curing putty so those areas were also fixed.
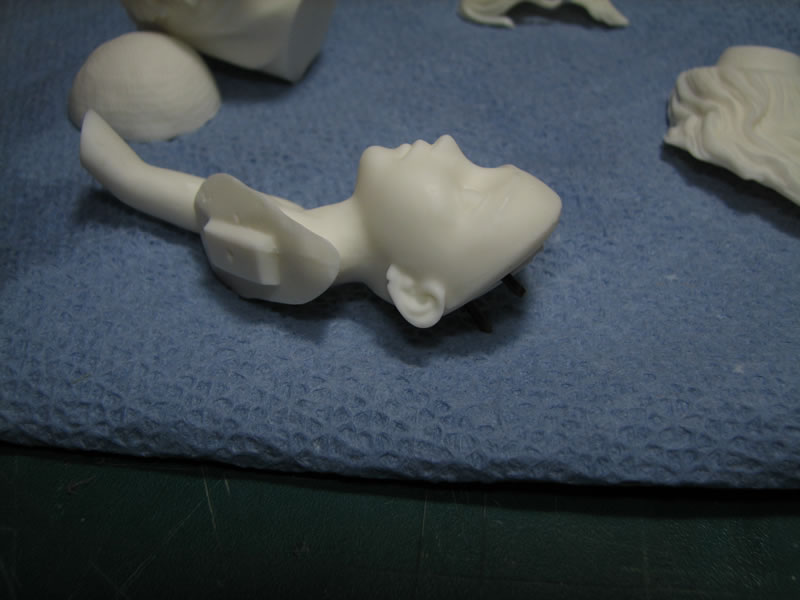
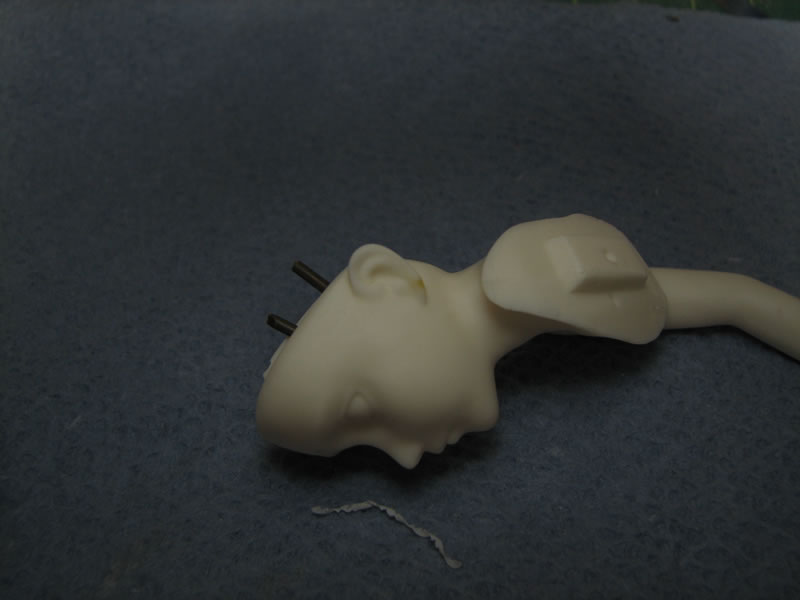
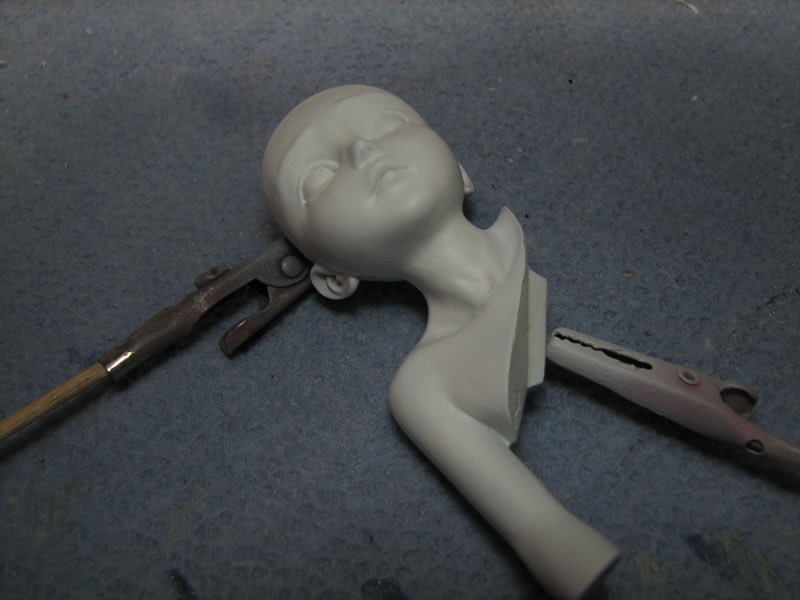
There was a bubble in the left ear that needed to be fixed, so light curing putty is employed for the fix.

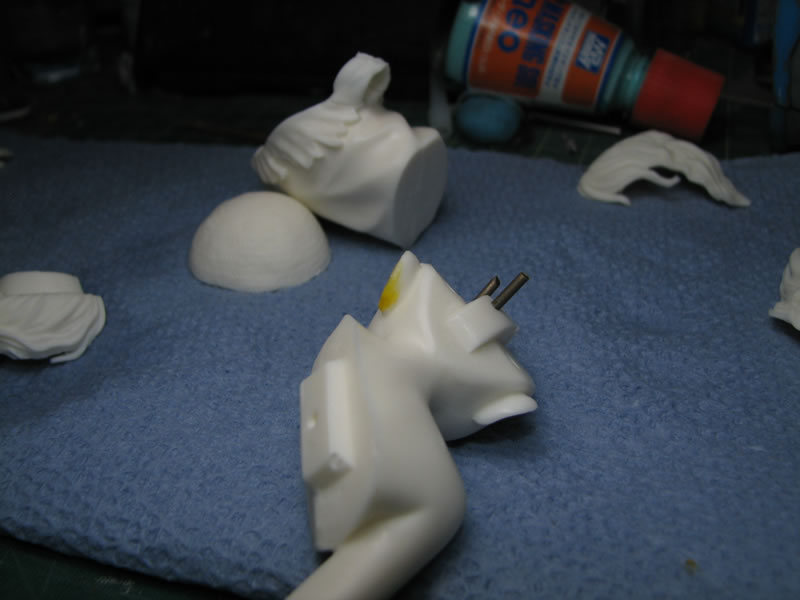
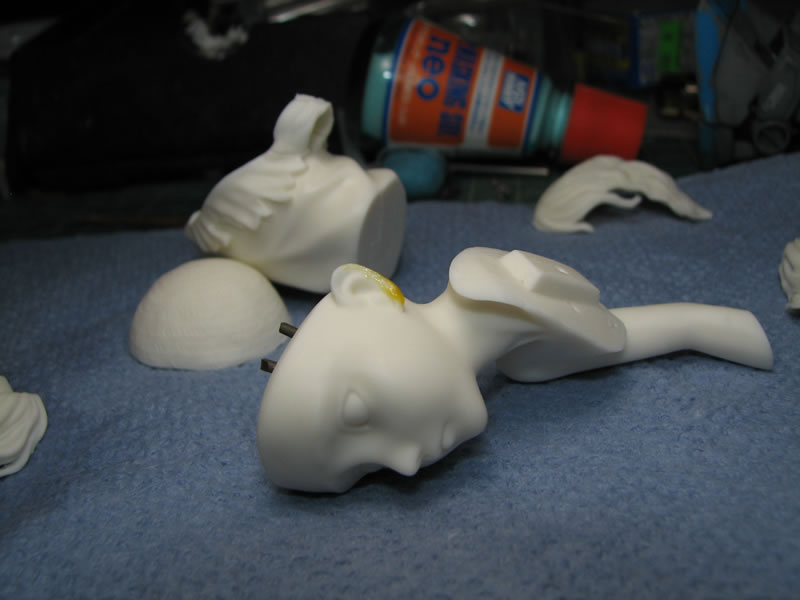
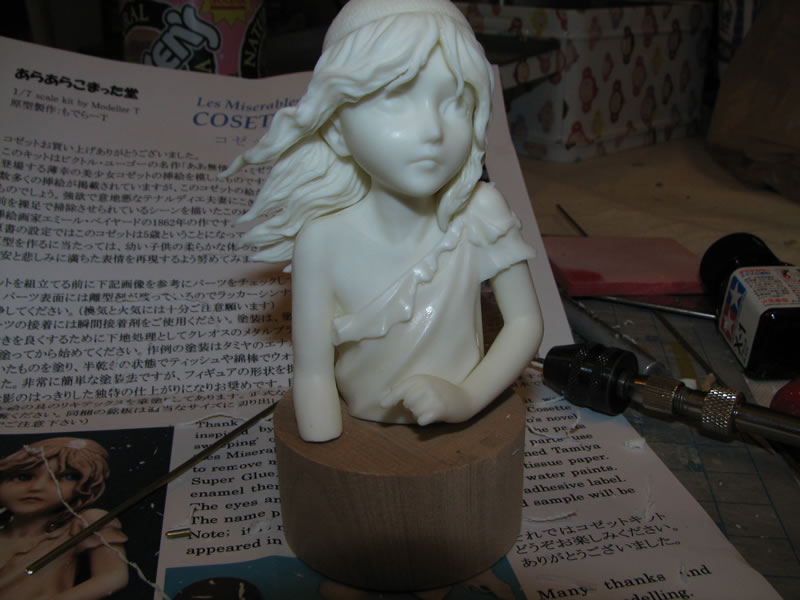
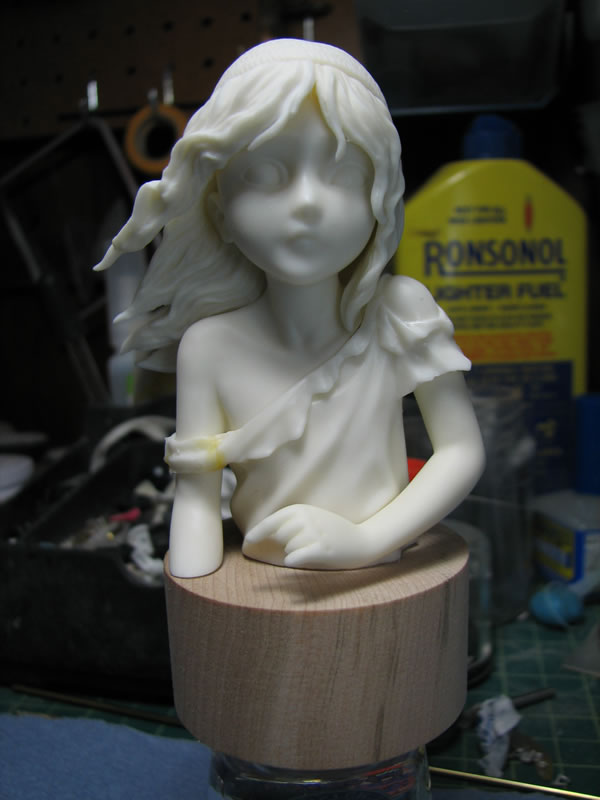
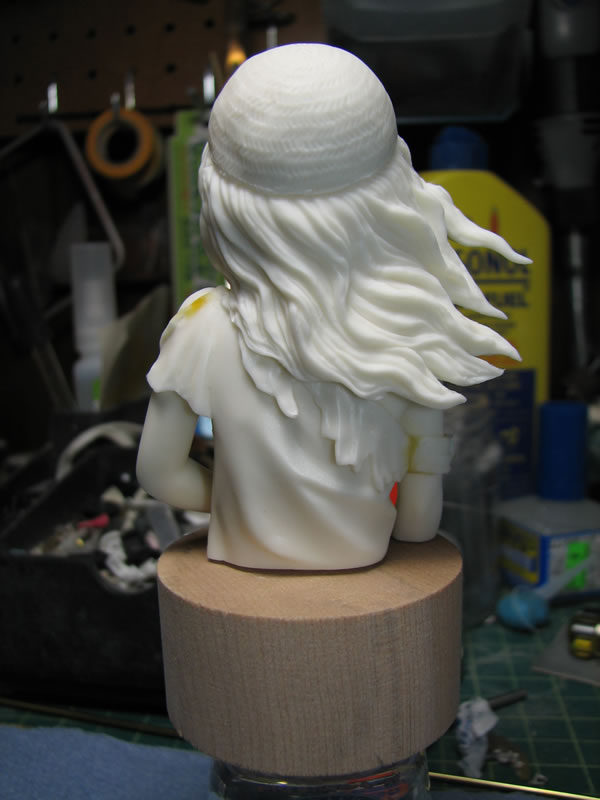
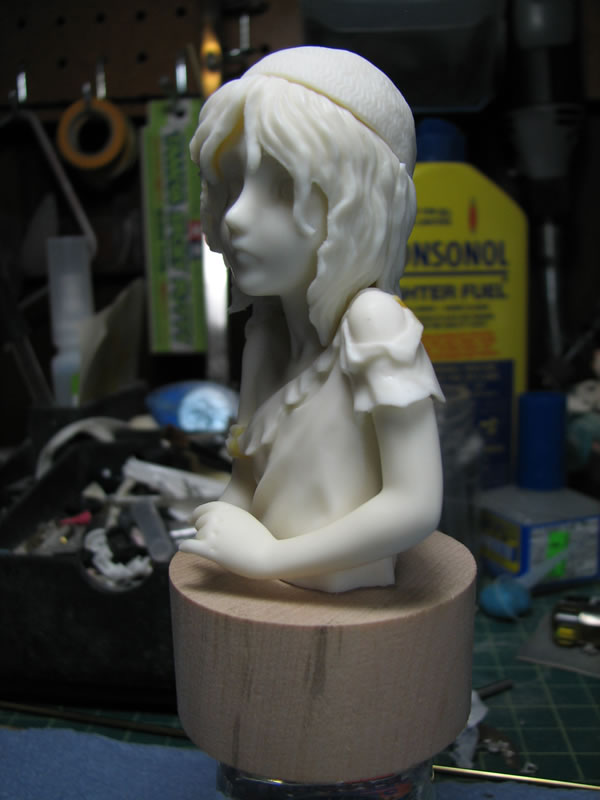
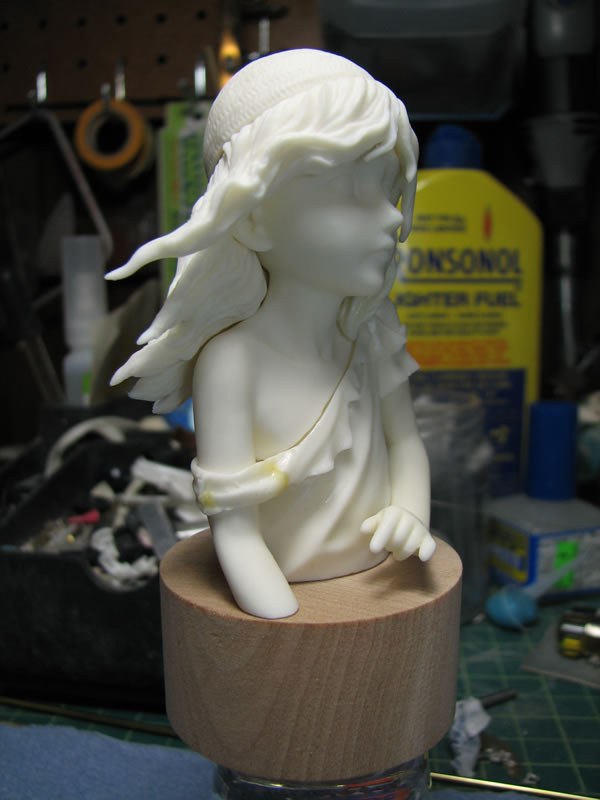
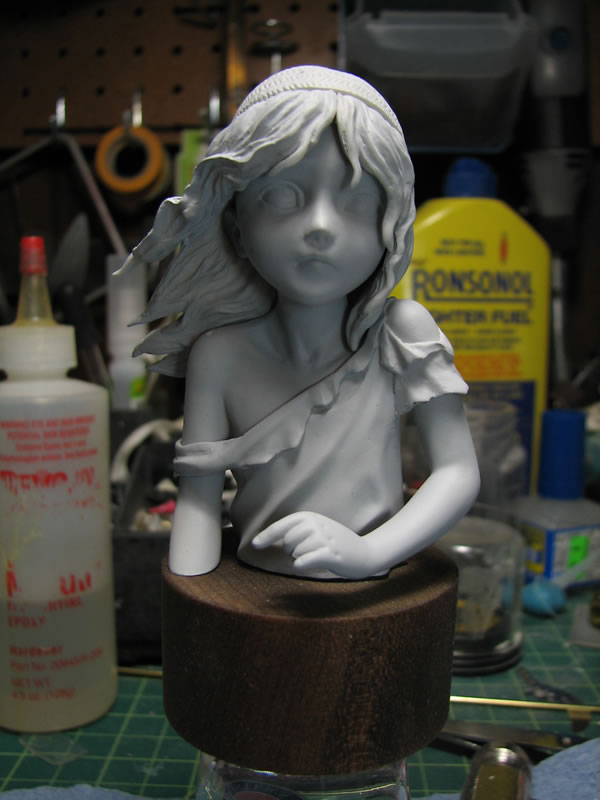
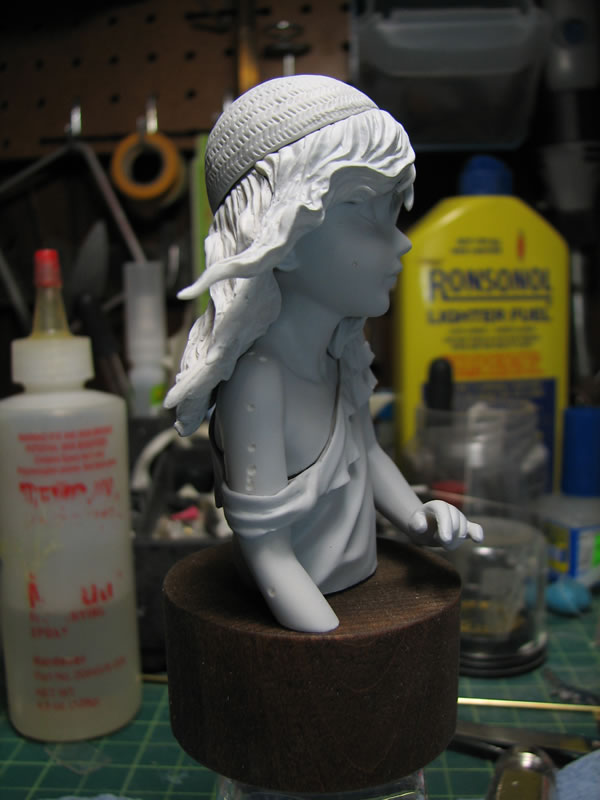
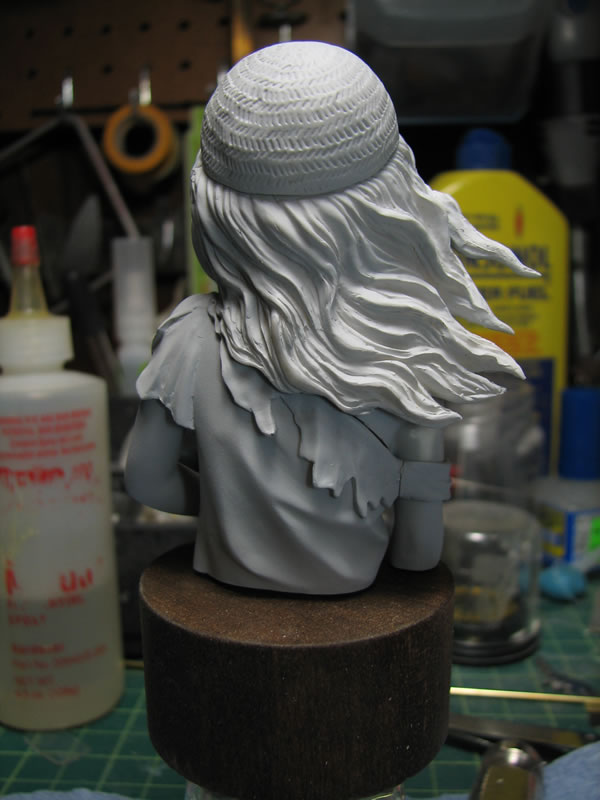
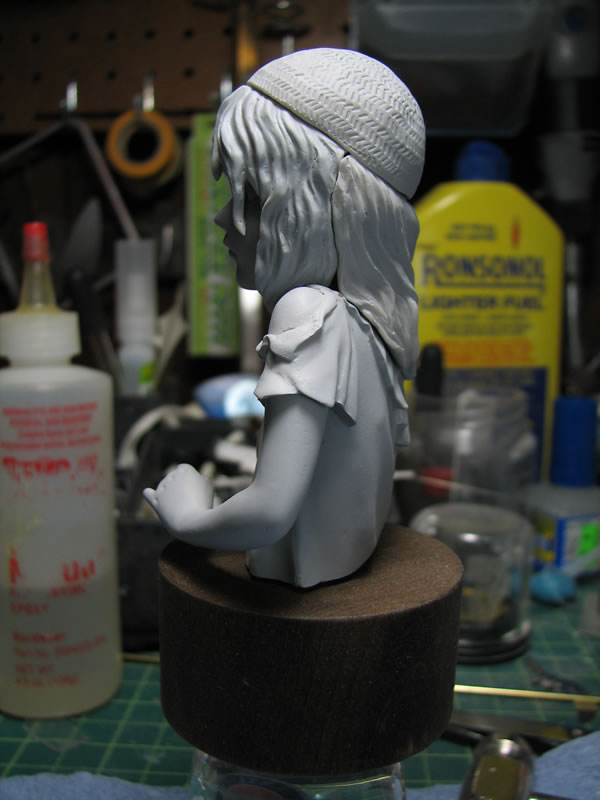
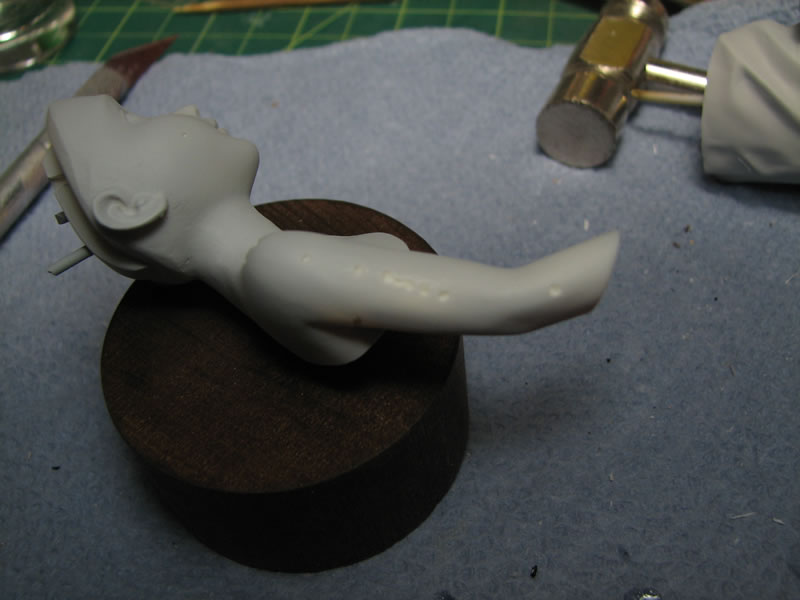
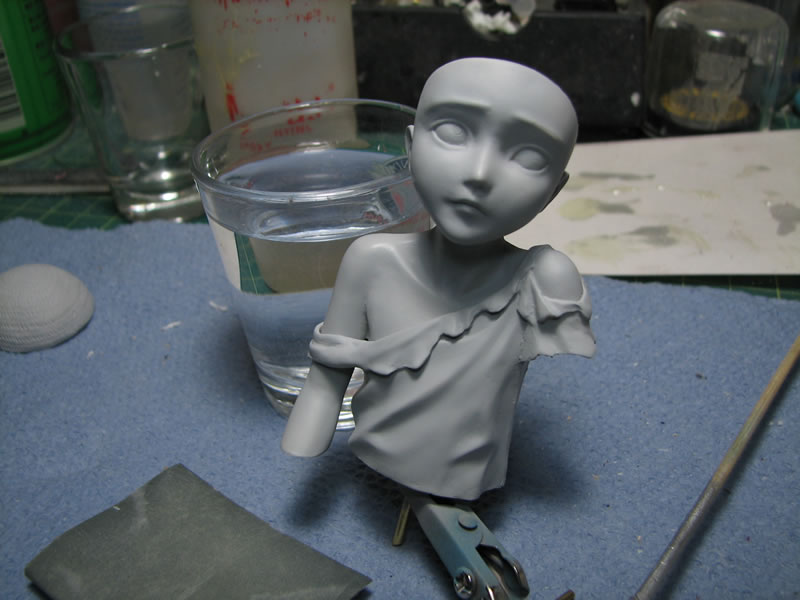
Here are a few quick snaps of the kit that I didn't get to do during the build gathering when I had the kit originally pinned together.
And of course, the ubiquitous shot with Mr Keroro G3.

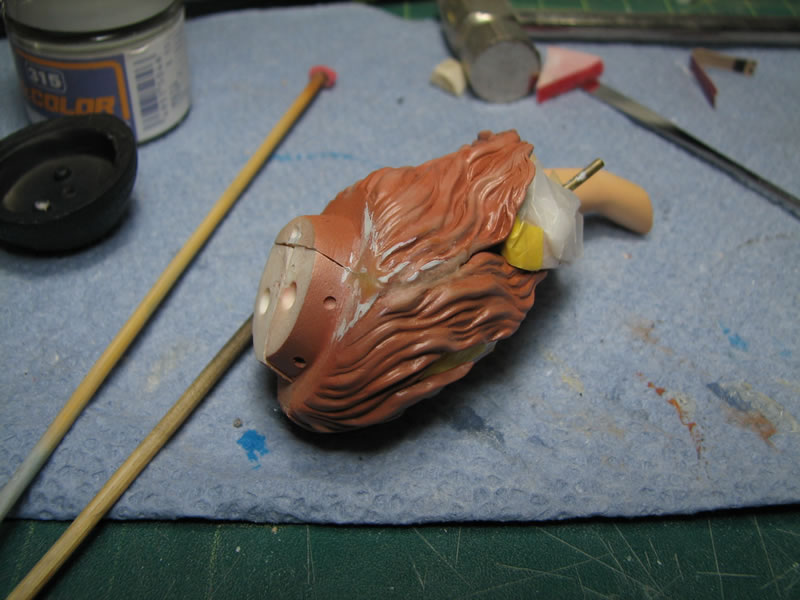
Feburary 25, 2010: Continuing from the last update, the puyttied areas were sanded down and all the parts are prepared for the first priming session

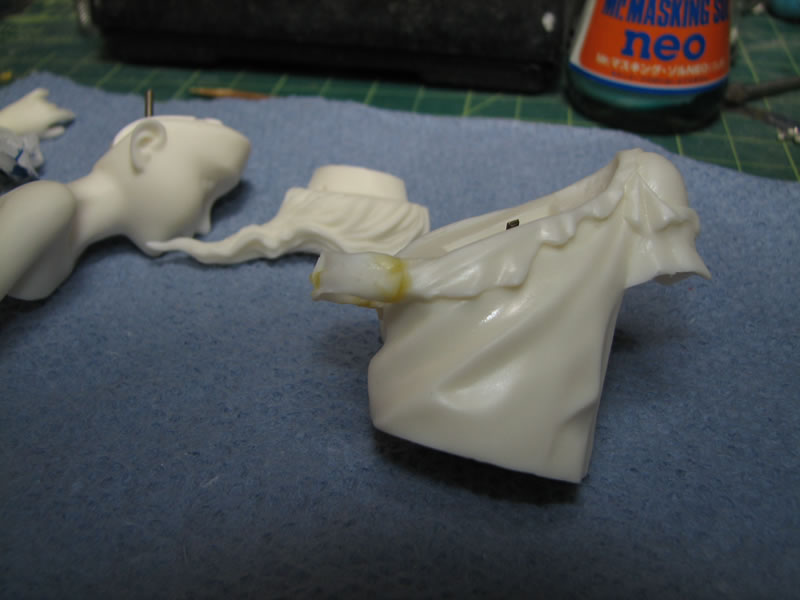
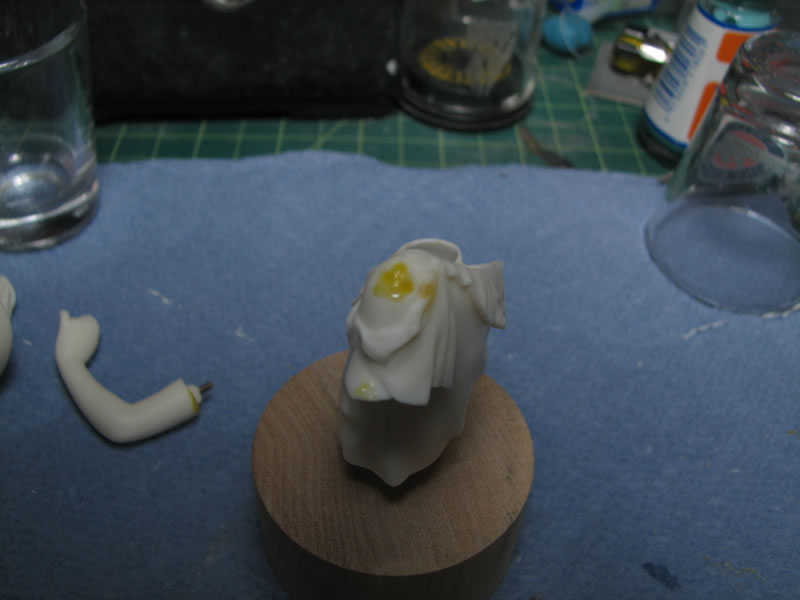
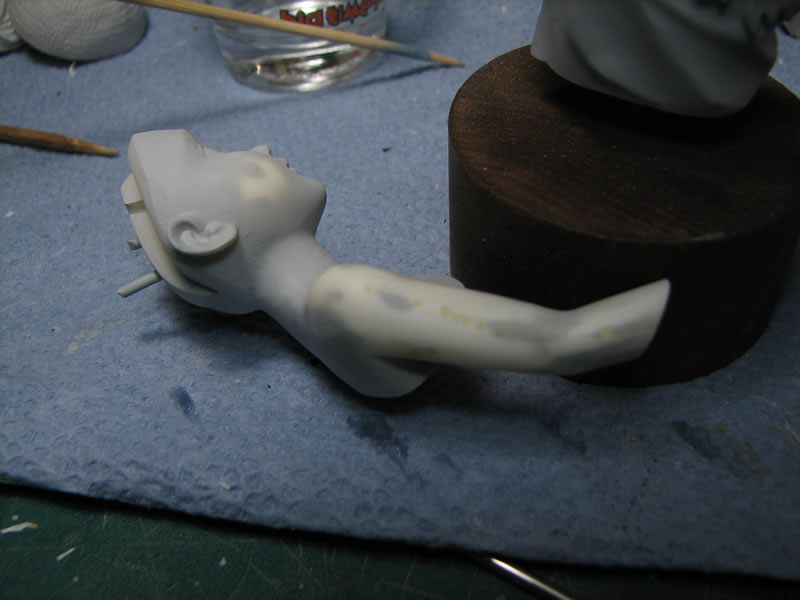
A little more attention to the shoulder was needed with the light curing putty, and the area is sanded down after the putty cures (about 5 minutes later)
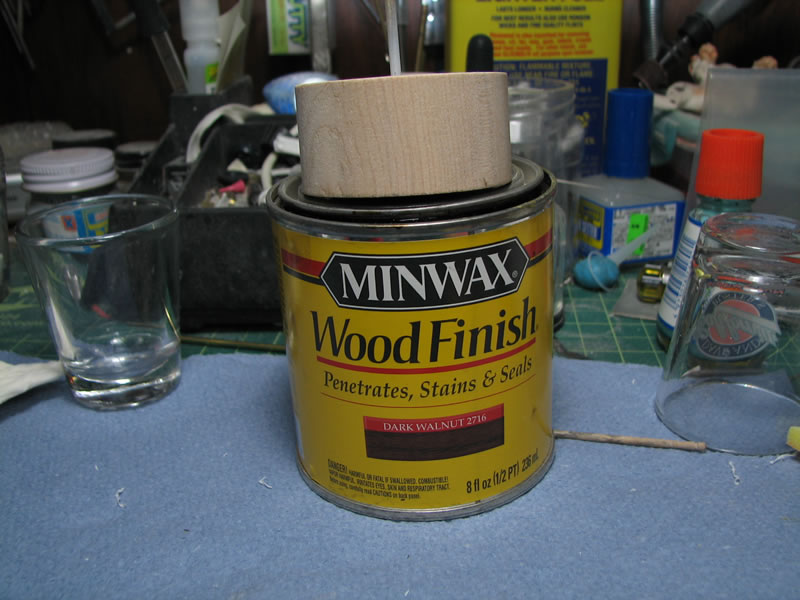
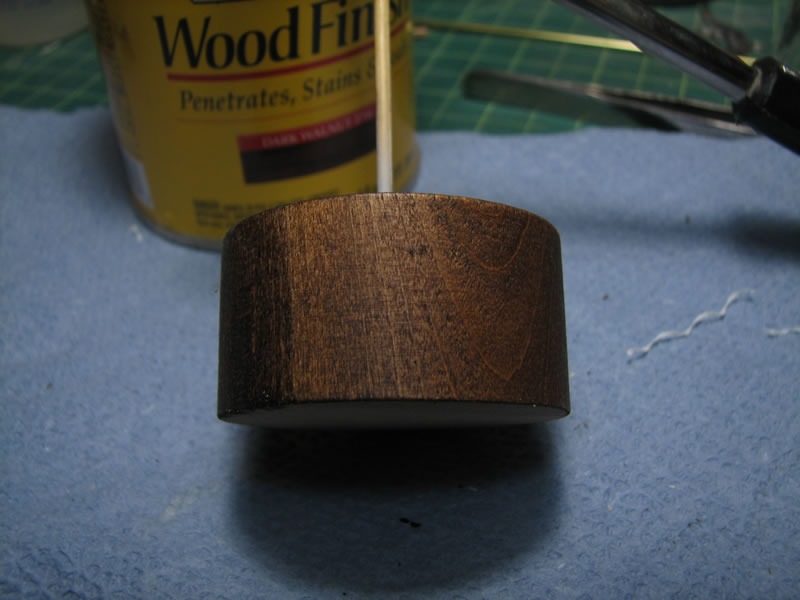
The base is stained.
And the kit is primed.
There are some small little bubbles on the surface. They don't really show up on the camera but in person, I can still see them, so the hobby knife is used to open up the bubbles, then light curing putty is applied, cured, and sanded. Ready for the next priming session.

And here she is after the second priming session. The base was sprayed with the first of many layers of clear gloss.
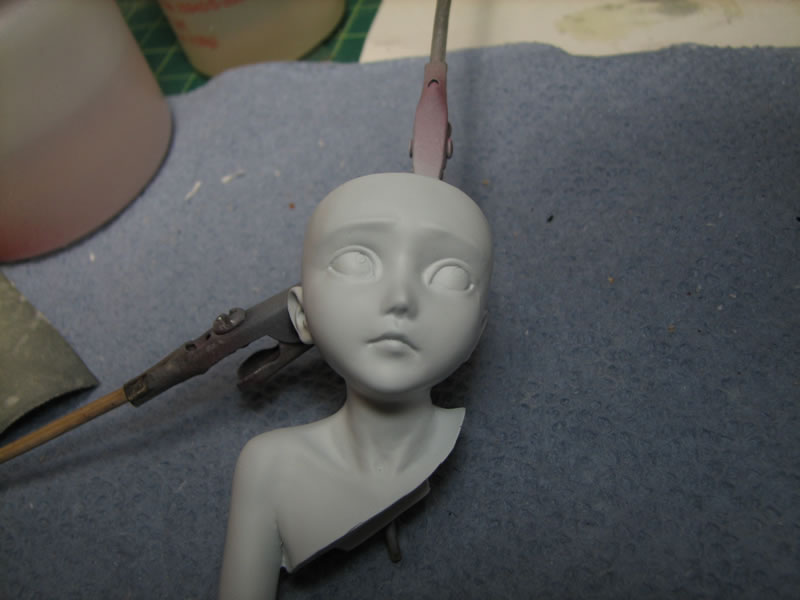
Feburary 28, 2010: I didn't get much work done on her as I had hoped, since I went sking on Saturday and didn't really do anything with the kit from Friday on, but I got a decent amount of work done today, Sunday. The final sanding, priming and putty sessions finished with a final prime job. The parts were then wet sanded with a high grit sanding mesh to smooth out the surface. In the first photo below, you should be able to see the difference between the skin areas and the shirt which was not wet sanded. After wet sanding, the skin parts were base coated in white.
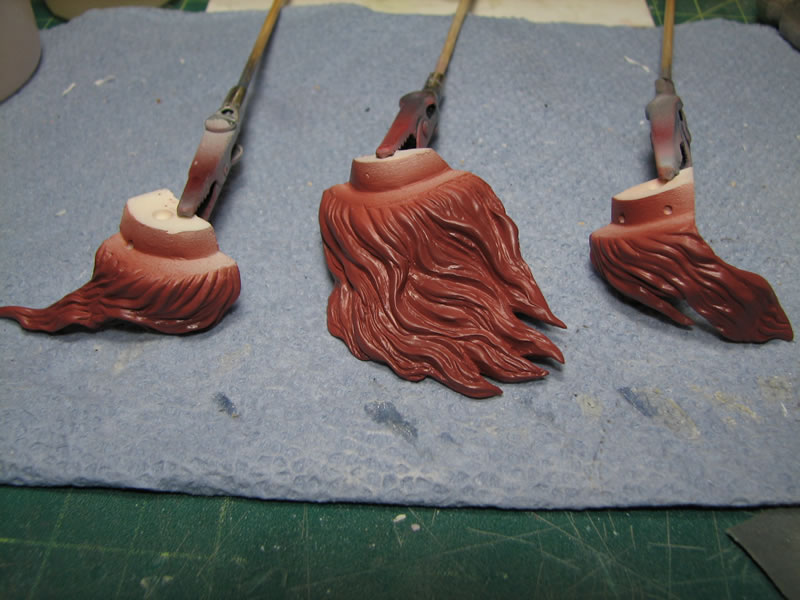
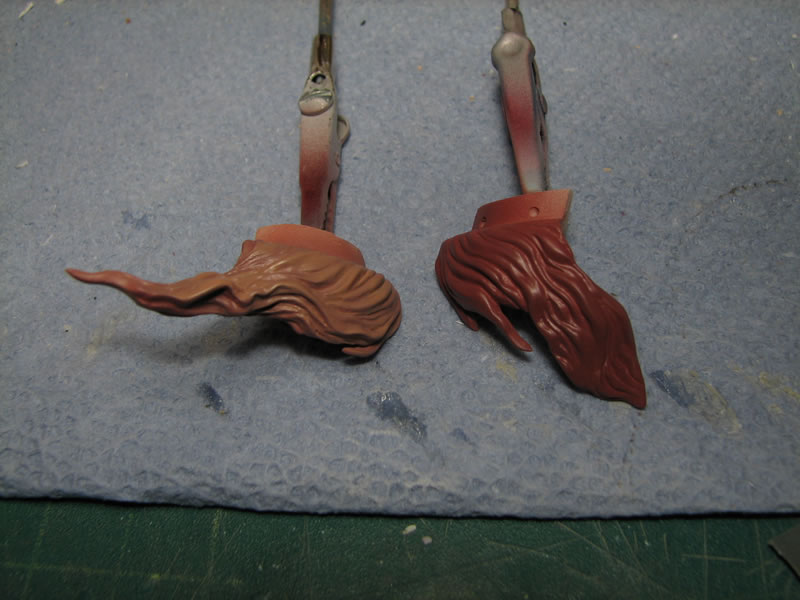
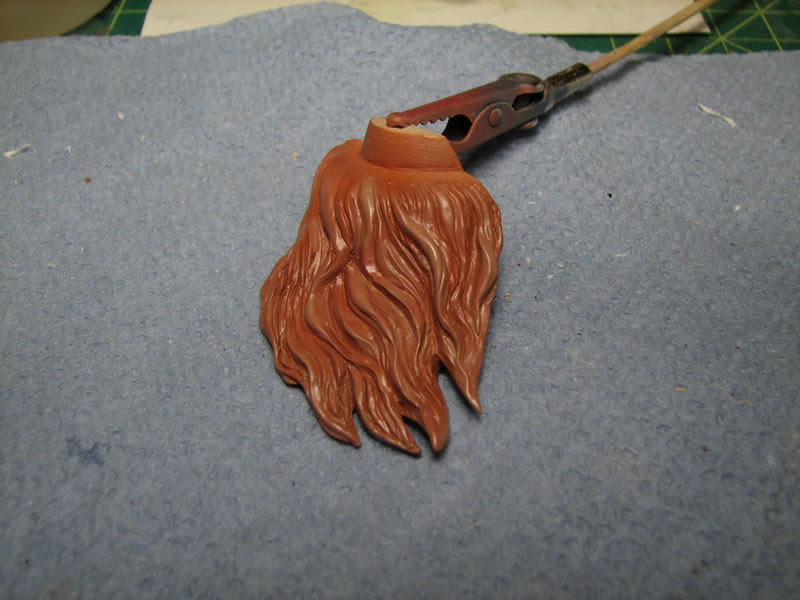
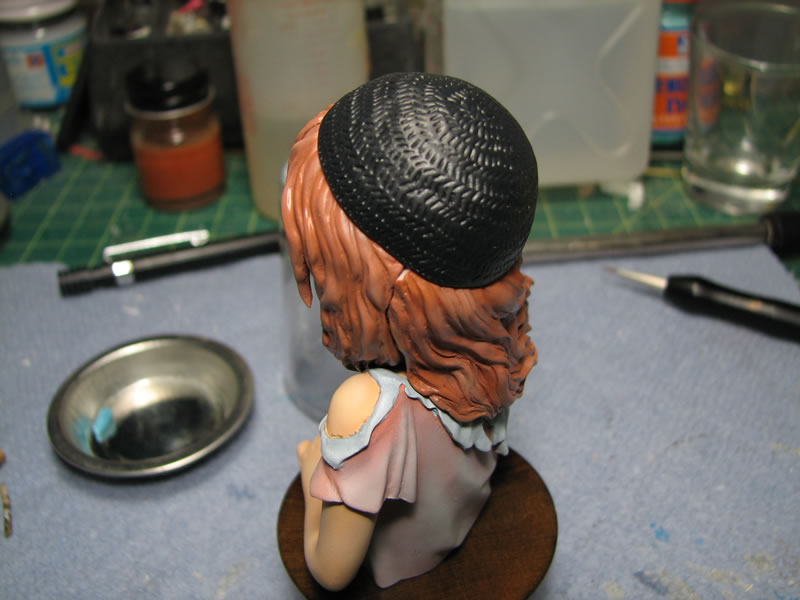
While the base coat dried, I went to work on the hair. My initial paint left the hair looking a off in color - at least according to my roommate. So I went back and remixed some paints and redid the hair.
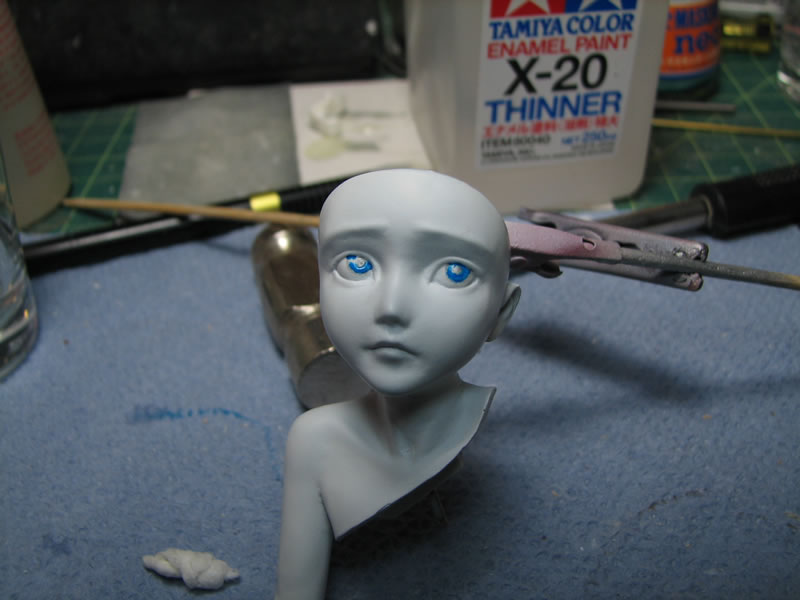
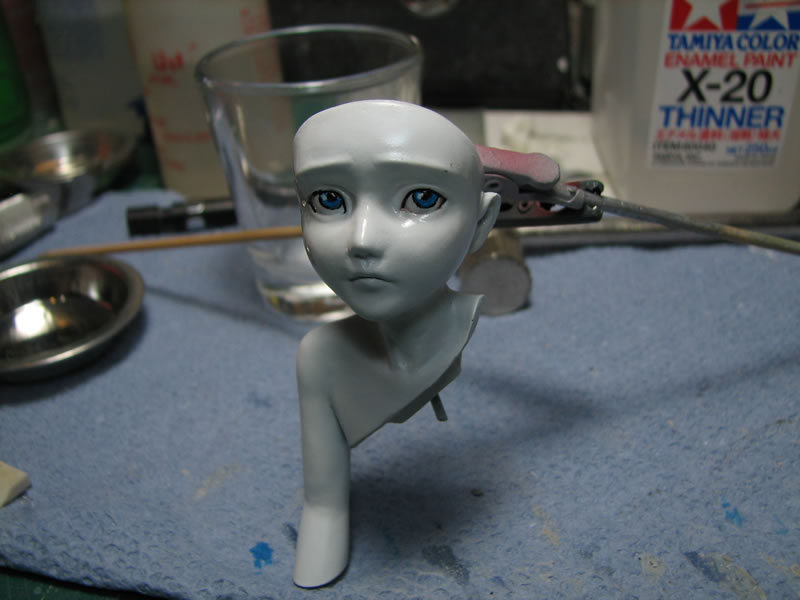
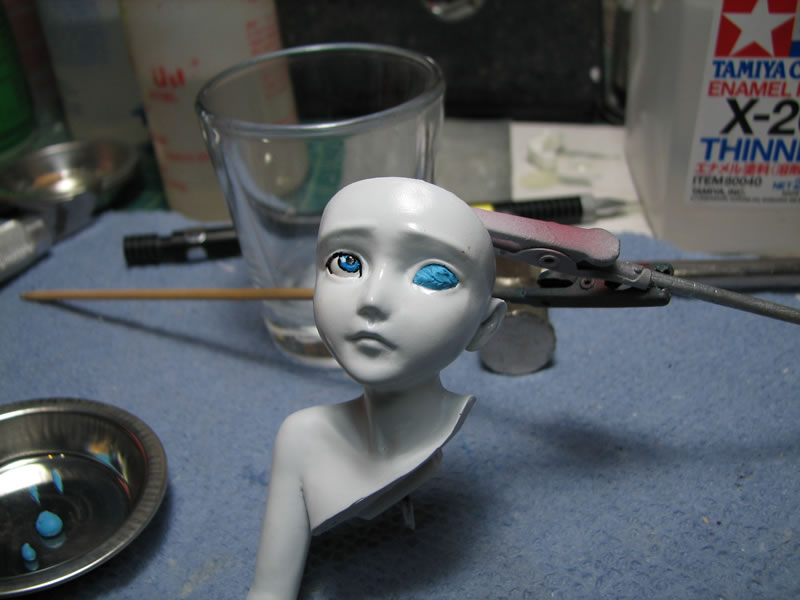
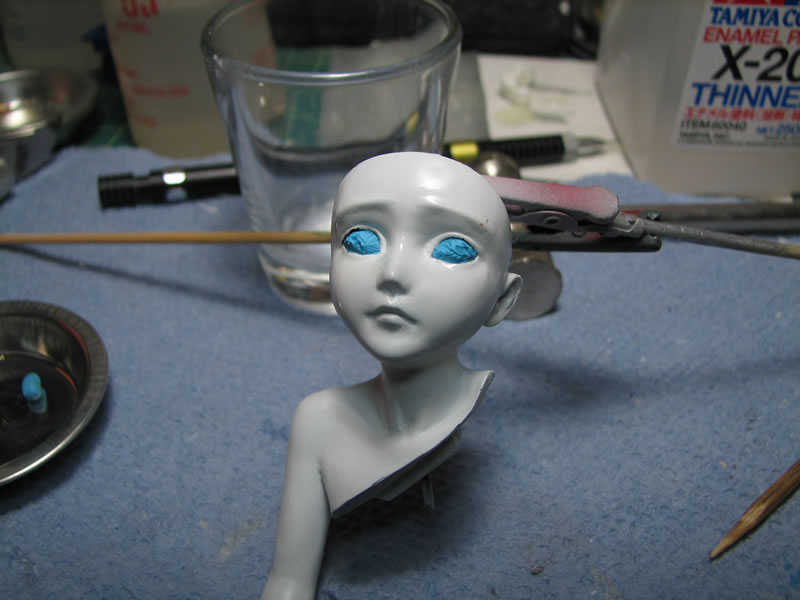
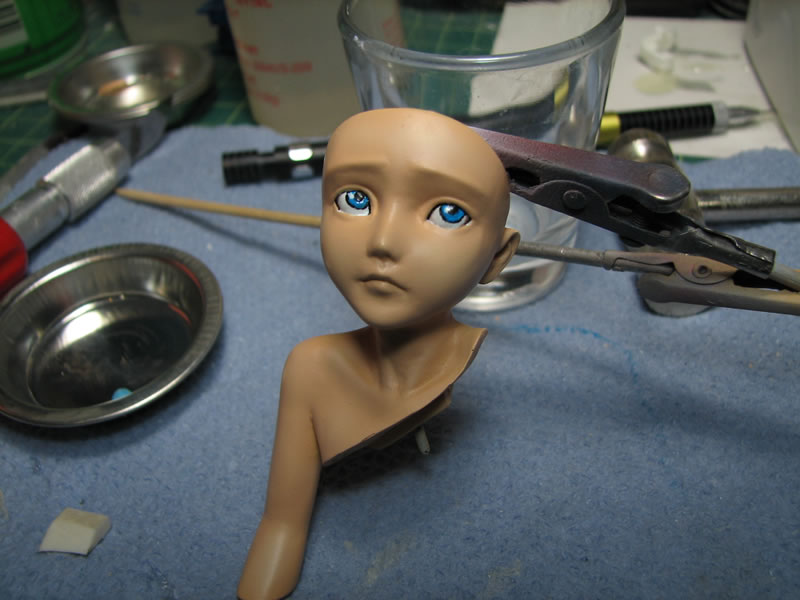
This is a change up in how I normally build. I usually leave the eyes as the very last thing on my kits, but this time I'm doing them first, before the skin tones. I figure I can paint the eyes, gloss them, then mask it off and get to the skin tone. This may save the step of remasking things to gloss the eyes. I'm on a bit of a time crunch as I want to finish this in time for an up coming contest which is seven days from the date of this update.
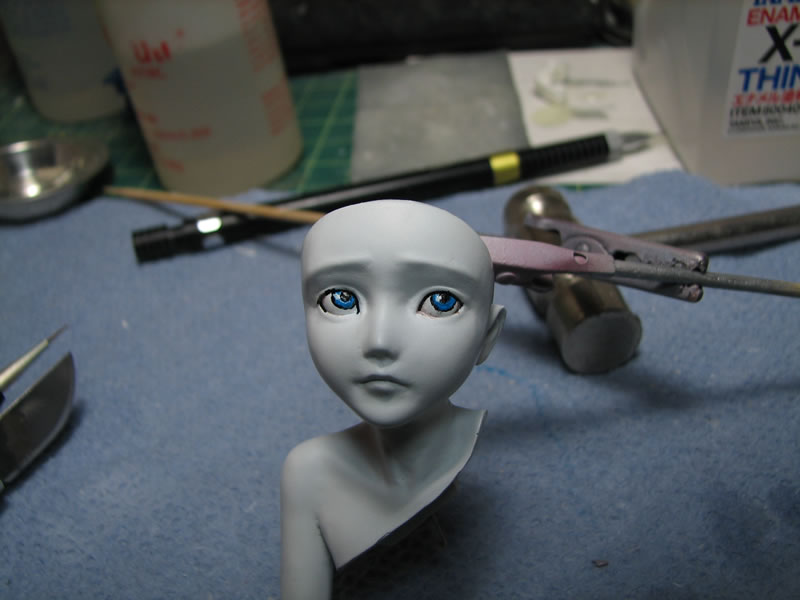
The eyes were done in my usual style, with pencil drawn. I went with the paint first instead of the lining mostly because I just forgot to do the lining before the paint. I'm decently satisfied with how they came out - but hopefully I don't change my mind like I've done in the past.

The past few days has seen continuous work on the base which was just to slowly build up the gloss finish. I used minwax's spray on polyurethane clear gloss which dries fairly quickly, so at random times, I can just walk into my workshop and spray on a quick thin layer. The trick to this is to use very thin layers. The first layer will almost be completely absorbed by the wood, and it will take several layers to build up a good gloss finish. Every now and then, I wet sand the surface with a high grit sanding pad (320) just to smooth out rough spots or any other defects that may have occured. The base is dried and then sprayed again with the clear gloss.
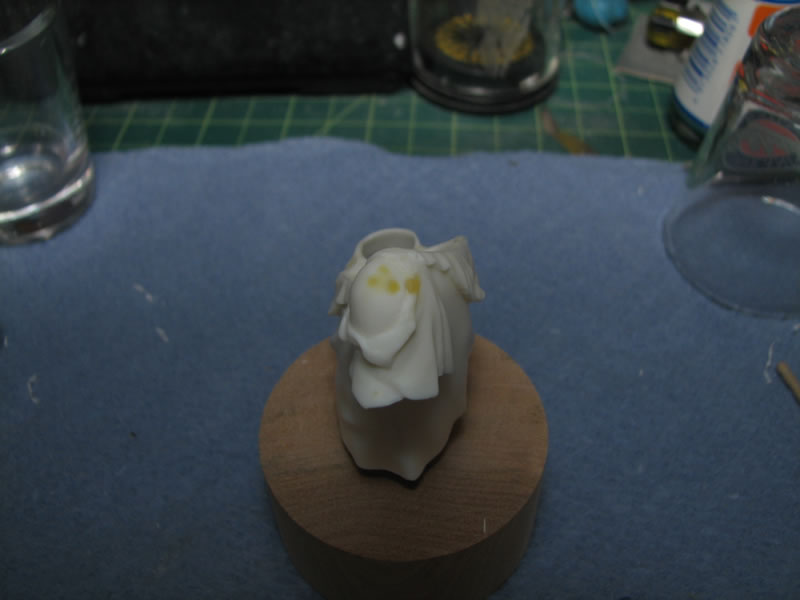
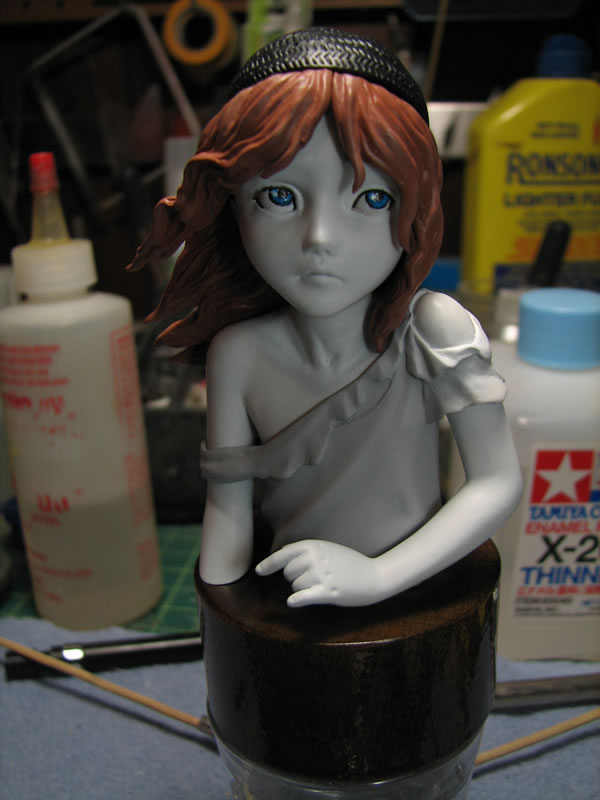
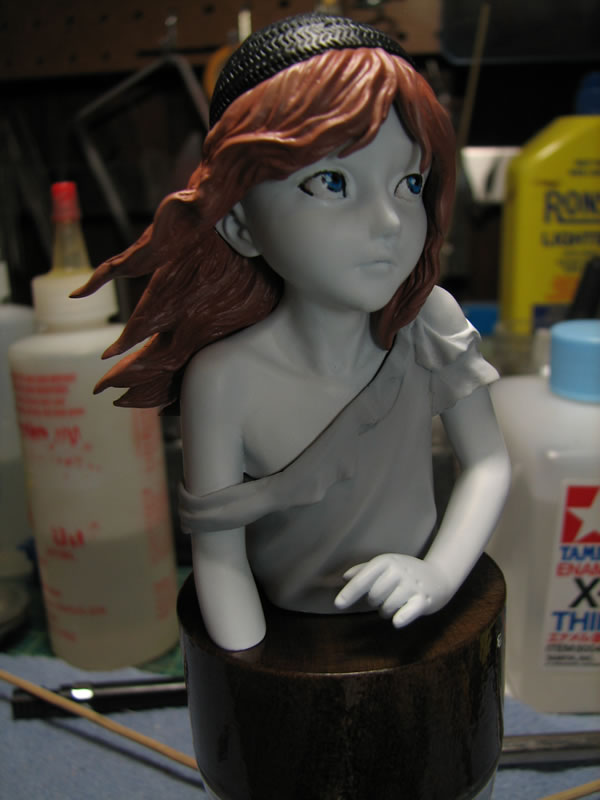
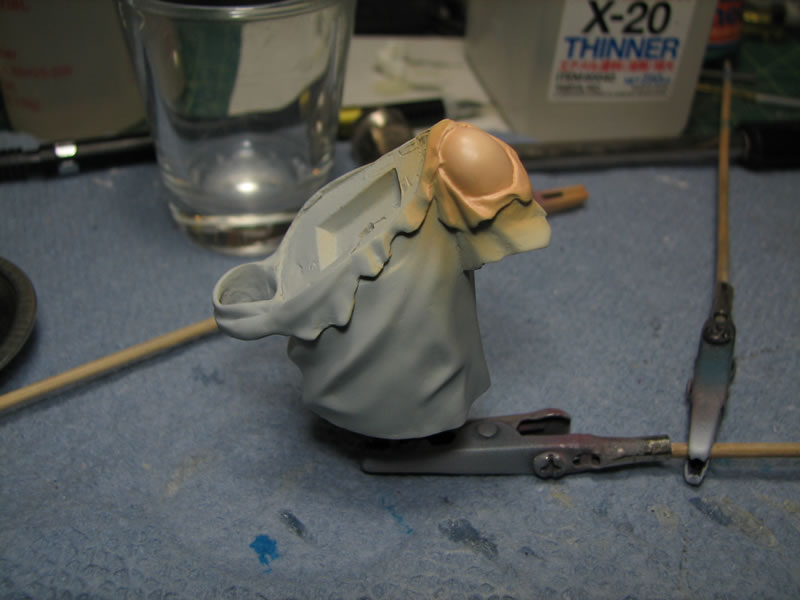
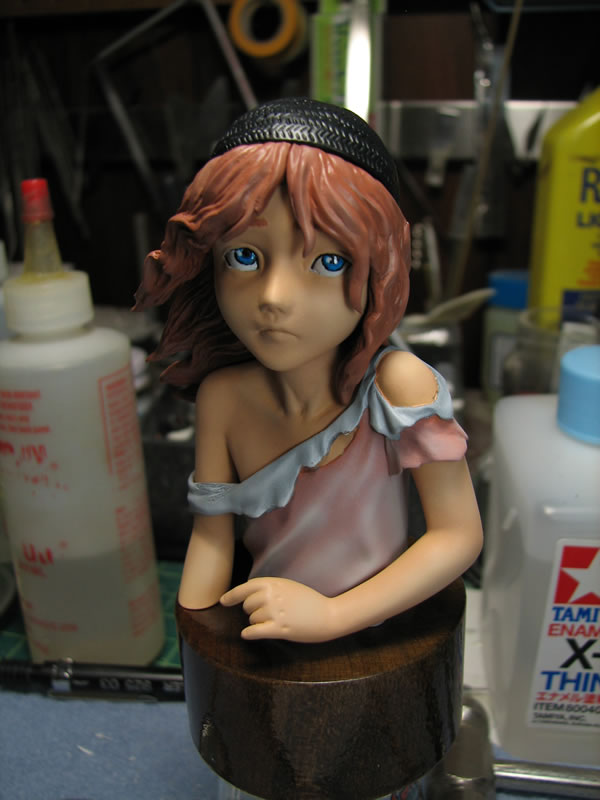
I also painted her cap in addition to the hair. And here is a quick mock up of what she looks like so far. Kinda creepy as a ghost.
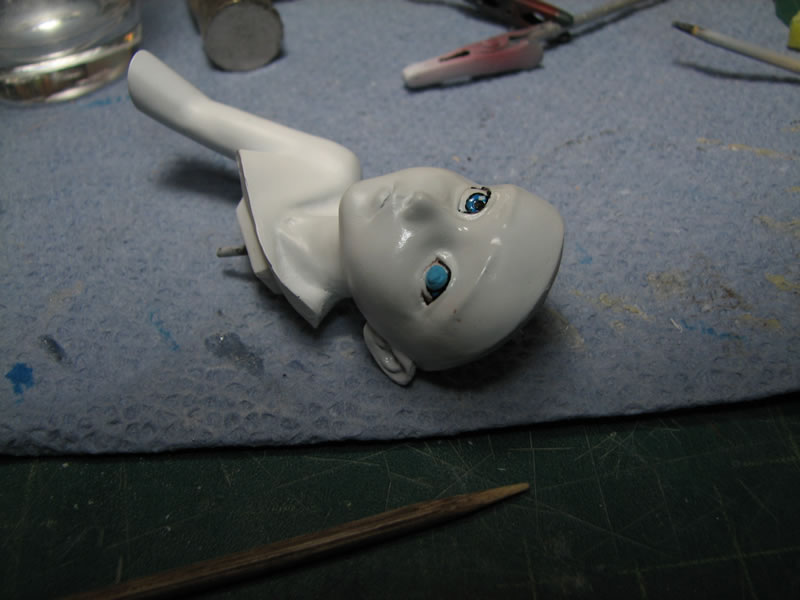
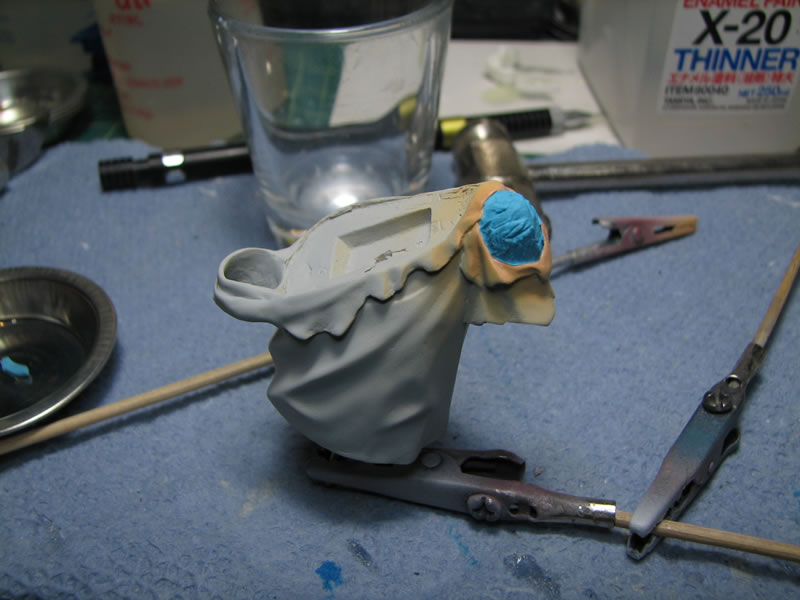
March 2, 2010: I finished most of the major painting steps. Now I just have to go back and fix little mistakes and do some touch up work as well as a few finer details. But back to the kit from where we last left off. The eyes were sprayed with a clear gloss to give the eyes that "wet" look then left to cure over night.
Blu sticky tac is used to mask off the eyes so that the skin tones can be painted. The sticky tac is applied with a wooden pointy thing, toothpicks are perfect for such jobs.

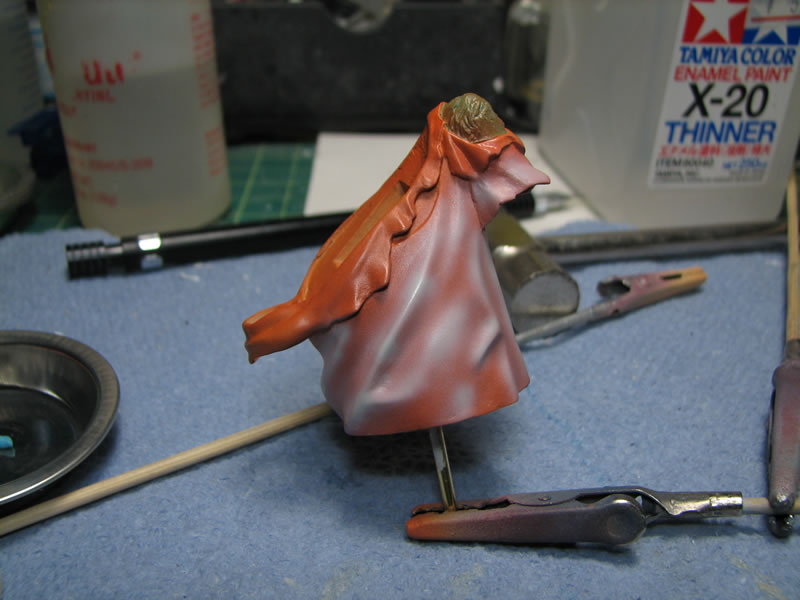
Skin tones applied with a dark tone first, followed by a very light highlight tone for shading, then blended together with a medium tone to finish everything.
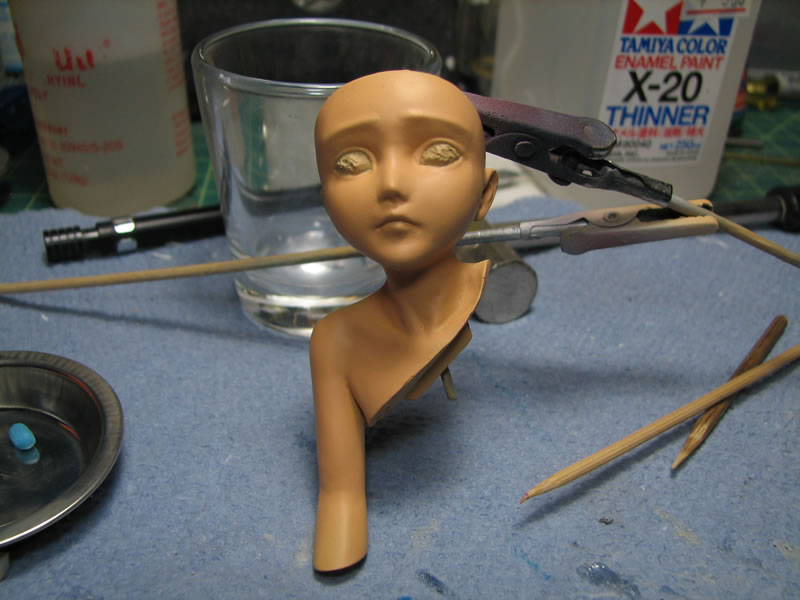
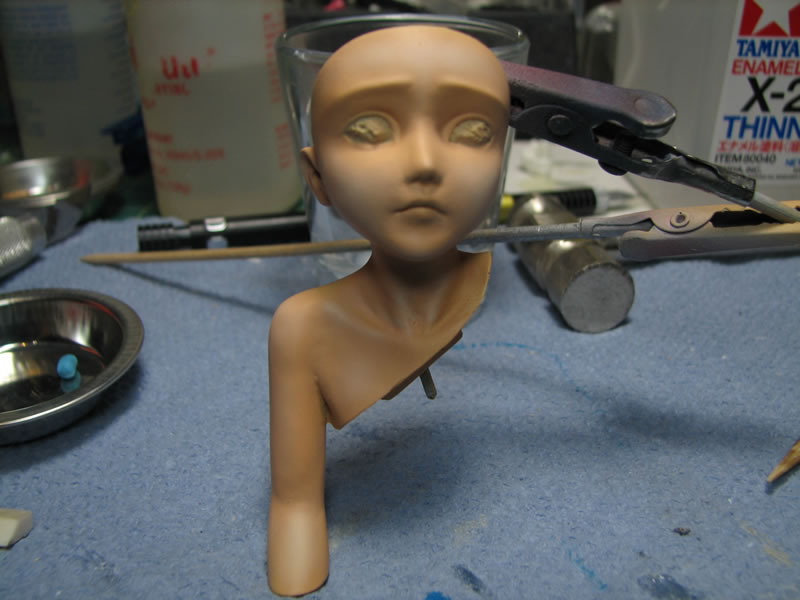

Pulled off the mask over her eyes so she doesn't look so alien.
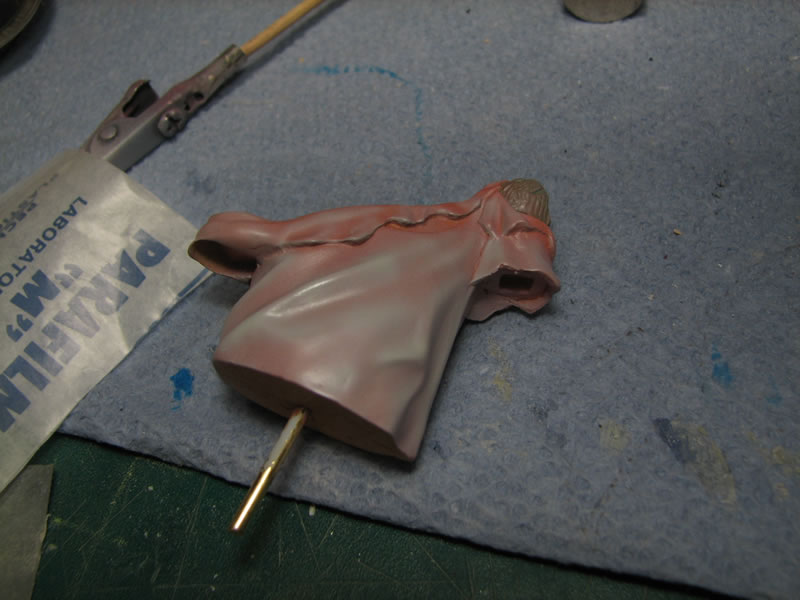
Painted and masked the shoulder. In my haste and oversight, I completely missed a small sliver of skin right in the middle top between the ruffles and her shirt. oops. I'll come back to this later and fix it.
I wanted a dirty shirt look so I base coated this with the same base color I used for the hair, then highlighted it using light gray. And everything gets blended together.
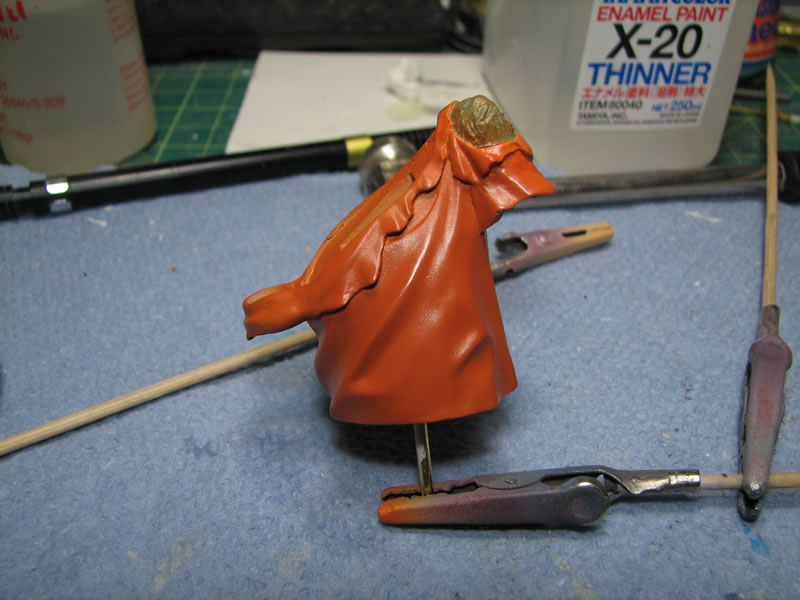
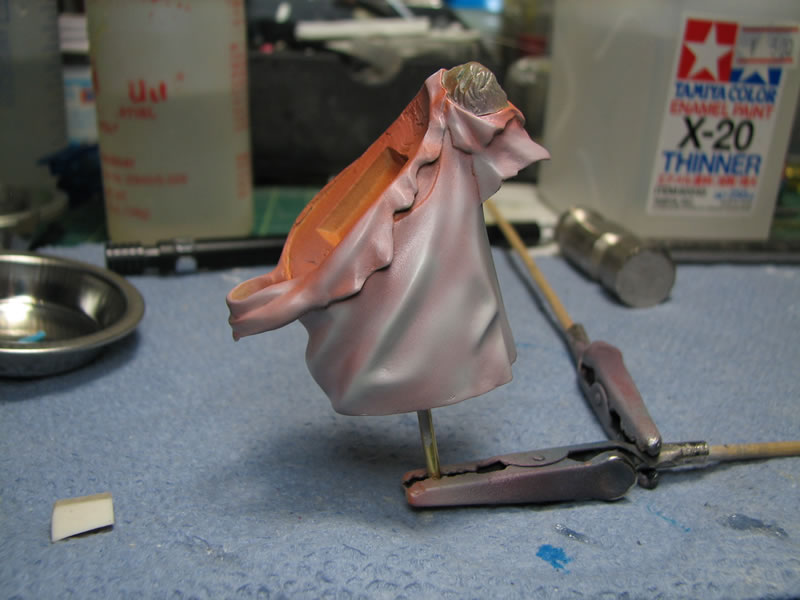
I made the fix to the missed sliver of skin, then masked off the lower dress part and painted the ruffle piece of her dress with a base gray, followed by white.
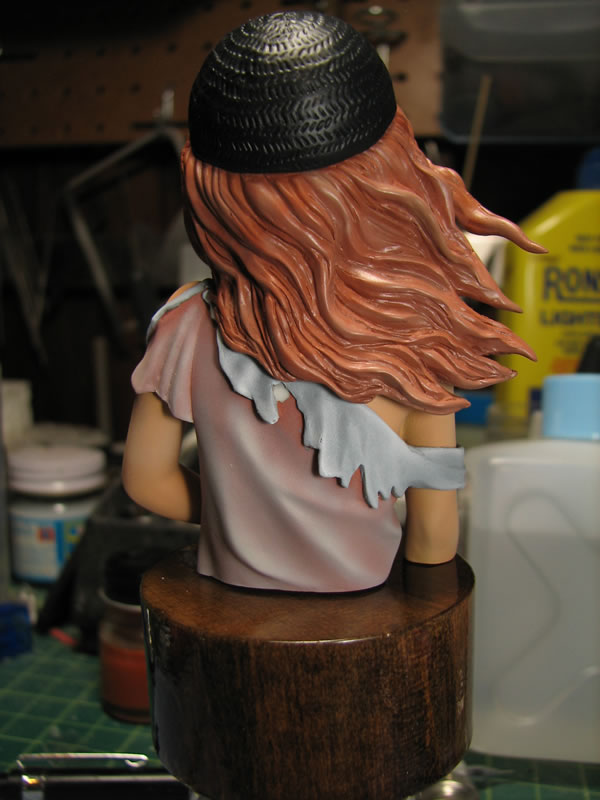
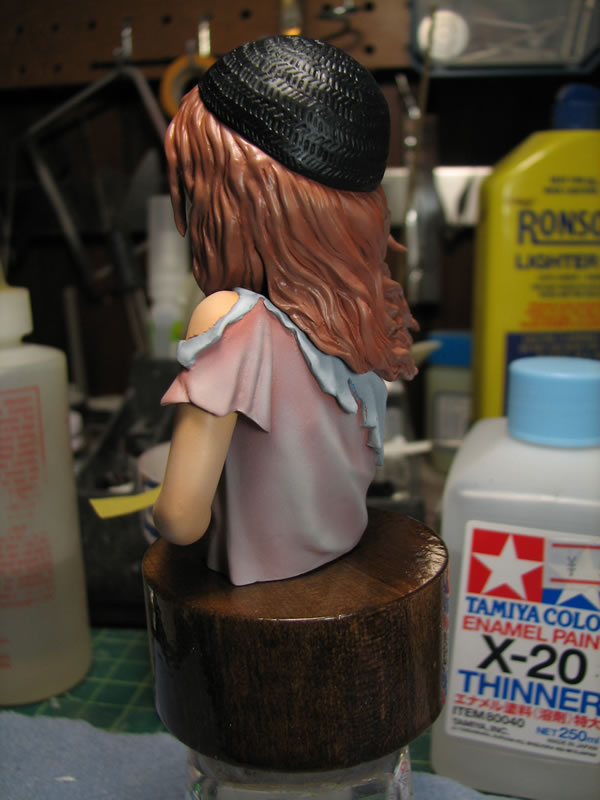
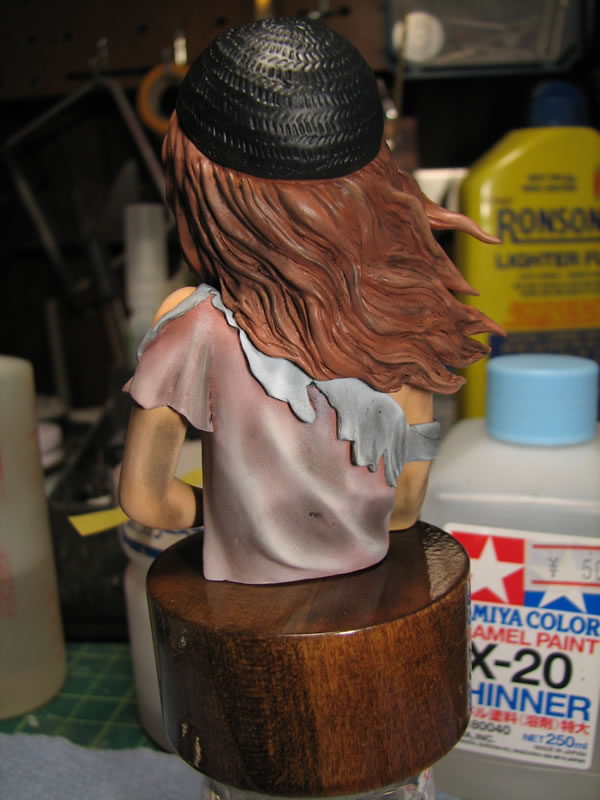
Pictures of areas that need additional attention. At the back, I got a little paint chipping that went all the way down to the bare resin. This will need to be lightly sanded to level out the chipped area to the surface, masked and repainted. The hair has a gap that I already planned on fixing. The other side of the hair doesn't show a gap and is very natural looking so my original plan to fix that side is no longer needed. The on the front where I fixed the sliver of skin tone, there's a small missed spot for the shirt that needs to be touched up.
And what she looks like so far. There's a gap between the main body and the upper torso as it's not glued together yet, that will be one of the last things I do.
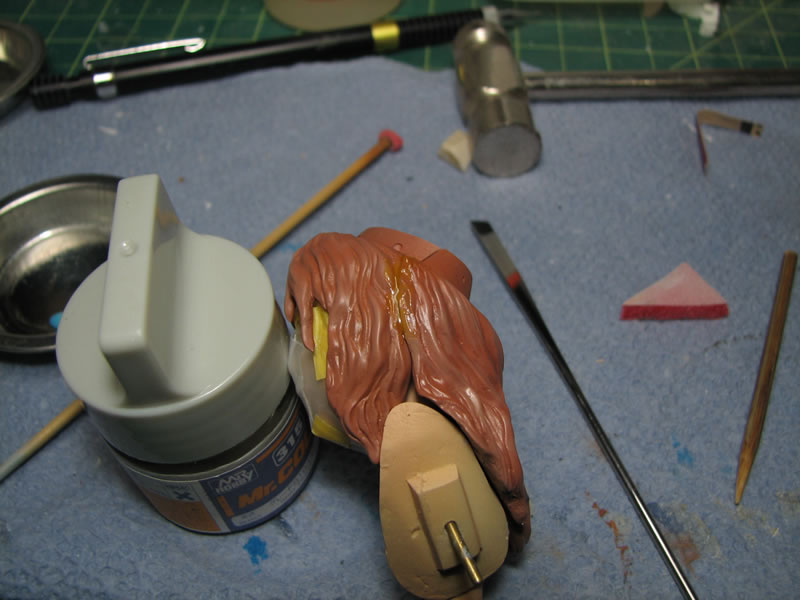
March 4, 2010: All the minor touch ups are fixed, and here I'm working on the gap in the hair. A little light curing putty is shaped around to fill the gap and continue the hair pattern. Cured, sanded, and painted. No more gap.
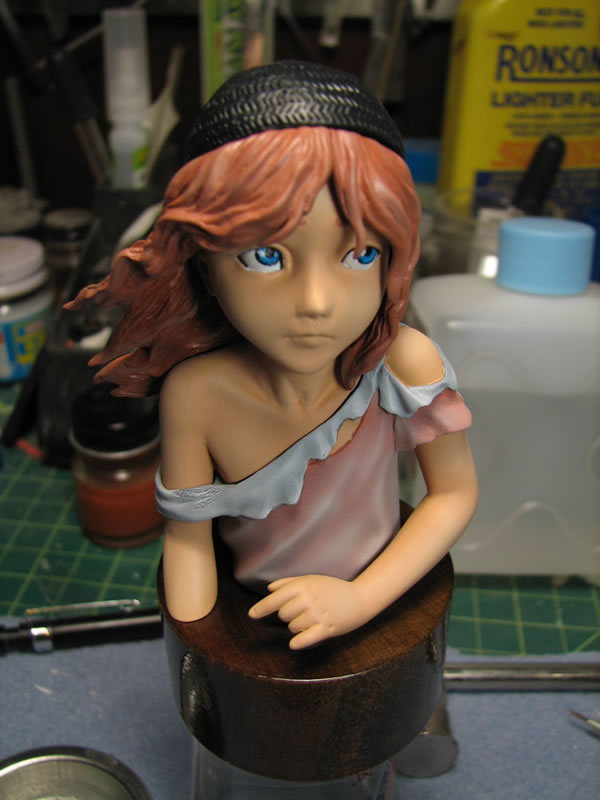
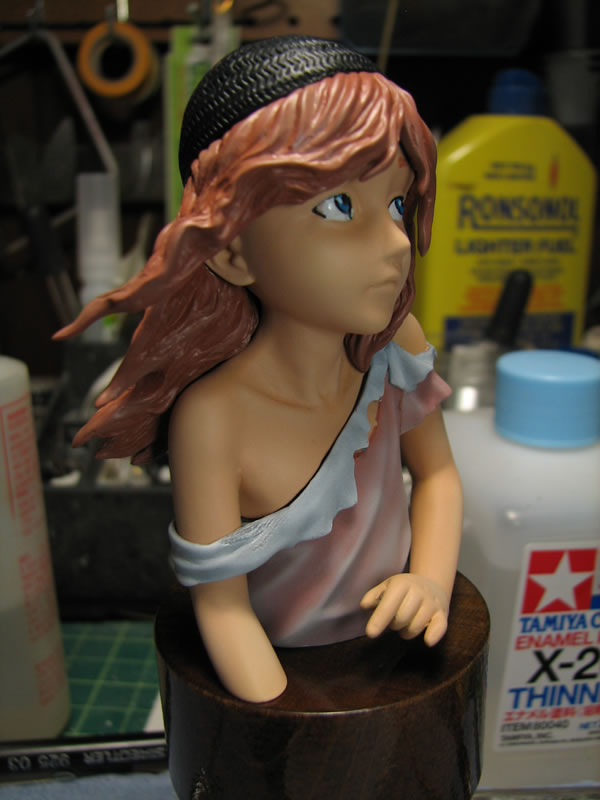
Minor details like the lips and eye brows are painted. Then the whole thing is glued together.
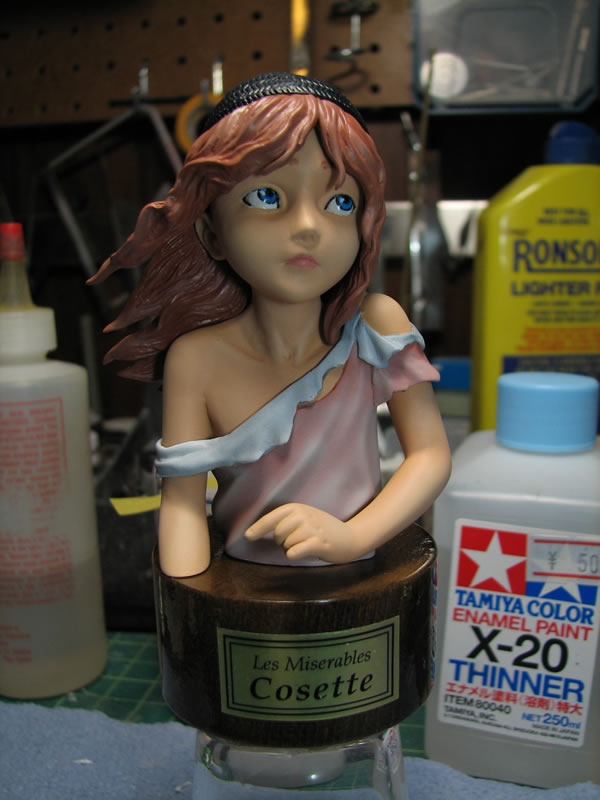
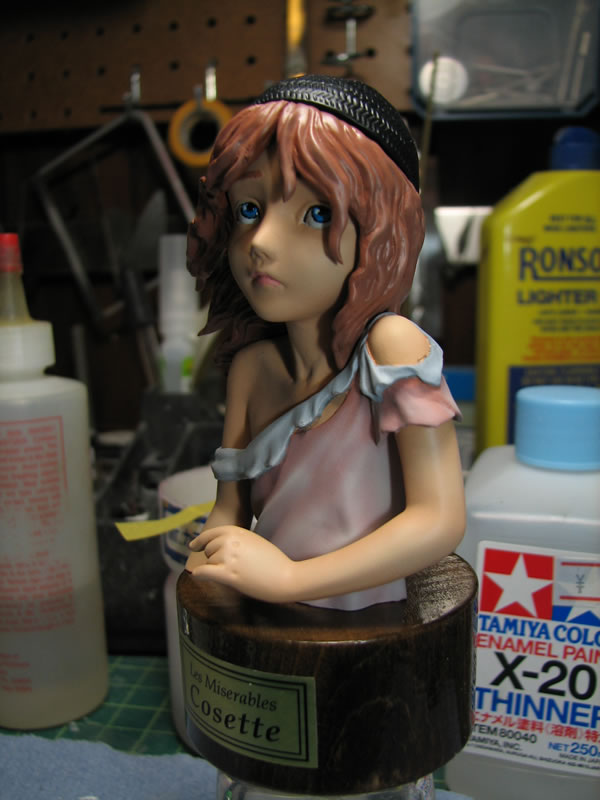
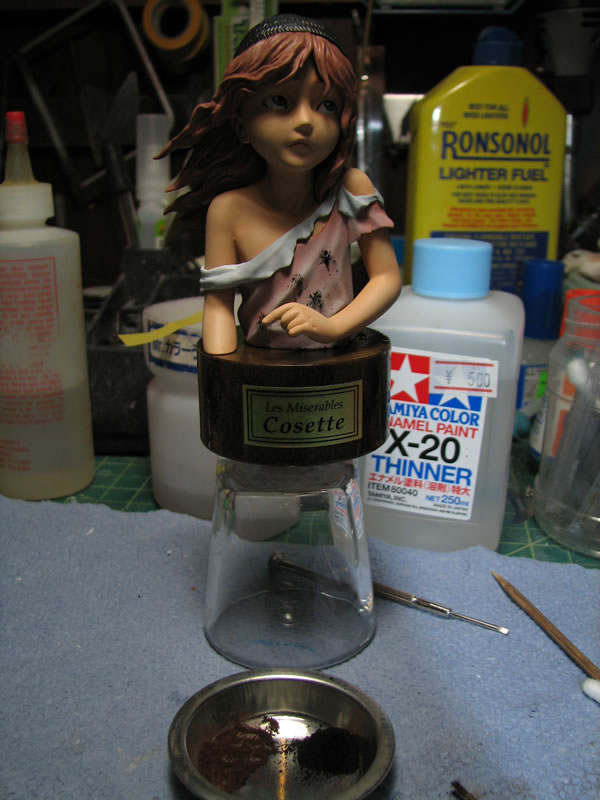
Chalk pastels come out to help dirty up the kit. She's often seen sweeping and cleaning, and just doing all the menial labor jobs when we are introduced to her, so having a pristine and clean looking Cosette at this age just didin't seem right. And with that, she's done.

Click here for the gallery page.
Feburary 23, 2010: Work on Cosette begins.
Feburary 25, 2010: Putty, prime, sand, repeat.
Feburary 28, 2010: Base white, paint, and some eyes.
March 2, 2010: Major painting done, touch ups and minor fixes left to go....
March 4, 2010: Last bit of work and she's done...