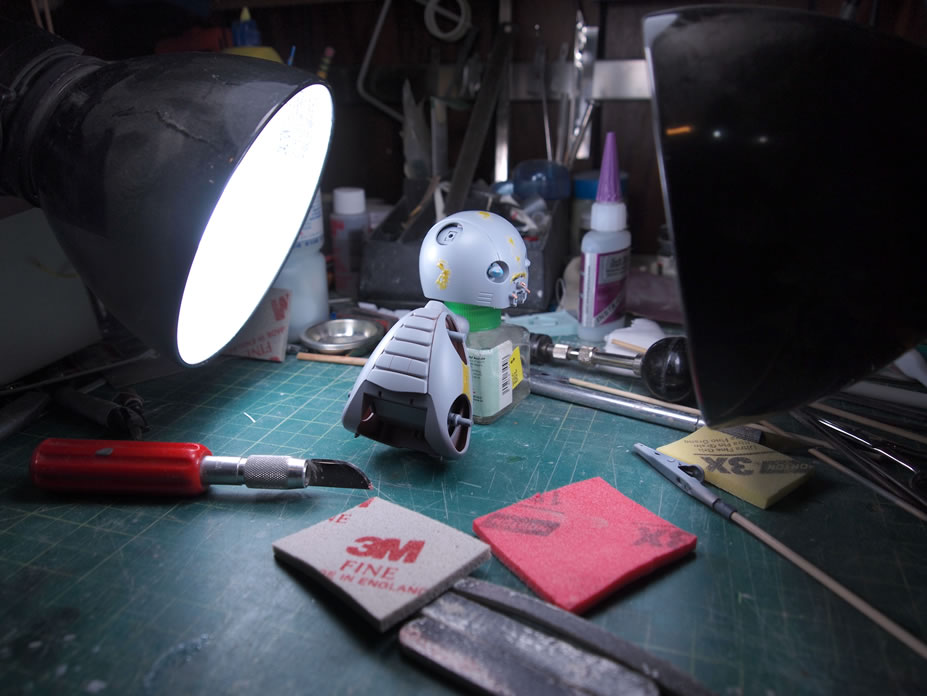
January 2, 2011: I started this kit at the December build gathering. Granted, I should be working on the Hi Nu, but I figure I can probably kick this little kit out fairly quickly. Having seen serveral version of this kit posted on FG-site, I had a general idea of what I wanted to do paint scheme wise. The space in the head lends itself to an easy eye lighting modification. Here's the kit snapped

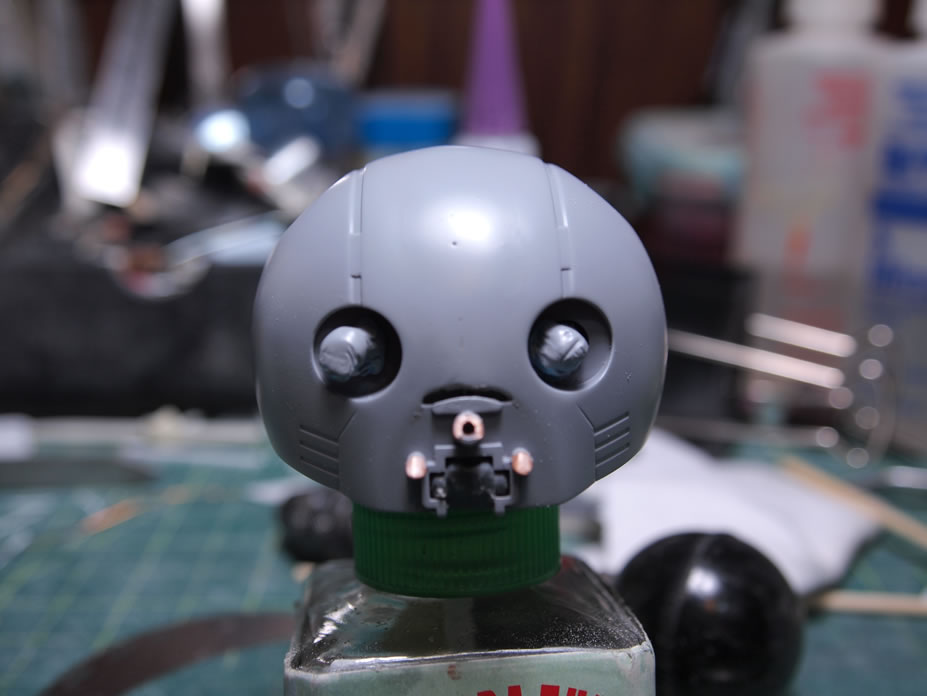
For the lighting gimmick, I sodered two blue LEDs in parallel. A reed switch is sodered to one of the leads, and a three pack of 1.5v button batteries are glued into place. The reed switch is also glued into place and the entire setup is operated with a magnet.


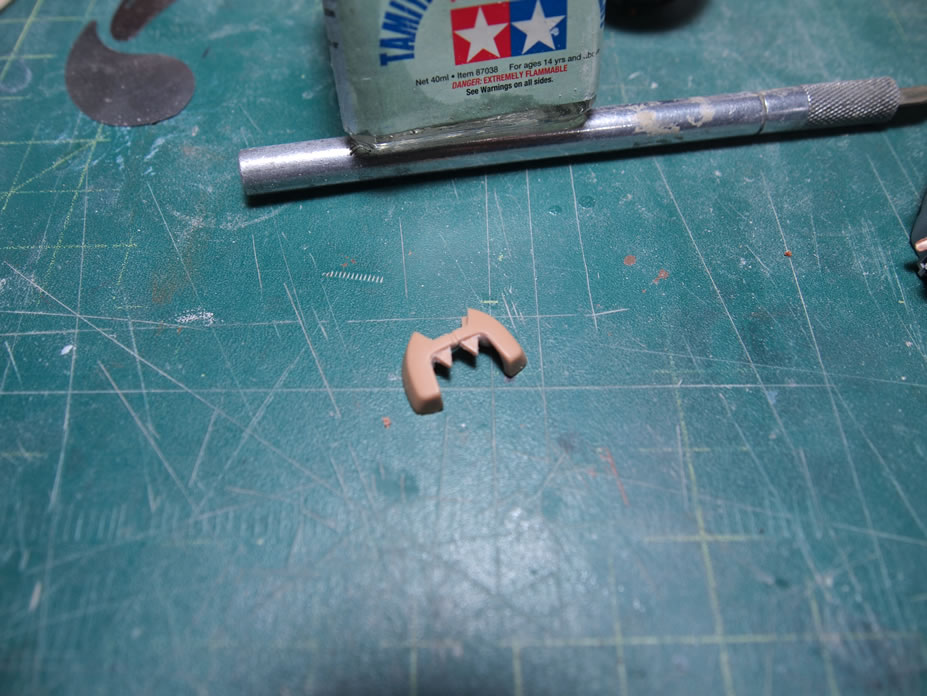
Next up is filling in the bear guy's center forehead piece as I don't care much for the center space. I used plastic pieces and glued them into place and filled in the excess with putty.


Sanded and ready for primer.


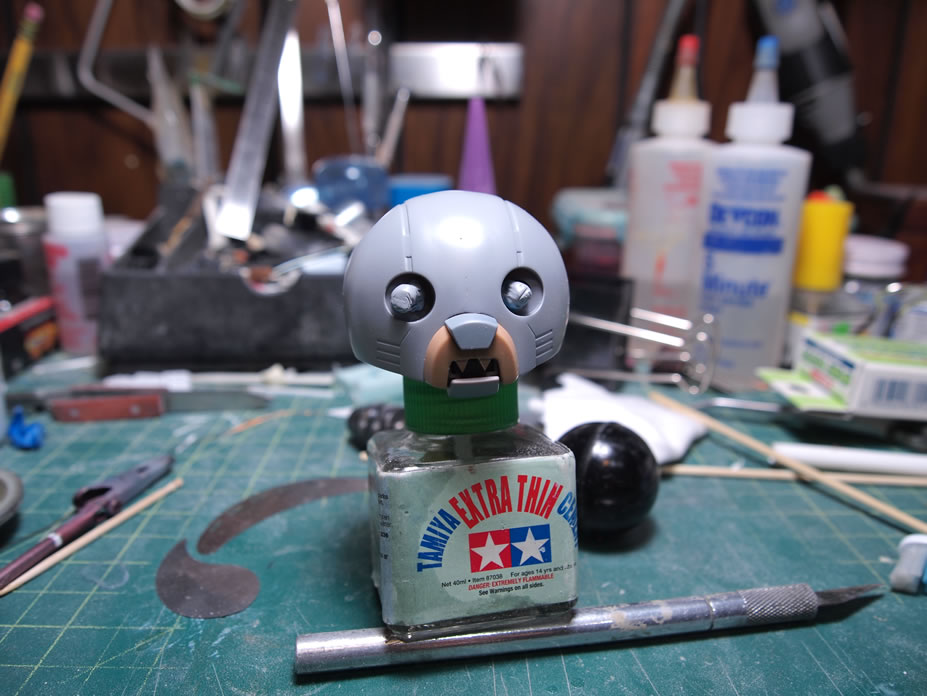
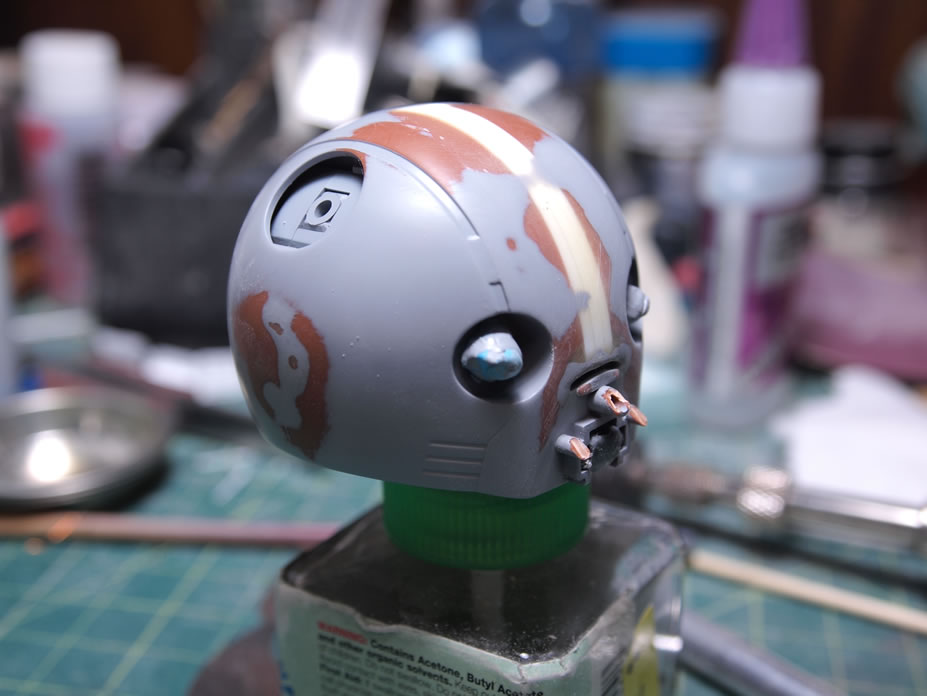
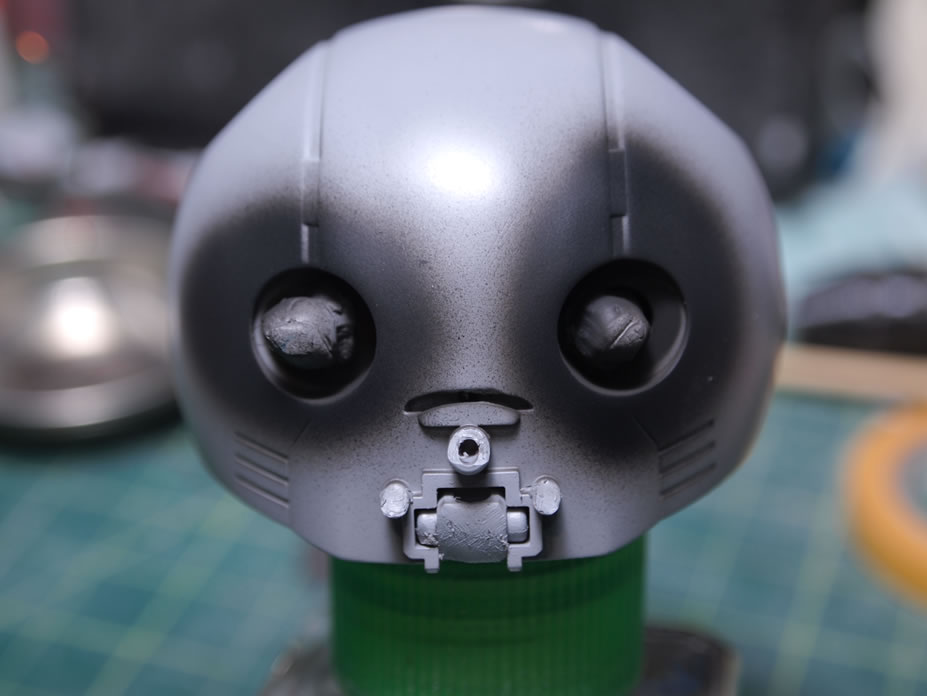
January 4, 2011: I primed the kit, but in the process decided to do a little dental work on the kit. I noticed that the mouth and teeth were a little lacking, so the mount area was cut out and new teeth were shaped and sharpened.
The initial priming session shows some small areas that need further attention. Little holes, sanding mistakes, and missed areas for where I puttied.


Some of these holes were opened up with a hobby knife, light curing putty applied, cured, then sanded down.

Re-primed. There's still one small area that needs attention and I'll get to that tomorrow after the primer has fully cured up.

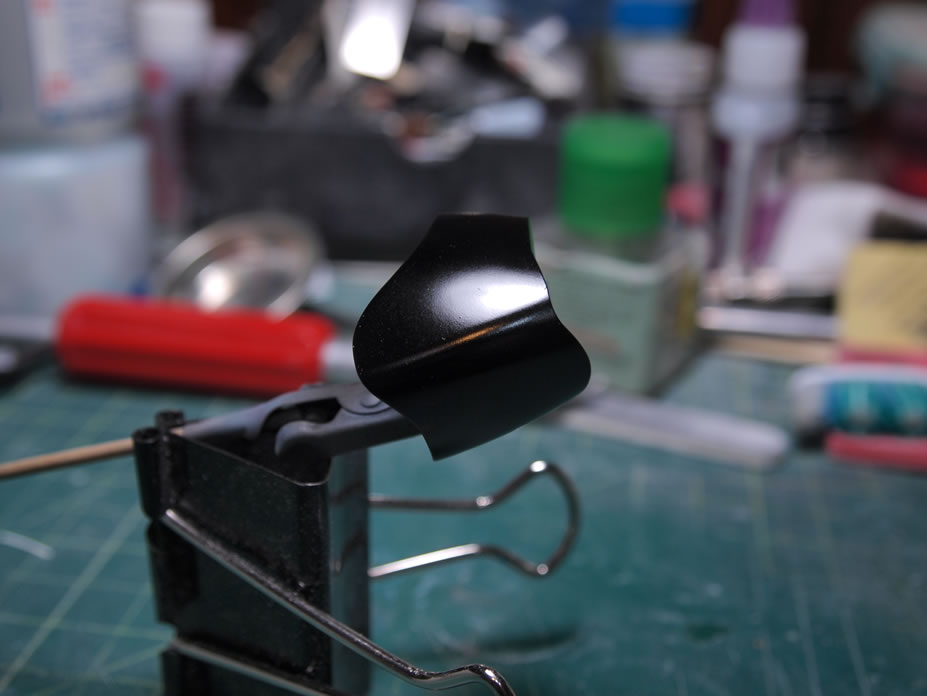
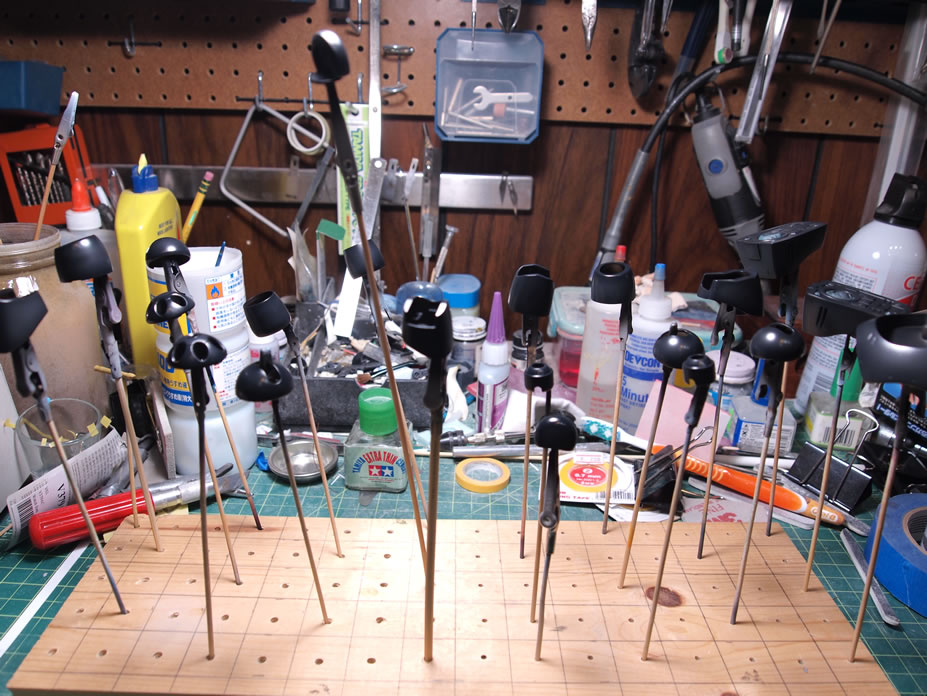
The arm and leg armors, as well as the internals were painted with a gloss black base.
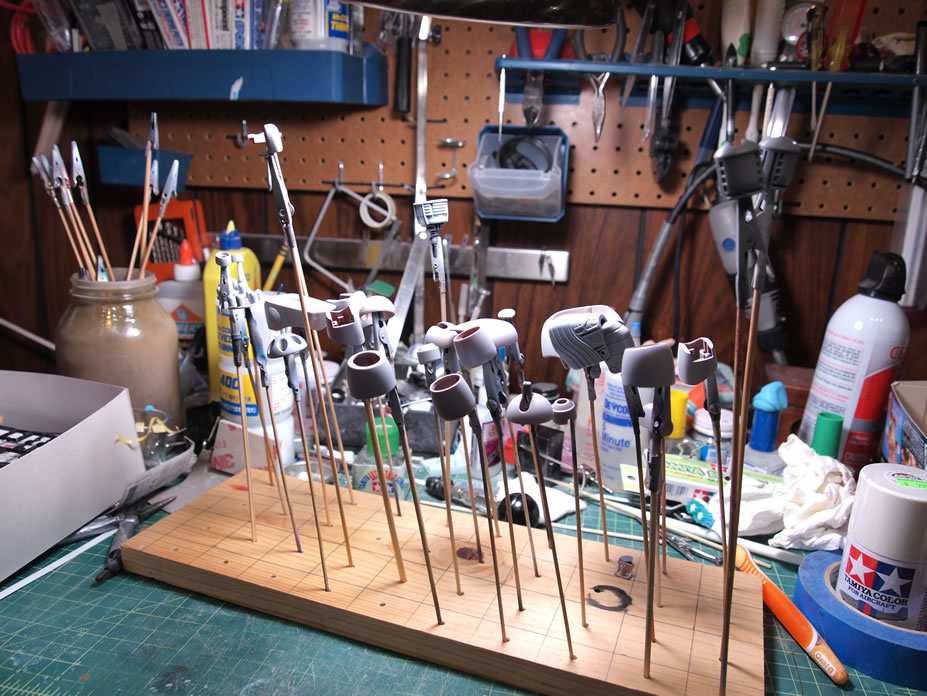
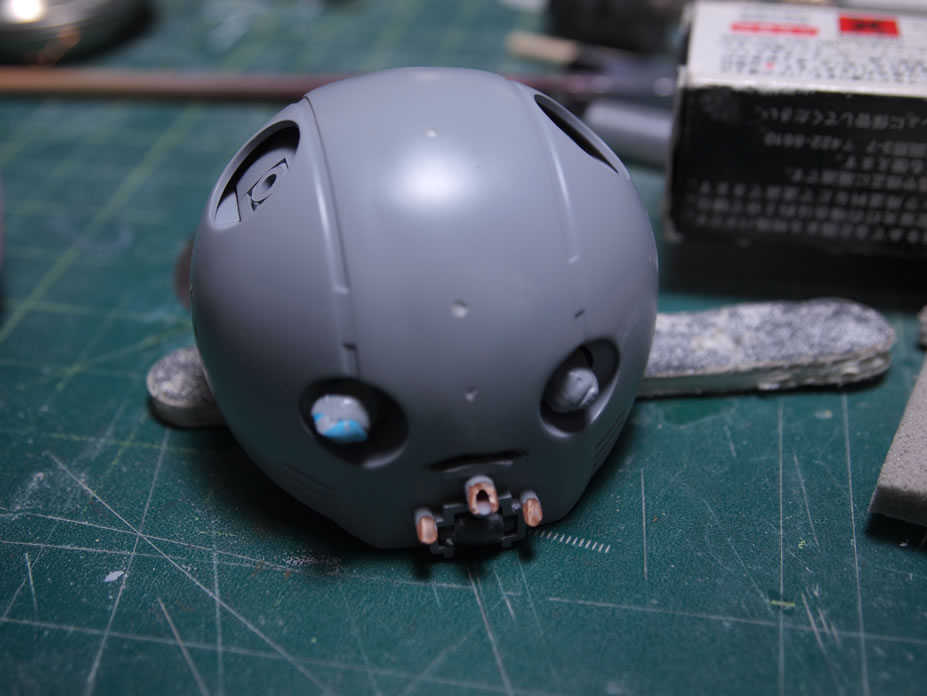
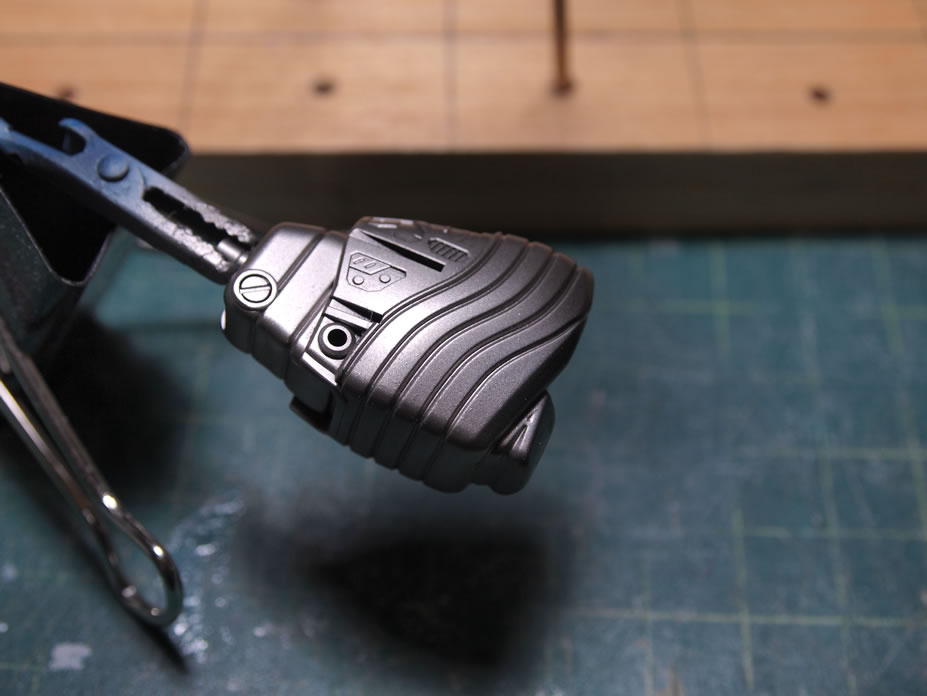
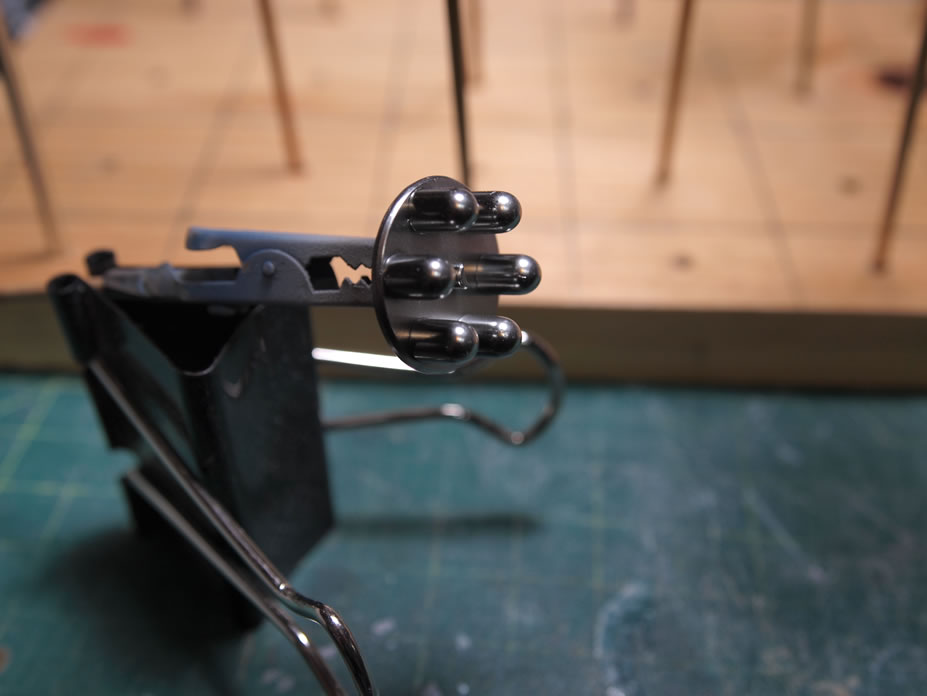
The internals were then sprayed with alclad burnt metal and the eyes and in-hand missles were sprayed with alclad stainless steel.

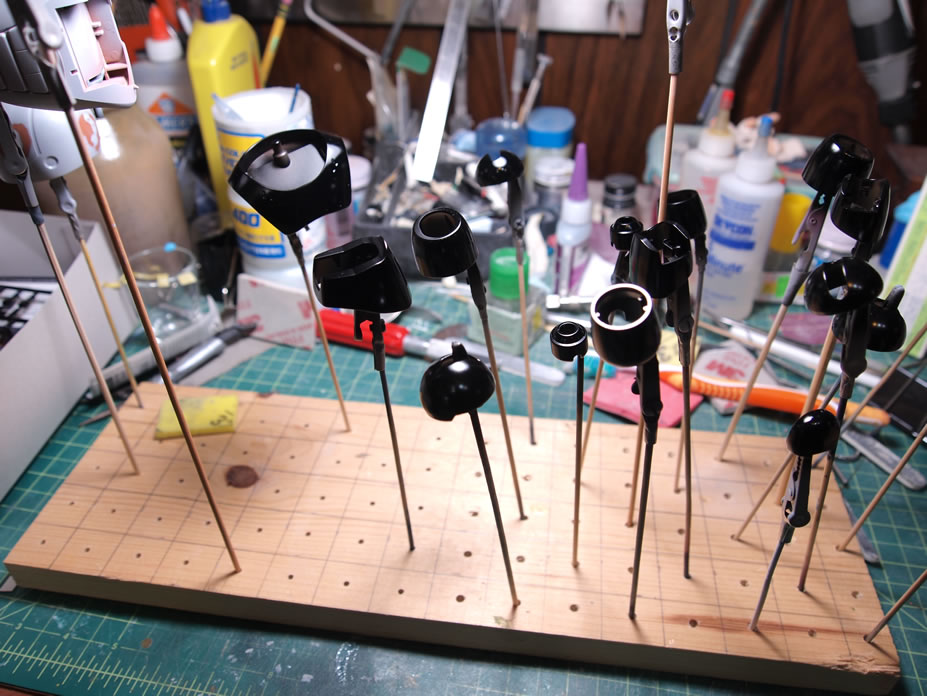
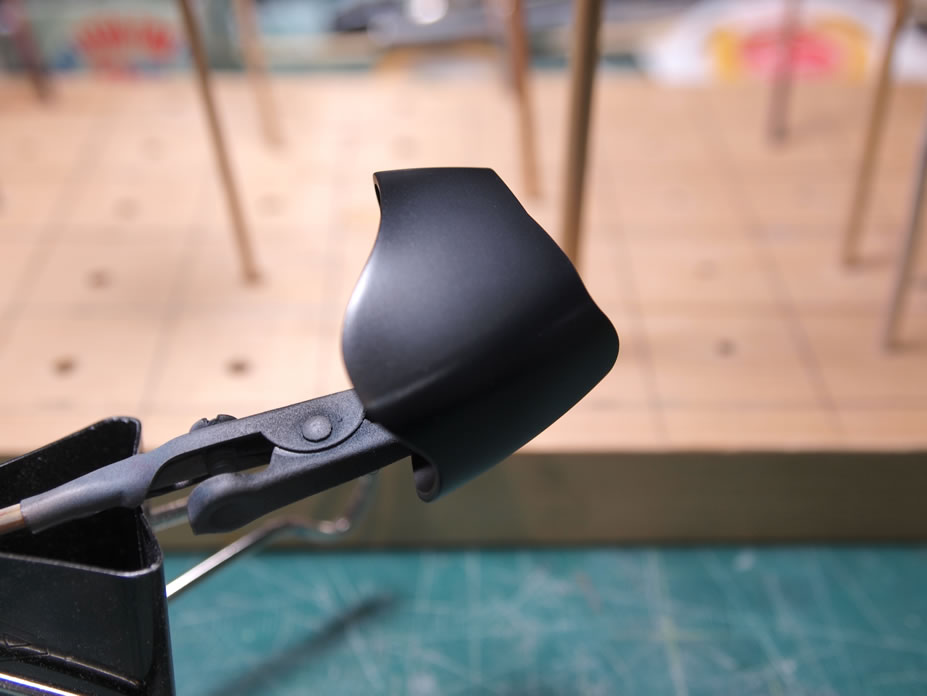
January 5, 2011: A small painting update. The arms, legs, and ear pieces are painted with finisher's carbon black over the gloss black base, giving a slight shaded tone.

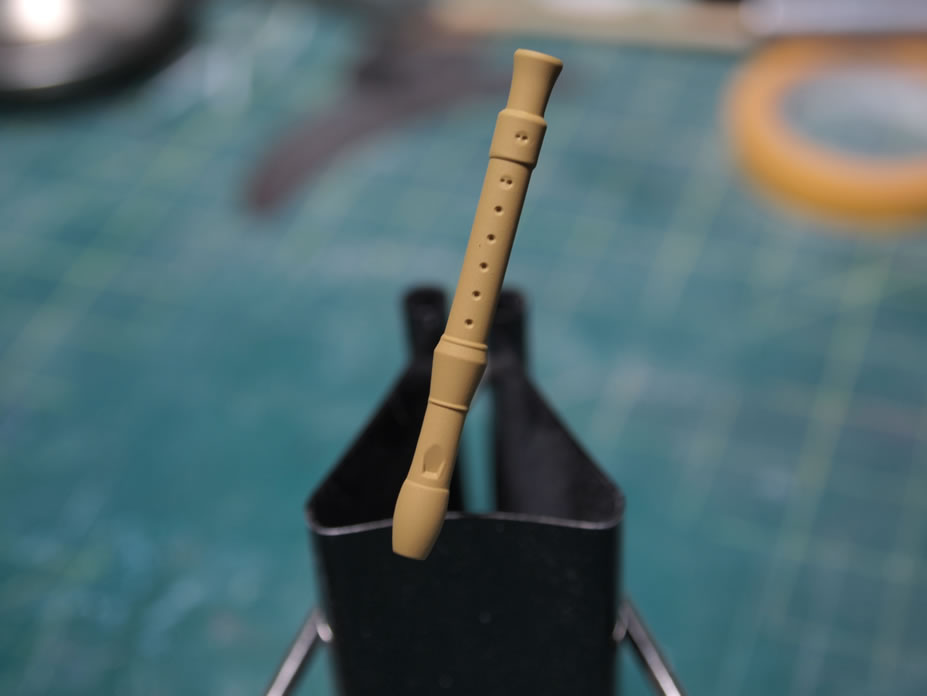
The recorder is painted with a sand yellow to mimic a wood color.
A big clue to what my final paint scheme will be...
Some detail painting, the detail parts were masked using sticky tack. The backpack missles are painted using alclad titanium gold.

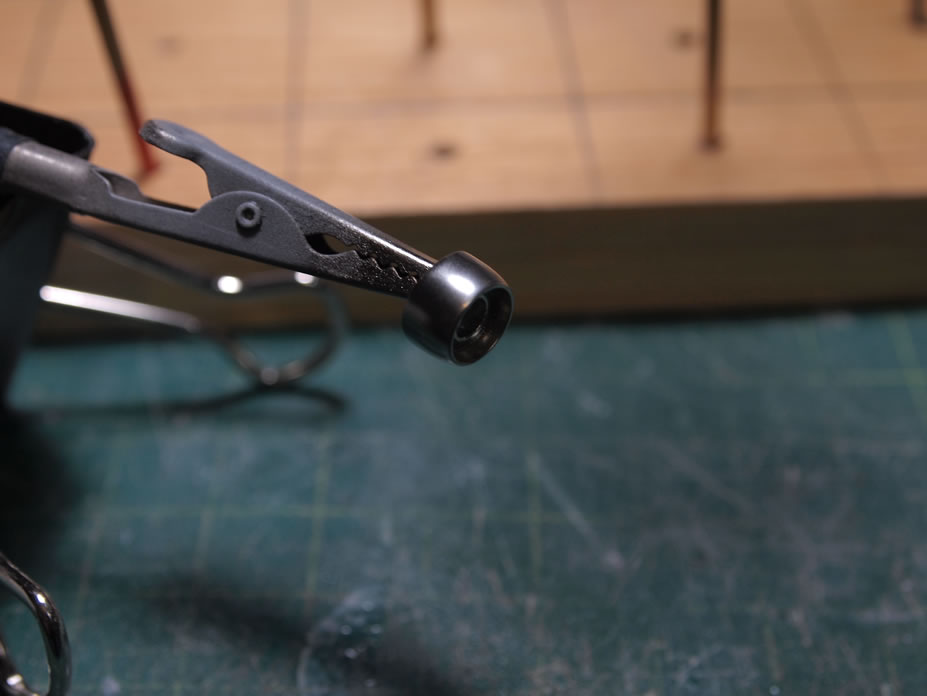
January 6, 2011: I had thought about making some small metal additions to the kit's cannon arm, but had forgotten. So I drilled a few accomdating holes and added a small metal collar as well as a brass tube as accents for the arm.


The inner ear pieces were base coated in a maroon then sprayed with a second coat of a premixed pink I had on my painting bench. Once Once dried, they were clipped onto the outer ear pieces.


With the internals cured for a few days and the arm and leg armors cured for a day, the parts were put together.


The black areas for the eyes were masked off with sticky tack and then sprayed with the primer to get distinct lines around the eyes.


This is the first step for applying the wood grain. A mixture of acrylic light brown mixed with burnt umber and applied using a dry brushing technique with a stiff brush. Next will be a clear coat and the next step for the wood grain effect.


January 8, 2011: Painting mask paint update. Going with a small amount of detailing to break up the panda's white, I added some masking over the primed surface. Then painted the head nad body with a light gull gray.


The next step in the wood grain effect is to clear coat the previous layer. Once that is dry, the burnt umber is dry brushed with a soft bristle brush to create softer wood grain lines with the darker tone. Next up will be a final clearcoat to seal this, but there's an option to darken the overall tone, but I think the current tone is dark enough.


Back to the head and body, after the gull gray is sprayed, the area is masked off again with a second masking session. Then a white is sprayed over everything.


After removing the masking, the contrast was very stark; so I sprayed an overthinned white over everything to balance out the tone. And with that here's what the kit looks like so far. I've still got a few detail items for the kit before I can put the done stamp down on this little bear.


January 2, 2011: HGUC Bearguy progress begins.
January 4, 2011: Primed, putty, repeat, internals painted.
January 5, 2011: Arms and legs painted, some detail painting..
January 6, 2011: Arms, legs, and ears done.
January 8, 2011: Almost everything painted... almost there, almost.
January 10, 2011: Completed, click here for gallery