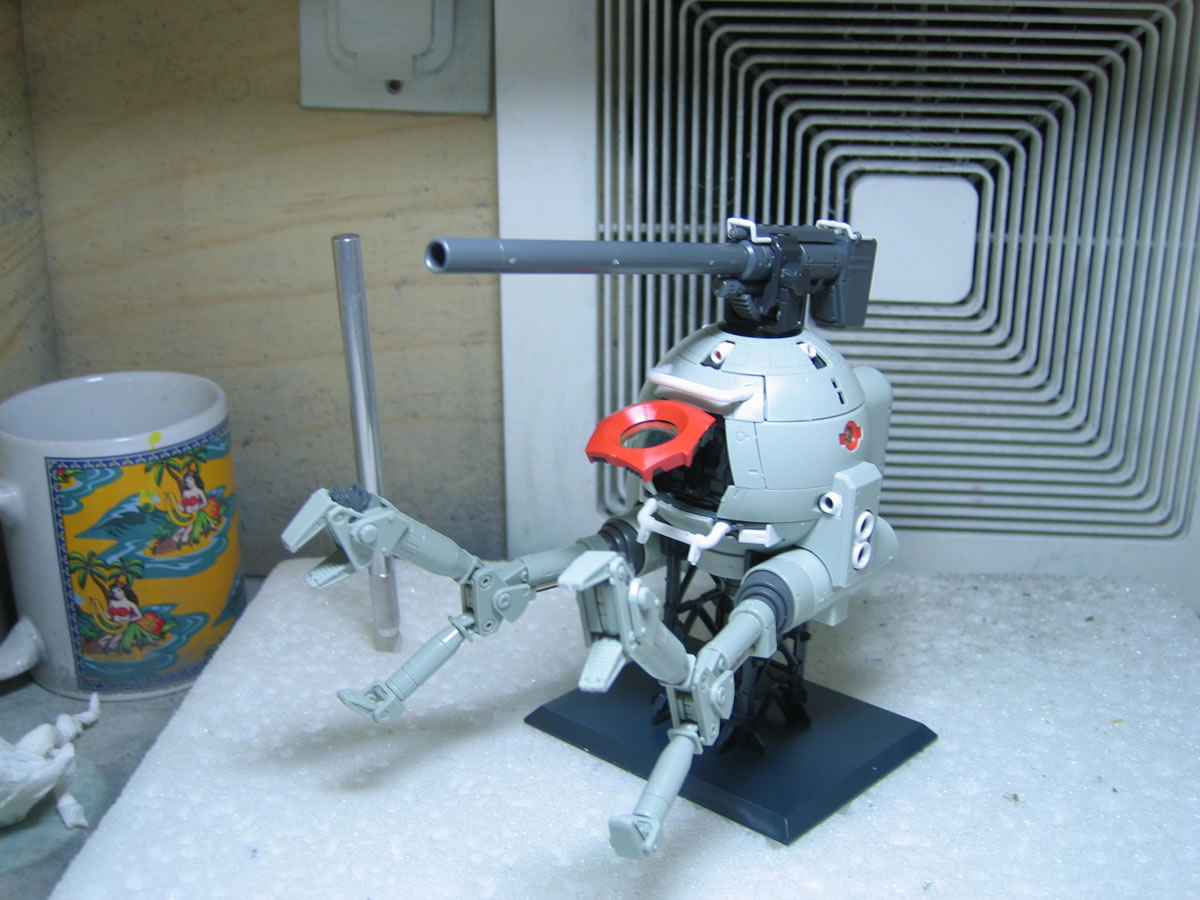
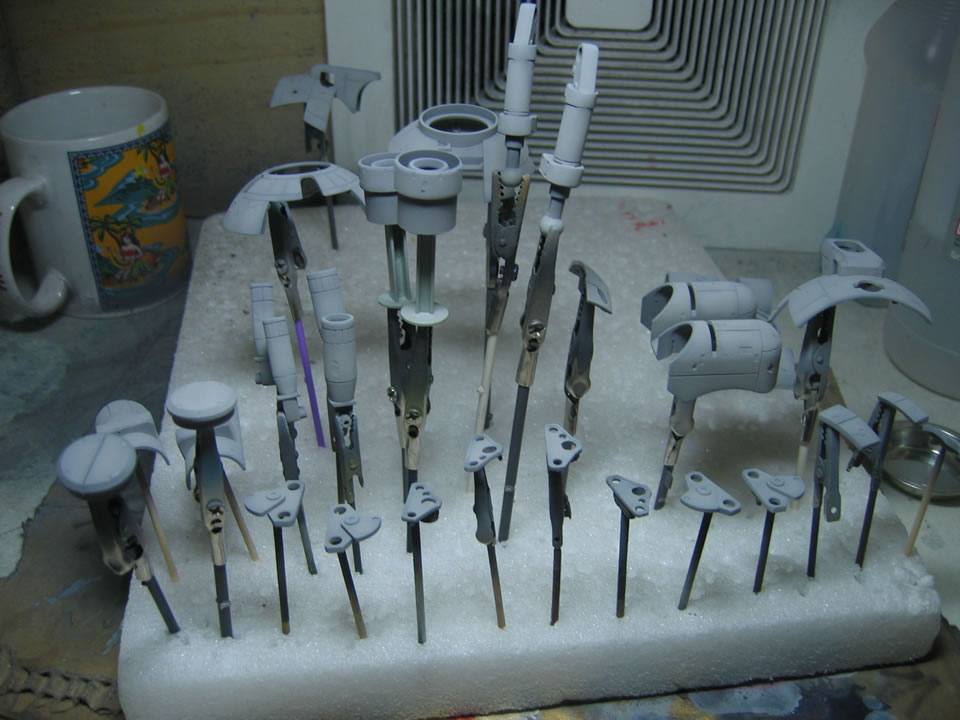
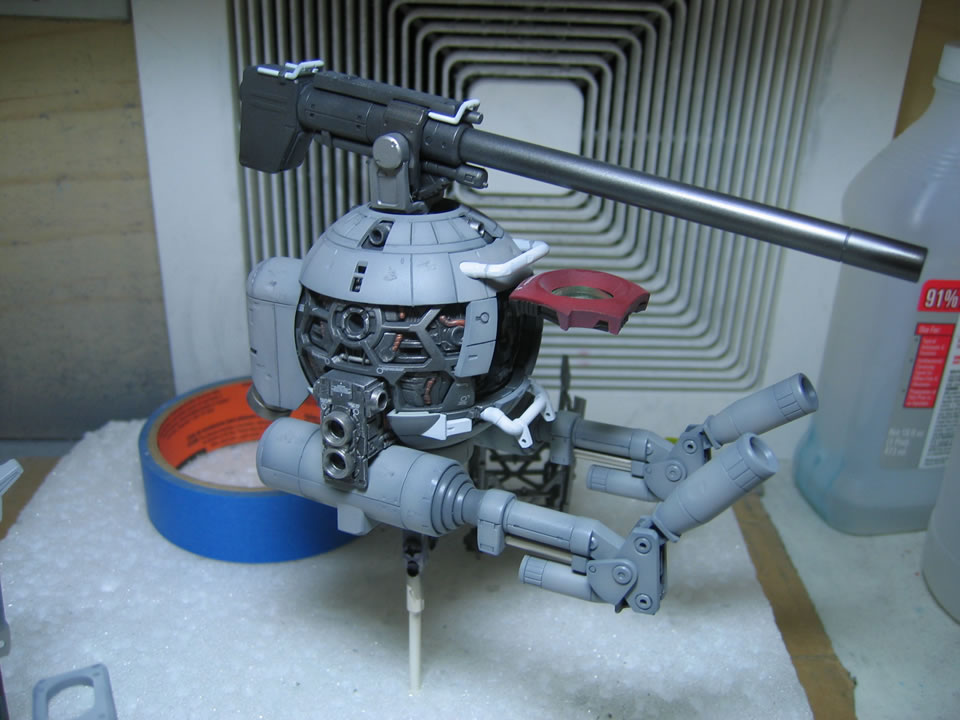
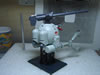
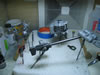
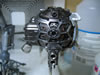
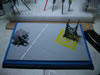
Jan 5, 2005: This is a progress page for the Master Grade
RB 79 Mobil Pod Ball Ver Ka. Currently I only have the kit snapped together
and I am deciding on how to display the kit. The kit came with some nice
little greeblies so I will probably make something similar to a hanger
dock making repairs on a damaged Ball. Tomorrow I will begin the prep
work for painting the guy.
The kit itself is relatively small, but for $24 US and
a brand new MG, it seems worth it. If the shop that I picked this guy
up from had more, I would have grabbed a couple of more. There are a few
seams here and there but it shouldn't take long to complete. This should
be a nice quick fun build.
|
|
|
|
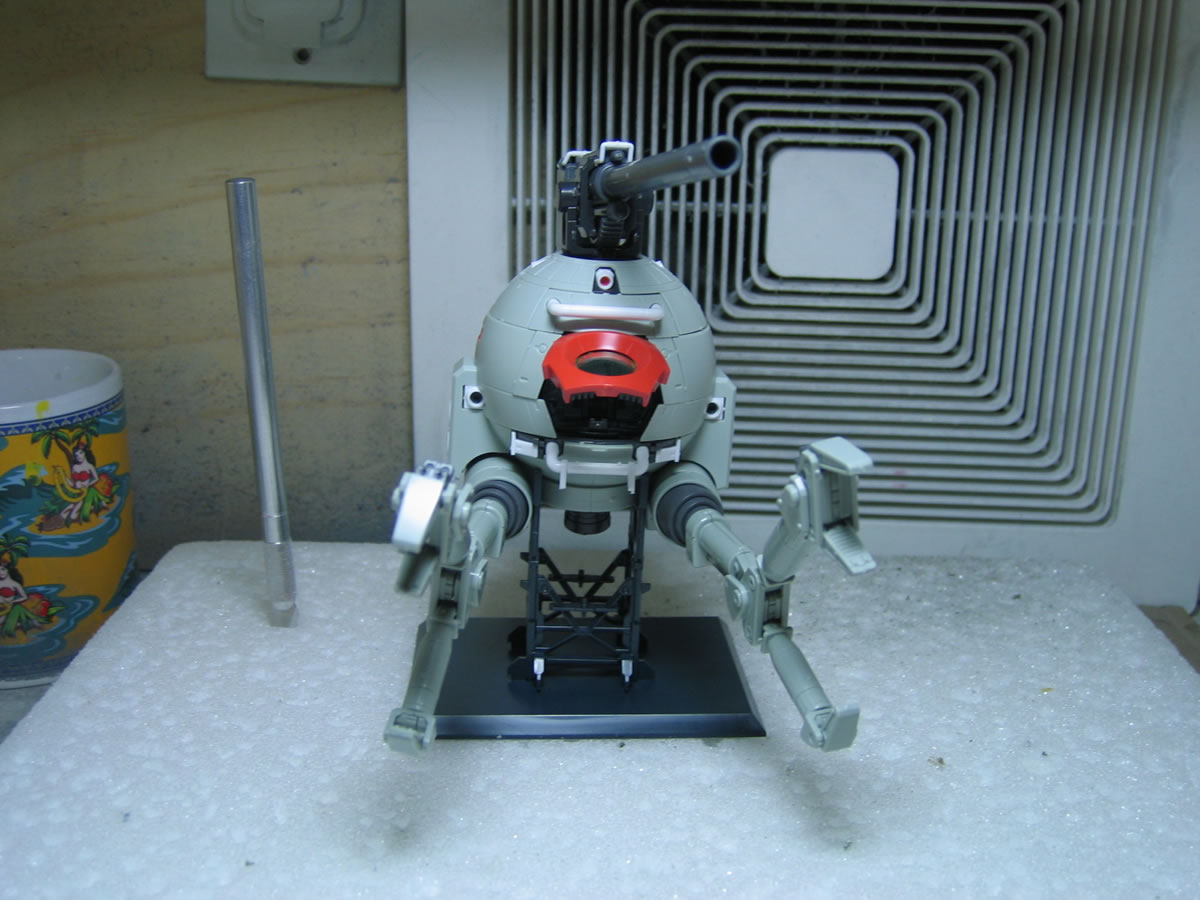
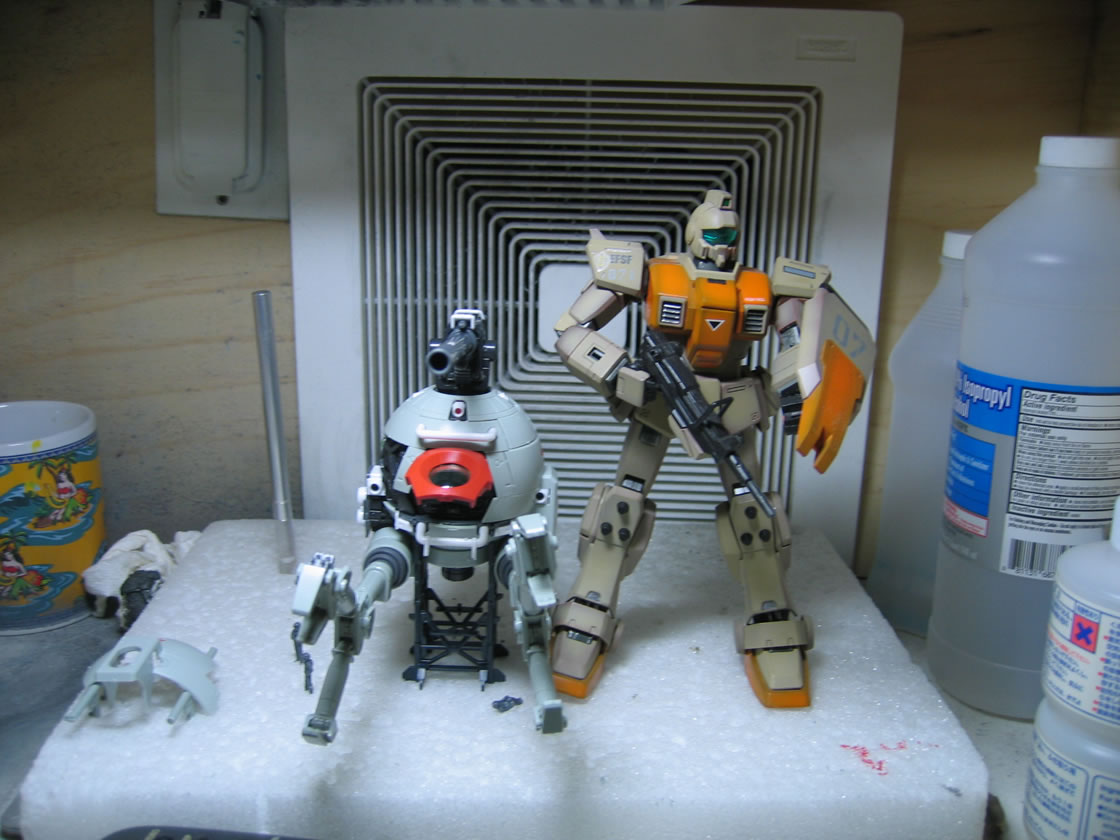
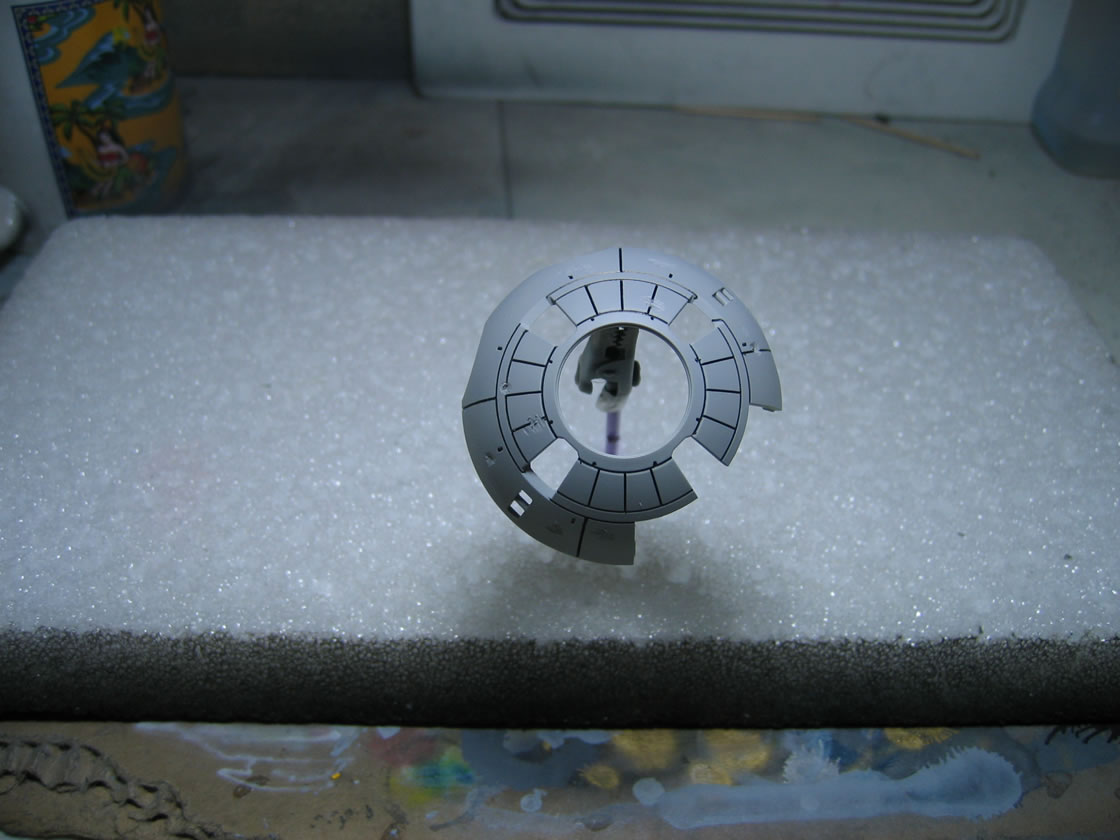
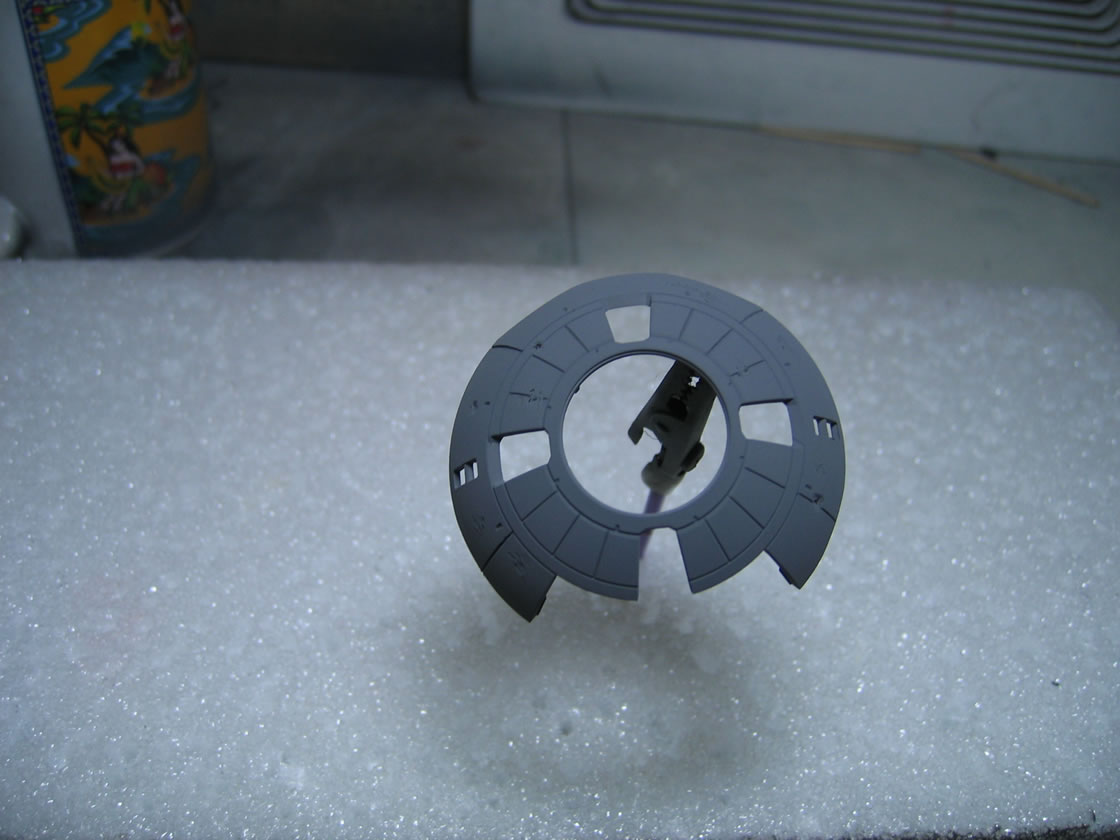
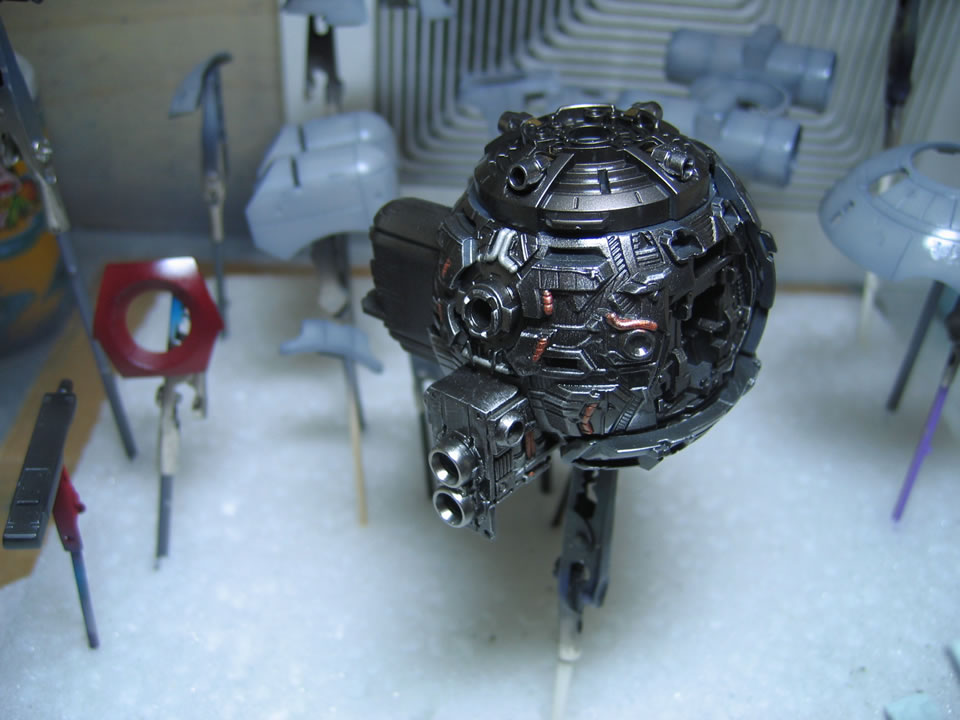
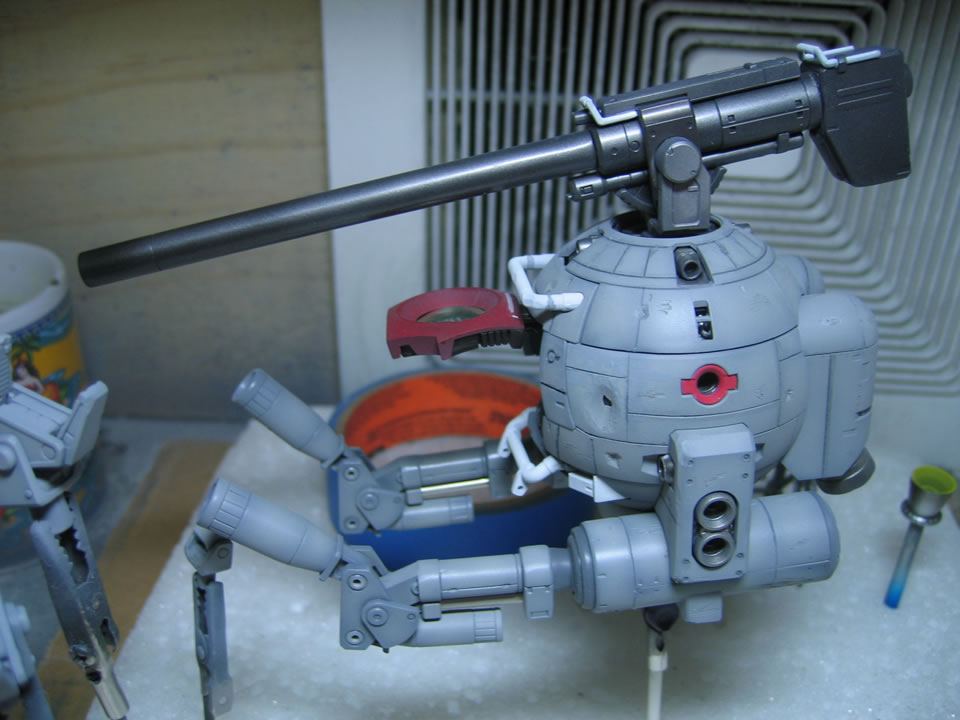
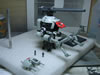
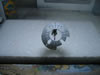
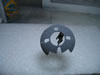
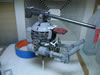
Jan 7, 2005: Below is a comparison shot of the RGM-79[G] standing next
to the Ball with the stand so you get a general idea of how big the ball
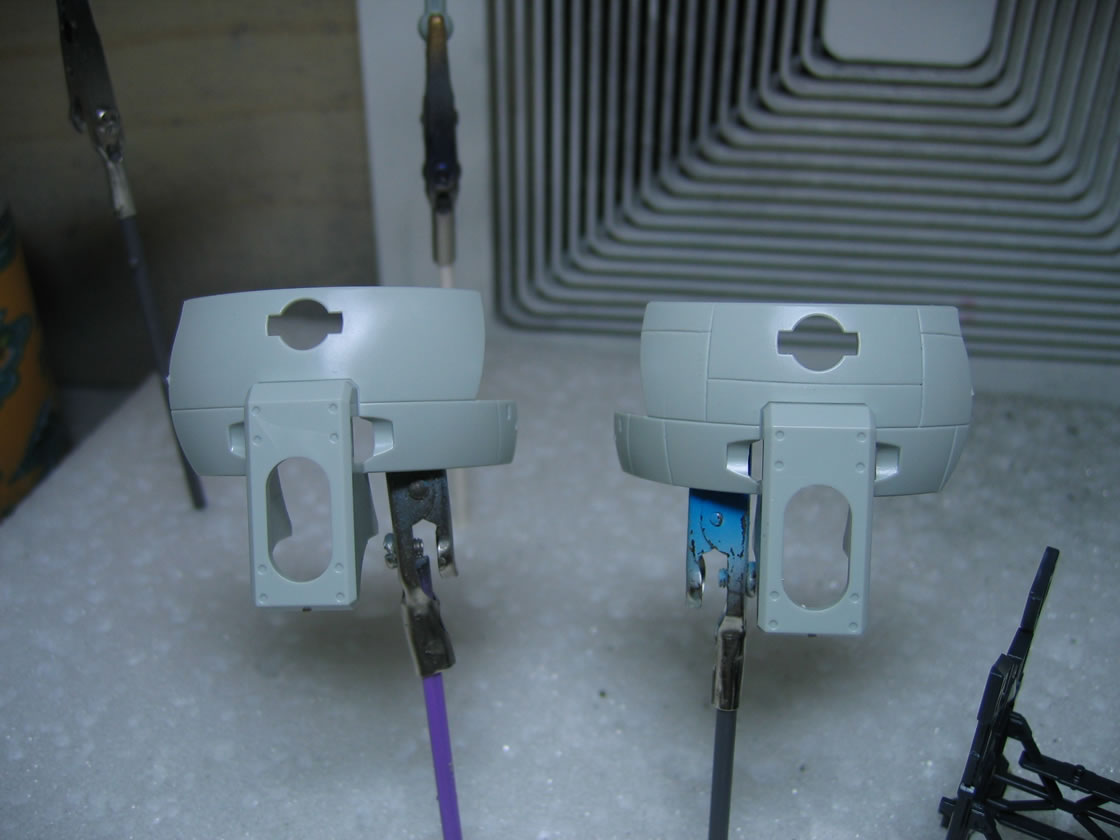
is in comparison. The next shot is a before and after of one piece of
the Ball's outer shell. I added a few more panel lines to the kit. The
most were done of these two panels because they were a bit plain. The
shell for the back, the top piece, and a few smaller pieces got the scriber
treatment as well. This is the first time I scribed lines in, and thanks
to WhiteBase from the CoM forums for the technique using masking tape
as a guide and then running the scribber lightly across until the line
is scribbed. Also thanks to Ako's tips also from CoM of doing the panel
lines between layers of paint. The effect is very nice. Too bad I'm off
to Vegas for the next two days, or I'd have even more to show. Until next
week.
|
|

|
|
|
|
|
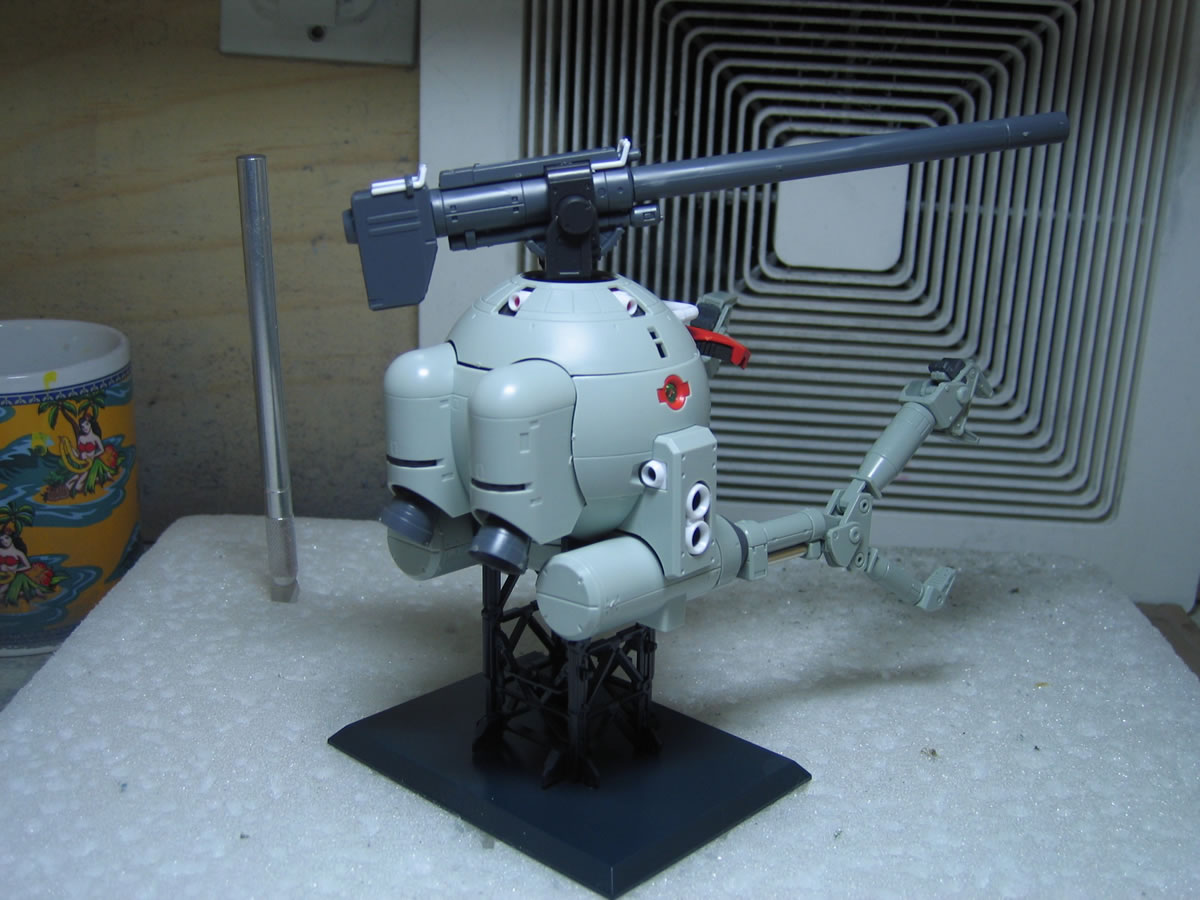
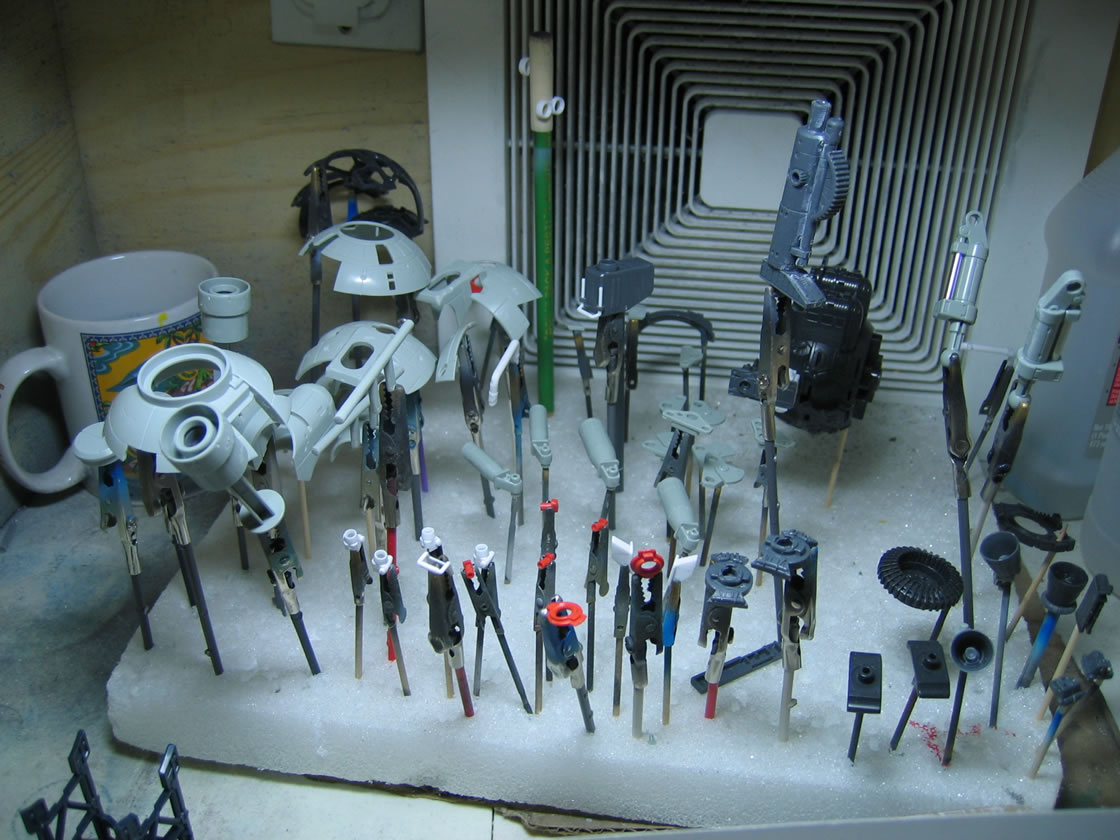
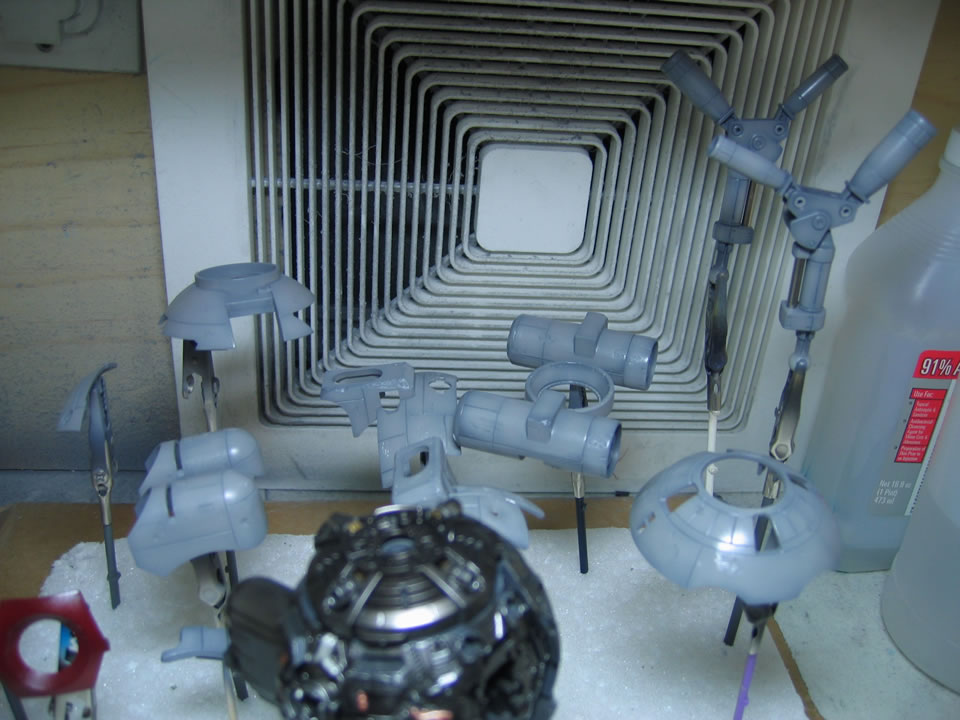
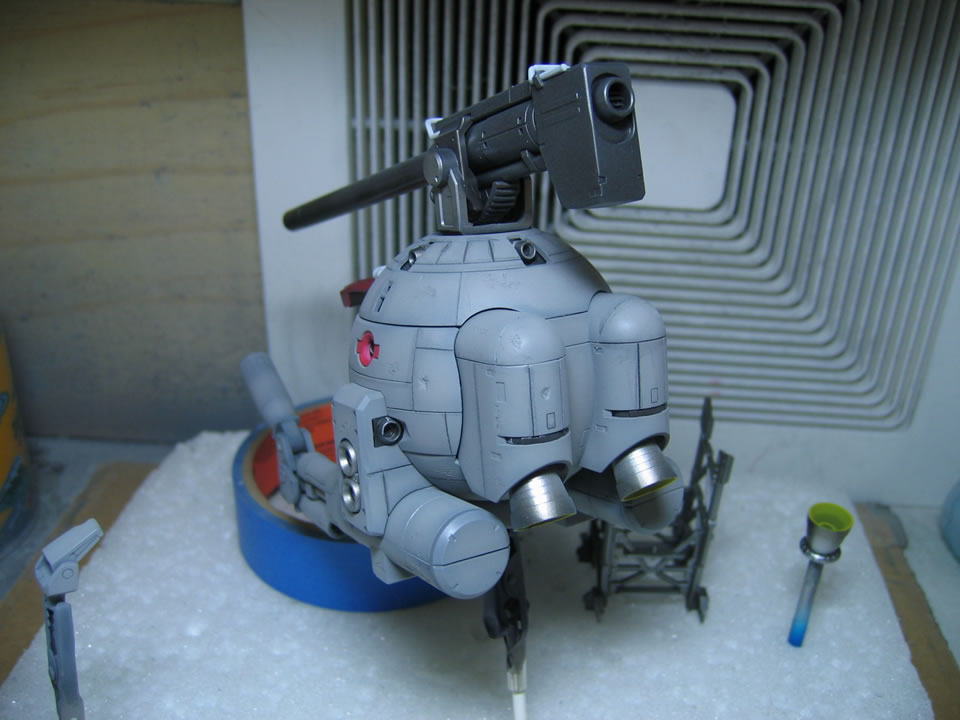
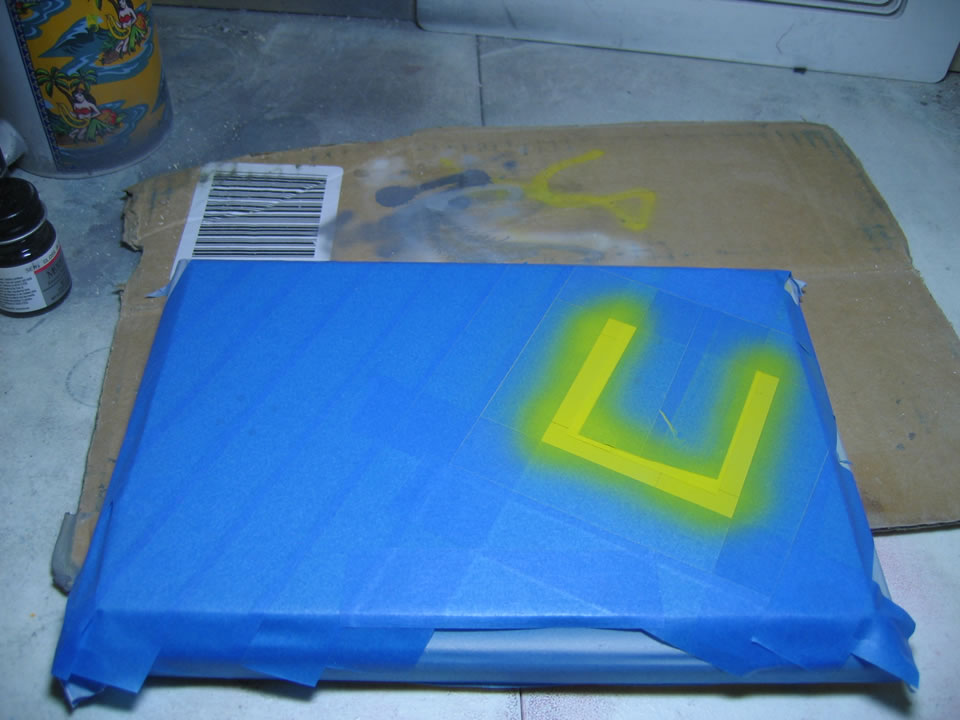
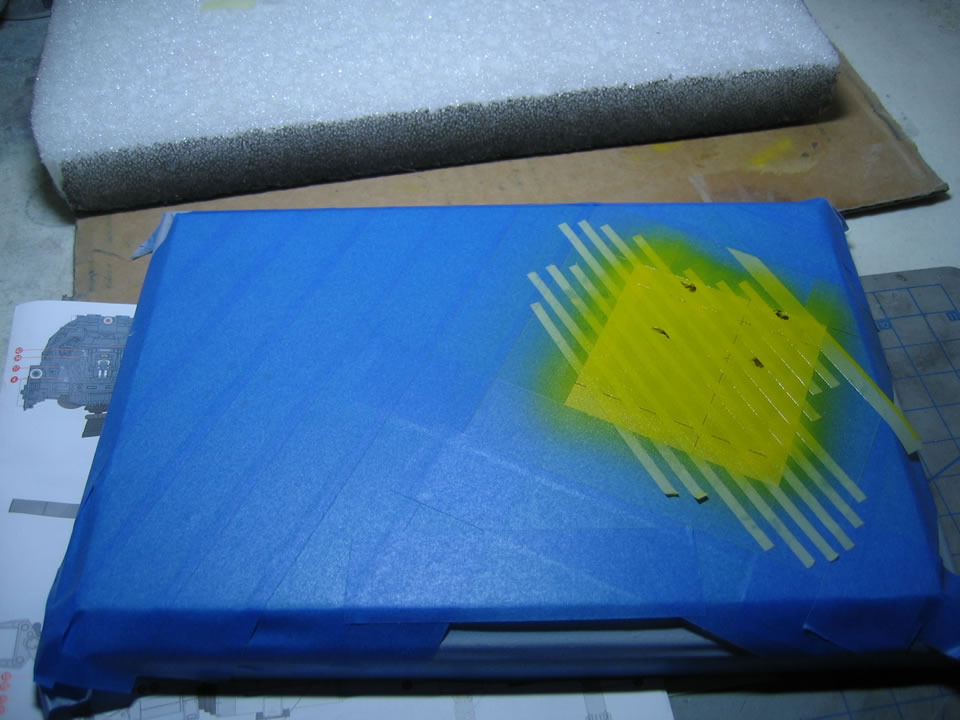
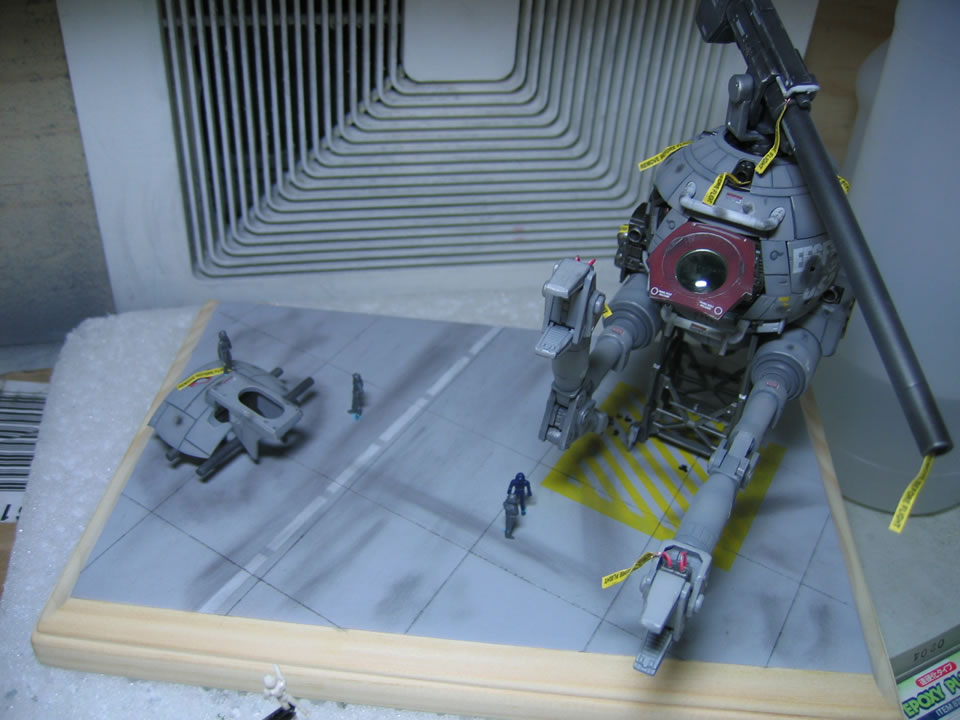
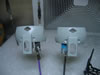
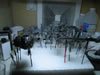
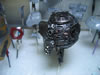
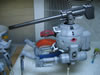
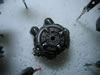
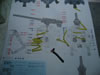
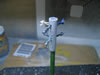
Jan 13, 2005 More progress on the Ball. The color I painted was a bit
dark for the decal sheet that came with the kit so I will be using watersides
where I can. I've never been a huge fan of lots and lots of decals so
I may stick with the bare minimum. I did some battle damage to the kit
and right now the kit's completely painted and futured. Right now, I have
the decals left to do, the weathering, and final coats of future for the
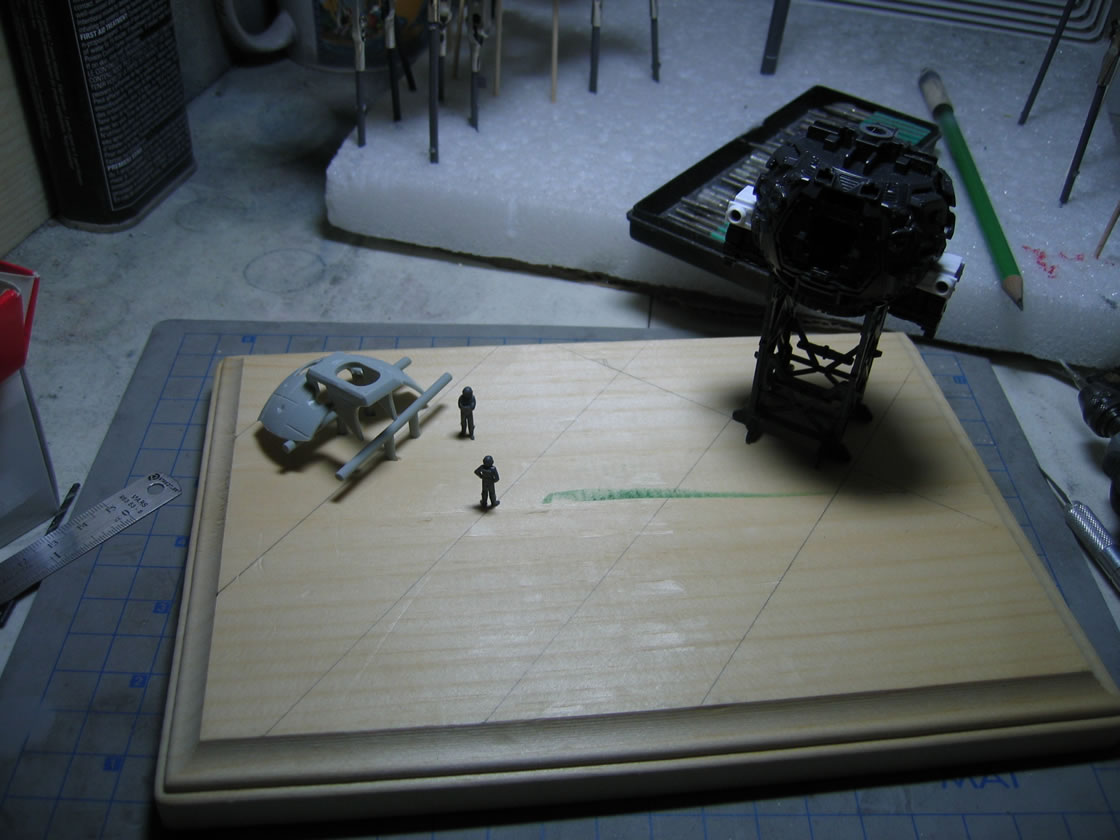
kit. I'm in the middle of working on the base. I have a long weekend this
week for Dr. Martin Luther King Jr. So I should be able to spend a good
amount of time towards finishing up the kit.
|
|
|
|

|
|
|
|
|
|
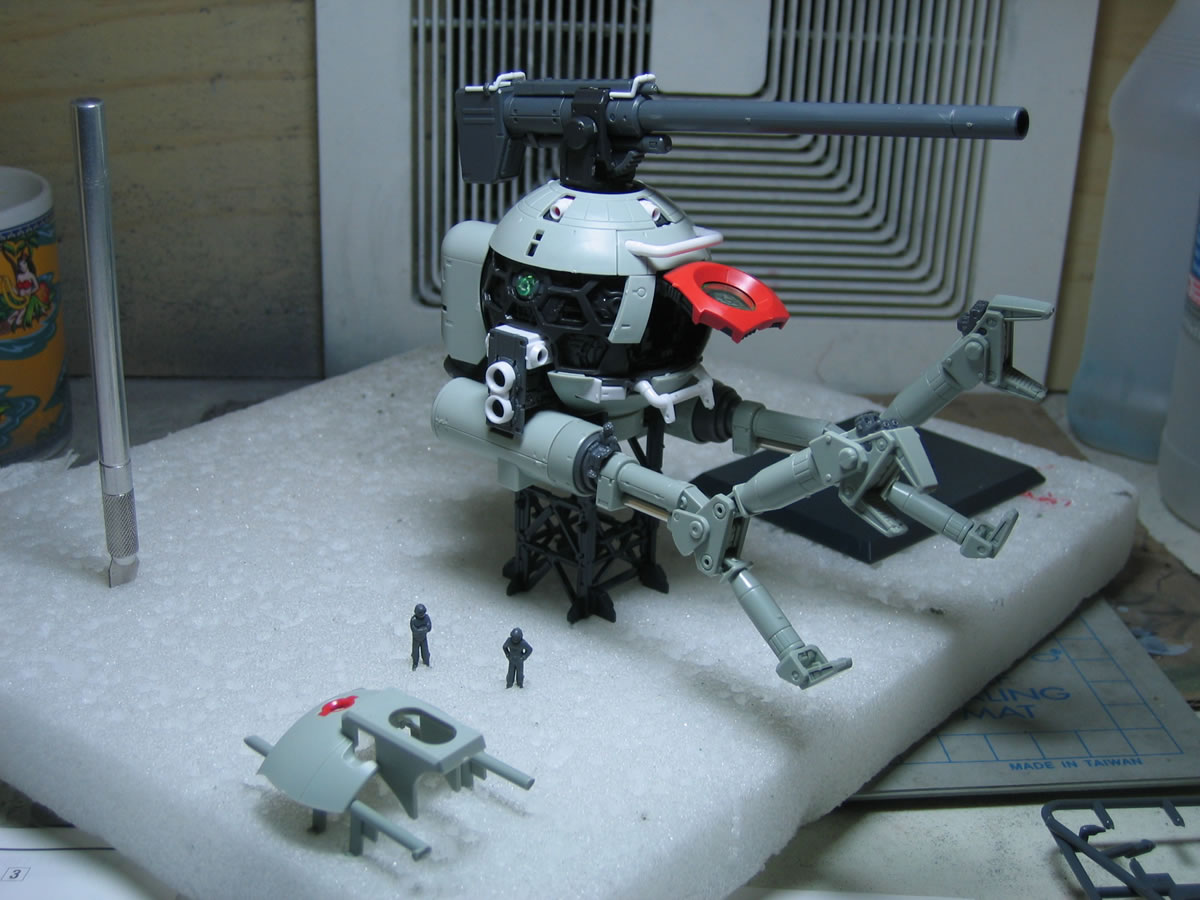
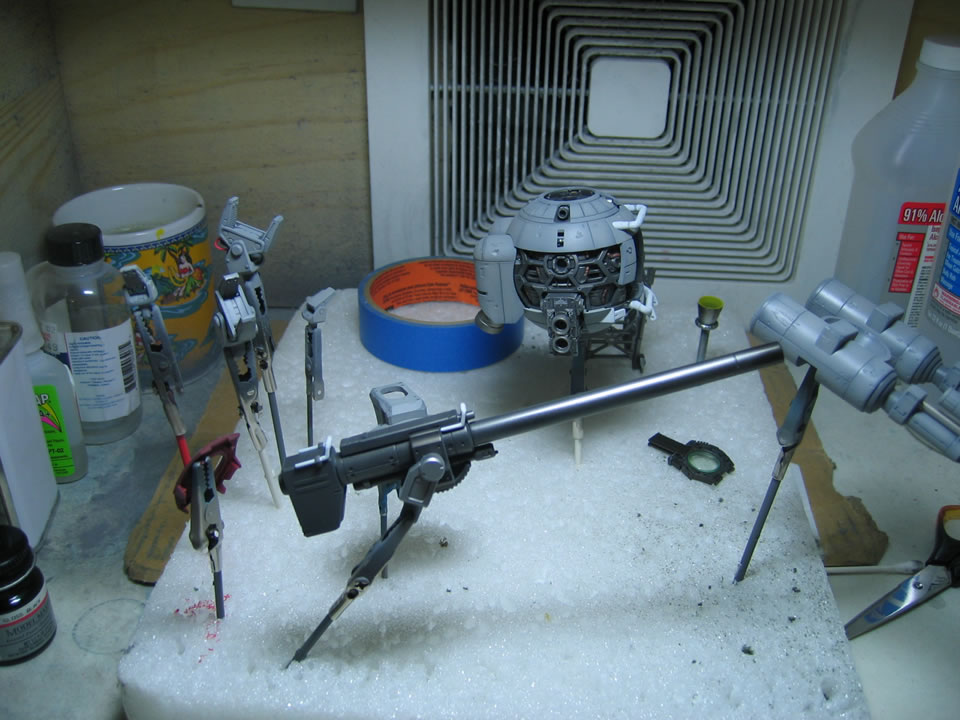
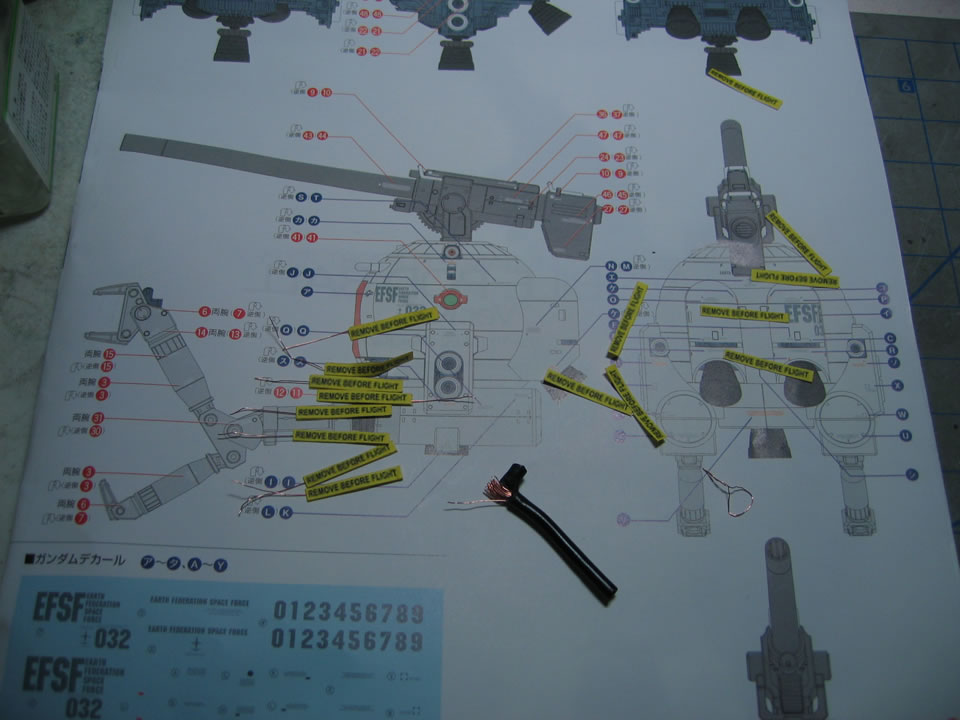
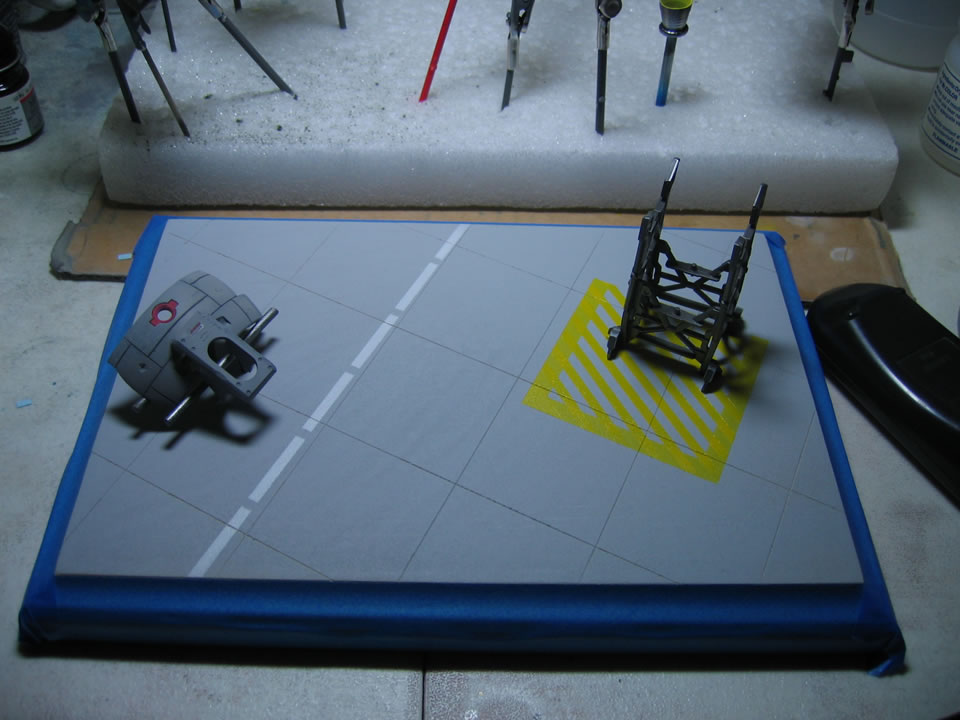
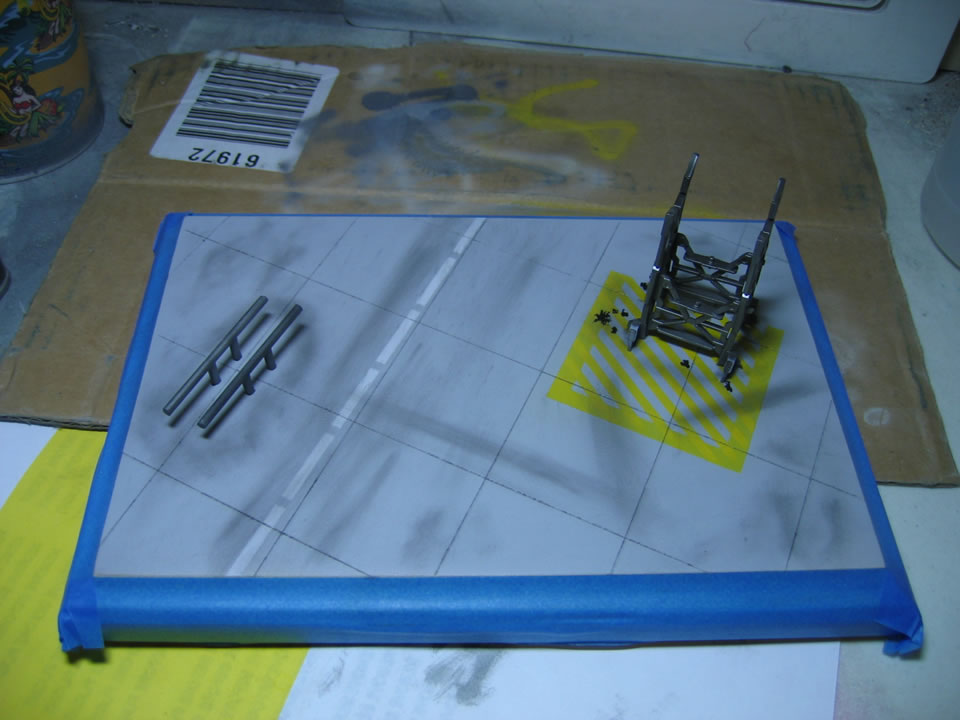
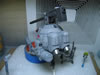
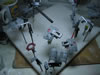
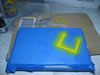
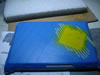
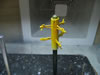
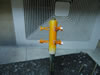
Jan 16, 2005: More updates. Getting close to finishing the kit. Right
now all I have left to do are the figures. But from the last update until
now I completed the decals using the decals from the sticker sheet and
waterslides. The color I used to paint is too dark so the dry transfers
do not show up well at all, so those were not used. After this was done,
a coat of future and flat base was applied. The weathering was done with
dry brushed enamel steel and chalk pastels. A final layer of future and
flat base was applied and that completed the Ball kit itself. For the
base, I used the acrylic clear and baking soda for creating the concret.
Then painted a few areas and then weathered it. I created some "Remove
Before Flight" flags and placed them all around the kit. I cut the
arms of the figures to reposition them. Tomorrow I will sand, prime, and
then paint the figurines. This should be completed sometime next week.
Stay tuned.
|
|
|
|
|
|
|
|

|

|
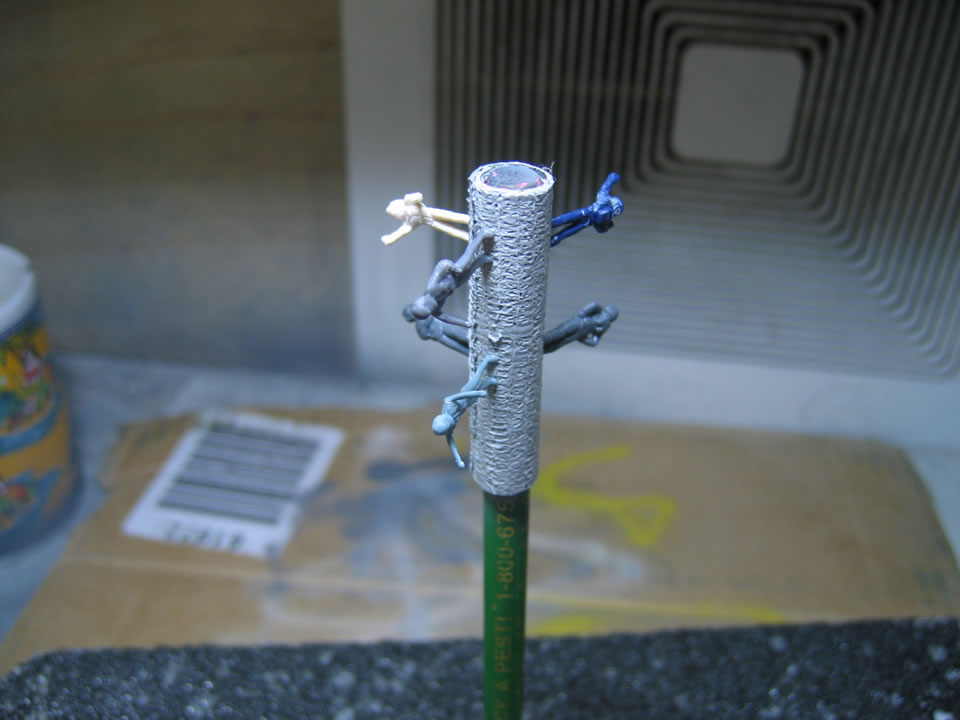
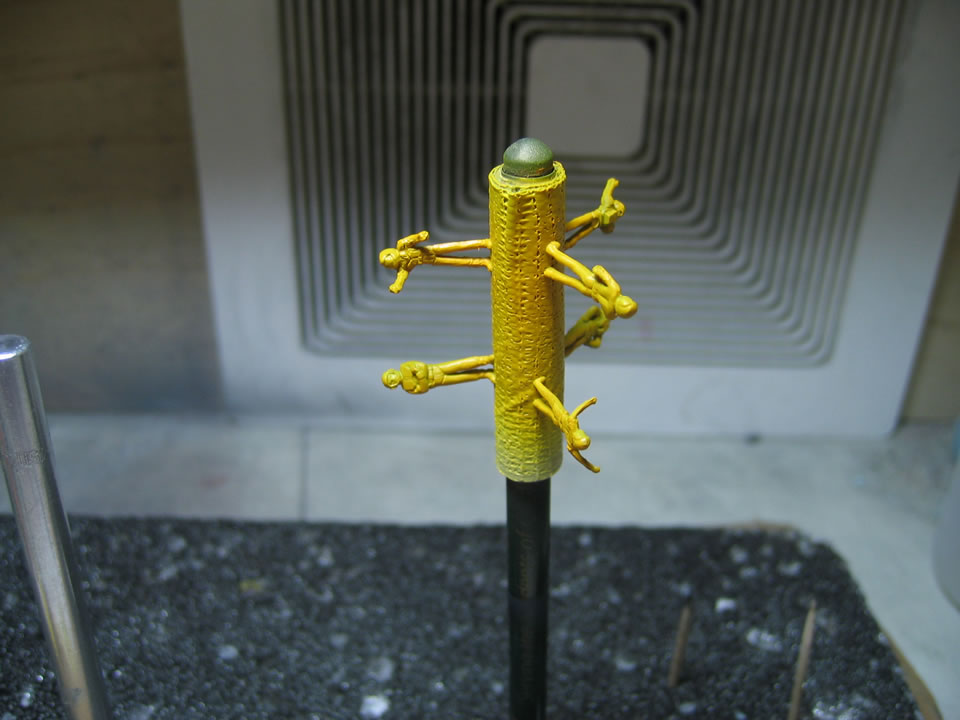
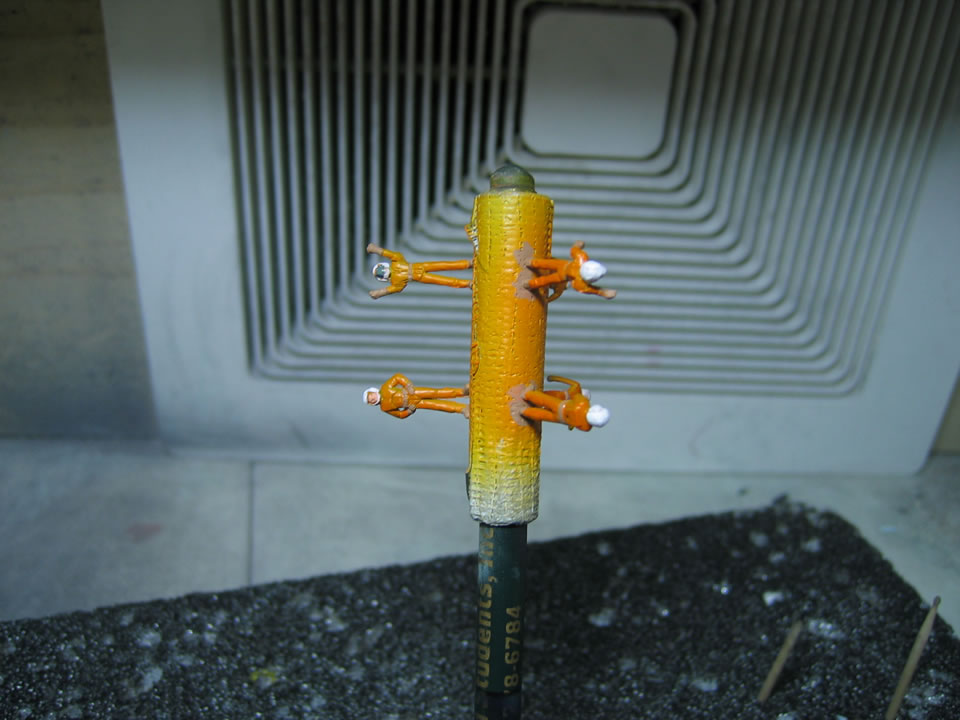
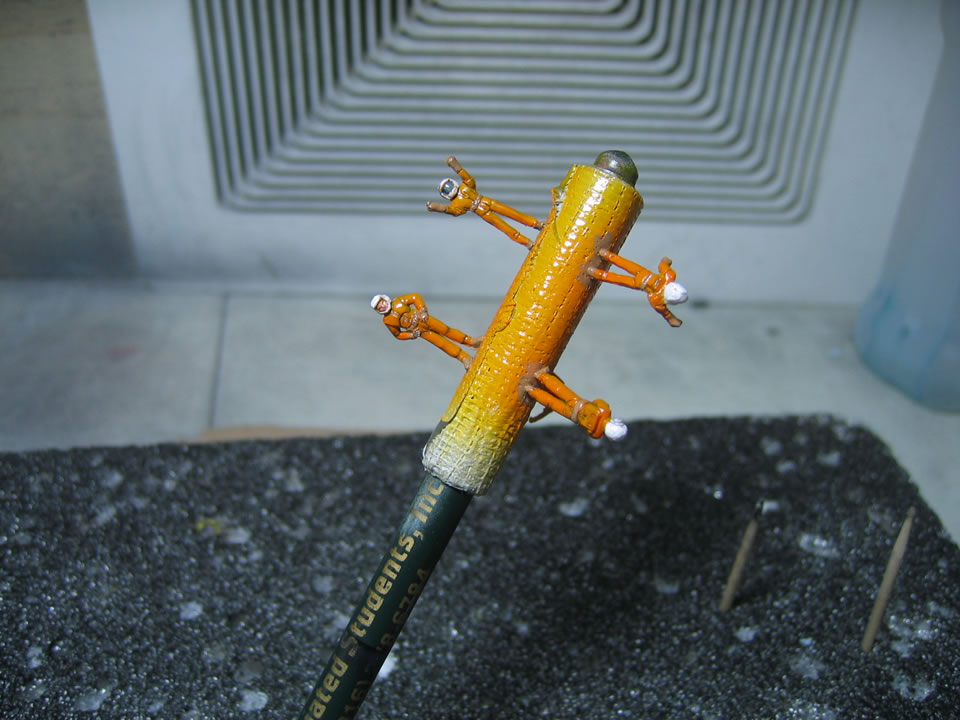
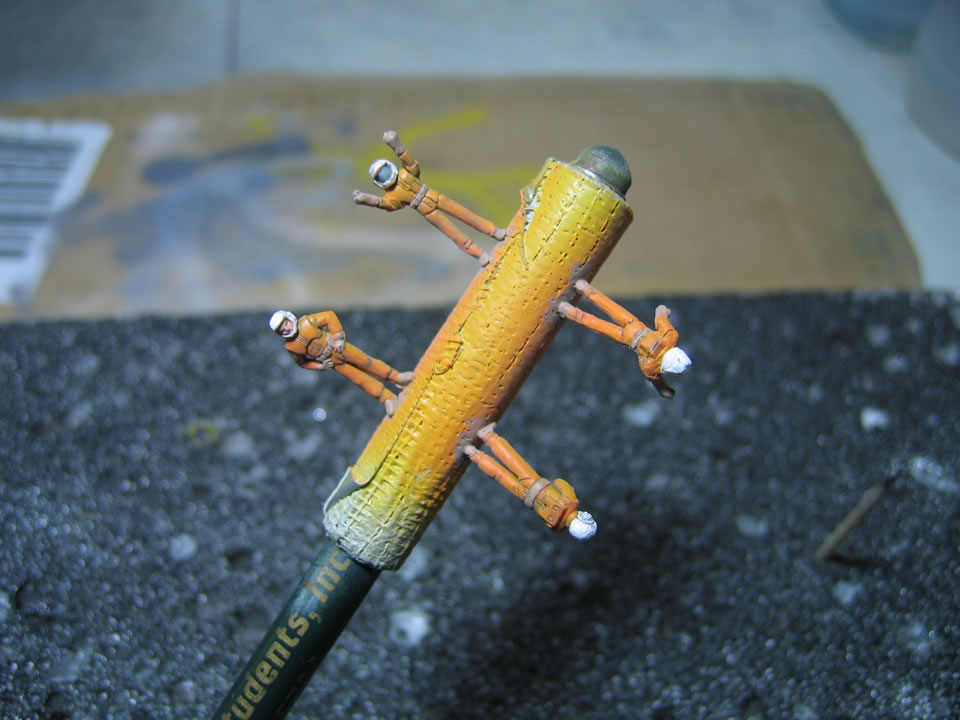
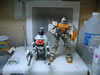
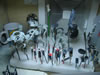
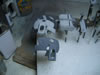
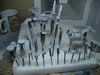
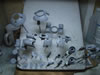
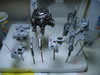
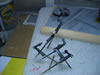
Jan 17, 2005: Ok I chopped and glued the arms of the various figures
I had left over from other MG kits to add onto the two standing figures
that came with the Ball kit. Today, I sanded and prepared the figured
for painting. The painting went in this direction: Primer; yellow orange
Mr Color laquor; Tamyia clear orange; humbrol earth for the feet, gloves
and belt; humbrol flesh for the face; model masters enamel flat white
for the helmets; future; a wash with model masters enamel gloss black;
and a final layer of future and flat base. And below are the various pictures
taken throughout the day as I completed the final pieces to this project.
|
|
|

|

|
Update Information:
Jan 17, 2005: I finished the kit, click here for the completed
MG Ball page.