Augsut 27, 2008: This is a 1/6 Asagi from Taimanin Asagi, which was first an H-Game and then later and OVA hentai anime... pretty damn rough stuff - research at your own risk. Anyways I saw a kit first from ooxoo and was interested until I saw the same character sculpted by Liquid Stone and come WF Summer, the kit was advertised as a limited number production run of 50 kits as there will be a PVC release of the figure. The kit sold at WF summer for 9,000Yen, roughly $90US. The bloody scalpers on Y!J made out like bandits, selling the kit from 20K yen up through 42k Yen. I was lucky to grab it on an auction that seemed fairly unwatched as the search string for the kit was just slightly off. Still, I paid a damn arm and a leg for the damn thing.
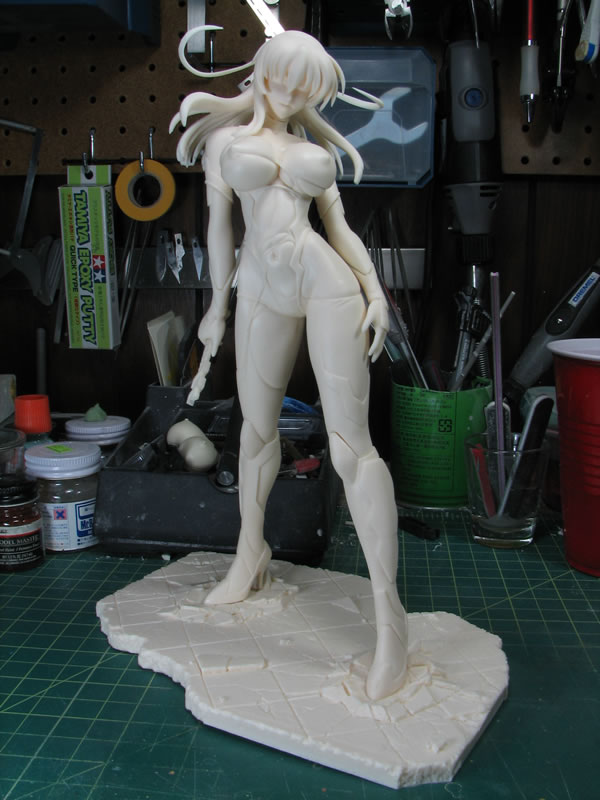
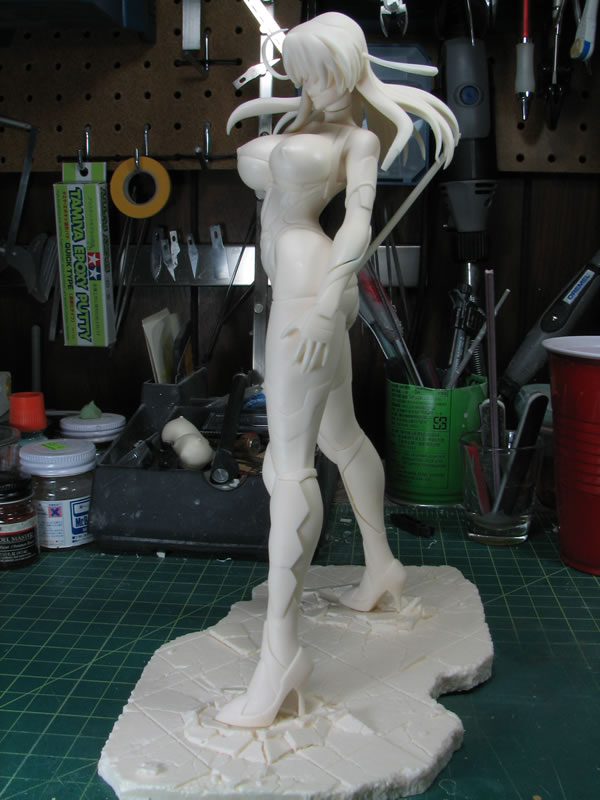
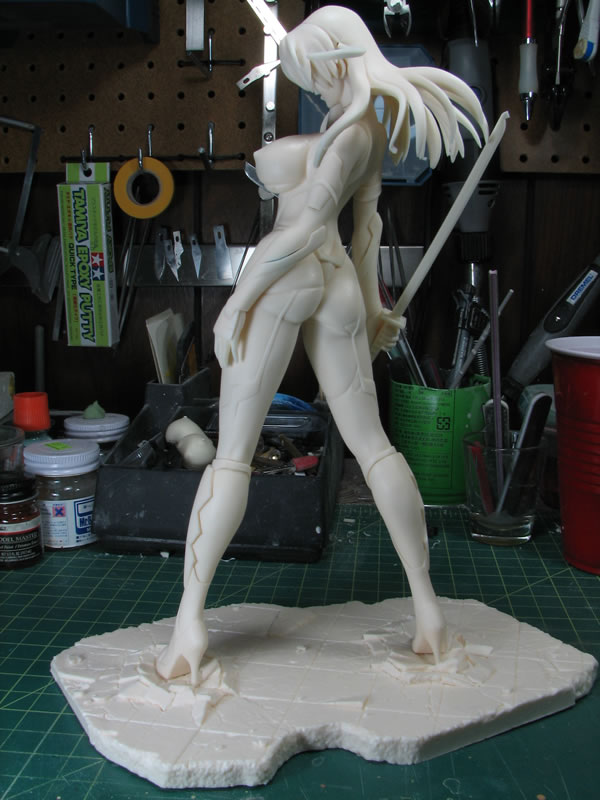
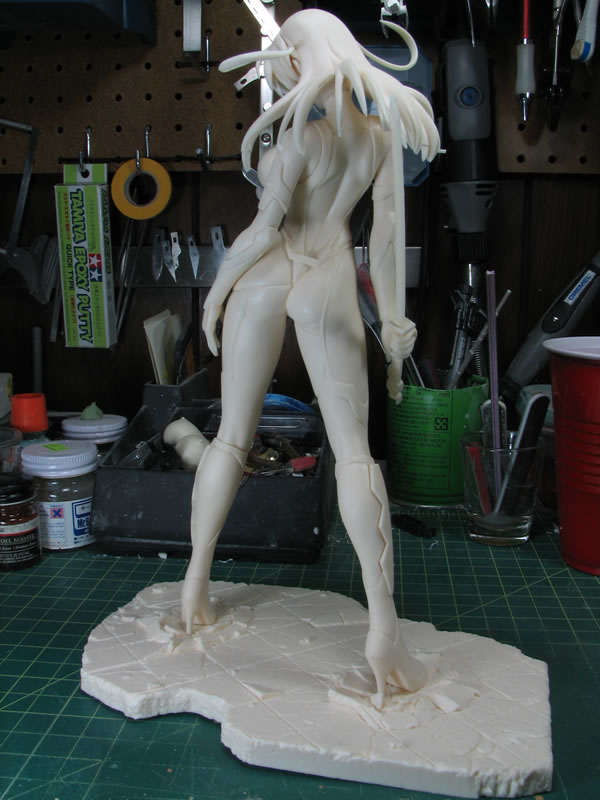
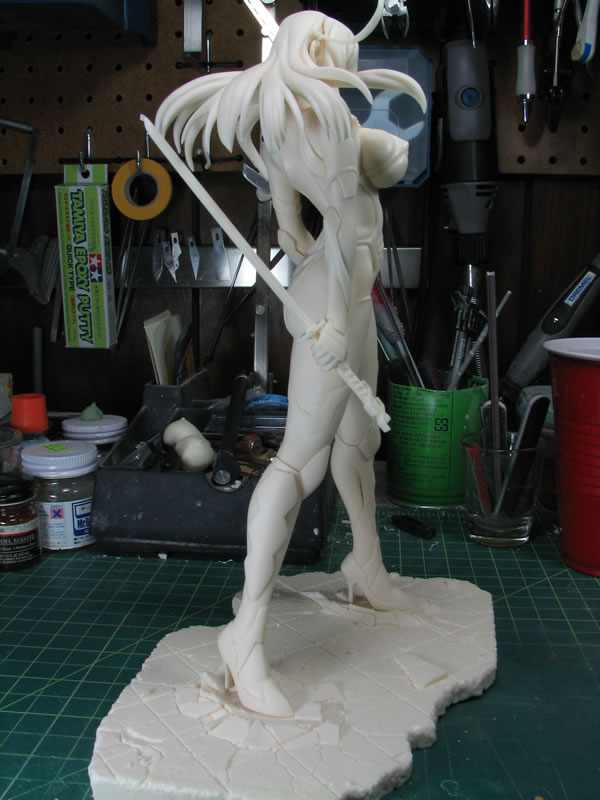
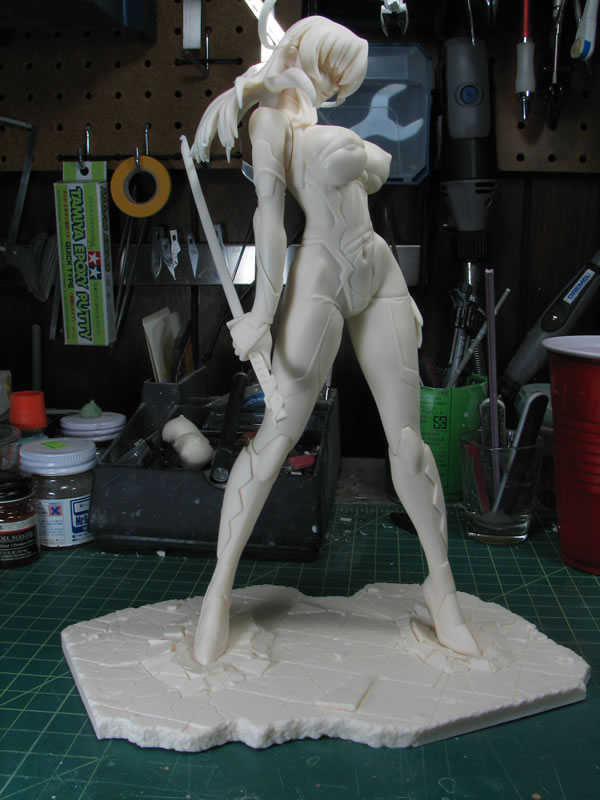
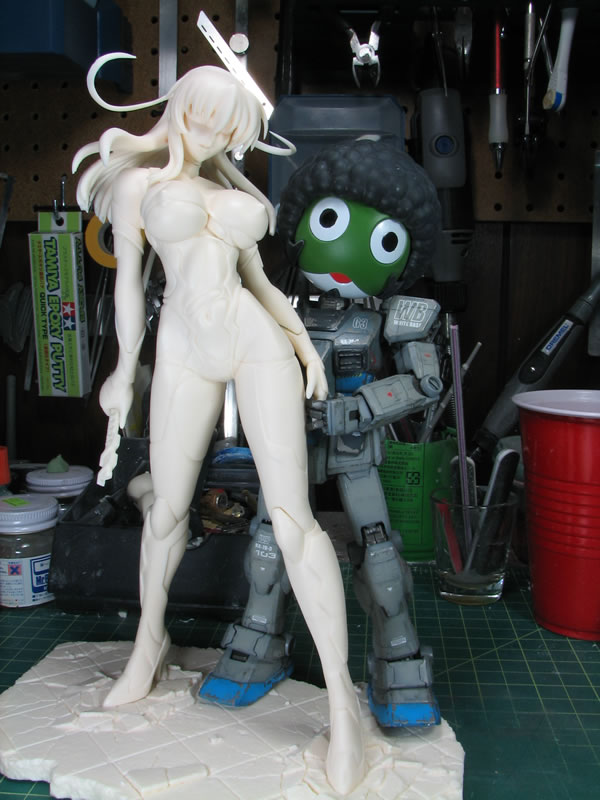
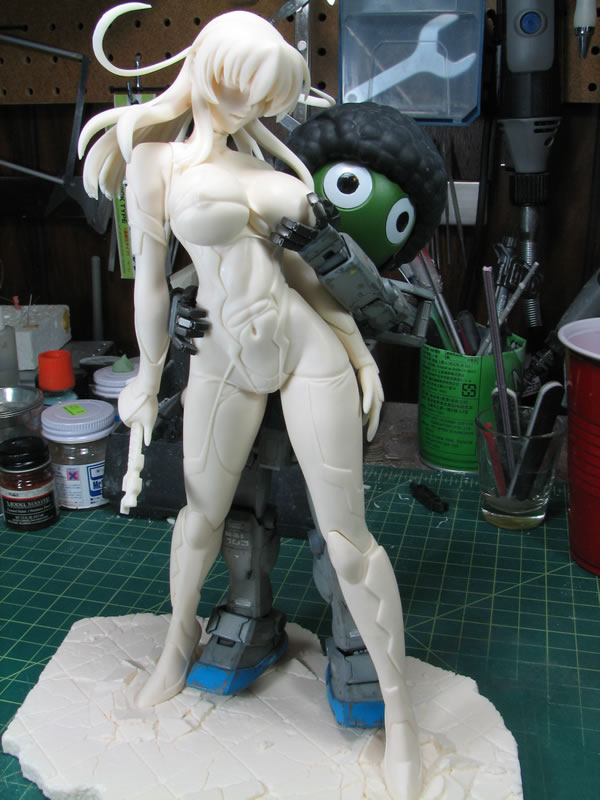
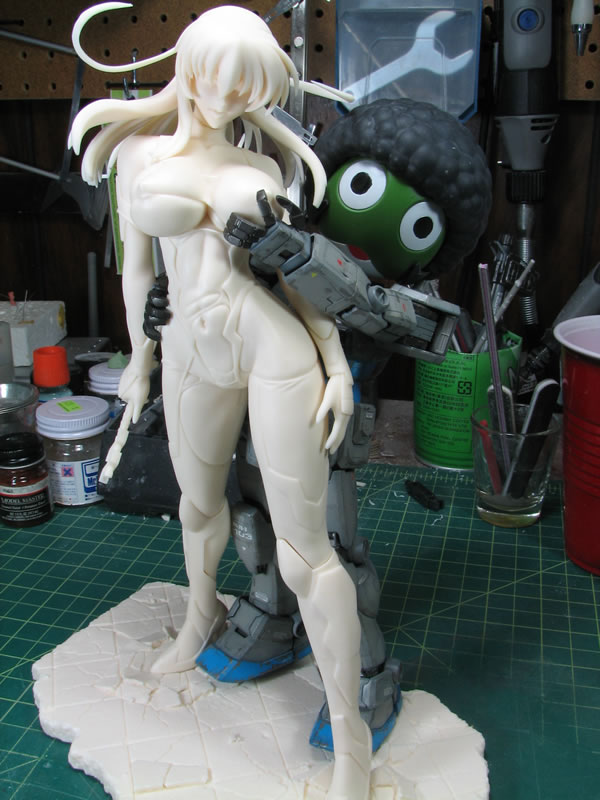
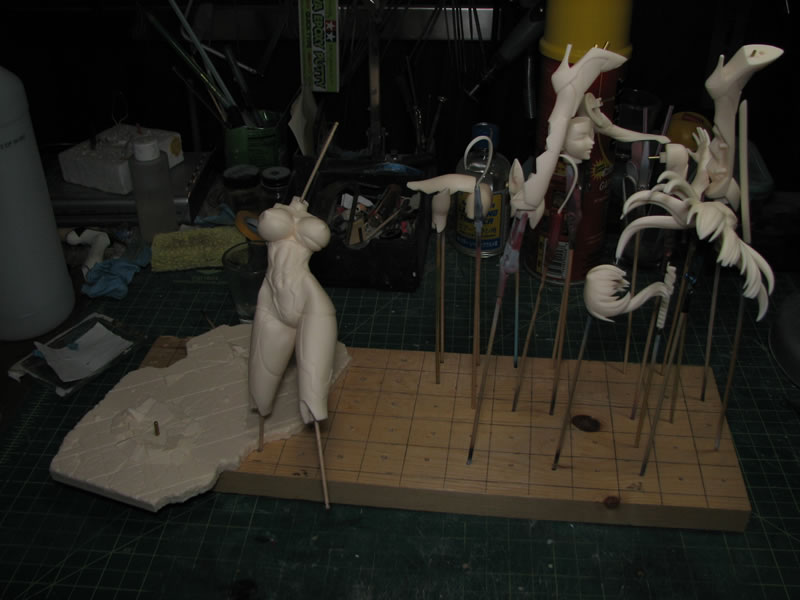
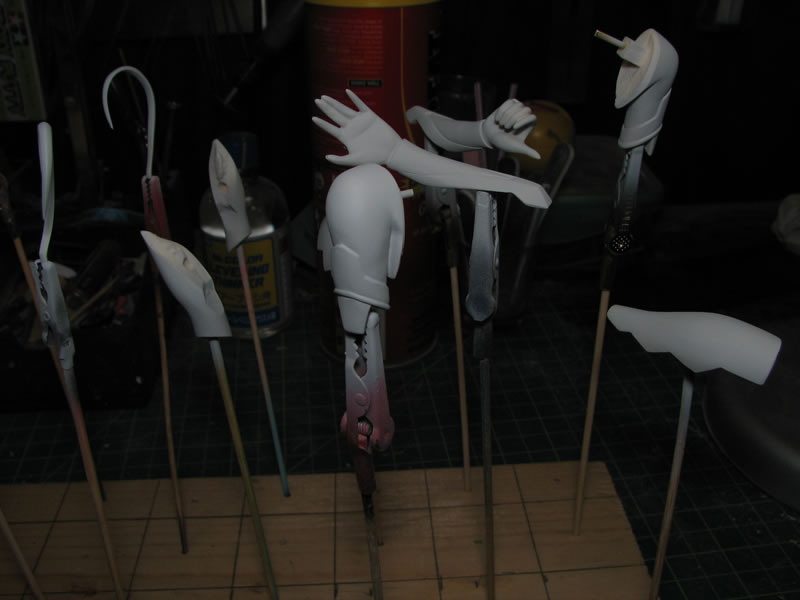
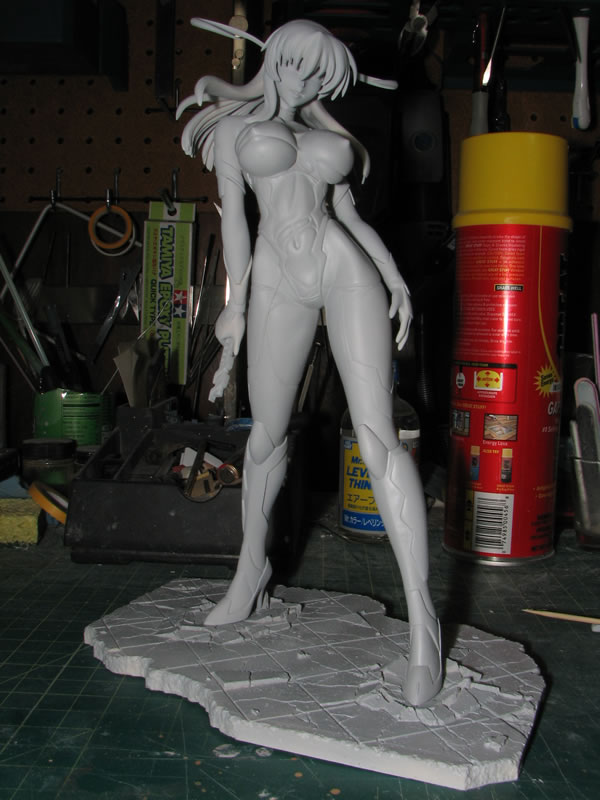
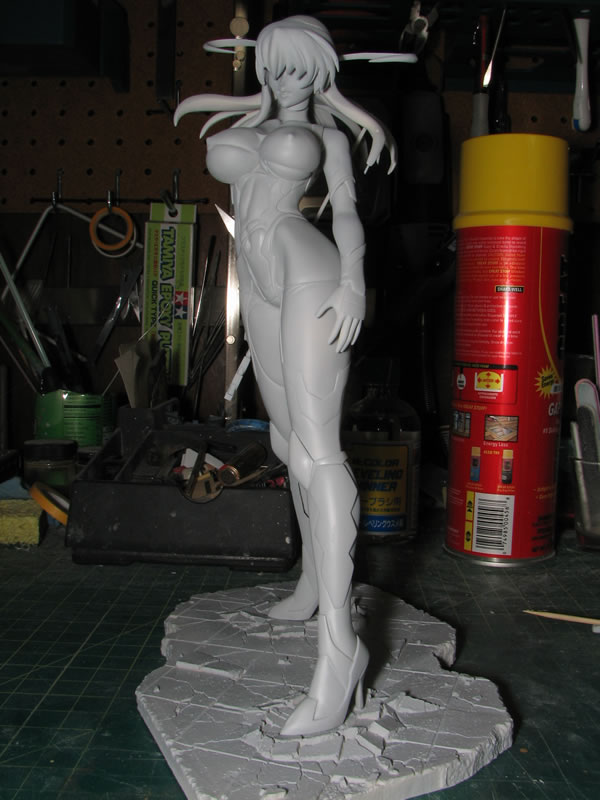
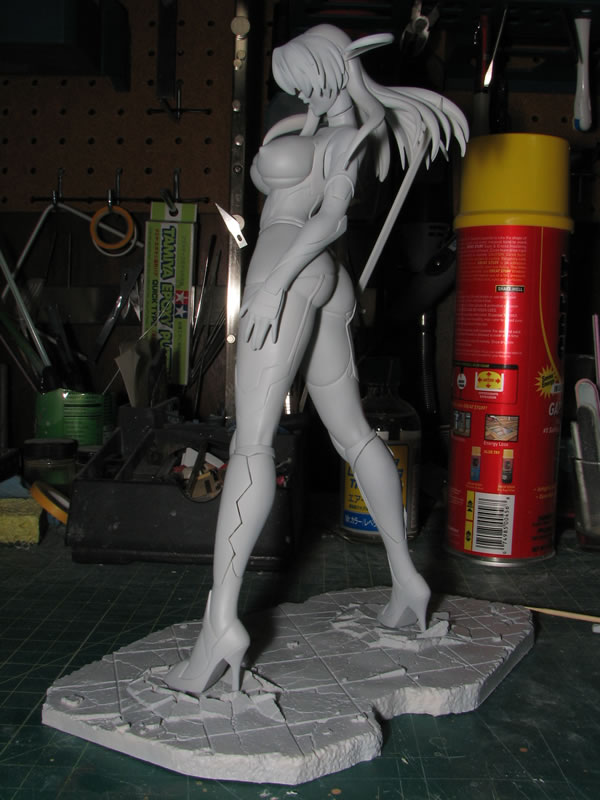
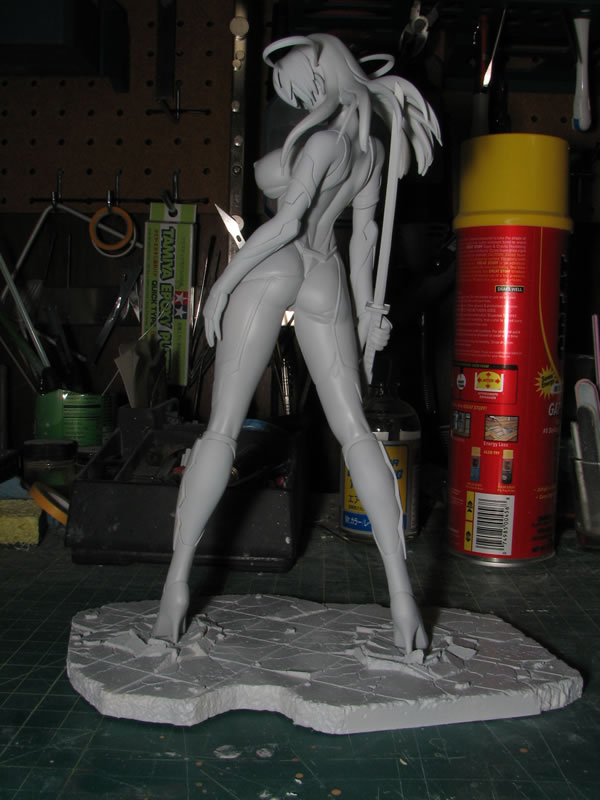
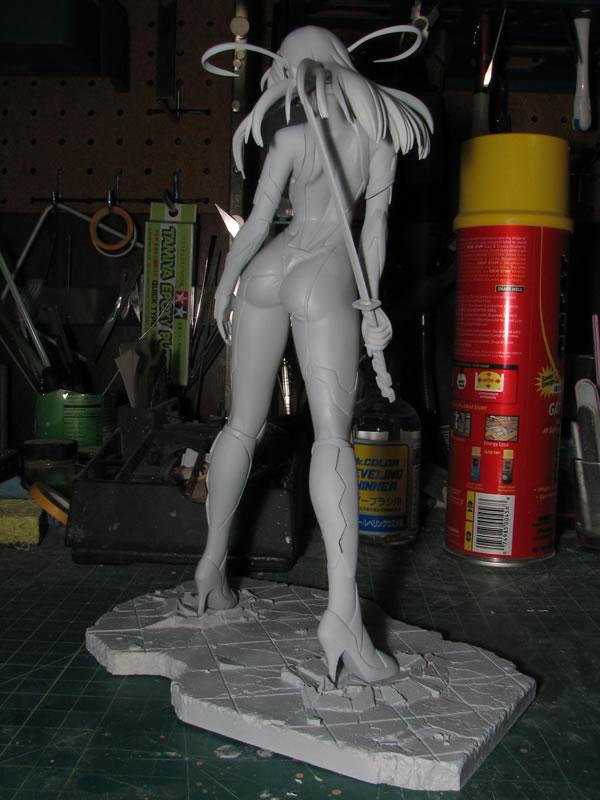
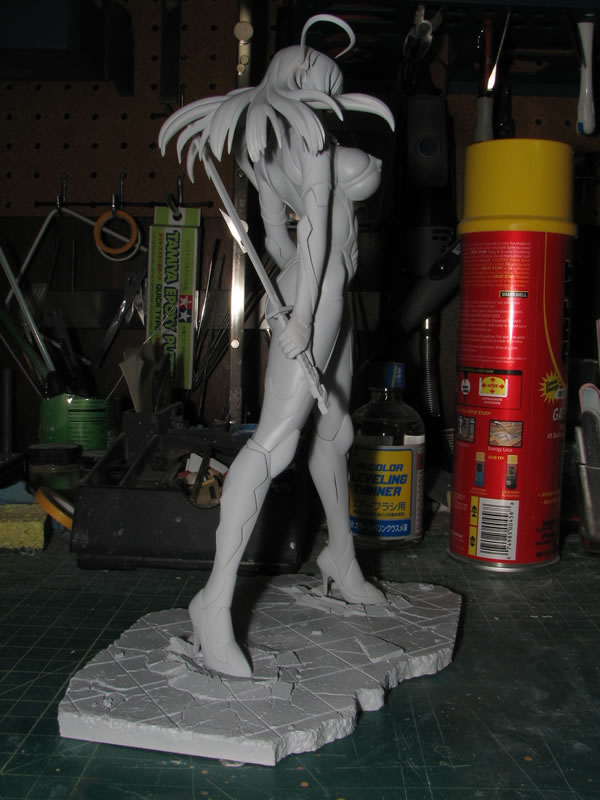
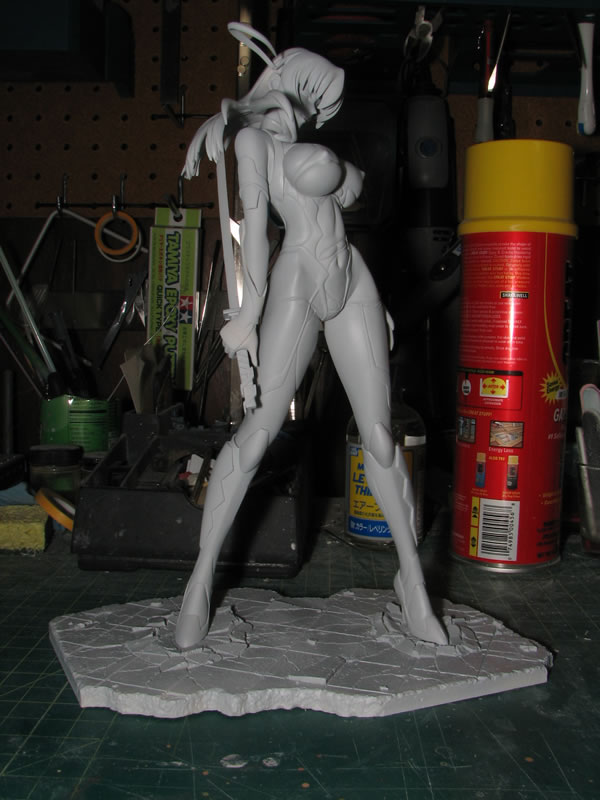
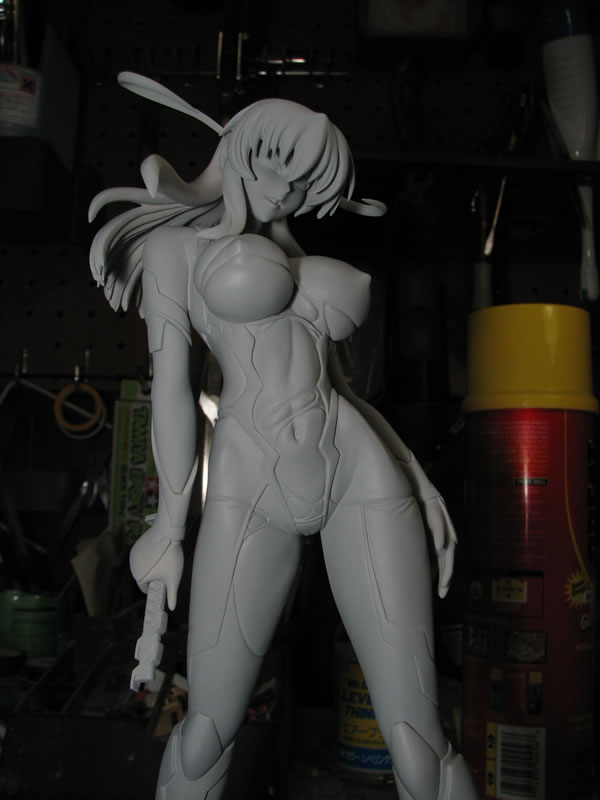
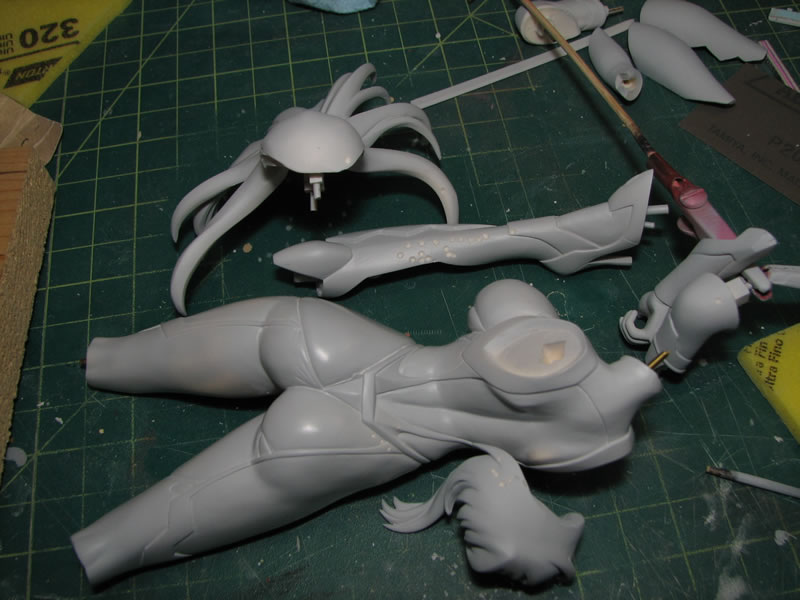
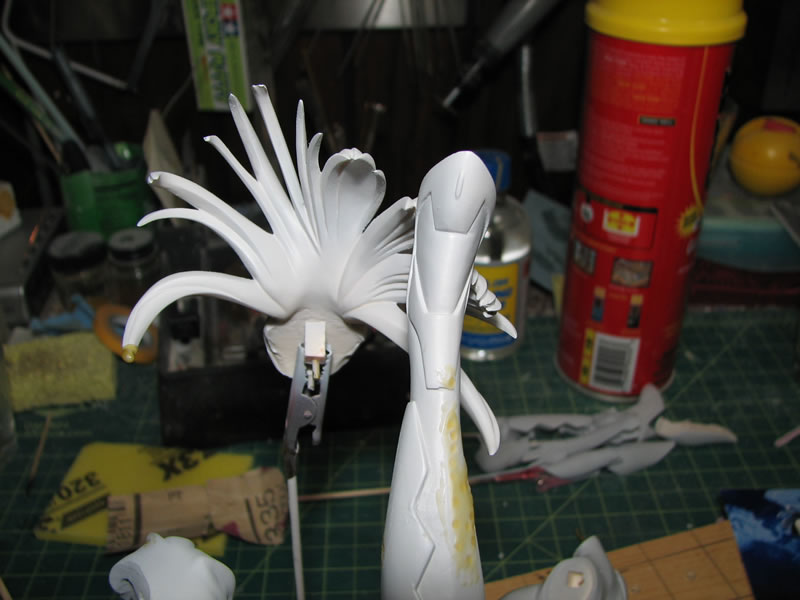
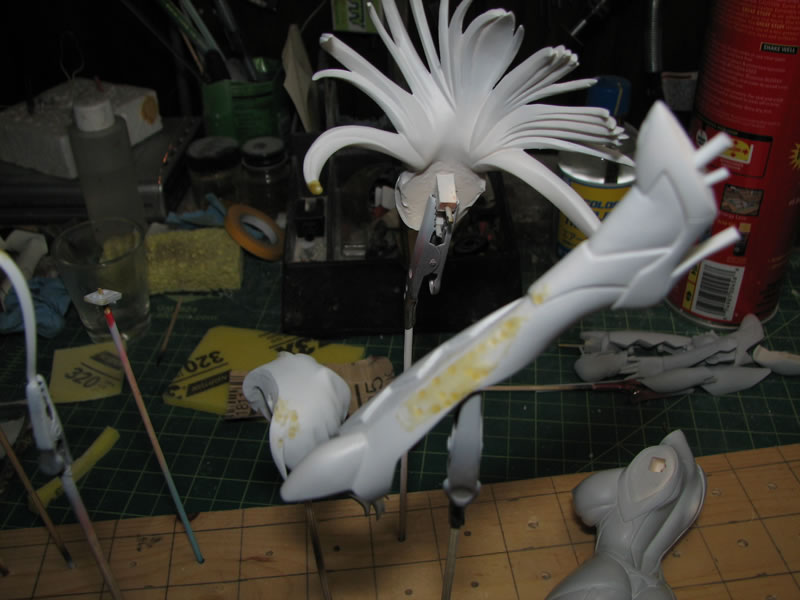
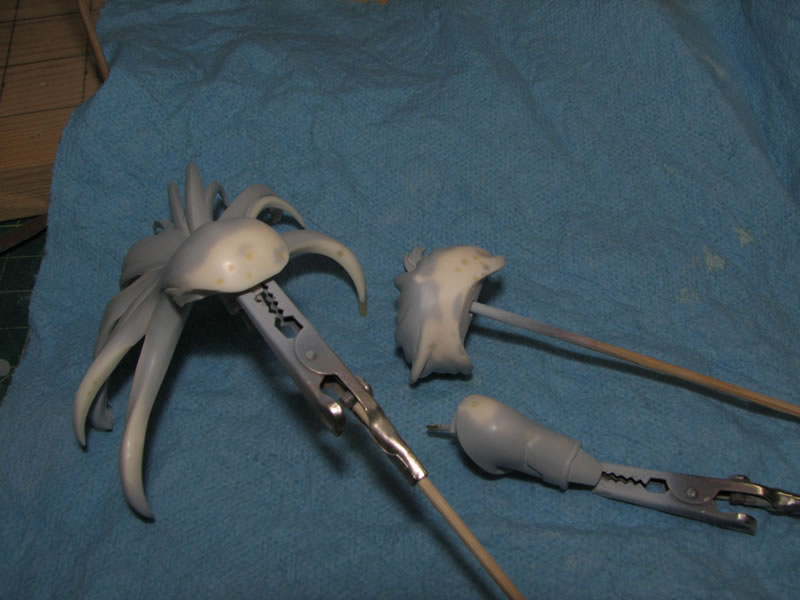
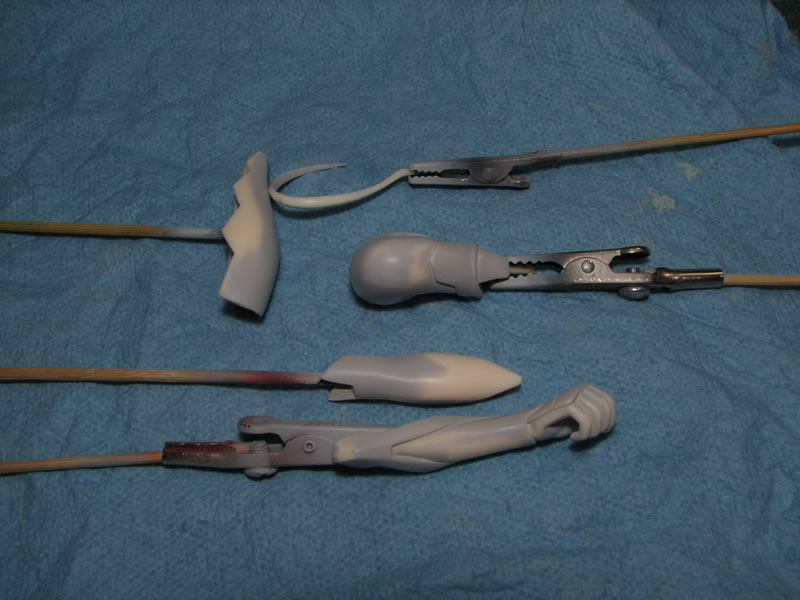
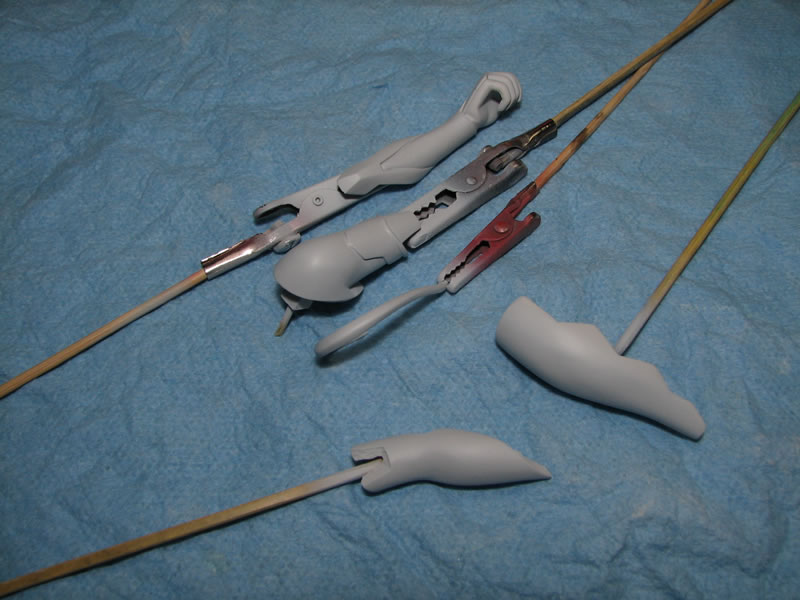
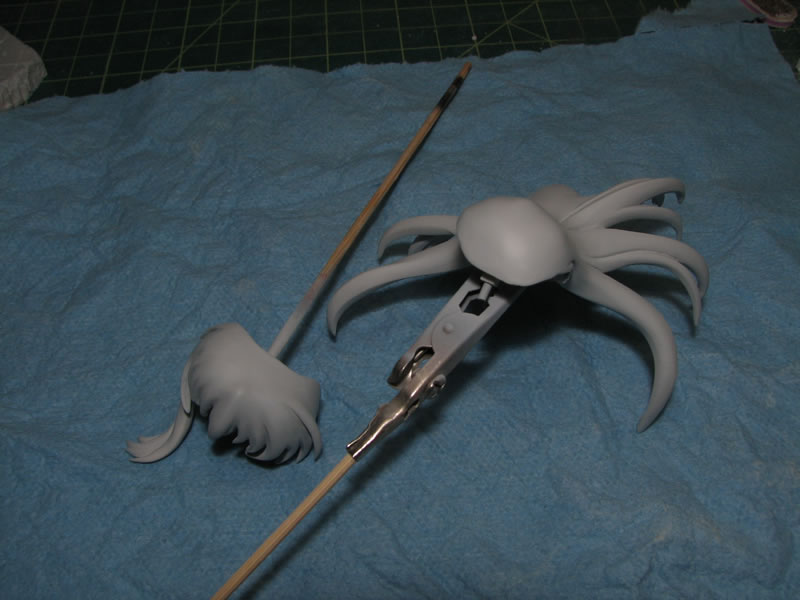
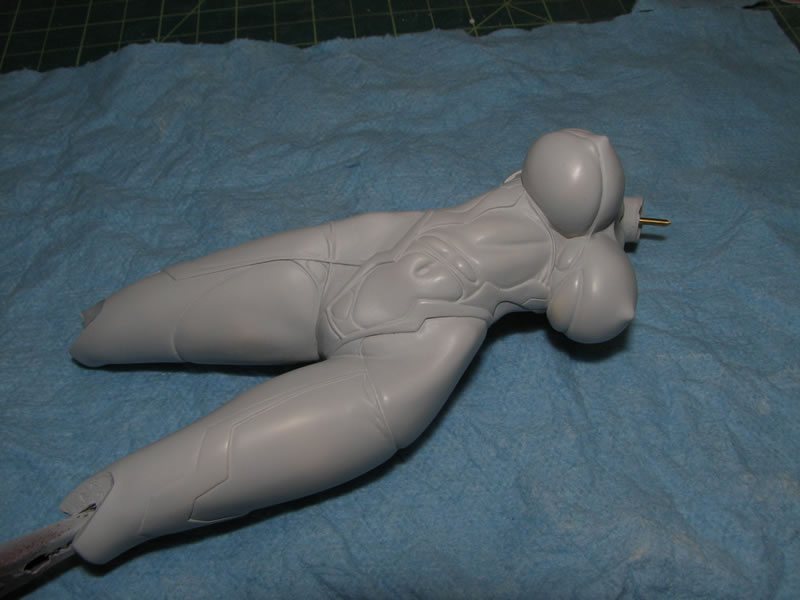
The thing arrived today, pretty damn quick. Taking the kit out and looking at the parts, I'm amazed with the engineering and forethought put into designing the kit. There are mesh pieces on the kit so I figured there would be a good amount of mesh cutting and gluing. But no, the mesh pieces are seperated from the respective arm and leg pieces making it VERY easy to apply the mesh then snap and glue the pieces into place. Damn fine engineering. When looking at the kit online, I basically resigned myself to cutting these pieces out or finding the easist way to apply the mesh without it looking like utter crap. Again, this is a very nicely engineered kit, and it too little to no time to pin. There is very little flash, and the details are amazing. Getting such a kit for 9k yen would have been a steal, in comparison to some other originals I've worked with that cost much more but were not as well engineered. Here she is pinned...
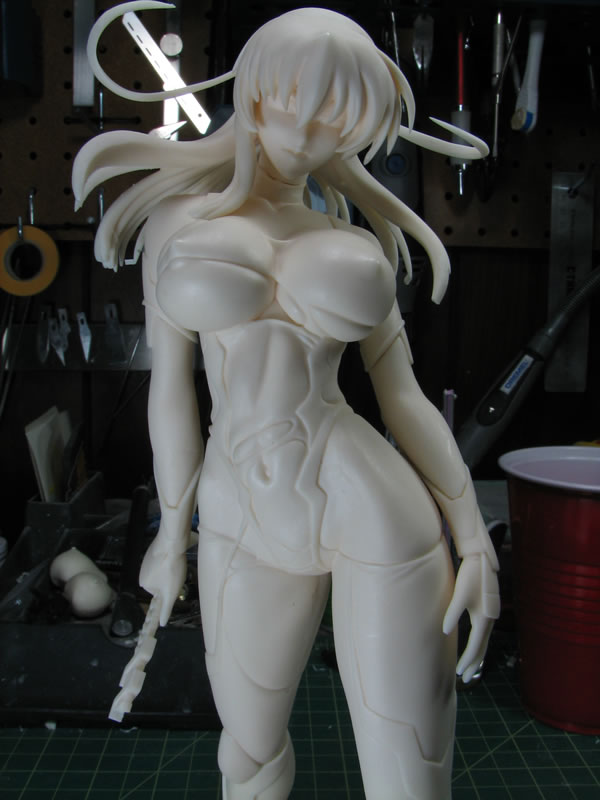
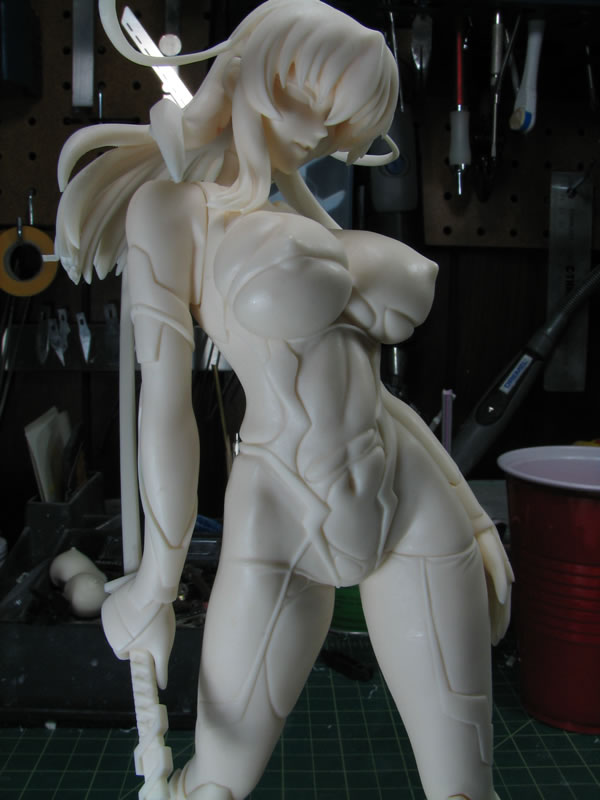
I think I'll have to rename Mr G3 Keroro to Mr G-Perv Keroro. Seeing the nipple sculpt then remembering that stupid Honda Element commercial with pinchy mc-cram, just gave me the idea for the final pose.
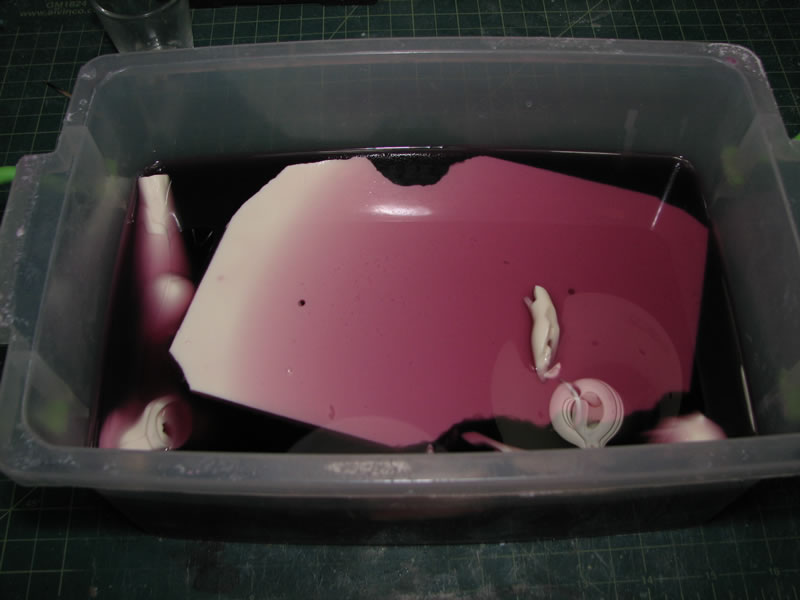
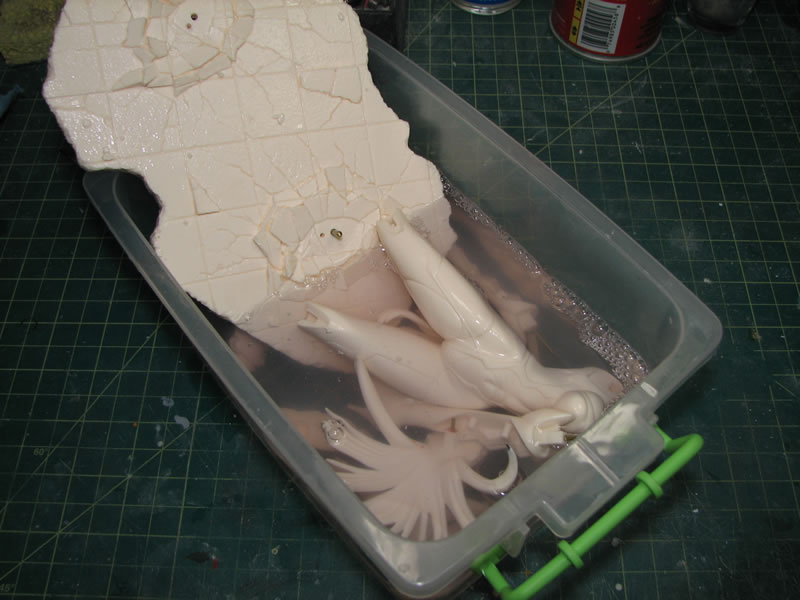
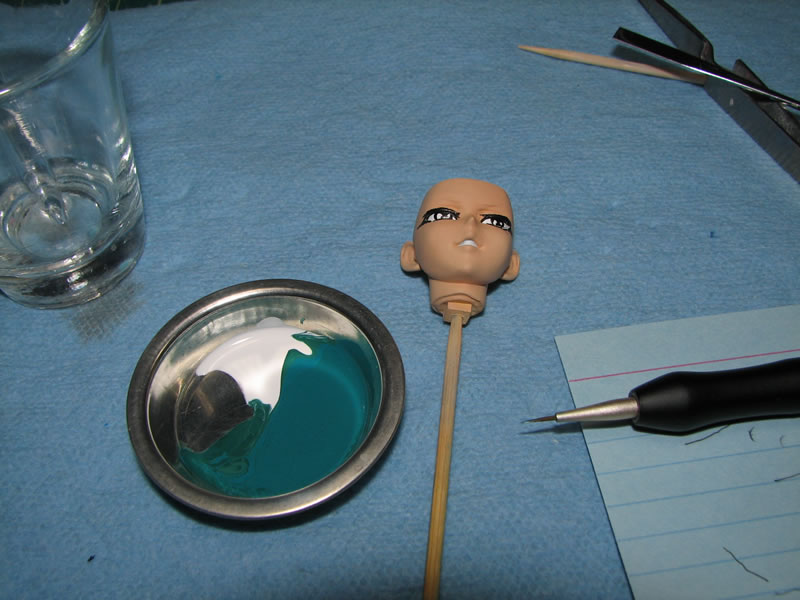
November 2, 2008: Since Kanu got done this week, I started back on Asagi. I figured this would be a fairly quick and easy kit to get done in comparison to Kanu. I did the initial sanding and once that was done, I threw the parts into purple power to soak for a couple of hours, then took the parts out and soaked them in water. After getting rid of most of the purple solvent, the parts went into the ultrasonic cleaner to get a scrubbing.
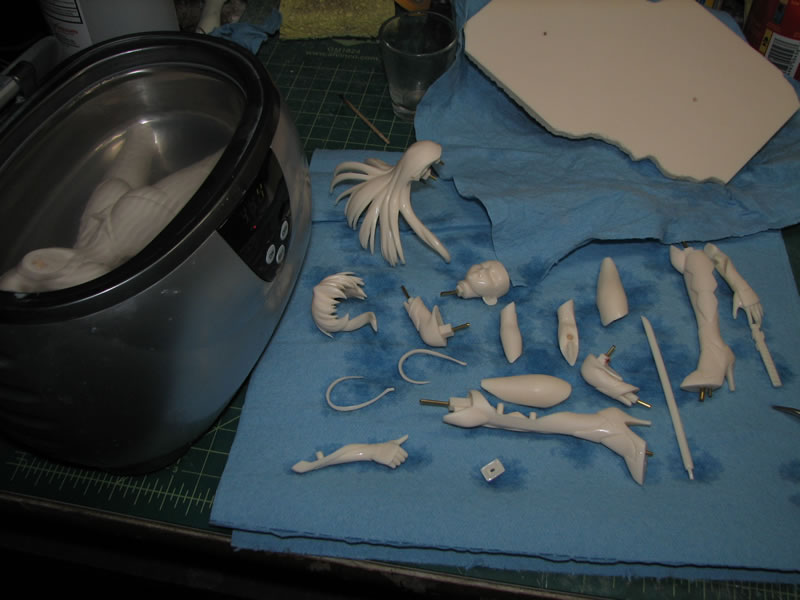
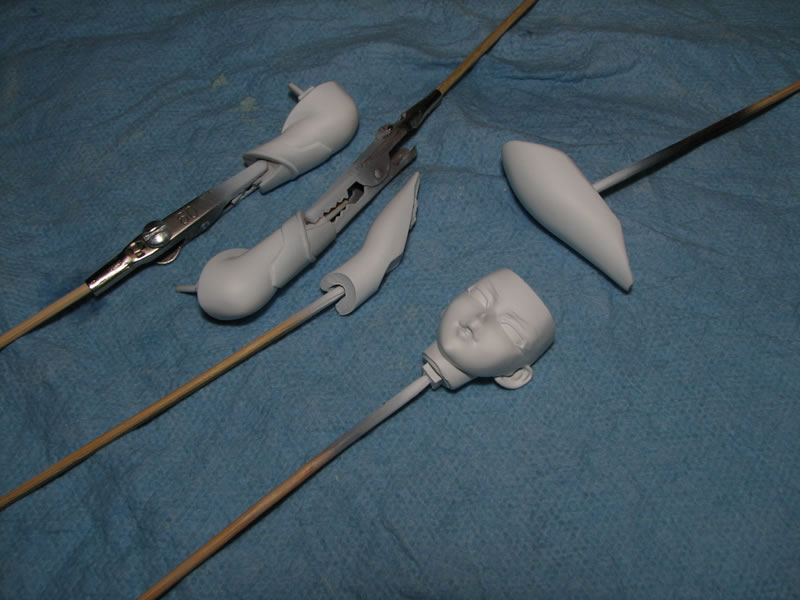
The parts have been dried and are ready for the first shot of primer.

Mr Resin Primer was sprayed over the pieces as well as the base. With the primer sprayed, there are tons of areas that need attention for pinholes, rough sanding spots, and missed sanding areas.


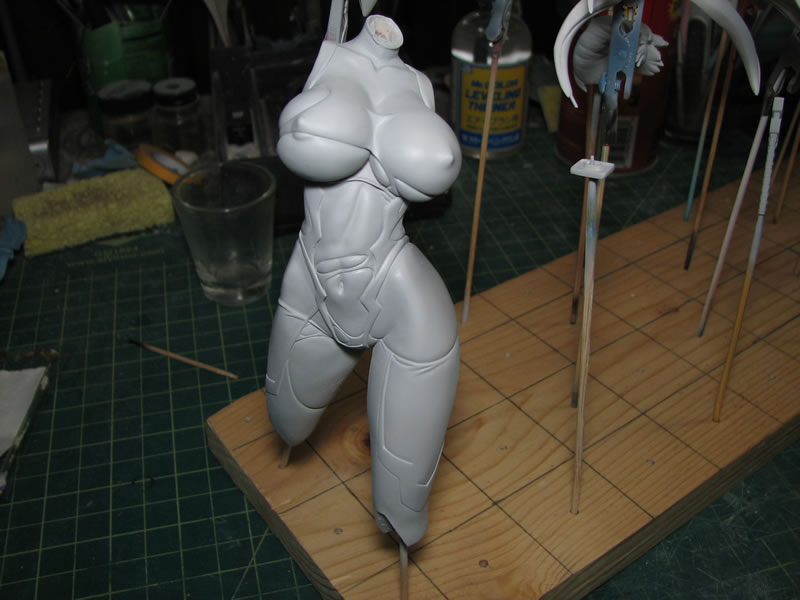
A quick snap of her in her primed glory....
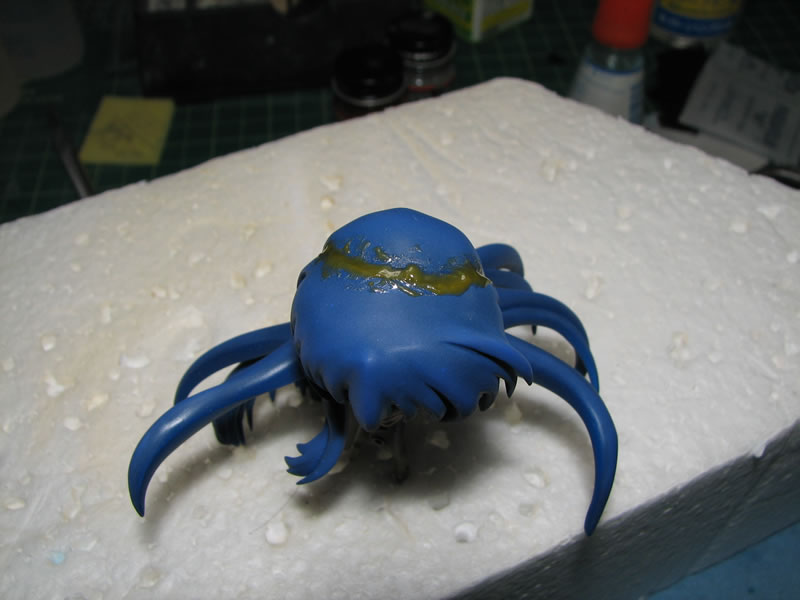
The pin holes and surface defects were opened up and tamiya light curing putty is applied all over the parts.
After a couple of re-putty sessions, the parts are ready for the next and hopefully final priming session.

The time taken to properly prepare the surface pays off as there are no pieces that need to be reworked. With the primer, the fixed spots are no longer visible. After a wet sanding session, the parts will be ready for paint.

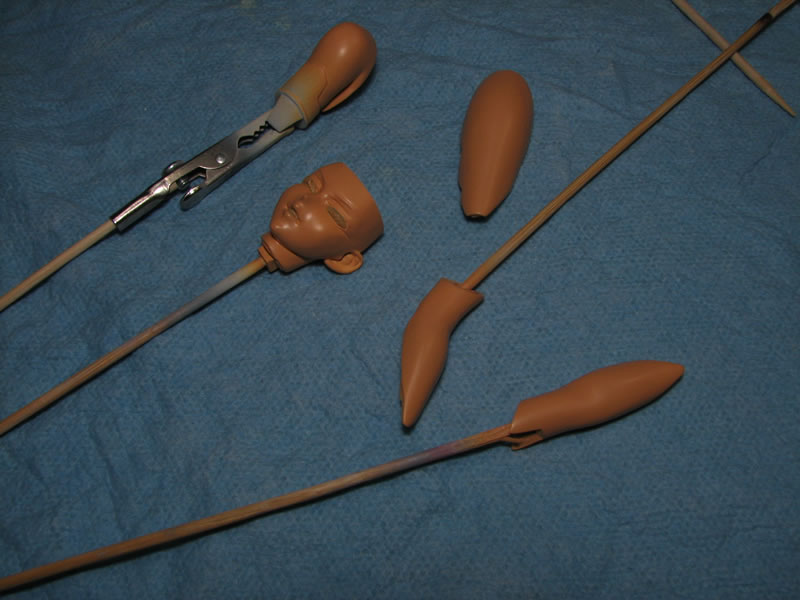
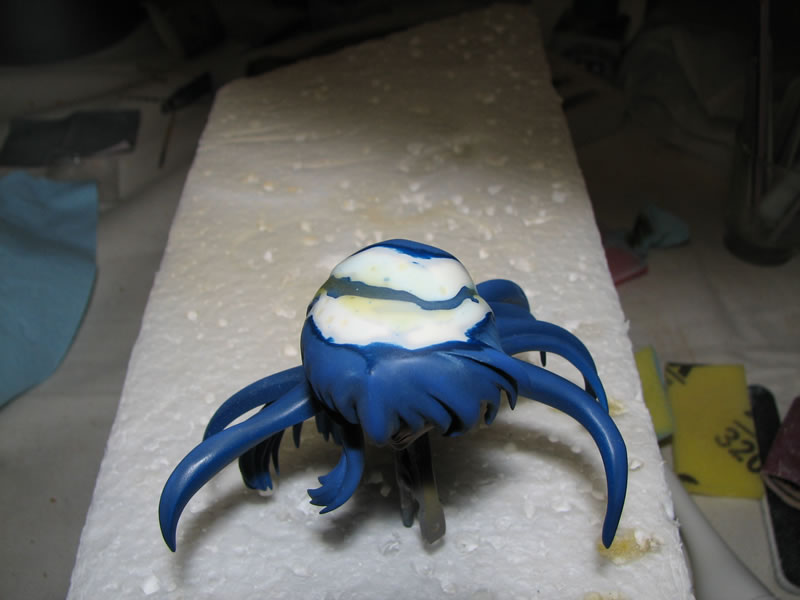
November 3, 2008: Sprayed on some Mr White base on the skin parts.

Sprayed the base skin tone.
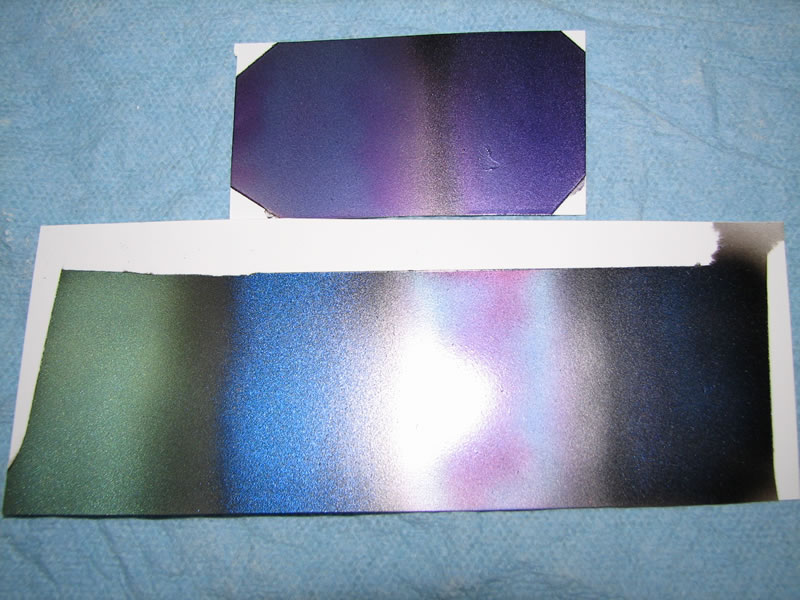
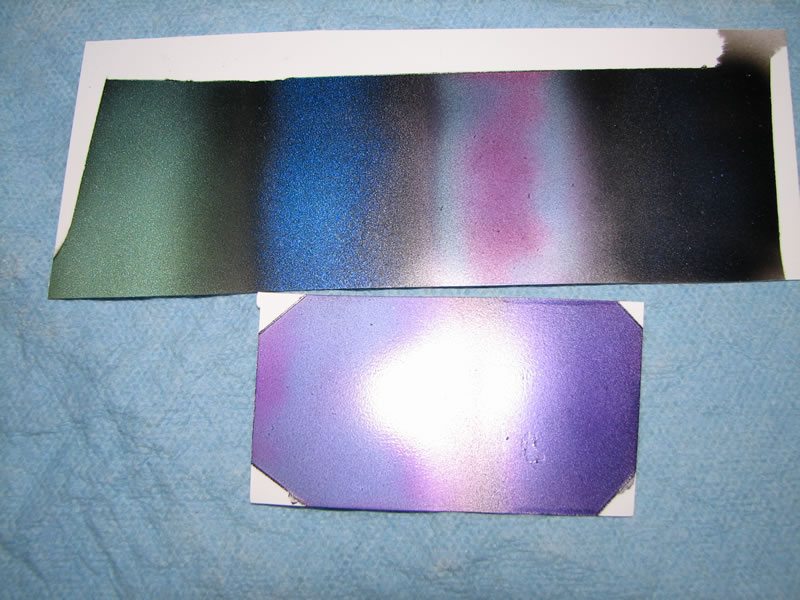
I created test strips for color comparison on plastic sheets to help me decide on the clothing color I want for the figure. The top strip is the same technique using different base metallics. The left side is done using a clear purple mix sprayed over Alclad polished aluminum. The left side is the same clear purple mix sprayed over Finisher's chrome. The nest picture has a longer strip, starting from the left, I have Alclad prismatic scarabeus, followed by alclad prismatic shapphire, followed by the clear purple mix sprayed over alclad chrome, then finally a mixture of pearl powders and Mr super clear gloss sprayed right over the gloss black base. I think I like the clear purple mixture sprayed over alclad polished aluminum as my final decision.
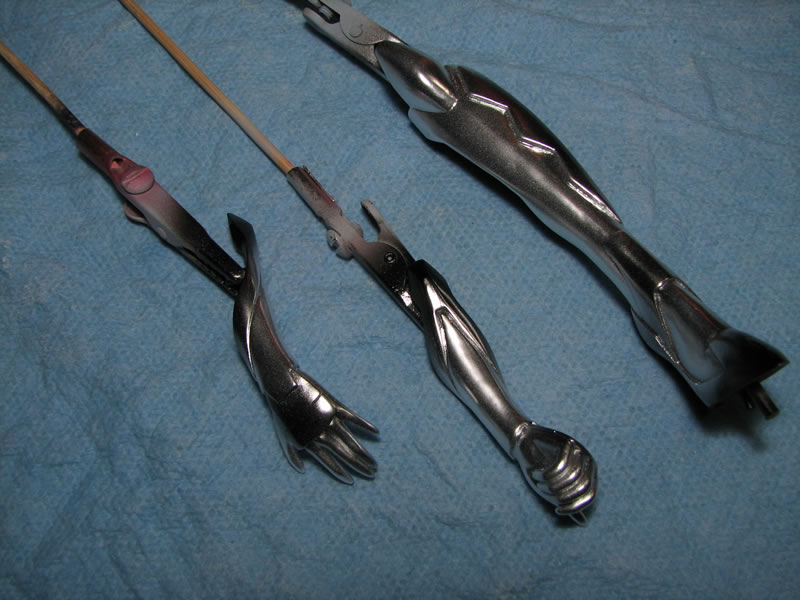
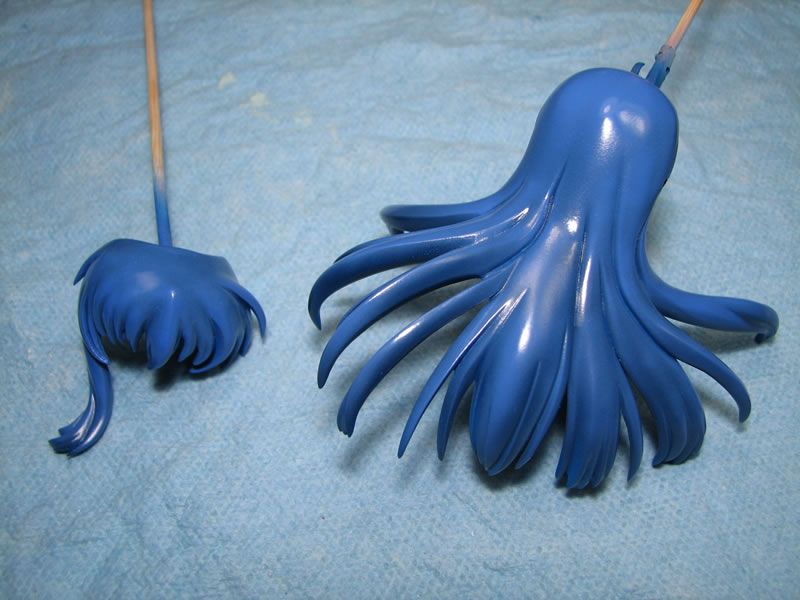
Finally, I painted the base color for the hair and also the base metallic for the hands. From the above strip experimentation, I sprayed on alclad polished aluminum over a gloss black base.

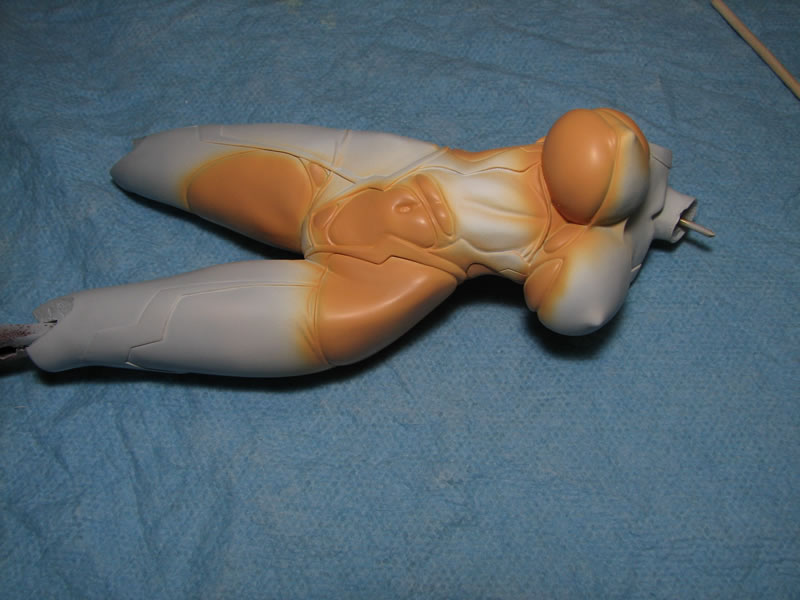
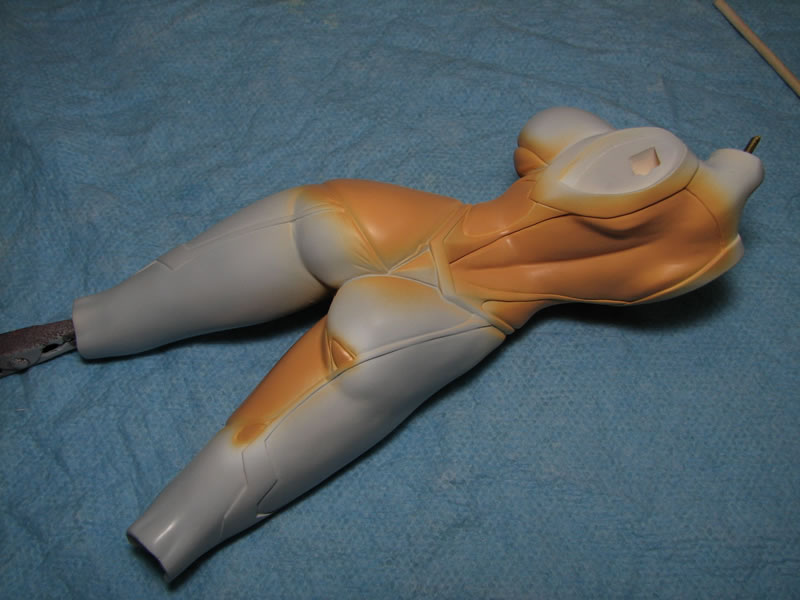
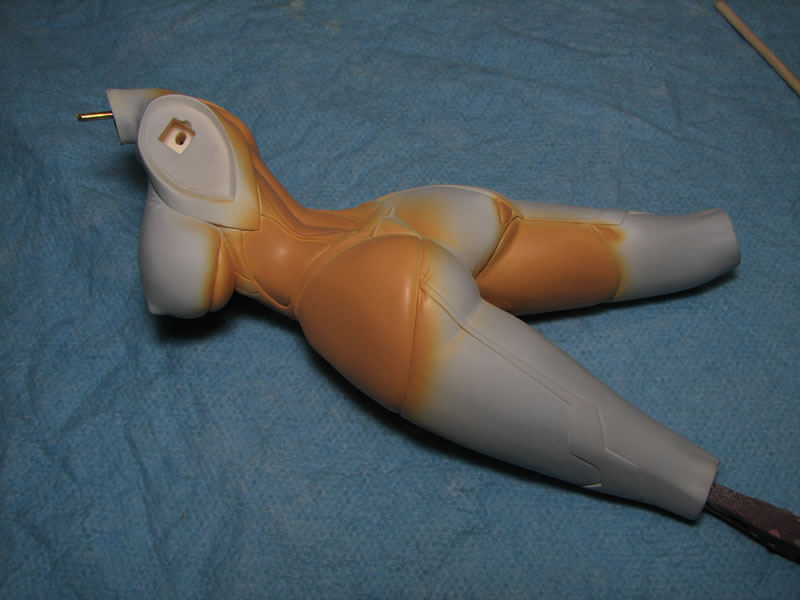
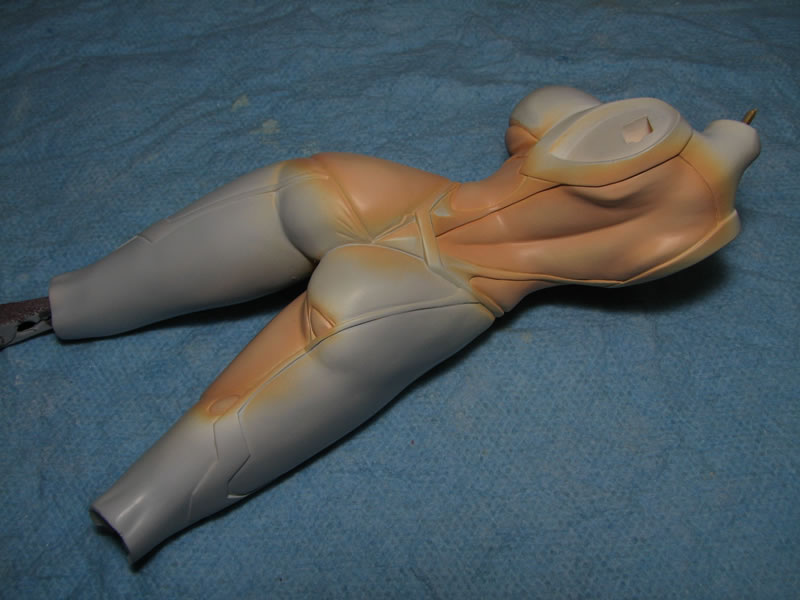
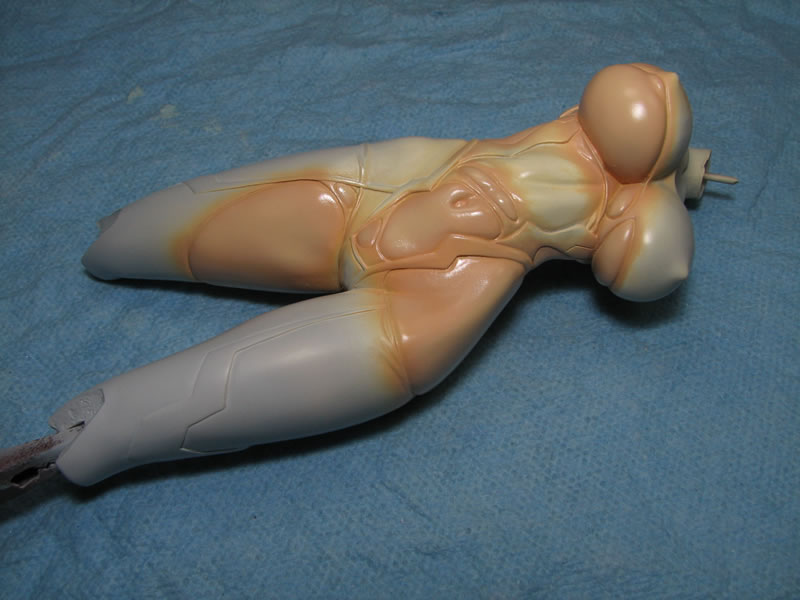
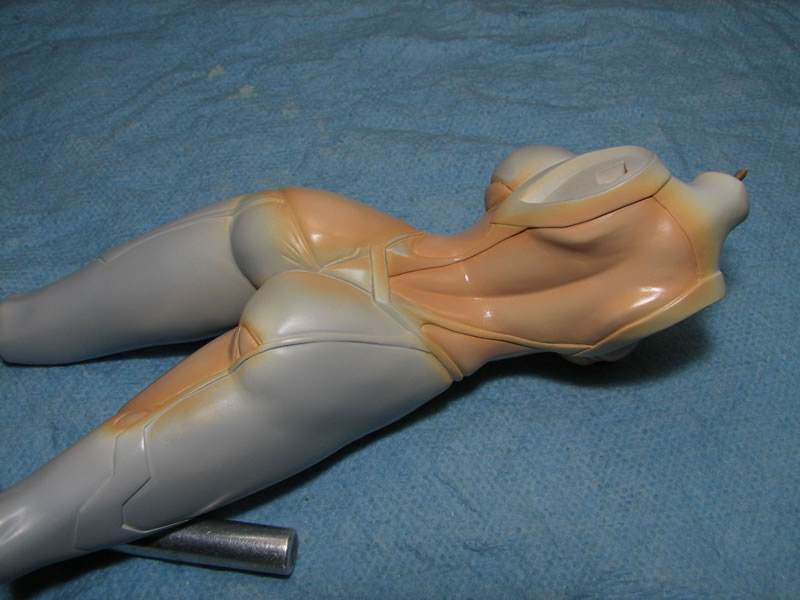
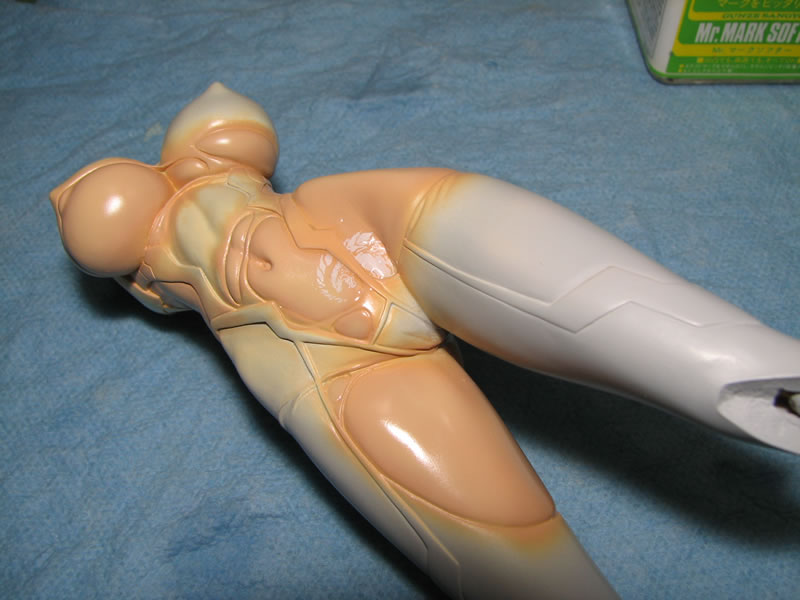
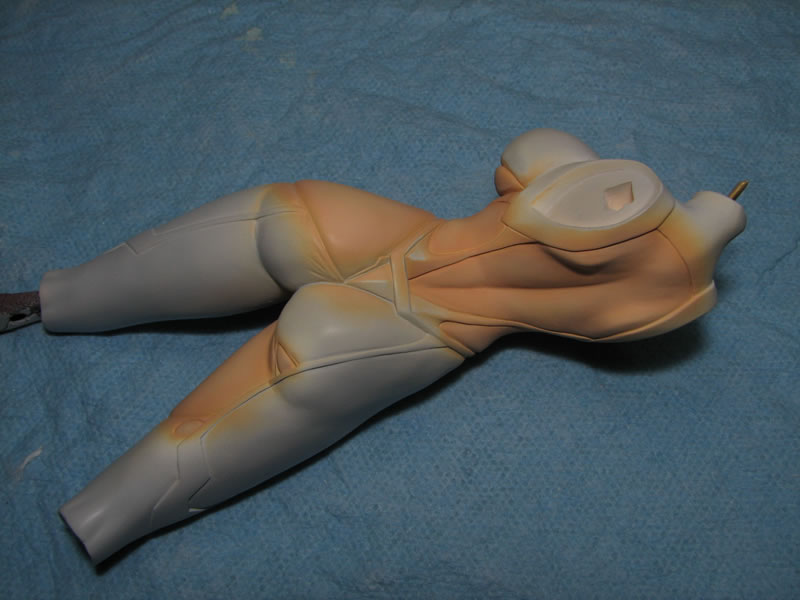
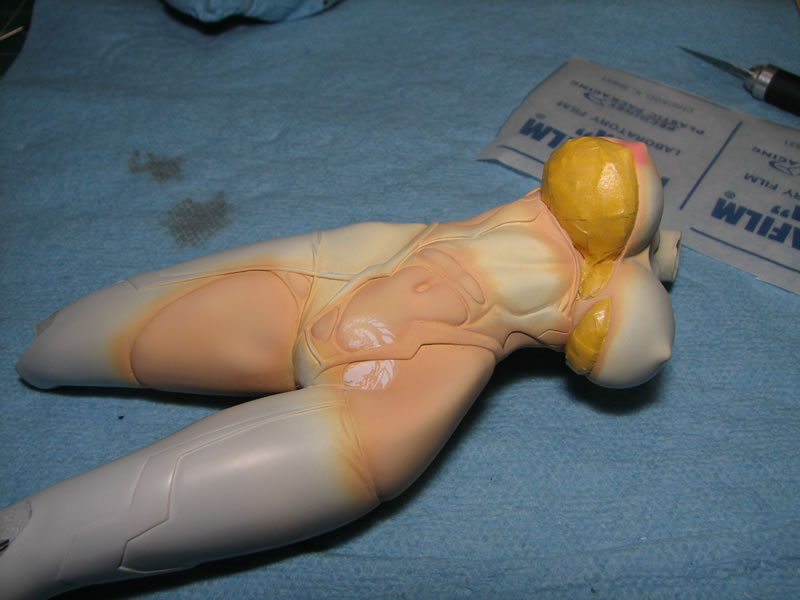
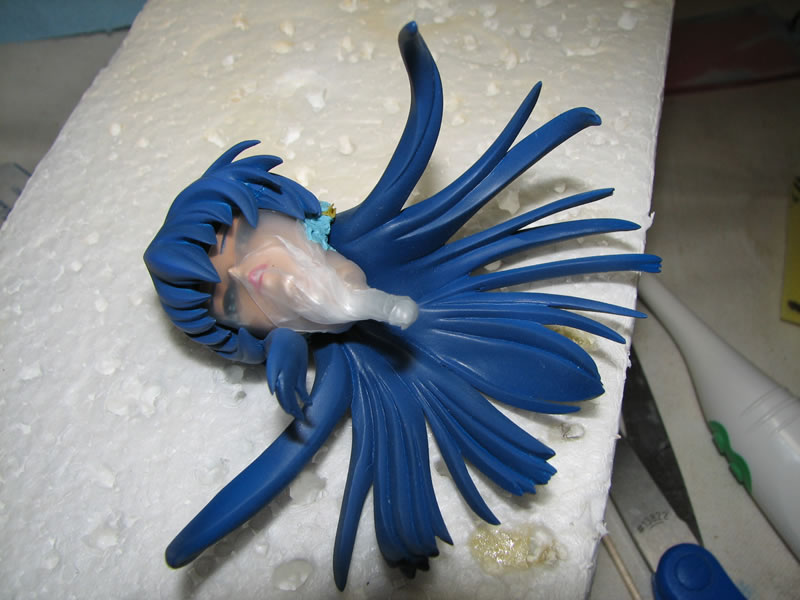
November 4, 2008: Daily update for Asagi. The second skin tone was sprayed on using a pre-shading technique for shading the kit. Below are the first pictures of the main body with the highlighted areas painted with the lighter shade of skin tone.
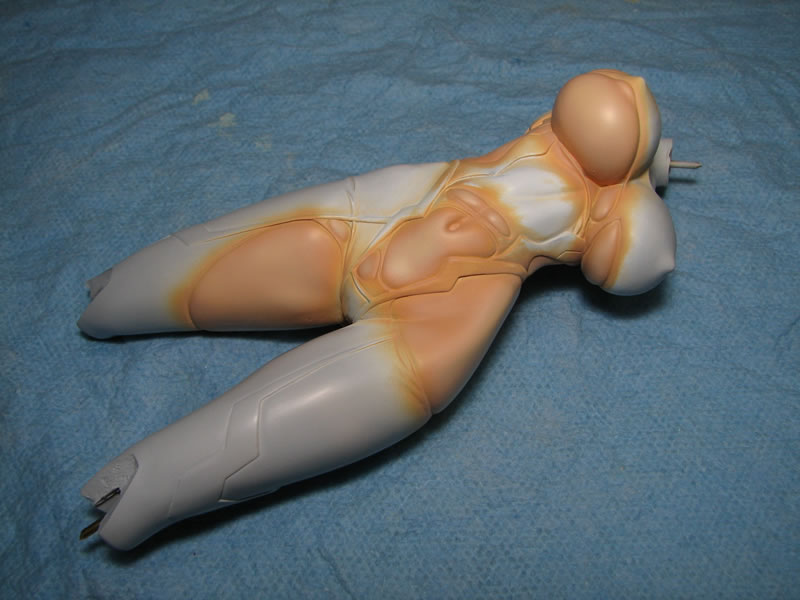
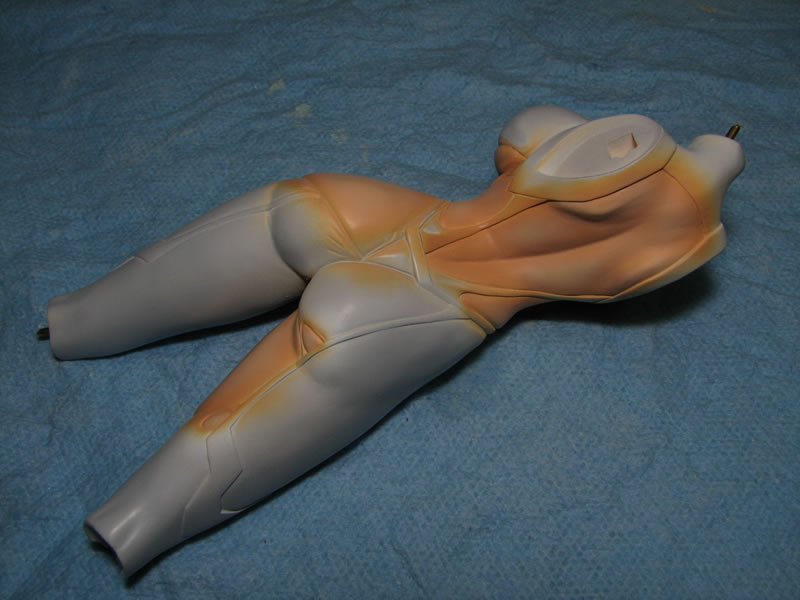
After spraying on the highlights, the rest kit is then sprayed with a higher psi, misting the lighter skin tone to blend everything.
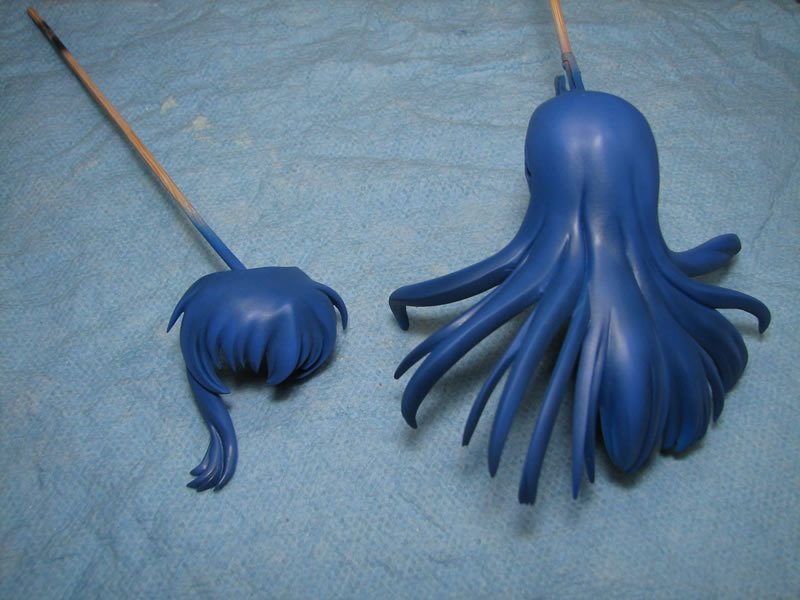
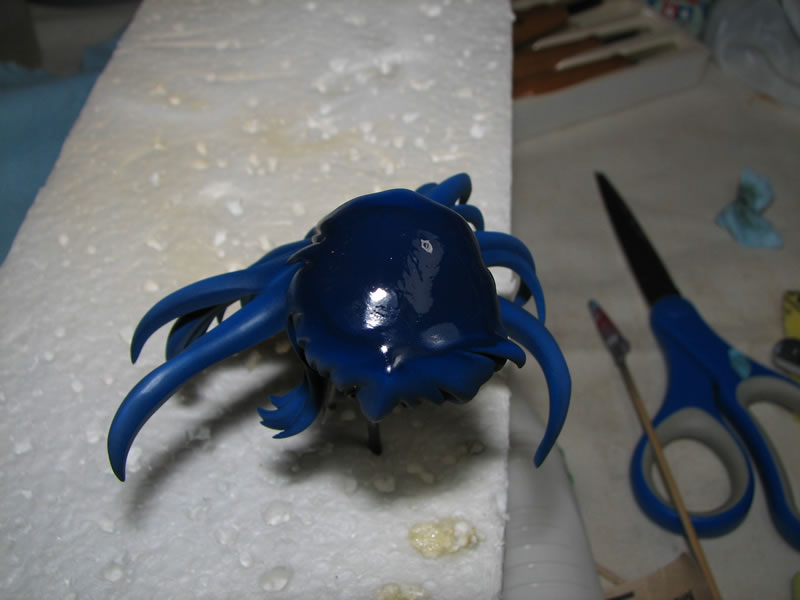
The arms and leg pieces were painted with the clear purple. Lavender was used as the second hair tone using the base darker blue color for shading. After shading the hair, the hair was sprayed with a flat clear coat.

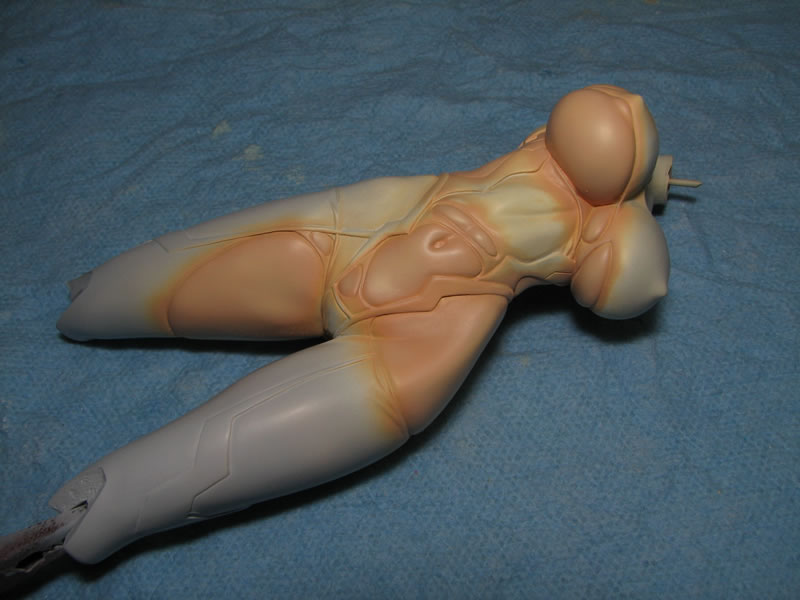
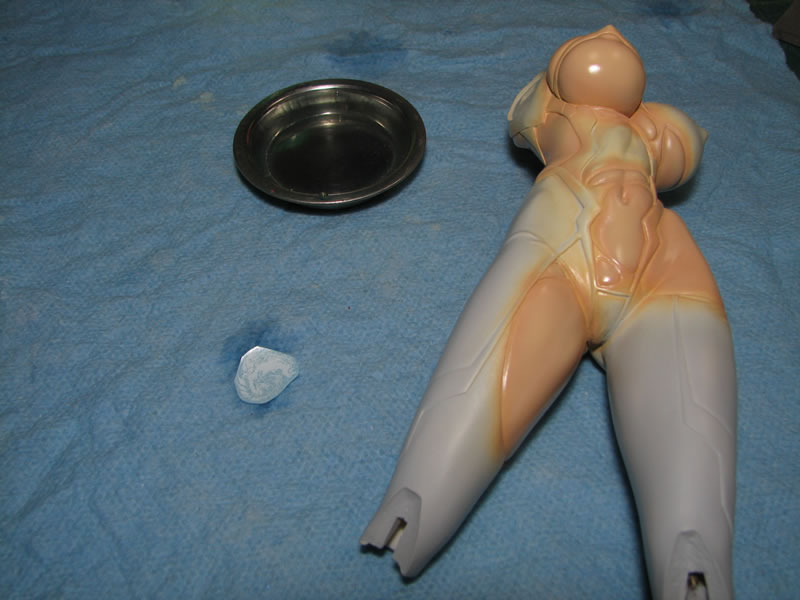
The skin parts were then sprayed with a gloss clear coat. Since the narcissist in me needs to have my logo on my resin figures, I apply the clear coat for the best surface for decal application. The rest of the skin was clear coated as well to keep a uniform skin tone.
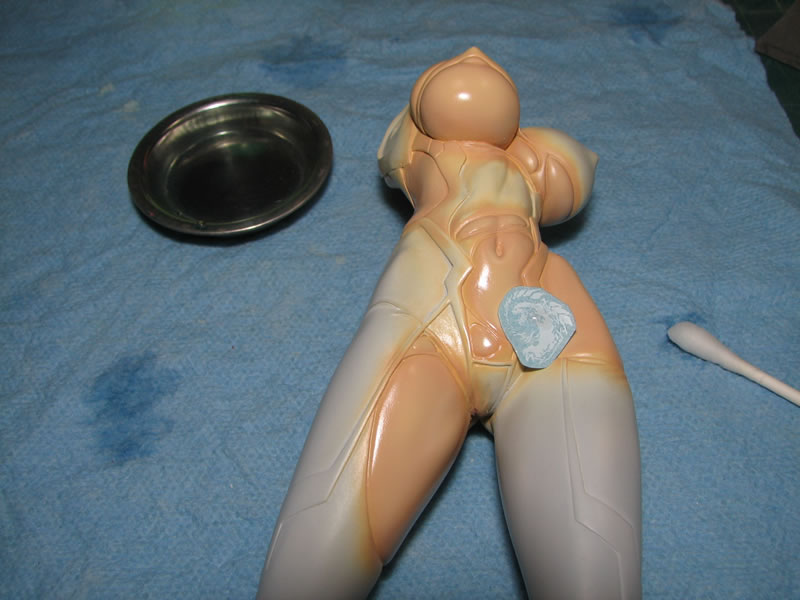
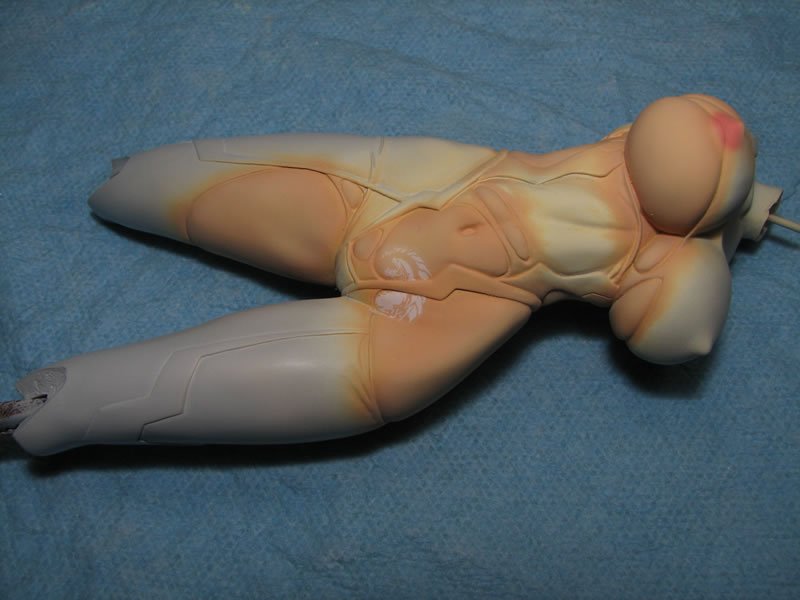
A white decal was applied, trimmed, then Mr Mark Softer was applied to melt the decal to conform to the surface curves.
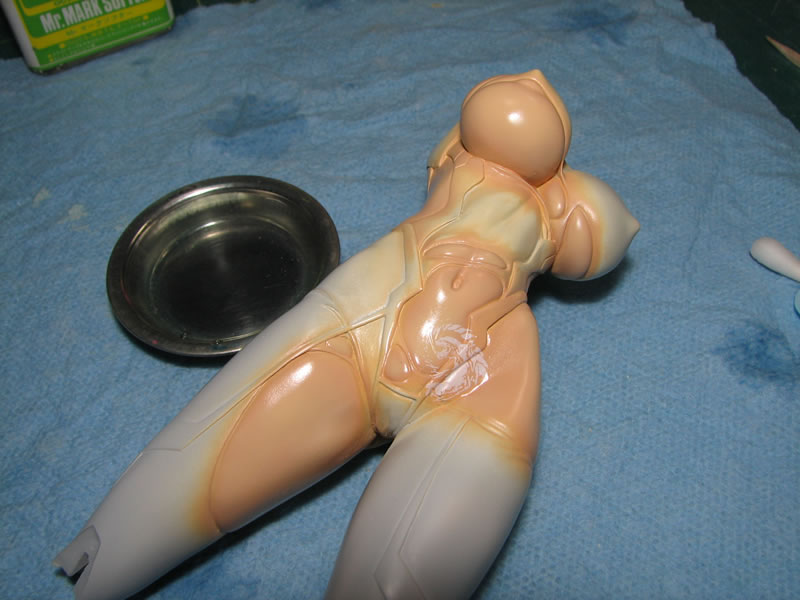
November 5, 2008: With the decal set, a clear flat coat was sprayed to flatten the skin tone, which also lightens the skin tone. A gloss clear coat will darken the tone, hence the reason for gloss coating all the skin parts then flat coating everything, to keep all the skin a uniform tone. Areola detail was also painted, the angle looks a little odd, but at the correct angle, the area looks decent. The clear coat needs to cure a for a few nights before I get to masking and painting the rest of the kit.
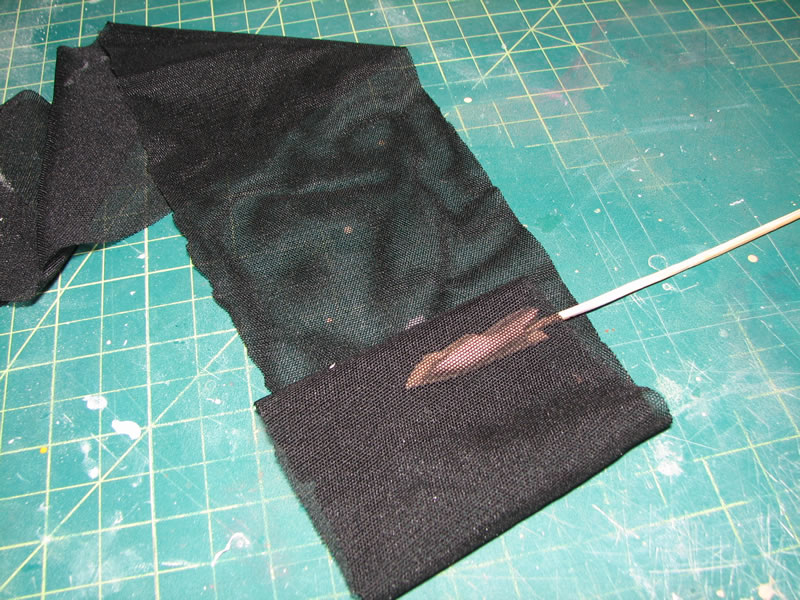
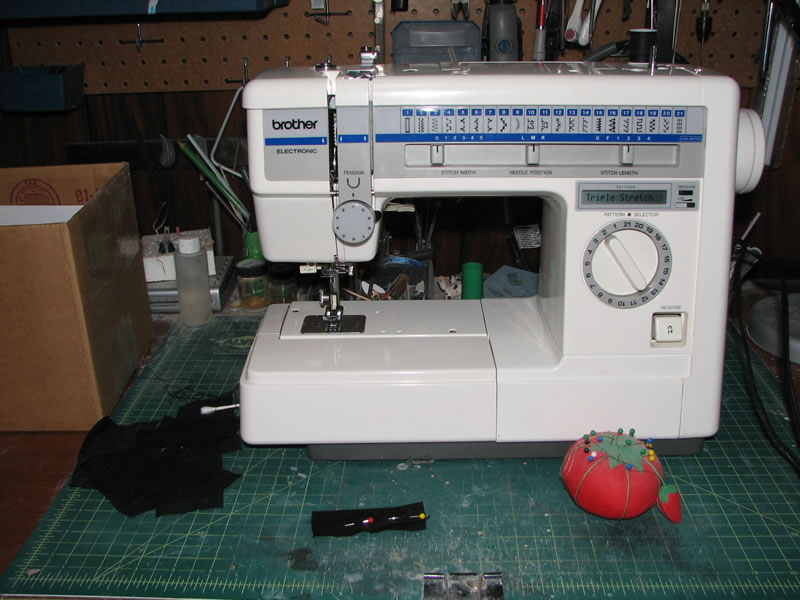
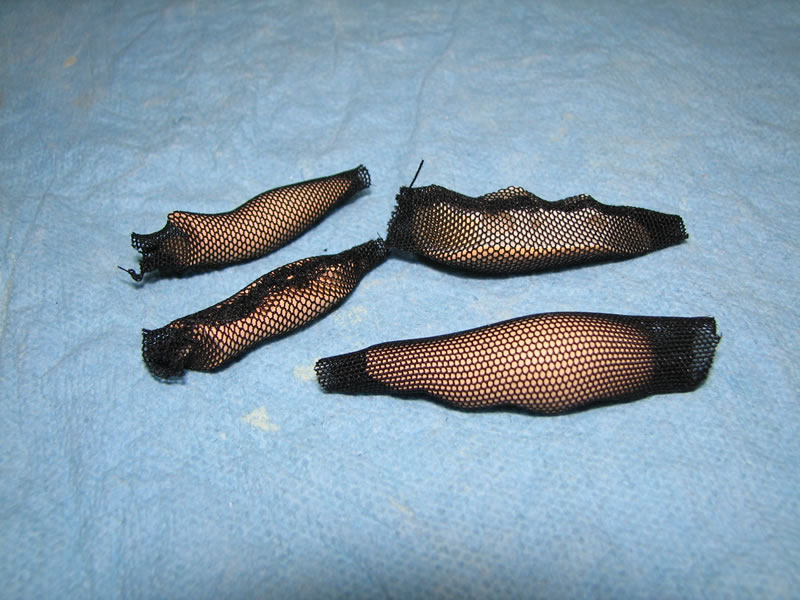
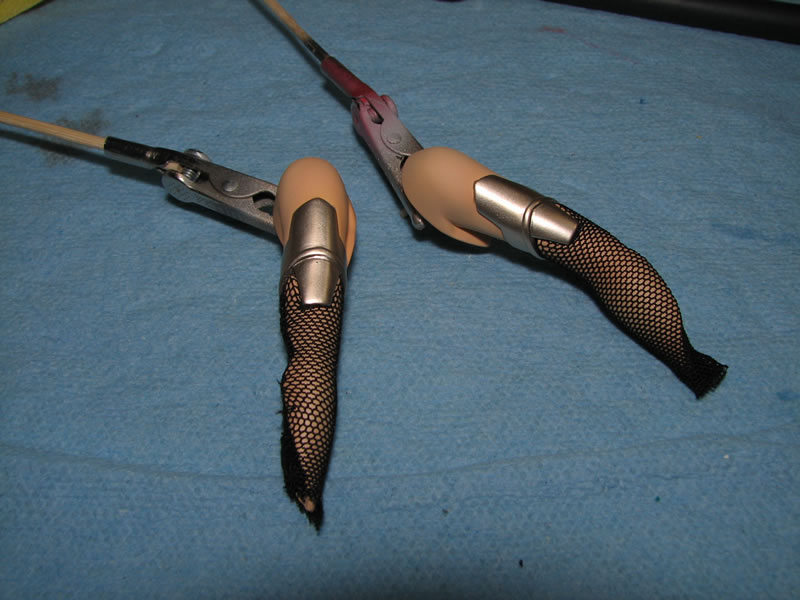
Tonight, I break out the nylon material and the sewing machine. Folding the nylon material, a triple elastic stich was done for added strength on the nylons. Yes, I know how to sew, and we'll just leave it at that. Little socks were sewn.
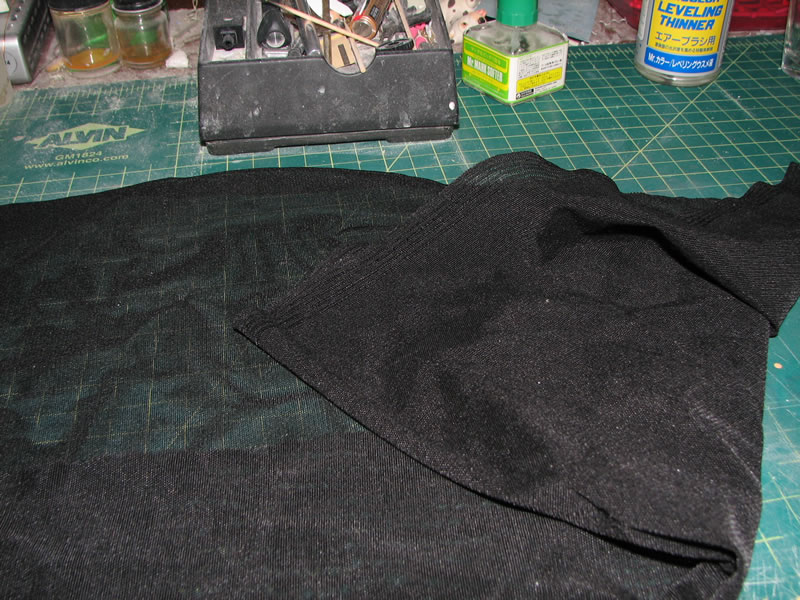
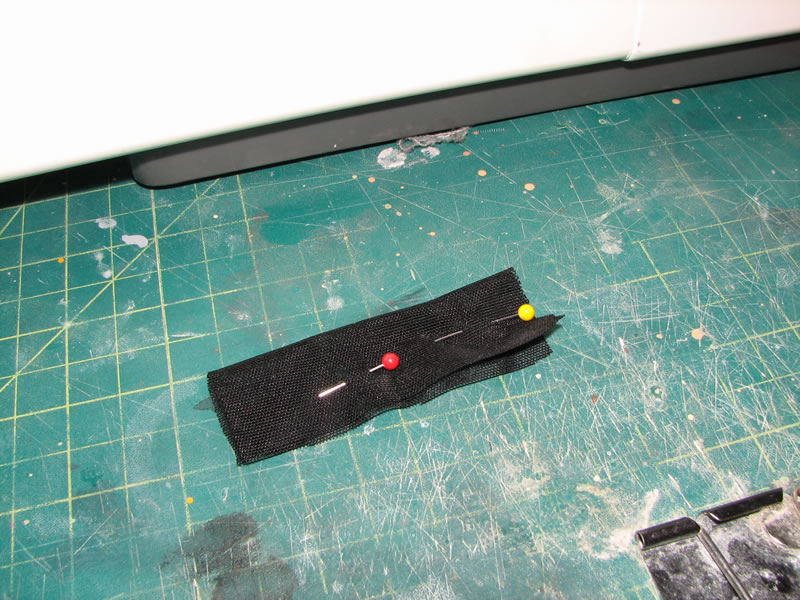
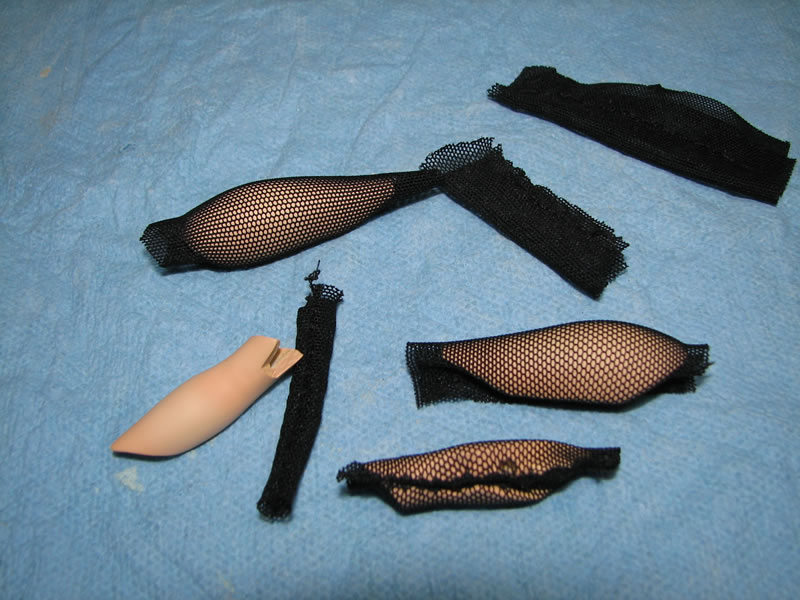
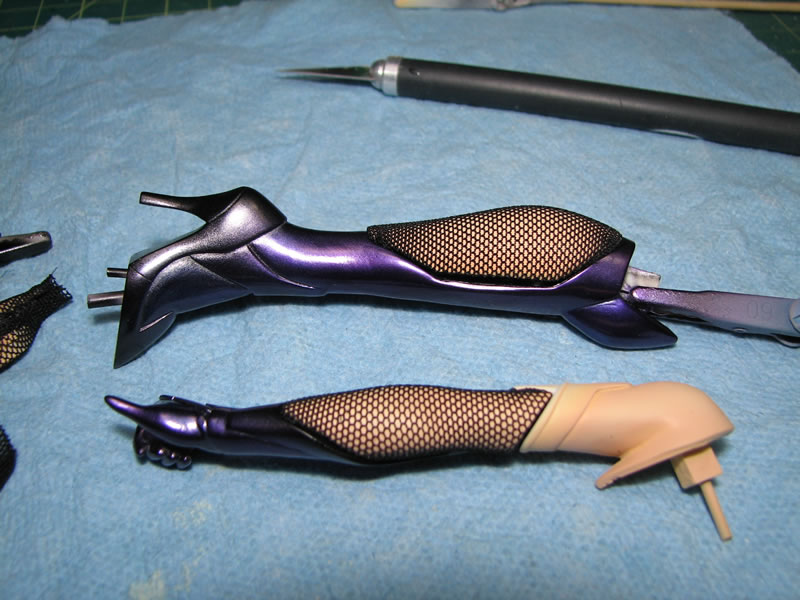
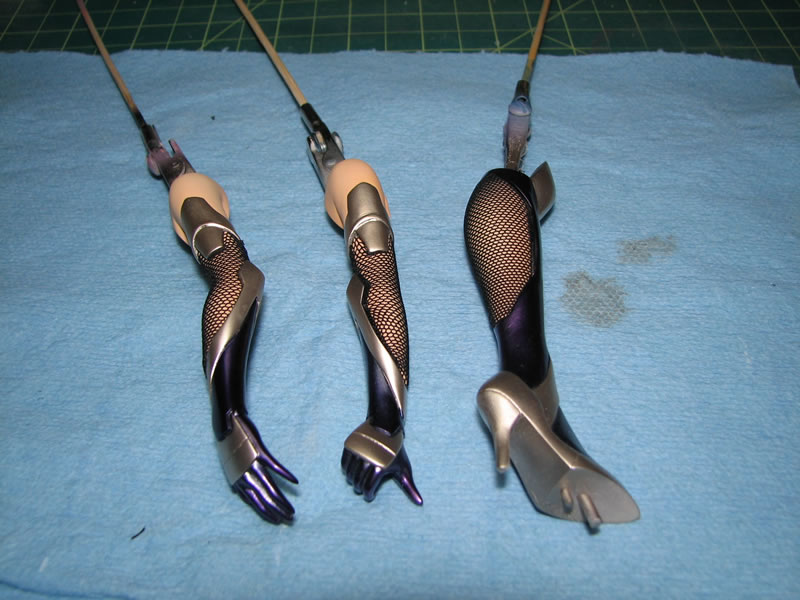
With the socks sewn up, they were test fitted against the four parts that require the netting. Excess material was trimmed off then the socks were flipped inside out so that any small bits of excess materials is on the inside, and the exterior has a clean stitch seam. And then the parts were test fitted against the other pieces of the kit to show something of what it will eventually look like when finished.
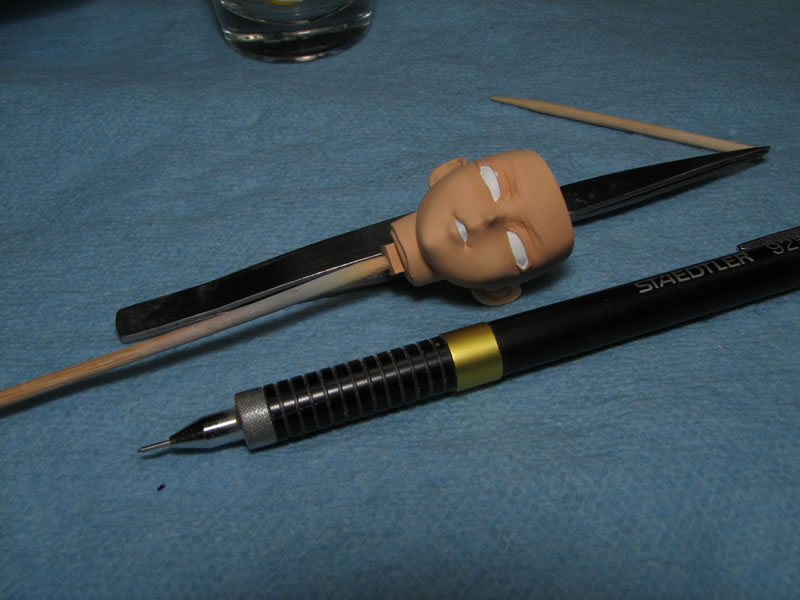
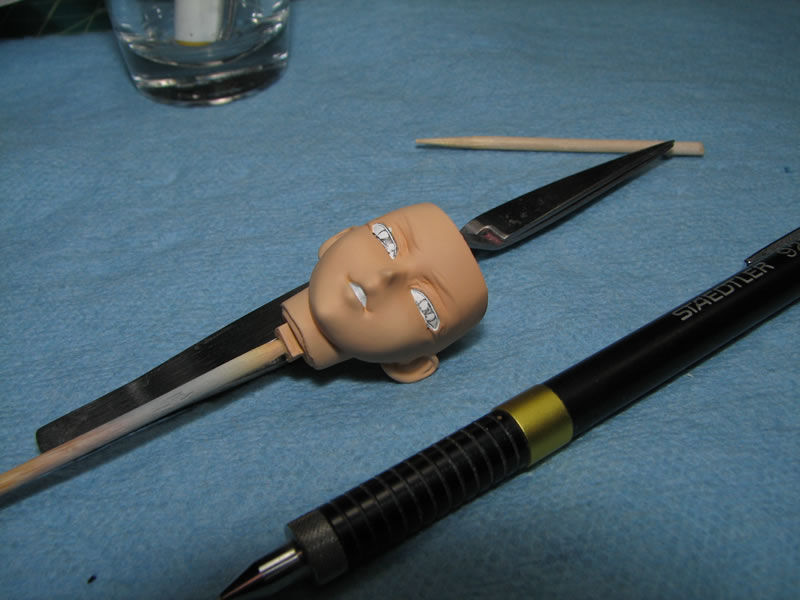
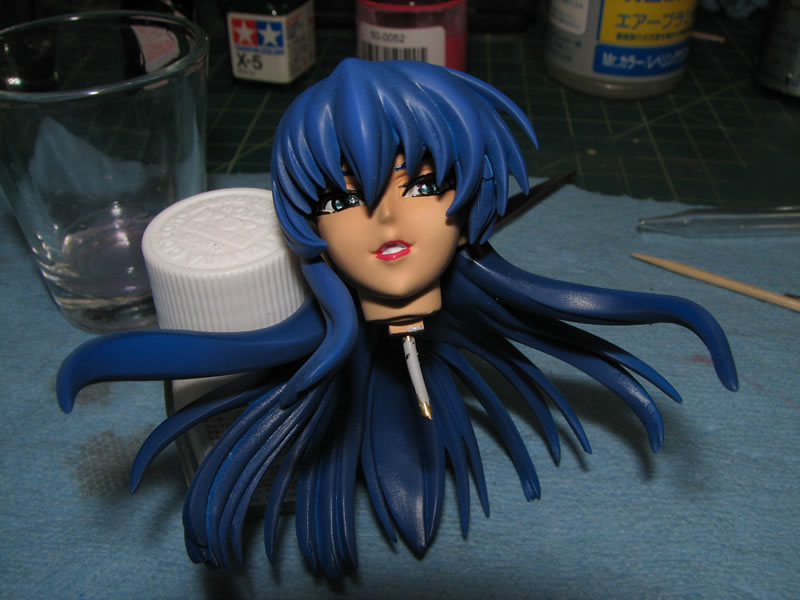
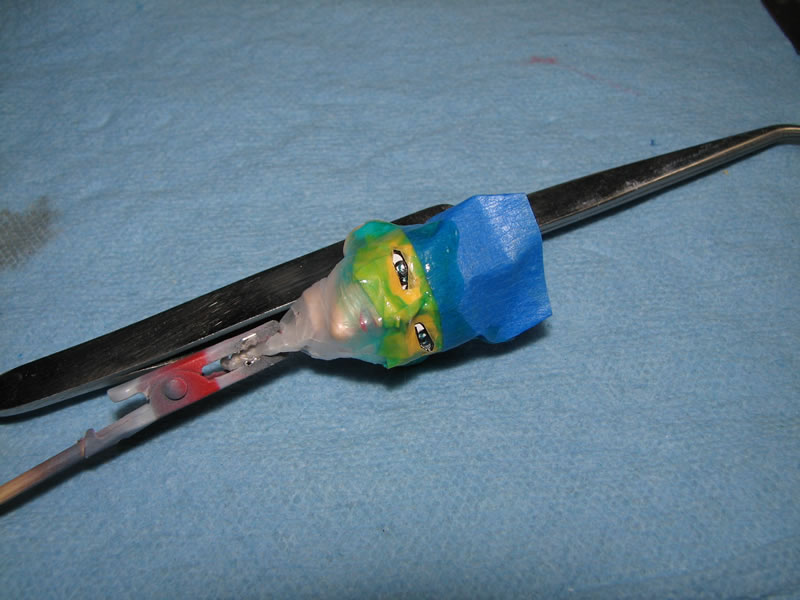
November 6, 2008: Since I want to allow the flat coat on the skin tone as well as the metallic purple to cure for another day, so tonight's work is on Asagi's eyes and face. The sticky tak was removed off the eyes and mouth. Then using a .3mm mechanical pencil, the eyes are drawn. If there is a mistake, the eyes can easily be erased and redrawn.
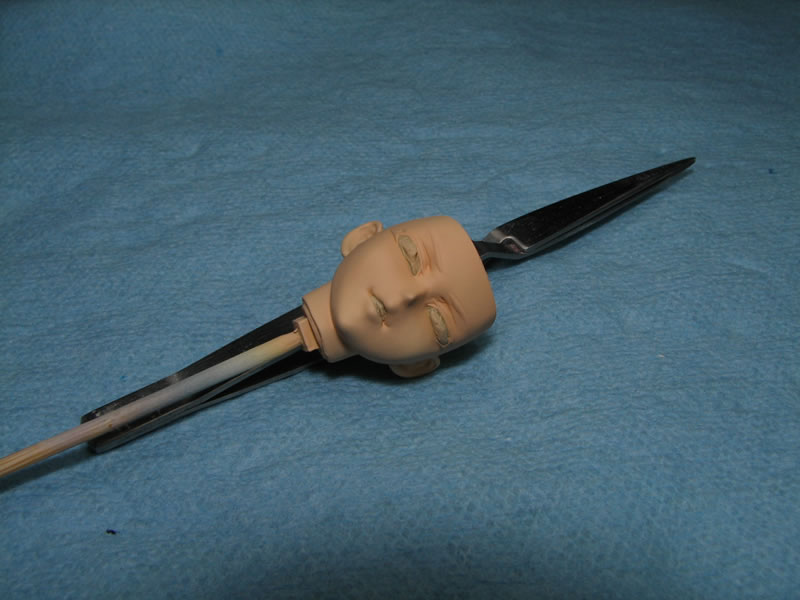
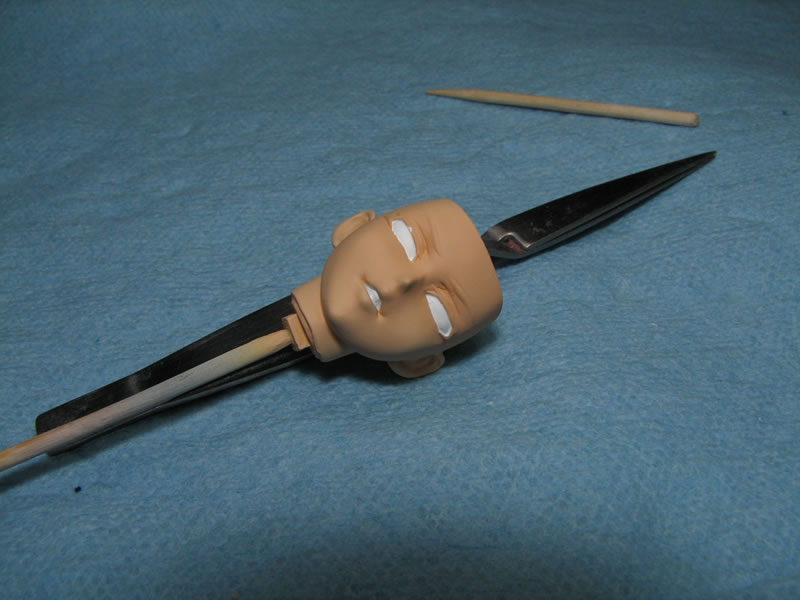
Once the eyes are drawn in to satisfaction, they are inked using a .13 tip rapidograph technical pen with india ink. The inked eyes are allowed to dry before moving on to painting in the eye color.
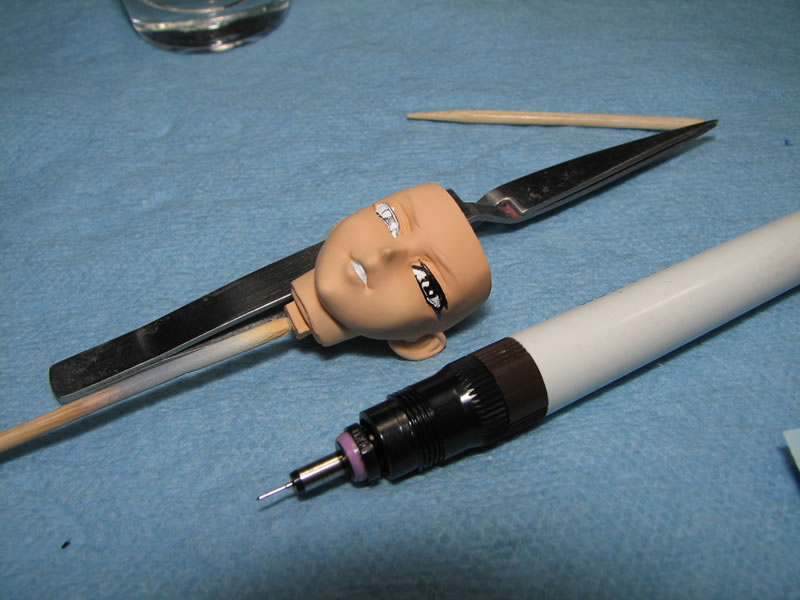
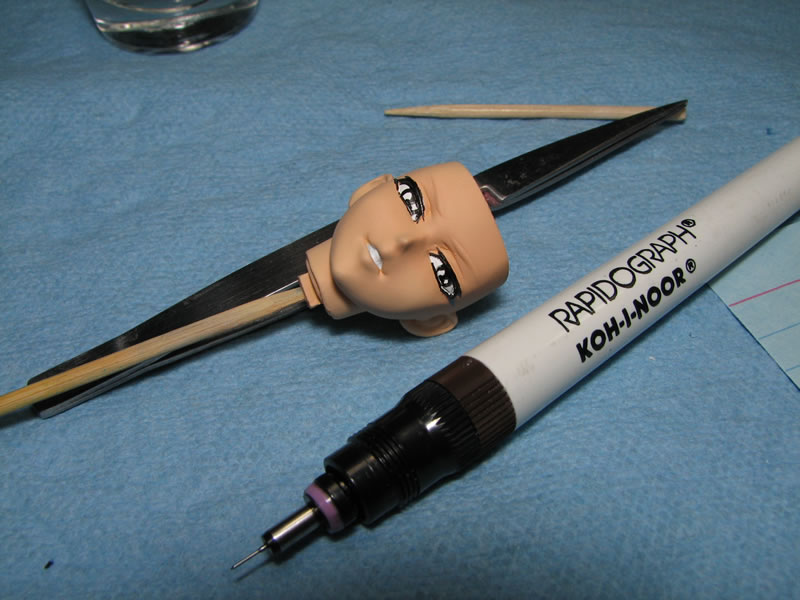
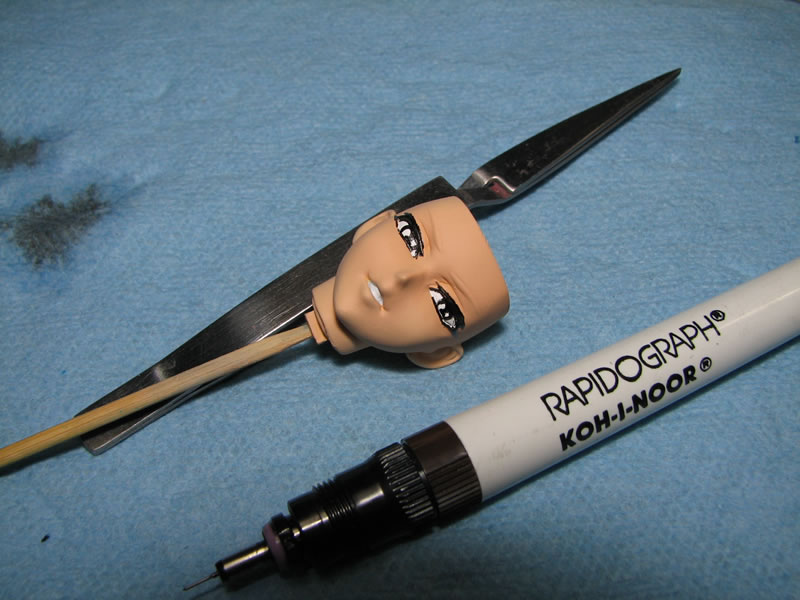
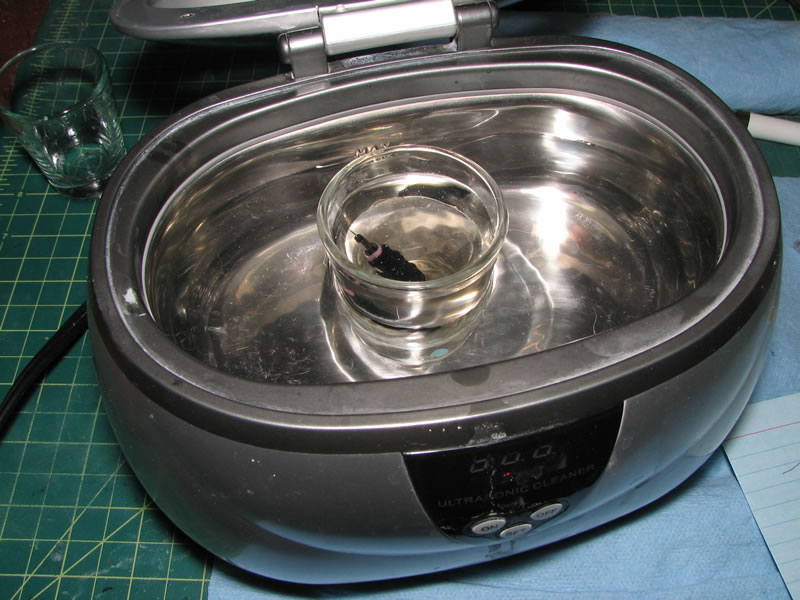
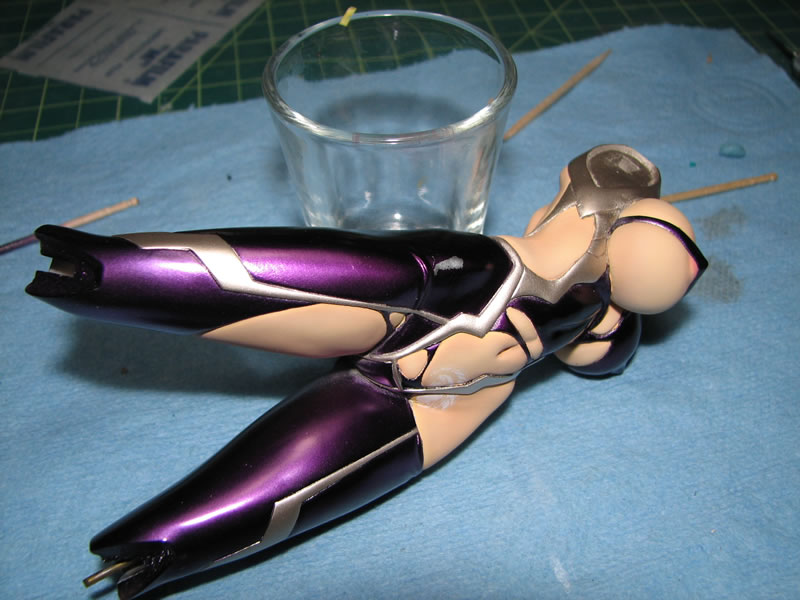
The tip of the technical pen needs to be properly cleaned and taken care of otherwise the india ink used will dry and completely ruin a fairly expensive pen tip. The tip is rinsed in water, then thrown in the a small glass that is put into the ultrasonic cleaner for a quick cleansing. After the cleaning, the tip is stored in a jar of alcohol until I need it next.
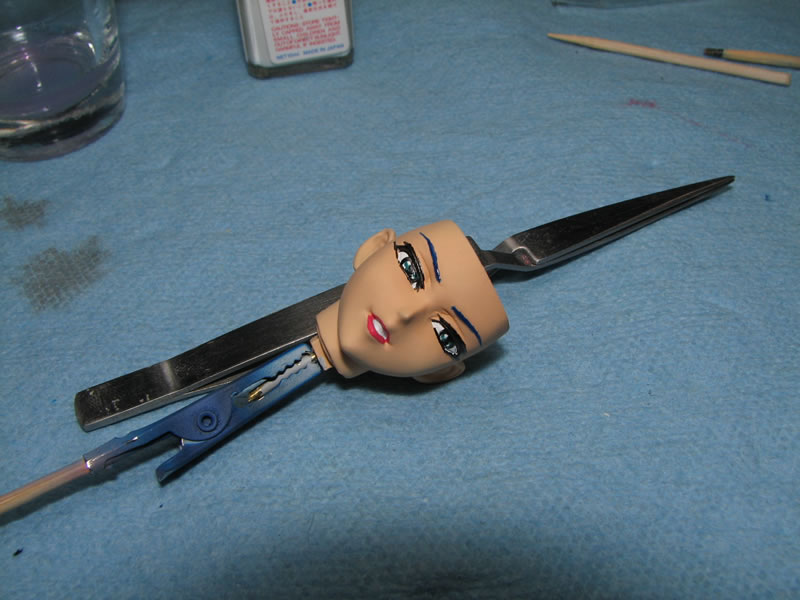
Once the inked eyes are dry, I use enamels to paint the eye color. A mixture of green, sky blue, and white is done to get a turquoise like eye color and brushed on with a fine tipped brush. Once done, the rest of the face details were painted such as the eye brows and lips. I still have some work to do for finishing up the eyes, but I need to allow the paint on the eyes to dry and cure before moving on to that step.
November 9, 2008: Weekend update. A bit of work was done on the kit. The main body was masked off using tamiya masking tape, 3m blue painter's tape, and sticky tack.
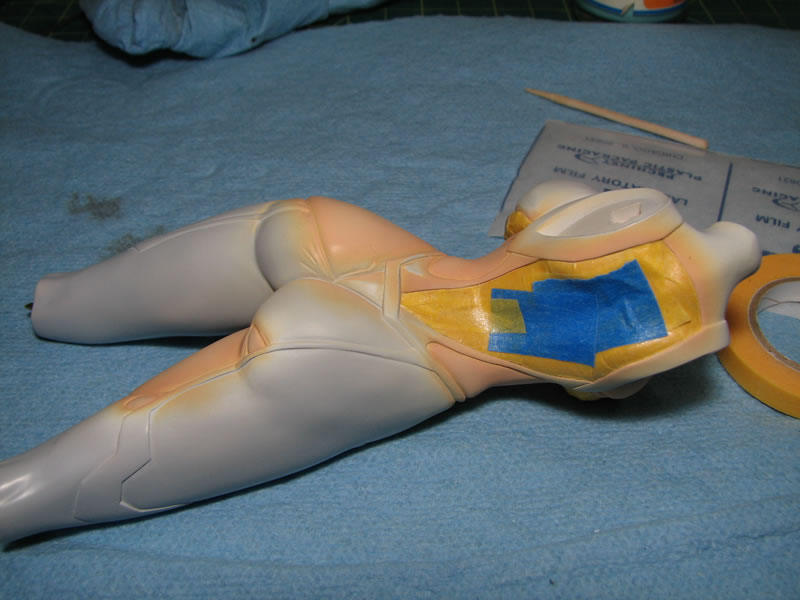
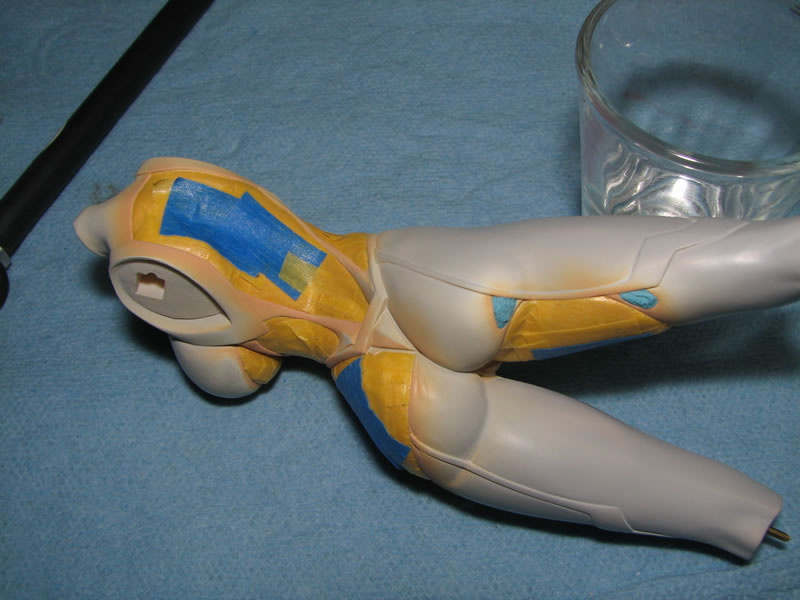
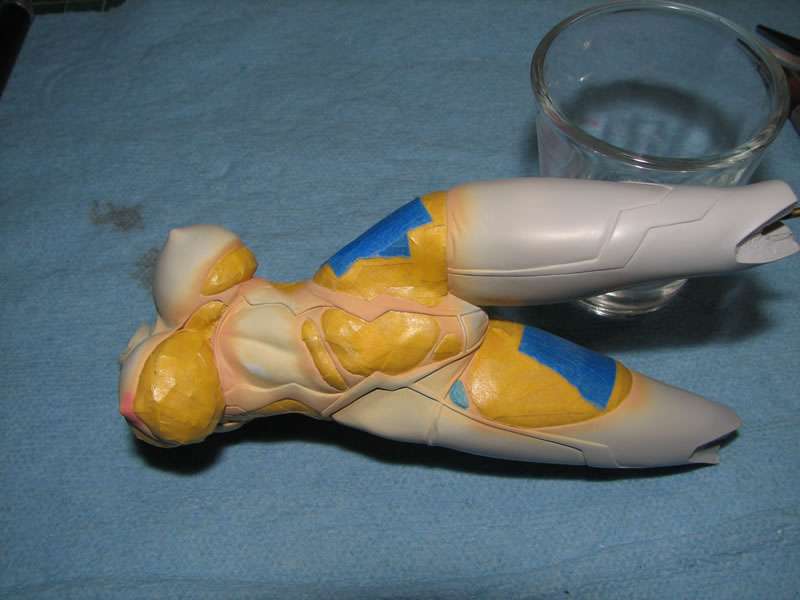
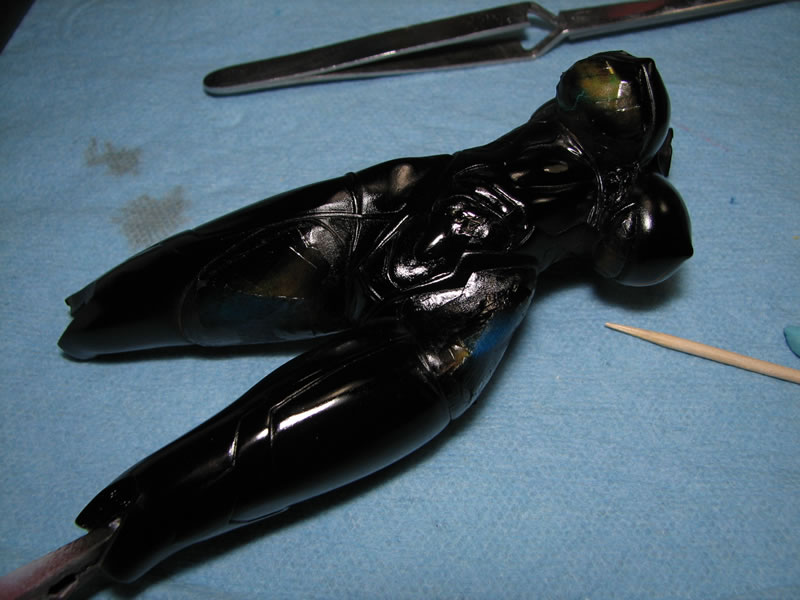
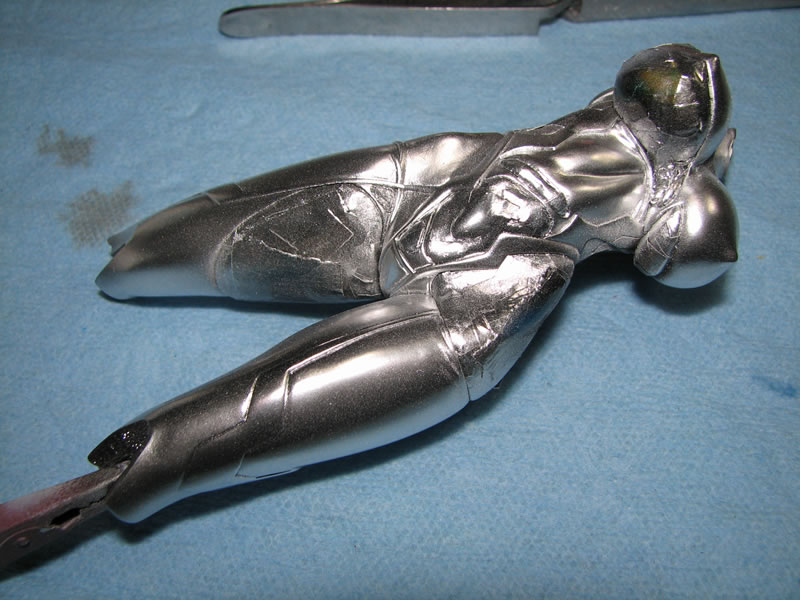
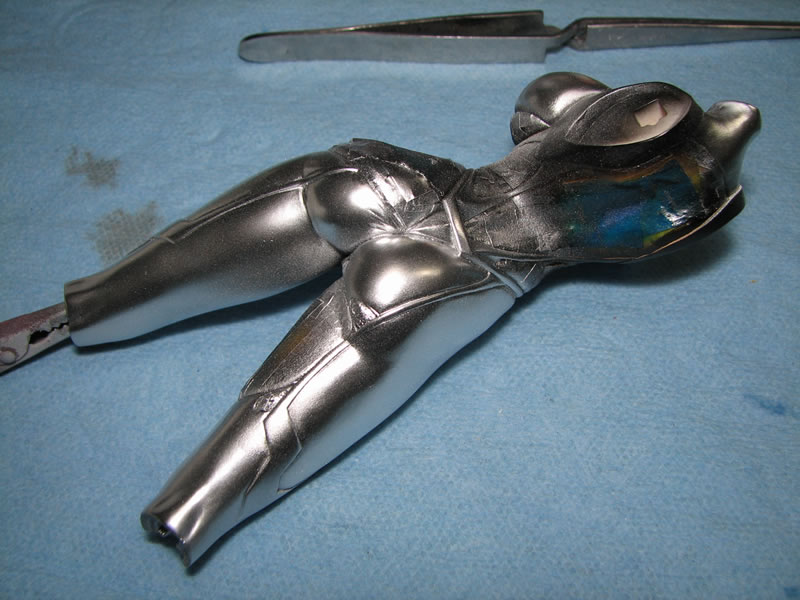
Once masked, A gloss black base color was sprayed, following by Alclad II polished aluminum, which was then left to cure for a full day. After curing, the clear purple was sprayed.
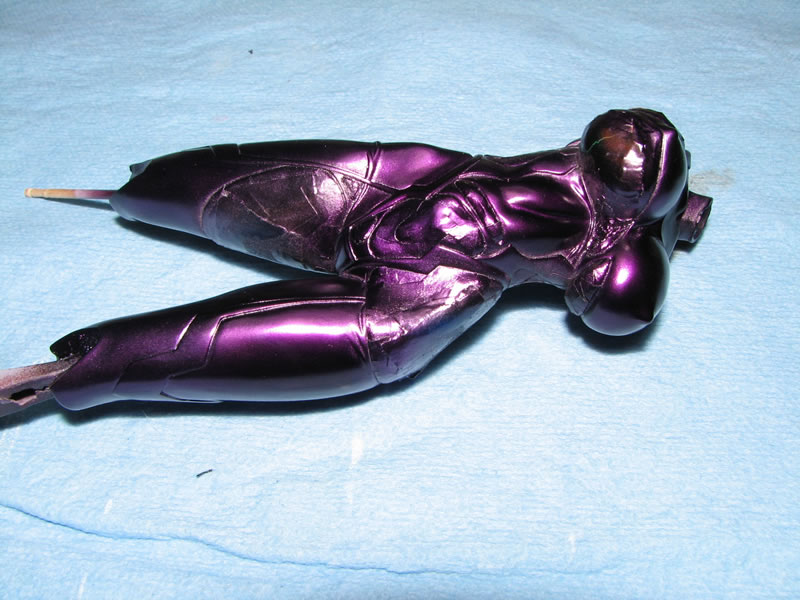
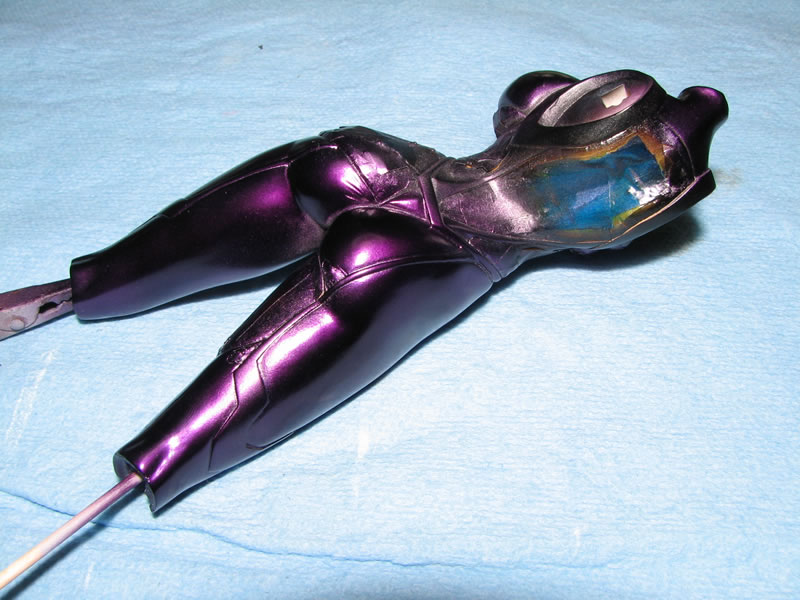
The face was masked off around the eyes to spray on a clear gloss to get the eyes wet.

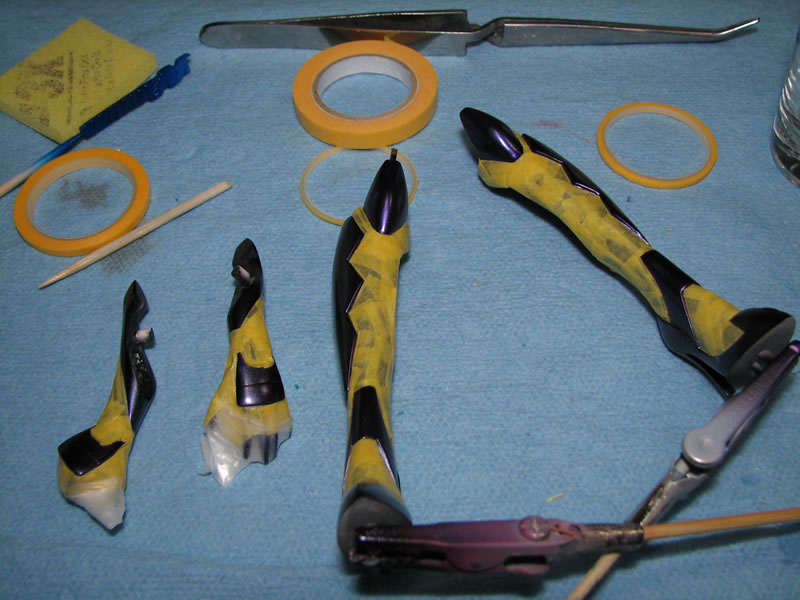
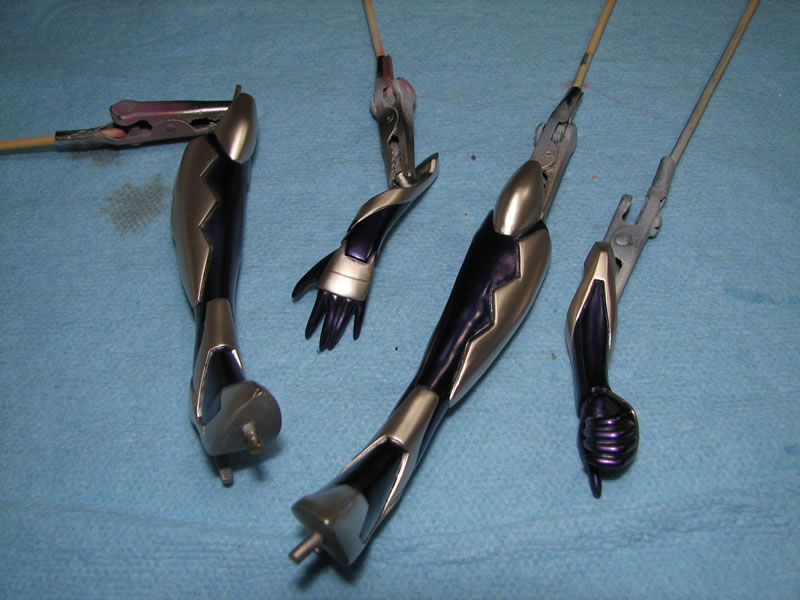
The top two parts of the arms were glued into place. Then the legs and lower arms parts were masked off to paint the metallic details. I used Finisher's Titanium for the metallic details. After everything was painted and cured, the fishnet wrapped pieces were glued into place.
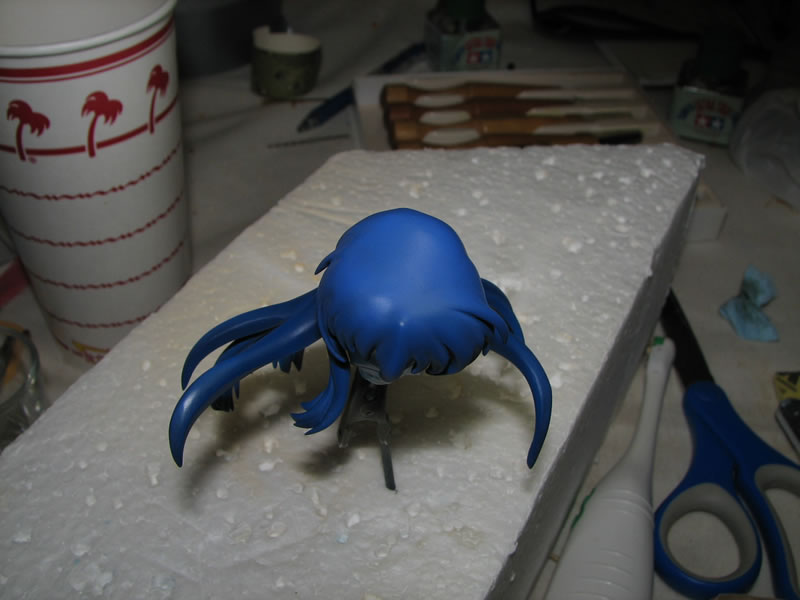
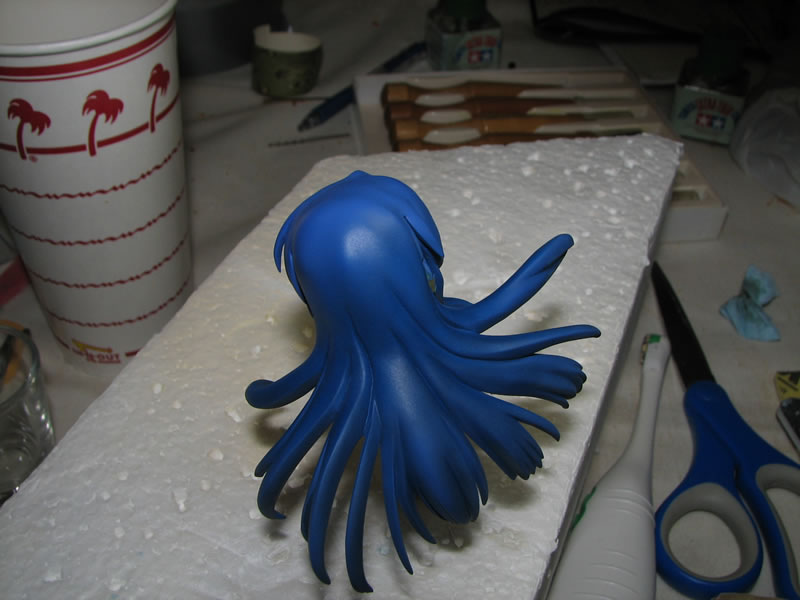
With the eyes cured, the two hair pieces were glued to the head. There is a fairly ugly seam between the hair pieces. This is usually fairly normal with some of these figure kits, and sometimes the seam is fairly natural looking (layered hair look). However, I felt that these two hair pieces don't look too good with the seam, so once the glue cured, tamiya light curing putty was placed into the seam, cured, then sanded. Once everything was sanded, the face was masked off and the part was ready for paint.
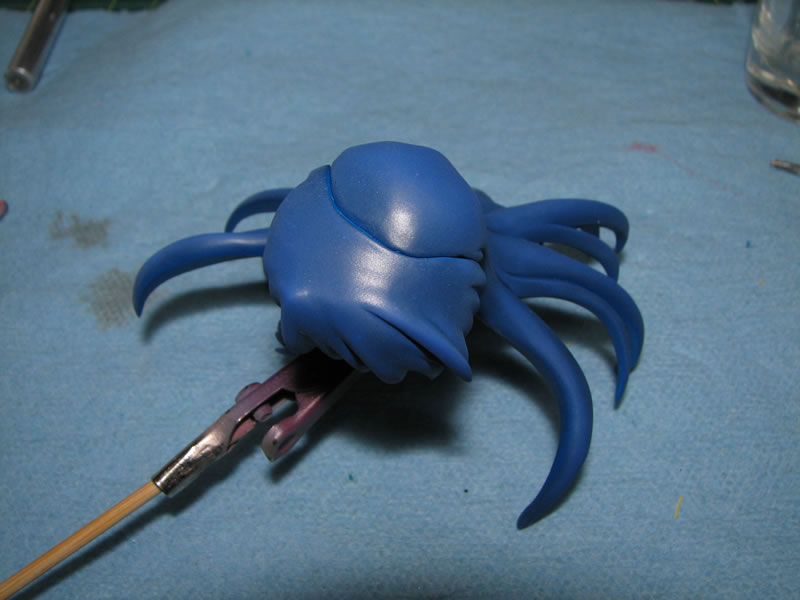
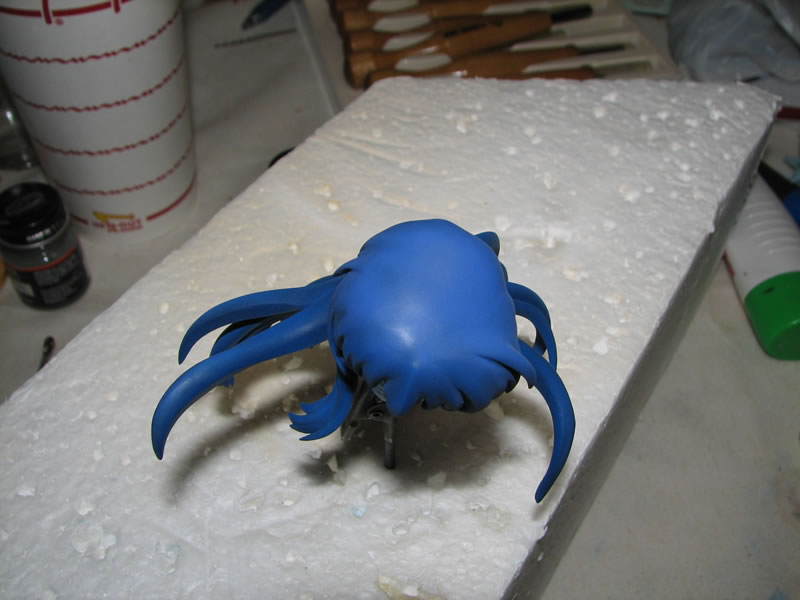
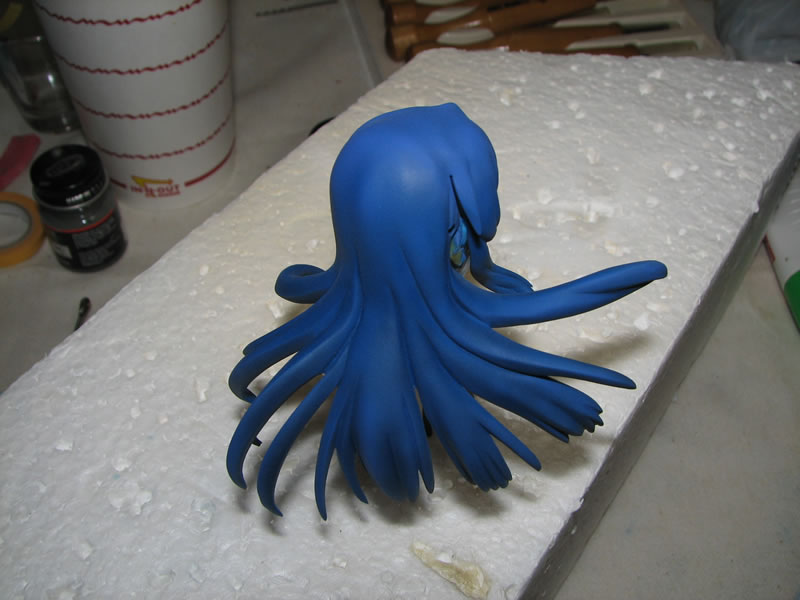
With the face masked, I skipped over the priming stage and painted the base blue for the hair. Once the first coat was dry, I sprayed on the lavender and followed that with the clear flat coat.
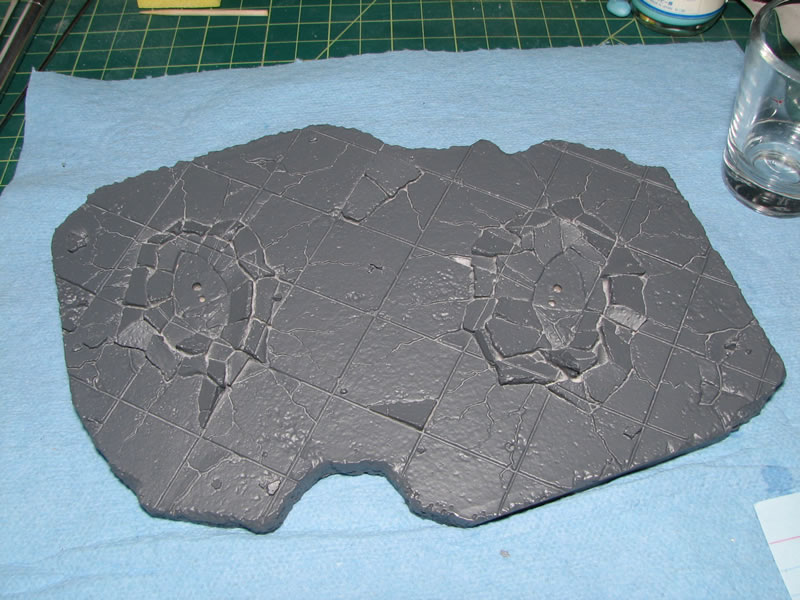
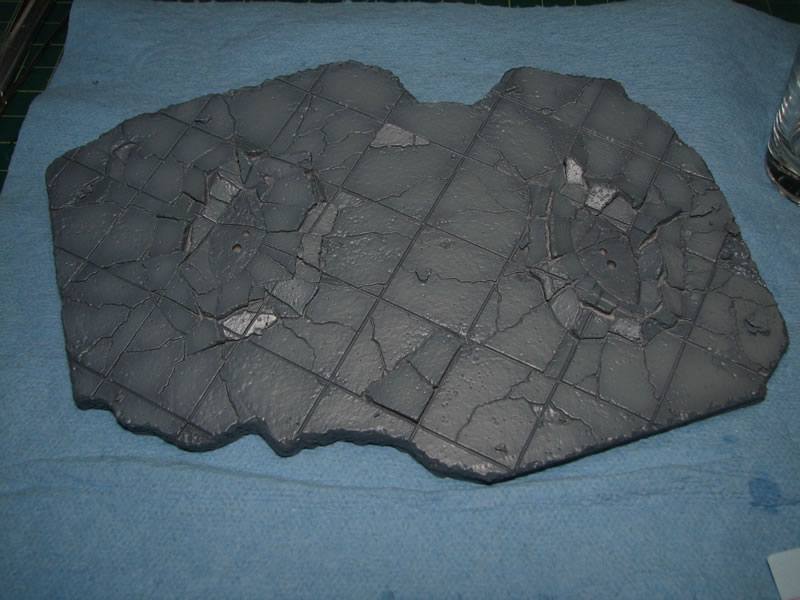
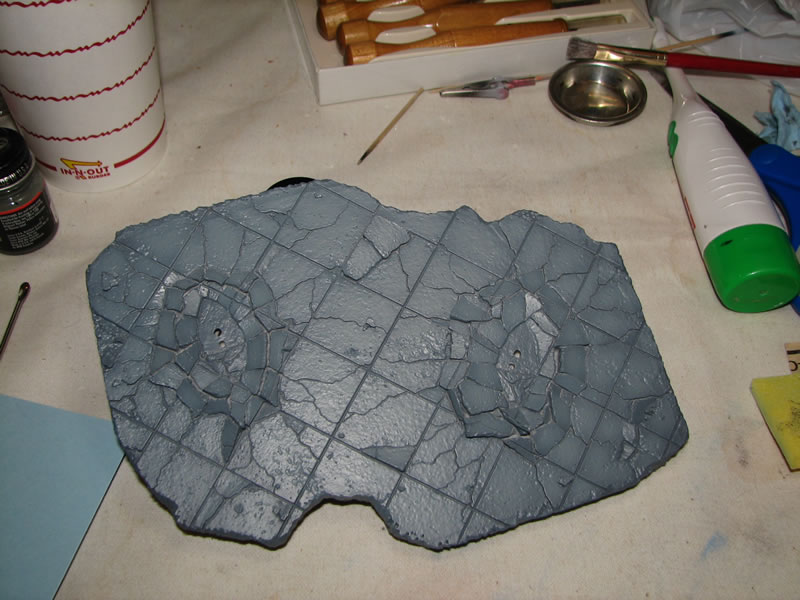
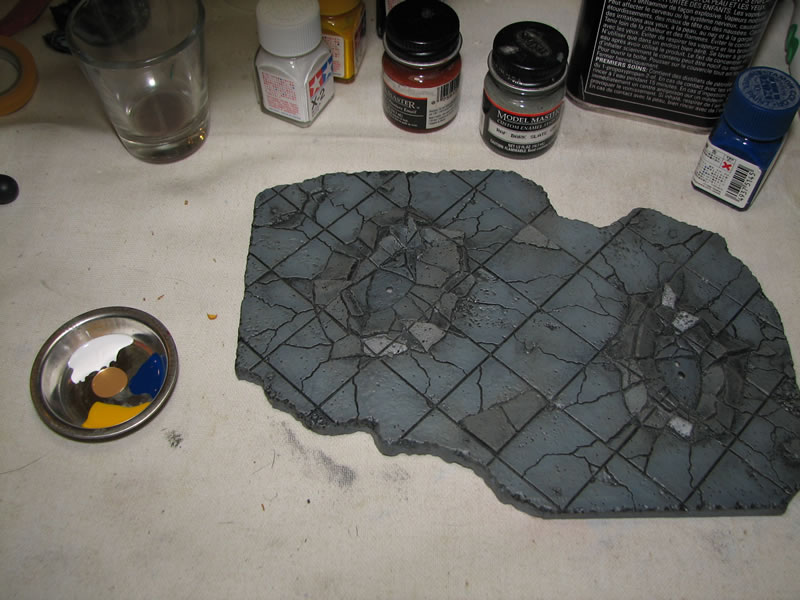
I also got work done on the base. The base was primed, then painted with a dark gray. A lighter gray was sprayed shading between the cracks and the ground blocks. Once that was done, a black enamel wash was applied to the surface.
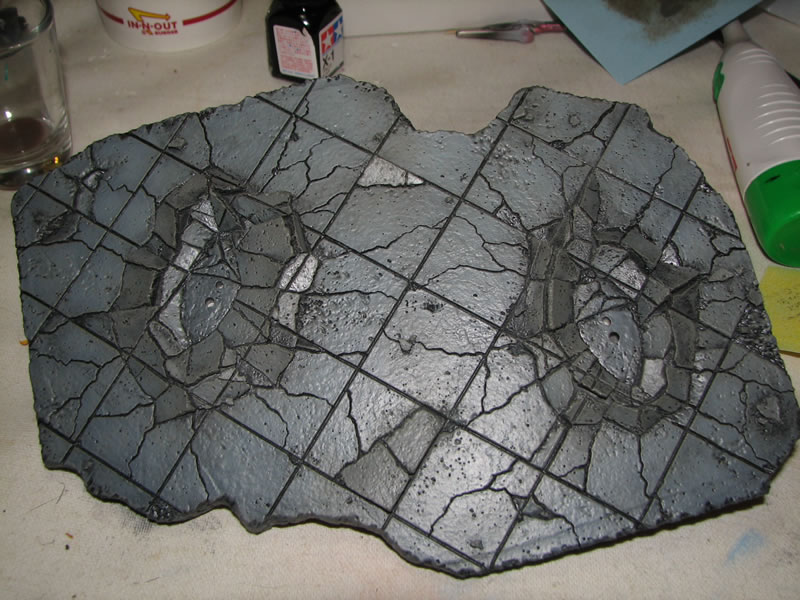
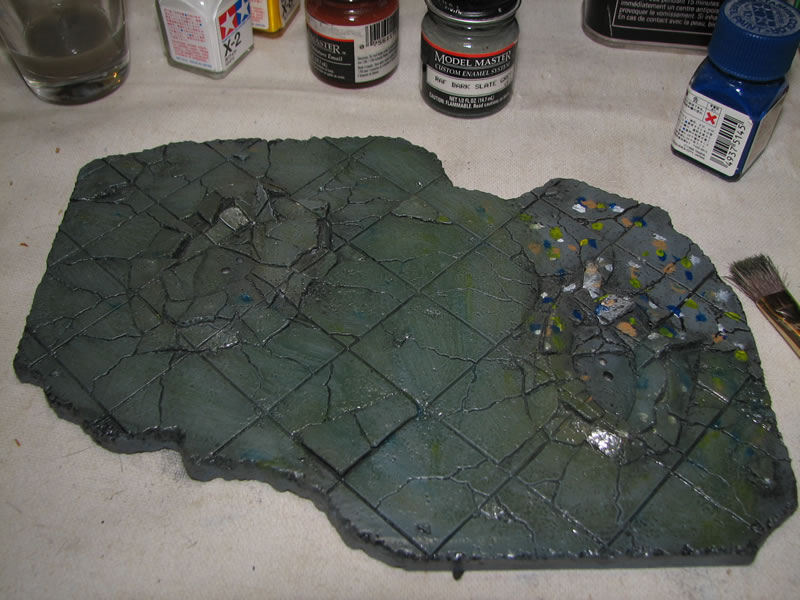
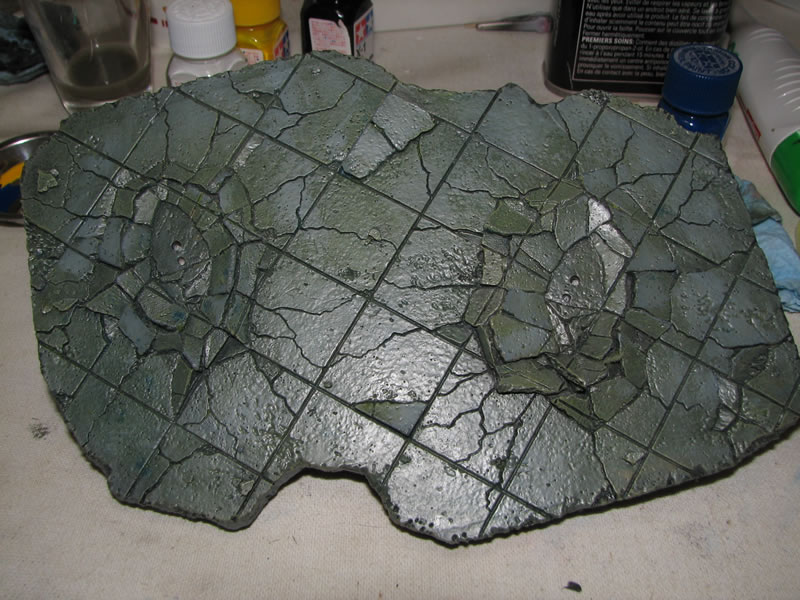
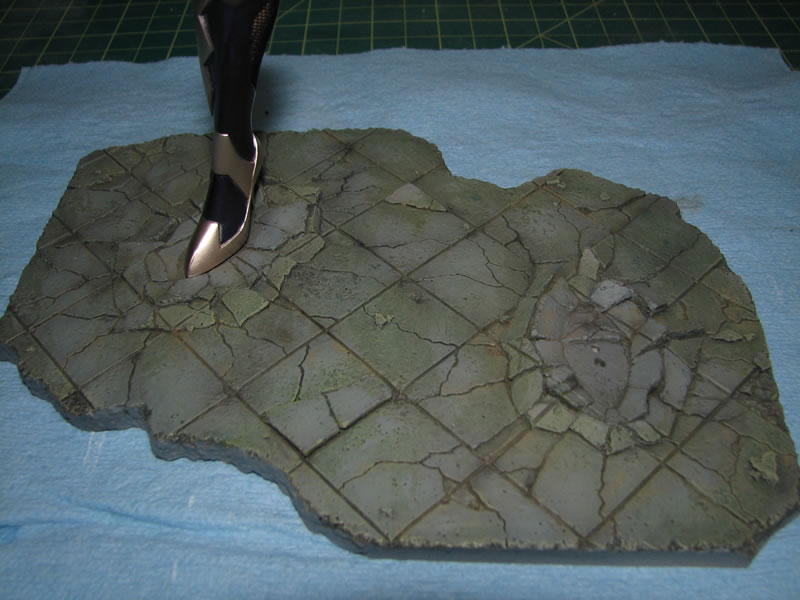
With the wash done, I grabbed a couple of different colored enamel paints and applied a filter. The base was dotted up, then using a brush with lighter fluid, I cleaned up the dots and what's left is a nice little multi color toned effect. With the filter dry, a clear flat was sprayed one to the surface. And today, I applied some pastel weathering to the surface as the final weathering touch.

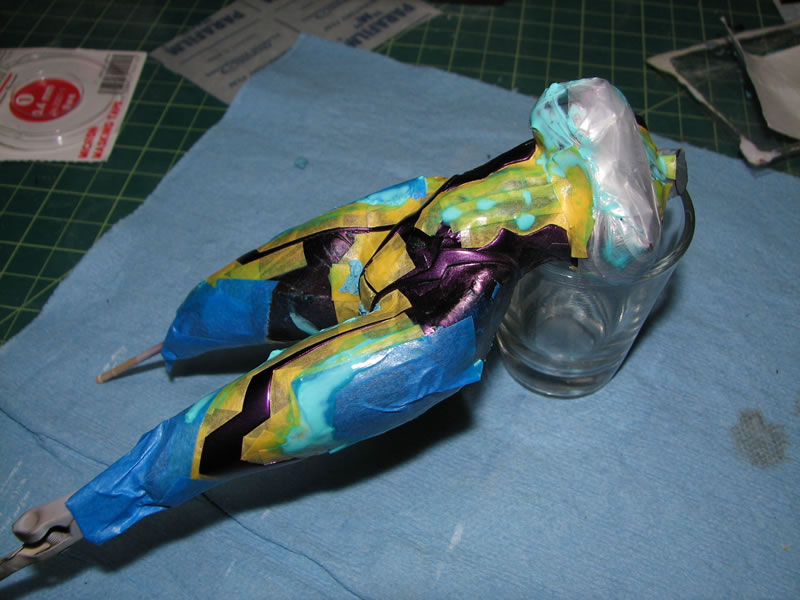
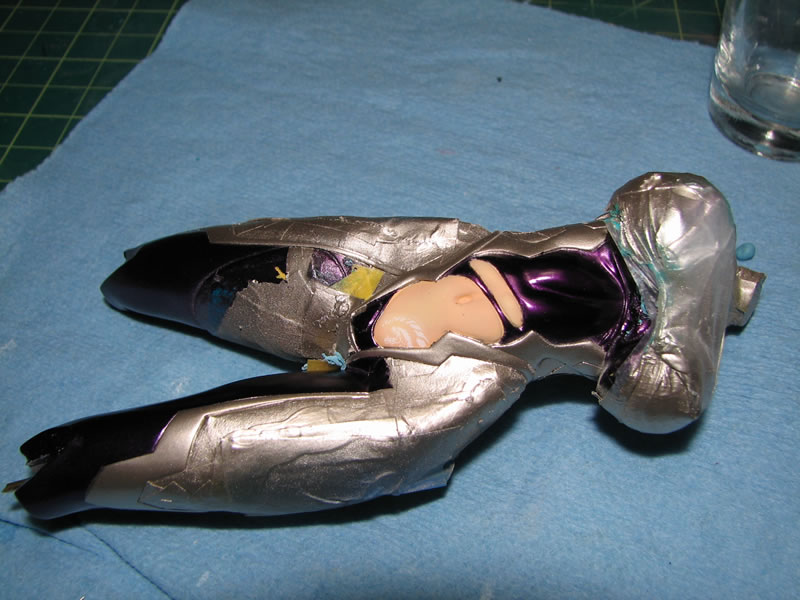
November 10, 2008: Final progress update. The main body was masked off and then Finisher's Titanium was sprayed on to the detail areas. A couple of minutes after painting, all the masking tape is removed.
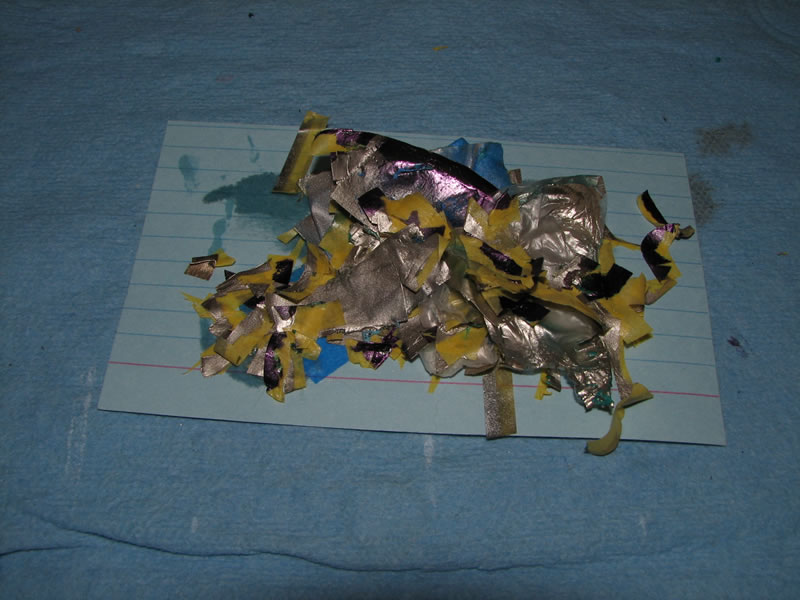
Pile of masking tape.
When I removed the masking tape, some of the purple lifted in a few spots. These were then taken care of with a fine tipped airbrush and some touch up work.
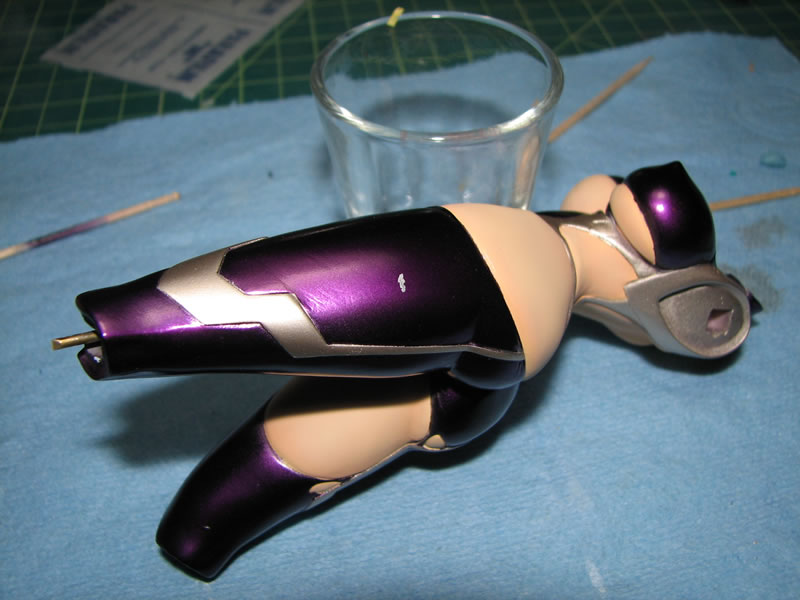
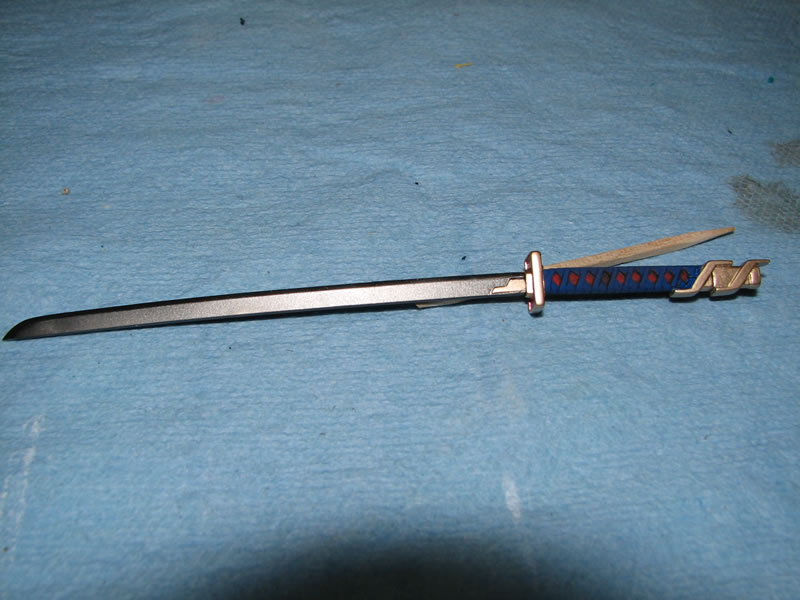
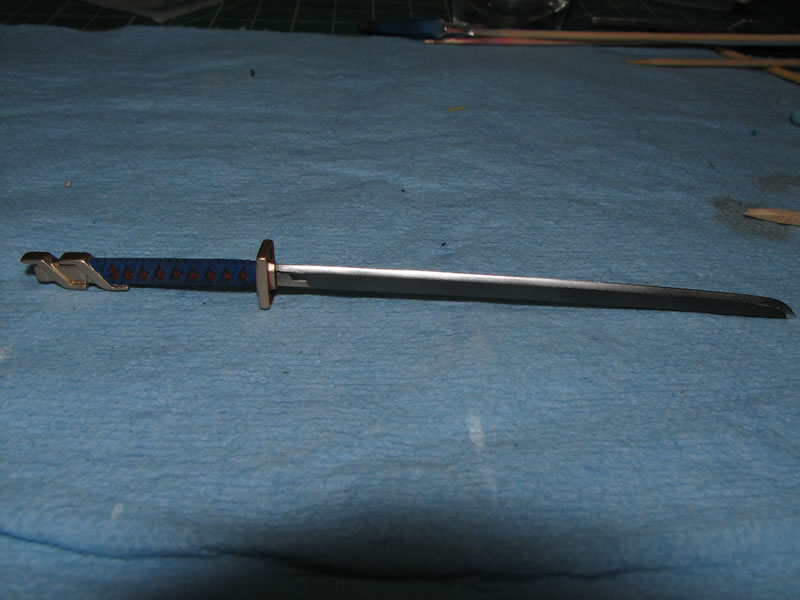
Completed sword.

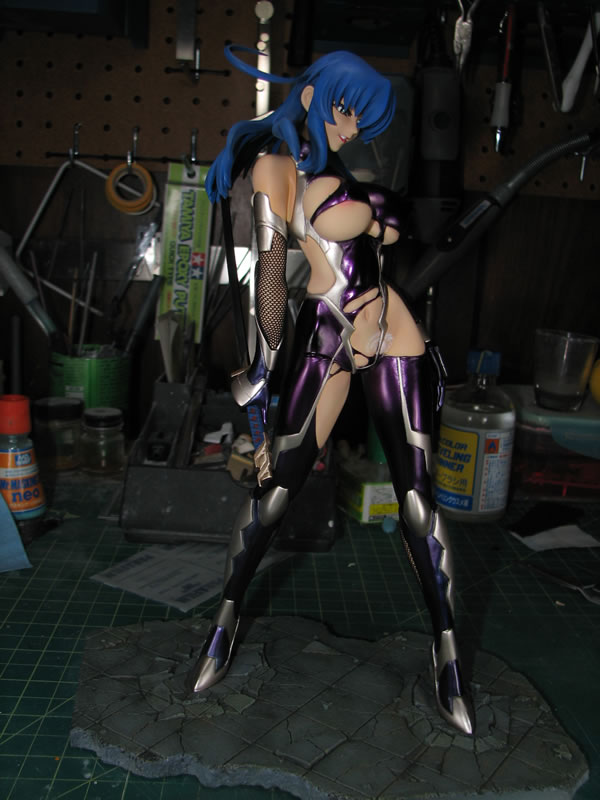
Teaser picture. Completed pictures will come tomorrow.
August 27, 2008: The Asagi kit sculpted by Liquid Stone arrived today, and to help occupy my mind and keep me from fiddling with the clear coated Kanu, I pinned her together tonight.
November 2, 2008: Cleaned, initial primed, puttied, sanded, and re-primed.
November 3, 2008: Base layers of paint are applied.
November 4, 2008: Second layers of paint, decal, and clear coats applied..
November 5 2008: Flat coated the main body, painted small body detail, and made the nylon socks.
November 6 2008: Asagi's eyes and face details are painted.
November 9 2008: Masking, work on the base, final painting touches, etc.
November 10 2008: Final update, last paint layer, completed sword, touch ups.