My curse with Fords

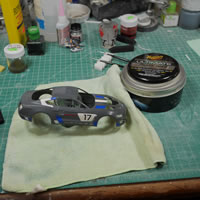
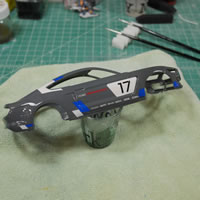
This project was started the first week of May and should have been done within 2 weeks. It is now approaching the tail end of June and it’s still not done. I keep running into problems with the final body work bits. I realized that I didn’t post up any progress pictures of this build to the blog, so here we go.

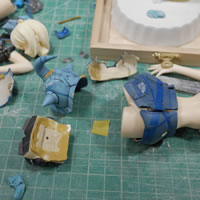
This kit was released some time in April, and I went out and grabbed out because it looked pretty cool and I wanted to try some polishing techniques I saw online. Right out of the gate, we get working on the body. It is white, so defects and mold lines are a little hard to see. A quick primer session remedies that, and I can see areas that need to be addressed and sanded down.

The rest of the progress after the jump.

(more…)

Continue ReadingMy curse with Fords

Tifa Progress Part 2

Six days after starting the project, she’s done. The goal was to finish her before the game got to my house so that I don’t get completely sucked into the game and the project goes into a limbo state. This has definitely happened in the past; so having a deadline really put some focus into the build.

Starting with where I last left off, I had just finished priming the parts. One of the main things primer is good for is to check for mistakes. Little areas of missed sanding spots or even small bubbles on the surface. With the leg, I found some surface defects that needed correcting. Just applying putty over the surface won’t work. The putty doesn’t have a good surface to grip, like I said in the last post. So these little defects are cut open a bit and light curing putty is applied. Cured in a minute, sanded, and then primed again.

Now that the skin areas are all primed and ready, time to get them ready for skin tones. White base is sprayed over all the skin areas to reset the canvas so to speak. Airbrush paints are very thin, so each layer will inherit from the previous. Unless you want a zombie skin tone, white out the grey layer. Eyes are masked to keep the white there.

More details for the final steps in this build after the jump.
(more…)

Continue ReadingTifa Progress Part 2

New Project while I wait for FF7 Remake…

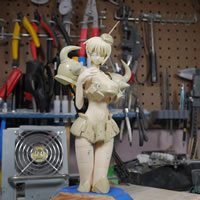
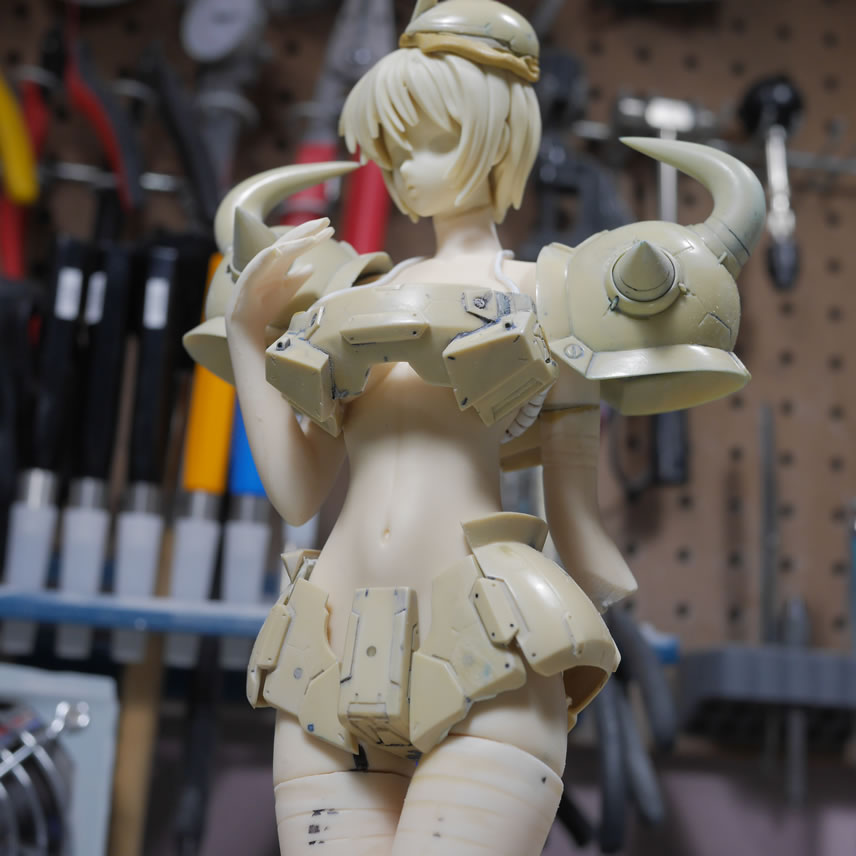
I originally was going to start a 1/48 scale F4U-1 Corsair and upon opening the kit and sorta starting on it, I decided to to some research and grab some reference photos. That then lead me down a rabbit hole of buying a photoetch detail set and a photoetch bending tool. And so I had to shelve the project while I wait for those bits to arrive and in our current world situation, who knows when I’ll get those items. So time to crack open another figure kit. Tifa Lockhart from Final Fantasy 7. I think this was a 3D model that was then created as a kit. Not sure, but when I saw it, I knew I needed to pick it up. The parts look pretty clean, as in very few mold lines and such.

I did a quick snip and test fit. The balance on this kit is much better than the Sakurai. She can stand on her one with a fair amount of stability. She’s thick. But in a good way. I was in the Air Force when this game came out in ’97. I think I picked up the game and the PS1 at the same time while in Tech school in West Texas. The memory is fuzzy as I think I had discussions on the characters with a class mate during my time there. Regardless, the game made a pretty big impact on me. I was always a bigger fan of the bar girl than the flower girl. But this is the only Tifa kit I own too. There were plenty of sculpts over the years but nothing really jumped out and grabbed at me like this one. So not that the FF7 Remake game is coming out on Friday, I hope to finish her by then. I finished Sakurai in 3 days; and I’m currently further along on Tifa now, then I was with Sakurai when I restarted that project.

Obligatory pinned/sticky tacked/magnetized build up turnarounds:

This is a short post that I hope to make a few more as I progress over the next few days, but more about this after the jump.

(more…)

Continue ReadingNew Project while I wait for FF7 Remake…

My 3rd car build…. Lamborghini Jota

Finishing the Sakurai Aoi commission project refueled the itch to build, so I asked the wife which should I work on next, the Elintseeker project that’s been shelved more time than I can count; or this 1975 Lambo. She picked Italy over Macross. I had picked this kit up last October at Orangecon, the IPMS OC’s annual model competition. It called to me so I grabbed it – then promptly put it with the rest of the backlog. Time to unbox, and in a week and a half, finish the damn thing. This not driving to work is giving me loads to time to work on things….

Standard Hasegawa 24th scale car kit and I’m just following the directions with step one. I don’t build cars. On this website, this is the 3rd one. So yeah. Time to follow the directions. This is just a quick test fit as I tend to do before actual sanding and gluing of parts. This helps me visualize what needs to be done.

On to just building and painting the sucker. Here I have some blue masking tape stuck to a piece of card stock. On top of the blue masking tape, regular painters masking tape (frog tape) which is VERY similar to tamiya masking tape – only a huge roll and about the same cost as the 6mm tamiya tape. I used a punch tool I picked up from Micromark years ago and punched out some masks for the instrument panel.

Hit the jump for the rest of the build and completed pictures. (more…)

Continue ReadingMy 3rd car build…. Lamborghini Jota