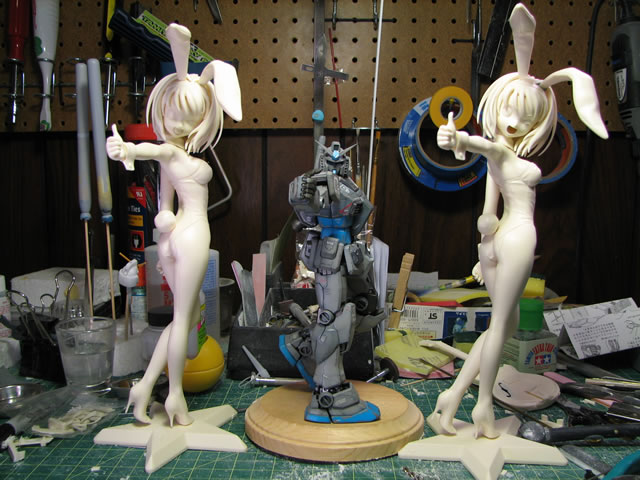
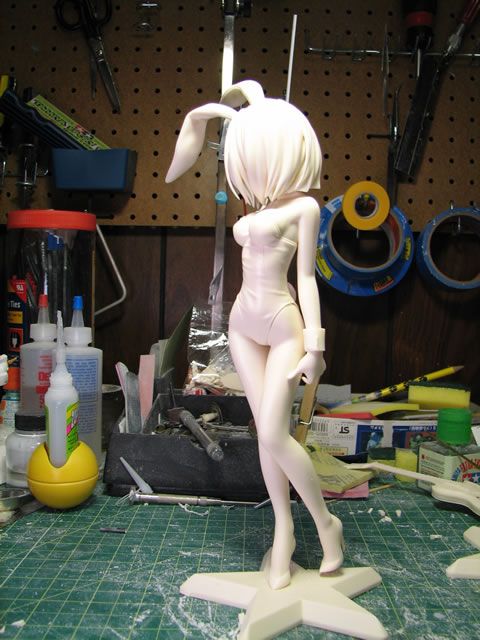
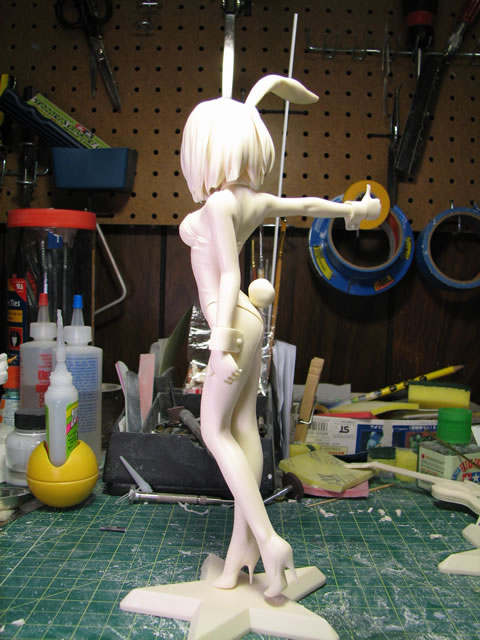
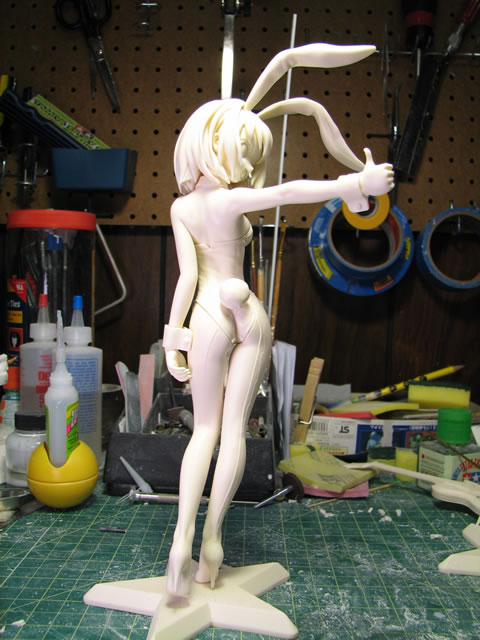
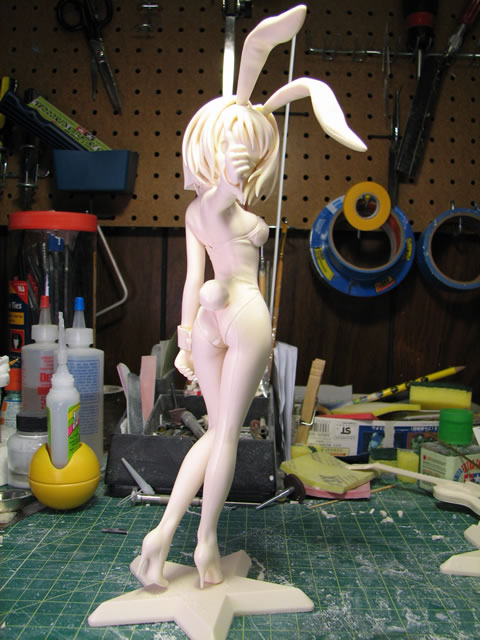
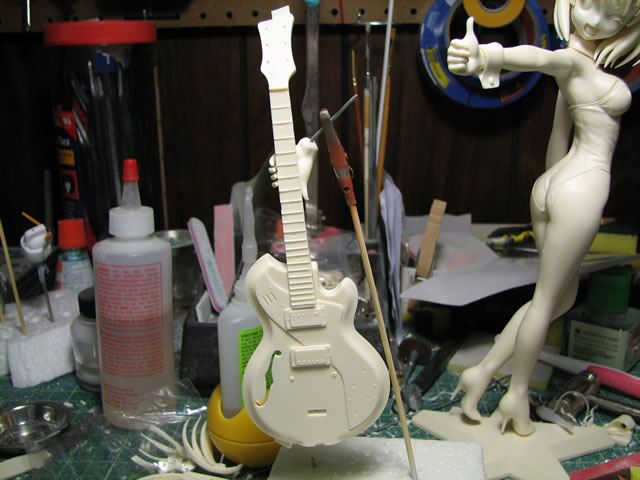
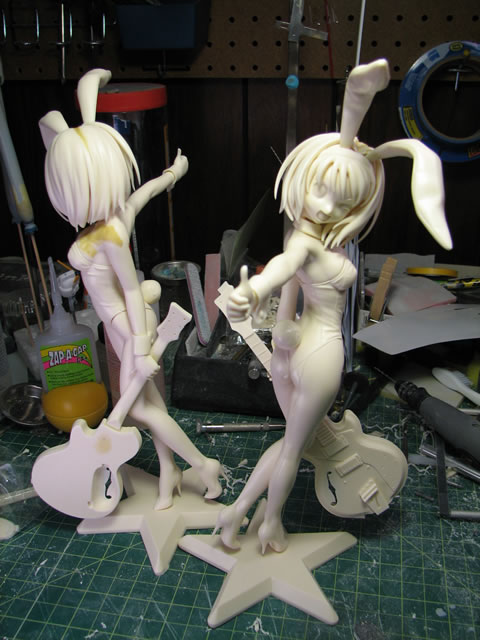
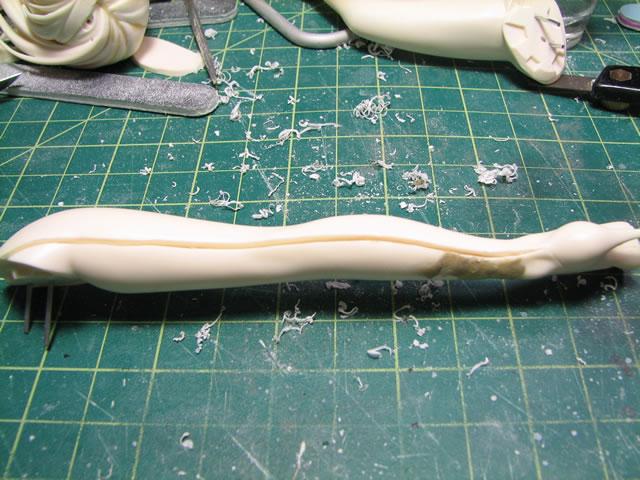
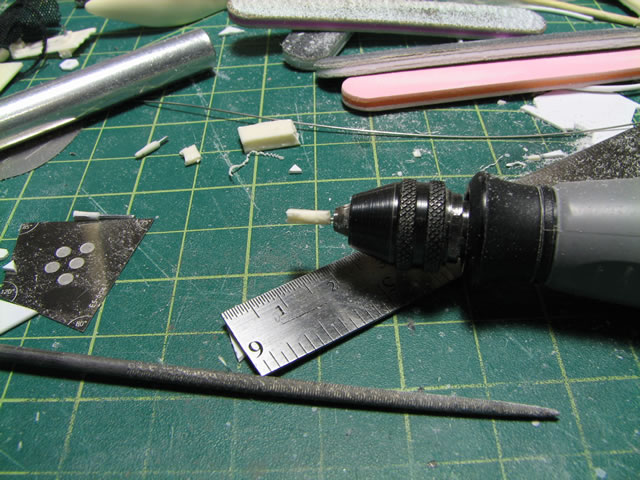
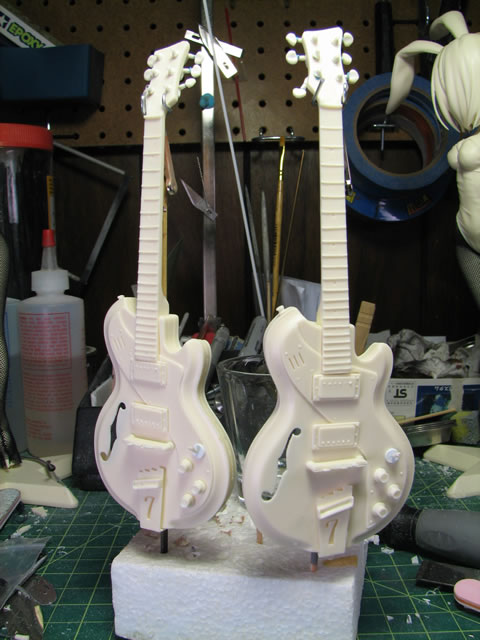
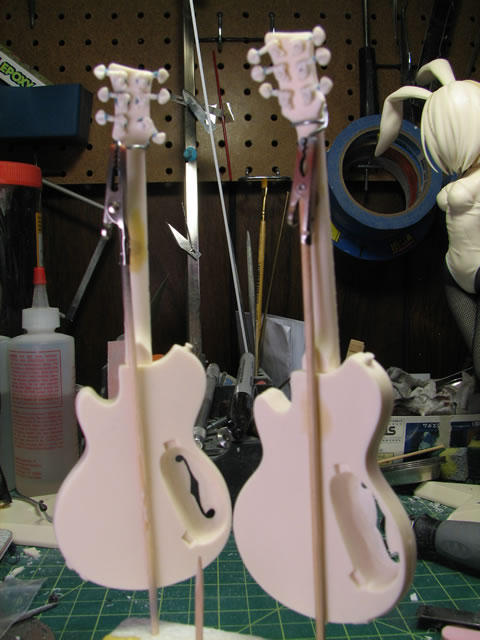
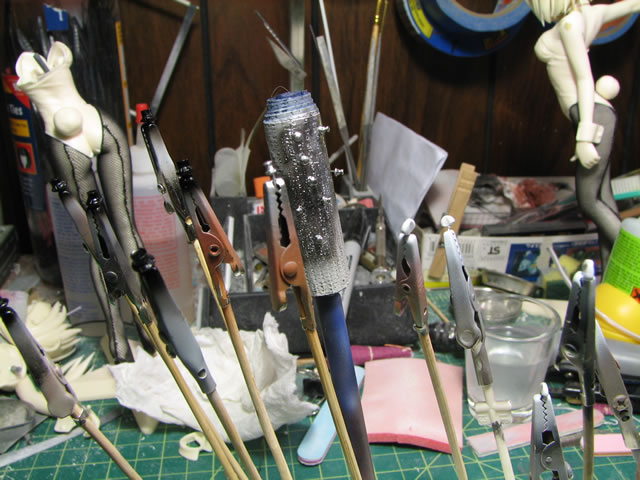
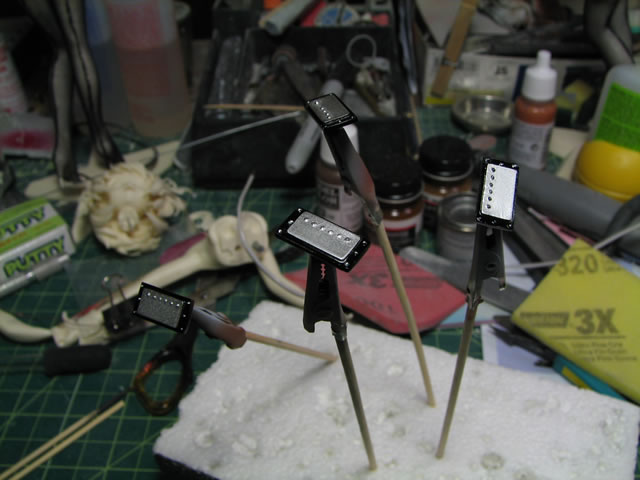
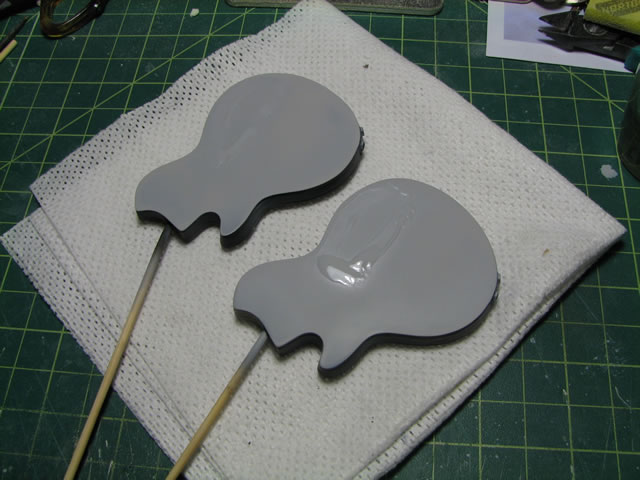
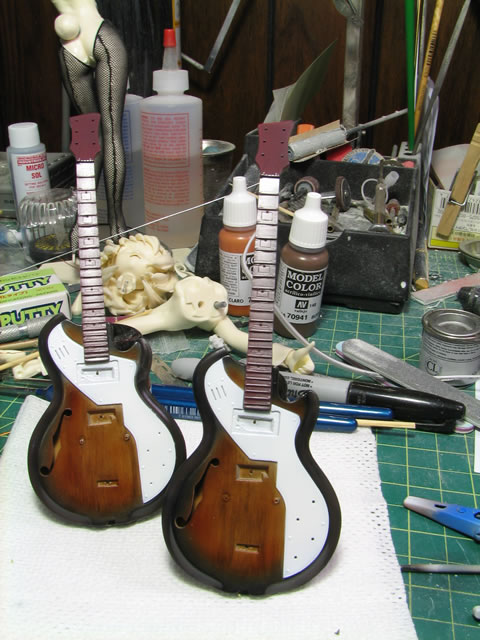
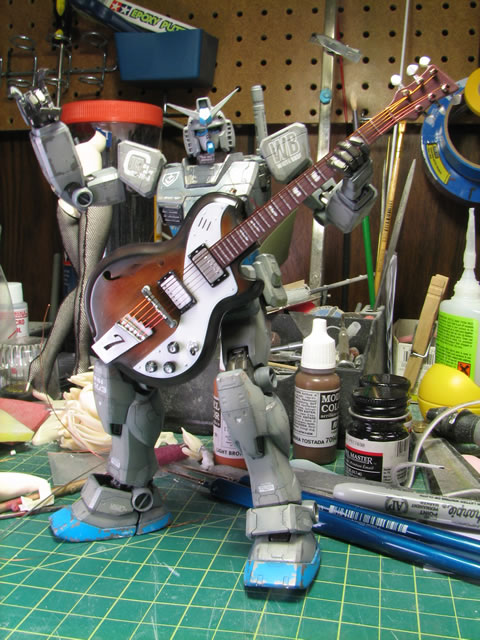
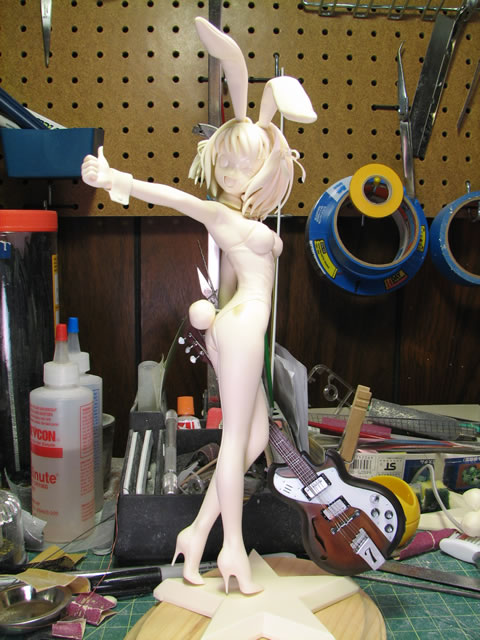
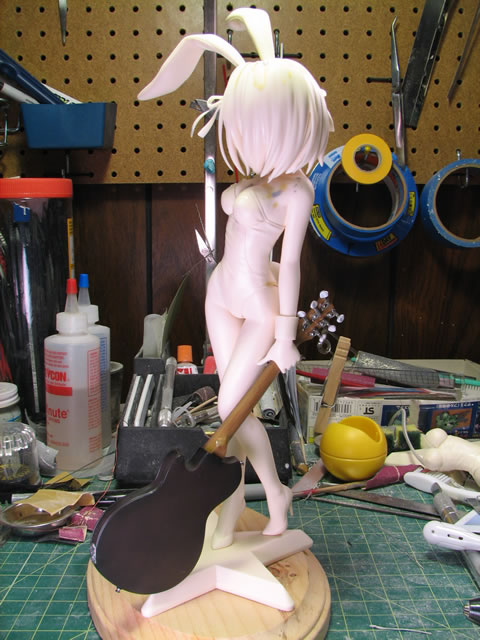
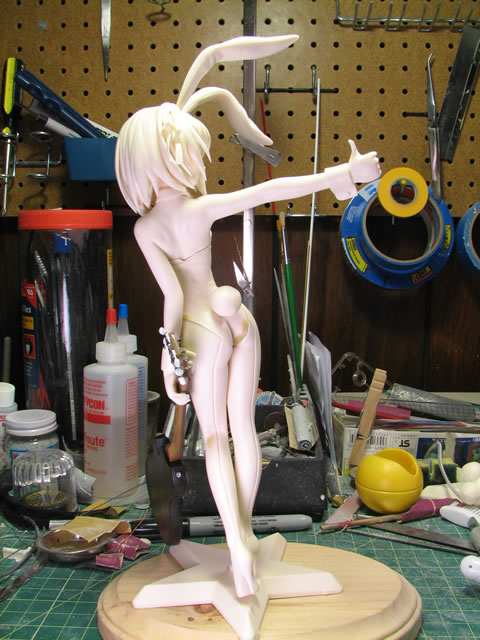
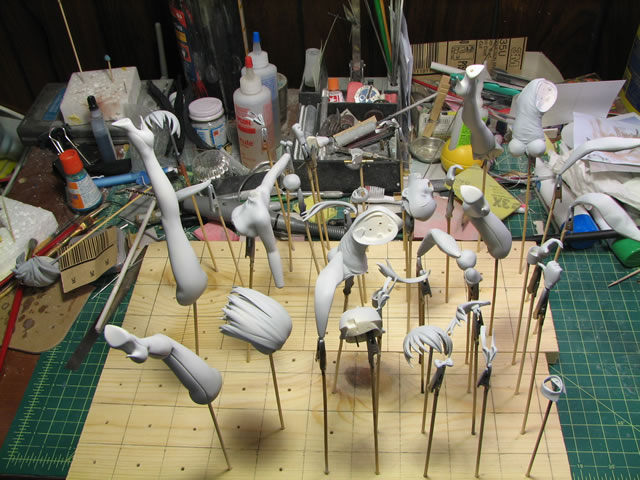
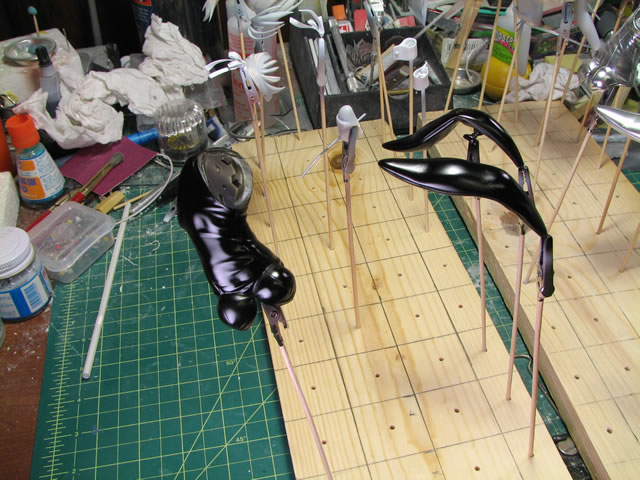
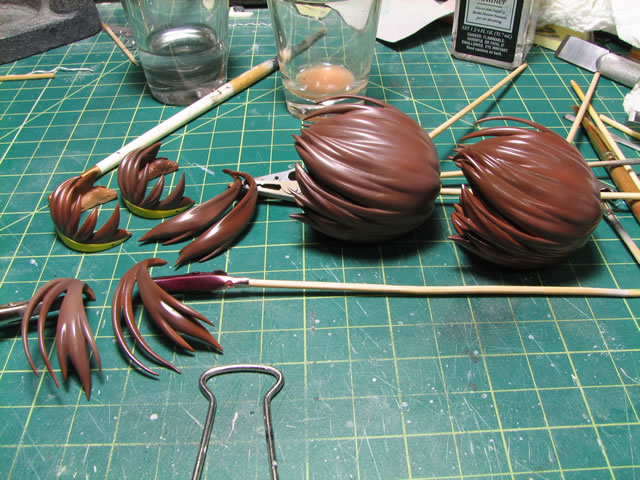
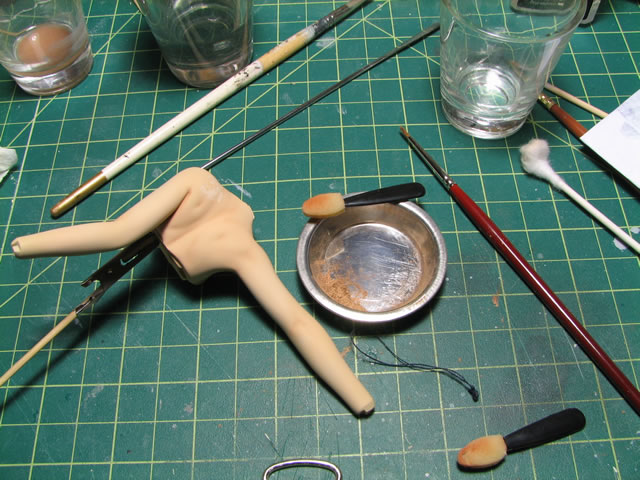
October 16, 2006: Ok these came in on Friday, one from e2 and the other from HF. Figured I'd just build both so I can make a relative comparison between the two. The possibility of these two kits coming from the same workshop exists. There are issues with both, and there are sections of each that have better casting quality than the other. Each have pinholes in different places, overall the fit isn't too bad. The HF one looks like a second or third batch cast, while the e2 looks like it could have been 1st batch. *shrug*. Some of the guide pinholes were more distinct and clear on the E2 version in comparison to the HF one. I decided to pin them tonight since I'm waiting for the clear coat I sprayed on my Kampfer to cure a bit before proceeding on with him. As usual, pictures of the initial pinned products:

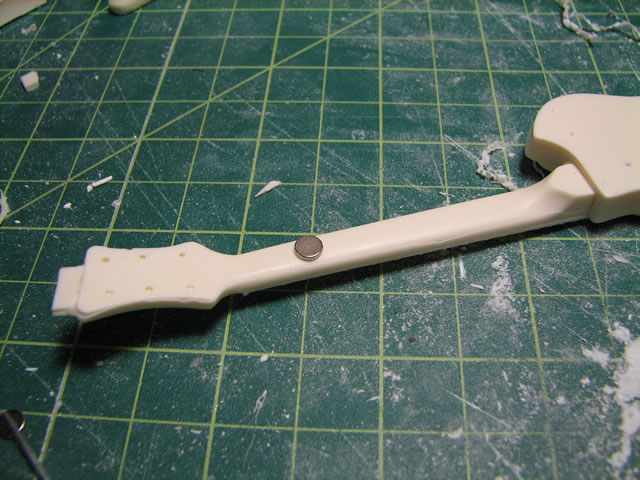
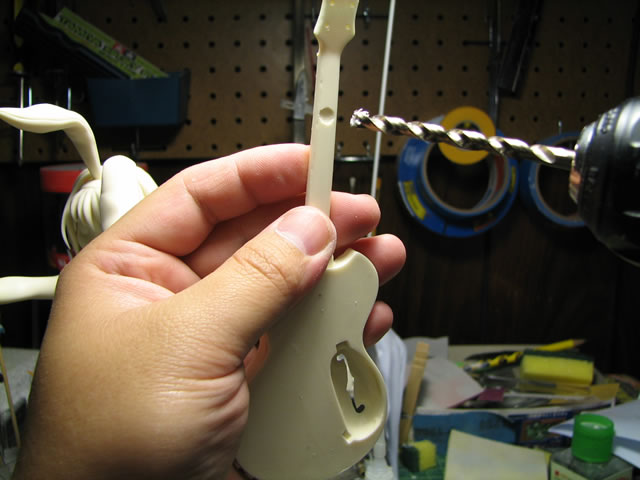
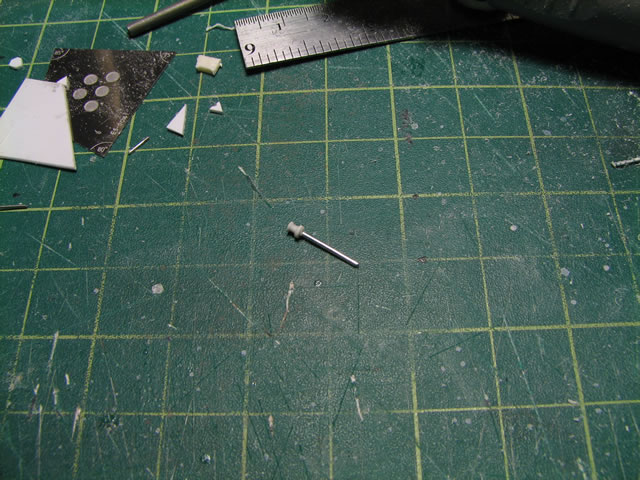
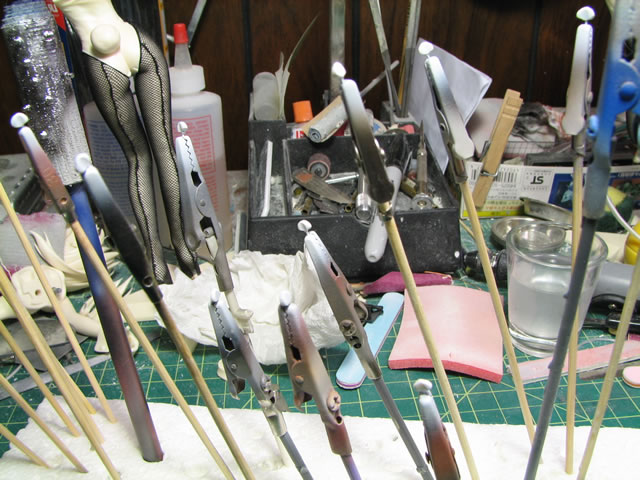
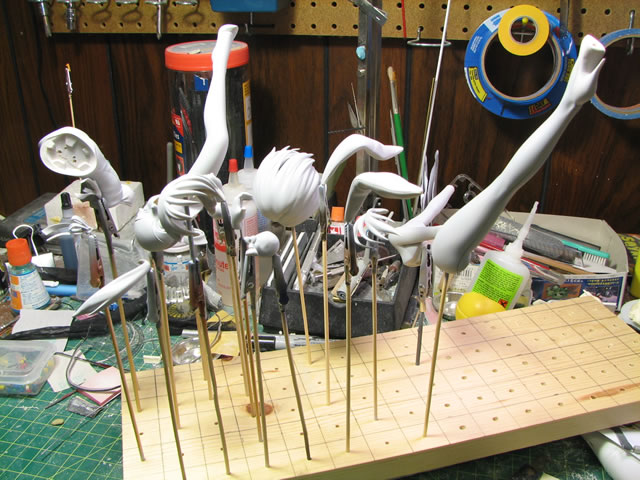
October 17, 2006: Not much work done tonight, just drilled in the holes for some magnet placements on the guitar necks and right hands. This will help add some stability to holding the guitar without having it glued into place. After drilling the holes, I added some glue in the holes and just dropped the little magnets into place. Once all that was dried, I threw some epoxy putty over the holes to hide the magnets. I also glued the majority of the pins into the single sides of the parts as well as glued the four main pieces of hair. Some of the gaps were filled with epoxy putty. I also filled some of the areas where there were pin holes with epoxy putty. I really should get back to the Kampfer now :)
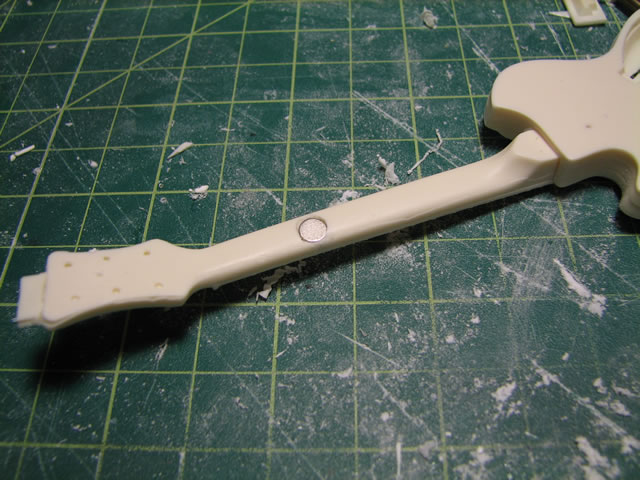
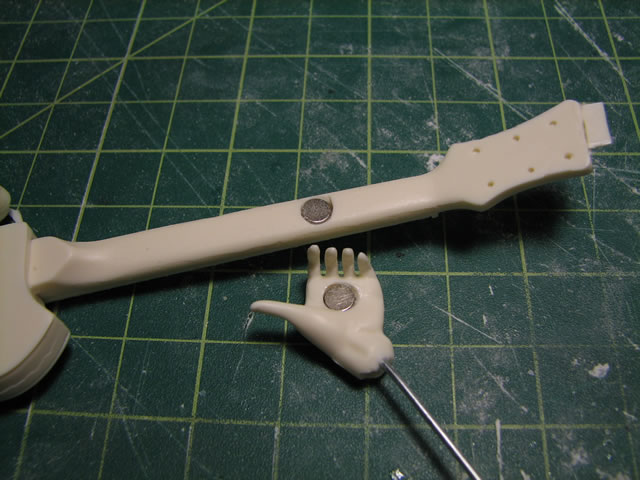
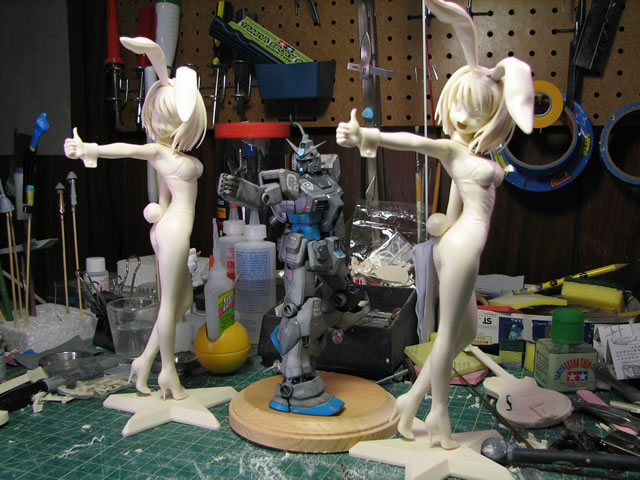
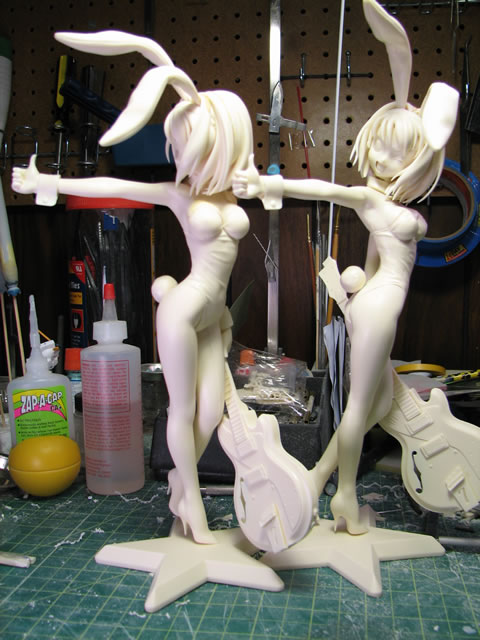
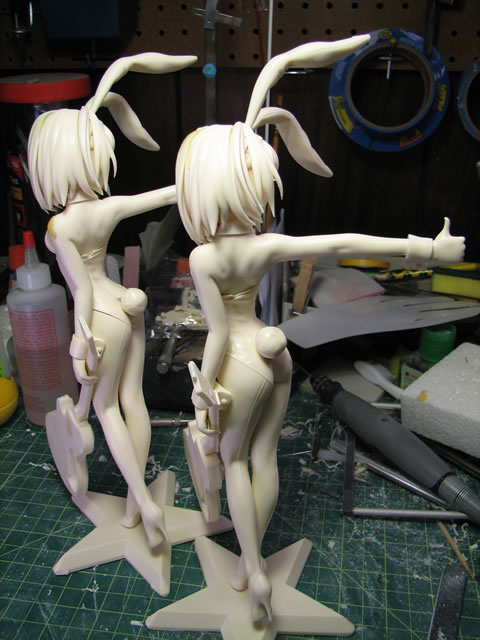
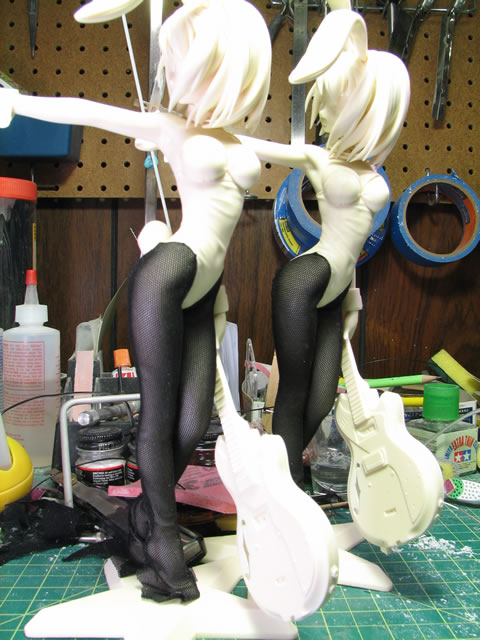
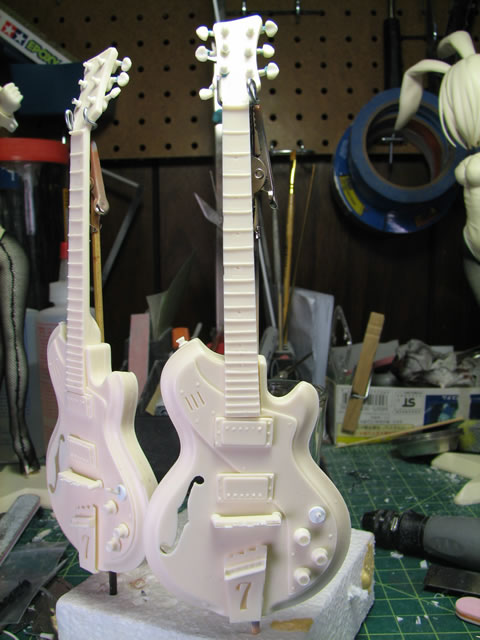
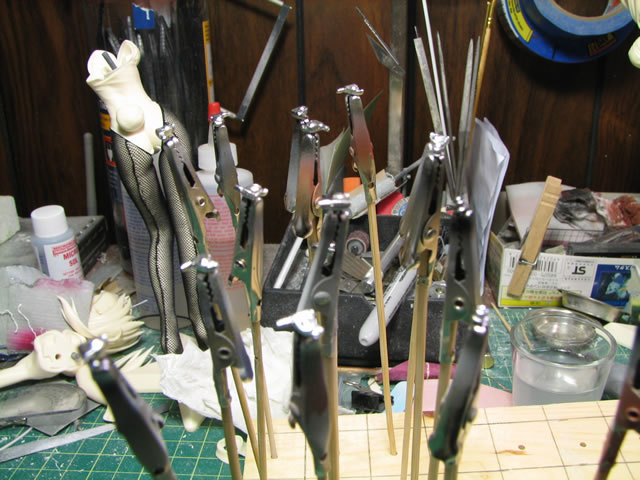
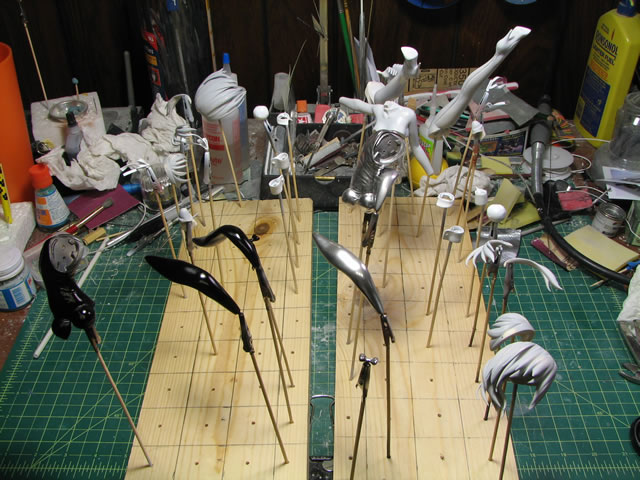
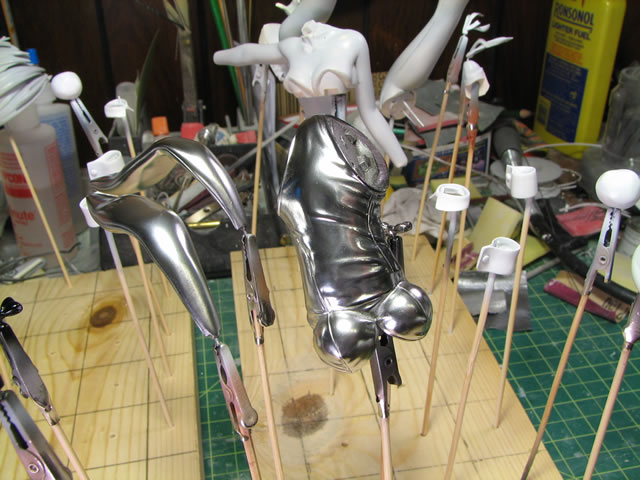
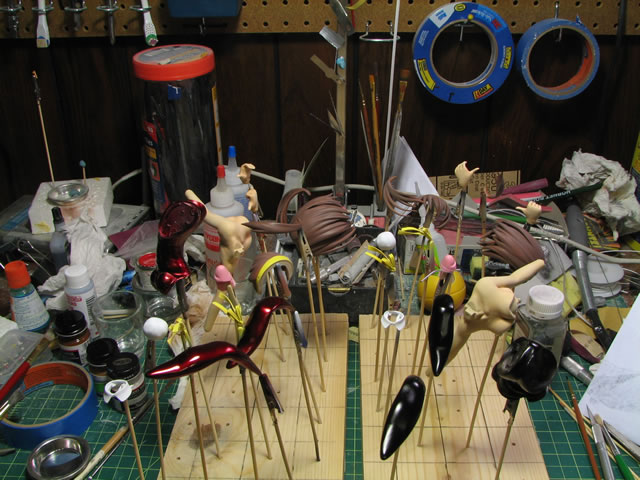
October 18, 2006: Ok small little test fit update. Going to get back to working on finishing up the Kamfer for real. The putty for the hands and guitar necks dried so I sanded them down smooth and here's a little demo on the strength of the magnets. I also finished up all the pinning and everything is fitting nicely. After Mr Kampfer is finished, I can get to sanding these lovely ladies.

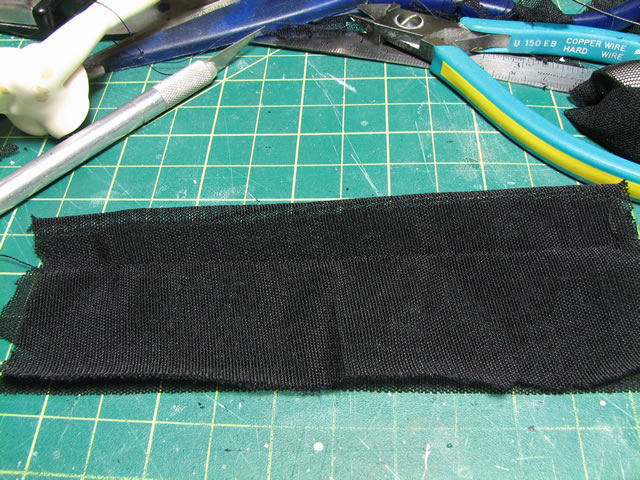
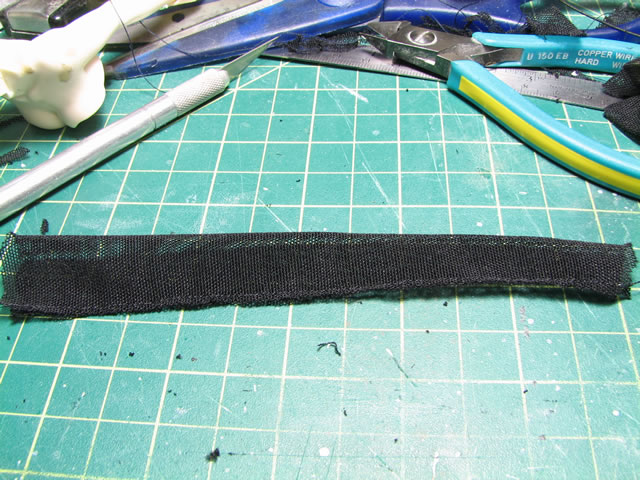
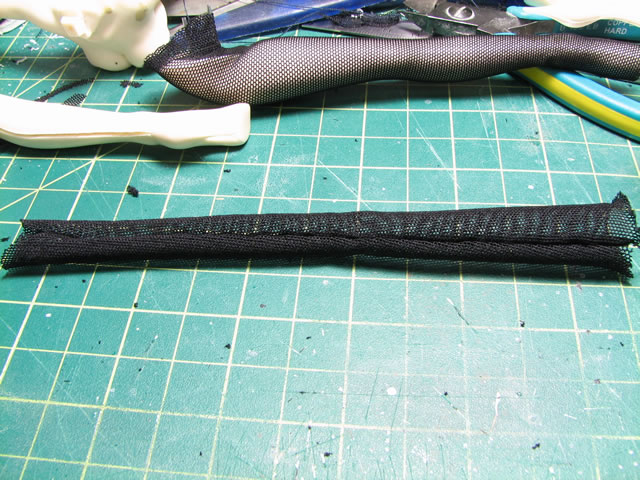
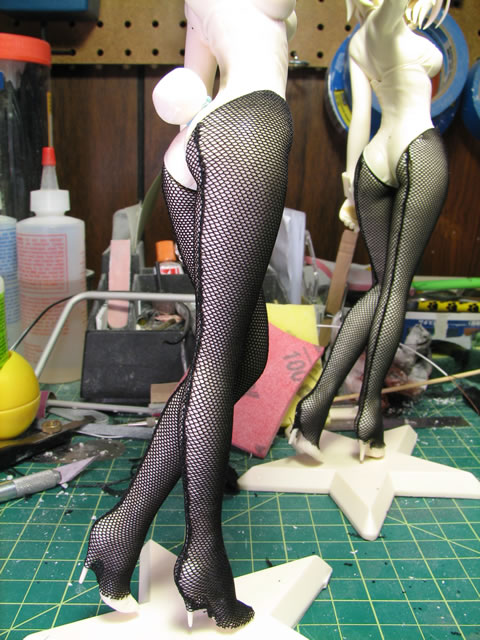
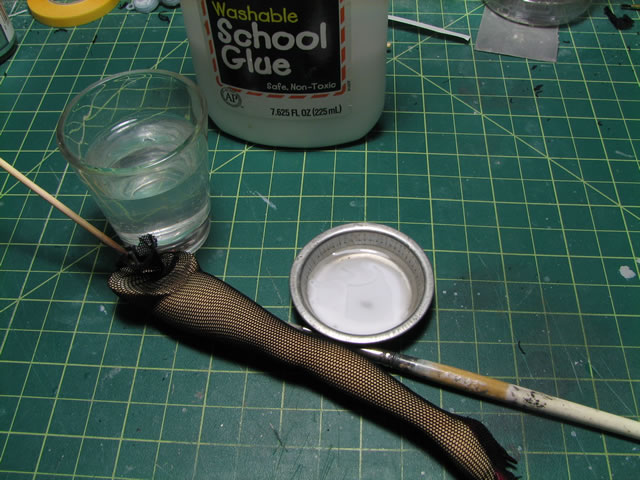
October 20, 2006 Stocking update. This was a fun experience. Using some pins to hold the two sides together I sewed to two sides together. After sewing it all up, I cut away the excess and then took a lighter and melted down the edges to make them as small as possible. I'll install the stockings after I finish painting the legs.


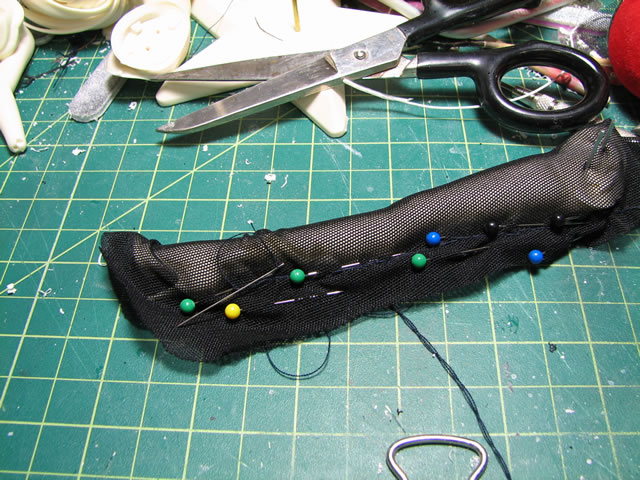
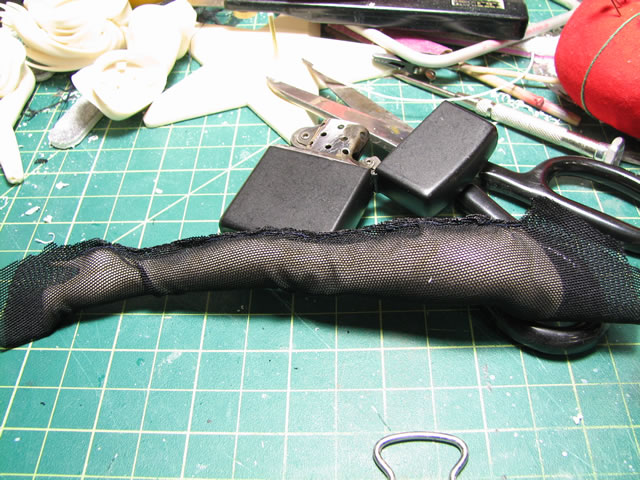
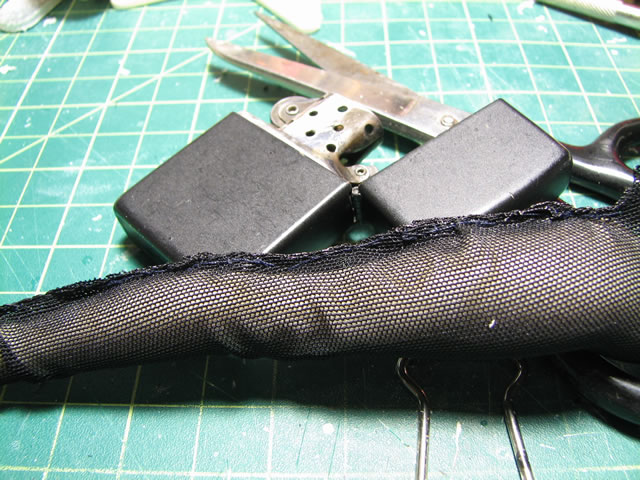
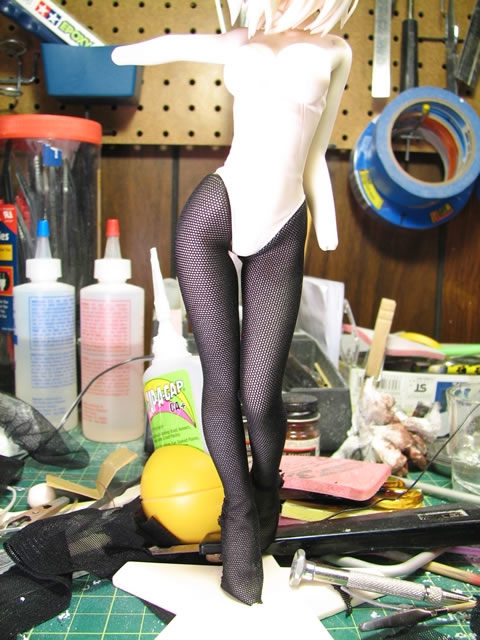
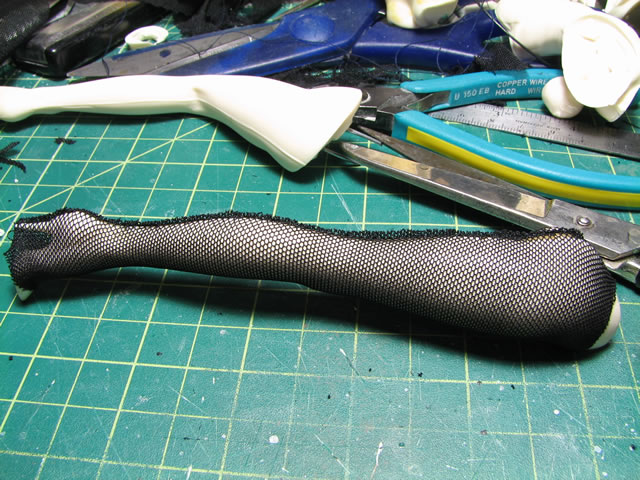
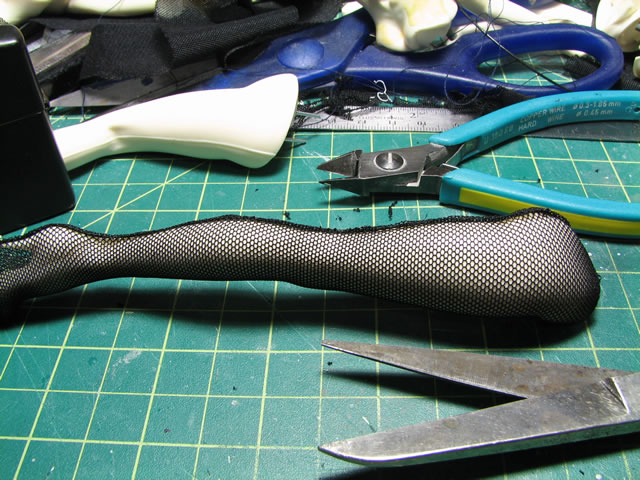
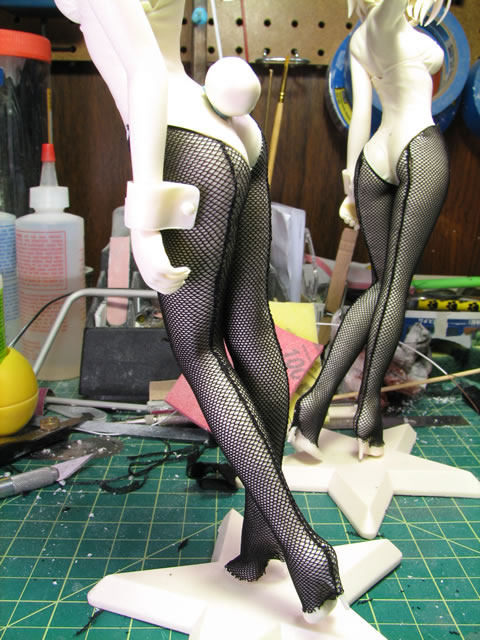
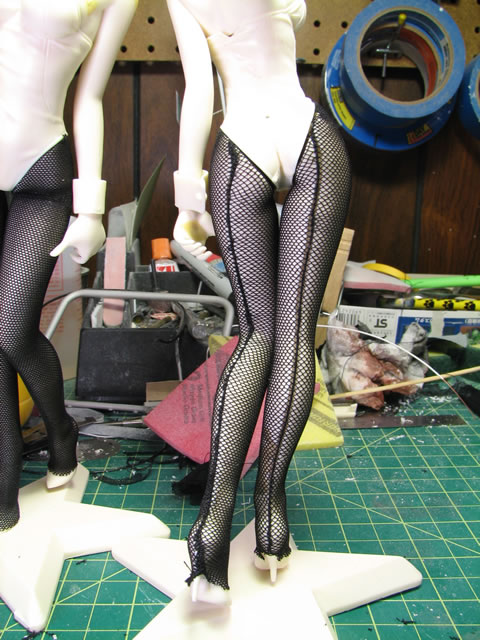
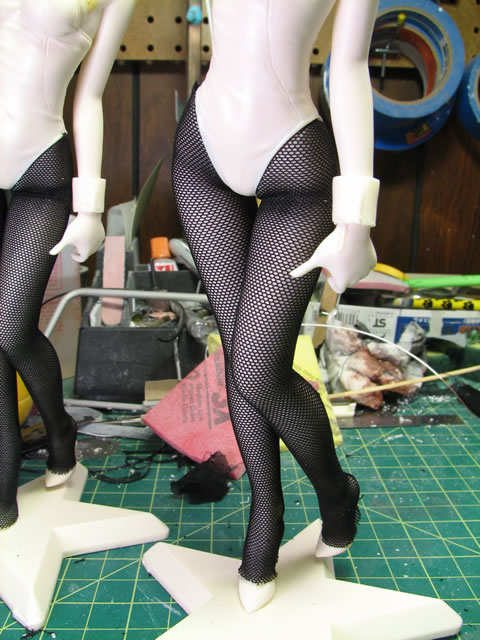
October 22, 2006: Stockings take two.... Ok I wasn't overly happy with the way the stockings turned out so I went back to the drawing board and thought about it a bit more. First thing that came to mind was to take the manual sewing with needle and thread out of the equation. So calling up my mom, I went to her house and picked up her sewing machine. I sewed the stockings before putting them onto the legs. Since I had already did a few test fits, I knew what sizes to sew. Nice straight seam now. Next I clipped as much excess material from the stocking then put the stockings on the legs and using my lighter, melted down any excess and thinning down the seam as much as possible. I flipped the stocking inside out so that the sewen seam was now on the inside and then put the stockings back onto the legs. A little happier with this result. The nature of the stockings lended to a few rips and runs, so now that I have this process solid, I can continue to work on the kit and not worry about the stockings anymore. I have plenty of material of my own to make more stockings if the need arises. Now that this unknown hurdle is done, I can continue working on what I know how to do.
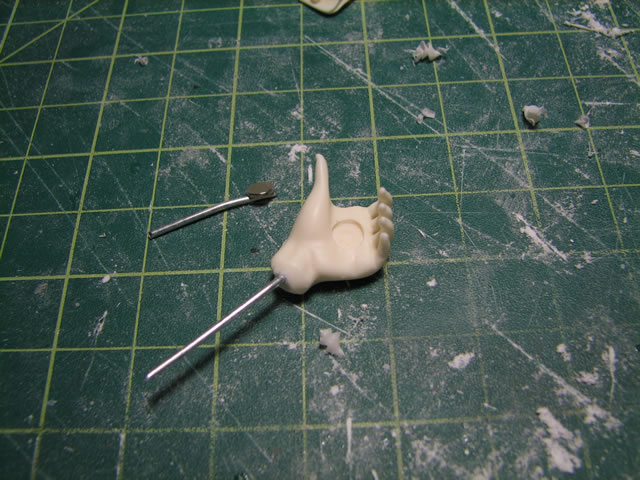
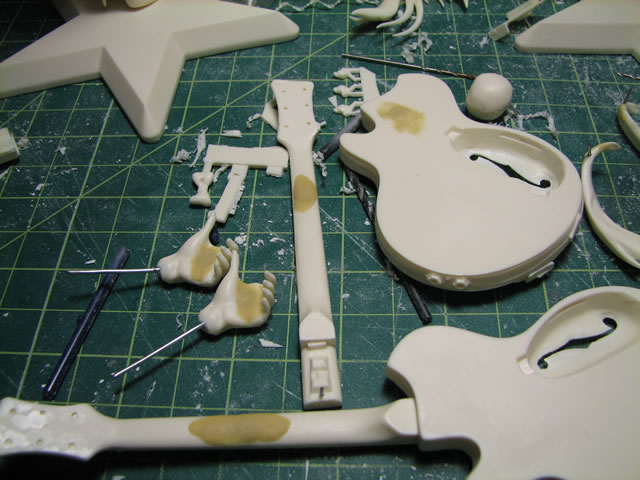
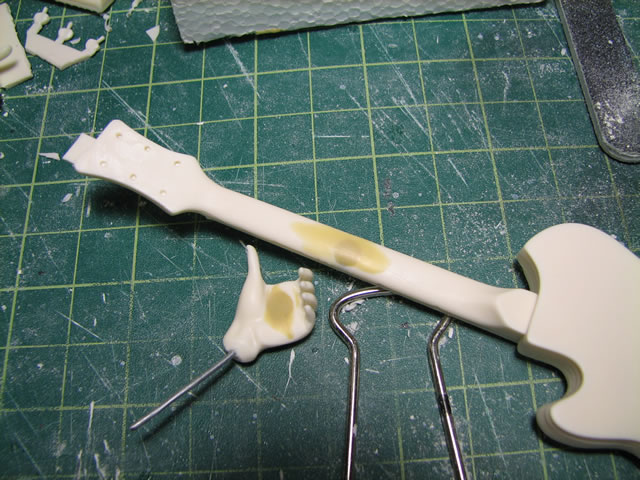
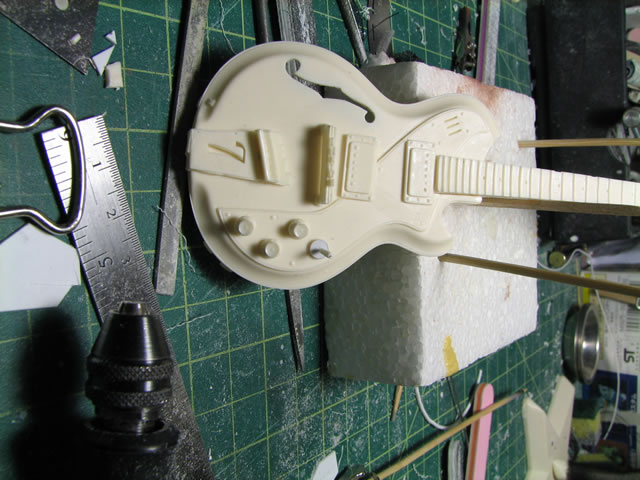
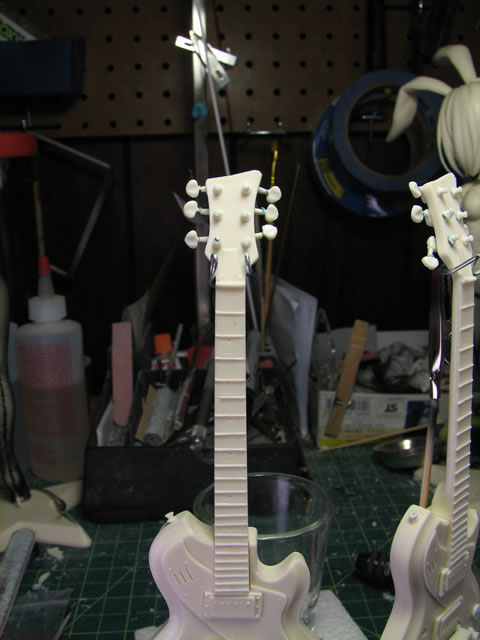
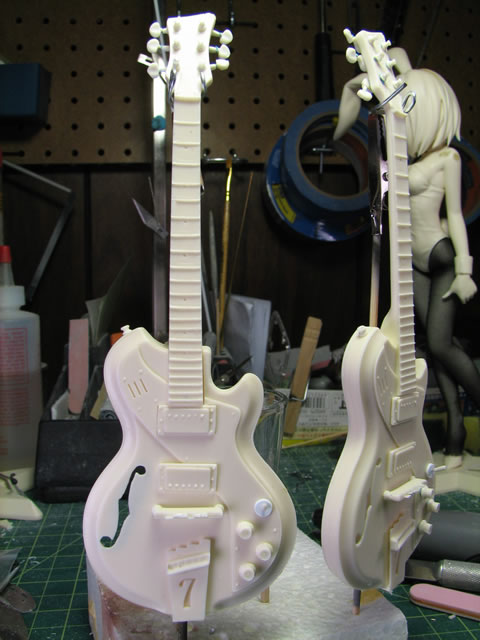
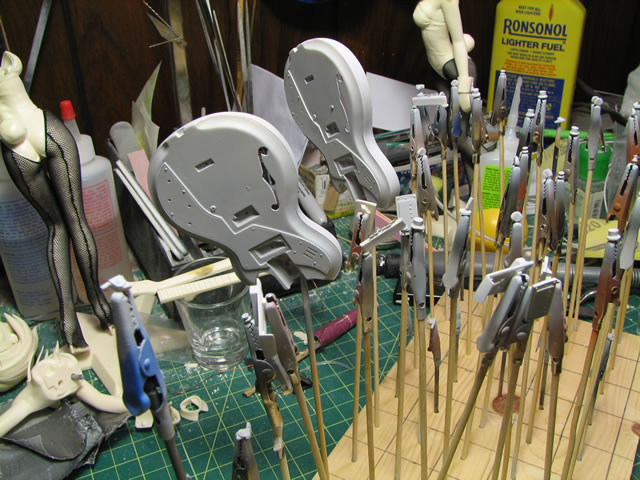
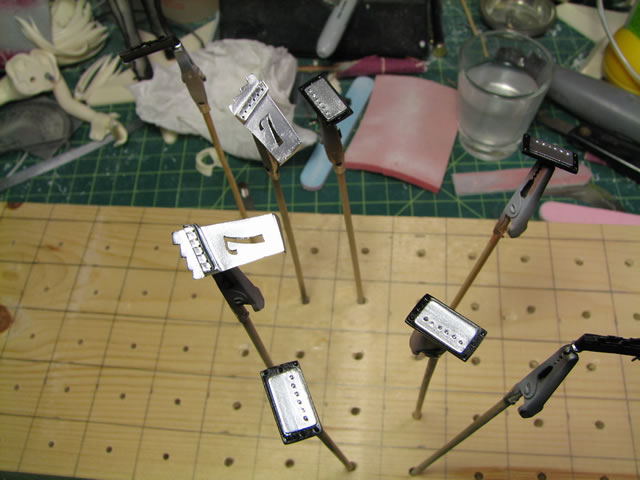
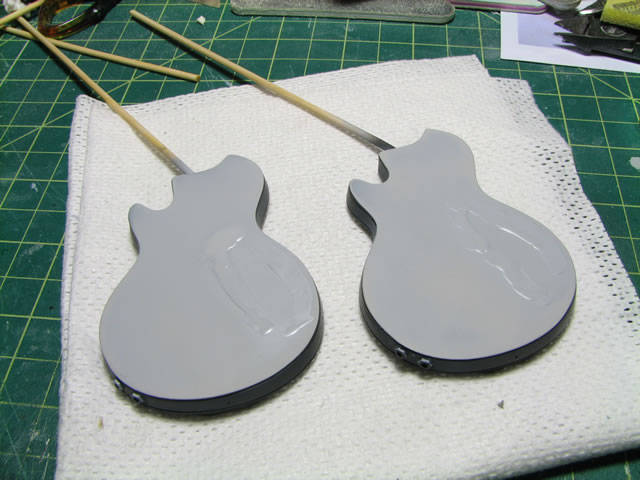
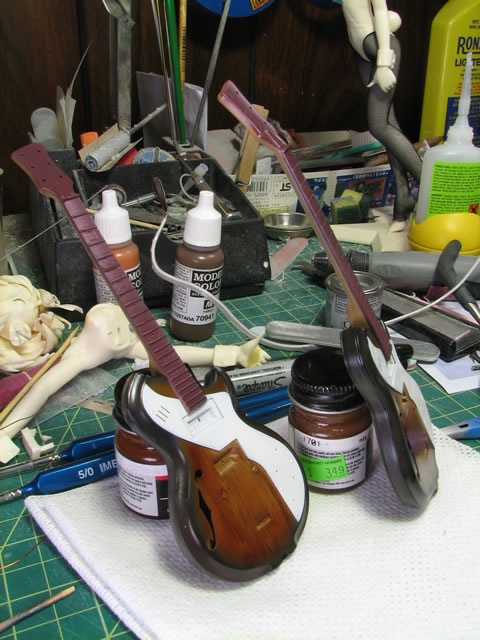
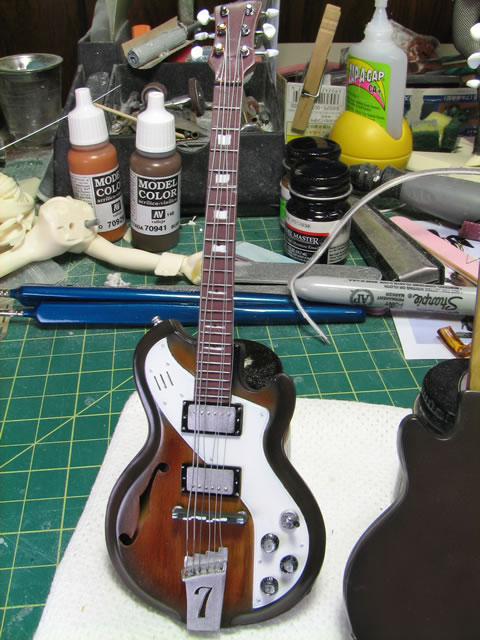
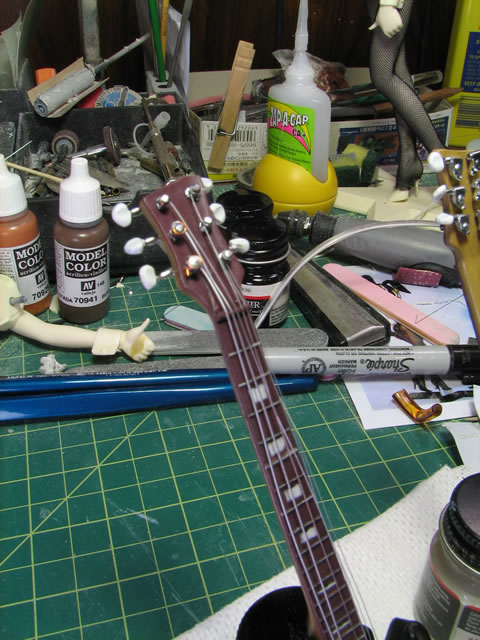
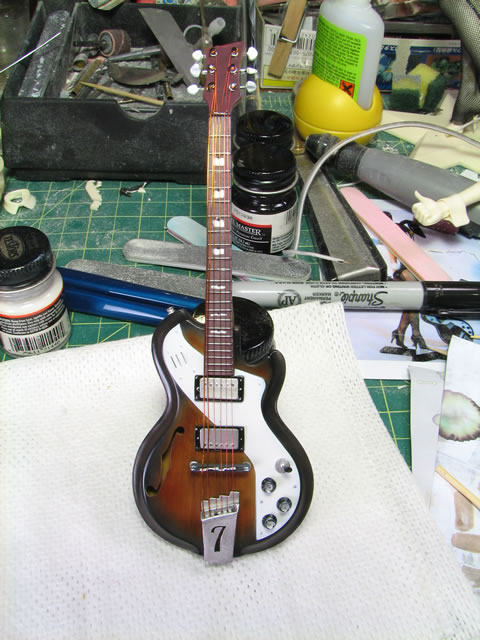
October 24, 2006: Guitar build update. Yesterday evening and tonight was spent pinning and building the guitars. I had a missing peghead piece, missing switches, and one extra strap attachment. Just odd. Using my dremel as a lathe, I pinned some spare resin and fashioned the missing peg head part and the switches. After making a few guitar holders, I put everything together and it's now ready for some fine tune sanding. Debating on finishing the guitars or switching back to sanding the Haruhis.

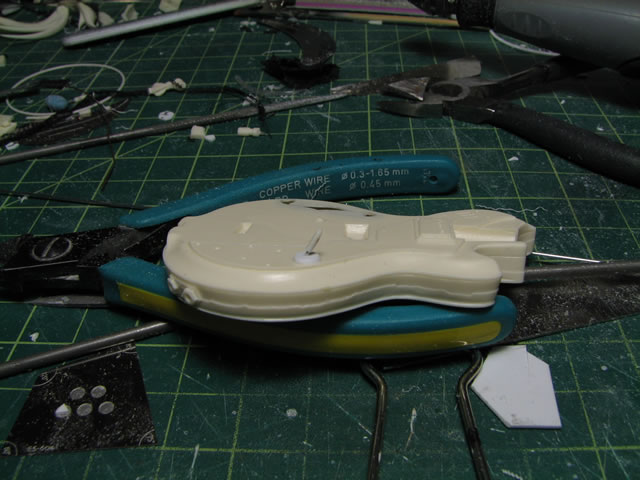
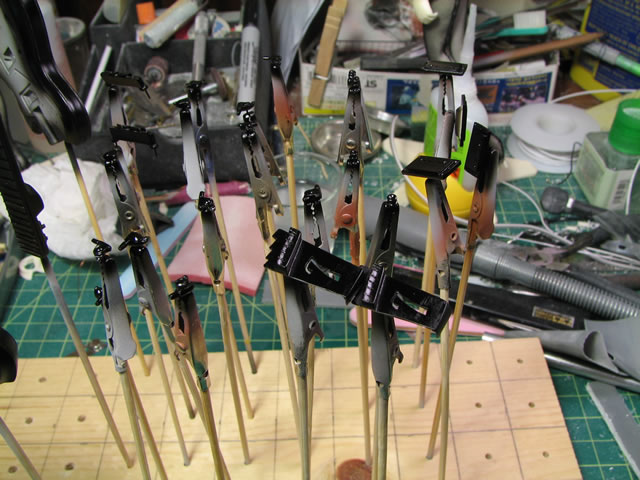
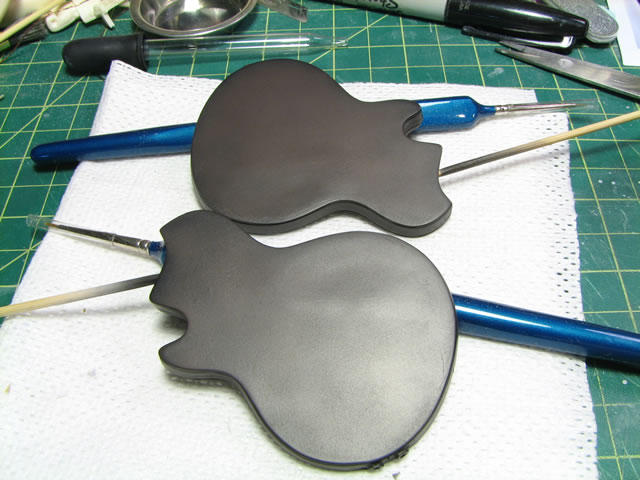
Weekend update. Almost finished the guitars. Still have to "string" one of the guitars.. but pretty damn close to finishing them. Here's the progression. Primed and black base coated for the main body and metallic parts:
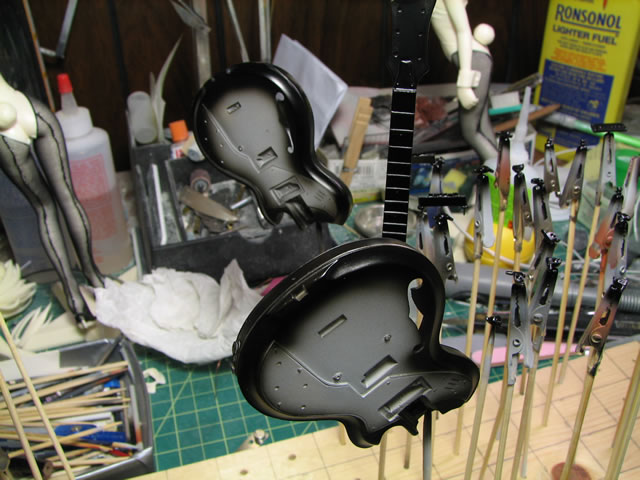
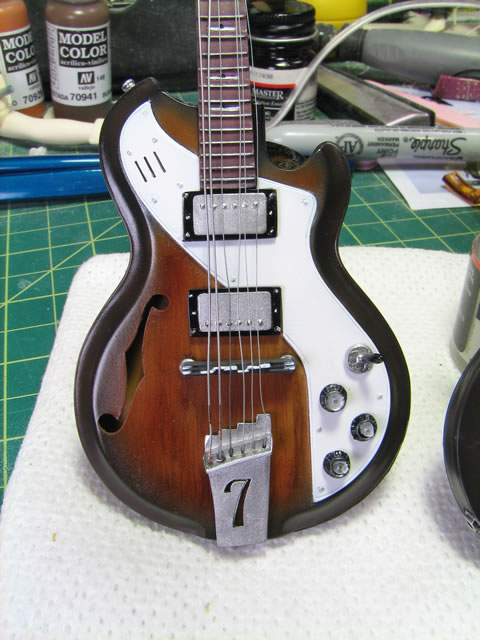
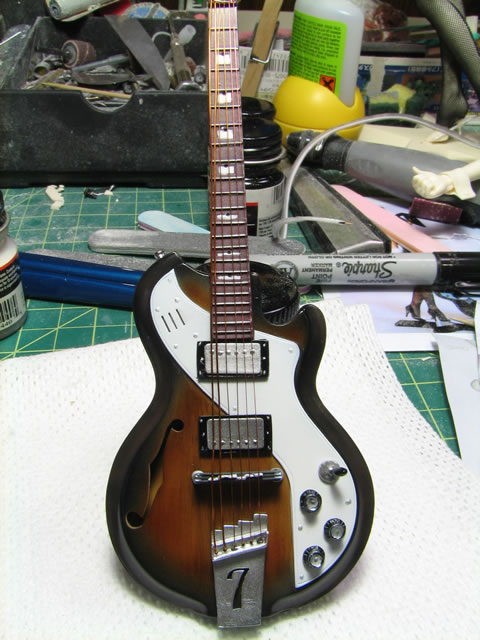
Painted the metallics and knbs:
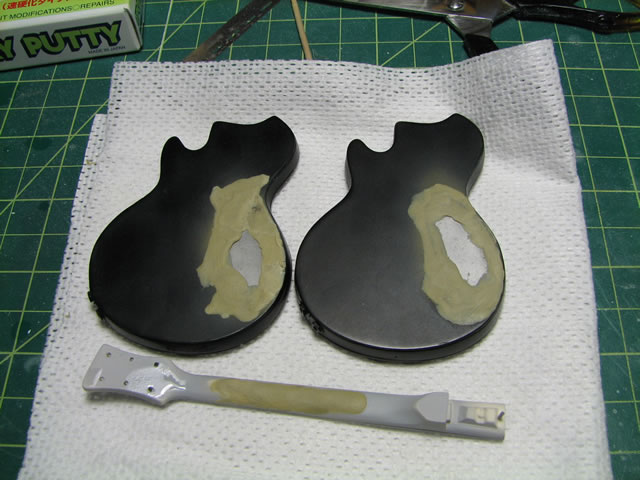
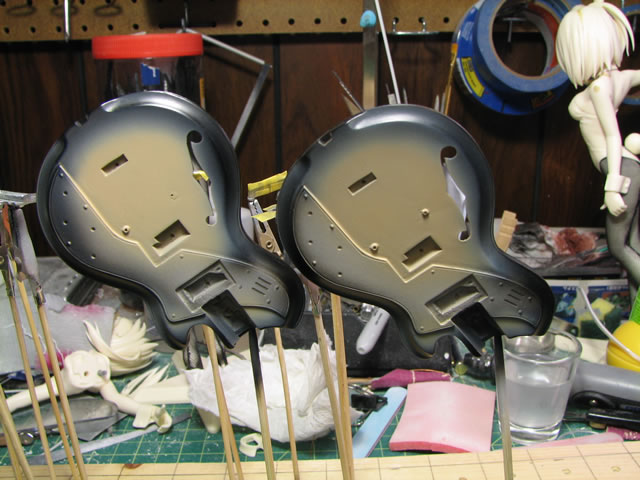
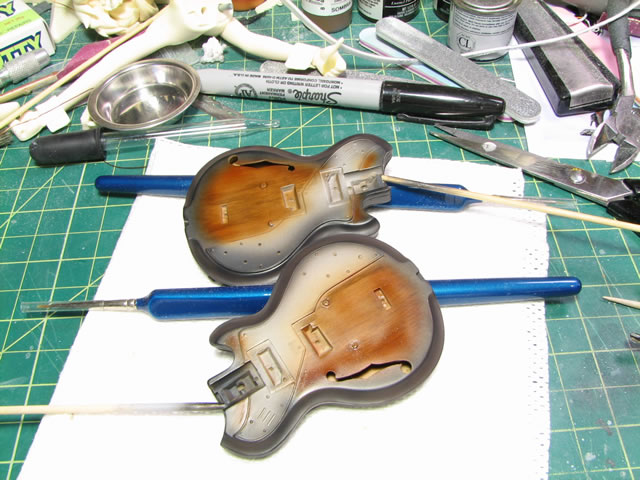
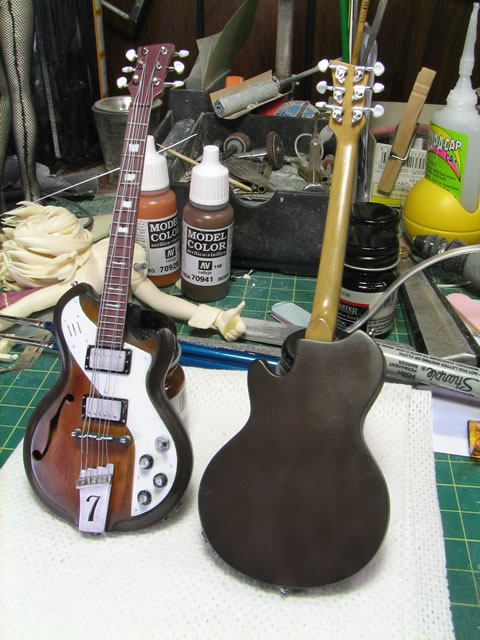
I decided to paint the internal "hollowed" out body section, the glue the back panel and putty everything... after priming, I found some very small seams that I just filled with some Mr Surfacer 500, then resanded and reprimed and poof.. gone. Base coated it in black, then went back with mahogany for the color of the body.
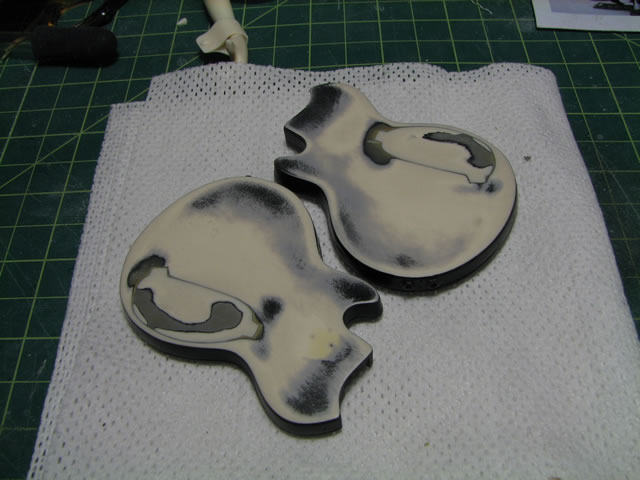

Now looking up David Fisher's method for creating a wood grain, I attempted this. The basic principals of this is similar to drybryshing and washes. First I sprayed on a tan color for the guitar top. I sealed this layer with a lacquer clear gloss. Once that dried, I used some acrylics: burnt umber and light brown thinned with some isoproponal alcohol. Using a ratty brush, I effectively drybrushed some wood grains. A couple of runs was all that was necessary. I let the wash/drybrush dry, then sprayed on another coat of lacquer clear gloss. Then using only burnt umber thinned with alcohol and a flat soft brush, I applied the wash in a drybrushing technique again. Once this dried, I sealed it again using a lacquer clear gloss. Finally, I did a mix of clear yellow, clear red, and clear green and created a light brown and sprayed this over the top blending in the edges.
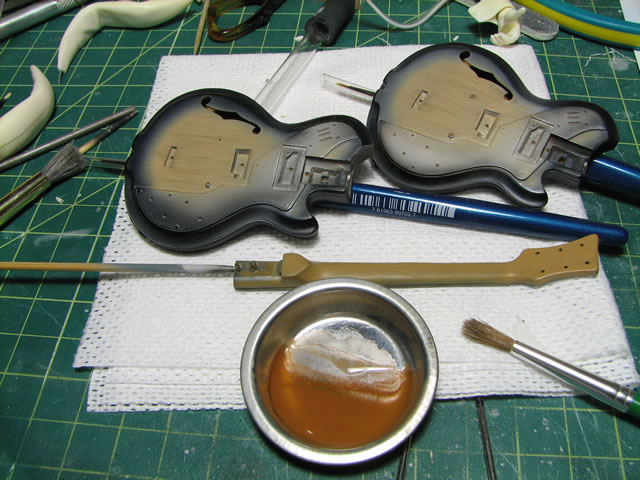
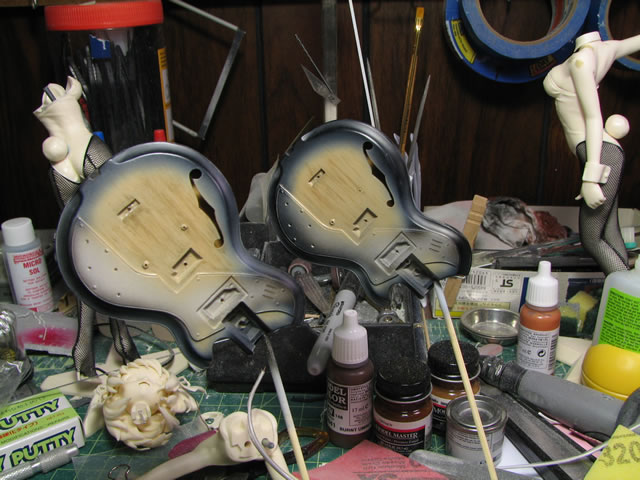
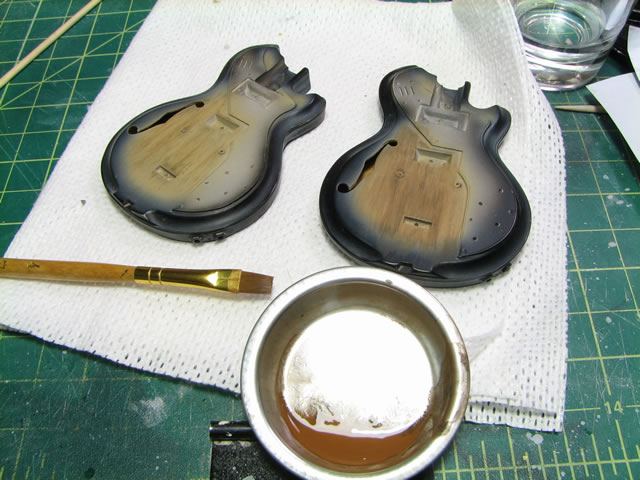
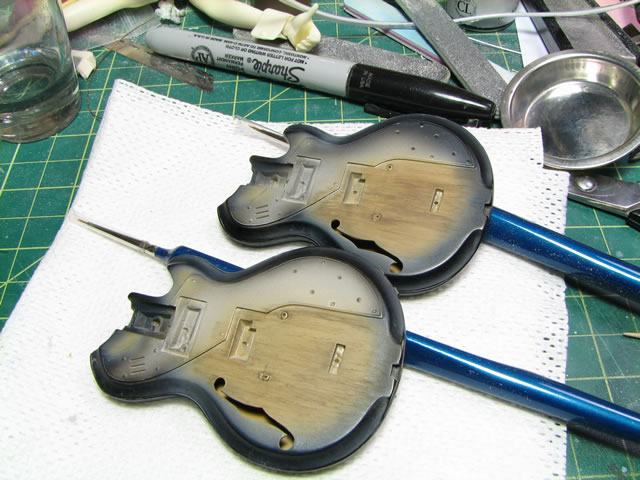
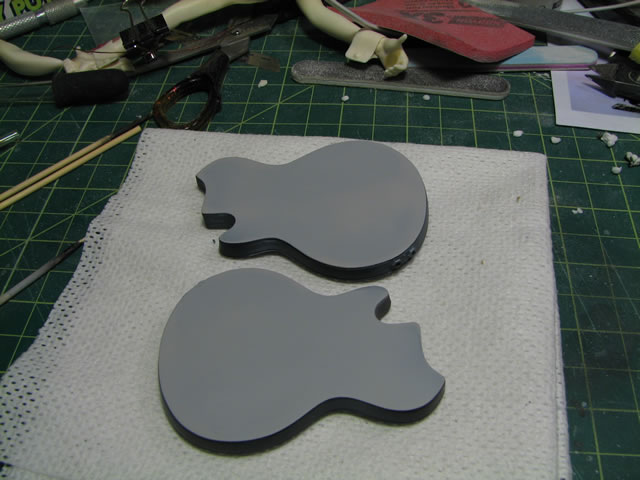
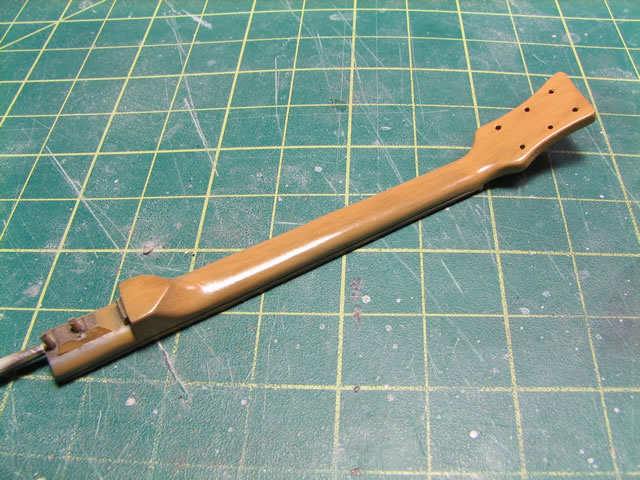
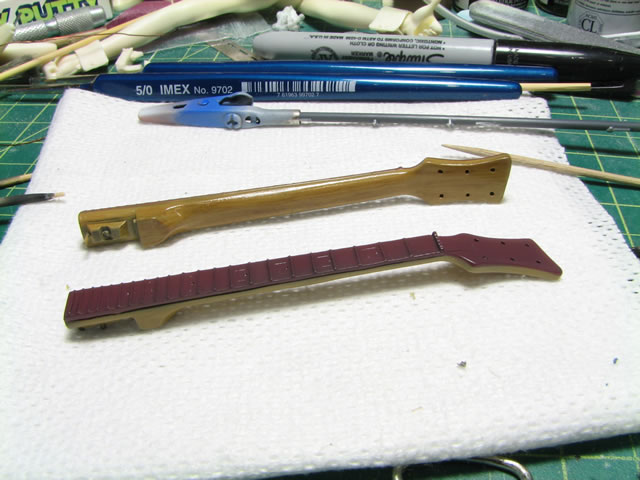
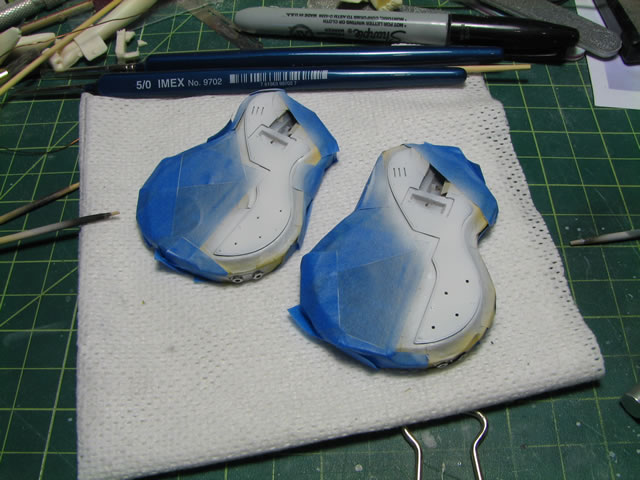
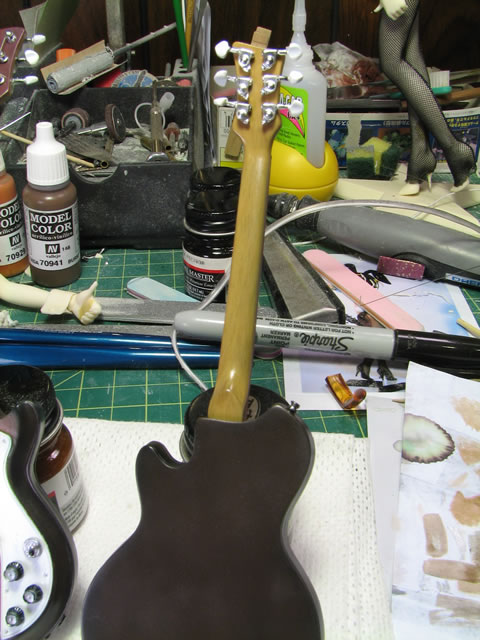
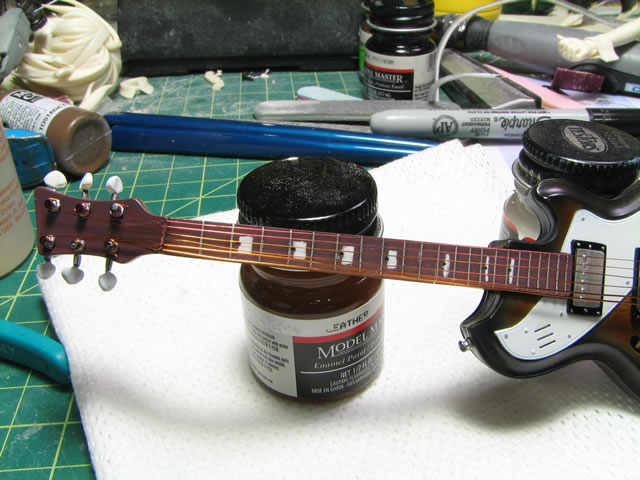
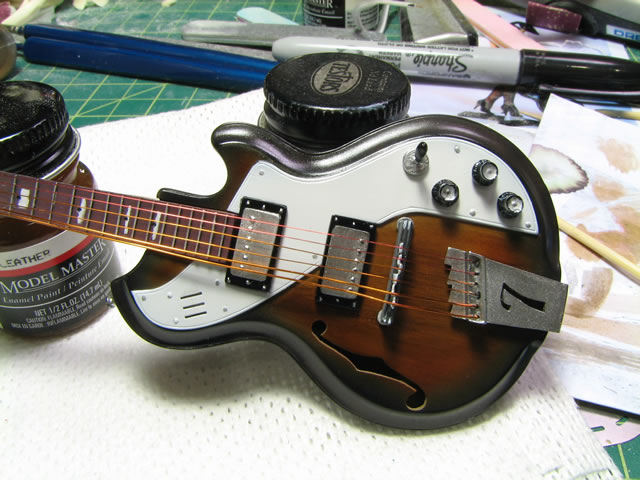
I decided to paint the neck in a hard maple color so I applied the first half of the wood grain technique to the neck, sealed it and was done. I next masked off the neck and painted the fretboard a rosewood color. I also masked off the top of the guitar, reprimed the area to neutralize any left over color from the previous sessions, and sprayed on a gloss white. Once the white was dried, I went back and sprayed a mixture of pearl powders and future to give the white a pearl white finish.
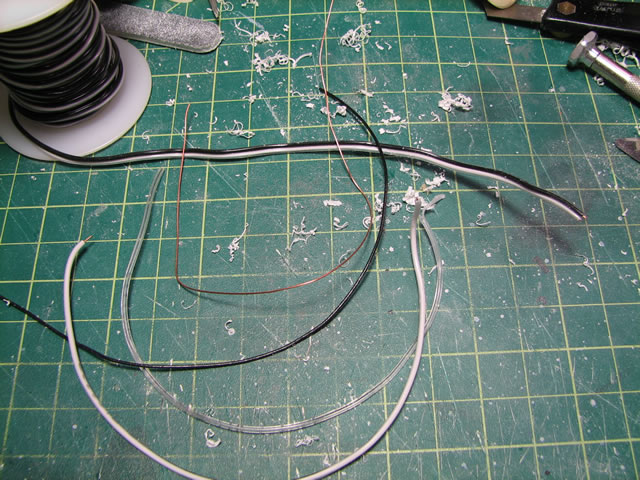
I finished painting the little details, white wash for the knobs, silver for the frets and little accents. I was able to string one guitar. I still need to tighten up and straighten the wiring but I'll wait until the glues have hardened. I'll finish stringing the other guitar tomorrow. But so far, here's what I have:
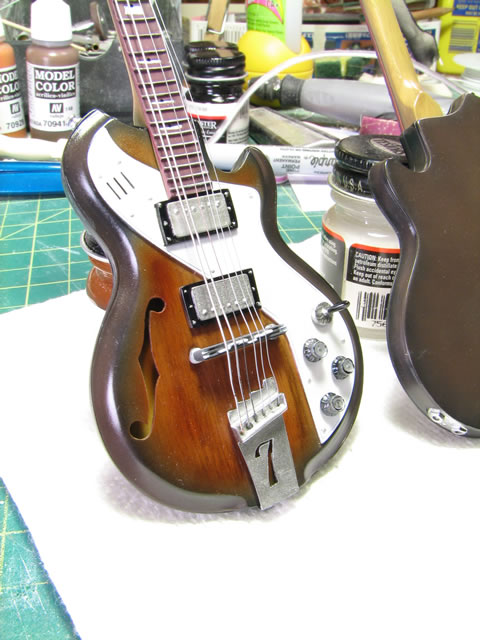
October 30, 2006: Second guitar strung... and then I just couldn't resist the temptation....
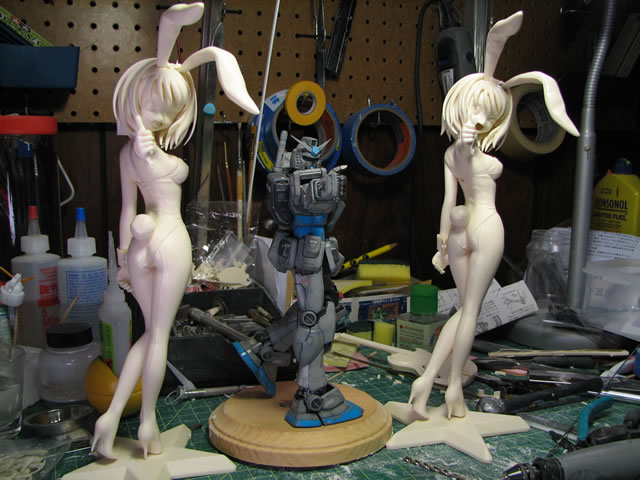
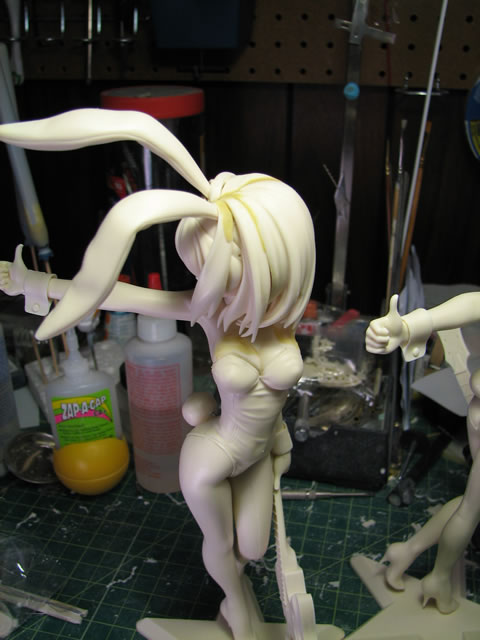
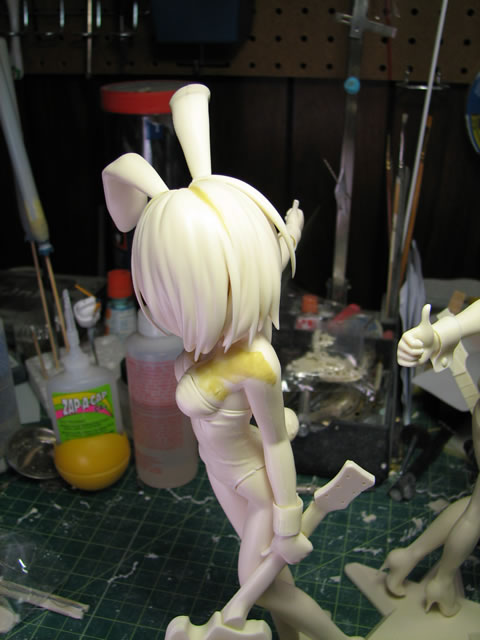
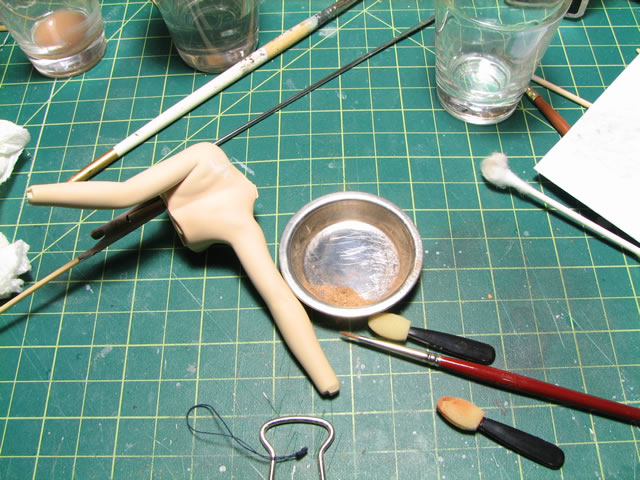
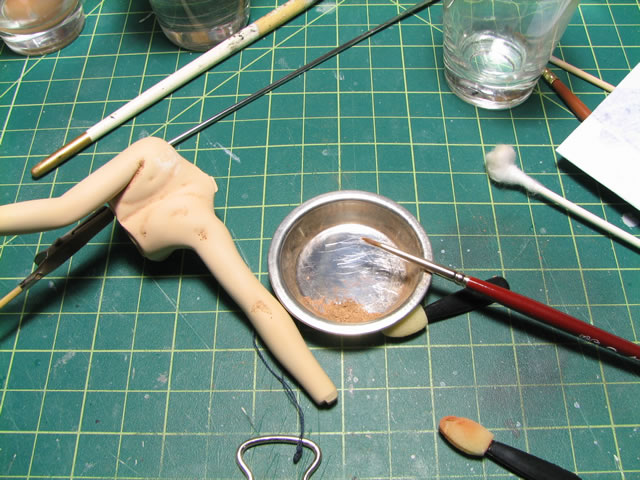
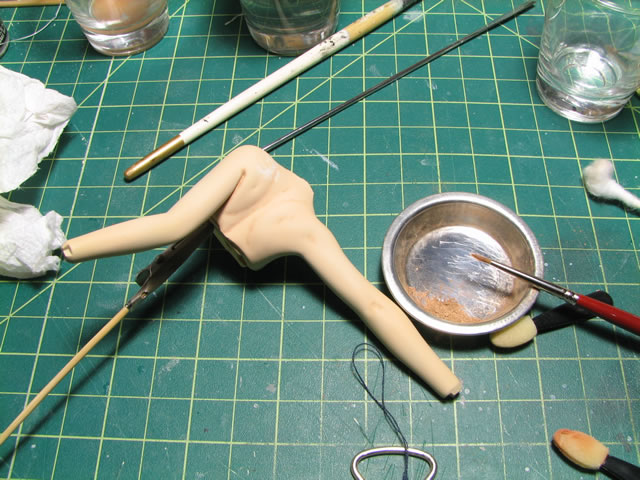
November 2, 2006: I am now back to working on the bunnies. The thing that has been holding up a steady progress are the huge seams, marred details that need to be carefully rescribed, delicate parts that need considerable clean up, and the continuous discovery of pinholes as I continue to clean the kit up. I now have one Haruhi ready for the initial primer job. Hopefully I won't have so many pinholes and defects show up after I prime. But I will definately need to do some additional clean up and another priming session before I can get some paint on her. Then there's the other Haruhi, for which I don't think there are as many problems. At least some of the details are clear and don't need much rescribing. Seems like a relatively small update, but quite a bit of work has been done.
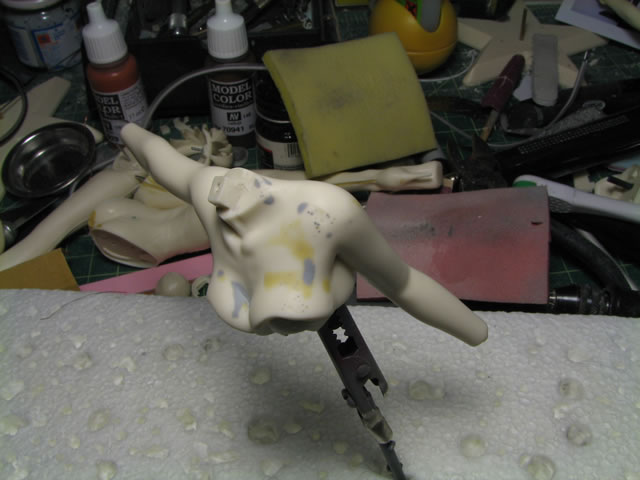
November 5, 2006: Weekend update. Got the initial priming done. Resanded problems areas, then reprimed. And then I got a little over zealous with sanding down the stupid pinholes and um.. well I ended up having to rebuild one of the boobs with putty...
I got most of the parts painted. The black is Finisher's pure black, again, the stuff f-ing rocks. The second Harui's bunny suit got painted with chrome then with clear red.
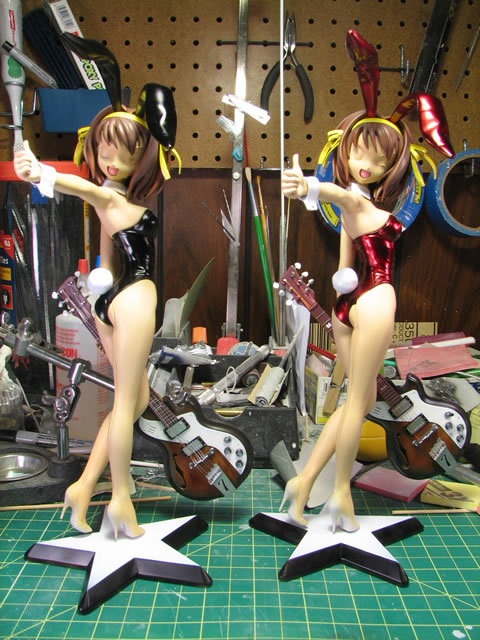
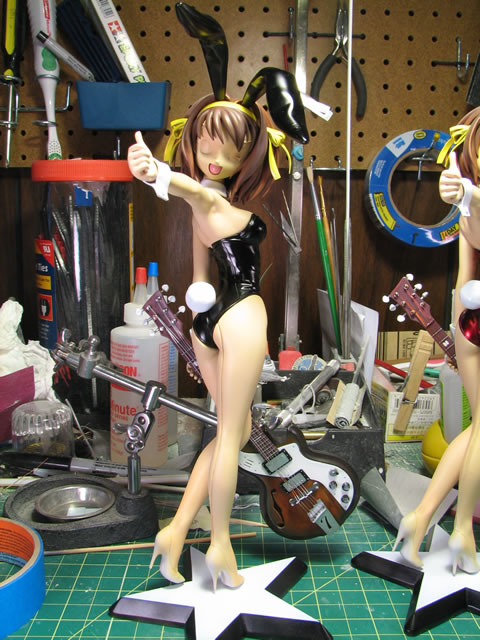
And the results of this weekend's work. I still have a bunch of detail painting to get through, but I'm getting close to finishing them up.
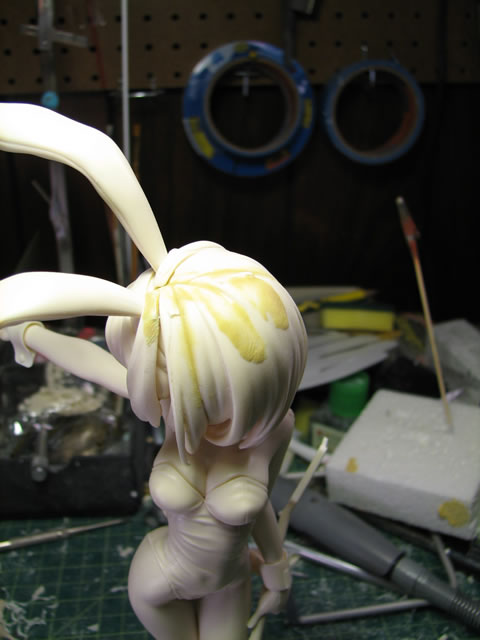
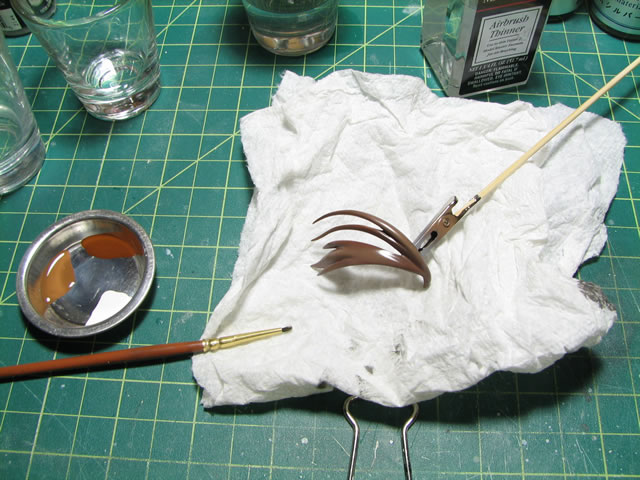
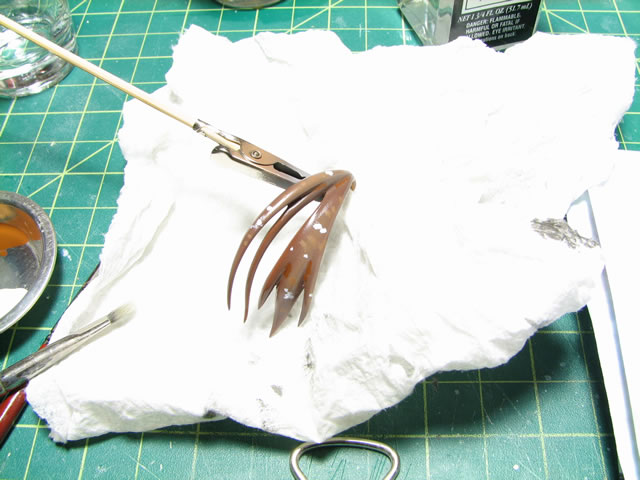
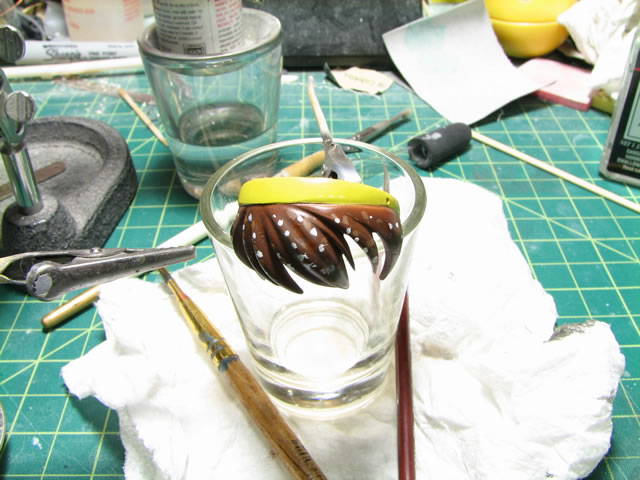
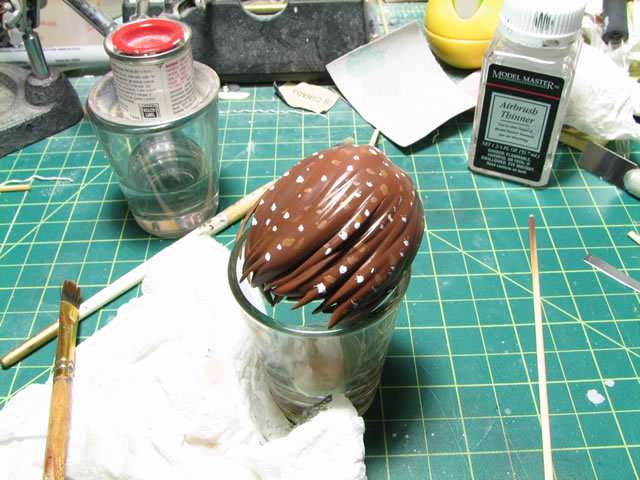
November 6, 2006: Today I applied a fade to the hair to add some highlights and blends. Figured I'd try some armor/mecha weathering techniques and see what kind of results I get. I sprayed a lacquer based clear gloss on to the hair. Once that dried, I used three enamel colors, 2 shades of brown and white, then proceeded with the fade. Dotting the parts. I then took a flat brush loaded with enamel thinner and lightly wiped in the direction the of the hair. Once dried, there are some subtle shading effects and changes in color.


Next up tonight, I did some pastel shading. Again, I have my trademark tattoo placed on her left shoulder (yes, both Haruhi's have the tatts) I sprayed on a clear flat coat, once that was dried, I grabbed some chalk pastels and mixed a dark skin tone using yellow, orange, red, a touch of light blue, white, and brown. Once the mixture was to my satisfaction, I used a small 0 sized brush and applied the pastels to selected areas. Once I was done applying the pastels with the brush, I quickly blew on the part to remove any excess. Using a small makeup applicator sponge, I blended the pastels with the skin. After all the pastels were applied, I clear coated wtih another coat of flat clear to seal in the pastels. More detail work tomorrow.
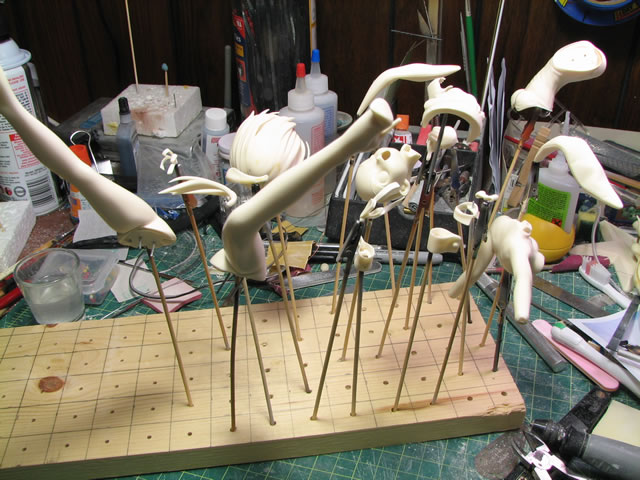
Parts not seen in the below picture are the face, cuffs, and legs. The bowties are not there as I am using them as markers to help keep my parts organized as to what part goes to which kit. The fun that is working with two identical kits at the same times requires some sort of labeling method :)
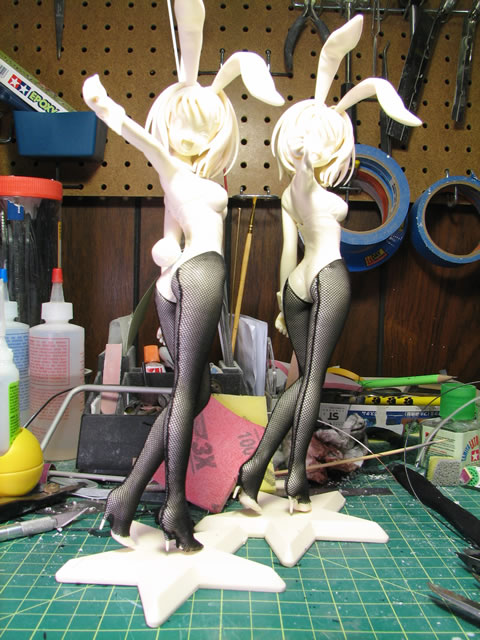
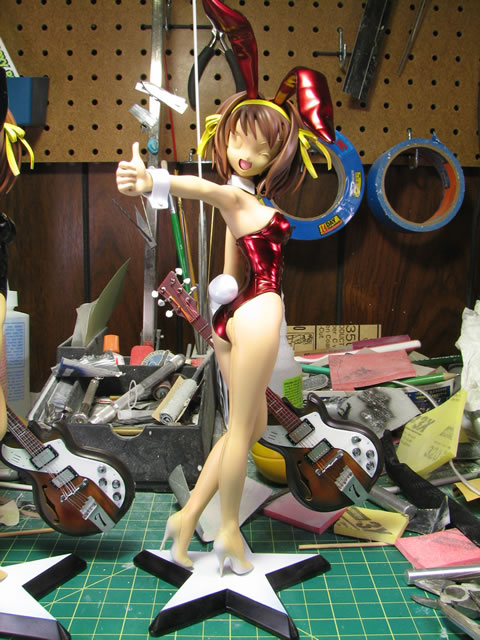
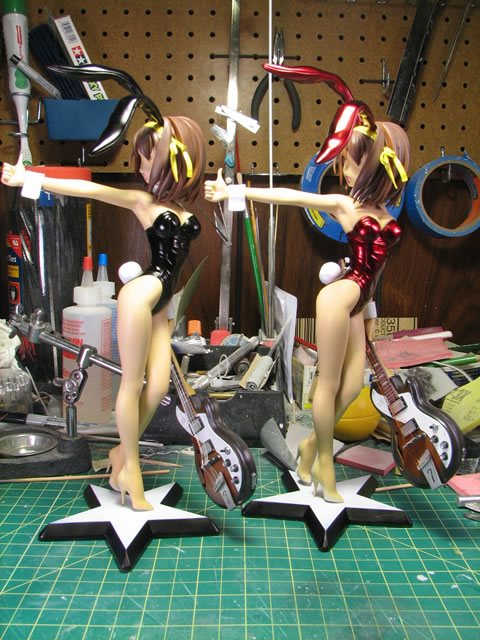
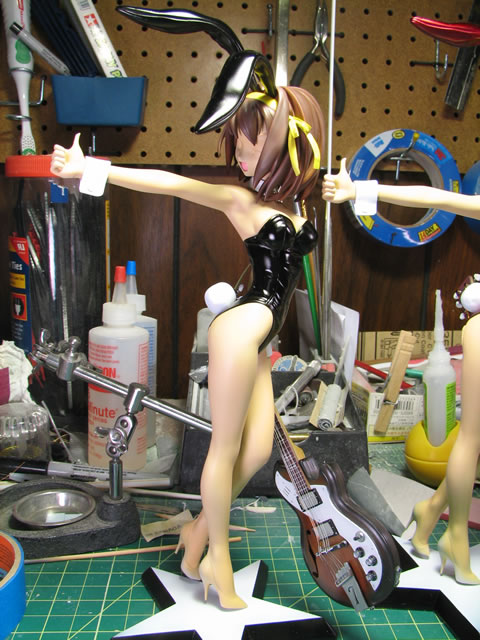
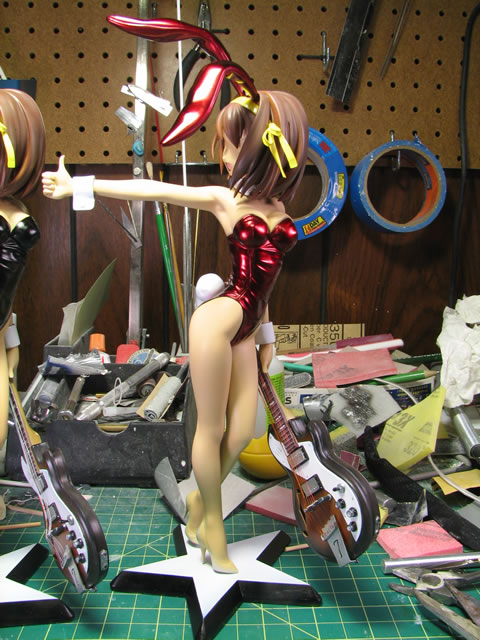
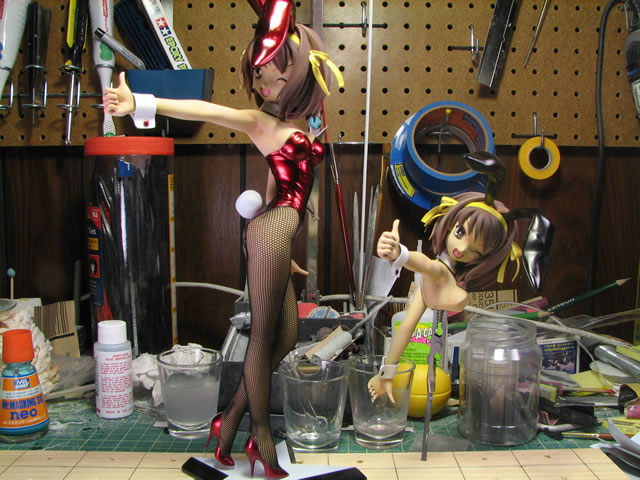
November 10, 2006: To set the stockings up for cutting around the feet/shoes, I used some slighly thinned (with water) elmers white glue and just brushed it all over the stocking. Once the stockings were set, I took a brand new hobby blade and just sliced around the shoe/foot seam. Pretty simple, however it took me several tries to get it correct. First attempt at employing stockings so having to redo this over a couple of times isn't too bad. This is the reason why I only have one finished right now... I just applied the white glue for one stocking for the black bunny Haruhi. Other than that I got the eye painting done last night and also the eyebrow details and such. Everything is assembled for the black version with the exception of the single leg and upper torso. For now, I took some quick snaps of the red version.
I finished both of these around the third week of November: Click here for the completed page.