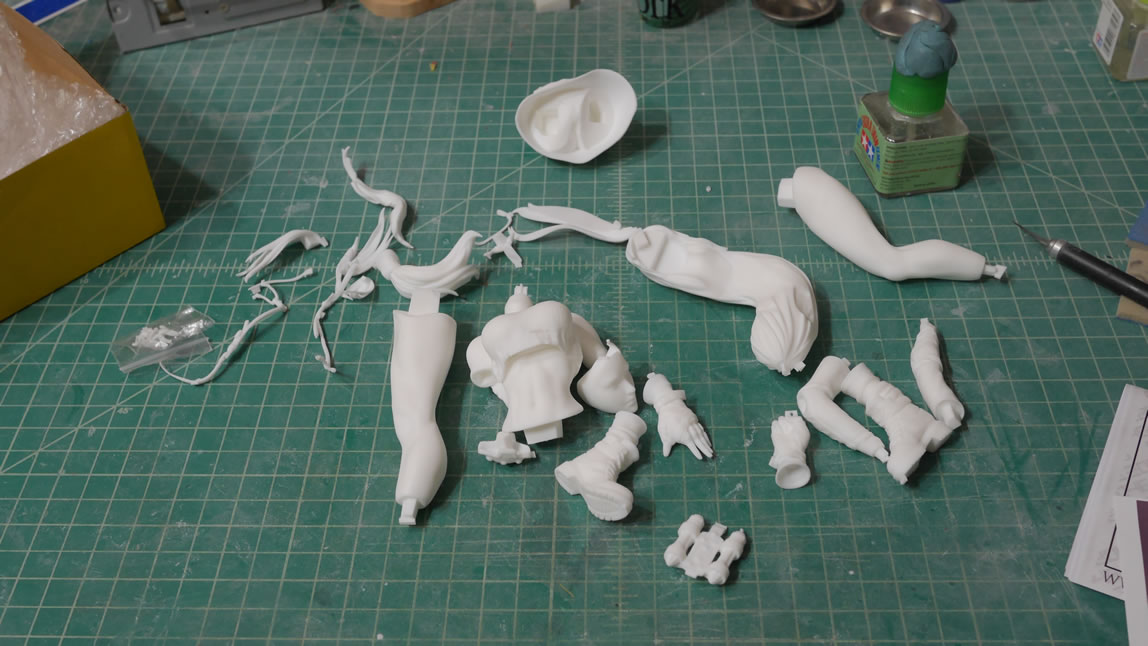
I originally was going to start a 1/48 scale F4U-1 Corsair and upon opening the kit and sorta starting on it, I decided to to some research and grab some reference photos. That then lead me down a rabbit hole of buying a photoetch detail set and a photoetch bending tool. And so I had to shelve the project while I wait for those bits to arrive and in our current world situation, who knows when I’ll get those items. So time to crack open another figure kit. Tifa Lockhart from Final Fantasy 7. I think this was a 3D model that was then created as a kit. Not sure, but when I saw it, I knew I needed to pick it up. The parts look pretty clean, as in very few mold lines and such.
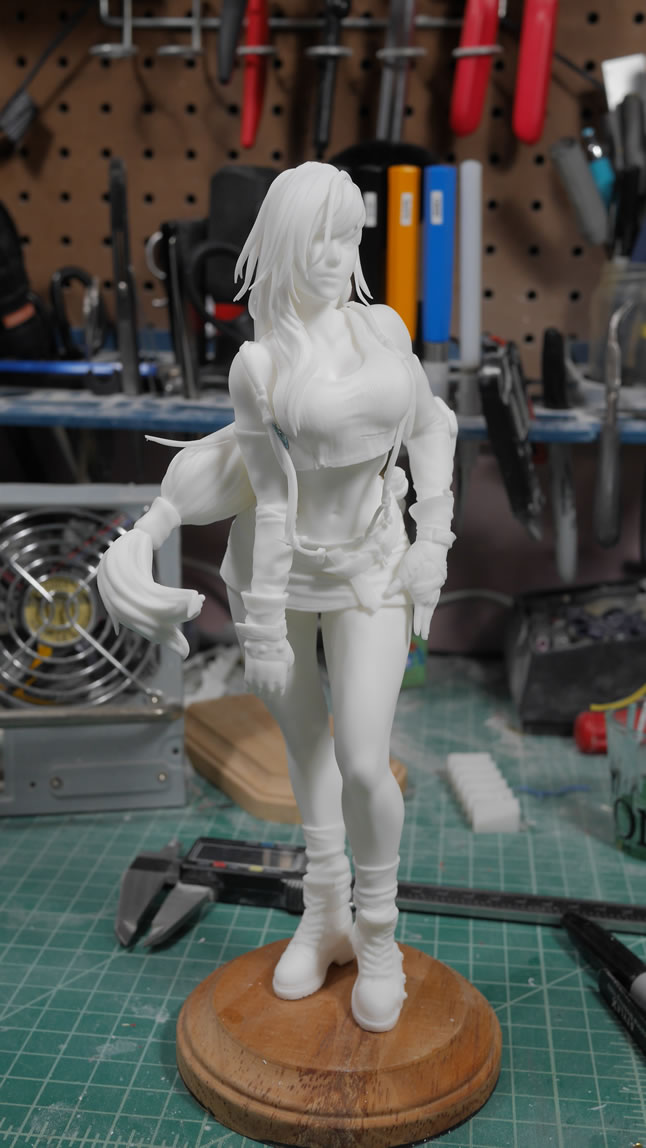
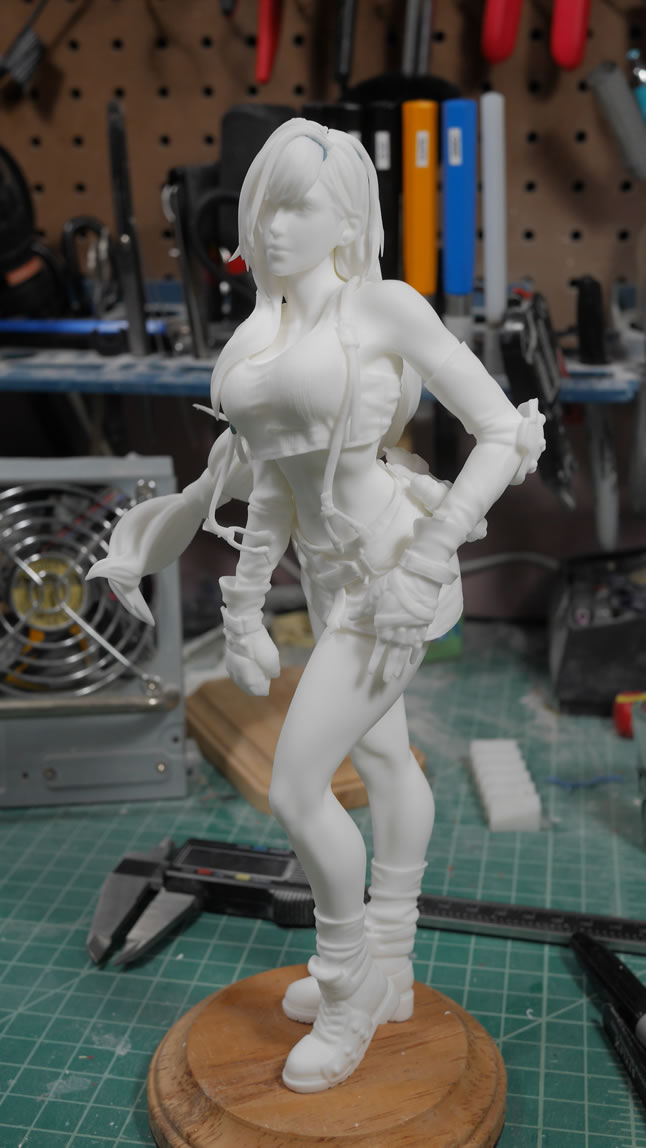
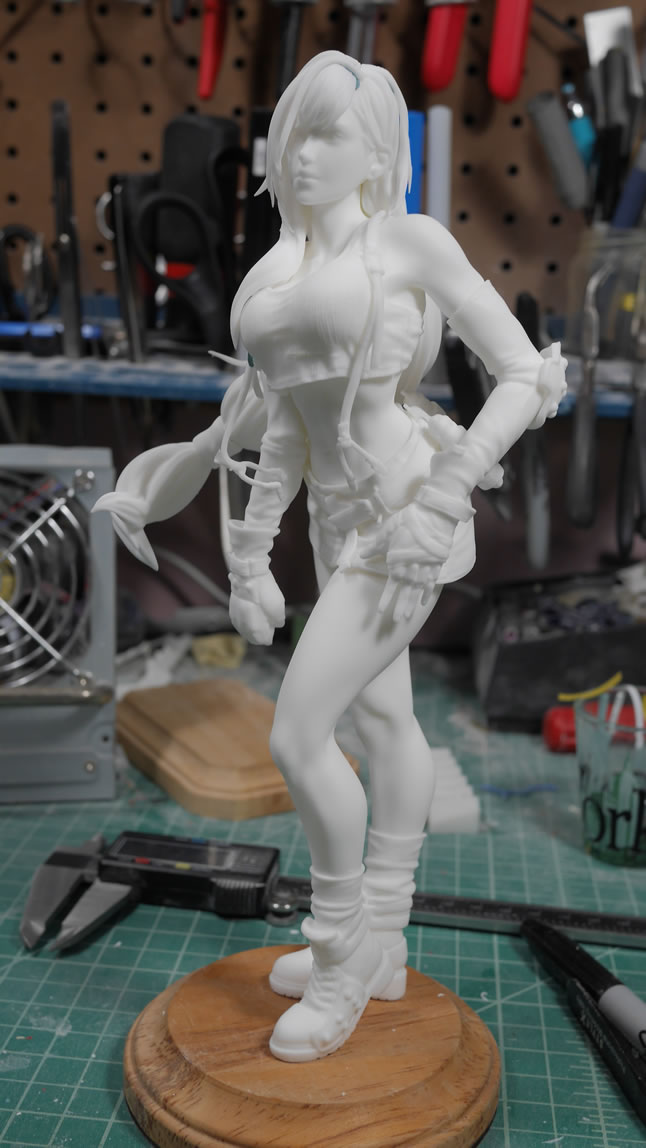
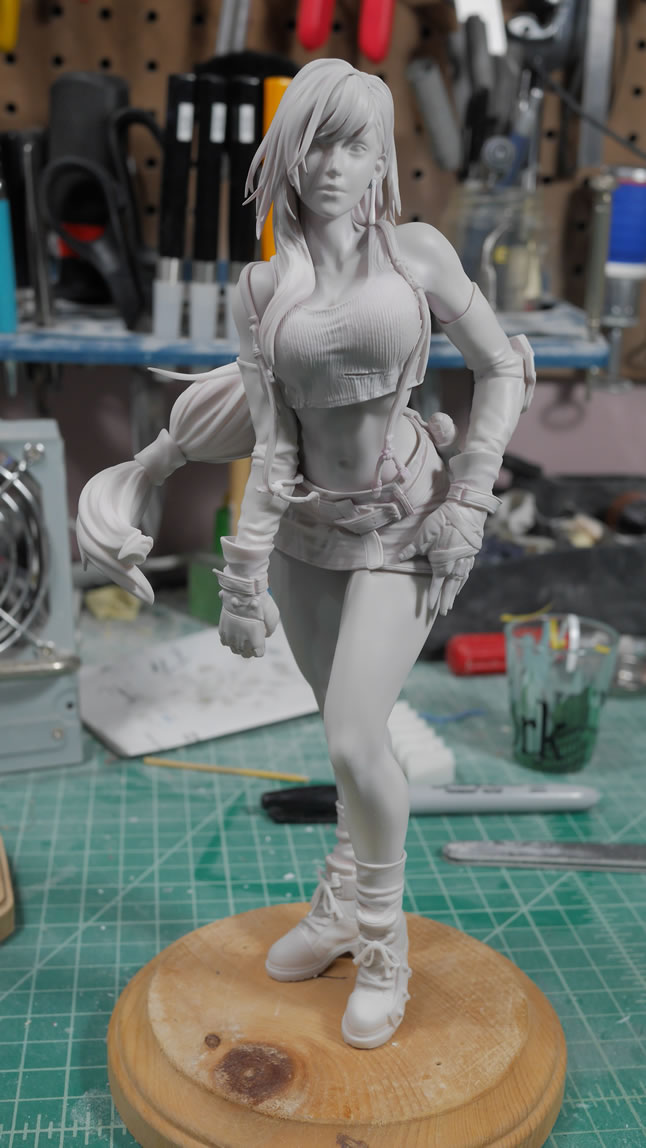
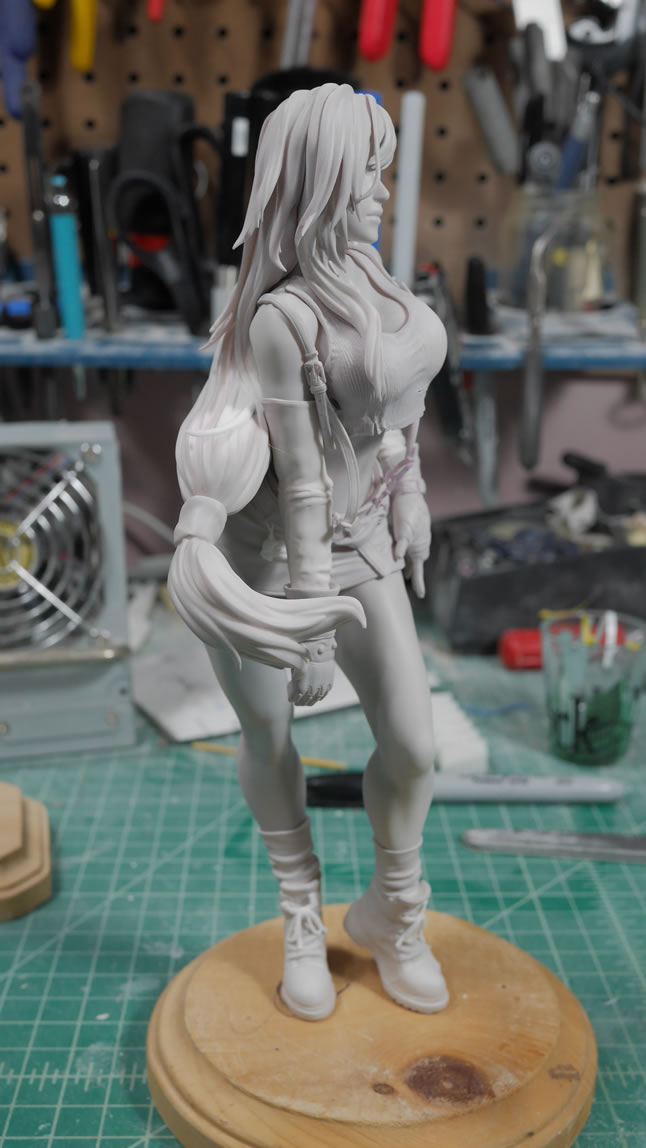
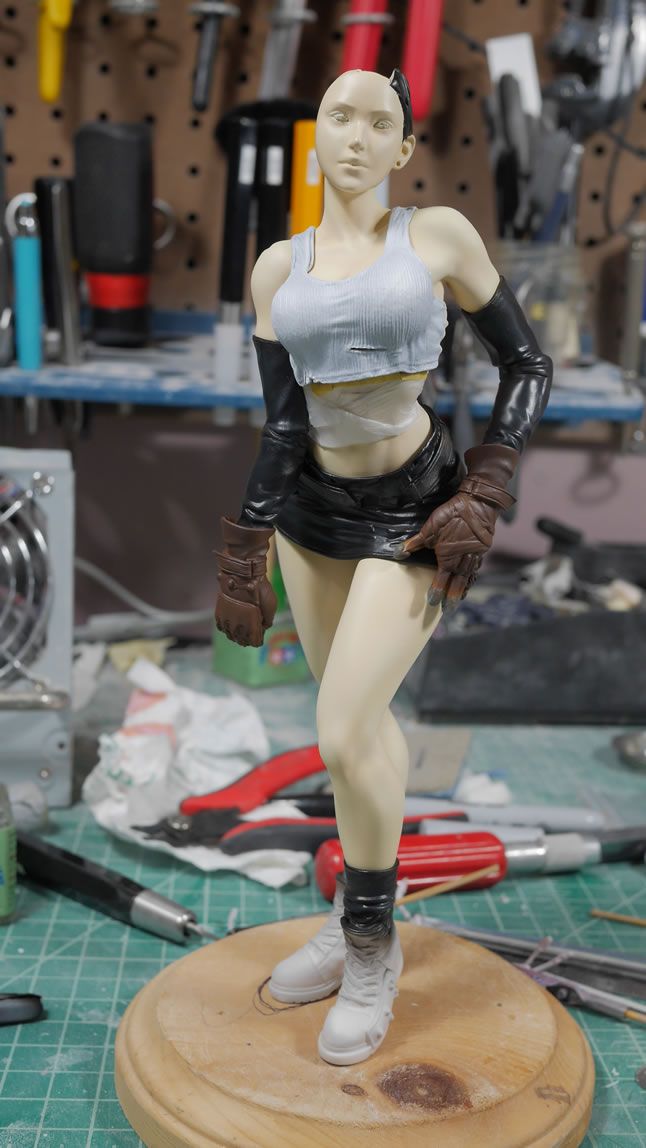
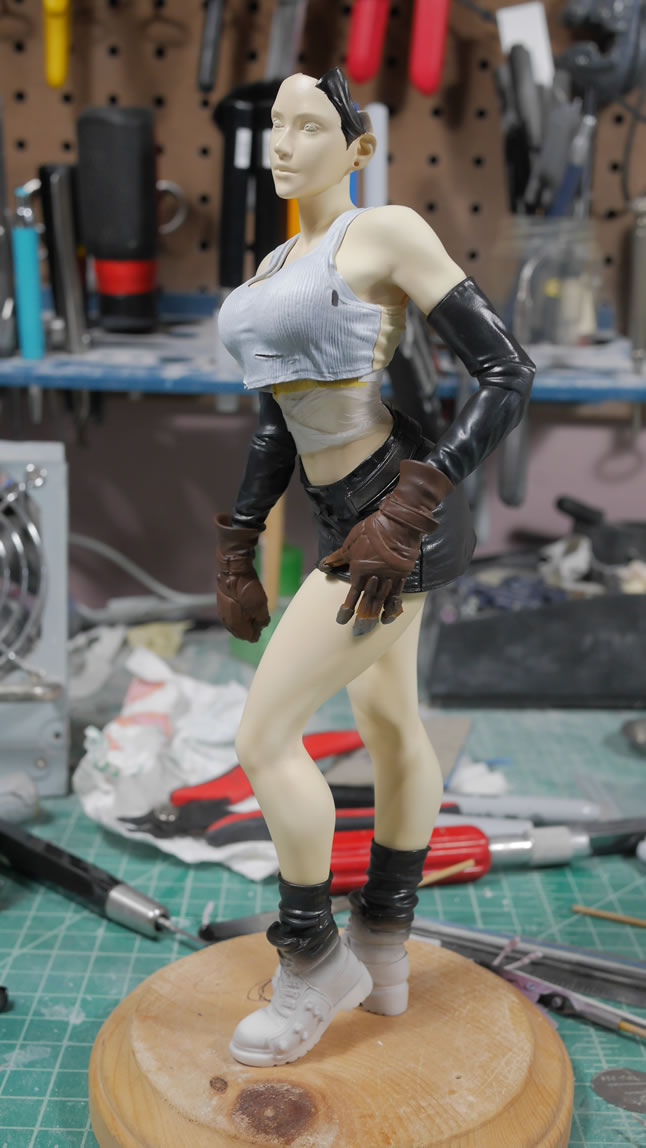
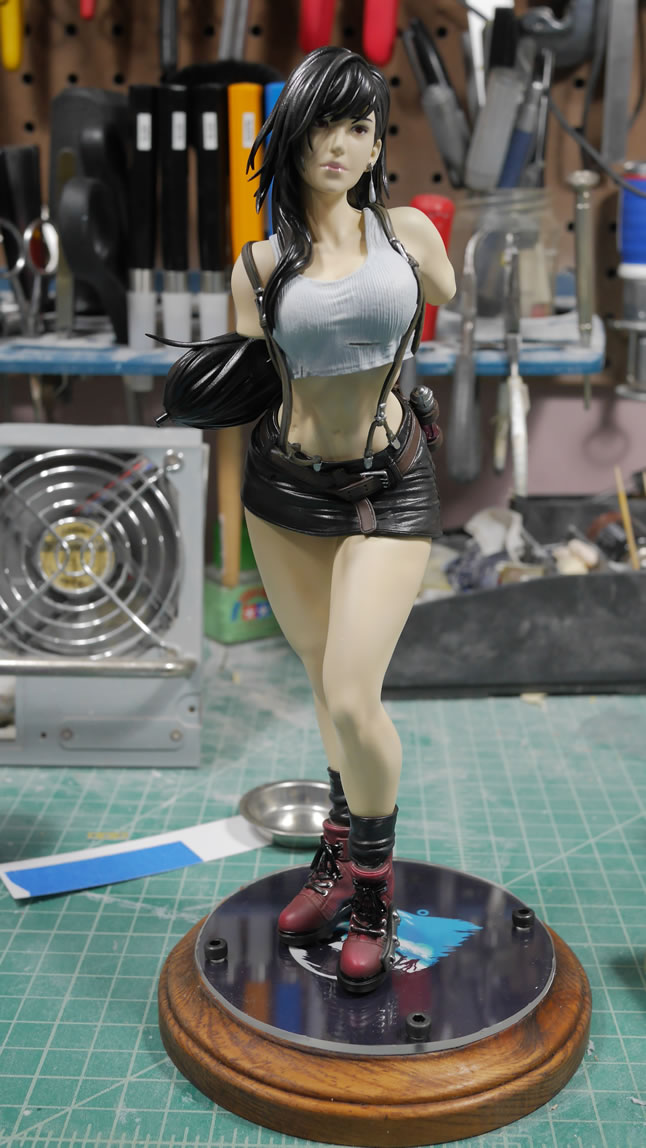
I did a quick snip and test fit. The balance on this kit is much better than the Sakurai. She can stand on her one with a fair amount of stability. She’s thick. But in a good way. I was in the Air Force when this game came out in ’97. I think I picked up the game and the PS1 at the same time while in Tech school in West Texas. The memory is fuzzy as I think I had discussions on the characters with a class mate during my time there. Regardless, the game made a pretty big impact on me. I was always a bigger fan of the bar girl than the flower girl. But this is the only Tifa kit I own too. There were plenty of sculpts over the years but nothing really jumped out and grabbed at me like this one. So not that the FF7 Remake game is coming out on Friday, I hope to finish her by then. I finished Sakurai in 3 days; and I’m currently further along on Tifa now, then I was with Sakurai when I restarted that project.
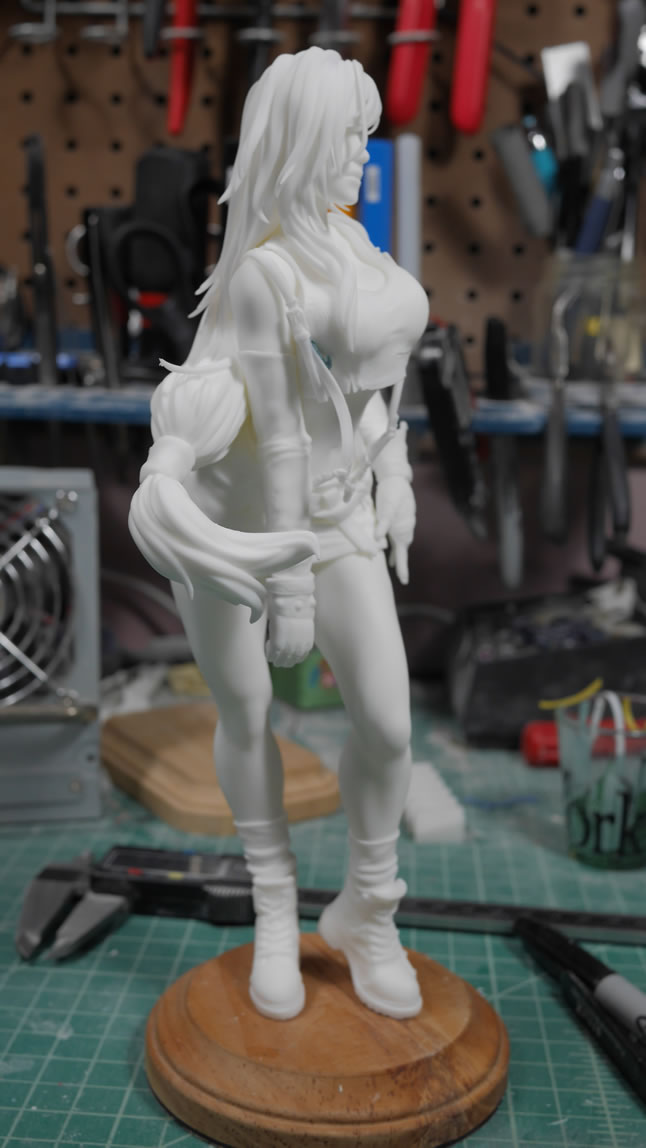
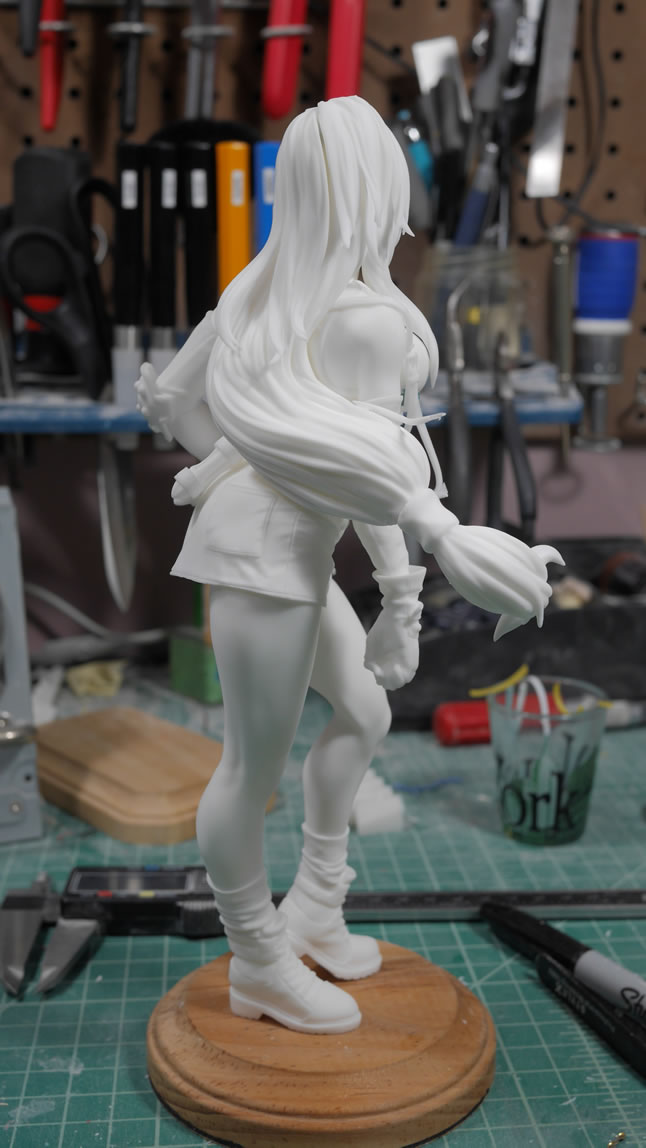
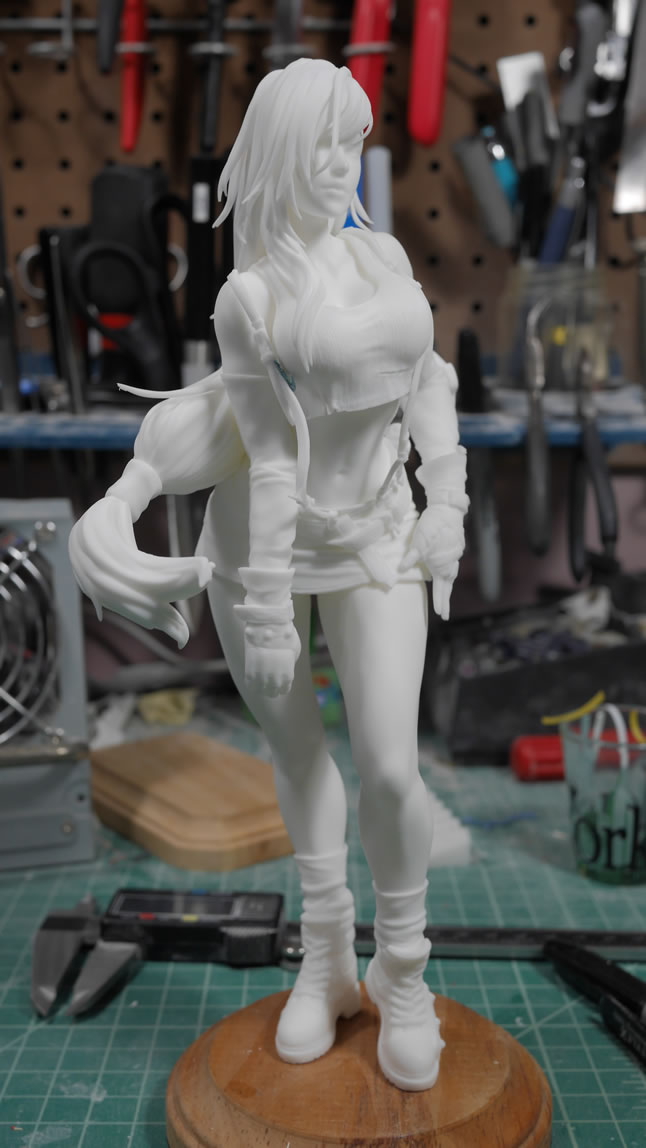
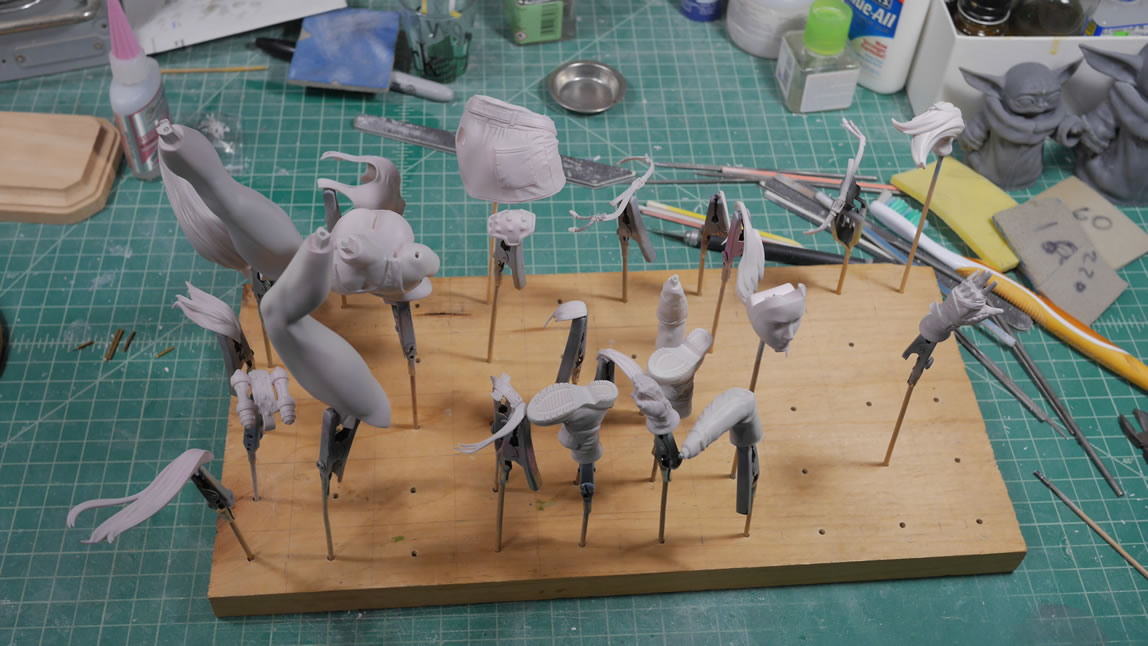
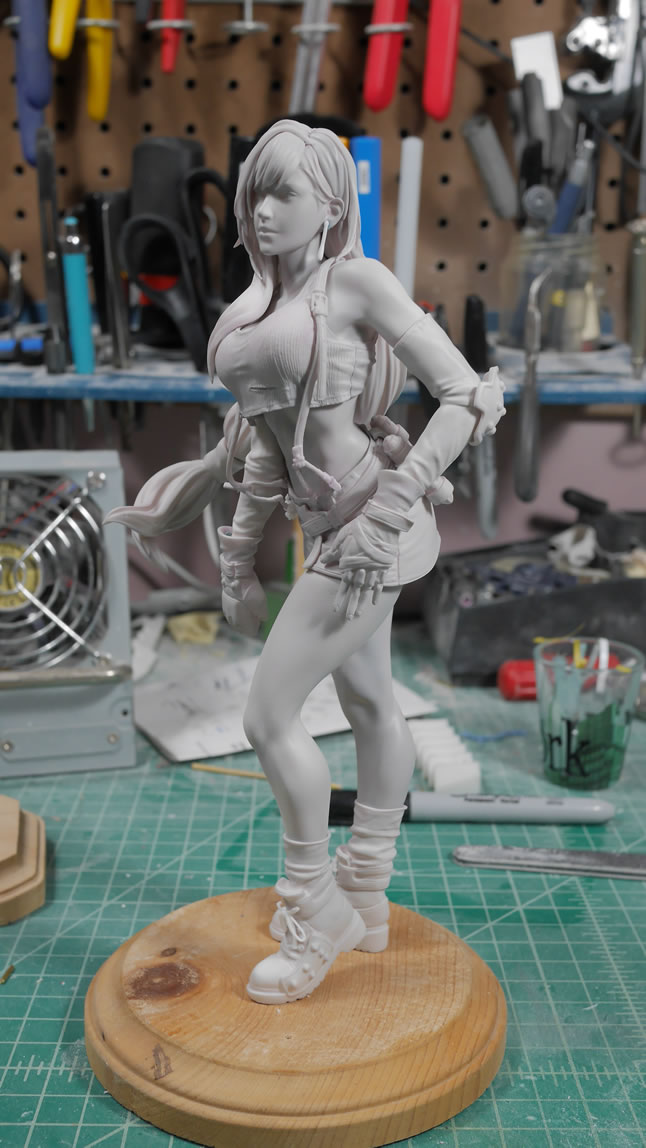
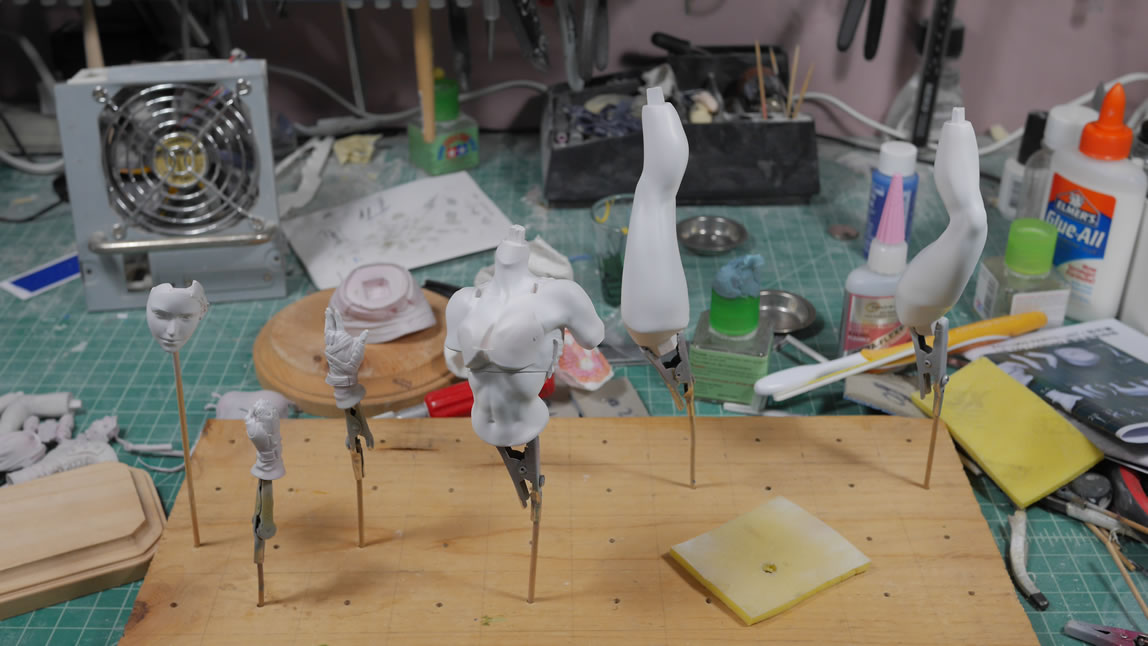
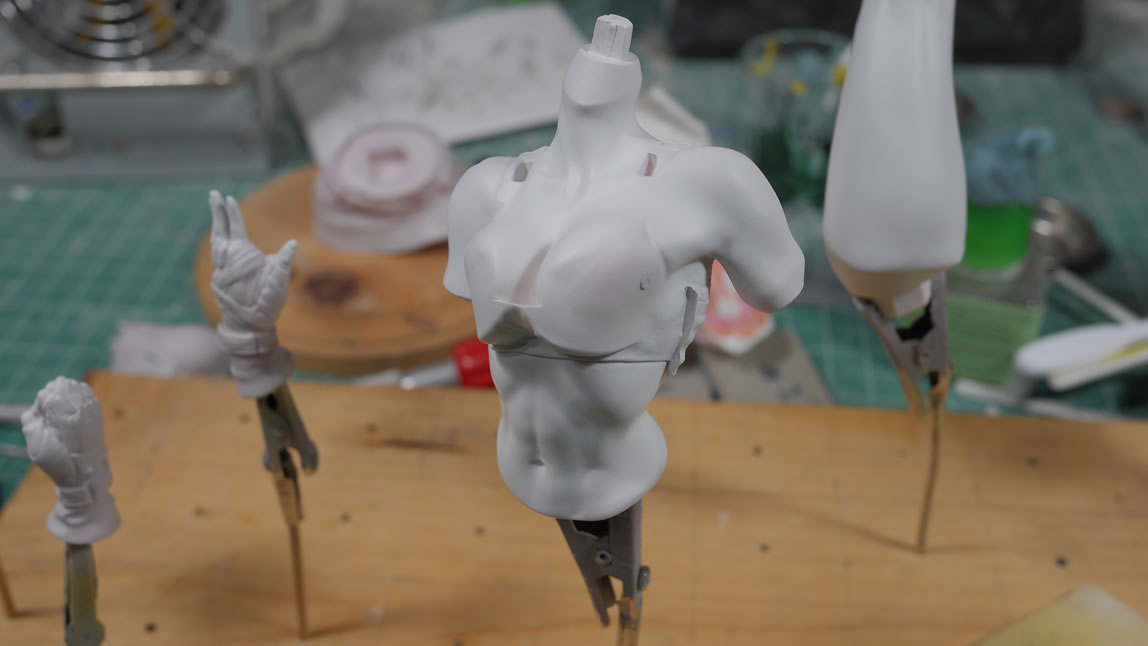
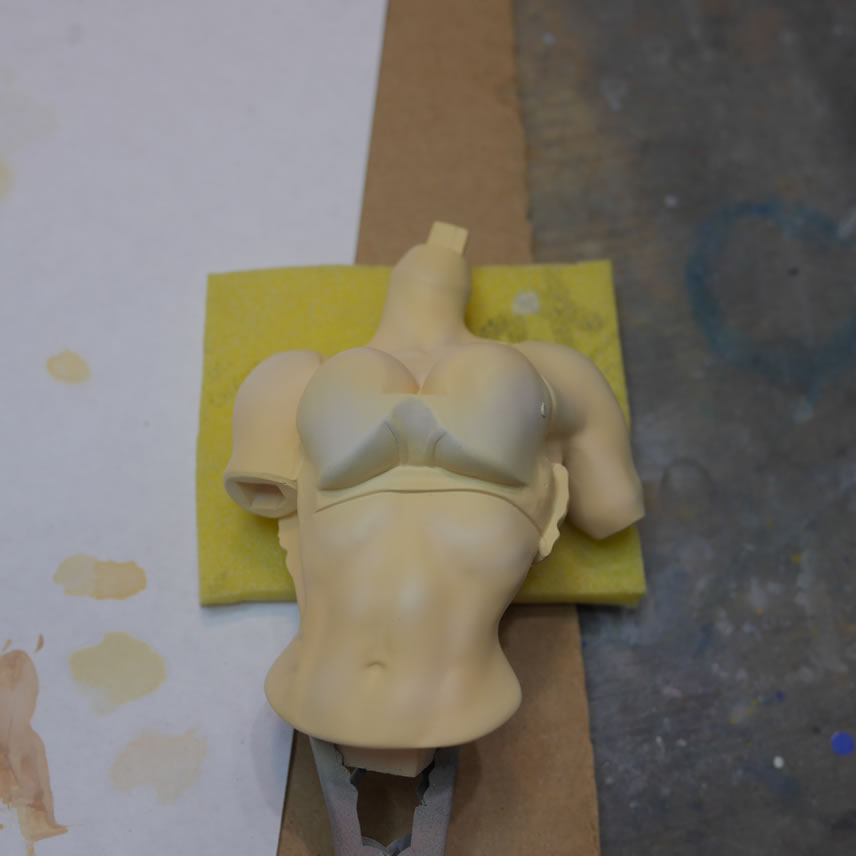
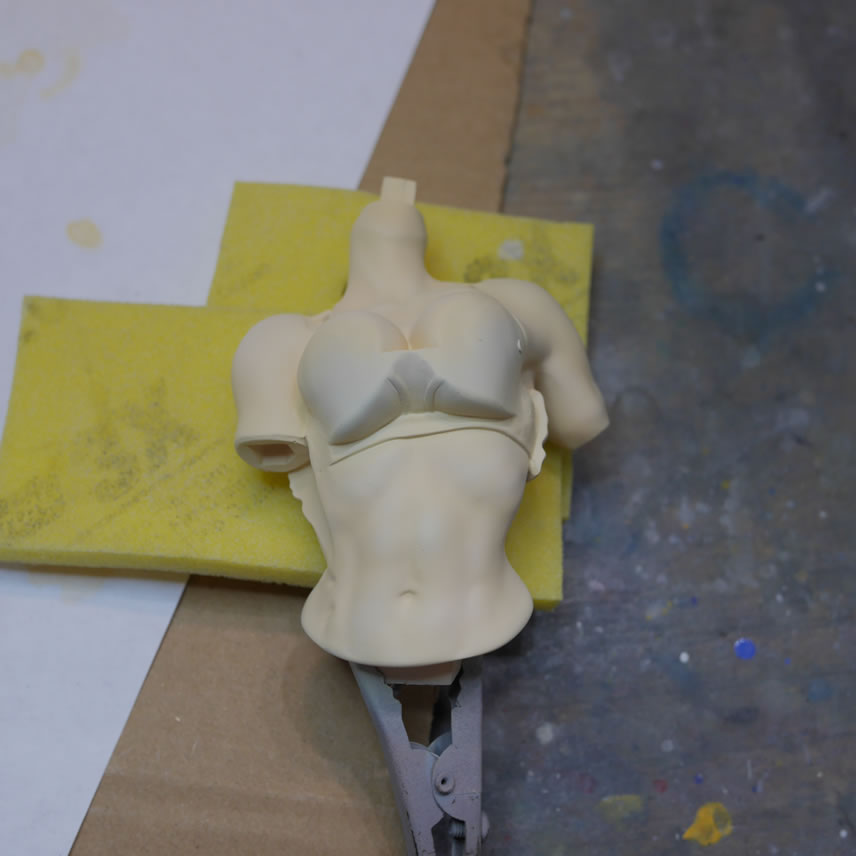
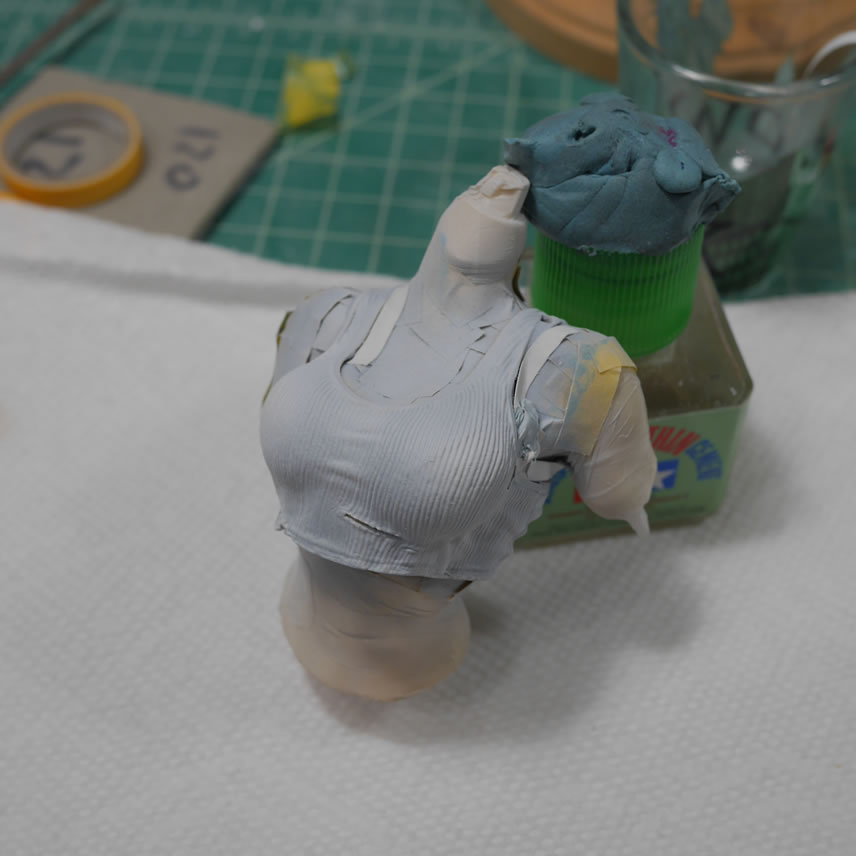
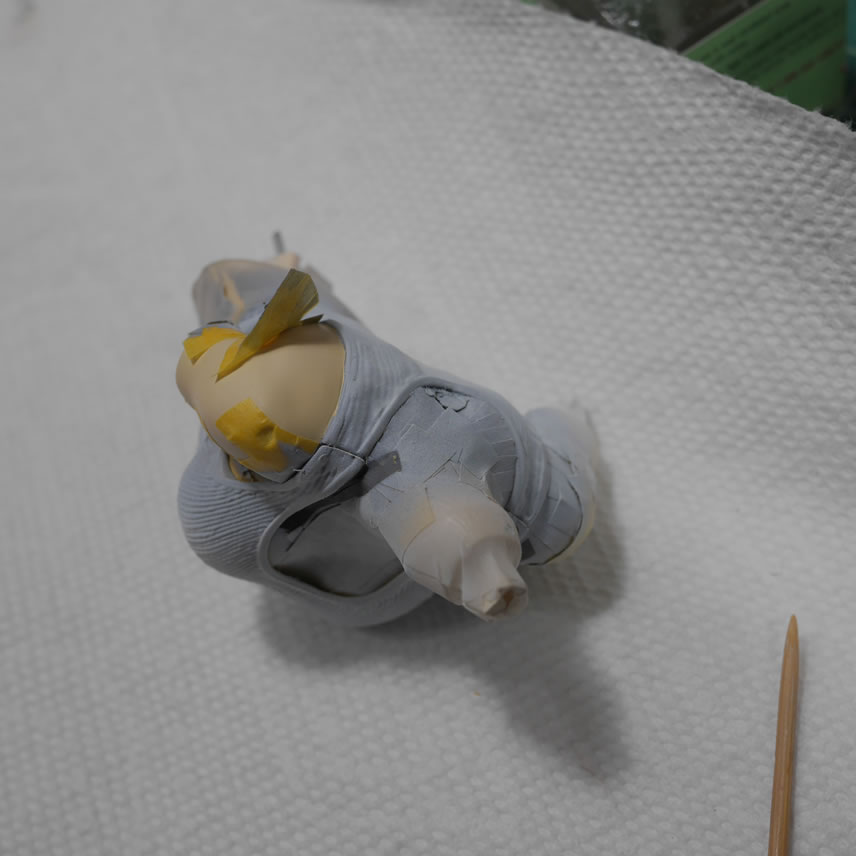
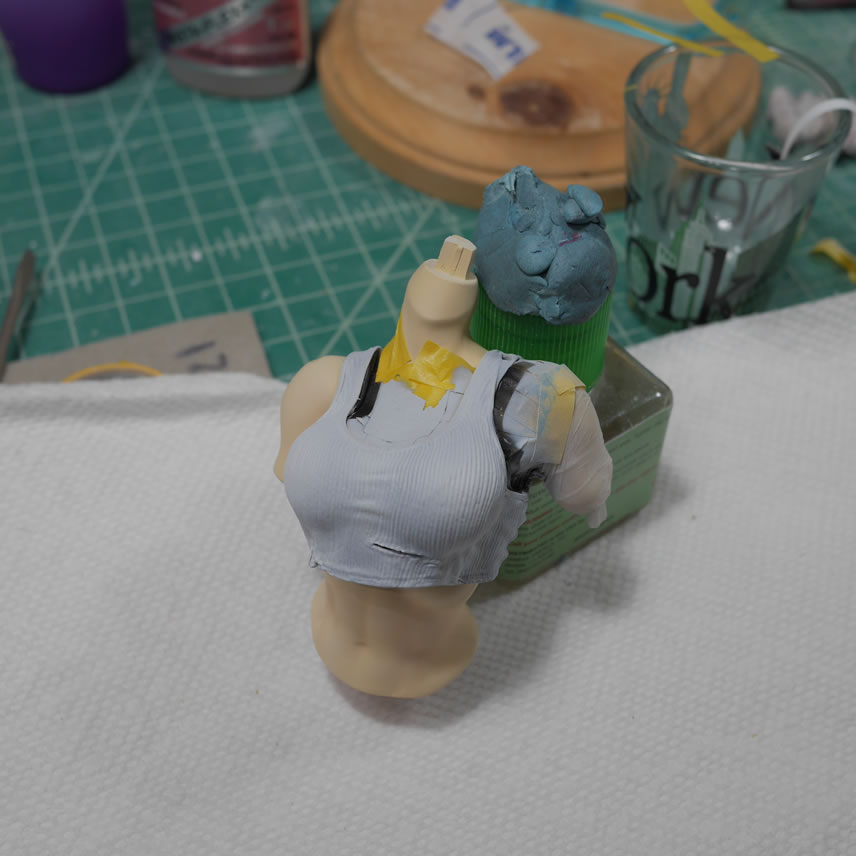
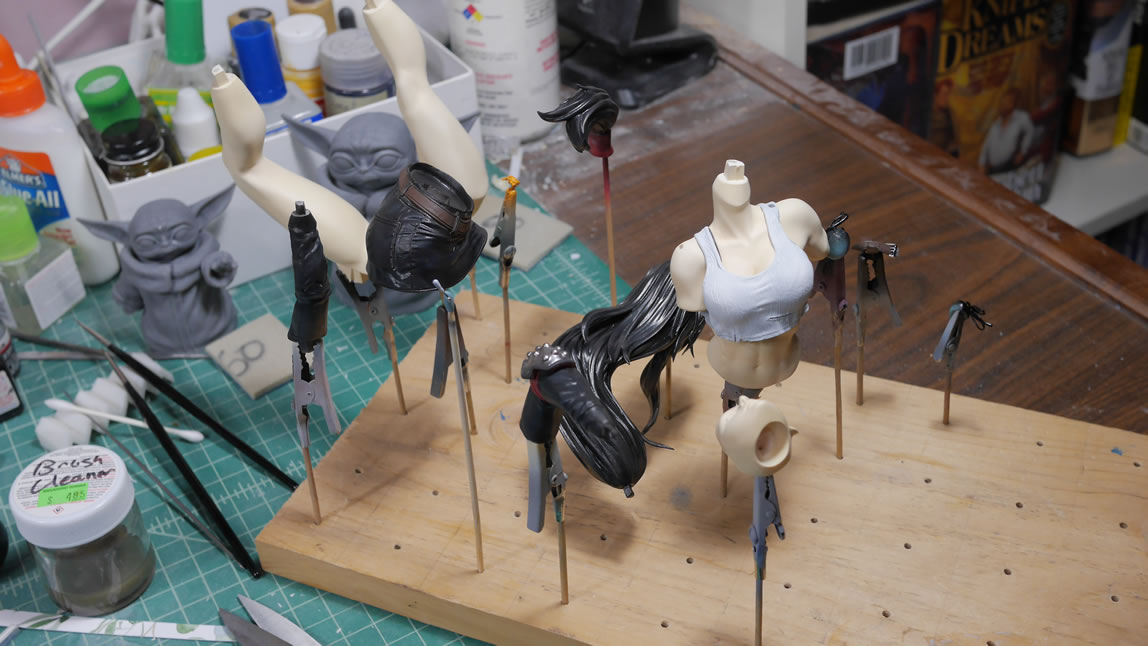
Obligatory pinned/sticky tacked/magnetized build up turnarounds:
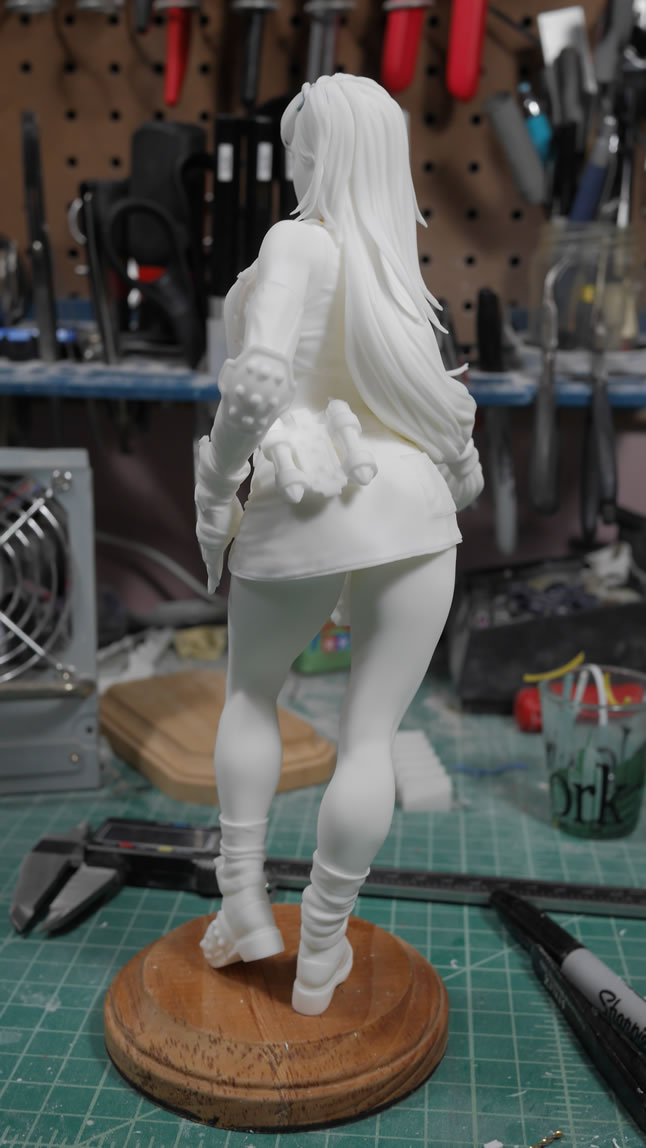
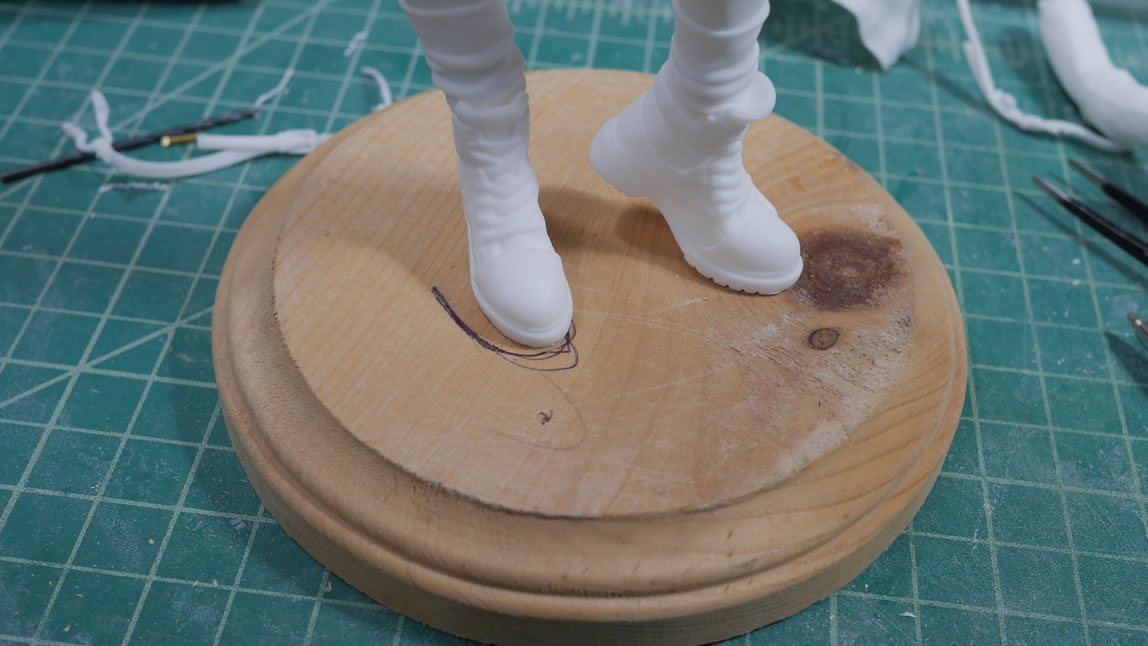
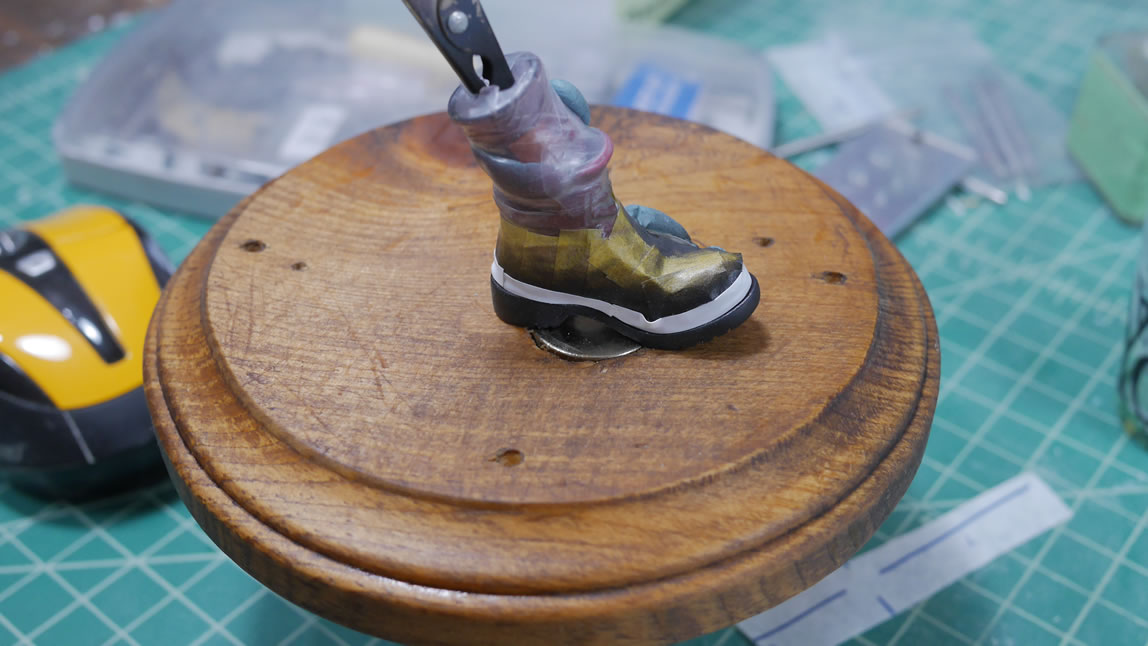
As stated earlier, the balance is pretty good. But to add stability, I will be doing the same modification as the Sakurai project. Magnet in the boot with a big magnet in the base. The project I have now is that I don’t have enough properly sized magnets. So those are on order. I have the mark on the base done. I will also be doing something similar with this base as the Sakurai base.
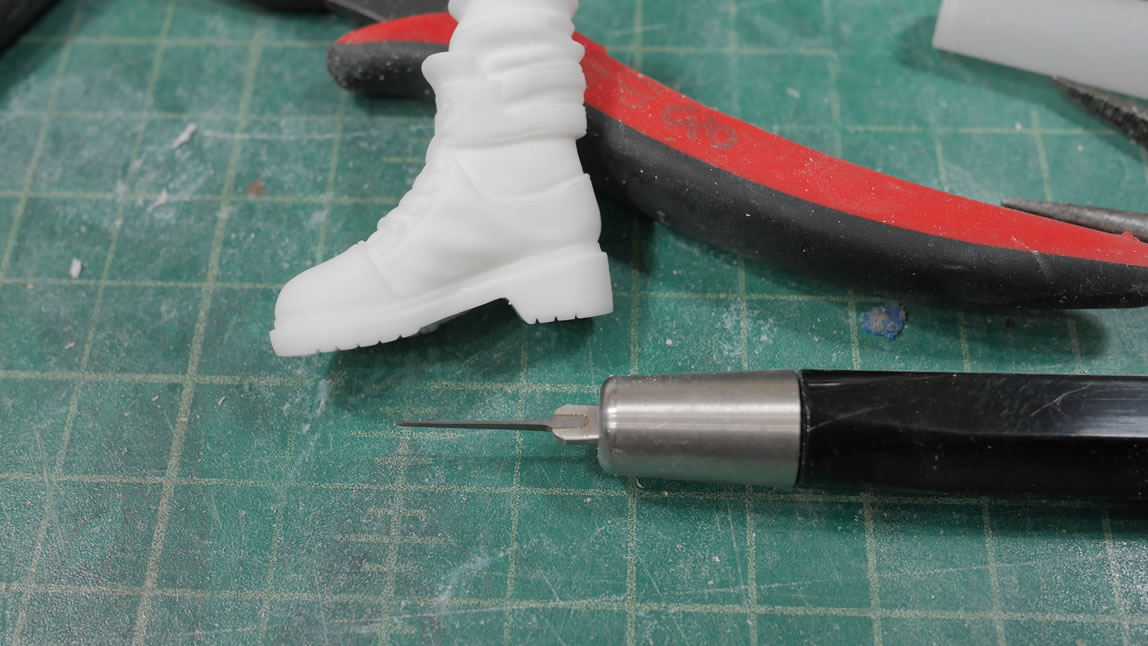
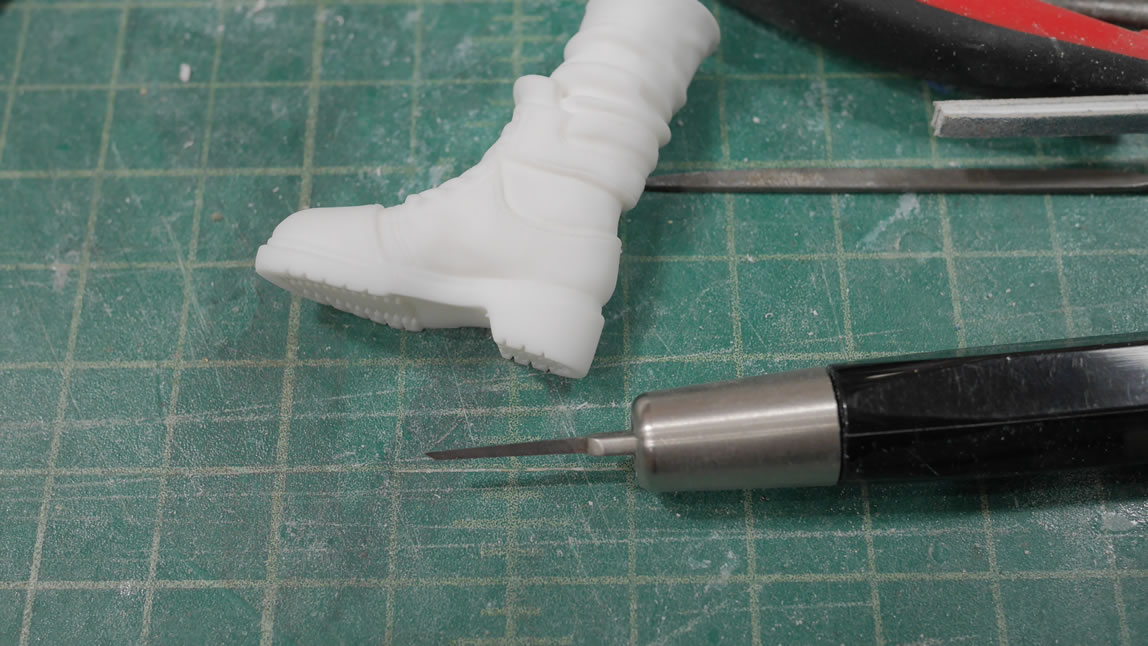
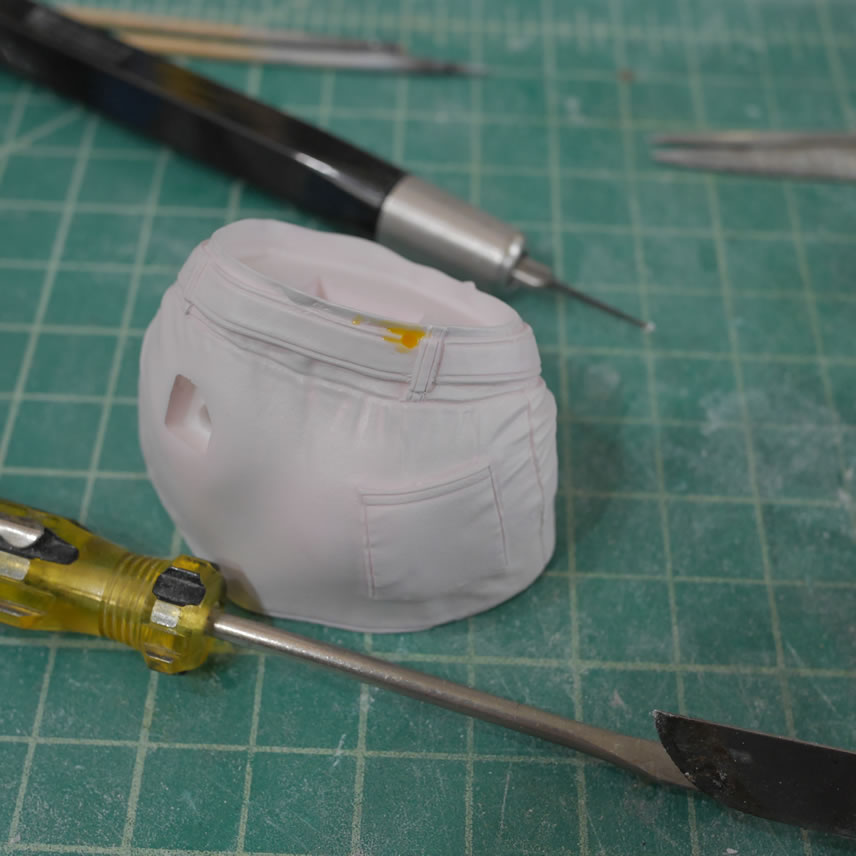
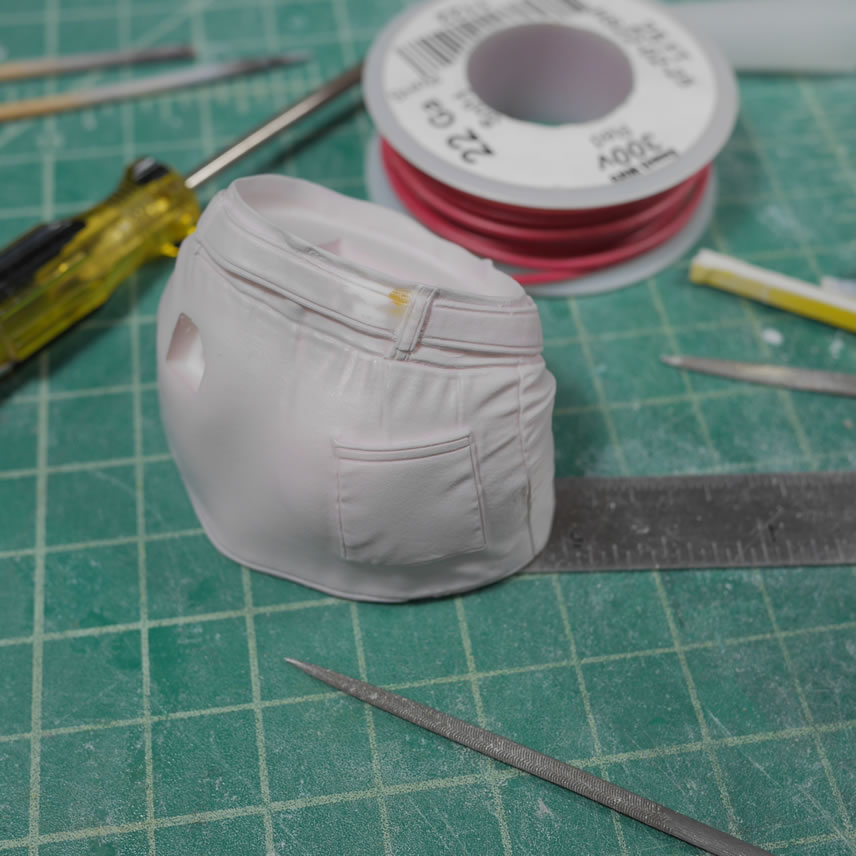
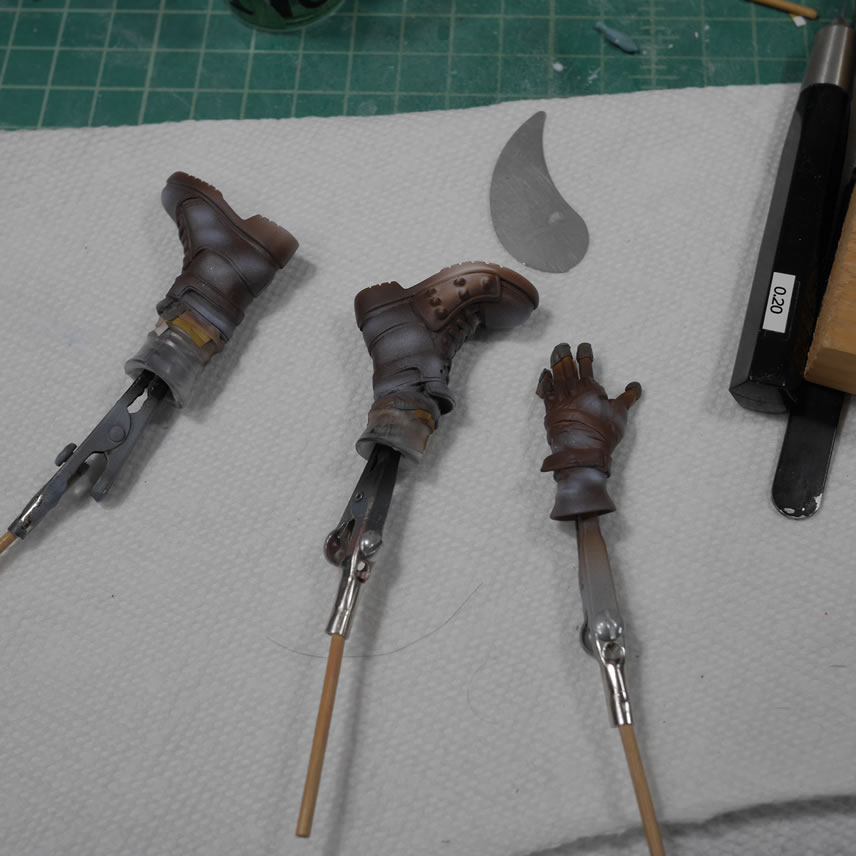
First steps is to take her apart and start working on sanding down the exhaust tabs on the kit as well as any mold lines and surface defects. For the boots, there are some missing details, so those needed to be scribed back into the part. Chisel tools are very useful in working with the soft resin.
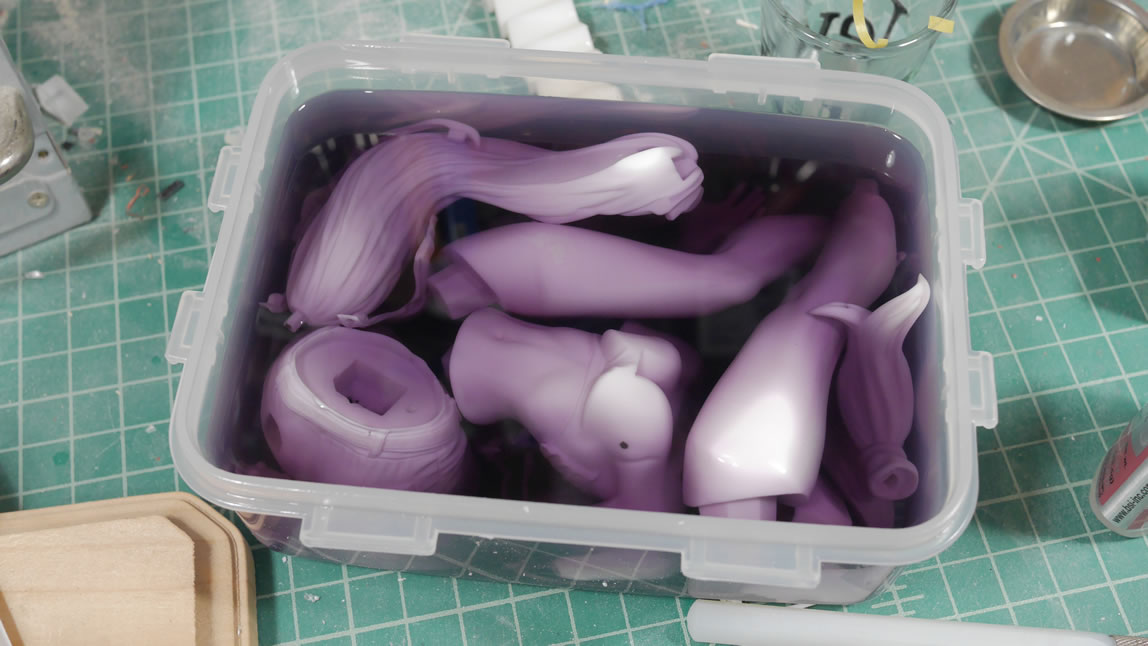
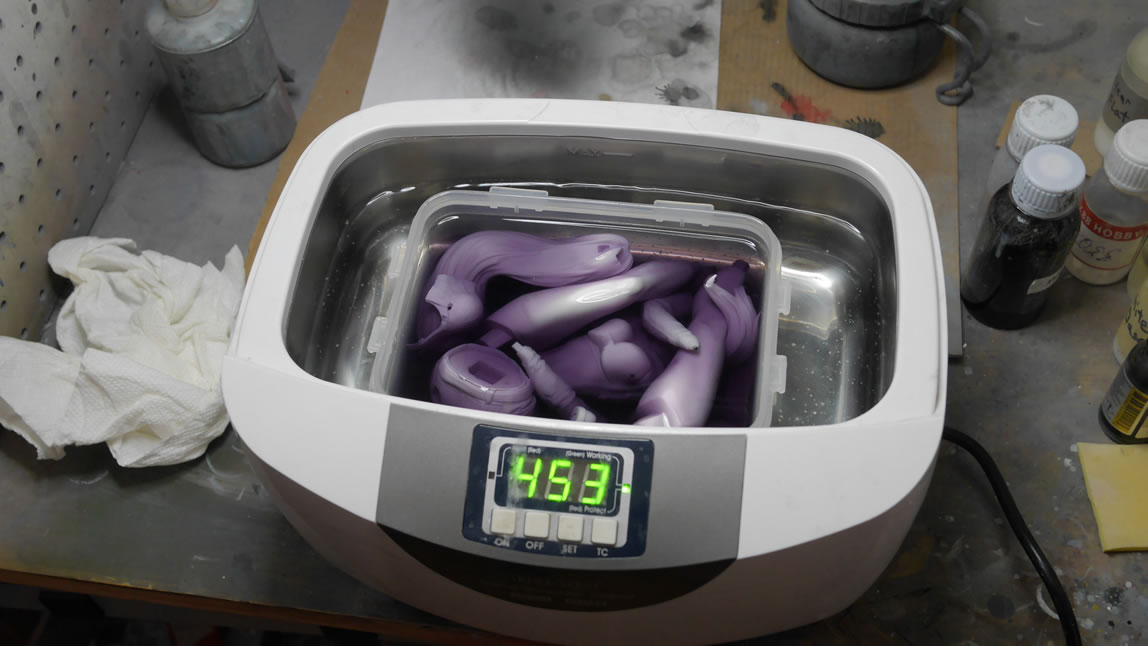
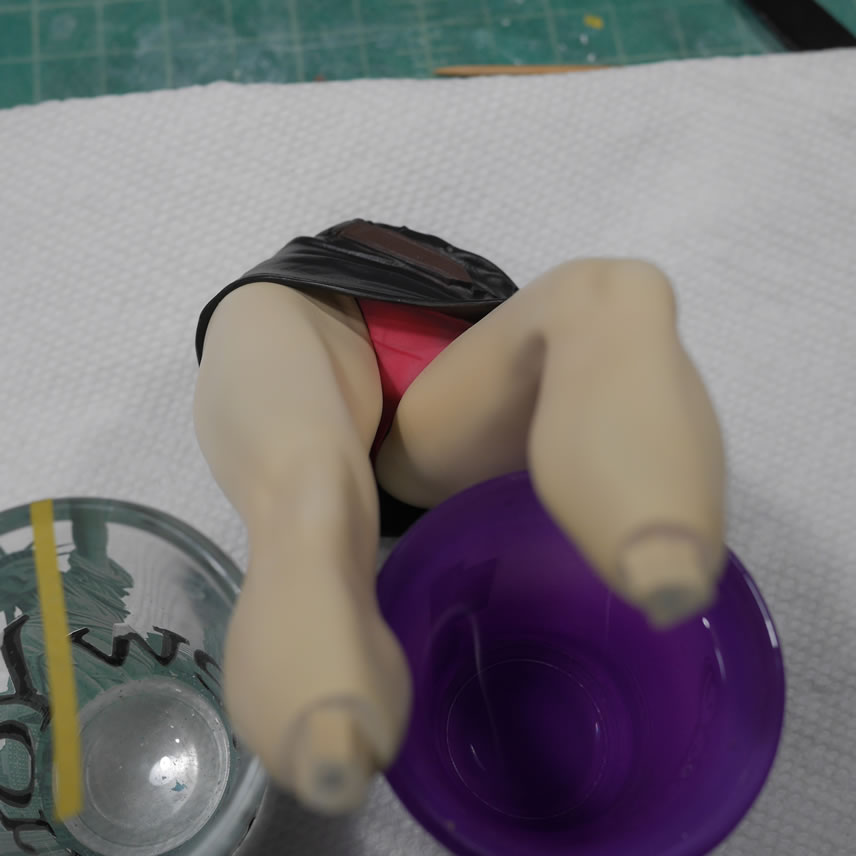
Once that is sanded down, the parts are thrown into a vat of purple degreasing fluid that will hopefully dissolve any residual mold release. I typically let the parts sit in the vat for 12 hours before rinsing them and running them through the ultrasonic cleaner. But to see if I can speed the process up, I put the tub of purple liquid into the ultrasonic cleaner and ran it, so that the scrubbing action is done with the degreaser. Lets see if this works or comes back to bite me in the ass later.
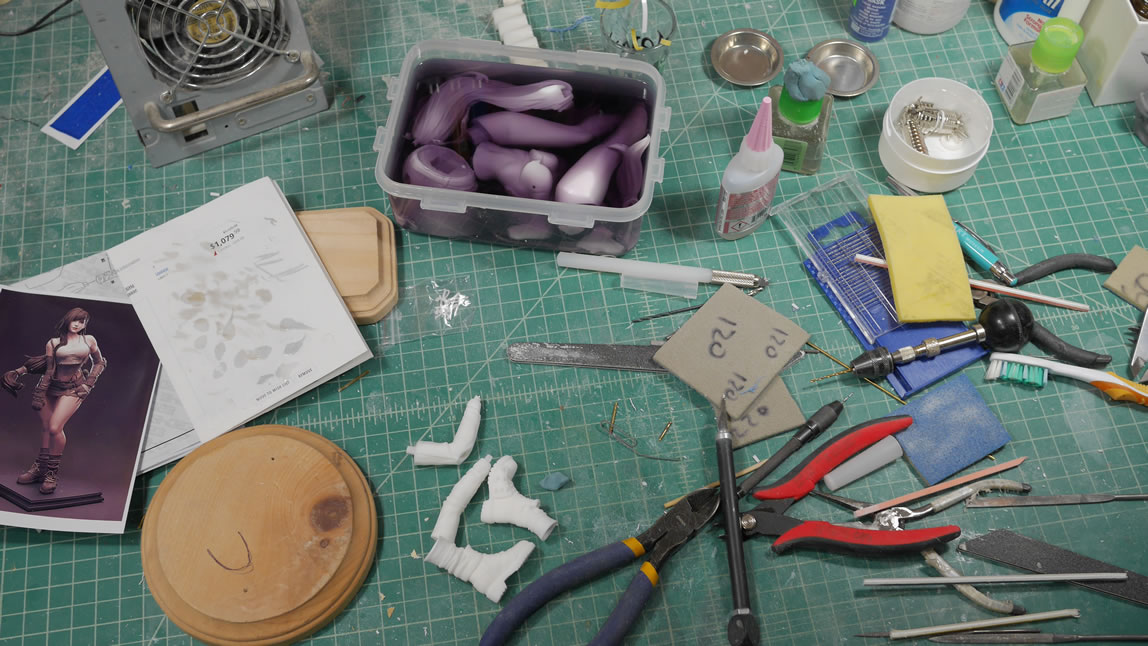
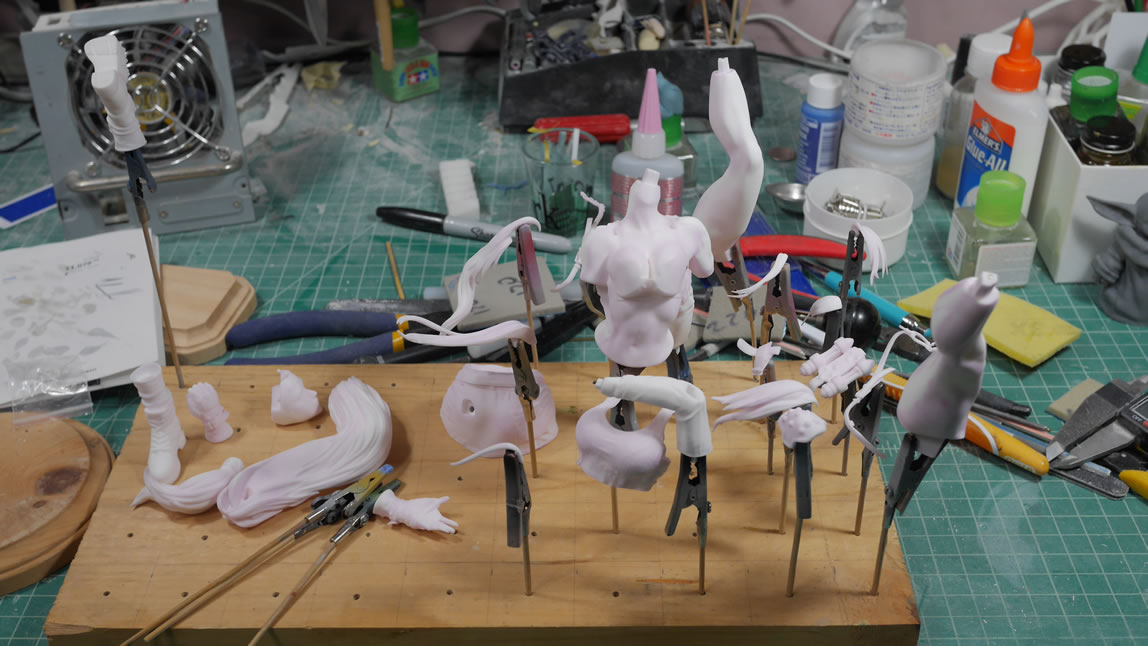
After the purple bath, the parts are rinsed in water then run through the ultrasonic cleaner again with just water to do a final scrub. The parts are then mounted on skewers and placed into the dehydrator to speed up the drying process. New thing I noticed with this resin is that the purple fluid stained the parts. Not too big a deal, but it is something I haven’t noticed with other resin projects. Makes me wonder about the resin quality.
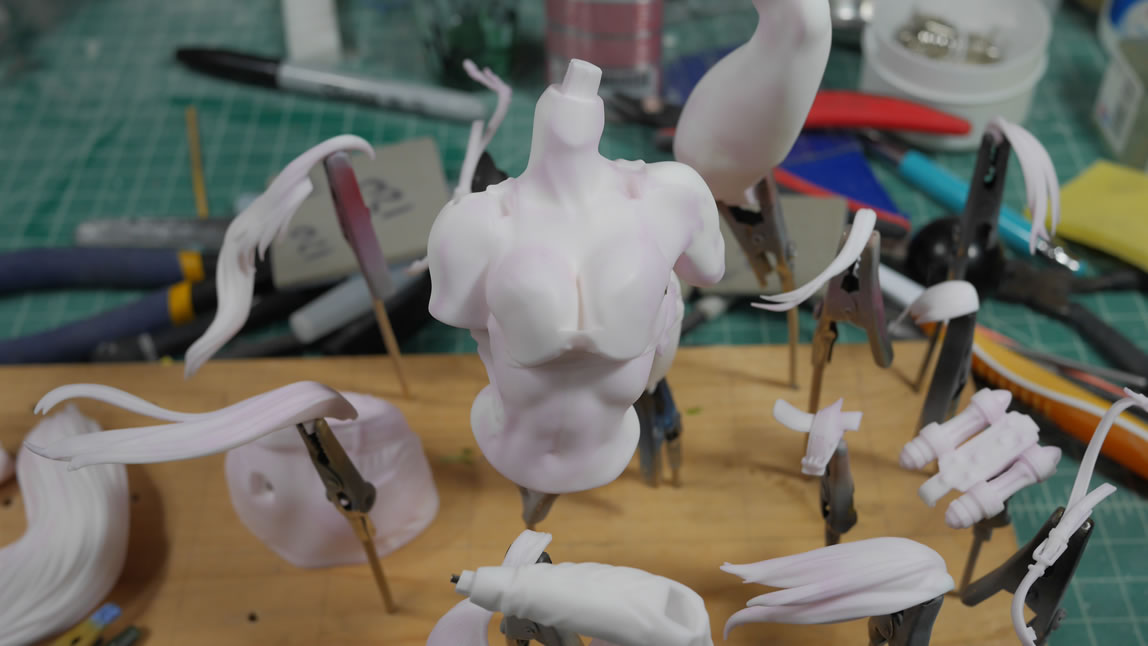
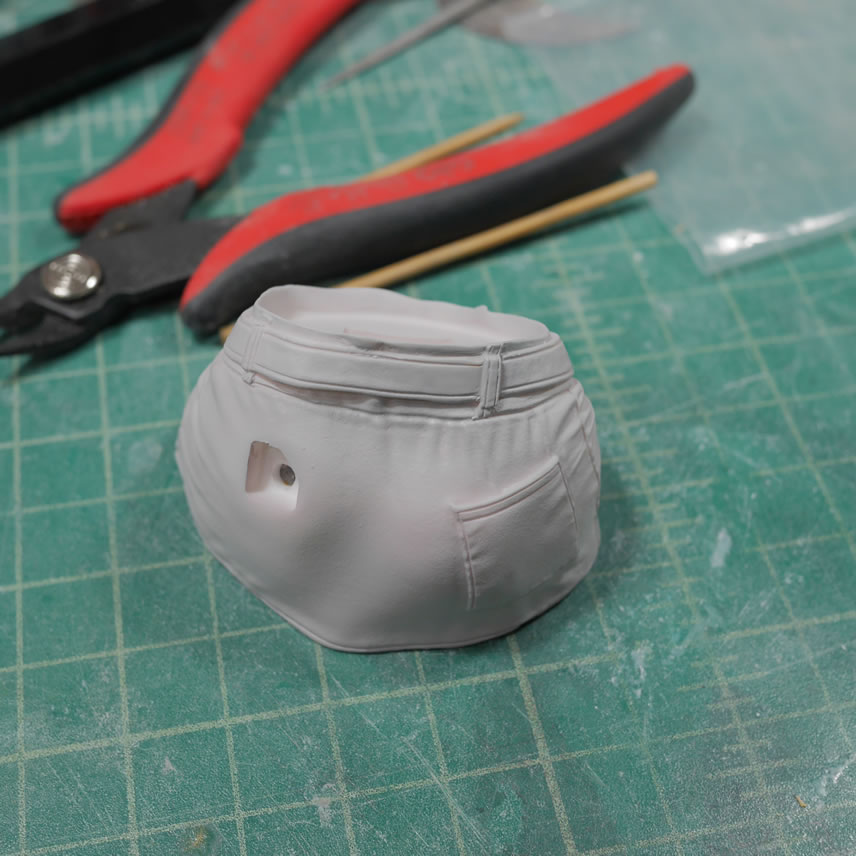
Stains don’t matter since I’m priming it with Mr Surfacer Primer (replacement for Mr Resin Primer). Apparently Mr Surfacer Primer is different from Mr Surfacer 1000. The parts are primed and back into the dehydrator to speed up curing.
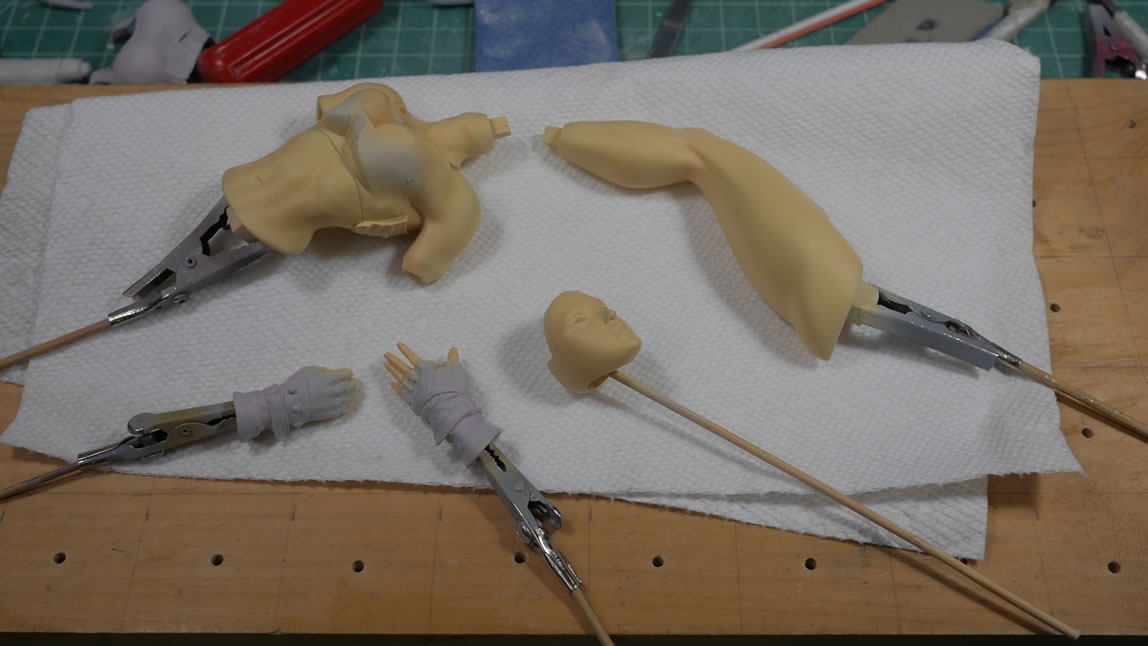
Once cured, another obligatory assembly and turnaround session to check for defects and missing parts. There was a baggie of little details that included shoe laces, a tiny chocobo belt loop hanging toy, an earring, and one strand of hair that I missed. These were cleaned up and put into the vat of purple liquid and is still soaking as I write this now.

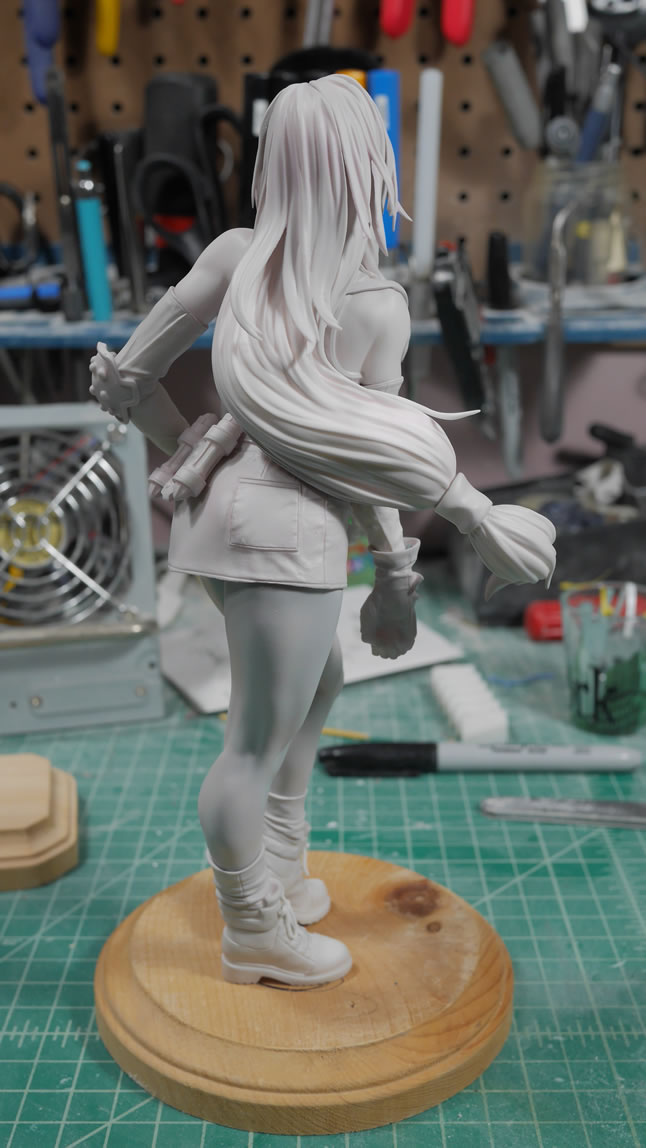
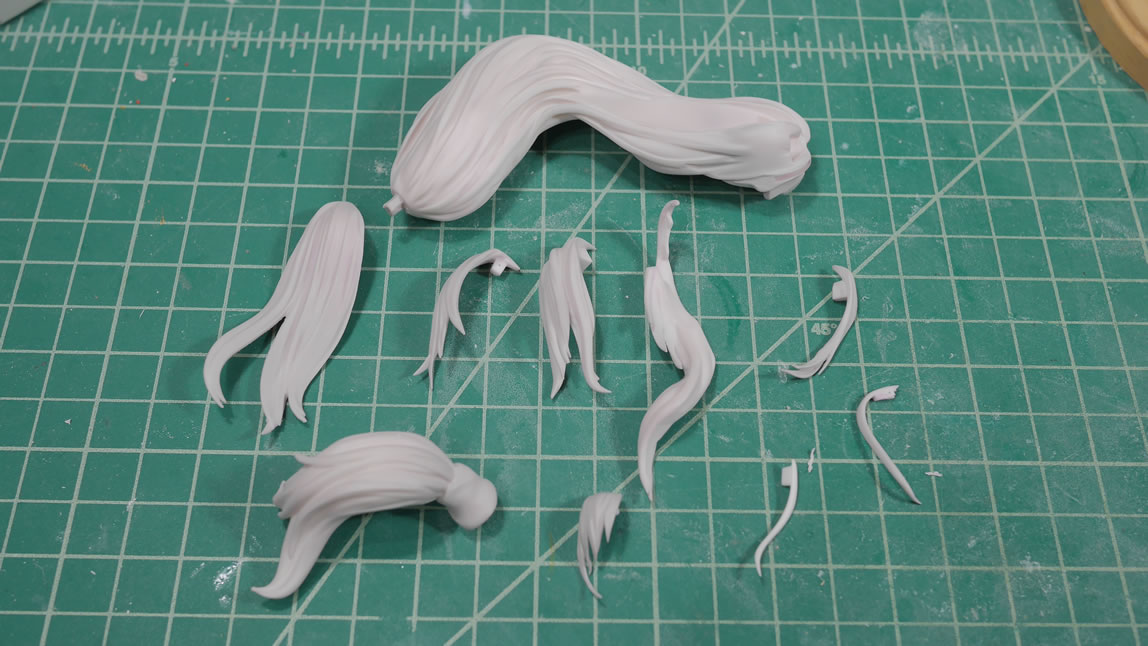
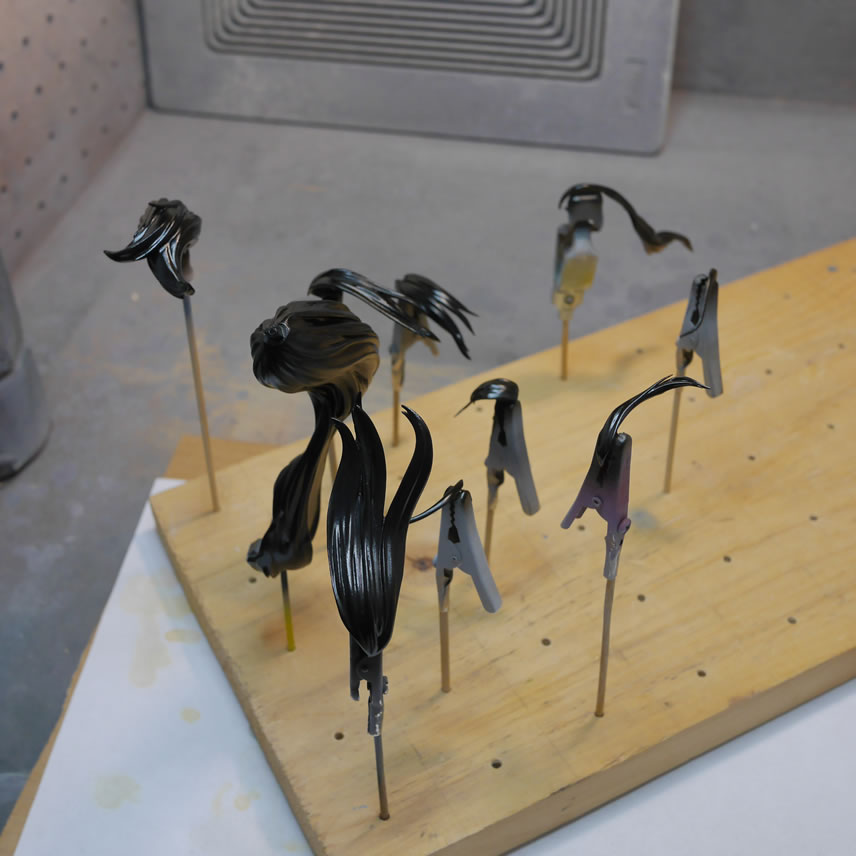
The hair is an interestingly designed project on its own. The hair parts account for at least a third of the kit’s parts.
The last part of this post shows the work on fixing defects that show up after the kit is primed. There were some surface defects that needed to be cut open to have more surface area for the putty. Just puttying over the defects isn’t too good an idea. Once it dries/cures, sanding may completely pull the putty off the part since it doesn’t really have mush surface area to grab. Holes were cut, light curing putty employed. The putty cures under ultraviolet light in less than a minute and the repair areas are sanded down. Then reprimed and done.
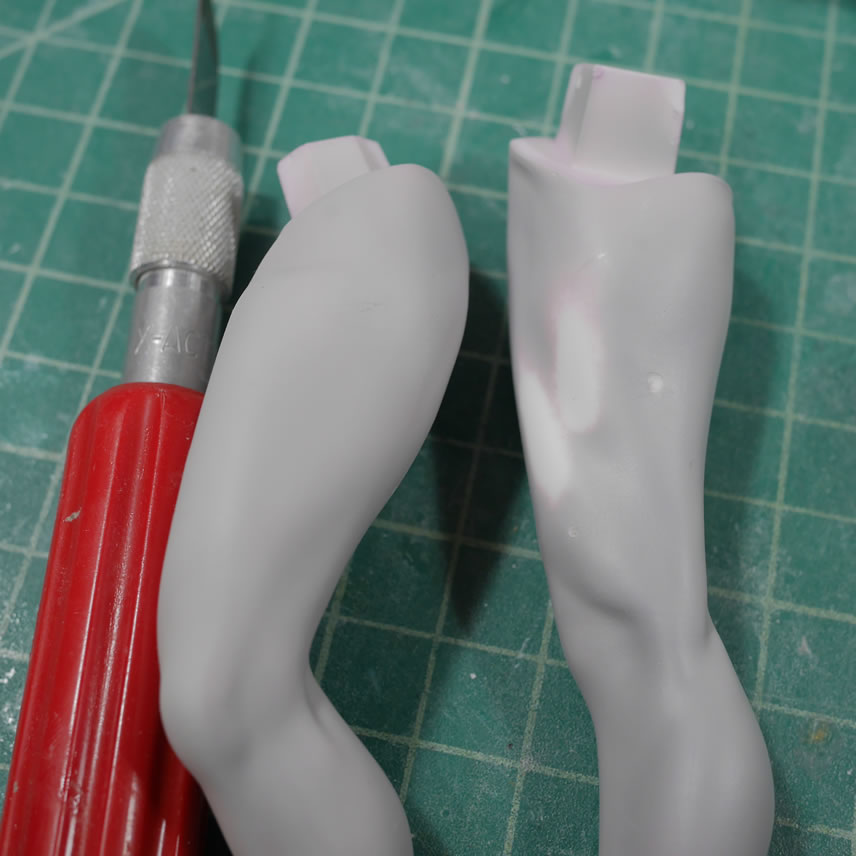
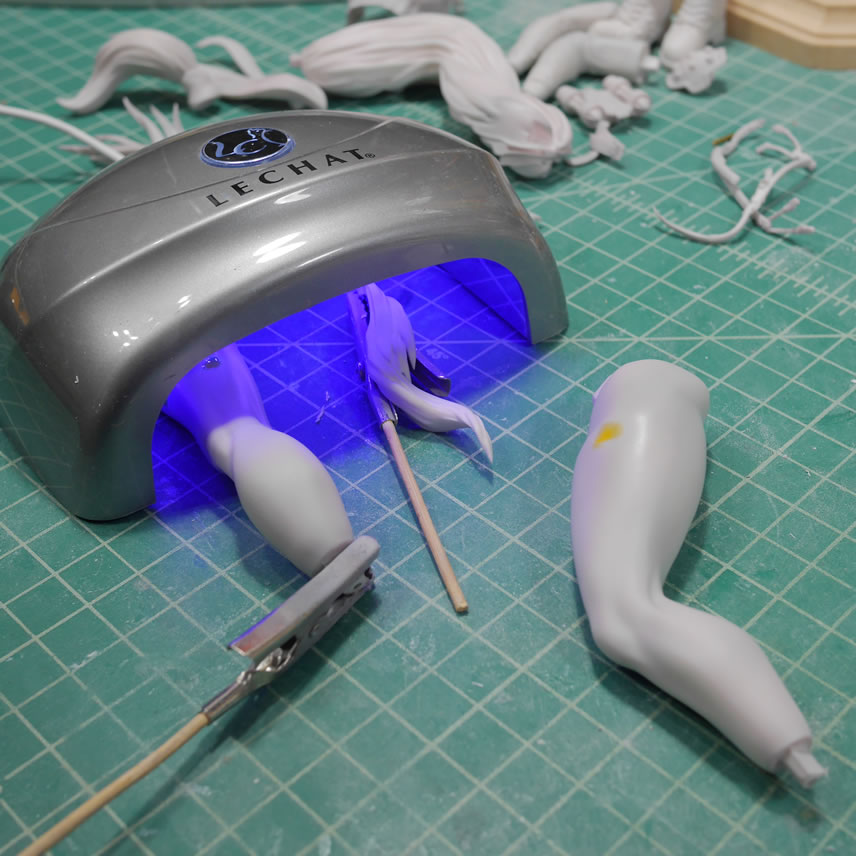
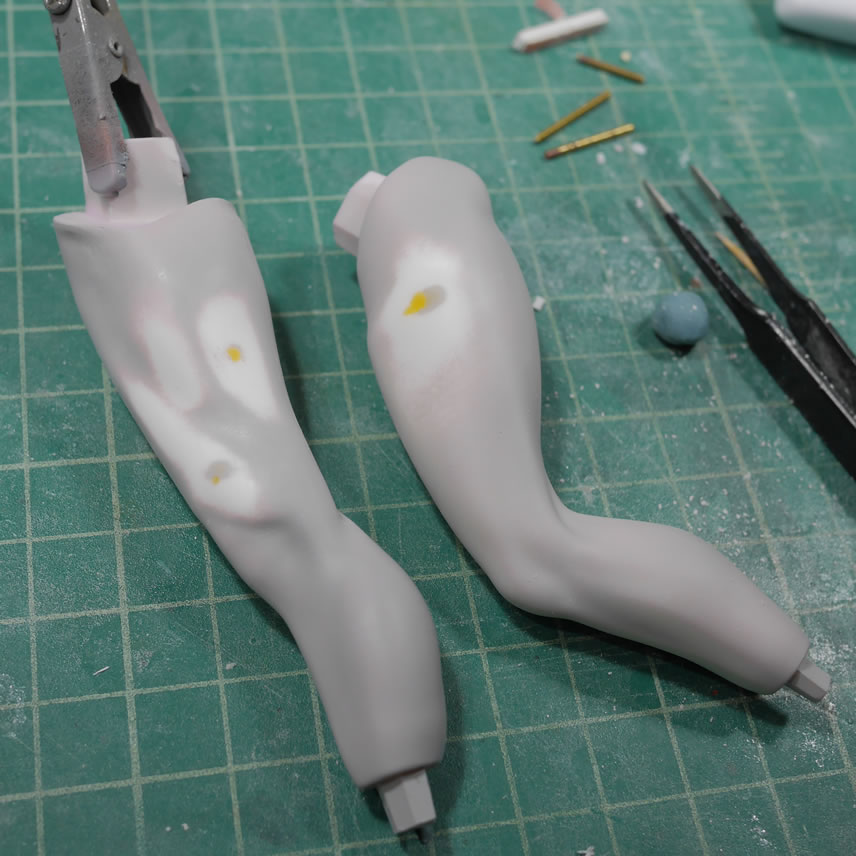
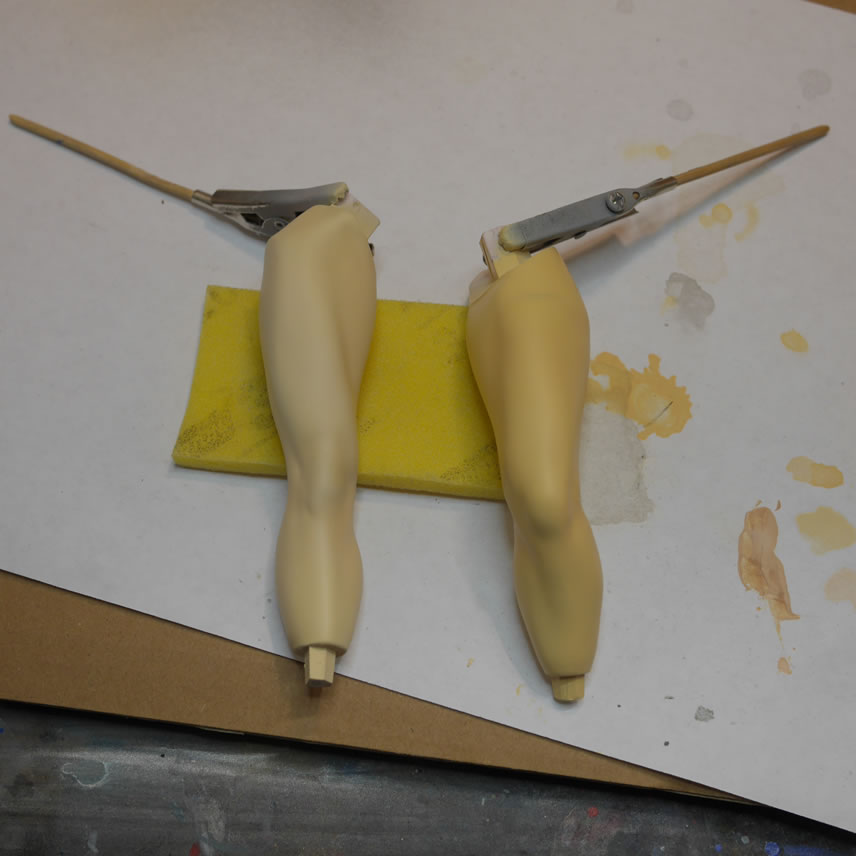
One of the main things primer is good for is to check for mistakes. Little areas of missed sanding spots or even small bubbles on the surface. With the leg, I found some surface defects that needed correcting. Just applying putty over the surface won’t work. The putty doesn’t have a good surface to grip, like I said in the last post. So these little defects are cut open a bit and light curing putty is applied. Cured in a minute, sanded, and then primed again.

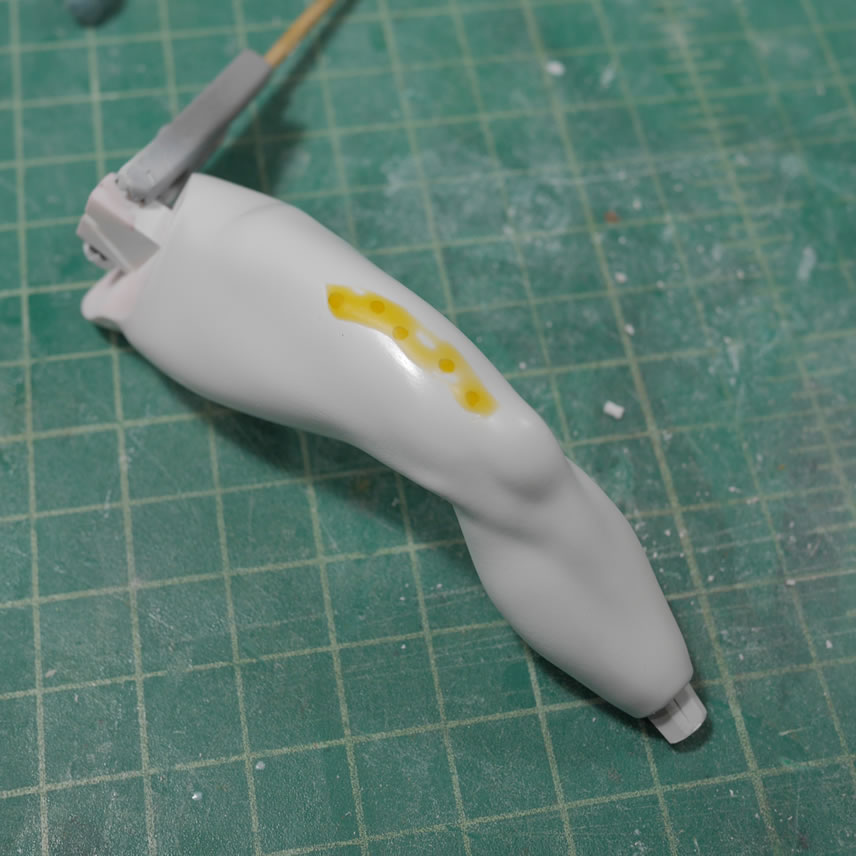
Now that the skin areas are all primed and ready, time to get them ready for skin tones. White base is sprayed over all the skin areas to reset the canvas so to speak. Airbrush paints are very thin, so each layer will inherit from the previous. Unless you want a zombie skin tone, white out the grey layer. Eyes are masked to keep the white there.
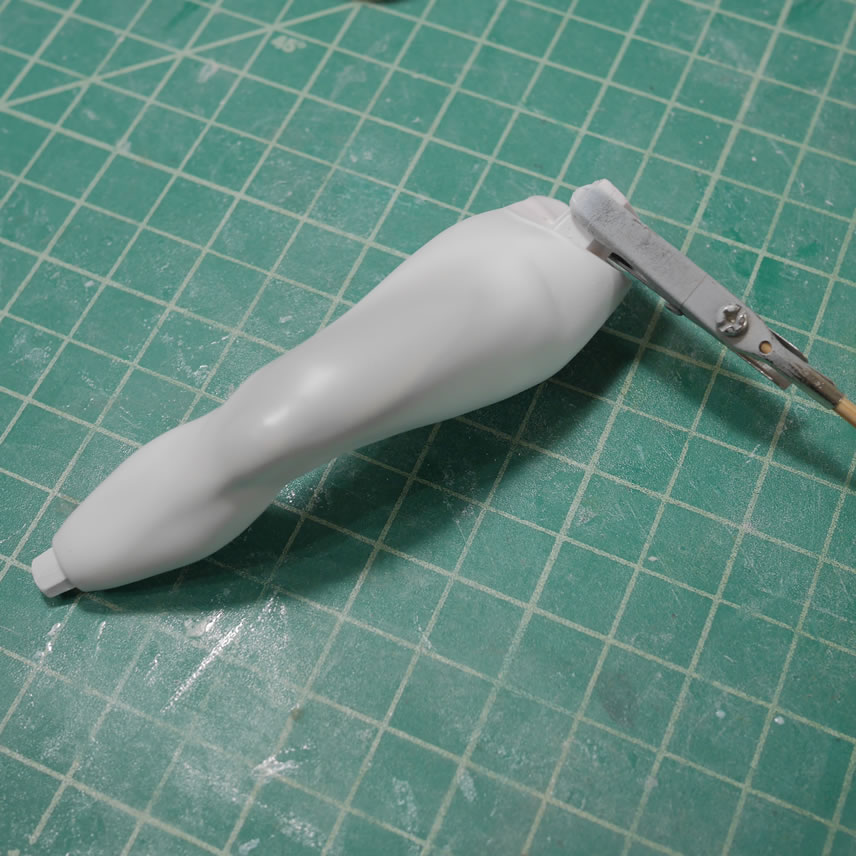
The base skin tone is painted. I actually used my blending tone as the base since my base is a bit dark. Tifa isn’t very tan, so this is a good starting point.
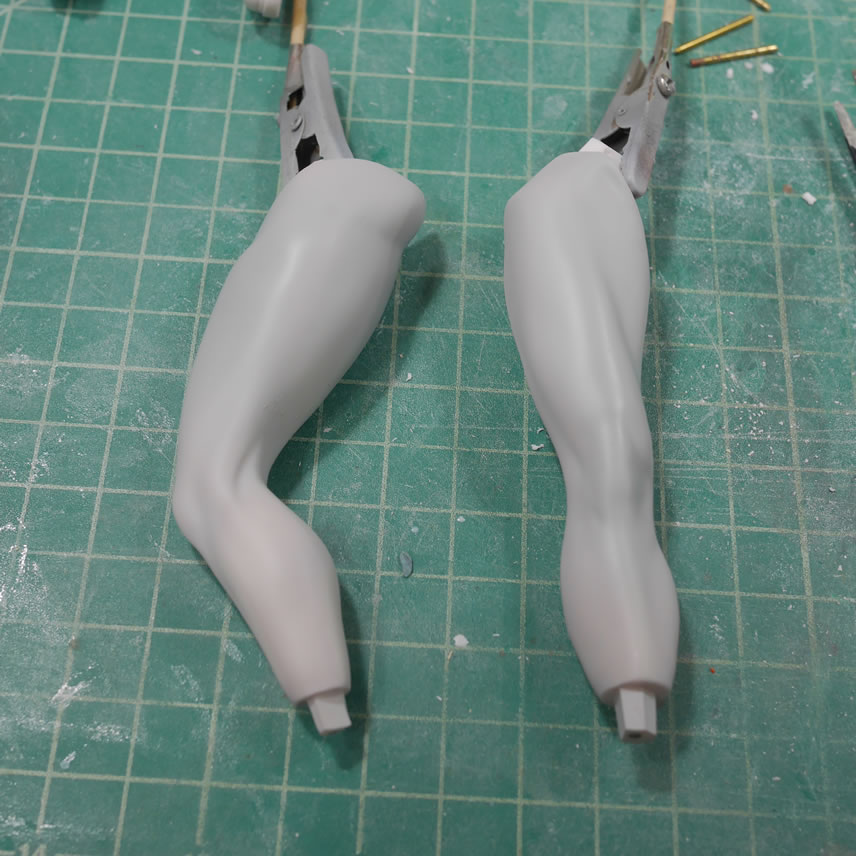
Once that cured, the lighter tone is sprayed in focused areas then blended. Here are some comparison shots of the leg and the torso. There should be a subtle shading effect.
The hair pieces were painted in gloss black first. Black is a very hard color to shade as it’s just black. I used some red brown to add in highlights then finished off with a mist spray of metal black to give the hair some sparkles (not pictured because I was too lazy to snap pictures of the process)
Next up there is a quick repair from over zealous pinning practices. I drilled from the bottom up to get some pins in for the legs and missed. So this went out the back to the belt details. The area was opened up a little for more surface area and then light curing putty was applied on both sides. This fix was a little more complex as files and scribers are needed to resculpt the details. But once done and primed, the surface looks good; no more hole.
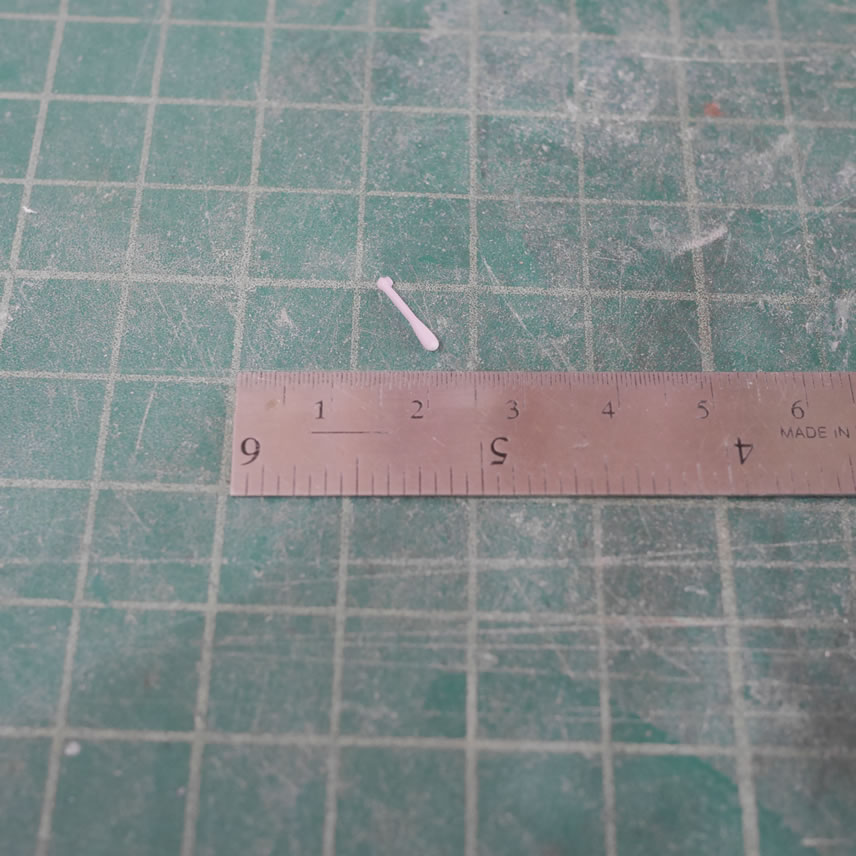
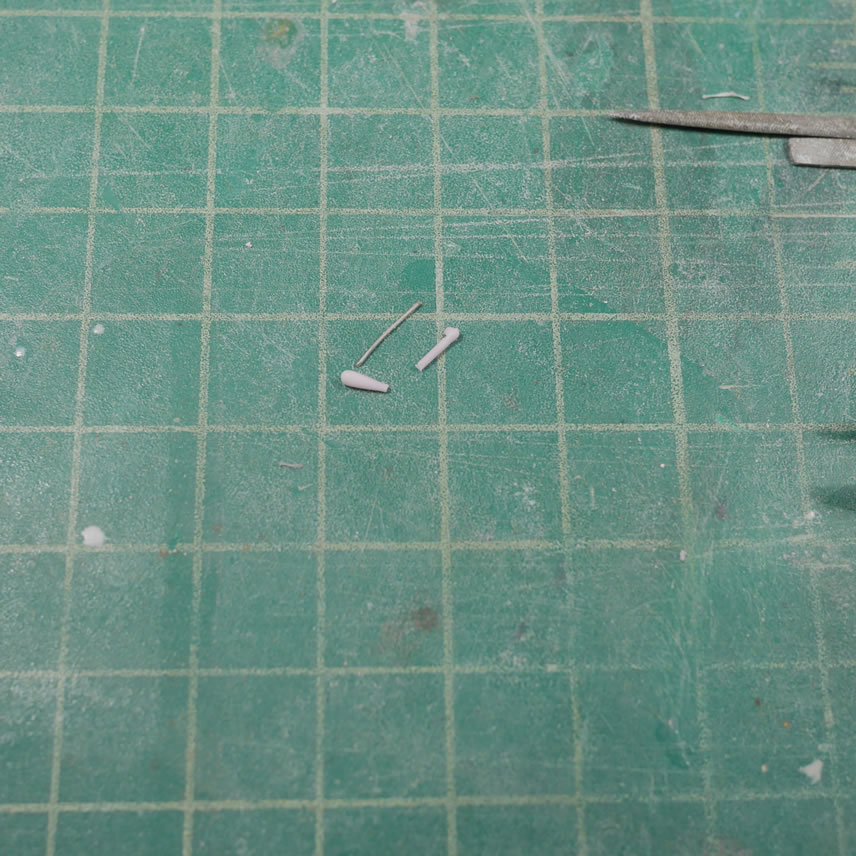
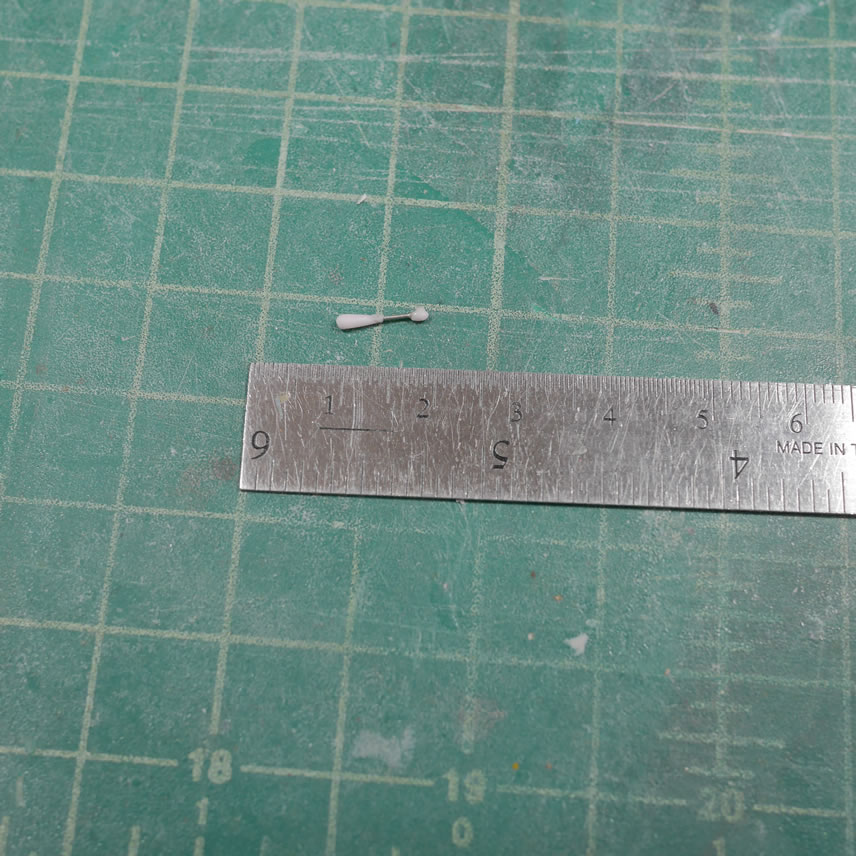
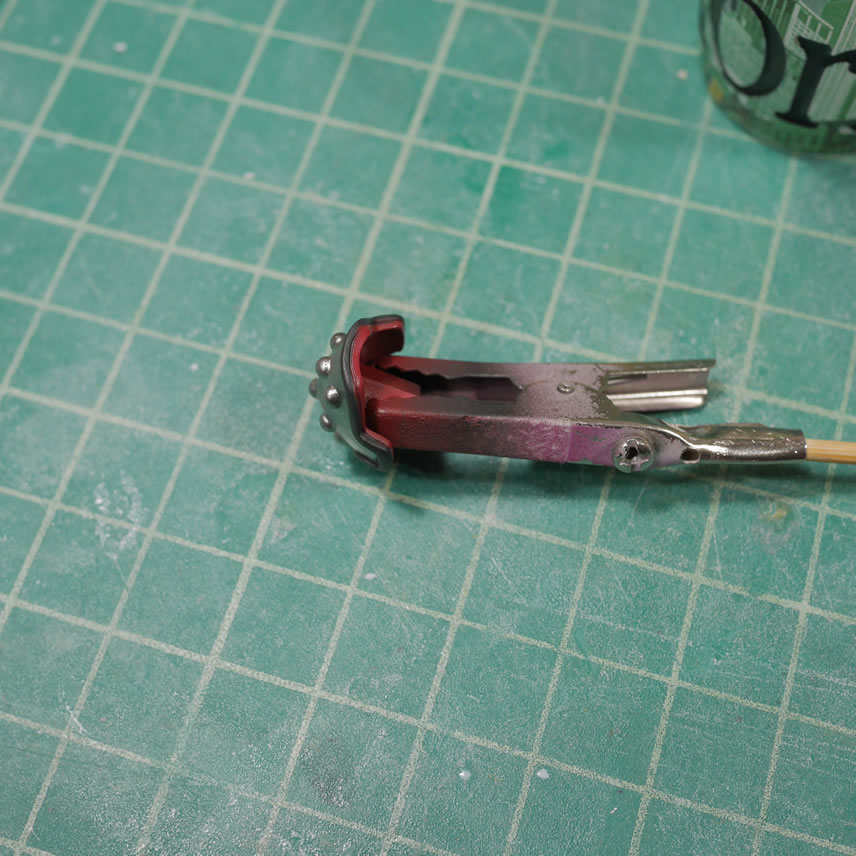
Next up is a modification to the earring. I saw another facebook user Tomcat post her build of the kit and did a modification to the earring. It looks really good, so here’s my feeble attempt to replicate the idea. I cut the earring at the top and bottom to remove the middle piece. Then carefully drilled out a small hole on either side and glued a 26 gauge wire between the two. The ruler is there for sizing. The whole piece is a little over 1 cm long. Once painted up, it should look pretty good.
Next up, a quick little test fit with the painted skin pieces and the base painted feet and arms. There will be a bit of masking involved to get the rest of the details painted. I did a base paint of the shirt with shading that will be repainted later. It’s always good to practice shading.
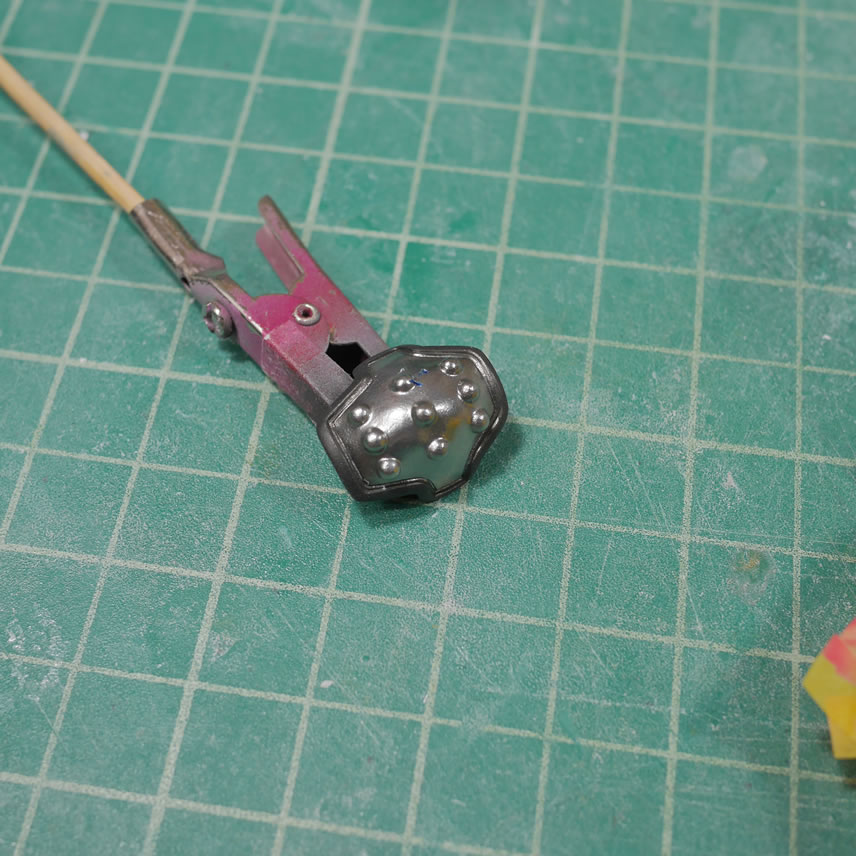
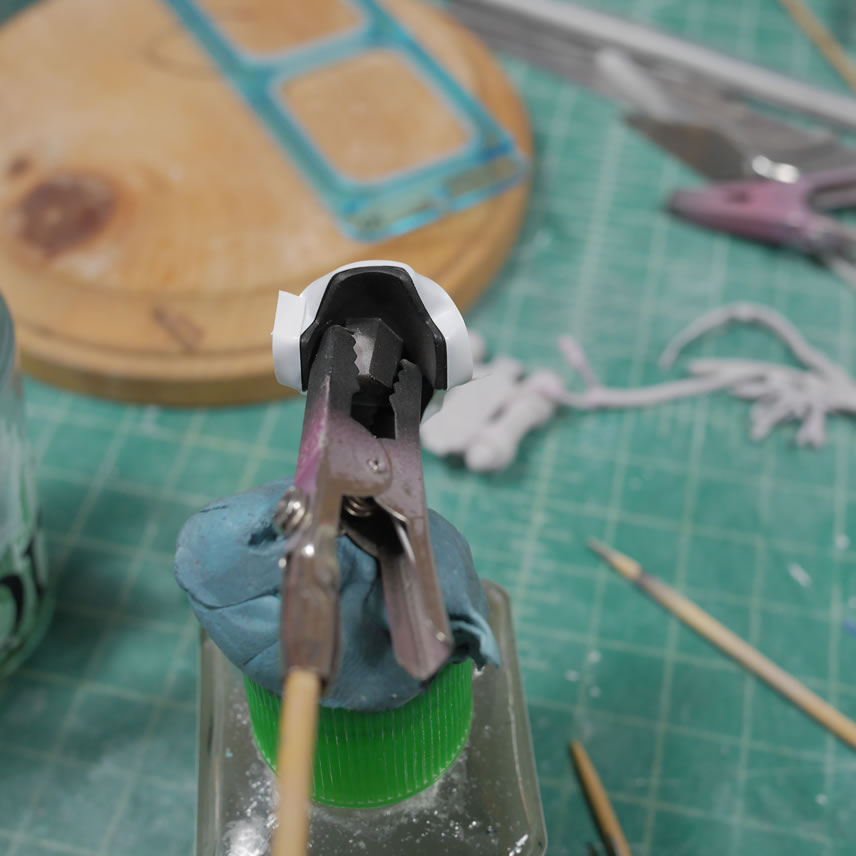
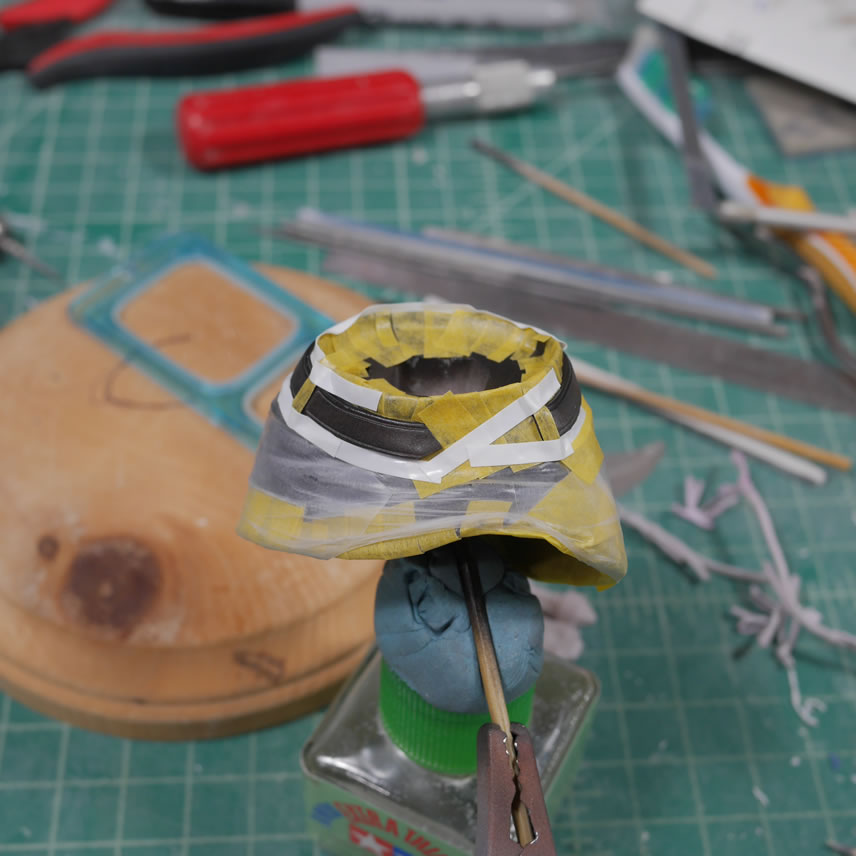
Her elbow armor is based painted in gloss black followed by alclad stainless steel. Once cured, it is masked off. Some liquid mask is used as a backup masking over the tape.
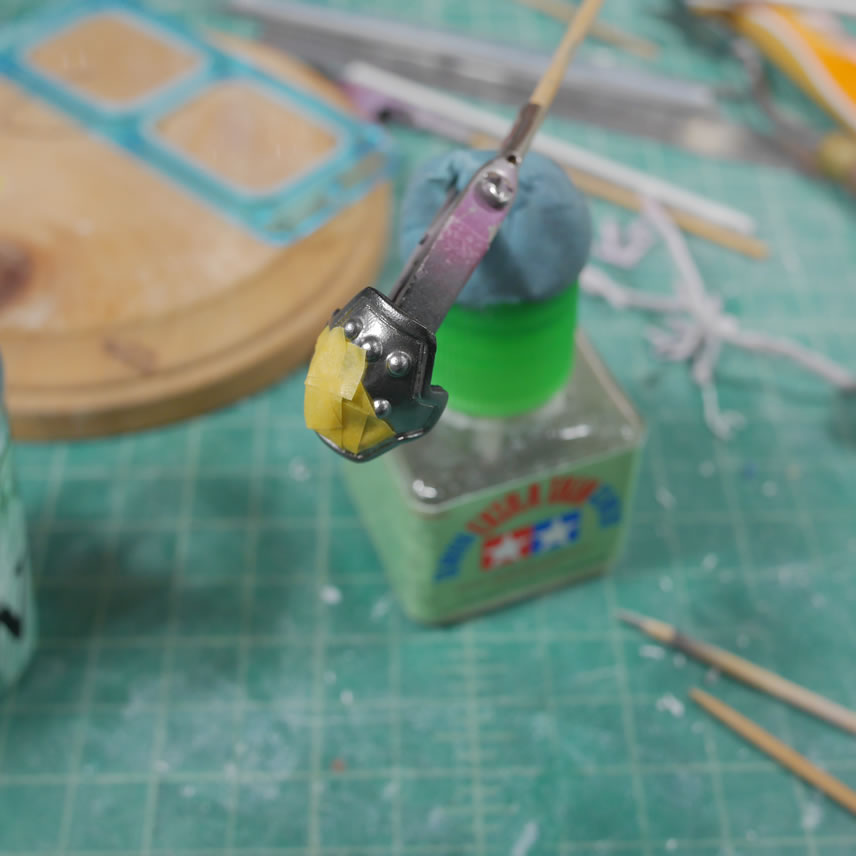
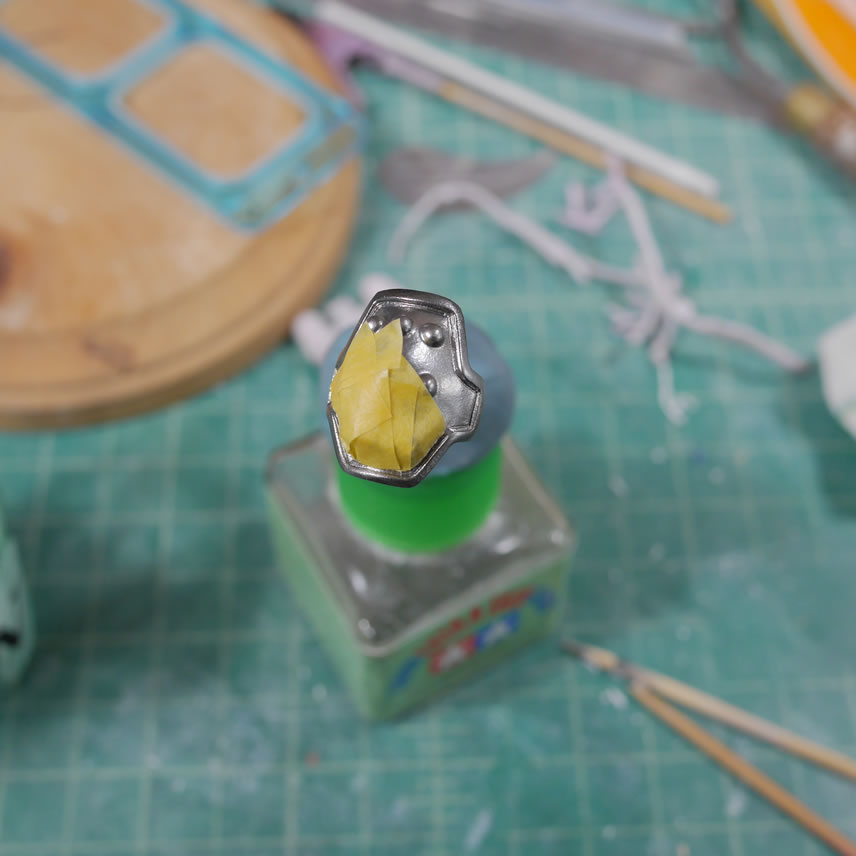
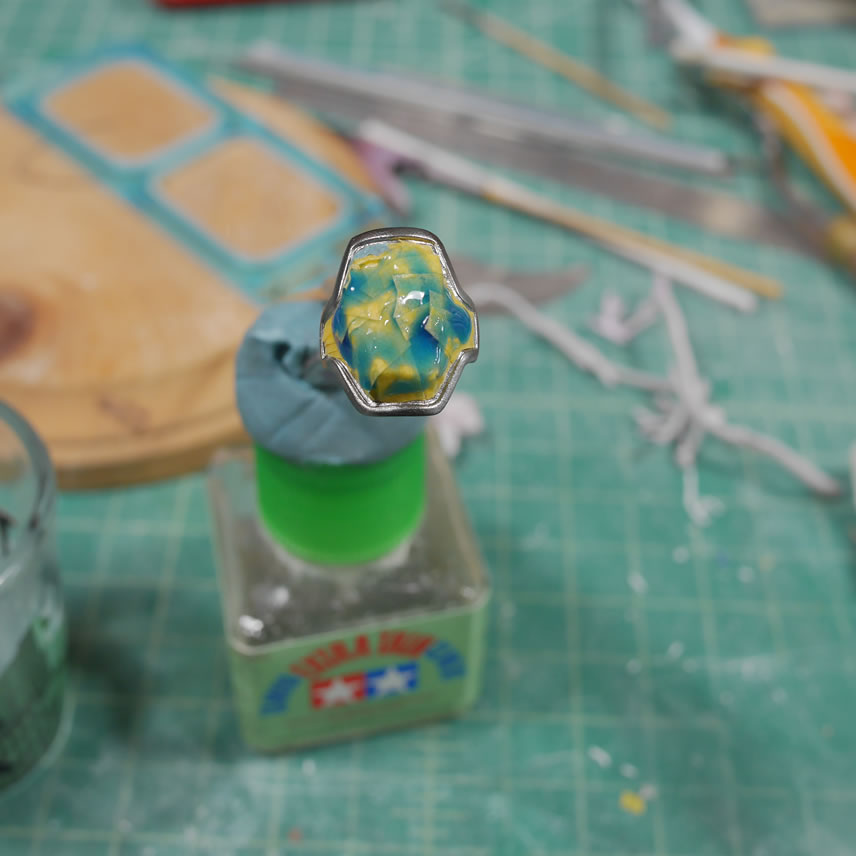
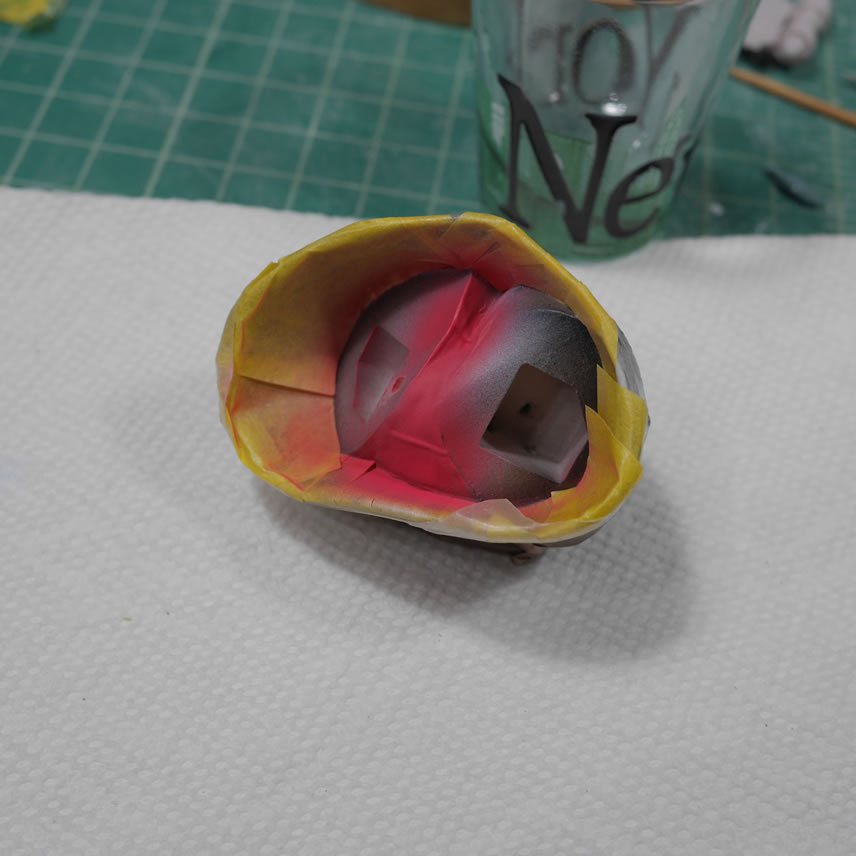
The front edges are painted with alclad burnt iron. Once this is cured, the burnt iron is masked with tamiya contour tape so that the back side of the armor can be painted in a dark red to match the red arm band.
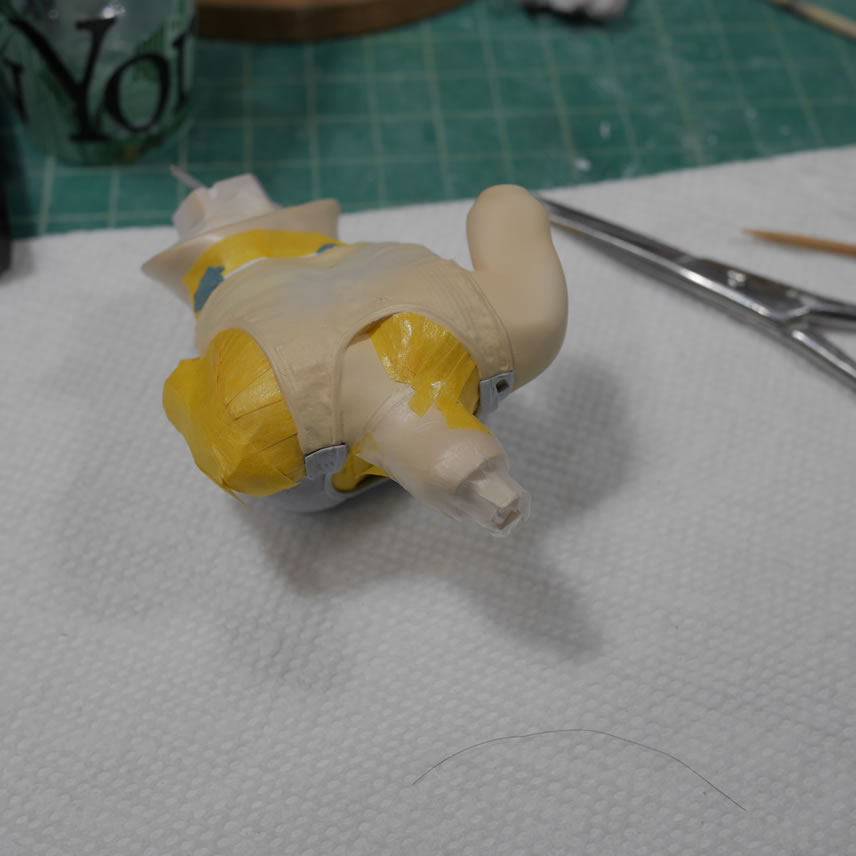
Next up we mask off the skirt. There are pantsu details sculpted in, so that area is masked off and if someone where so inclined, they can upskirt her once she’s done.
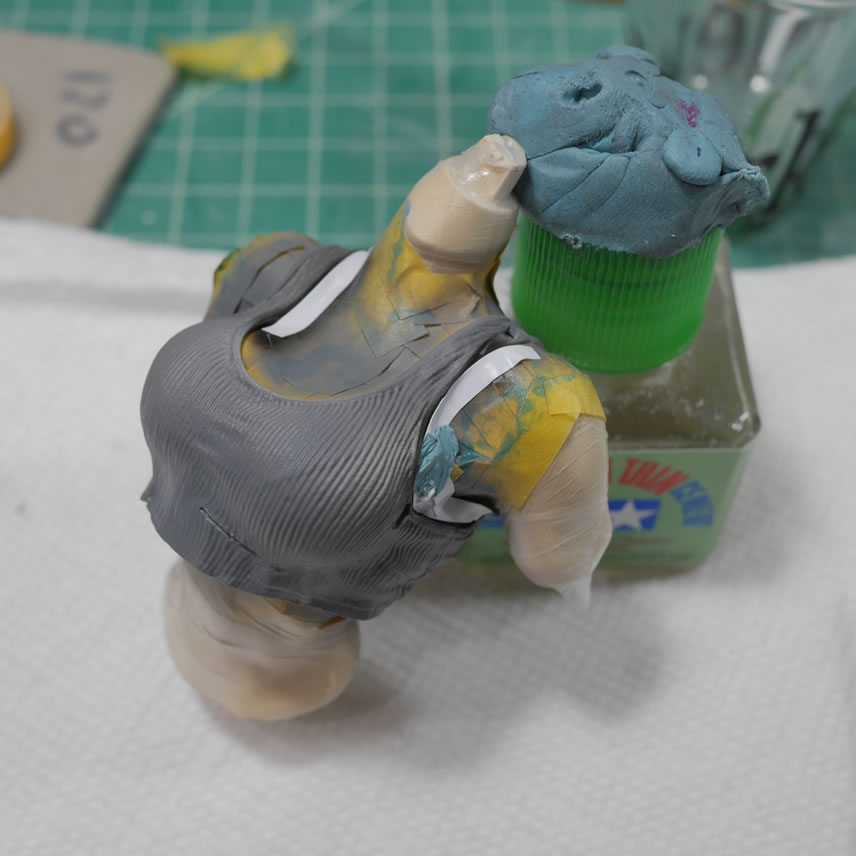
So I painted the shirt piece knowing that I will glue the part to the main torso and just mask everything to repaint it. Granted it may have been easier to just paint the parts separately and just simplify the masking; but my initial thought was that I needed to fix all the “seams”. I did some research into tank top designs and realized that the sculptor did an amazing part separation plan and the shirt is cut along natural tank top seams. The one thing I will acknowledge in my overthinking is that when the shirt is painted, I won’t have mismatched tones of painting them separately. This happens more on shading than if I just painted a solid color.
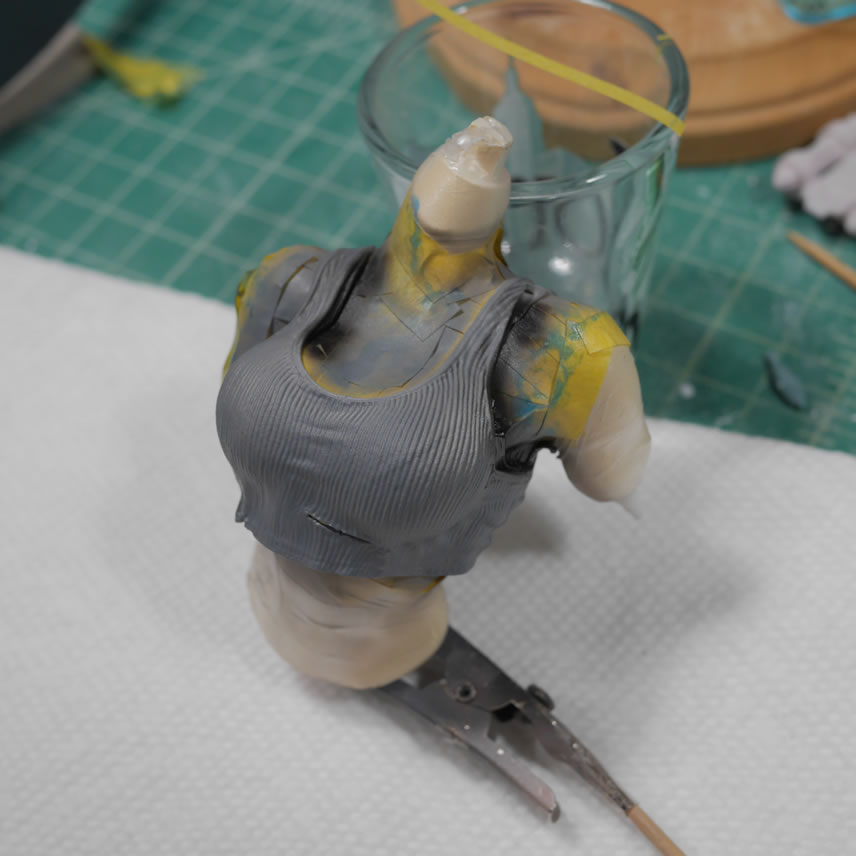
I had also forgot to paint the black undershirt. Once the skin is masked; a base gray is painted. The undershirt is painted and masked. And finally the shaded white is painted.
Unmasking is another step that needs care. In the past, I have pulled the tape off too quickly and effectively pulled away paint. A thoroughly cleaned resin surface free of any residual mold release helps reduce this possibility. But even still, an aggressive masking tape removal process can really ruin a good time. Not today. The torso is done.

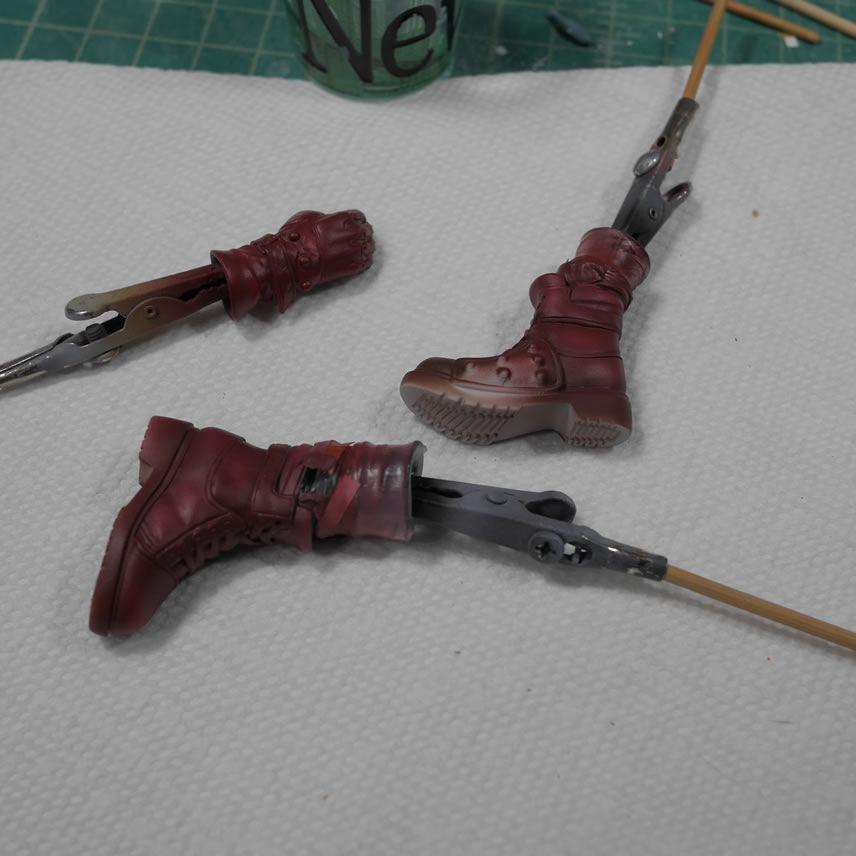
The hands and feet are masked and painted; in multiple cycles to get all the details done.

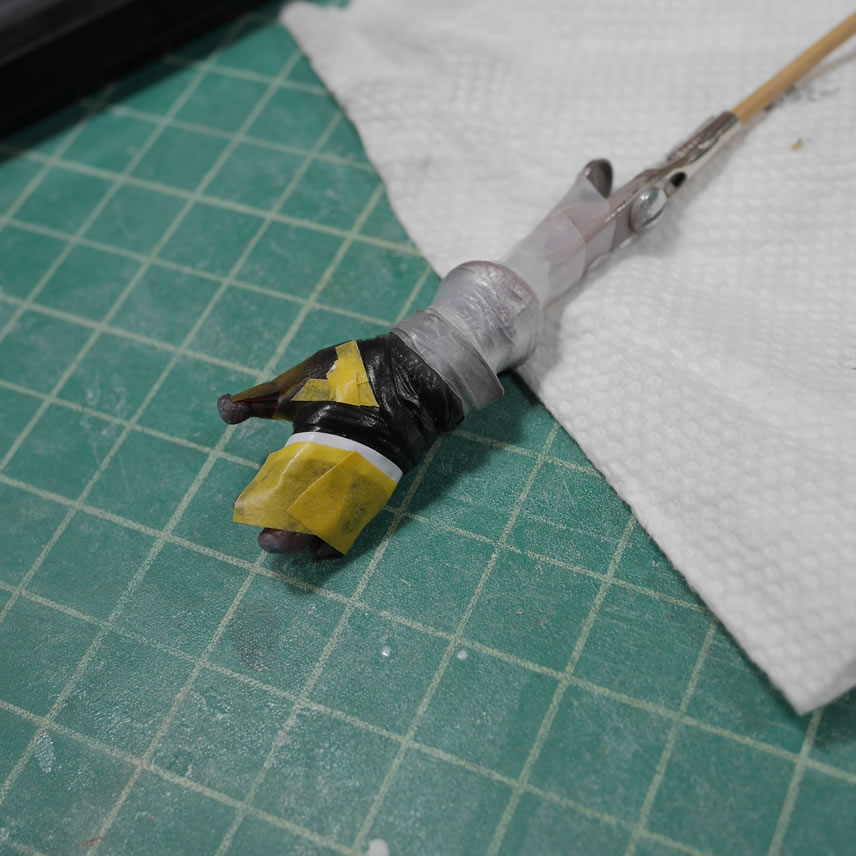
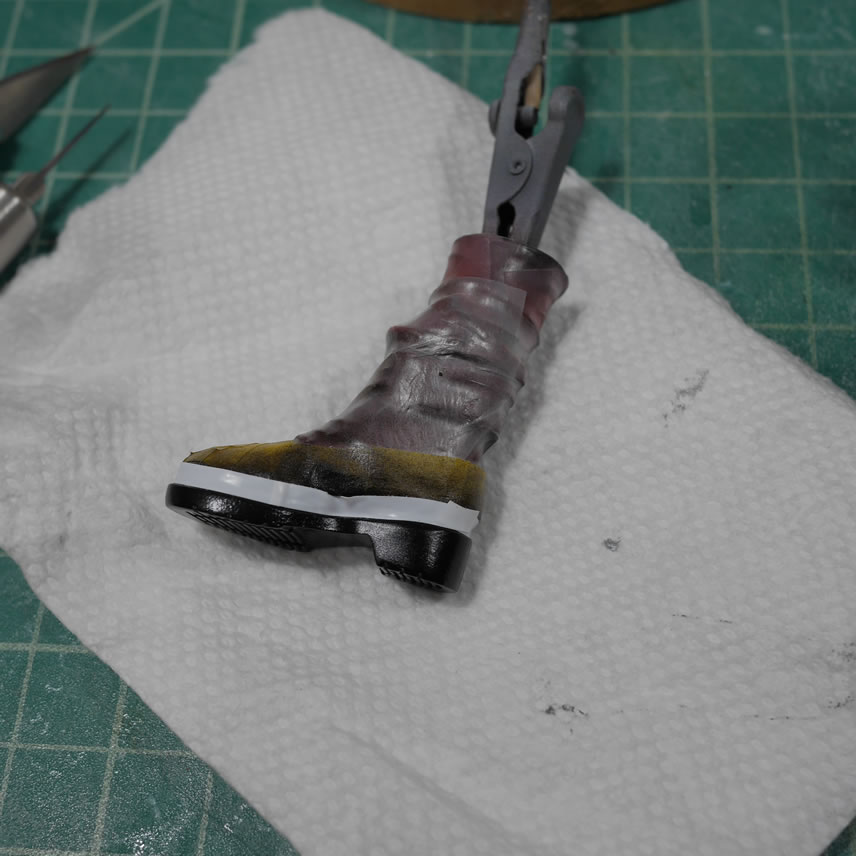
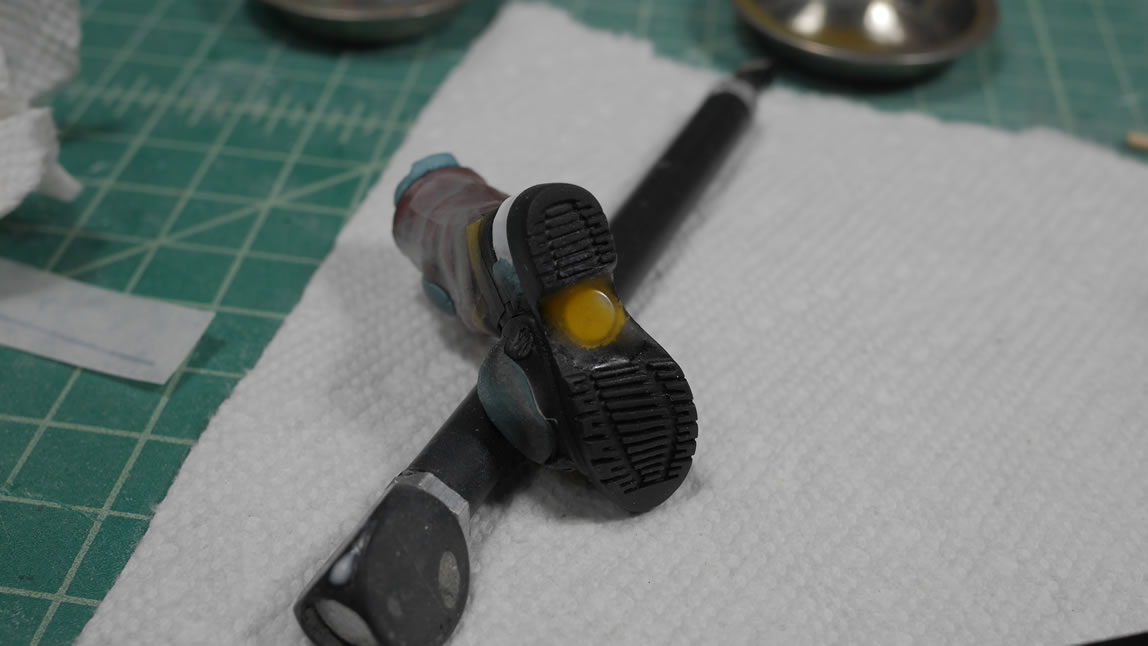
There is an armor plate on one foot so that is masked and painted with the same colors as the elbow armor piece. I also wanted to keep the gloss along the upper rim of the boot sole but make the sole look like rubber so that was masked off and the soles were painted with a flat clear to dull out the gloss black.

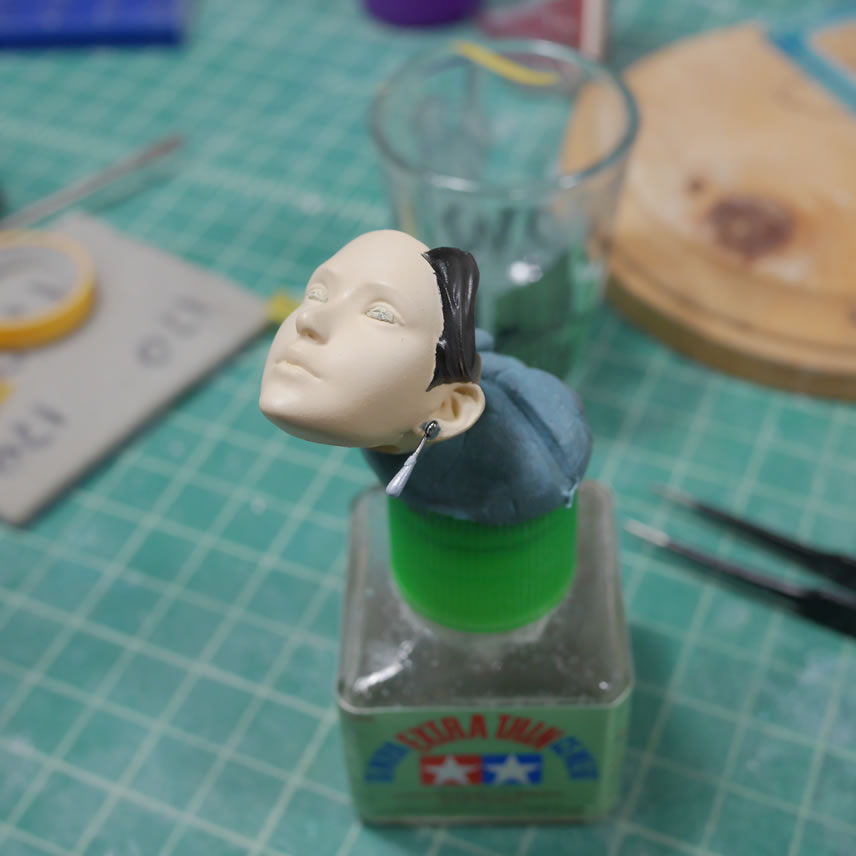
No pearl necklace, but I can give her a pearl earring. The attachment point was painted in modo chrome. The wire piece was painted in alclad burnt metal. White is painted for the main earring piece followed by a layer of finisher’s pearl white and a layer of clear gloss to finish it.
Here’s the tray of finished parts while I continue to work on painting and masking the final details such as the suspenders.
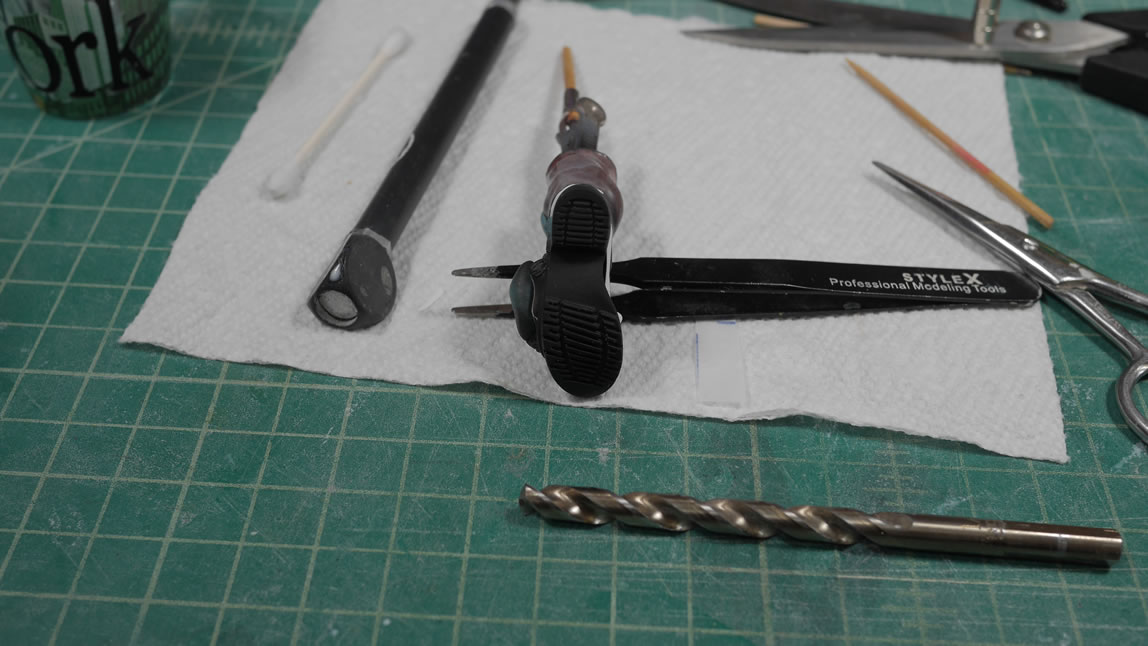
Once the boots are done, time to mess with them again. I was going to do this part earlier; but I didn’t have all the components. On Friday, my order from kjmagnetics came. I didn’t want to wait until the magnets came in to get around to painting the boots; again, the scheduling to get her done before the game gets into my hands.
1/4 inch holes were drilled into the bottom of the standing foot… or what I thought was the standing foot until I discovered that it was not. Hence the continuity problem in the progress pictures. But the idea is there. Drill a hole. Jam a magnet into position.
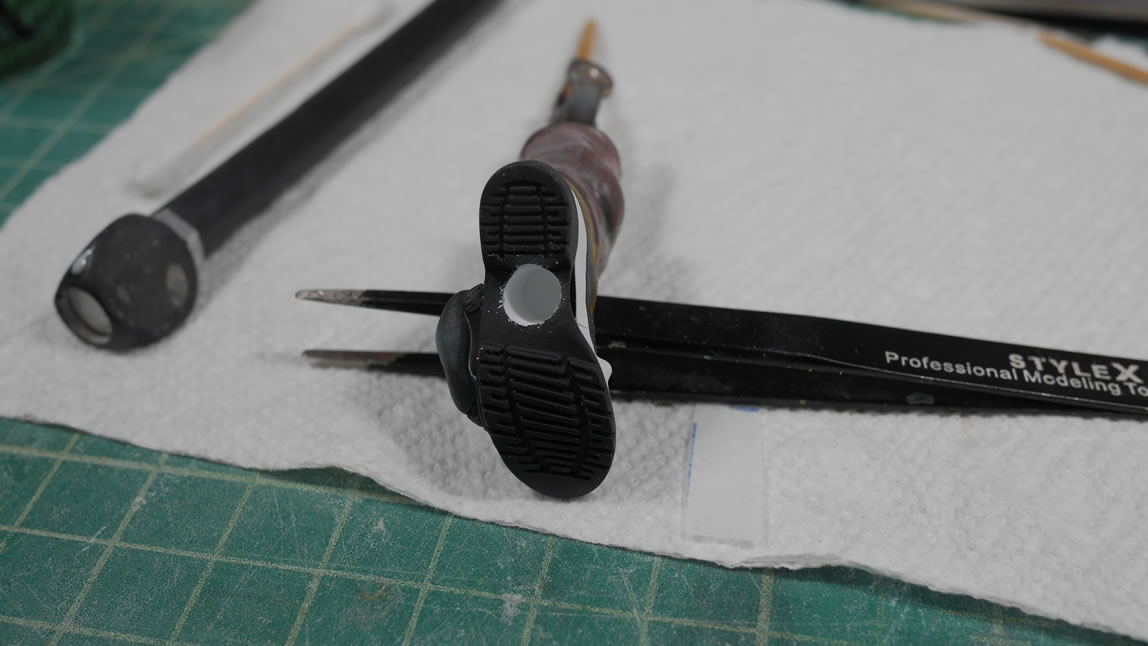
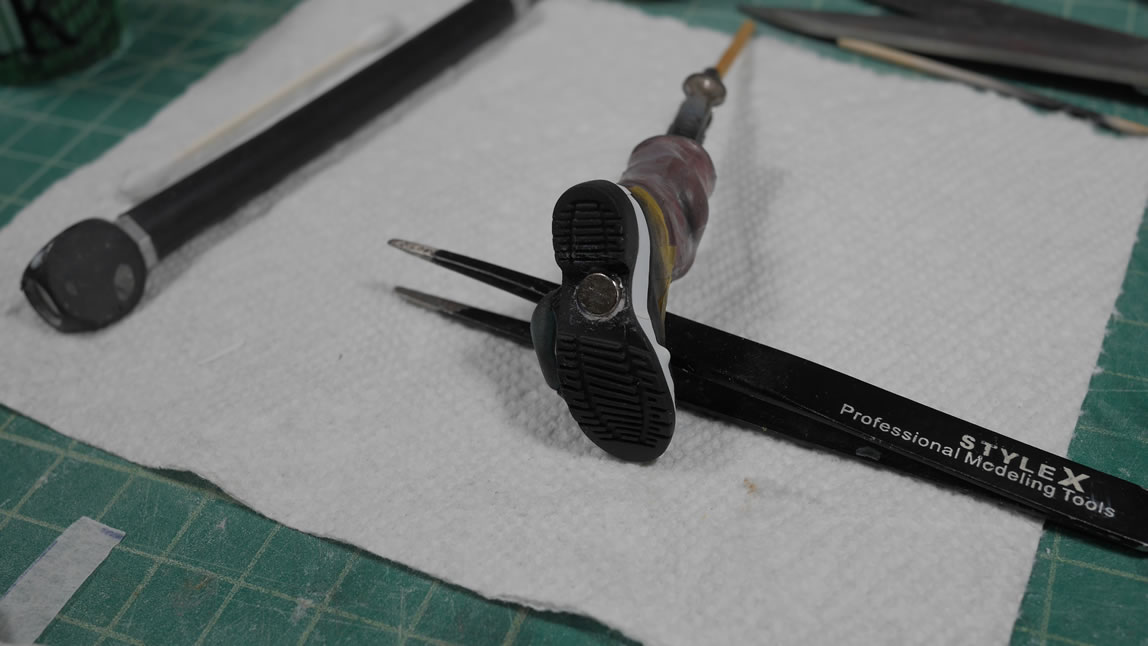
Then putty over said magnet with light curing putty. Sand and repaint and done.
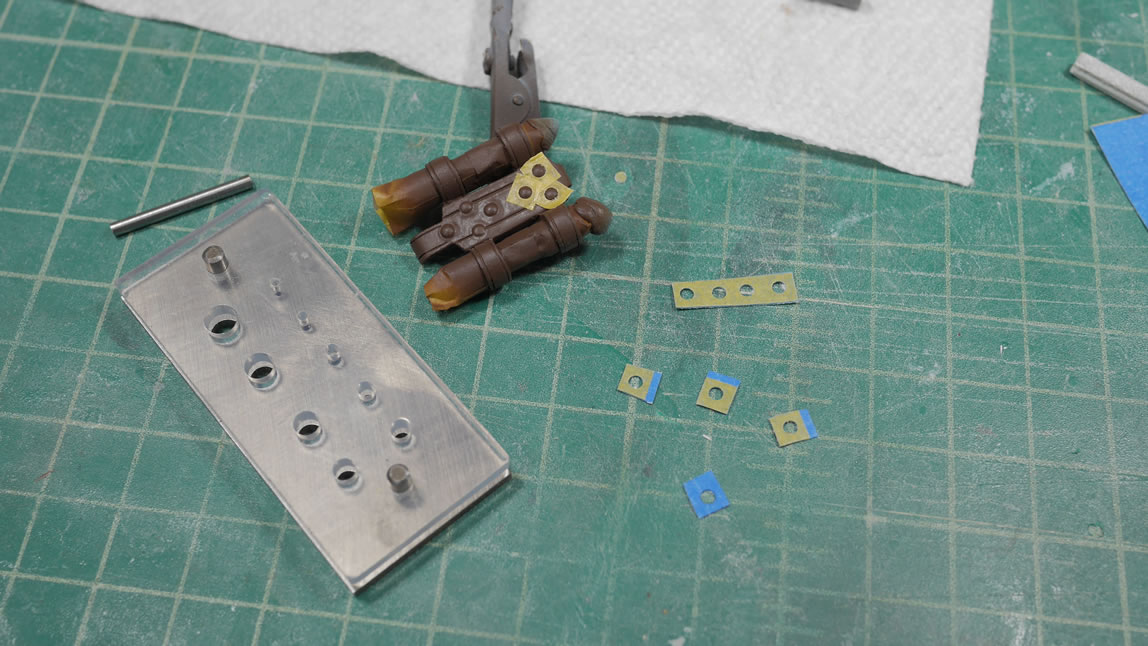
Detail masking with the punch tool to create perfect circular masks.

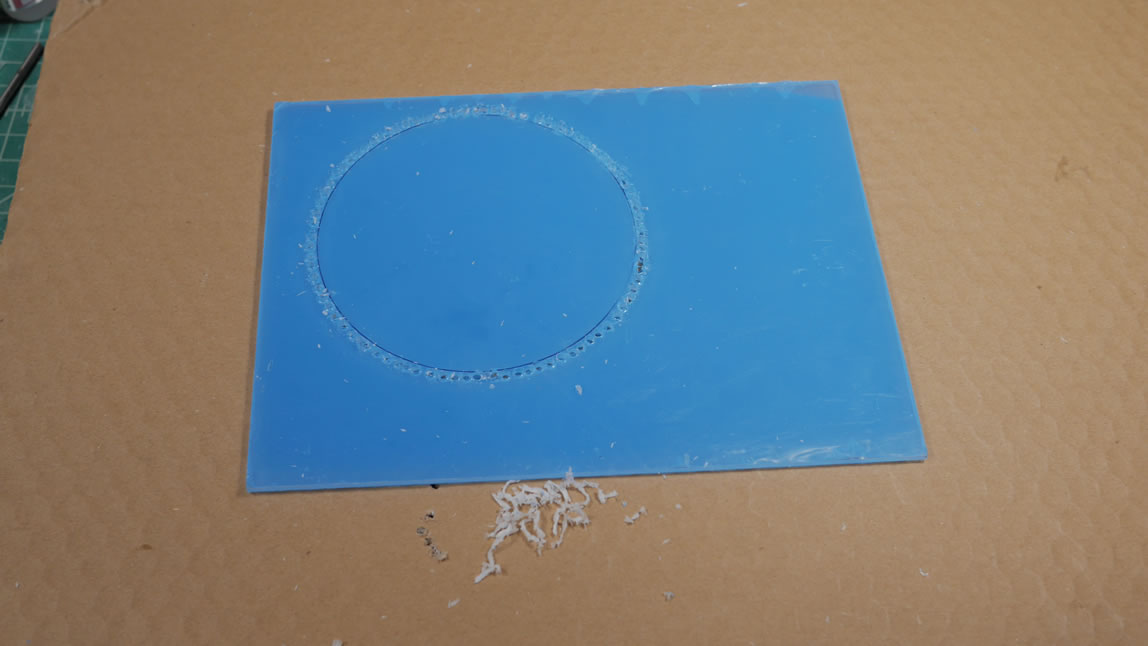
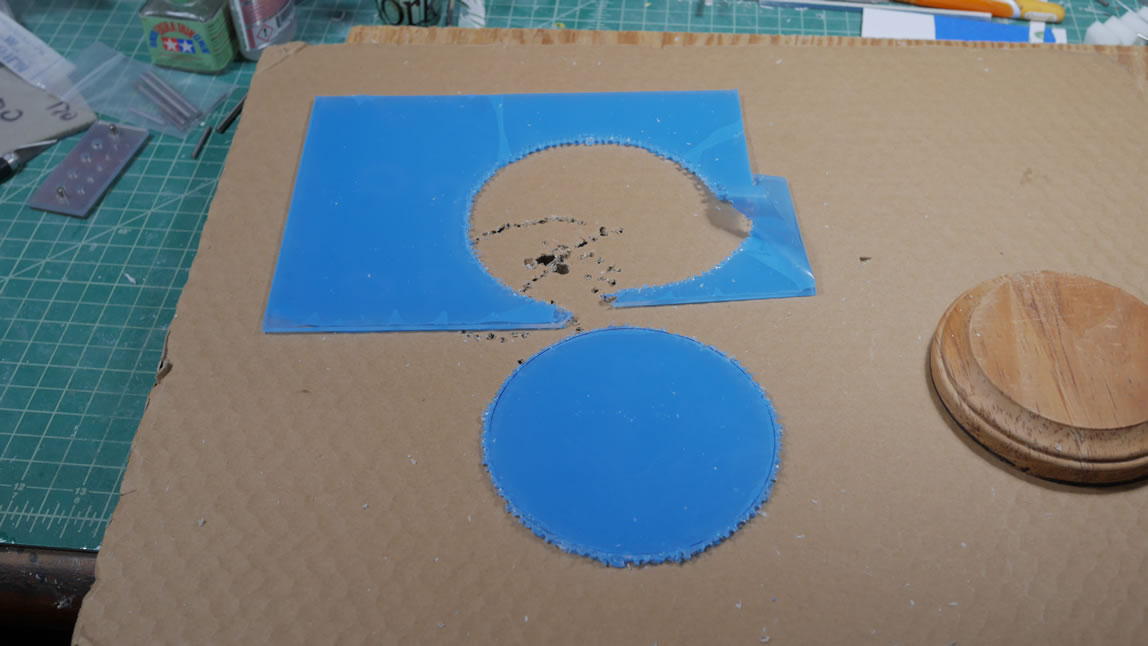
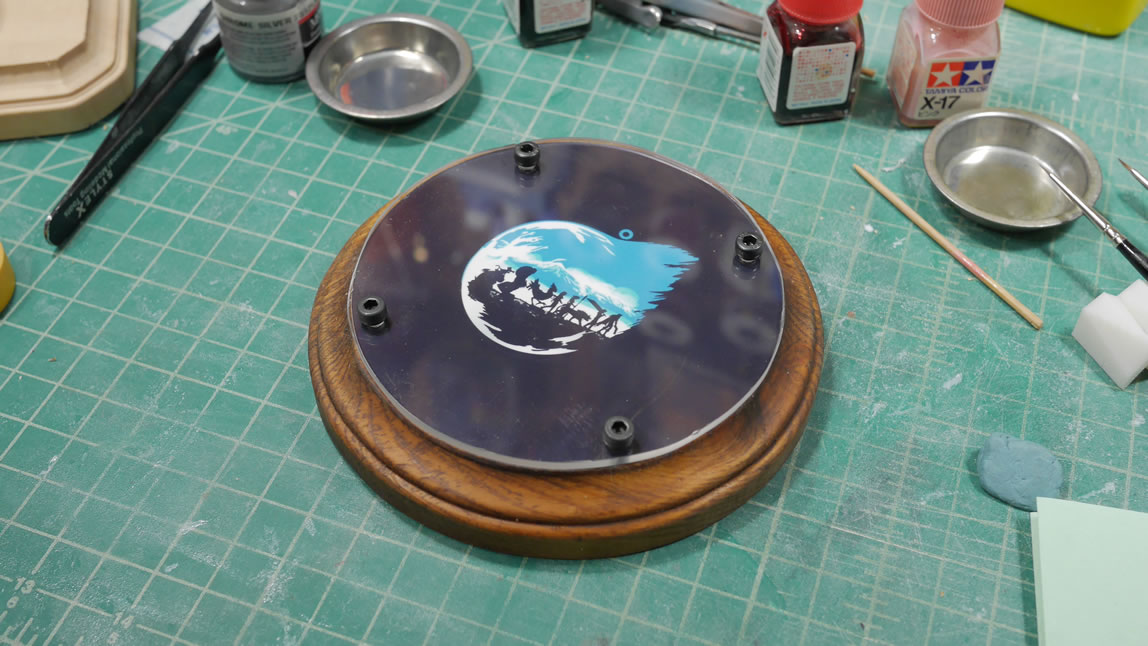
The last bit of work was done in one day. Well, the process for the acrylic was barely started Thursday night. The top of the base is measured to about 4.15 inches in diameter. I then printed out a picture design from FF7 and had it cut in the cricut machine. Since I had test cuts done, I used one of the test cuts to trace the 4.15 inches diameter on a sheet of clear acrylic (with the protective layers still attached. I decided to try a new method for cutting out a circular acrylic piece. The last project used a very thin acrylic sheet and I wanted something slightly thicker so the last process wasn’t going to work too well. Time to try new things.
I drilled small holes around the traced out line as close to the line as possible. The circular piece was then popped off at the drill points leaving me with a rough, but very round surface. The edges are clean up with some nippers and sanded down. This made for very easy cleanup and the round was near perfect.
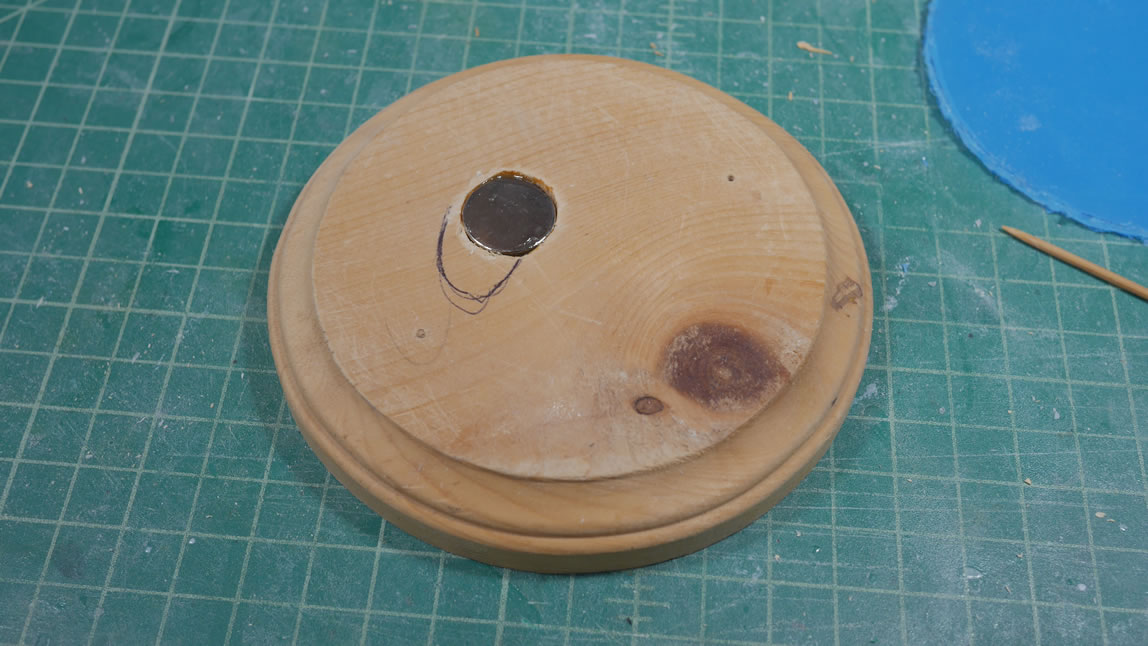
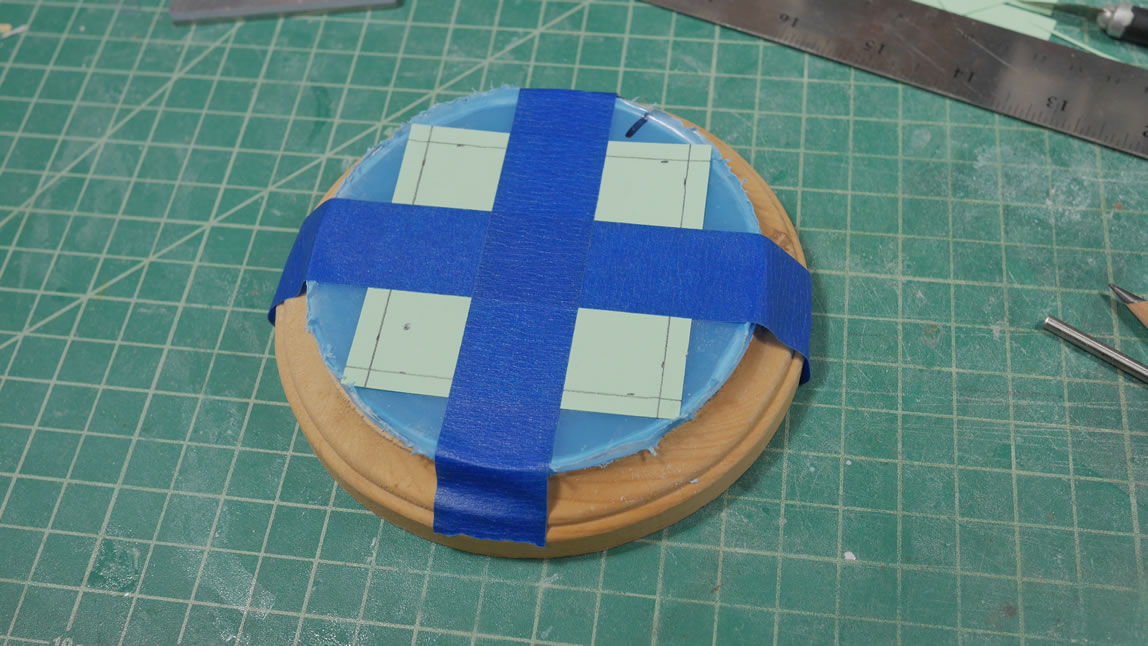
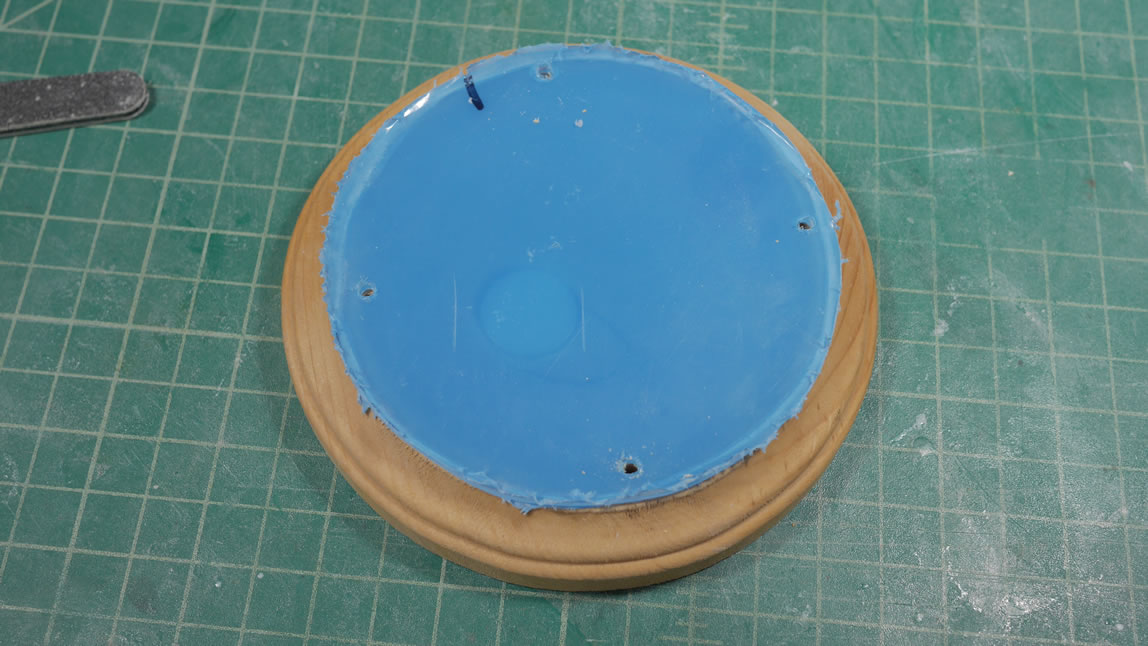
A hole is drilled into the base and magnets dropped onto the hole and glued. The base is then sanded. I cut out a square 3 inch template to use as guides for drilling in holes through the acrylic and wood base.
Once that is done, the wood piece is stained and then assembled once the stain is cured. And it’s here that the game arrive and I popped it into the PS4 and started it up.
Hours later, around 10 PM, everything was done curing and I started the work on gluing and assembling everything together. This took me to just about 11:45PM. So I actually finisher by by my self imposed deadline.
Completed pictures can be found here: 1/6 Tifa Lockhart Completed