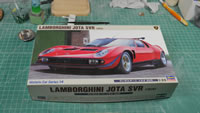
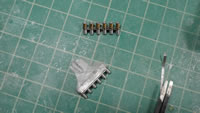
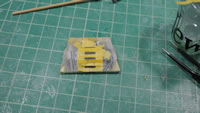
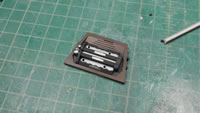
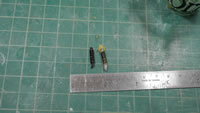
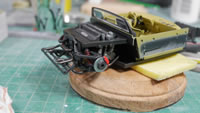
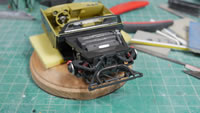
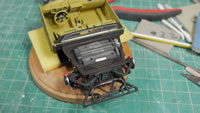
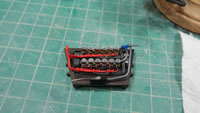
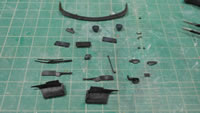
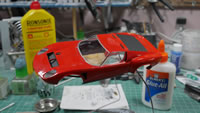
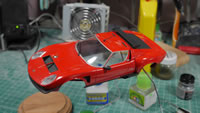
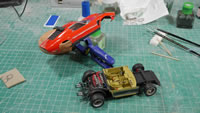
Finishing the Sakurai Aoi commission project refueled the itch to build, so I asked the wife which should I work on next, the Elintseeker project that’s been shelved more time than I can count; or this 1975 Lambo. She picked Italy over Macross. I had picked this kit up last October at Orangecon, the IPMS OC’s annual model competition. It called to me so I grabbed it – then promptly put it with the rest of the backlog. Time to unbox.
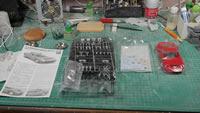
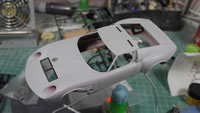
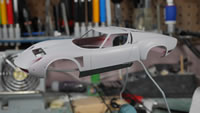
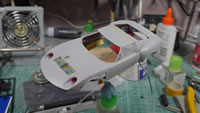
Standard Hasegawa 24th scale car kit and I’m just following the directions with step one. I don’t build cars. On this website, this is the 3rd one. So yeah. Time to follow the directions. This is just a quick test fit as I tend to do before actual sanding and gluing of parts. This helps me visualize what needs to be done.
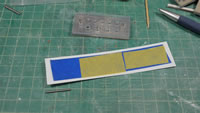
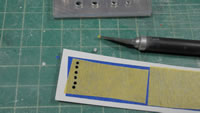
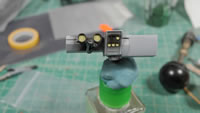
On to just building and painting the sucker. Here I have some blue masking tape stuck to a piece of card stock. On top of the blue masking tape, regular painters masking tape (frog tape) which is VERY similar to tamiya masking tape – only a huge roll and about the same cost as the 6mm tamiya tape. I used a punch tool I picked up from Micromark years ago and punched out some masks for the instrument panel.
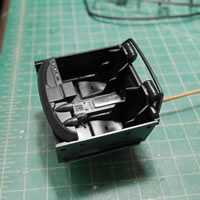
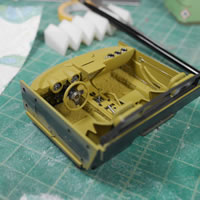
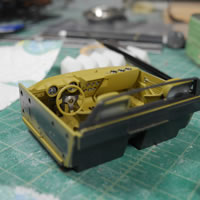
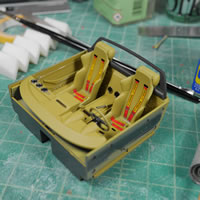
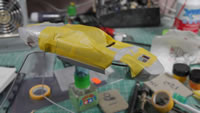
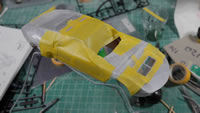
The instructions call for painting the entire interior a semi-gloss black with some instructions for mixing a darkened olive drab as accents. Too dark. Plus, I did some research for some pictures of the actual car – well, I found pictures of a Lamborghini Miura, for which the Jota is based. The interior of the reference photos screamed the 70’s; so I went with that interior color scheme – a hideous golden yellow tan. So here’s my rendition. But in addition to this horrible color, there was matching carpeting.
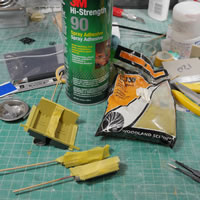
The first picture in the below series is a bit misleading. I didn’t actually use the spray adhesive, because it was an old can and just came out all chunky. I used a spray clear gloss, while the gloss was wet, I dropped in woodland scenic ground cover that I had; and the color matched perfectly. I can already feel that disco beat starting up with the completed cockpit.
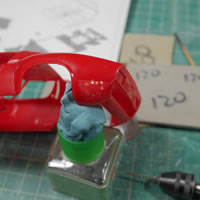
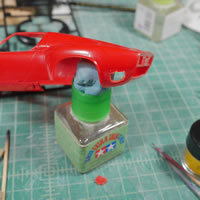
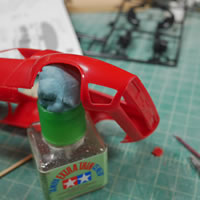
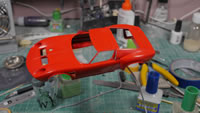
Next up, the car body. As much as I would love to out of box this thing, the rear plastic mesh panel just had to go. So a few holes are drilled in a pattern around the mesh frame, then most of the plastic mesh is removed.
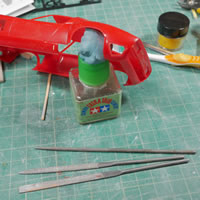
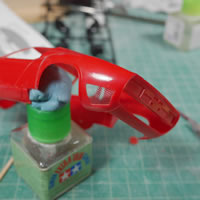
Sanding files come in and cut away most of the excess plastic as well as finely sand down the final shape removing any trace of the existing plastic mesh. Once this is done, I cut a piece of brash mesh and put it into position. This will look much better once completed and will also serve to show off some of the wheel and engine area from this angle.
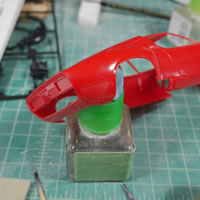
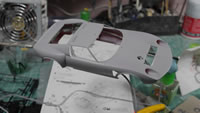
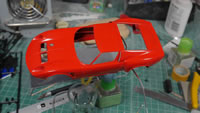
The body is sanded, washed, and primed. Once primed, the detail bits are painted with alclad burnt iron. The instructions called for the same semi gloss black. Nope. The burnt iron looks much better. I masked off to paint the details since I don’t want the red being affected by the areas with burnt iron overspray.
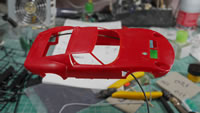
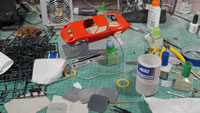
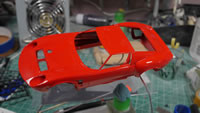
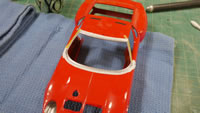
Once painted, the car is unmasked then the painted areas are remasked to ready the car for the main color. I spray a layer of Finisher’s Lumi Red. Once that is cured, I get to sanding down the paint with some very high grit sanding pads and water.
This process is repeated. Wet sand, dry, then apply another layer of paint. Repeat until the paint looks good and smooth. Then a very thick layer of clear gloss is sprayed to finish things.
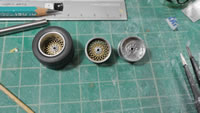
Wheels are painted in the mean time. More paint and mask and more paint. The tires are very nicely molded and there are no visible mold lines so no need to sand the tires or cut off excess plastic.
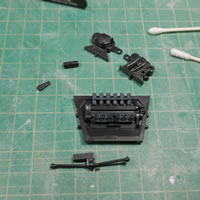
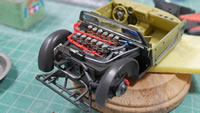
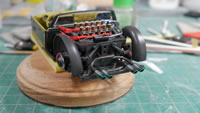
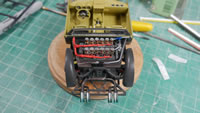
The engine. It’s pretty simple. A few chromed parts that I soaked in an industrial strength cleaner to pull off.
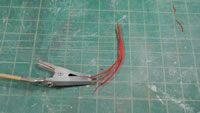
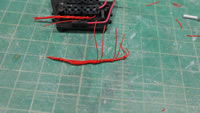
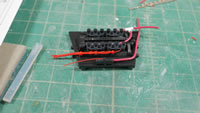
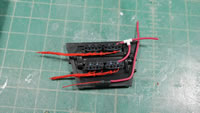
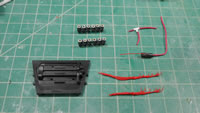
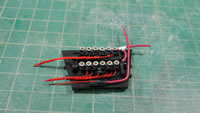
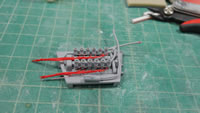
I saw another build of this kit and the guy added some wiring that looked good. Granted, this will be completely hidden once the car is put together. So why not. I have plenty of wires of different gauges so twisting a few together and making a few bends here and there and a tie here and there and done.
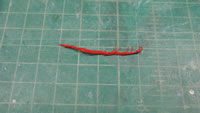
I have wires for the carburetors. I also added a some fuel lines from the gas tank and created some more fuel lines and a t-tap to connect up the carburetors.
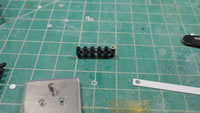
The reference pictures I have of the Miura have a small detail on top of each carburetor. Why not, this might be view-able with a flashlight at a contest somewhere.
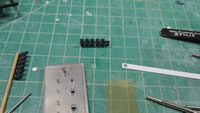
The punch tool is used on a thin piece of styrene. Punch one hole. Then move to the next hole that is .5mm larger and punch another hole to create a donut.
Using some card stock as a backing for the brass mesh (which is very delicate), a round mesh is punched out and then glued to small 4.5mm donut. This tiny assembly is then glued to the carburetor. And this is done 11 more times. But it kinda looks ok and once it is all primed, it looks somewhat decent.
Paint, mask, paint, mask, then continue to paint and mask. The engine components are painted up. Again, why bother because NO ONE WILL SEE THIS?!? I guess it’s just practice for doing mods and such.
Painting the rear shock assembly. Just more painting and masking.
The main engine, rear suspension, exhaust pipes, brakes and shocks are assembled for the rear part of the car.
The added lines are sprayed with a clear flat and glued into position with the rest of the engine bay components. Nice little Lamborghini decals too. Again, no one will see these damn decals.
Mask off the window trim to just hand paint it. Bad decision on my part. I should have just masked and painted with the airbrush. Laziness will always cost me in the end.
Final stretch, these are the last bits of plastic that need to be sanded, test fit and then painted. Then some how glued to the car. Some of these pieces are REALLY tiny.
The bits and pieces are glued to the car body and then the final step of “stretching” the body over the lower half to mate the two pieces that marks the end of the build.
Completed pictures are here: http://gamerabaenre.com/?page_id=6506
