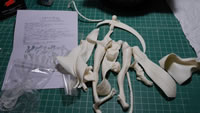
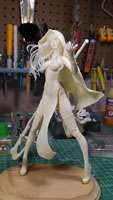
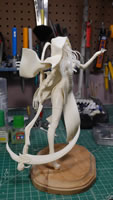
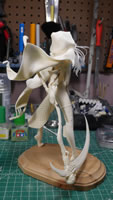
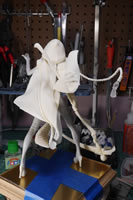
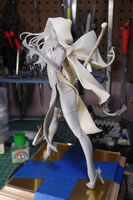
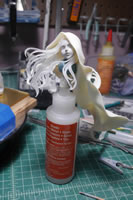
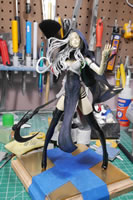
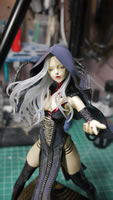
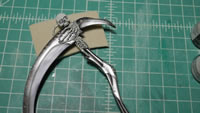
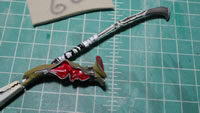
Towards the end of the Mercedes build, this kit arrived. The sculptor calls her æ»ç¥žã®ãƒ‡ã‚¹ä»£ or just “Death/God of Death”, I prefer the less final name of Grim Reaper. I picked her up off yahoo!japan auctions right after Winter Wonfest 2018. Unknown to me was that the sculptor: https://twitter.com/chilmirumirumi was already planning on releasing the kit to folks outside Japan through her webshop: http://artfiguegk.theshop.jp/. Yesterday there was a twitter update with two release times: March 17 @ 22:00 Japan time and March 18, 2018 @ 15:00 Japan Time. So for those interested in this kit, keep a watch on her webstore at these times to get it. Her kits sell out, and I don’t think she does multiple runs; so if you want it, get it now. Build her later if you want. I wanted to build her now, so I started a few weeks ago.
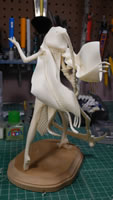
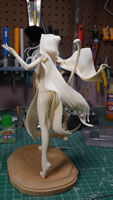
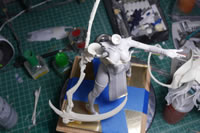
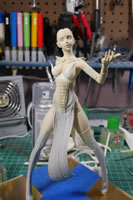
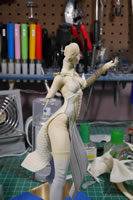
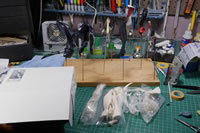
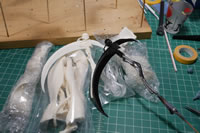
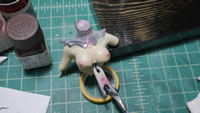
The nice thing about resin figure kits are the parts count. The down side to a low parts count is a decent amount of masking when getting around to the painting. The cleanup work is also a sizeable chunk of work. The first thing I usually do is pin together the major parts. The smaller bits are left off so I can get a general idea of what the kit looks like and what I need to do to approach the build. A visual really helps. Plus, pinning is one of the fun things about resin kits, you get a sneak peek into the end of the project.
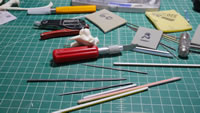
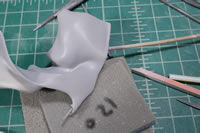
The first steps after pinning is the clean up. There will be mold lines to fix. There will be pinholes to fix. Its just part of working with resin. Time to bring out the sanding pads, files, and hobby knife. Surface prep is the most important thing for any kit building. Everything else is stacked upon this foundation, so if you have a shitty foundation, you’ll have shitty paint, decals, etc because all those things are built on top of the bare kit surface.
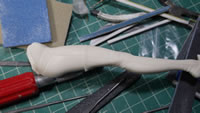
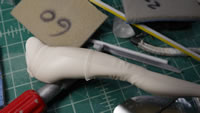
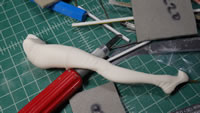
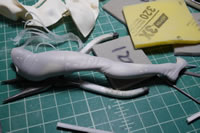
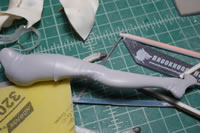
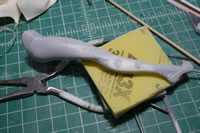
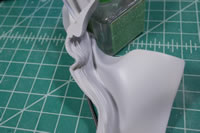
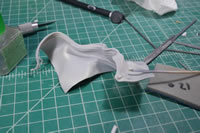
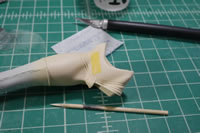
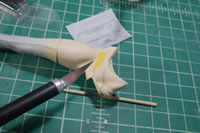
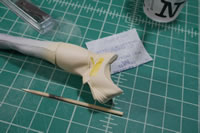
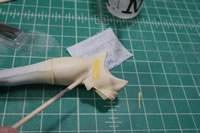
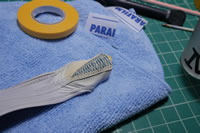
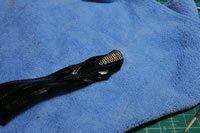
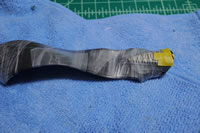
One of the rough things about figure kits is a mold line that runs through details. Small details and fabric folds can be difficult. Slow down and take small areas by small areas and eventually, you’ll get a smooth surface without mold lines or pinholes. The pinhole issue will come about later. First, we tackle the mold line down the folds of this leg. I used some small metal files here to slowly sand down and basically resculpt the areas where the mold line runs. I finish sanding out one area and then move on to the next section. I find that this breaks up the detail filing work a bit so that it is much more manageable. Eventually, this leg part is ready for the next step, a bath.
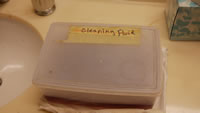
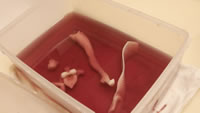
Once the parts have been sanded, they go into an industrial strength cleaner bath. The parts will sit here for at least 24 hours. This removes any degreaser or mold release agents that may still be on the surface of the resin. Mold release will keep anything from sticking to the surface of the resin, so it absolutely needs to be removed.
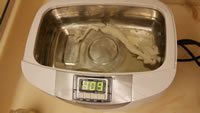
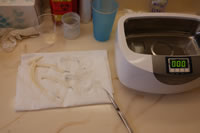
24 hours later, the parts are pulled from the industrial strength cleaner bath – USE GLOVES, unless you enjoy having your skin peel off your hands. The parts are first rinsed in clean water then placed into an ultrasonic cleaner with water. This process further scrubs the parts to ensure a very clean and oil free surface. The parts are then pulled out and left on a paper towel to dry completely before getting primer sprayed. For those that do not own an ultrasonic cleaner; a toothbrush, warm water, and dish soap does the same thing here.
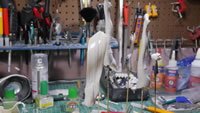
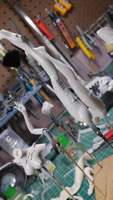
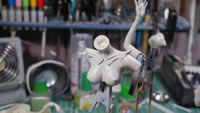
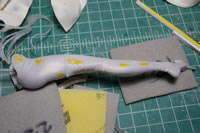
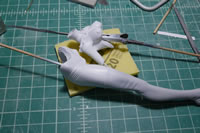
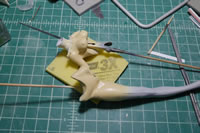
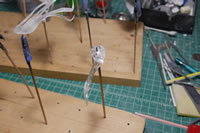
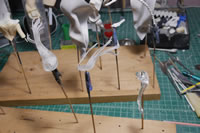
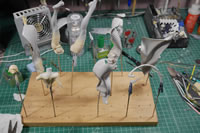
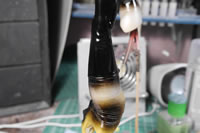
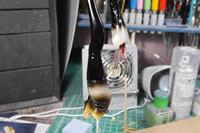
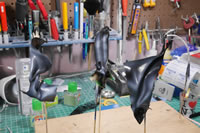
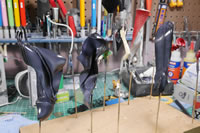
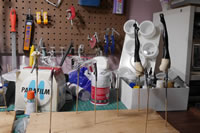
The dry parts are placed on skewers or held with alligator clip skewers and primed. In the below pictures you can see that some of the primer looks almost wet. This is airbrush technique 101. First spray a light mist to get some small dots of paint onto the surface. Then start spraying evenly to cover the parts, and finally spray heavier to get a wet finish and stop spraying. The first mist layers will act as an intermediate between the dry surface of the part and the paint. This helps paint adhesion and avoids paint pooling. Once the primer dries, it will be a flat finish. The parts are left to cure for 24 hours.
While the “skin” pieces just primed are curing; I can focus on cleaning up other parts. This separation in build process helps keep me away from the recently primed parts so I don’t screw something up because the primer hasn’t had enough time to cure.
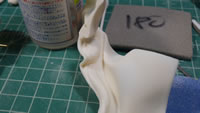
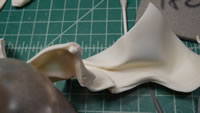
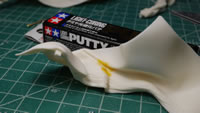
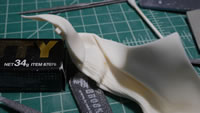
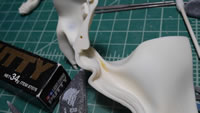
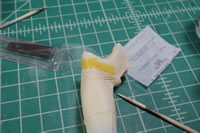
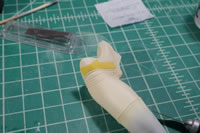
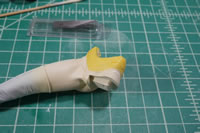
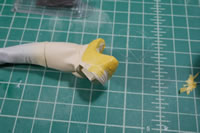
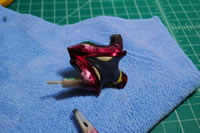
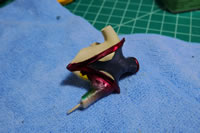
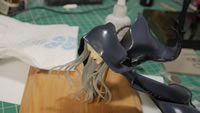
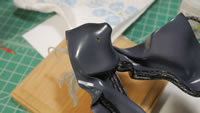
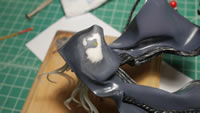
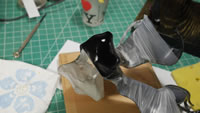
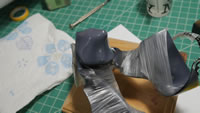
Sanding the hood piece, I run into a mold line that is considerably more significant than the mold lines on her torso and legs. The part is rather large and from the looks of thing, it seems that the mold shifted a bit more here so that the moldline more pronounced in some of the fabric folds. I don’t want to spend so much time sanding the mold line because it is in a fairly difficult location. Light curing putty comes to the rescue. I’ve yet to soak this part in the industrial cleaner, so I take a cotton q-tip and dip it in some Mr. Color Thinner and cleaned the mold line area. This cleans the area so that the putty has an oil free/mold release free surface for adhesion. Here are some pictures of the hood part from different angles to show the mold line problem.
Light curing putty lets me work much faster than traditional epoxy putties. The stuff cures under the work lights in under 2 minutes. The only issue is that the putty may need application in layers as light needs to penetrate the putty completely to cure it. The putty is applied and roughly shaped before the part is placed directly under the lights. About a minute or so later, the putty can be sanded and works to fill the cliff created by the mold line.
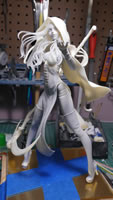
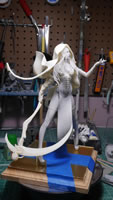
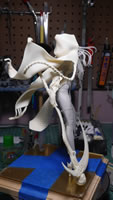
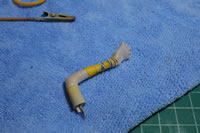
A day passes and the primed skin parts are cured. Time for a quick assembly to look at how things are coming from a wider scope. I also take this time to finish pinning all the other small bits such as the heels, the detail bits at the end of the ropes, the rope piece for one side of the cape, and the rest of the hair pieces. The handle ends of the scythe are also pinned.
The engineering thought that went into the character sculpt and design is amazing. I have a picture of the torso where the base of the head’s neck piece contacts the body. The sculptor is just amazing with the head design. The head attaches to the hair pieces which then attach to the two hood pieces. The entire assembly is so well balanced that the whole head assembly with hood sits perfectly in the torso neck piece with only magnets holding the two pieces together. Aligning these two pieces to get a precise pin was a little difficult, so I opted for magnets. This was before I realized that the entire hood piece rests on the head. To my surprise, the magnets work perfectly to hold the two subassemblies together. Granted I will glue the head piece to the body at the end of the build, but in the interim, for test fits and such, I’m still amazed.
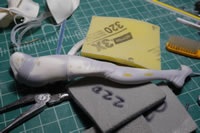
Test fitting done, time to take things apart and really examine the primed pieces. The first layer of primer is always just a stepping stone to more surface preparation. All the missed sanding spots, rough sanding spots and pin holes are clearly seen with the primer than on the bare cream colored resin. Pin holes are opened up so that the putty has more surface area adhesion. And just as before, putty –> cure –> sand.
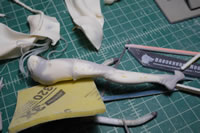
Once sanded, the parts are primed again and left to cure for another 24 hours. Looking at the primed leg, most of the areas are fixed, but light still catches in some areas we need another putty/sand/prime session.
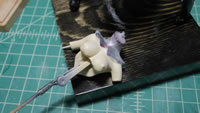
The surface prep is done after a few steps. Now for the first layers of paint. For skin areas, I need to white out the grey tones first. Mr. White base is sprayed on the skin areas. Bleeding from the previous layers happens because airbrush layers are so thin and certain colors are more susceptible to this issue based on pigment concentration. The skin will take on a grey tone if sprayed directly over the primer. Granted, this is Death we’re working with here, so that may be a good effect, but I don’t want that, so white base is sprayed. I do want a lighter skin finish, so I went with my medium skin tone over the darker base skin tone I have. This medium tone is used as the base skin color. Below are pictures of the parts in white and the medium base skin tone.
I don’t need to worry about letting the paint layers fully cure before moving on, so I allow them to dry for a few hours before spraying the next layer. I mixed a very light skin tone to shade and get the final blend to finish the figure’s skin color. Another quick assembly of these parts to get a quick visual. I find this necessary to check for tonal differences. Tonal difference is a huge issue especially with airbrush preshading techniques. It is VERY easy to get different shading tones on each part. Putting the kit together give a really good visual on if tones need to be balanced. From this quick assembly, I found that the two leg pieces are mismatched so I needed to spray a little more of the light tone for one leg to balance out the skin color. Had I skipped this, I would have a rather odd looking tanline.
I have the hood, heels, and small pieces that are part of the hood assembly sanded and soaking in the industrial strength cleaner. The hair piece and scythe parts are up next for initial sanding.
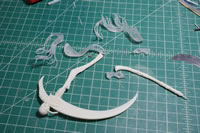
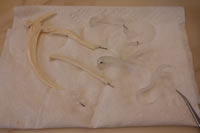
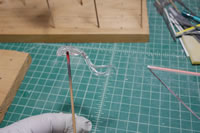
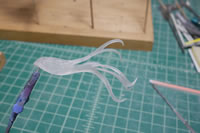
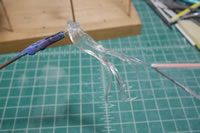
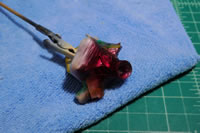
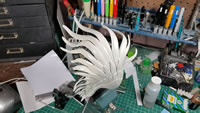
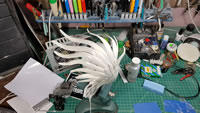
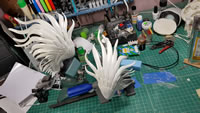
I was cleaning up the last bits of the kit with the scythe and the clear pieces. I have no idea why some of these pieces are clear such as the tassels since they’re going to be painted solid colors. I can understand the hair being clear, some translucent painting will come into play here. But these clear parts makes for some different approaches to clean up and filling. The resin is different, so sanding properties are slightly off in comparison to the regular resin. But once cleaned up, they go in for a soak in the industrial strength cleaner then a scrub in the ultrasonic cleaner and then dried.
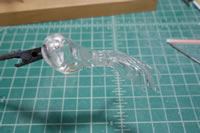
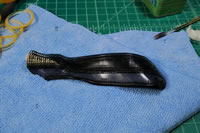
After drying, the parts are ready for priming. The scythe parts are primed with regular Mr Color Surfacer Primer. The clear pieces are primed with clear gloss. The gloss fills in the tiny little scratches left over from the sanding process and when done, the part is crystal clear. There are a bunch of different methods for this such as dipping the parts into an acrylic clear medium or other products. I have a good amount of lacquer based clear gloss, so I used that.
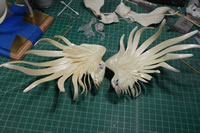
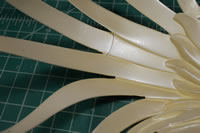
Here are a few more comparison shots of the hair before and after clear coating. It is a pretty cool effect. Too bad I’m not keeping the hair clear, it would just look too odd being clear at the area it attaches to the head. And there’s the issue of seeing the pins that hold everything together.
As I build in sections, some of the parts that have already been through the putty-sand-reprime sessions get a final check before the usual last priming session – there are always exceptions to these rules. Some of the areas have what some folks call resin boogers. Just small bits of resin on the surface that didn’t get sanded away and really show up when the parts are primed. These are pretty small and hard to see, but with close inspection, they can be pretty obvious. Those bits are sanded off and the part is primed again. Boogers gone, I can proceed to the next steps.
Once all the parts have been sanded and are ready for paint. The desk is cleaned off for the next stage of work: Painting and masking. There will be a great deal of masking for this kit. I think I’ve been spoiled by working on the Volks kits of late. Time to check back into the true reality of garage kit work.
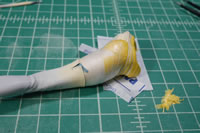
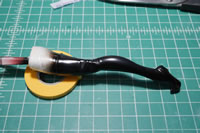
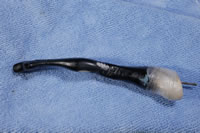
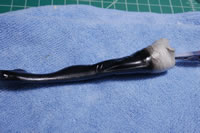
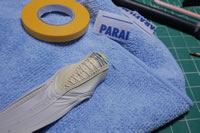
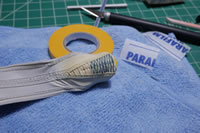
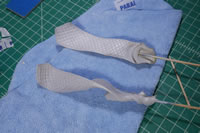
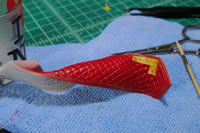
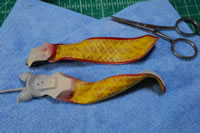
Since one of the legs is pretty simple and the line between her exposed skin and thigh high boots is pretty straight, I used parafilm to mask off the majority of the skin. Then some detail masking for where the top of her boots do a little split is masked with some blue sticky tack.
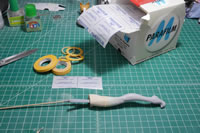
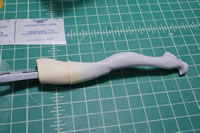
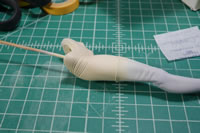
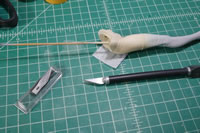
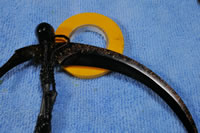
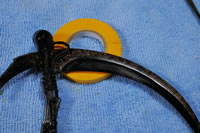
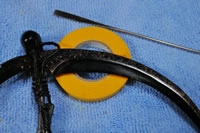
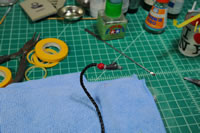
The other leg is a different story. This will require a pointy wooden skewer, a brand new hobby knife blade and tamiya masking tape. We start off with applying the masking tape and overlapping on the curved areas. Straight areas are easy to mask, just butt the straight edges of the tape up against the straight edge. For curved surfaces, I find it easier to just lay tape down and trim it. The first step is to just lay the tape down.
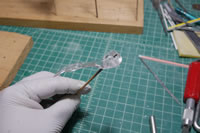
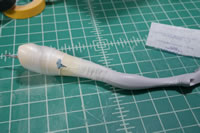
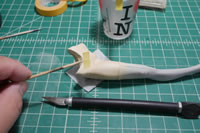
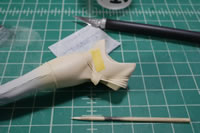
Once the tape is placed, the pointy stick is used to press the tape along the cutting edge. The pointy stick ensures that the seal is good for the tape. A brand new knife blade makes sure the cut is clean. Not much pressure is needed and the blade is run along the curve edge. Pointy stick is used to lift of the excess tape and carefully pull it away. And we’ve masked off one section.
Mask, pointy stick pressing, hobby knife cut, then pointy stick lifting of paint and repeat until you’ve masked off the edge. Then finish with masking off the larger areas making sure you do not miss any overlaps of tape. Parafilm and blue sticky tack are also used here.
After an hour of masking work, it takes about 30 seconds of painting to finish the part. But no unmasking yet, there is still another layer of masking.
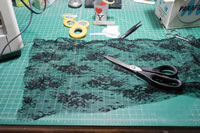
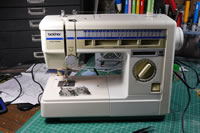
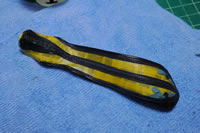
This next layer of masking is done with some mesh fabric that I picked up from my local fabric/craft store. I’ve done some mesh masking for gunpla in the past but I want to do something a little different this time. Starting off, I have my mesh material, the leg I want to mask, and a sewing machine to make a sock of sorts.
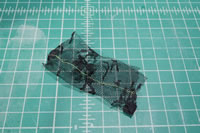
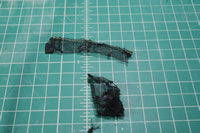
There is a bit of trial and error to find the best method. I created a “fitted” sock like I did for other nylon stocking projects. But the problem is that the leg has some curves and the bottom of the shoe has some protrusions so the “fitted” bit wasn’t working very well. This sock was a bit difficult to work with, but I got one leg more of less done. The other idea was to sew a bigger sock and then have the sock fit loosely over the leg then tighten the stocking at the back and just focus on painting one side first. This method was easier.
Both method were painted and the results are the pretty much same, but loose sock method was definitely easier. I couldn’t get both sides painted at the same time, but the tax on making a good fitting sock was not worth it.
I finished off the rest of the leg pieces with the mesh masking. I wanted to get some masking and lightly paint a pattern onto the front and back seams of the boot. The sculptor’s kit has something similar so I’m trying to replicate that technique with my own experience and extrapolation of what I think they did.
Pointy wooden stick is used to unmask the leg. Some care is needed to minimize paint lifting. Parafilm is a really nice product to work with since it doesn’t stick to the surface but to itself, so the chance of lifting paint is nonexistent.
And while getting ready to unmask the other leg… Oh look, just what I wanted, a big scratch in the paint… This happens. Airbrushed paint layers are very thin and if not left to properly cure, the layers are still quite delicate. The scratch could have come from the table, carelessness in masking, or just careless handling of the part. But this is part of the building process; making mistakes. Mitigating mistakes is a big part of model building. Once you accept that you will make mistakes no matter how hard to try; it just like any other process, you fix it and continue.
The leg was remasked in the areas that the masking was removed and the process to paint the leg redone. The whole leg was painted gloss black. Highlight tones were painted. The leg was left to cure for a full day before returning to the mesh masking. Then one side was painted last night. I will get to the other side tonight.
I go out of my way to not hand paint sometimes. I don’t like hand painting and will go way the hell out of the way to avoid it. Three hours were spent with a wooden pointy stick and blue sticky tack to mask off the front of the kit. The painting took 30 seconds. I know that once I unmask this area, I will need to do some touch ups with the paint brush by hand.
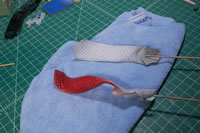
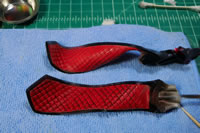
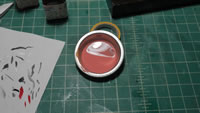
The sculptor’s example has the underskirts as white. I think red would look better so over the primed skirts, I sprayed white using the primer grey as shading. Once that was dry, I sprayed alclad transparent red over everything. The clear red inherits the shading from the white. I will still apply a wash down the line to help bring out more depth; but that will be done a ways from now.
A similar technique is used for the main clothing. The clothing is first painted black, then white highlights are sprayed to get some shading spots. Finally, a light misting of a dark purple made from a combination of three different sets of leftover purple paint works to blend everything together and get a purple shade over these parts.
I originally picked up this kit from Yahoo!Japan auctions after Wonfest in Feb. I didn’t know that the sculptor had planned to do a second release online to overseas customers. So when the kit went up for sale a little over a week ago, I put in another order and about 8 days later, the kit arrived. So now I have two Reapers that I can do some side by side before and after comparison.
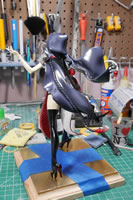
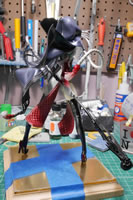
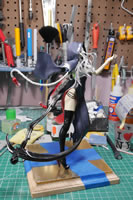
Seven months after my last post on the subject; it is time to get around to finishing the damn project. So let us catch up. Here is a mockup of Death right about the end of March as I continued working on masking and painting. I had pictures and progress in the can when I switched gears in the middle of April to start work on the Bear Guy project. The purple is painted over the main cape and note that at the head, there’s a hole where I have a pin that holds the hoodie/cape in place on her head since it is a fairly large piece of resin, I need something load bearing to help with the balance.
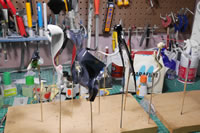
Things are back on skewers to continue the paint mask paint mask process.
The two pieces of her lower dress are masked off to paint the edges. The front side is masked off to paint the detail lines.
The process is repetitive, mask, paint, mask, layer by layer.
Once the last layer of a part is done, all the masking can come off and I get to see areas I need to touch up. A wash and some hand brushing fixes most of these issues.
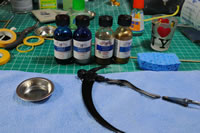
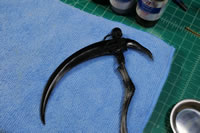
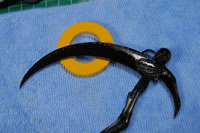
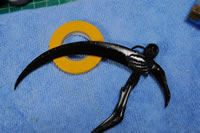
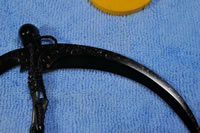
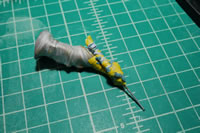
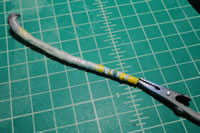
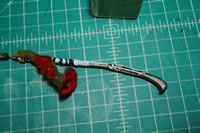
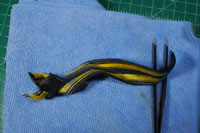
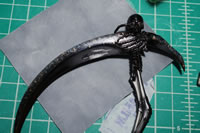
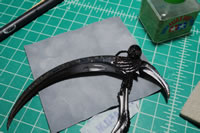
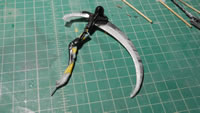
Death’s scythe work begins with a base coat of black. I use a sponge and some color metallic paints to get some textures.
The tassels are masked and painted as well as the left arm and scythe handle. I wanted to do the skeleton bits in a bone color so I mixed up a custom off white and painted that over the black to get a bone like look.
The other side of the skirt is masked and painted.
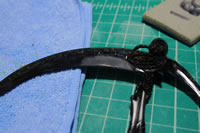
Returning to the scythe, I screwed up with the clear so I needed to sanded it down and repaint. This stuff happens and you just deal with it.
Left arm glove got more masking to paint in the belt details. And the zipper is hand painted with enamel silver.
The front and back skirts are done and everything is unmasked. The red could use with a wash, so a black enamel wash was done; you can see a comparison with the unwashed and washed. The wash really brings out some depth to the details. At this point, the kit was 90% done and just sat on a shelf collecting dust while all my focus went to the Bear Guy project. The date for that last picture in this set is April 7; then all worked pretty much ended.
Returning to the project, 10/20, 6 and a half months later. I get to masking the scythe and just start working. I finished the Bear Guy in July, but ended up just playing Gundam Battle Operation 2, going to events and finishing up a commission project to fix some broken wings on a Holy Bell kit from Volks.
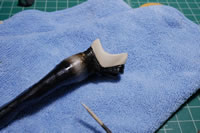
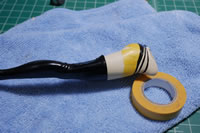
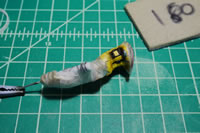
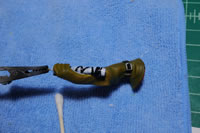
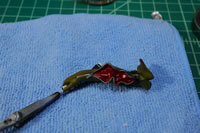
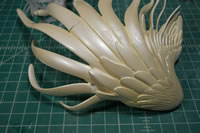
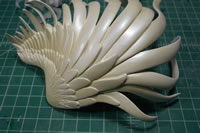
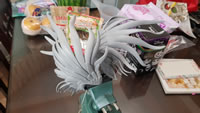
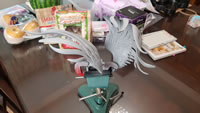
So here’s a quick little intermission for the Holy Bell repair project. The parts were yellowed and the wings looked off colored from one another. My guess is sunlight damange. And there were some broken wing bits. You can see in the first picture that this Death project was already underway.
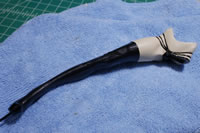
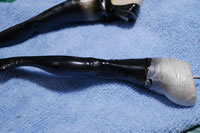
The fix was set with glue and putties and primed.
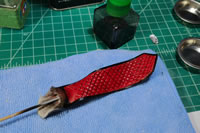
A new white was painted a layer of clear and micro pearl powders to give a sparkly effect to the wings. Then another layer of pearl white was sprayed over everything to blend everything together. And this short intermission was started in the middle of Death, through the Bear Guy project and completed before I started back on Death.
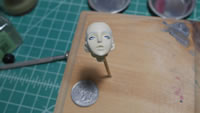
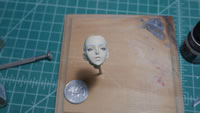
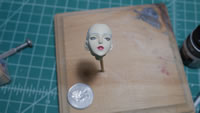
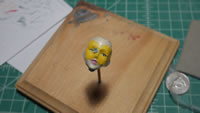
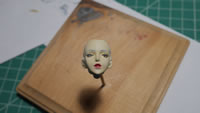
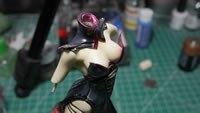
Back to Death; the ever fun eye painting part. Oh do I dread this part of the build. I’ve been spoiled by the past few figure builds being from Volks that come with eye decals. Not this time. And the head is the size of a quarter. My fear in doing the eyes also helped drag this project out so long. I could have done them months ago, but nope. I had even picked up some nice Windsor & Newton Series 7 0, 00, and 000 brushes. These are some damn fine brushes. Coupled with a 10X magnifying omnivisor, the eye painting wasn’t as difficult as I had built up in my head. All the painting for the eyes are done with enamels to allow for blending and better work times. I didn’t use a black but a gun metal to draw out the eye and some of the lining. Black was done for the eye lashes. A grey was done for the eye brows and iris color. The the head was left alone to cure for a day. Next, the pupils were done with the gun metal. Some eye liner and a small amount of zinc for the iris near the pupils. The omnivisor at 10x mag and the 000 brush really help get in details that cannot be seen by the naked eye.
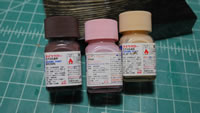
The lips were done and also the teeth inside her open mouth. A mix of red, pink, and flesh tone created this lipstick color. Everything was left to cure for another day and then everything is masked off so that the eyes can get a coat of clear gloss to make them look wet. After a few layers of gloss, the masking is removed and the eyes now have a bit more depth to them with the layers of gloss.
Earlier I had noted that there was a hole in the hoodie for the pin to the head. Here’s where all that comes together. Once I get the hair painted and the face painted, the whole head is glued together and left to set up. The two halves of the cape are glued together. If you look carefully, you should notice that the two pieces of the cape have different color tones where they meet up. This happens more often when you paint adjoining pieces separately. But since I was already planning on repainting this area anyways, I didn’t really bother. I really wanted the majority of the part painted before I got here. Since I’m now here. I added in the pin, glued everything together, then puttied the hole and sanded everything. After a layer of primer, and paint, the hood part has a solid tone between the two pieces and this part is almost done.
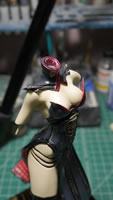
While doing test fit with the 95% completed parts, I noticed that at the perv angles, you can get a glimpse of some side nipples. So, using some enamel paints, I mixed up a light pink flesh tone and airbrushed some areolas. I used enamels so that if I screwed up, which I did, I can wipe the layer of paint away without harming the skin tone already there and start fresh. I had to do this a few times to get this close enough.
So here without the head and hair in the way, the perv angle is clear and you can see a hint of nip.
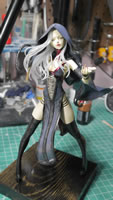
This brings us up to date and she’s about 99% done. The main figure and head are done.
The last two pieces got an ink wash to bring out some details and this wash needs a day or so to cure up. Then I can spray a protective layer of clear gloss and continue with a filter I have planned to change up the tones for the scythe and scythe handle.
