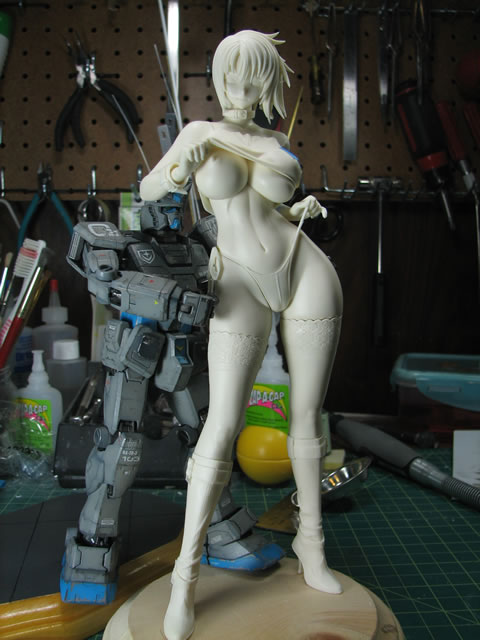
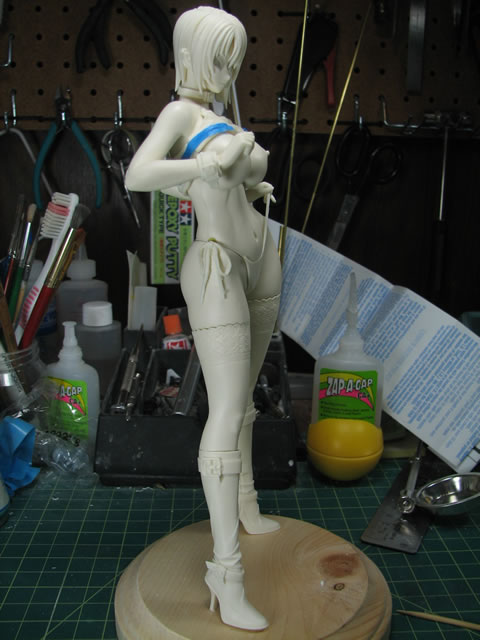
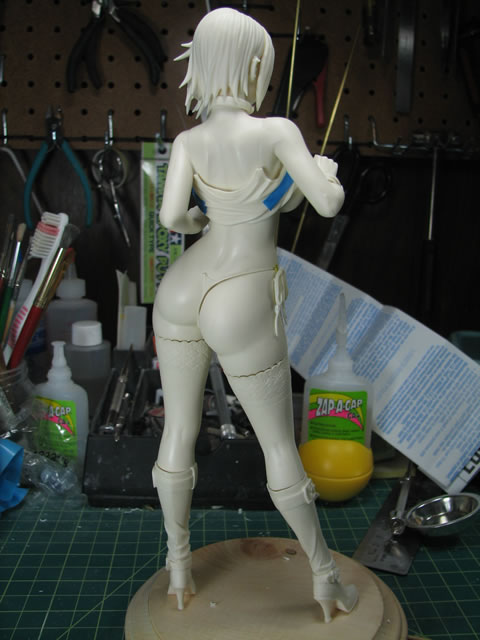
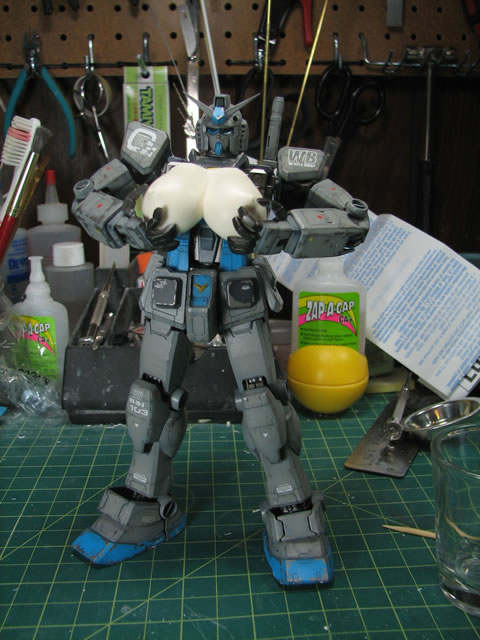
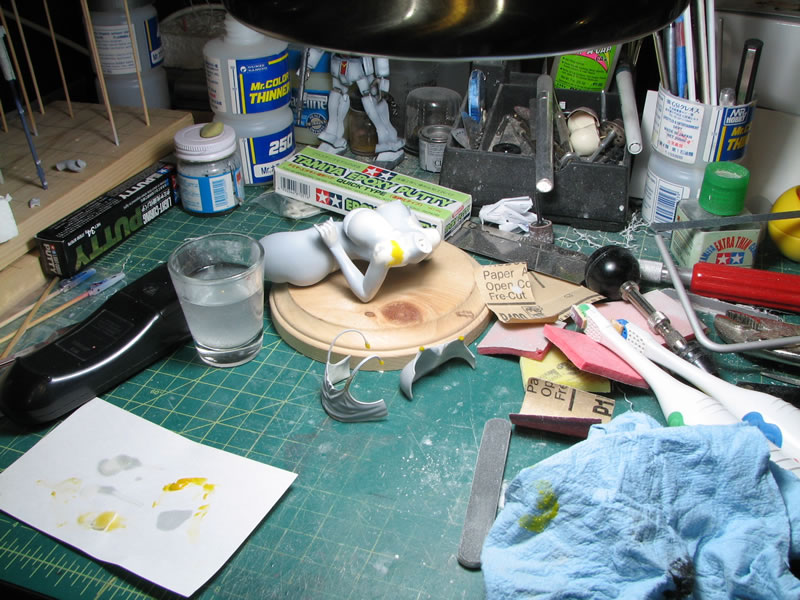
December 22, 2007: Inspired to wipe the dust AND spiderwebs off this kit at the build gathering and got major sanding work and the major putty work down.
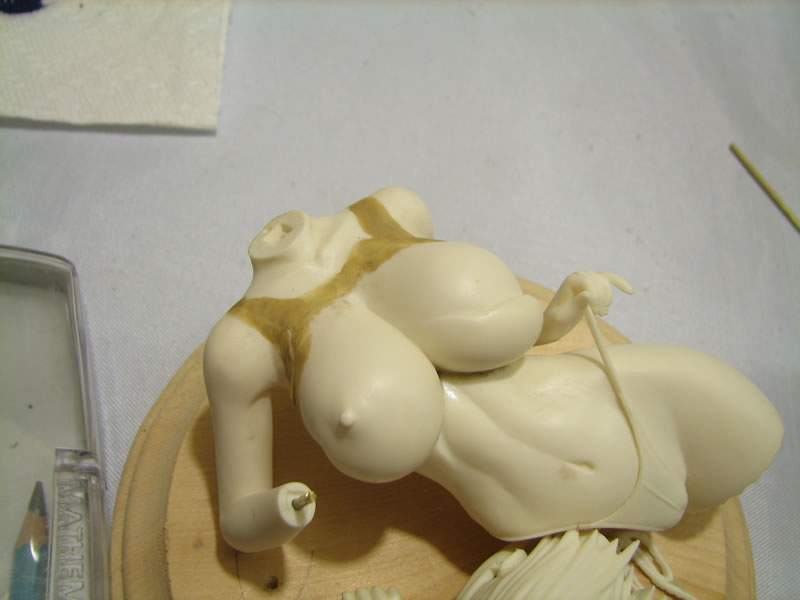
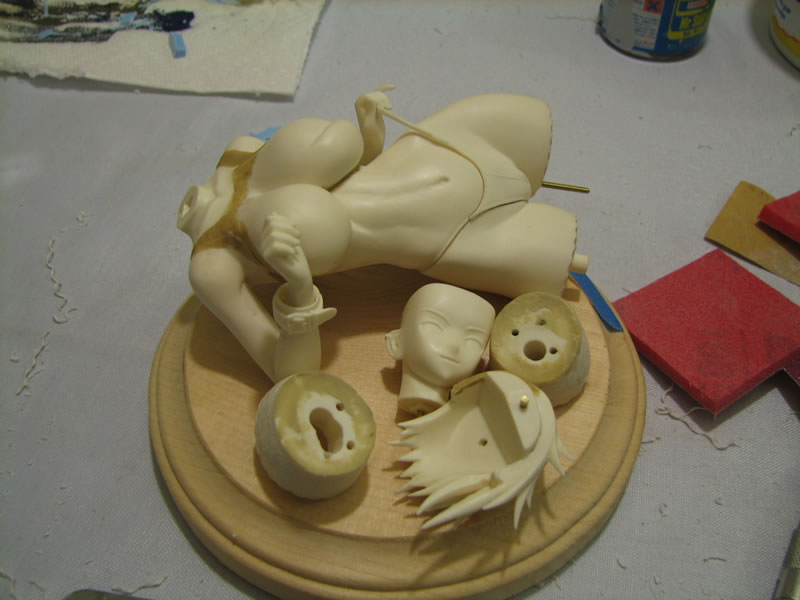
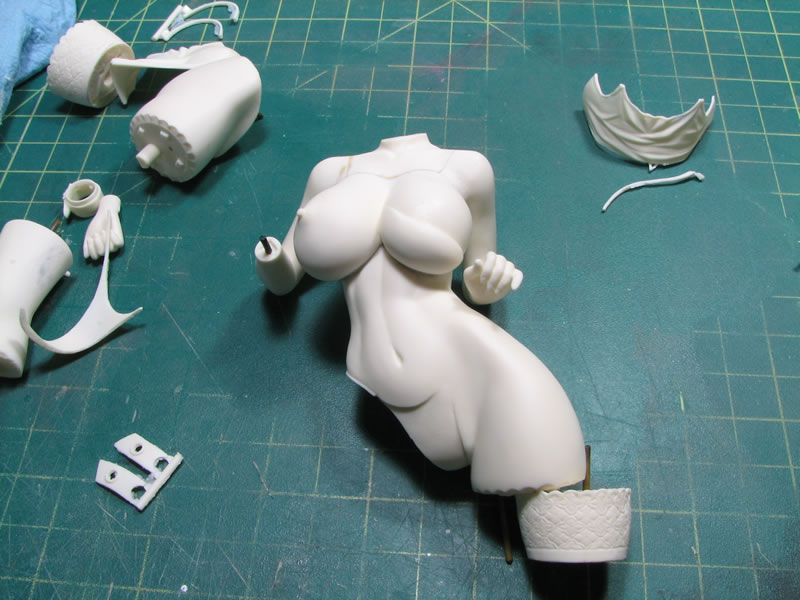
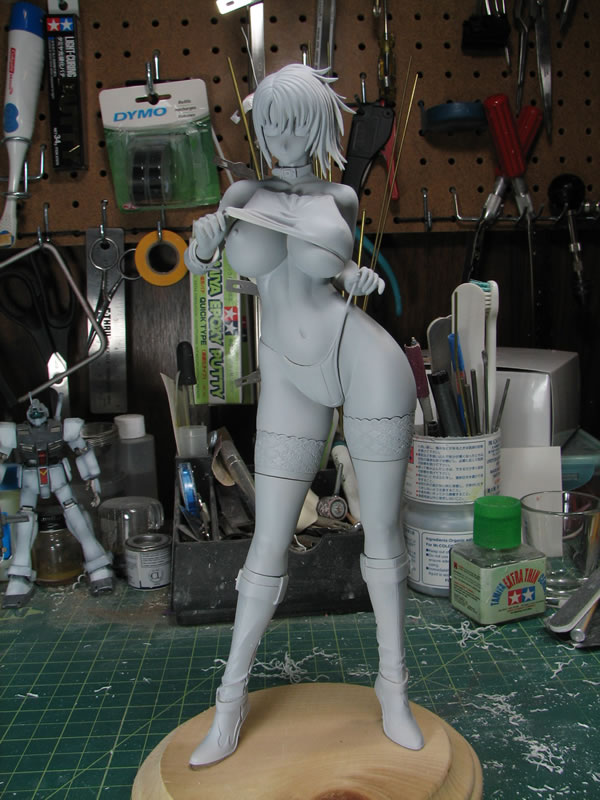
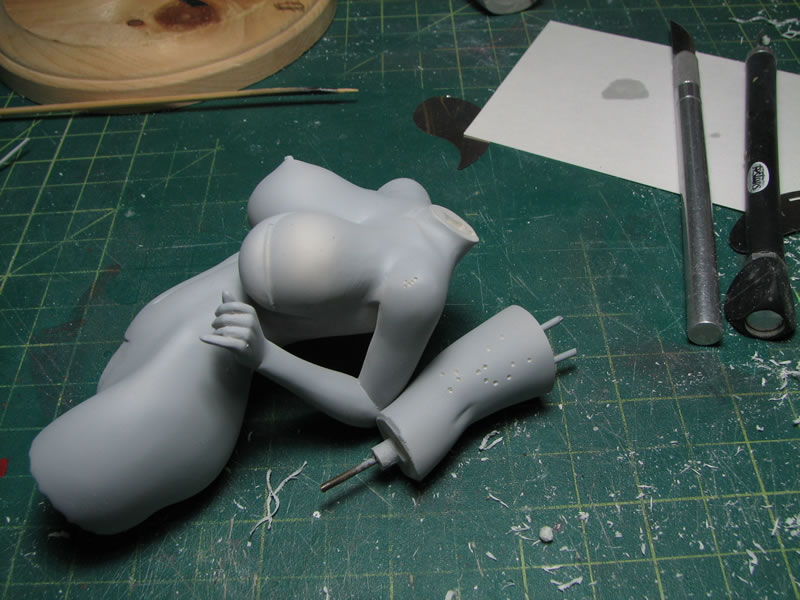
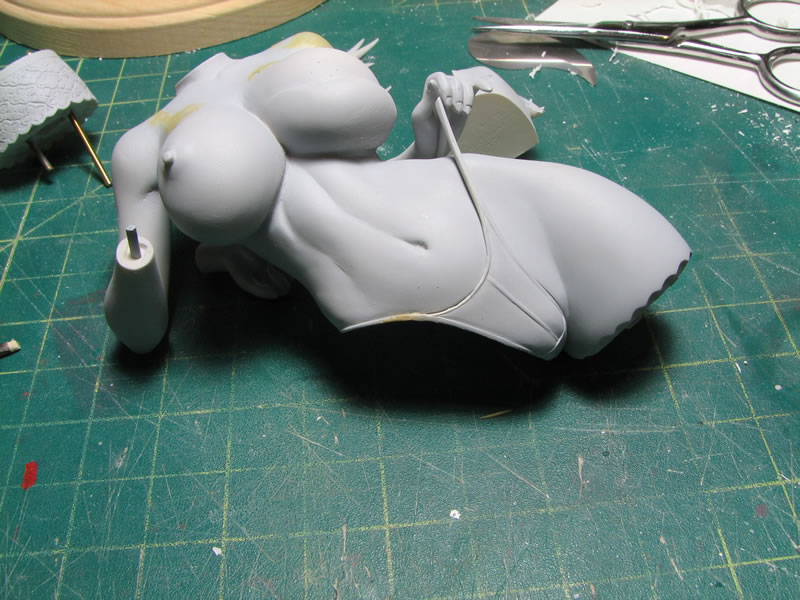
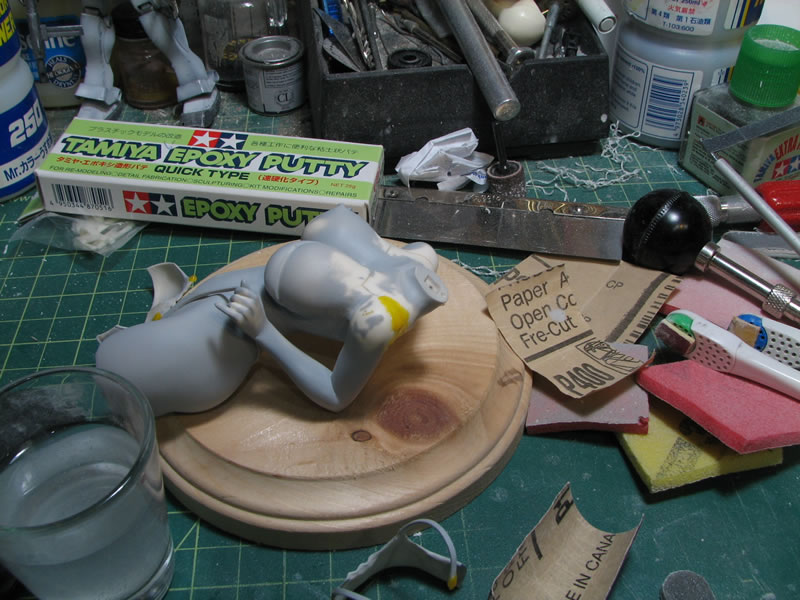
The upper body parts were glued together using epoxy glue, and then puttied using tamiya epxoy quick type. There were all sorts of fun little gaps to fill on her.

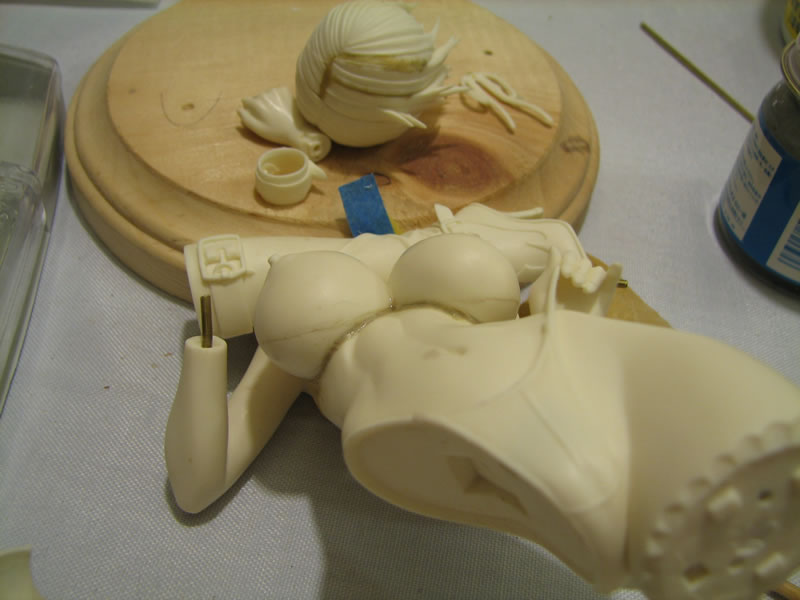
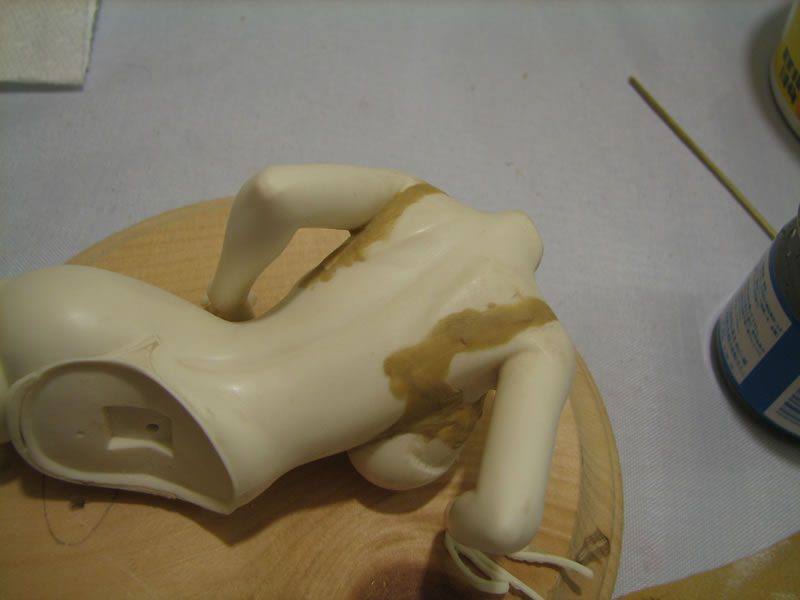
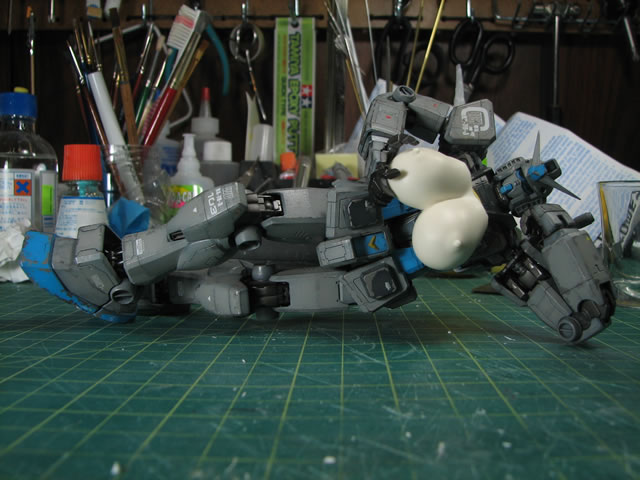
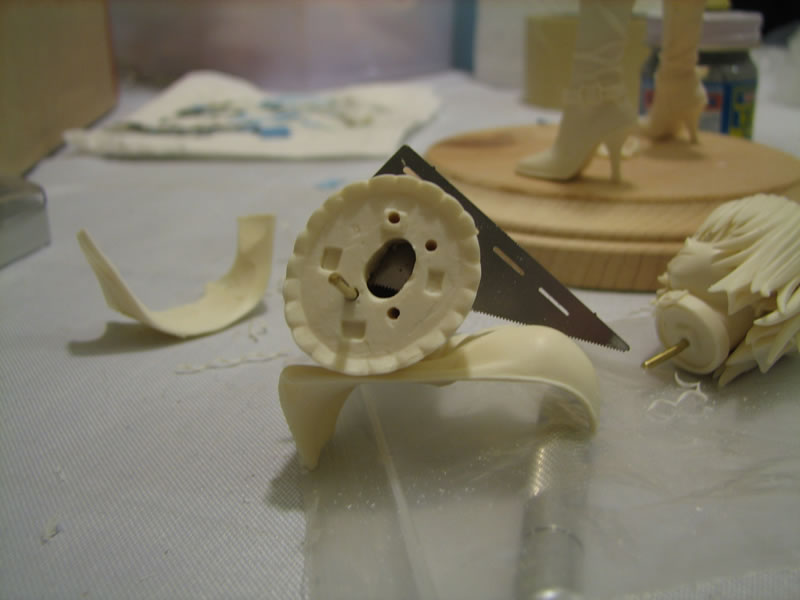
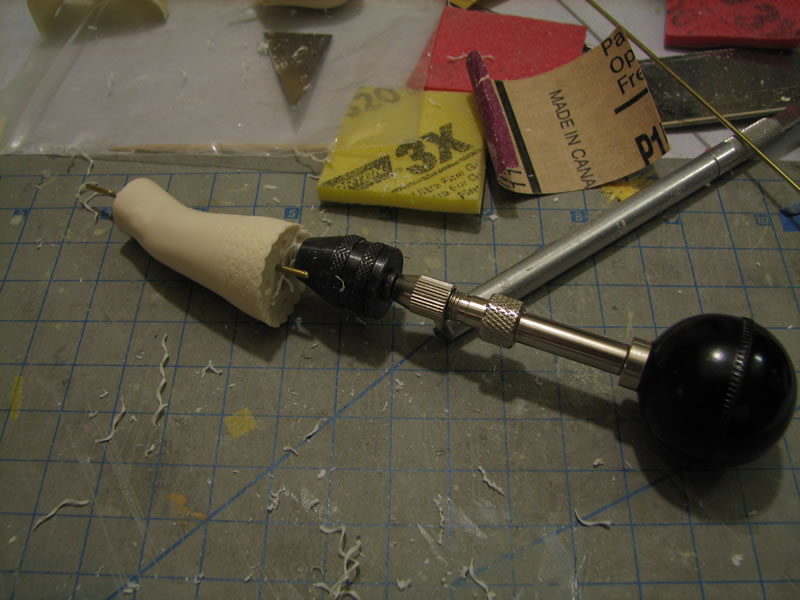
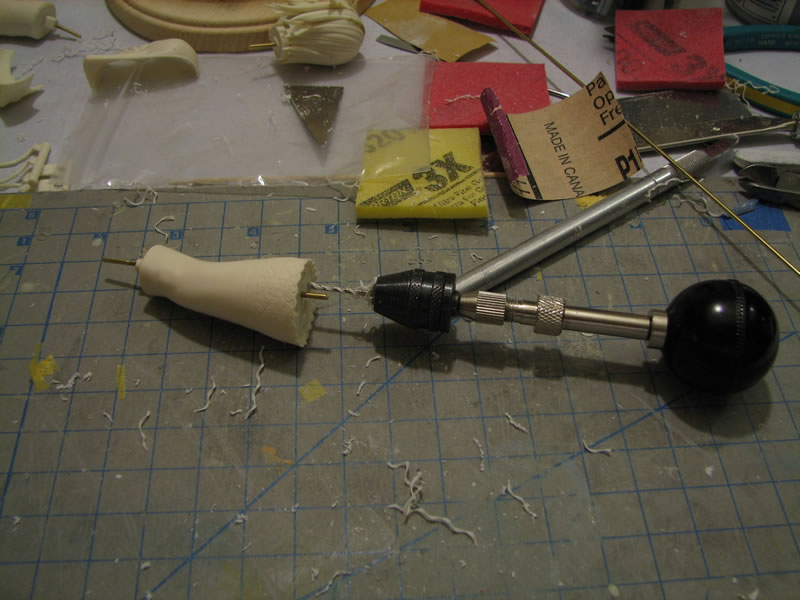
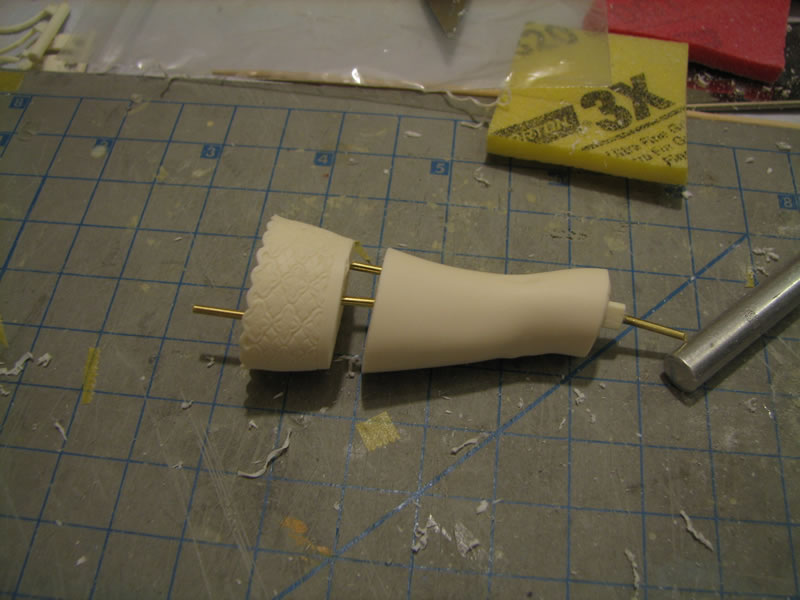
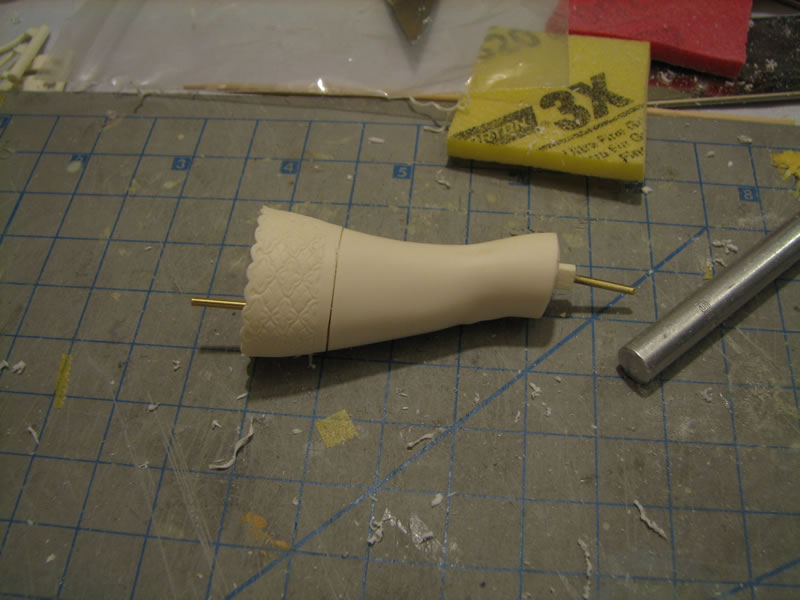
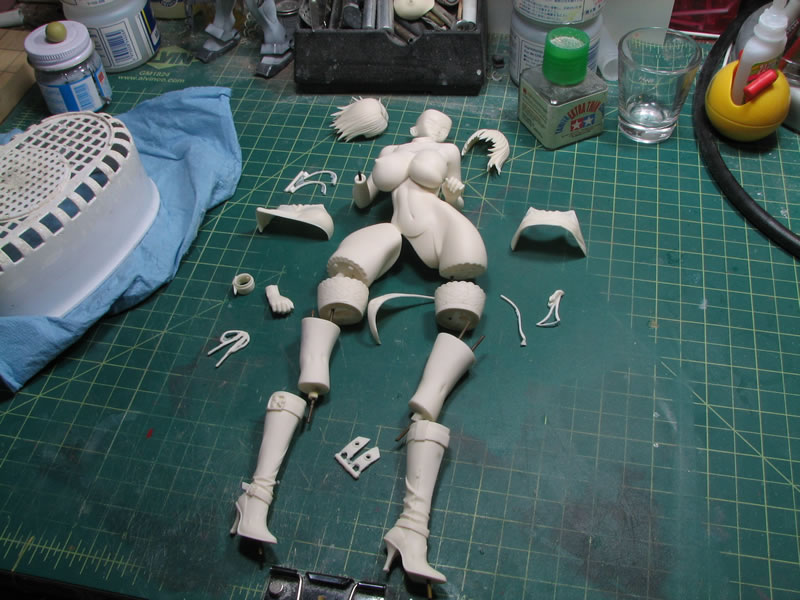
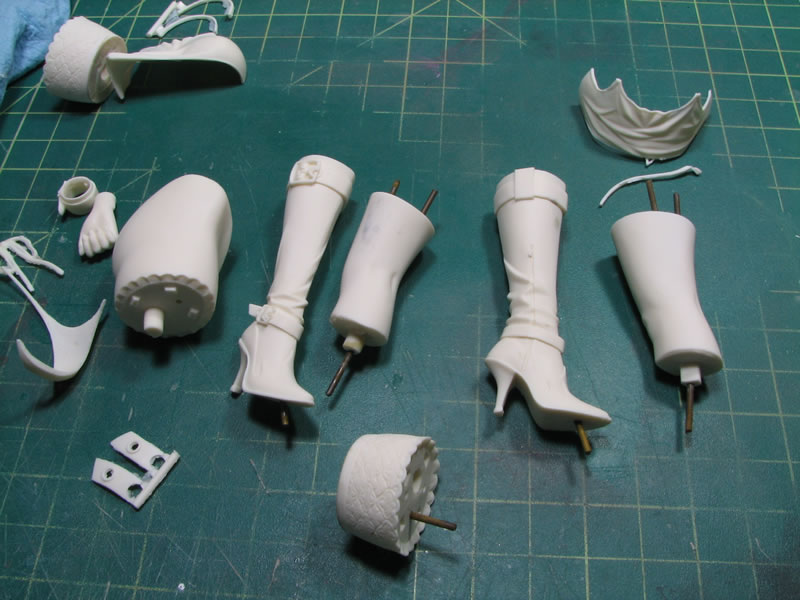
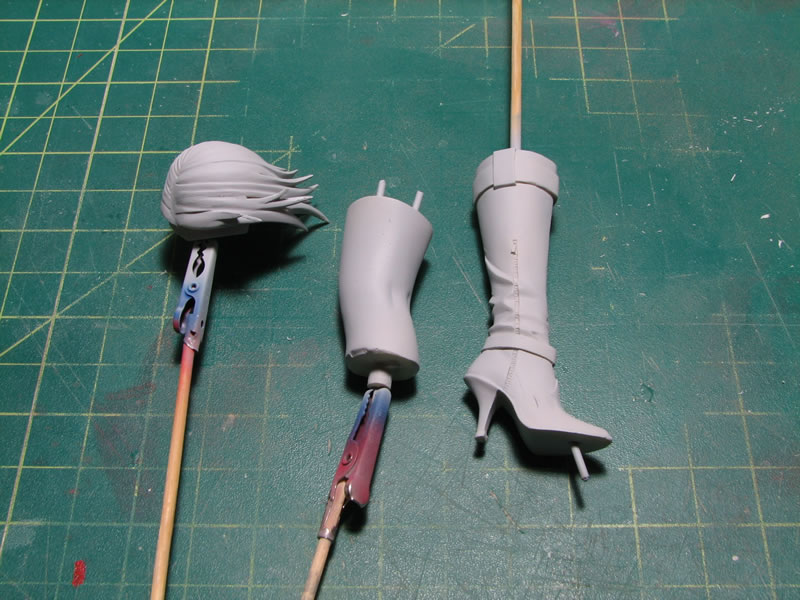
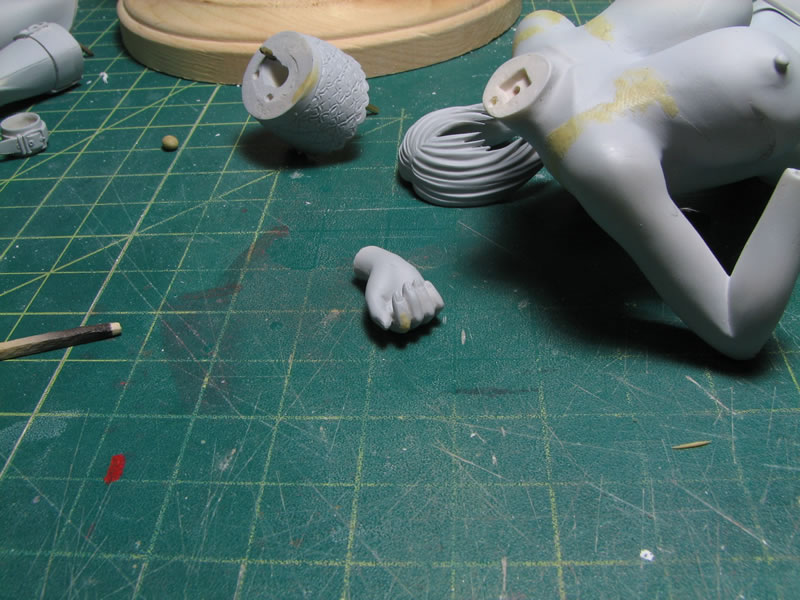
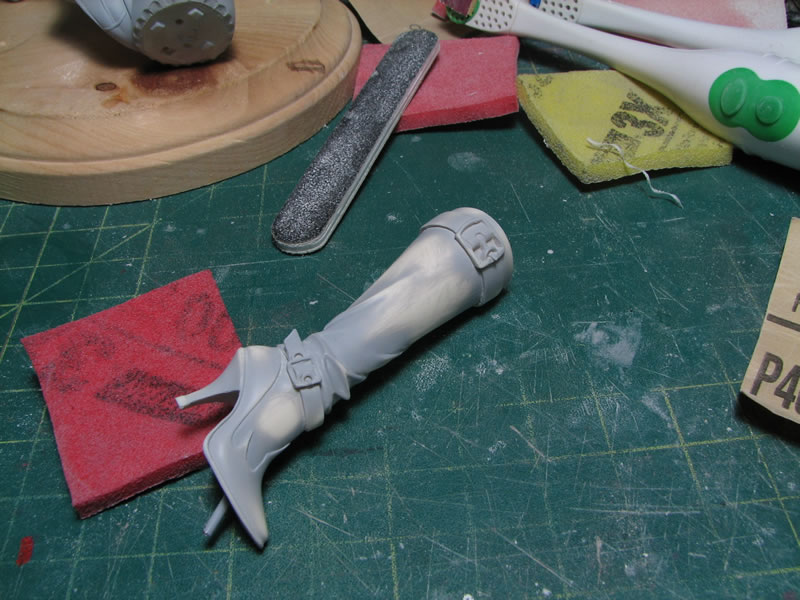
While looking at the kit and the painted sample picture, I decided to do some amputation. First I drilled some pilot holes so that the parts would align after aputation, then I took my trusty tritool saw and slowly hacked away the leg. I used the tritool saw so that I would remove as little material as possible. Once removed, I put pins into the pilot holes to align the cut parts together, and had a pretty good match. The reason for doing this will become clear as the renewed project progresses.
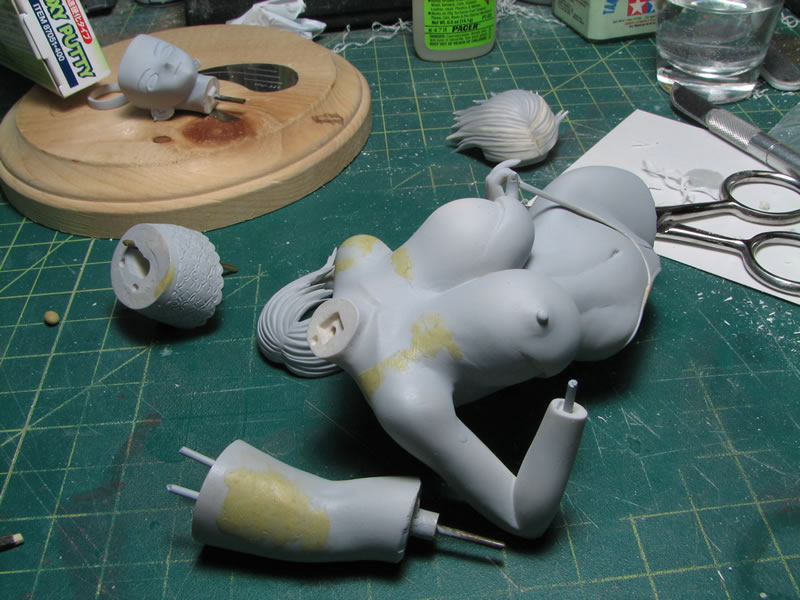
December 27, 2007: Did some sanding work on the kit and sanded down all the putty and the rest of the mold lines.

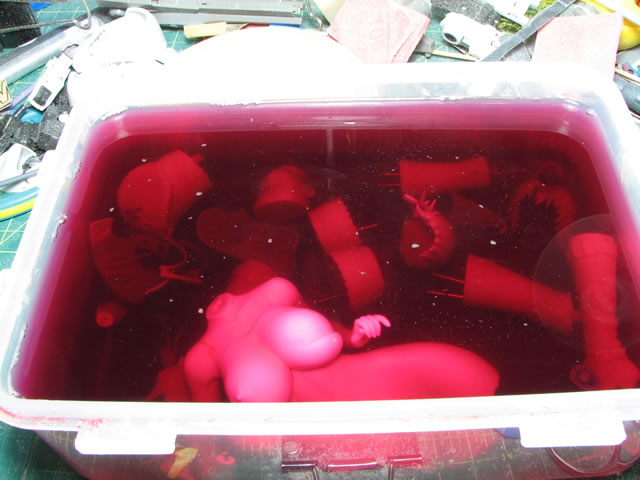
After the initial sanding session, the parts all go into the purple soup bath. I'll take the parts out tomorrow or the following day to and run them through the ultrasonic cleaner before getting to the first primer session.
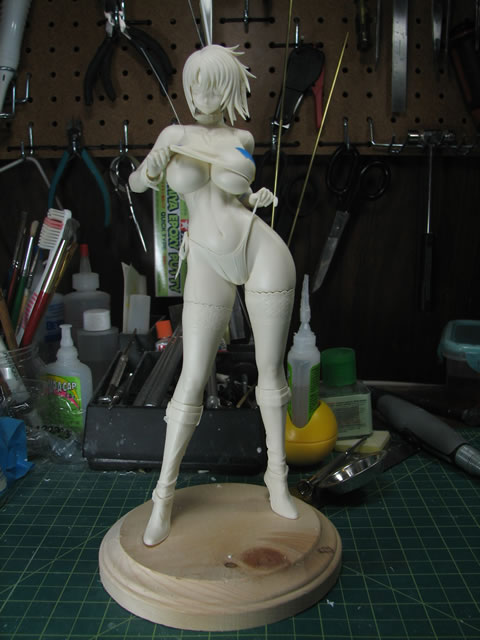
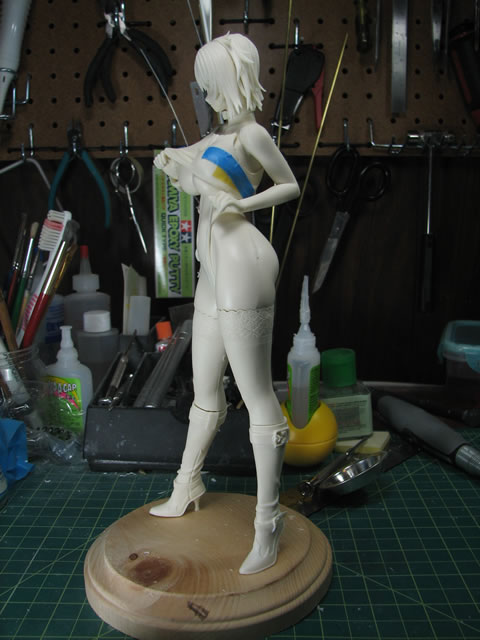
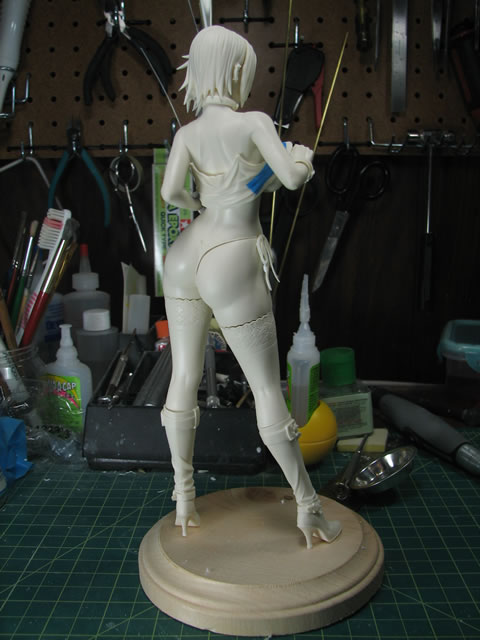
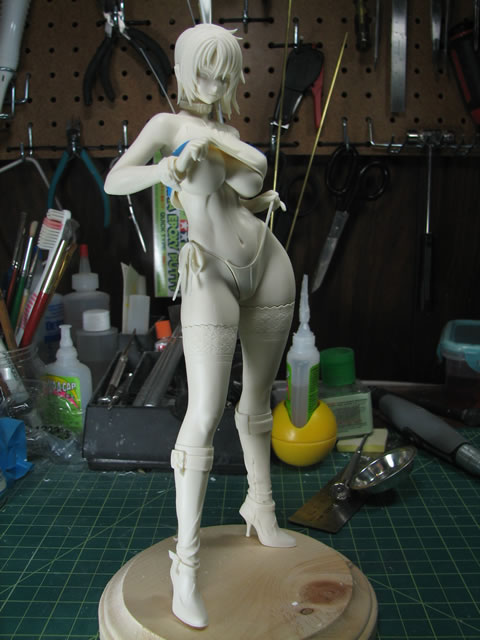
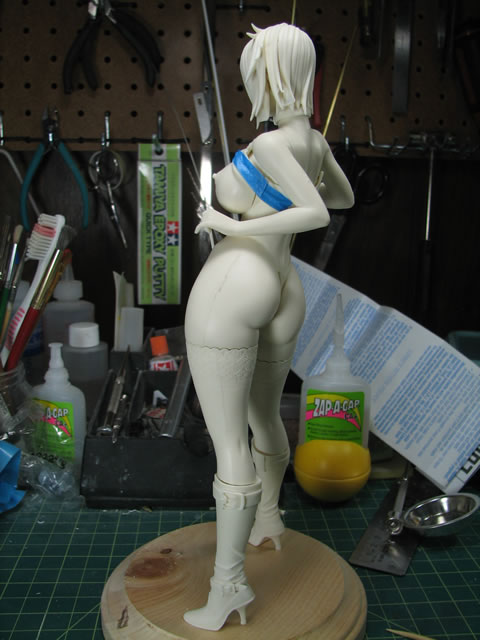
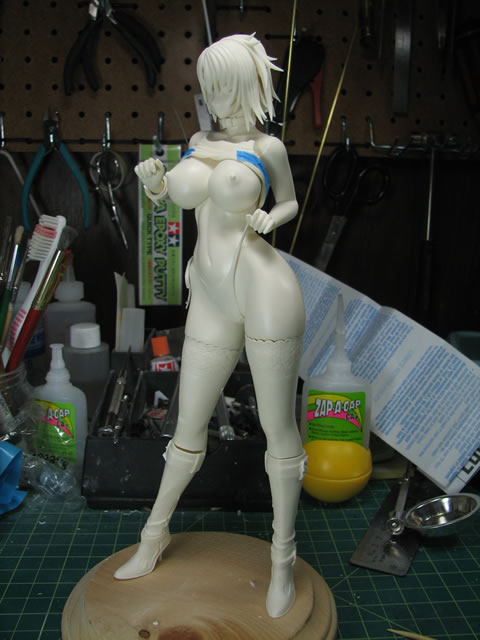
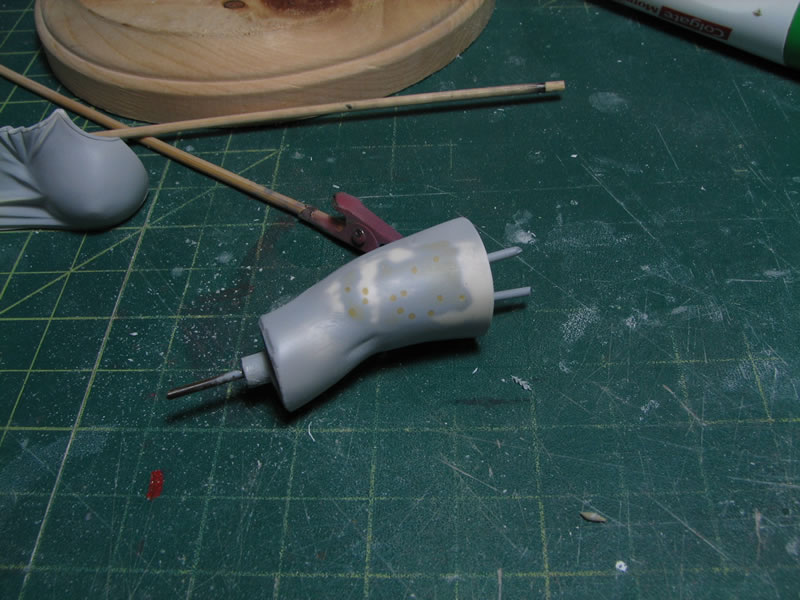
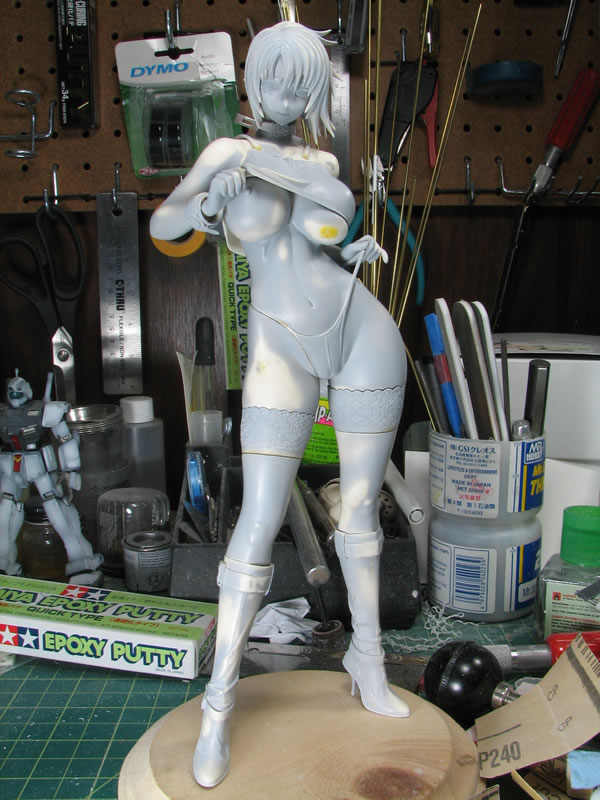
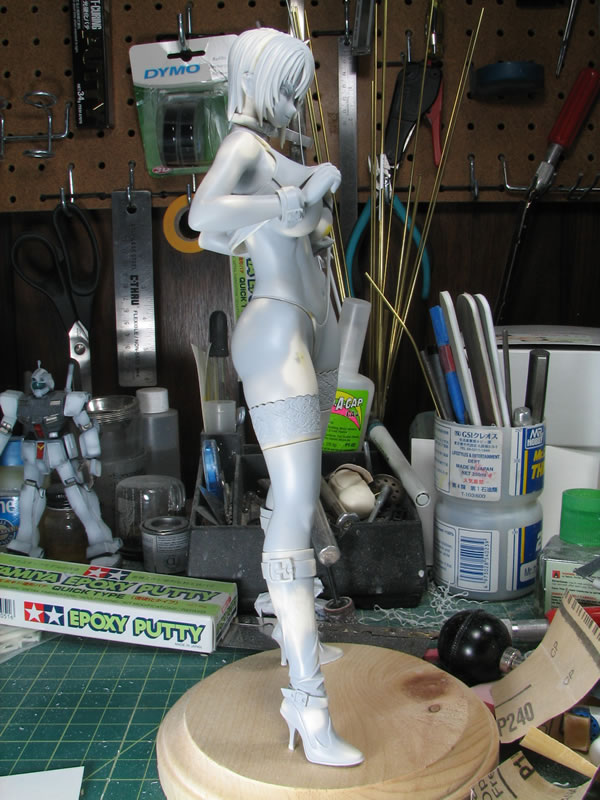
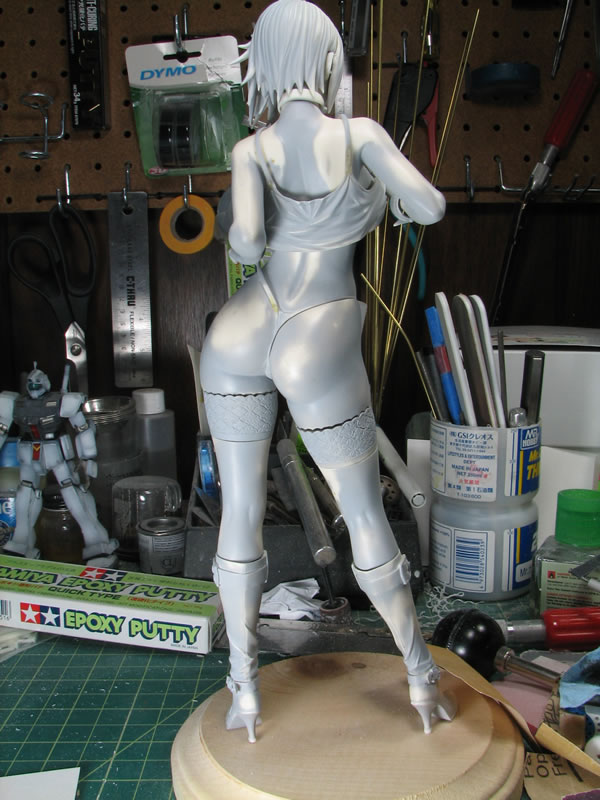
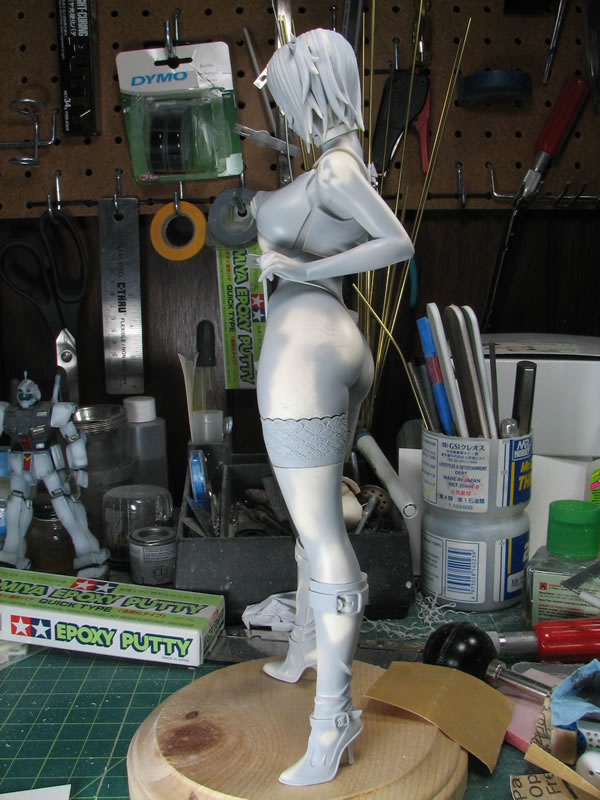
Janaury 4, 2008: Got the initial priming done. The initial priming sessions shows where all the defects lie on the kit. It is fairly difficult to see in the nice white resin, so after the major sanding phase, the primer will show areas where sanding is still a bit on the rough side. The prime will also show where there are pin holes. Following this will be more sanding and the pinholes will be fixed.
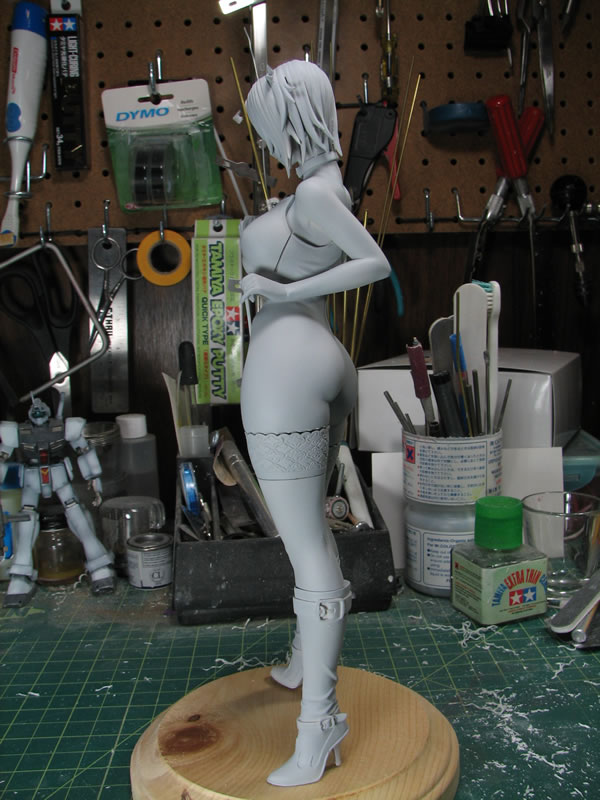
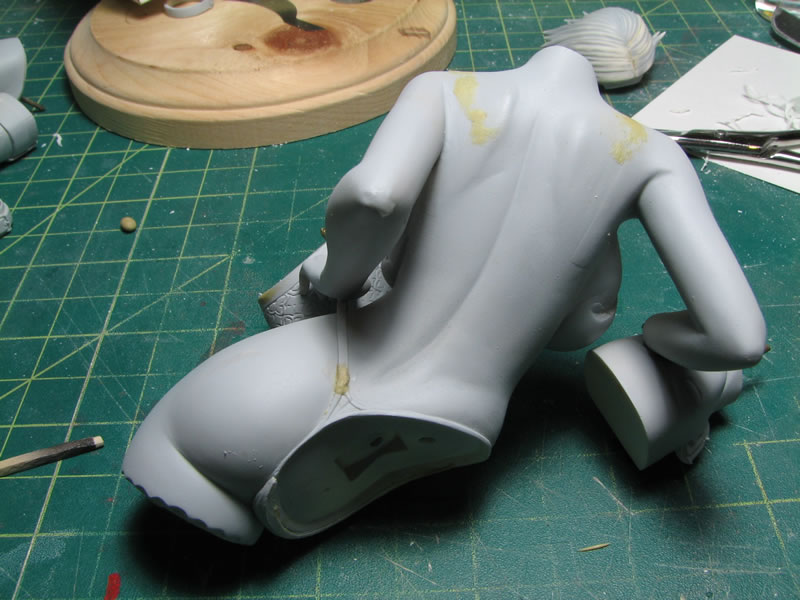
In the following picture, if you look carefully, you can see that the boot has some rough sanding that needs to be smoothed out and the thigh part has some pinholes. For the hair, the rough spots are where I glued the hair pieces together and applied putty, more sanding work is needed here to smooth everything out.
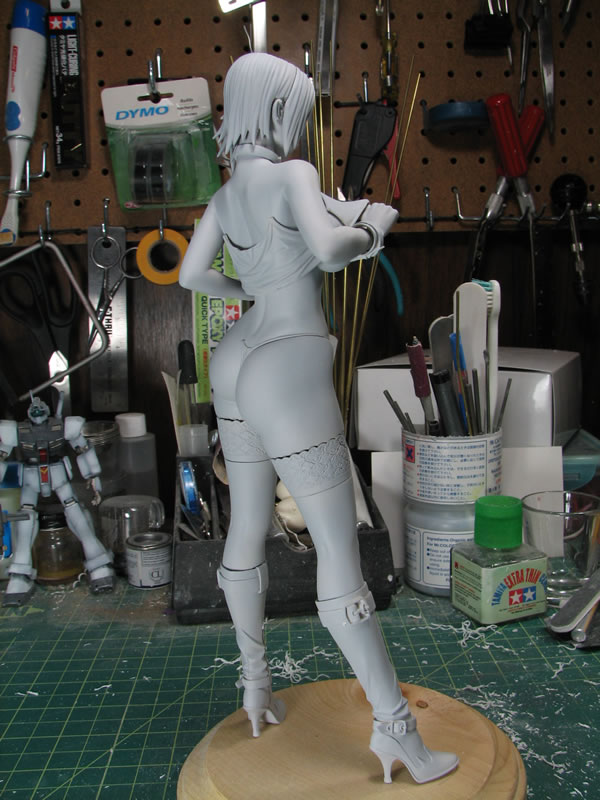
Janaury 8, 2008: Continued work on the kit. The initial priming session revealed all the pinholes and rough sanding spots that needed to be fixed. Since the pinholes are the top of a small bubble that lies just under the surface, I needed to cut open the holes. Once the holes were cut open, I filled them using epoxy putty.
The following shows the cleanup for the rough areas. I also rescribed some details that I puttied over for the main hair piece.
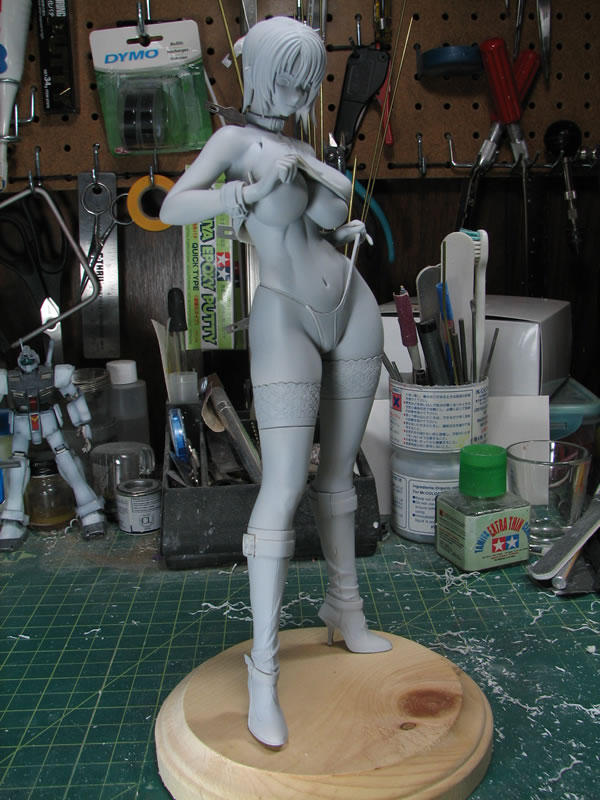
I have some light curing putty that I bought a while ago but have never used. So I took some out and tried it out. The stuff is gel like in texture right out of the tube. I turned off the main work light and used the room lights to see what I was doing. I applied the putty to fill some gaps, fill a few holes, and add some length to the shirt straps. Once the putty was on the parts, I turned on my work lamp and the putty hardened within a few minutes. There is some greasy residue that seems to be a by product, but the residue was just wiped off with a paper towel. I started sanding the area immediately. Very nice stuff to work with. It is a little harder than cured tamiya epoxy putty quick type, and adheres very nicely to the resin. I will be using this stuff as my default gap filler. Quickens my work time.
She's ready for the second priming session.
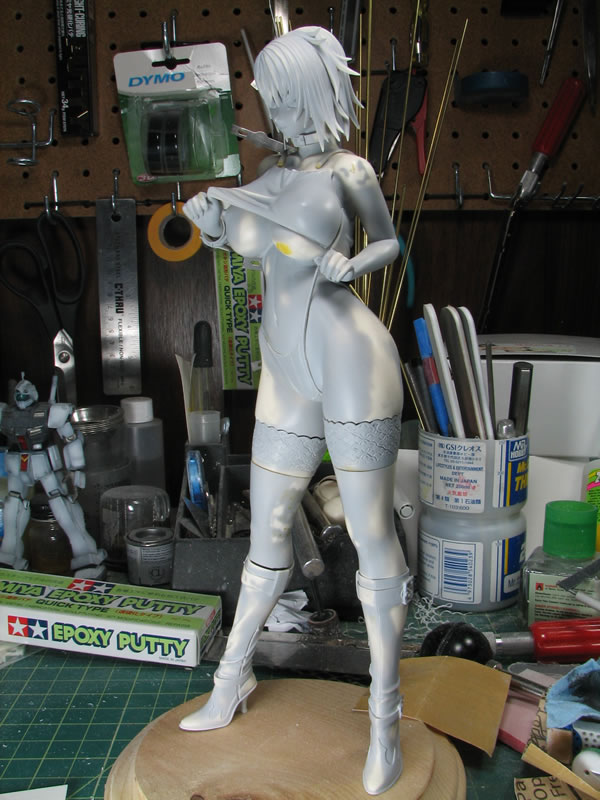
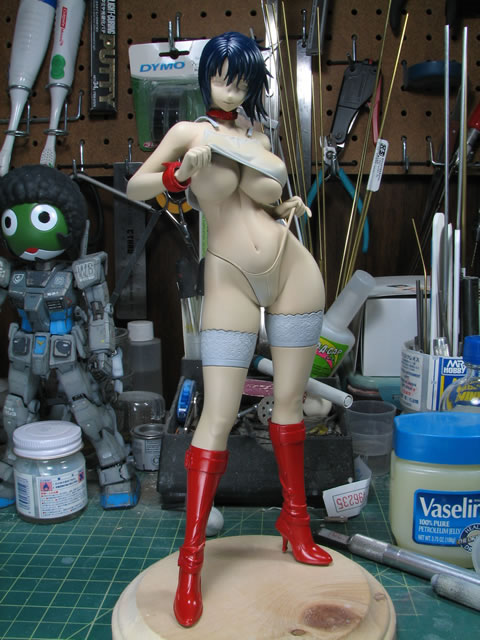
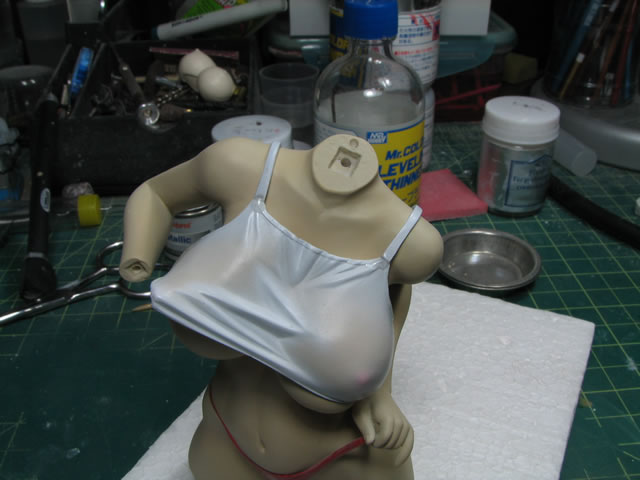
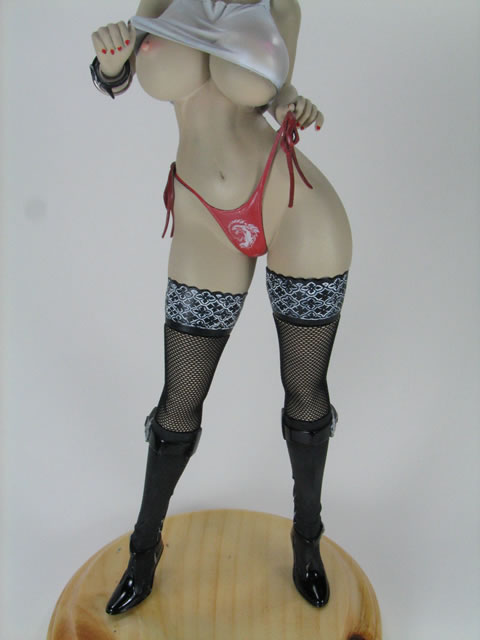
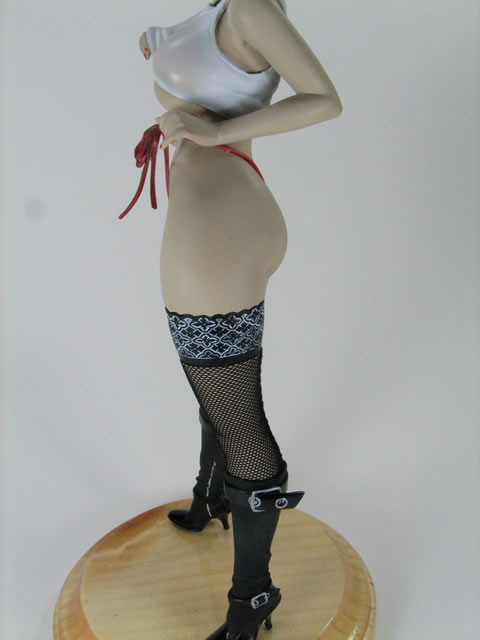
Janaury 21, 2008: A small update, after resanding from the initial primer, I reprimed the parts and then wet sanded that to get the parts ready for paint. I got the skin, hair, and boots painted. For the hair, I sprayed a base color of midnight blue followed by wolf blue to shade the hair. The skin was shaded using paint. The question now is to go red or black. With the red I wanted to use white stockings, however with the black, I can use black stockings. Unfortunately, I do not have red stockings. I initially painted the boots and detail collars in red, but it just didn't look right. Color is clashing with the hair color, for which I kinda like. So I repainted the boots black. Should I stay with the black, or return to the red?
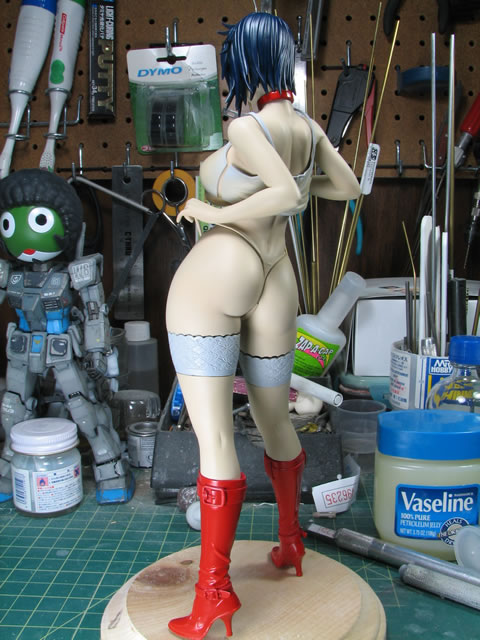
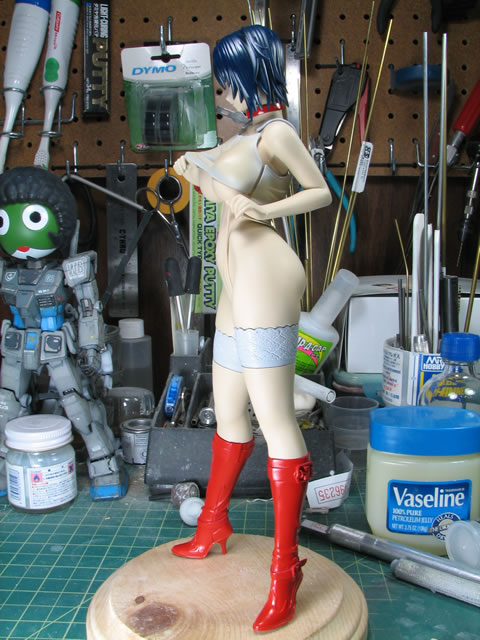
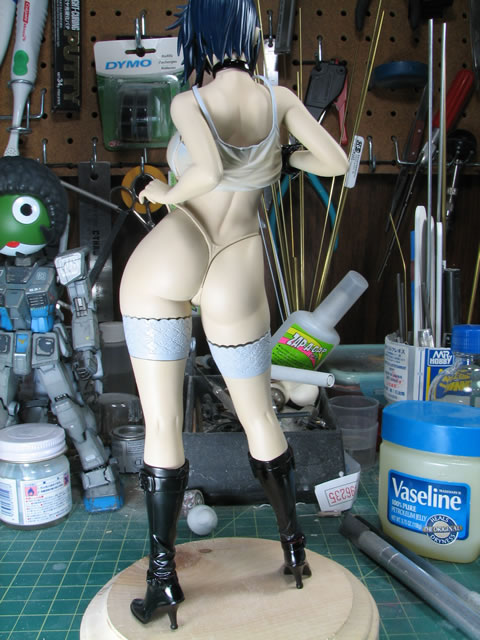
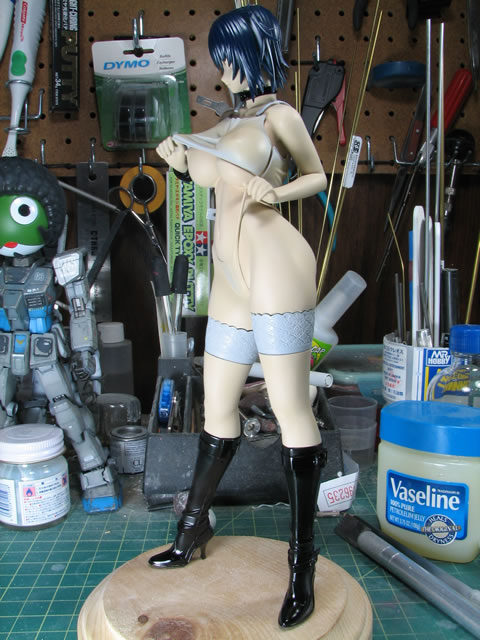
Next up is the shirt. I sprayed on the base skin tone for which I will then spray on white in the fold areas to create a wet t-shirt look. With the black, I'd like to add some color, so the decision now is to go red or lavender for the panties and panty strings. I'm leaning towards lavender.

January 22,2008: So in my infinite wisdom, while cleaning up my workroom and throwing in some additions and such, I lost one of the parts to the kit.... Not too big a deal, it is a fairly small part, but complicated enough that fabricating the damn thing from scratch is just going to take too long. I have friends that know how to cast stuff, but it seemed a bit of waste to do so and would take a bit of time too, especially for the silicon mold to set up. So next option is to use the good old epoxy putty casting method.
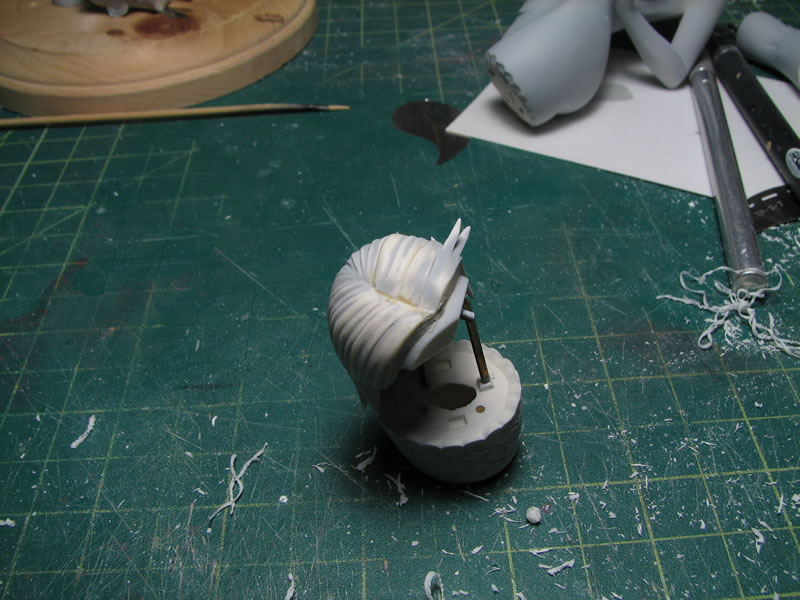
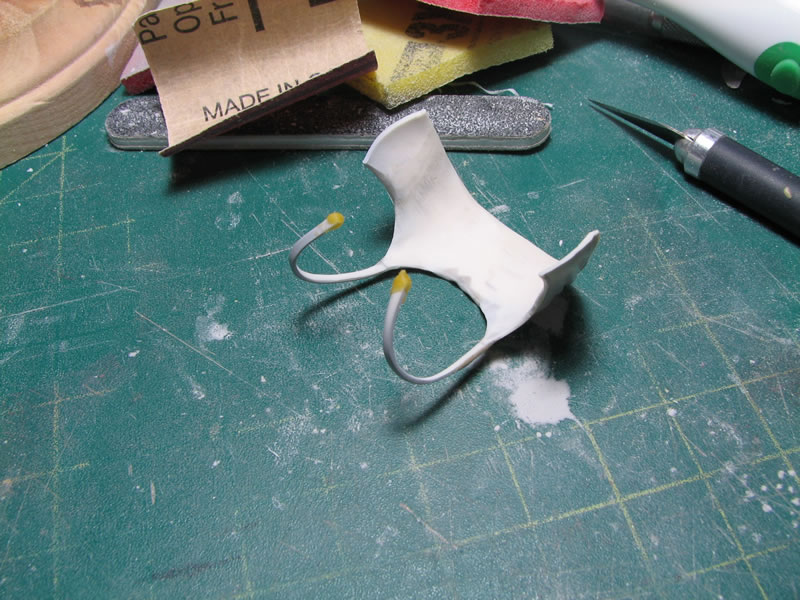
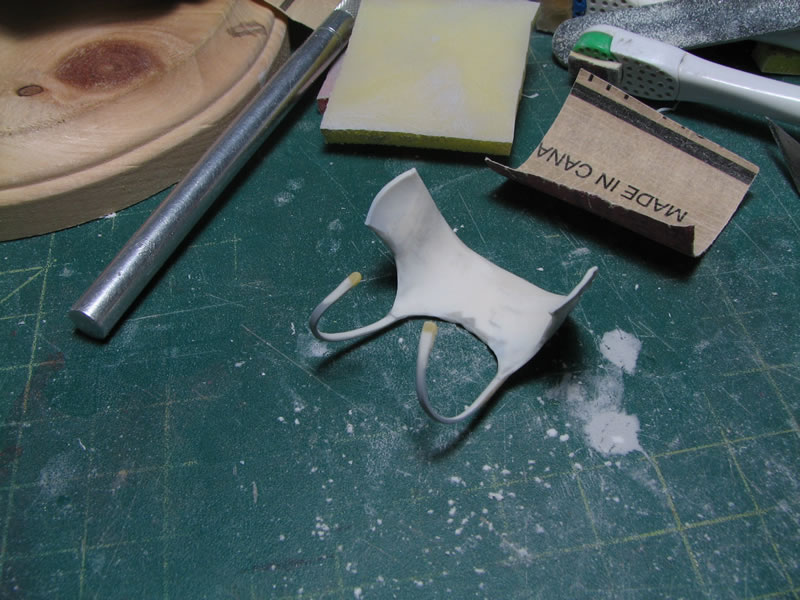
I first made a mold from some two part plumber's epoxy. Mixed the epoxy and rolled it out a bit onto a piece of note card. Using a brush and some vasaline, I coated the top side of the epoxy as well as the one of the original parts that I didn't lose. Pressing the part into one side and also pressing some guide holes, I left the part to sit while the plumber's epoxy putty cured - which was about 20 minutes to an hour. I was working on other things. Once one side of the mold was solid, I mixed some epoxy for the second side of the mold. Lightly brushed the cured putty and embeded resin piece with some vasaline, I then pressed the second epoxy piece on top for the top part of the mold. Leaving this to sit for another hour or so, I then pryed the mold apart and popped out the resin part. I then mixed some aquamend epoxy putty, and pressed the mixed epoxy into one side of the mold, and then pressed the other side of the mold down. I held the two parts of the mold together using a C-clamp; and just let that go over night.
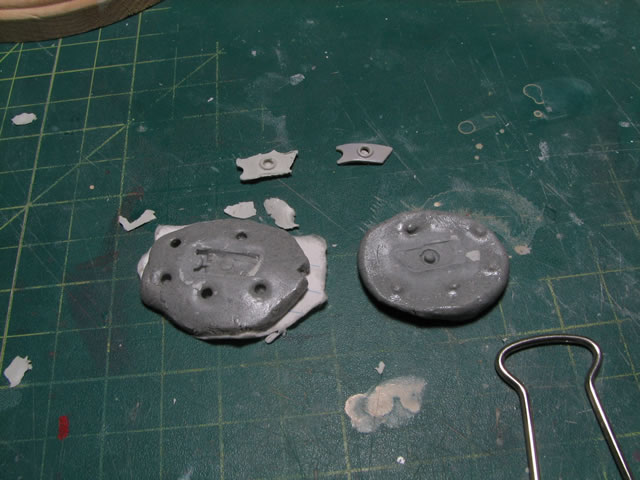
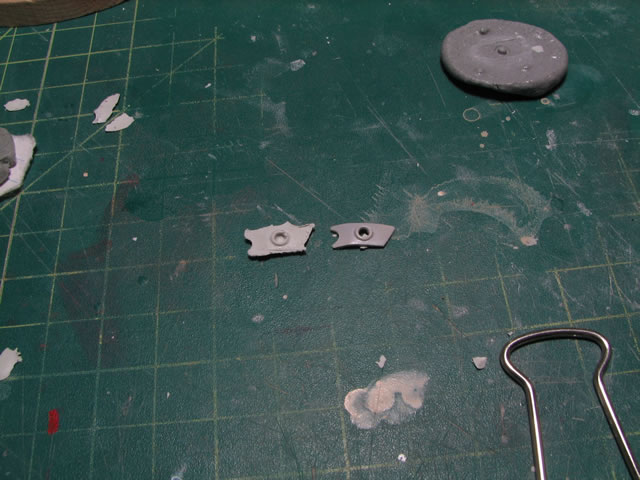
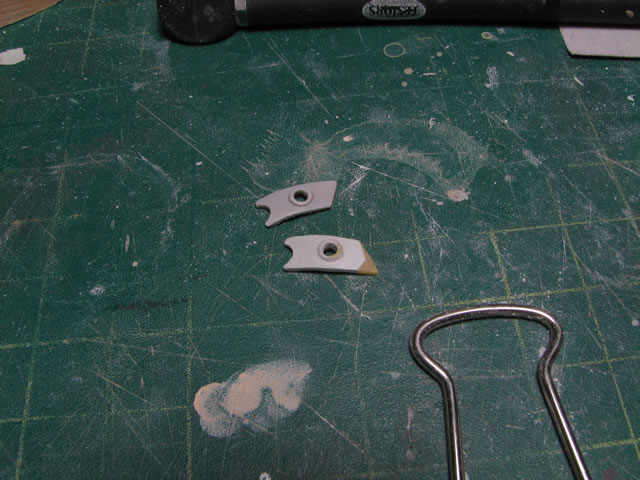
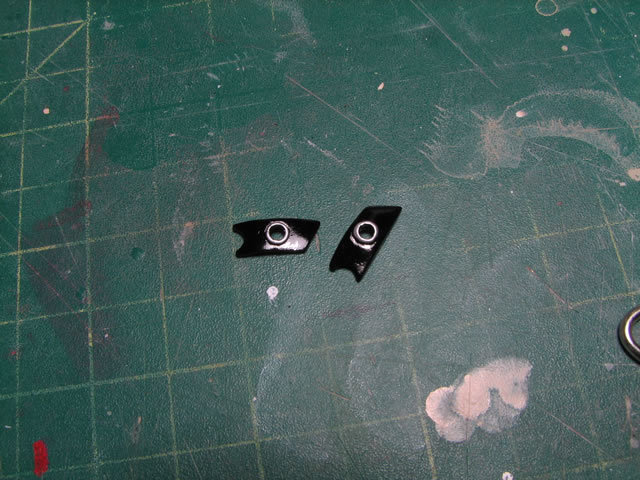
As seen above, I just popped out the epoxy copy, cleaned up the edges, and had to change the part so that it corresponds as the opposite side piece. A little light curing putty was used to build up the back side, and fill some defects from the molding process. All that's left is to just wash the part, prime and paint. 1 day turn around to replicate a missing part is a pretty quick fix. Update: below is a picture of the replicated part painted and next to the original part.
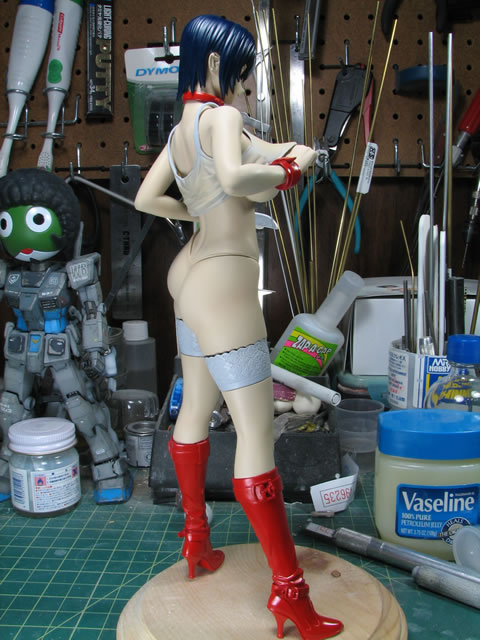
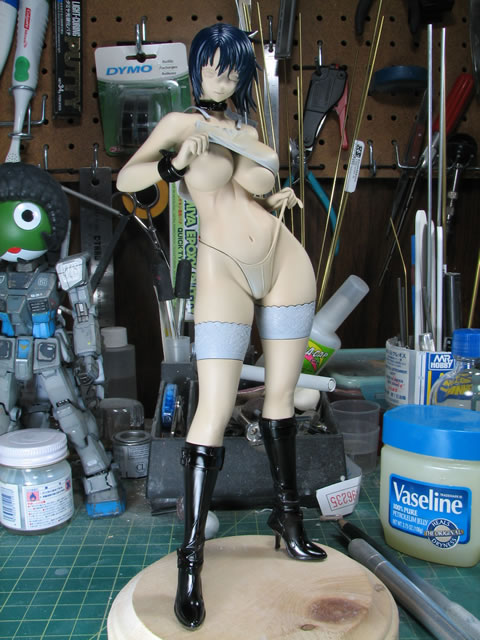
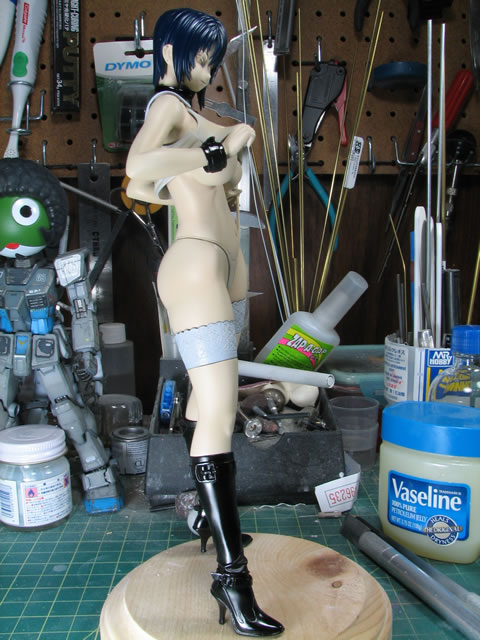
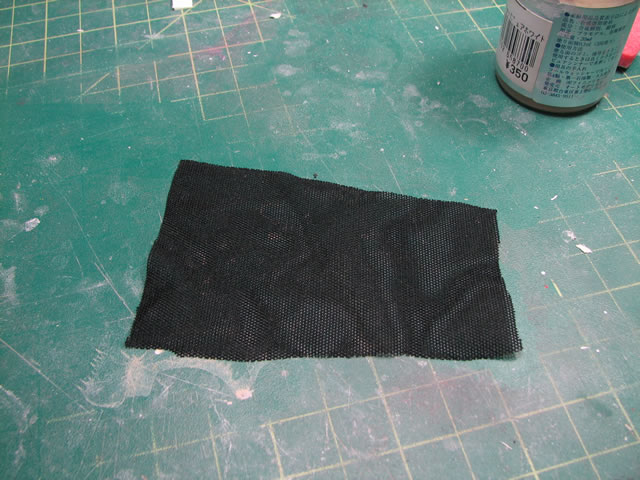
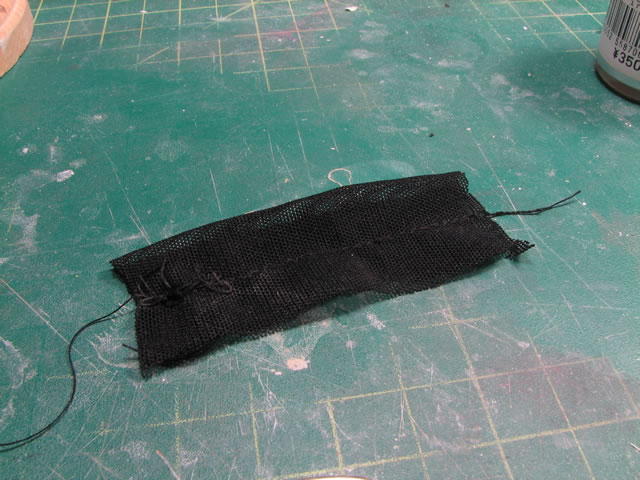
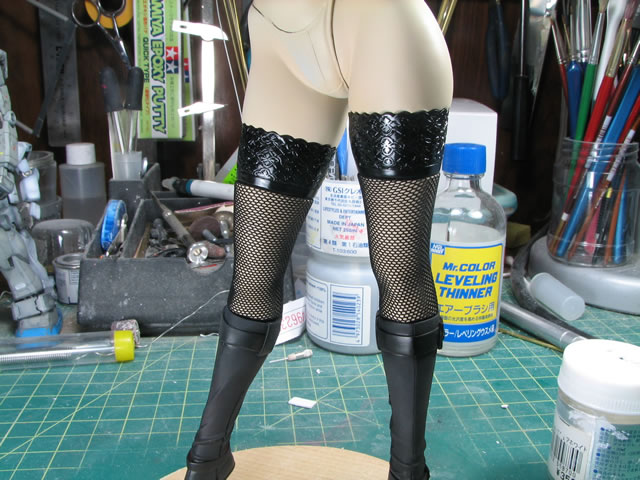
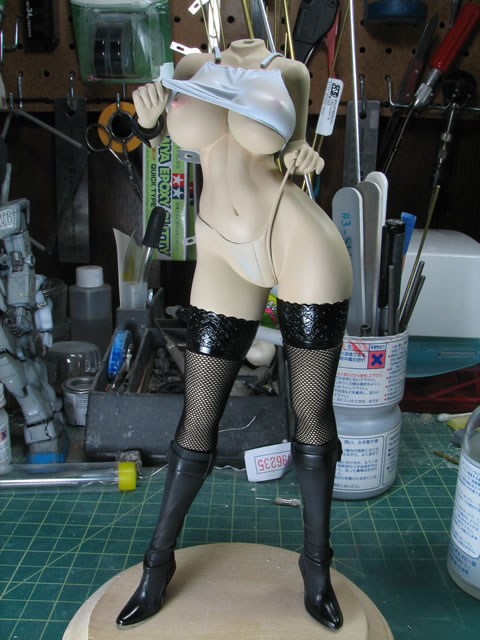
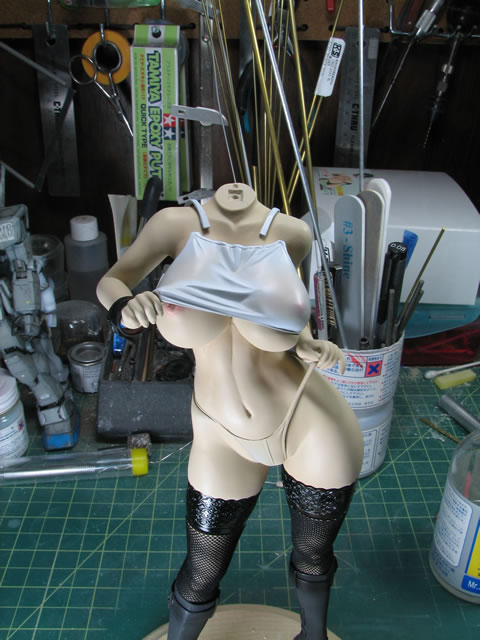
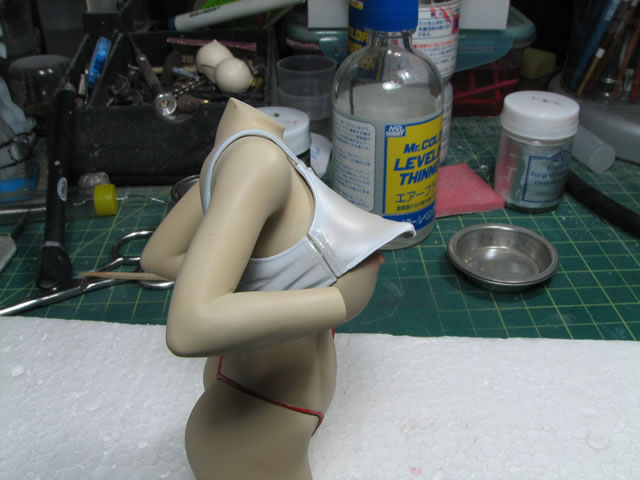
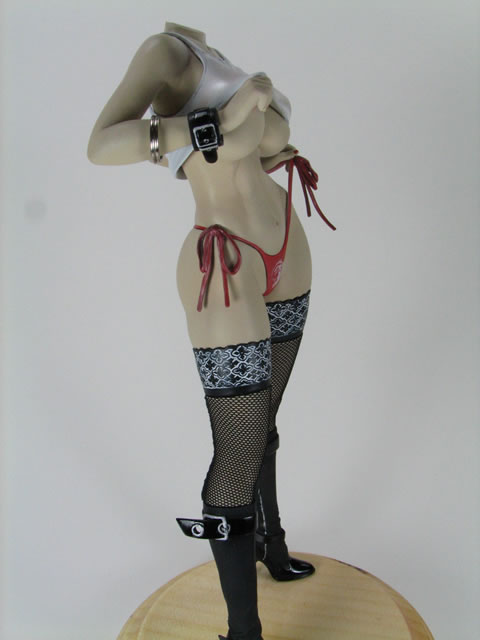
January 23, 2008: Daily update, got the stockings done. Starting with some stretchy fabric I used a sewing machine to seam up a few stocking socks. I clipped the excess as close to the seam then flipped the sock inside out the just slipped it onto the legs. I also got most of the wet t-shirt done. I still need to mask and glue the t-shirt parts together and seam those up.
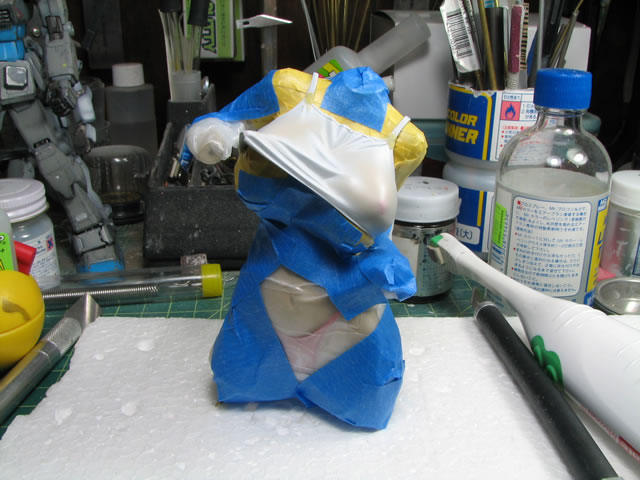
January 24, 2008: Small update. I masked off the boots so that I can gloss coat the belt areas; and I masked off the body areas so I could paint the panties. I decided to go back to the red for the panties. Masking next to the panties was done with tamiya masking tape. Just placed down and cut with a brand new #11 hobby blade. I recently picked up some Parafilm M and decided to try the stuff out. It seems to work decently as a wide area masking solution. I'll know the true results when I peal away the mask tomorrow.
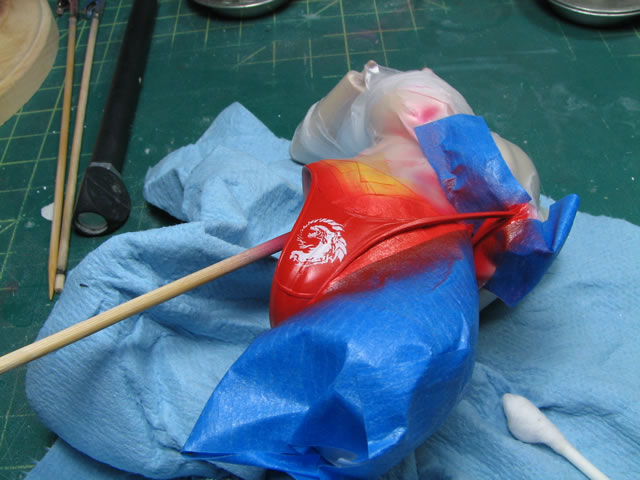
I also decided to add a decal. To help the decal conform to the surface and remove the decal edge, I used Micro Sol Decal setting solution. The setting solution was just applied onto the decal after the decal has been positioned and applied to the surface. While the setting solution evaporates, the decal is softened and you can see in the following picture that it is a little wrinkled around the edges. This is normal.
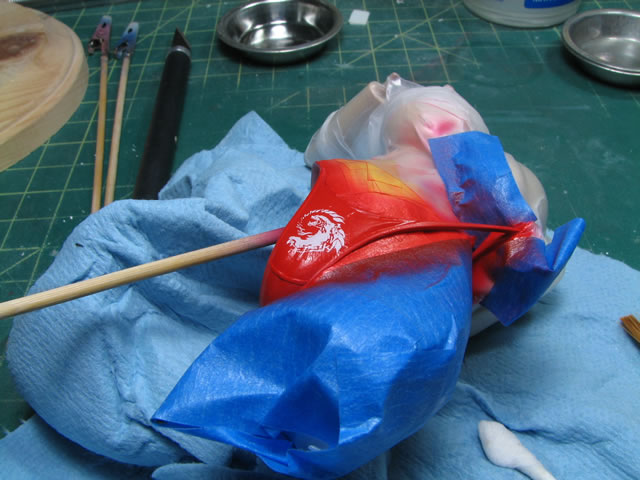
After leaving the part alone for about an hour or so, when the decal solution has completely evaporated, you can see in the next picture that the decal edges are no longer wrinkled and the decal has conformed nicely onto the various curves and details on the surface.
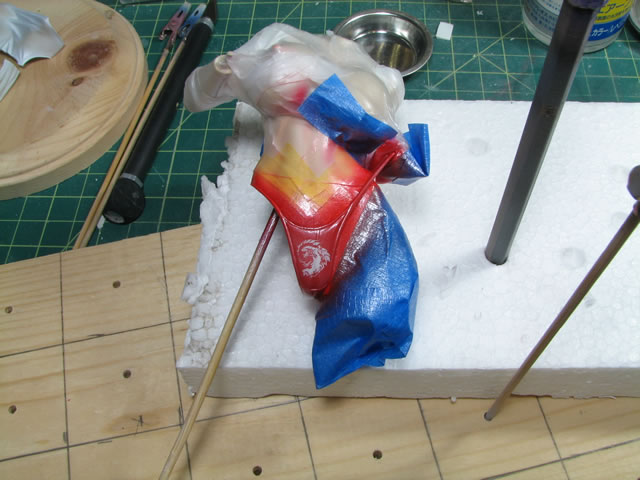
Next I spray on a mixture of future floor polish (acrylic based clear coat) and some micro pearl powder to give a satin finish to the paint. Once this dries over night, I will apply a semi gloss finish to take some of the shine off the surface.
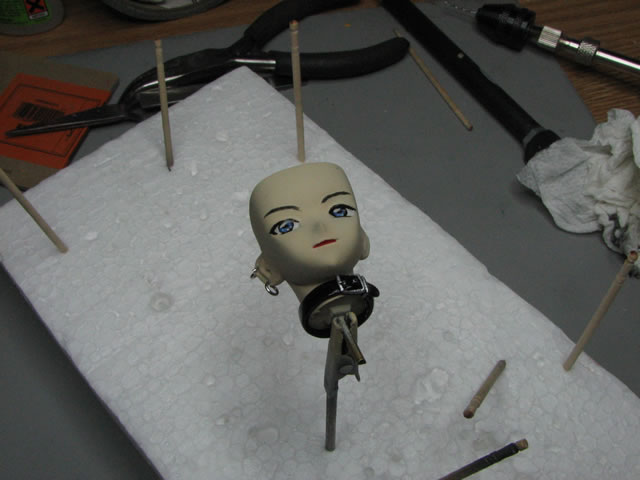
Janaury 26, 2008: Did some more work to remove the seams on the shirt. I painted the eyes, face, and other details during the build gathering. Almost done...

She's Done!
April 4, 2007: Pinned, there are two version, only one can be built and the versions are not inter-changeable, so which version should I build?
December 22, 2007: Project restarted.
January 27, 2008: Getting close to completion: Click here for comments and discussion
January 28, 2008: She's Done!Completed page