|
|
|
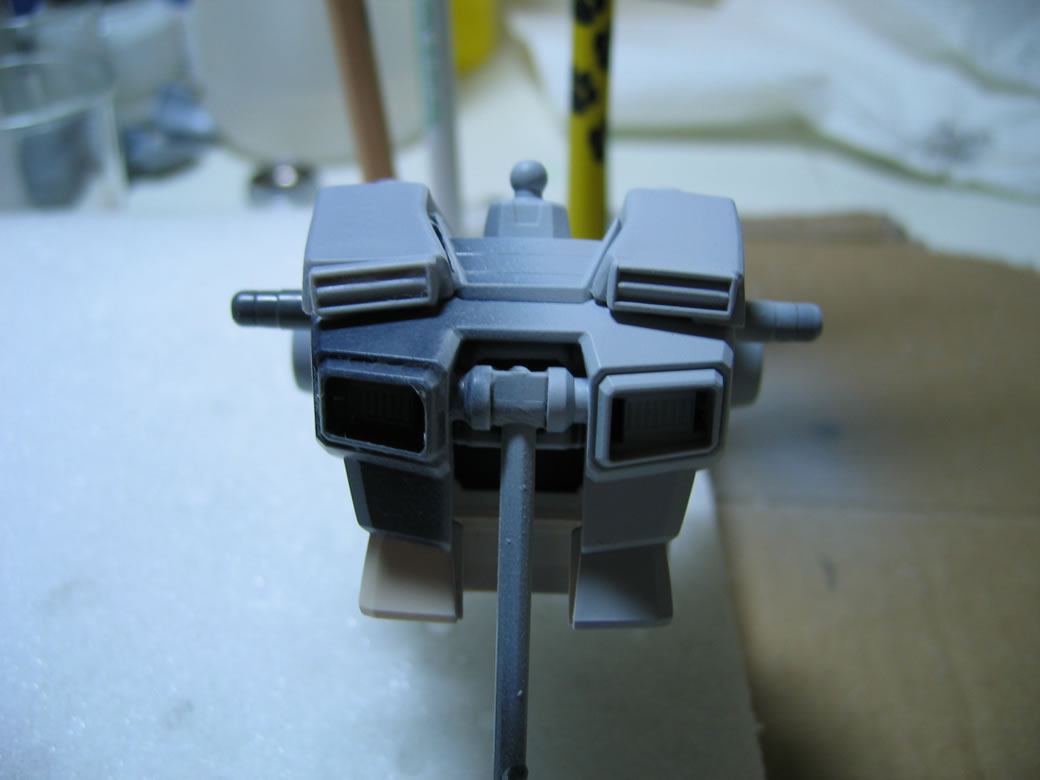
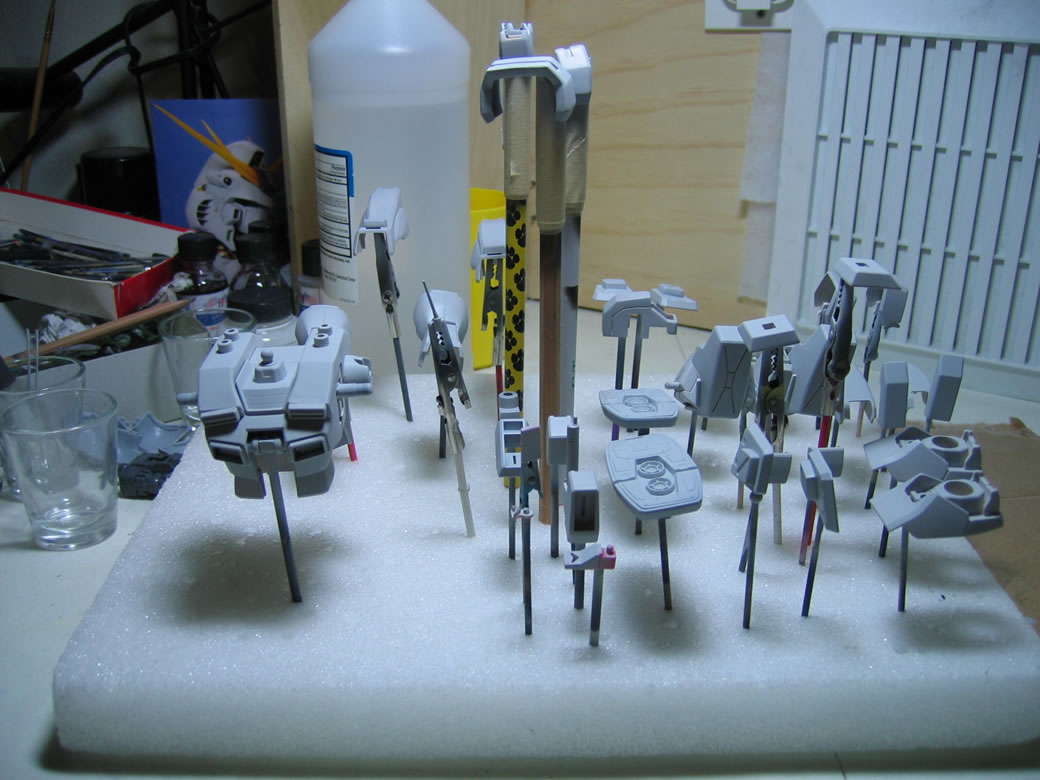
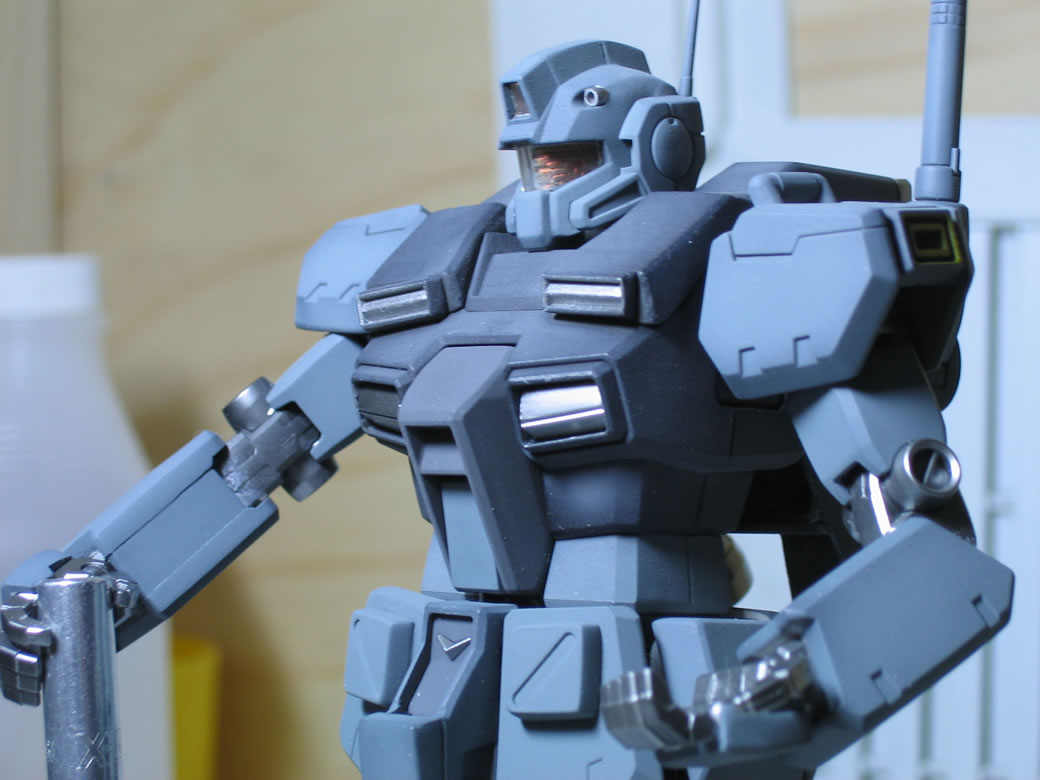
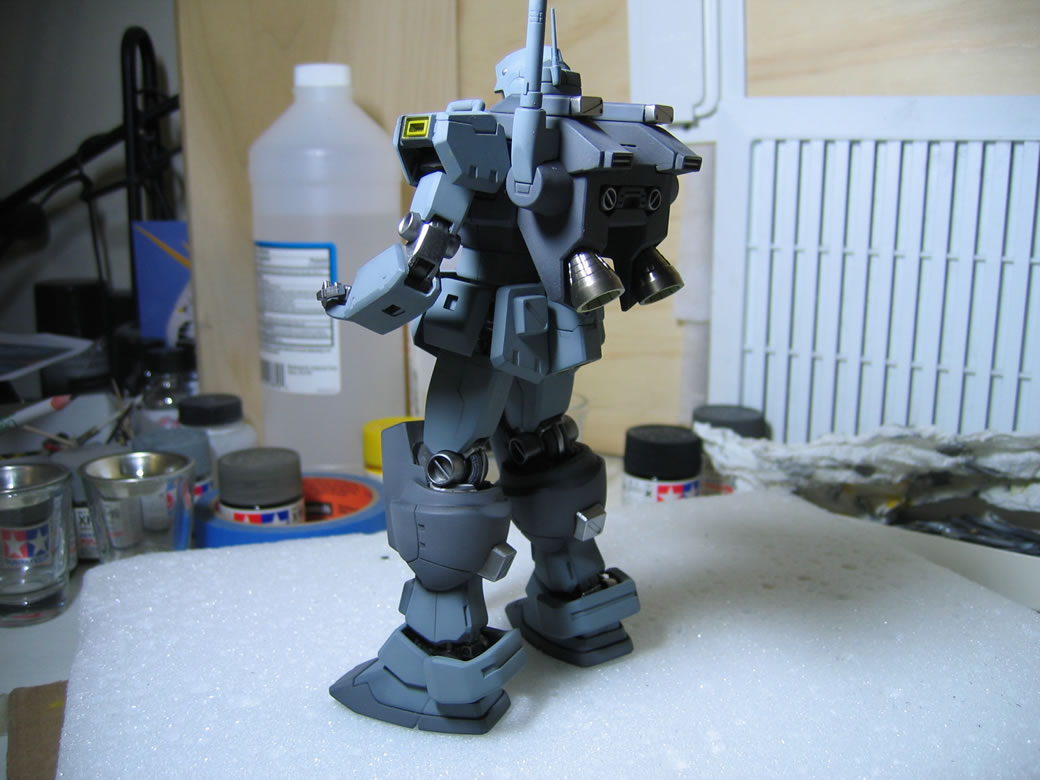
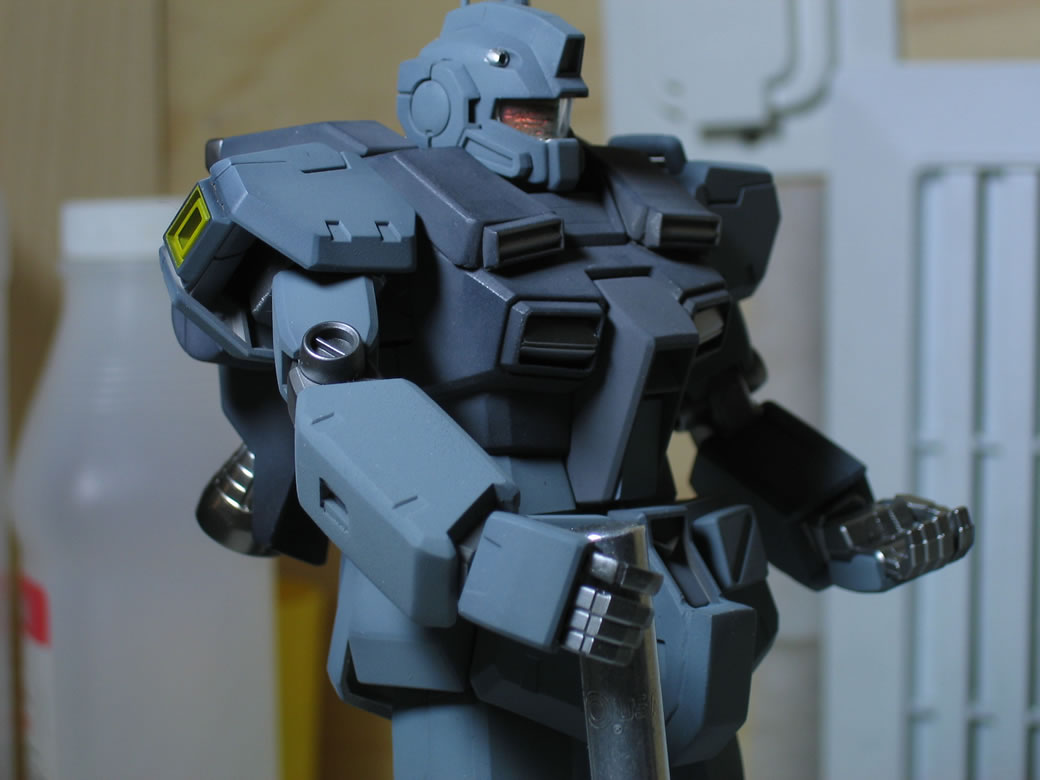
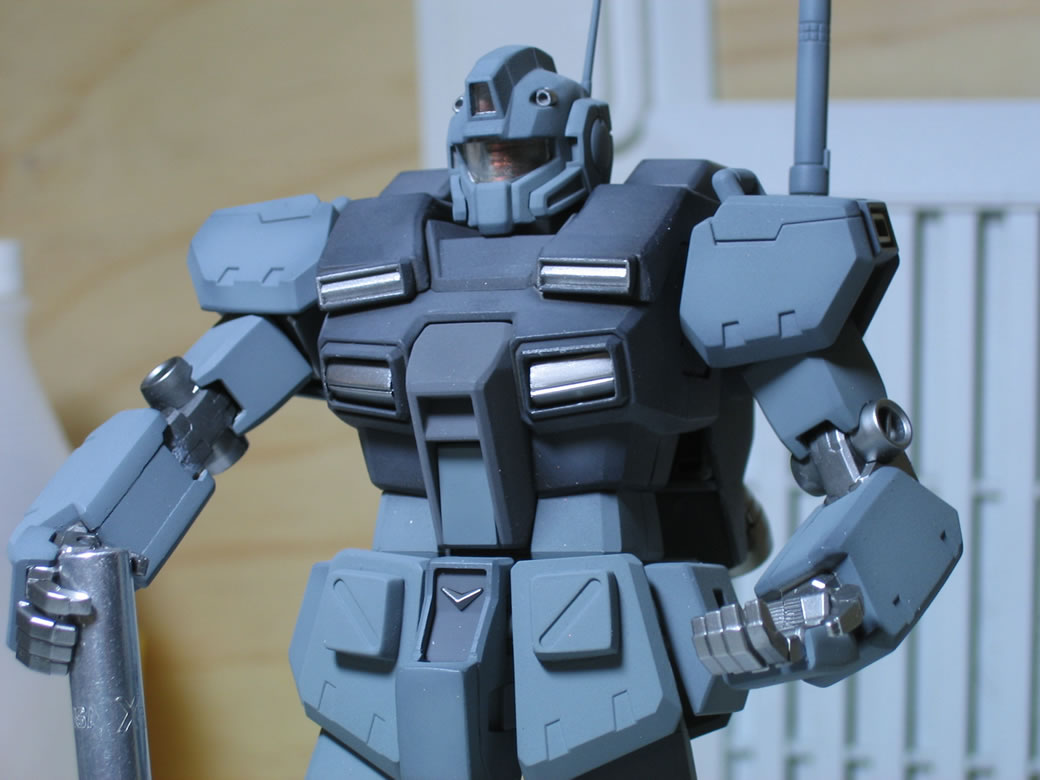
Below are a couple of pictures I snapped while spraying Mr Surfacer 500. I extracted the surfacer from aerosol cans (the shop only had the cans) and then sprayed the exterior armor parts. The internals were painted using Alcad magnesium
|
|
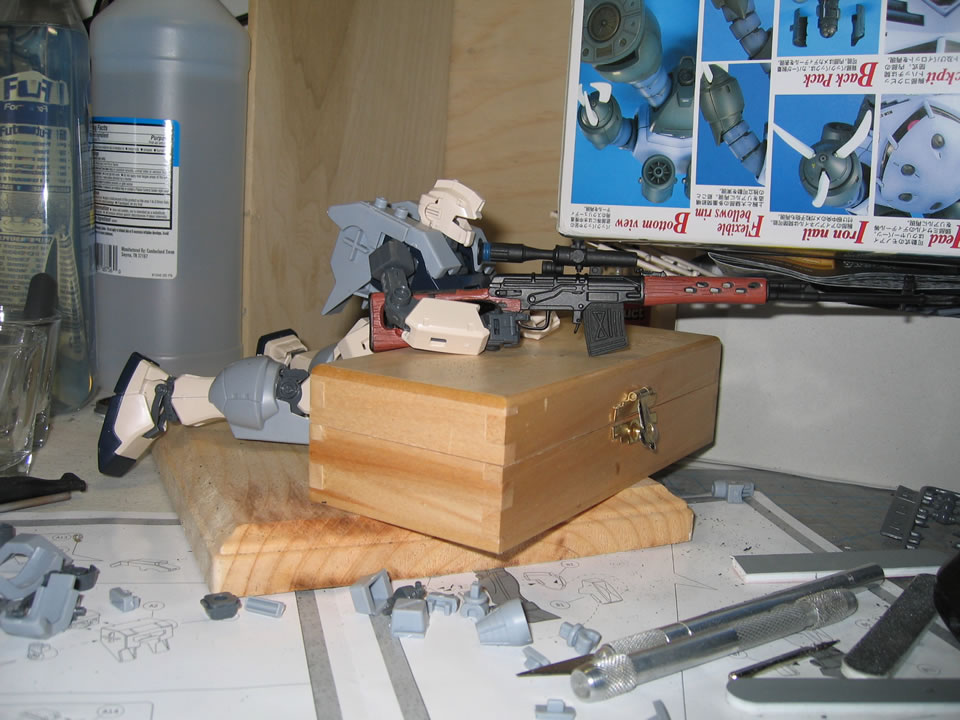
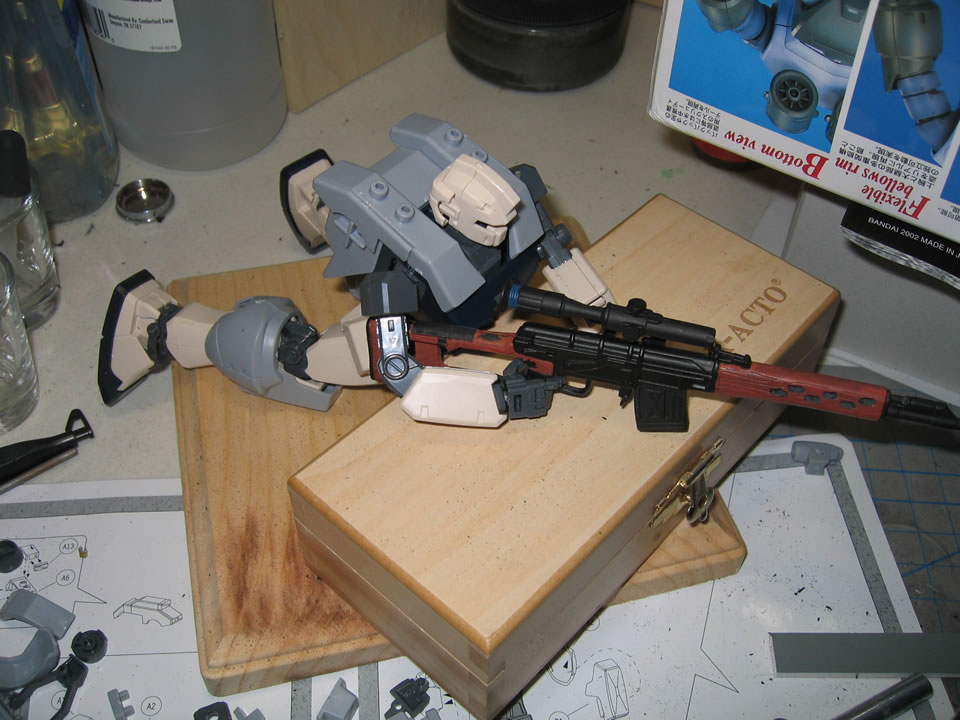
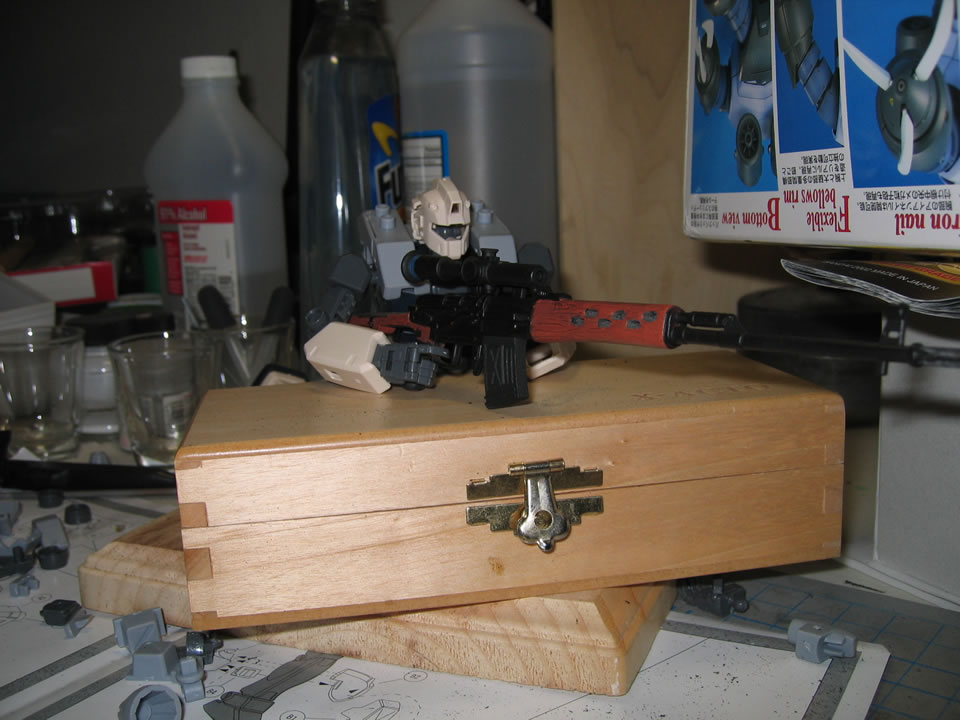
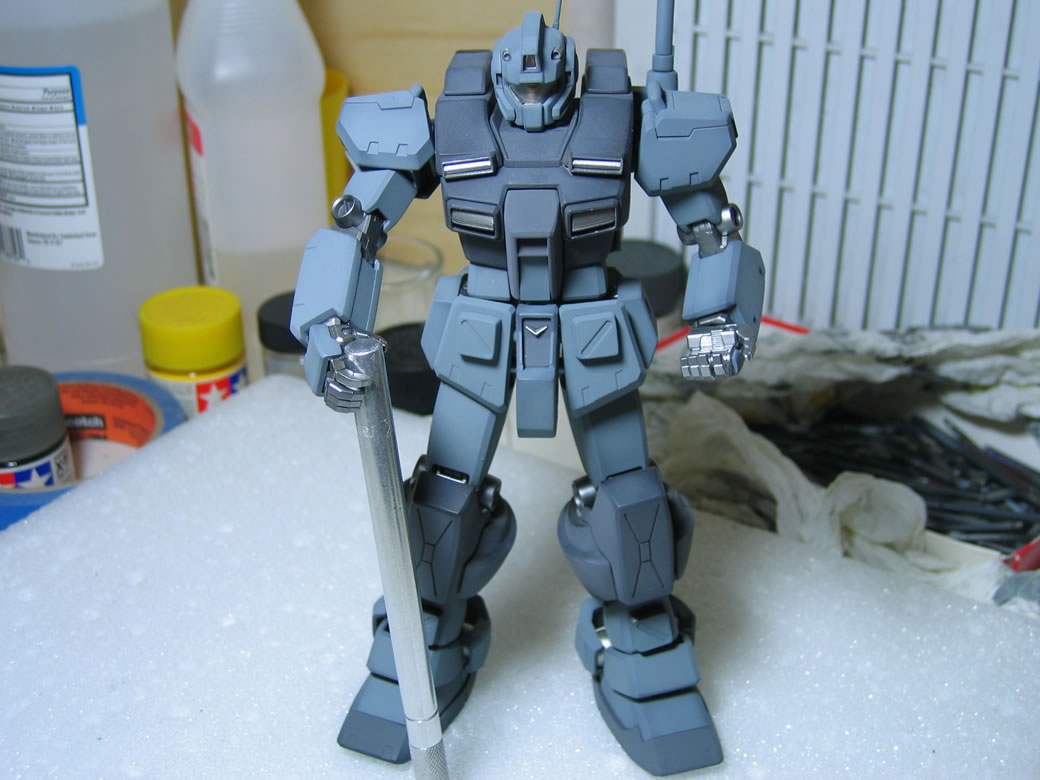
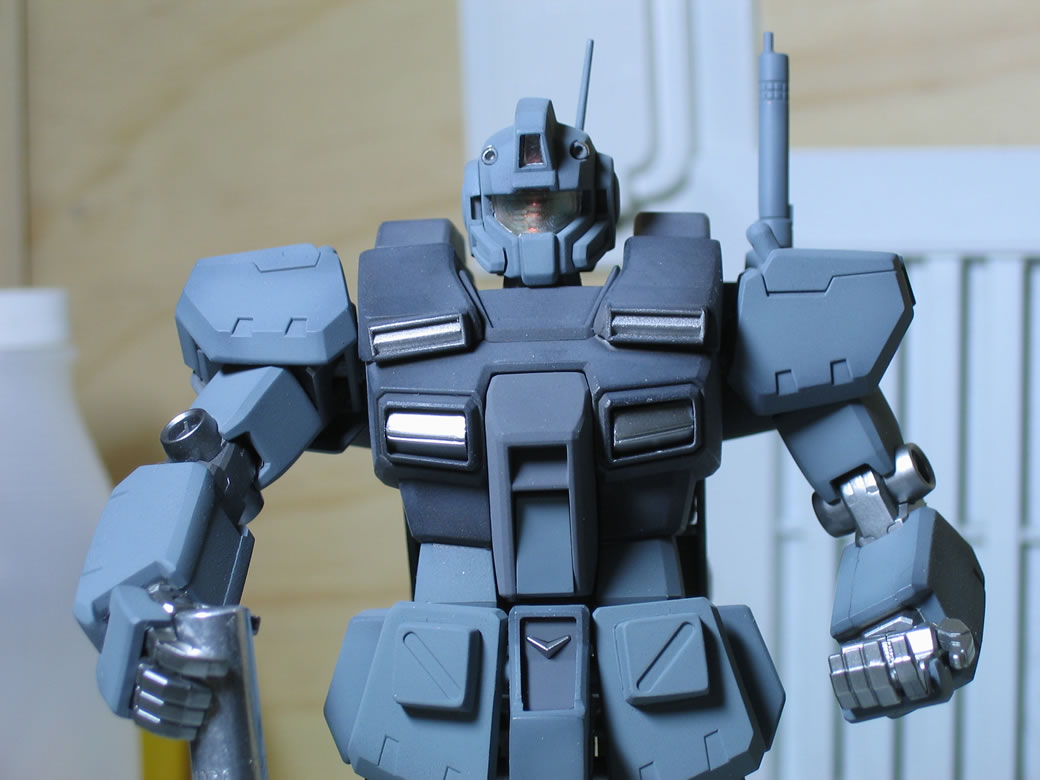
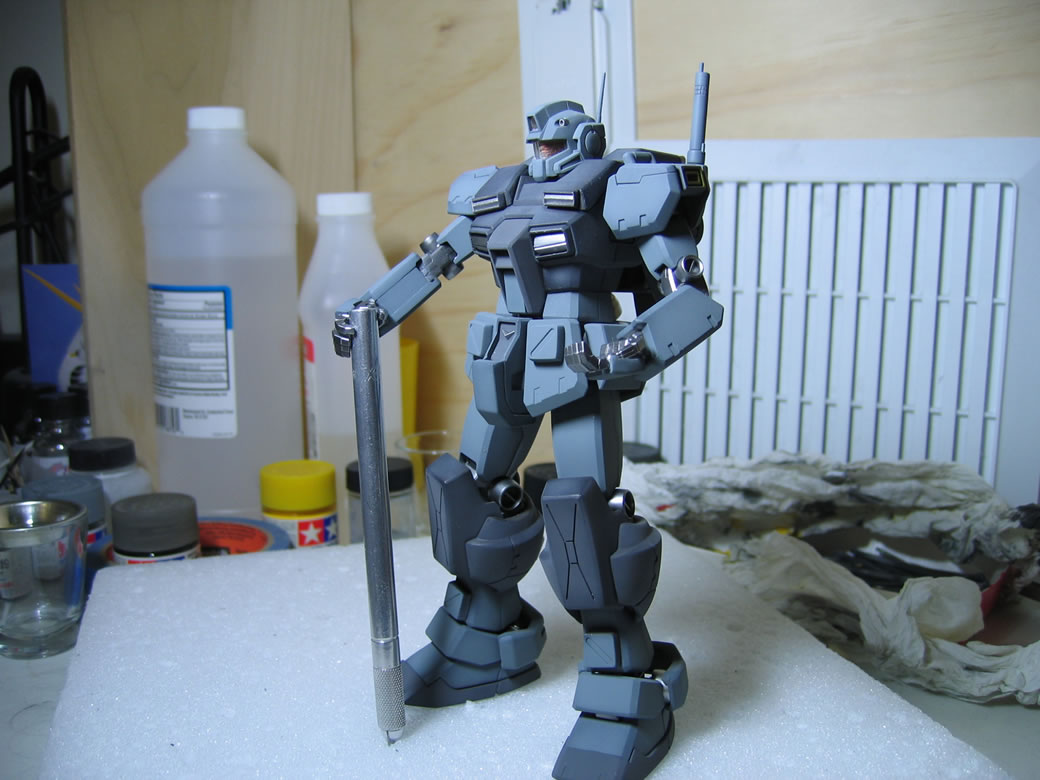
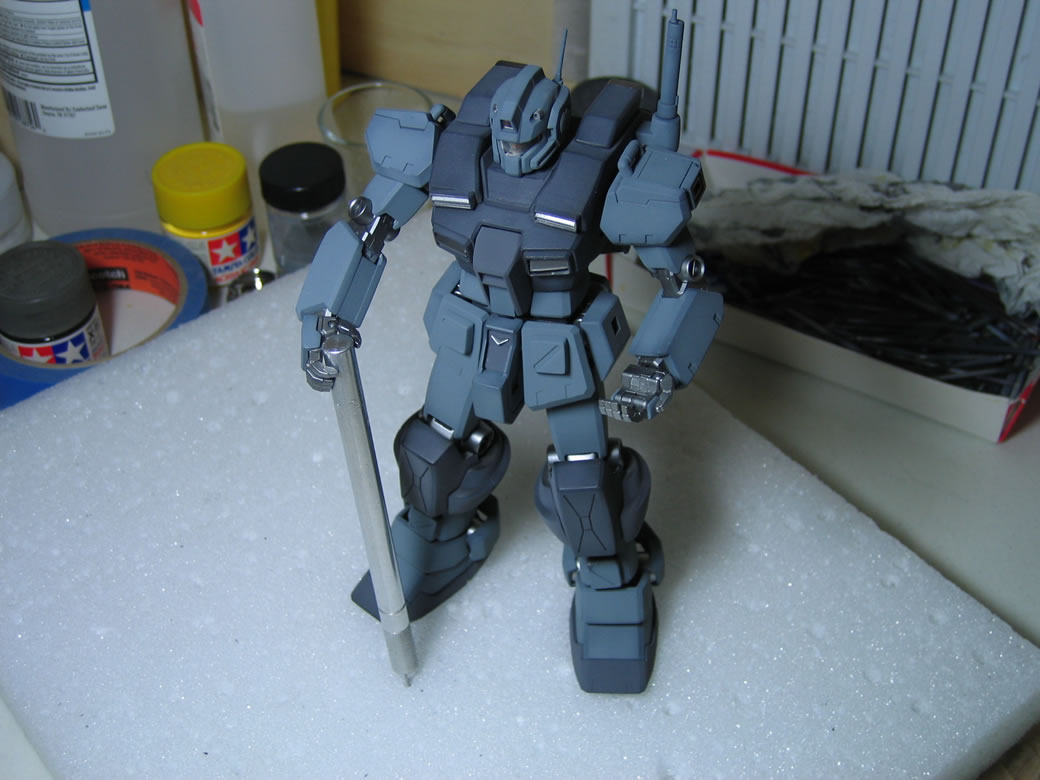
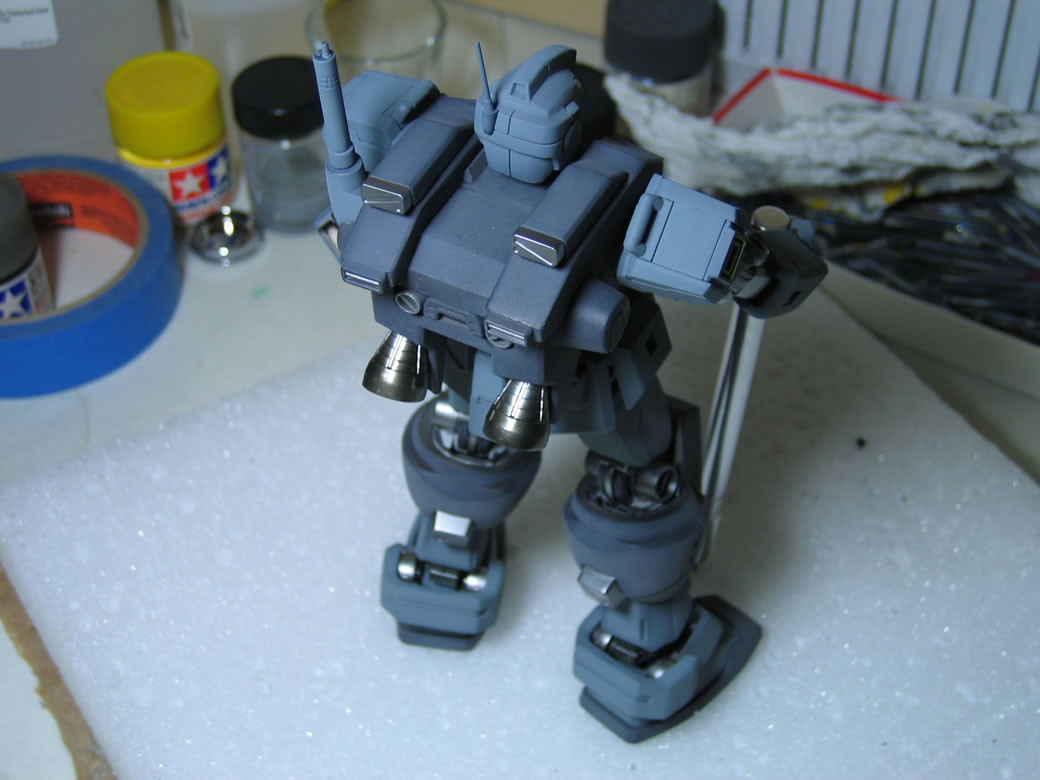
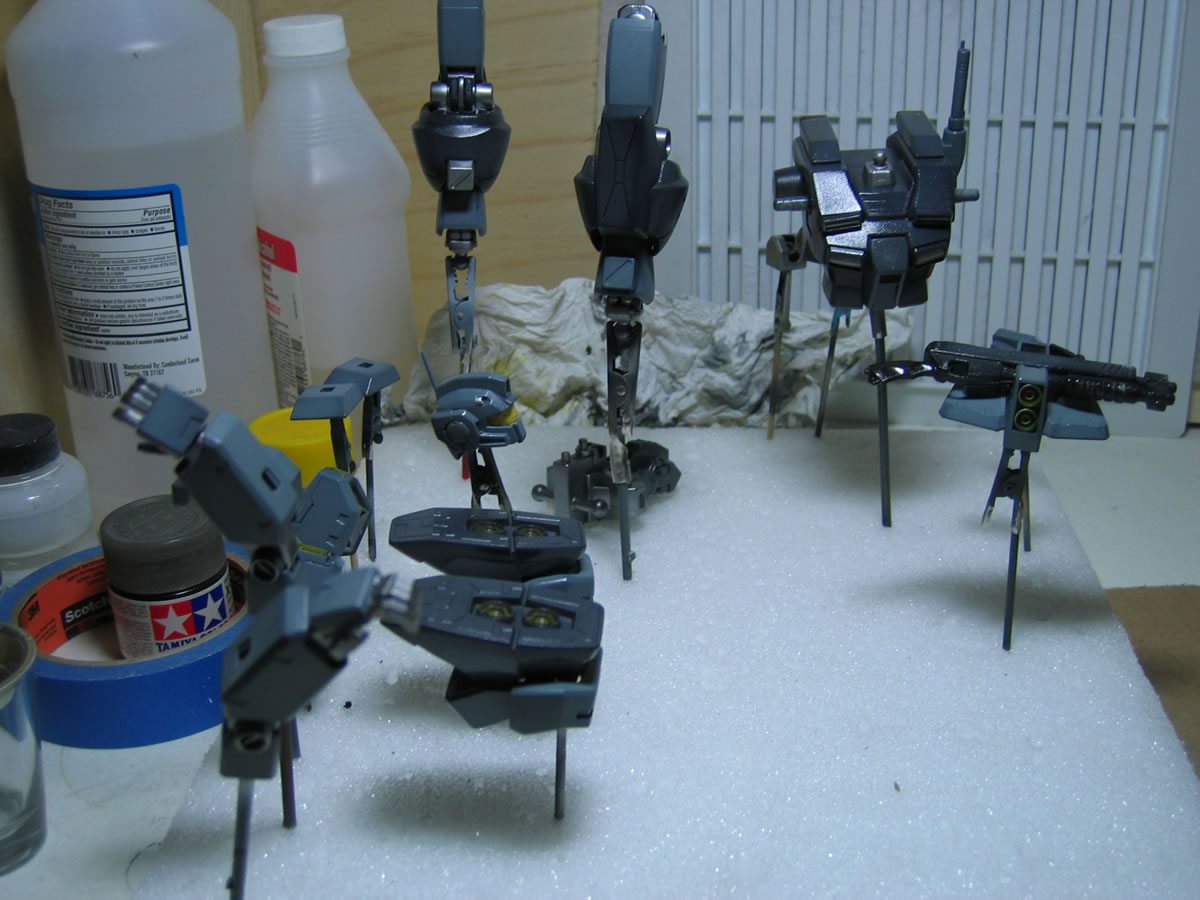
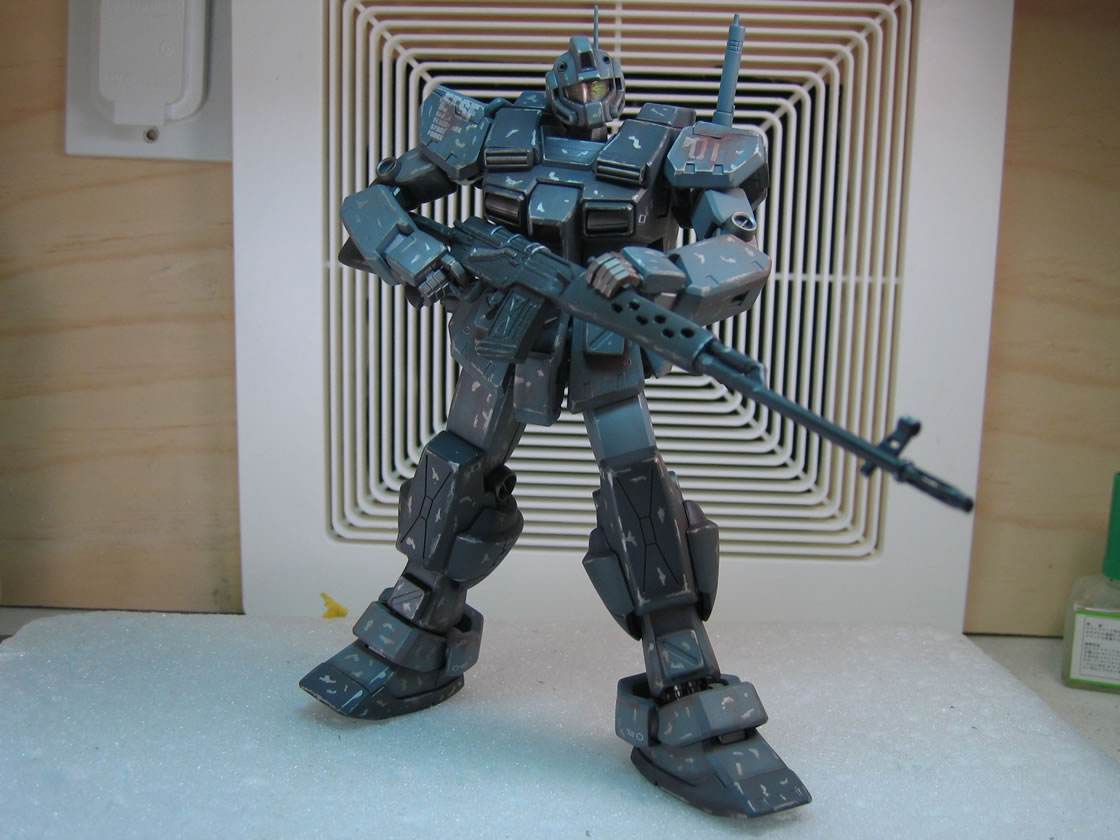
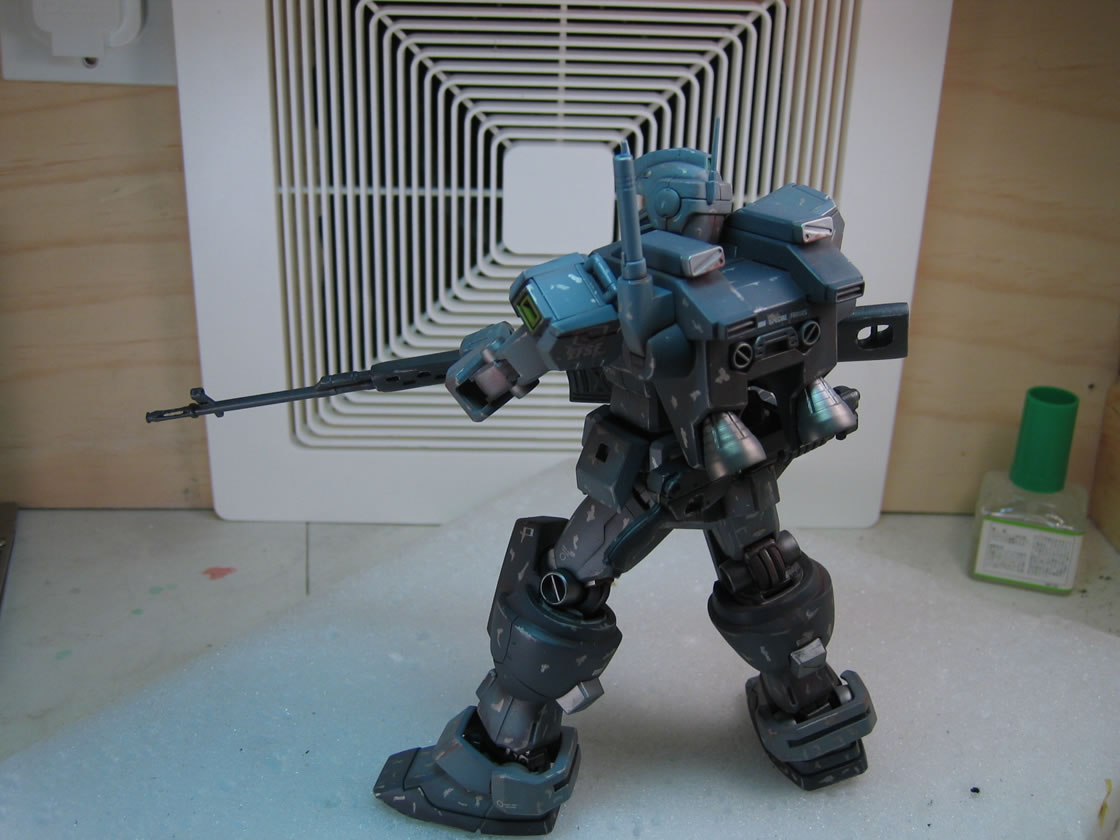
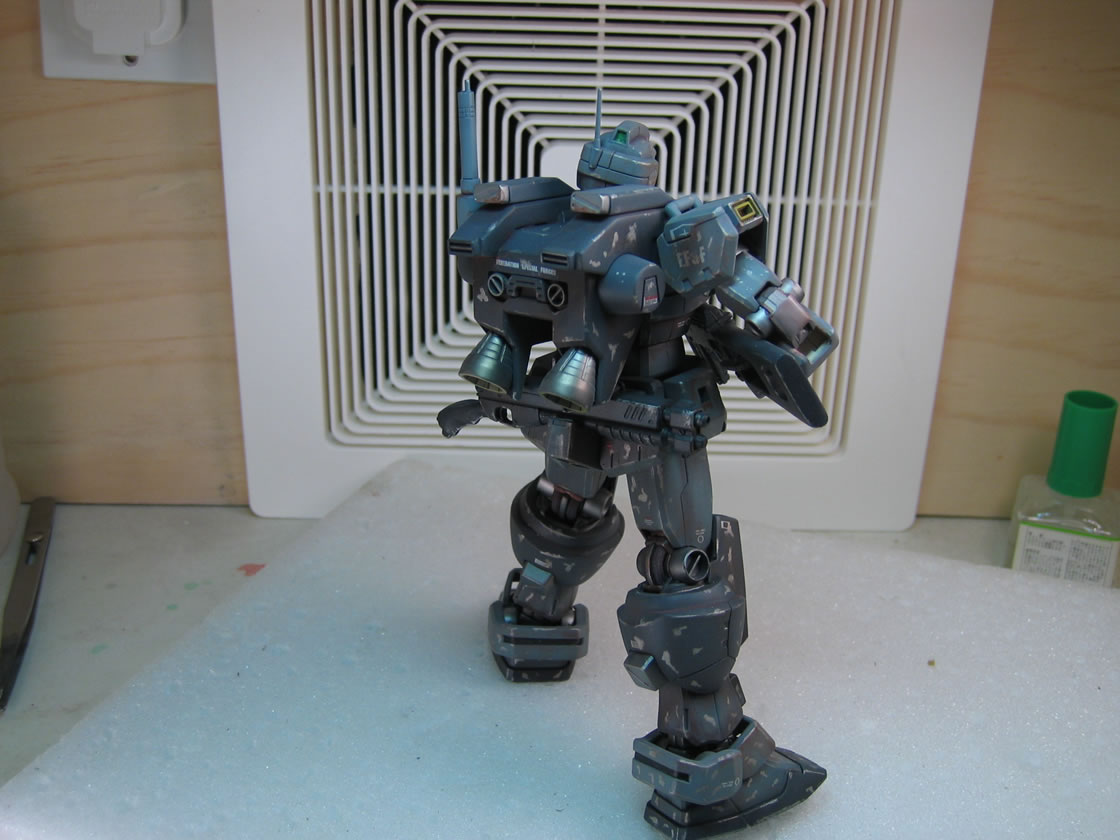
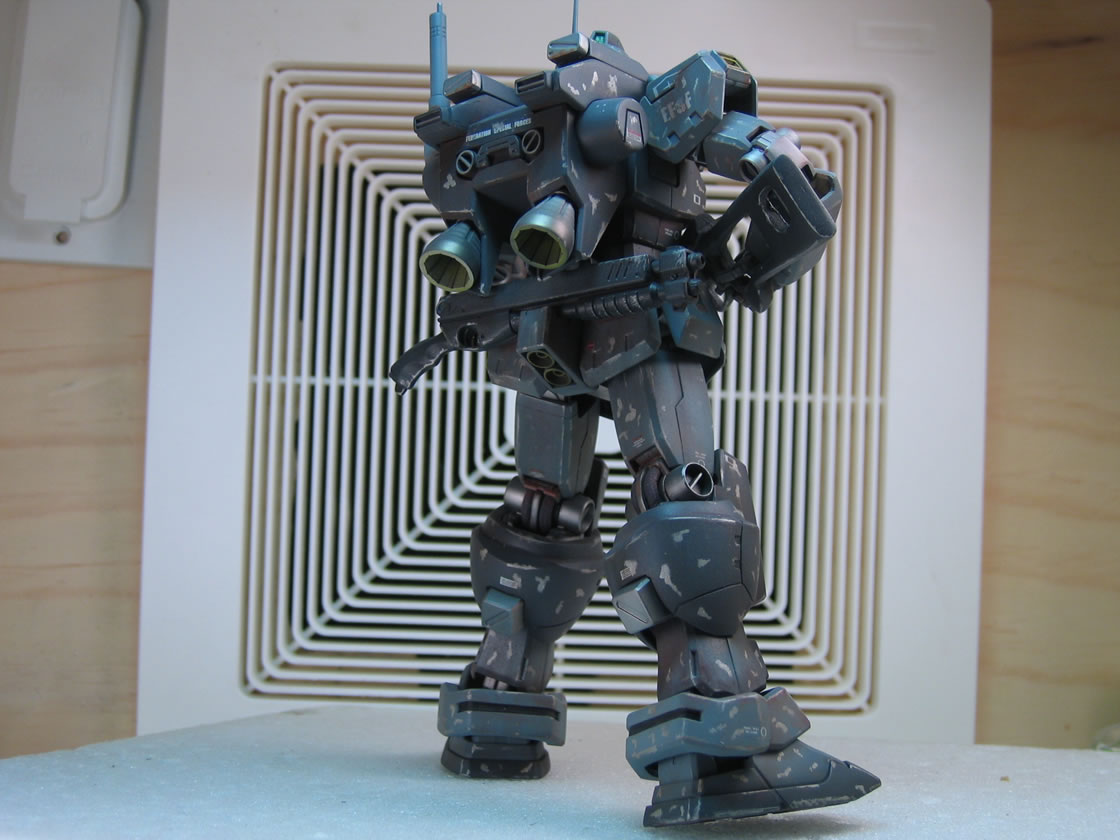
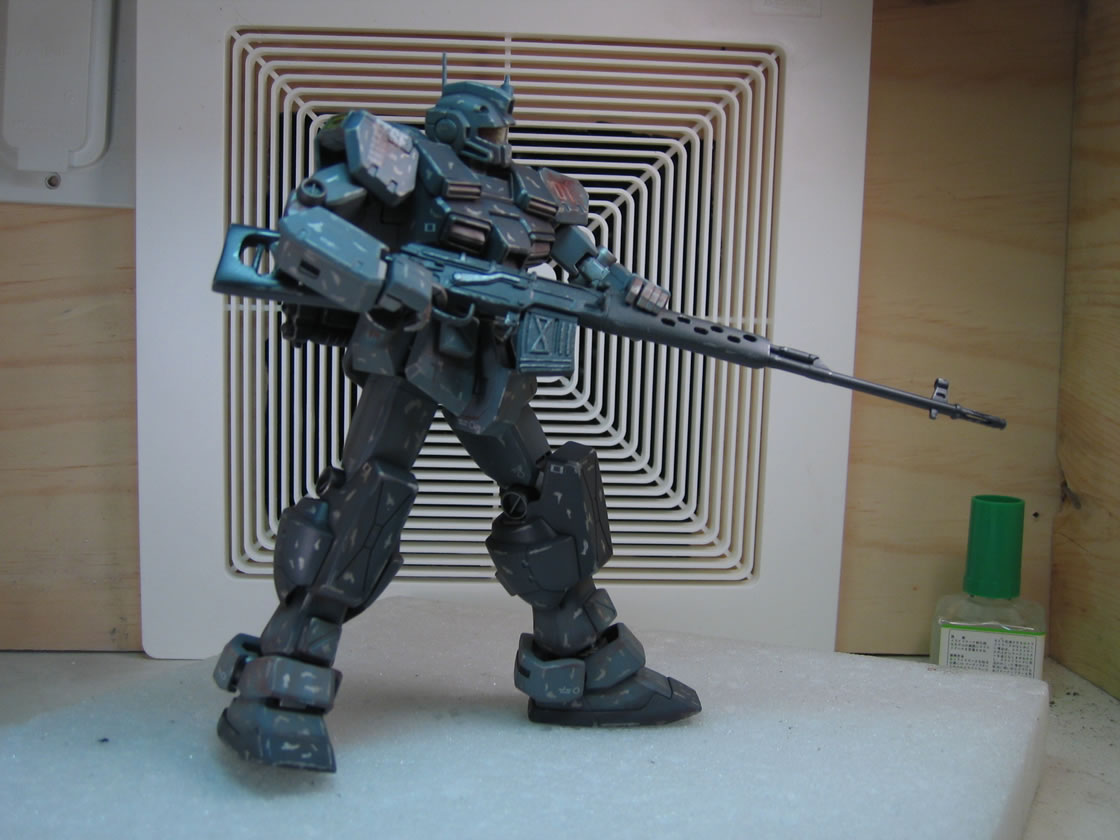
Below are pictures of the assembled PGM. I will take it apart by major appendage and then apply future. After this comes the decals and then a small amount of weathering; then a final coat of future and flat base. Work now begins on the base, and hopefully I am not too lazy as to document that process as well.
|
|
|
|
|
|
|
|
|
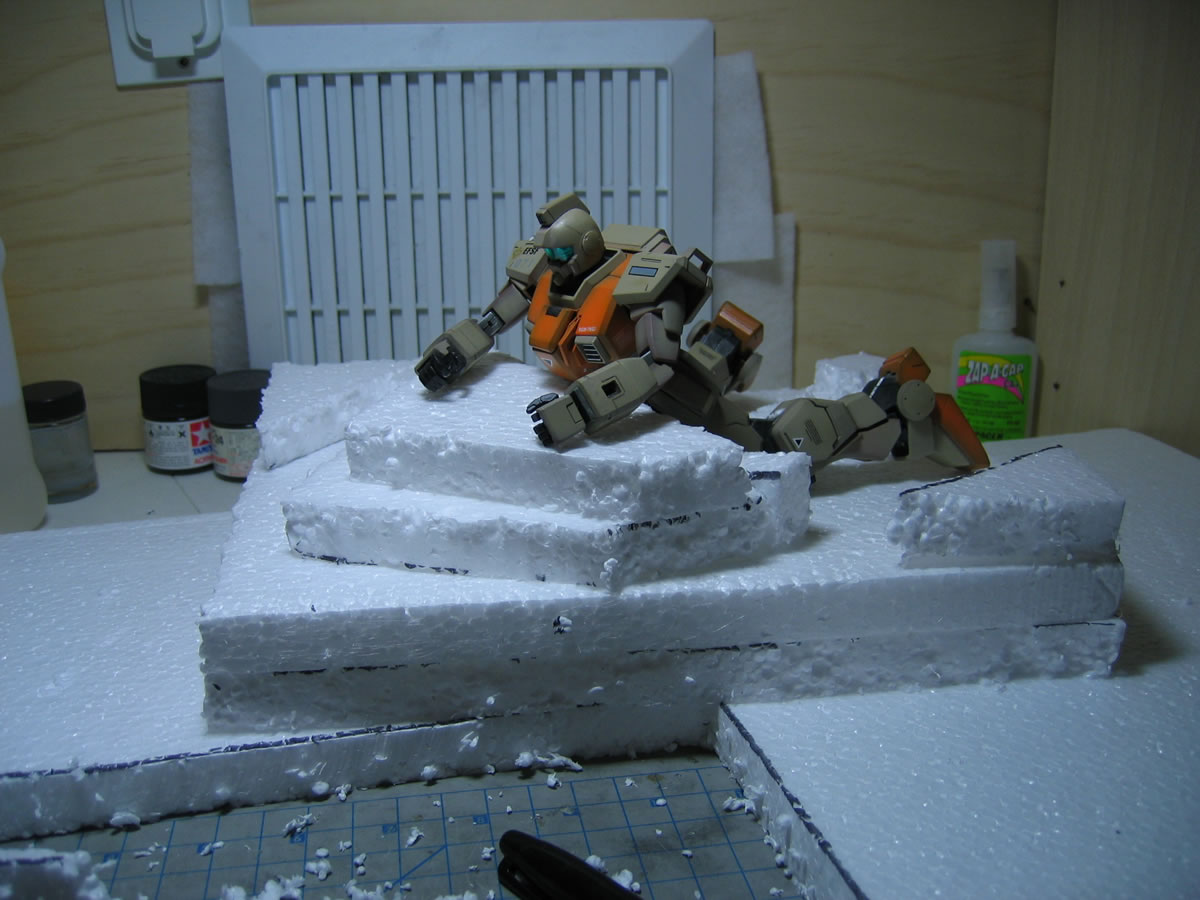
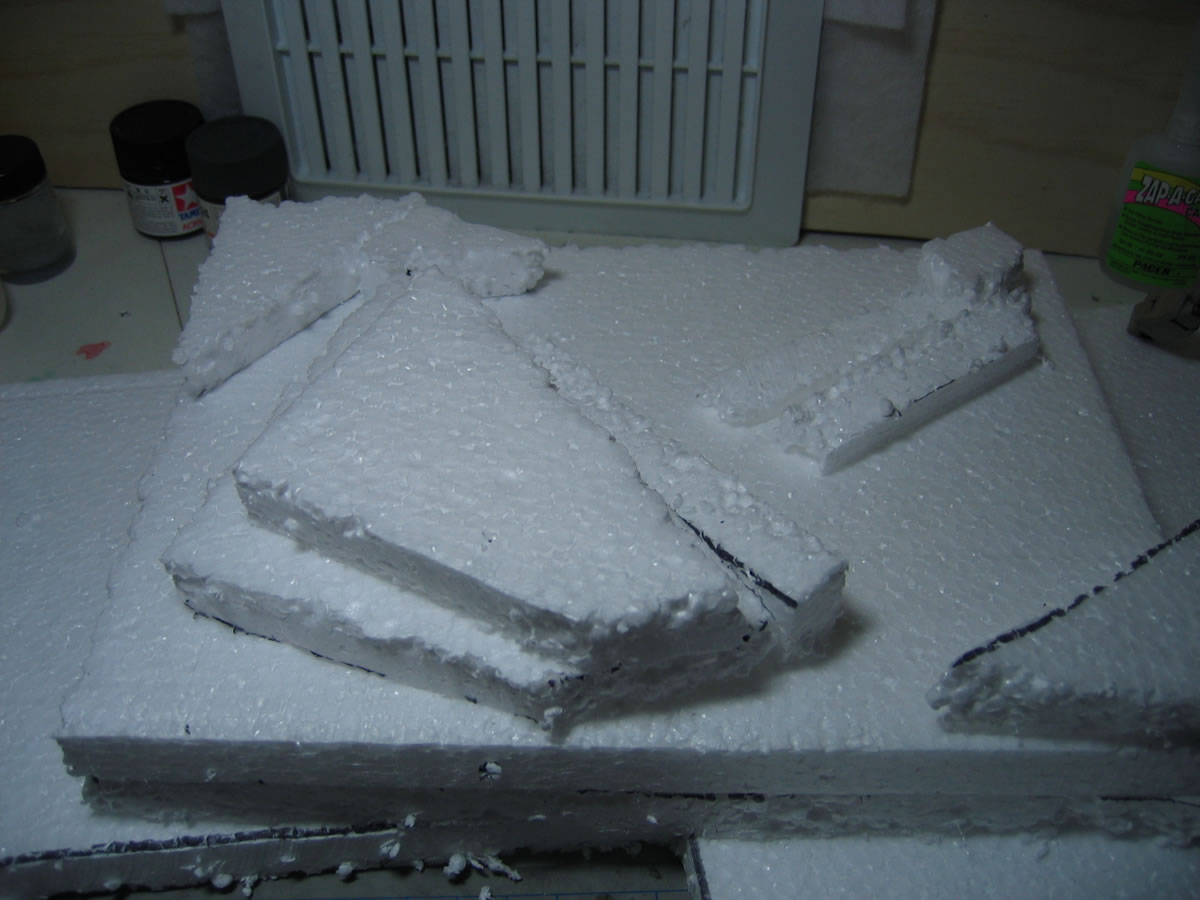
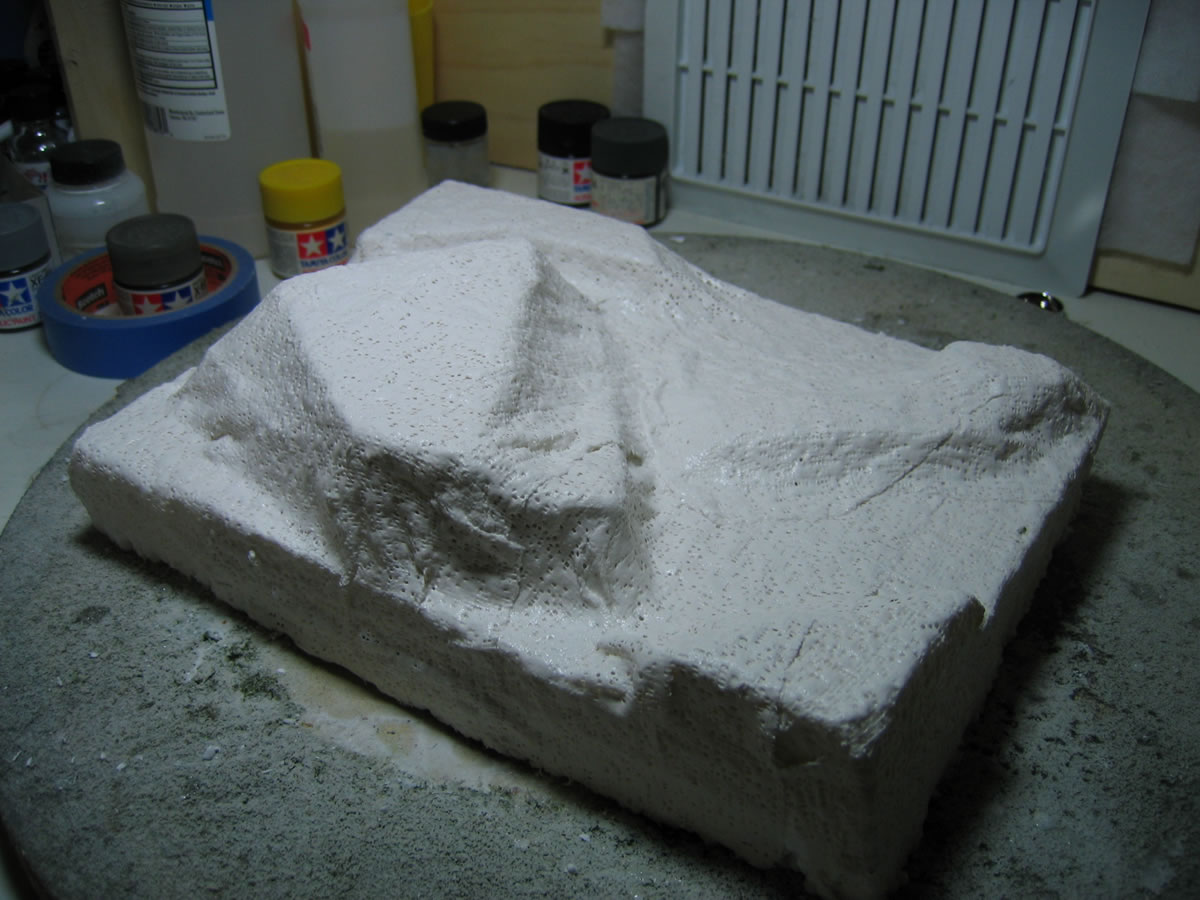
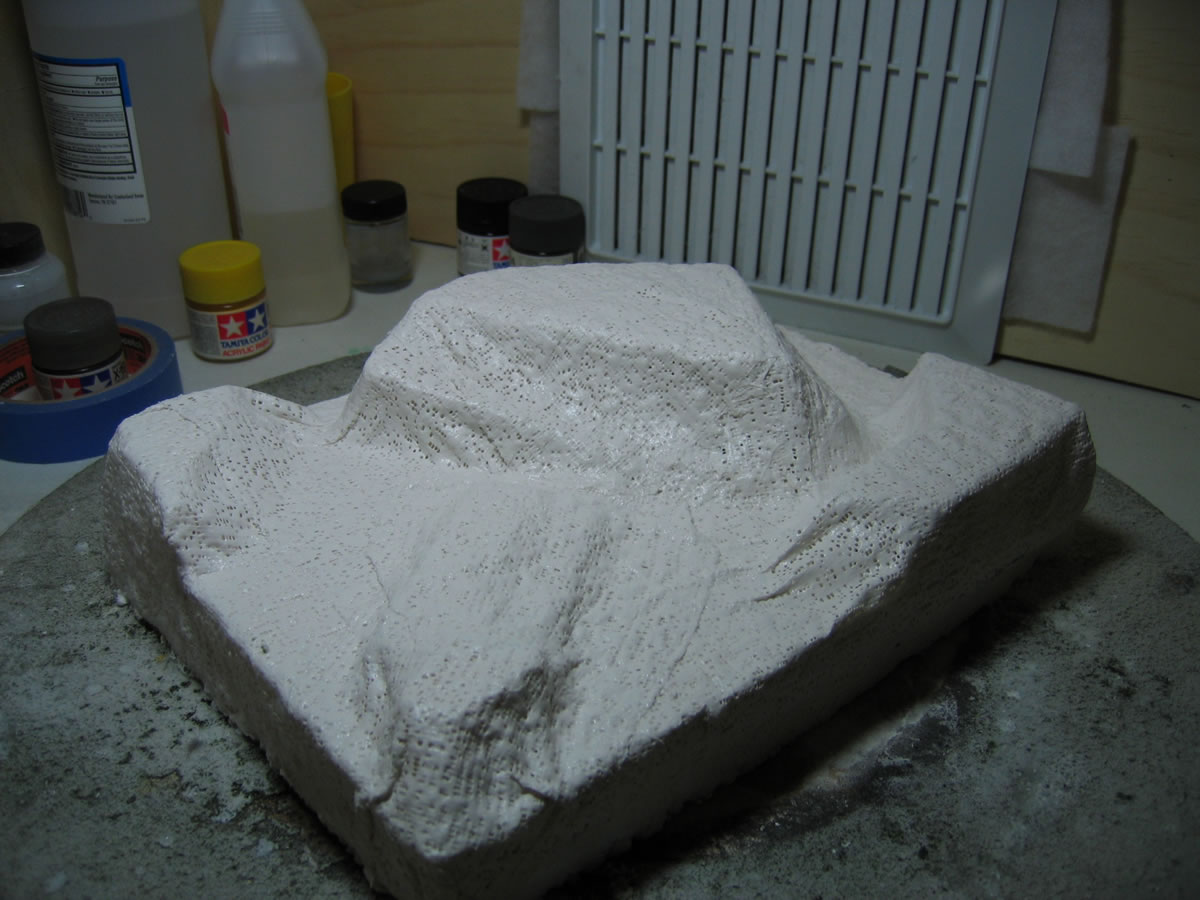
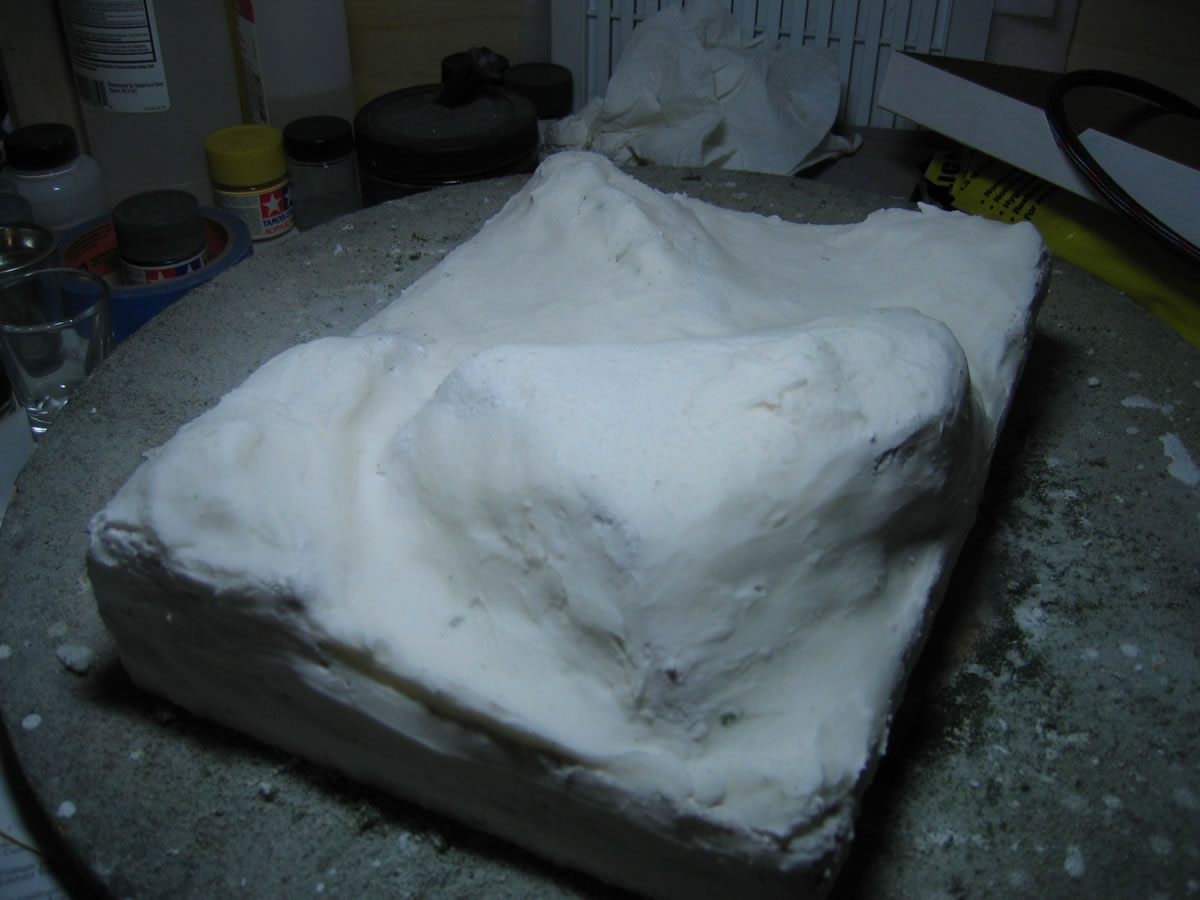
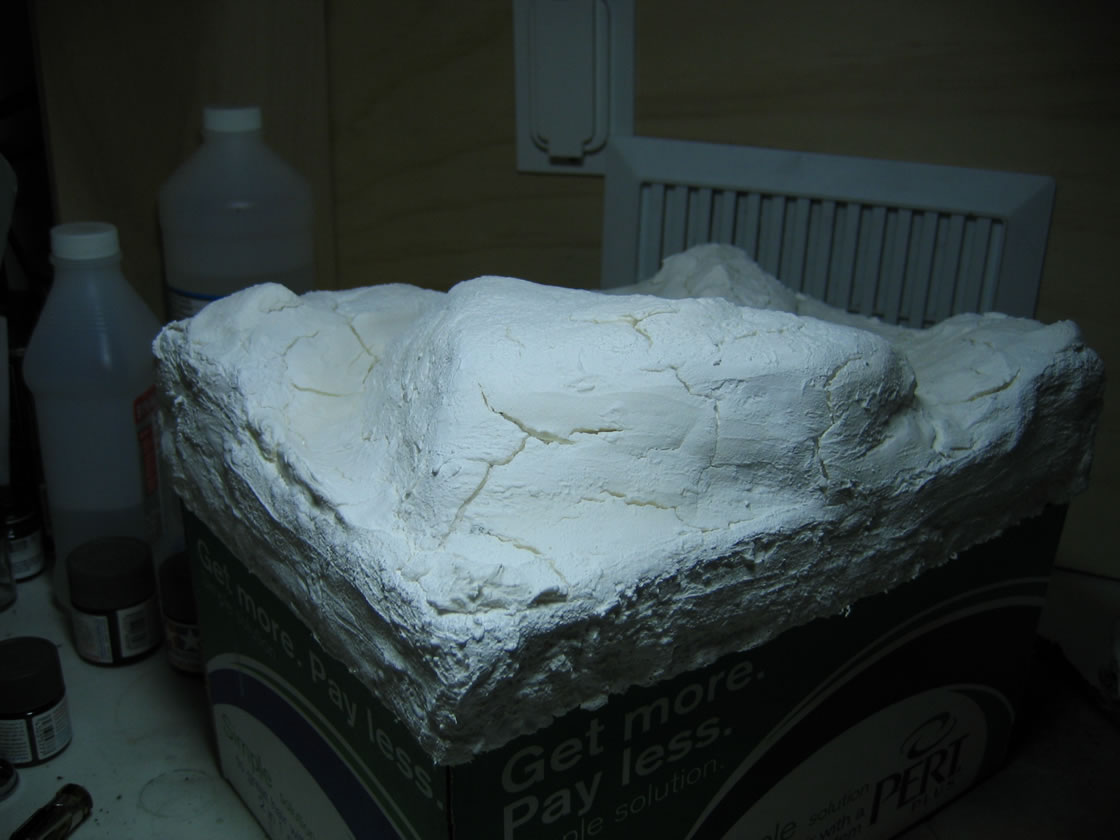
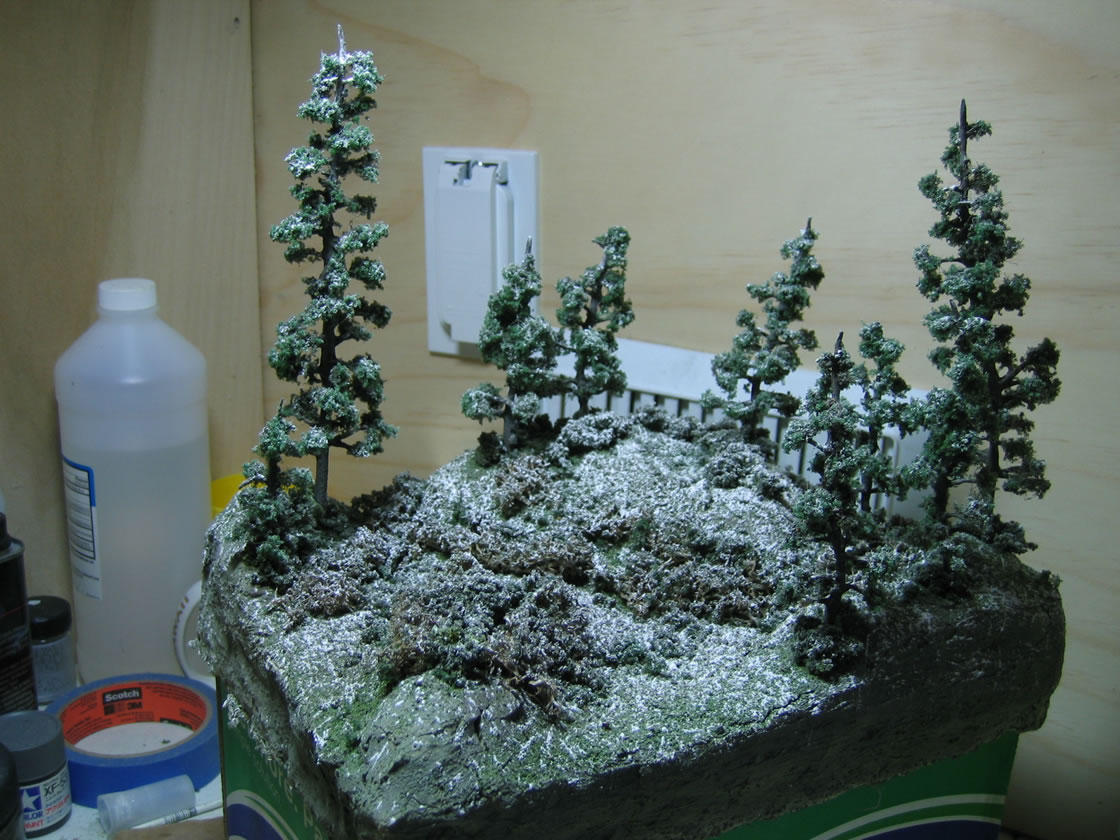
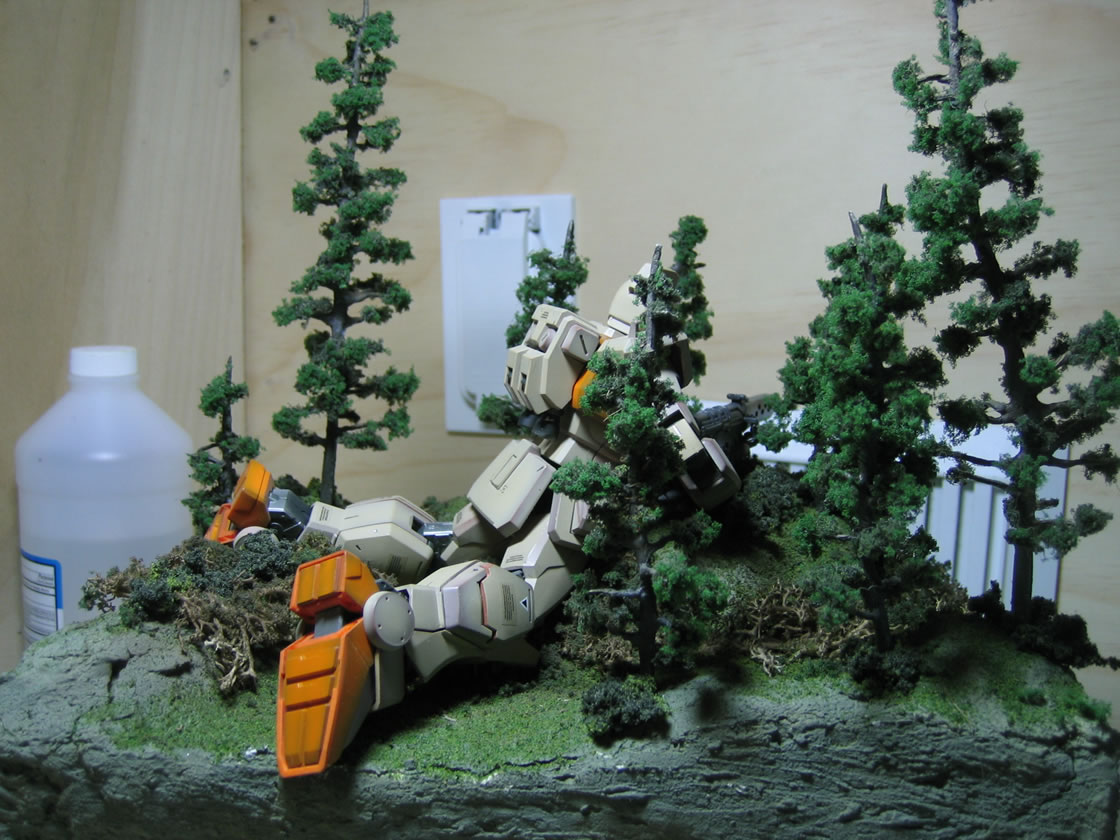
Update 11/13/2004: I have started working on the base. First I used styrofoam, cut two layers as for use as a base layer and then used pieces of different sizes to add 3-D effect. I used an RGM-79[G] to help test fit where I want the styrofoam pieces placed. Yep, went with the prone position. The next step was plaster cloth over the styrofoam followed by a baking soda/corn starch clay curtesy of Michael Fichtenmayer's baking soda/corn starch clay tutorial.
|

|
|
|
|
|
The kit was dismantled by appendages so that a couple of coats of future can be applied. The images below show a comparison of how the kit looks pre and post future. As you can tell, after the application of future, the color tone changes slightly, darkening. After adding decals and a layer of flat base/future, the color tone will lighten, and then it's on to weathering.

|
|

|
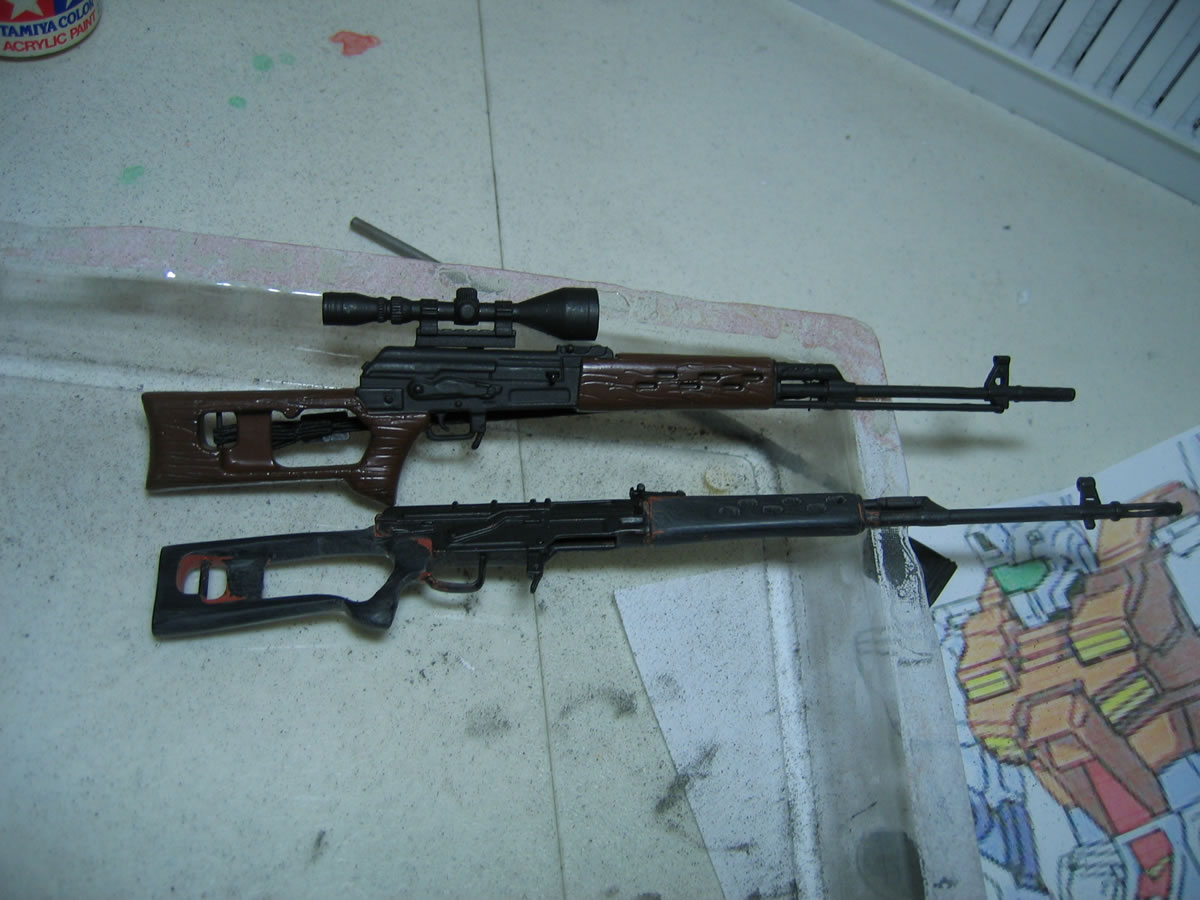
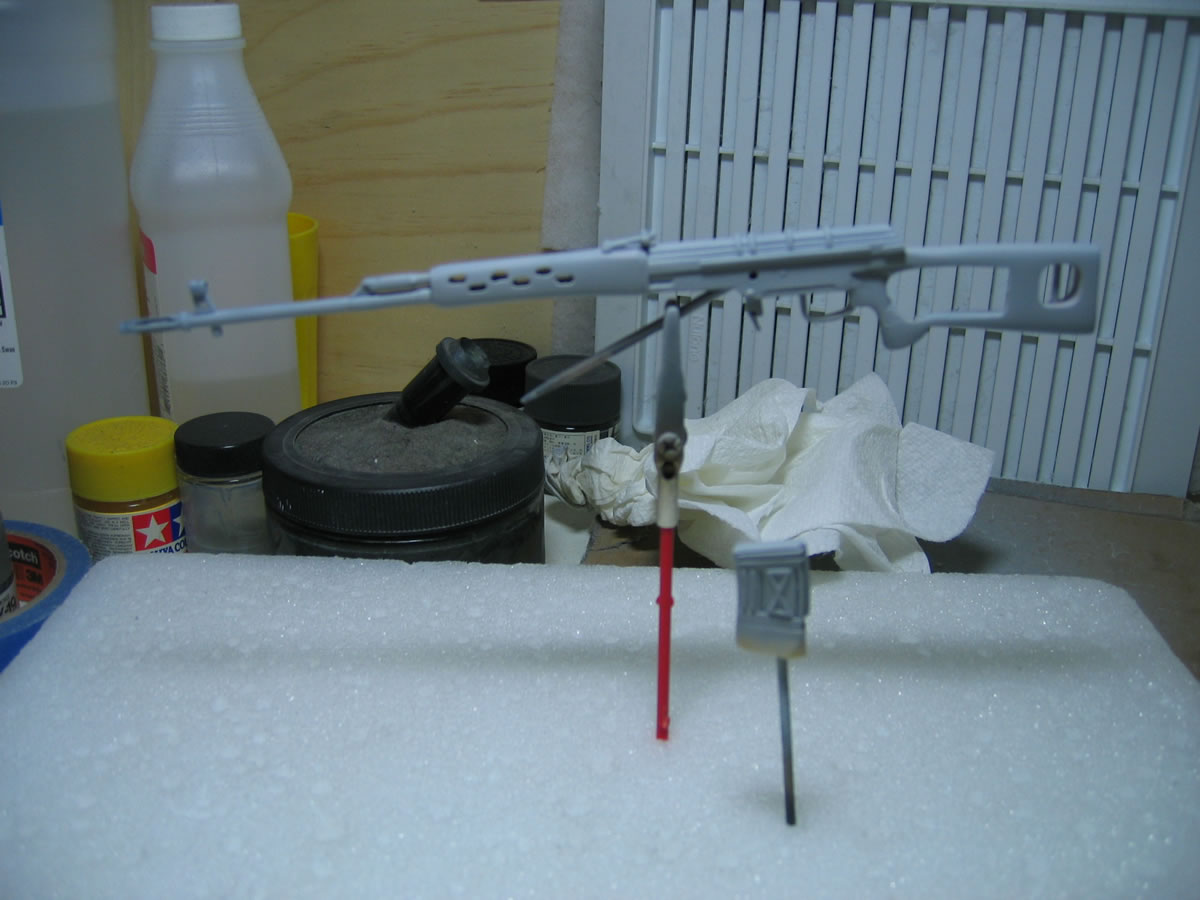
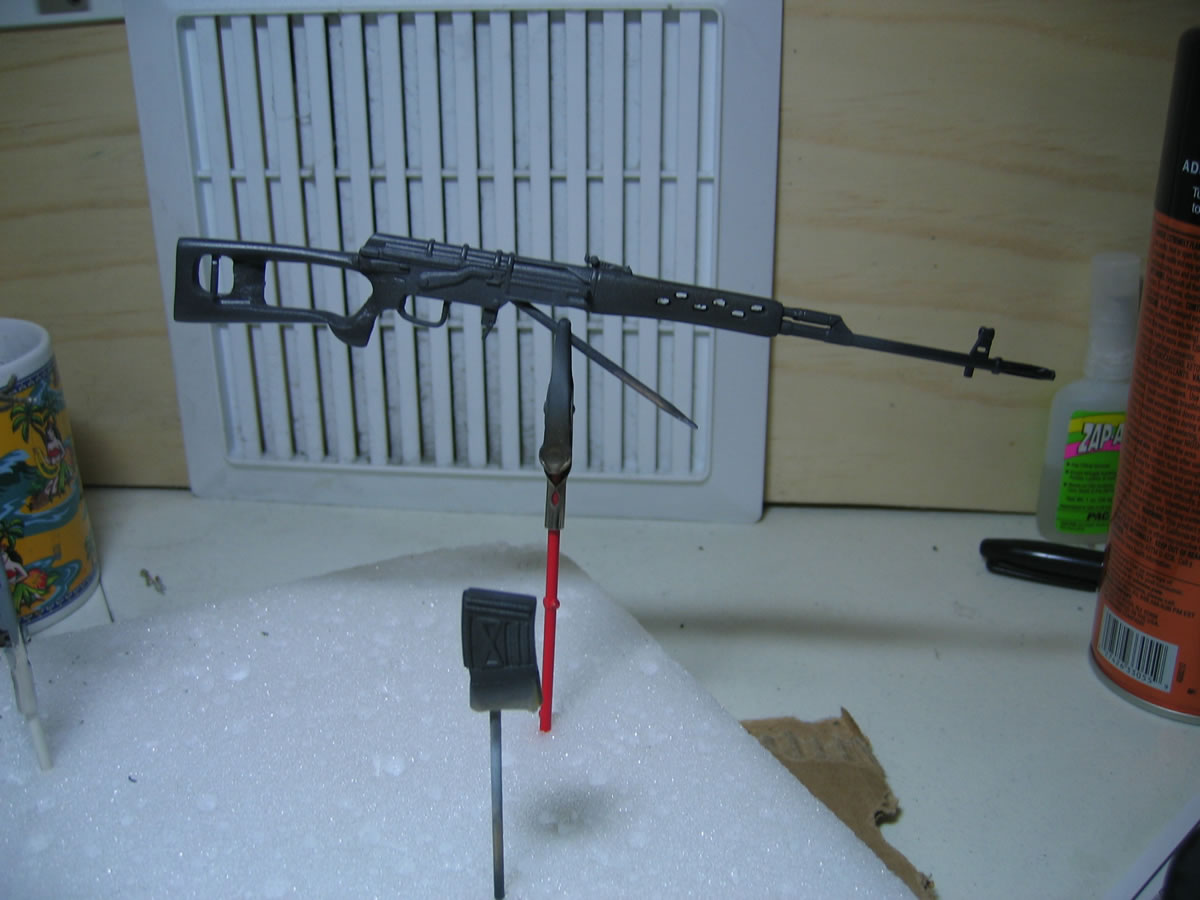
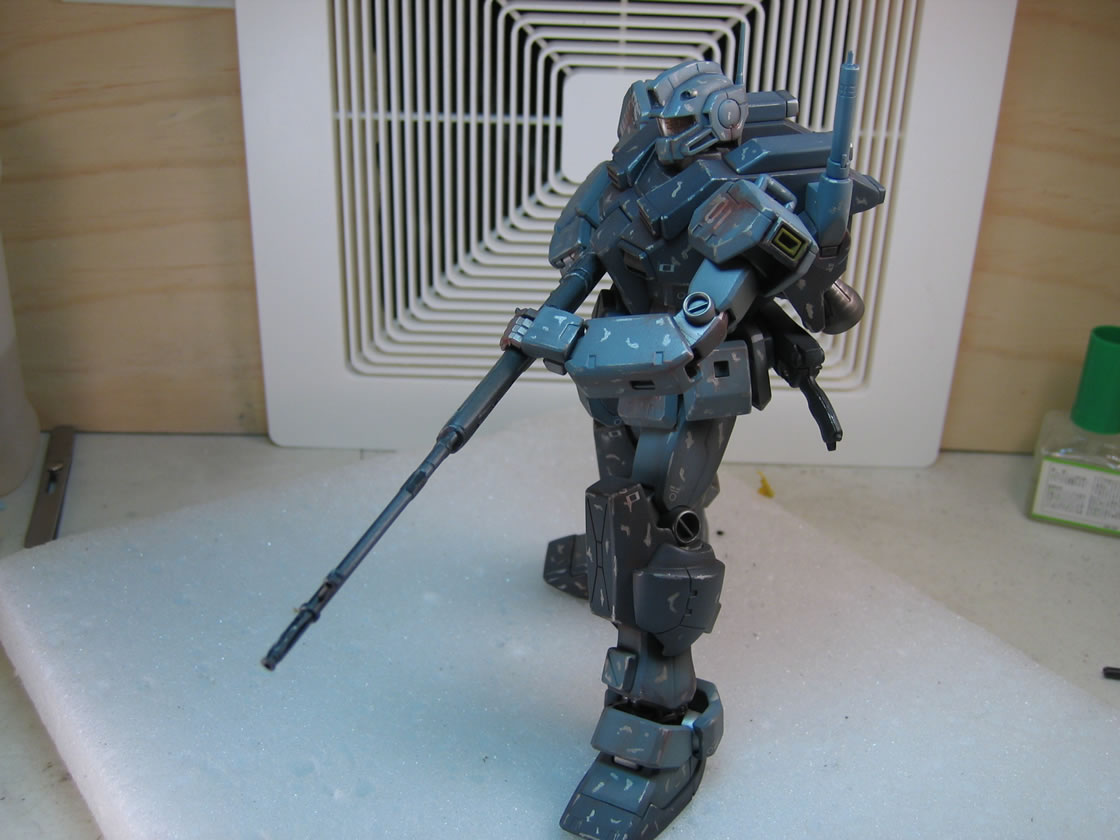
Since I forgot to take pictures of the sniper rifle before I started working on it, I have to use a similar rifle that came with the sniper rifle set I purchased for comparison. There are a few differences but all in all, they were pretty similar so the comparison works. I did some weight reduction work on the stock as well as work on the grip such that the hands of the PGM will fit without looking overly out of place. The forgrip section was slimmed down as well. After all the sanding was completed, the base coat of Mr. Surfacer 500 was applied. This was then followed up with black enamel base coat and a neutral gray/gun metal mix. And a final coat of smoke was applied to darken areas on the rifle. There's still the final step of weathering to do that will be completed at the same time as the PGM weathering.
|
|
|
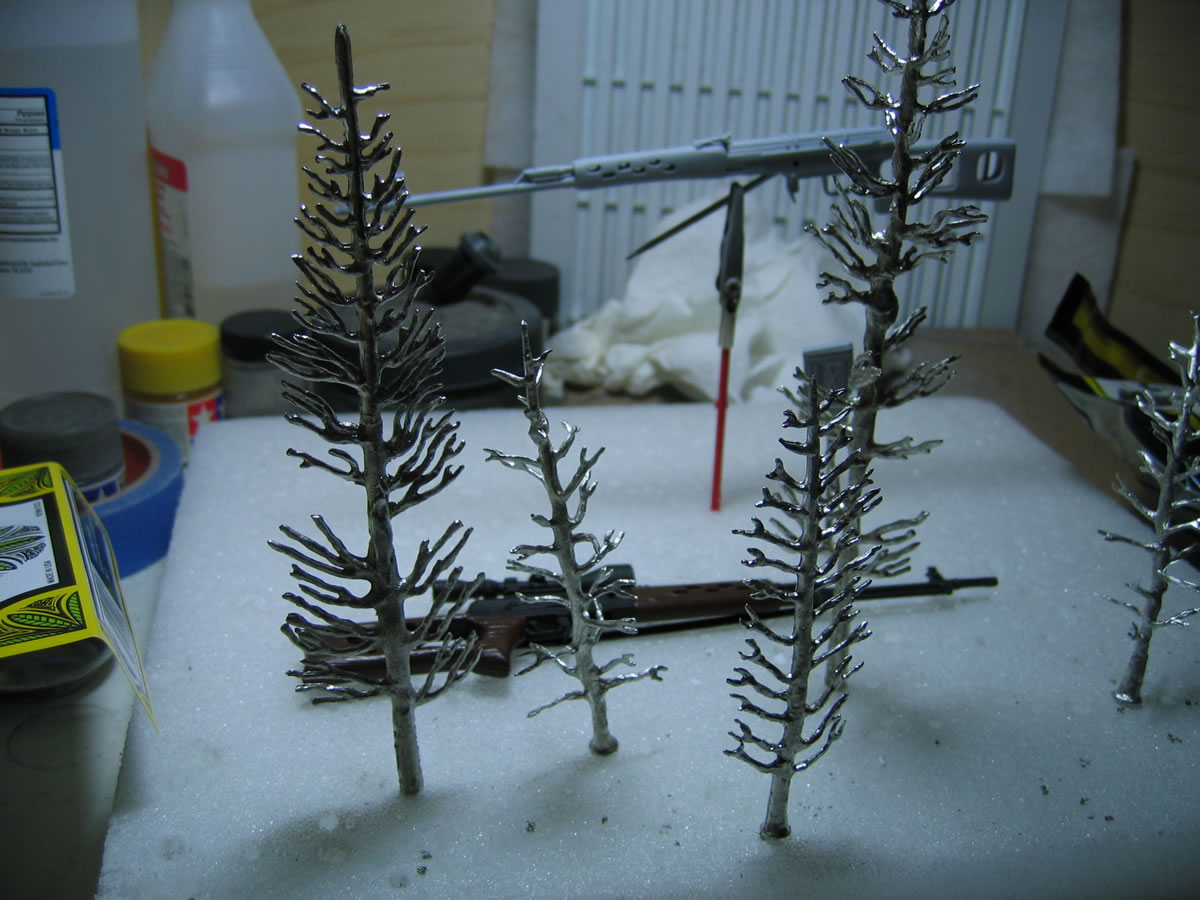
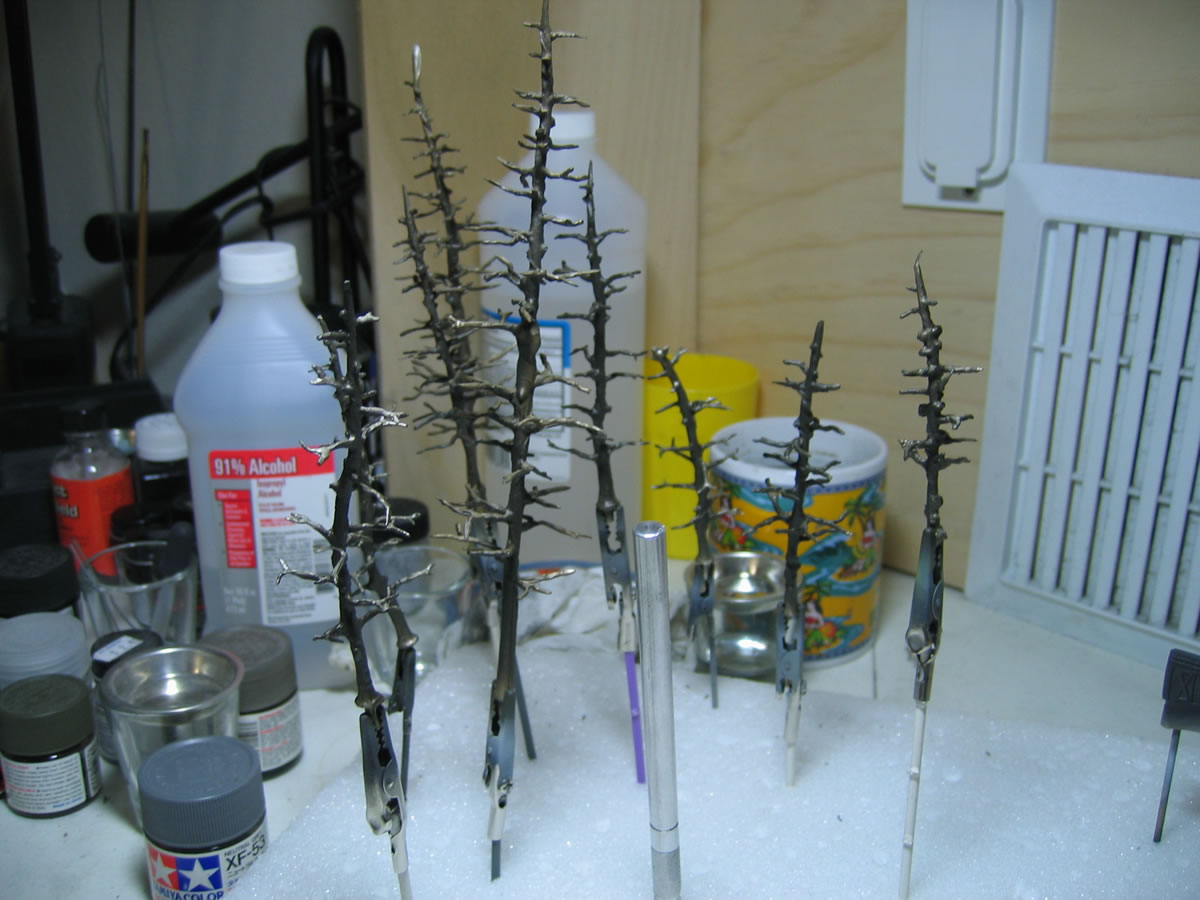
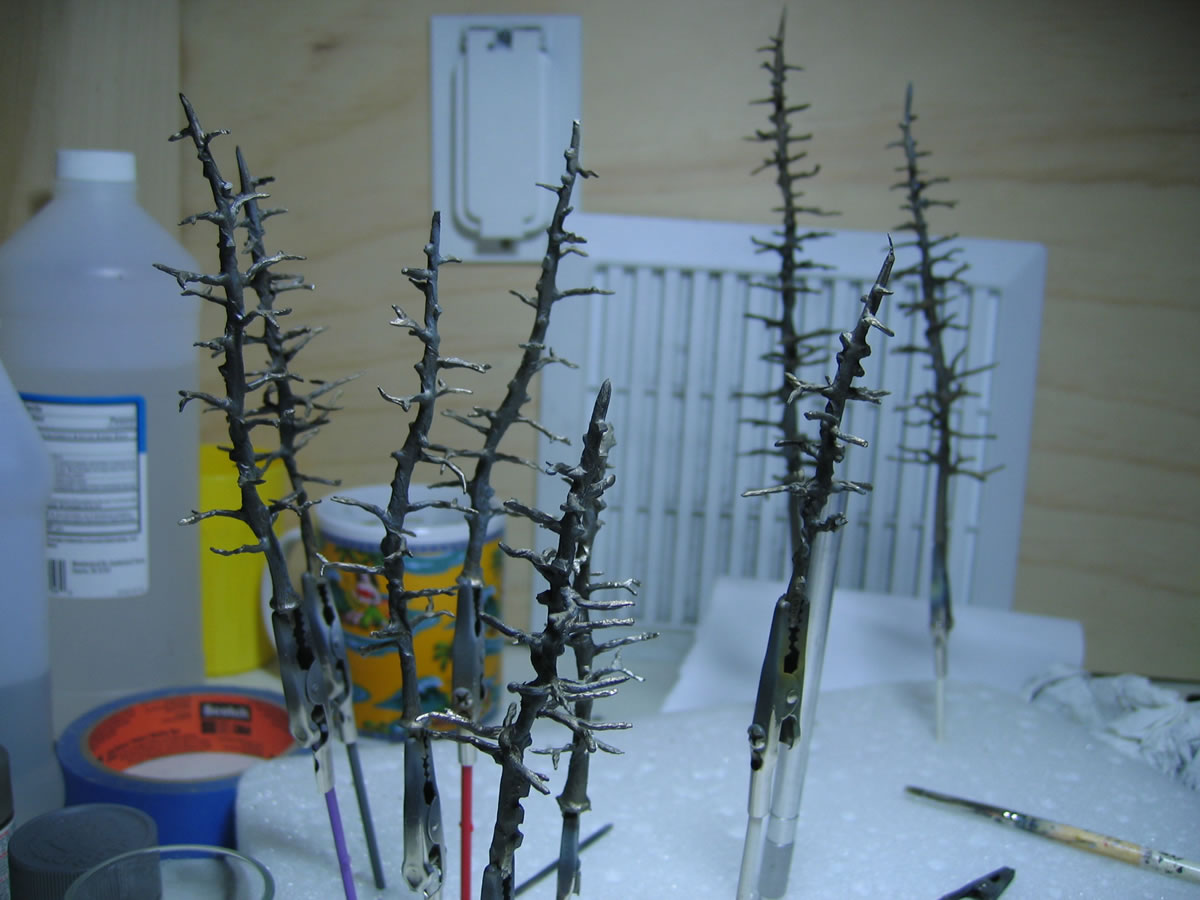
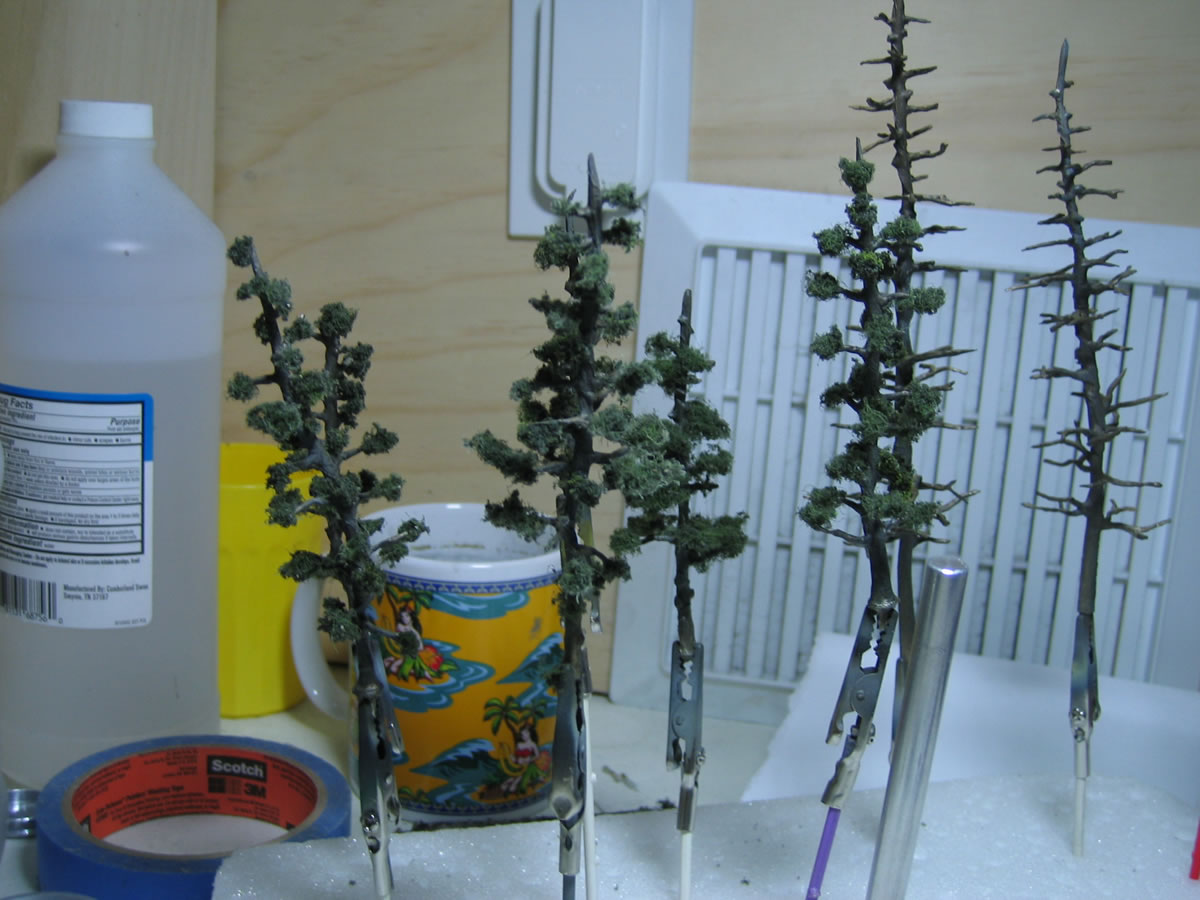
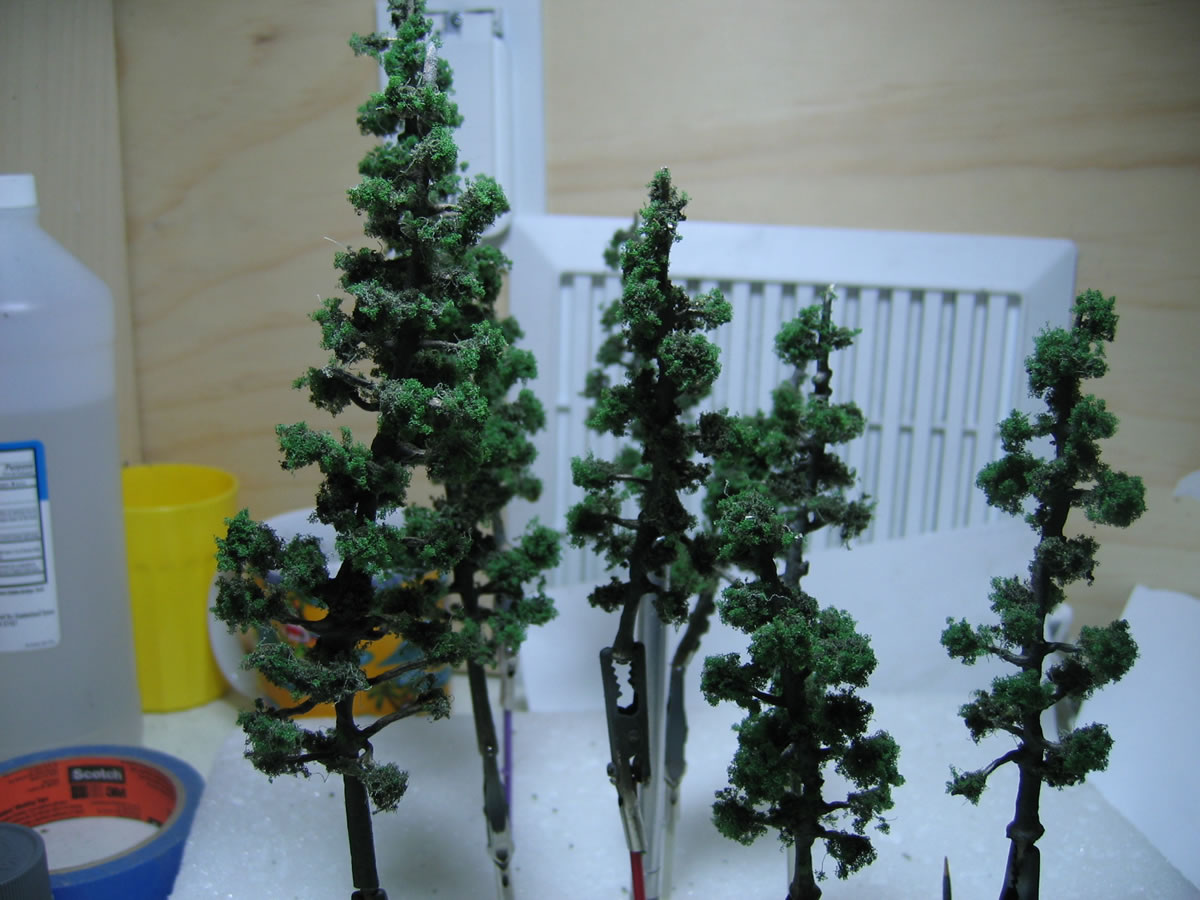
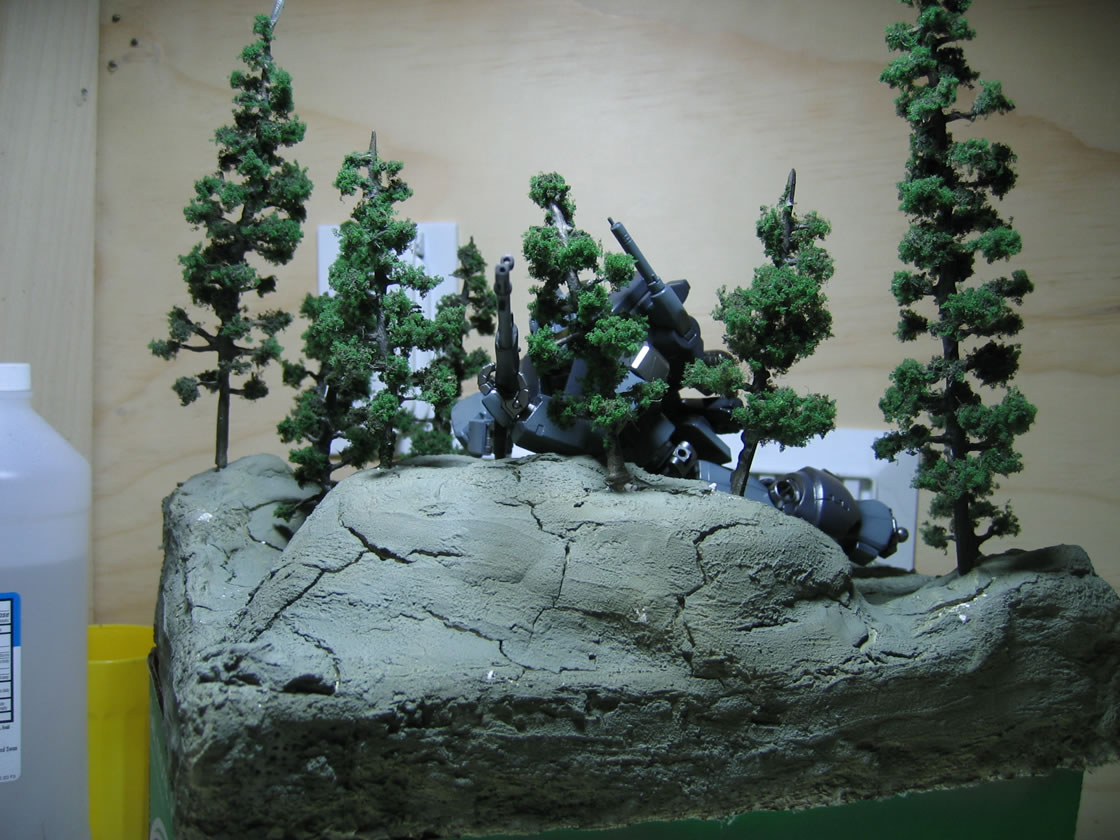
Trees: The trees I selected are from Hobby Scenics. The tree bases are fairly malleable, which allowed for easy twisting and position of branches. However, the dicast is fairly weak as well, and too much twisting can easily rip parts off. After all the trees were shaped to my liking, I airbrushed on a dark brown base in enamel. Following this was dry brushing with neutral gray and khaki drab in acrylic. Next came the application of leaves. The foilage that came with the tree kit did not look natural enough (see picture 5). So the addition of corse dark green foilage lightly applied over the existing foilage seem to help remedy this.
|
|
|
|

|
|
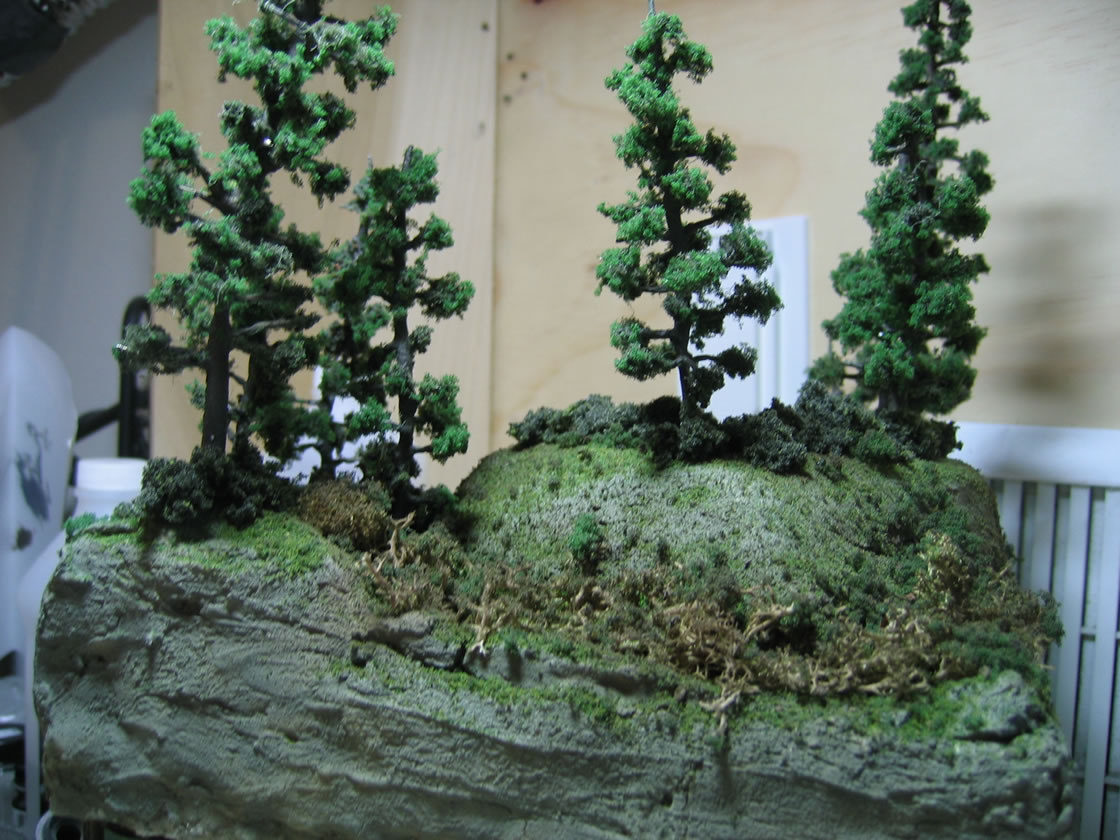
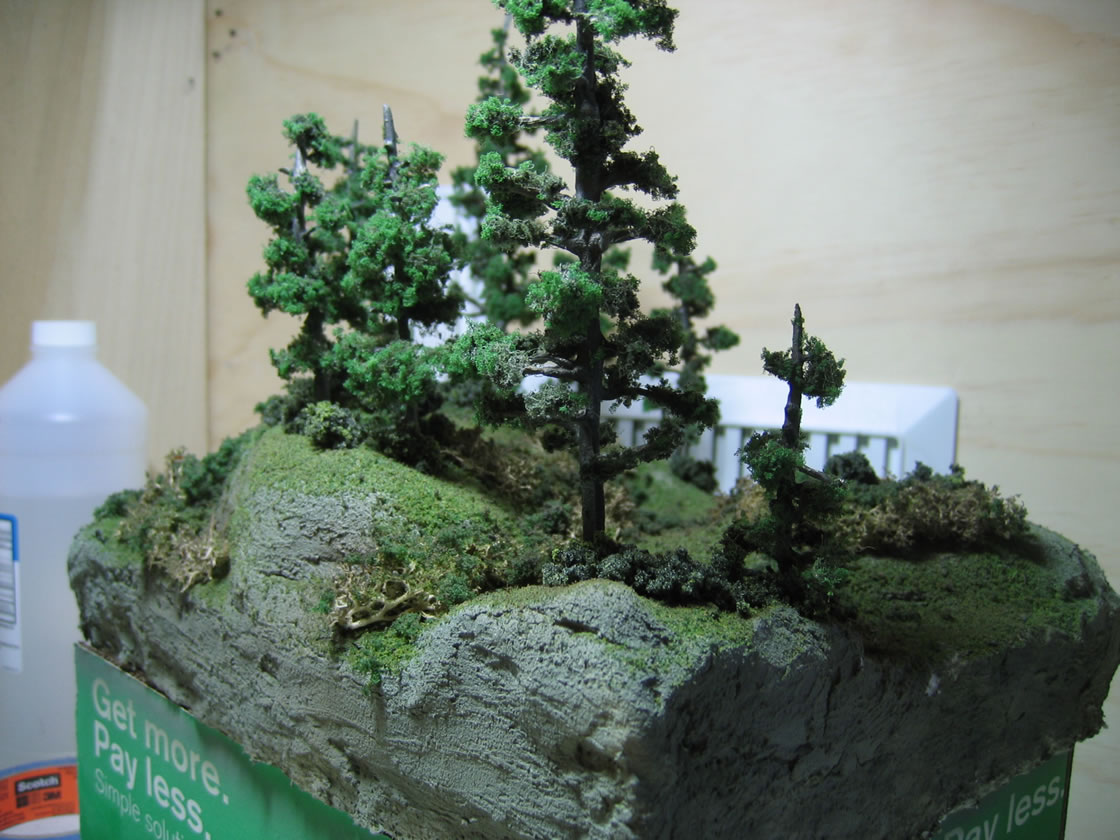
Update 11/14/2004: Continued work on the base. After the clay dried, I painted a coat of slate gray in enamel over the entire base. When that base coat dried, I went and marked off areas where I wanted the trees, in hindsight, I should have done that first before painting. With the trees marked off, I went to work with adding scenics. And finally added in some snow. I've also added in some mud for the areas where the suit will be positioned. The three pictures after the final base image are test pictures I took with the RGM 79[G] I have been using when test fitting for the base. All that is left to do is addition of decals, some panel lining, weathering, and the final coats of future/flat base; and this little project will be completed.
|
|

|
|

|
|
|

|

|
|
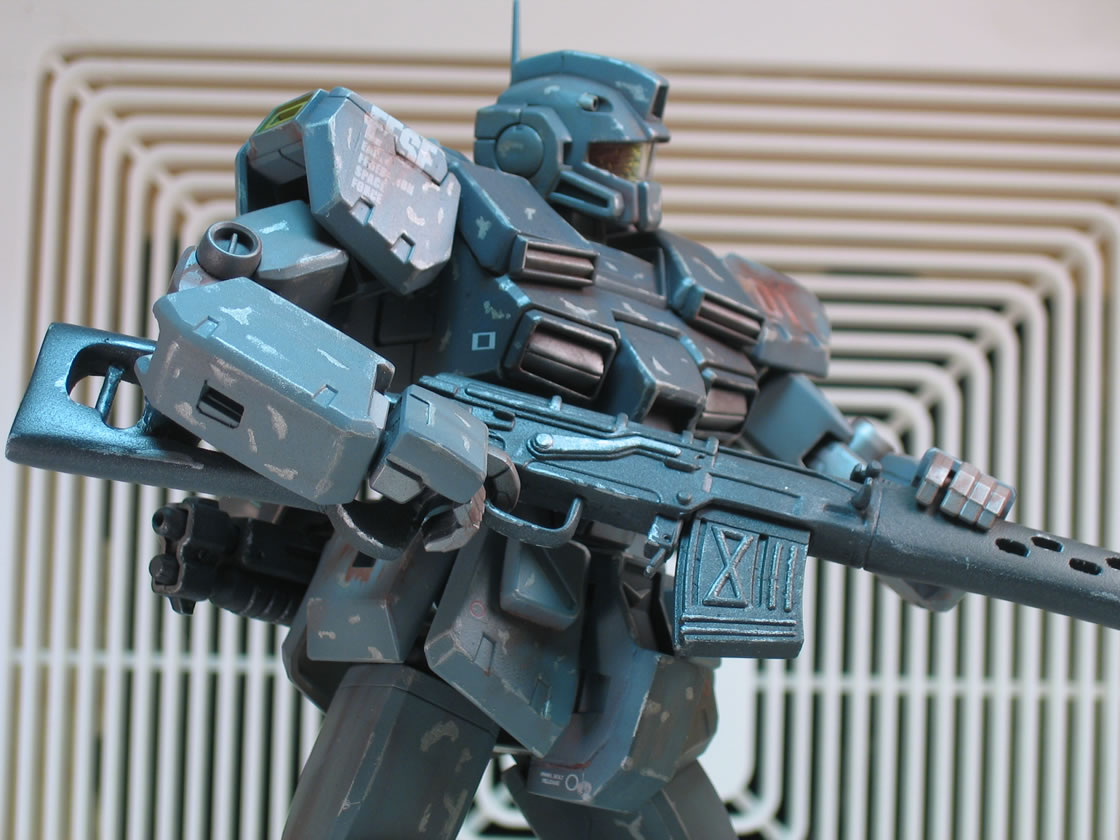
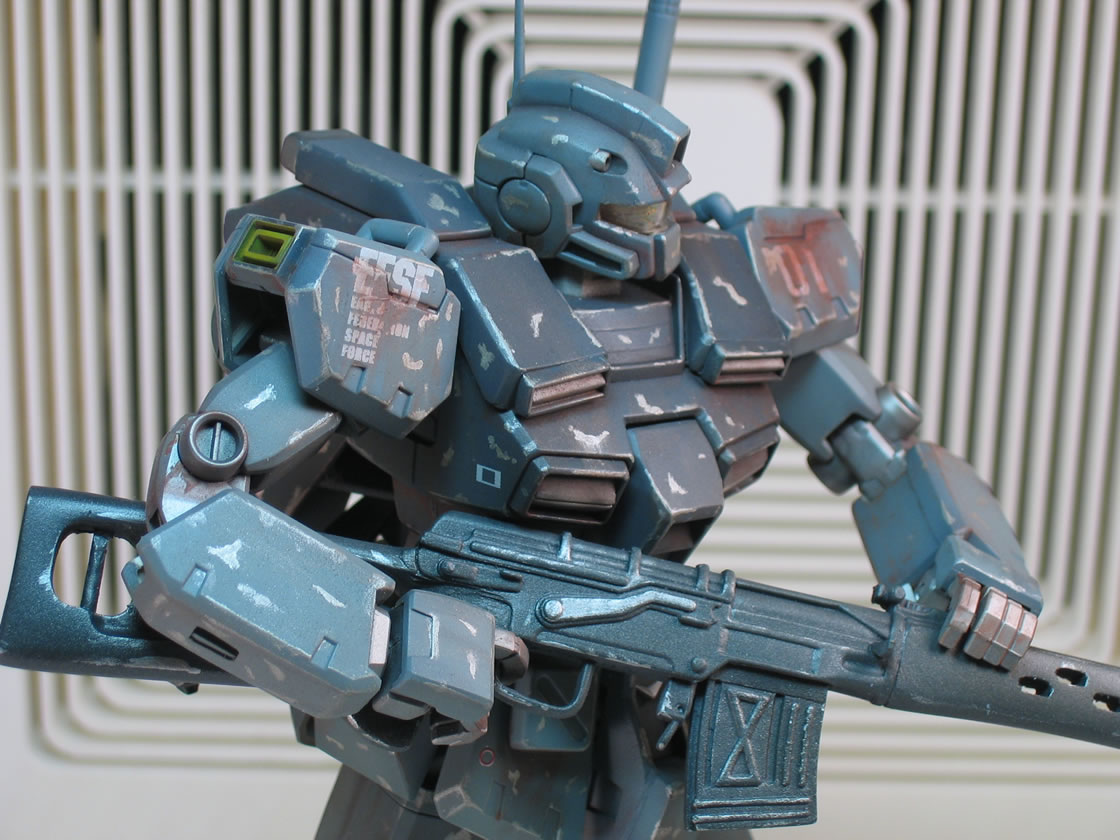
Update 11/19/2004: Added some decals and did a bit of weathering. I still have lots of touchup and what not to do with the kit. I have some other decals that I might use as well. But for now, this is what I have. I still haven't completely played around with the lighting enough, but these are just additional progress shots. Next is to add any final decals, put the kit on the scene, and the finishing touch ups.
|
|
|
|
|
|
|
|
Kit has been completed.