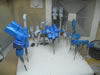
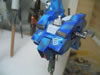
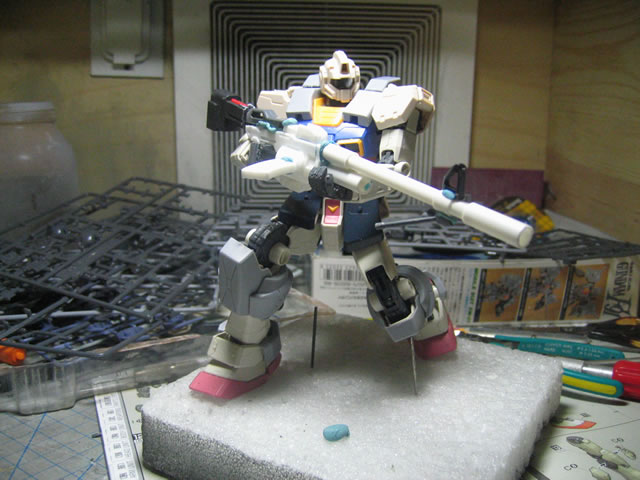
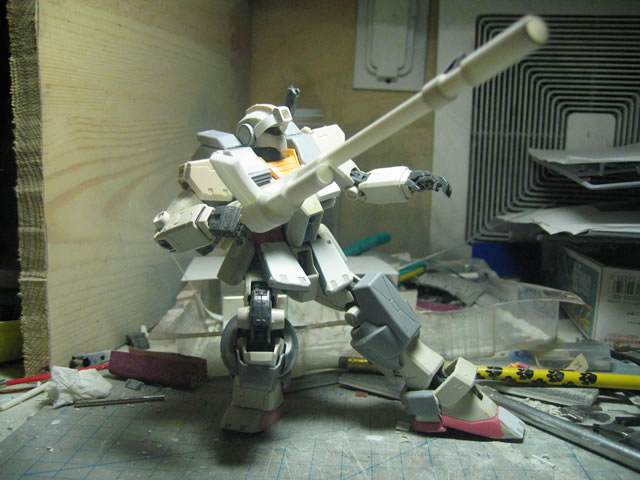
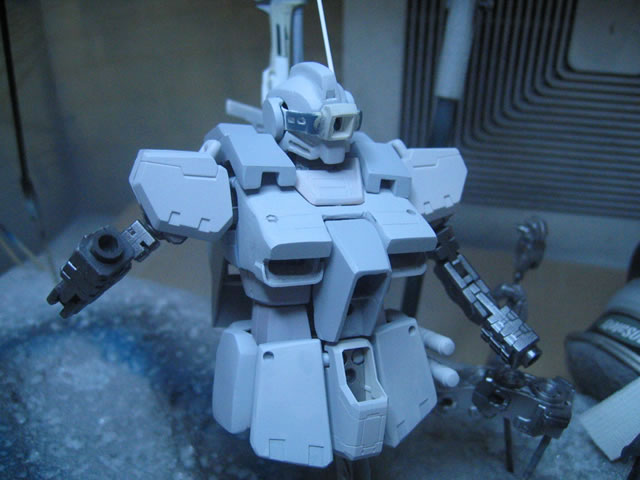
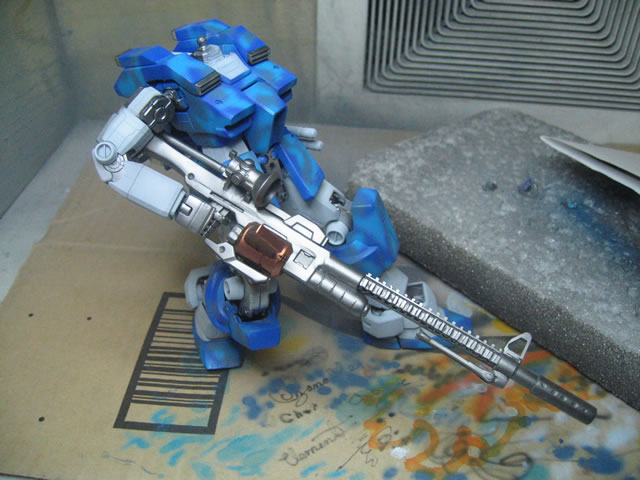
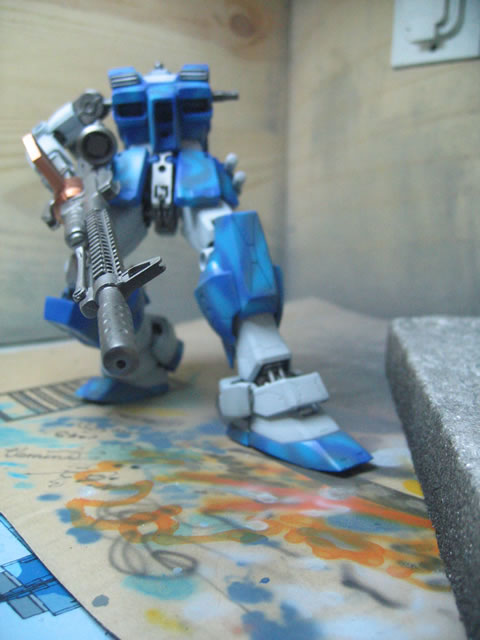
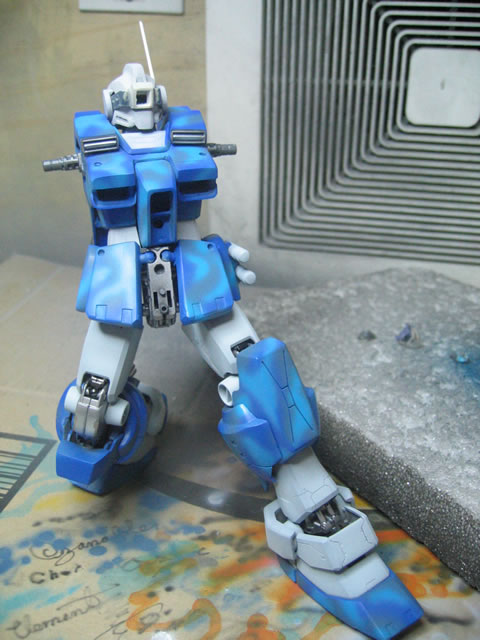
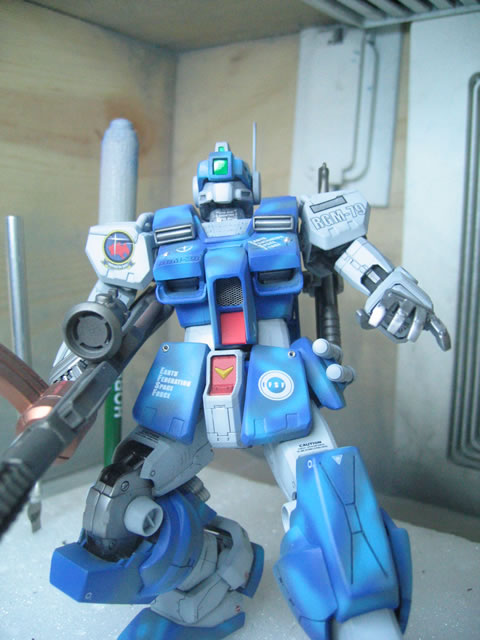
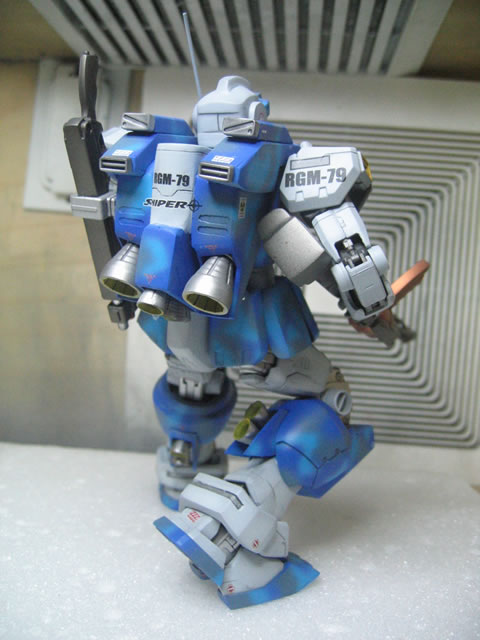
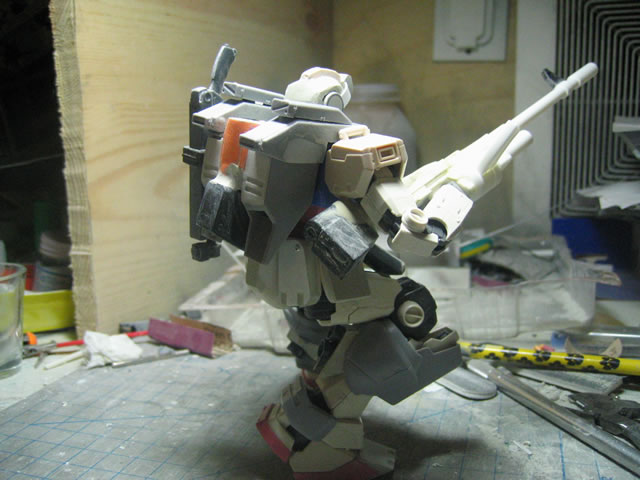
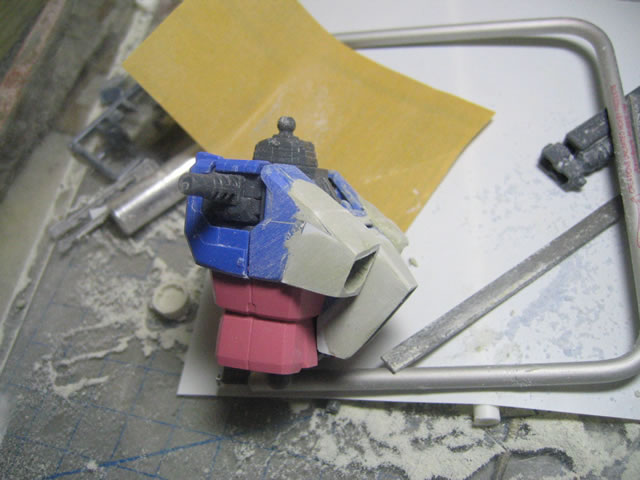
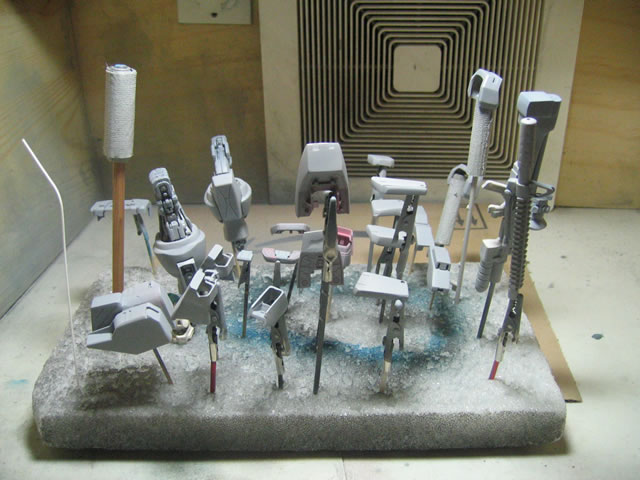
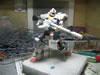
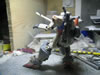
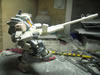
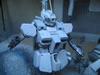
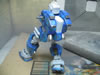
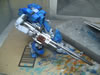
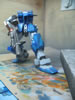
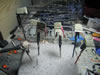
For this project, I'm created a sort of Franken-GM Sniper.
The base kit for this is the Gundam ver OYW. I wanted to use this kit
as the base simply because of the posability of this kit. AkoCreation's
PGM kit will be used, but only the backpack, the knees/calf wrap, and
the ankle covers. The head is from the RGM-79C. Other parts from the RGM-79C
include the rear skirt armor and the shoulder armor. I don't care much
for the Gundam OYW's shoulders.
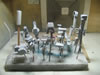
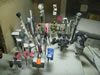
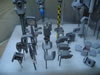
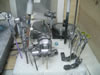
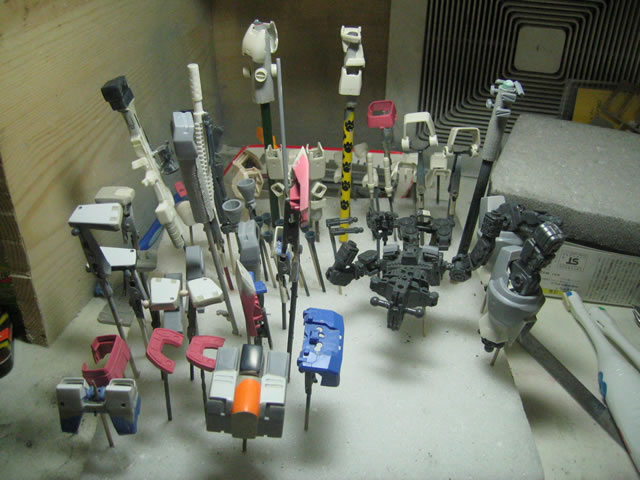
KIT PROGRESSION
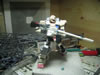

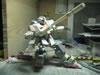
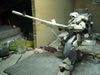


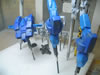
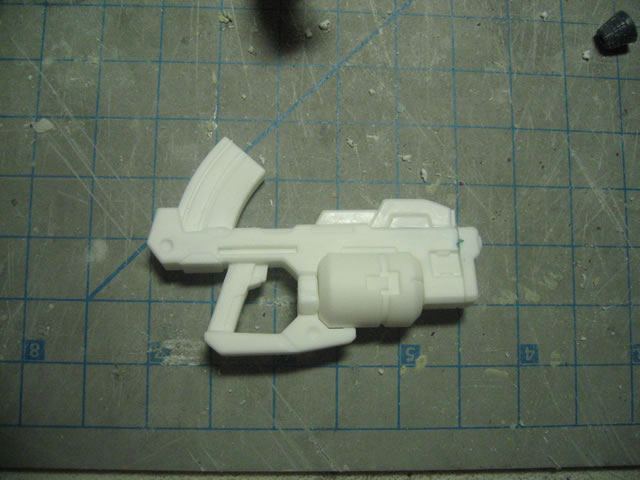
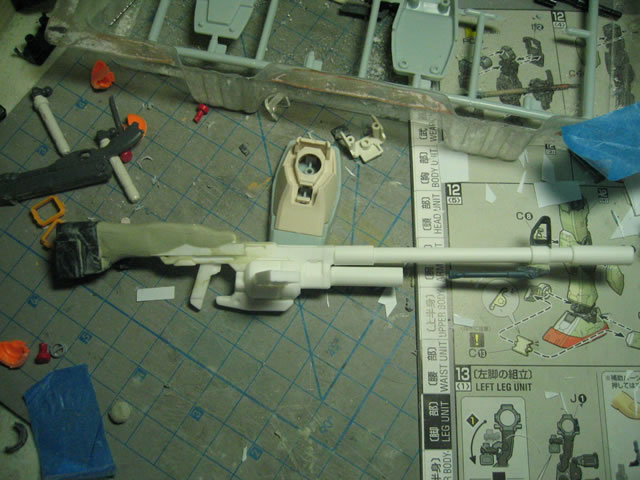
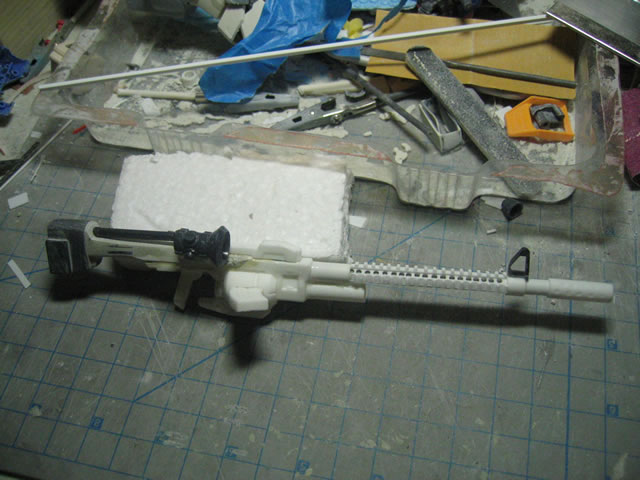
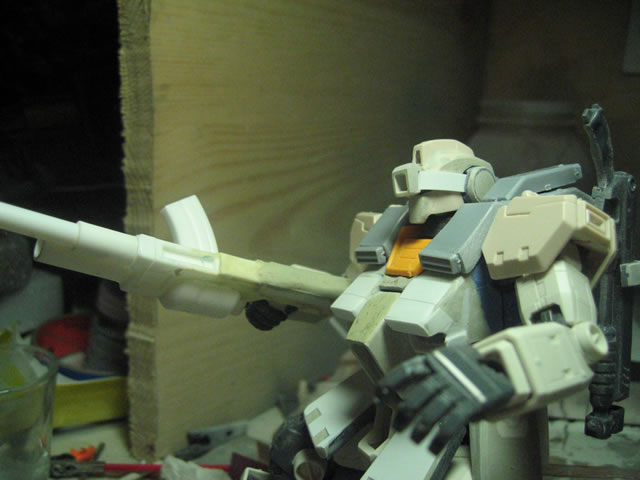
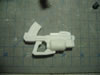
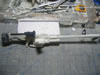
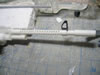
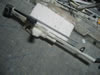
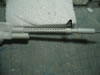
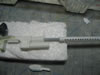
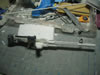
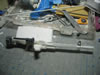
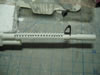
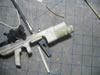
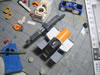
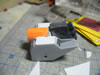
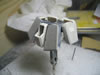
SNIPER RIFLE
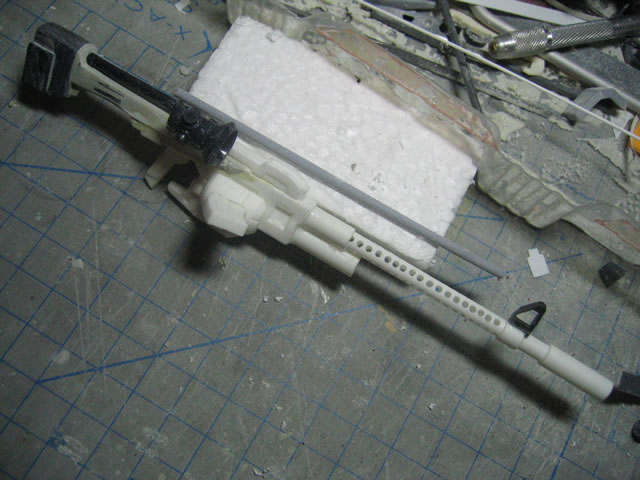
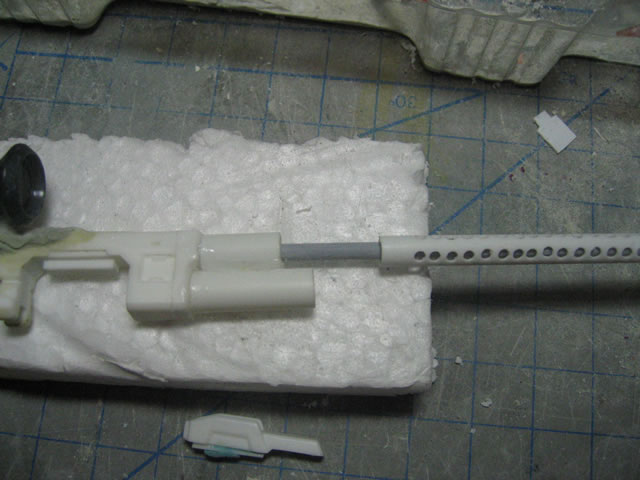
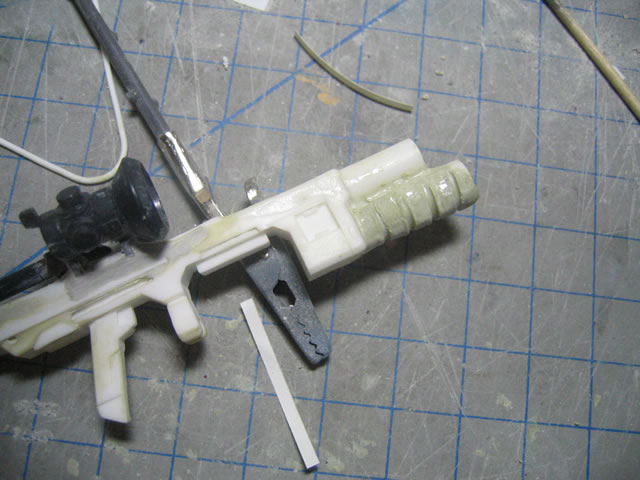
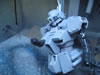
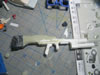
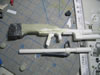
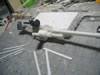
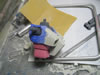
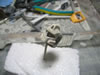
The main gun uses AkoCreation's Ore Gun as the base.
With some repositioning of the bottom piece below the drum, the ammo clip
has been moved to attach to the drum. Some styrene tubing was used to
add lenght to the barrel as well as a forgrip. The end of the barrel is
a silencer of sorts. A front sight and bipod taken from other Gundam kit
guns were added near the end of the extended barrel. Parts from the Sazabi's
gun are used for the stock. Putty was used to smooth everything out and
make the gun look whole.
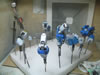
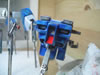
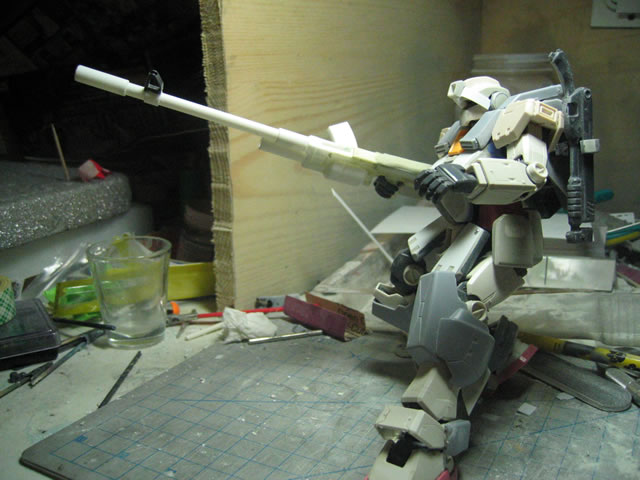
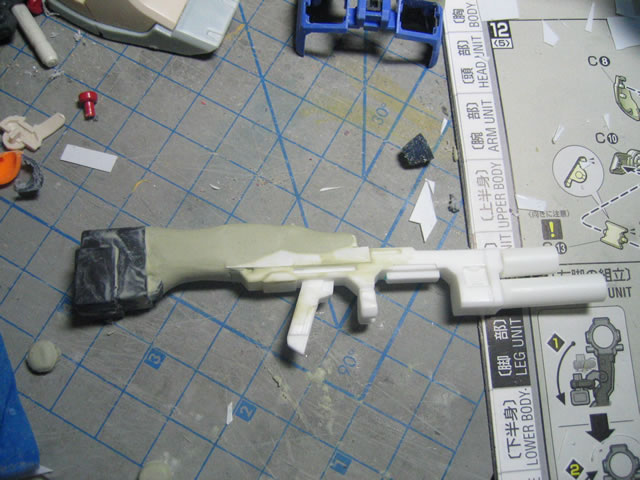
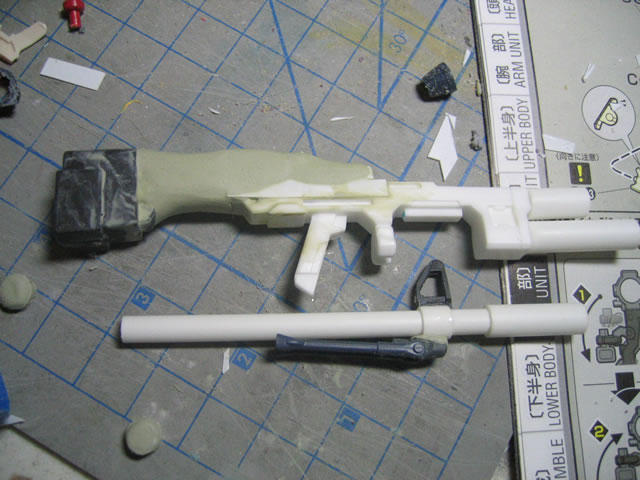
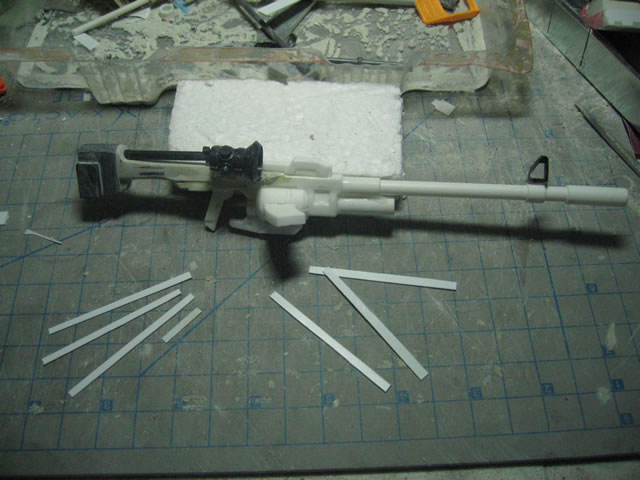
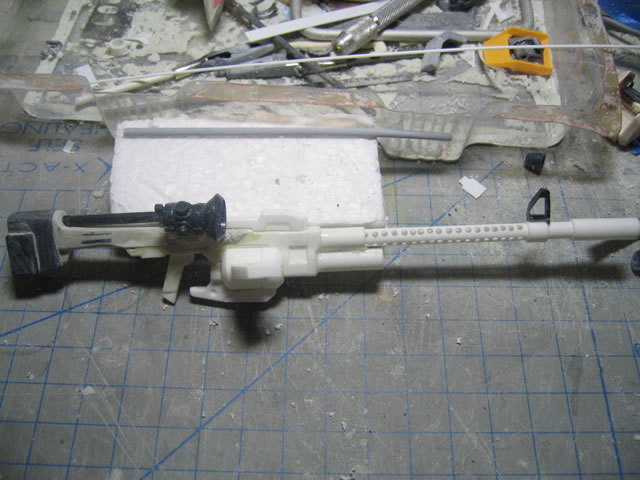
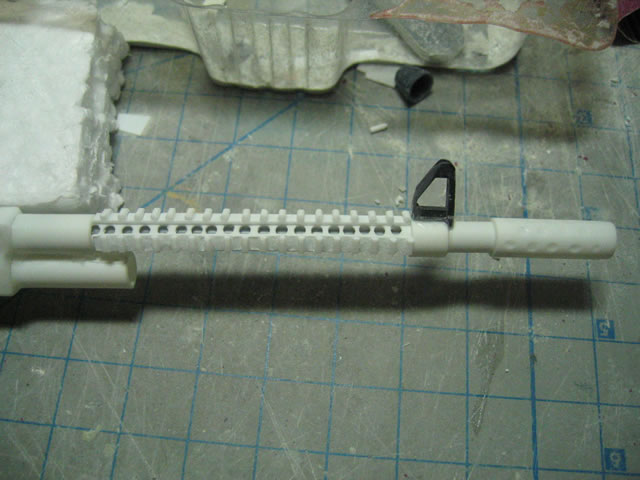
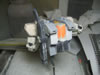
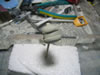
I shapped the rear stock sections. I added a little bar
from the rear stock along the top of the gun. I also added a sensor pod
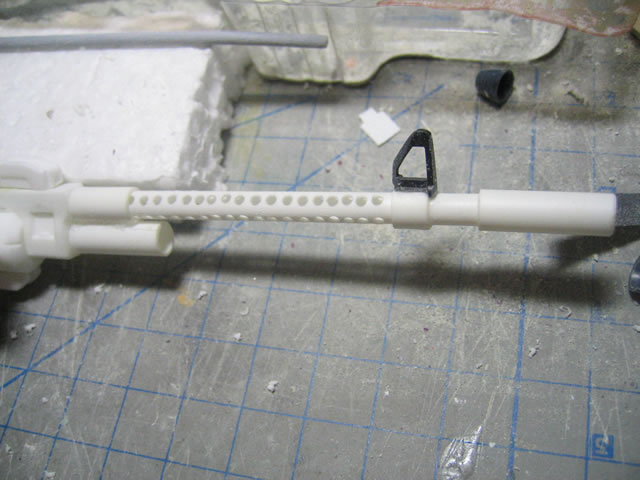
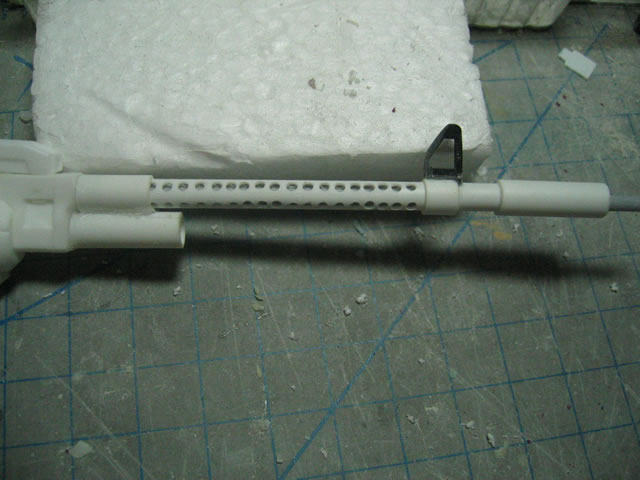
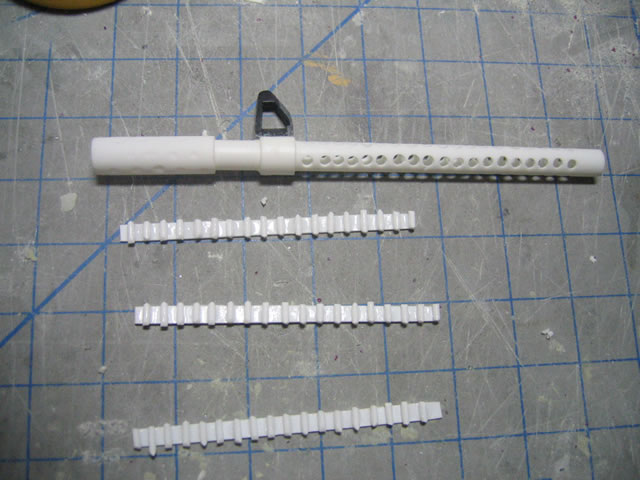
of sorts on the side of the gun. For the barrel; I went with the armalite
style of RIS and outer barrel ala SR-25 style. I drilled vent holes down
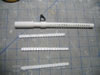
the sides of the barrel. Then using strips of styrene, I built a RIS system
for the top and sides of the outer barrel. I also added an inner barrel.
I made some dents into the silencer for a "SOCOM" style silencer.

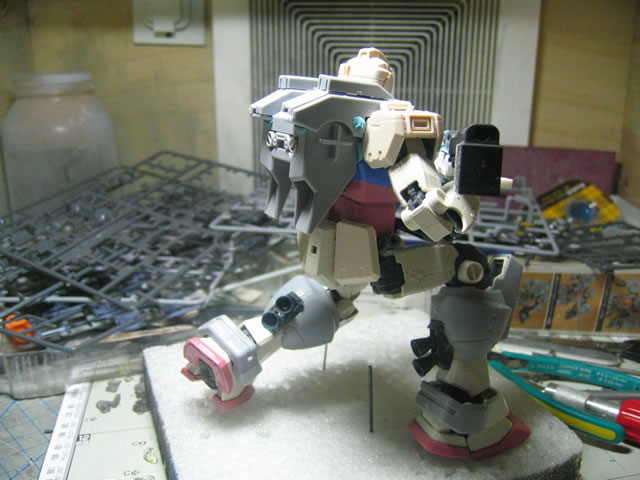
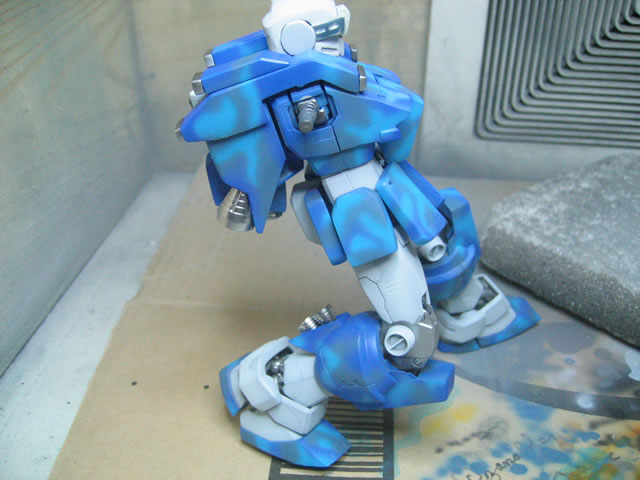
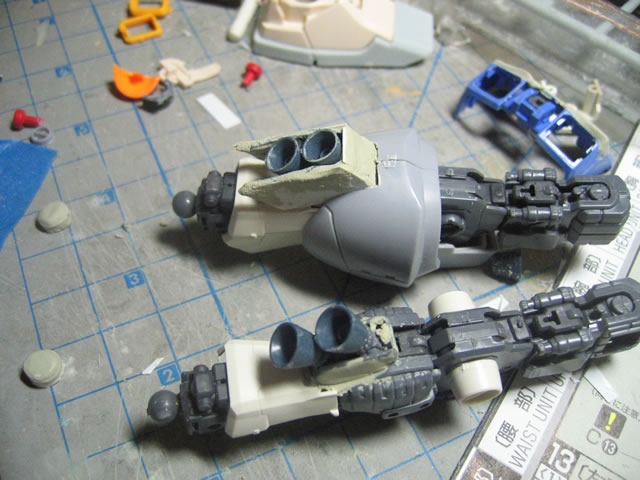
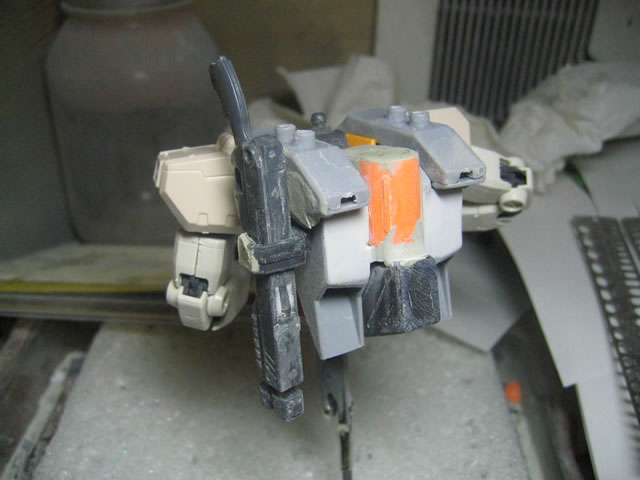
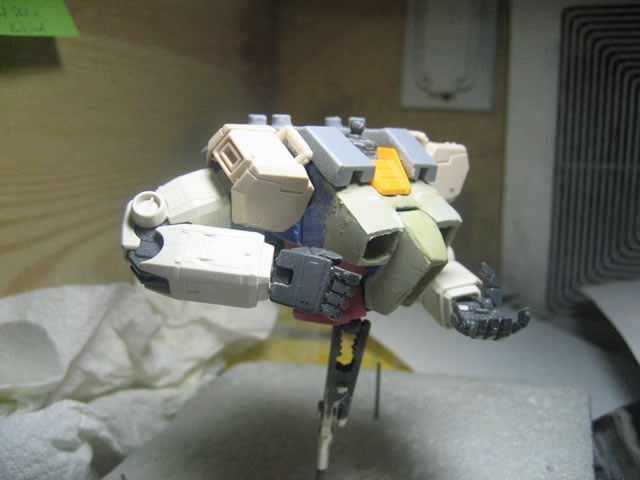
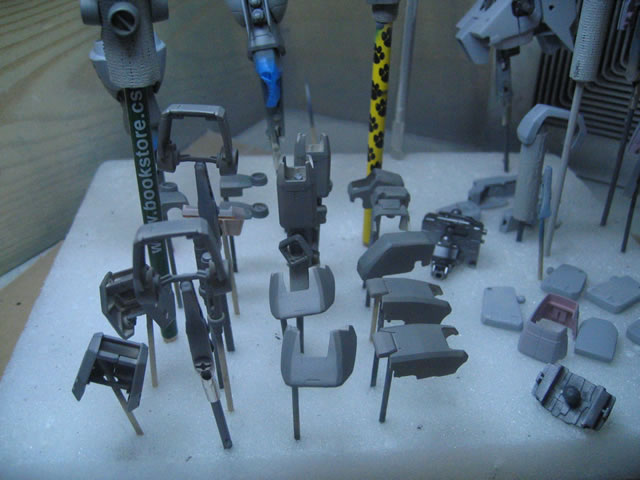
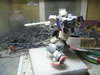
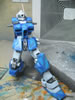
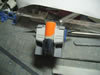
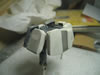
LEGS
I added thrusters to the back of the calves. These parts
are the backpack thruster parts from the RGM-79C. I also fabricated a
sort of thruster housing for the lower calf area.
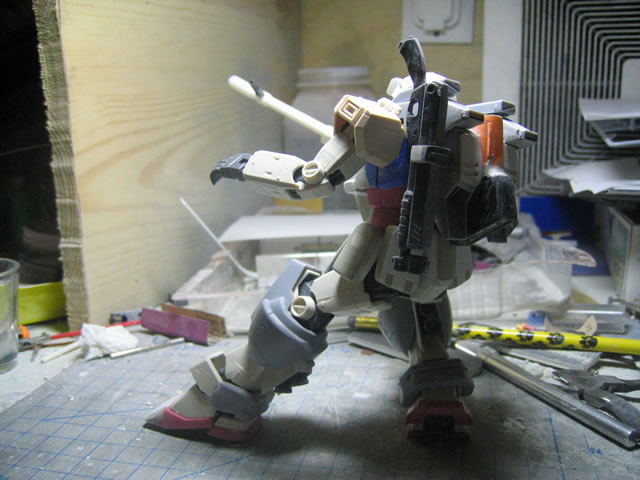
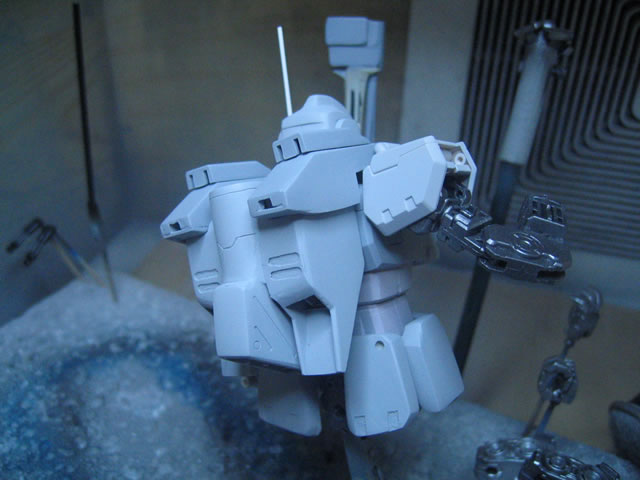
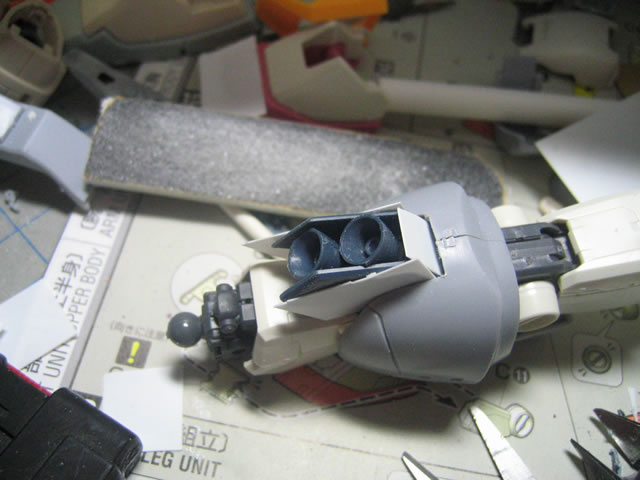
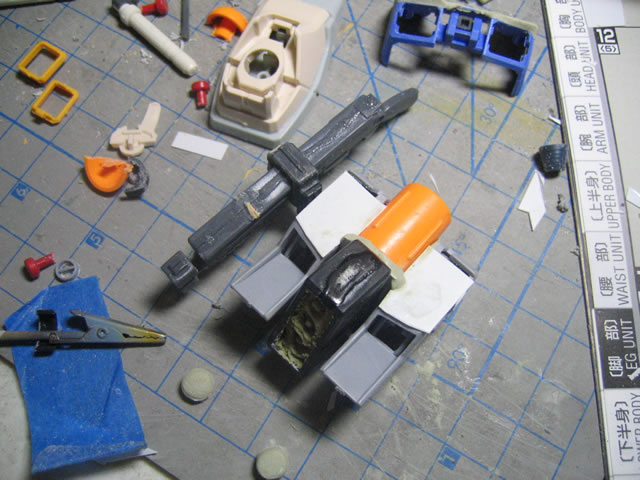
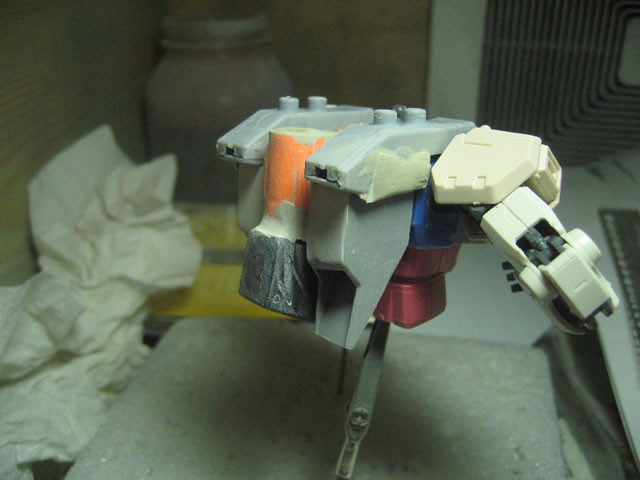
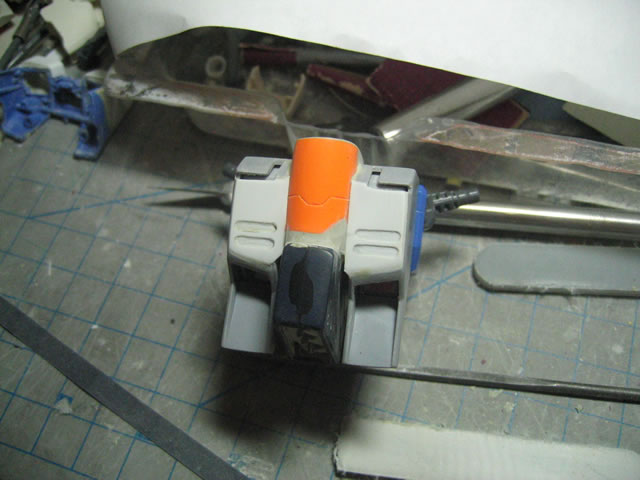
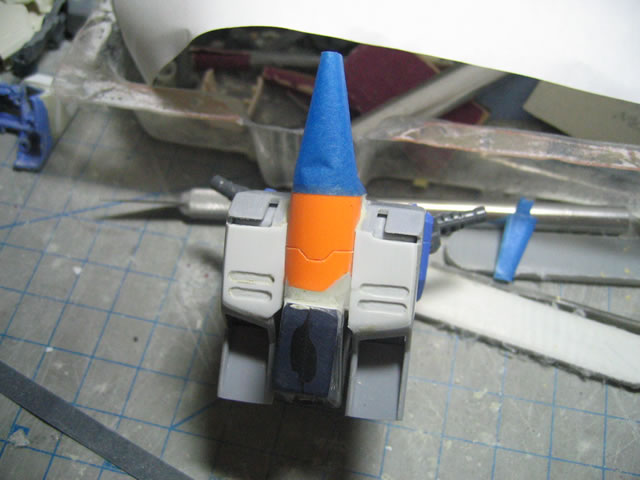
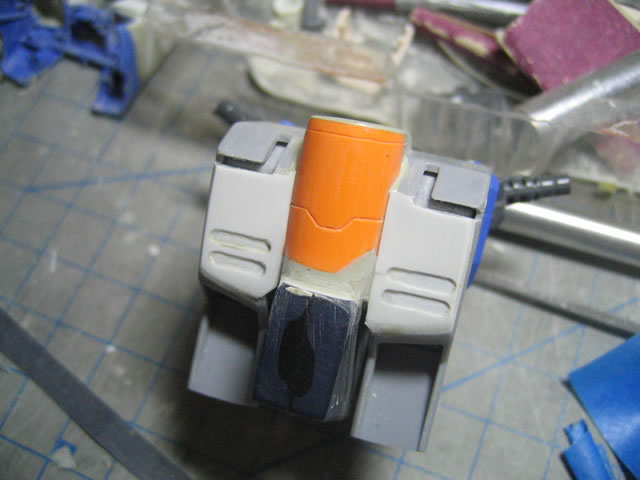
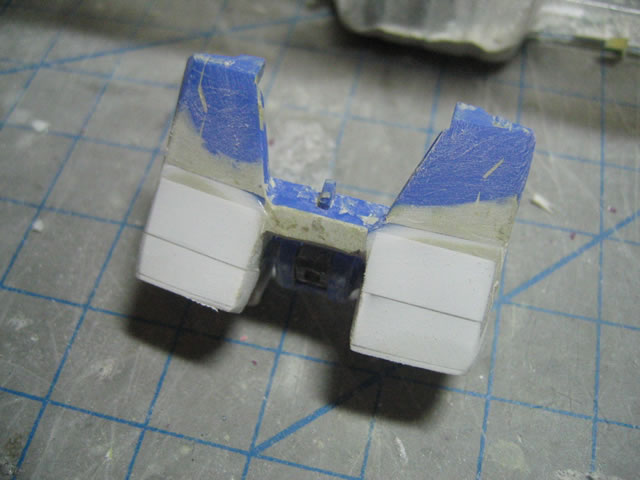
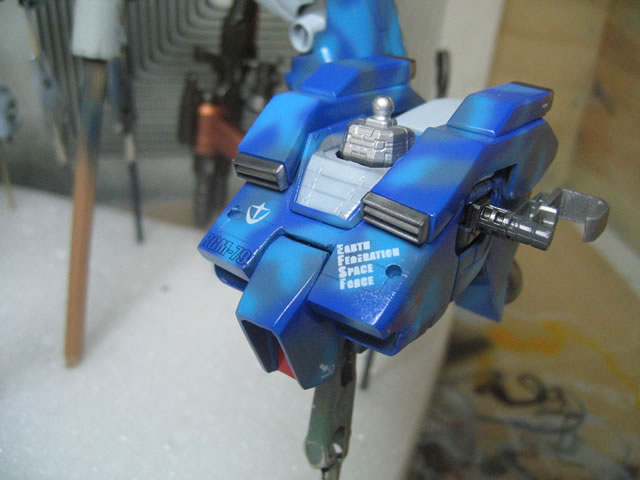
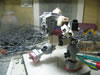
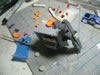
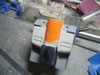
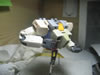
BACKPACK
The PGM backpack is modified with cutting away the middle
section of the backpack. This section was a bit plain and I added a part
from the HGUC Hygogg's breakaway thruster. To the bottom of this added
cylinder; I added the stock end of the RX-93 Nu Gundam's bazooka. I also
added three backpack thrusters from the RGM-79C. I will not be using the
cones to the sides of the PGM's backpack. In place, on the left side,
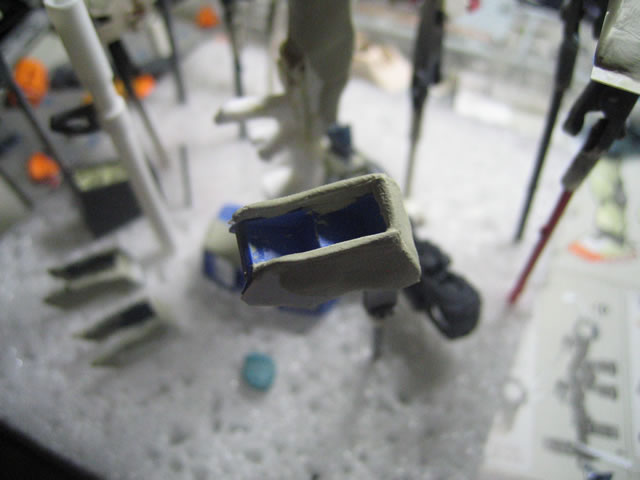
I added a sort of holster for a shotgun that comes from the MS-18E Kampfer.
(every sniper needs some sort of short range defensive weapon) Finally,
I did some scribbing for the backpack and then cleaned it up for priming.


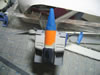
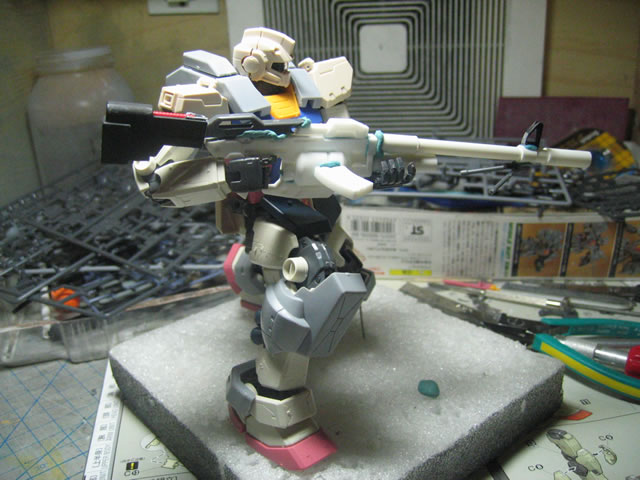
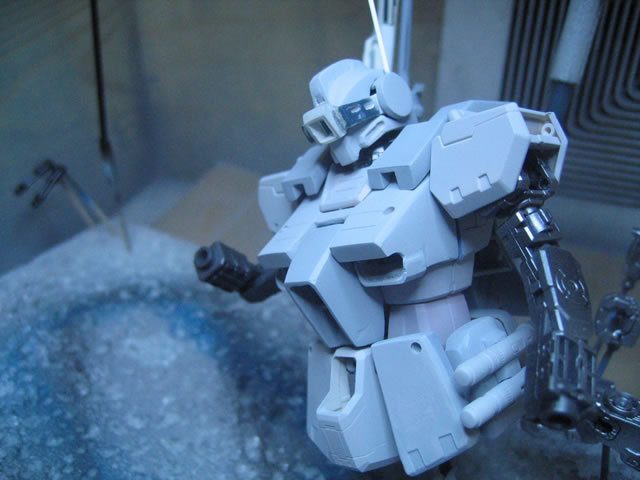
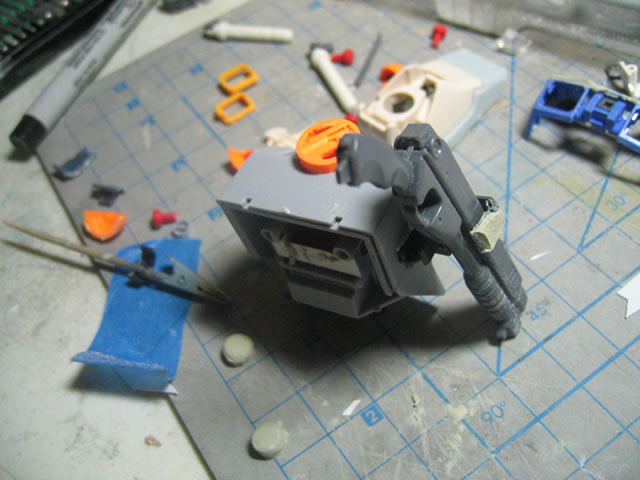
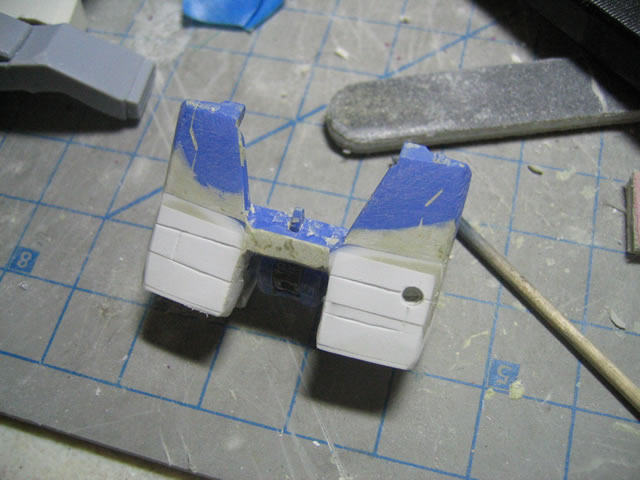
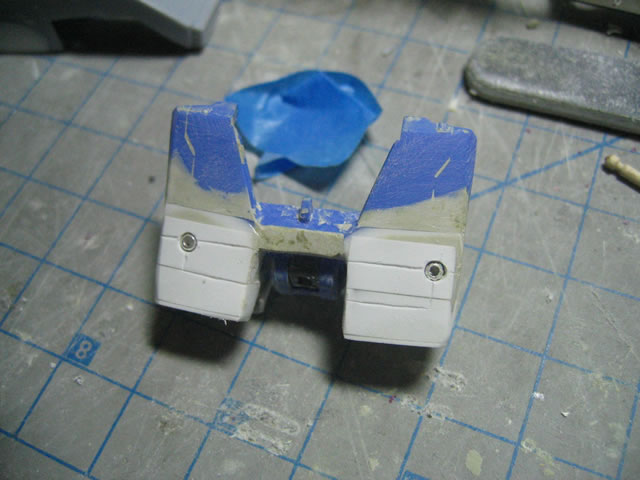
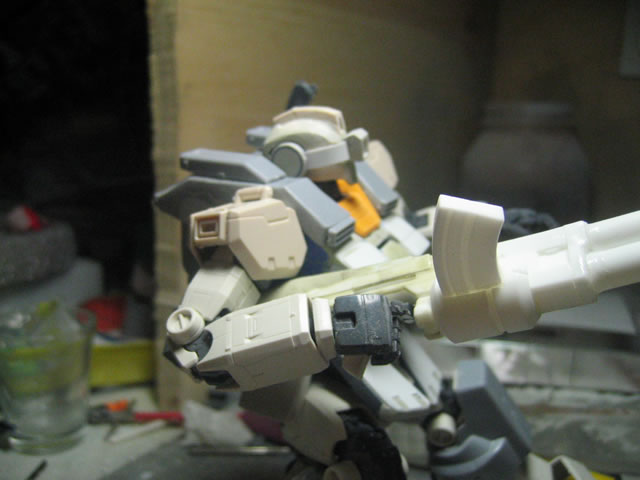
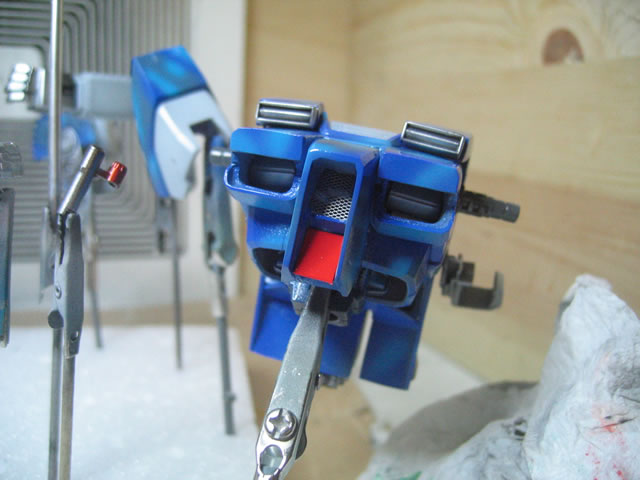
UPPER BODY
The chest has been modified with styrene strips for structure
and miliput to add length and reshape the chest sections. After building
up the chest, I scribbed some panel lines and drilled some holes for metal
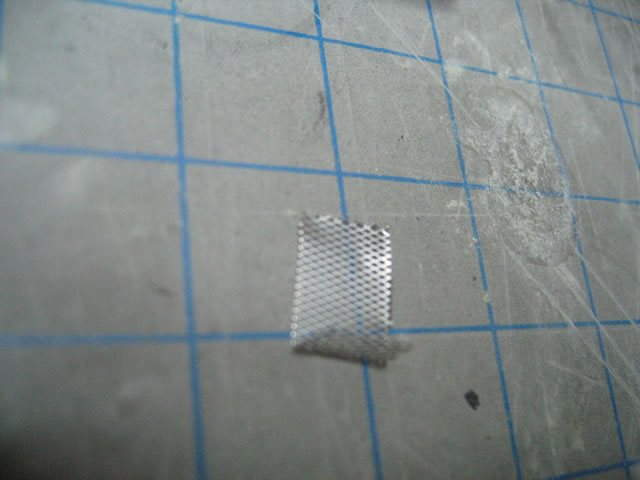
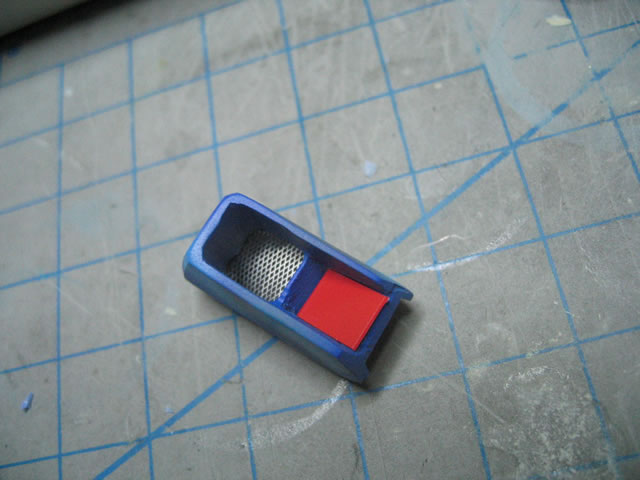
bead accents. I added some extra details to the cockpit hatch by adding
wire mesh to the top section of the hatch.
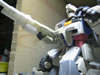


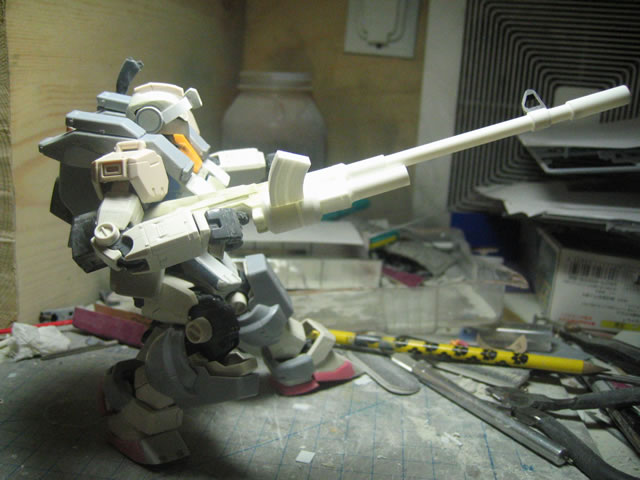
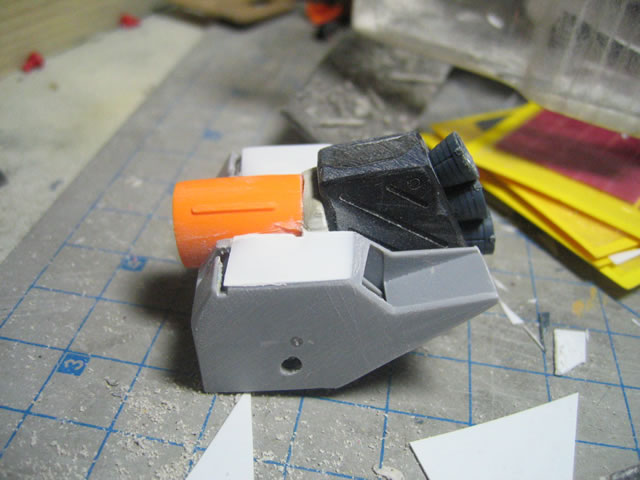
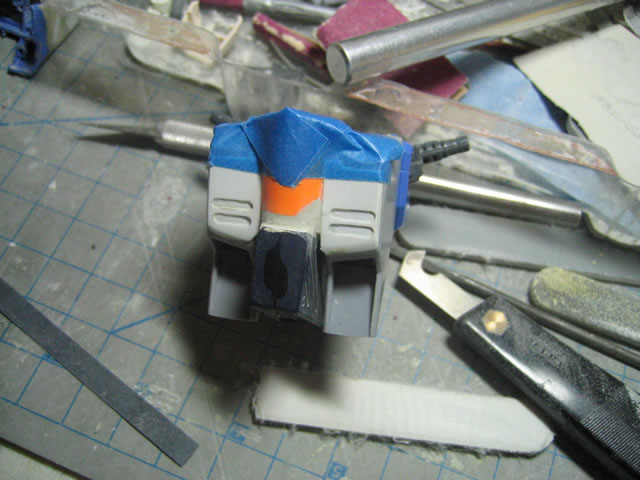
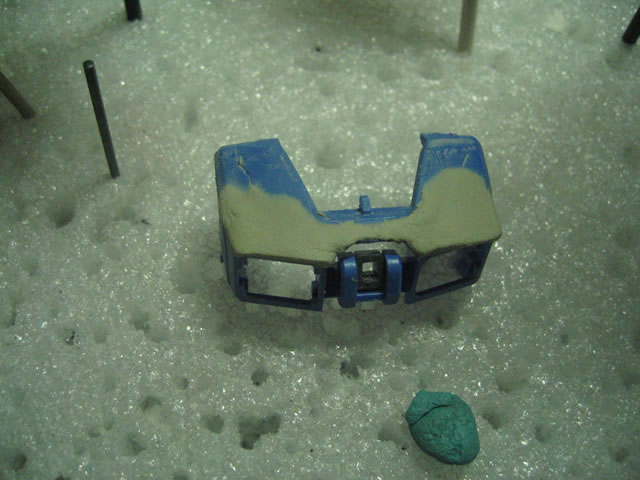
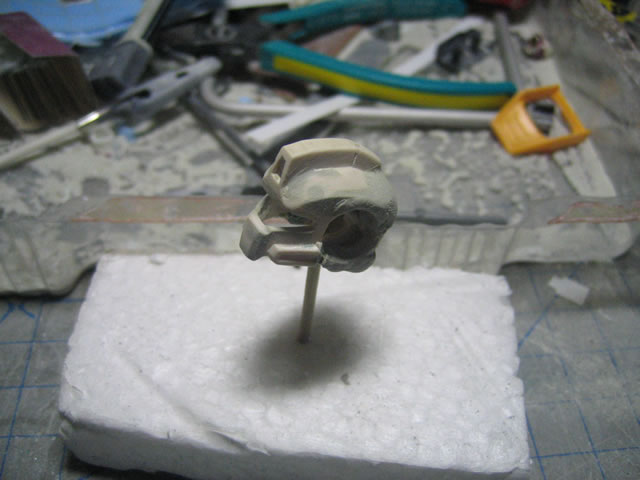
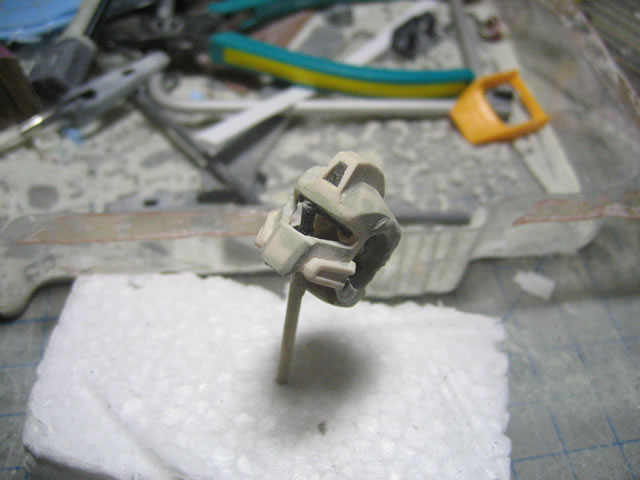
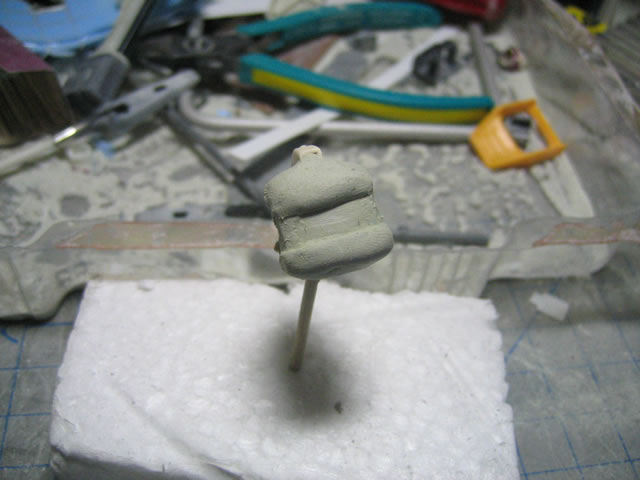
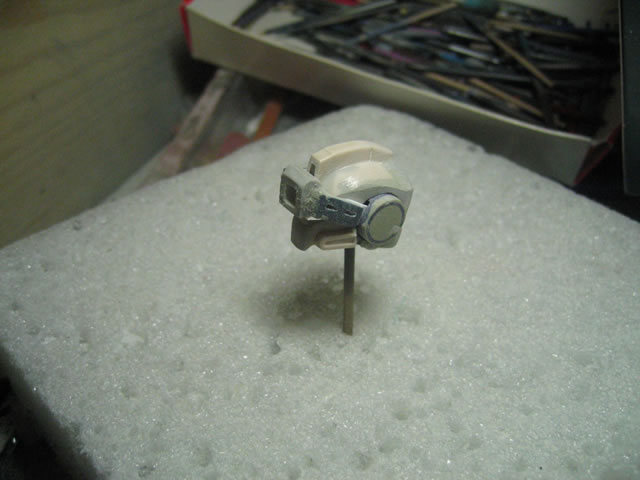
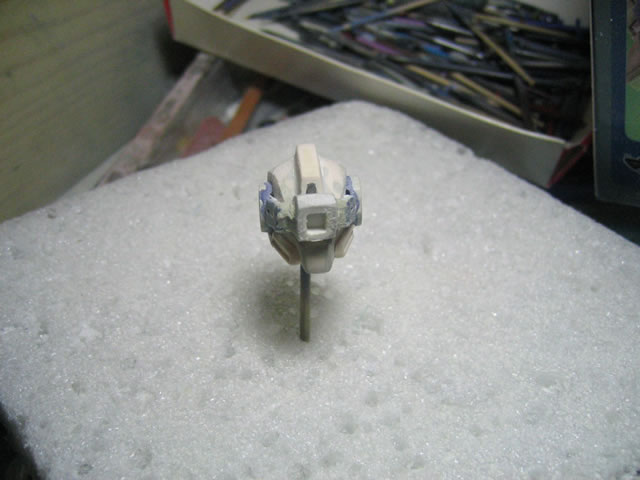
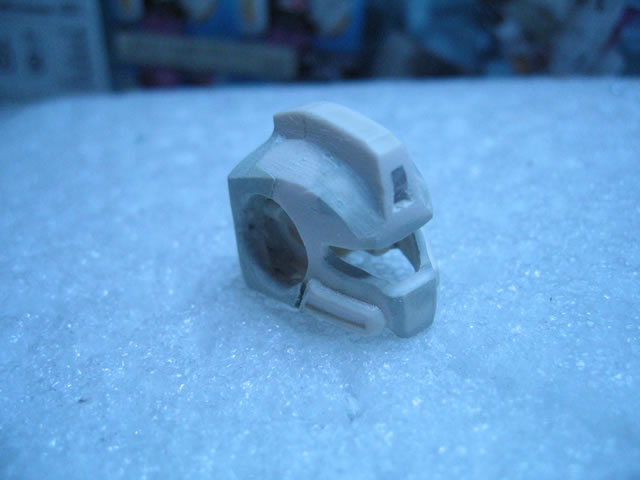
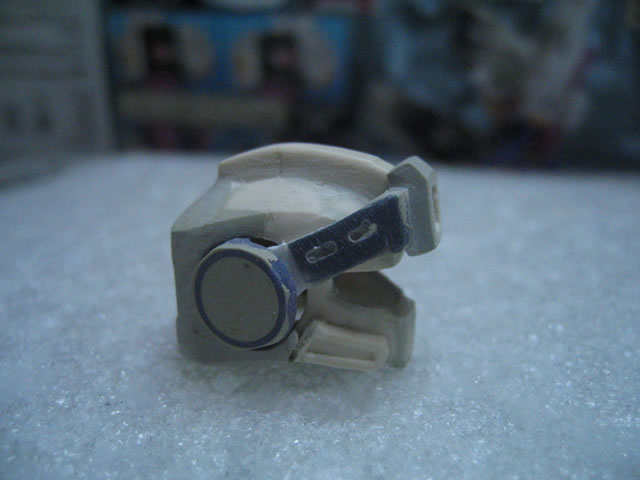
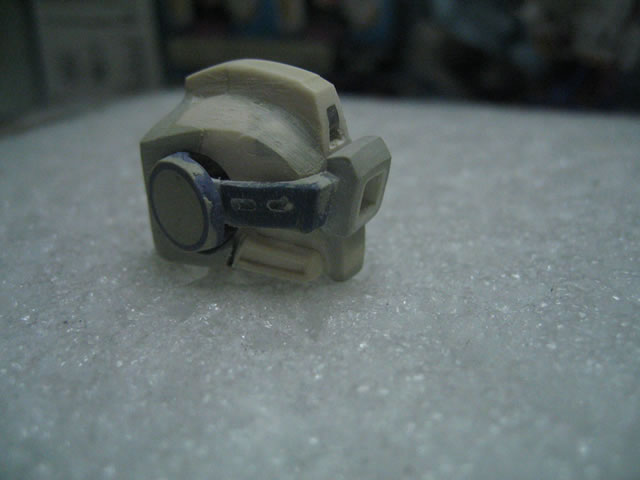
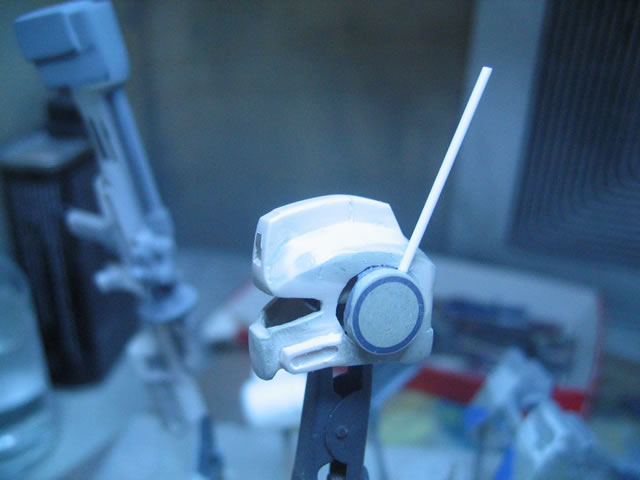
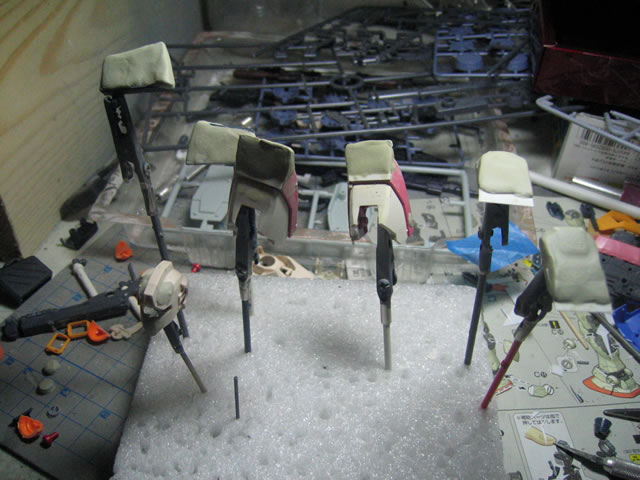
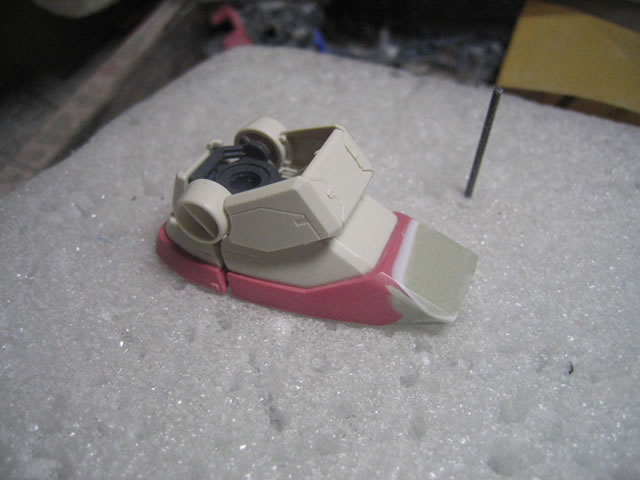
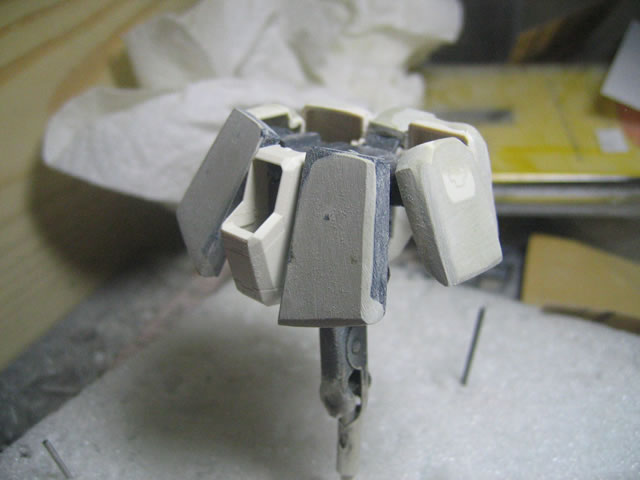
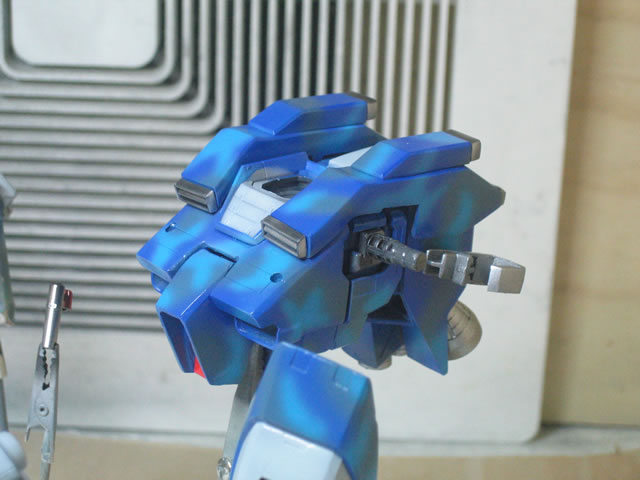
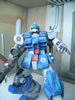
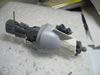
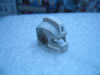
HEAD
The head starts off with the RGM-79C head. From there reshaped
the head with cutting and putty. The cheek vents from the RGM-79C have
been cut and added. The new "ears" were knee joint covers for
the RGM-79Q GM Quel kit.
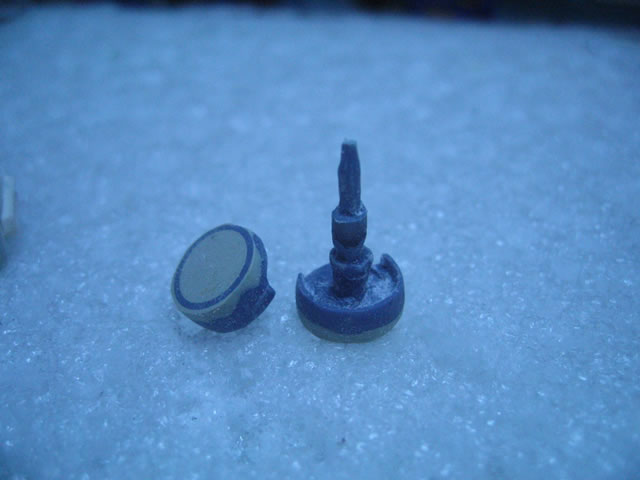
I drilled out circular areas on the head and sanded down
the knee areas to fit into the head. The visor is made from the forehead
sensor of the RX-78-2 OYW kit from which this kit is being modified. That
piece along with the sides of the RGM-79C's rifle are glued together with
some styrene structural support to form the basic visor. Putty was used
to add bulk and shape to the visor's main sensor. Put together, the visor
functional as to sliding up and down along the GM's face.
A thin tube of styrene was used for the antenna attached
to the top of the left "ear" piece.


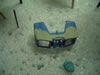
FEET
The feet were modified using styrene and putty to elongate
them and add a more "Katoki" style to the foot. The original
feet were too short and stubby.

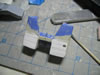
LOWER BODY
The skirts of the lower body were modifed using sheets of
styrene to lengthen the skirts and putty to fill in the areas. Holes were
drilled for the metal bead accents on the front and rear skirts. The center
rear piece was elongated using styrene and putty.
The left side skirt was modified to hold the two beam sabers.
Using putty and the sabers as the mold base, two half circles were added
as the beam saber holders.
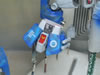
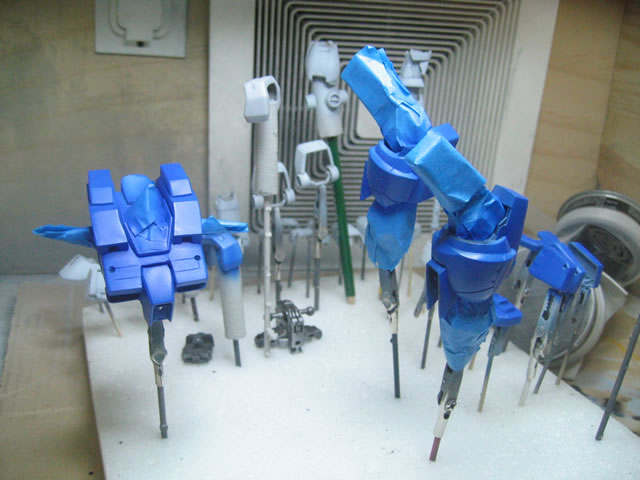
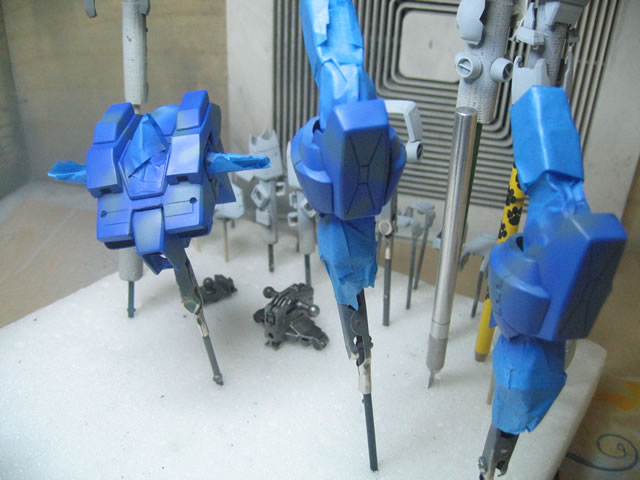
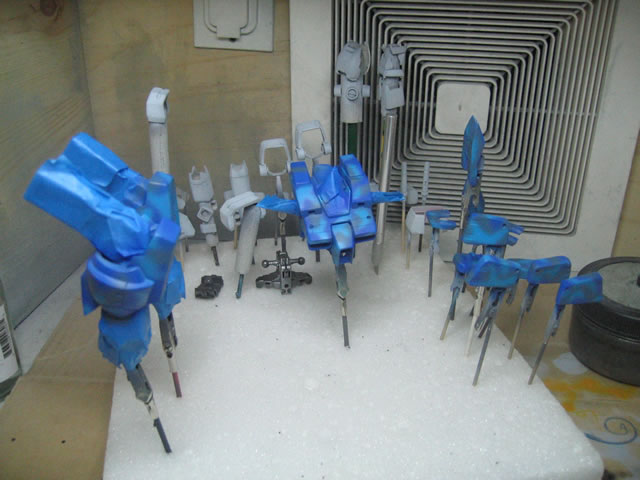
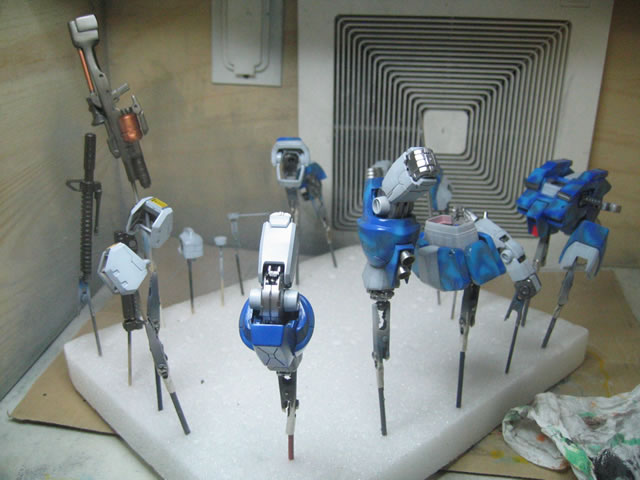
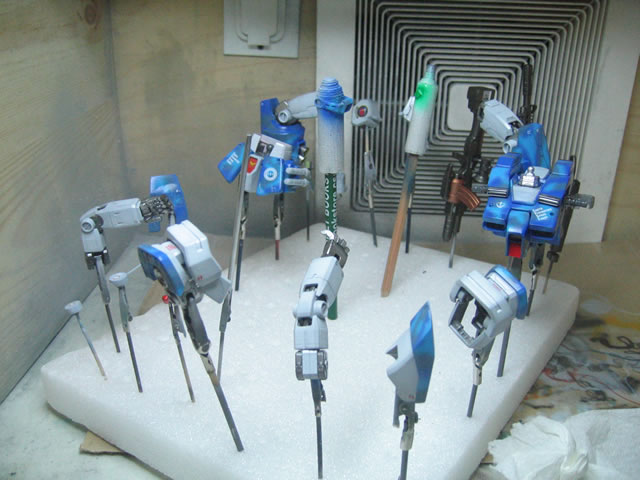
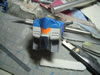
PAINTING PROCESS
The parts were sanded smooth. Mr Surfacer 500 was used to prime the parts.
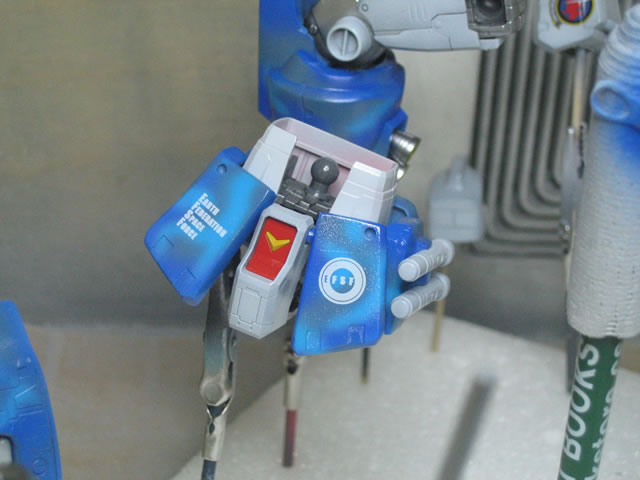
Internals were painted using Alclad II white aluminum. The blue camo scheme
consists of cobalt blue, intermediate blue, and sky blue. The gun was
painted in Alclad II steel, then lightly overcoated with Alclad II jet
exhaust. The inner barrel for the gun was painted in Alclad II chrome.
The kit was coated with future floor polish before decals were added.
Another layer of future floor polish was sprayed followed by and gloss
black enamel wash. The final coat of future was mixed with tamyia flat
base for a matt finish.