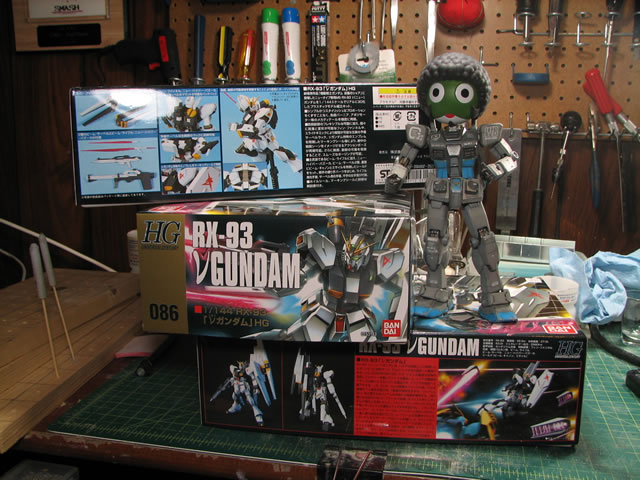
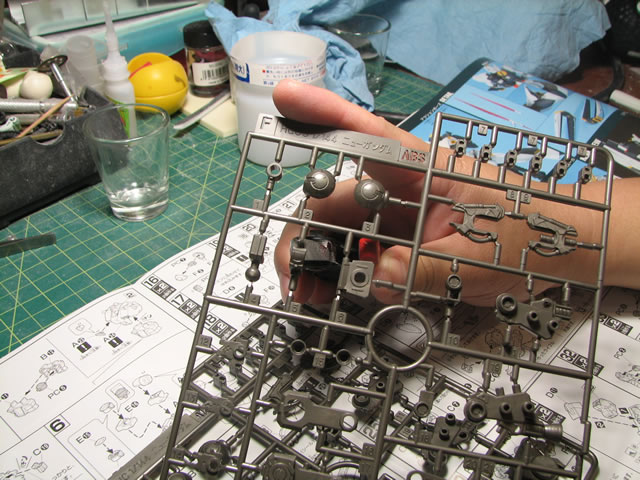
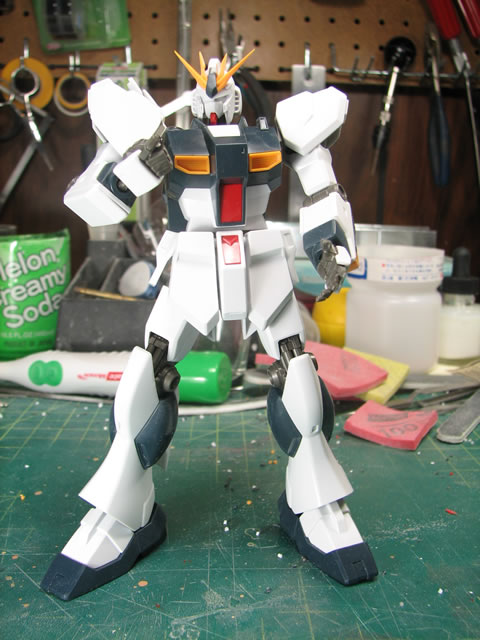
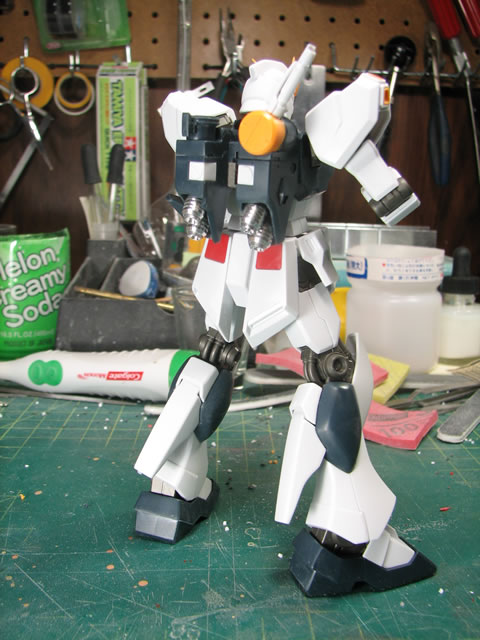
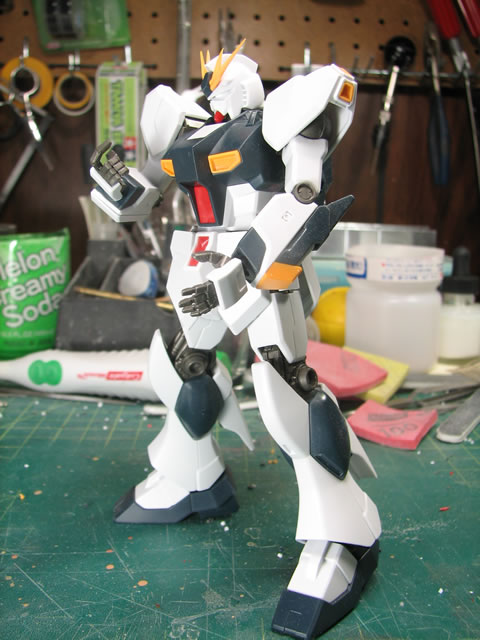
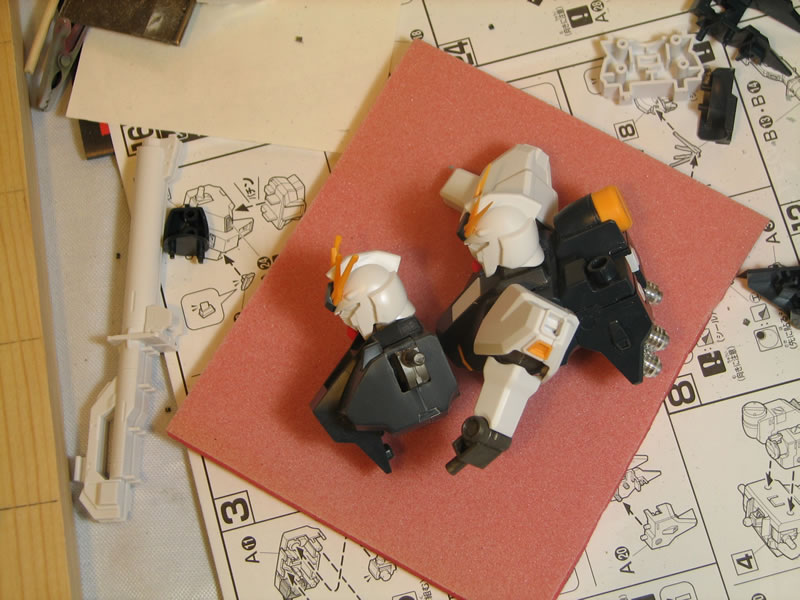
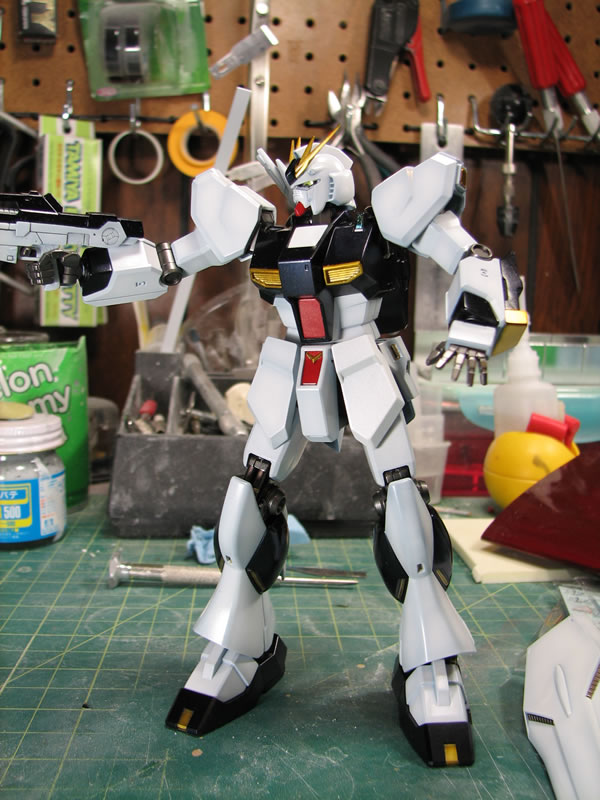
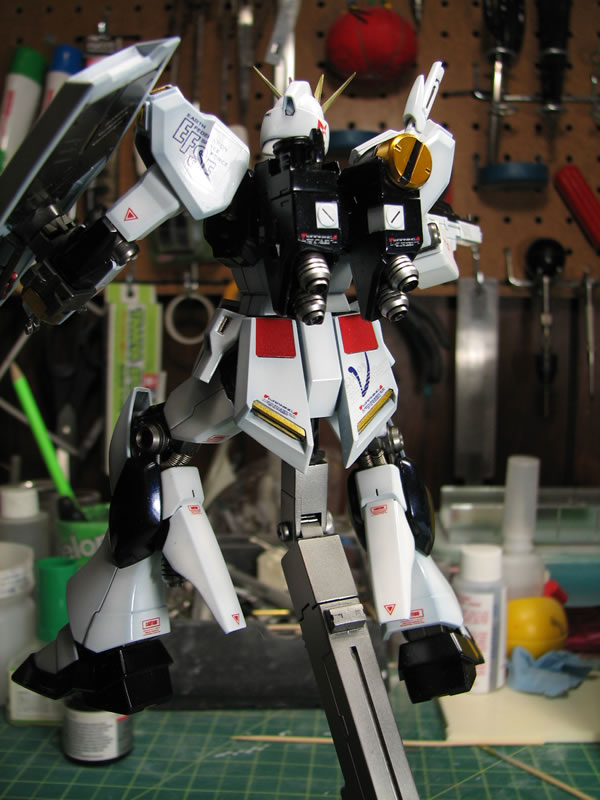
March 27, 2008: The new HGUC Nu kits arrived today so I cracked open the first one, sanded and did a quick test build. I'll be building two more in conjunction, but one will just be snapped for example purposes.
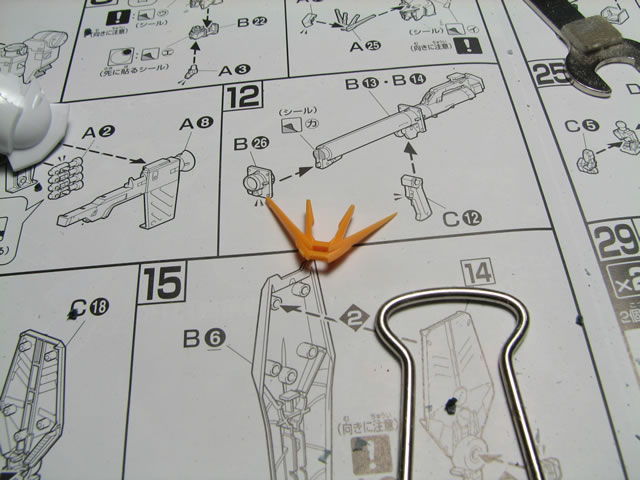
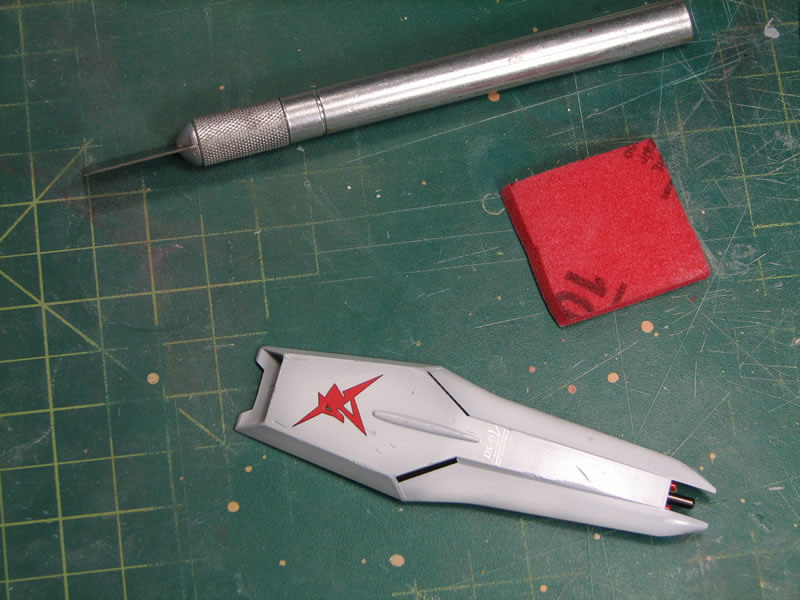
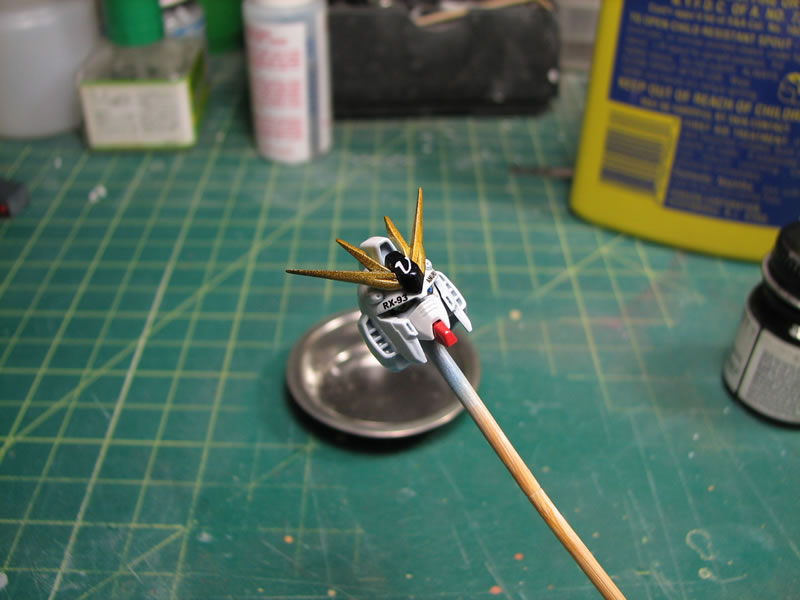
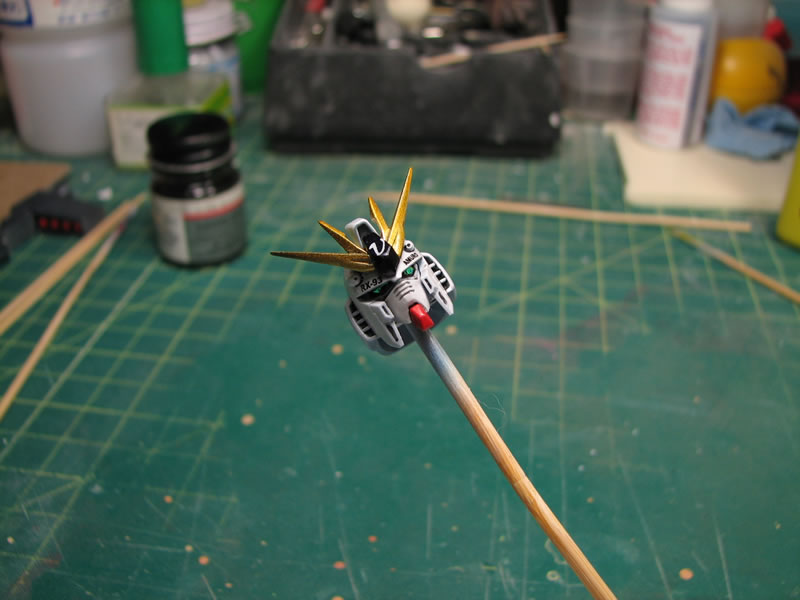
The V-fins for these kits are very thick so some sharpening is necessary.

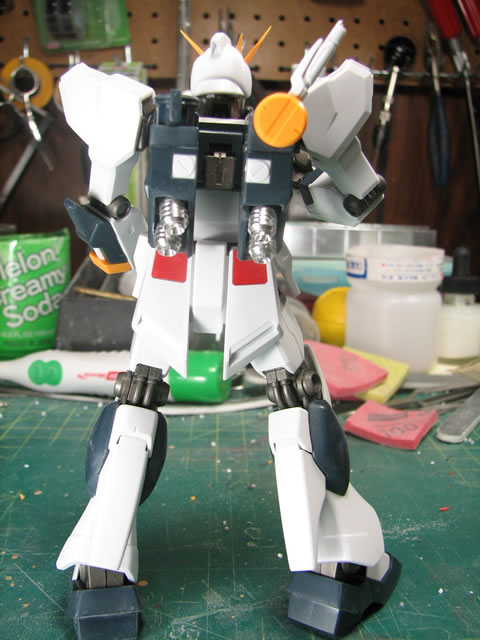
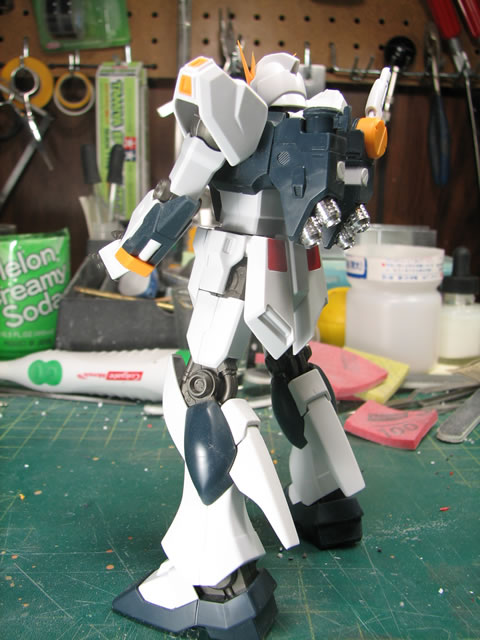
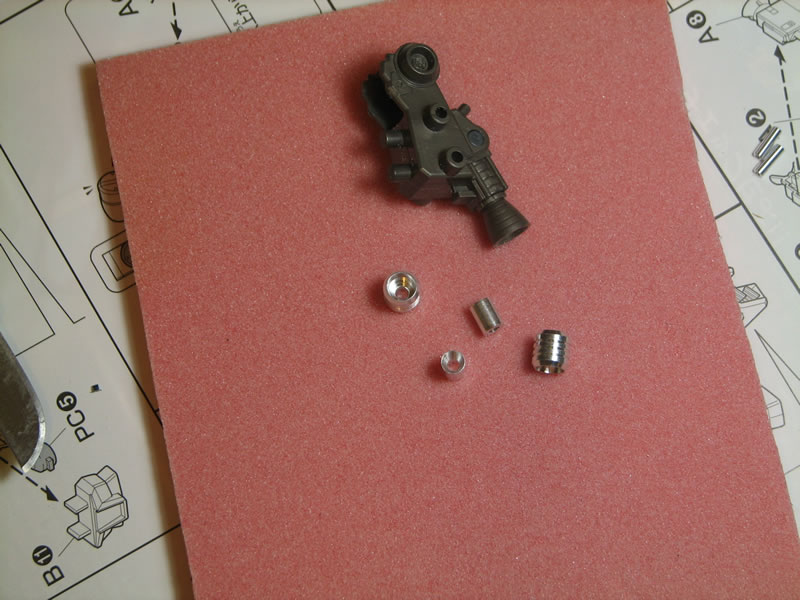
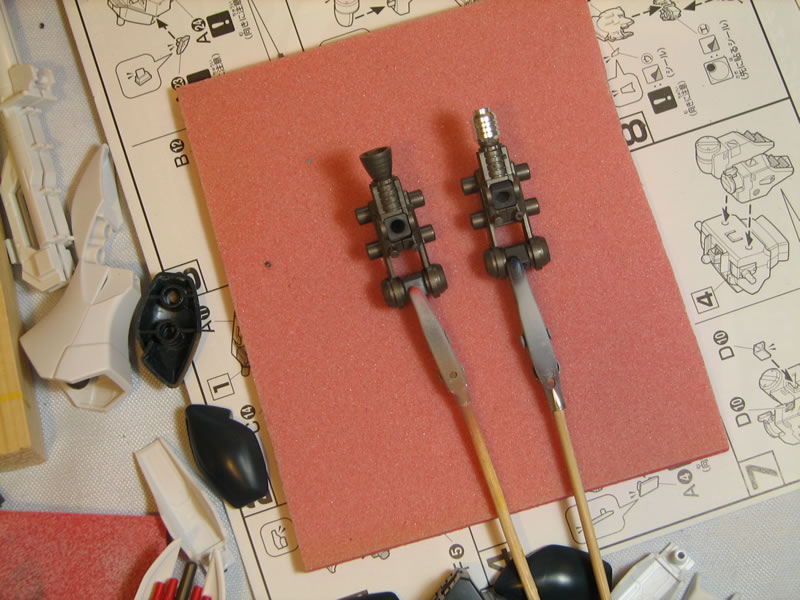
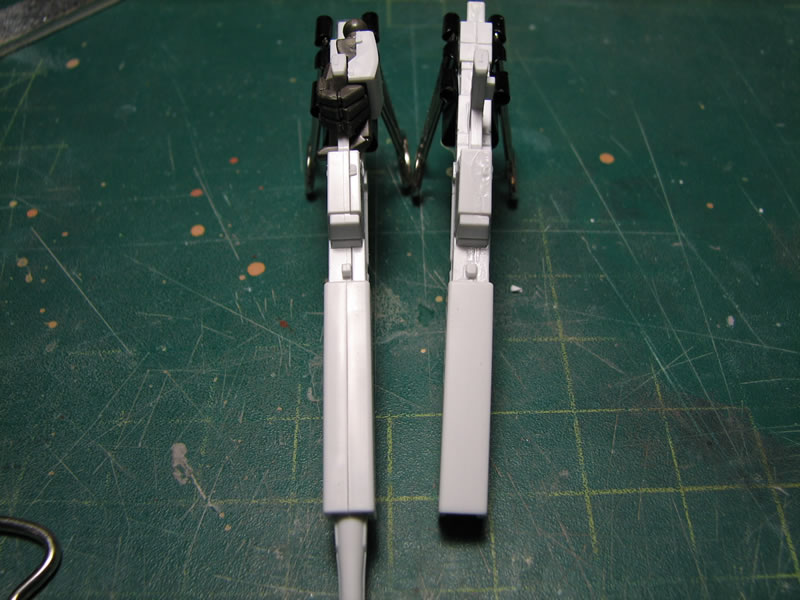
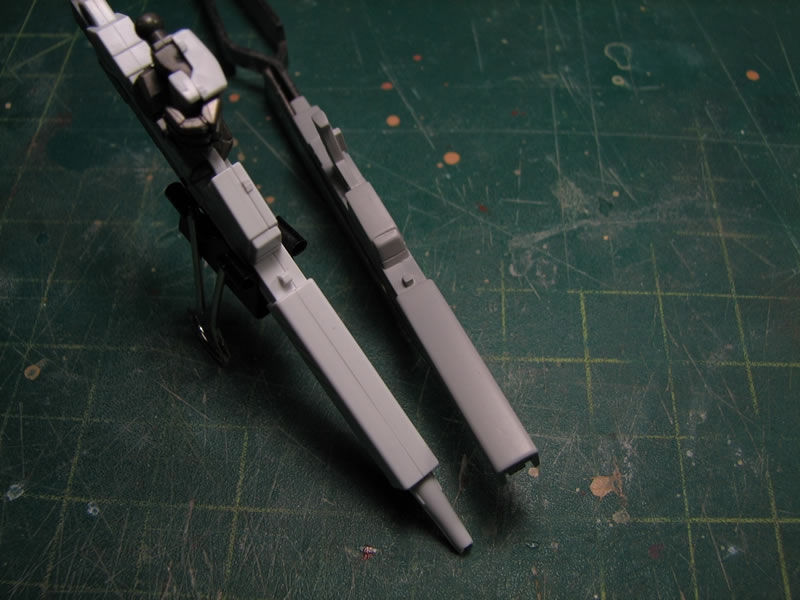
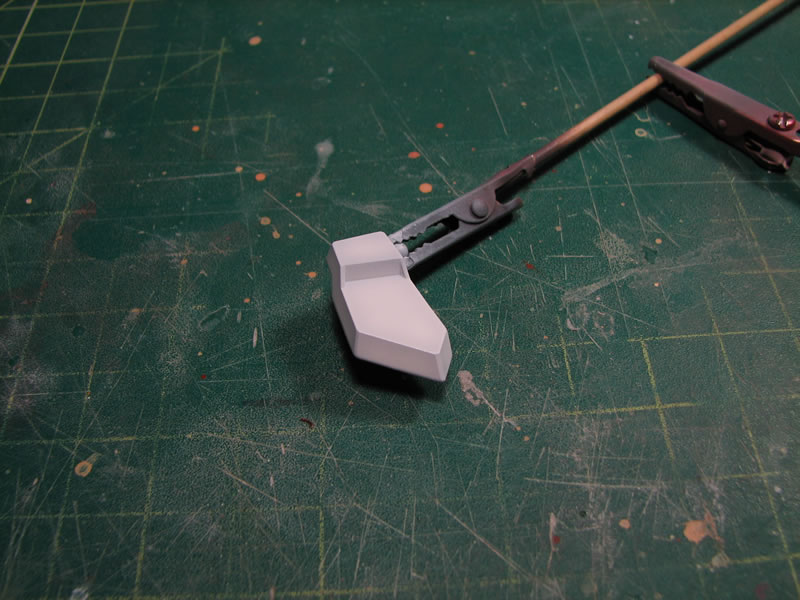
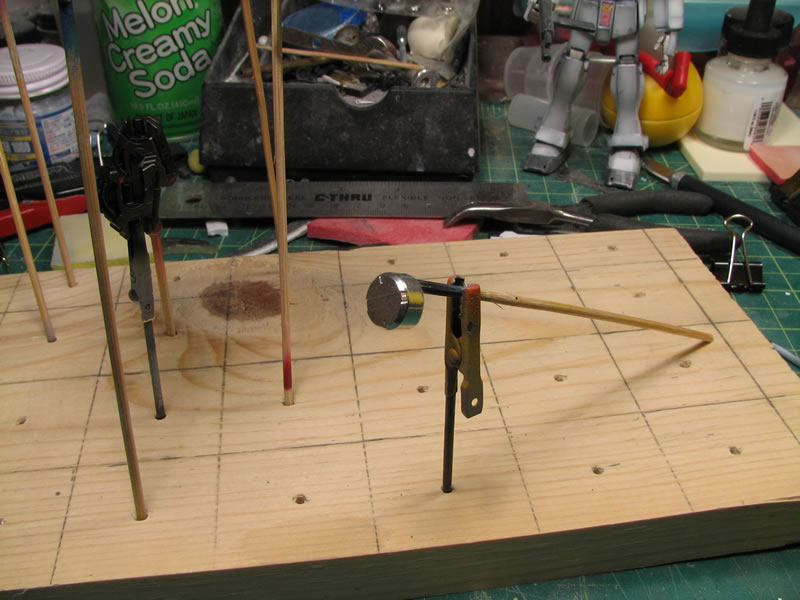
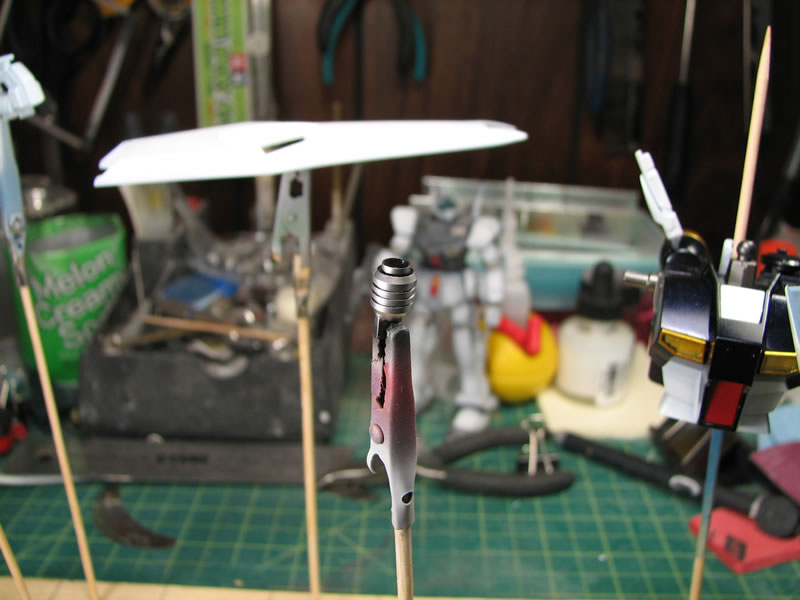
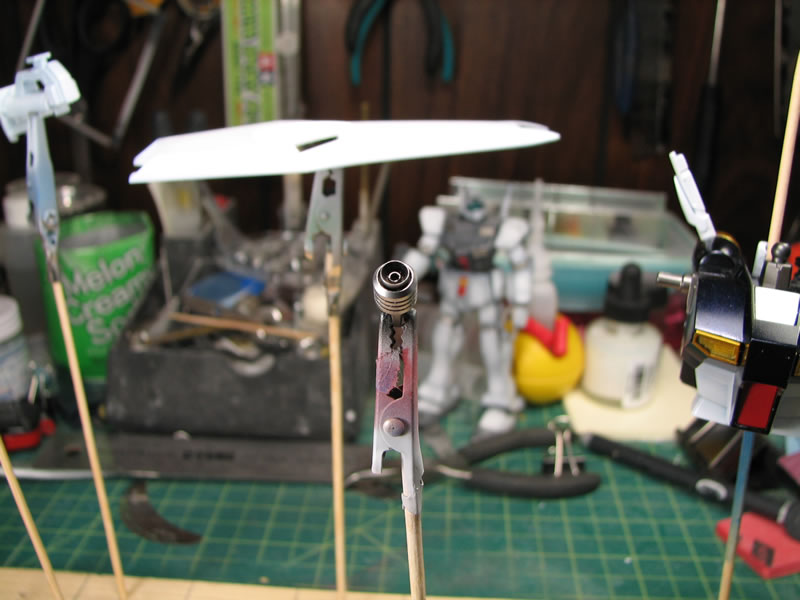
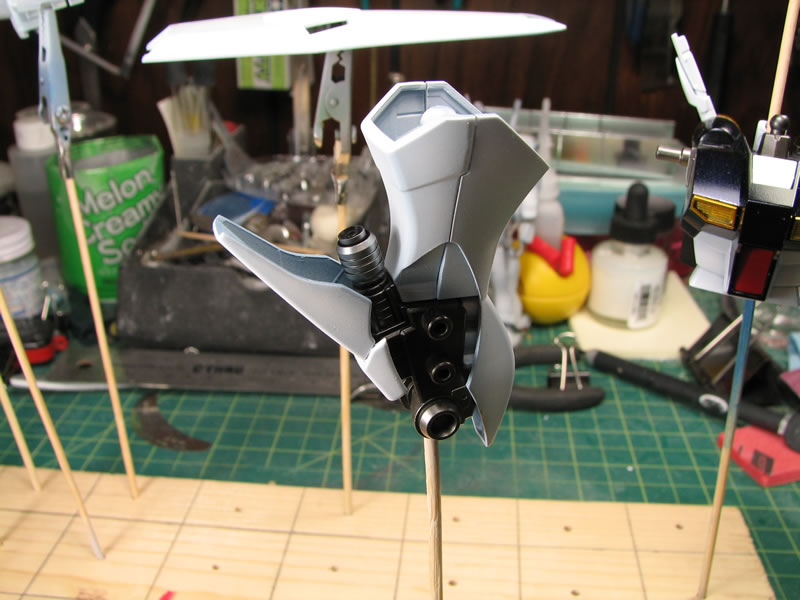
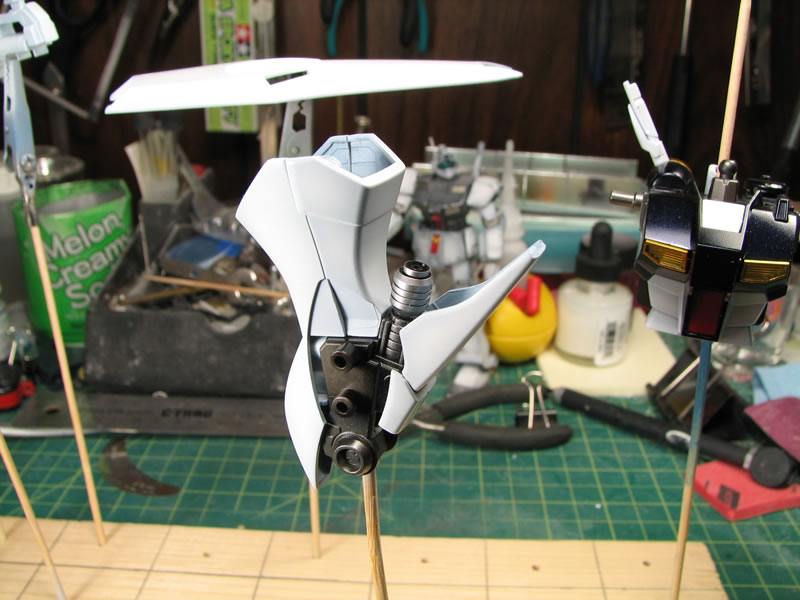
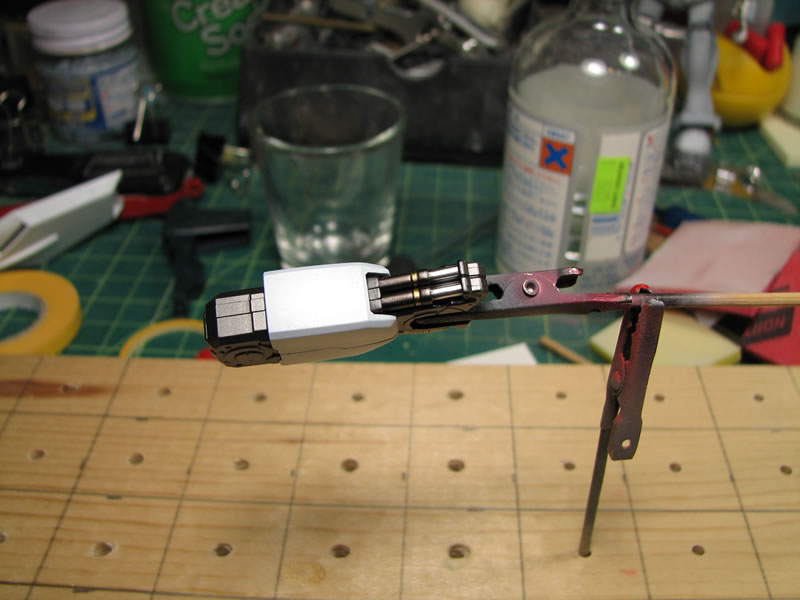
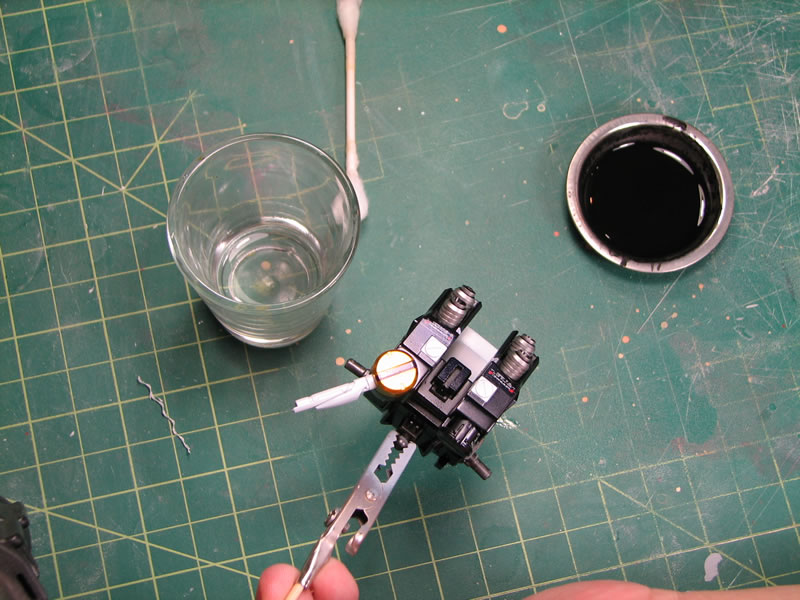
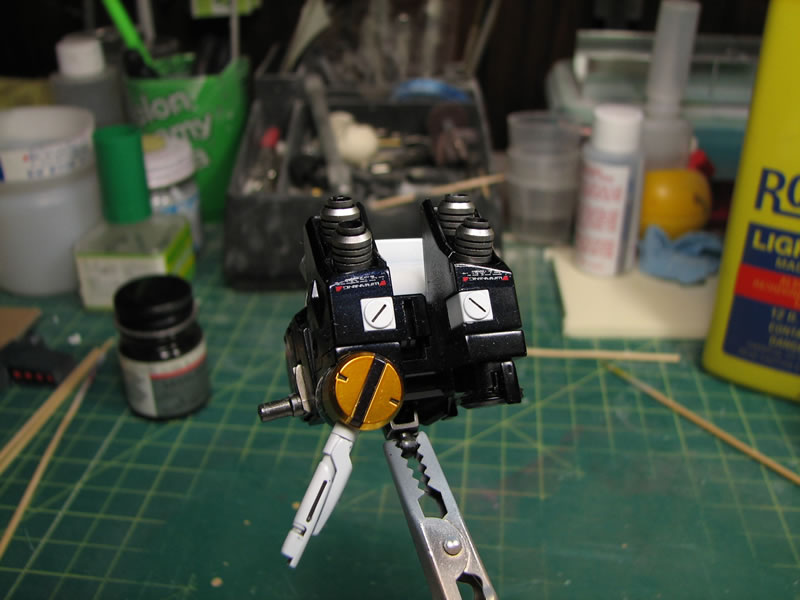
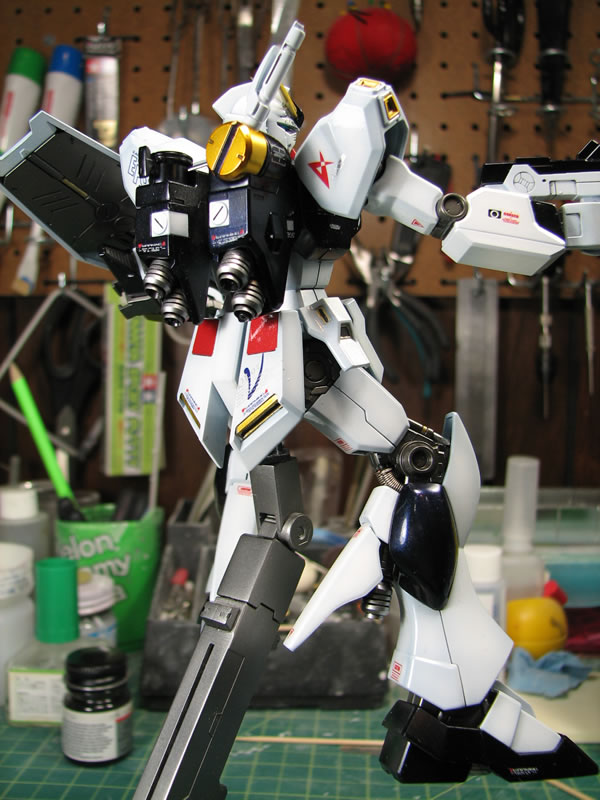
I also added the metal soup can thrusters to replace the original thrusters for one of the Nus.

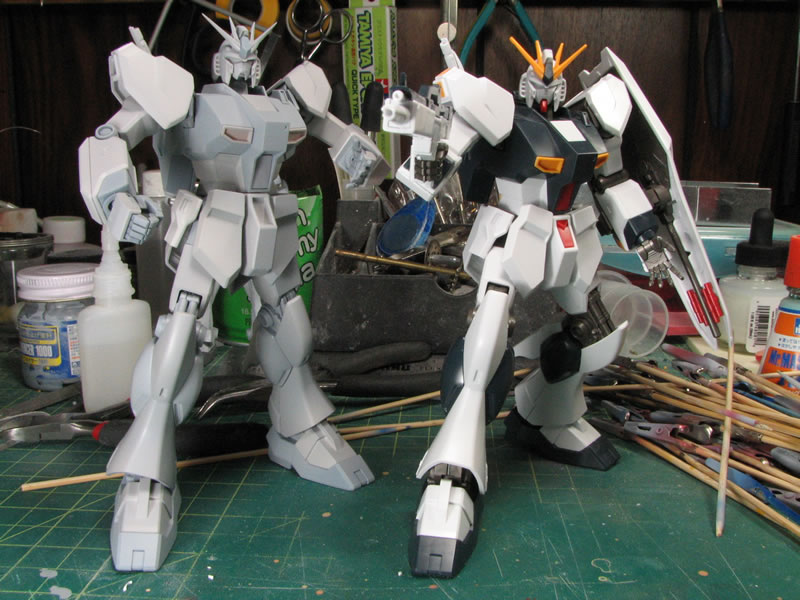
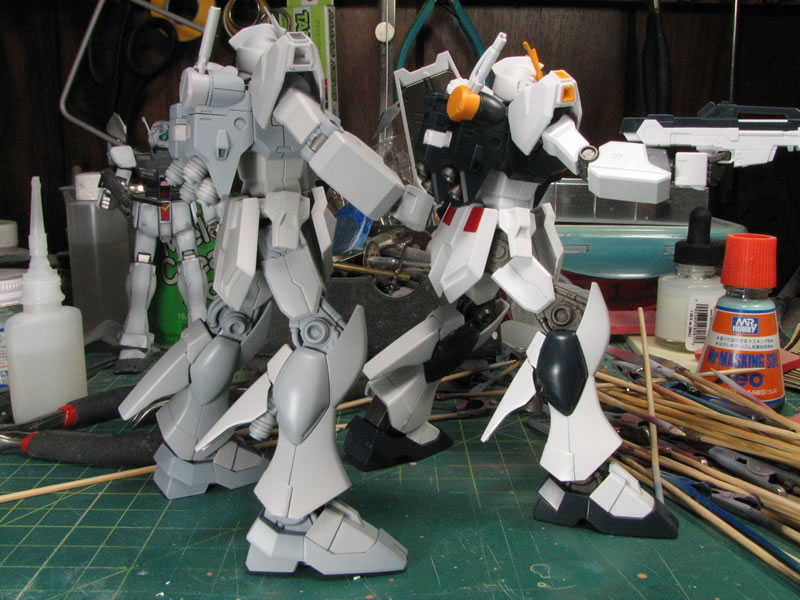
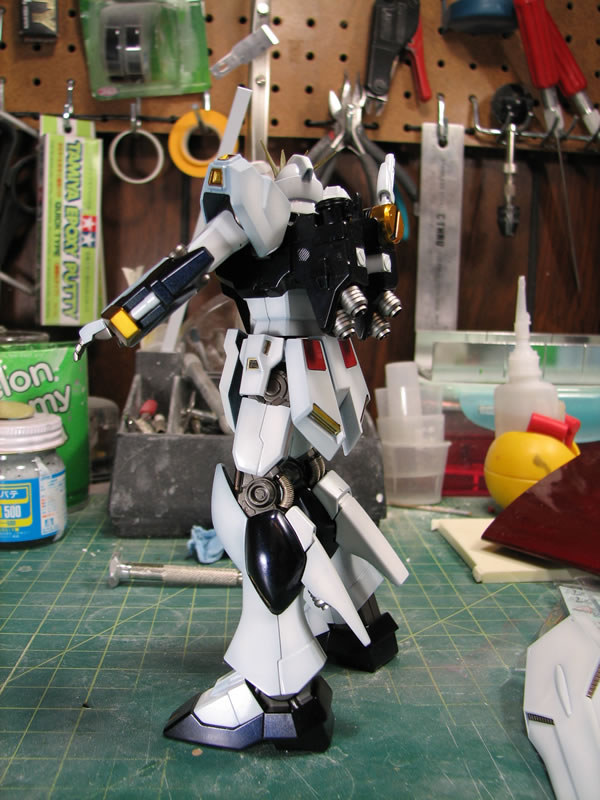
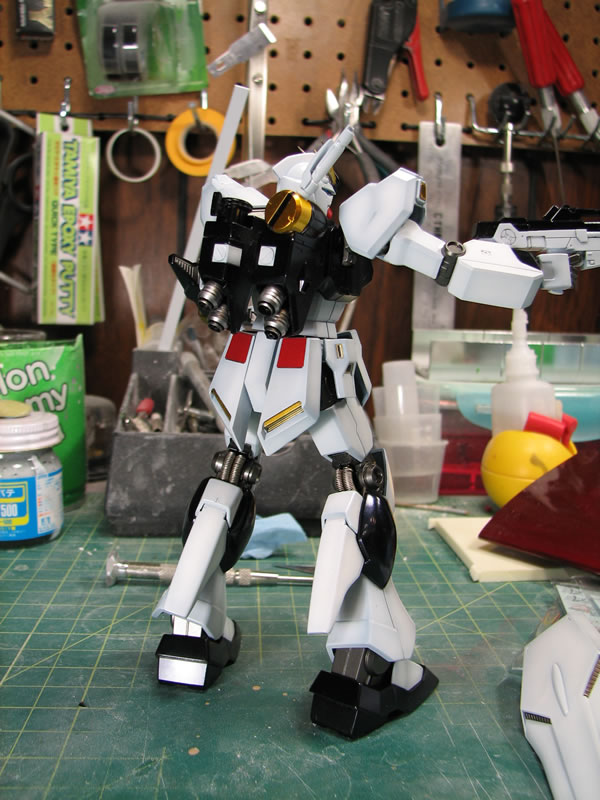
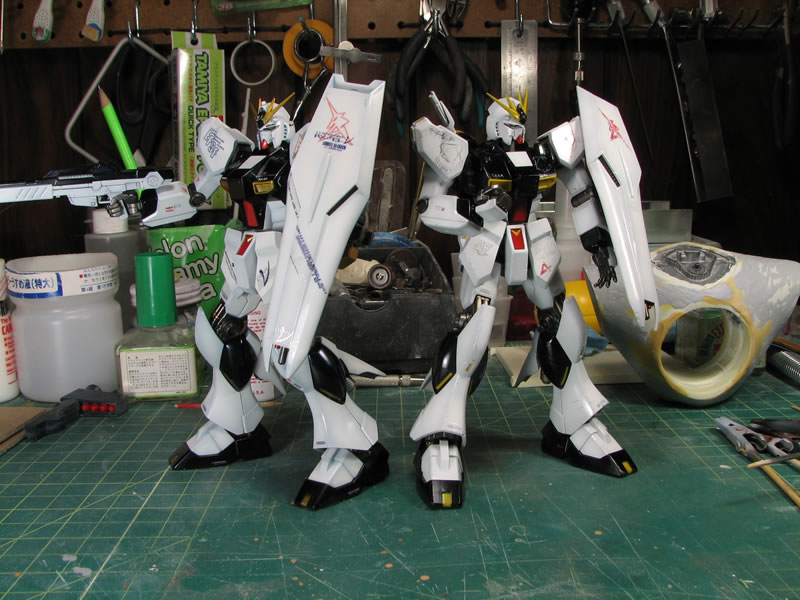
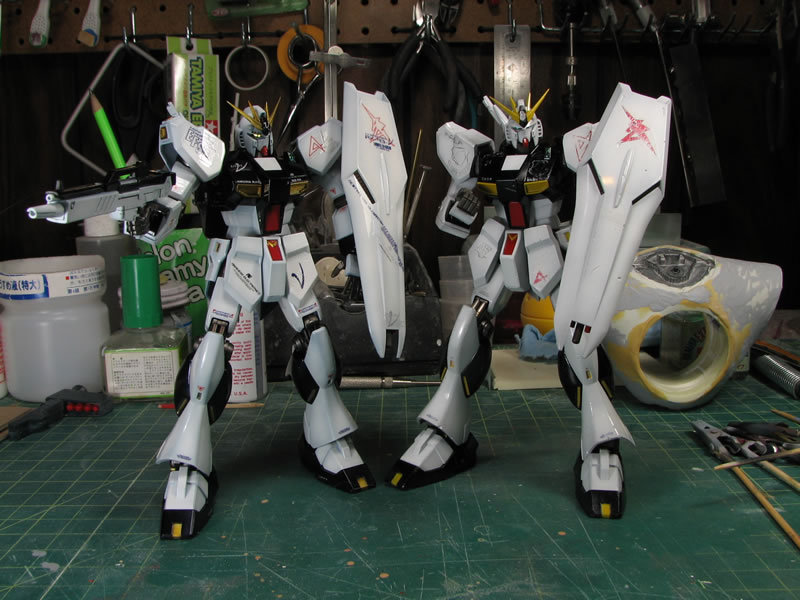
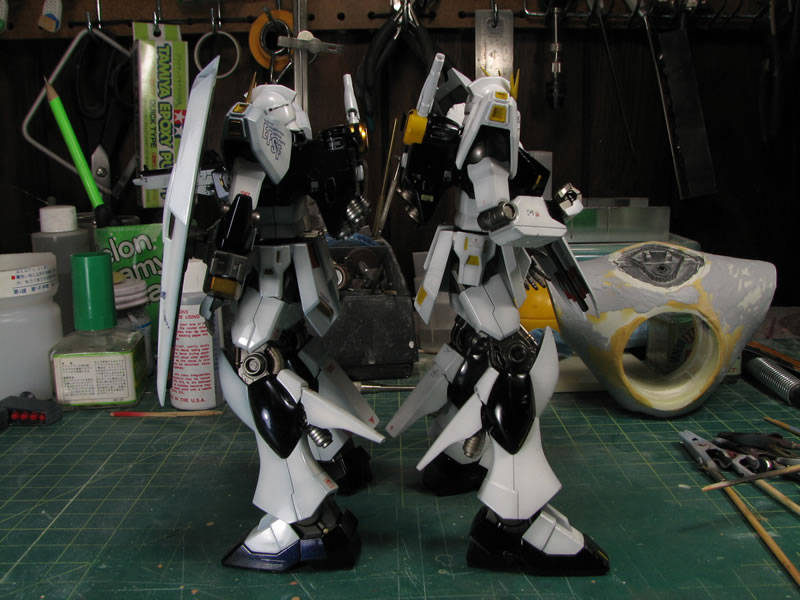
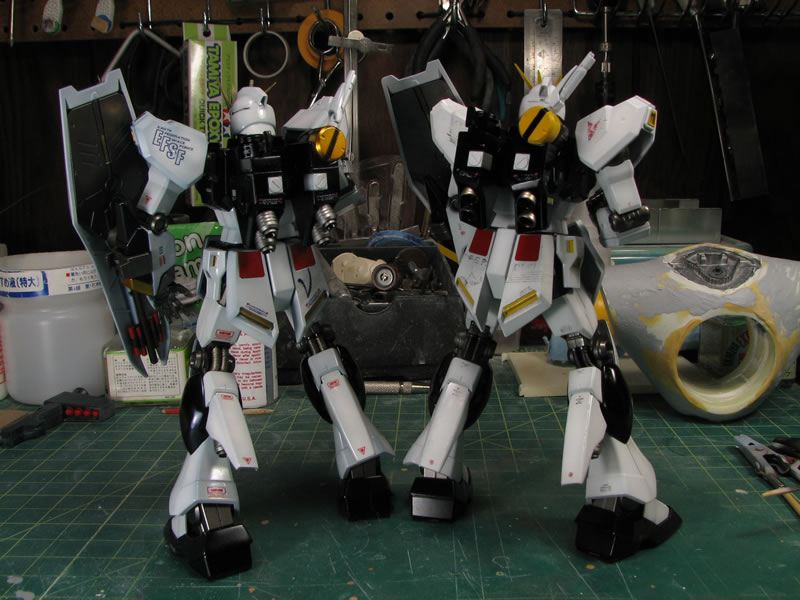
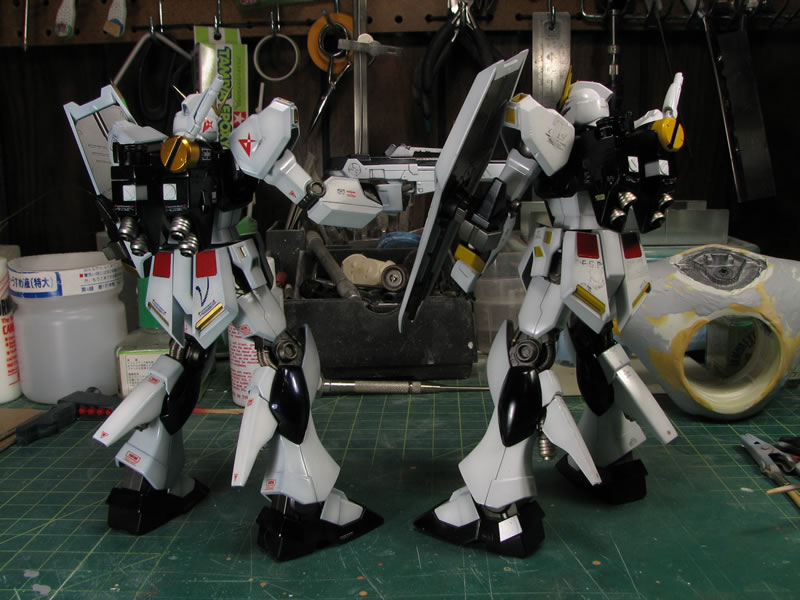
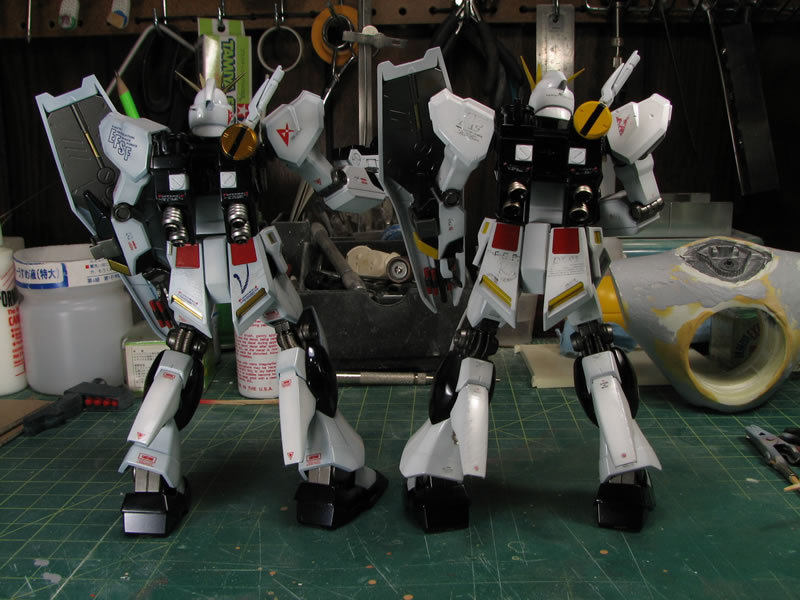
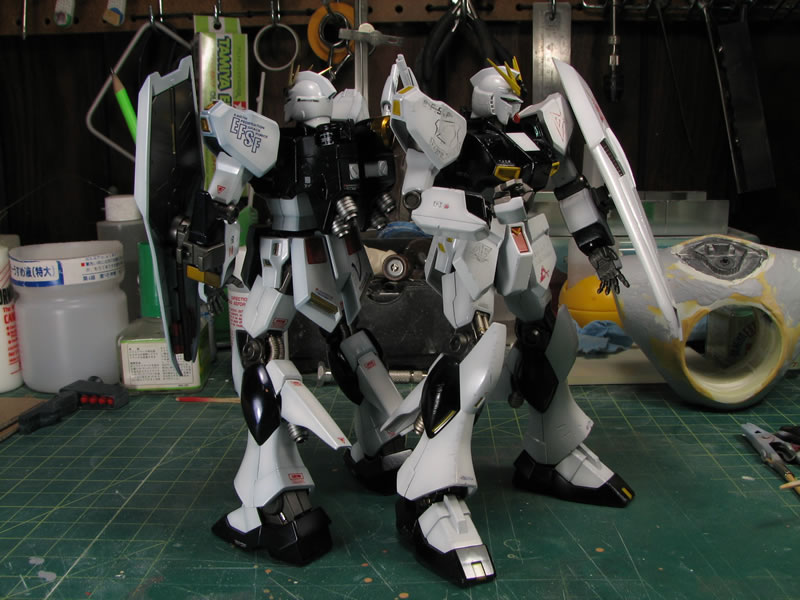
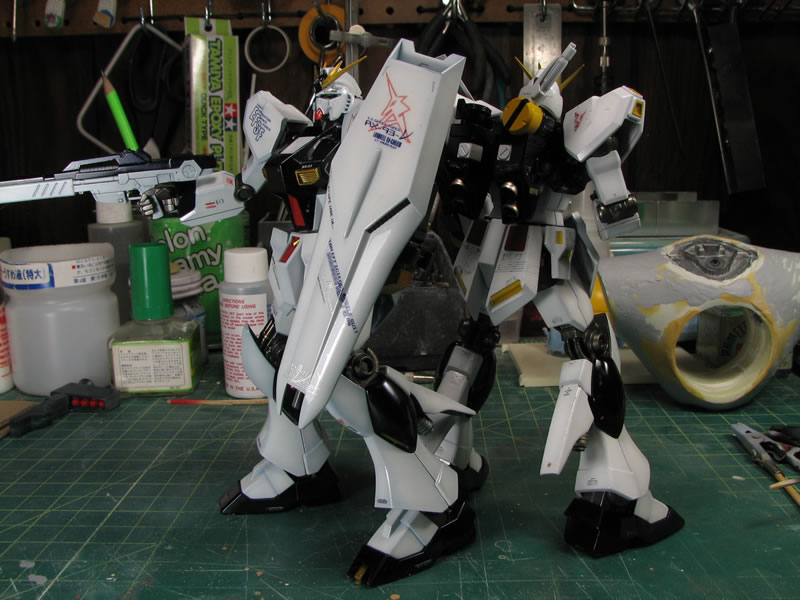
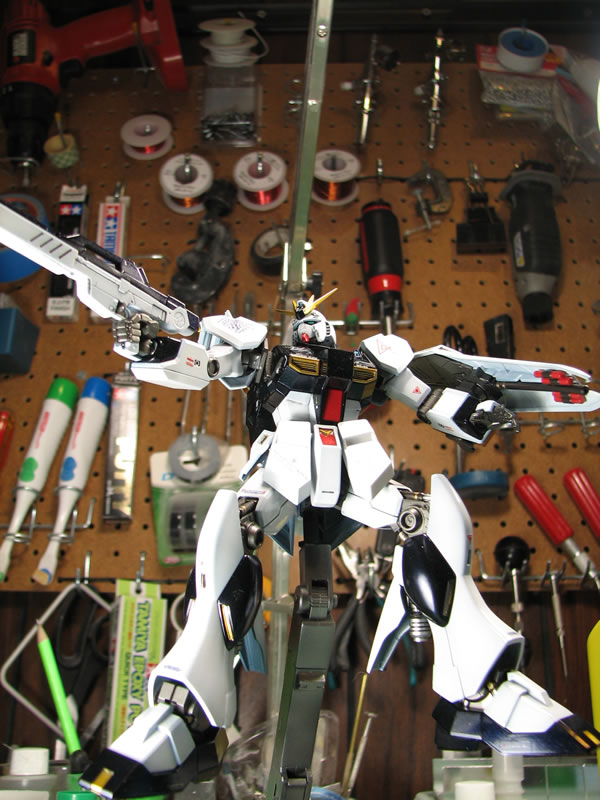
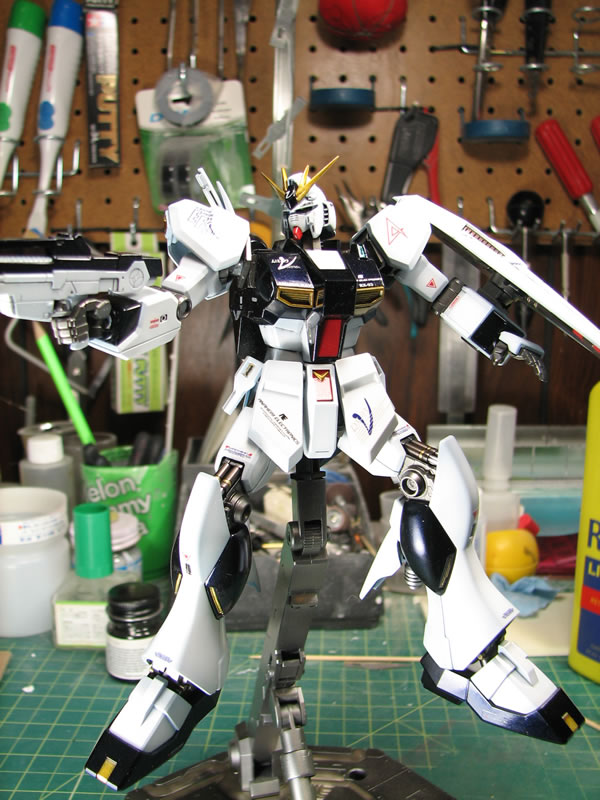
A few more position pictures along with the size comparison picture. The Nu's a big suit so translated to 1/144 it's still fairly sizable in comparison to an MG Gundam.
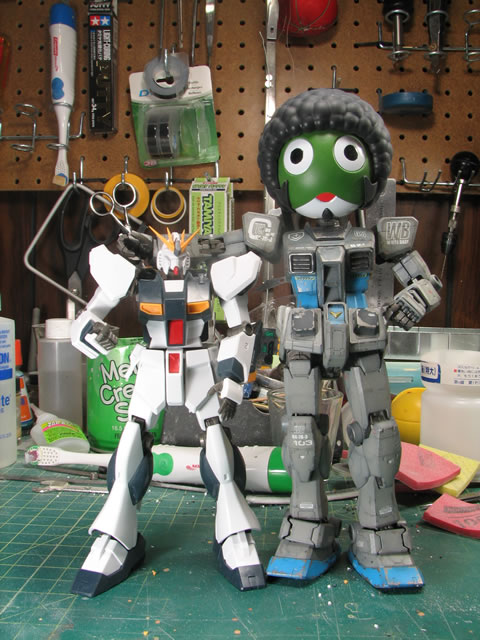
April 2, 2008: Small updated inclusive of a small amount of work done during the build gathering. The first pictures is a comparison shot with the HGUC RGM-79D cold climate GM just to show the shear size of the Nu.

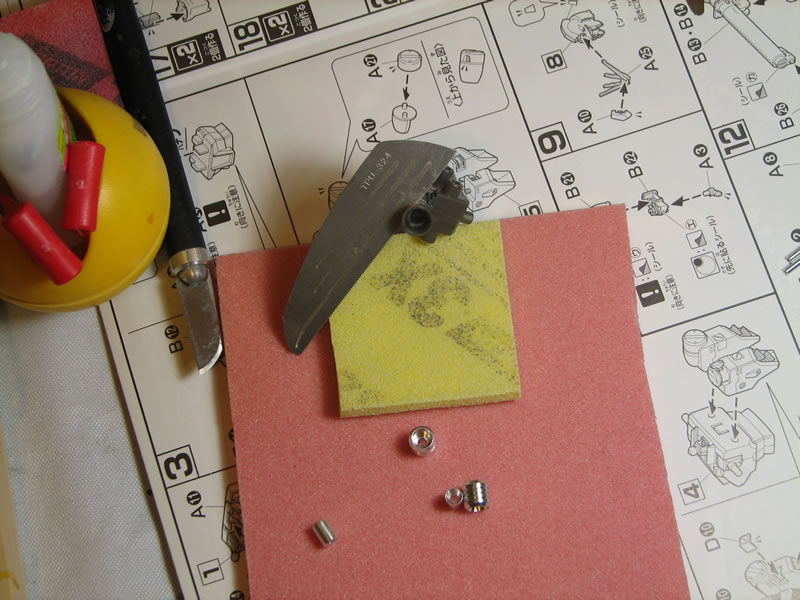
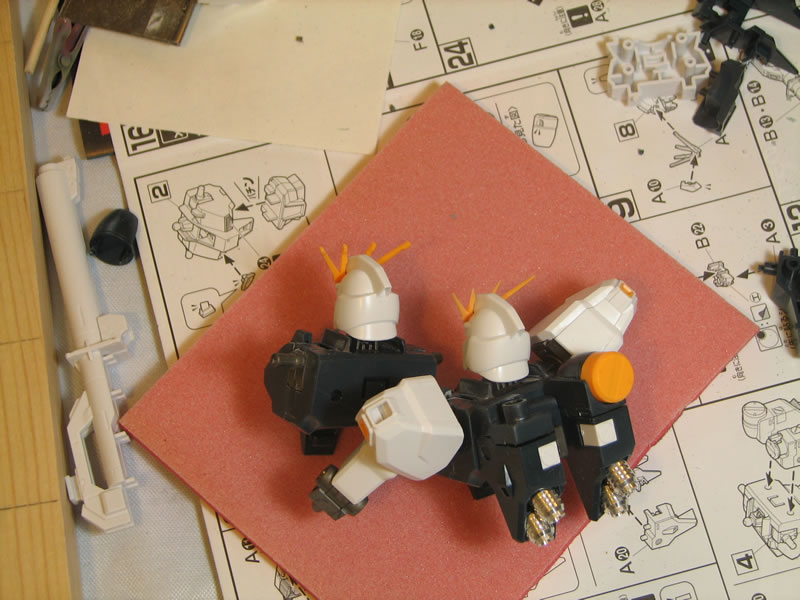
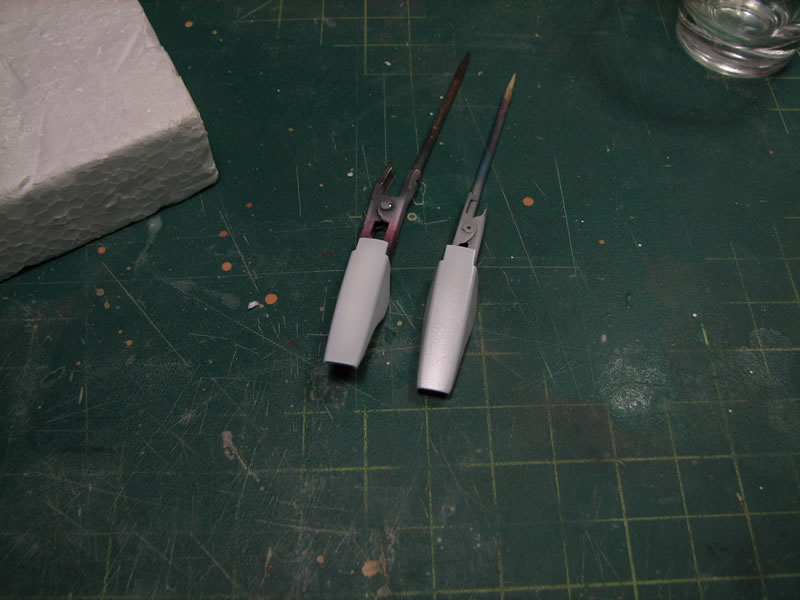
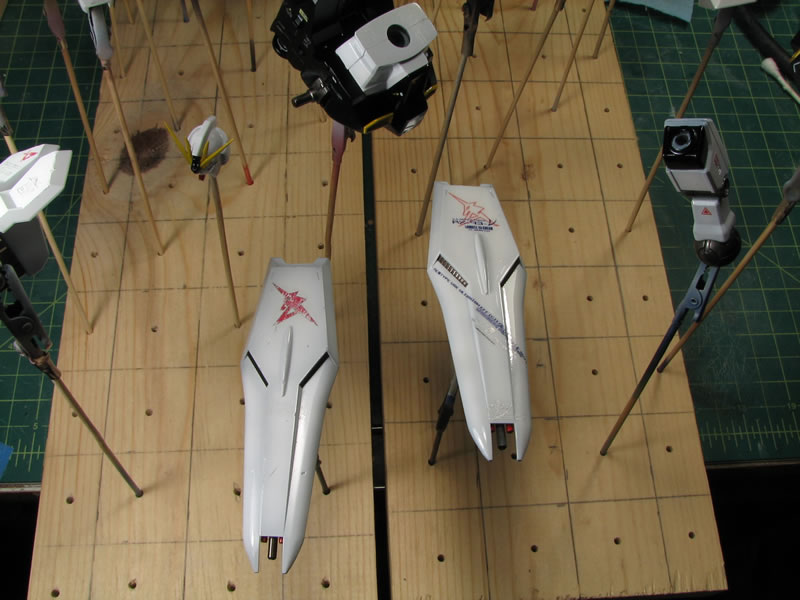
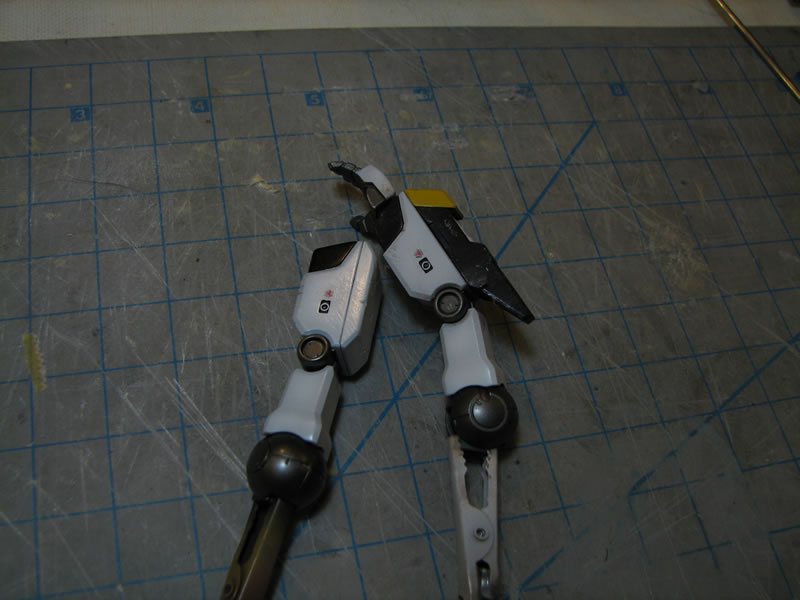
I decided to swap out the leg thrusters for metal soup cans as well, and the process went like this: First the original thruster was sawed off using one of the hasegawa tritool hobby saws. Once the main part of the thruster was removed, the area was sanded slightly, and the new metal thrusters were glued into place with epoxy glue for added strength.
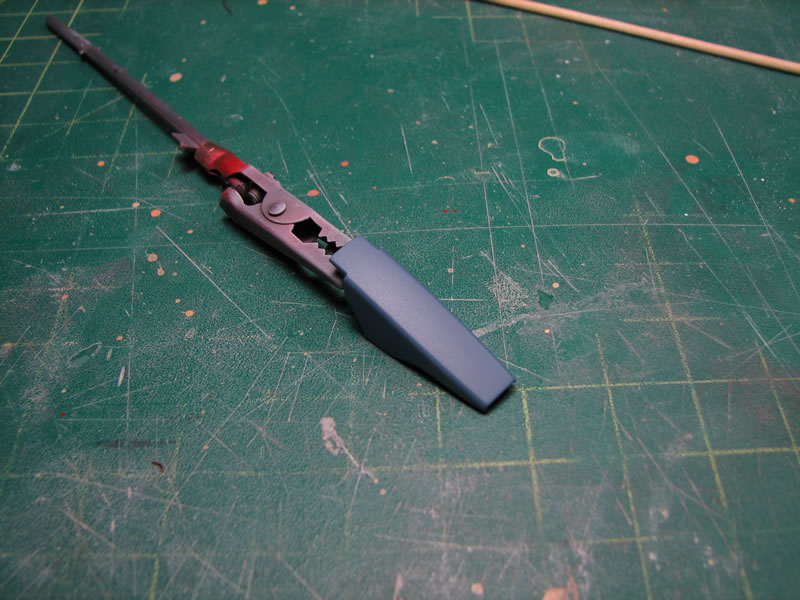
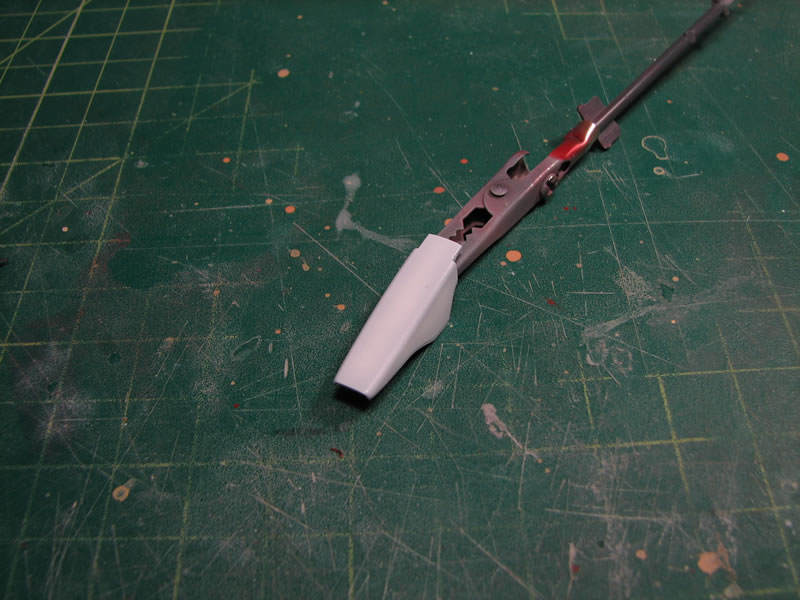
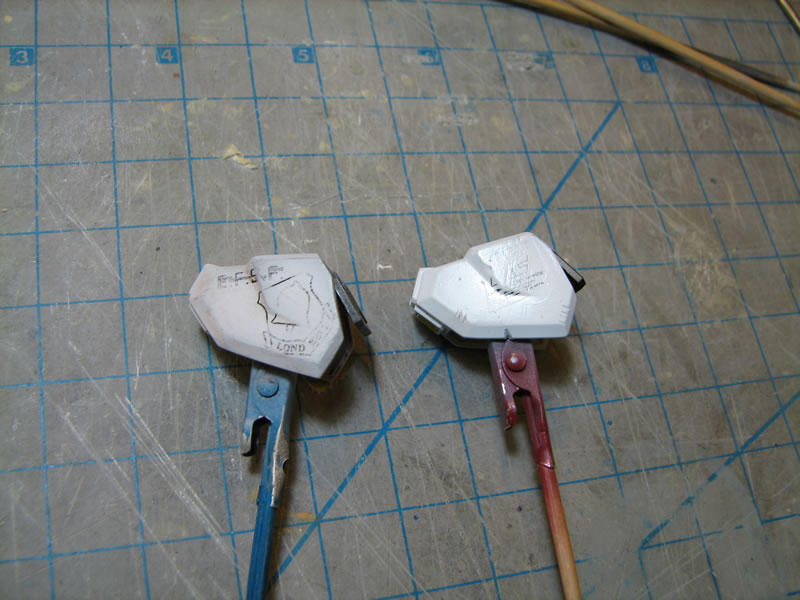
Next up are some comparison pictures of the thinned V-fin against the out of the box V-fin.
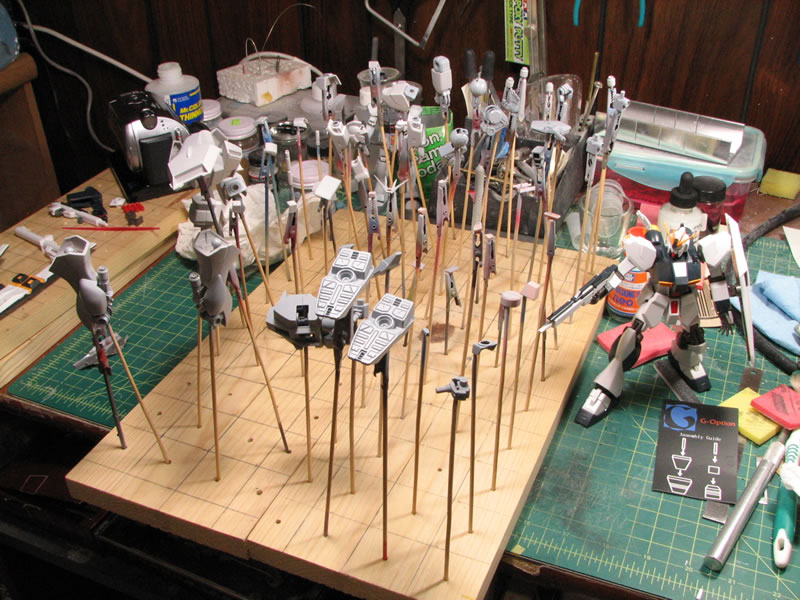
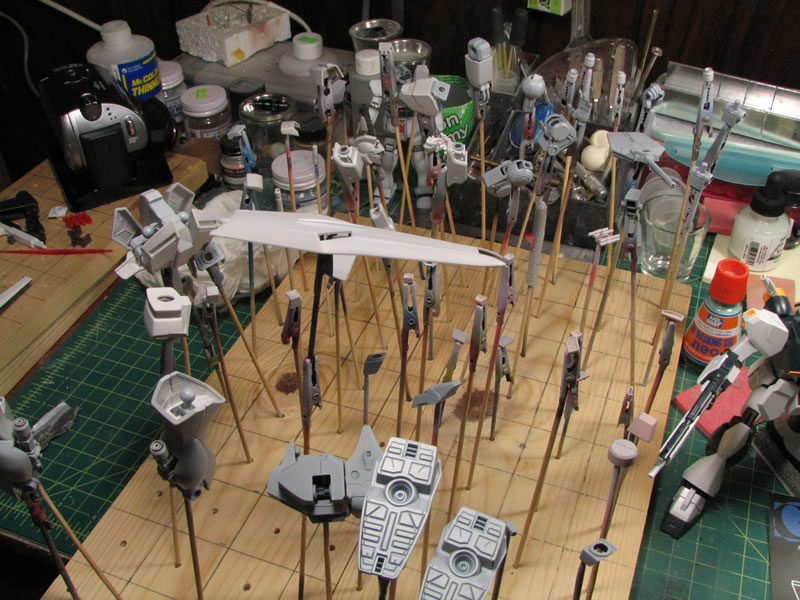
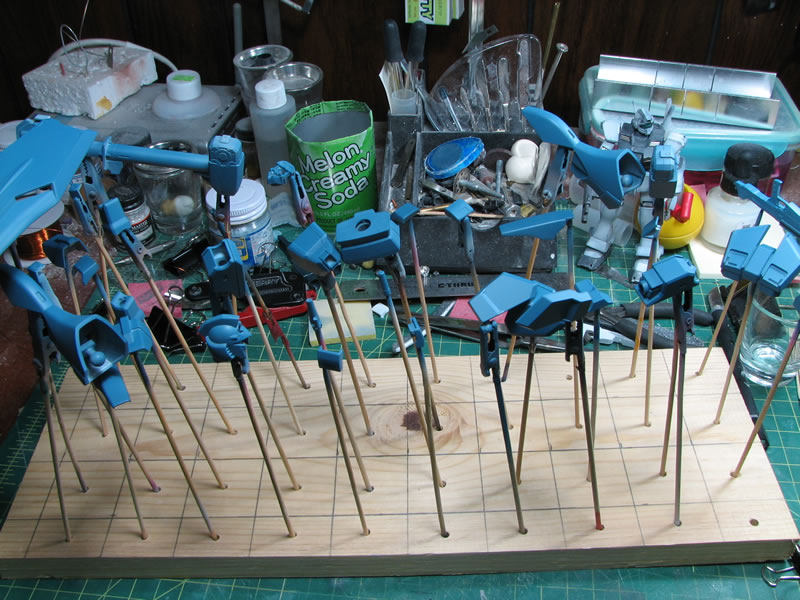
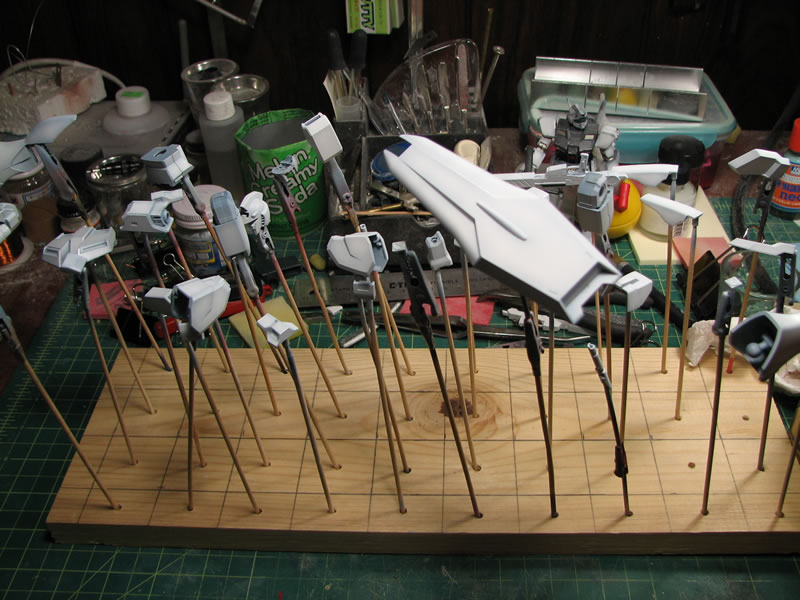
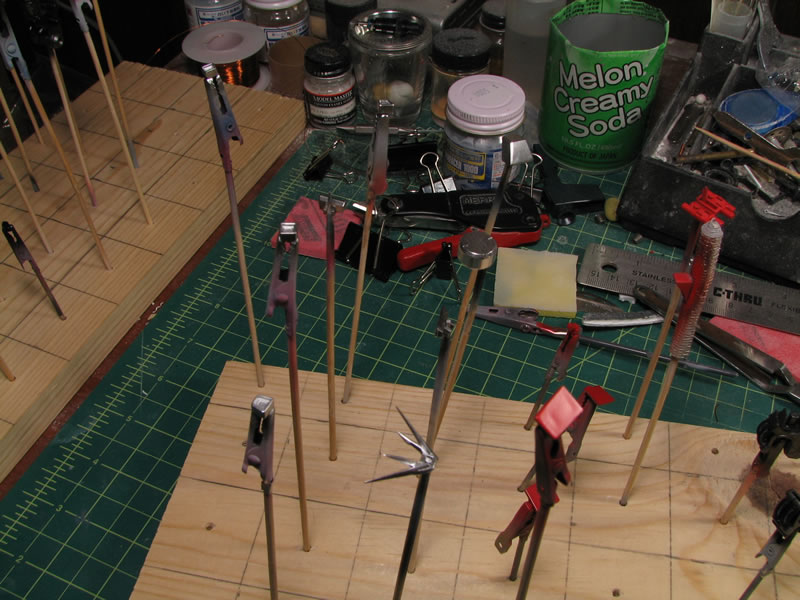
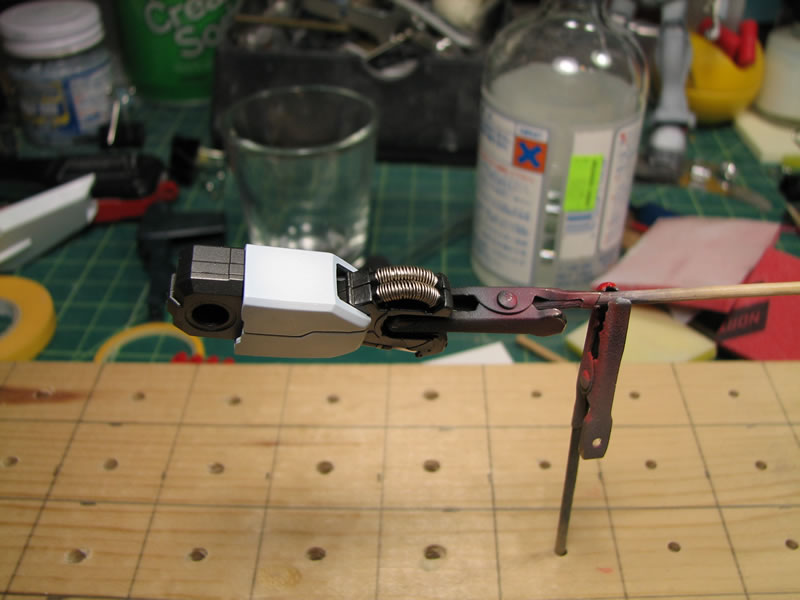
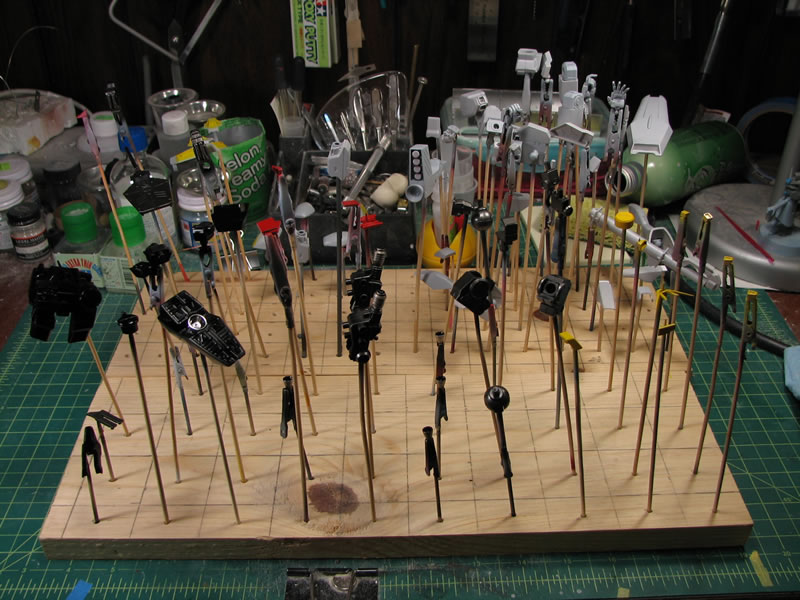
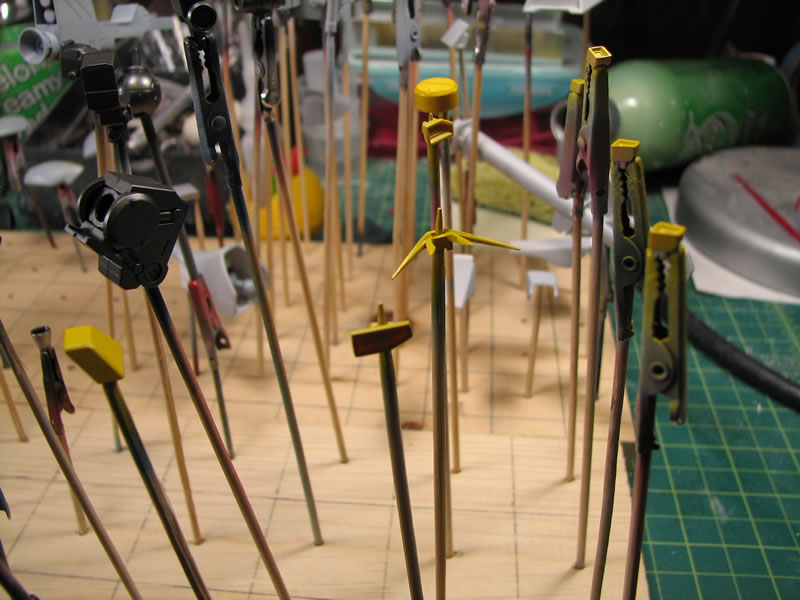
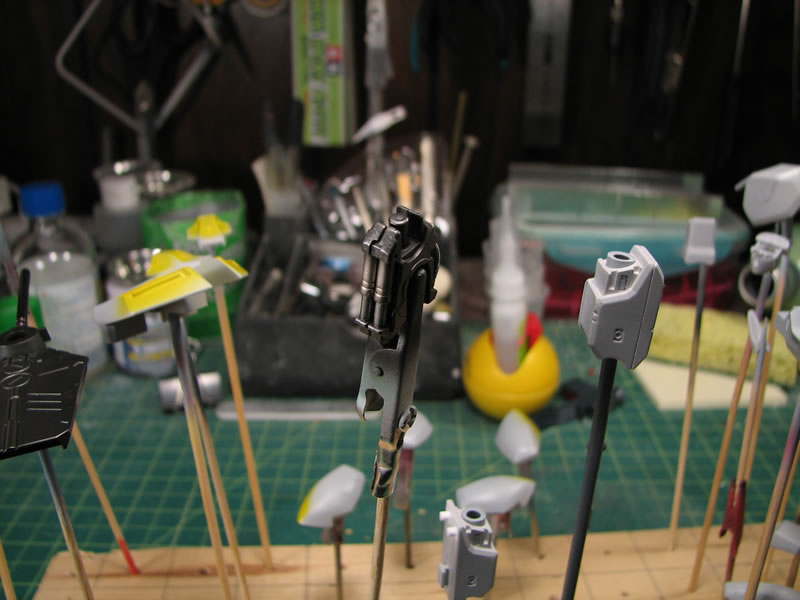
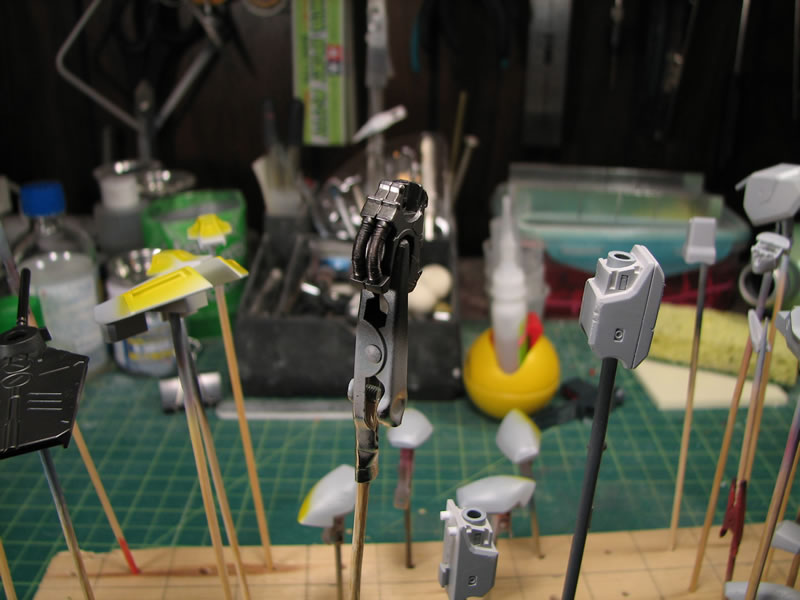
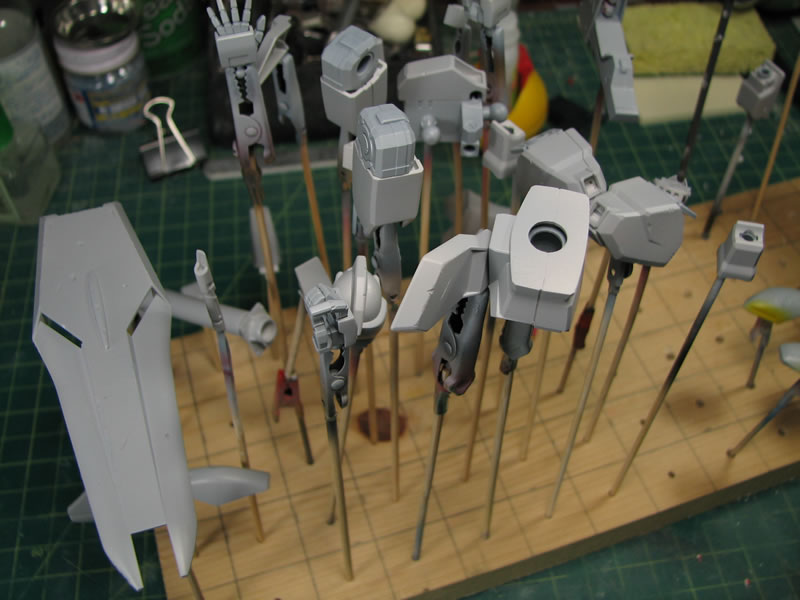
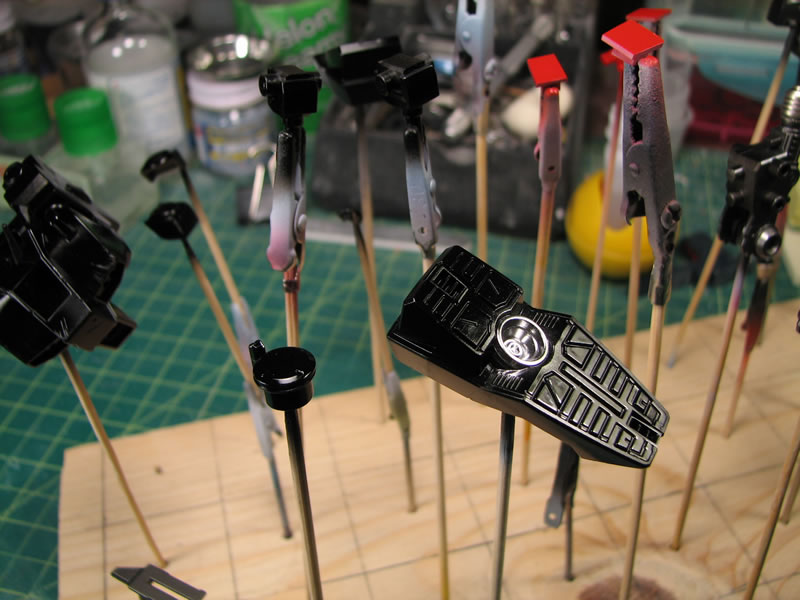
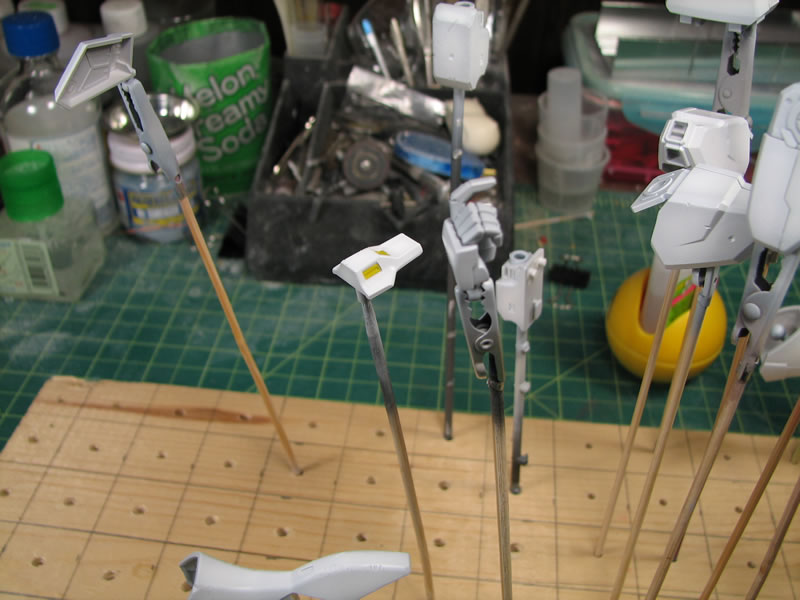
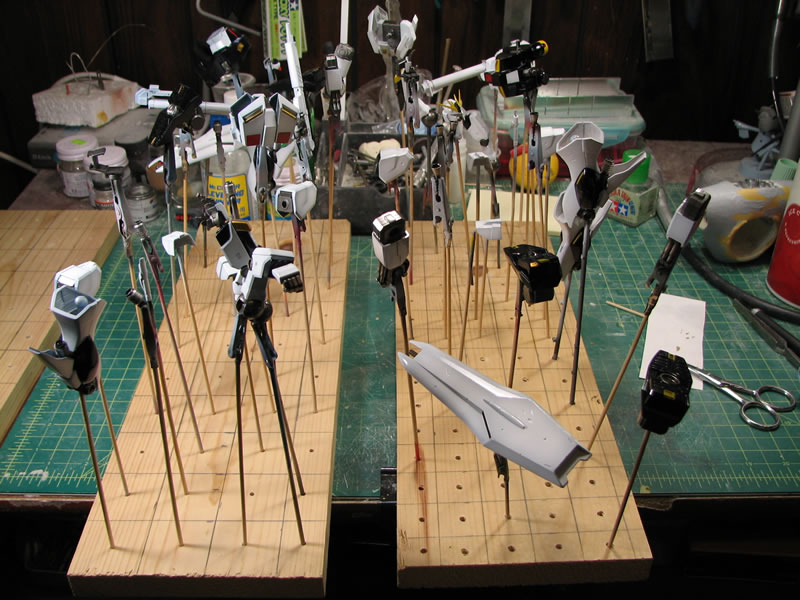
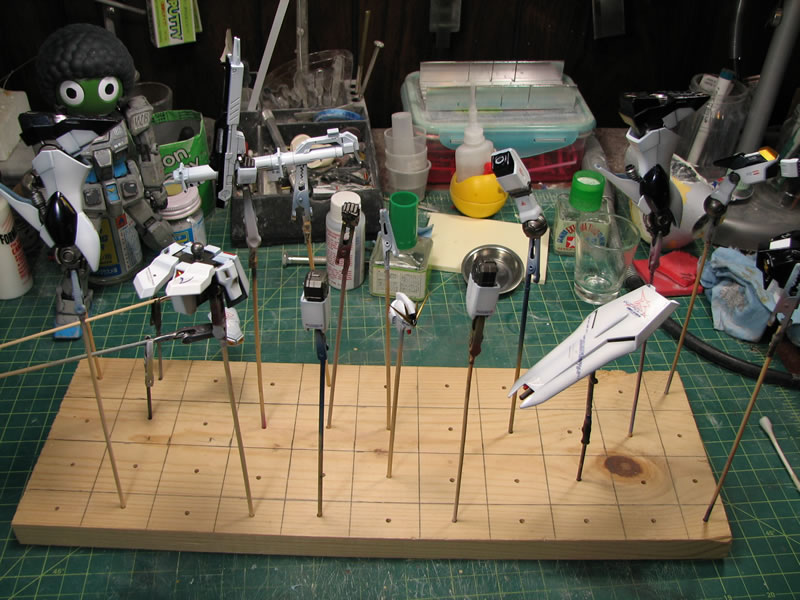
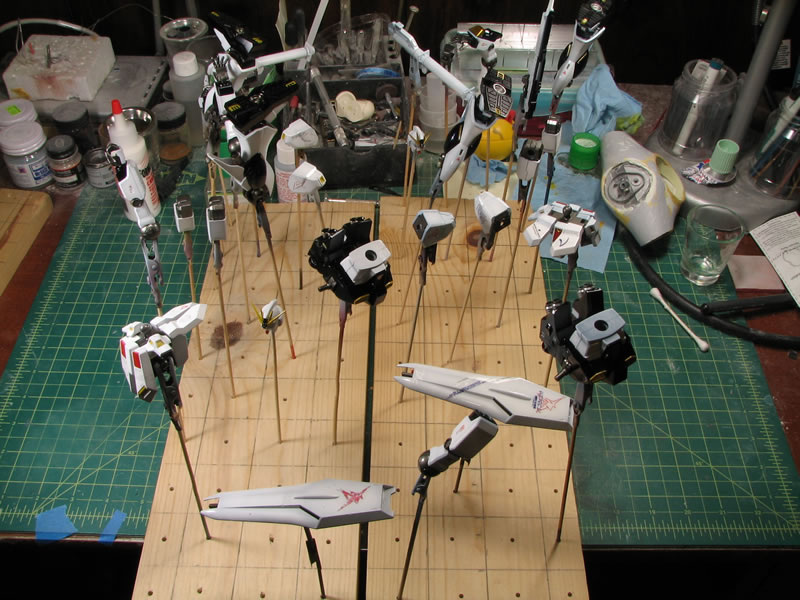
Tonight, I got the parts of one kit primed. Here are the parts as they sit on bamboo skewers mounted on aligator clips sitting on a wood block with holes drilled through it.
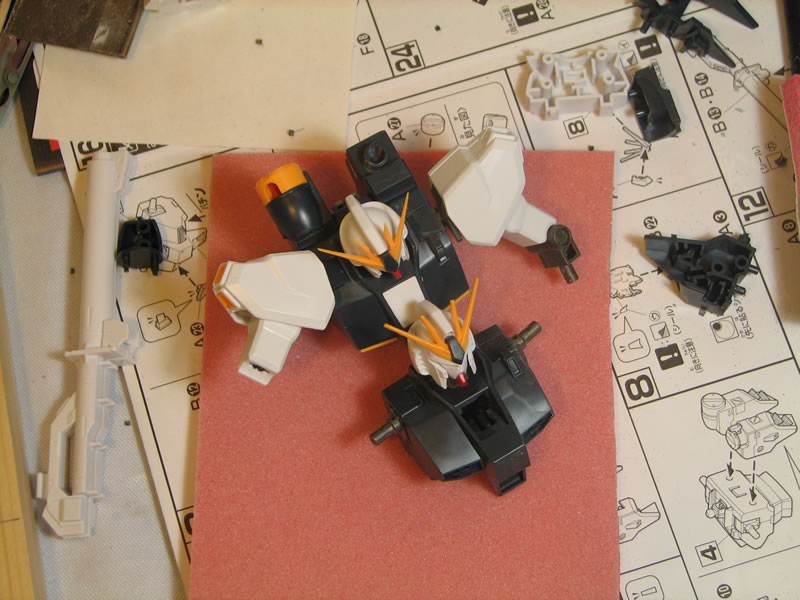
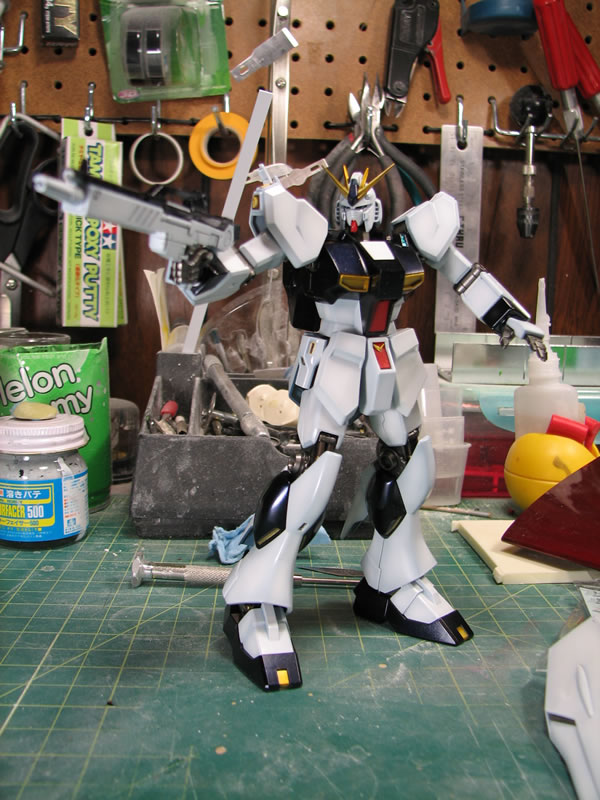
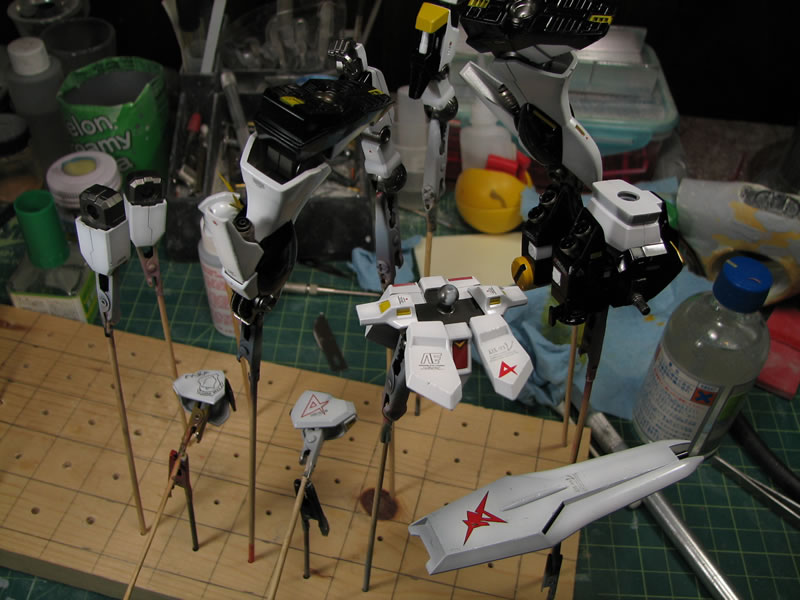
April 6, 2008: Weekend update. I got a few bits and pieces done from late last week through the weekend. I was fairly busy but I did manage to get a small amount of work done. I took the primed parts and assembled most of them for a comparison picture with the snapped Nu
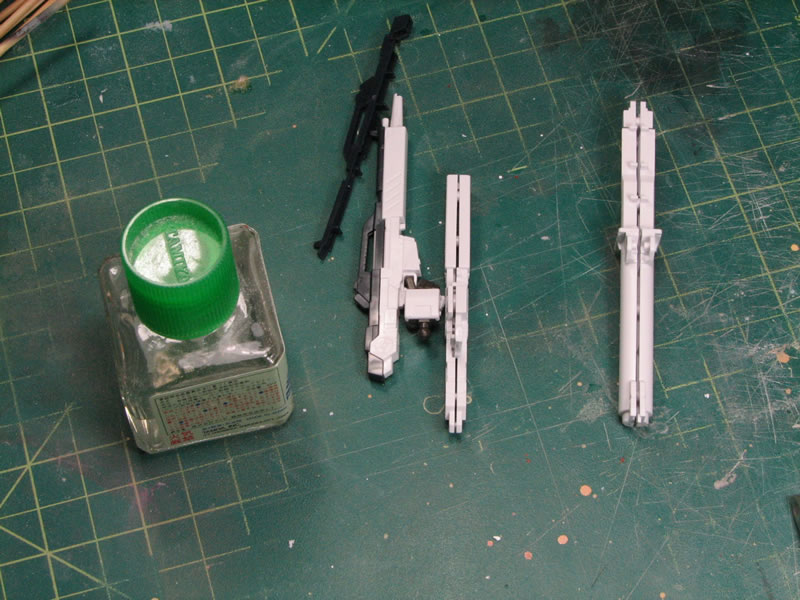
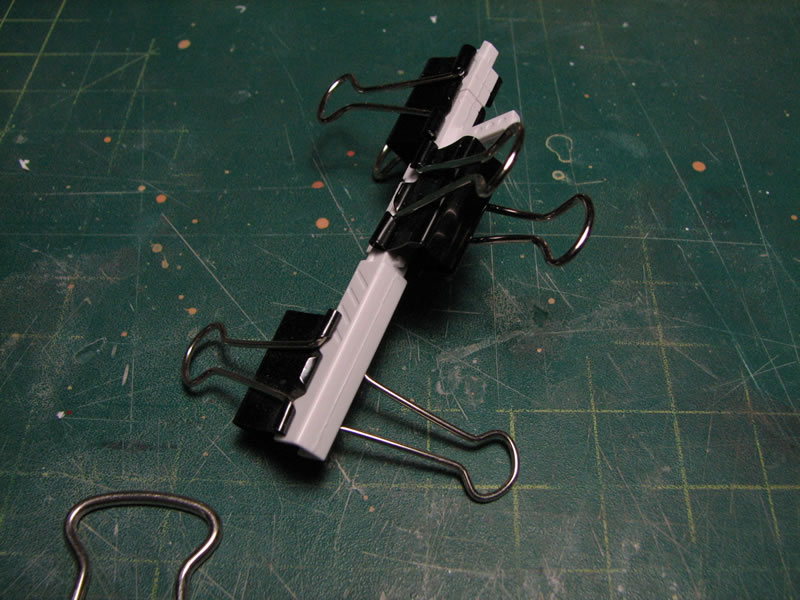
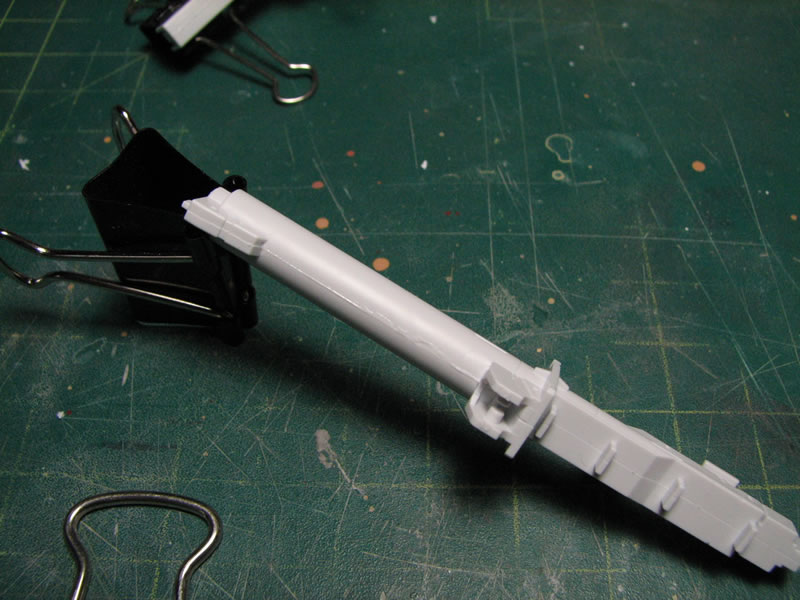
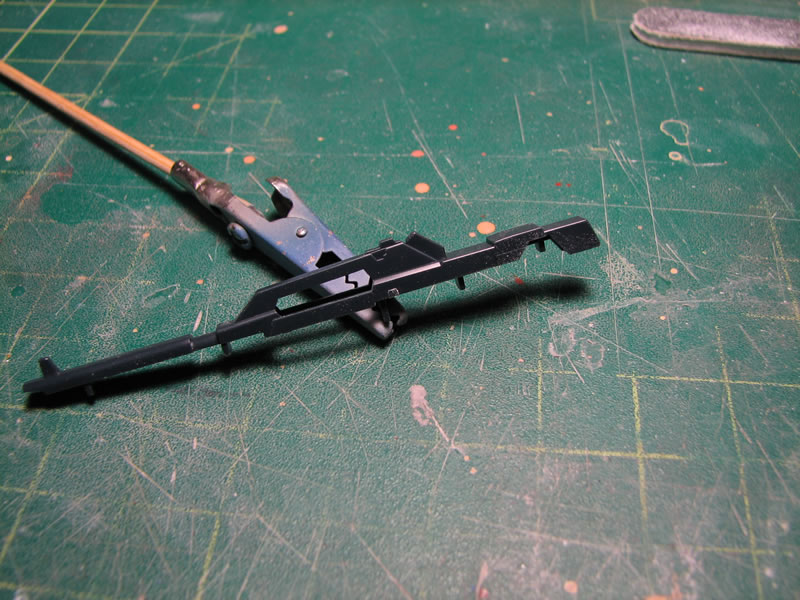
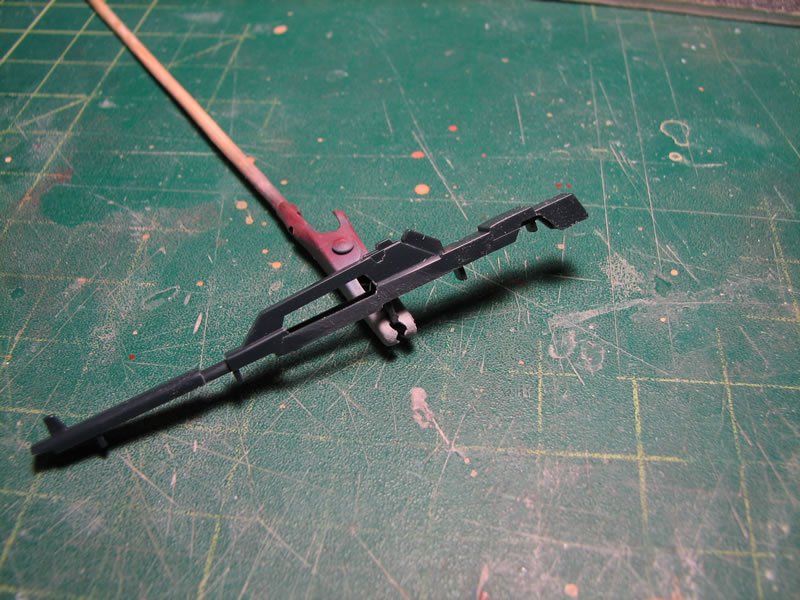
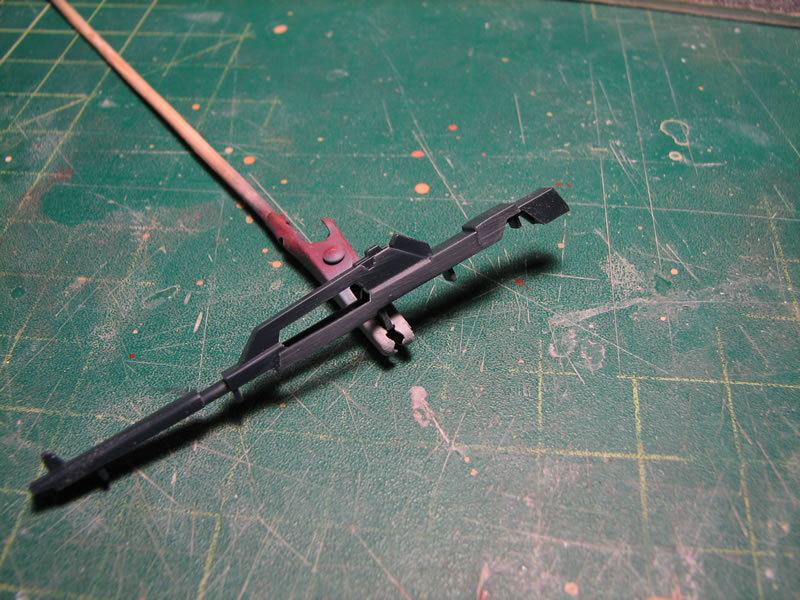
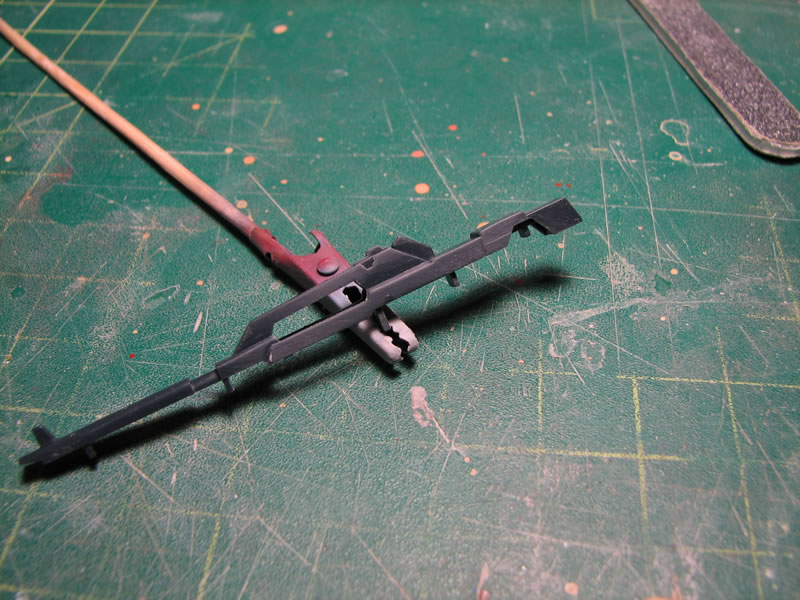
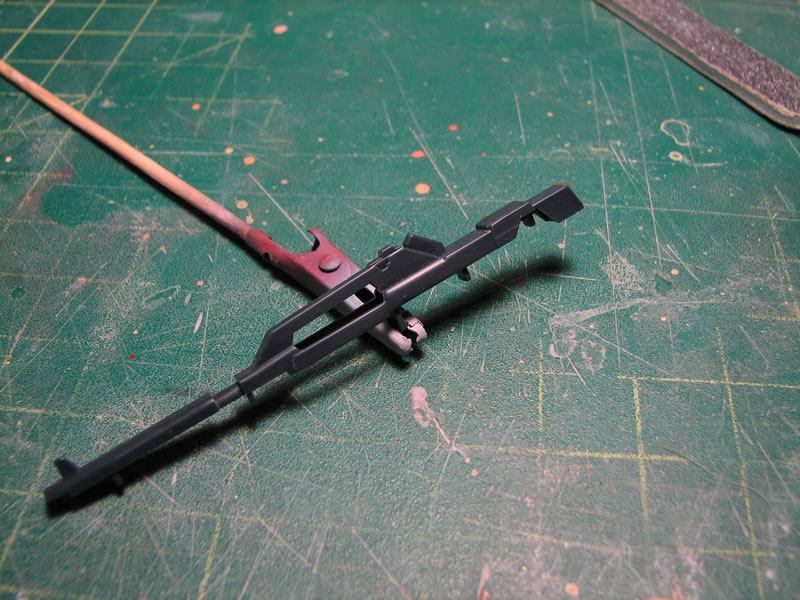
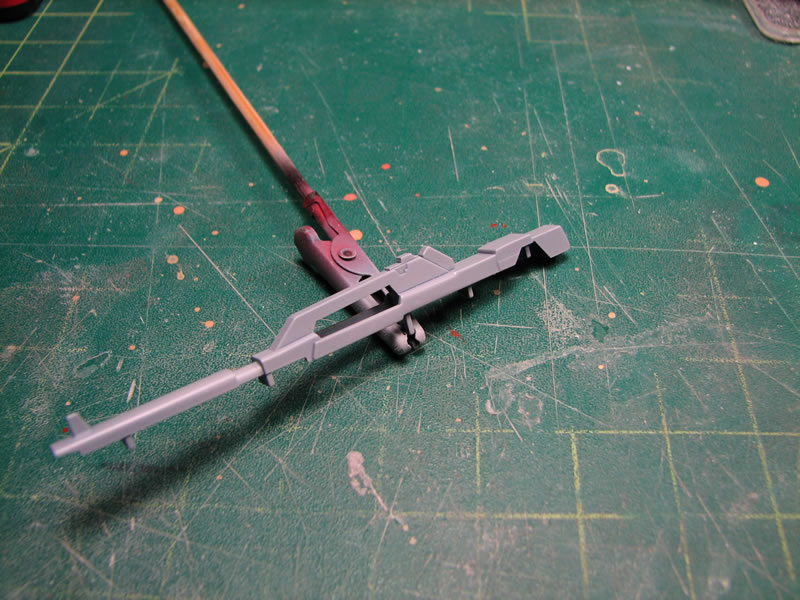
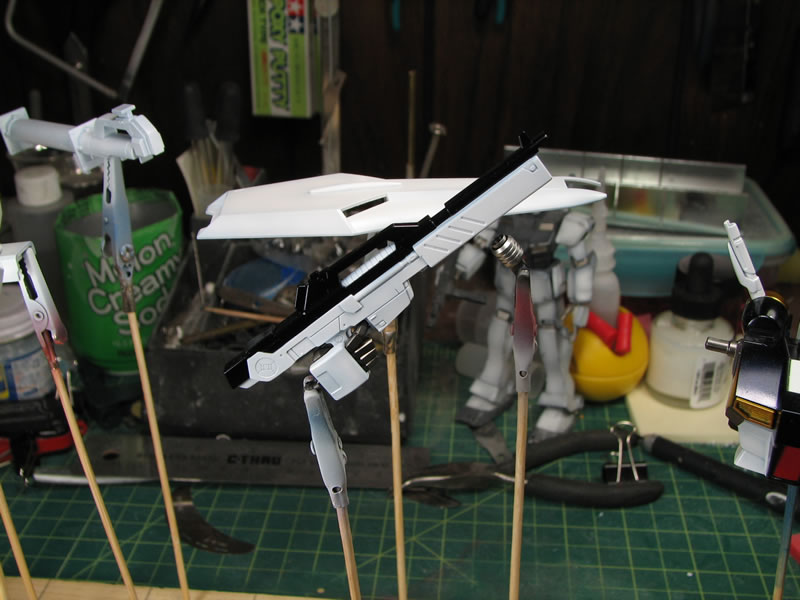
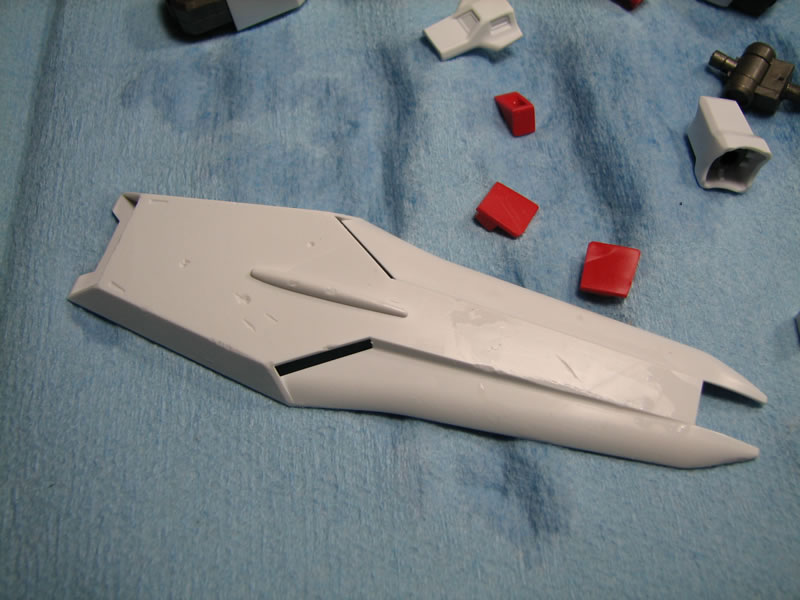
The only major seams on the kit were on the weapons, so those were dealt with using the solvent glue method. A day later, the seam was sanded away then primed to check for mistakes.
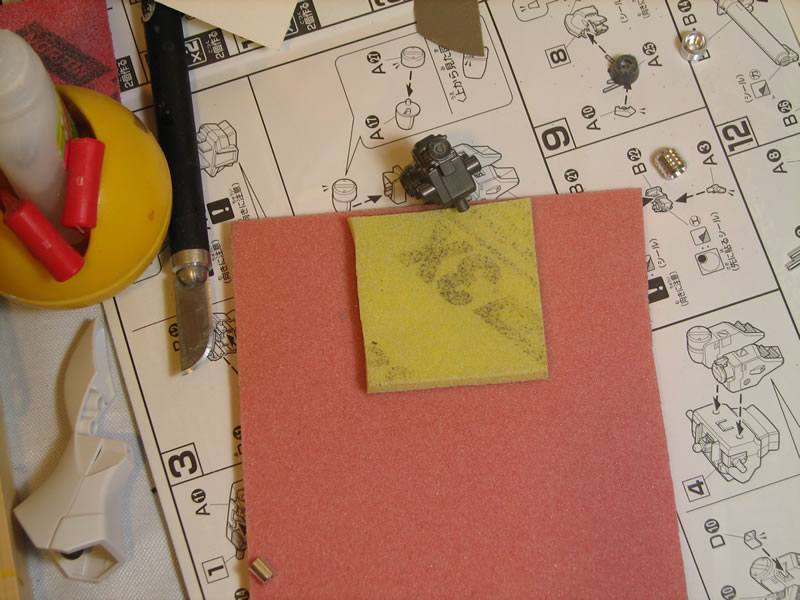
Below is the process of sanding nubs (bear with me, as I'm using these to update my presentation)
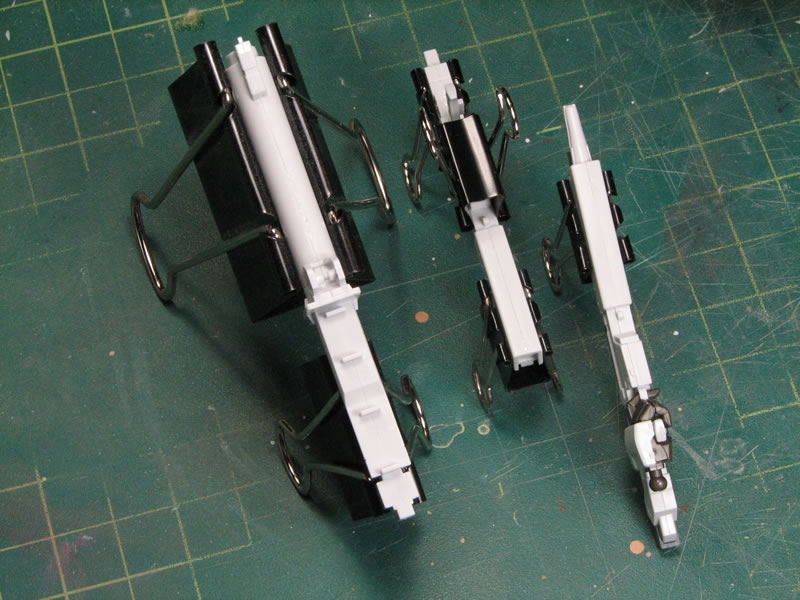
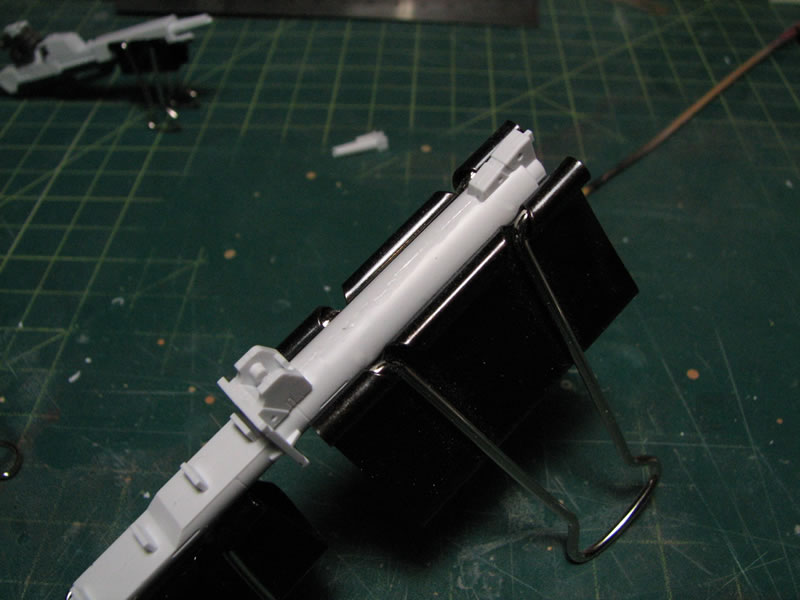
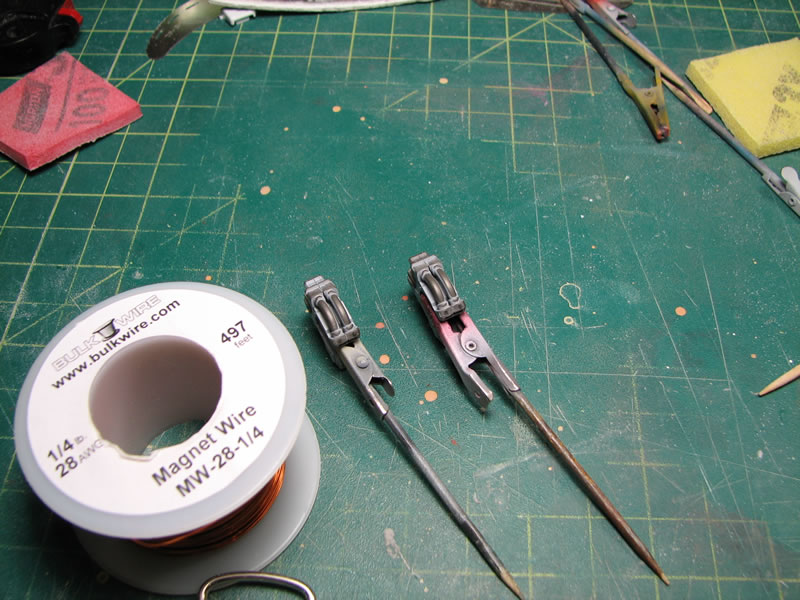
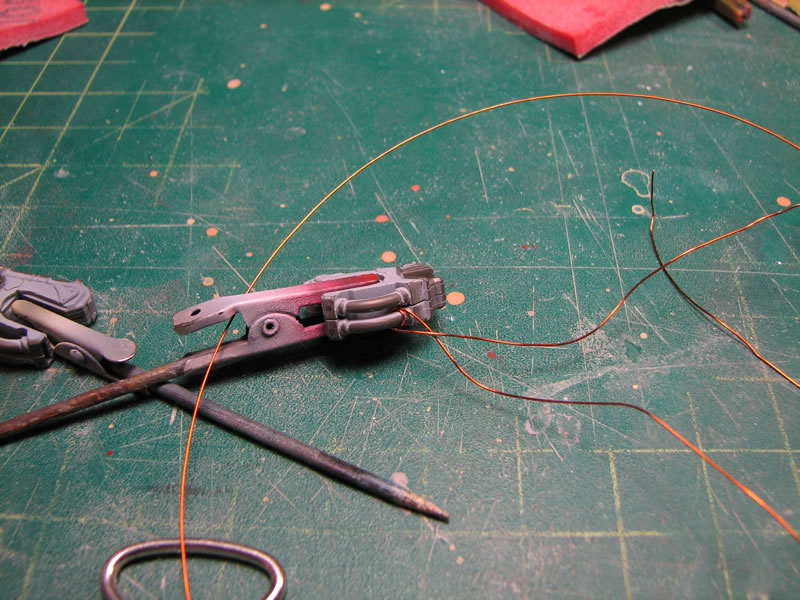
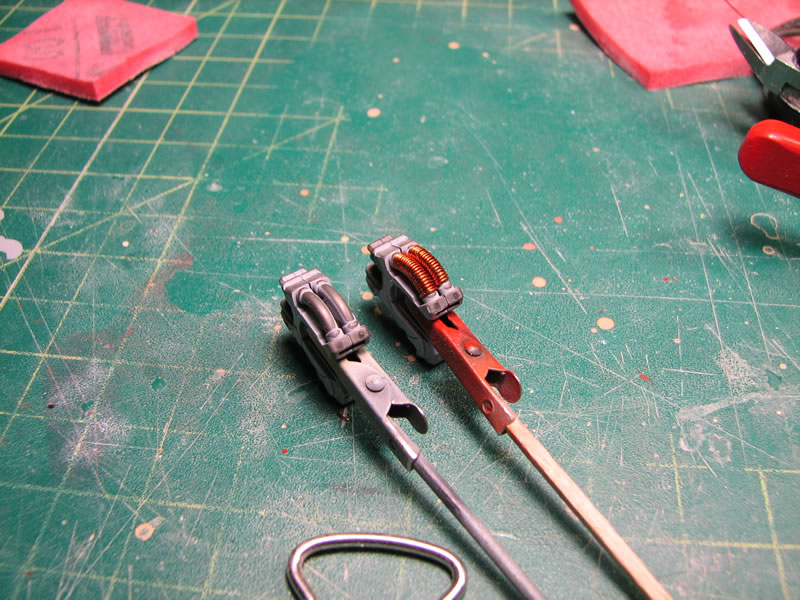
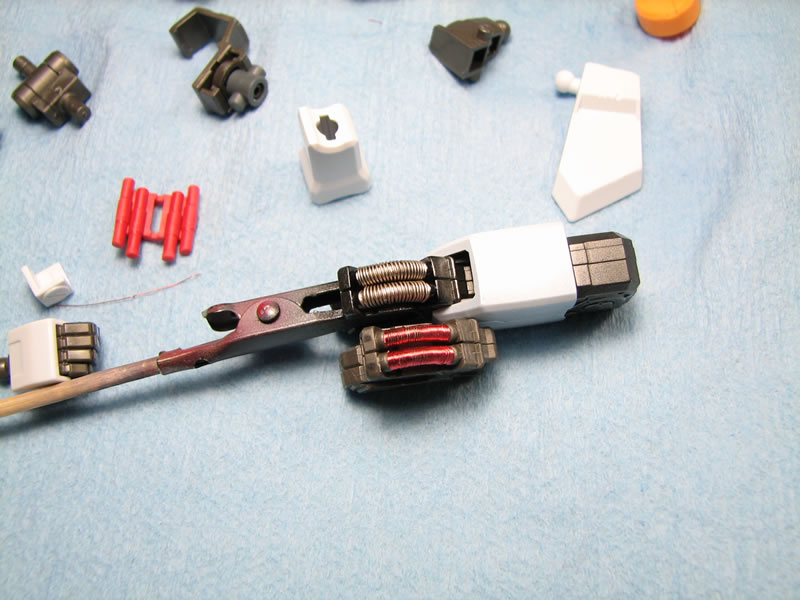
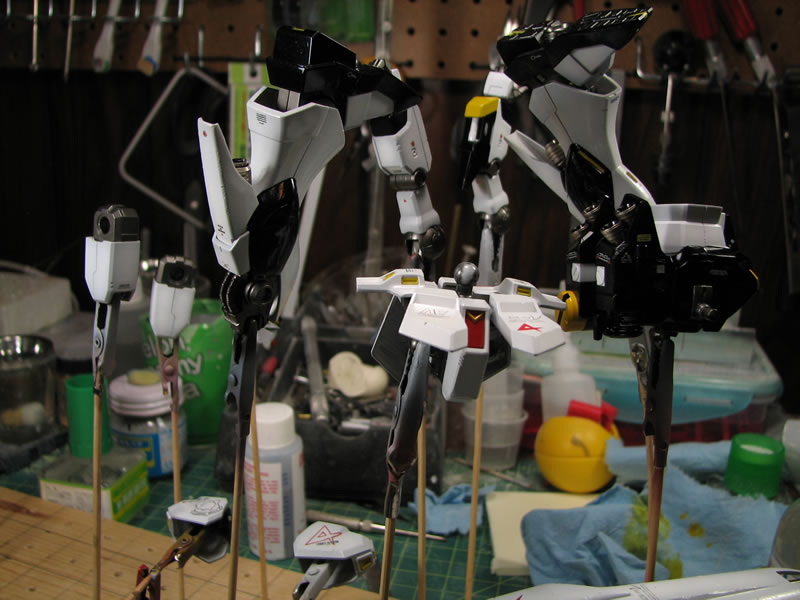
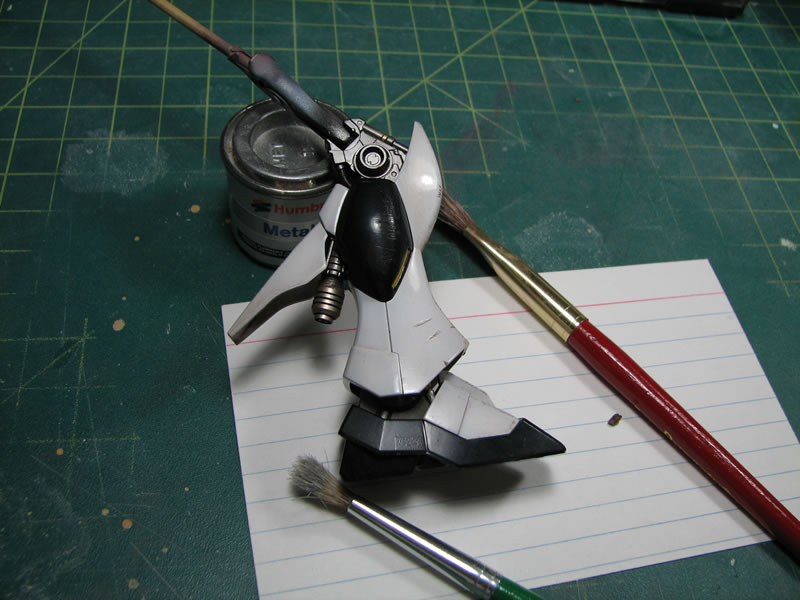
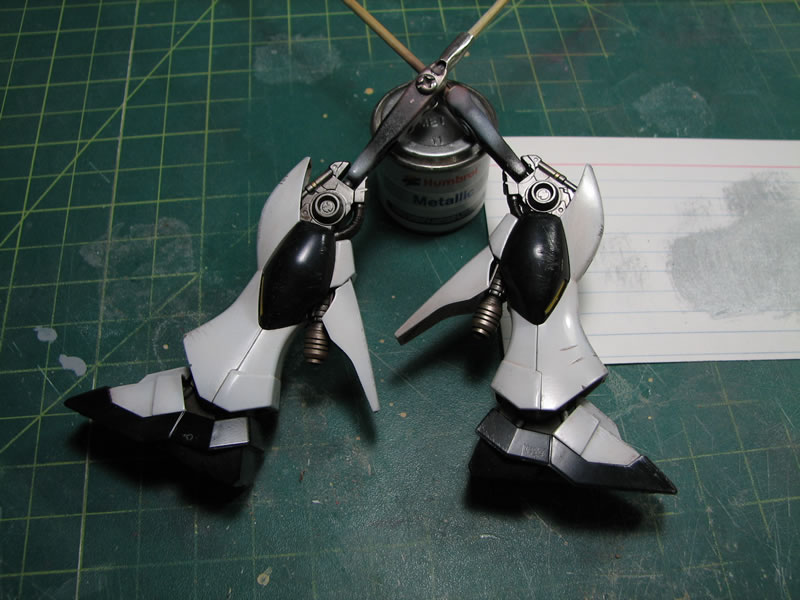
Next up I decided that the tube behind the knees needed a little spicing up, so using some magnet wire, I wrapped them to create a spring wrap around them.
Earlier today, I got to spraying on the first base color coat. A couple of hours later, I sprayed on the white.
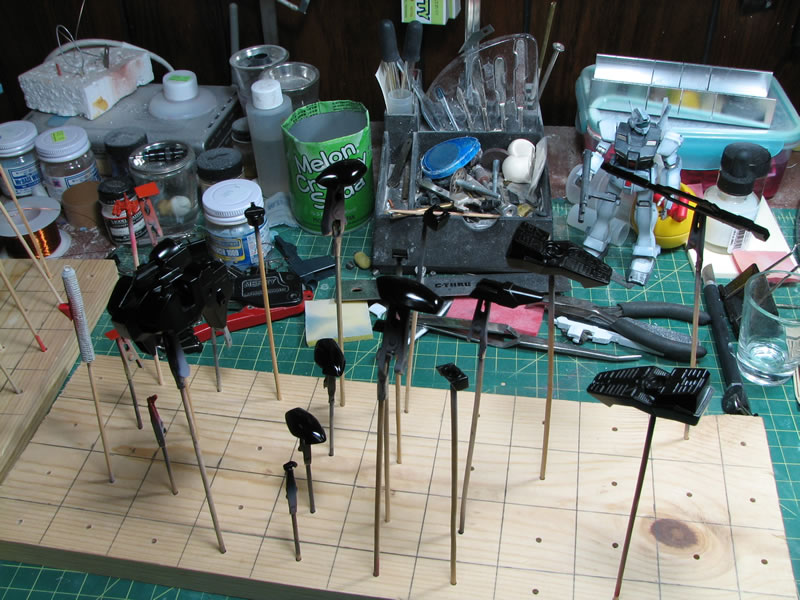
More pictures for use in my presentation, showing the difference from the base color to the preshaded white.
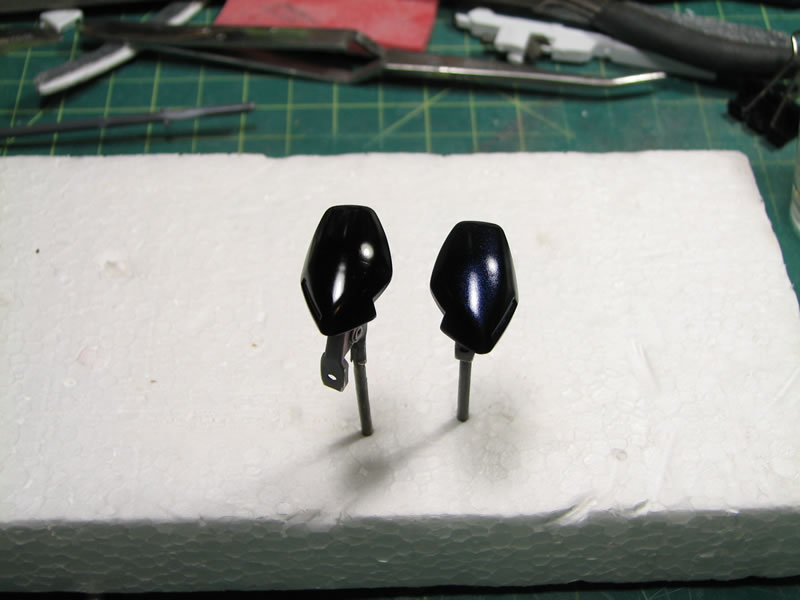
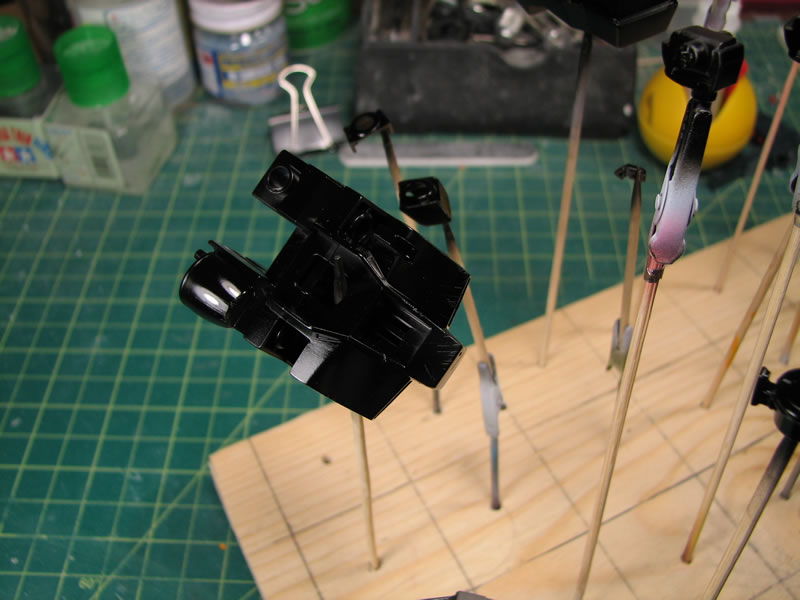
April 7, 2008: Small little update. I painted on the pearls for the black and white painted parts.

And I finished most of the metallics. I still need to do detail painting to finish off the rest of the metallics.

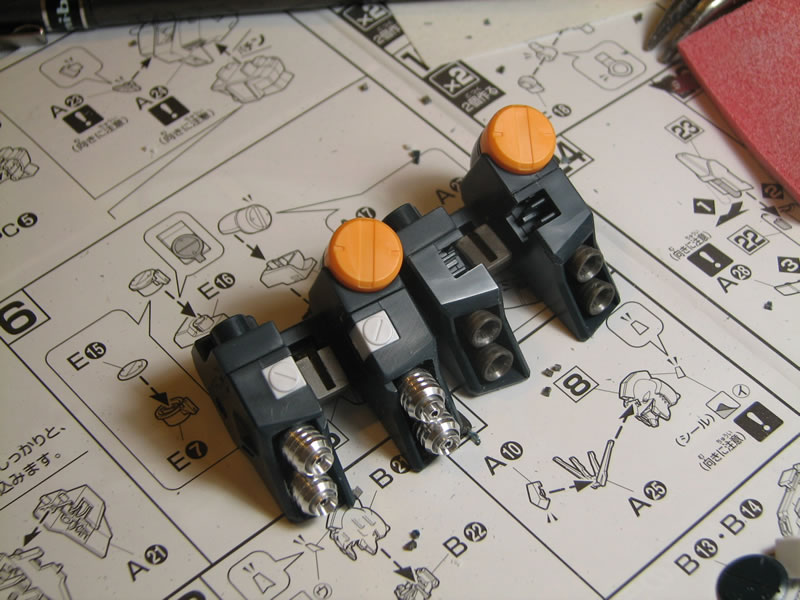
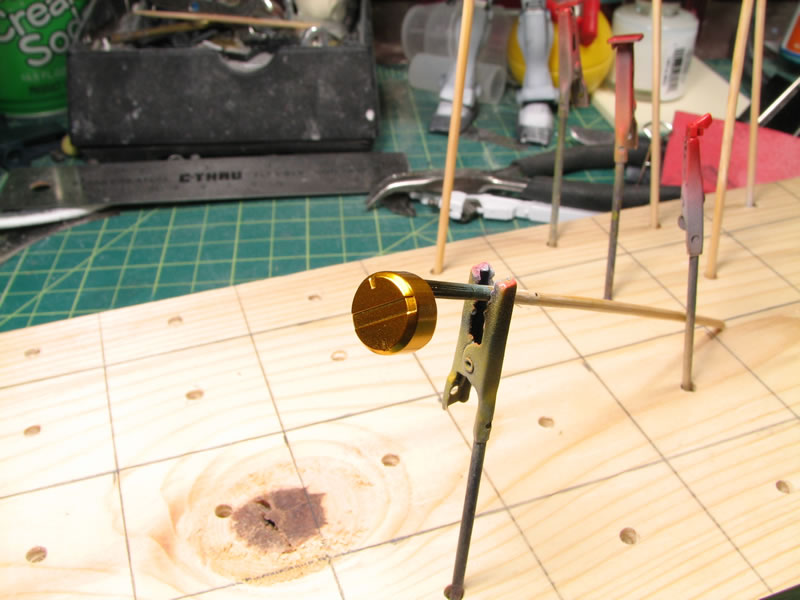
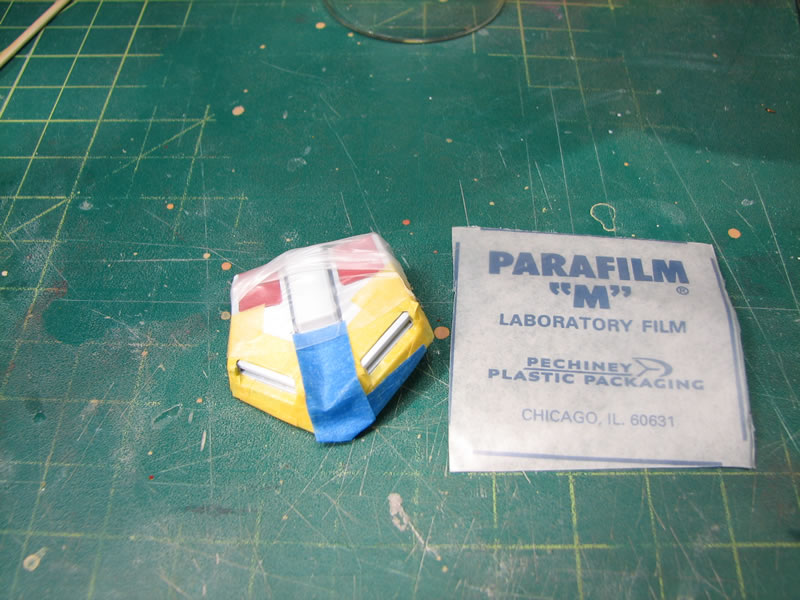
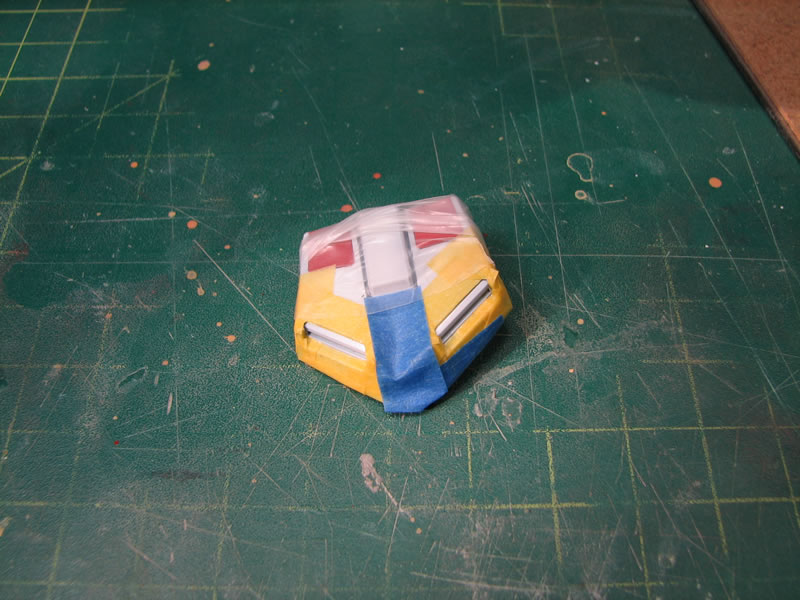
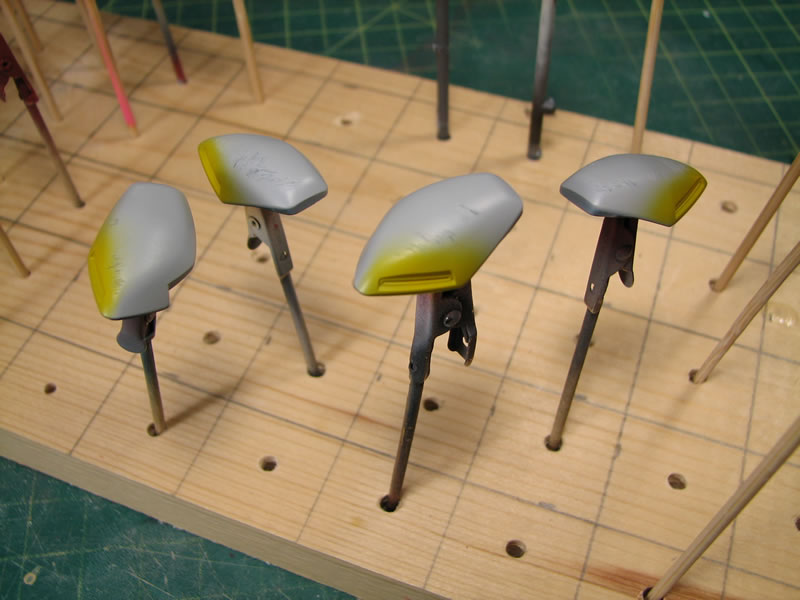
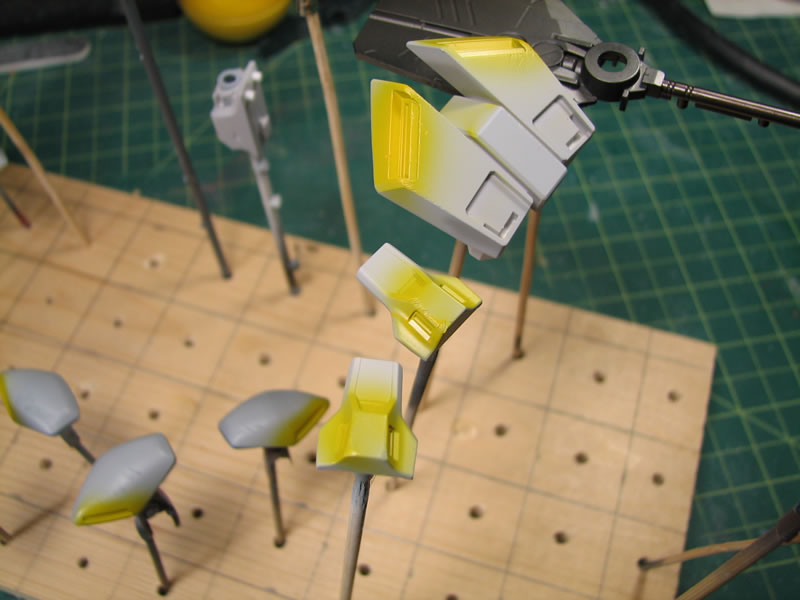
April 9, 2008: Small update as I start finishing up most of the major painting done here are some pictures. For the yellow parts, I went with the clear yellow/orange mixture over chrome look. I also took some better pictures of the painted aluminum thrusters.
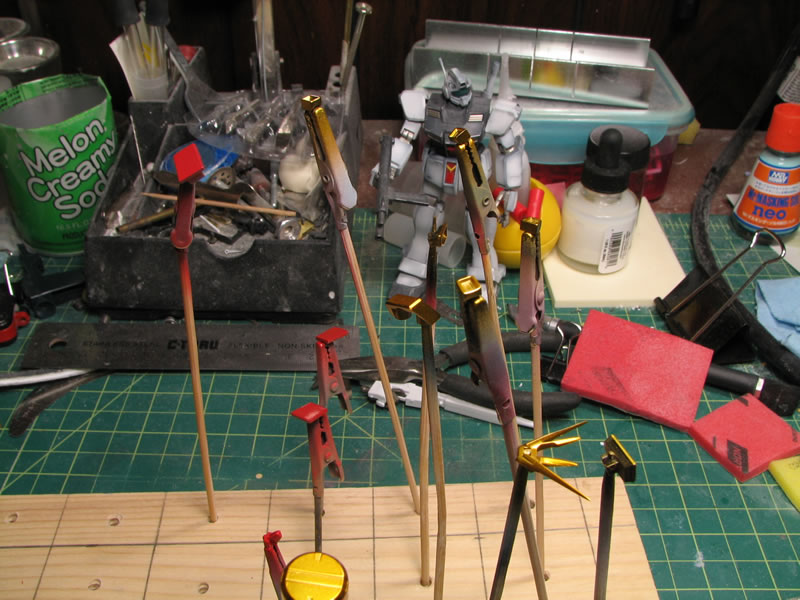
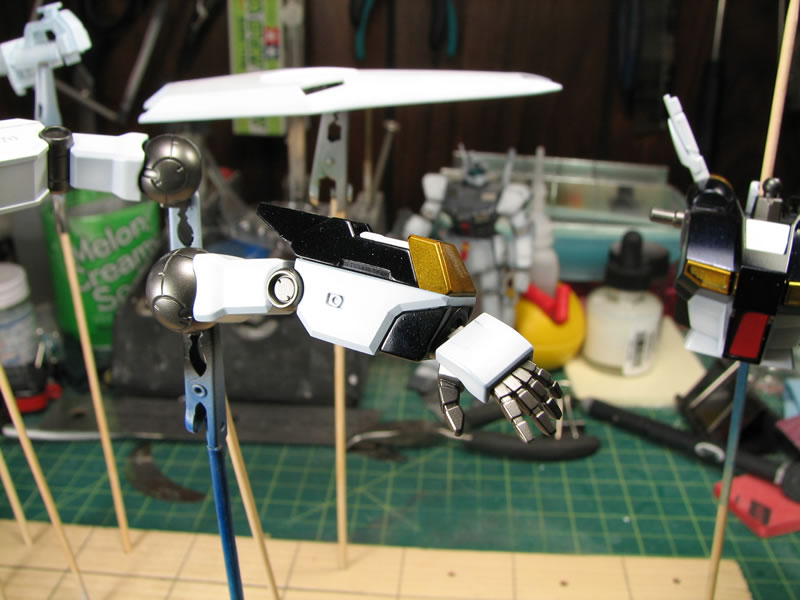
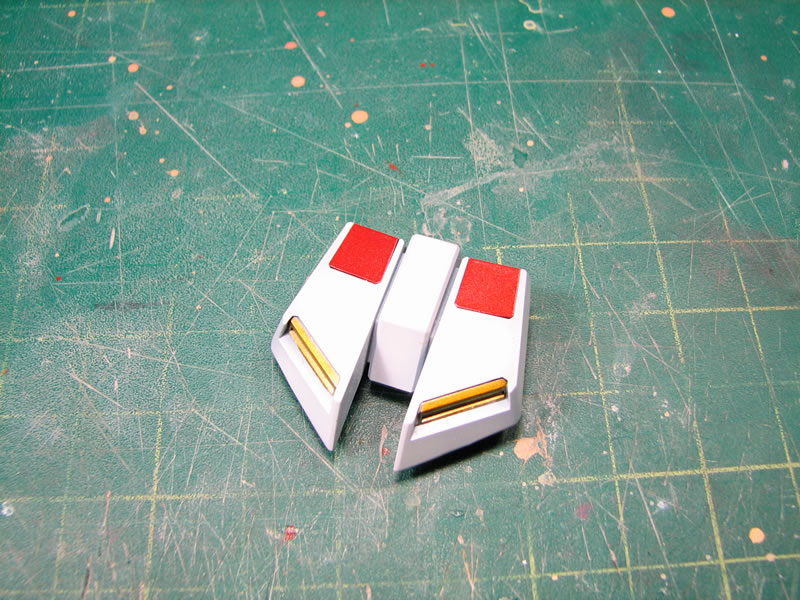
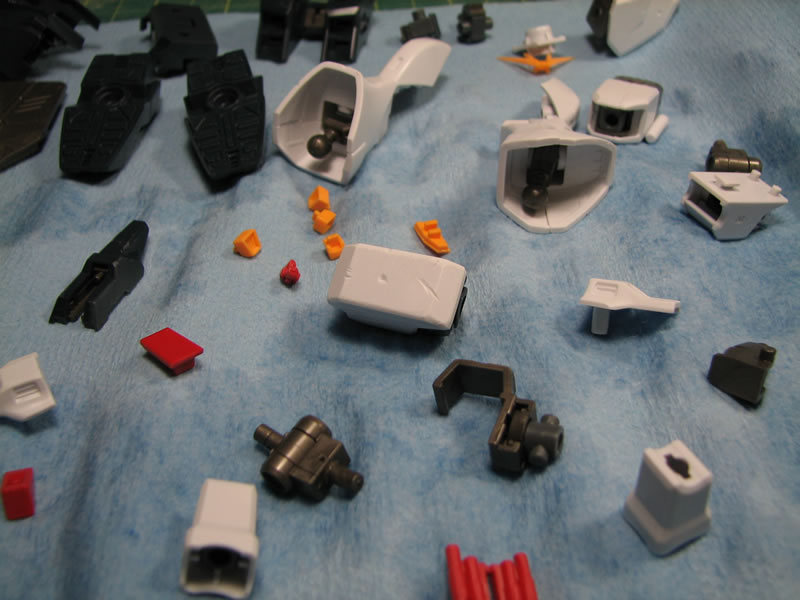
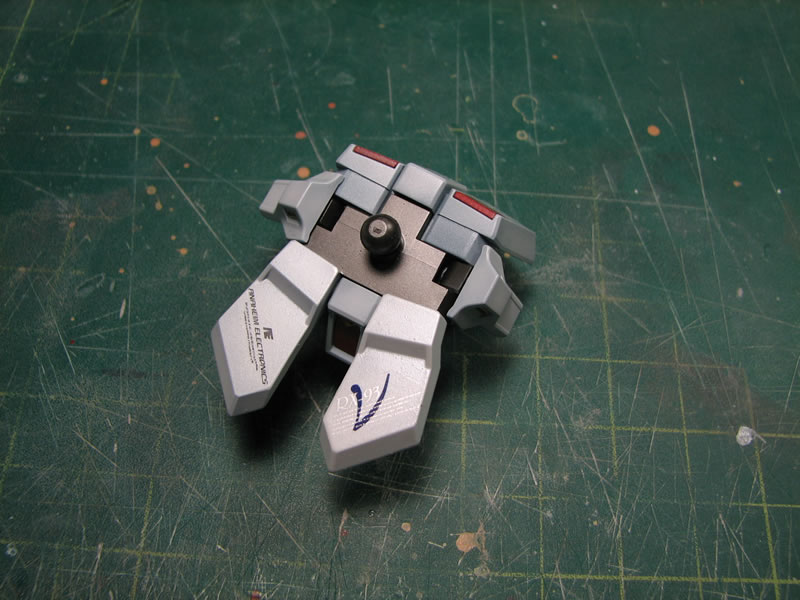
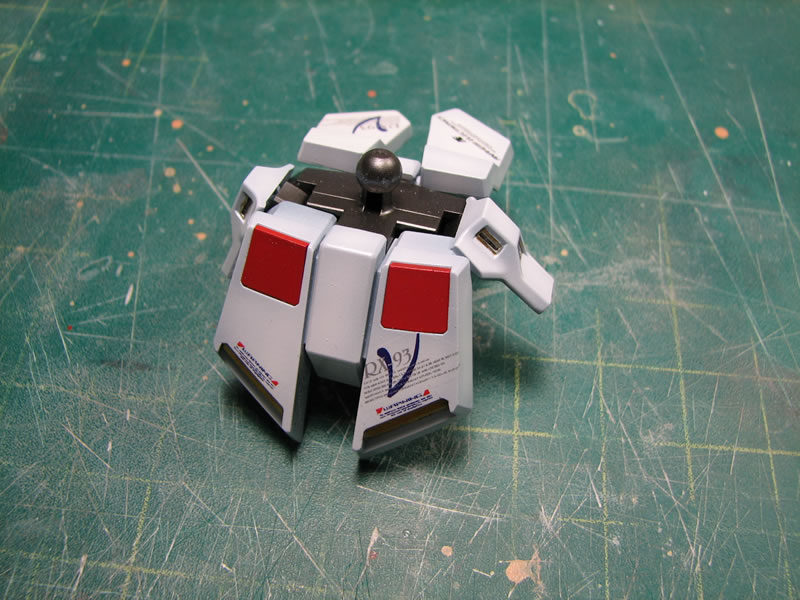
Below are some of the subsections assembled. I will be working on the rest of these parts as subsections. I still need to mask and paint detail areas.
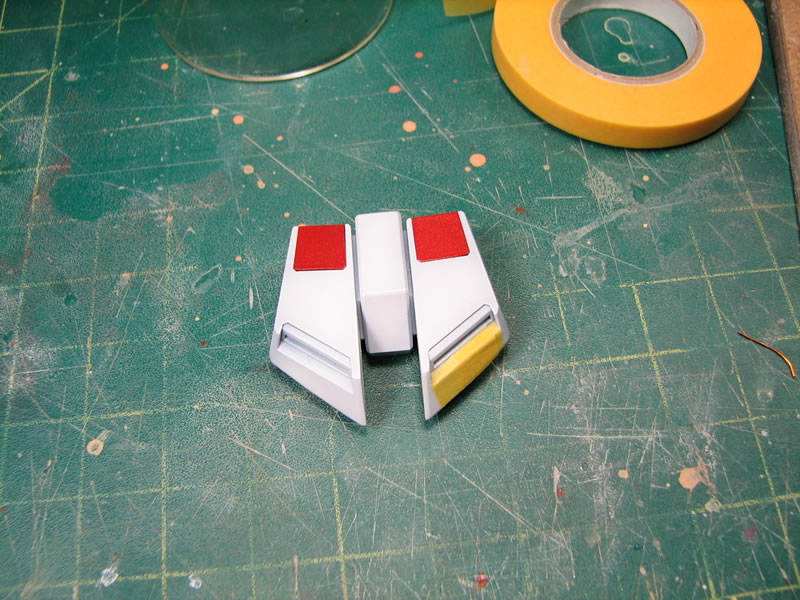
April 15, 2008: Tax day update. I did a small amount of work over the weekend with masking and painting. I also finished painting the internal details.
April 20, 2008: Weekend update. I actually got a good amount of work done this past week, and during the weekend with the build gathering. For the following sets of pictures, I started getting work on the other Nu. Since the kit was snapped and played around with all the while I was building the other Nu, I needed to soak the kit and wash it before spraying on primer. The oils, dust and dirt in the general environment makes it hard for paint to stick to the plastic.
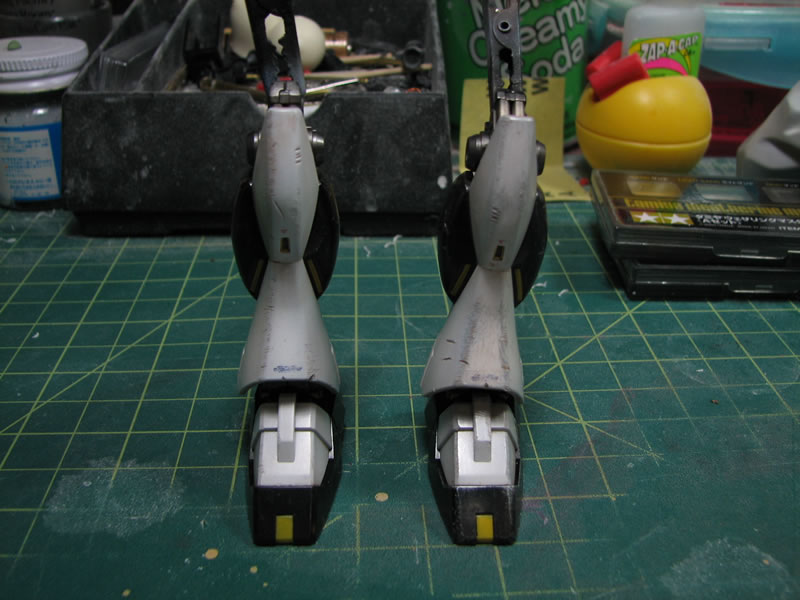
Also, I decieded to do the wire wrapping around the tubes on the back of the knees on this kit as well. For a bit of contrast with the other Nu, I used higher guage magnet wire for a thinner wire wrapping.
The parts were primed, and this time, the lesson learned from building the previous kit, I sprayed the areas that needed to be masked off first.

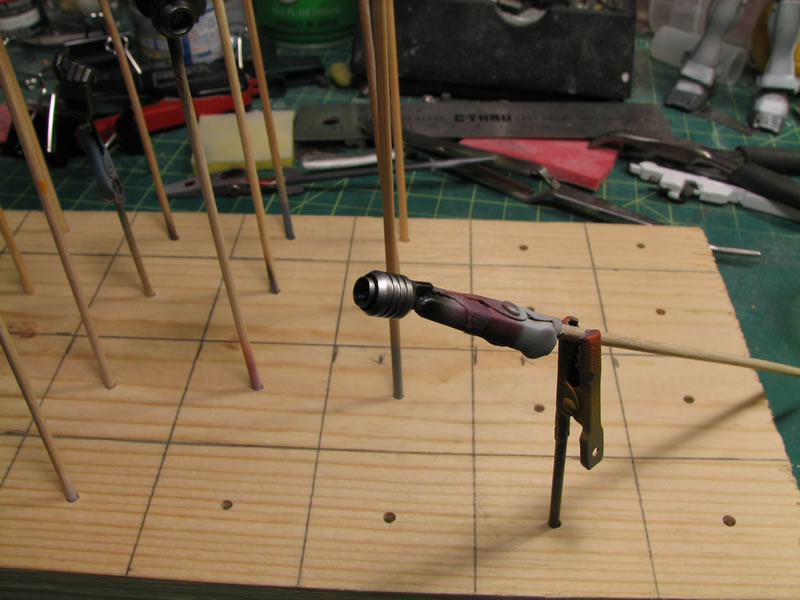
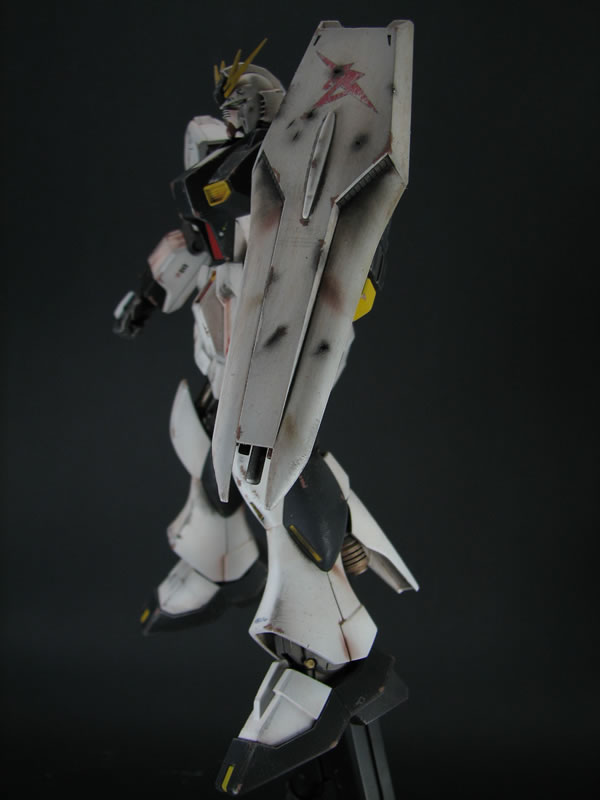
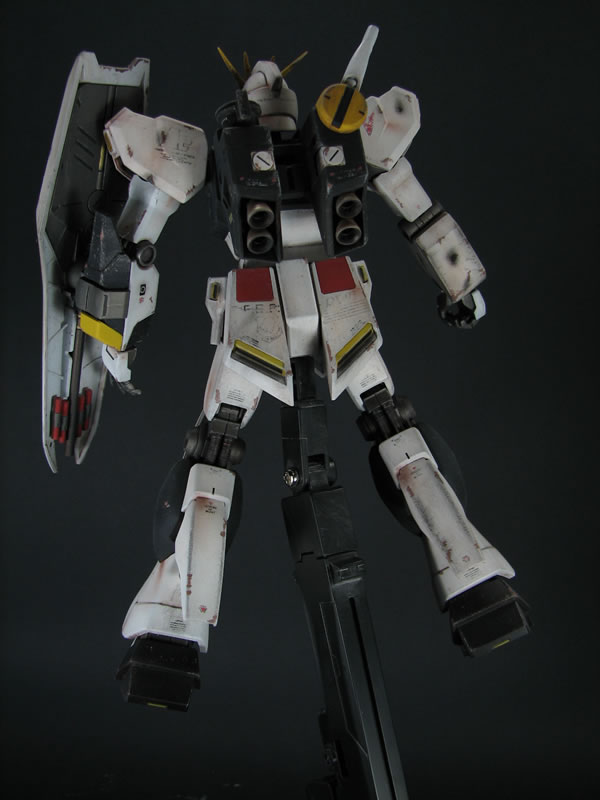
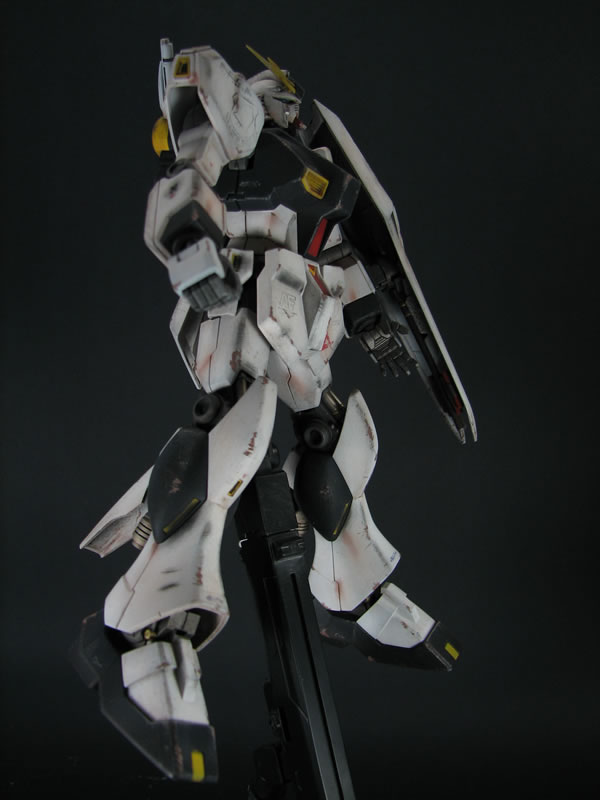
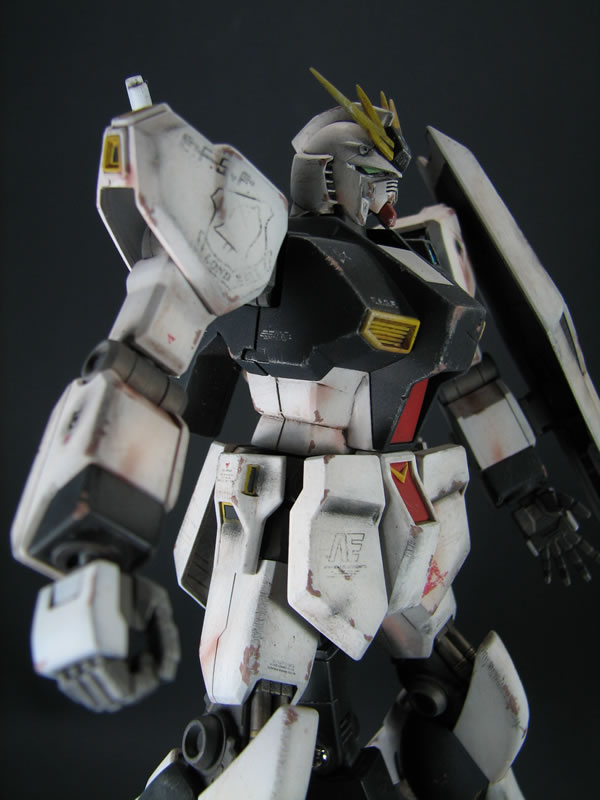
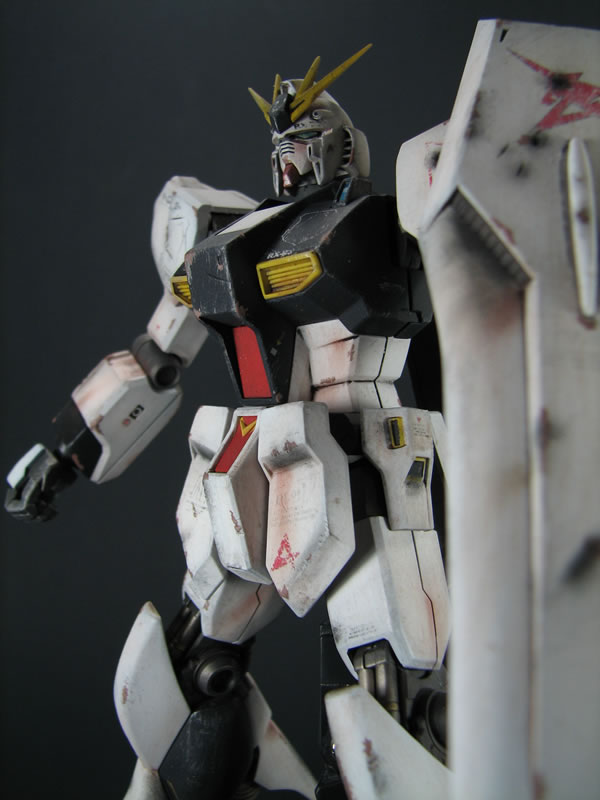
I put gouges and scratches through out the kit, as said earlier, this will be build with a different style.
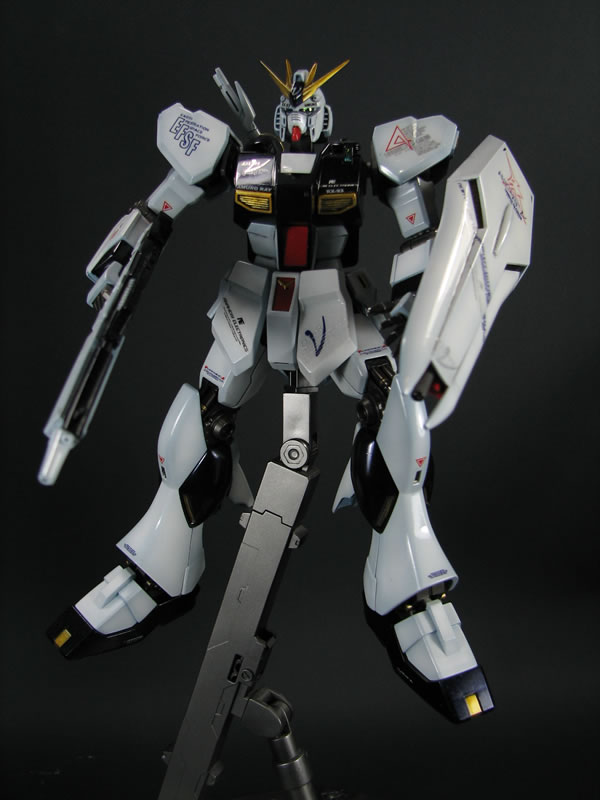
During the build gathering, I sprayed on the white using the primer as the base color for preshading. This is another contrast with the other Nu, as the shading is gray toned as opposed to the grayish-blue tone for the other Nu.


May 4, 2008: Last week and through the weekend, I returned to the Nus to get some work done of them. Having clear coated both kits, they were ready for the decal stage.
Here is one of the nus snapped for a few quick mock up pictures

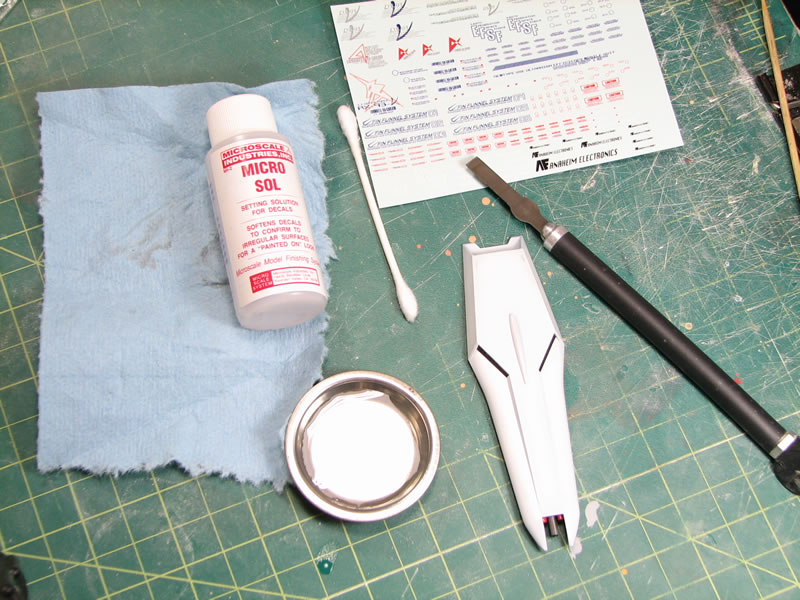
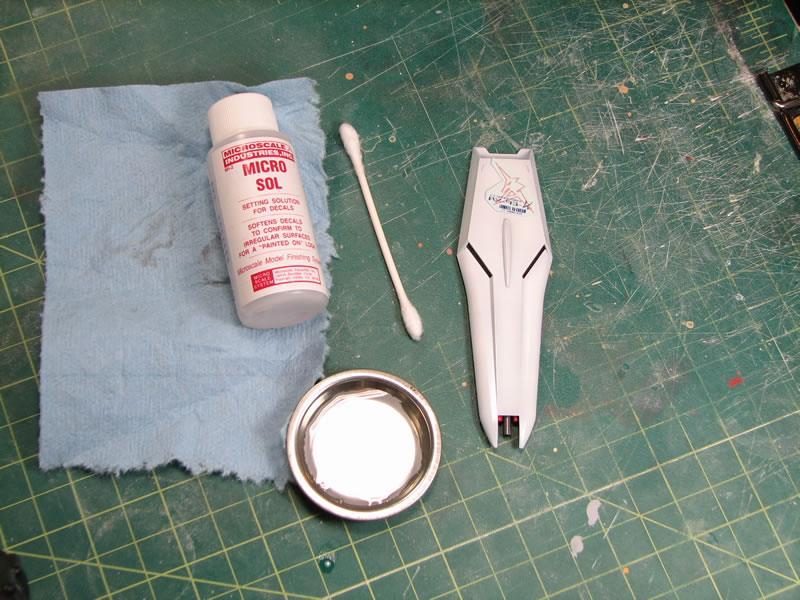
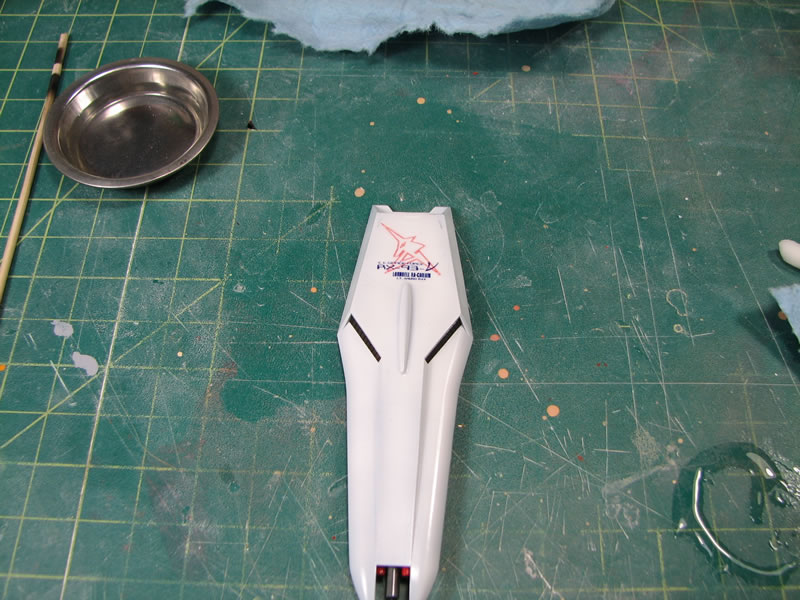
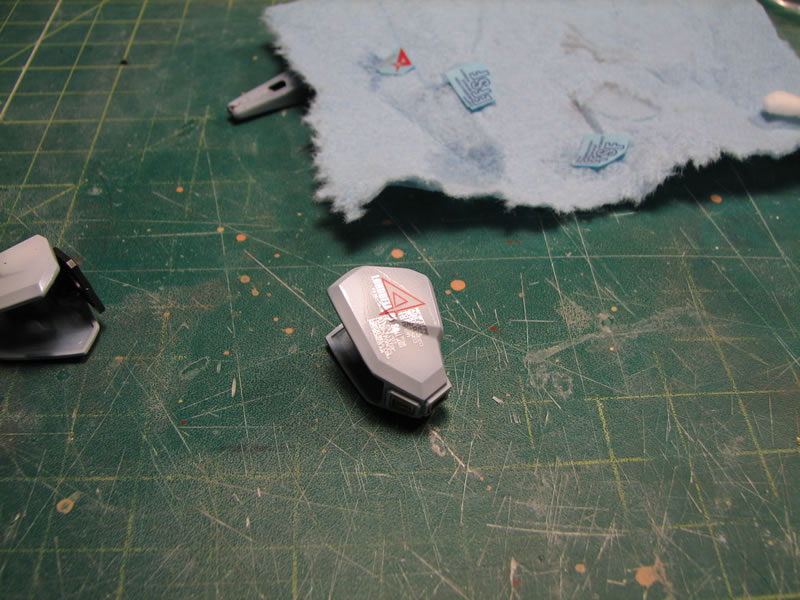
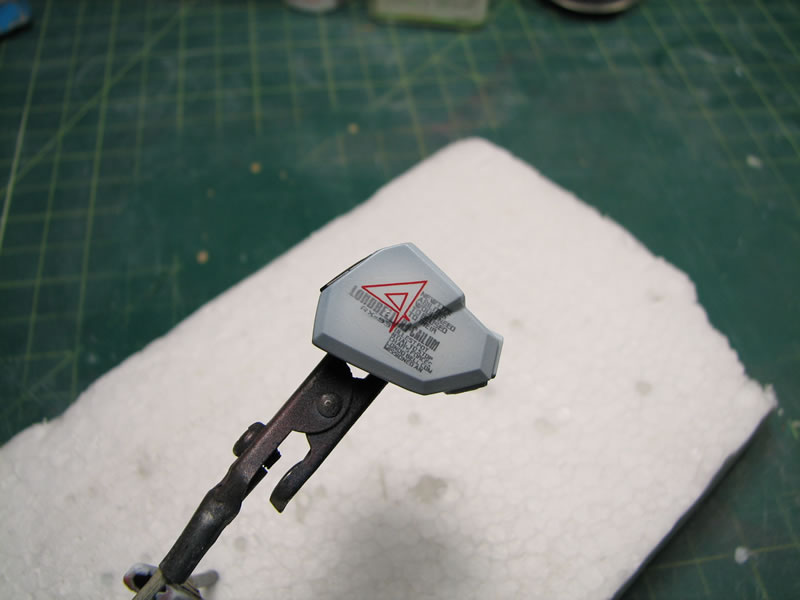
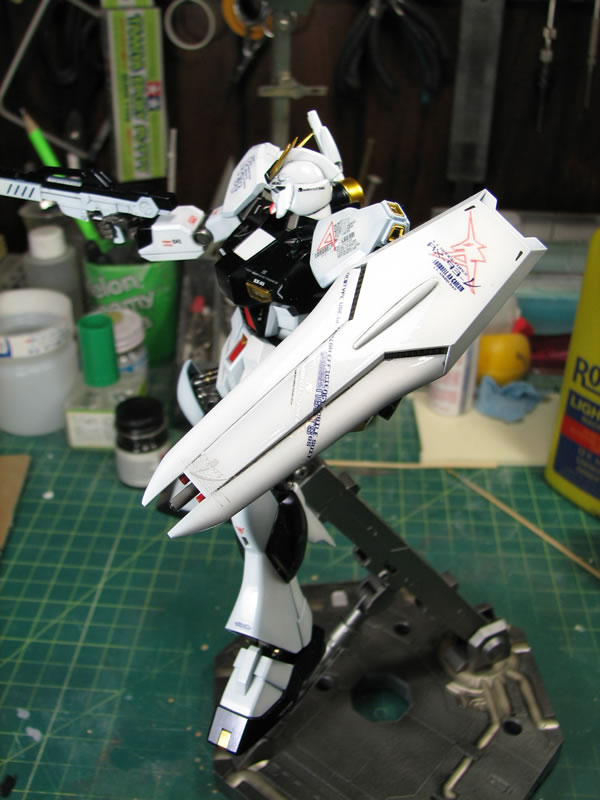
Working on the shield, since I'm redoing some of the tutorial videos, I shot a new video for water slide decal application. Here are some of the pictures taken duing that process.
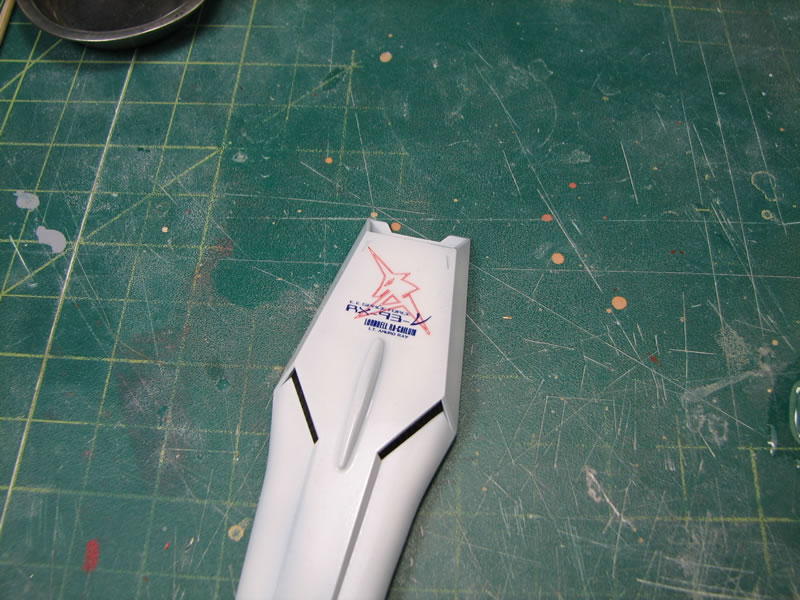
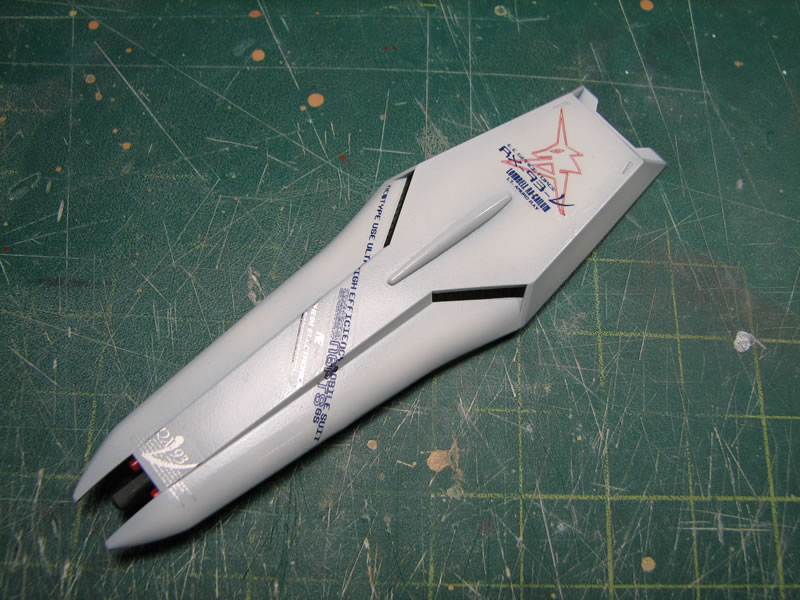
More decal work.
Once the decals were done for the "shiny" version, I started spraying the clear coats. So far, I've sprayed about 6 or so coats of clear. I may sand and spray some more clear, but I'm letting the clears cure for a few days before I make the decision.


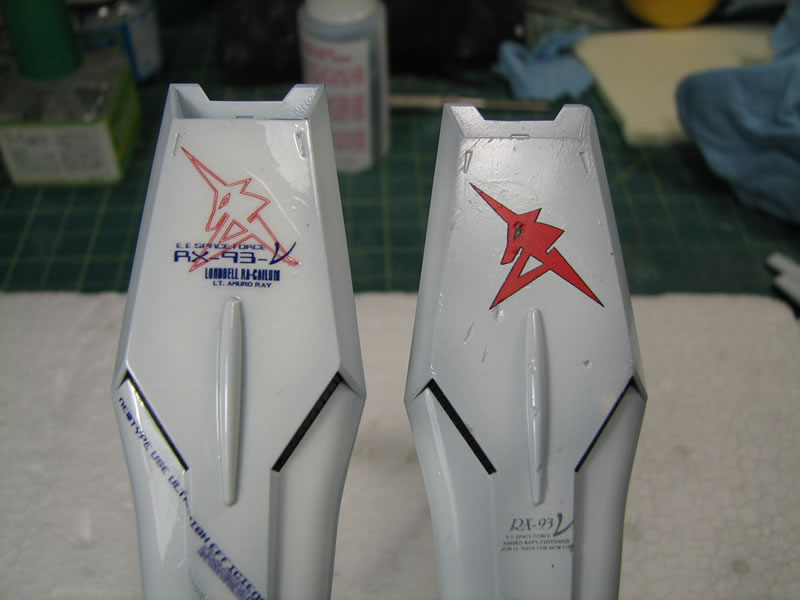
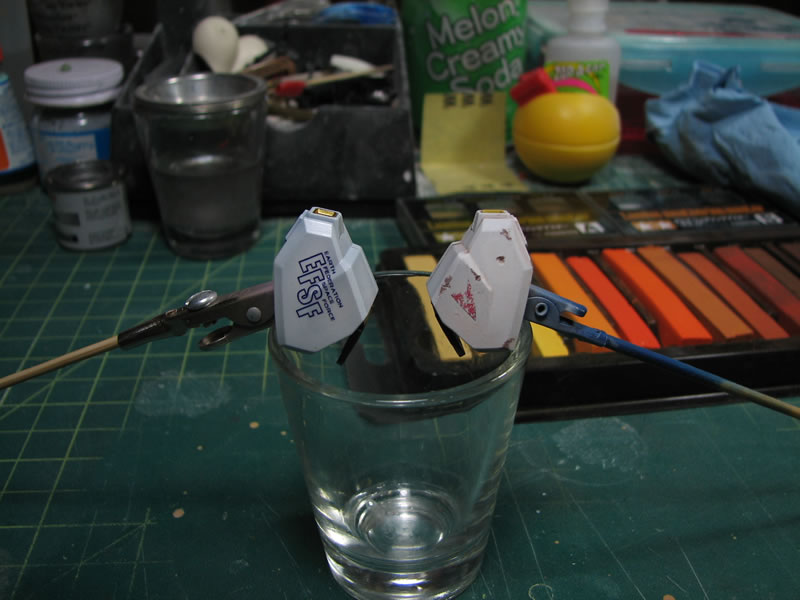
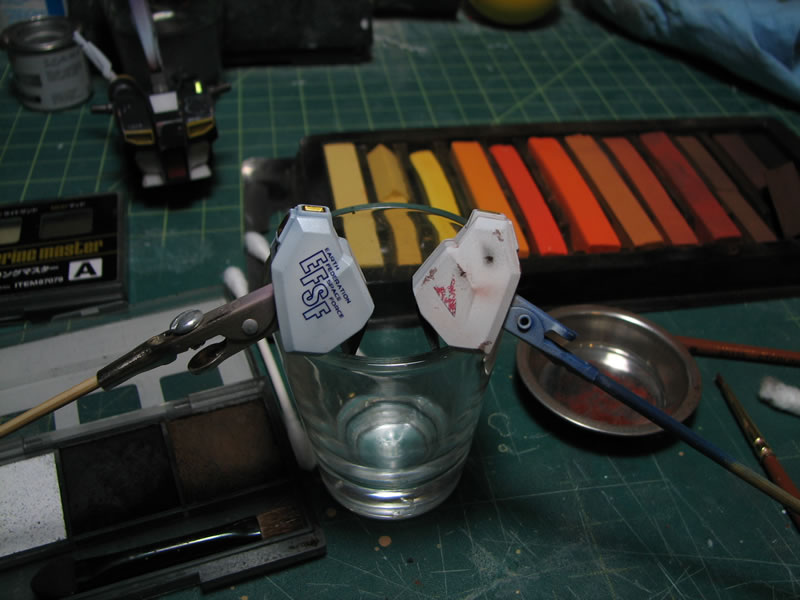
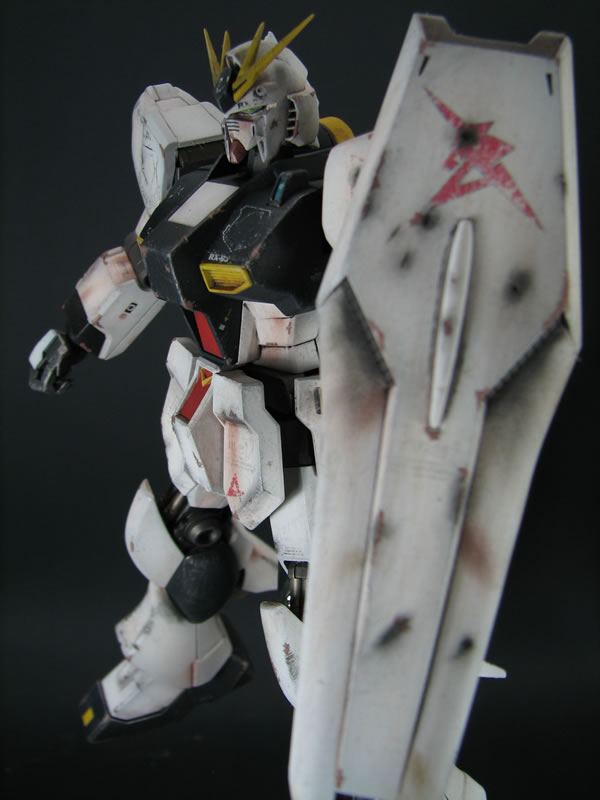
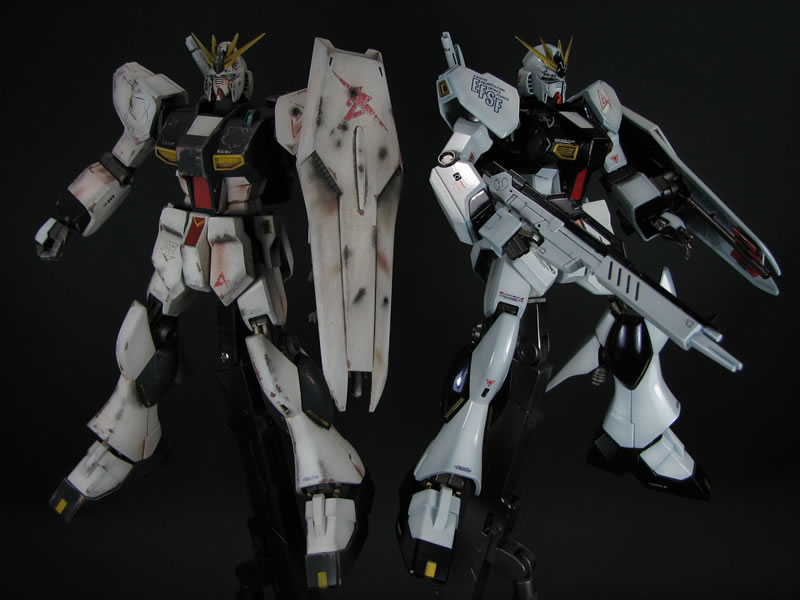
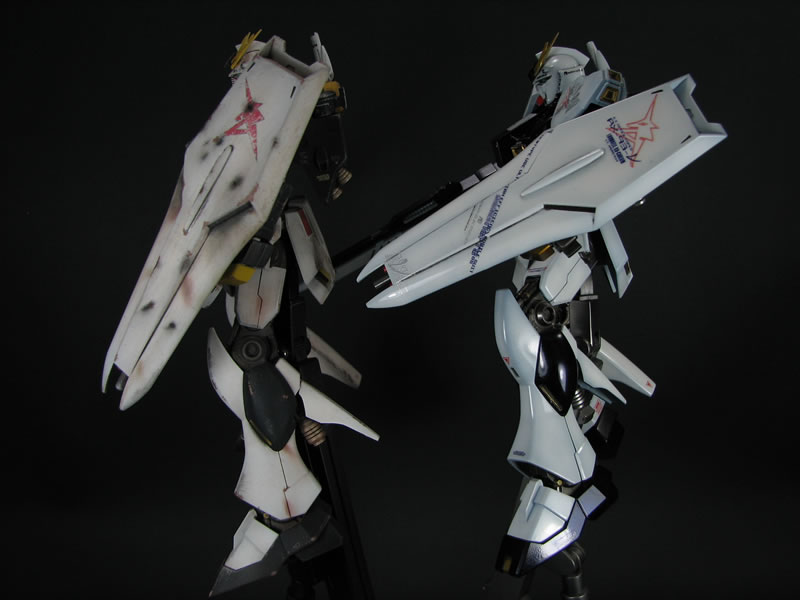
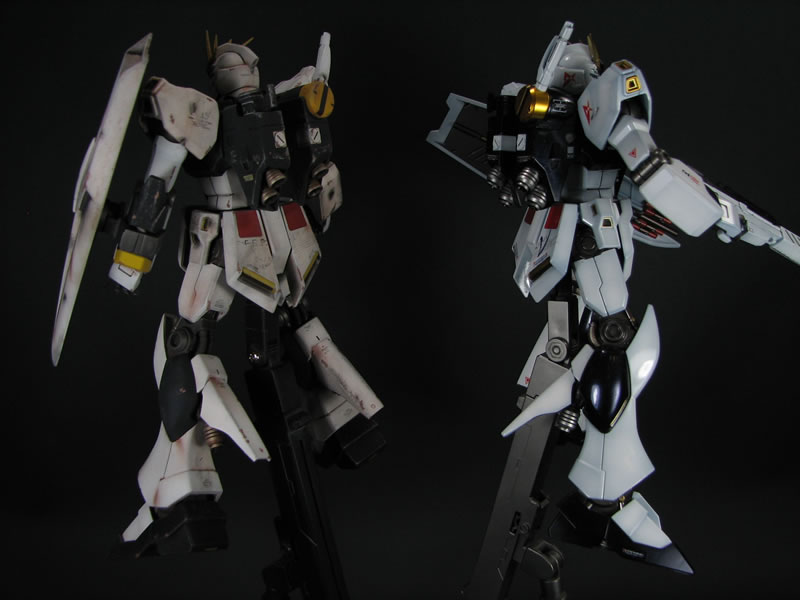
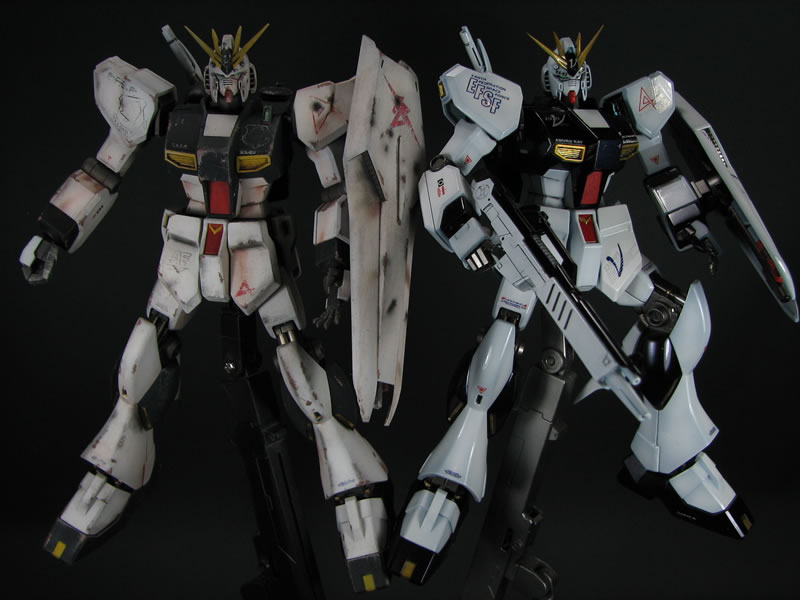
I also did the decal work for the "beat up" version. Here are some comparison pictures of the shields.

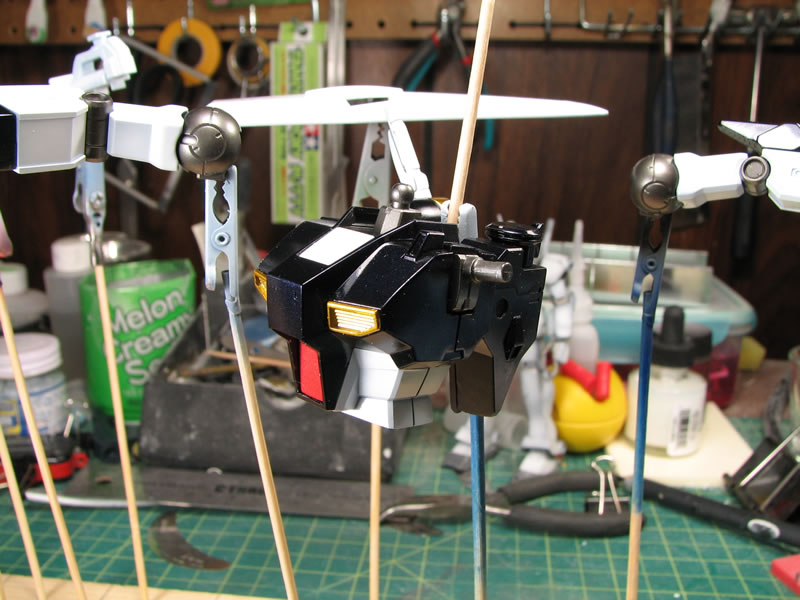
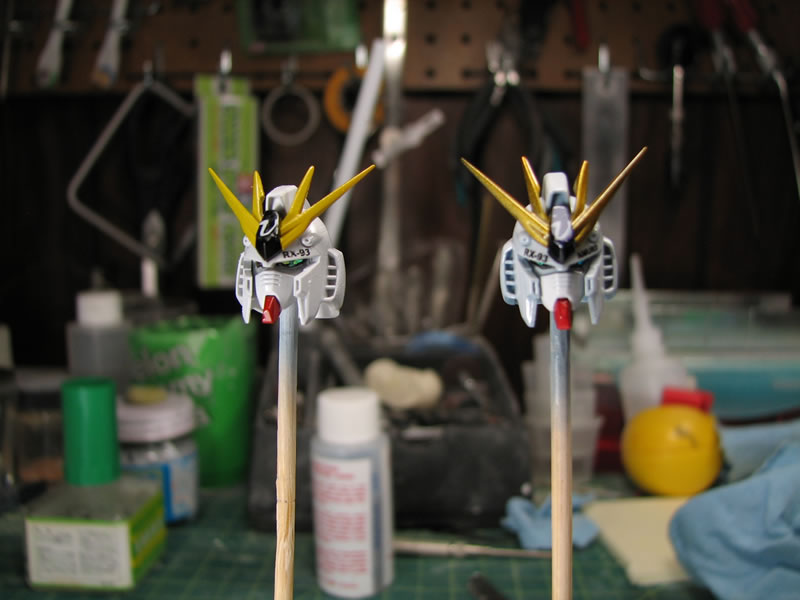
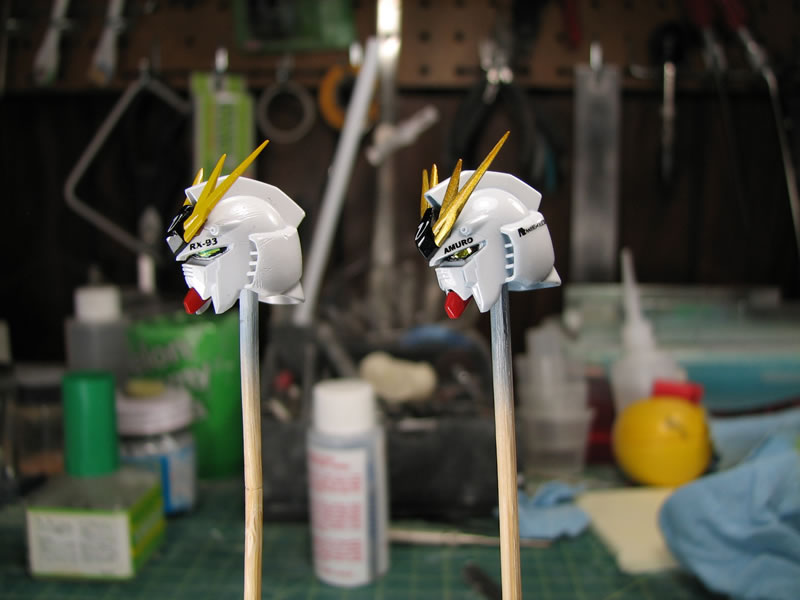
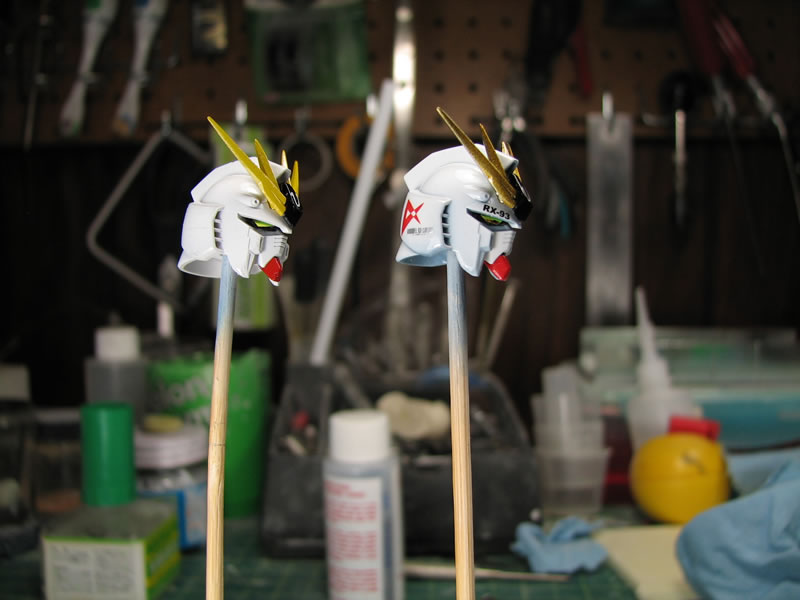
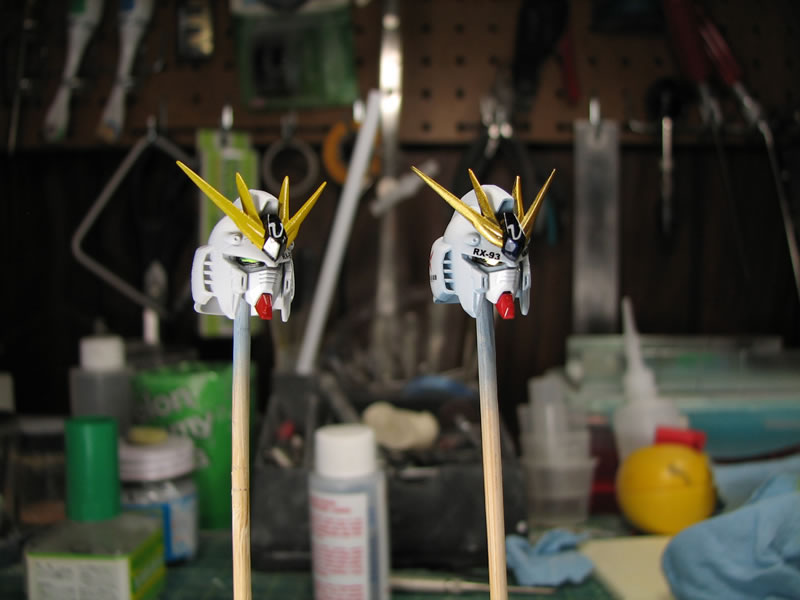
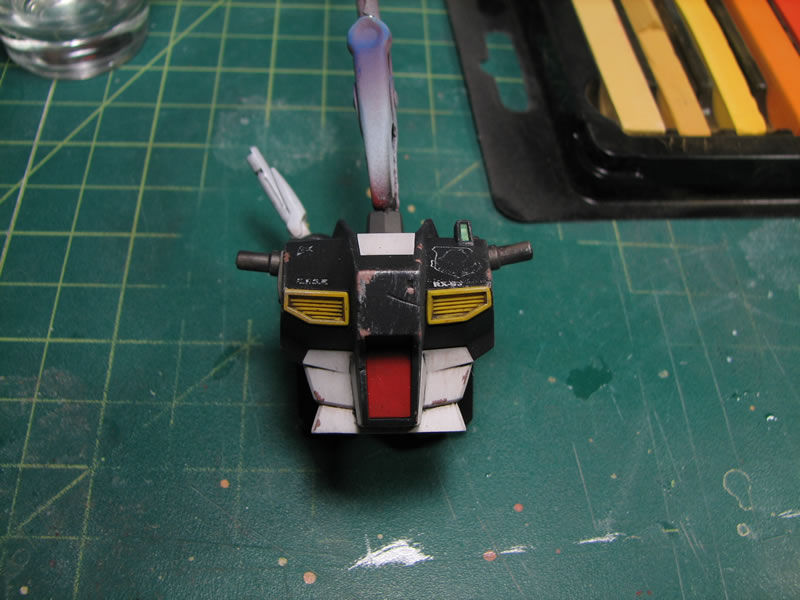
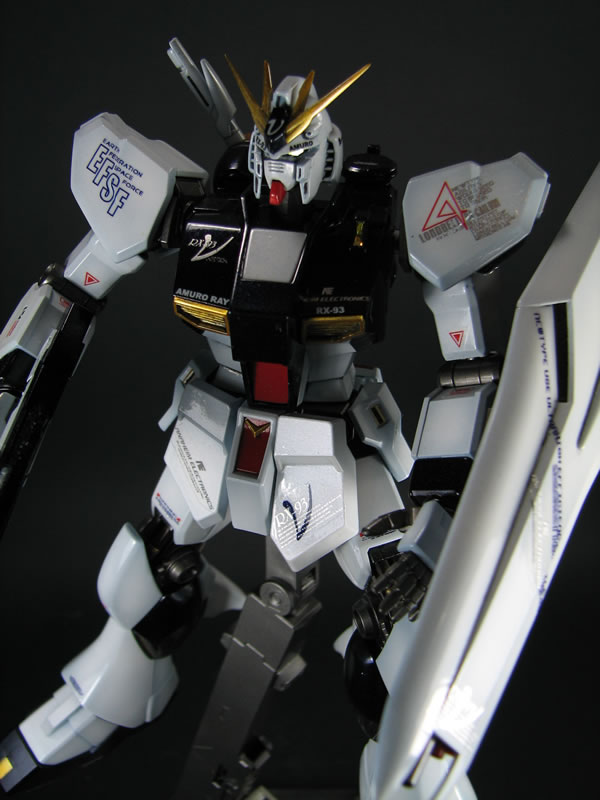
Comparison pictures of the heads.
The decals for the beat up Nu were weathered using some 100 grit sanding pad lightly rub against the decal to remove bits and pieces of the decal to make the decals look faded and worn. Once that was done, the parts were then sprayed with a clear coat to seal in the decal as well as help hide some of the decal edges.

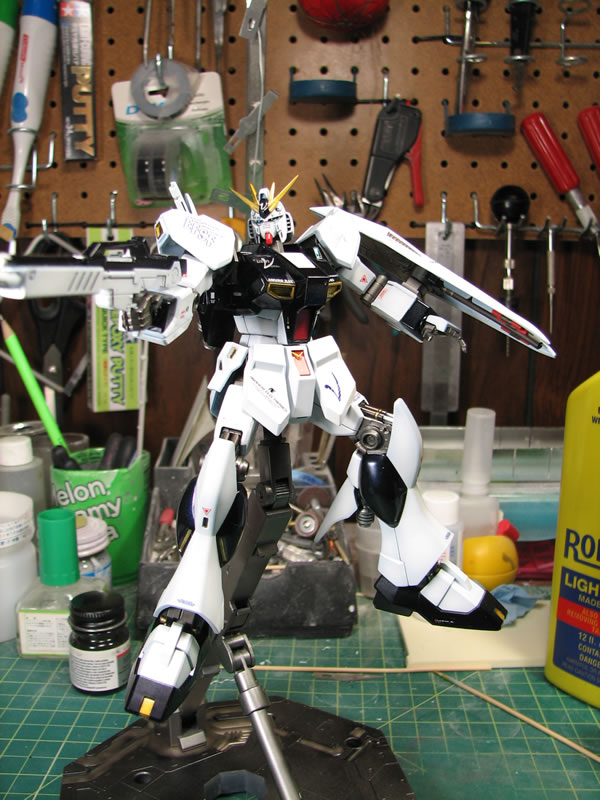
Next up is the panel lines and a few more coats of clear for the shiny version which will compete that kit. The beat up version still have a couple of more steps to go for completion. For now, here are the kits in a quick mockup.
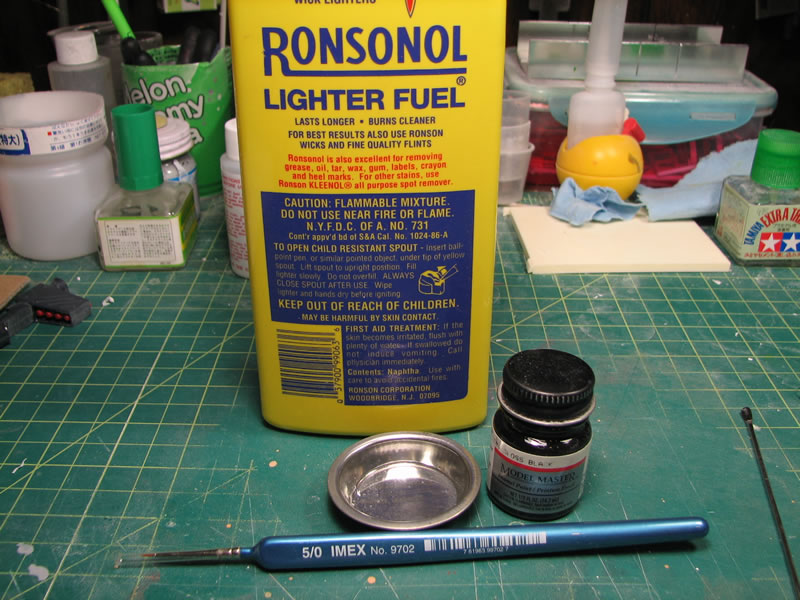
May 14, 2008: Small little update. Yester, I used model masters enamel black and napatha based lighter fluid, I created a wash solution that I applied to the panel lines of the kit. Here are some before and after pictures.
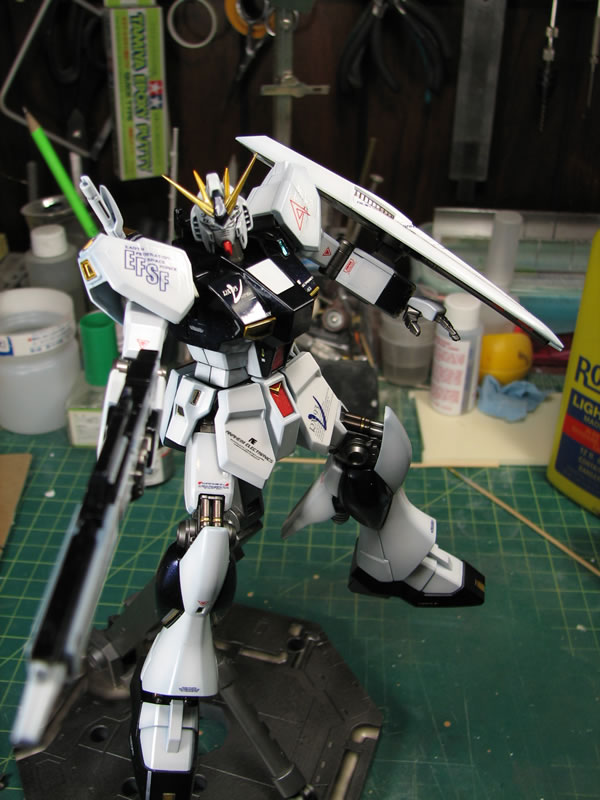
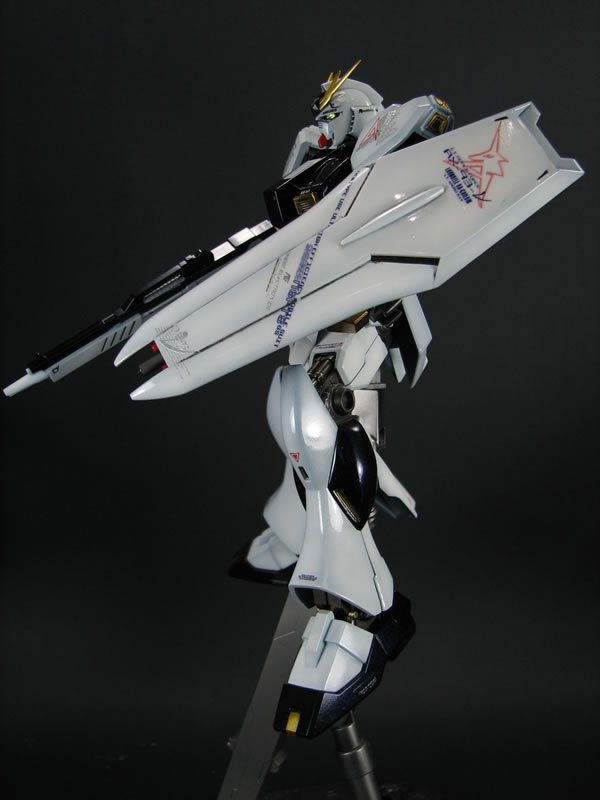
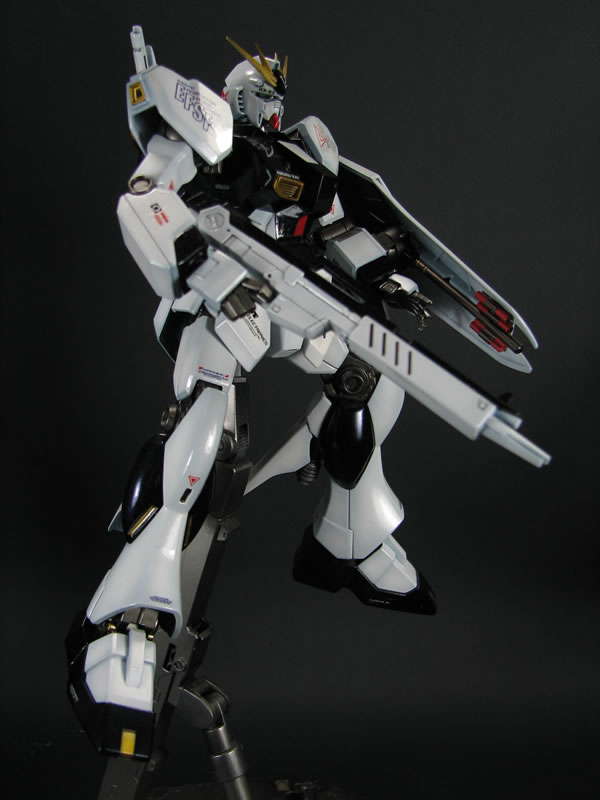
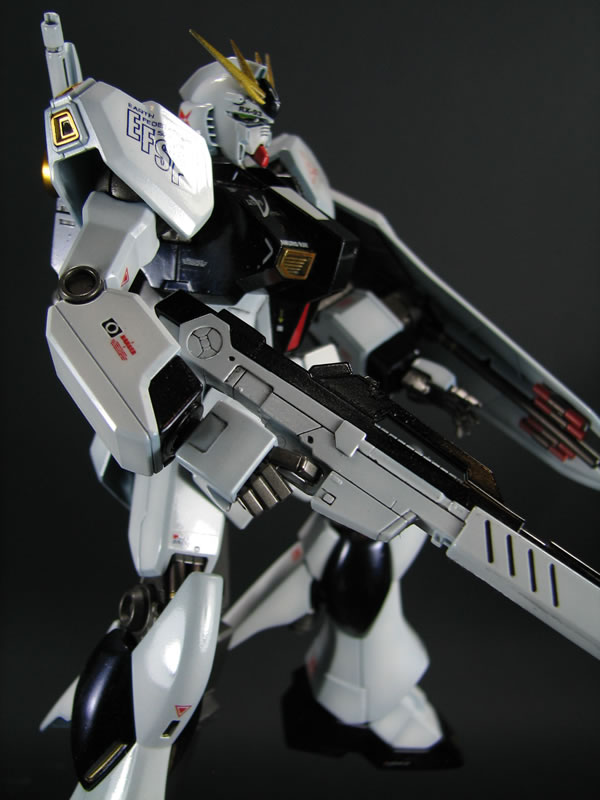
After allowing the wash solution to finish curing, I put the kit together and here's what the first Nu looks like. I still need to build the funnels, but for all intents and purposes, this kit is done. The next updates will detail the process for finishing the other Nu.


June 1, 2008: Finally got off my butt to get a decent update on the progress.... From the last build gathering, I did a couple of demos for the weathering techniques. I then took some videos in the past couple of days of the various techniques that I will update to the site in the next couple of days. First is the fade/filter; below are pictures of the before and after.

Next up was the dry brushing. The following are some comparison pictures.
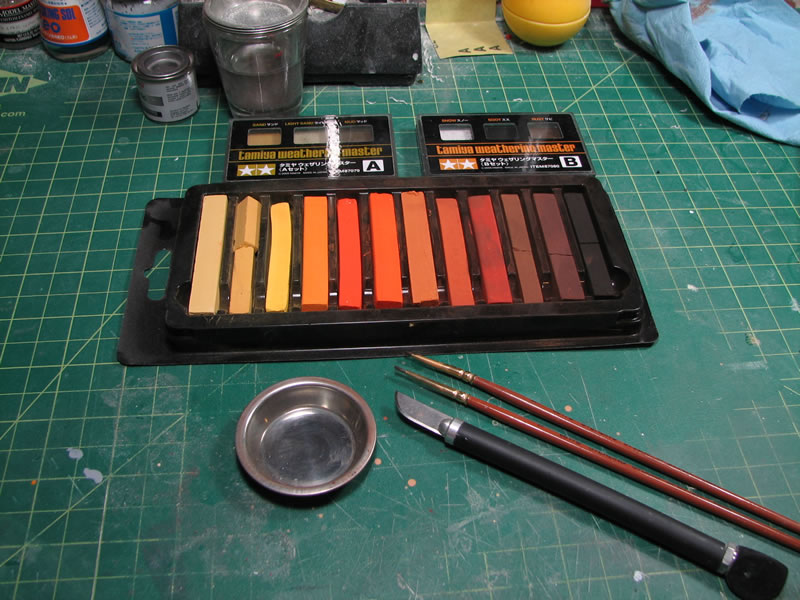
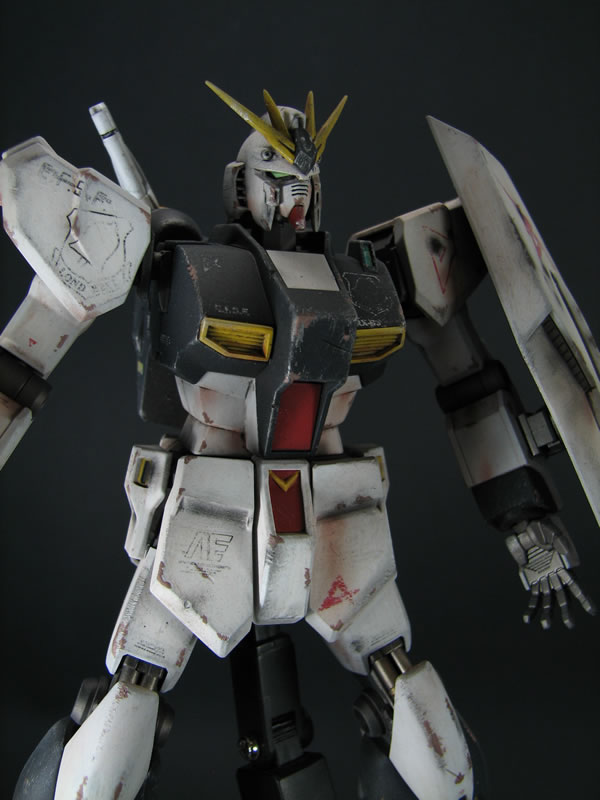
I also did a some paint chipping, but while I managed to make a video of the process, I neglected to take before and after pictures. Below is the final step in my weathering process, for which I use a combination of the tamiya weathering kits (glorified makeup kits) and chalk pastels.
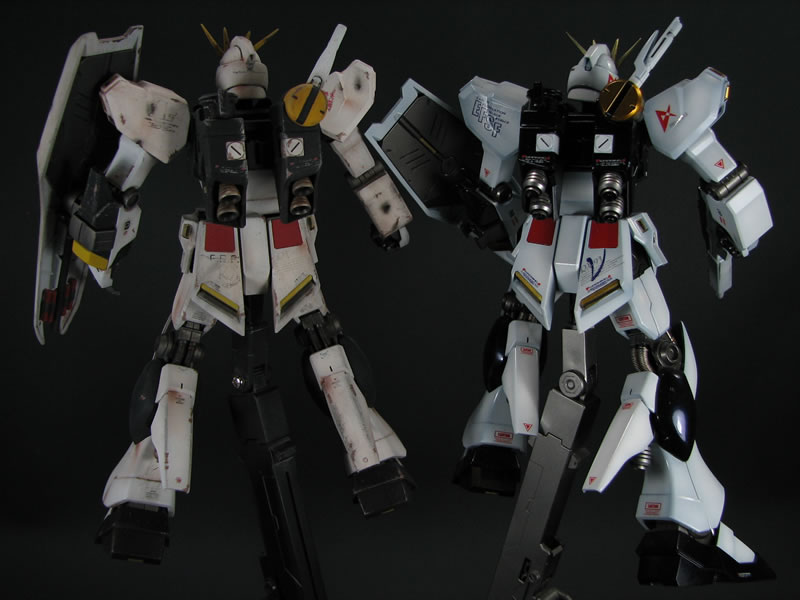
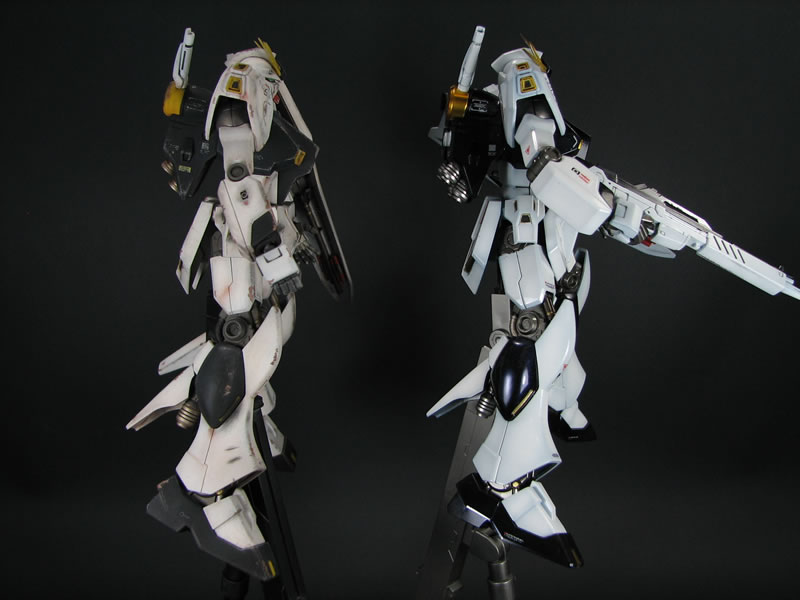
And a culmination of the past few weeks work on the kits here are some clean pictures. I still kept them as progress pictures because I still haven't "completely" finished them... I still need to finish the weapons and funnel systems for both kits, but for all intents and purposes, they're pretty much done.

|
|
|
|
|
|

|

|
|
|
|
|

|
|
|
|
|
|
|
|
|
|
March 27, 2008: Got the new HGUC Nu and will be building three for the purpose of updating my workshop material.