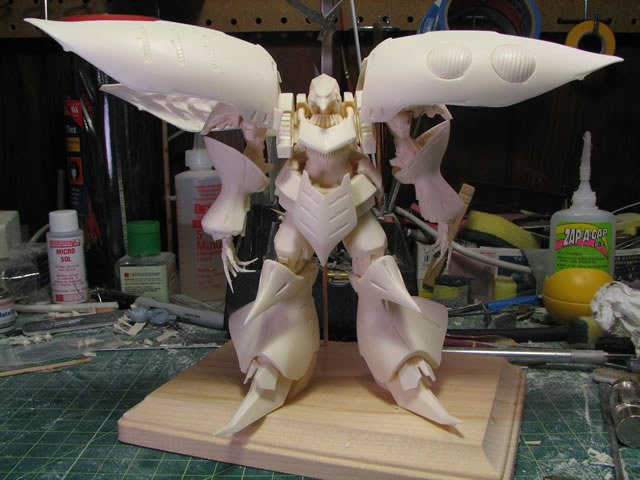
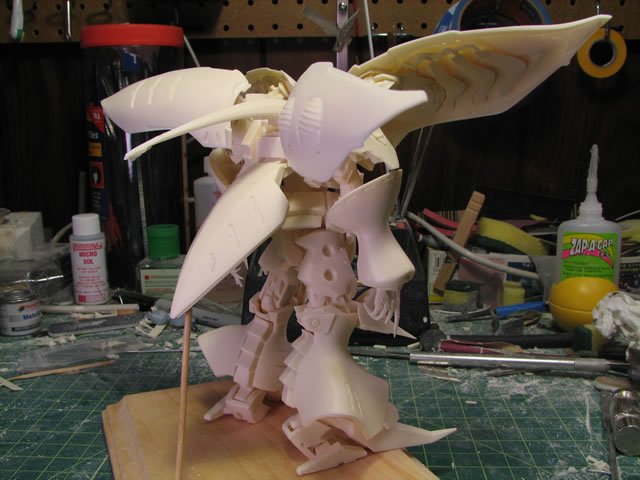
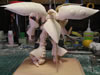
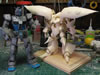
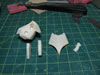
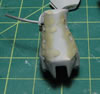
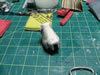
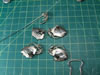
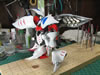
December 11, 2006: This kit came in a little while
ago and I just had to get the sucker pinned. Very nice details on the
kit. Planning on painting the kit in typical Haman Khan Quebeley color
schemes. Going to get to use my pearl powders.
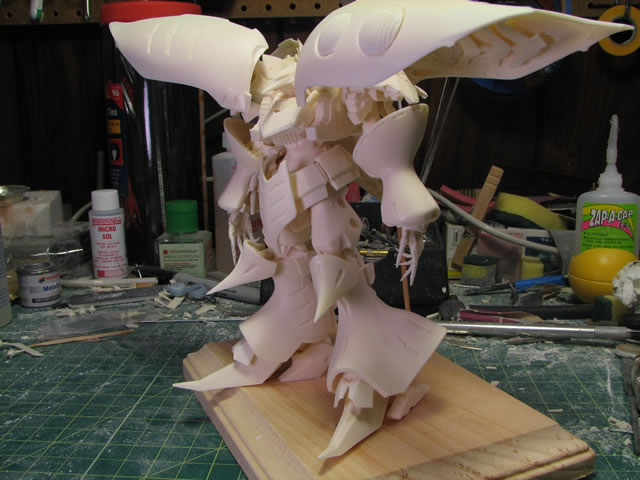
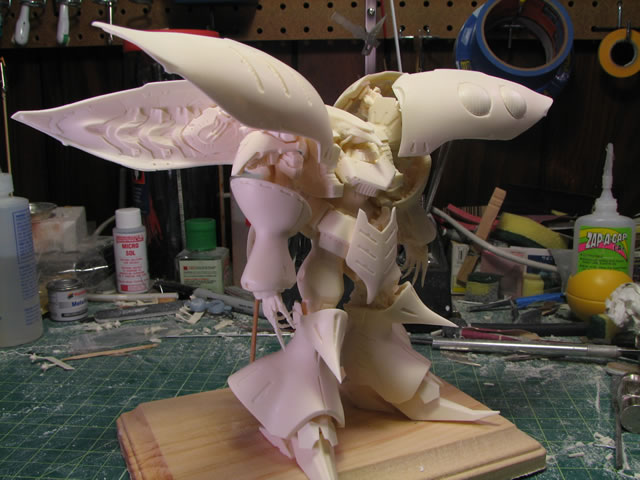
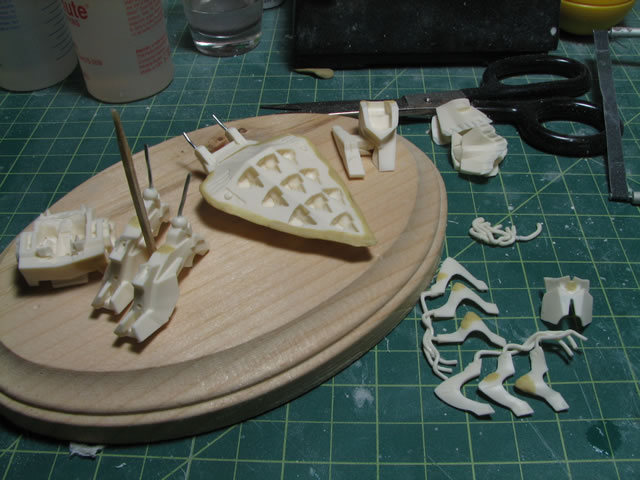
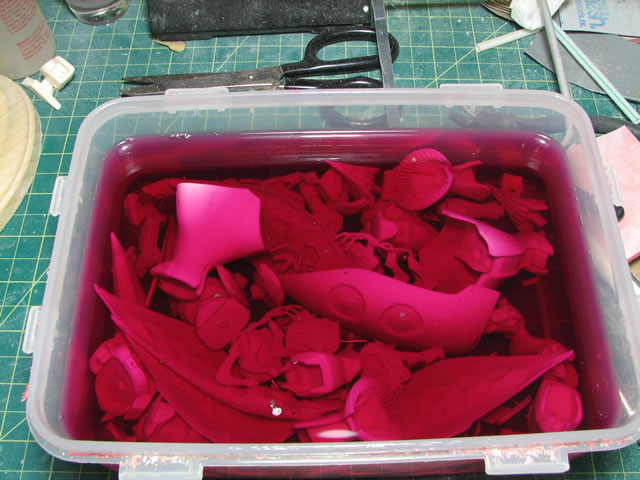
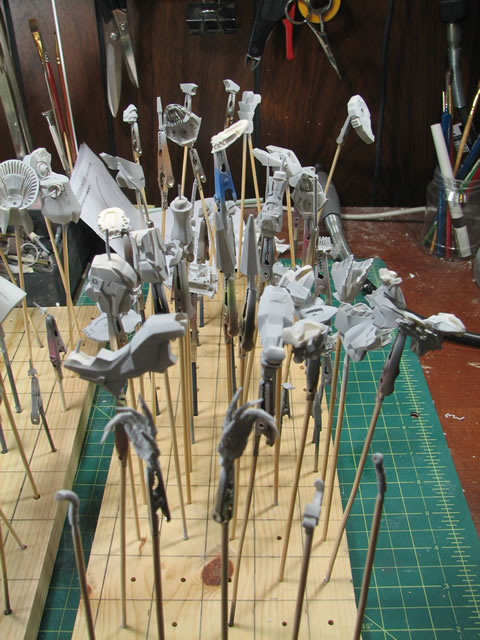
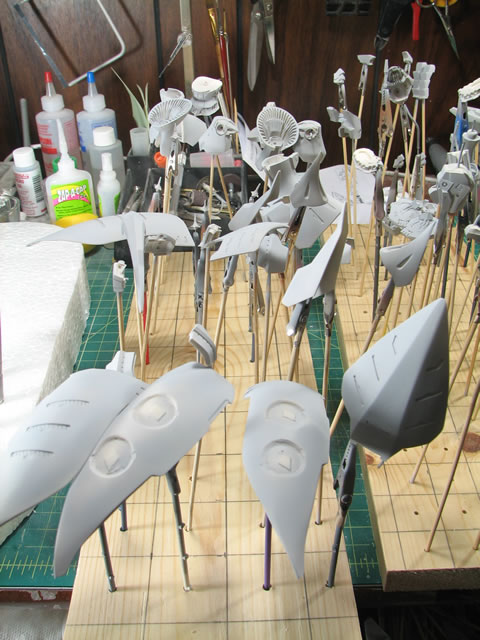
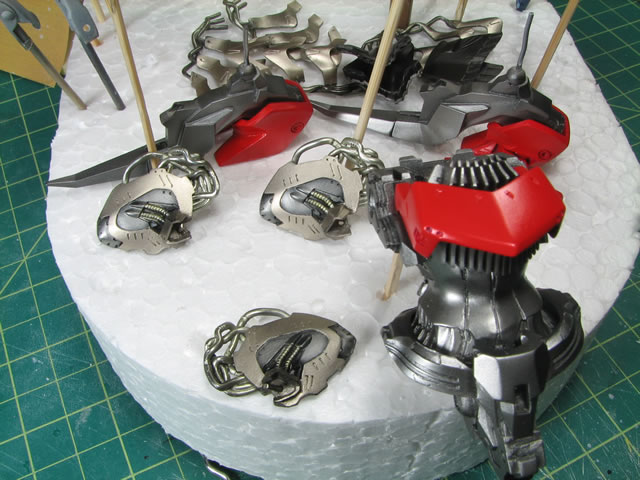
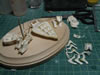
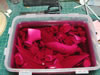
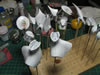
Feburary 1, 2007: Ok I've been sanding the near 100 pieces of this kit
over the past few months inbetween work on the Drow girls. Sanding reveals
bubbles which need to be cut open and filled with putty. As of tonight,
most of the parts have been sanded and are sitting in the purple soup.
What remains are the parts that I puttied tonight. Next update will be
sometime this weekend hopefully, once I get the next coat of paint onto
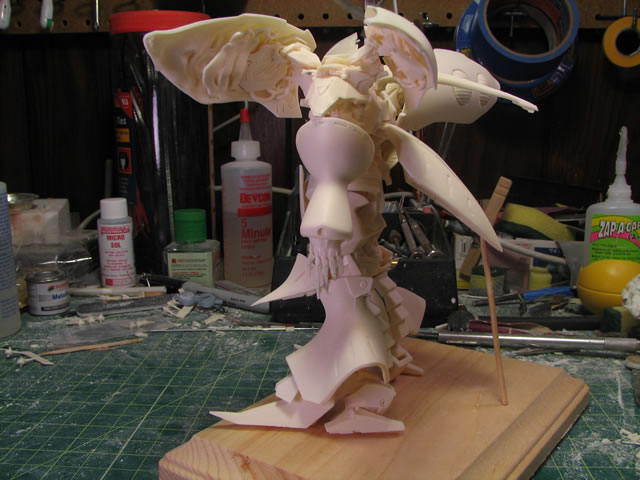
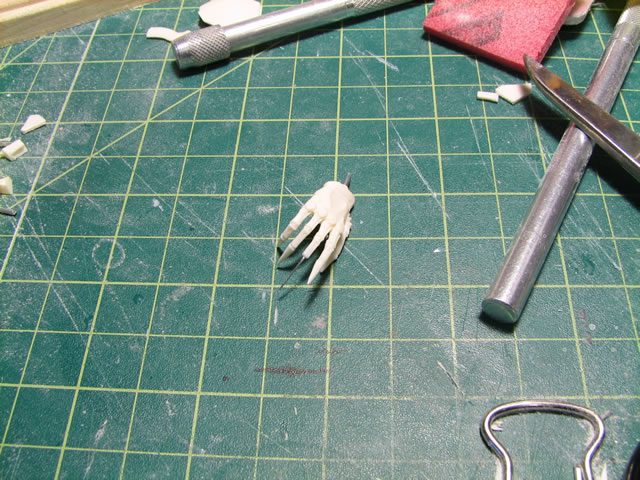
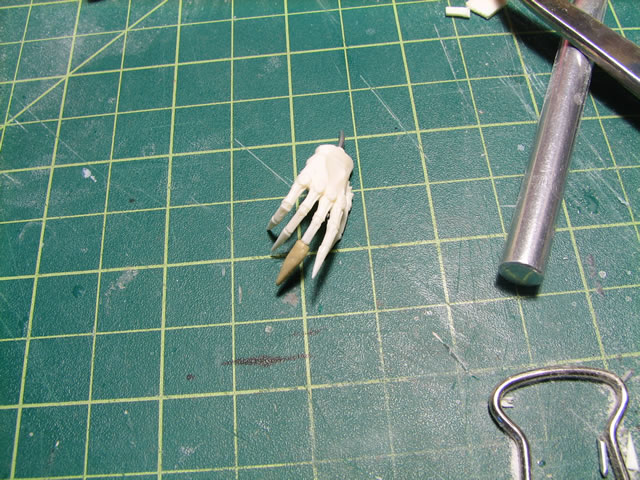
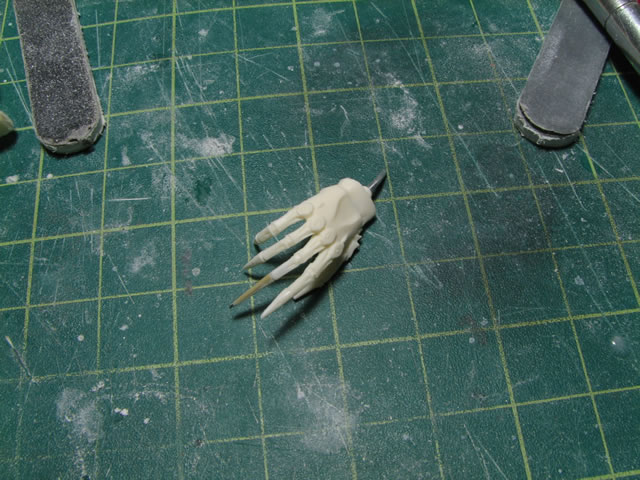
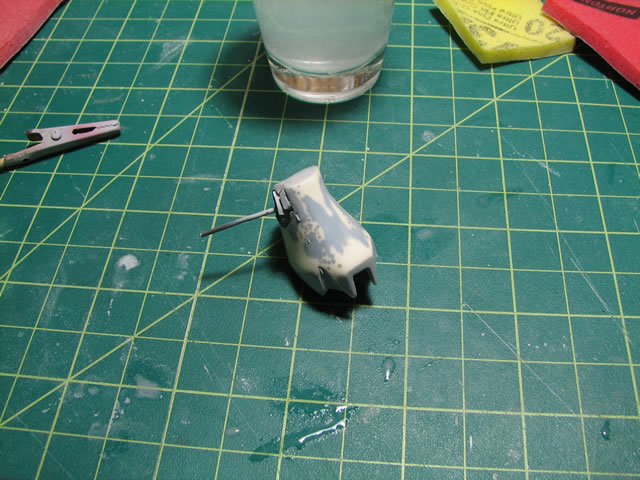
the Elves. Also while handing the thing I broke off a finger, so to fix
this I drilled a little hole stuck in some wiring, then threw some putty
over it and sanded it. Close enough :)
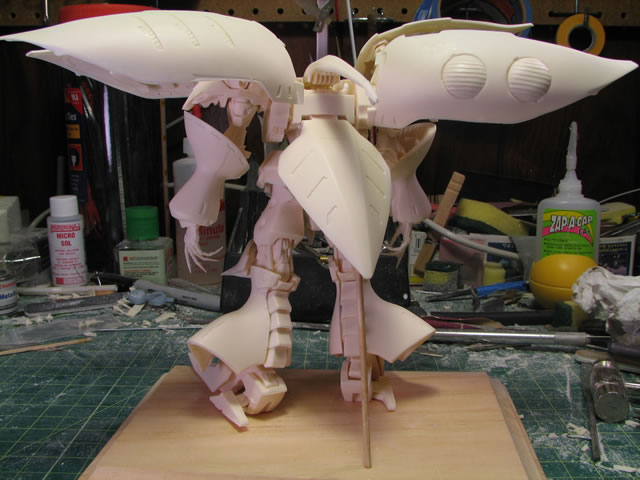
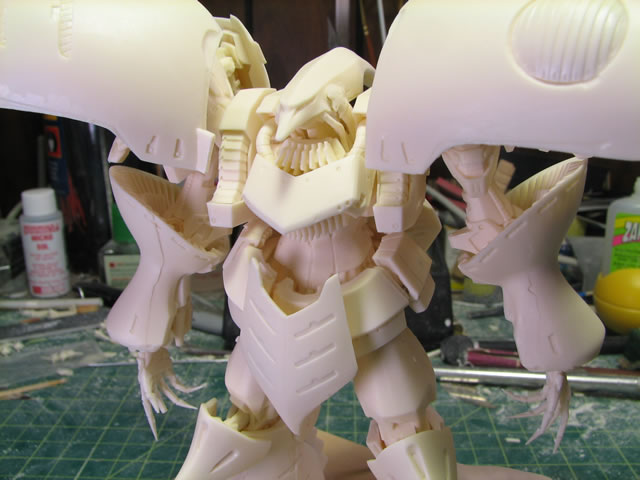
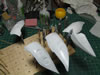
Feburary 8, 2007: Finally get to make an update. While the dark elves
are curing, I came back and finished sanding all the parts, and went to
priming. Before we get onto that, I hada problem with a missing piece...
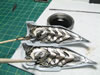
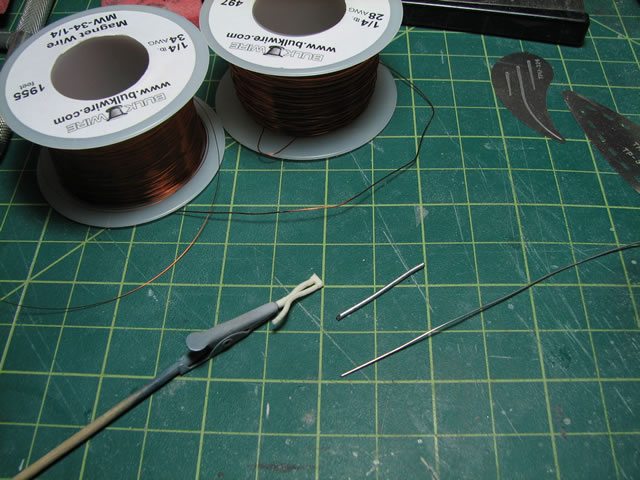
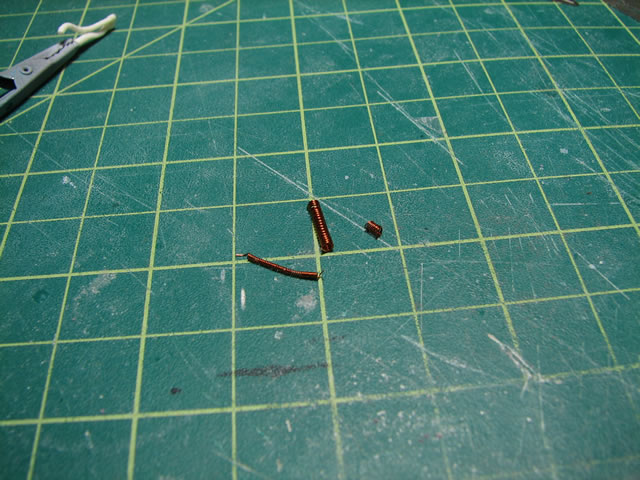
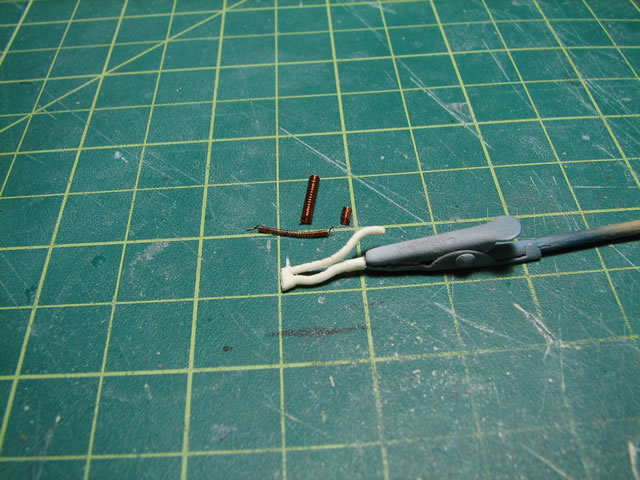
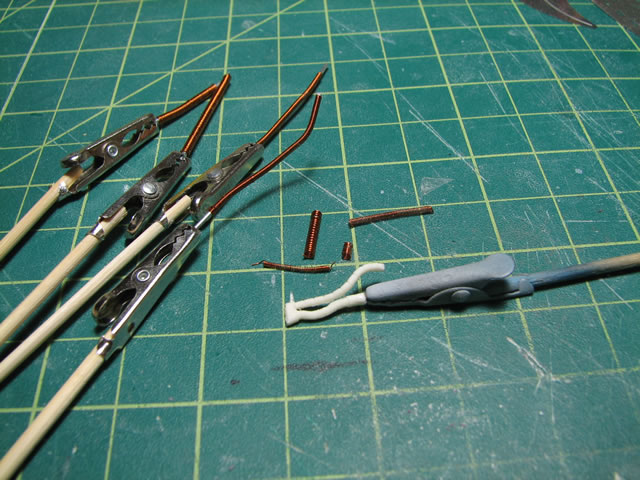
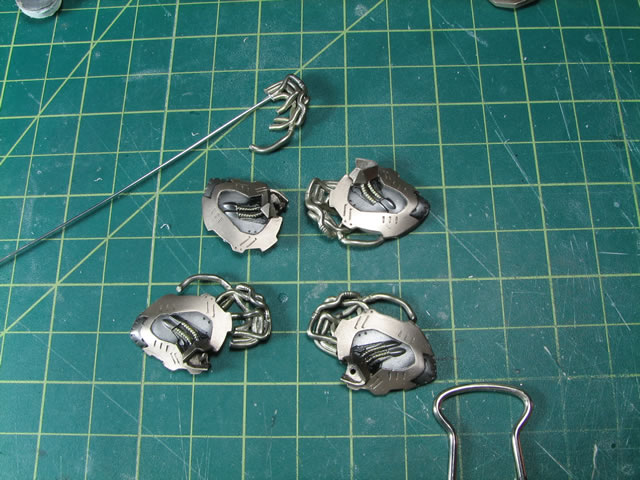
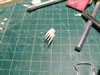
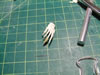
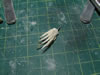
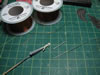
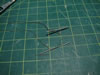
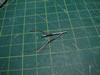
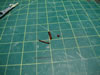
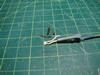
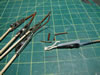
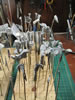
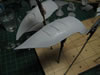
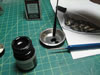
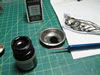
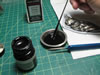
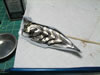
Which leads us to this little mini tutorial for building springs.
I lost a small part, and rather than recasting the not so well casted
part, I decided to create new spring replacement parts. I have magnet
wires in different gauges, here I'm using 34 and 28. Using the floral
stem wires that I use for pinning as the base for the diameters of the
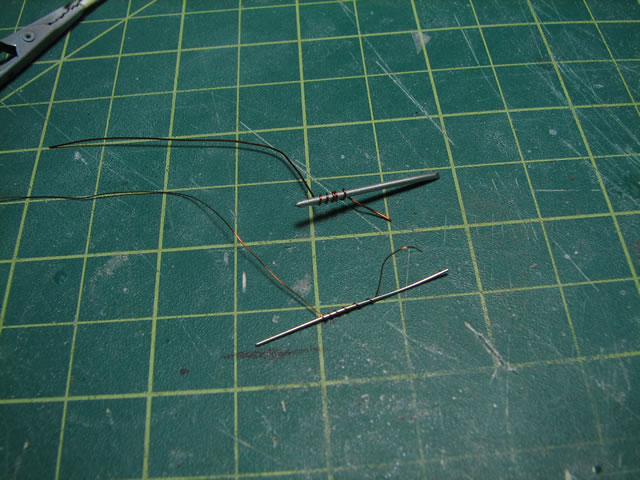
sample springs I wrapped the magnet wires around the pins. Wrap and push
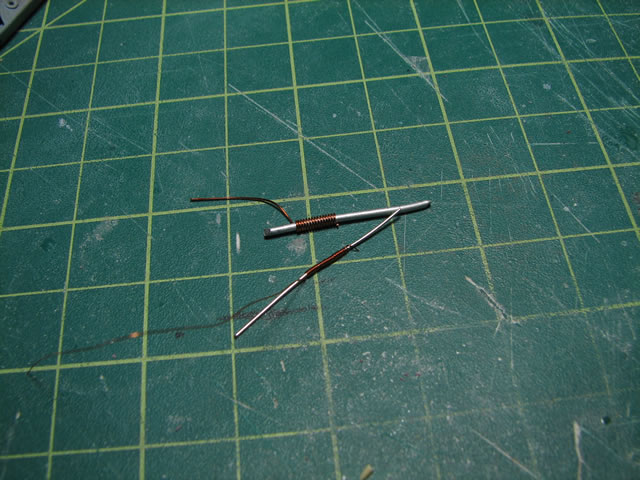
the wrapped wires together, and repeat. Once done, you can remove the
guide pin and pull lightly on the opposing ends of the newly created spring
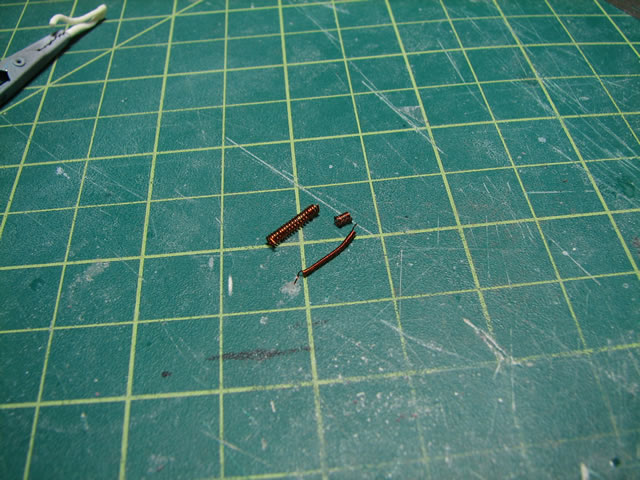
to the desired spring look. Pretty simple. Using different diameters for
the pins and different magnet wire gauges, you can create all sorts of
scale springs.

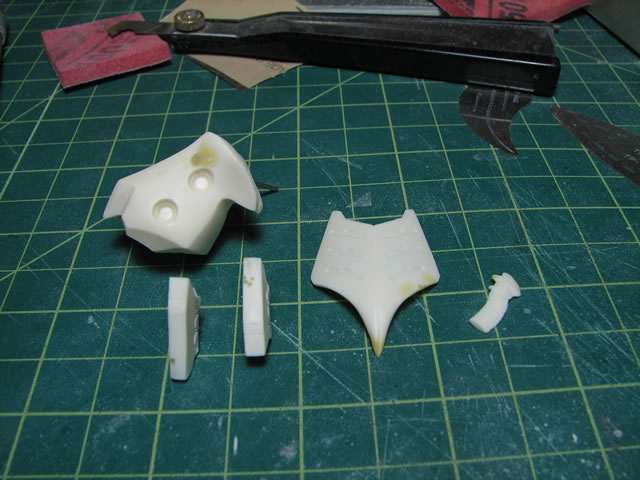
Next up I spend a couple of hours spraying on the initial coat of primer.
I find quite a few bubbles on selected pieces so those will need to be
fixed. I'll let the primer cure over night before moving on to fixing
bubbles and missed sanding areas. Now before I sprayed the primer, I went
to find all the bubbles and tried to fix everything before spraying on
the primer. More often than not, the inital layer of primer will reveal
missed areas of bubbles, rough sanding spots, or missed mold lines that
were not completely sanded away. Benefit number 1 of spraying primer.
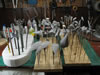
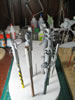
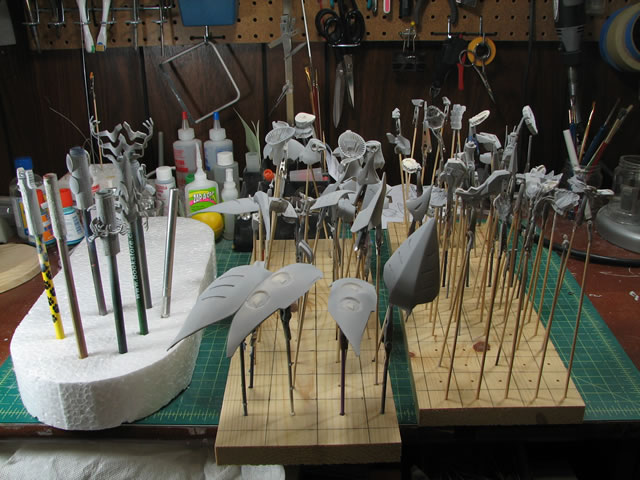
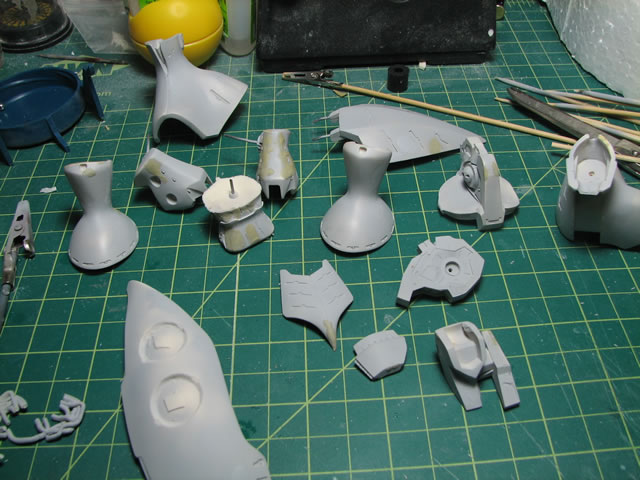
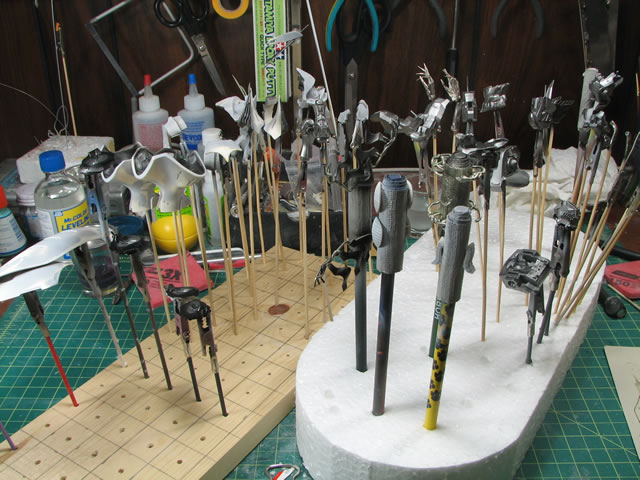
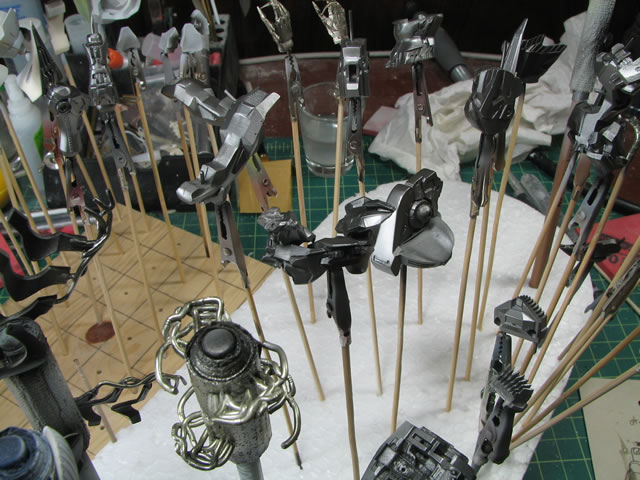
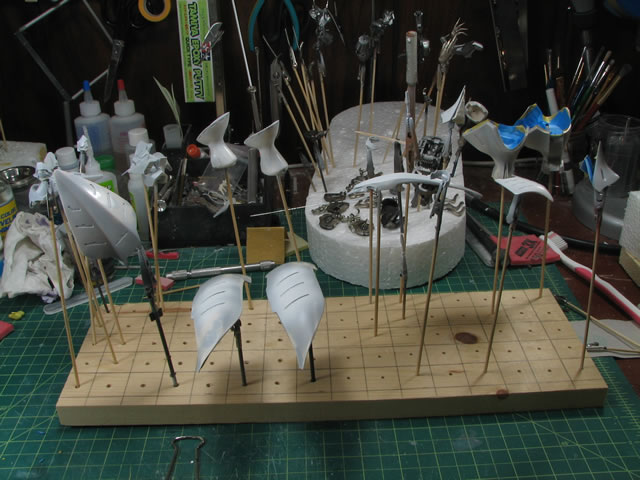
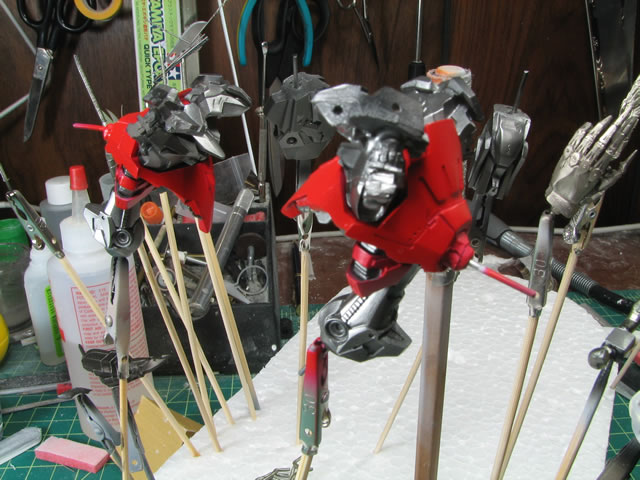
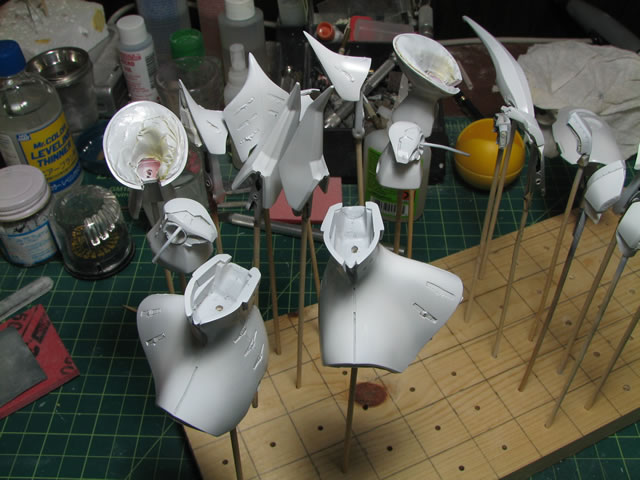
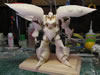
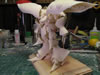
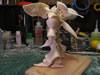
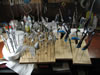
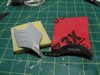
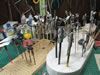
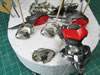
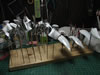
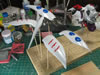
This is what my work bench looks like with three seperate
kits in various stages of work laid out on my build table. Fun times.
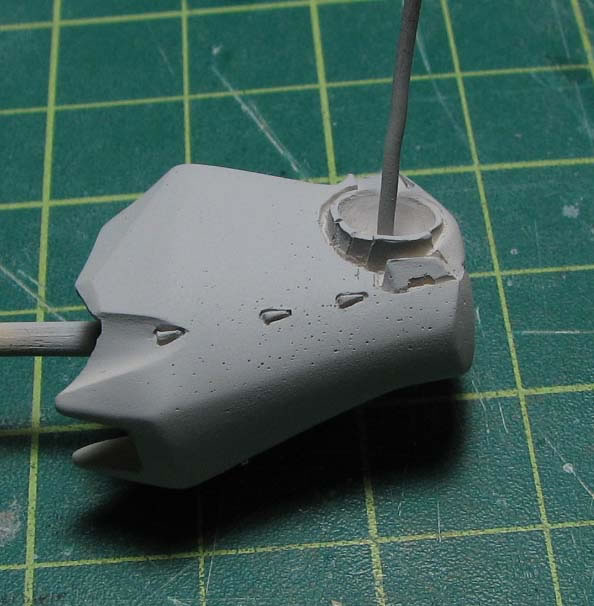
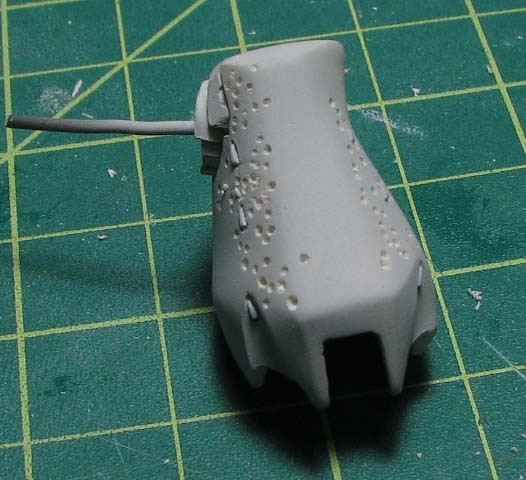
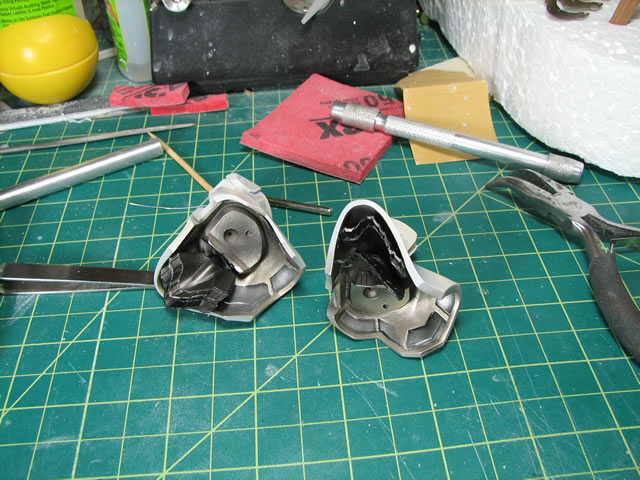
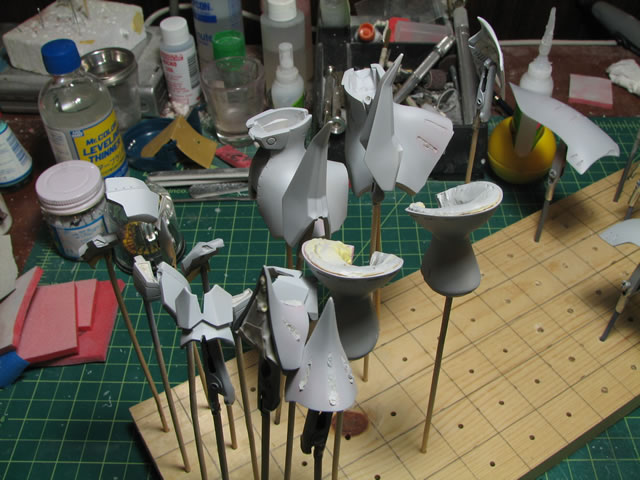
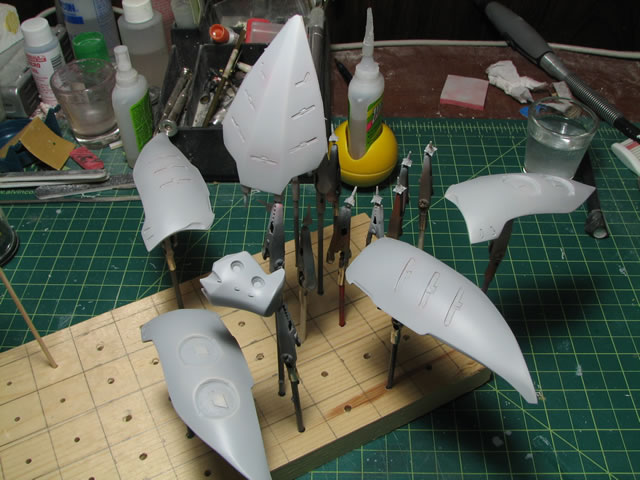
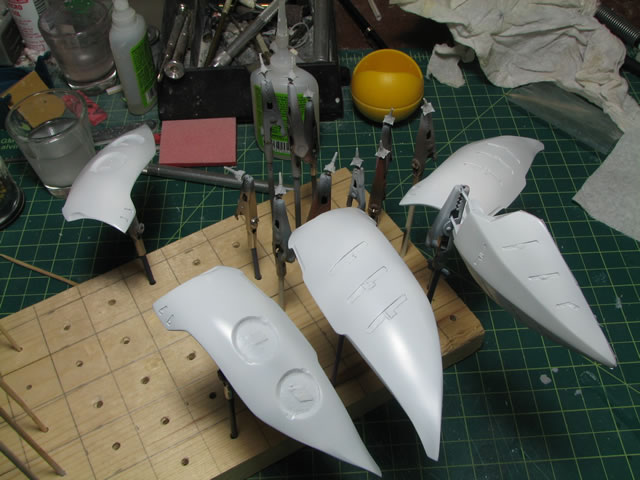
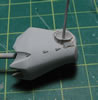
Feburary 10, 2006: As stated earlier, the first benefit from priming
is the mistakes that primer will show you. The lovely recasting job done
on this kit is very evident. Now it's not as simple as just slapping some
putty or epoxy putty over these little bubbles. They must be dug out since
the bubbles seen are typically only the small opening in a larger problem
under the surface. So with my hobby knife and a small drill, I open up
all the bubbles, and then apply the epoxy putty. Primer also showed where
I was sloppy in sanding. Sanding marks are clearly seen and I just brushed
on some Mr Surfacer 500 over the areas and hopefully once I resand everything
and reprime, the Q will truely be ready for paint.
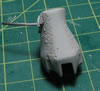

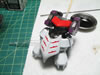
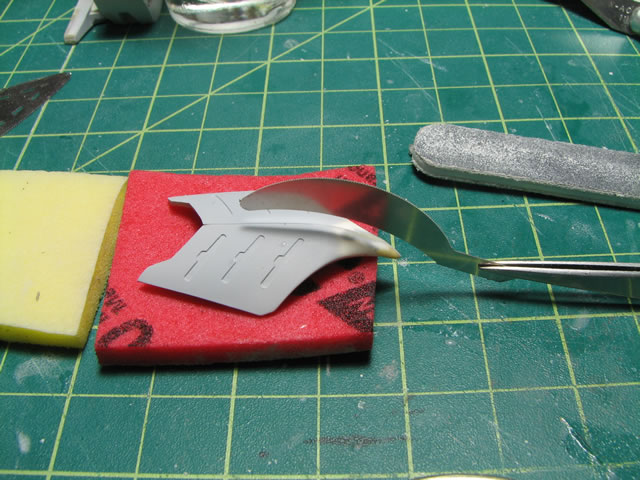
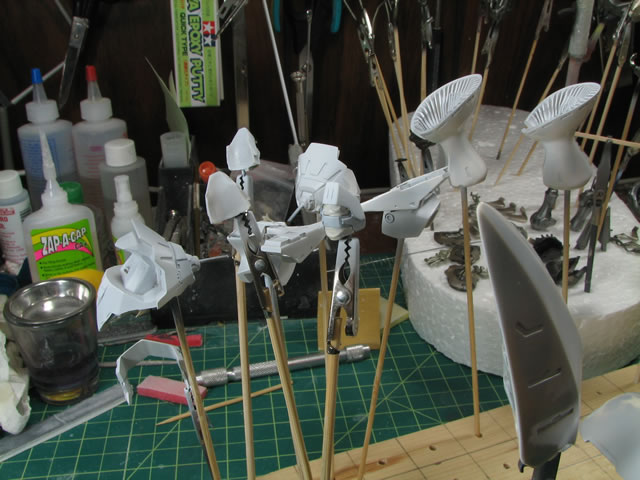
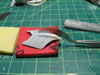
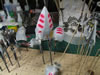
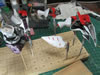
Feburary 11, 2007: Finally got down to some painting. Also
decided to demo the use of some of these hasegawa shaped saws. Since I
puttied over the panel line on the Quebeley's front skirt, I needed to
rescribe part of the panel line that ran down the middle. Using the shaped
saw, this made for easy work. Next I get to some masking and more painting.
Progress should be a bit more visible now.
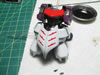
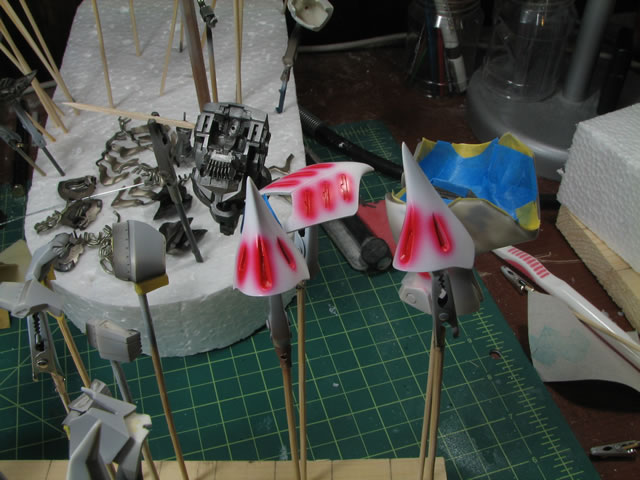
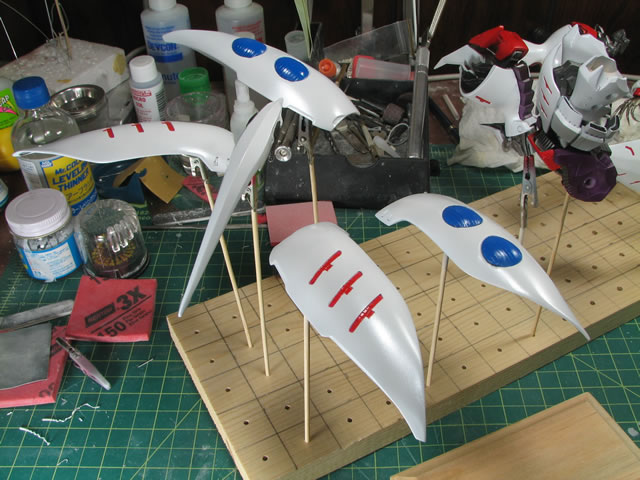
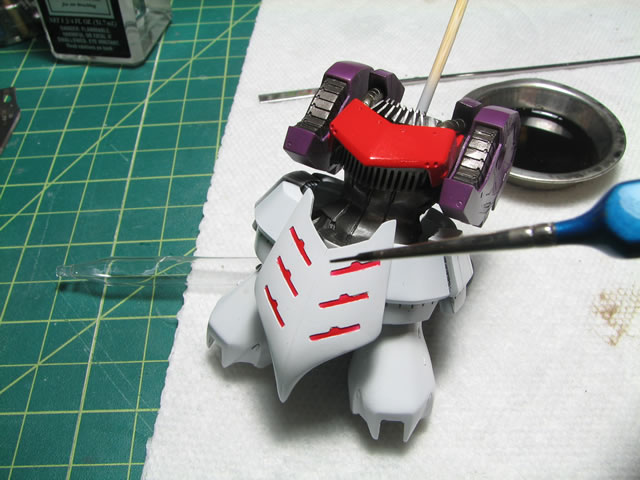
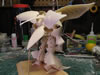
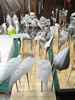
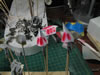
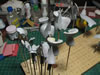
Feburary 13, 2007: Mask, paint, mask, paint ... repeat. I got all the
internals painted and getting a step closer to completion. For the red,
I used a white base from Finishers to give the red a brighter hue. The
red is painted using Finisher's Silk Red. I finished all the red parts
and started to assemble some of the minor parts. Next up will be to mask
off the red that's on the white armor, prime (since I want to start with
a clean slate for the white), then spray white base, and finally the white.
Still got several steps, but it's starting to look like something now.


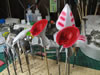

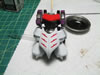
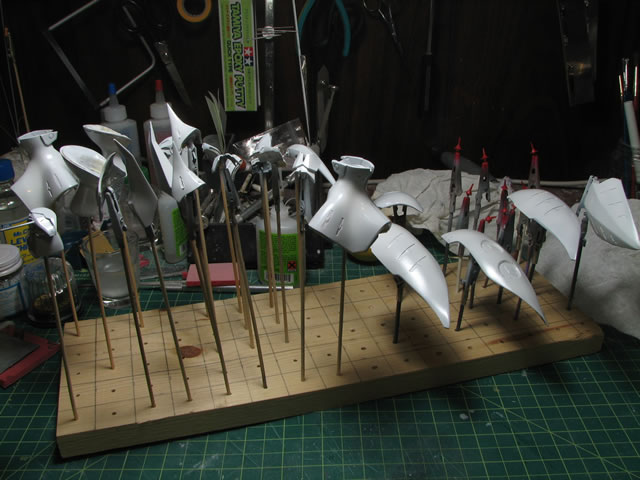
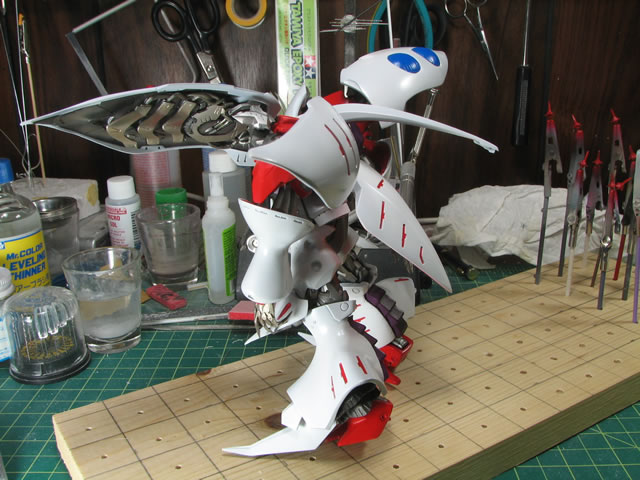
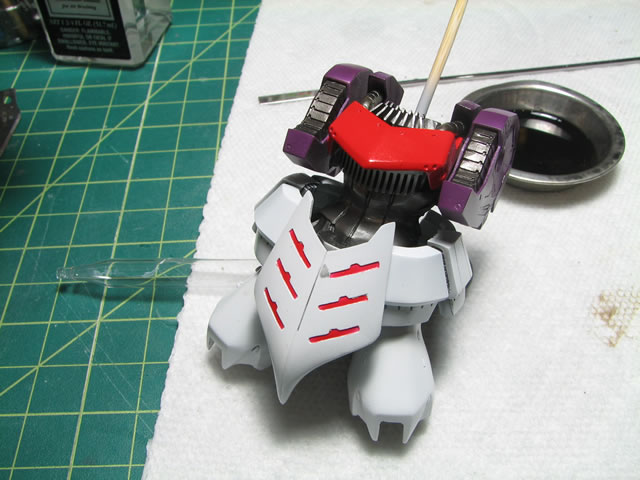
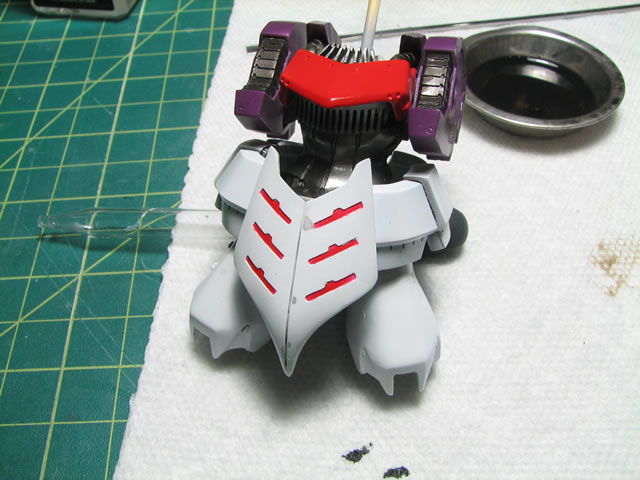
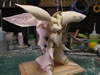
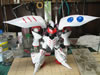
Feburary 21, 2007: Ok, so my recovery day from my ski trip was basically
spent working on this sucker. Well, getting really damn close now. Today,
I masked off all the red spots, sanded, primed, resanded, and reprimed
a few parts that were still problematic. Once all that was done, I sprayed
on the primer over the parts. This is where primer's second function comes
into play. Since I will be painting on a white, I need a neutral color
that is uniform over all the white pieces. Since there was red over spray
and some areas where I sanded away primer, I need to make sure I had a
uniform grey color over the parts. Once this was done, I did a quick wet
sand to smooth out any rough spots from the primer, and then sprayed the
white. Once that dried, I sprayed on some pearl powders mixed with future
floor polish to give the final finish a pearl coat.
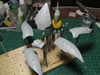
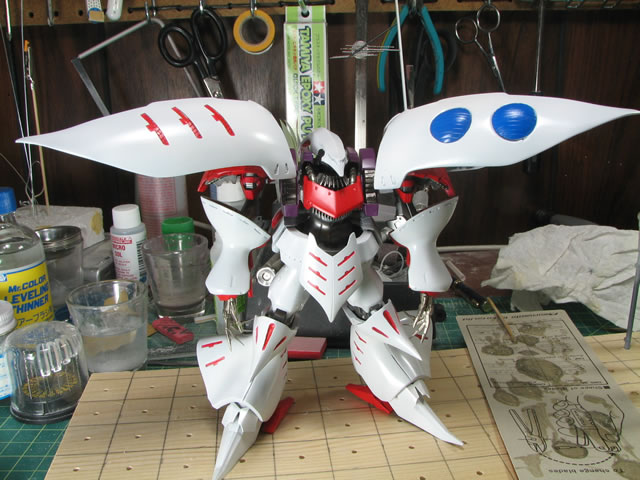
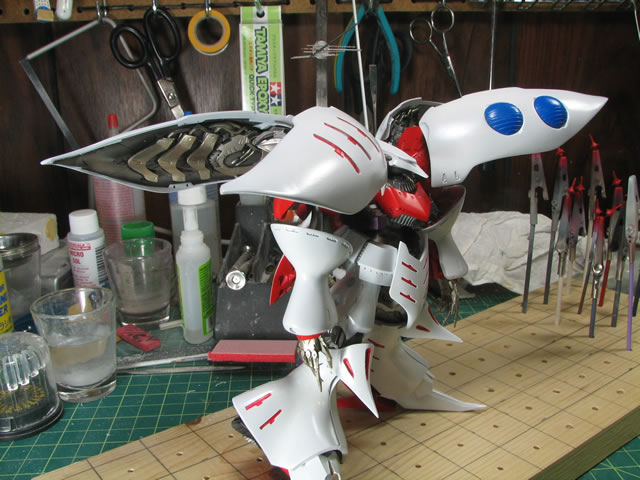
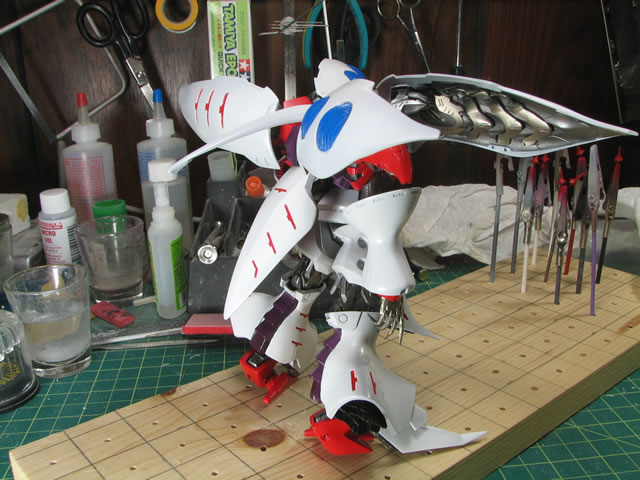
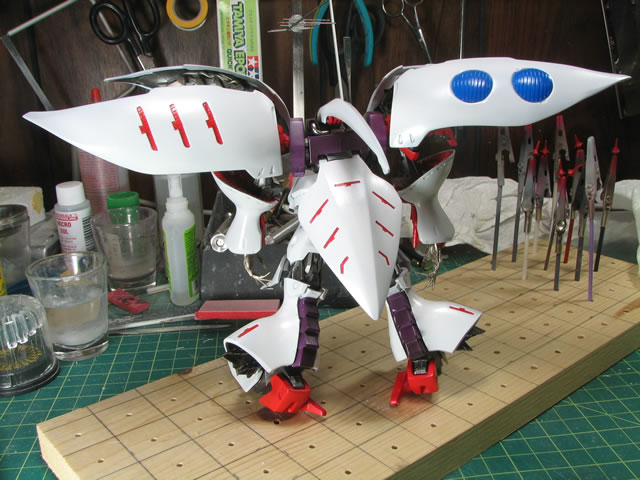
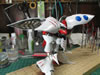
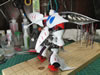
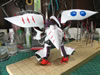
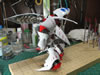
Did some quick assembly. I still have to do the panel lines
and detail painting... but getting pretty close.
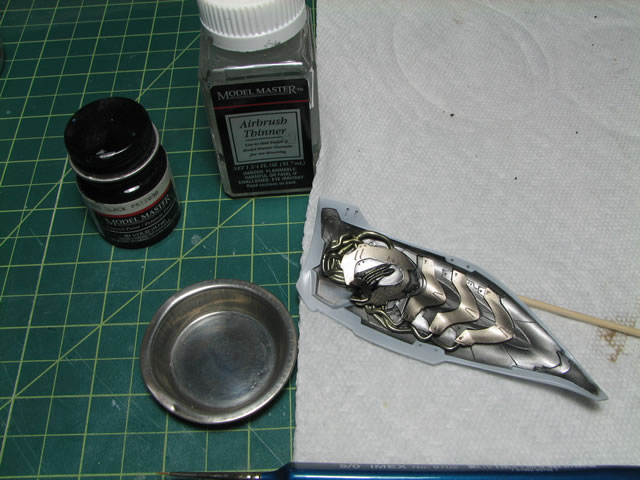
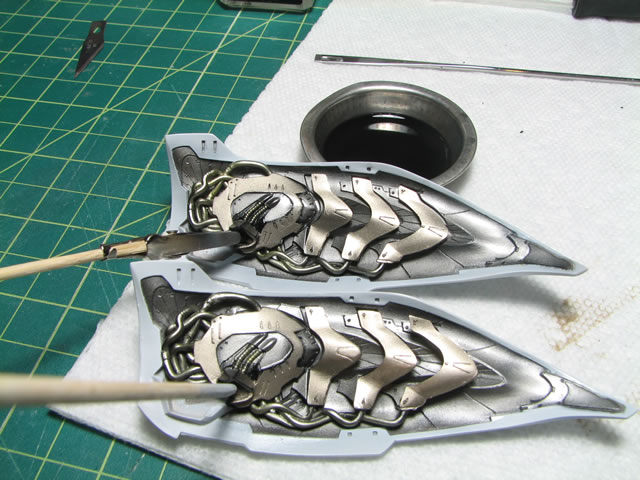
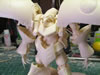
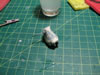
Feburary 22, 2007: Last night I sprayed on a final clear coat and tonight
I applied the wash for the panel lines. I also decided to do a step by
step process to illustrate the process.
The first step is to ensure that you have sprayed on a gloss
clear coat. This is an imperative step, and depending on the wash solution's
paint type, the type of gloss coat is very important. Since I use and
enamel (oil based) paint for the wash solution, I can use either an acrylic
clear coat (Future Floor Polish) or a lacquer based clear coat (Mr Super
Clear Gloss). The reasons why will become clear after a few steps. Having
clear coated the parts and allowed for the clear coat to cure, I can move
on to the actual wash. As stated earlier, I am using enamel paint and
enamel thinner (note that the thinner is the same brand as the paint)
Some enamel thinners may be too strong for model applications.
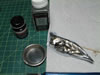
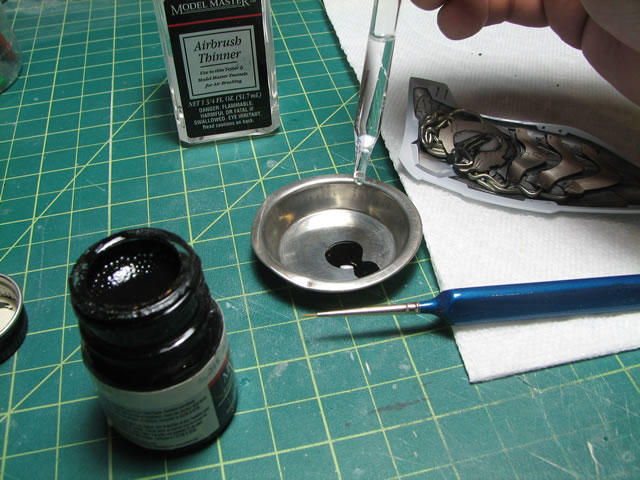
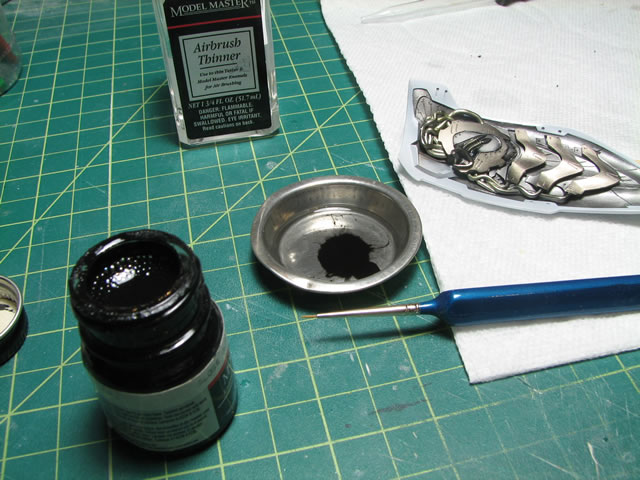
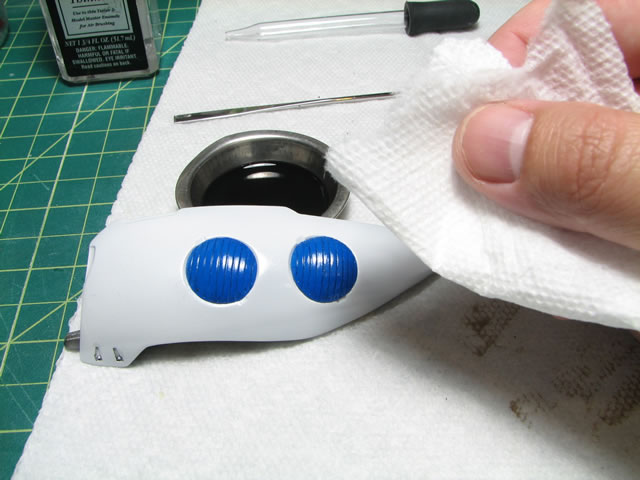
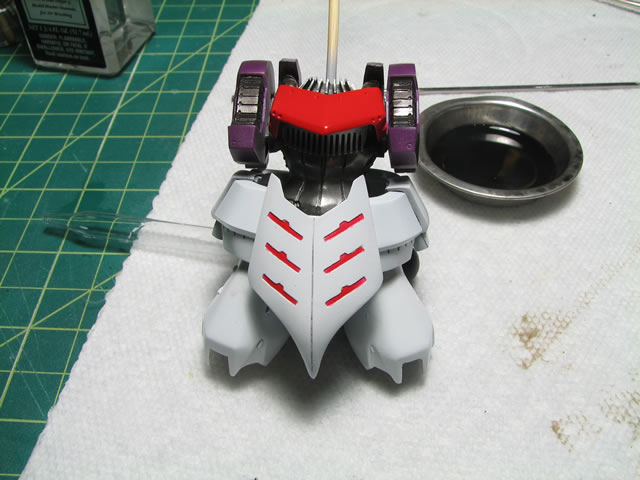
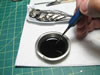
Using an empty paint tin, I placed a drop of black enamel
paint onto the tin. Next I add a dropper of enamel thinner to the tin
and mix the solution up. The solution should be a fairly waterly consistency.

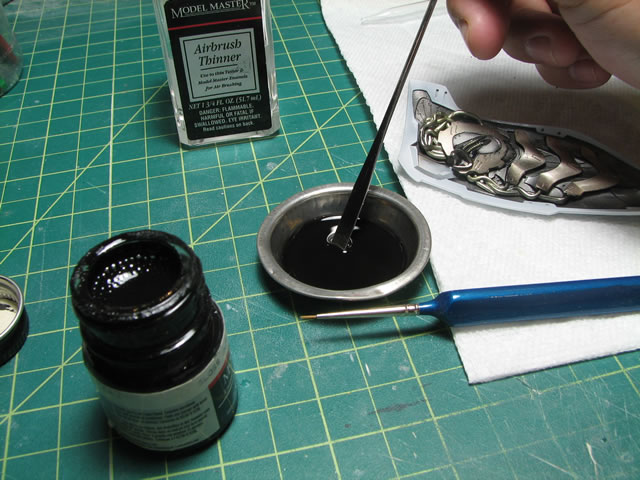
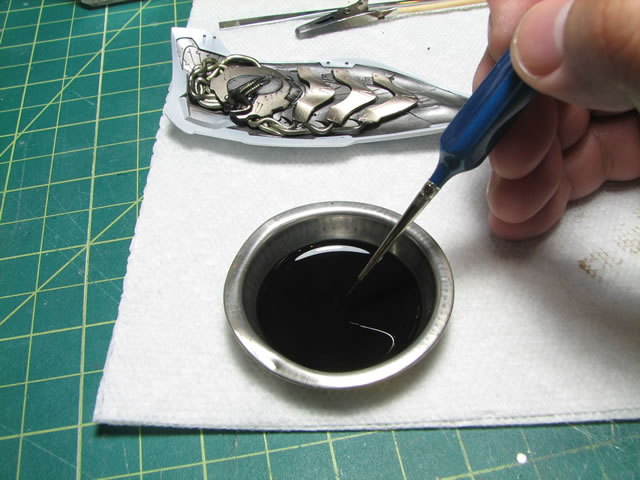
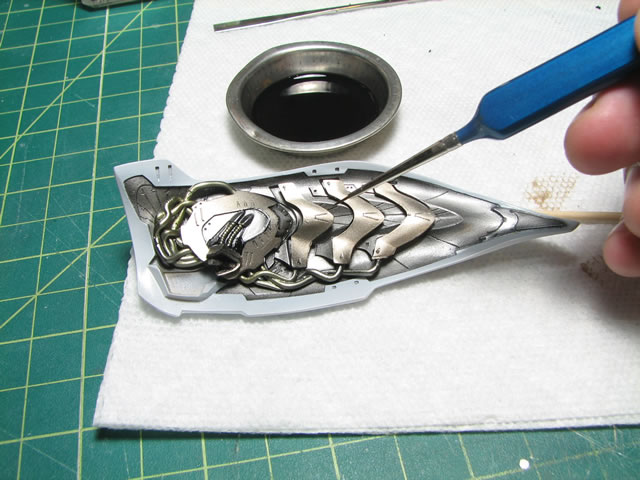
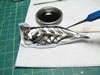
Taking a small brush, I simply dip the brush into the solution
and touch the tip of the brush onto the panel lines. Now since I have
applied a gloss clear coat that is a different paint type to the wash
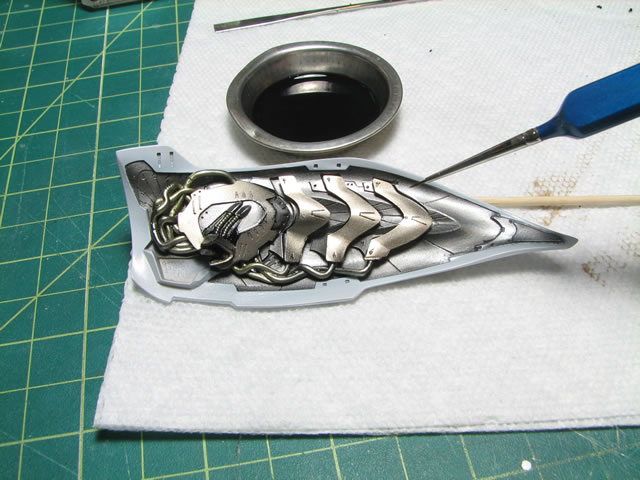
solution, the wash will run along the lines. Any excess can be clean up
with a cloth, or a cloth with a small amount of enamel thinner. Again,
since the clear coat is a different paint type, the enamel thinner will
not remove the clear coat or paint. And this is all there is to applying
a wash for panel lines.


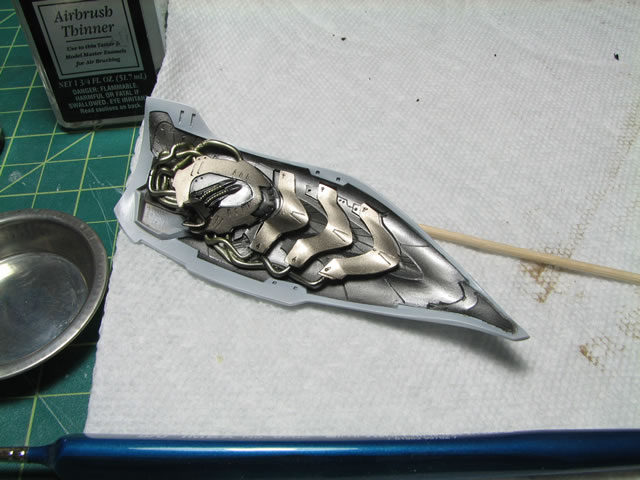
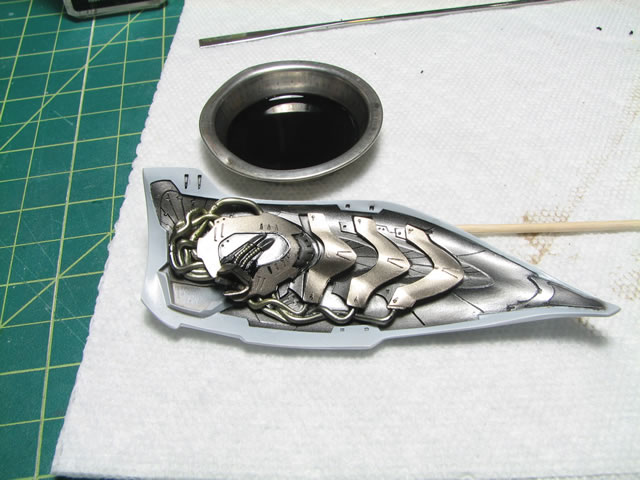
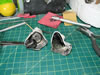
Here is a before and after picture of the same part with
the wash applied and without. The following pictures are some more examples
of the above steps.