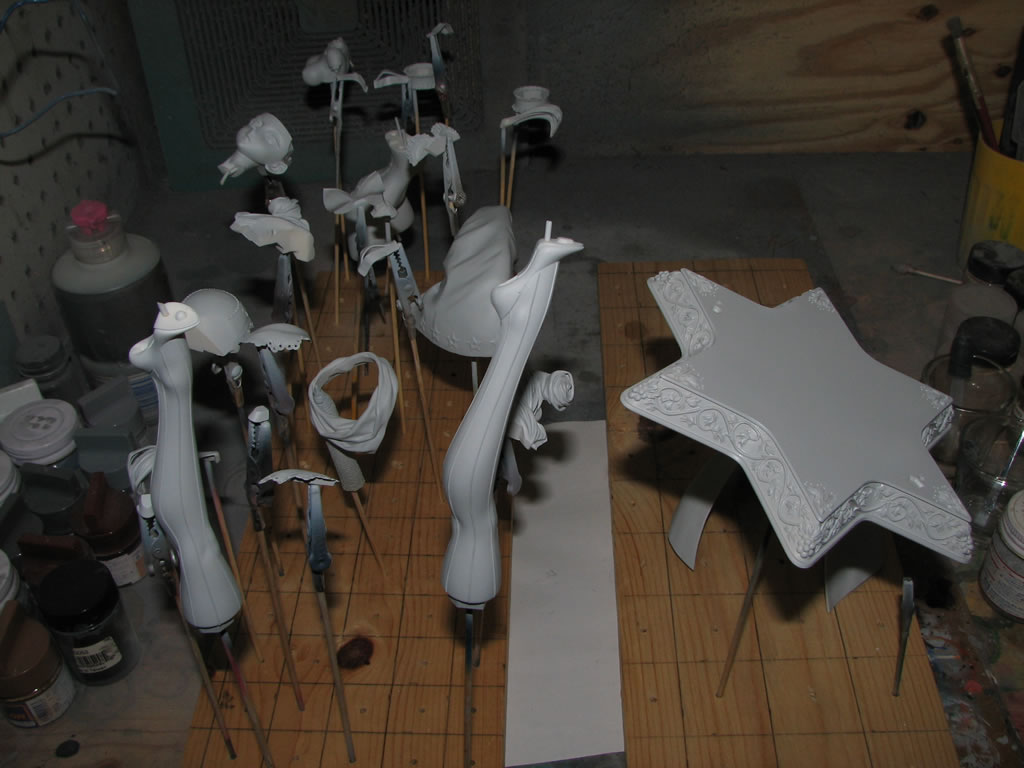
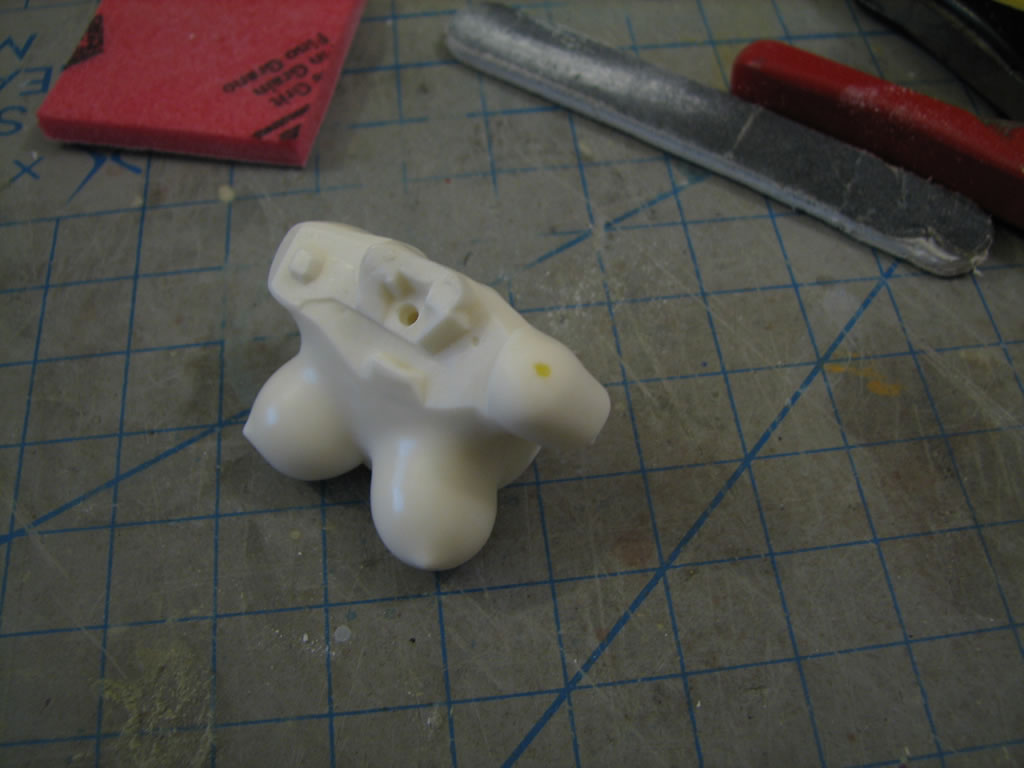
After the previous night’s cleaning session and skewering to prepare the kit for the initial priming session. Last night, I primed everything but the chain. Now, along with the initial sanding session, there is an initial priming session. This implies that there will be additional sanding and priming sessions. For this update, I will show you some of the parts that were fixed during the initial sanding and clean up sessions. The hat, shoulder, and skirt areas where I found pinholes, bubbles, and other surface irregularities were addressed and fixed. These were areas that I could clearly see in the untouched white resin. However, once primed, the true number of surface defects is seen.
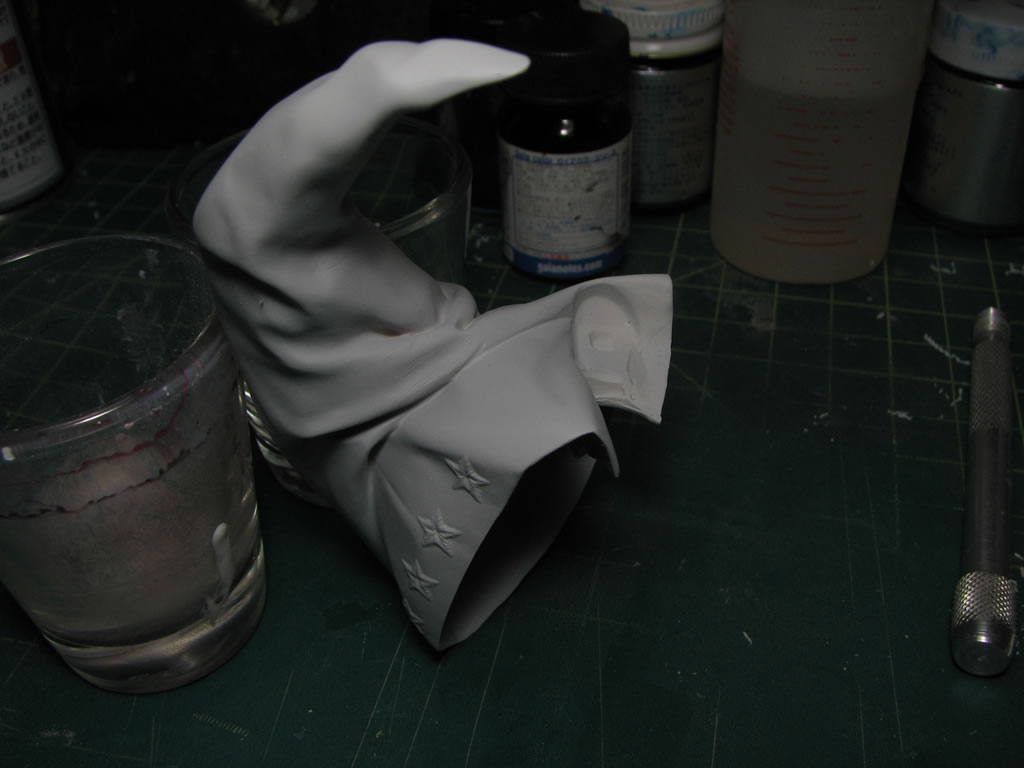
The initial priming session is just a rough spraying of primer. I’m not concerned with getting a very smooth priming surface as most of the primer will be sanded. This is more to help facilitate surface defect detection. Once all the parts are primed, the parts are allowed to dry for a few minutes before handling. I love working with lacquer based products because of the speed in which I can work.
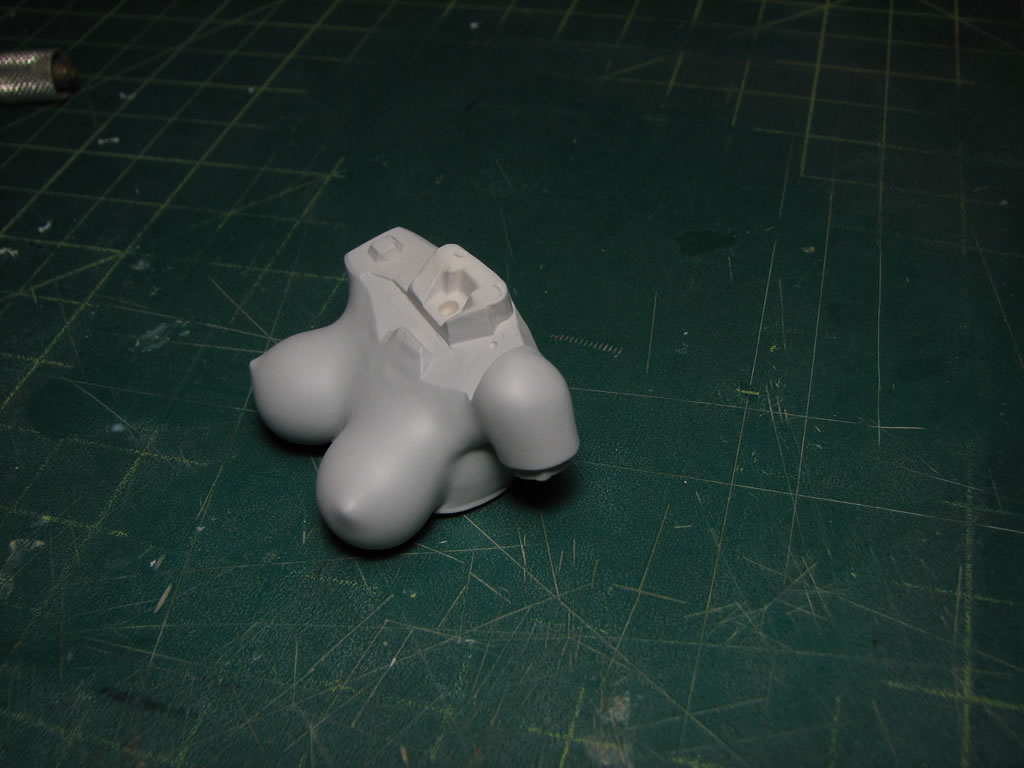
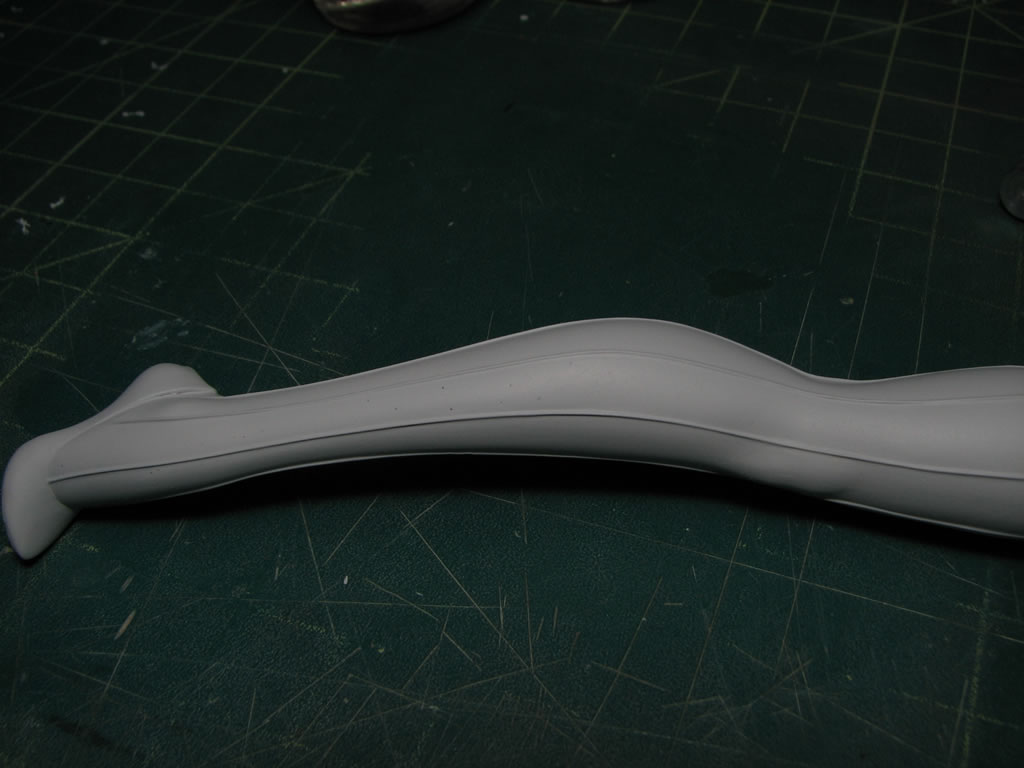
First we take a look at the fixed parts from the initial clean up session. And for these three pieces, the surface defects have been repaired and no other work is necessary. I will do a quick wet sanding session with a very high grit sanding pad to smooth out the surface for paint.
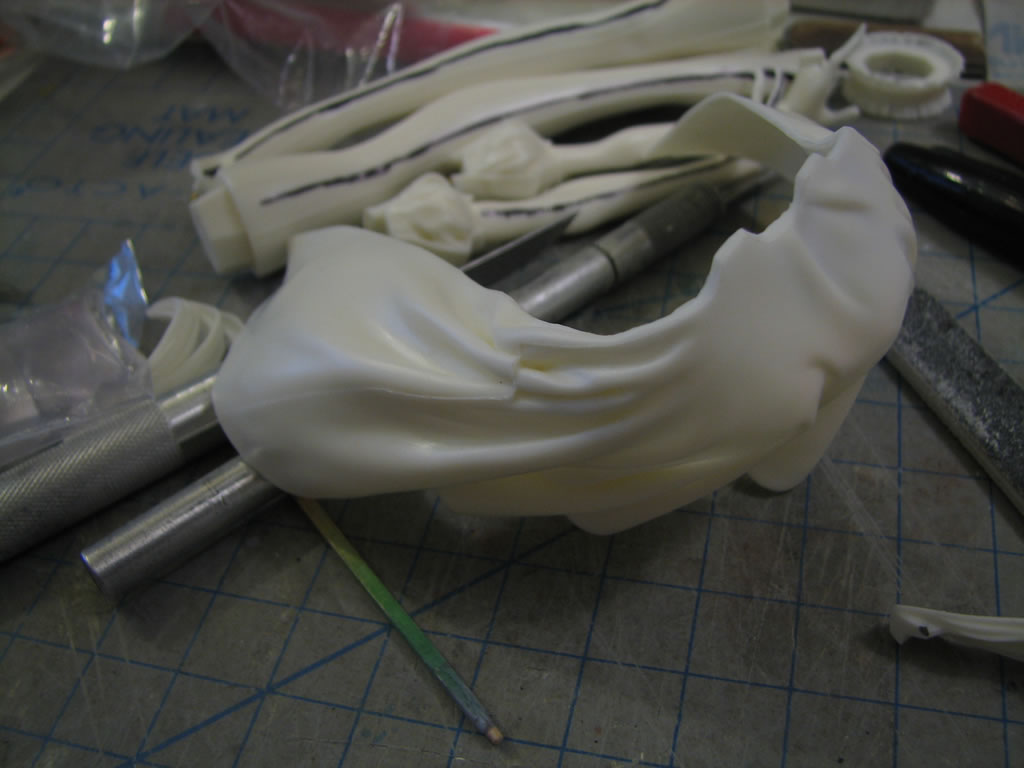
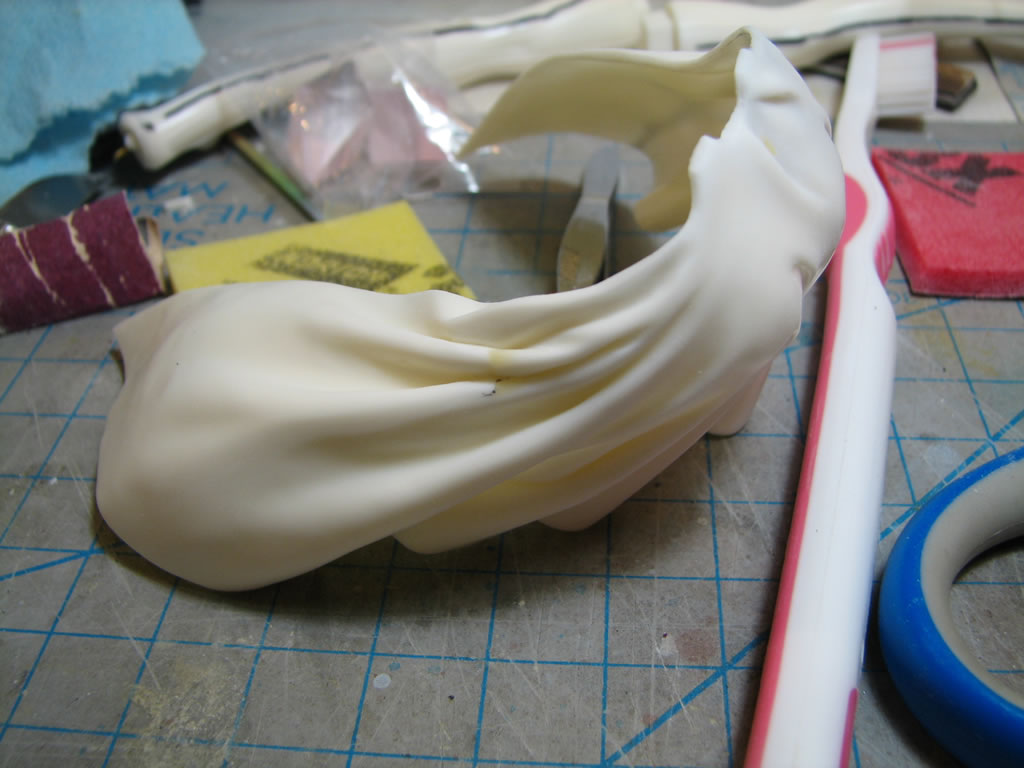
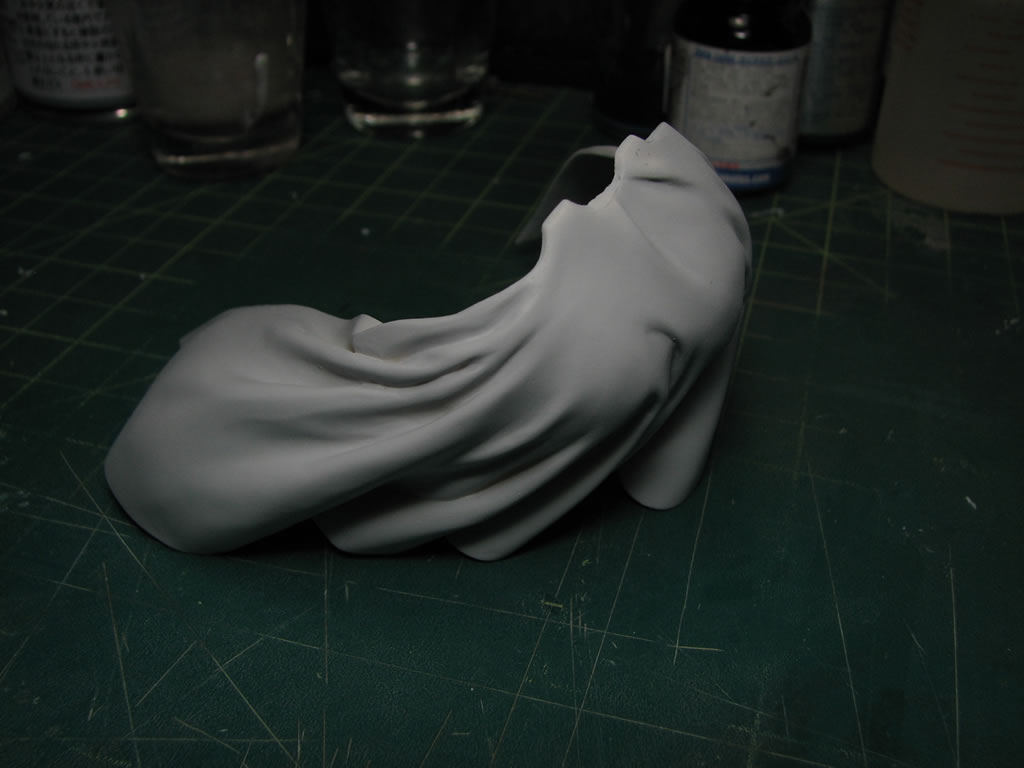
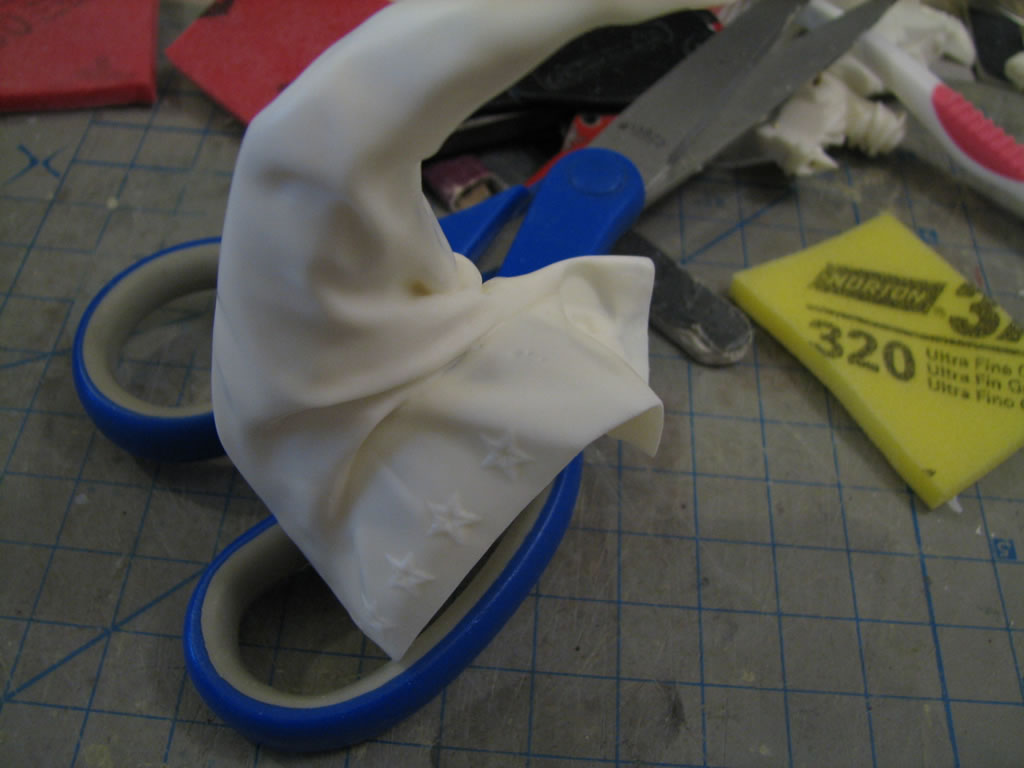
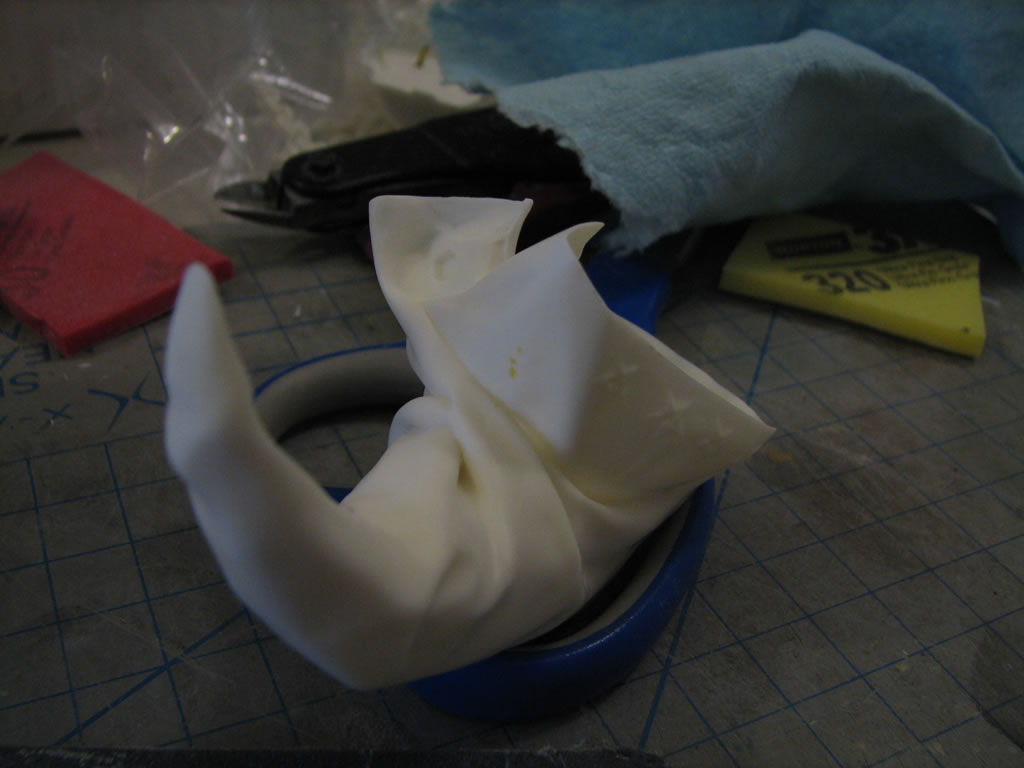
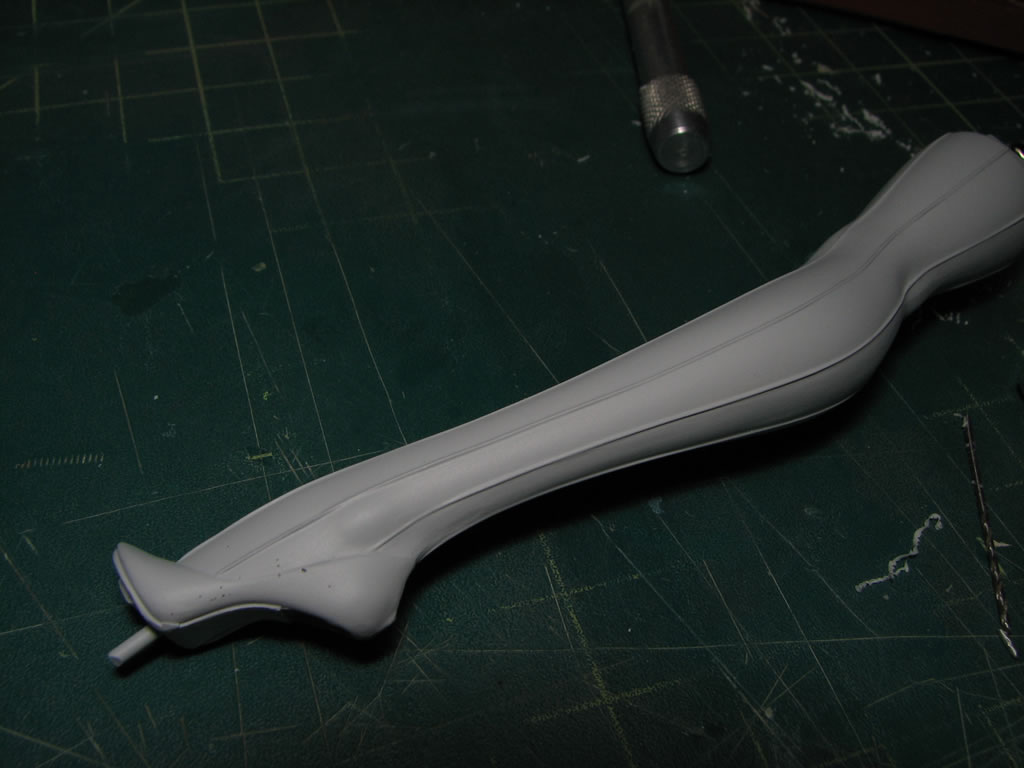
The skirt: The cloth fold mismatch is now gone. I’ve added in the pictures from the previous update for an easy comparison.
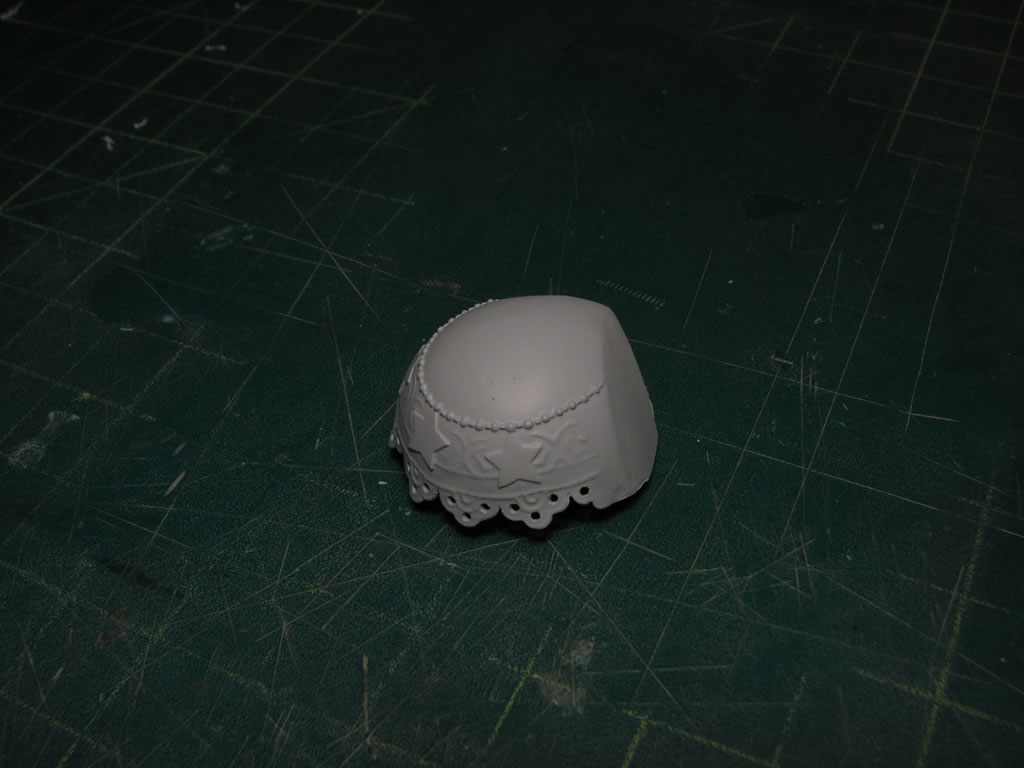
The hat: The pinholes that were filled are no longer visible.
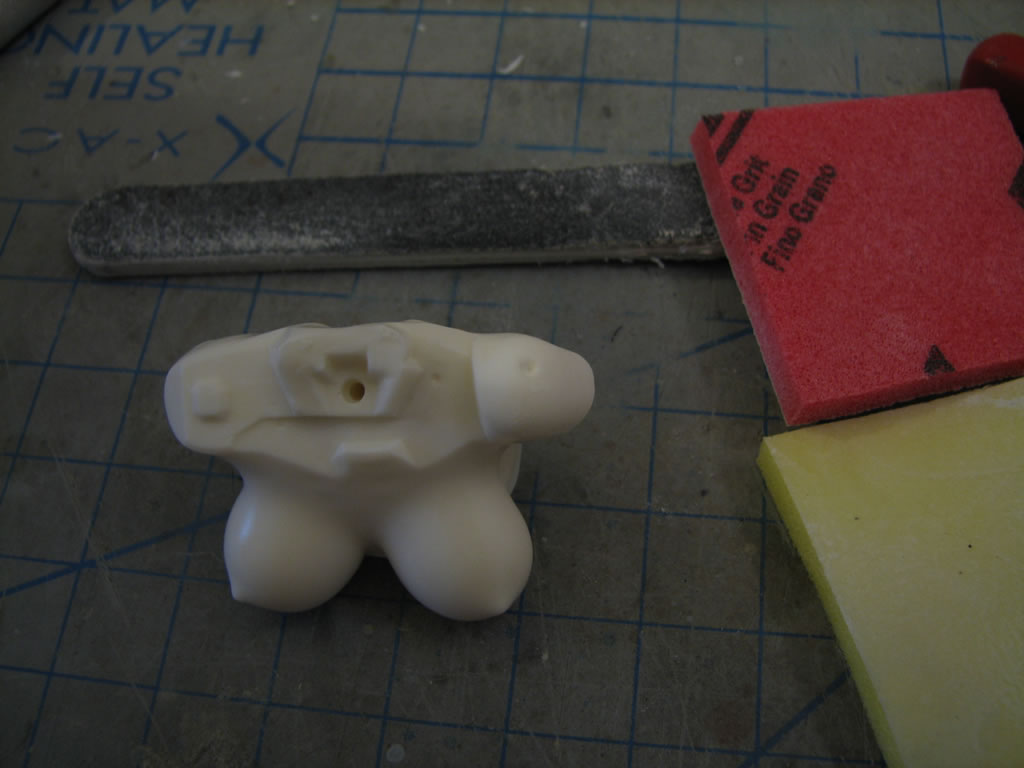
The shoulder: Same with the hat, pinhole is no longer visible.
On to the true purpose of this step; to locate as many surface defects as possible. These are select pieces with blatant surface defects. Upon closer inspection, some of the other pieces will have some rough sanding spots that will require buffing out and repriming, but those defects are a little more difficult to capture on camera.
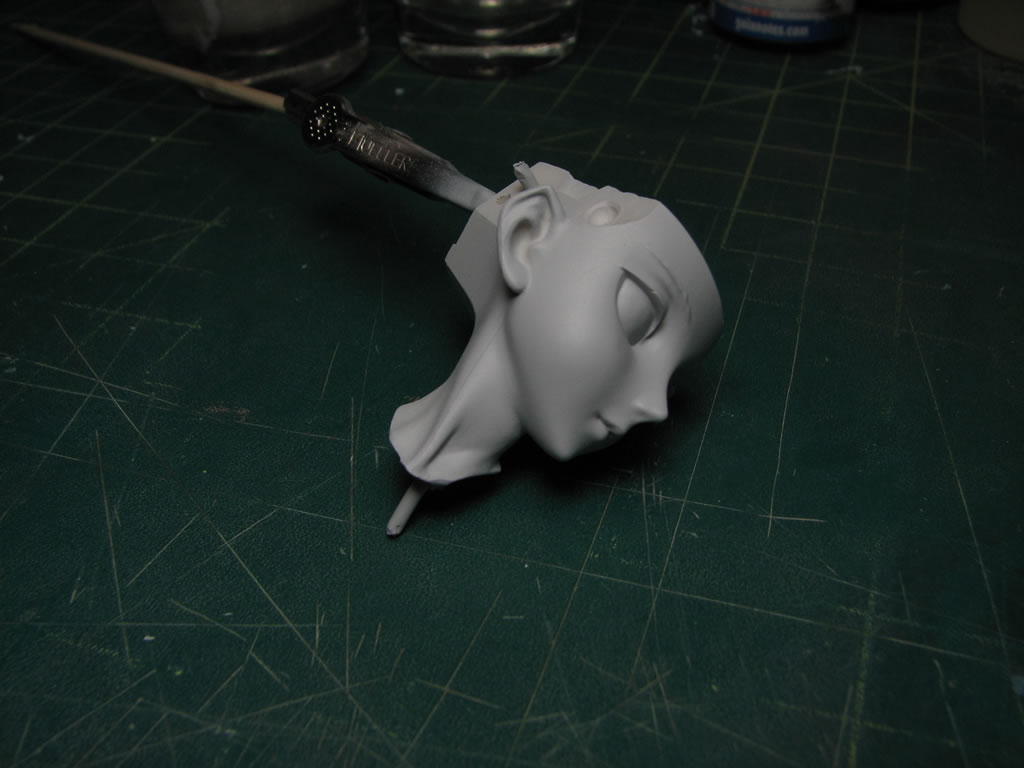
Starting with the head, there is a mold line that was utterly neglected. Such lines should be been taken care of in the initial sanding session, but they are easily overlooked, and the primer will display such defects very prominently.
The following pieces are riddled with pin holes and various other surface defects. These pinholes will need to be opened up with a hobby knife, filled with a putty, sanded down, and then reprimed to check the fix.
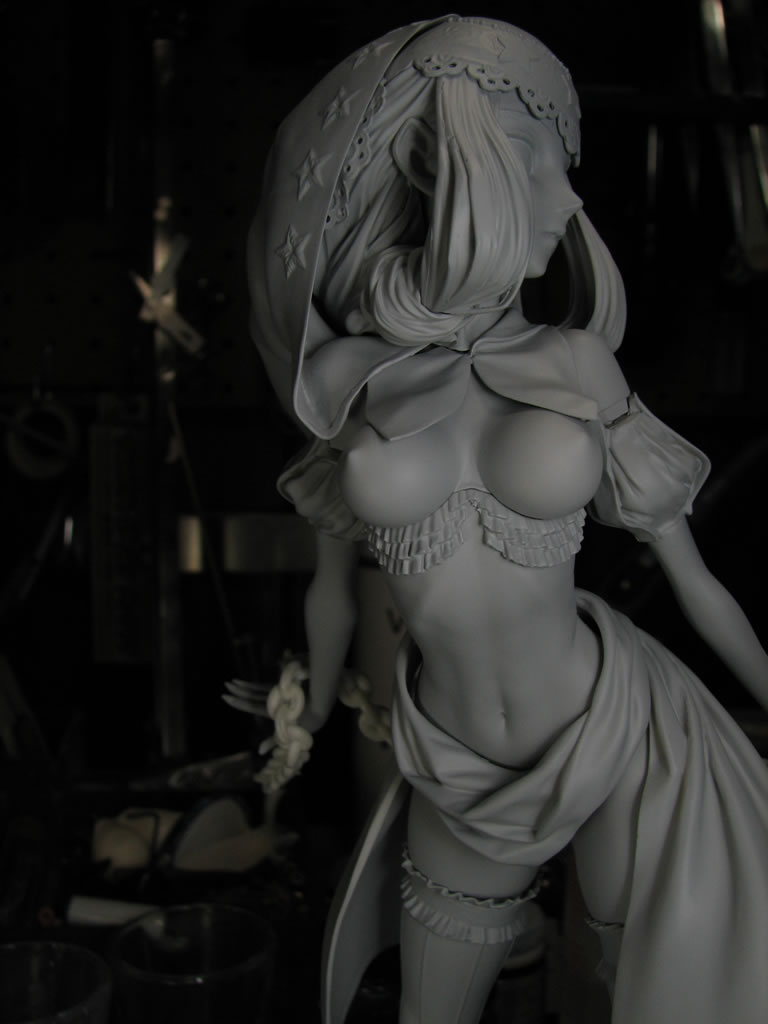
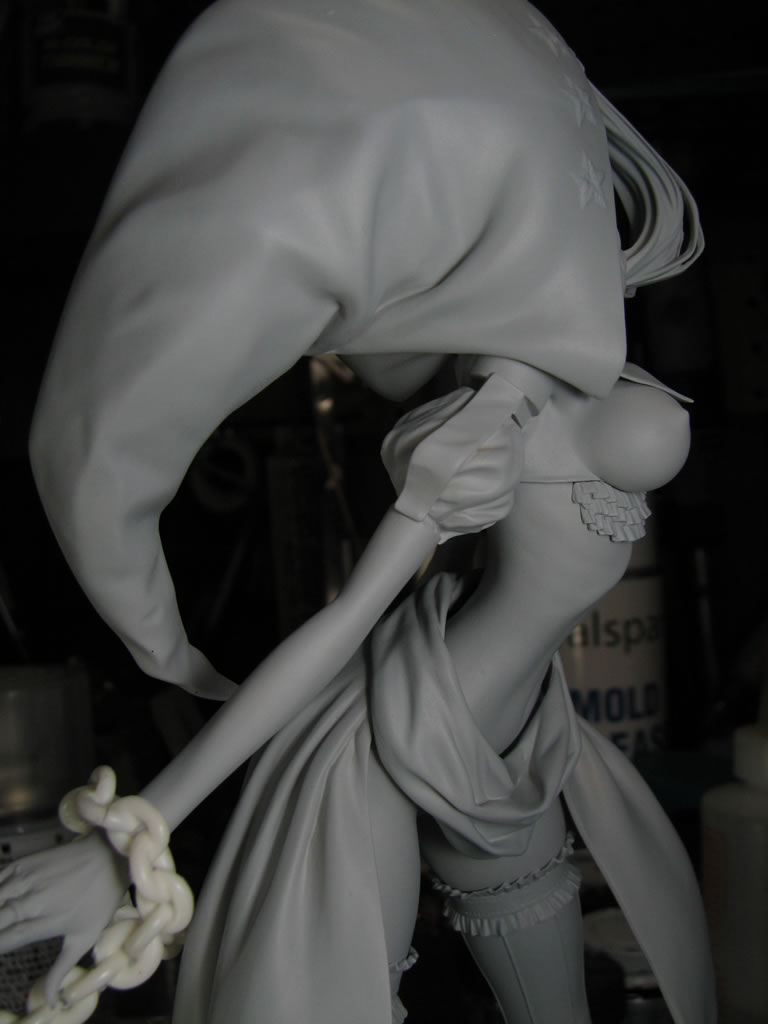
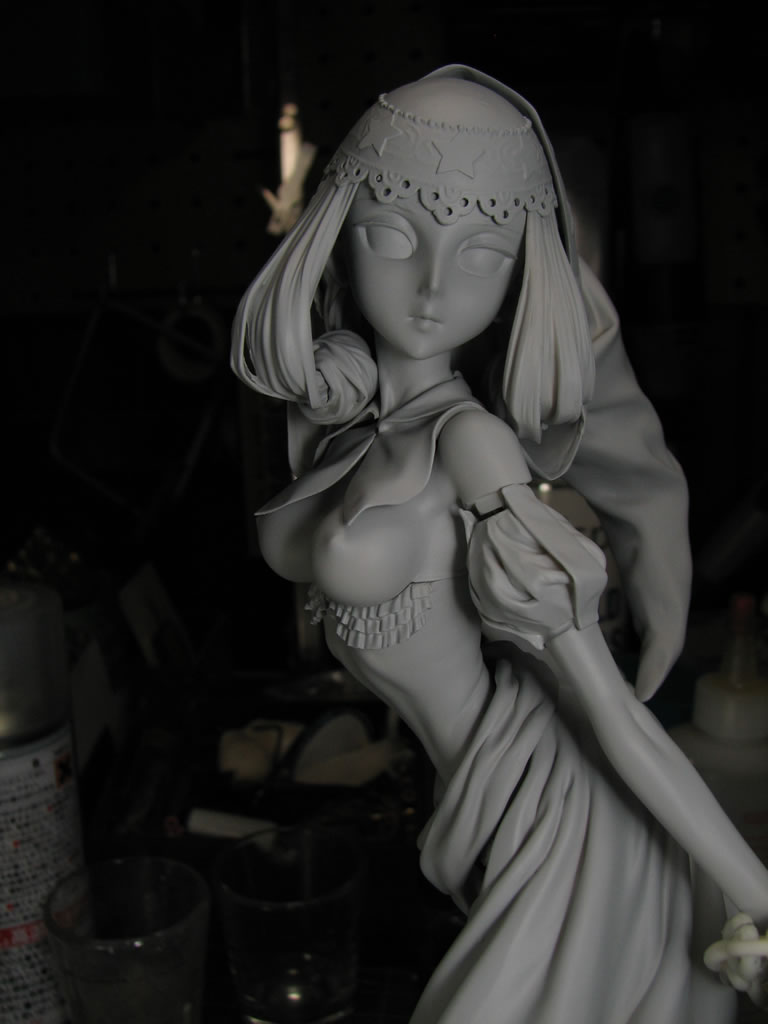
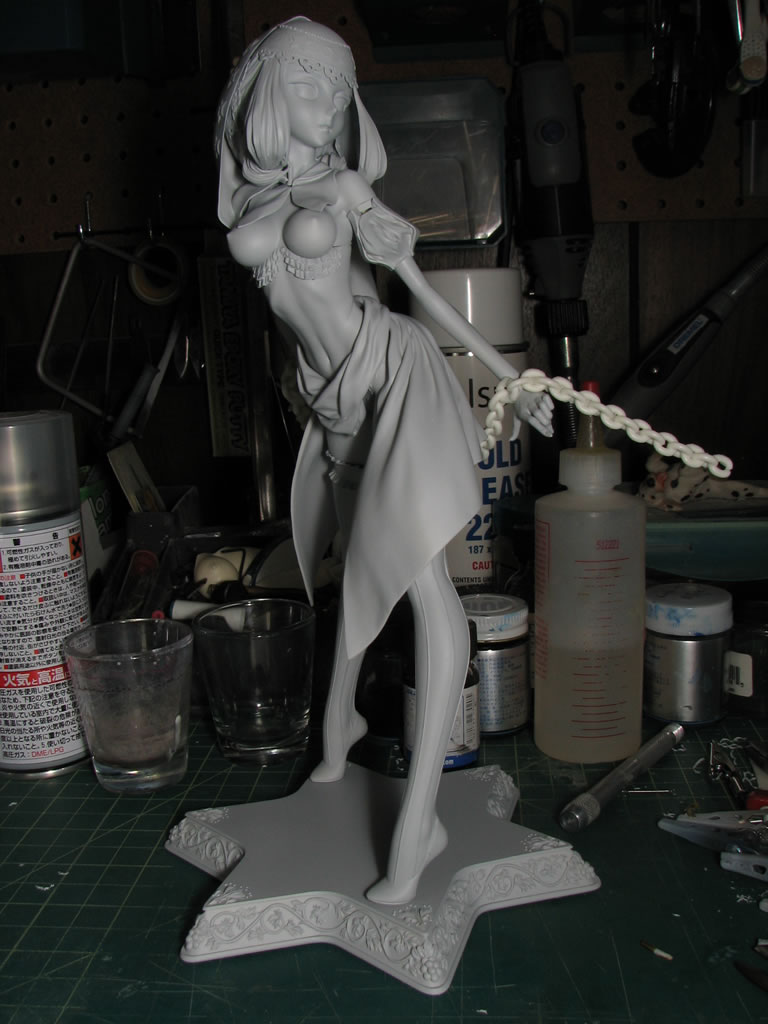
With all the parts dry, they are assembled for some photos of the primed kit.
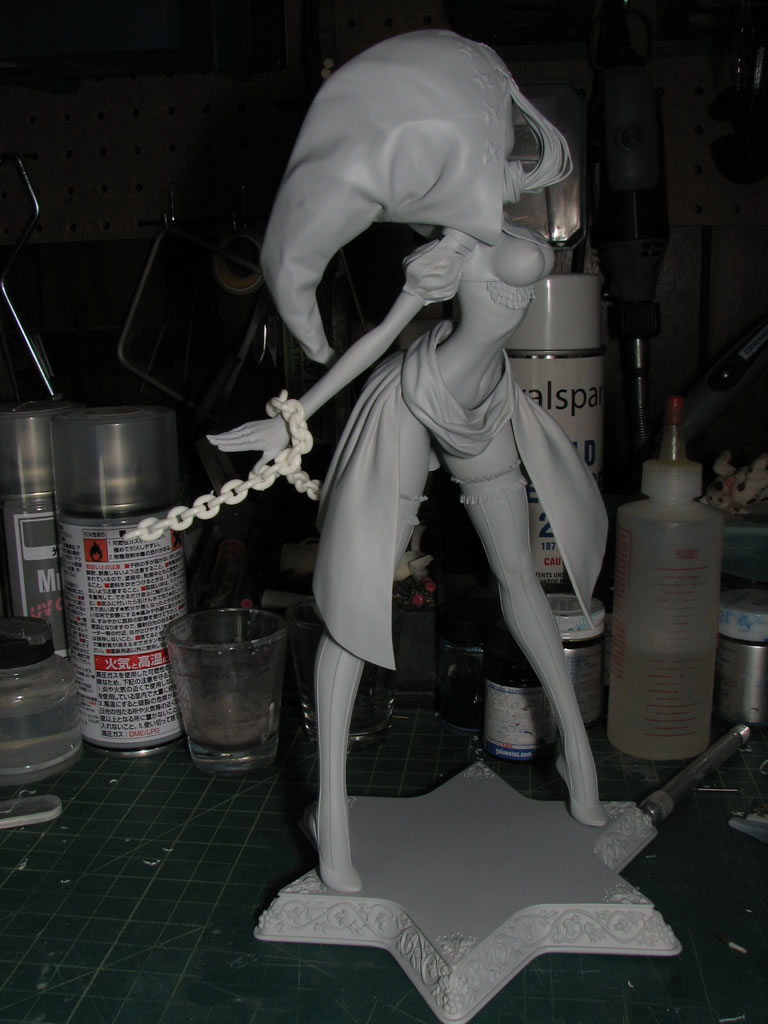
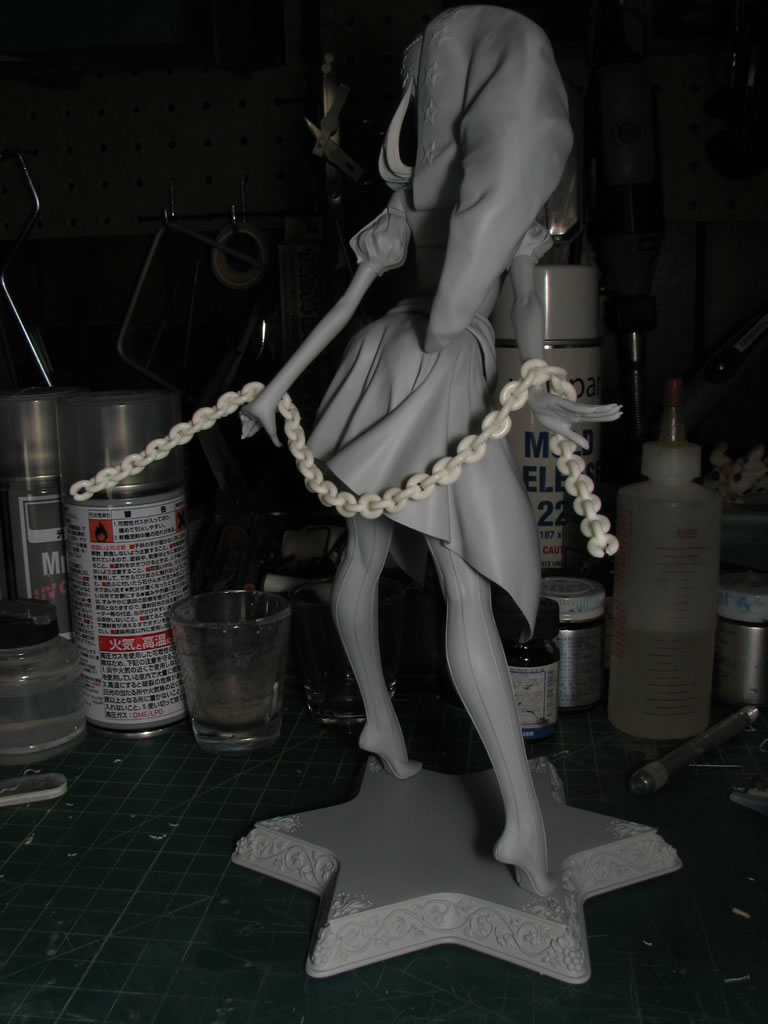
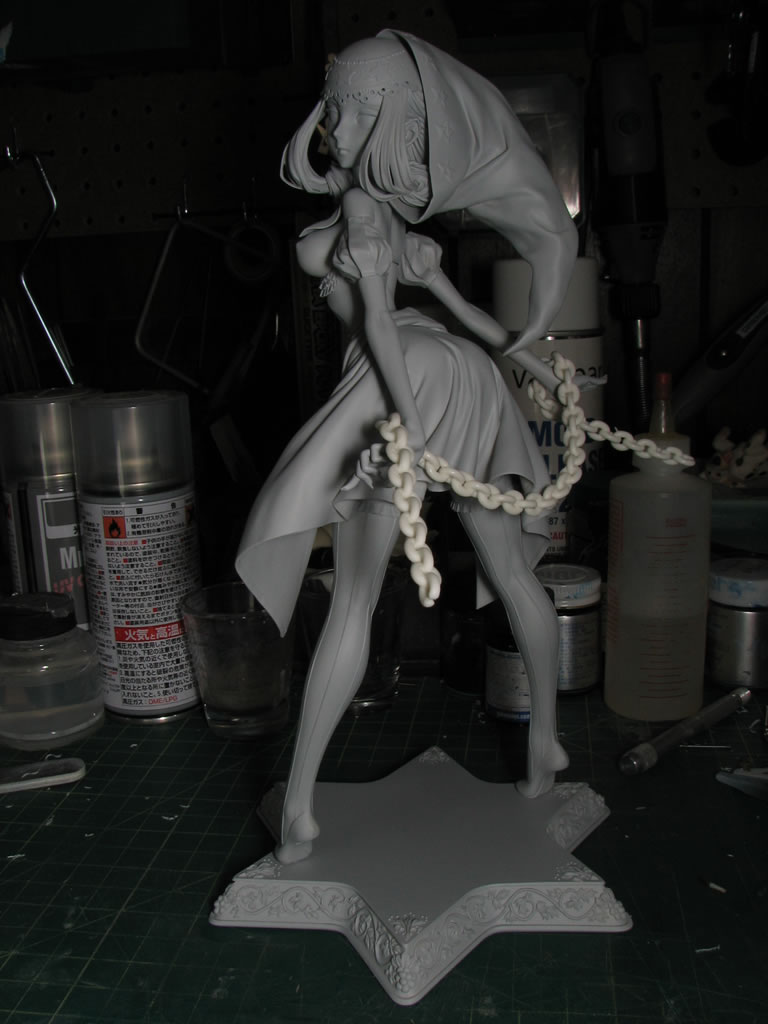
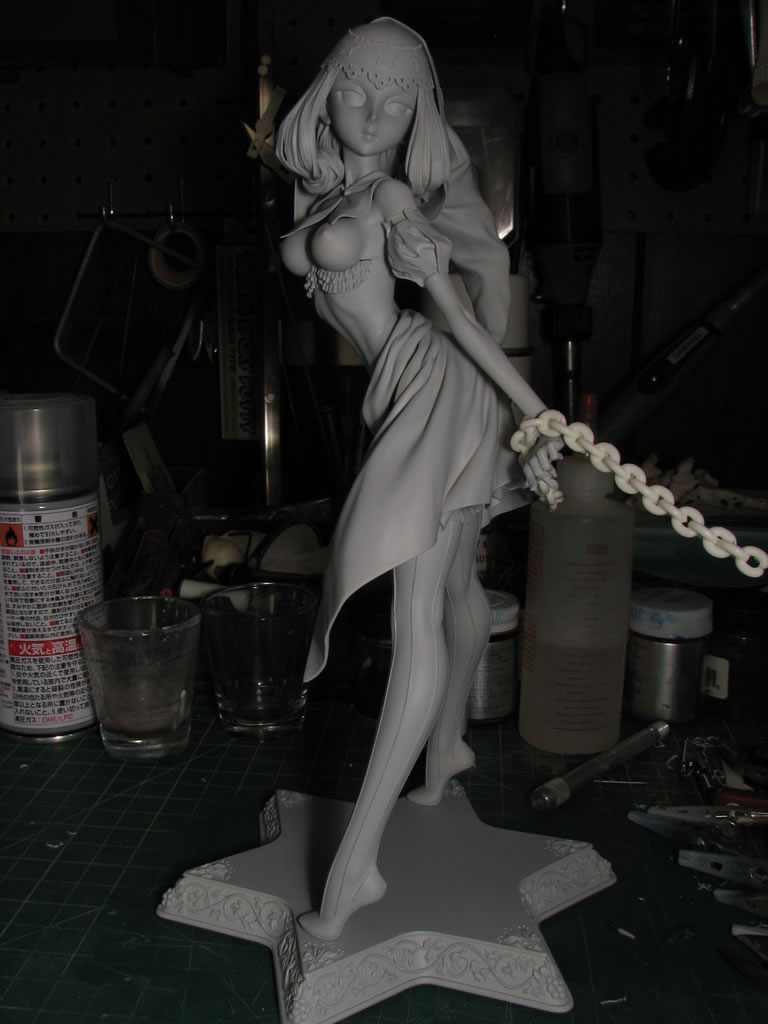
Close up shots of the primed kit just work to show off the Bubba’s mastery in sculpting. The small attentions to details. The issue now is to sand and work on the kit such that these minute details are not sanded away.