So a friend of mine has been bugging me for days and weeks to give him a list of tools that I use to build resin figures. So here we go. Note that some of these tools are not necessary, but will make the building process easier; and so are a luxury. Quick and dirty list:
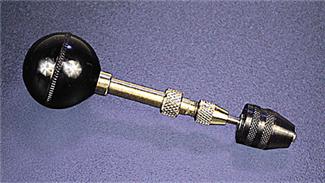
Pin Vise
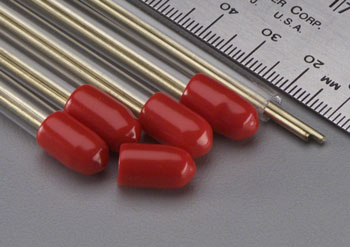
brass rod
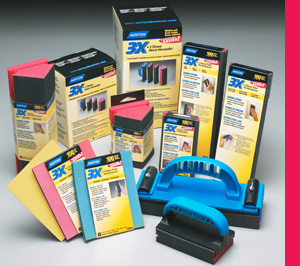
sanding sticks
magnets
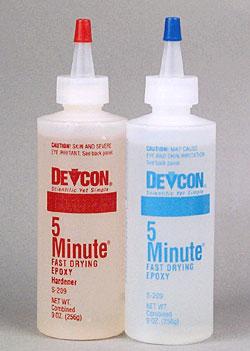
epoxy glue
drill bit set
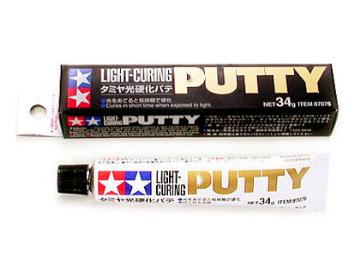
tamiya light curing putty
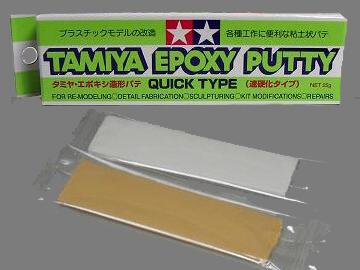
tamiya epoxy putty quick type
milliput (clay like consistency)
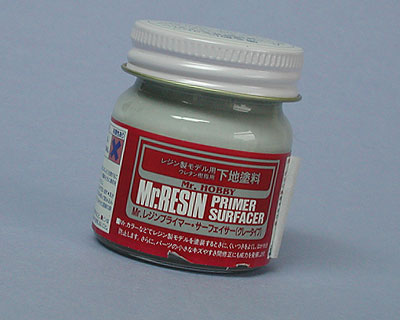
Mr Resin Primer
hobby knife
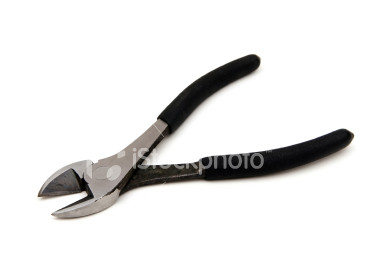
Dykes (cutting tool, get you minds out of the gutter)
Starting with pinning, the most important thing is to get a pin vise which is a hand operated drilling tool. The particular pin vise I use is the Deluxe Pin Vise from micro mark:
http://www.micromark.com/DELUXE-PIN-VISE,7889.html
The brass rods I use are 1/16 in diameter. For the load bearing areas that require more strength and a larger brass rod, I use 3/32 in diameter.
Dykes are used to cut the brass rods. Your standard small pair of dykes will do, but if you are planning on cutting thicker rods, I recommend getting a bigger pair as the extra leverage will help in making quick clean cuts.
The drill bits I use are from a drill bit set I get at any local hardware store. Just make sure the bit set has a 1/16 size bit and 3/32 bits. Realistically, the other bit sizes are unnecessary, however as a luxury, these bits can be used for other purposes – eg drilling holes for magnets, hollowing out barrels, etc.

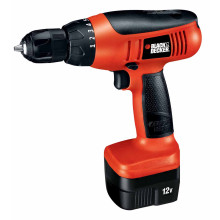
A luxury item for drilling is a cordless drill. The major benefit to these drills are the variable speed, and that they are able to accommodate larger drill bits that are too big to fit into the pin vise.
For some applications, I use magnets for making removable parts as some kits have optional parts and to avoid gluing these parts solid, I use magnets. The magnets I use are very strong rare earth magnets purchased from kj magnetics: http://www.kjmagnetics.com/
For sanding resin I use a variety of sanding implements. First and foremost, standard sanding sticks found at local hobby shops or built yourself using popsicle sticks, glue, and sand papers of varying grits.

The inherent problem with sanding sticks are that they are straight edges. For such areas I use sanding sponges made by Norton. I find mine at my local Home Depot. I have seen them in sanding grits from 100 to 320 – there may be other grit ranges, but I have not seen others yet.
As a luxury item for sanding organic shapes and curves I have the Flex-i-file set: http://www.micromark.com/19-PIECE-FLEX-I-FILE-SET,7129.html This set can also be found at some local hobby shops.

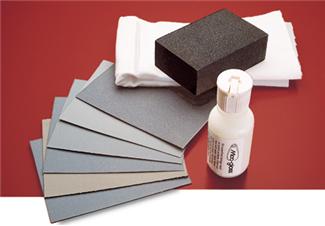
Another luxury sanding implement is the Micro-Mesh sanding set:
http://www.micromark.com/MICRO-MESH-FINISHING-KIT,7601.html
Some areas are very difficult to tackle in terms of sanding and removing excess resin material. The hobby knife comes in very handy, and in particular, I like using a curved blade to help carve the resin. These blades can be found at any hobby shop or crafts store:

For an adhesive, I use a 5 minute epoxy glue that can be found at any hardware store such as Lowes and Home Depot. I don’t like using CA Glue (super glue) as I find that it tends to be a little on the brittle side and does not have the tensile strength of epoxy glue.
Filling and fixing surface defects require putties; and for this I use different types and brands of putty. The main putty I use is Tamiya epoxy putty quick type. Milput is another type of epoxy putty but it has a consistency of clay and will dissolve with water. It is a little messier to work with, but there are benefits as water can be used to shape and conform the putty to the surface.
A luxury putty that I use is Tamiya Light Curing putty. The stuff is expensive, however, it is very quick curing and allows for quick work times when in comparison, epoxy putties will take 24 to 48 hours to fully set up and cure.
The final item for resin build are the primer and paints. For primer, I use Mr Resin Primer by Gunze Sangyo. There are several primer products on the market; but my preference is Mr Resin Primer:
I will update this post with more tools, but for basic resin figure building, these are the basic tools I use for every kit.

I have all of those……goddammit i should finish something…..SOON!
i have some of these .i never tryed epoxy glue. and i have tube putty only
The benefit of epoxy glue is that it has tensile strength. The bond will not break if shearing pressure is applied. CA glue is a bit too brittle for my likes, and the bond isn’t good for long term. My issue with tube putties (exception of light curing) is that they shrink