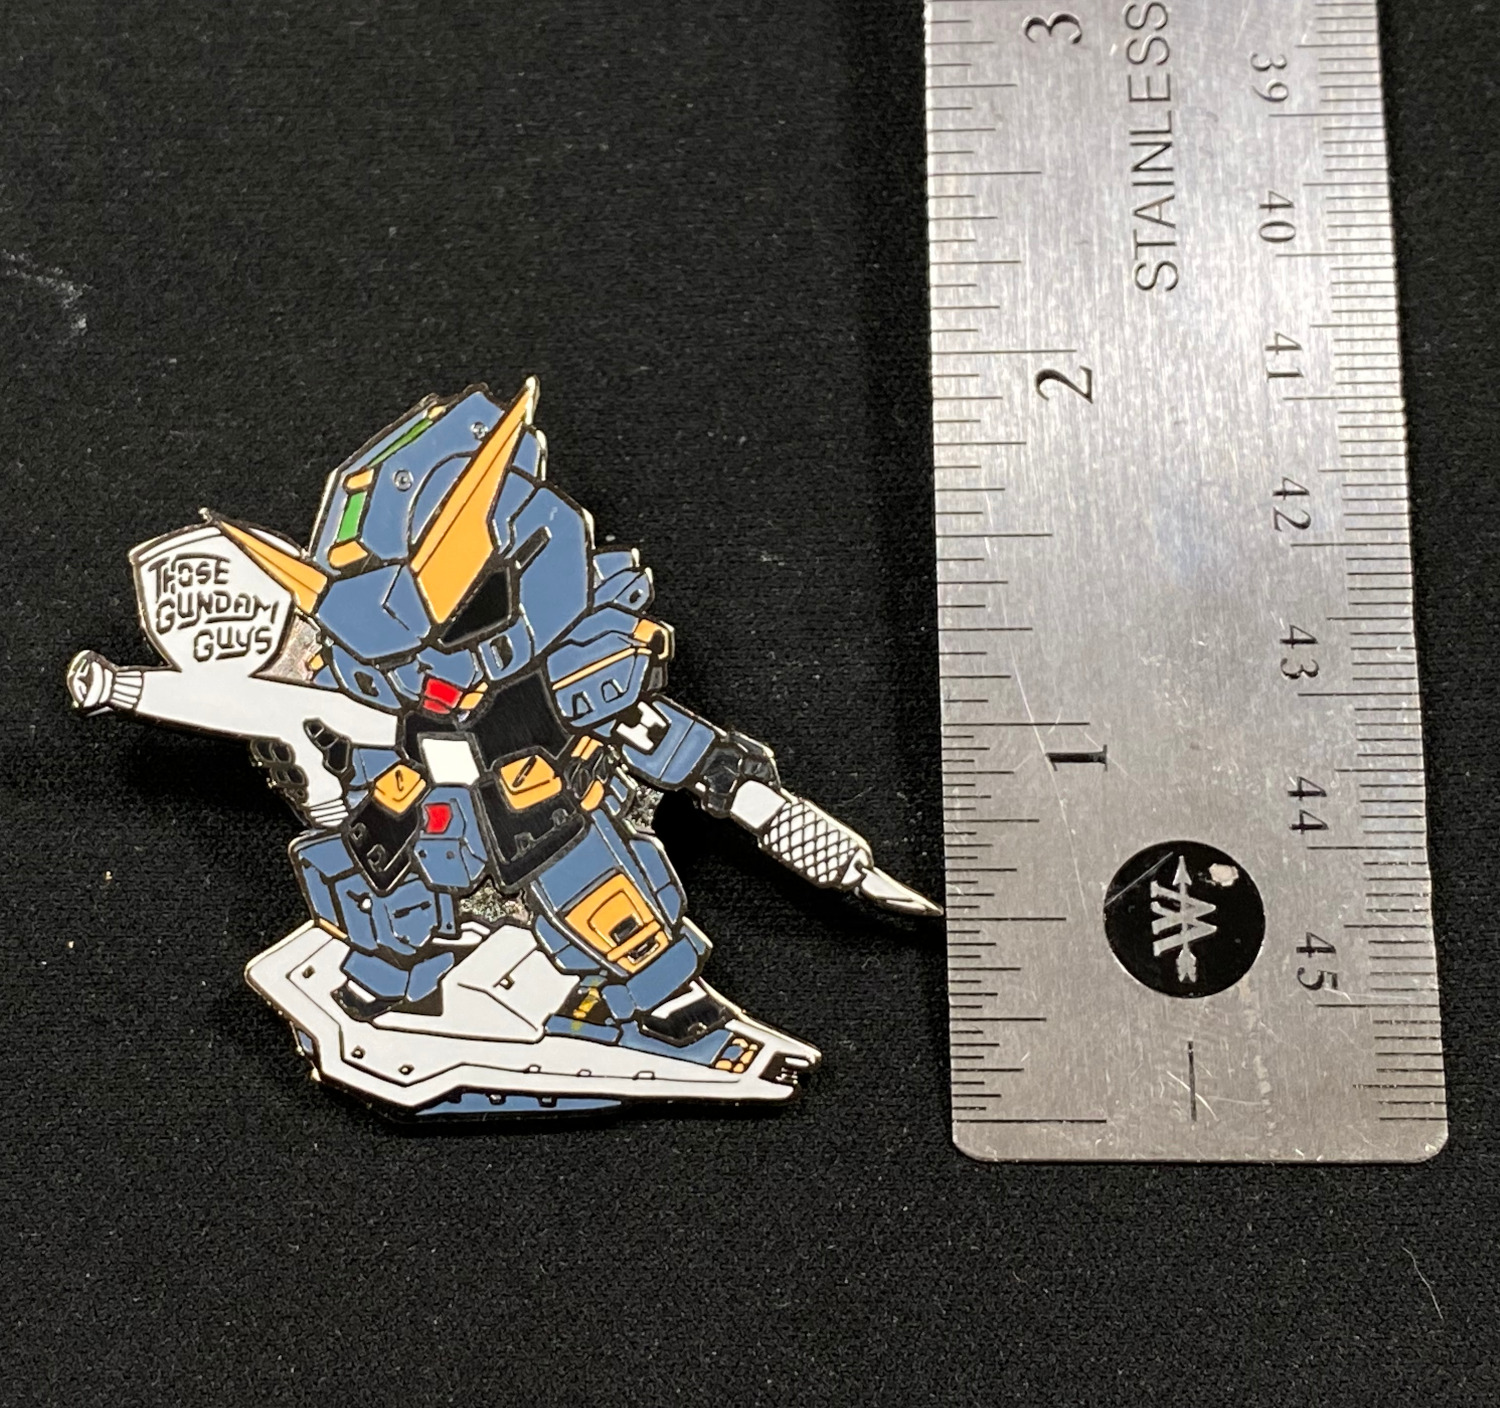
Lost of things happening in respect to current projects and new merch! First, we have a new pin available, and an old pin that wasn’t available but a select group of people got them in the past few years at SCGMC. Both these pins are now available in the TGG Store
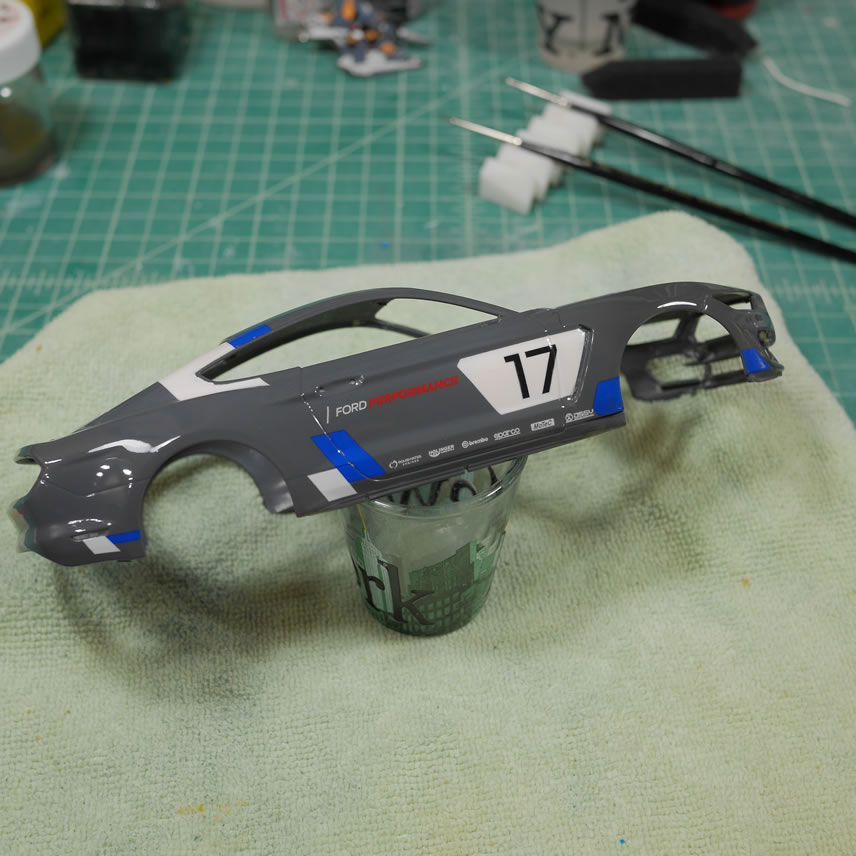
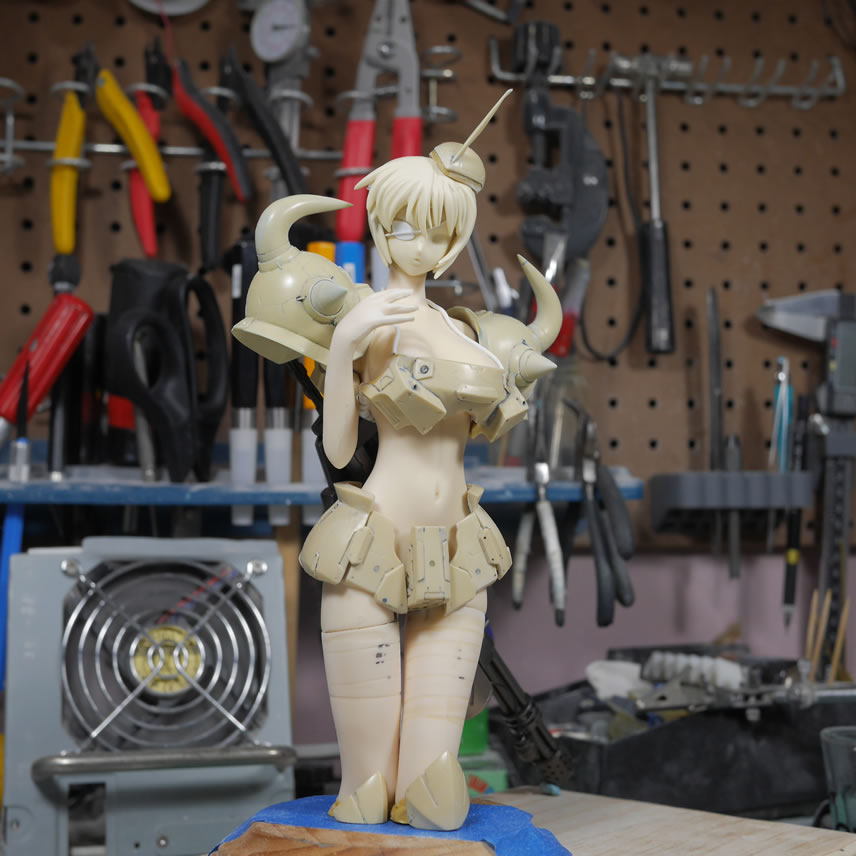
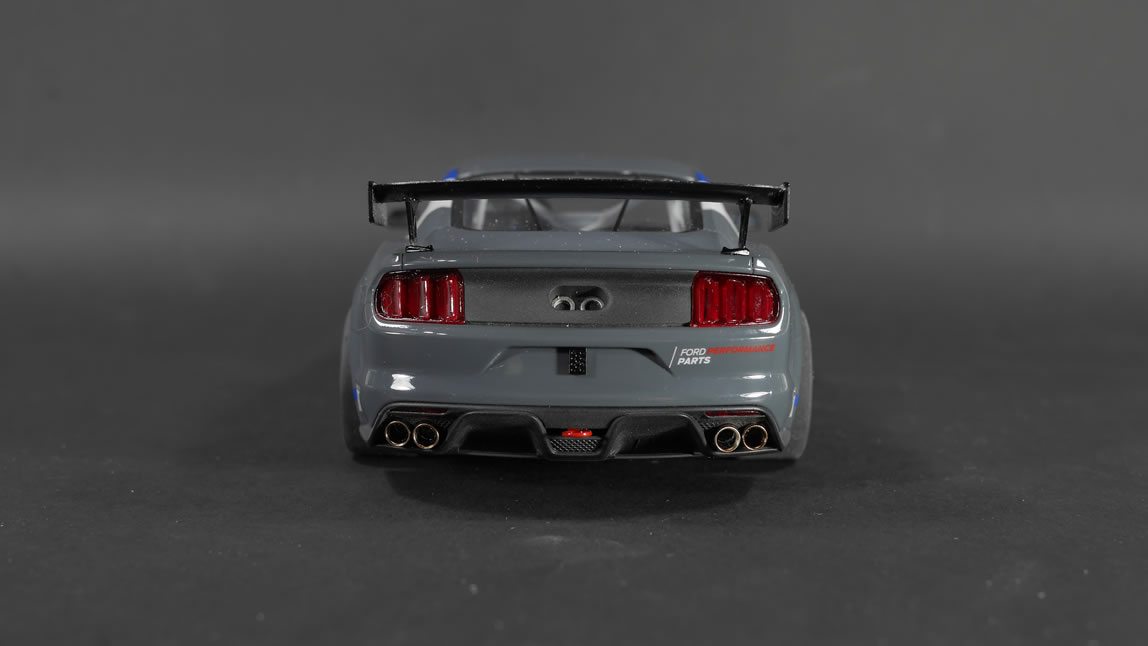
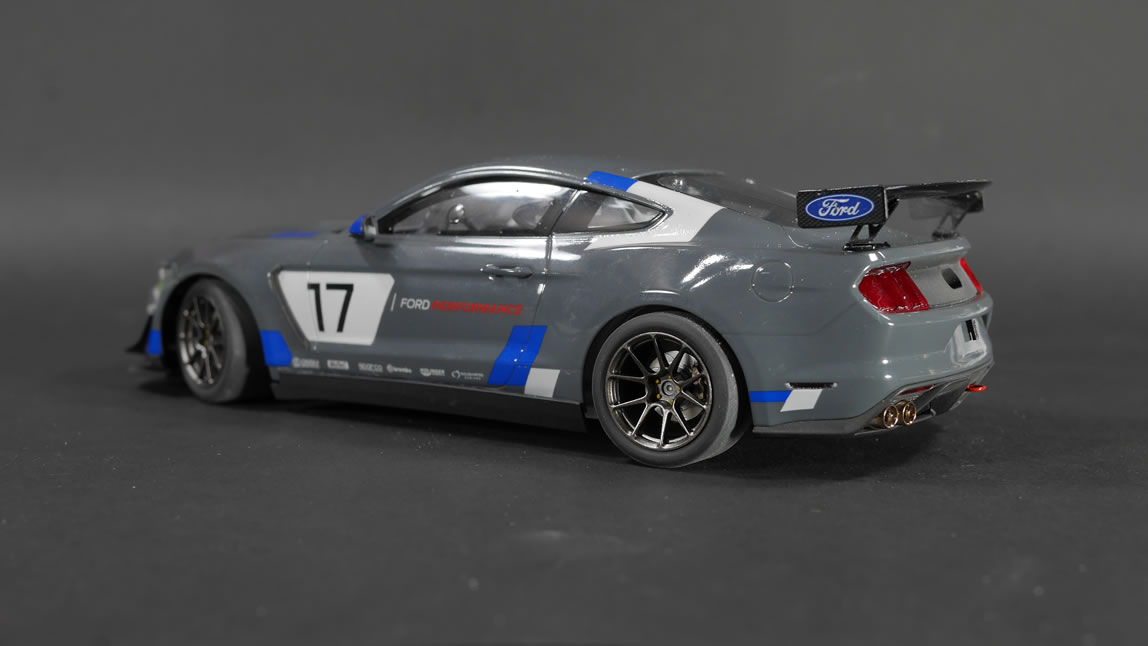
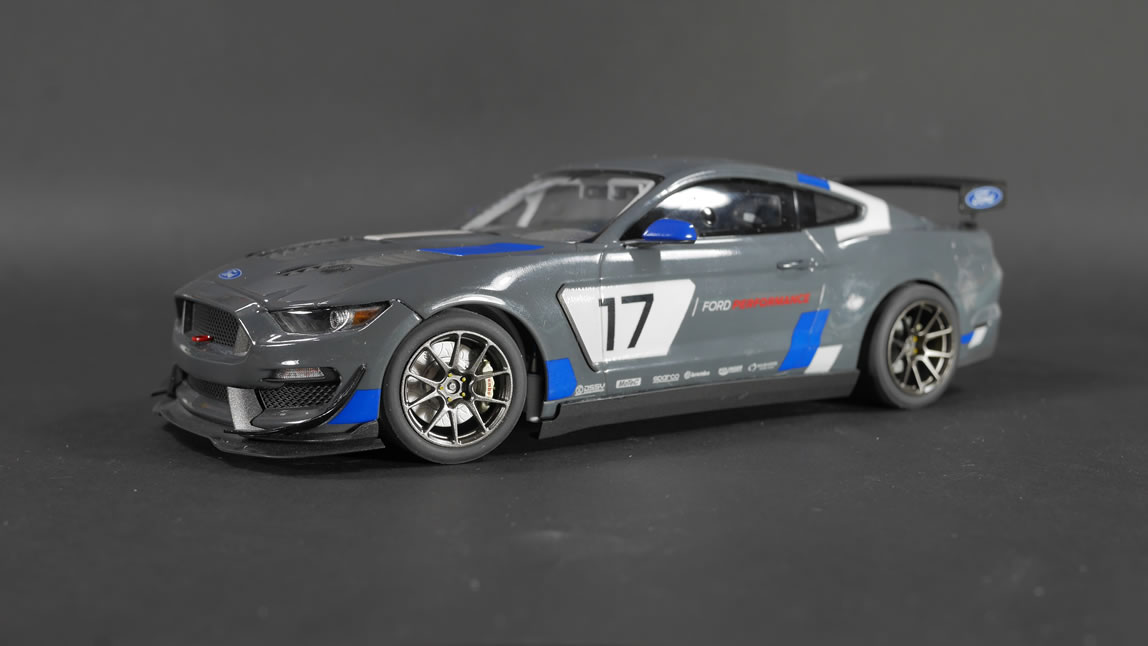
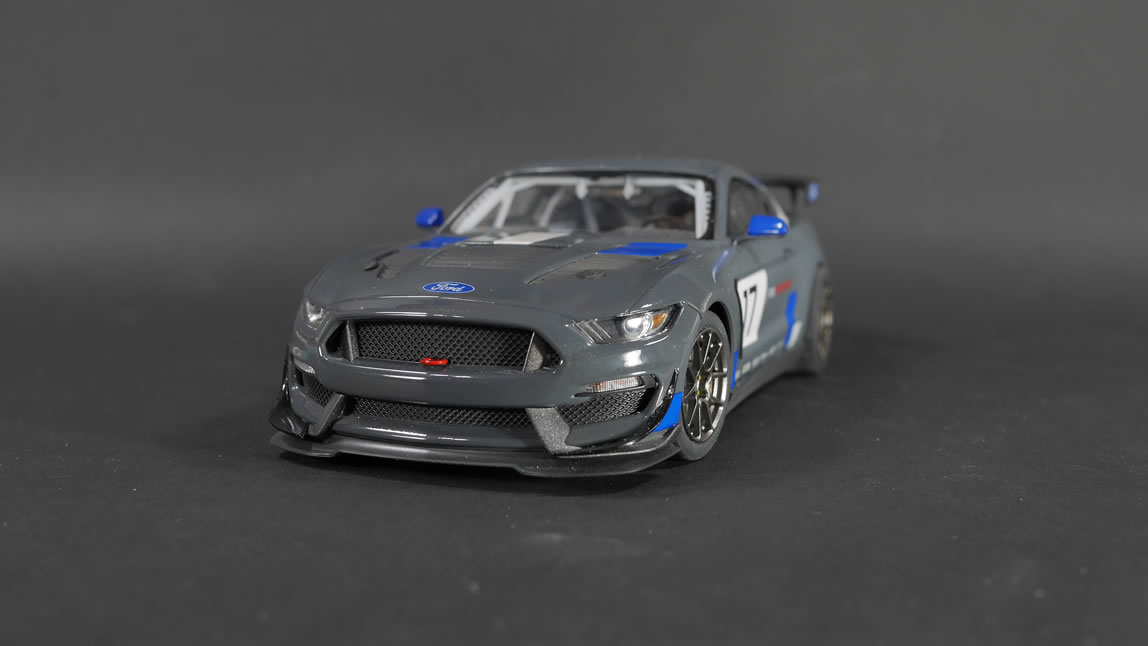
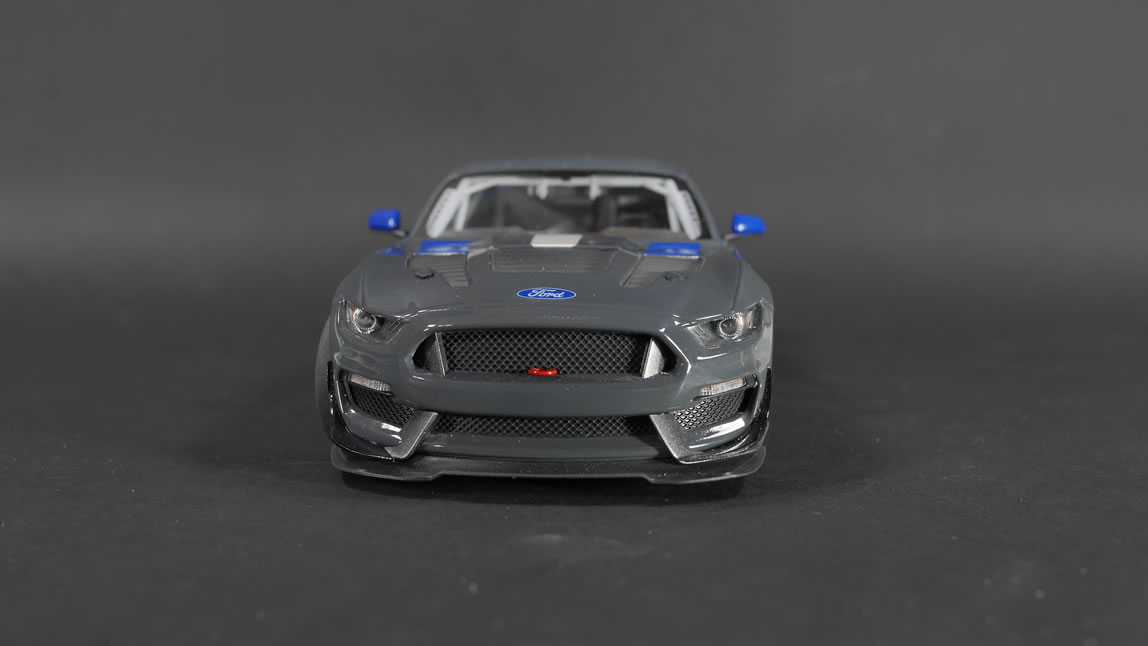
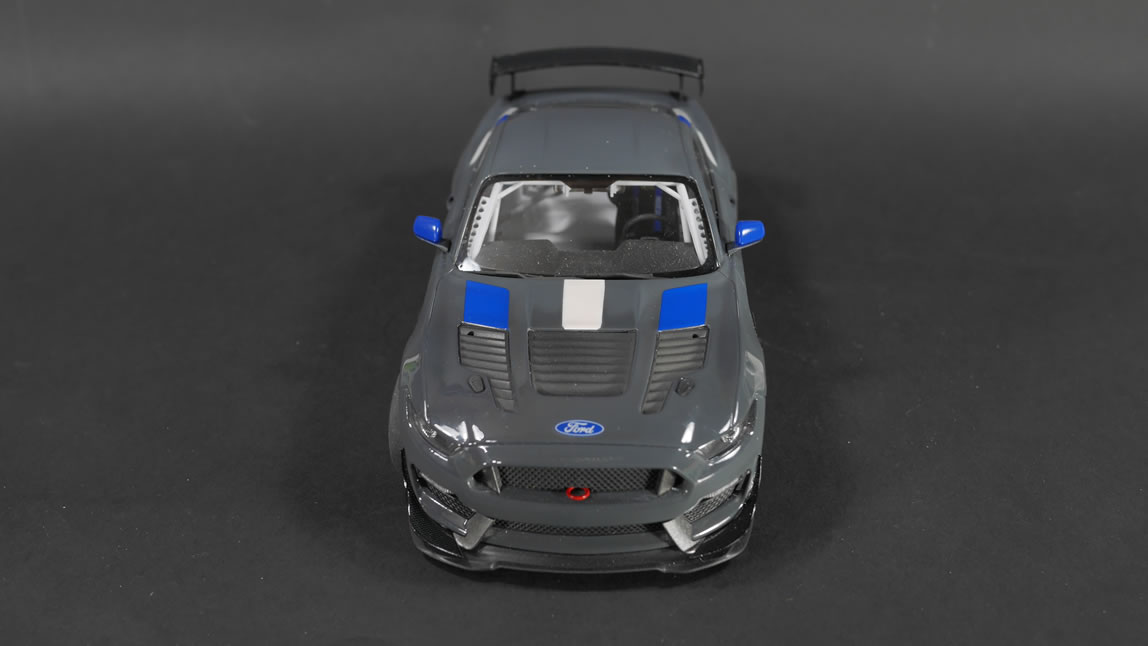
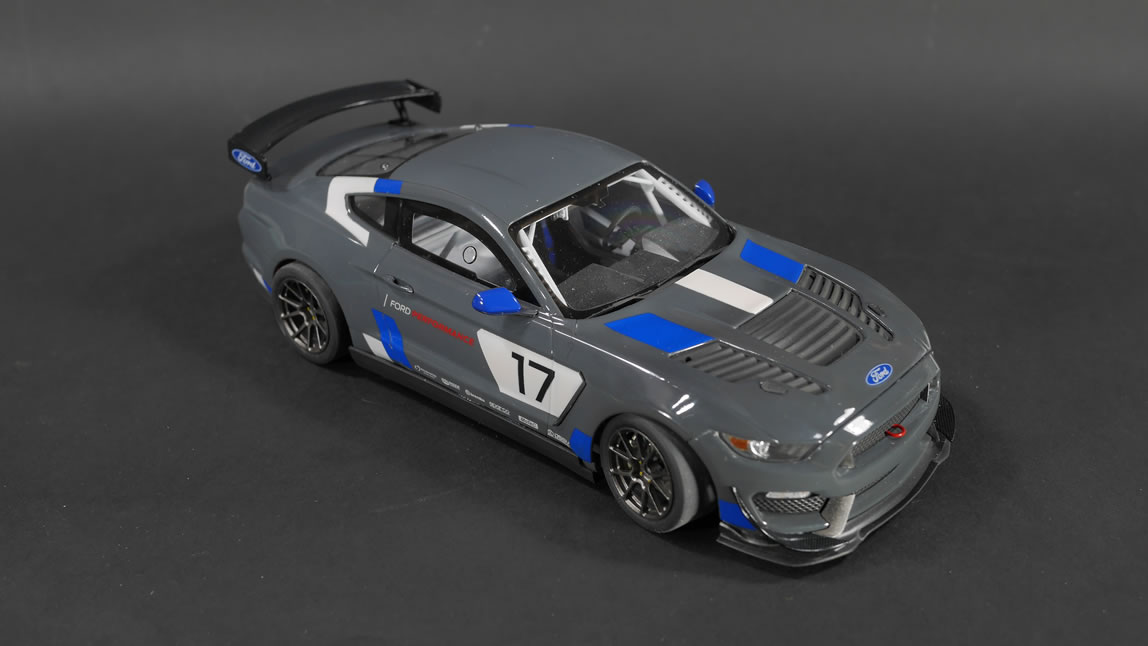
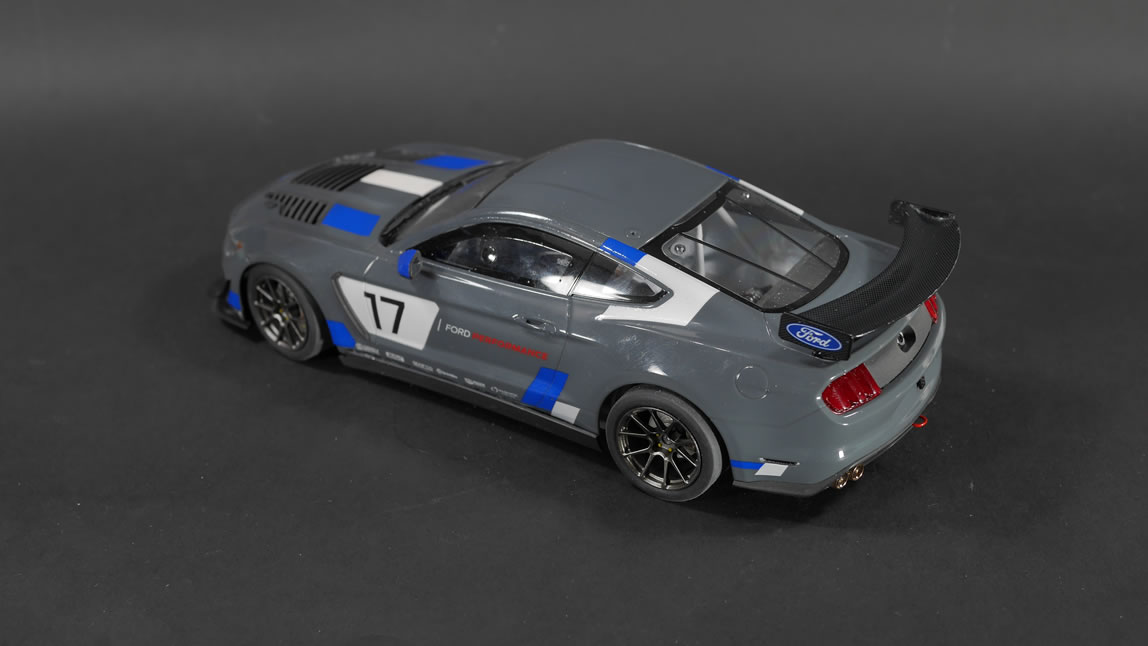
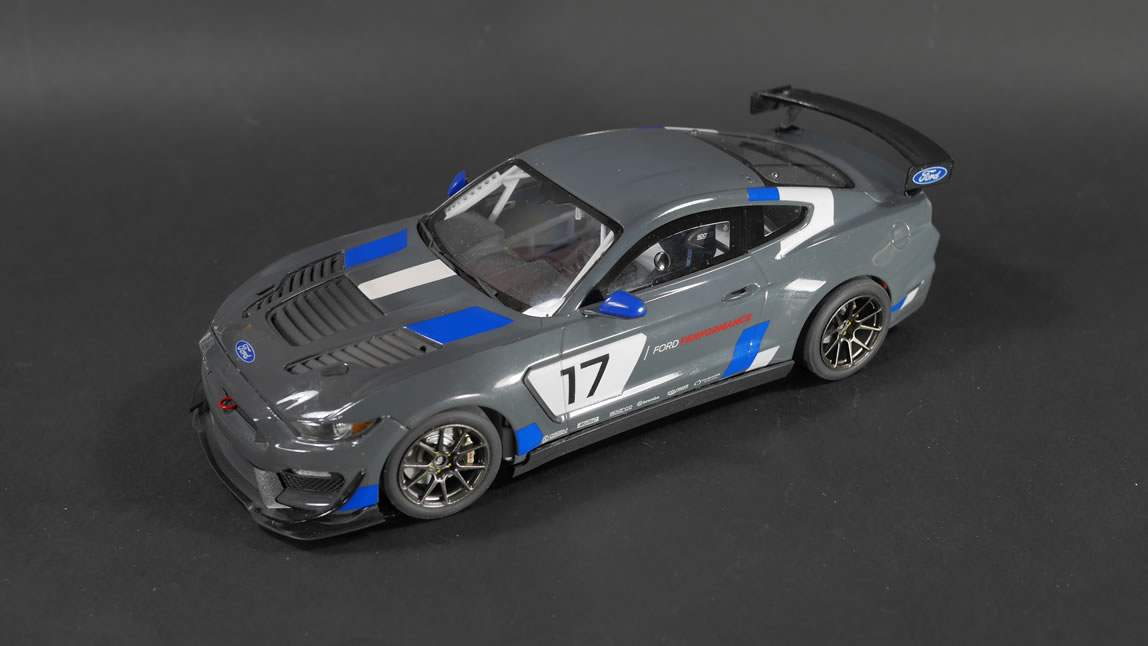
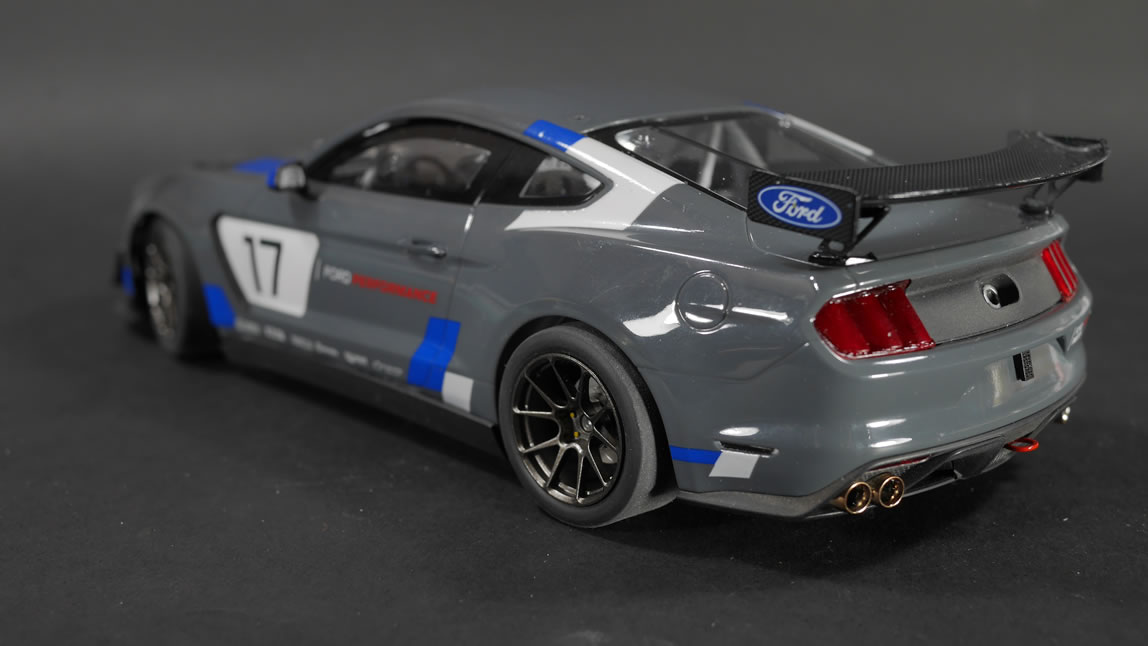
Gouf girl is progressing and in the middle of work and letting things cure, I got the body of the GT4 polished and on to assembly. After all the fixes and clears, the body was quickly compounded, polished, and waxed. Not too happy with the project, but I wanted it off the work bench.

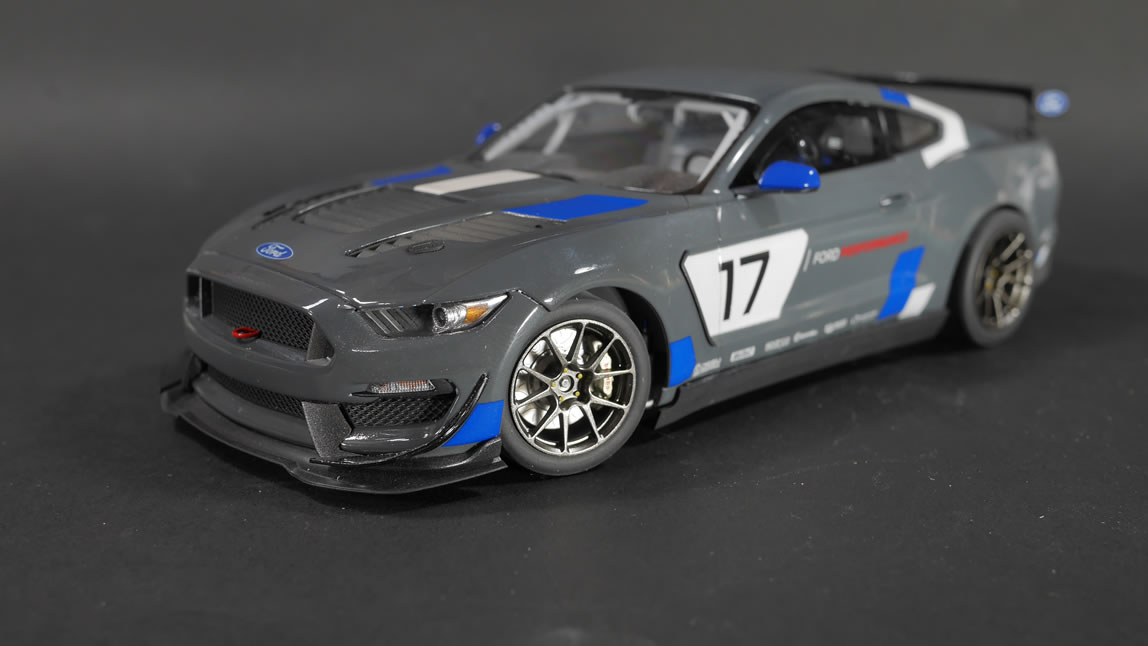
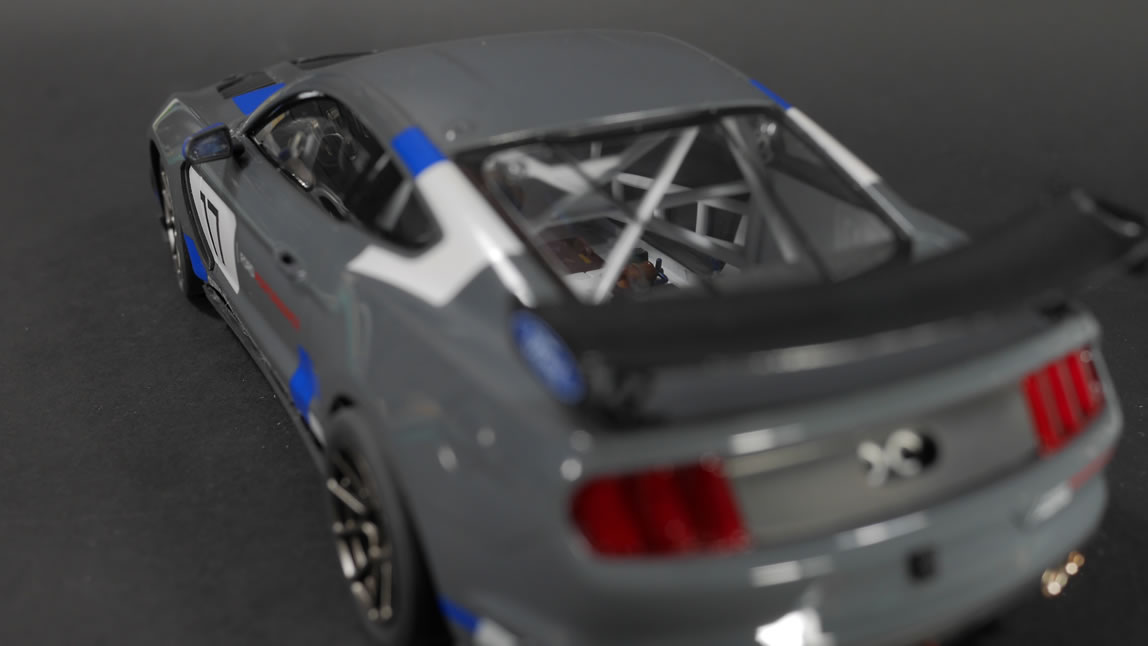
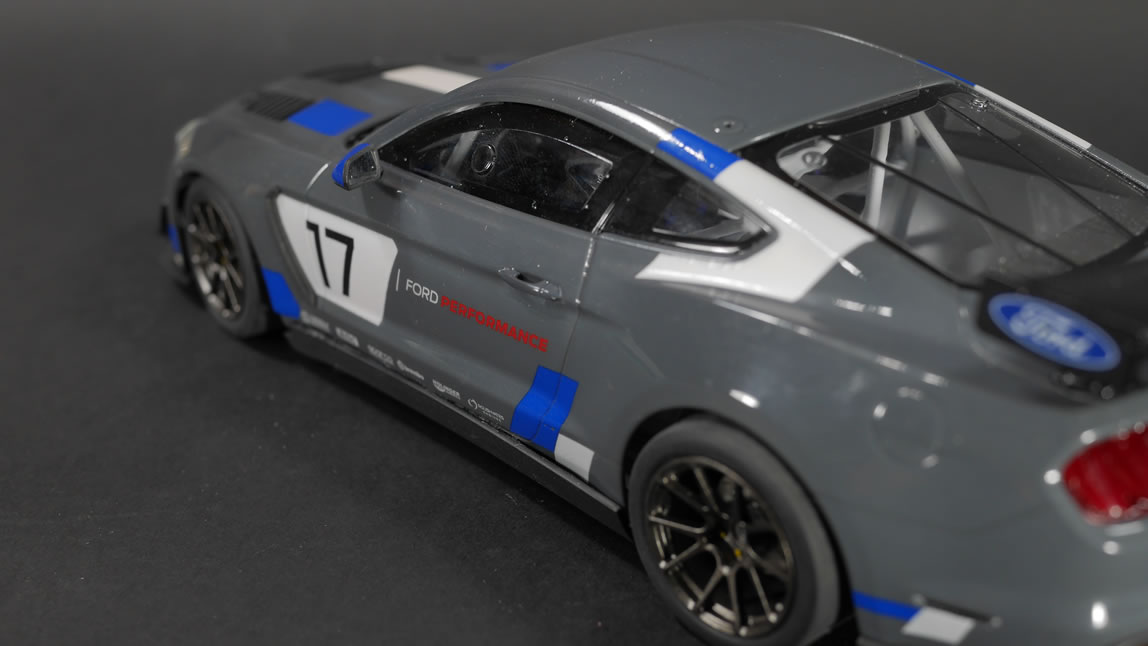
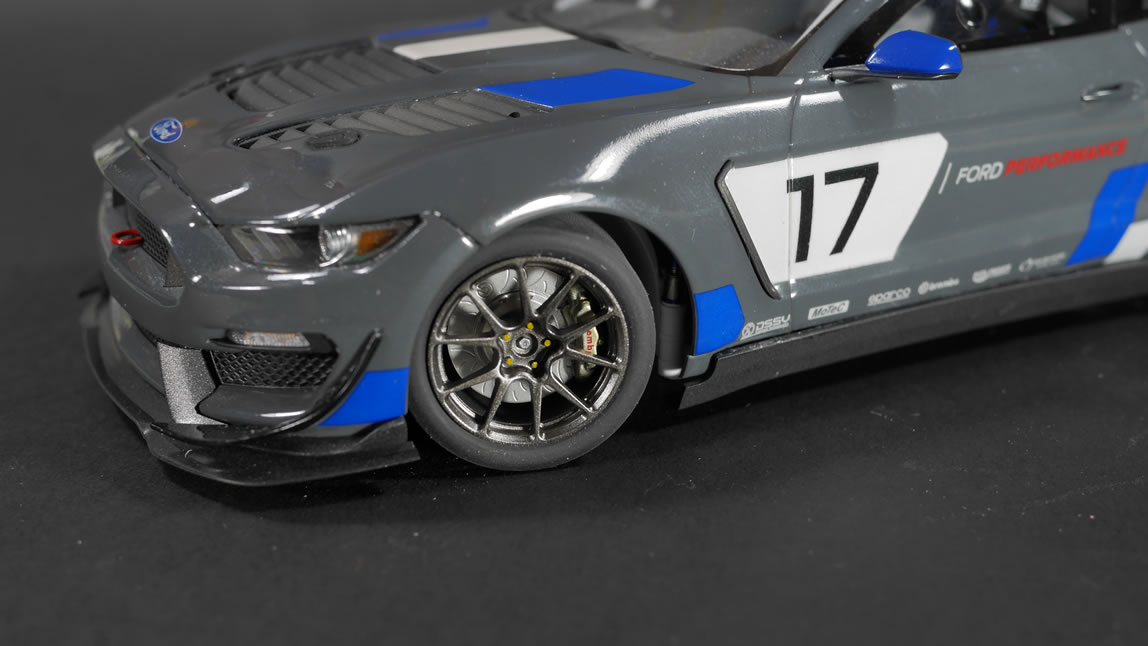
I got it assembled and took some completed pictures.
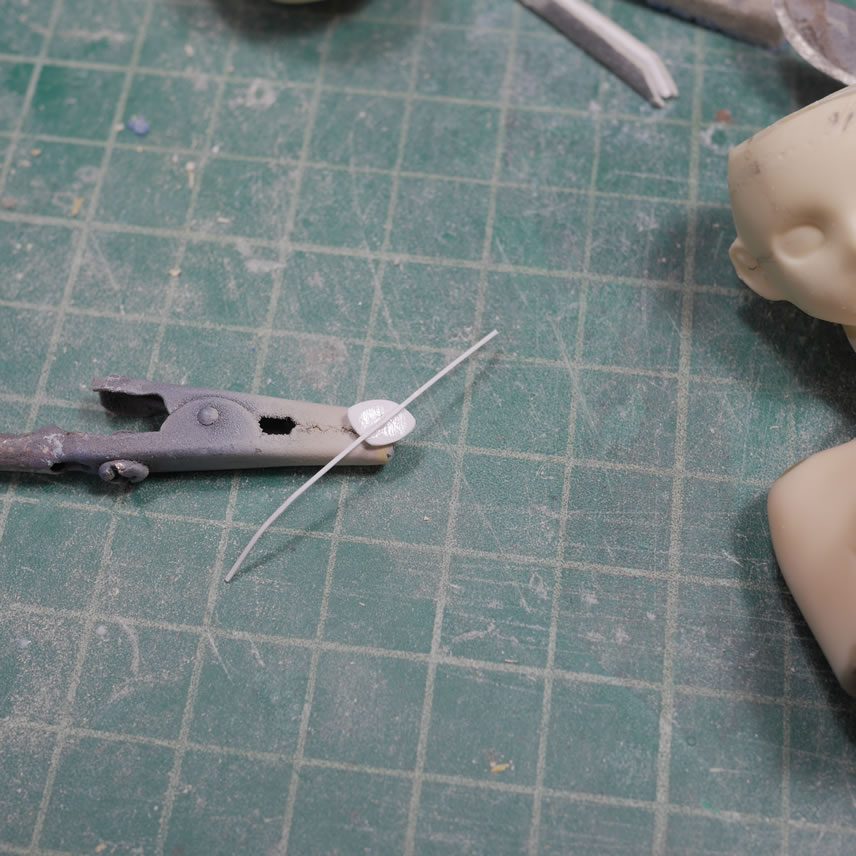
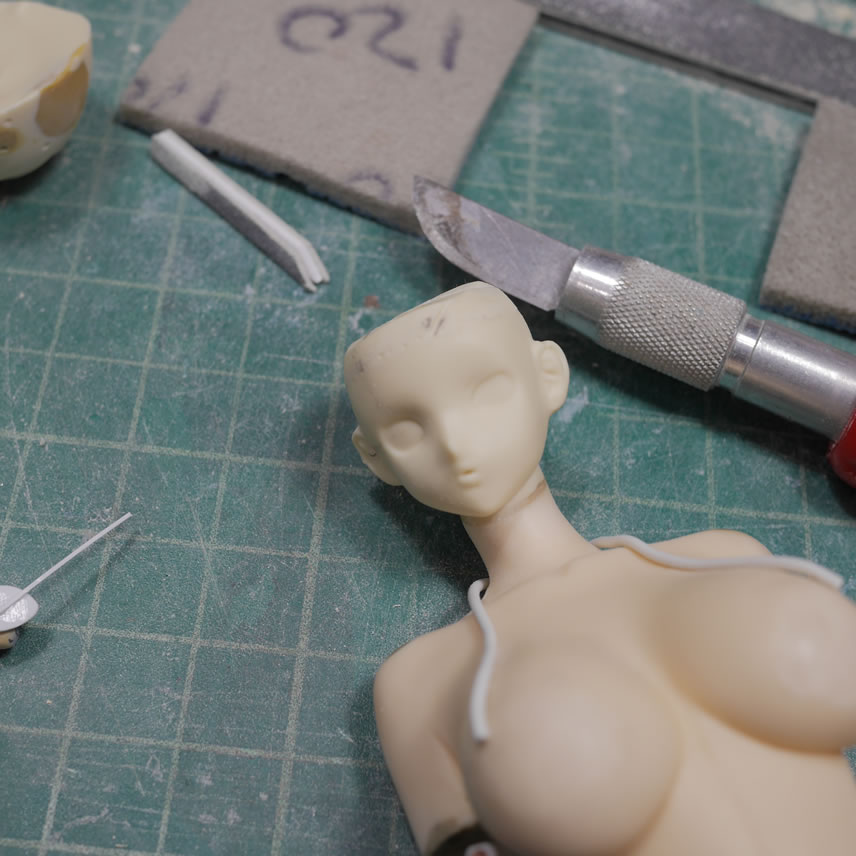
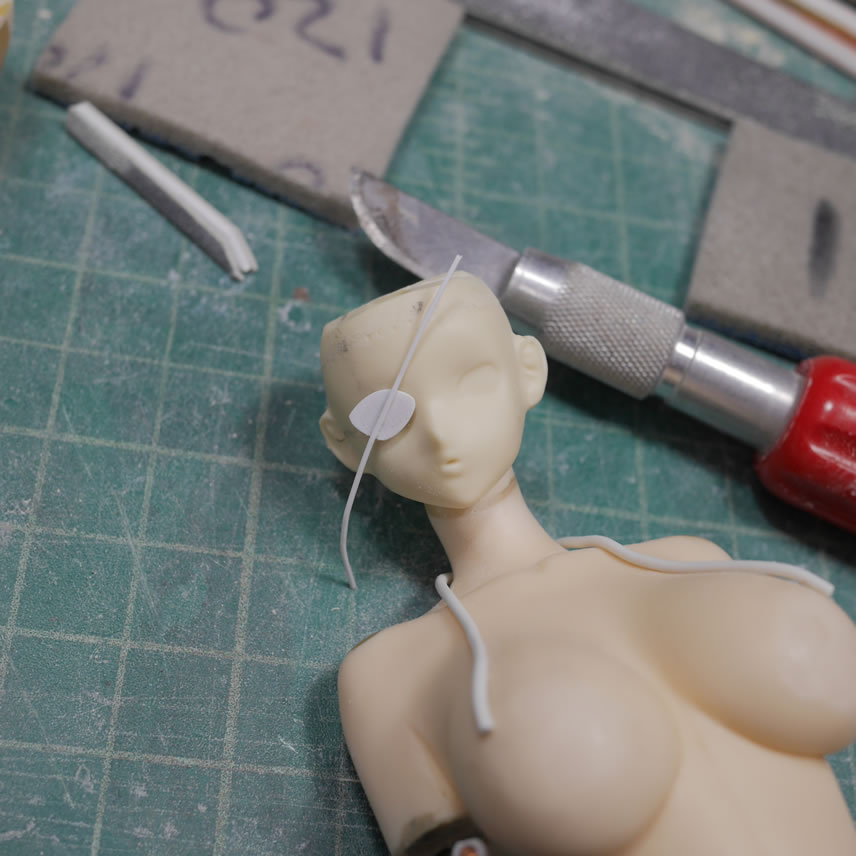
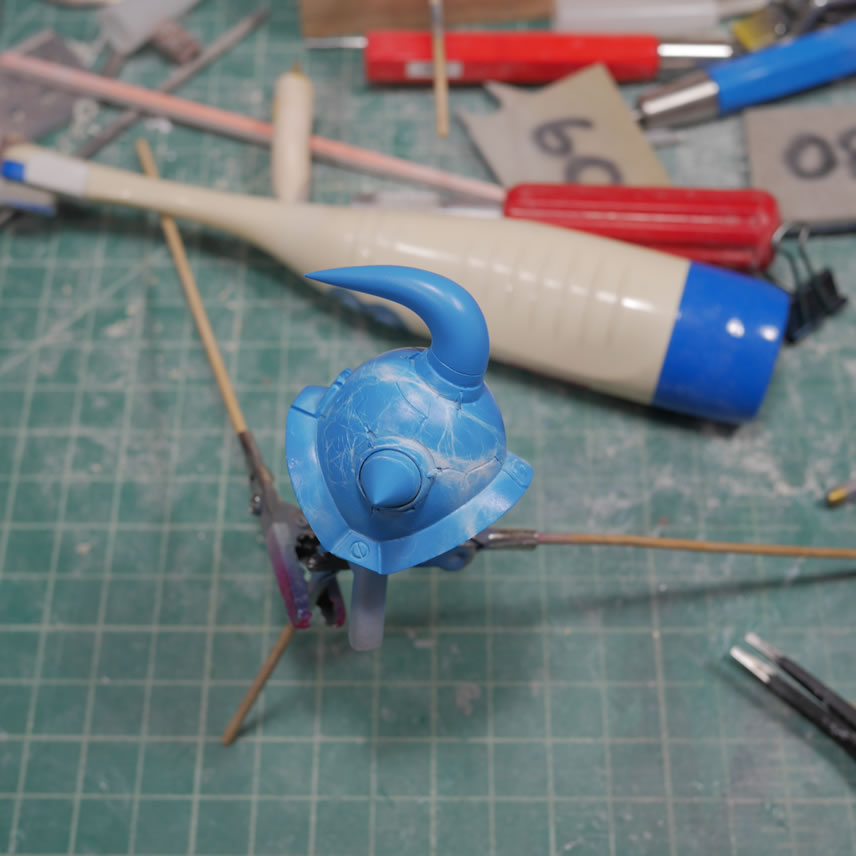
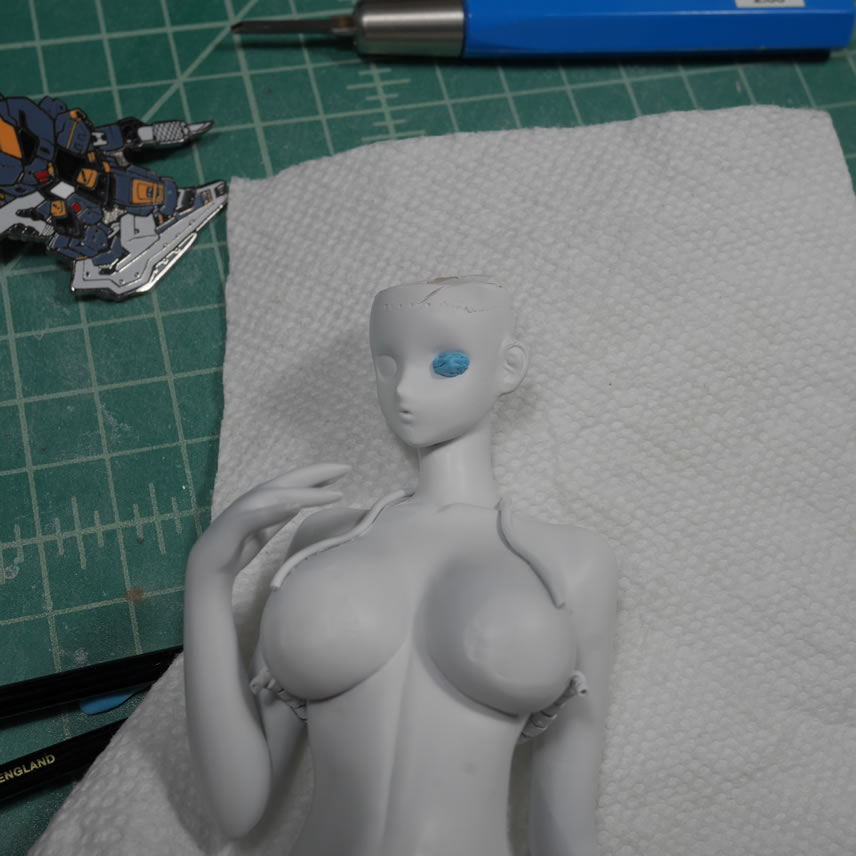
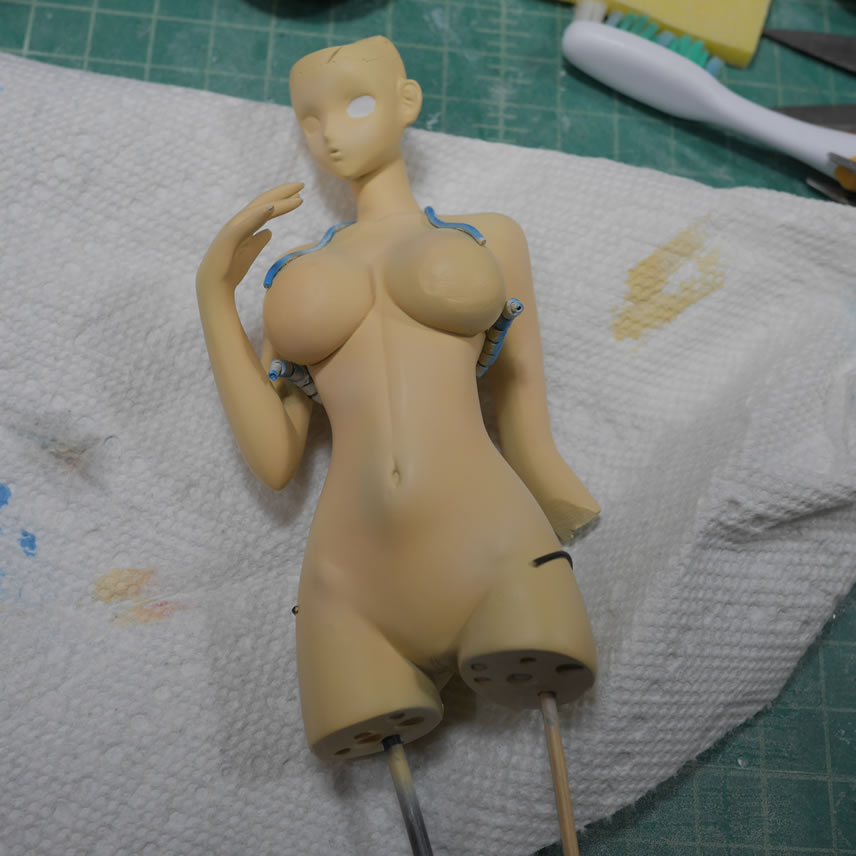
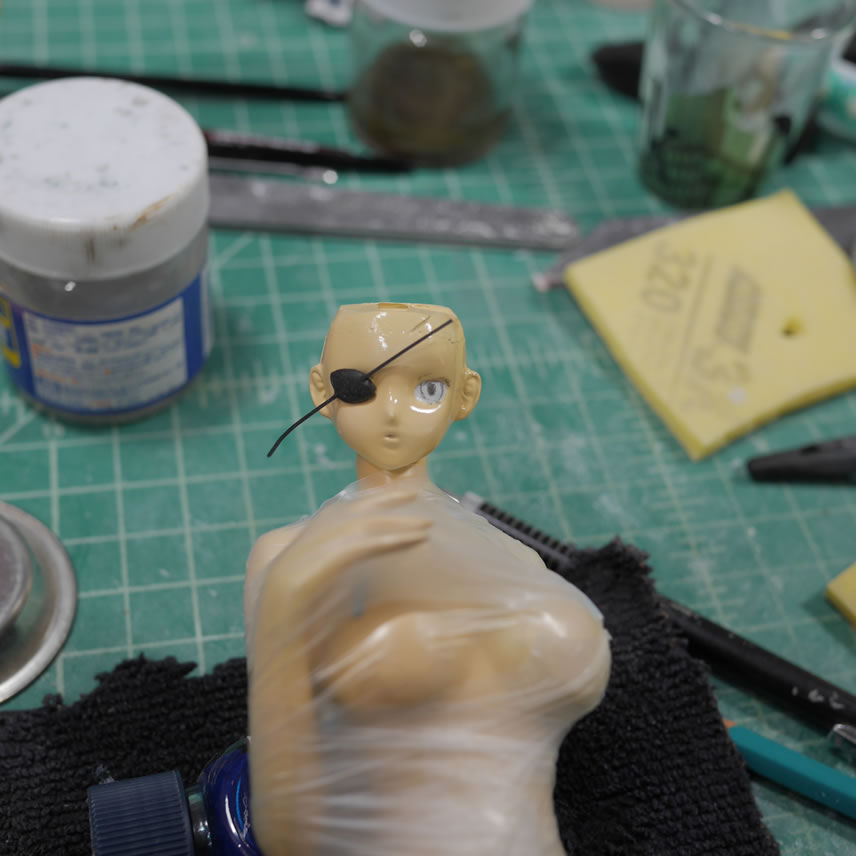
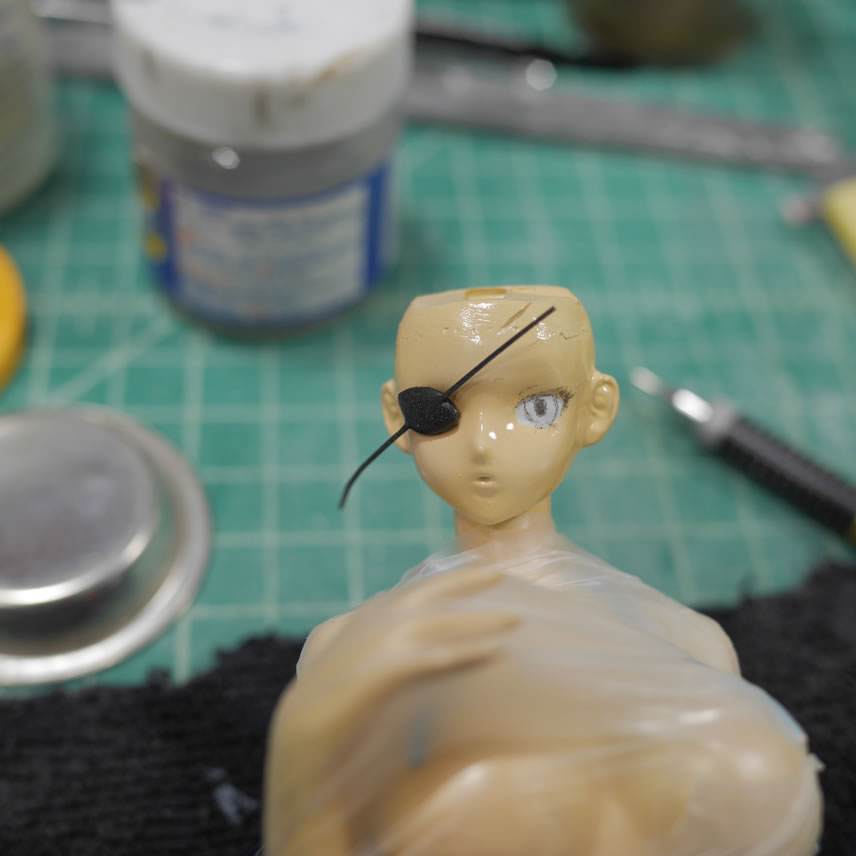
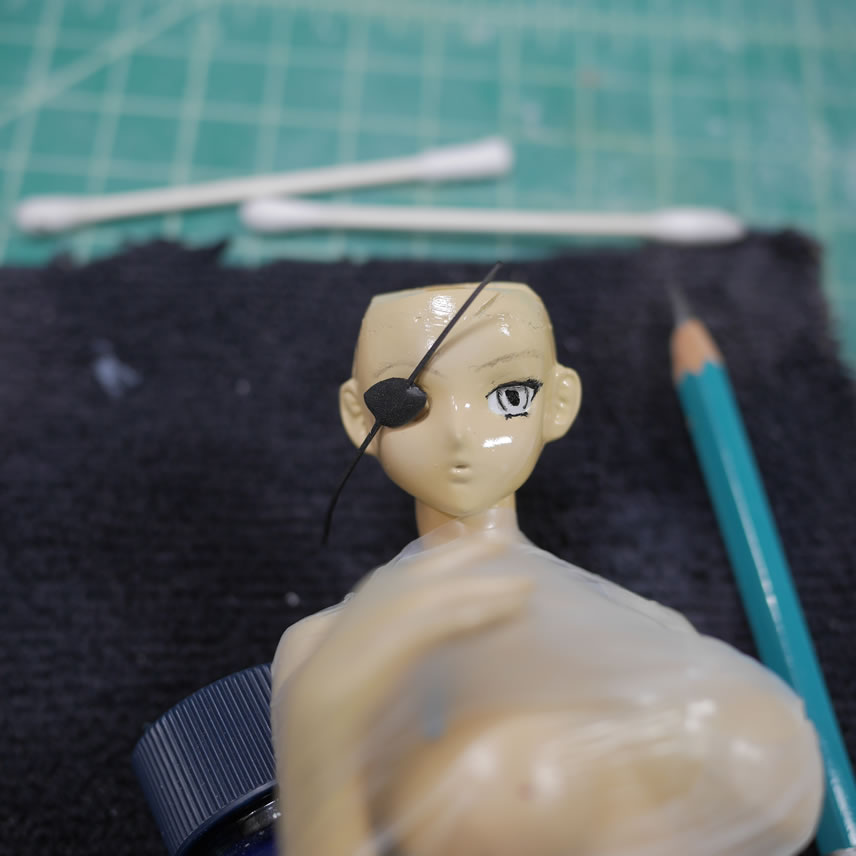
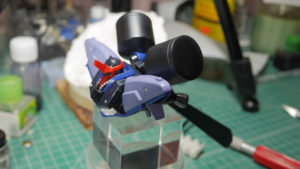
Back to Goufy, my last project picture got a response from reddit to add an eye patch as it’ll make her a mono eye, and here’s the test fit.
More Gouf Girl goodness after the jump!
The eye patch was a simple add; a little styrene cut and shaped with sanding sticks. Glue in a thin styrene strip and done for the most part. I did drill in to the back of her head and add in a magnet and corresponding magnet to the back side of the eye patch. A little putty on the front side of the eye patch gives a little dimension and depth and it’s ready for paint.
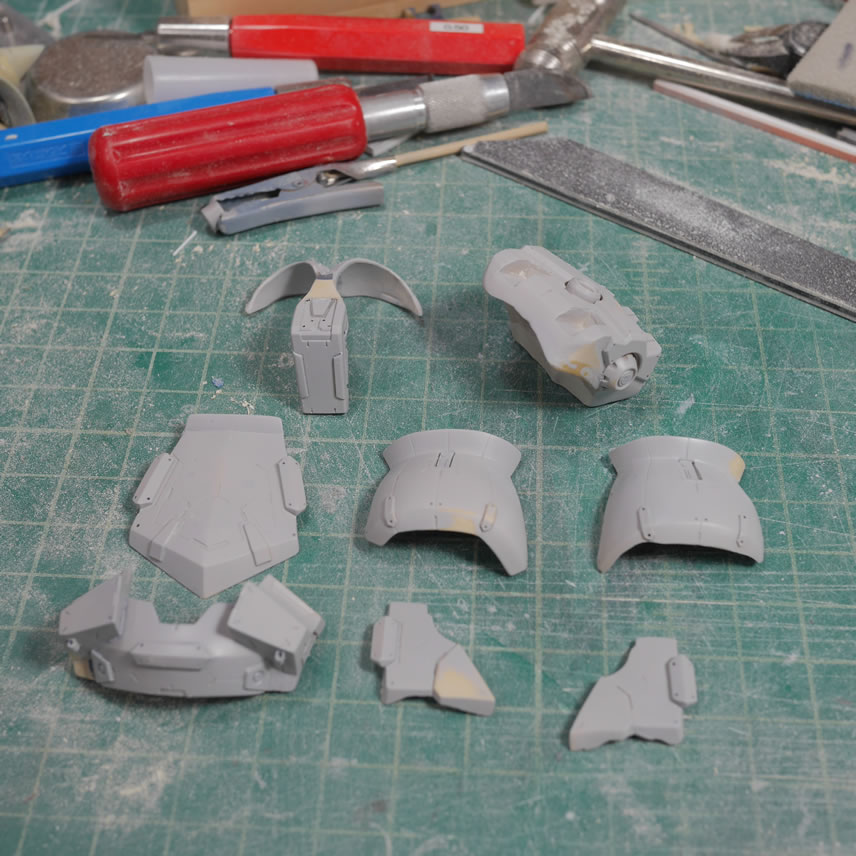
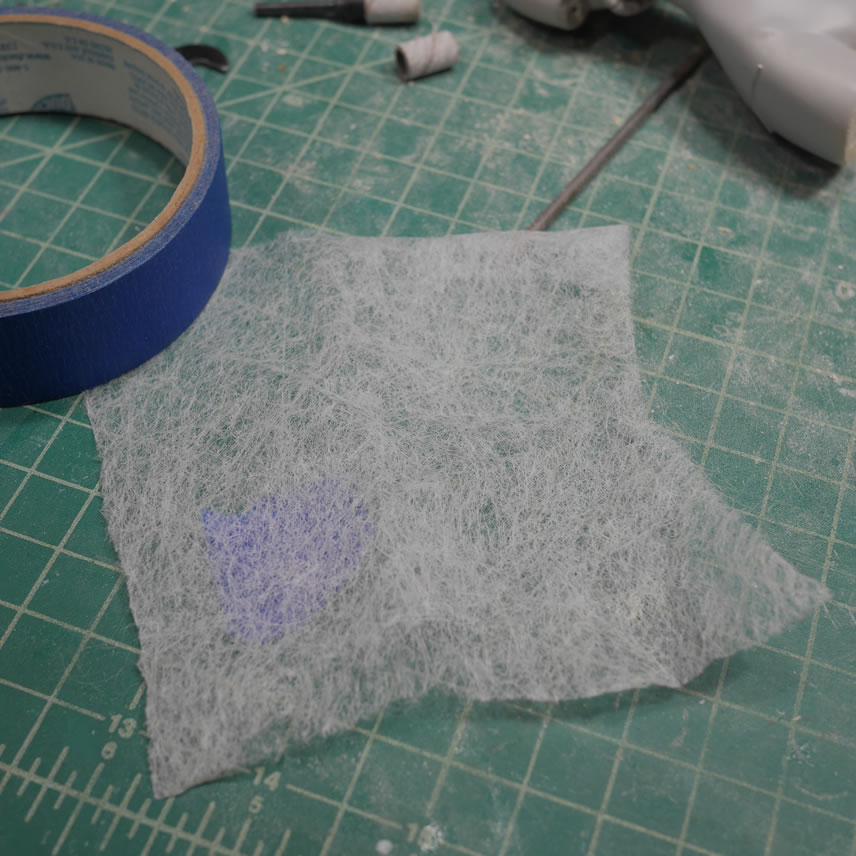
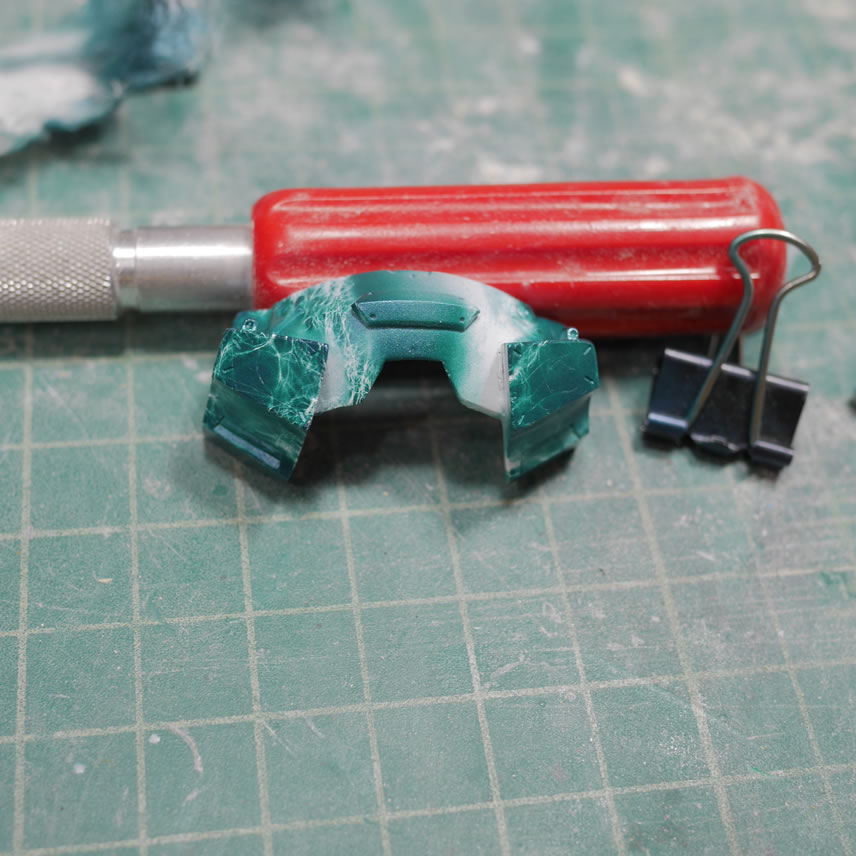
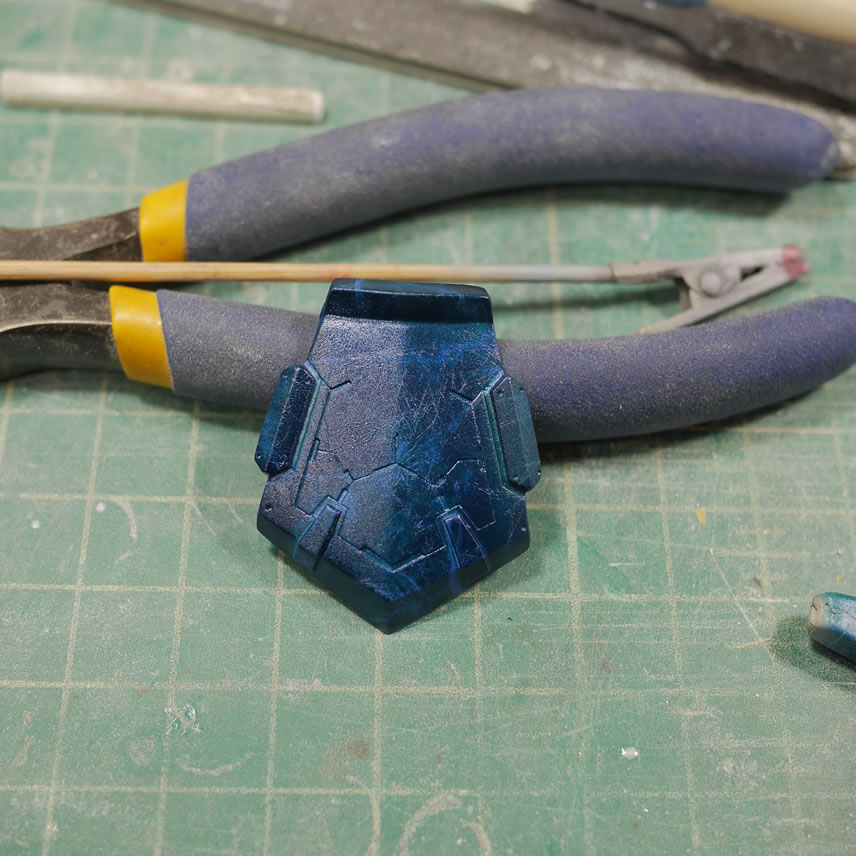
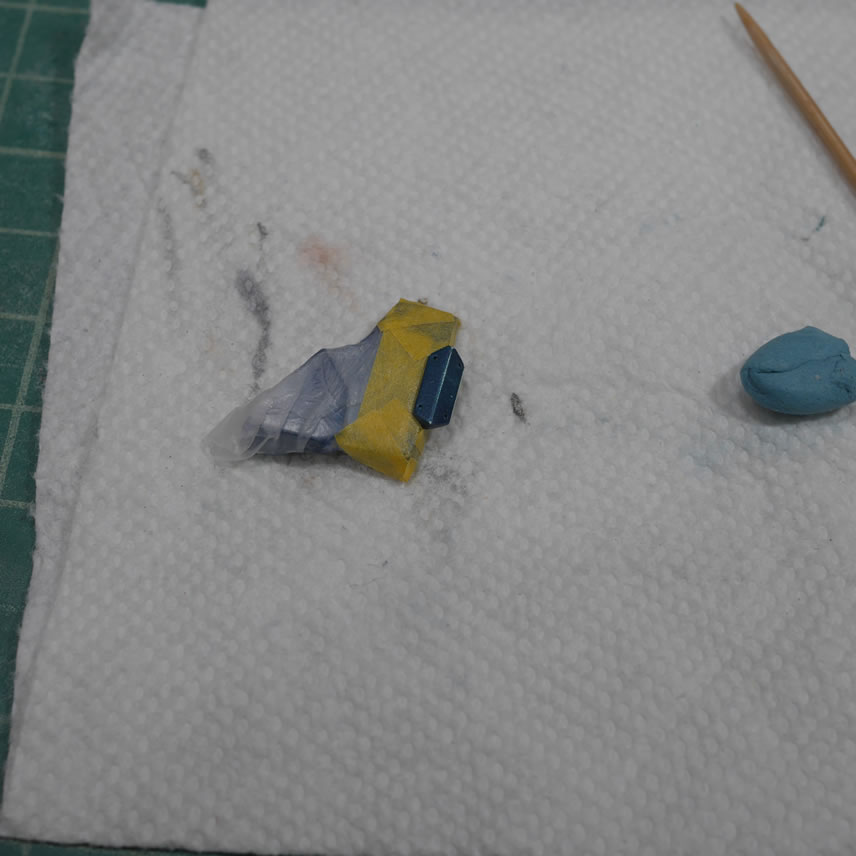
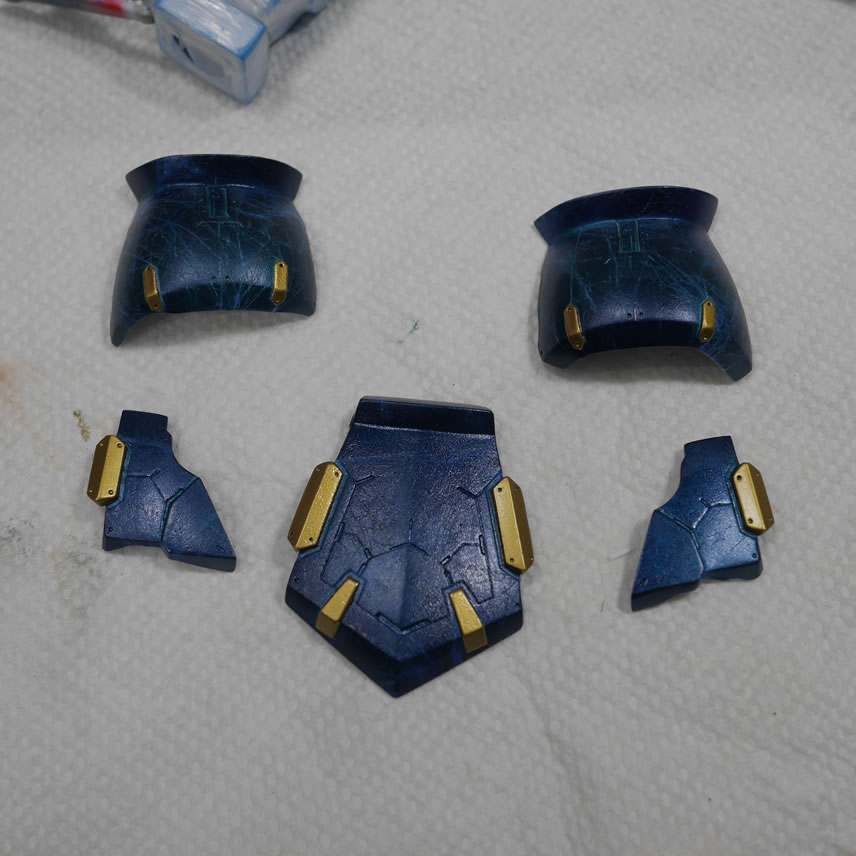
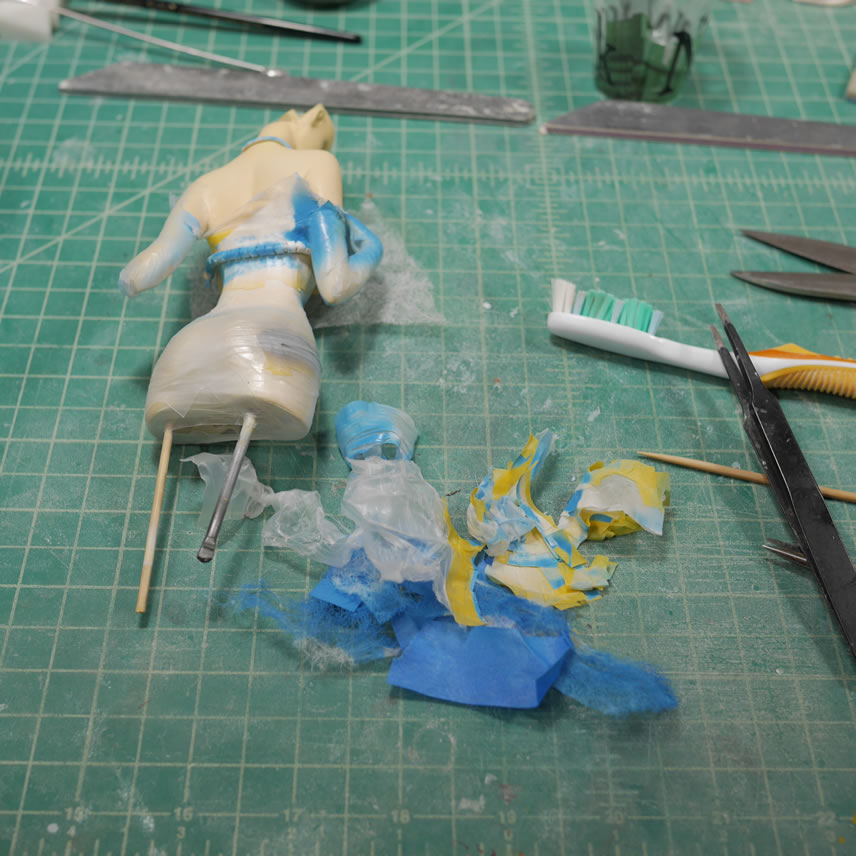
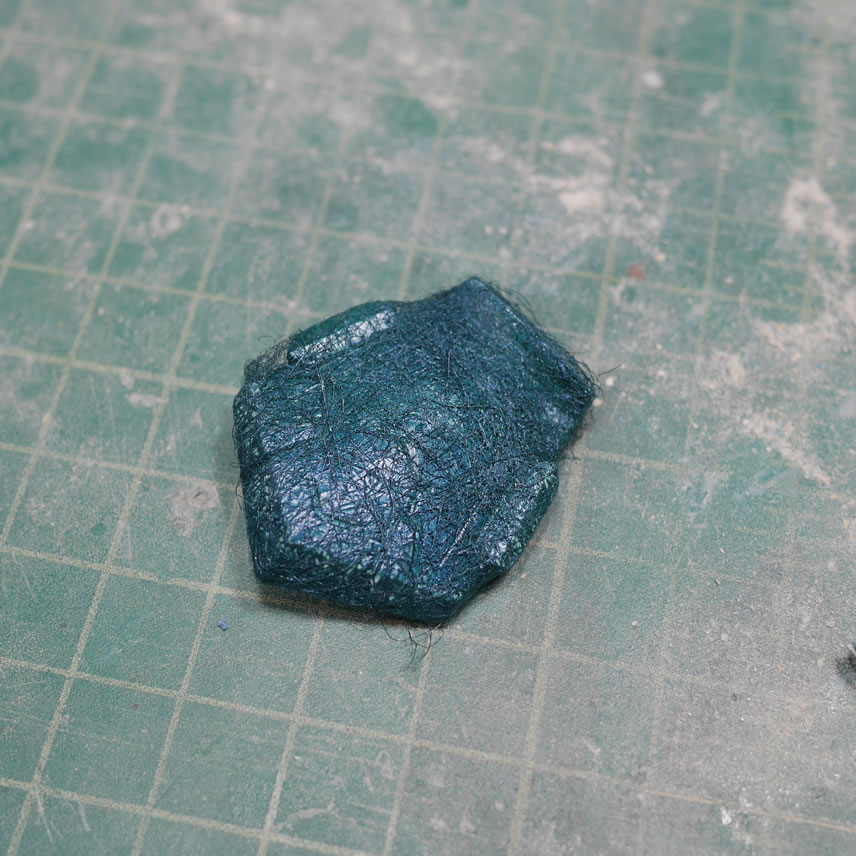
The side skirts are primed and ready for paint. I first laid down a layer of white over the primed pieces. Then using spent dryer sheets, I wrapped them as a masking technique over the parts and painted the rear skirt first as a test. The masking was a little too dense, so I pulled on the dryer sheet to get some holes and loosen the fibers a bit then wrapped and painted a mixed greenish blue color.
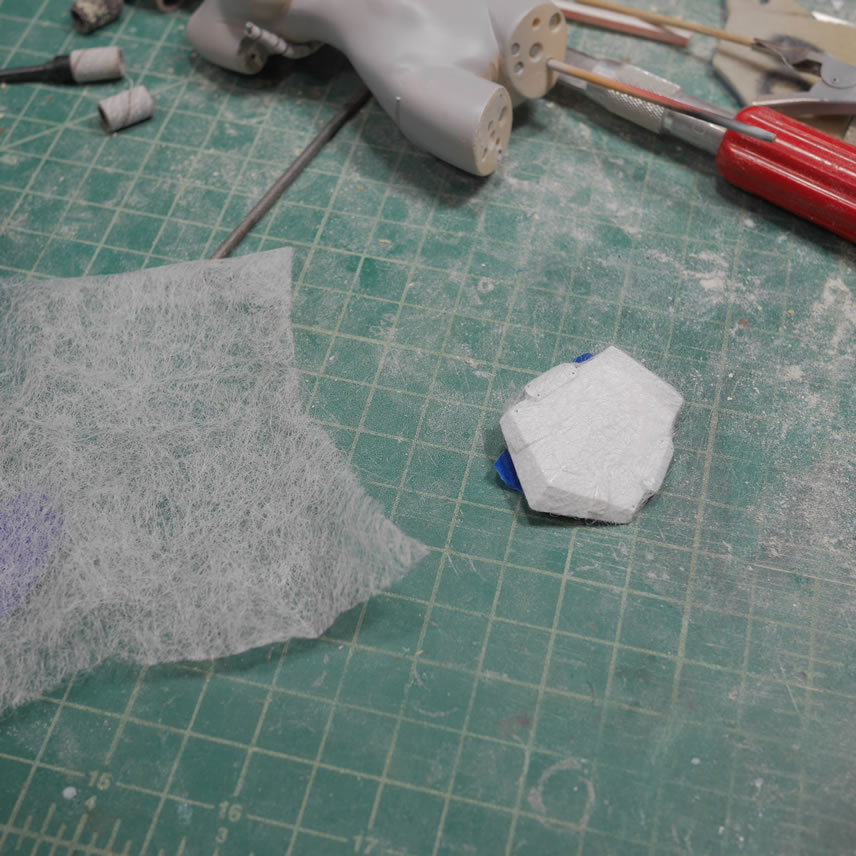
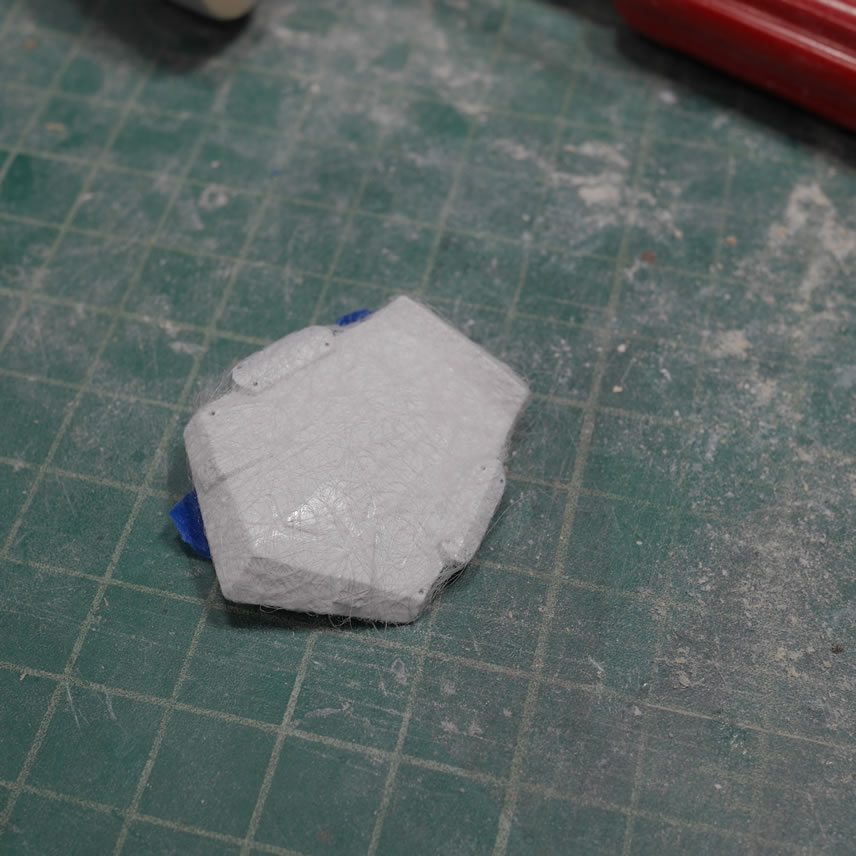
I made the mistake on the rear skirt of throwing the part into the dehydrator to dry the parts. It ended up melting the dryer sheet a bit and the paint into a goopy mess. I stripped and repainted the rear piece from the beginning.
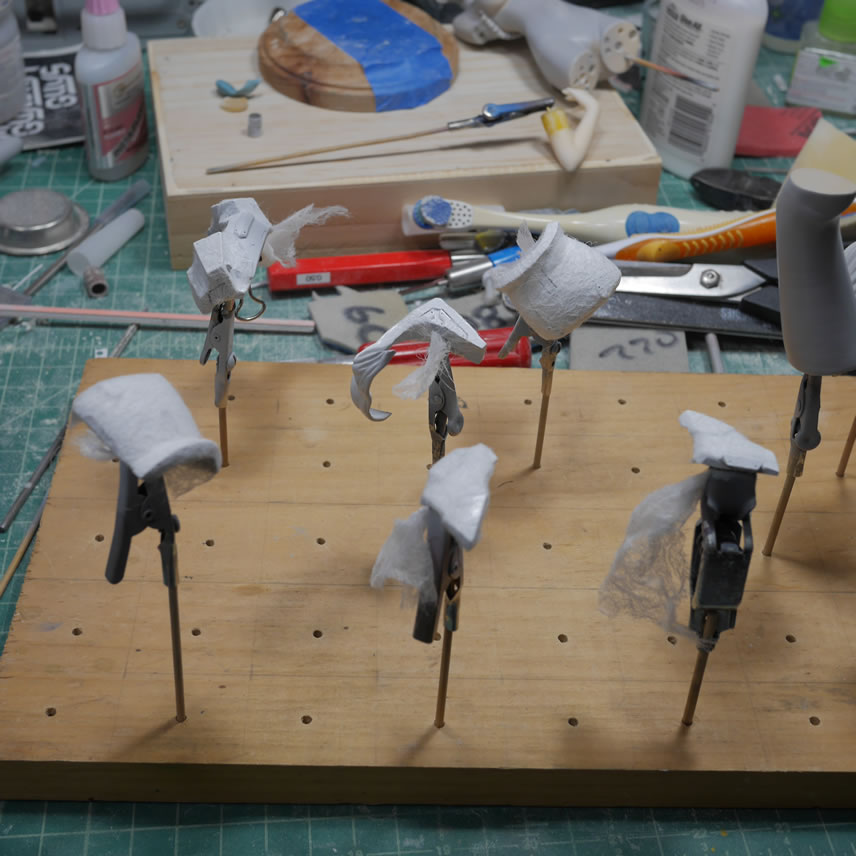
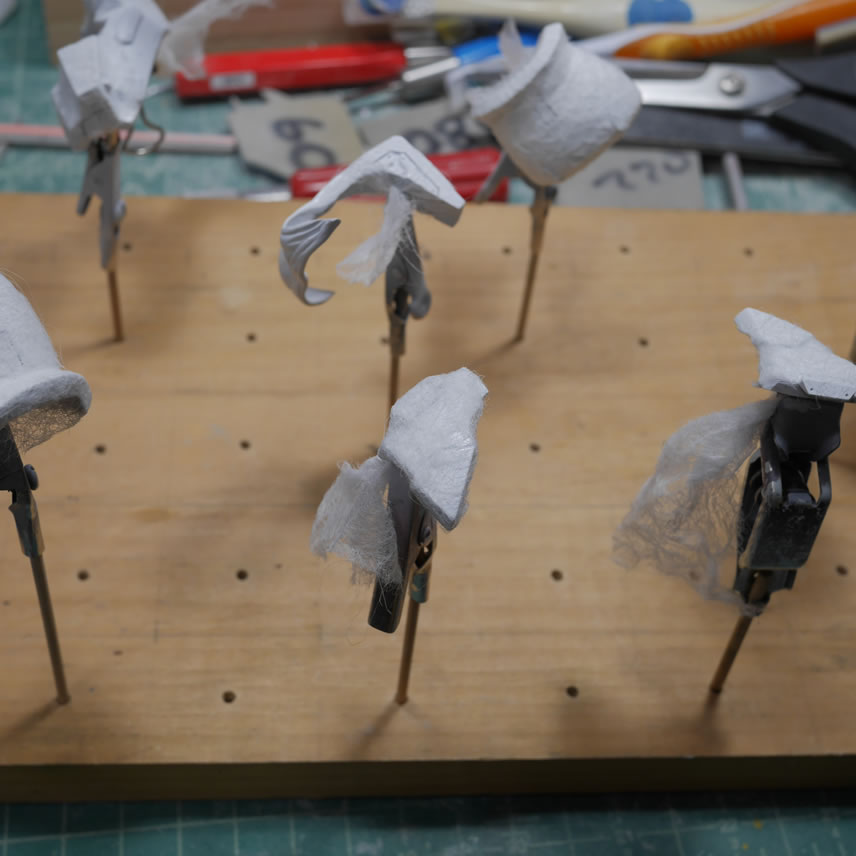
Learning from this experiment, I think I did better with the rest of the parts. Pulling off the mask, I get a little bit of a marble effect. I still need a lot more practice with this, but I think I’m getting the hang of this. I’ll try this for a future project. There are a good number of variations for this effect that I want to explore.
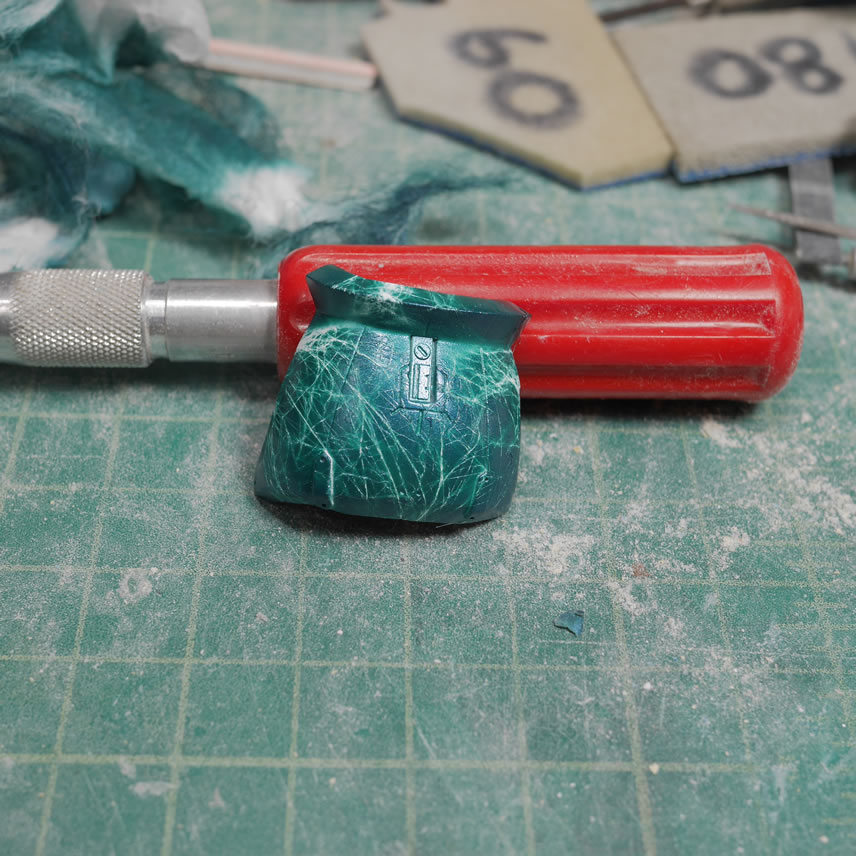
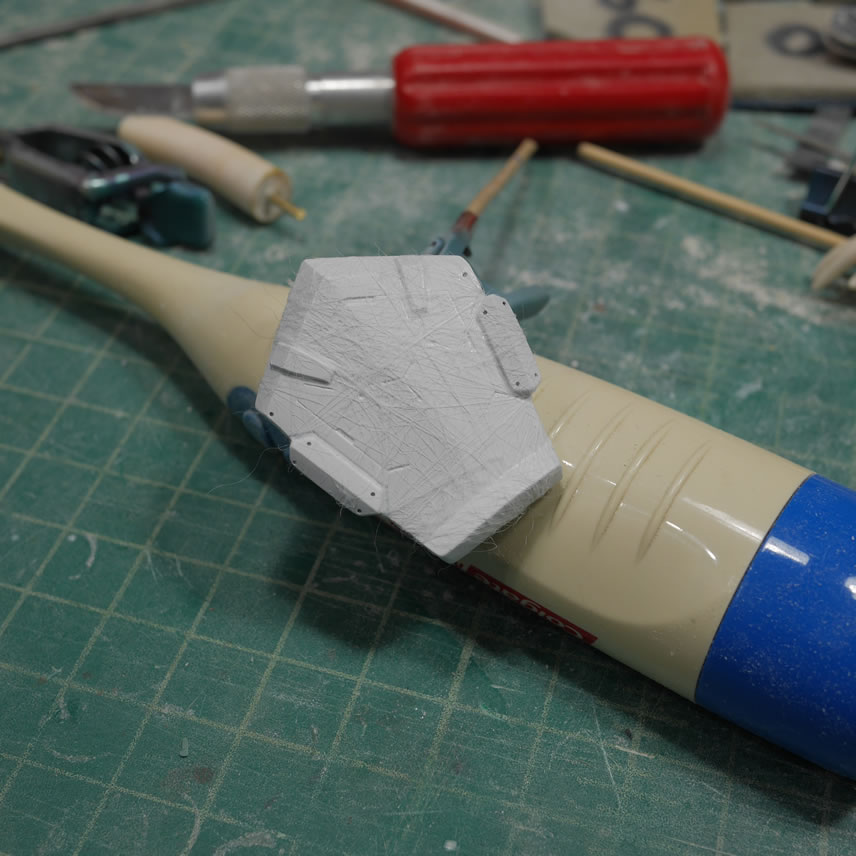
I didn’t like how green the paint turned out, so I hit the surfaces with some alclad electric cobalt clear enamel. This was more the look I wanted.
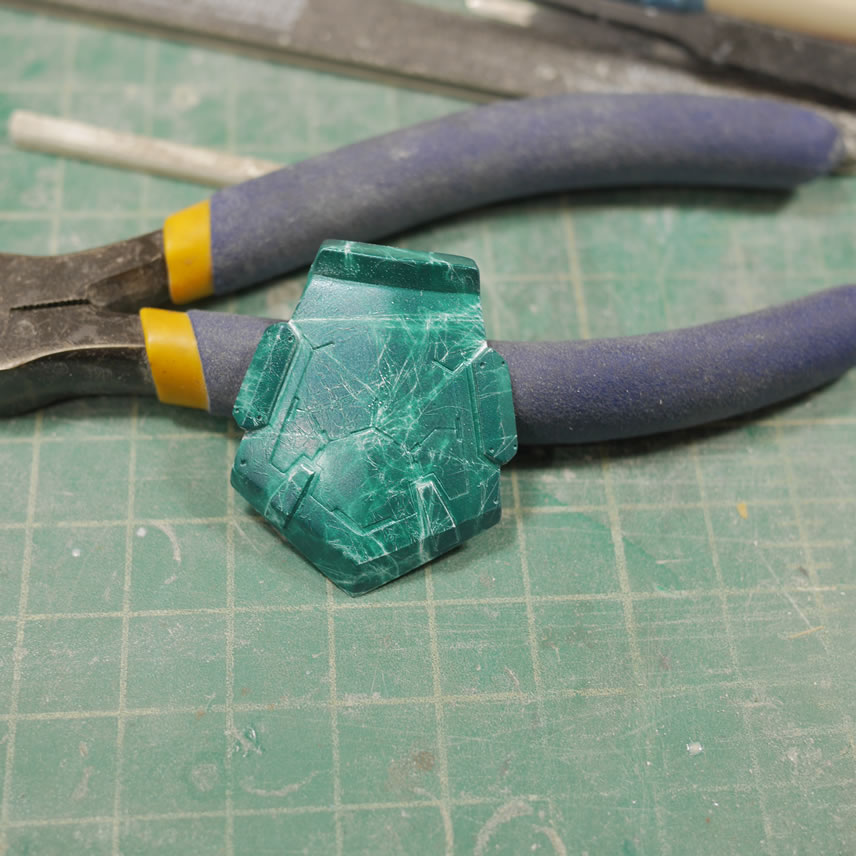
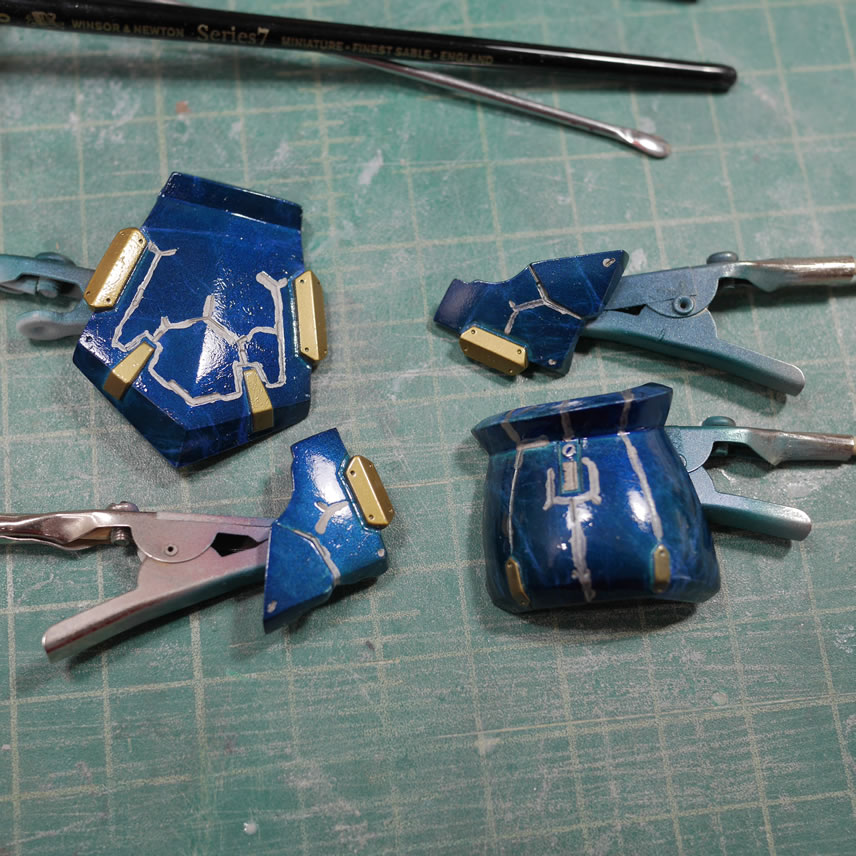
The skirt parts are masked off leaving some of the raised details. I painted these areas with alclad red gold thinned with Mr Color Rapid Thinner. The rapid thinner is the opposite of leveling thinner. It dries very quickly. Which is what works well for metallic paints.
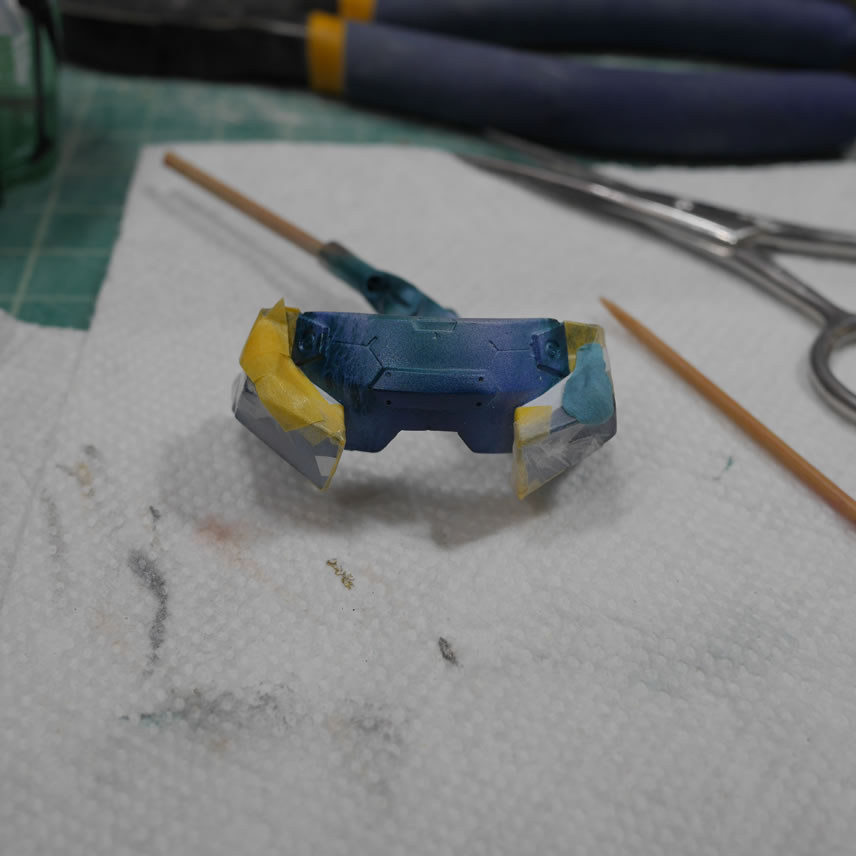

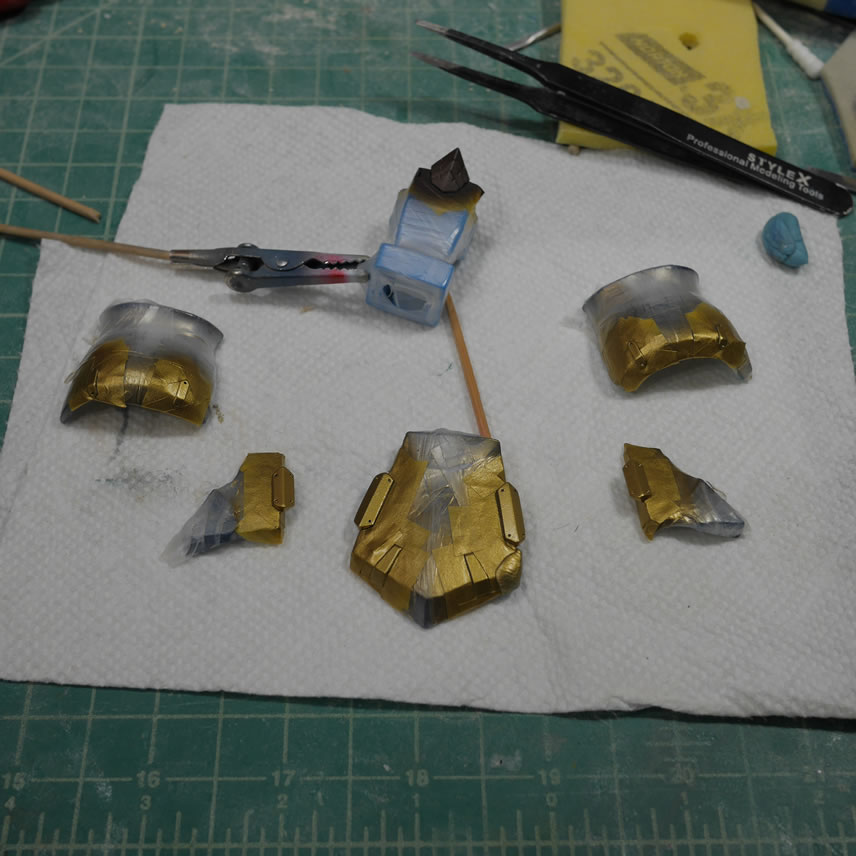
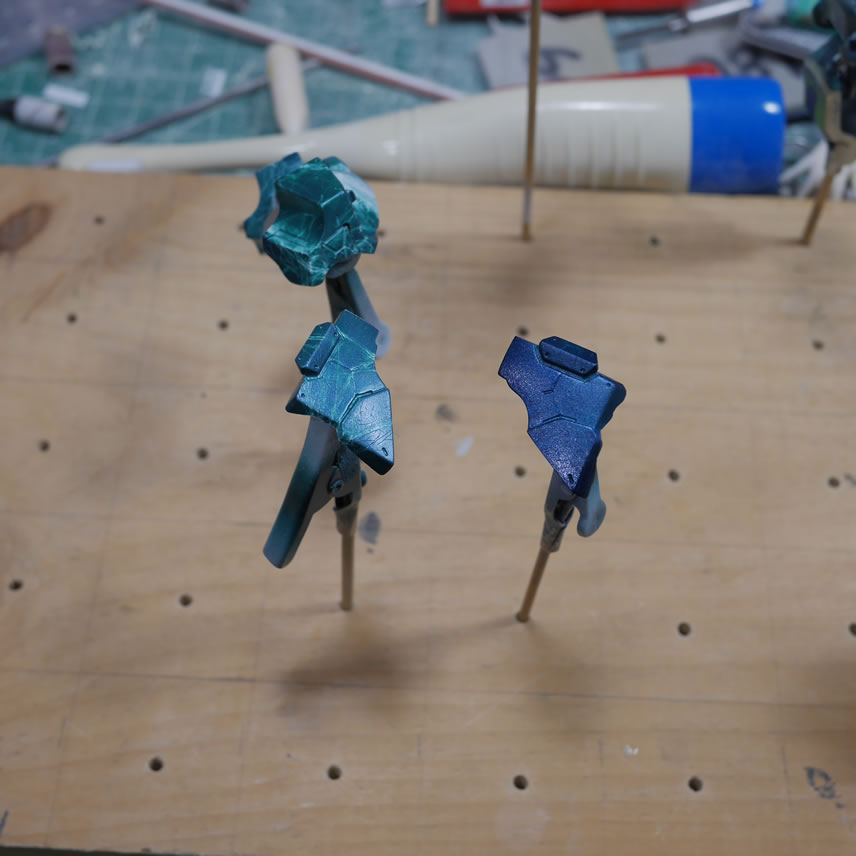
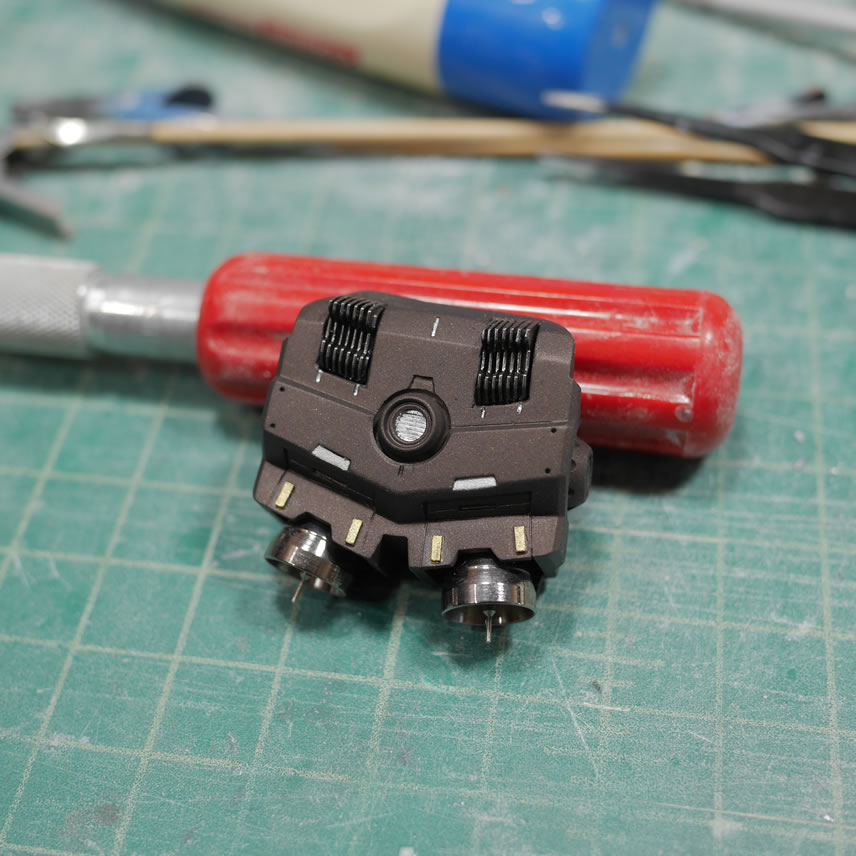
Unmasked the details are starting to pop. I painted up the backpack and new vent details. The small details were hand painted with enamel metallics. The same effect for the marbeling is applied to the shoulder and light blue pieces of the kit.
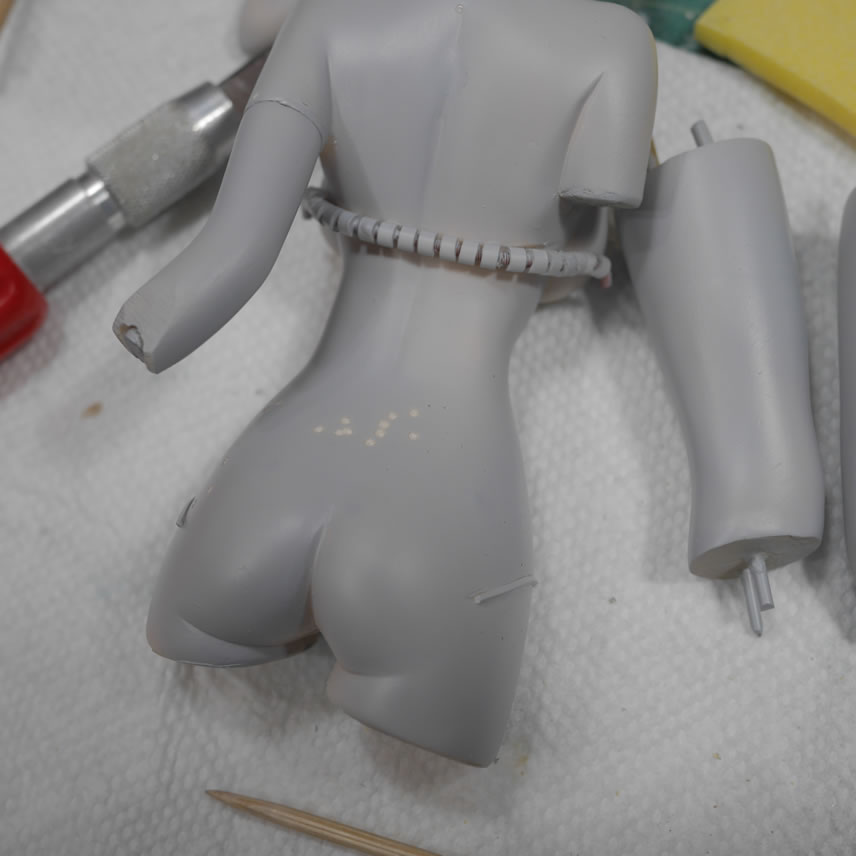
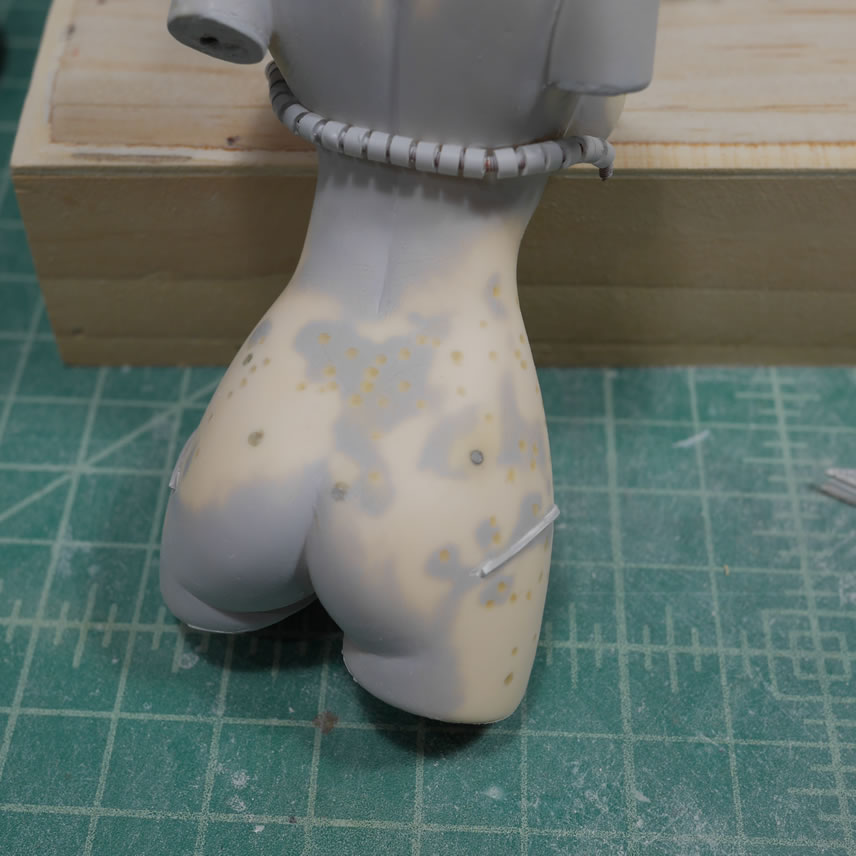
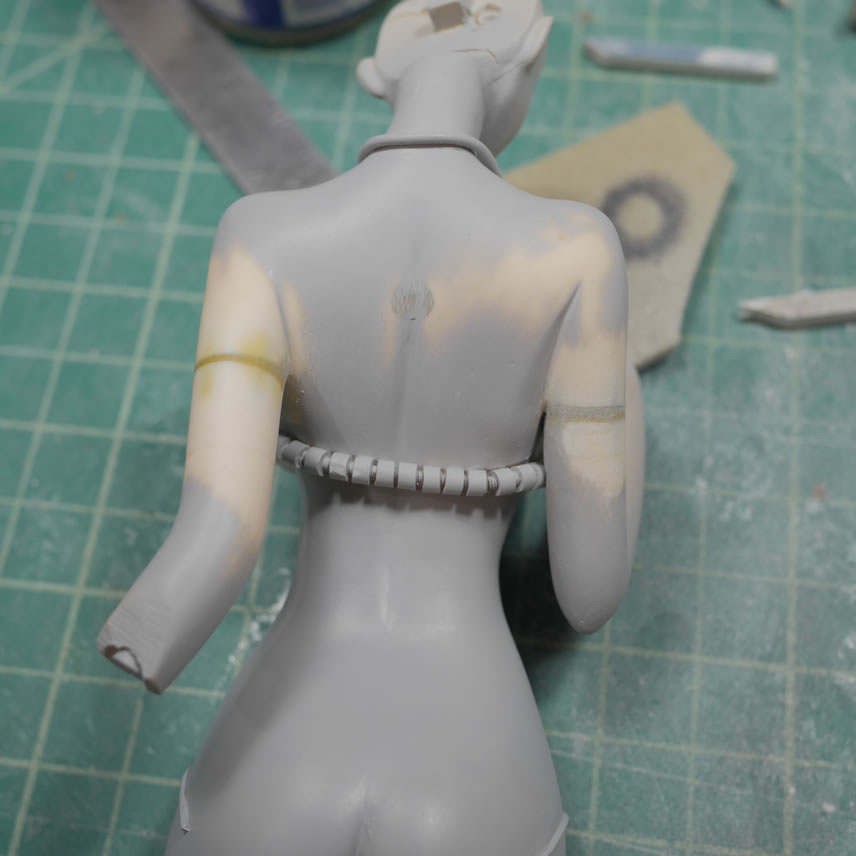
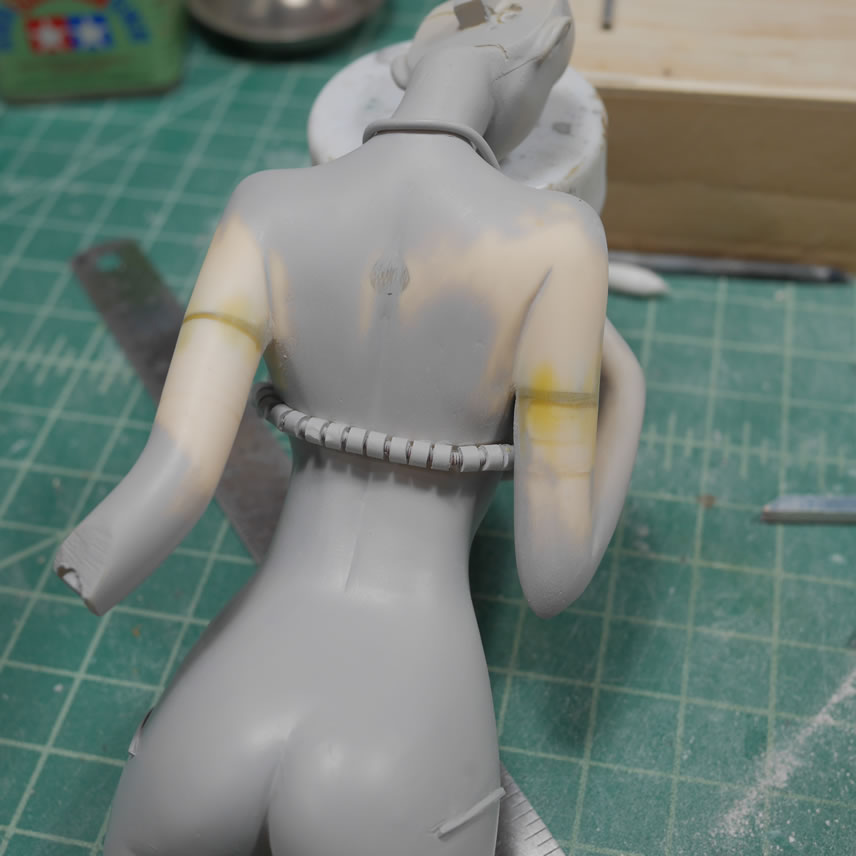
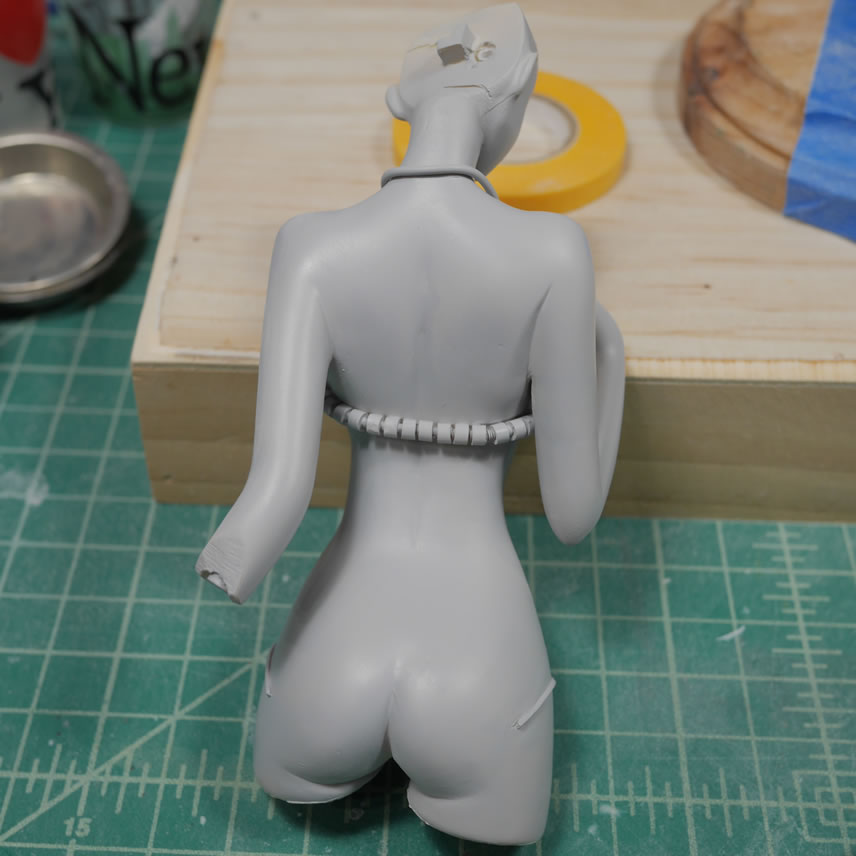
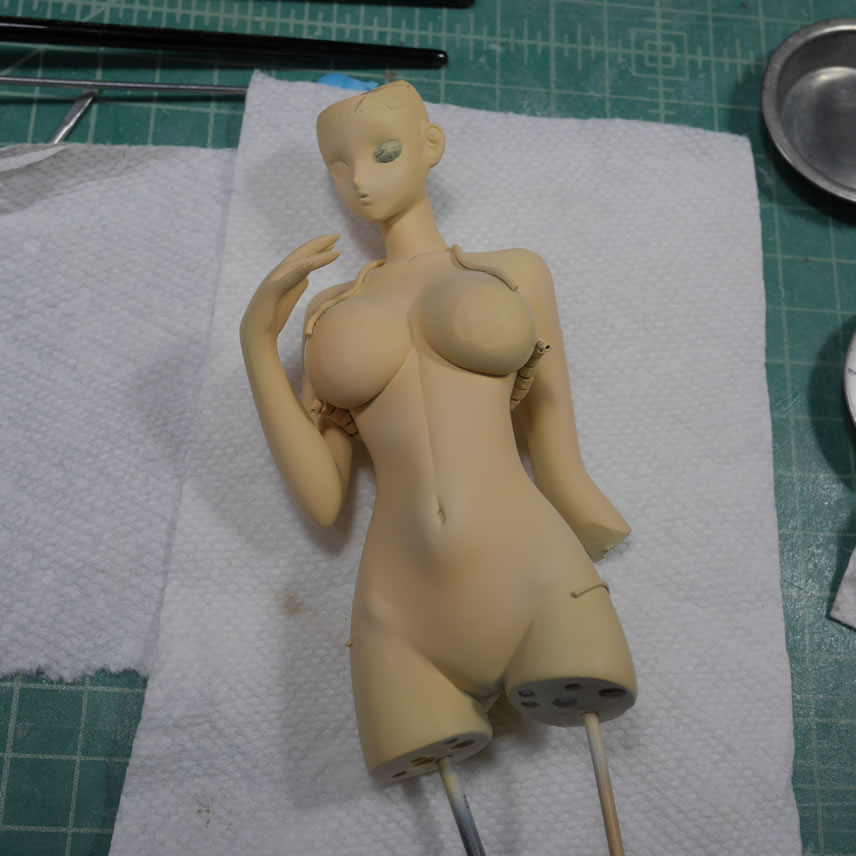
With the armor pieces out of the way, time to focus back on the main body. Once primed, the surface is riddled with pin holes. I haven’t worked on a resin kit with so many pin holes in a long while. Spoiled by QA of Volks resin figure kits. Even though this is an original kit, it was produced by a small sculpting circle, so there are bound to be quality issues with the resin.
First step is to take a hobby knife and just open up all those pin holes. The problem with fixing pinholes is that what we see is usually just the top of a bubble and just below the surface, there’s a bigger cavity of empty space. Puttying over the top without opening up the bubbles gives the putty very little surface area to grab. Once the holes are opened up, I can putty like crazy.
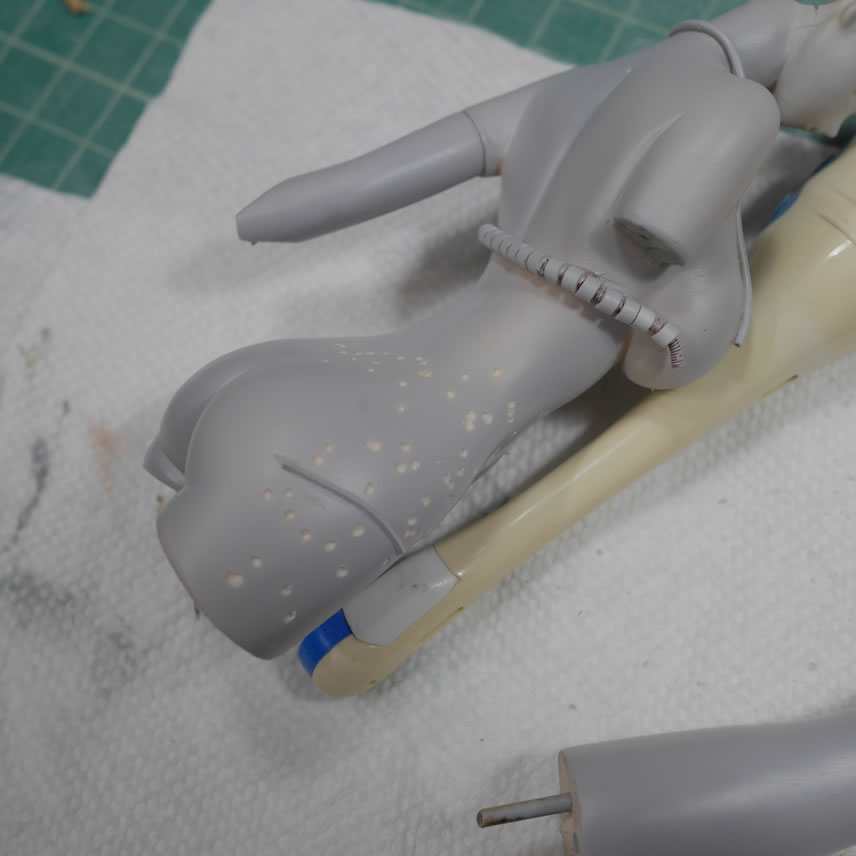
Light curing putty is amazing here as it gives me a very quick turnaround time for working on the fixes, getting it primed, and cycling through the repair process. Putty, sand, prime, repeat. And eventually, the surface is ready for real paint, sort of. The legs are also fixed and reprimed.
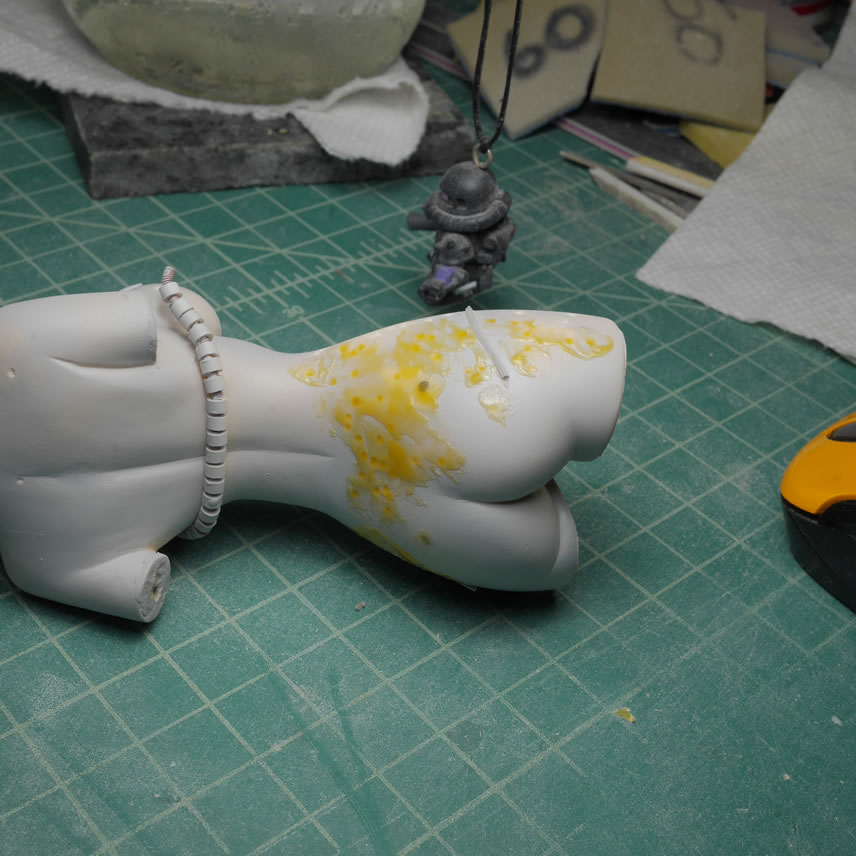
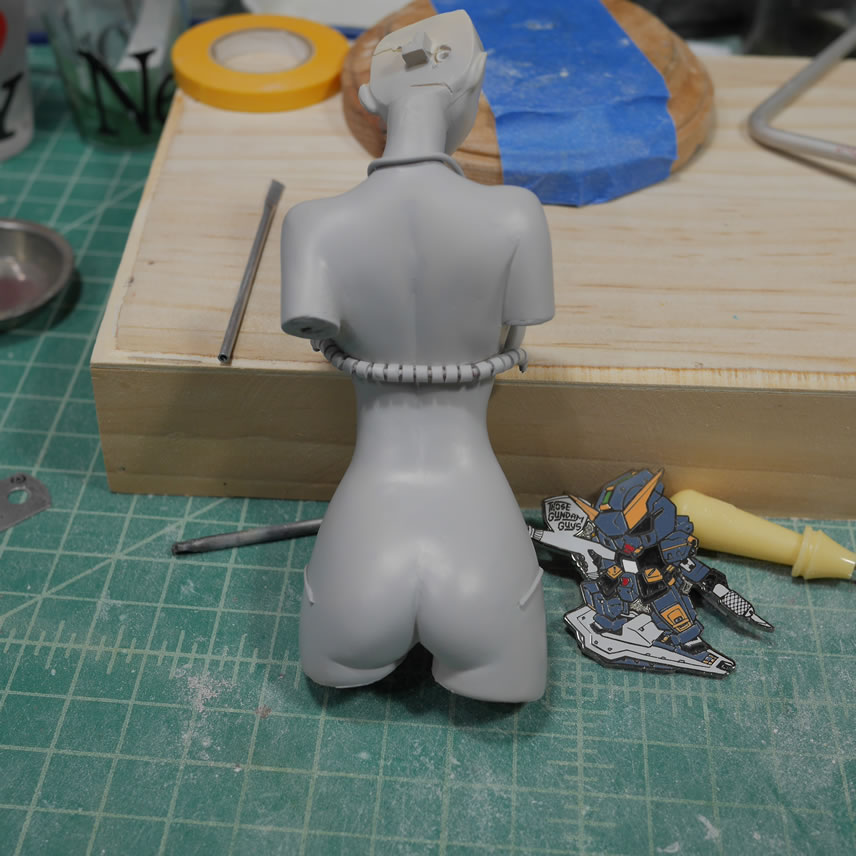
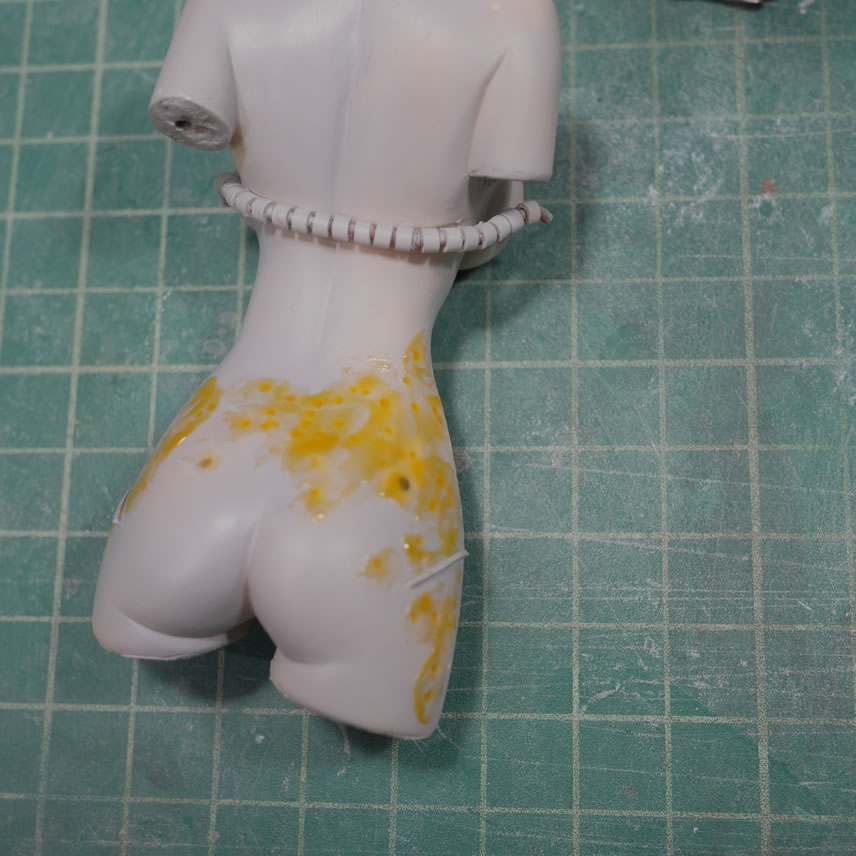
I had primed and fixed the arm pieces separately since it was easier to work on them that way. Once I got to the point that the arms are ready for paint, time to glue them to the main body and putty up the seam area. Since I removed the bandage details, there’s no reason for a visible seam between the arm and body joint areas. So this needed to be glued and puttied. And after a few putty, sand, prime session, the body is ready for paint.
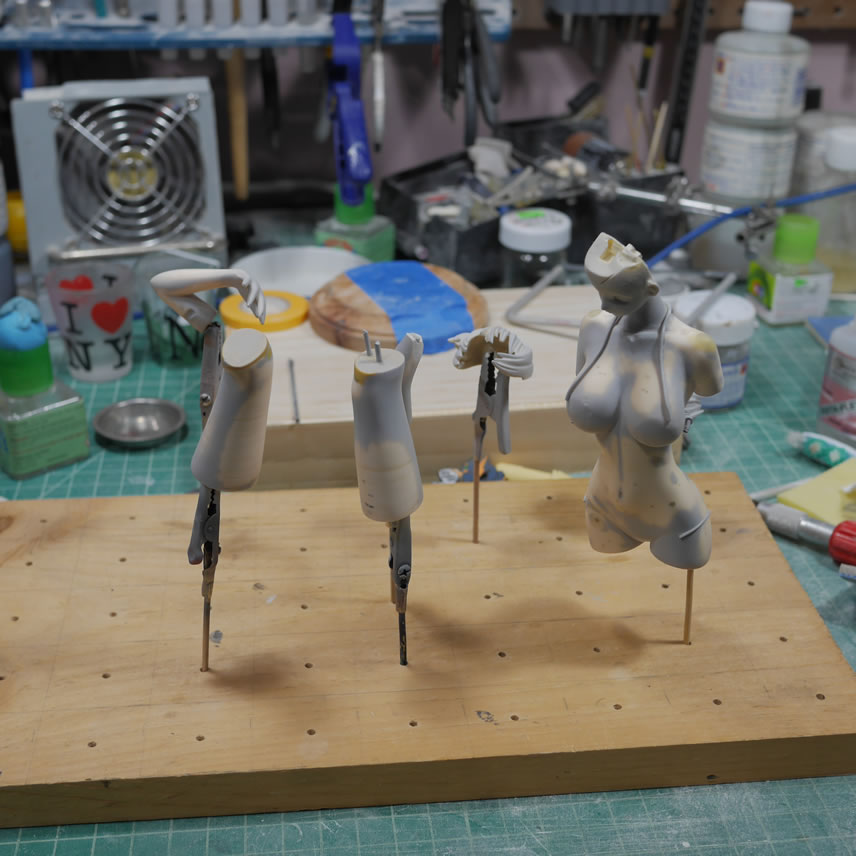
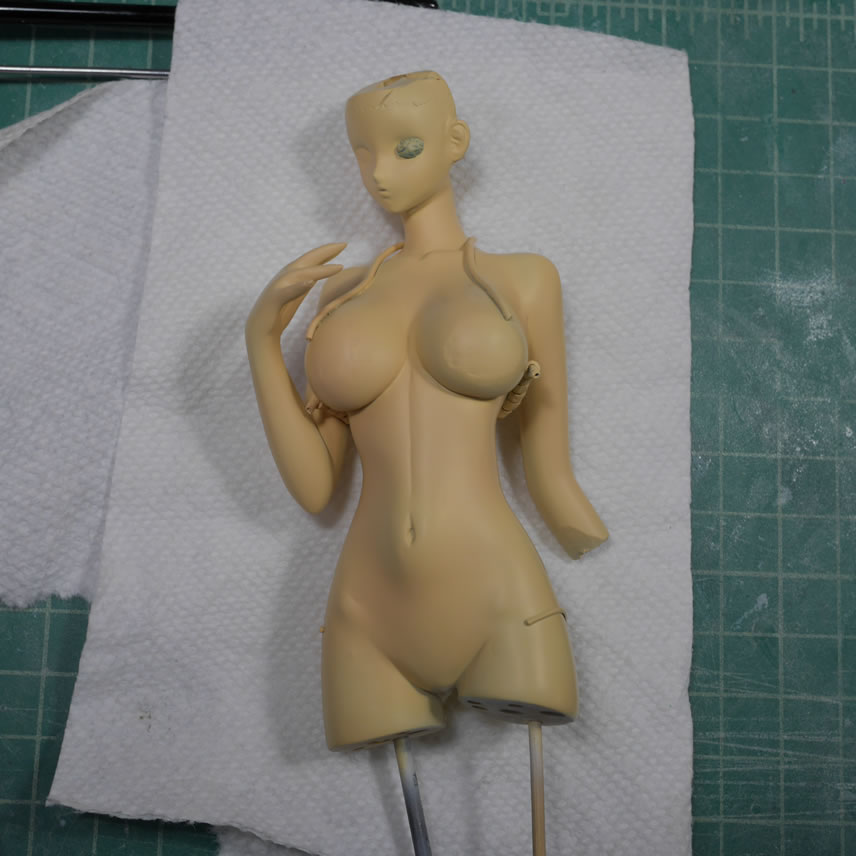
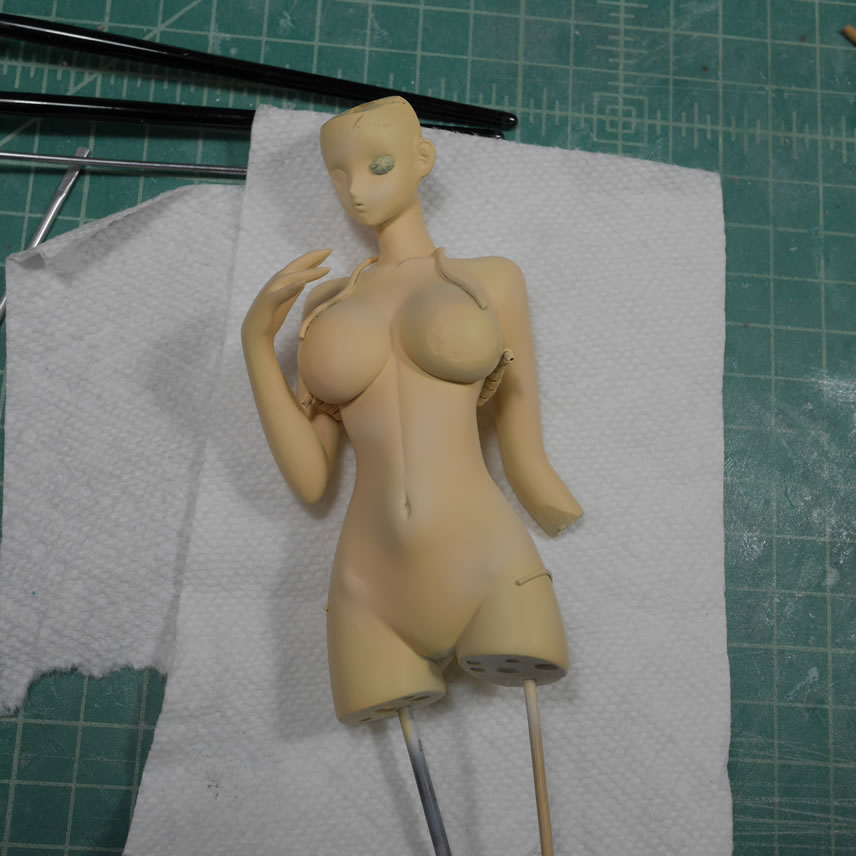
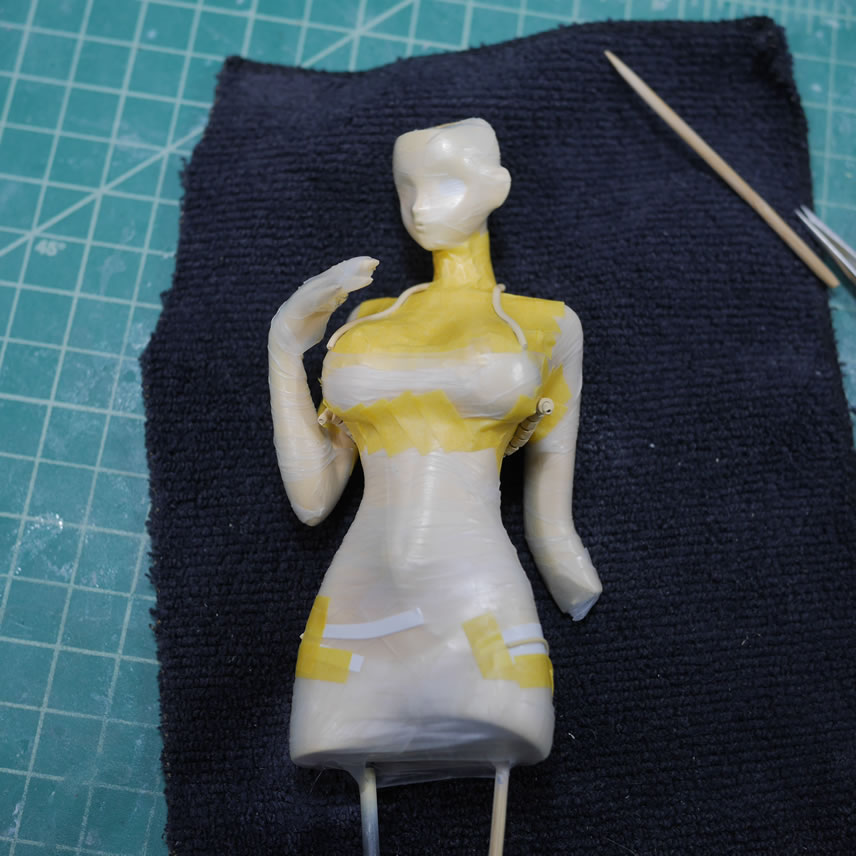
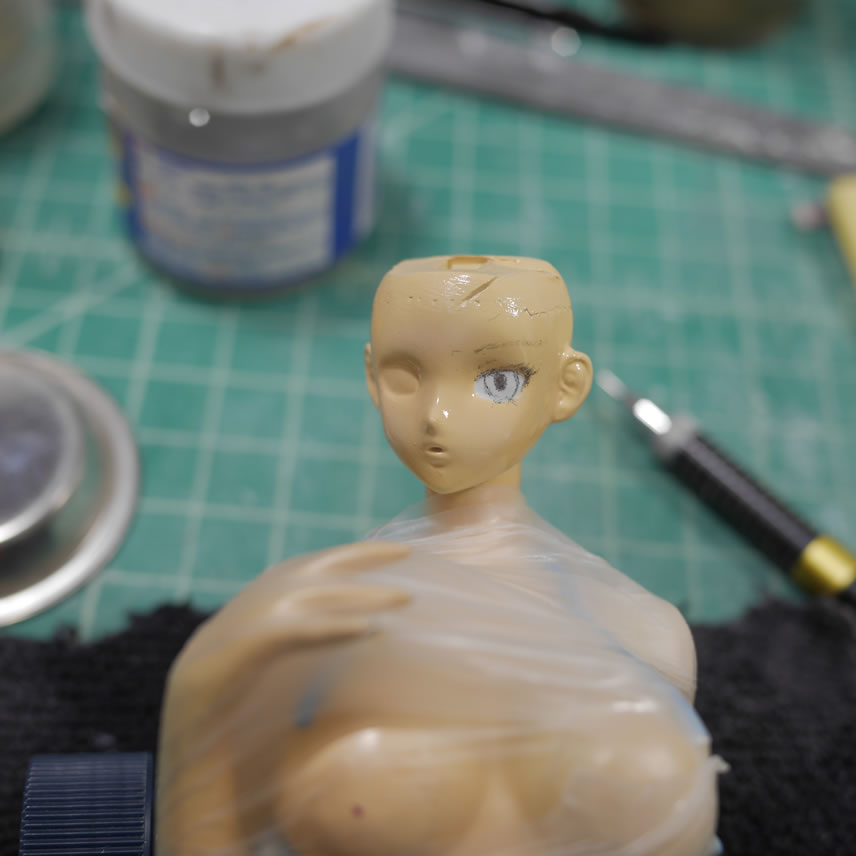
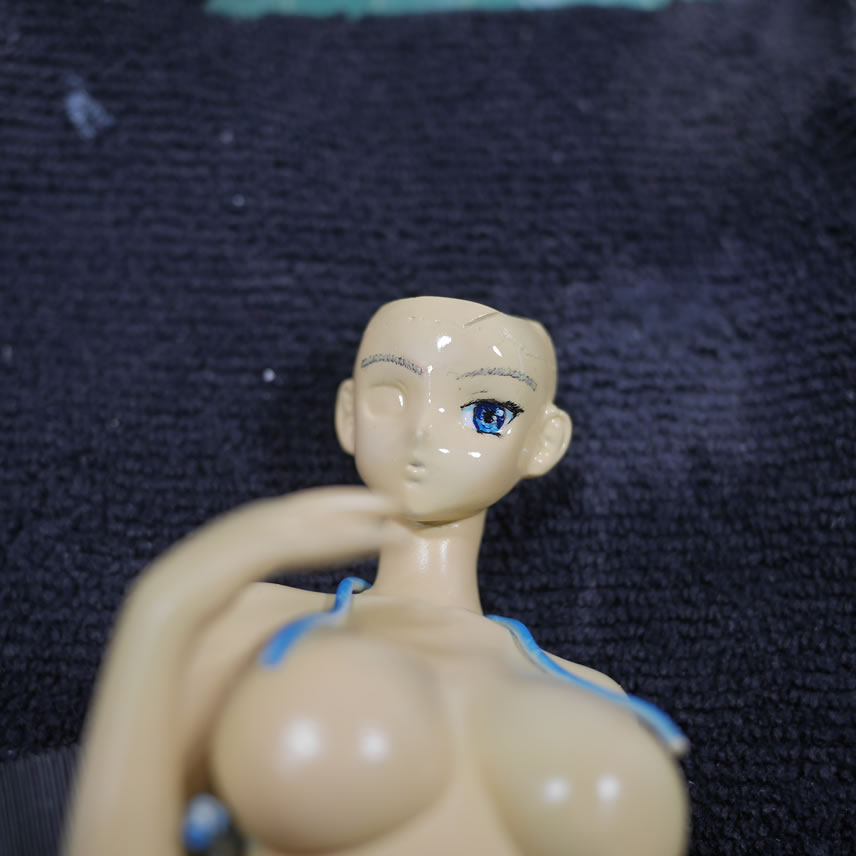
Skin tones start with priming in white over the grey primer to get a good base color for the skin. If I sprayed the skin tones over the grey primer, I’d have a zombie or dead girl look to the skin tones. Mr White Base is sprayed. Since she has an eye patch, I only need to paint one eye. That one eye is masked off with blue sticky tac. And the base skin tone is applied.
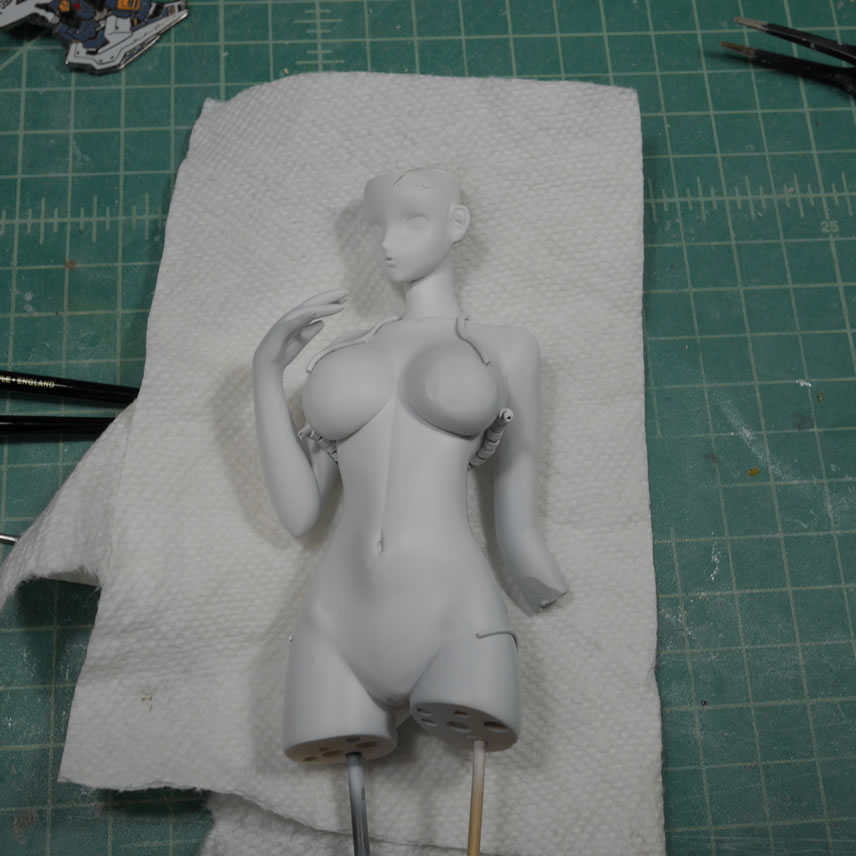
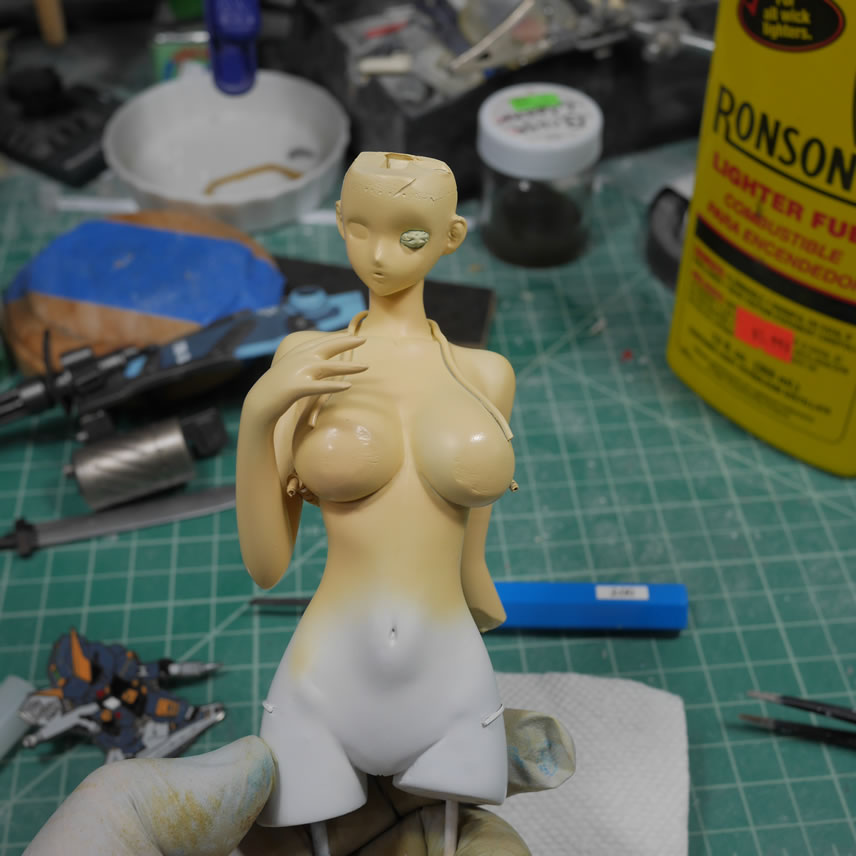
After the base skin tone, I highlight with a very light tone, then blend with a medium tone to level things out and finally, a light tone to lighten up the overall colors.
Silver panel lines for the dark blue skirt pieces. The light blue areas get a black wash for the panel lines.
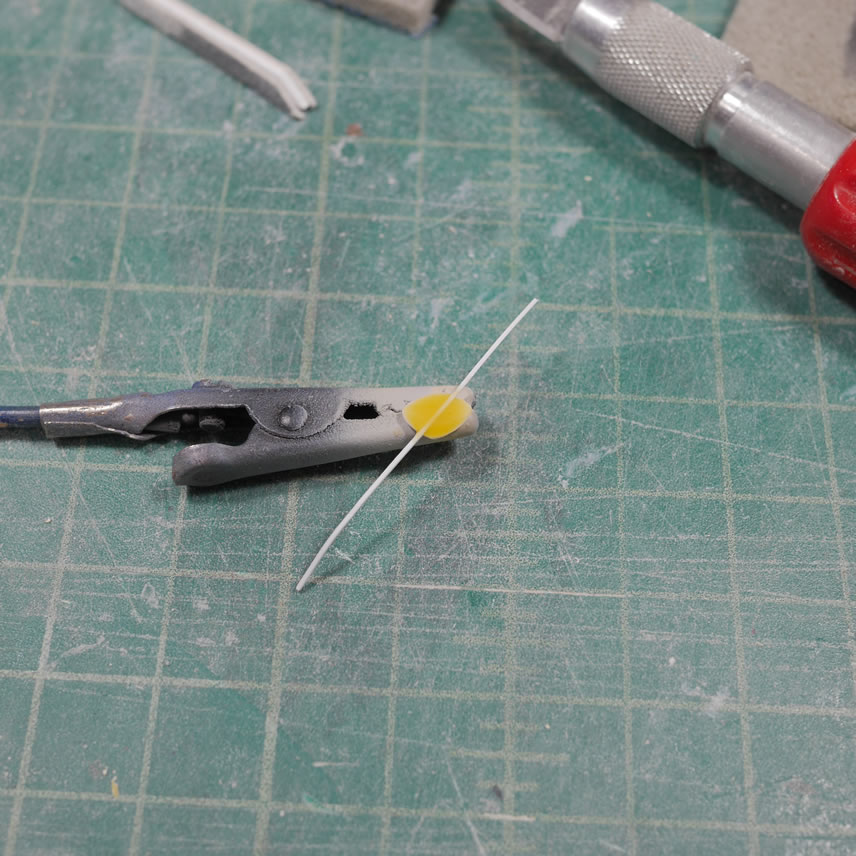
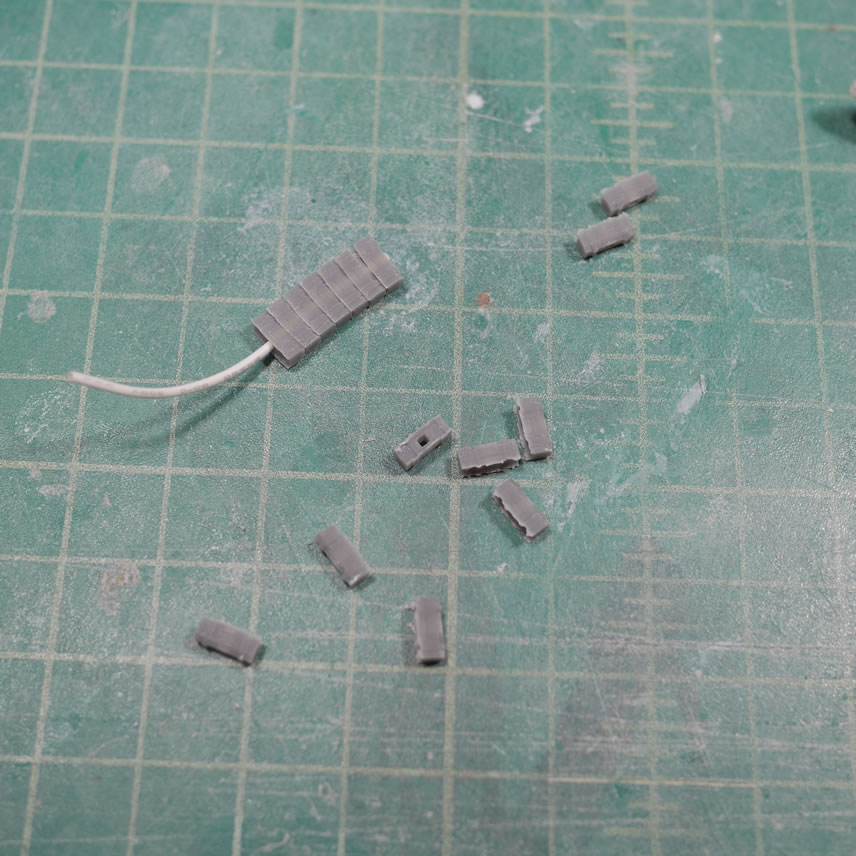
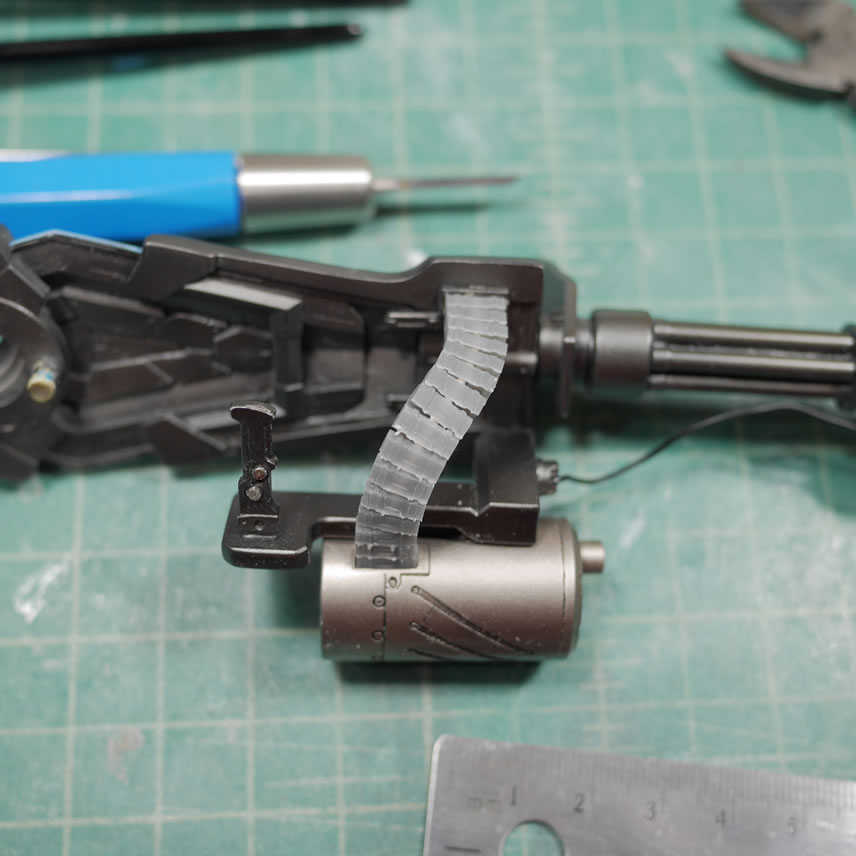
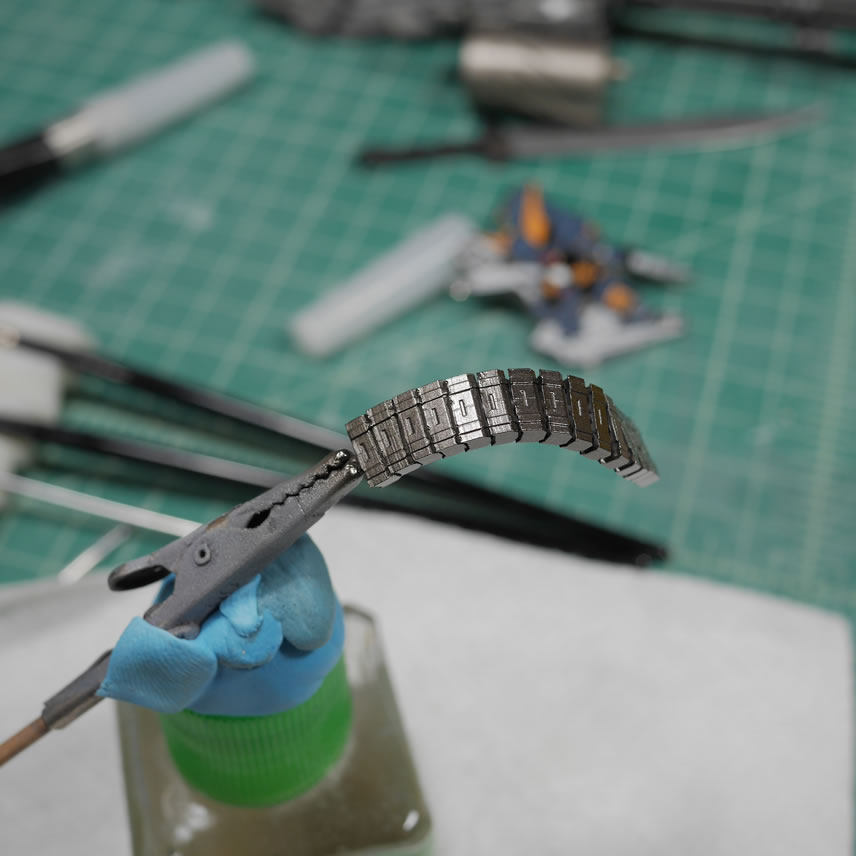
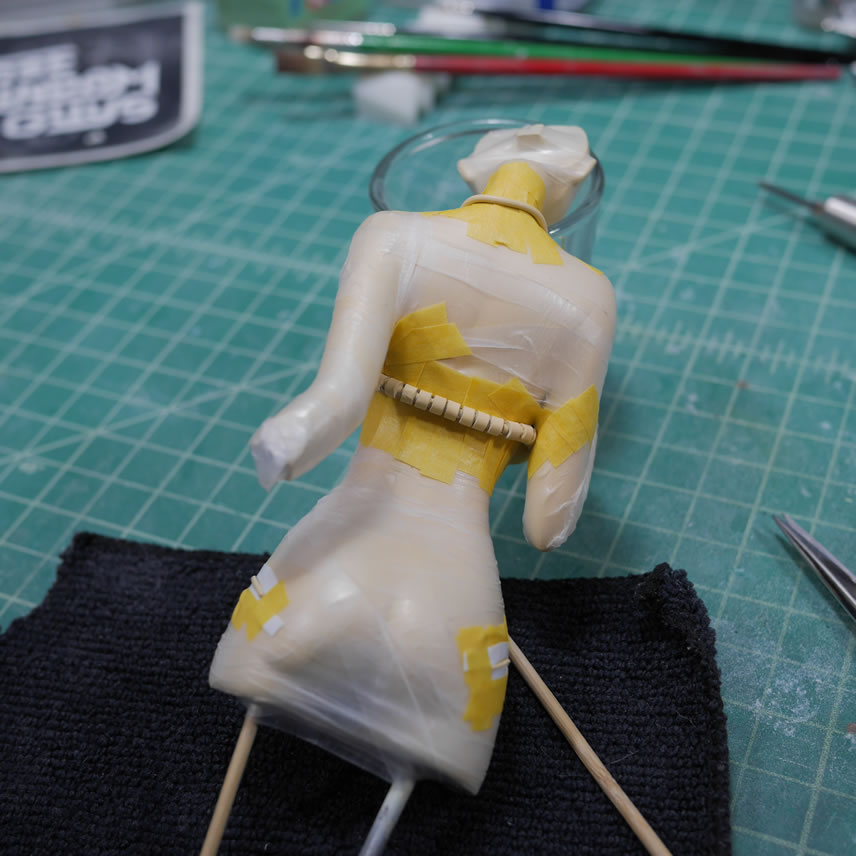
The original ammo belt that came with the original conversion kit is long gone. No idea where it is and it would take more time to find it than just build one from scratch. And from scratch, I mean firing up blender and designing a new ammo belt on my computer. Once I got the design done, I made some measurements to finalize the print size and sent the design off to the Form 2 3D printer at the highest resolution setting and printed out the belt. I designed the belt pieces with a hole in the center that I can thread some wires through to keep them connected and poseable. Once painted up, I have a new ammo belt for the kit.

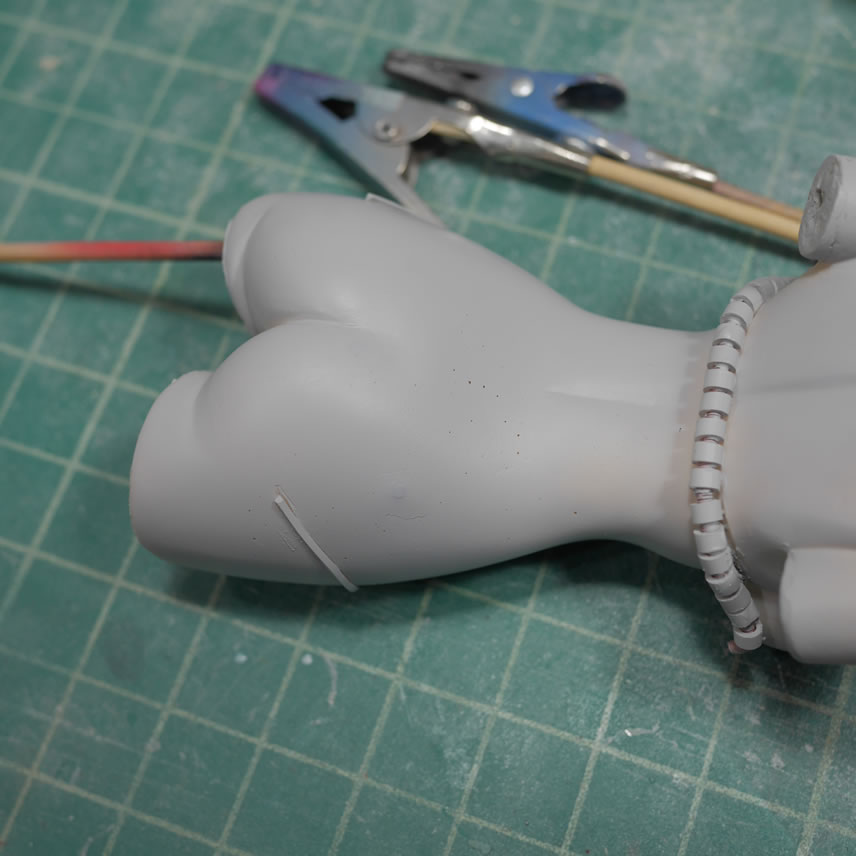
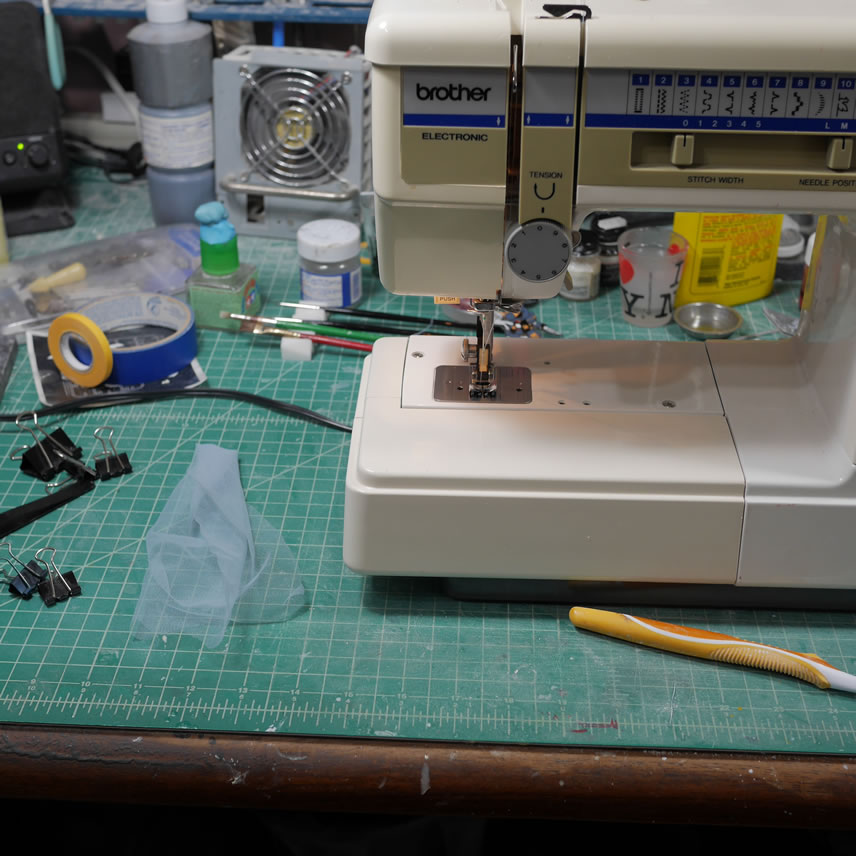
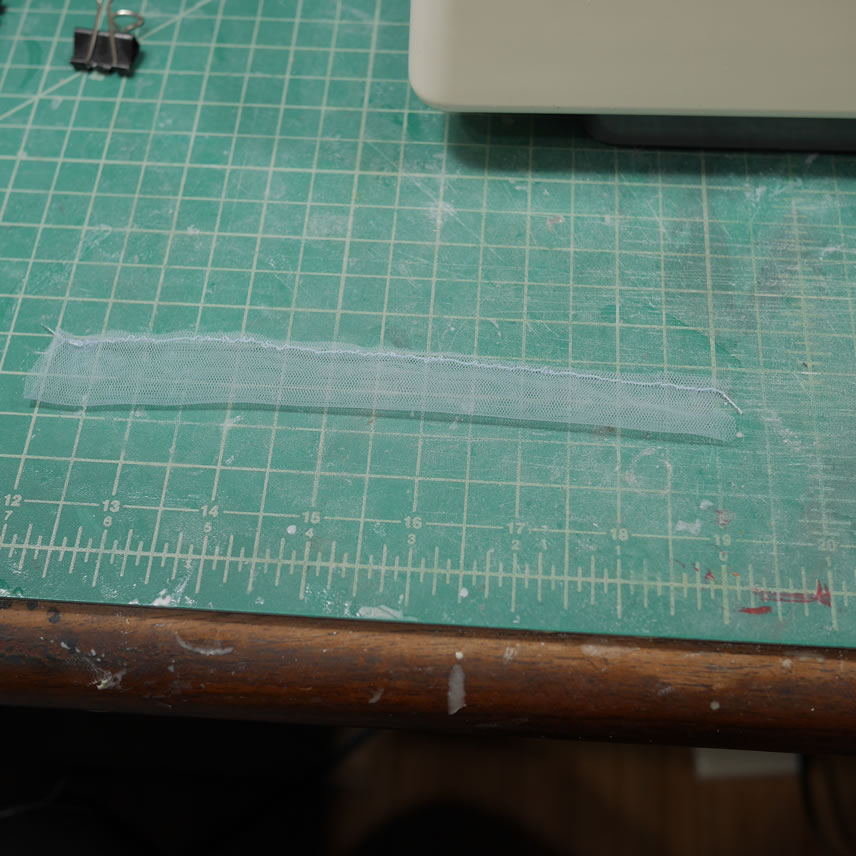
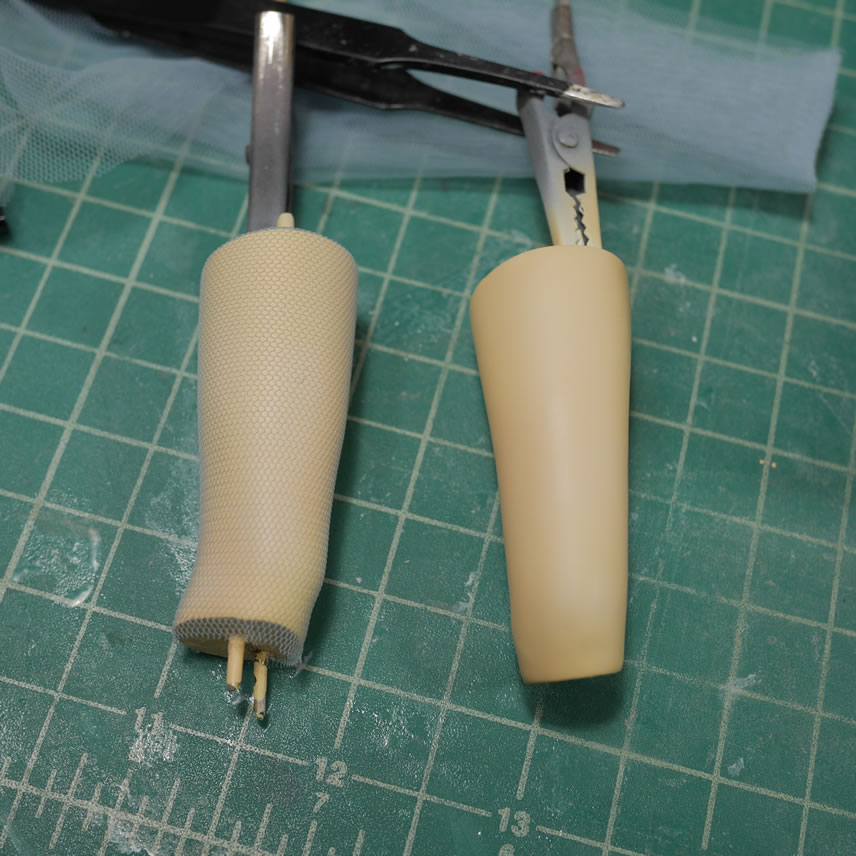
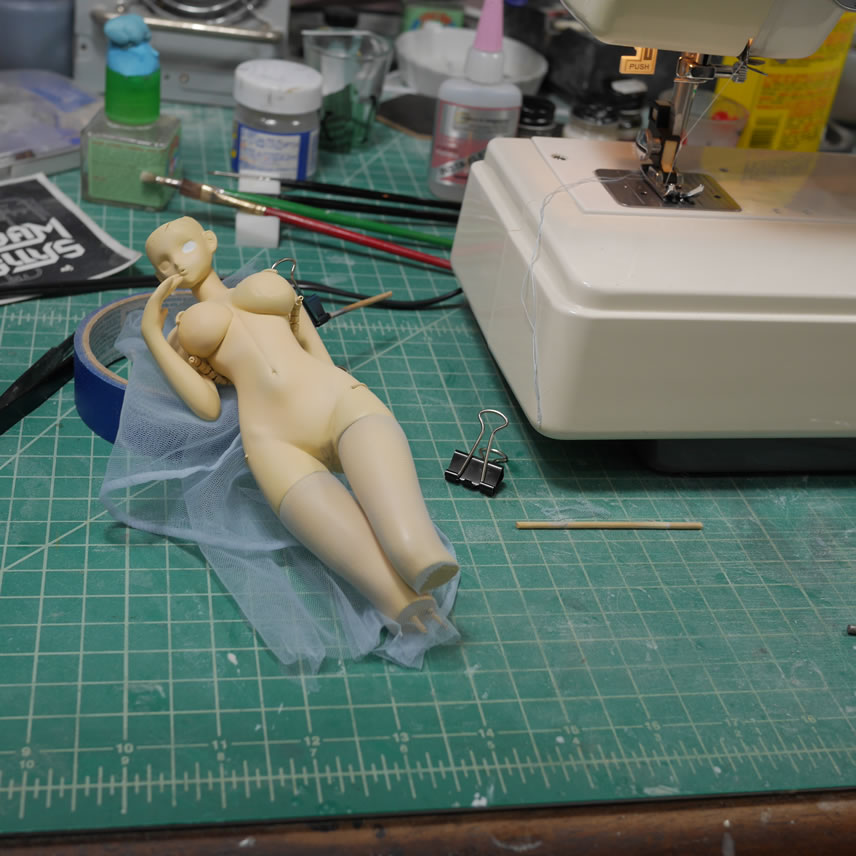
Since I have the lower legs painted and I didn’t want to glue them to the main body like I did with the arms, I still needed something that will work with the break between the leg and body. Time to make some stockings. I have light blue stocking material that matches perfectly with the shoulder colors.
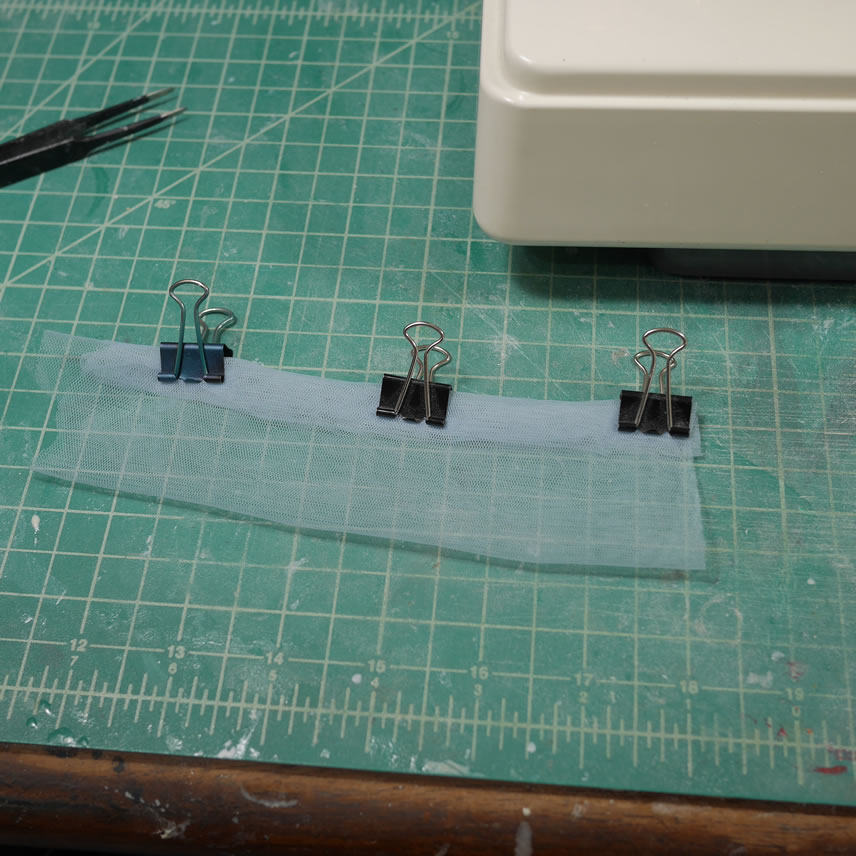
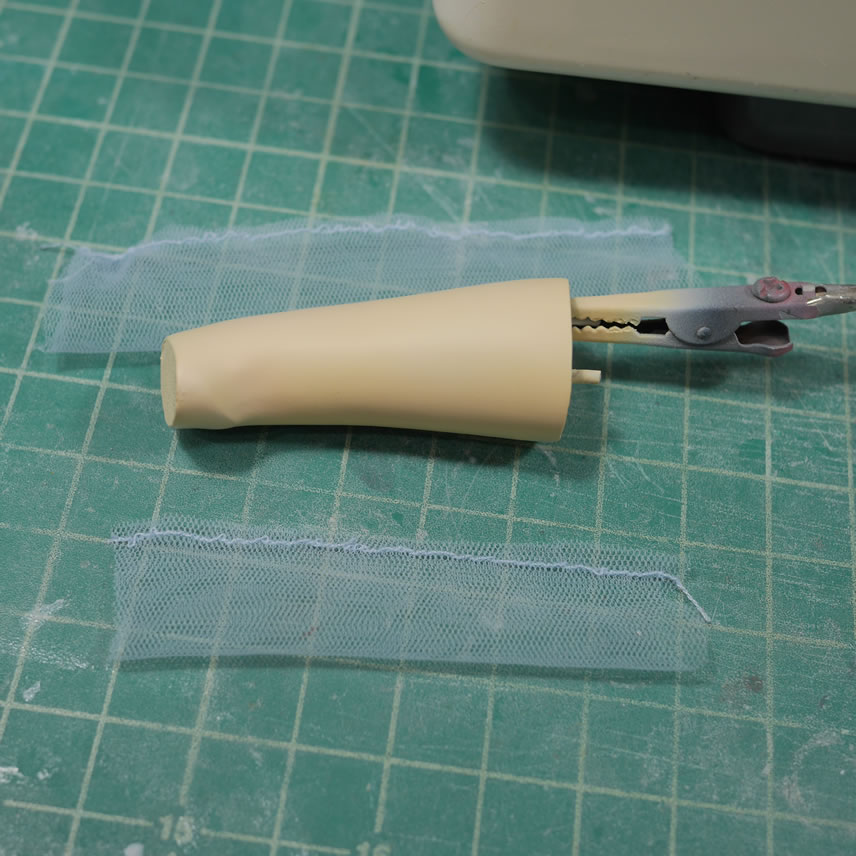
Step one is to cut the material and fold the material over held together with some binder clips. Once this assembly is done, the material is run through the sewing machine. Excess is trimmed off and I have a stocking.
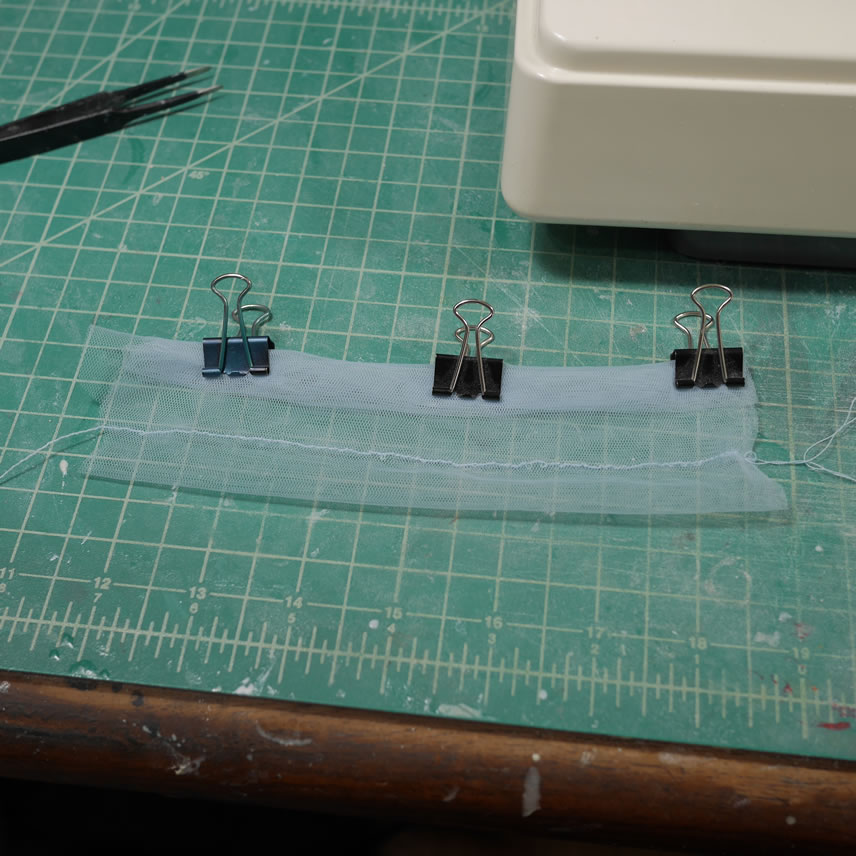
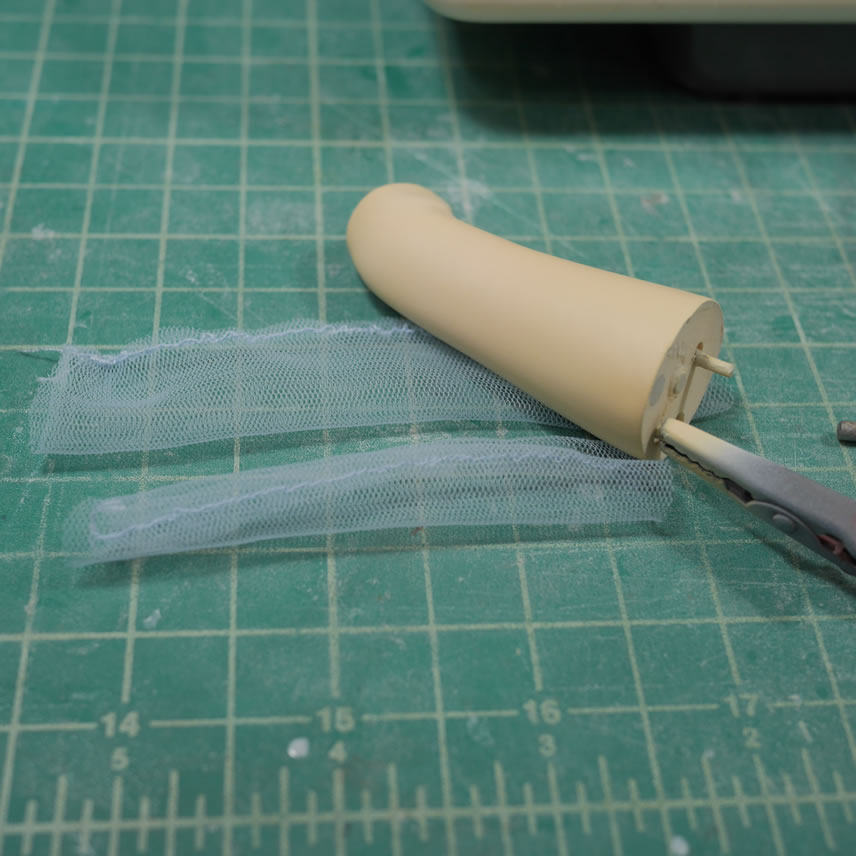
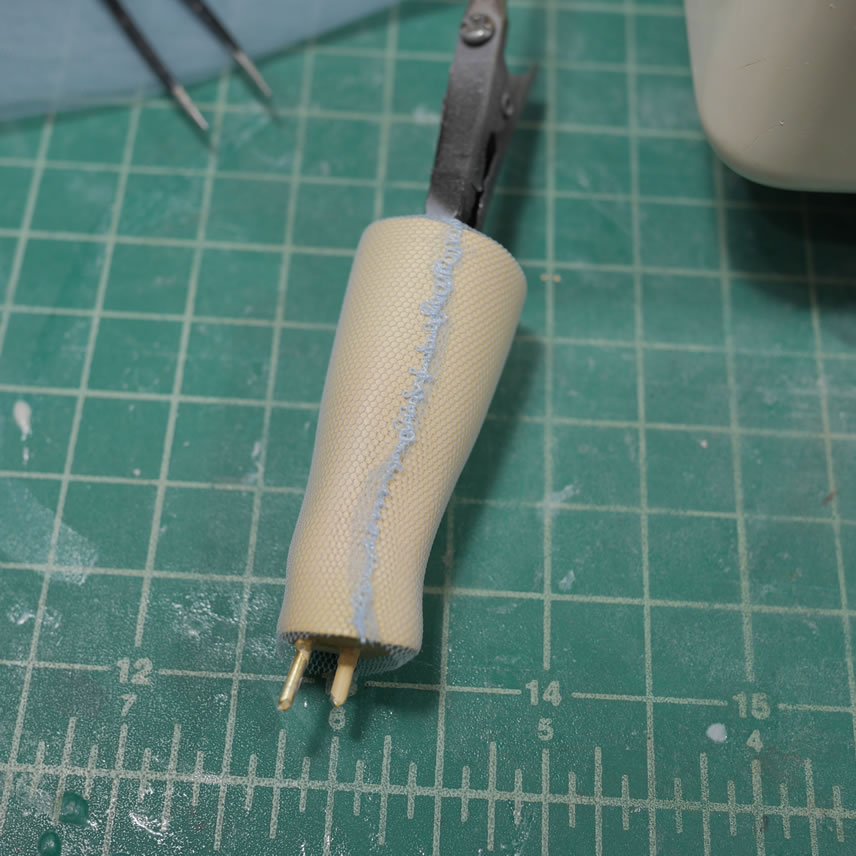
To hide the seam, more excess material is trimmed away and the sock is flipped inside out so that the sew seam is on the inside. Slipping the stocking over the leg piece completes the stocking work. Some adjustments in the alignment of the seam are the final touches.
The body paint is done and cured so it can be masked and the bikini straps can be painted. The same technique is used for the bikini straps as the shoulders with white, then dryer sheet masking, then the final blue.
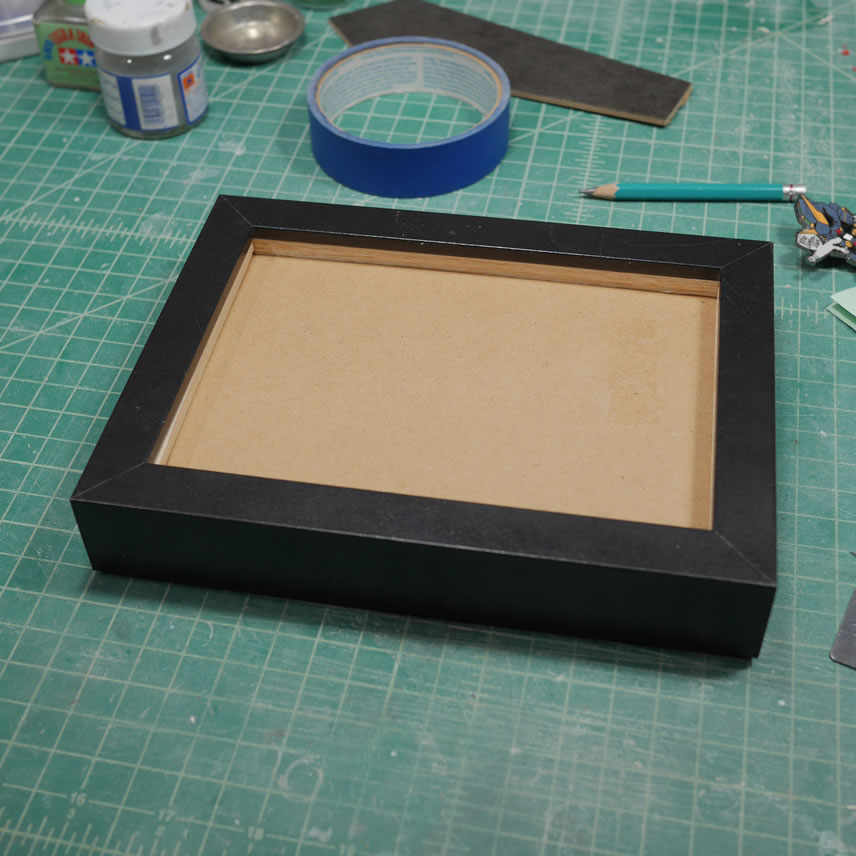
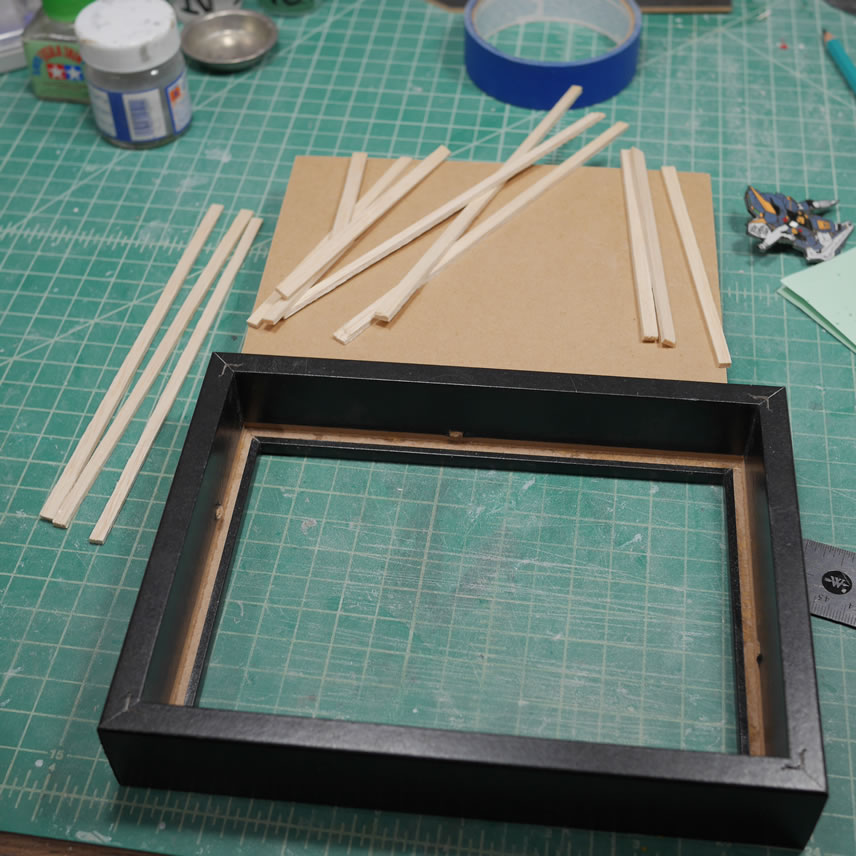
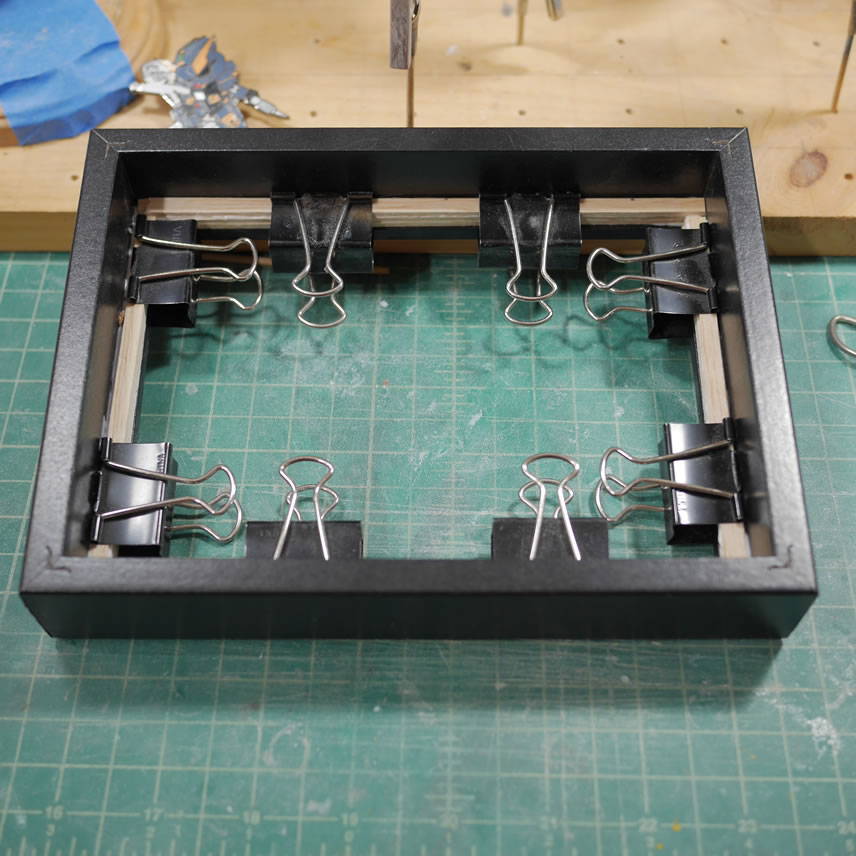
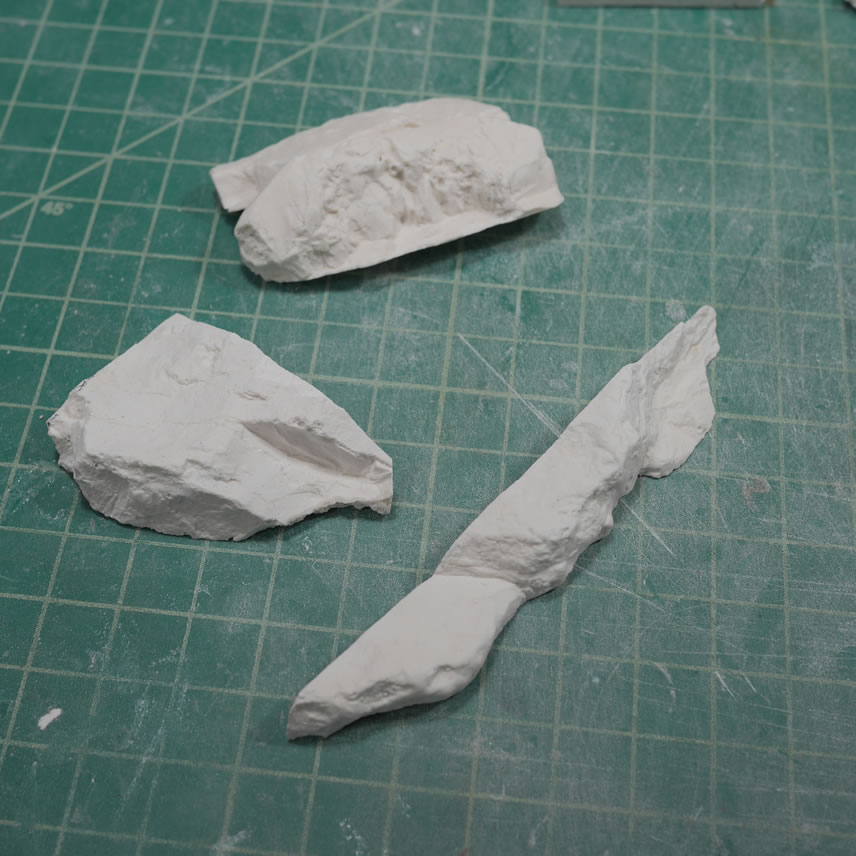
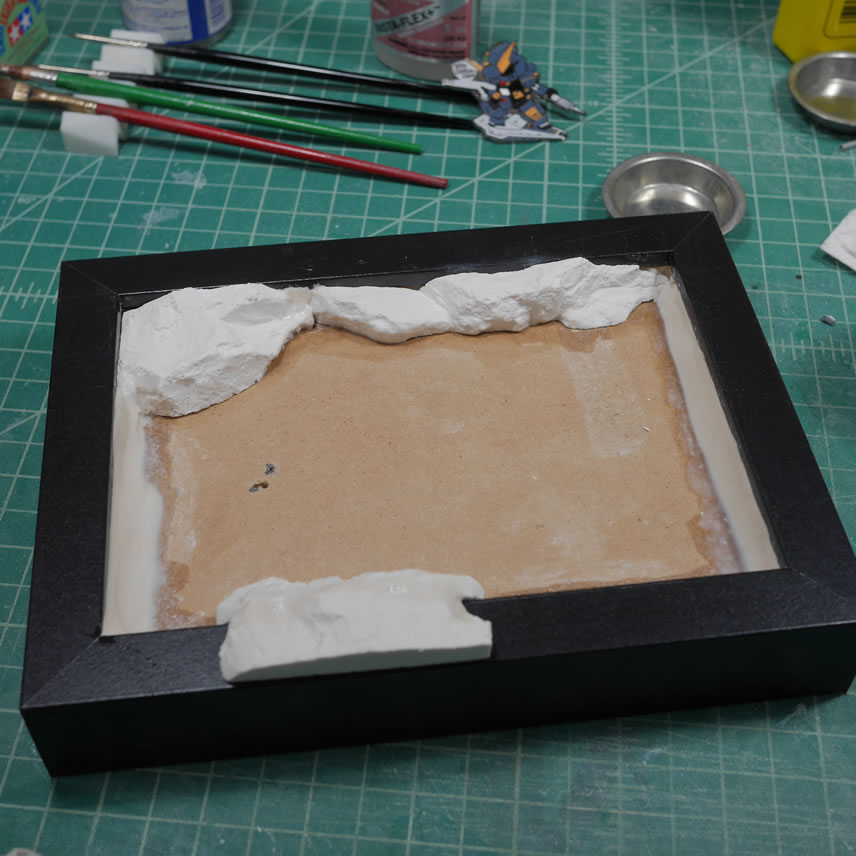
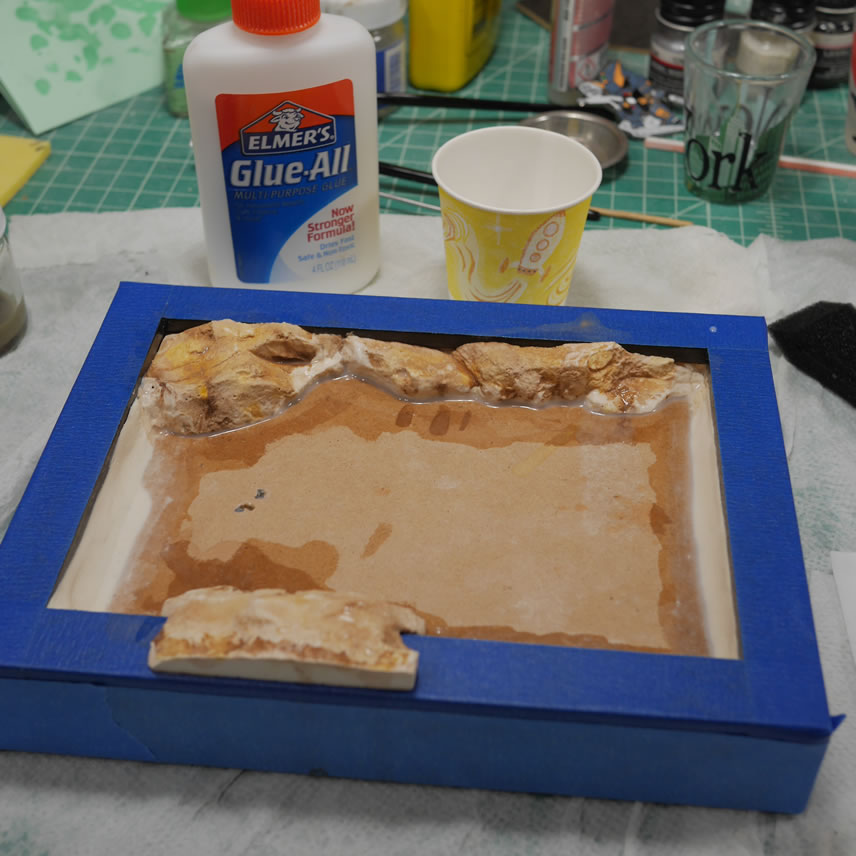
The display base is an $2 Ikea photo frame. Strips of balsa wood is cut to change the depth of the photo frame. Glue and clamps to hold things while the glue sets up. The back board is then hot glued to the cured balsa wood. Some plastic rocks are cut for details.
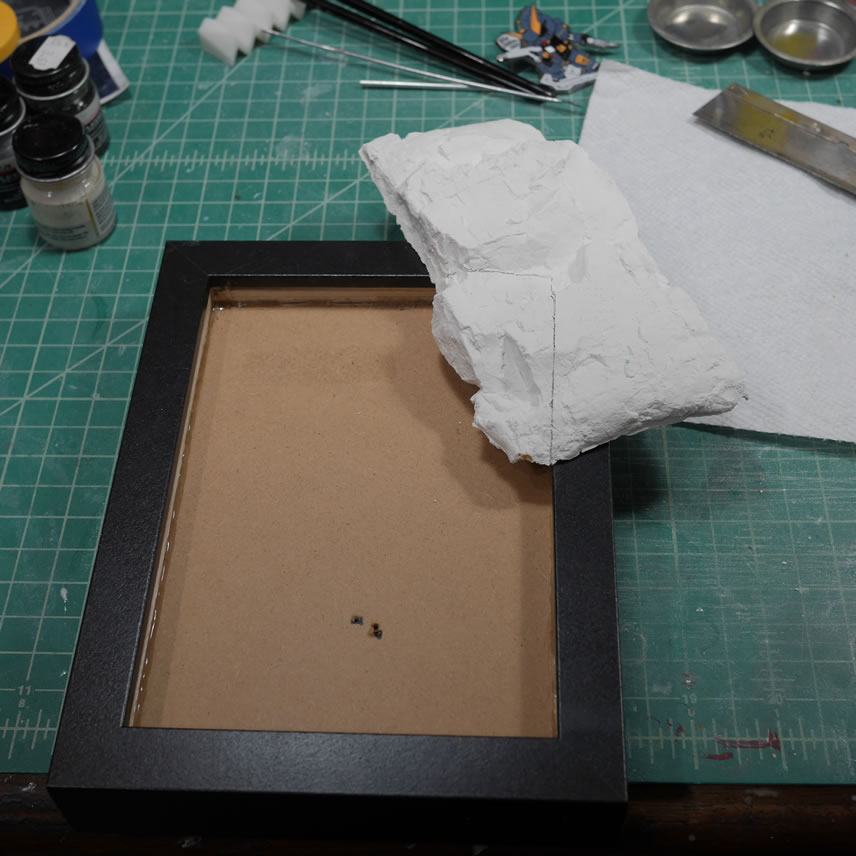
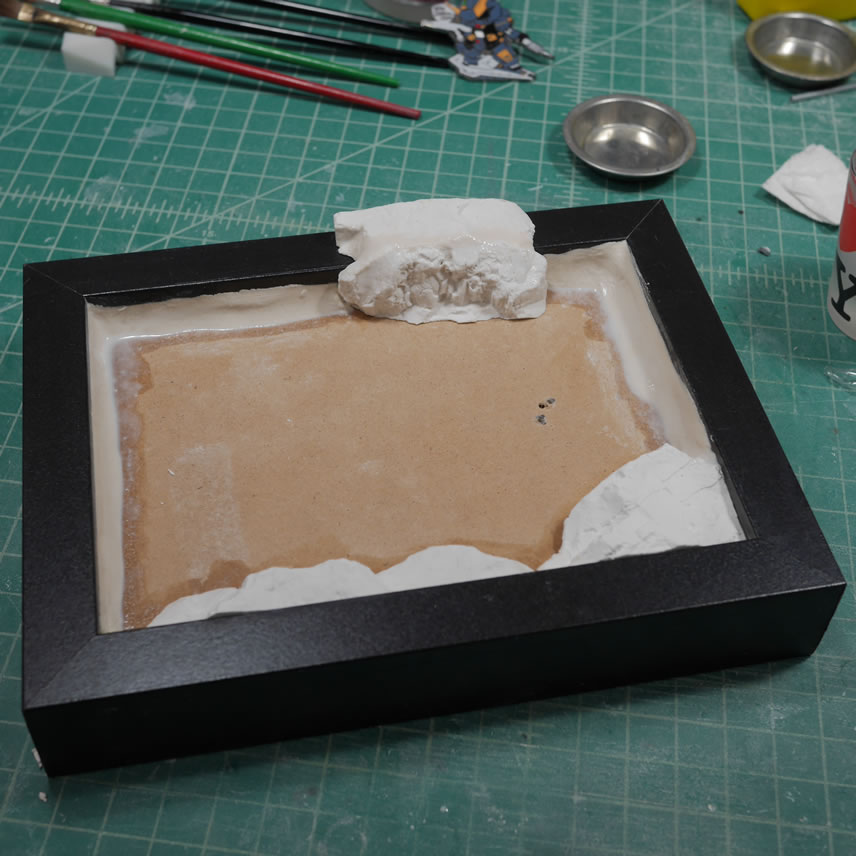
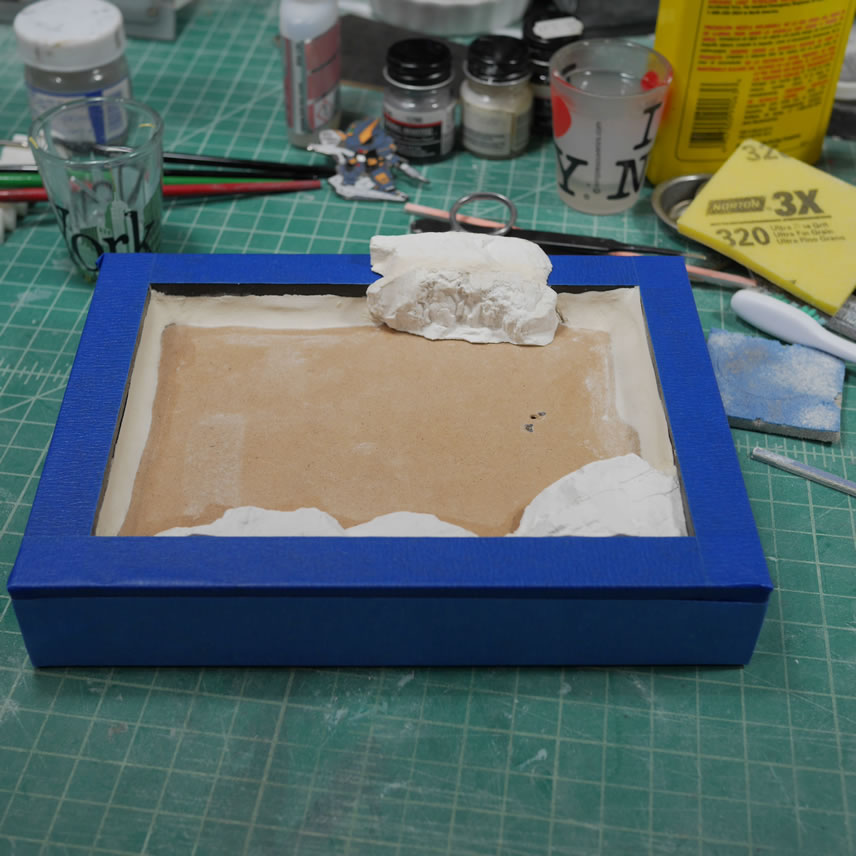
The rocks are glued into place and paper clay is added as transition and fillers around the perimeter of the display base. White glue mixed with water is used as a sealer and to help keep the paper clay from cracking while drying. The frame is masked off and ready for painting.
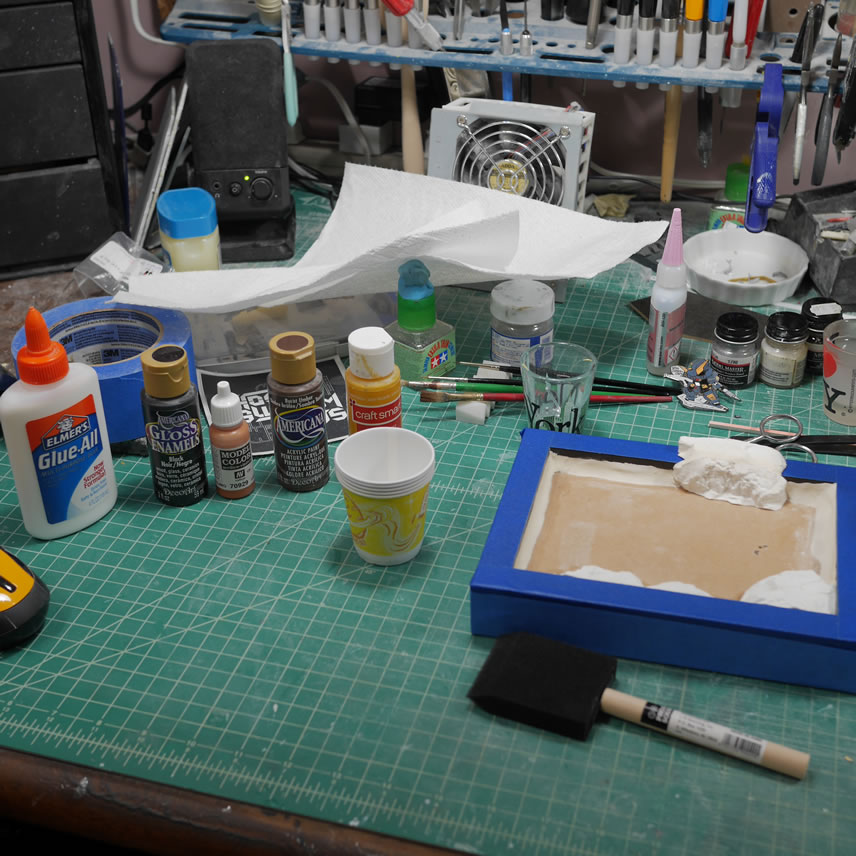
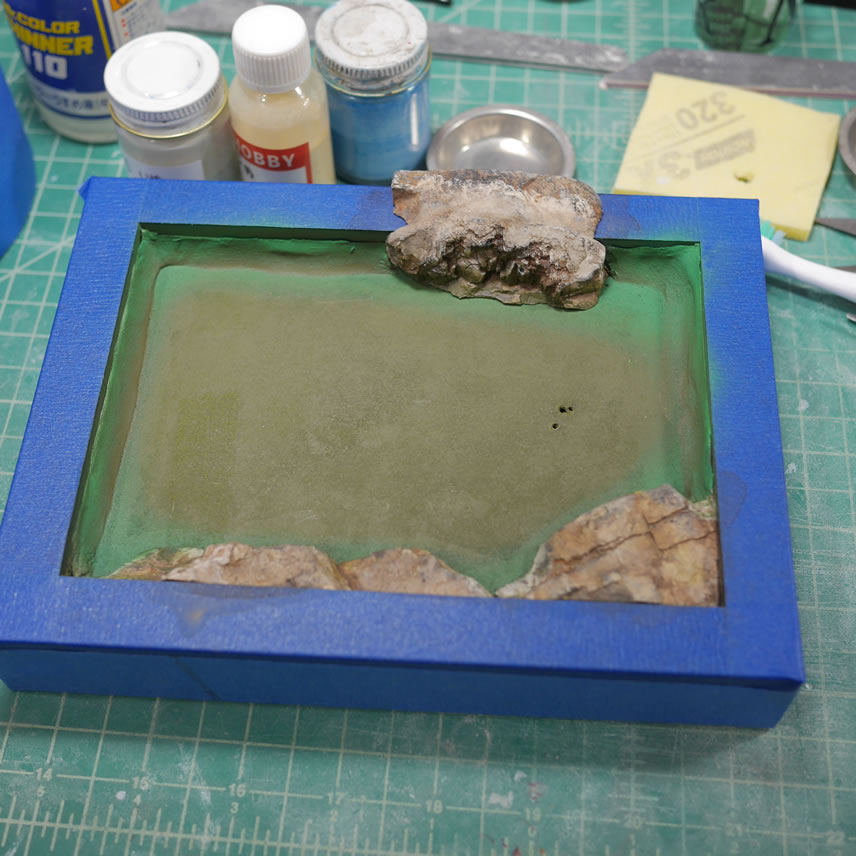
Acrylic pigments are used to paint up the rocks using the filter method. The paints are thinned at 1 part pigment to 16 parts water for the first pass. The overall washes are thinned at 1 part paint to 32 parts water.
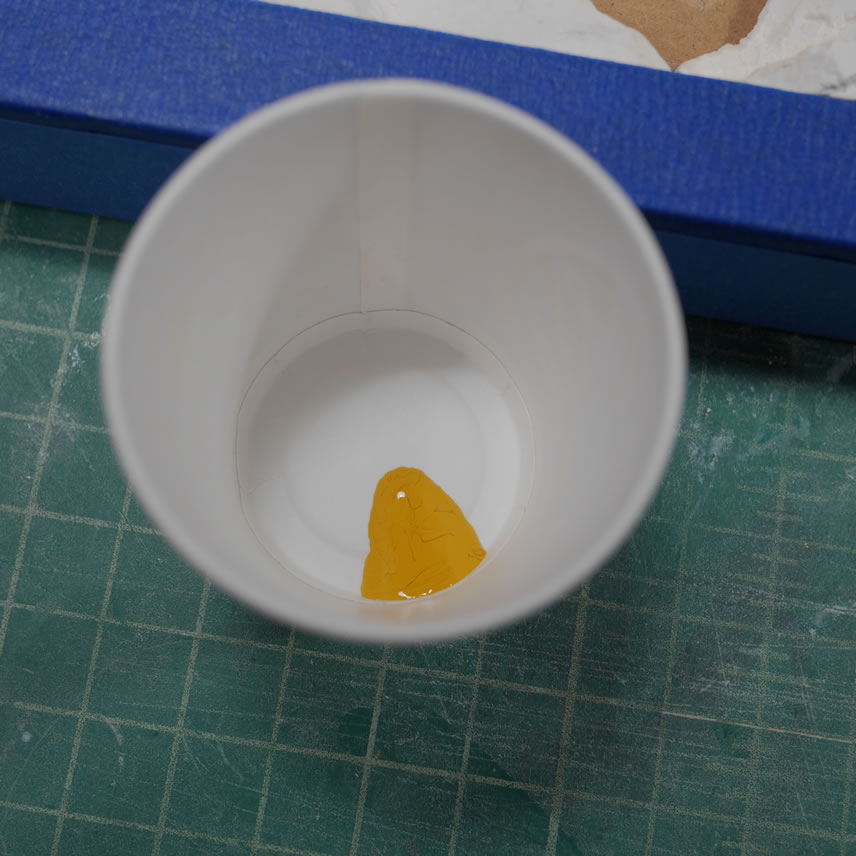

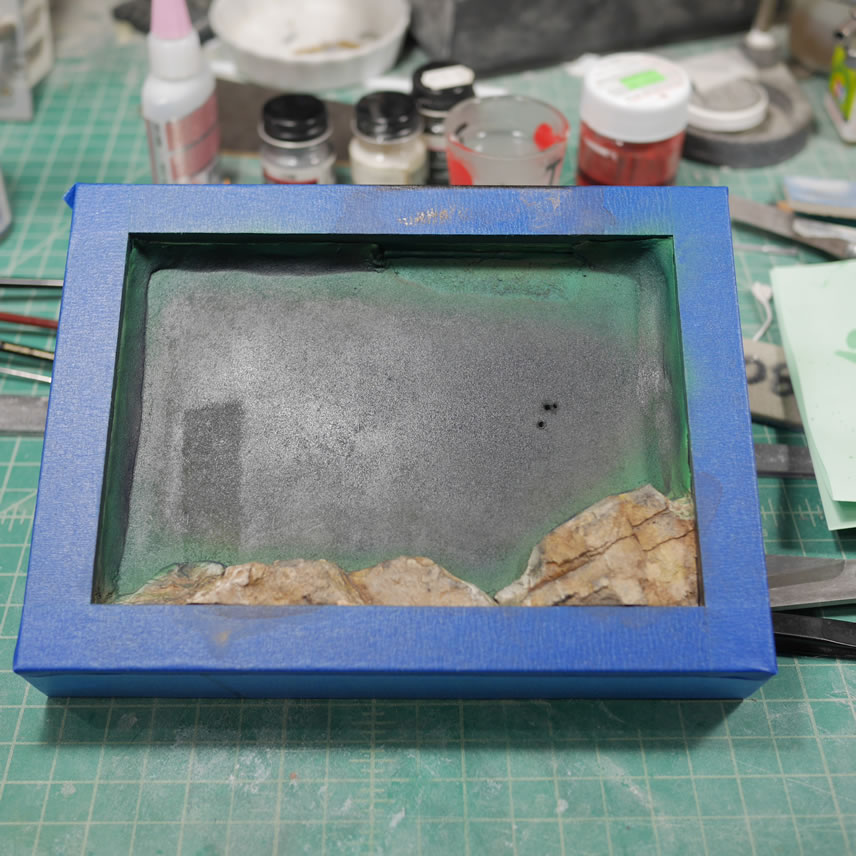
The flat areas are painted first with a green then a darker green, and then followed by alclad electric cobalt as I didn’t have a dark transparent blue to use.
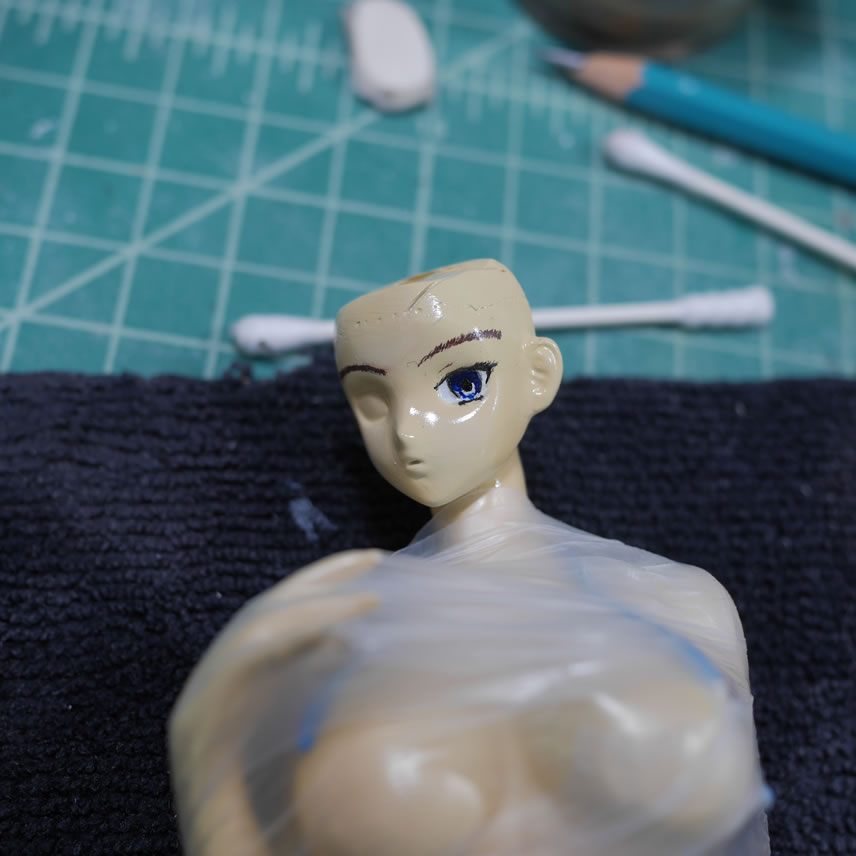
Back to the figure, time to paint the eye. I start off with a pencil to draw in the basic shape and look of the eye. The eye brows are drawn in as well as small eye details.
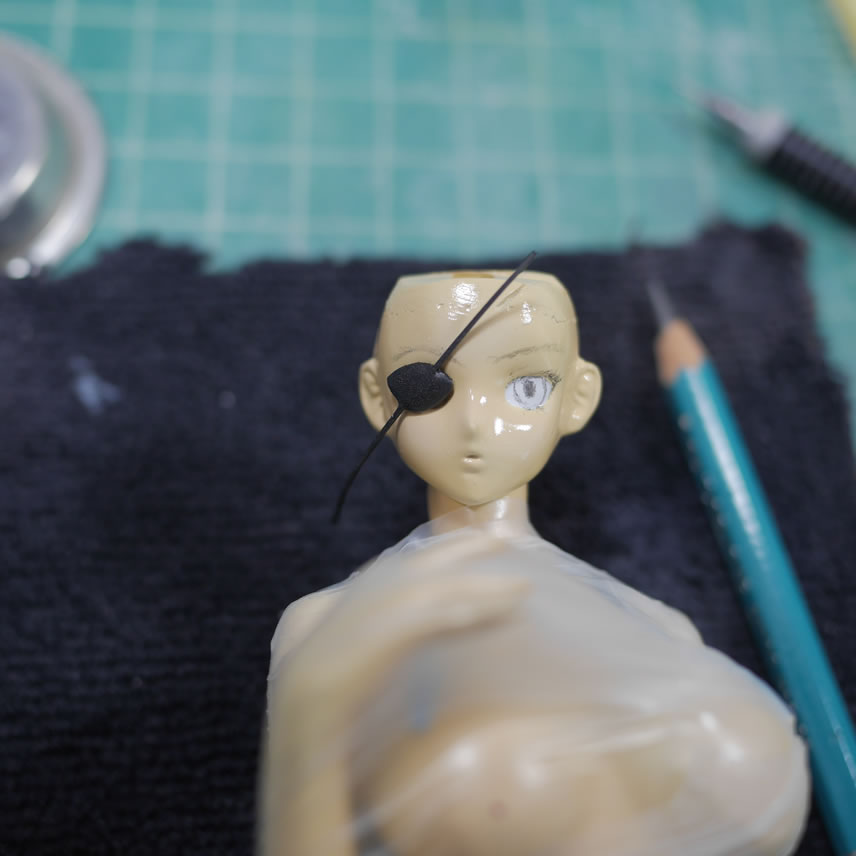
The eye is painted with black first to line everything. Then a dark blue is painted followed by a light blue and white for highlight dots. Once this is dry, the eye is sprayed with a clear gloss to seal everything and give the eye a wet look.
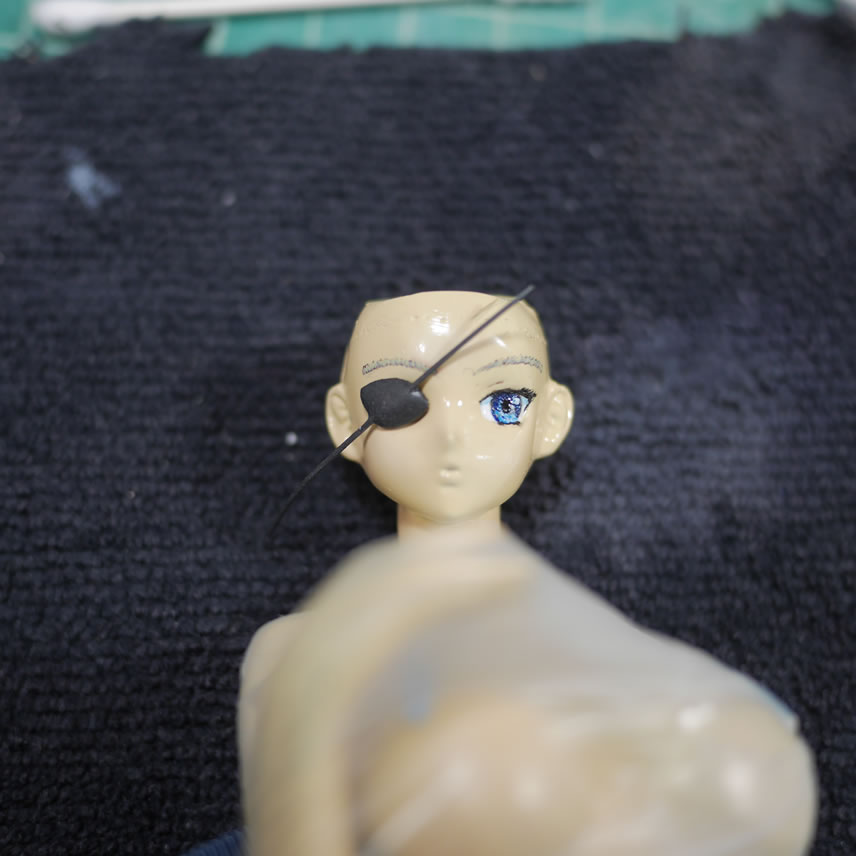
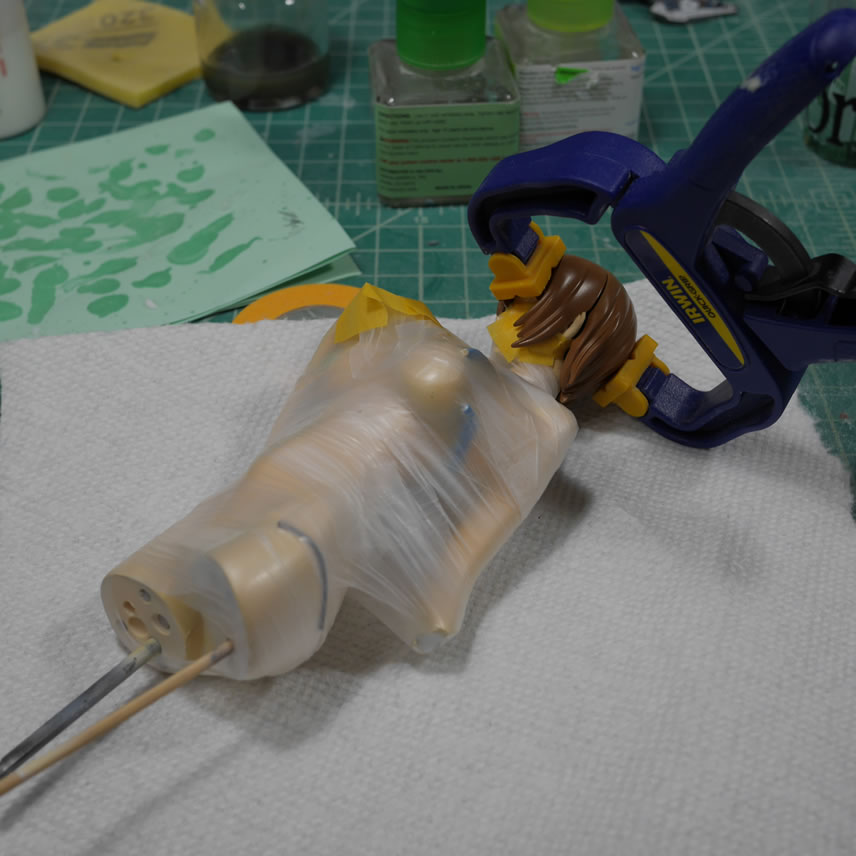
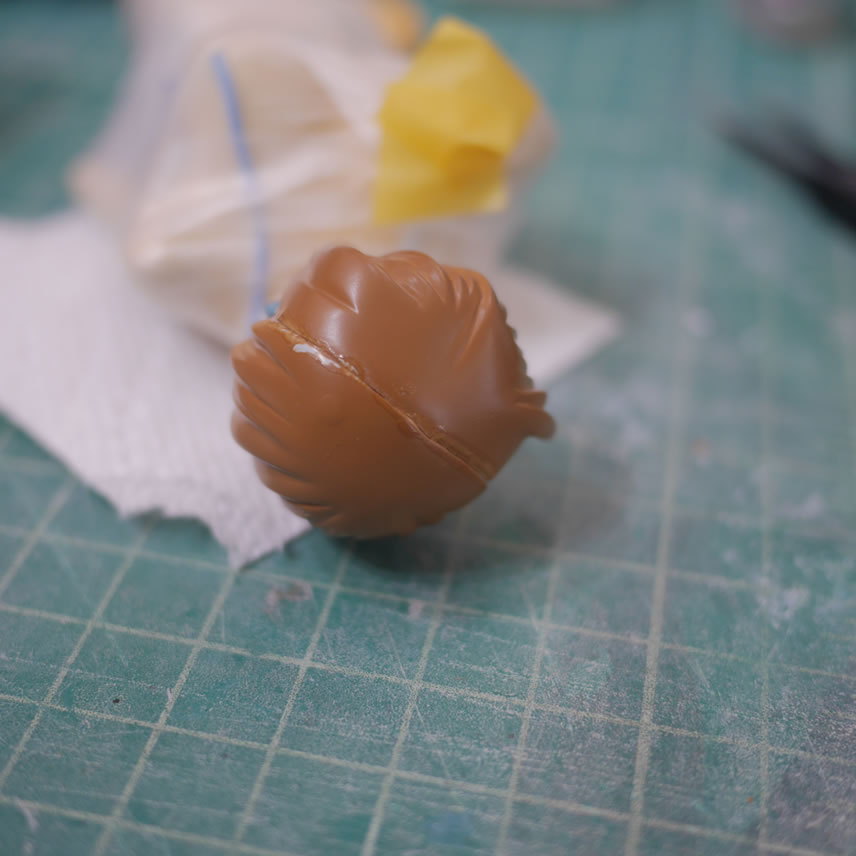
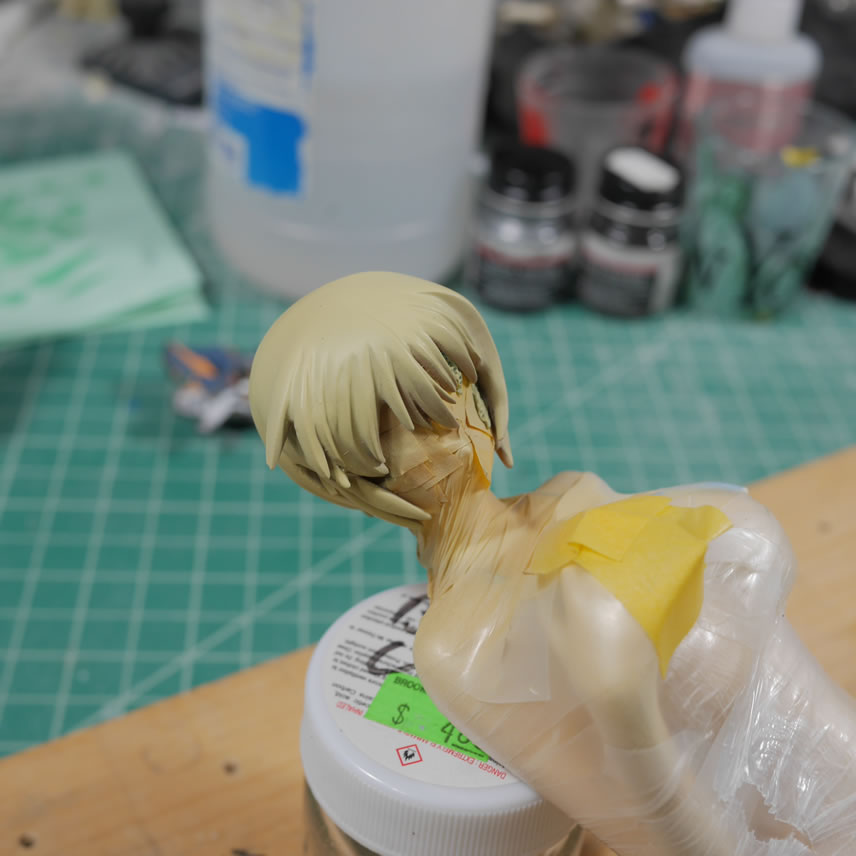
With the eye painted and eye patch glued into place. The two hair pieces are glued. I previously painted the base colors for the hair and stopped there. Since I need to seam up the hair, it is easier for me to paint the whole pieces separably first then work on combining them and the putty/sand/paint work to fix the two parts. The face and body are masked off and the two halves are glued together with CA glue. Once the glue sets, light curing putty is applied along the seam and the seam is sanded and shaped.
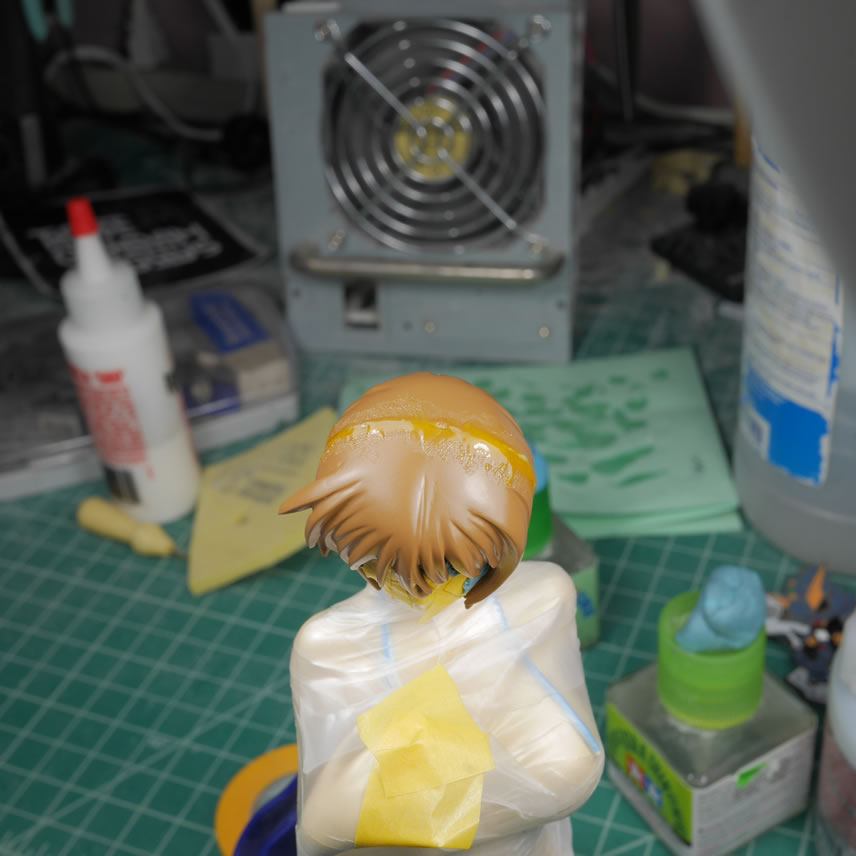
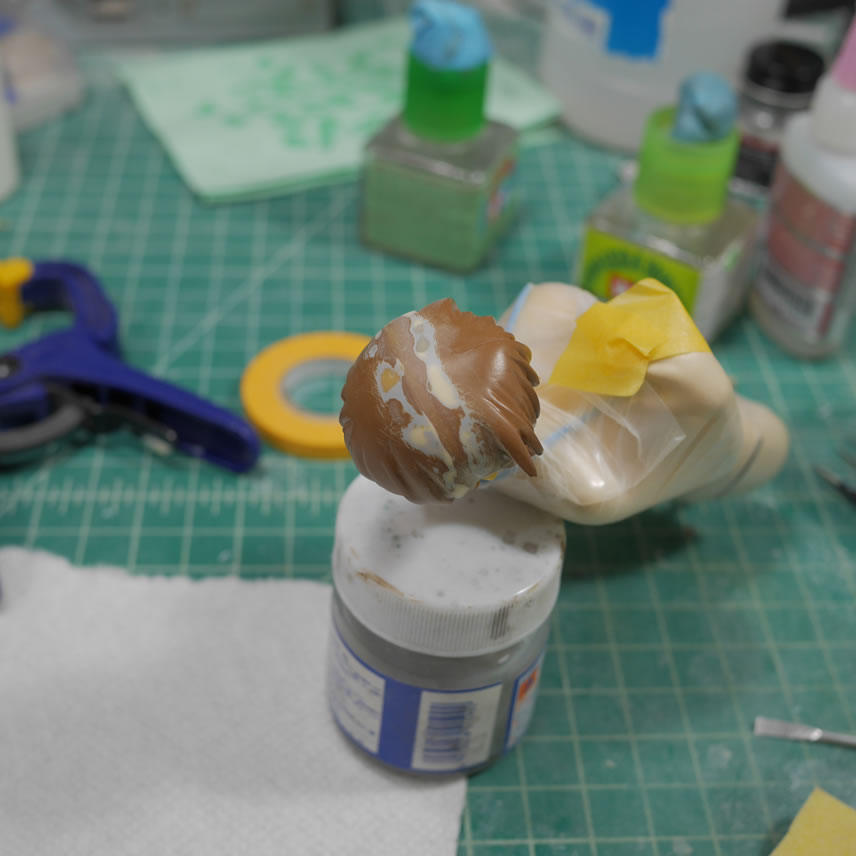
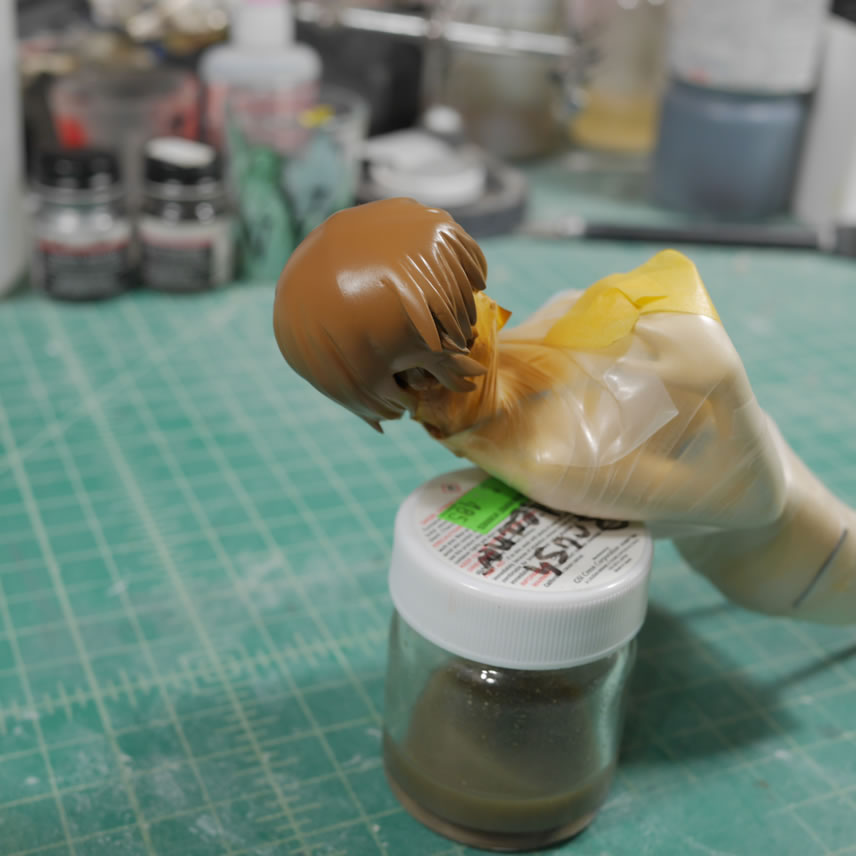
Primer and a few more putty/sand fixes get the part back to where we started with everything painted brown (mr color sand brown). A custom blond color I had is then sprayed using the brown base as dark highlights.

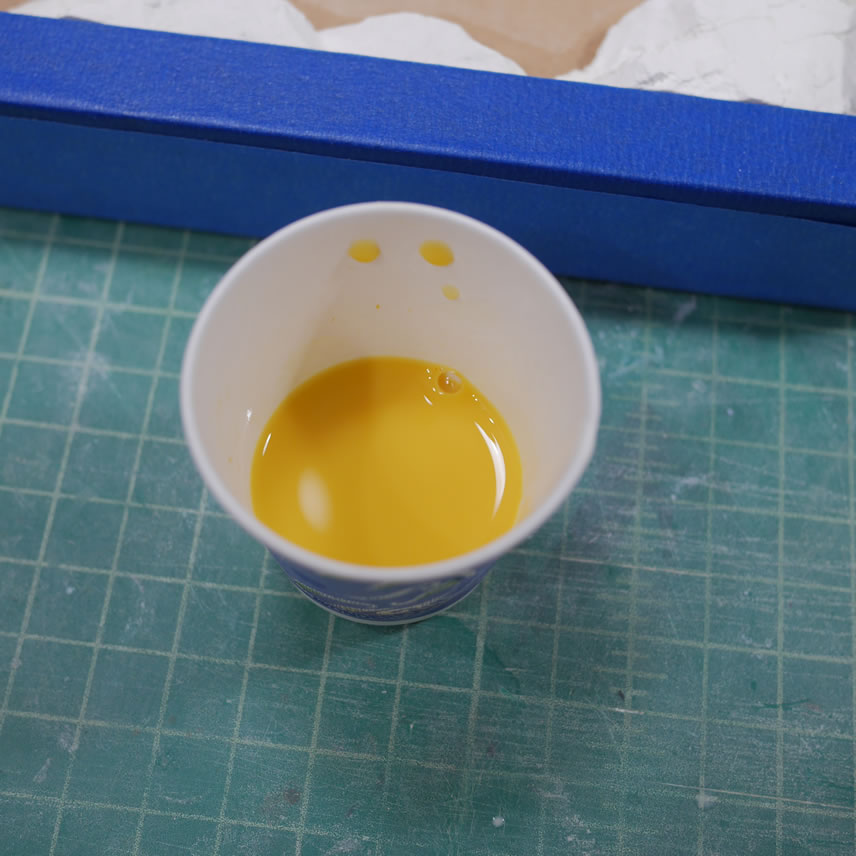
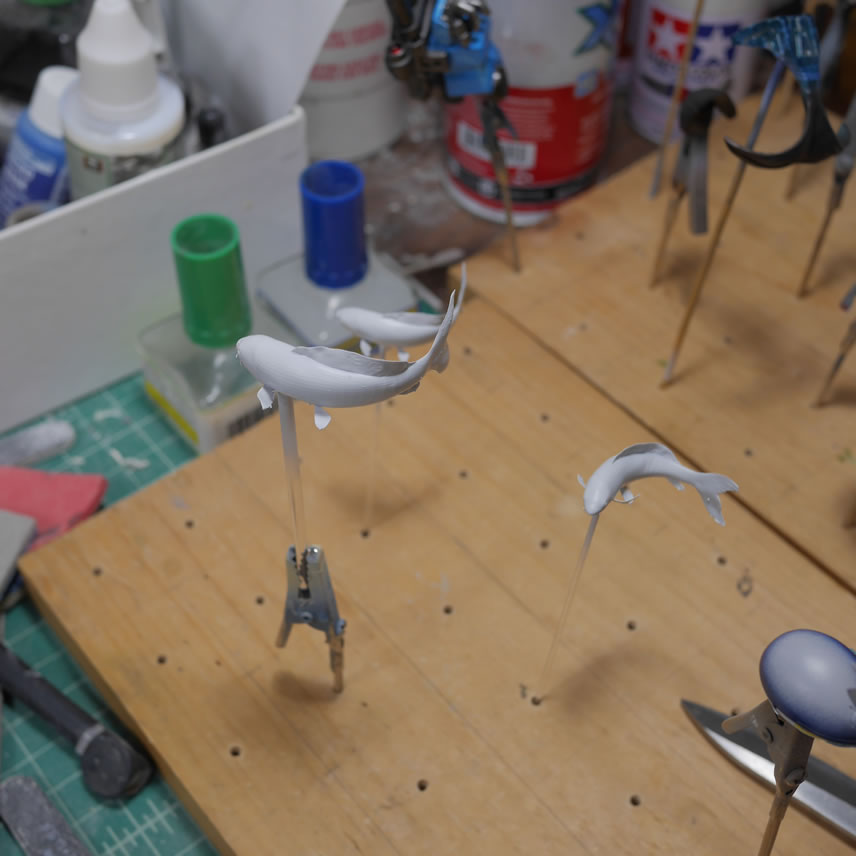
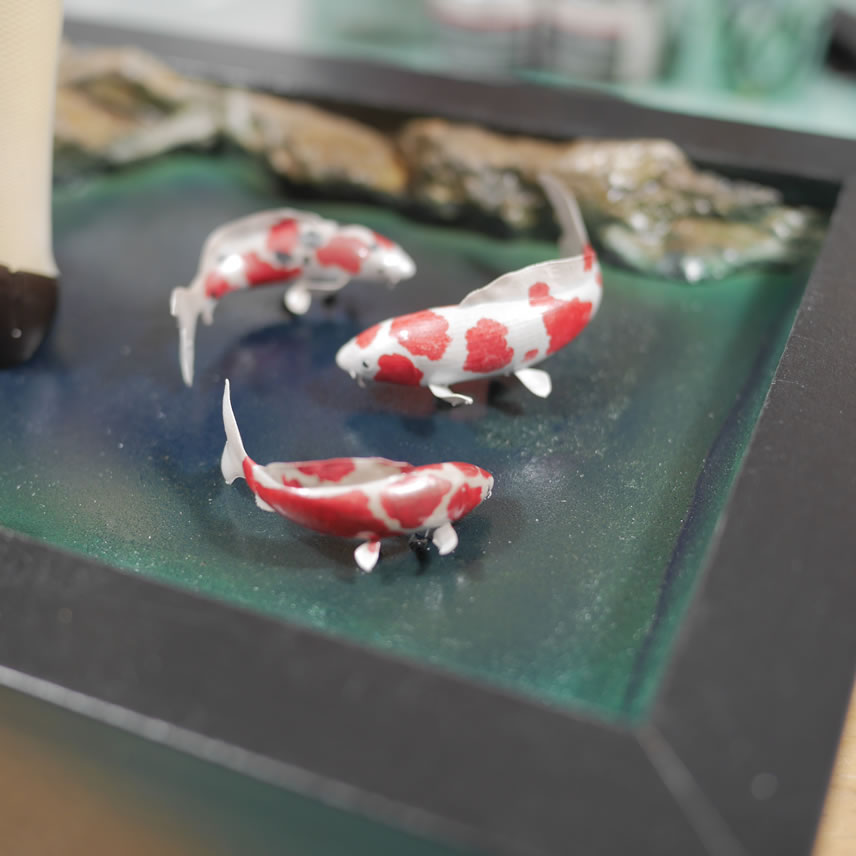
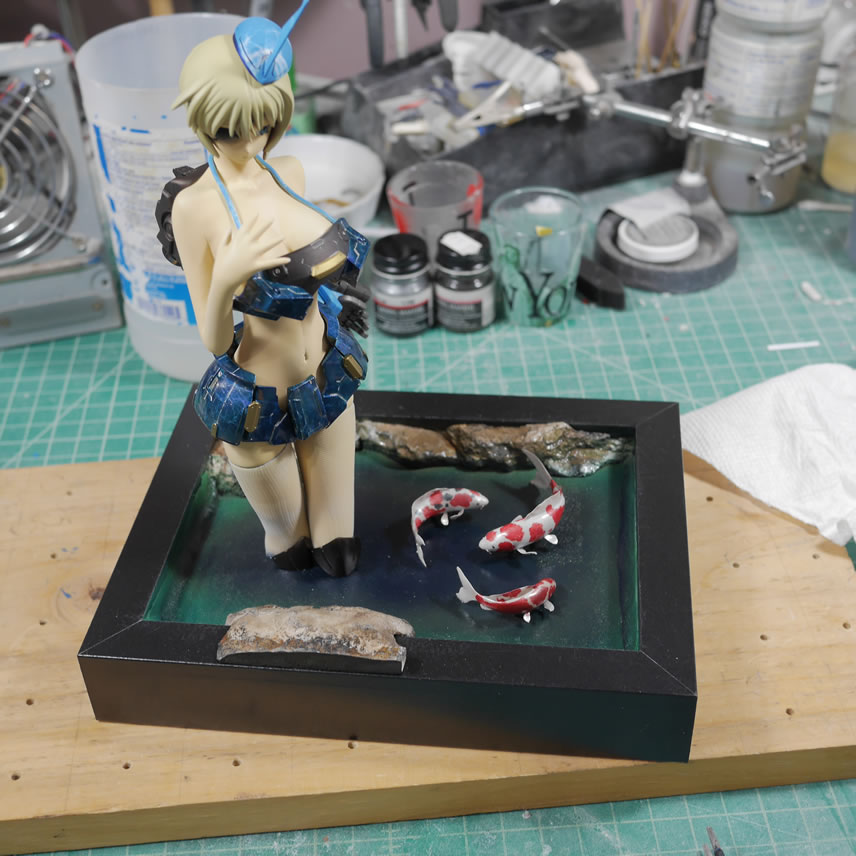
I found a nice koi 3D sculpt online and made a few modifications and printed a few of them. Once primed, they were painted with white and hand painted to finish. Then everything including the main figure are glued to the base. The last thing, not pictured, is mixing some clear epoxy resin and pouring it into the base to create a pond of sorts. Next update should be the final touches and final pictures of the Goufy project.
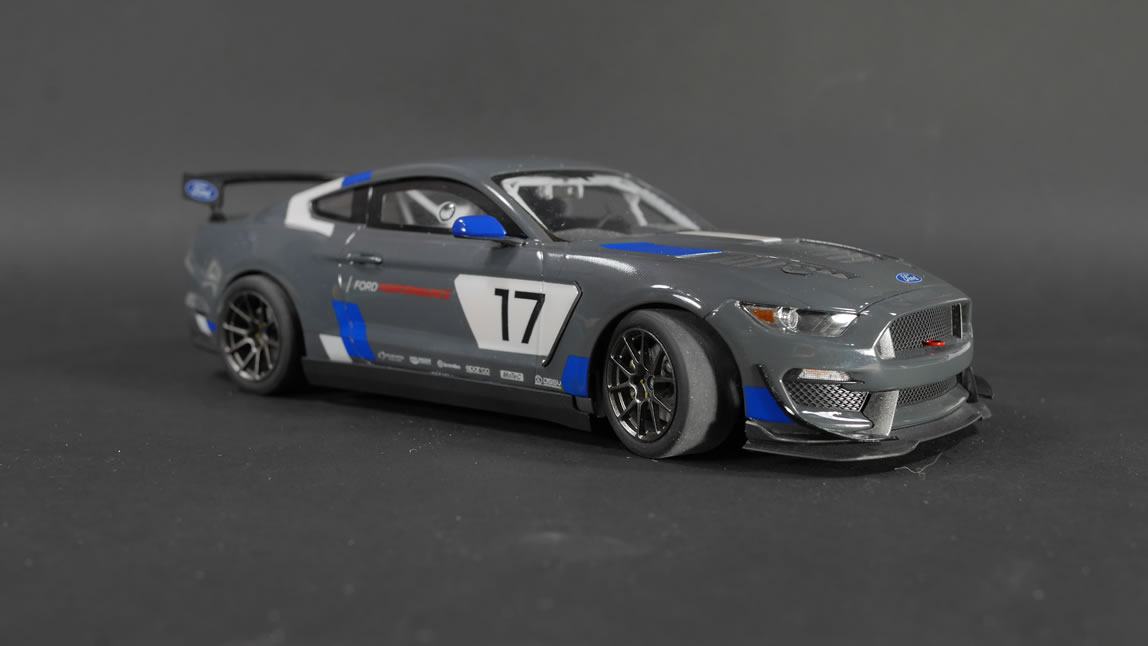
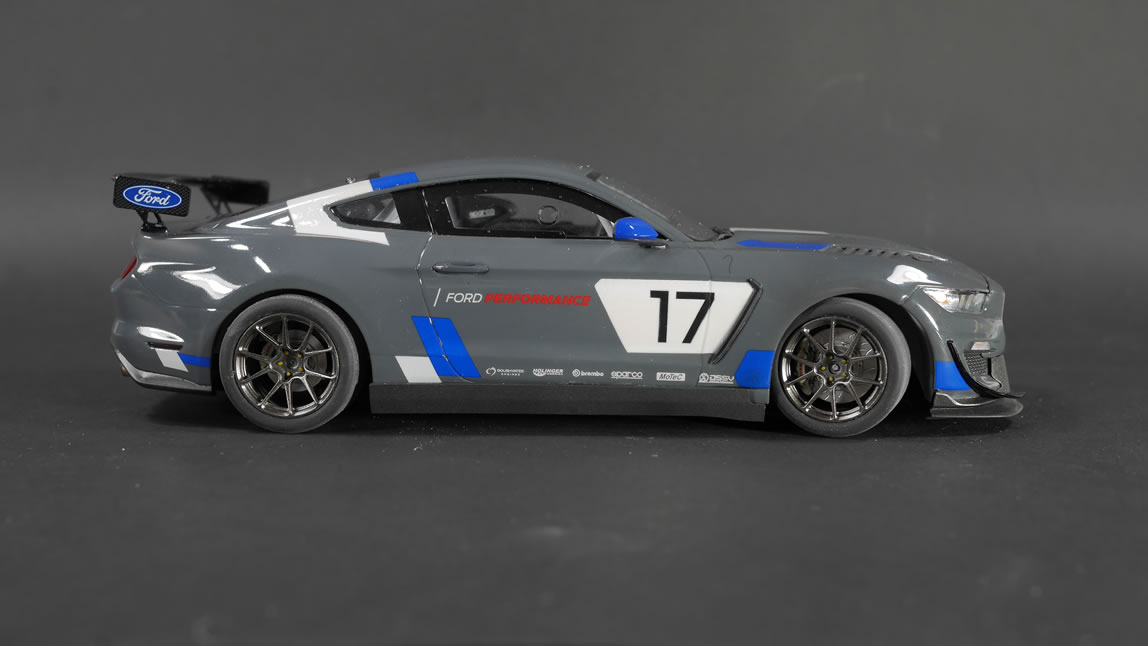
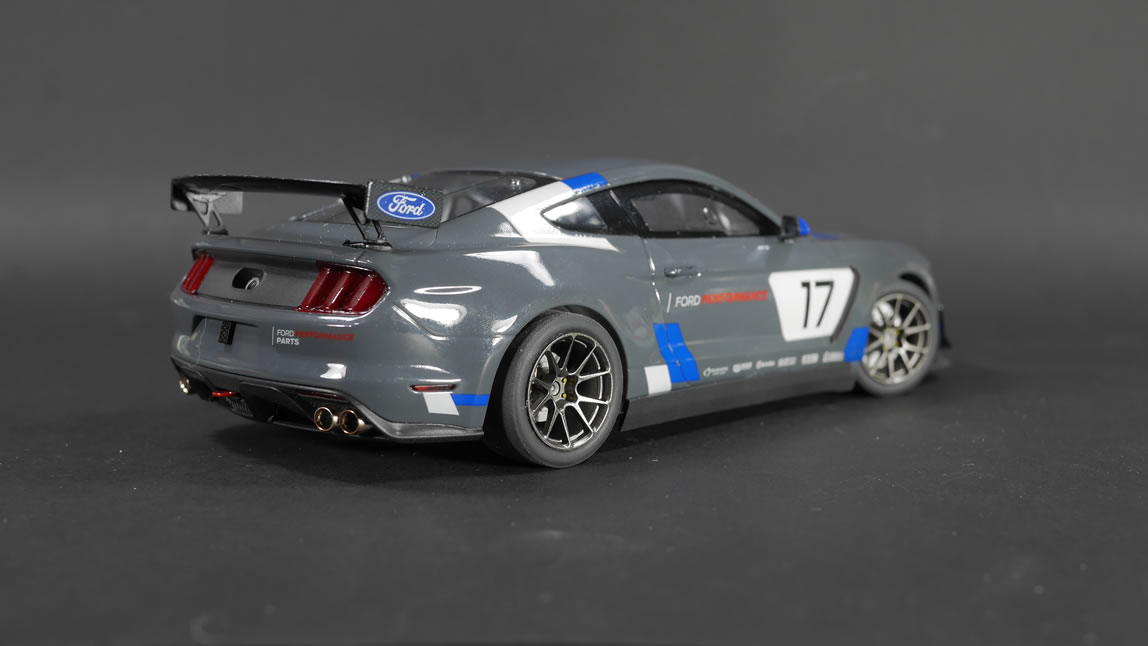
Last and definitely least, I have completed pictures of the Mustang GT4.
|
|
|
|
|
|
|
|
|
|

|
|
|
|
|
|
|
|