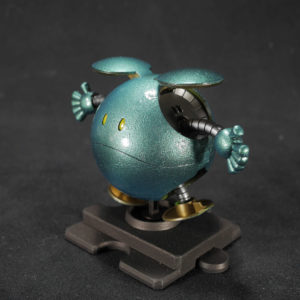
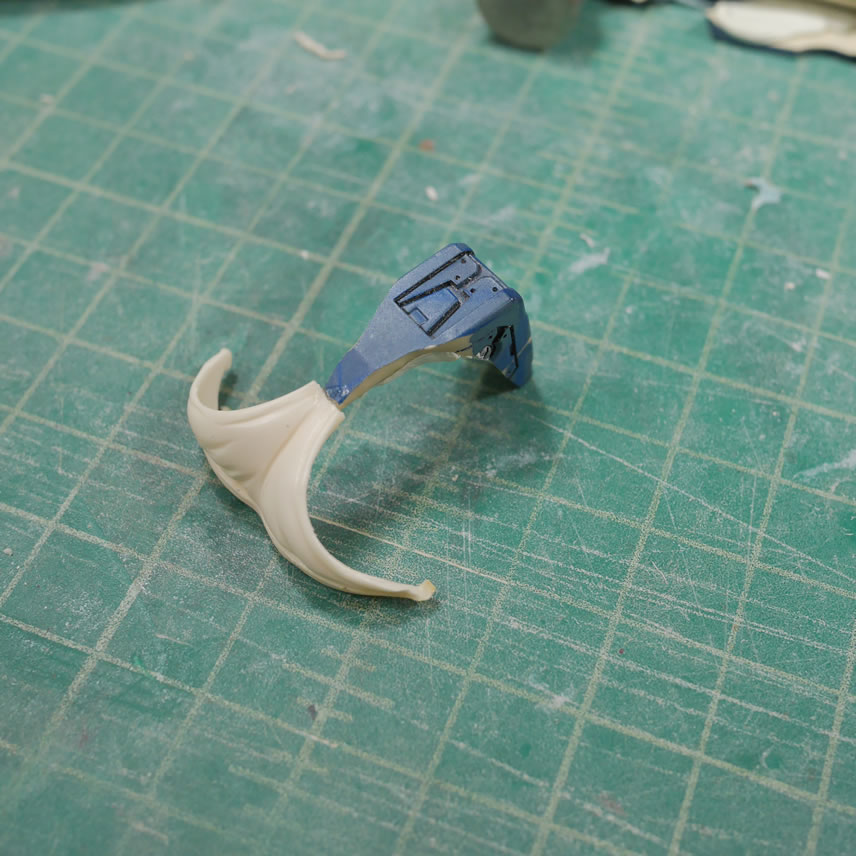
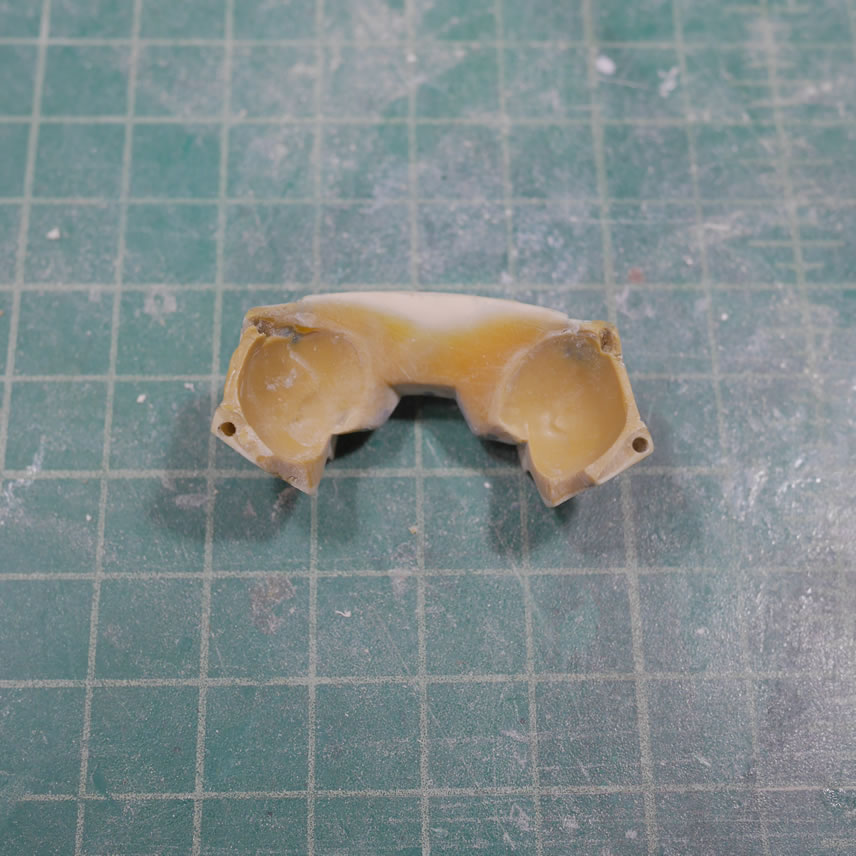
Weekly update time. Motivation for this project is still pretty damn high and I’m having a crap ton of fun working on this project. Years ago when this broke, I just didn’t feel like fixing it because it would have required a complete repaint for some of the parts with custom mixed paints I no longer had so getting the color match would have been impossible. Fast forward to last week, I finally started the repair process. Below are comparison pictures for the broken shoulder piece. The curved spike broke off the pauldron. The spike was glued back and epoxy putty is applied when I first started working on the project.
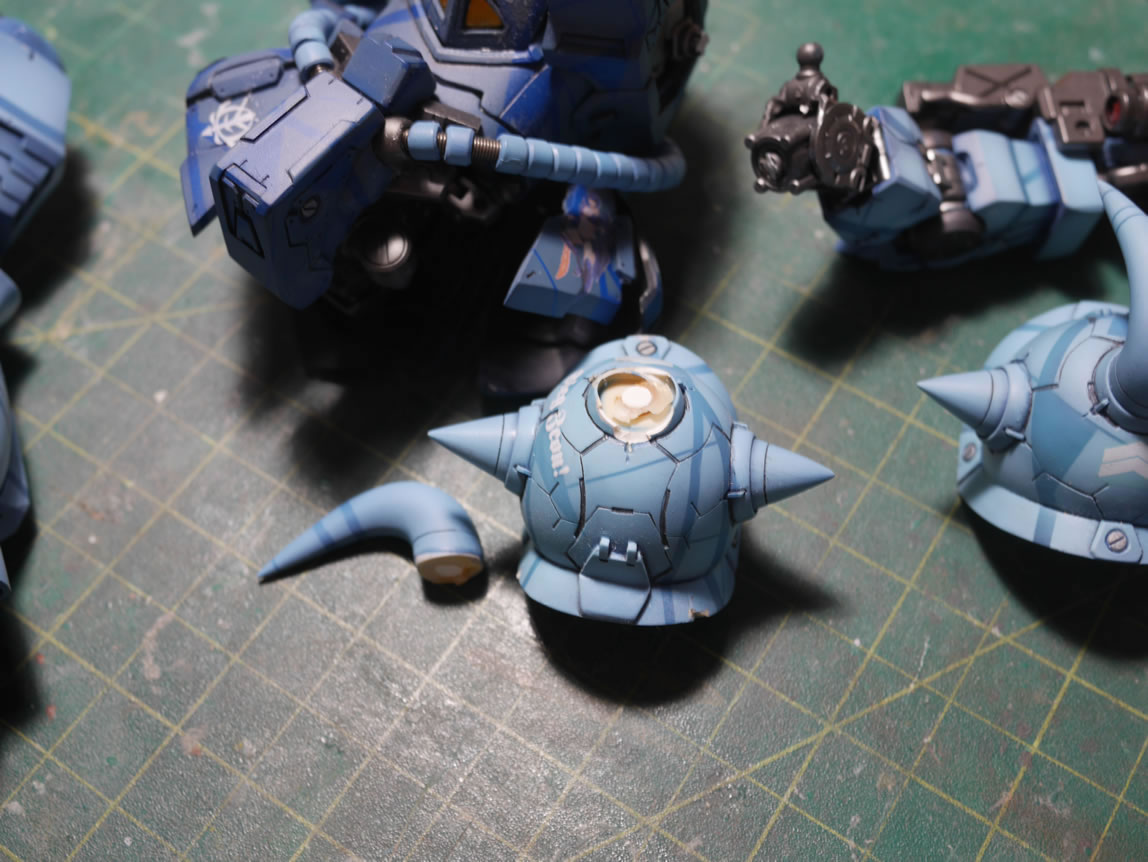
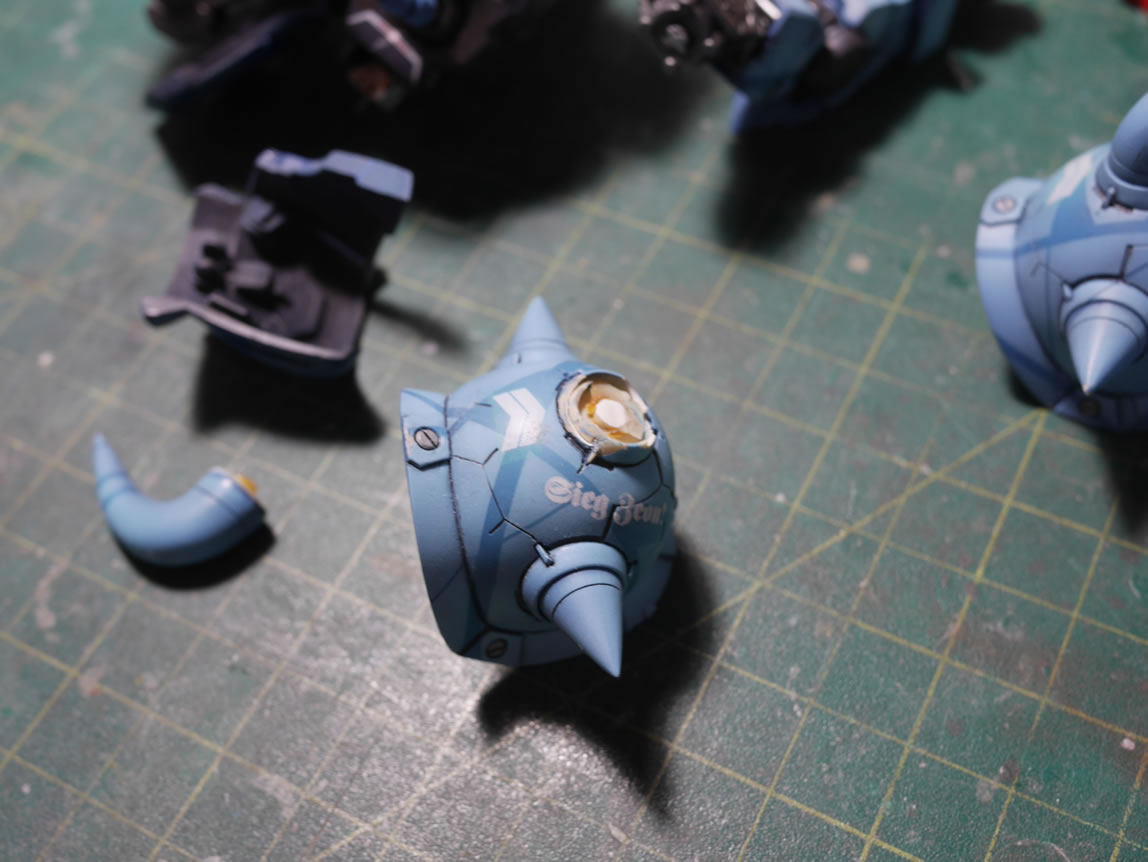
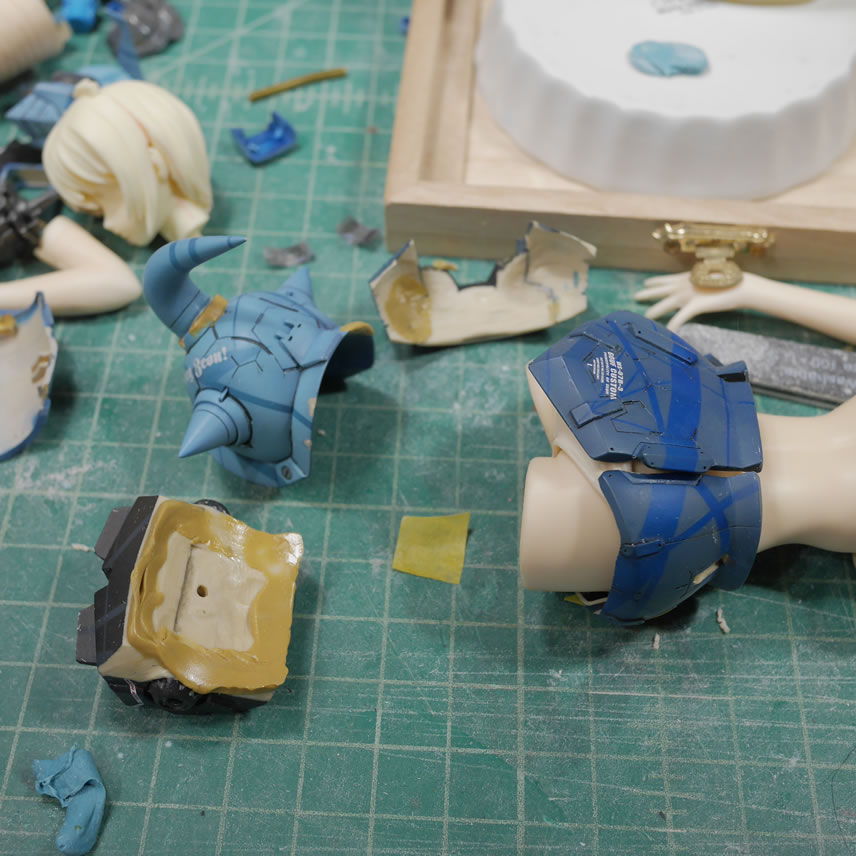
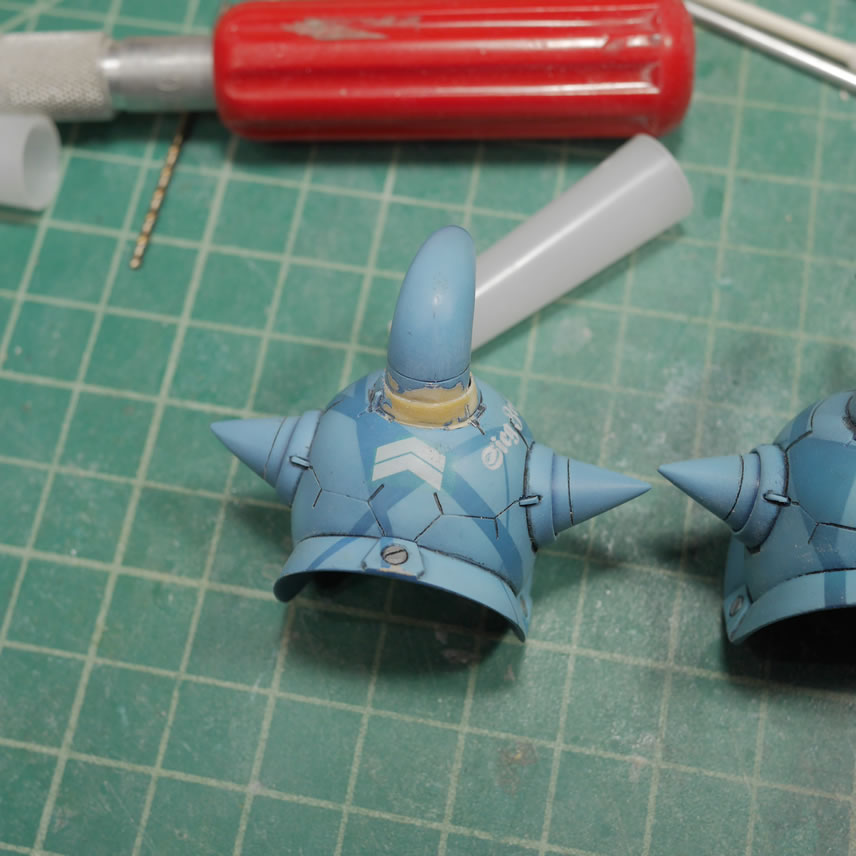
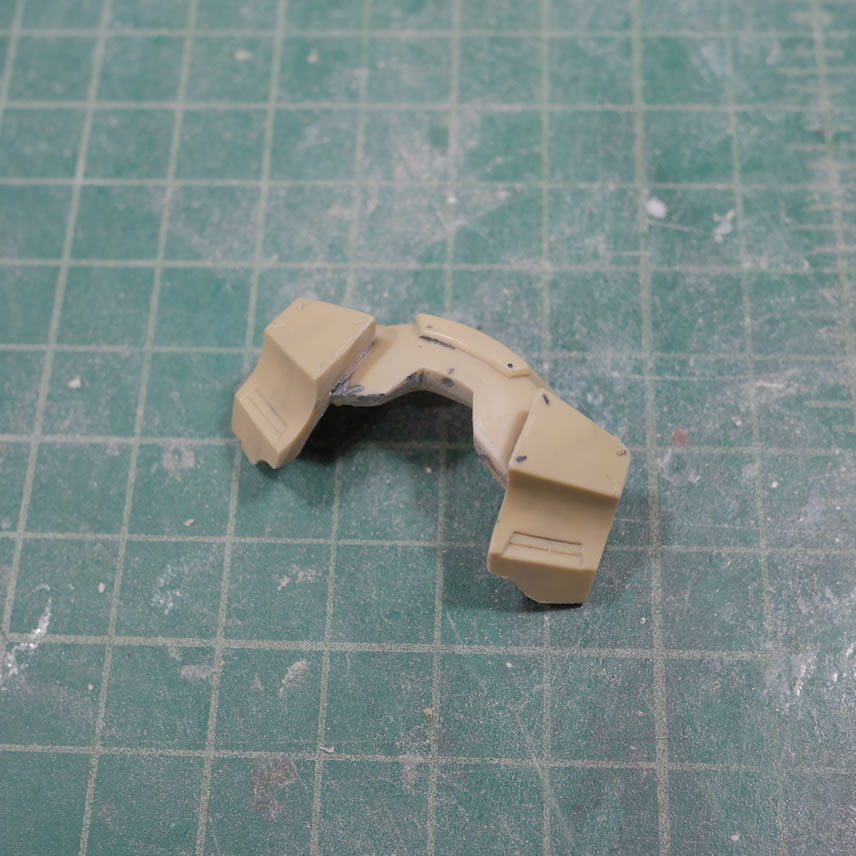
Once sanded down it starts to look close to the original. The spike insert area also had a little bit of a space, so that was scribed in with some BMC chisels. There are some detail bits that were lost on the break, so a small piece of styrene works to repaint that area. Not too difficult a fix, but a little labor intensive.
Tons of pictures and more progress details after the jump.
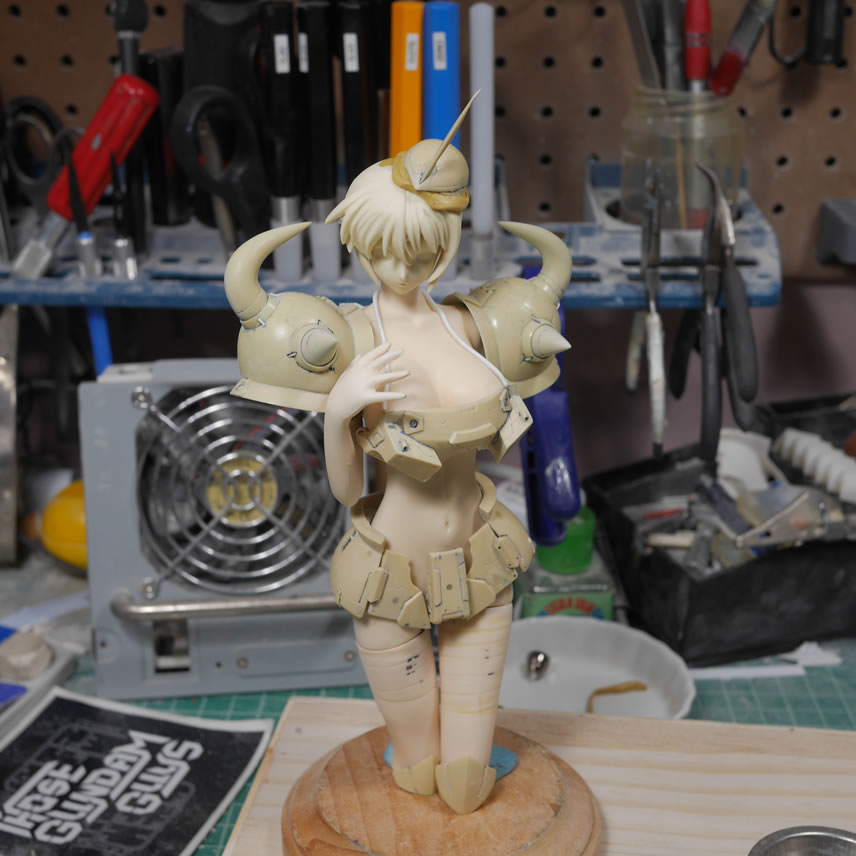
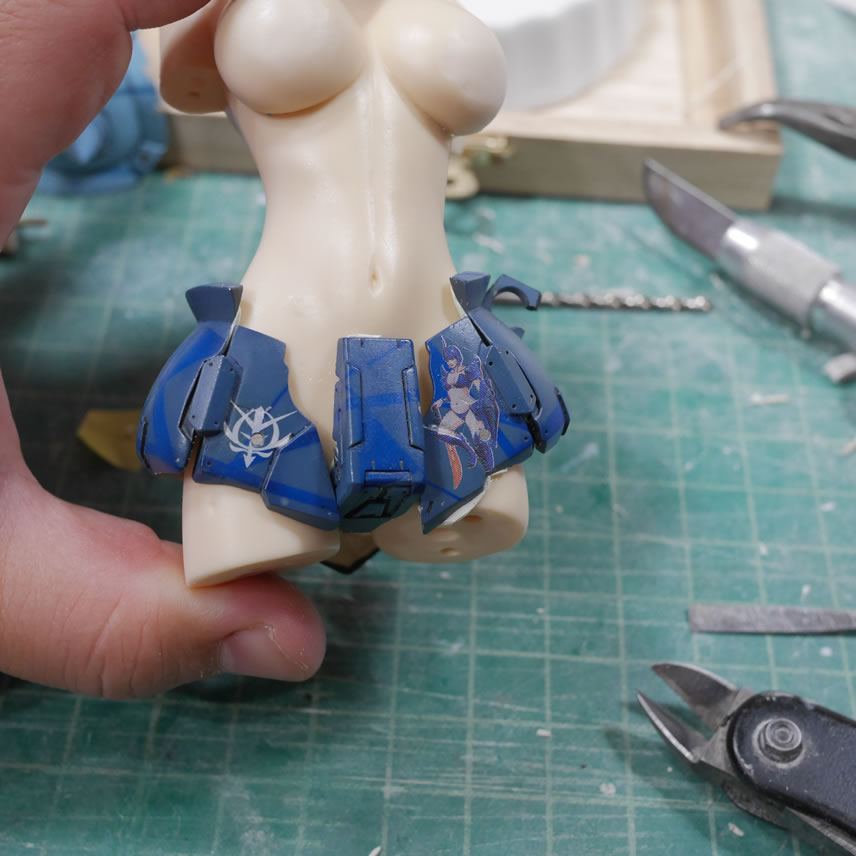
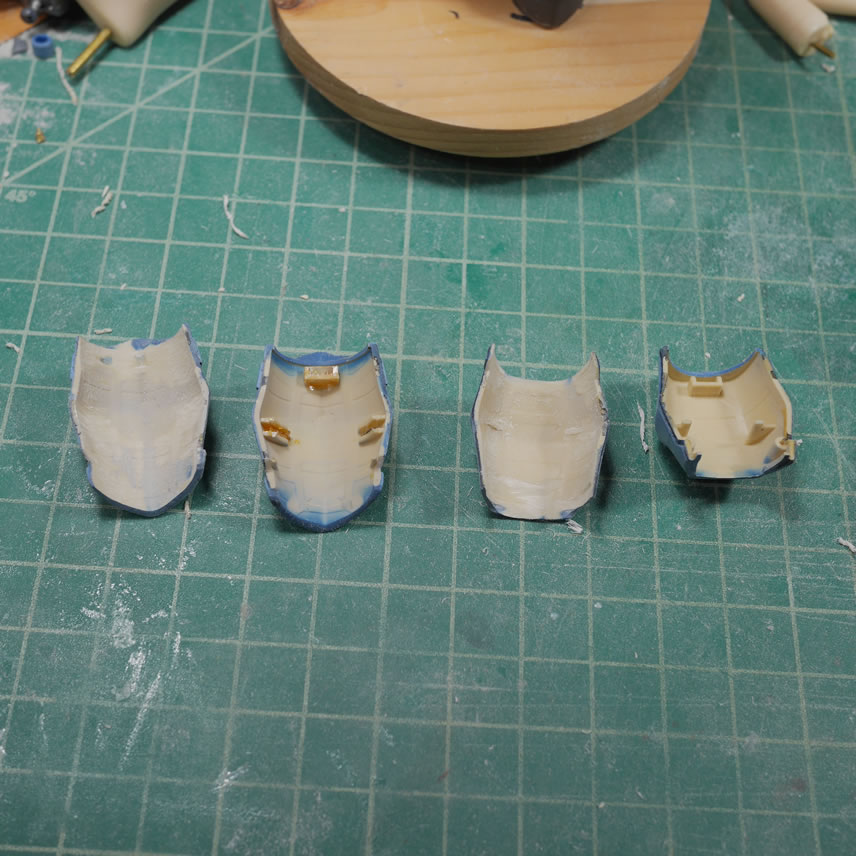
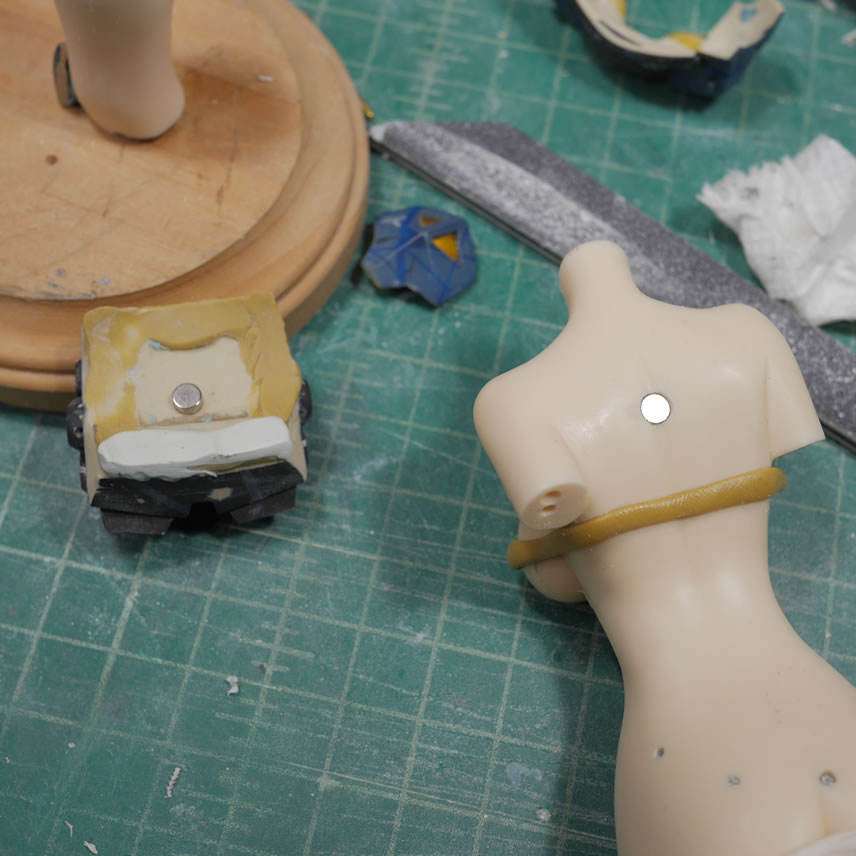
Working on the skirt and getting the correct position with the different pieces was a pain in the butt because things kept slipping. Using sticky tack works, but the skirt pieces are not flush to the figure kit, so it’s not exact. With the pieces flush against the figure kit, I just drilled holes through the skirt pieces and into the body. This creates a perfectly aligned area for adding magnets. As the magnets are added, I can continue with the correct placement of the skirt pieces.
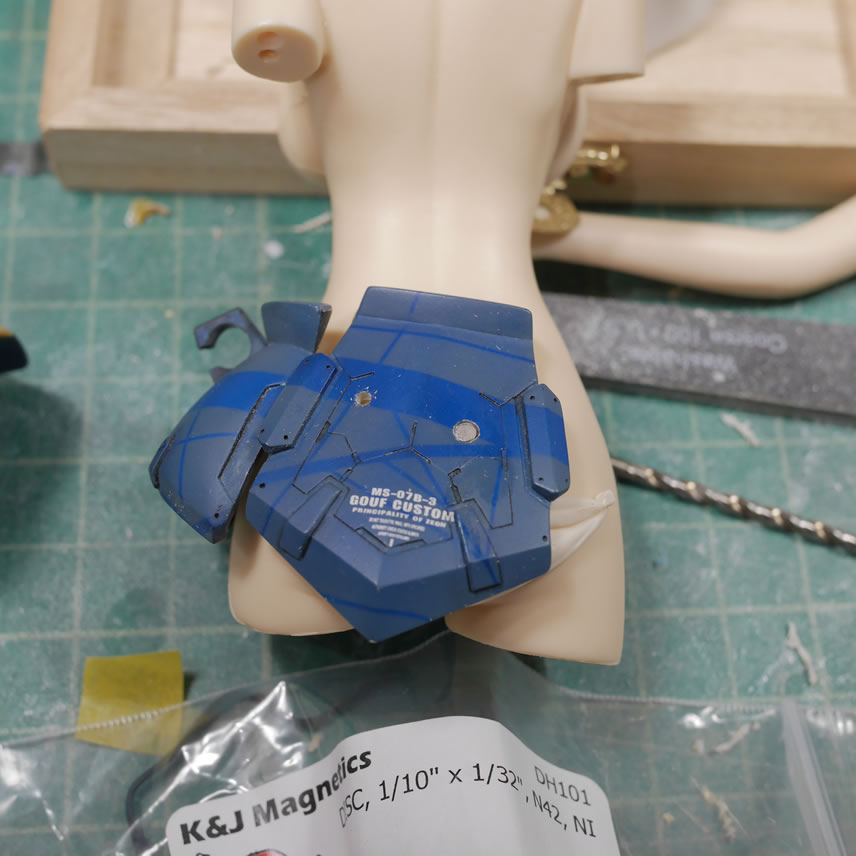
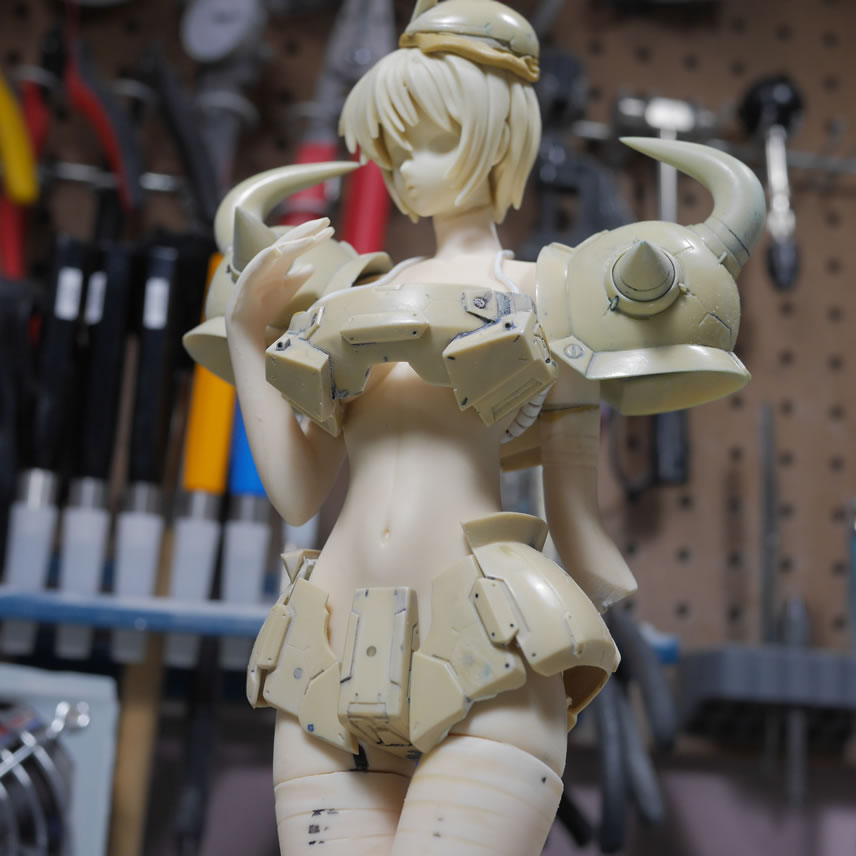
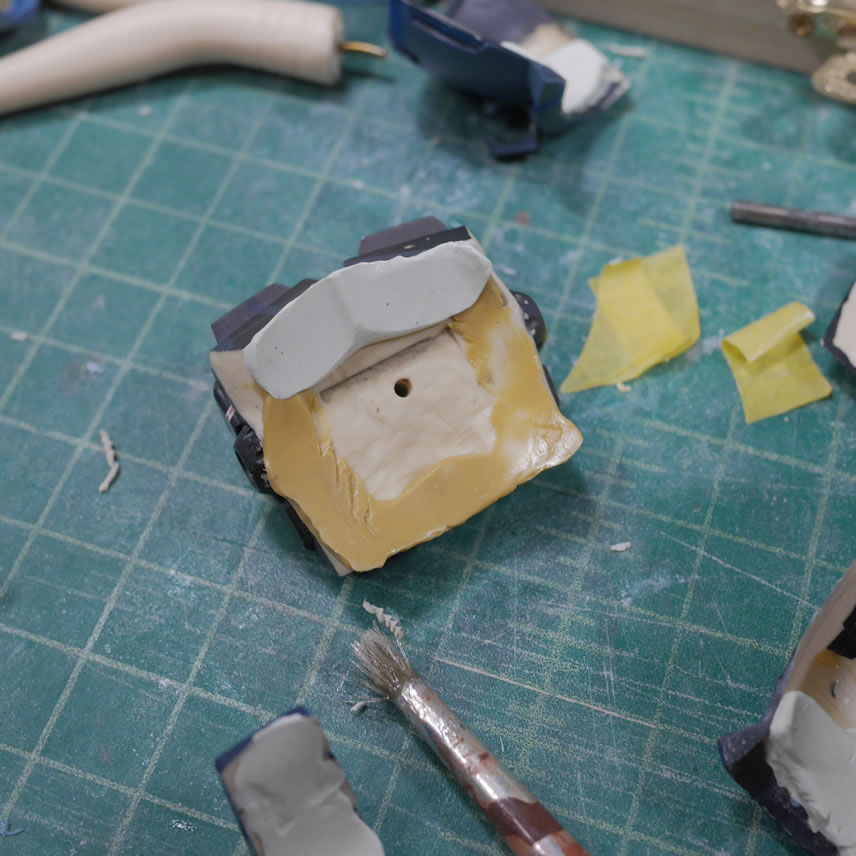
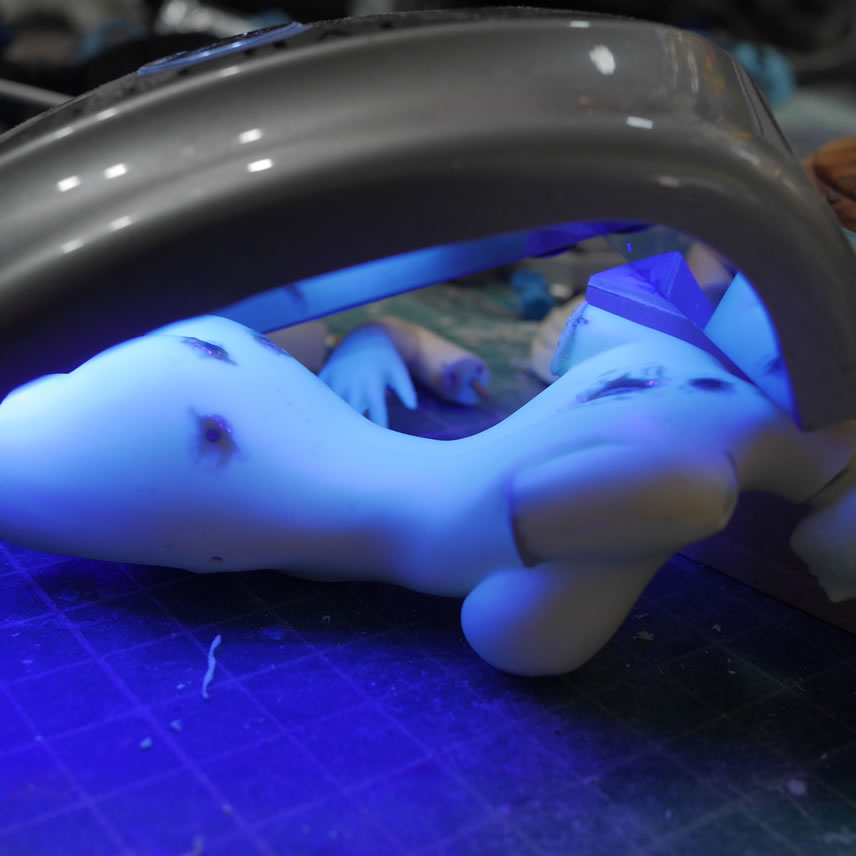
Once the skirt pieces are in a good position, I can now add back material so that the parts fit even better against the surface curves of her body. I used smooth type epoxy putty this time instead of the quick type just to change things up. Smooth type also gives me a little more working time in comparison to the quick type. I’m still a bigger fan of quick type over smooth type. Vasaline is painted onto the surface of the body and the puttied parts are pressed against the waxed up surface. This imparts the curvy surface to the underside of the armor pieces and I get a fairly seamless transition from the figure to the armor pieces. A funny little by product of this process is her lower “man in the boat” detail when her new panties were pressed in, I got the mirror details on the panty armor.
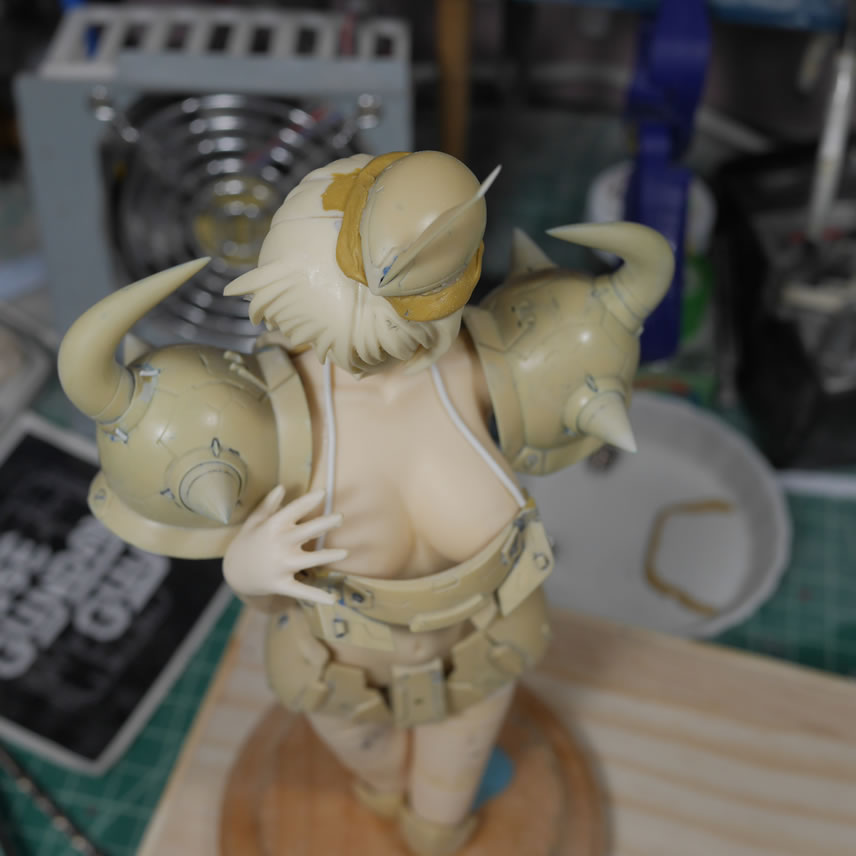
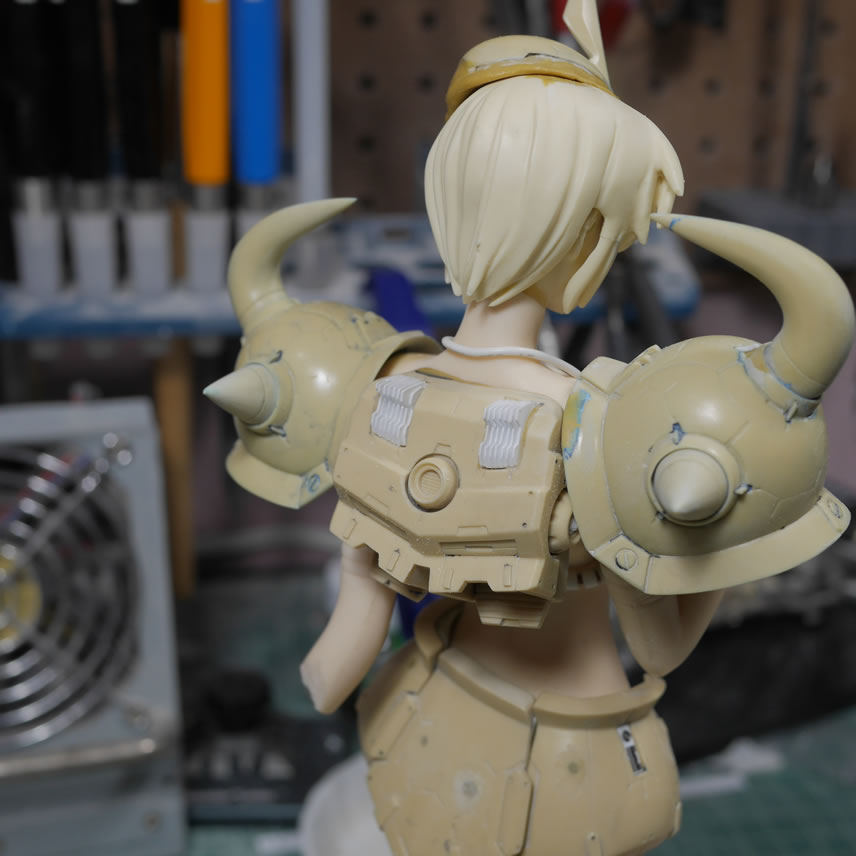
The same process is done with the backpack to get a better fit.
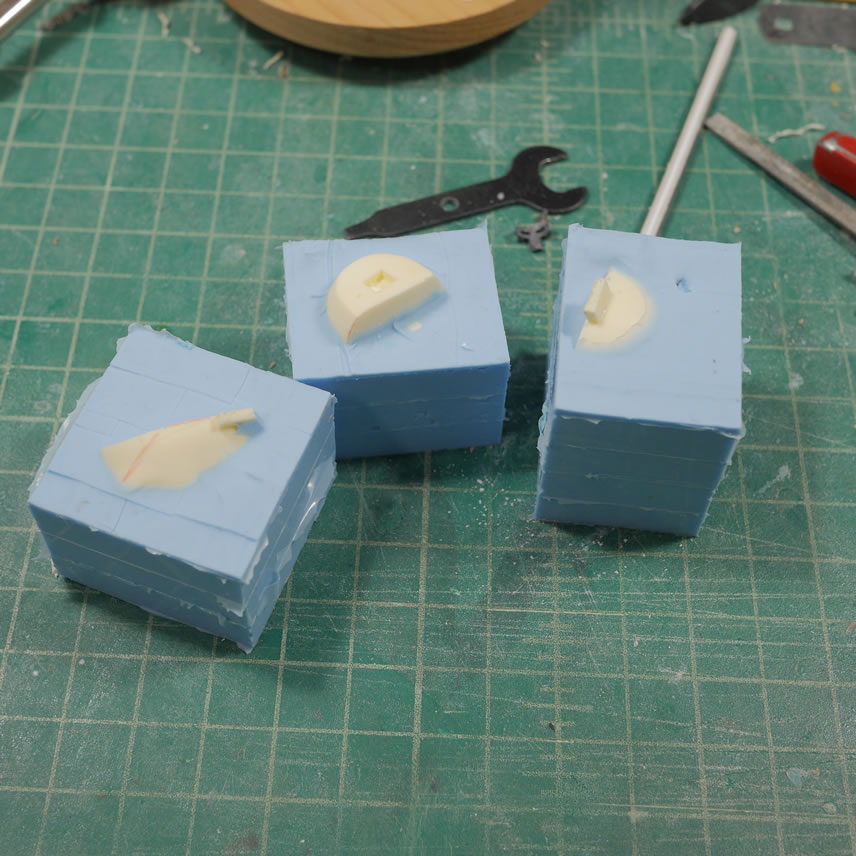
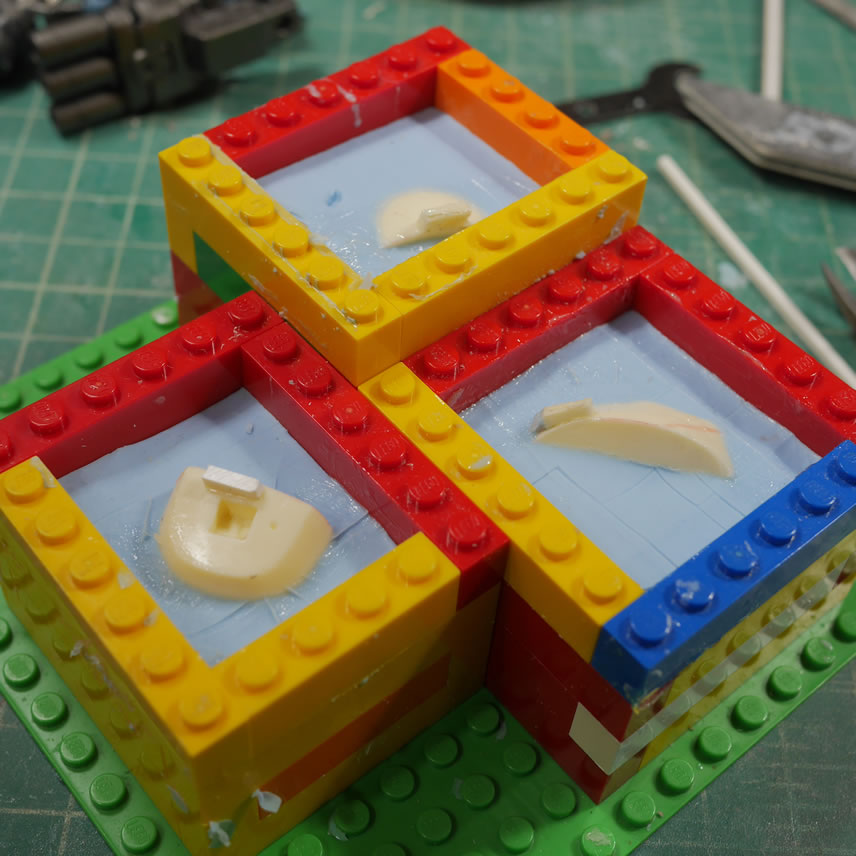
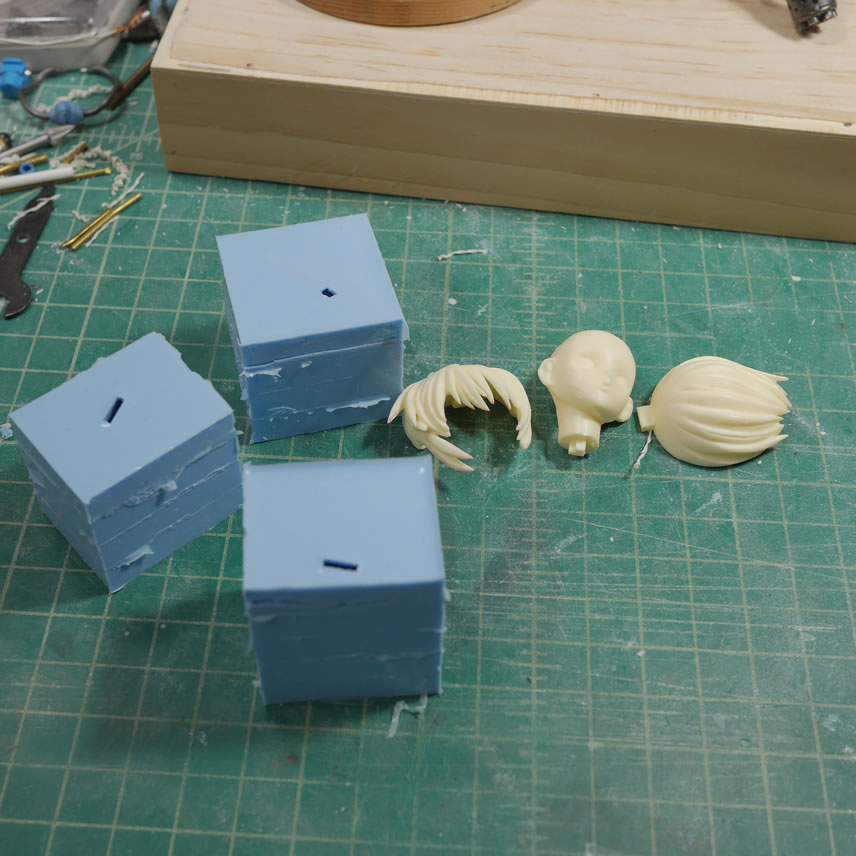
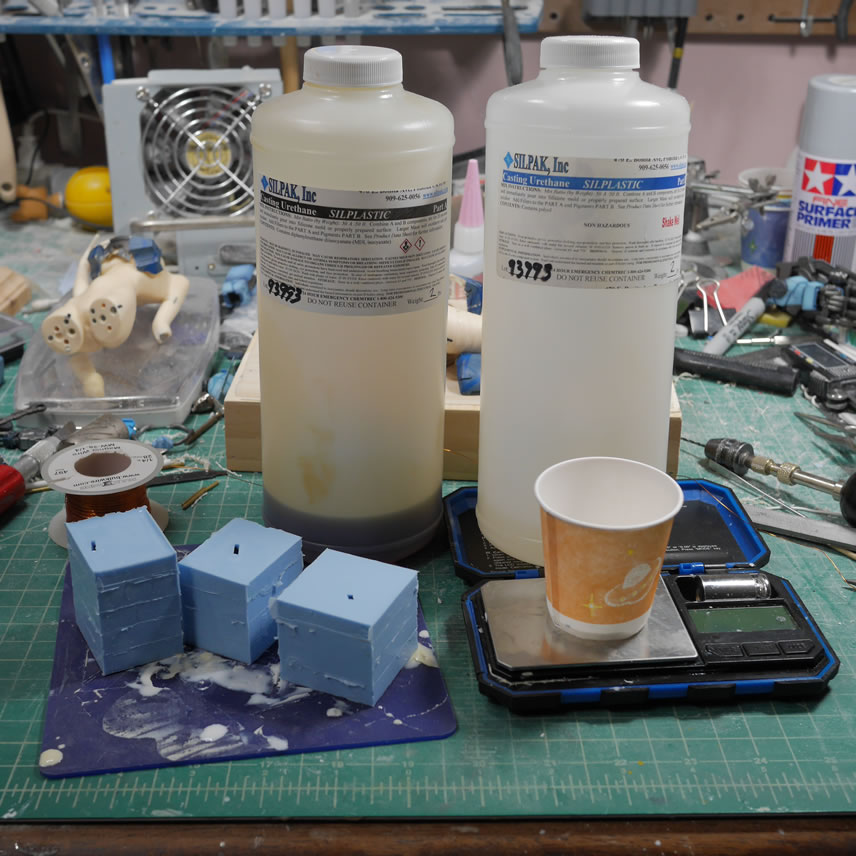
The head and hair came from another kit and since I was only using 3 pieces from that kit, I didn’t want to completely ruin that kit by taking these three parts. I made some lego boxes, added some playdough to the bottom of the boxes that works to hold the parts in place. Then poured silicone into the boxes.
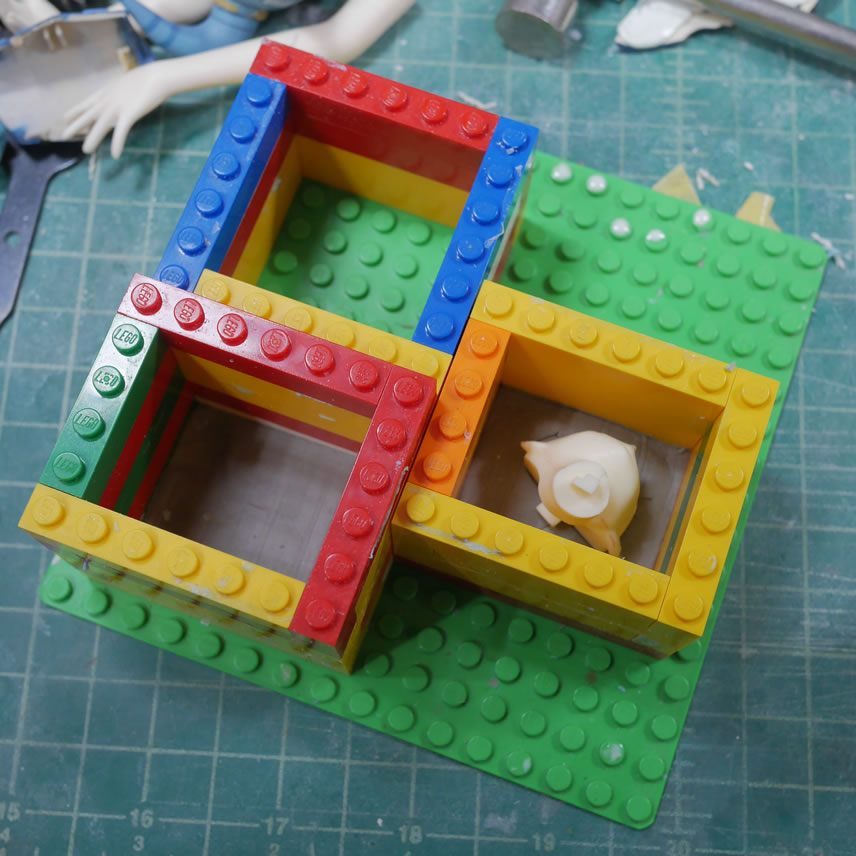

I like working with two part molds even though they have some drawbacks. The first part of the molds were removed and cleaned up to remove any residual playdough. The lego boxes are rebuilt around the molds and the second layer of silicone is poured. A little vaseline applied to half the top areas ensures that the mold stays two parts.
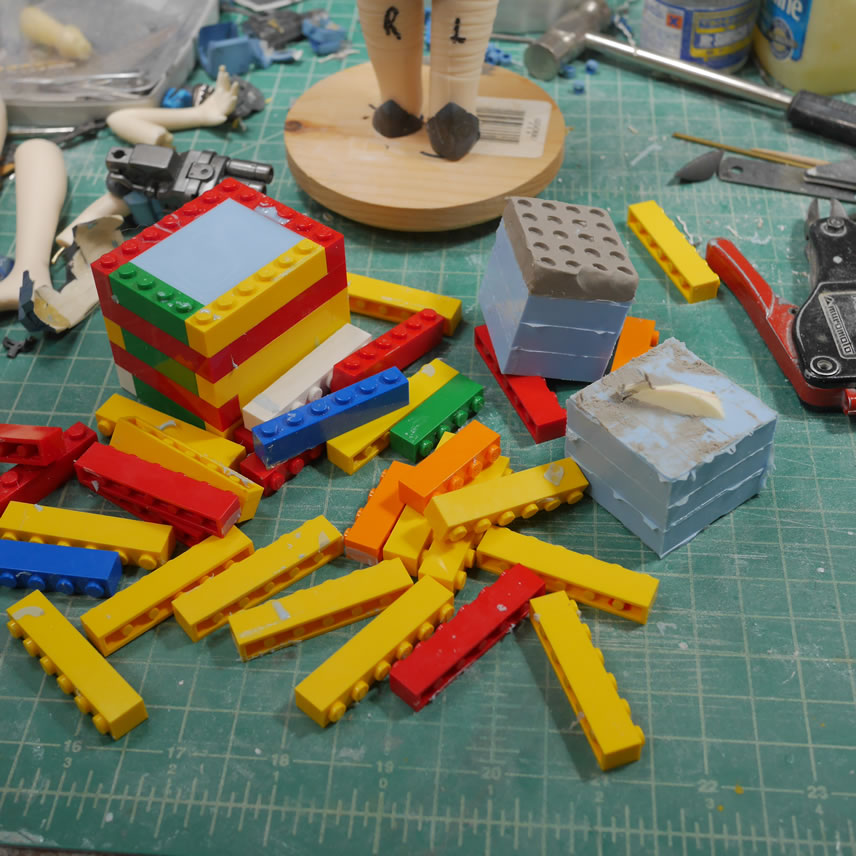
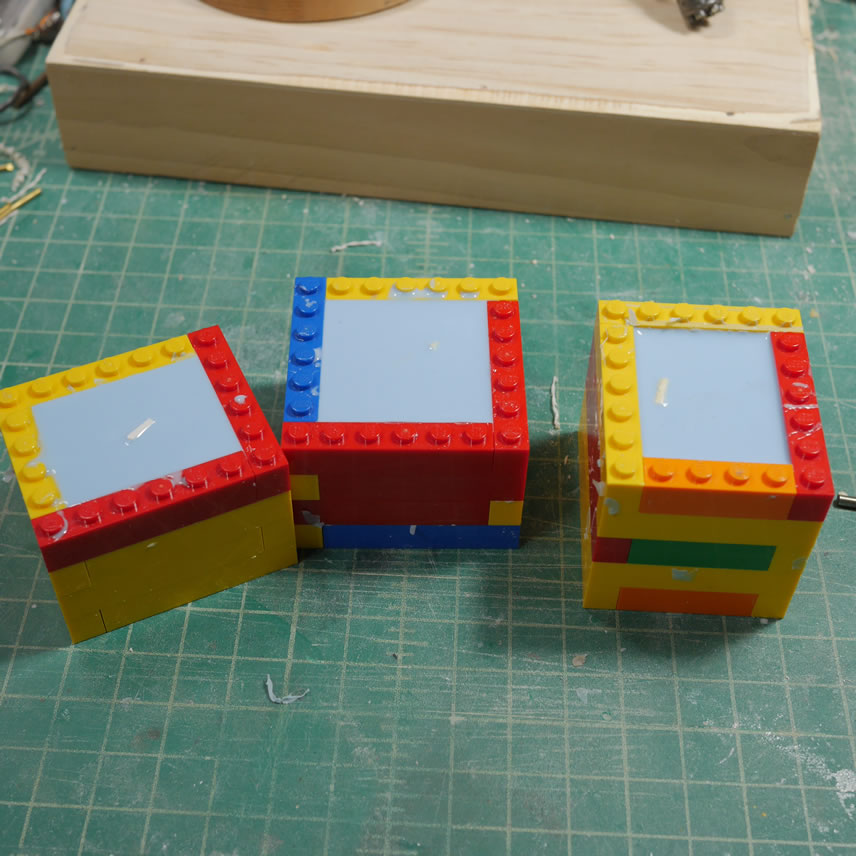
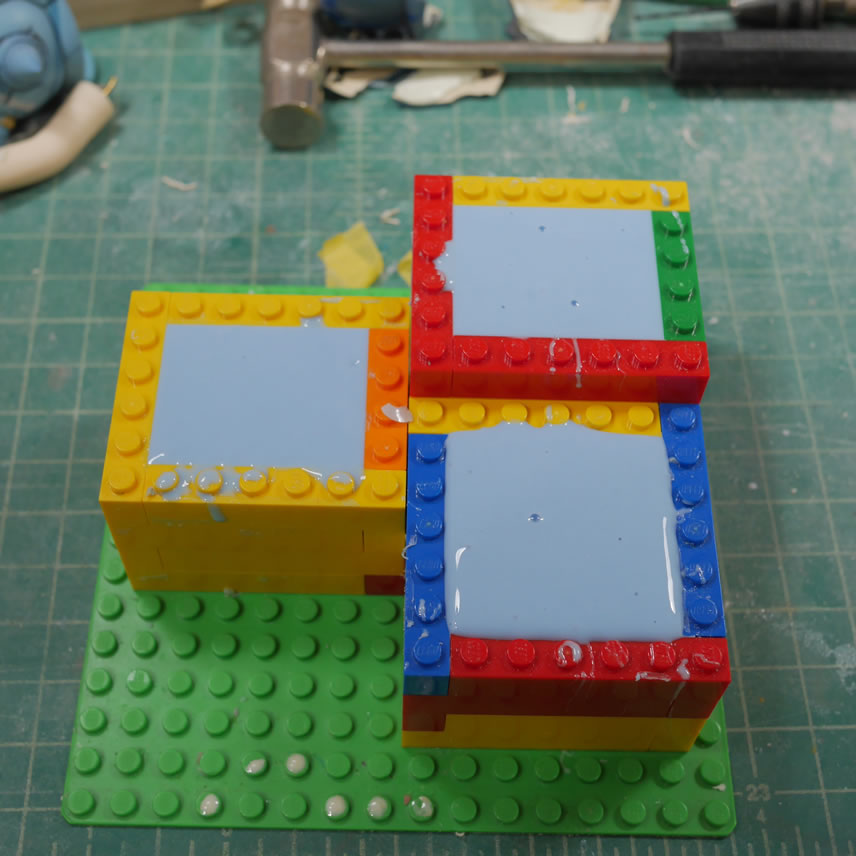
With the mold setup, I can remove the originals and prep the molds for casting. I used a 5 minute urethane resin that allows a little more work time than my usual 3 minute. And then I have fairly perfect copies.
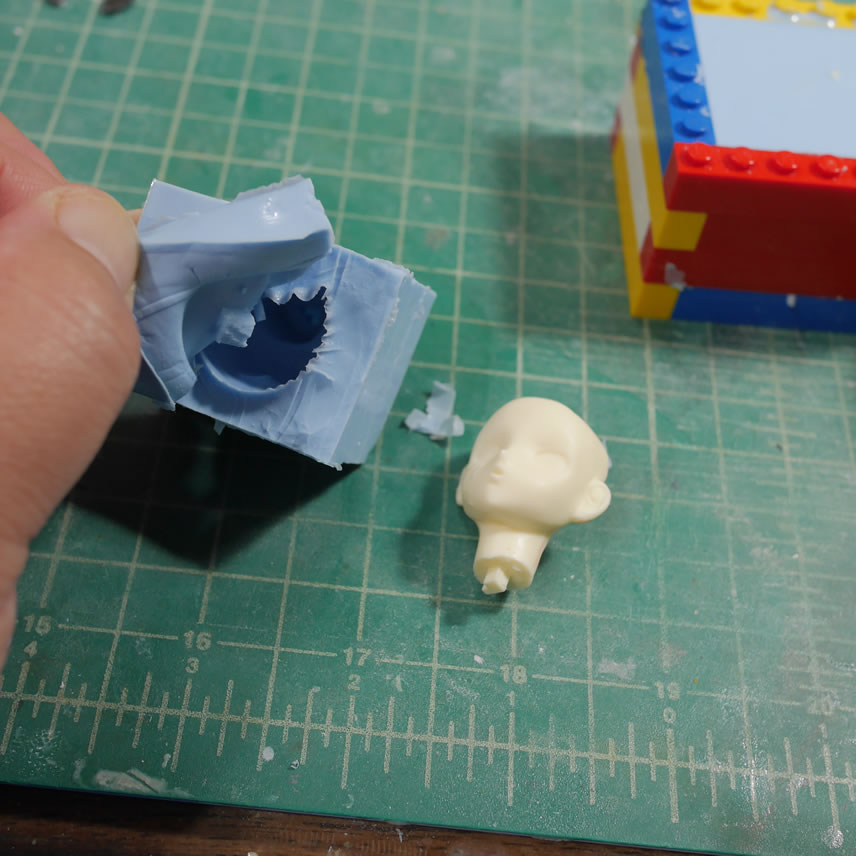
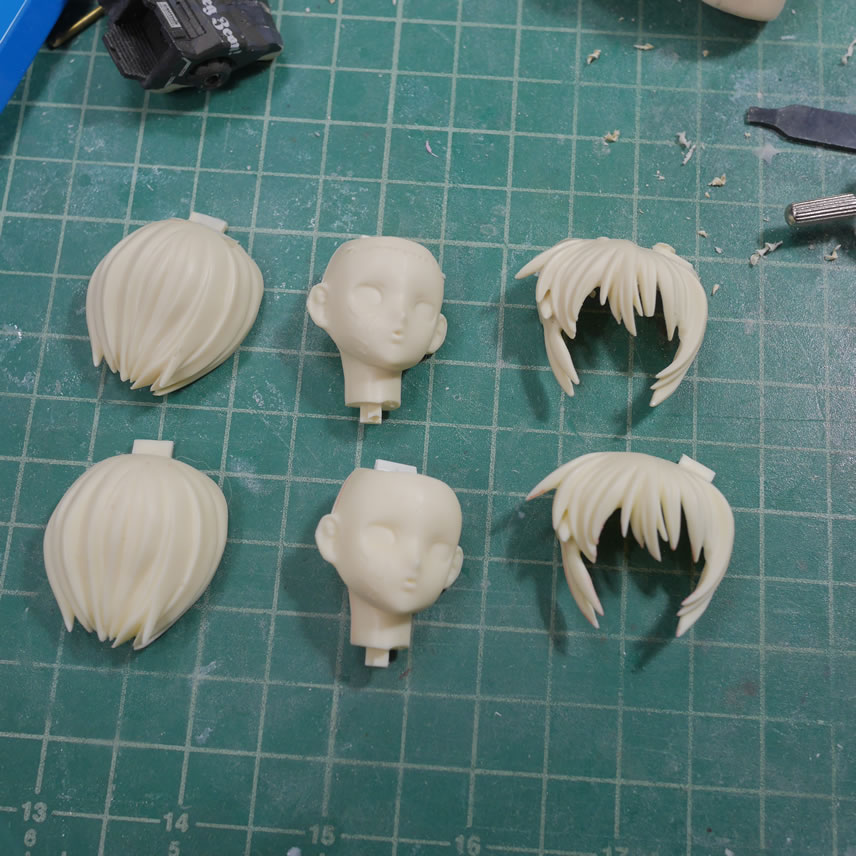
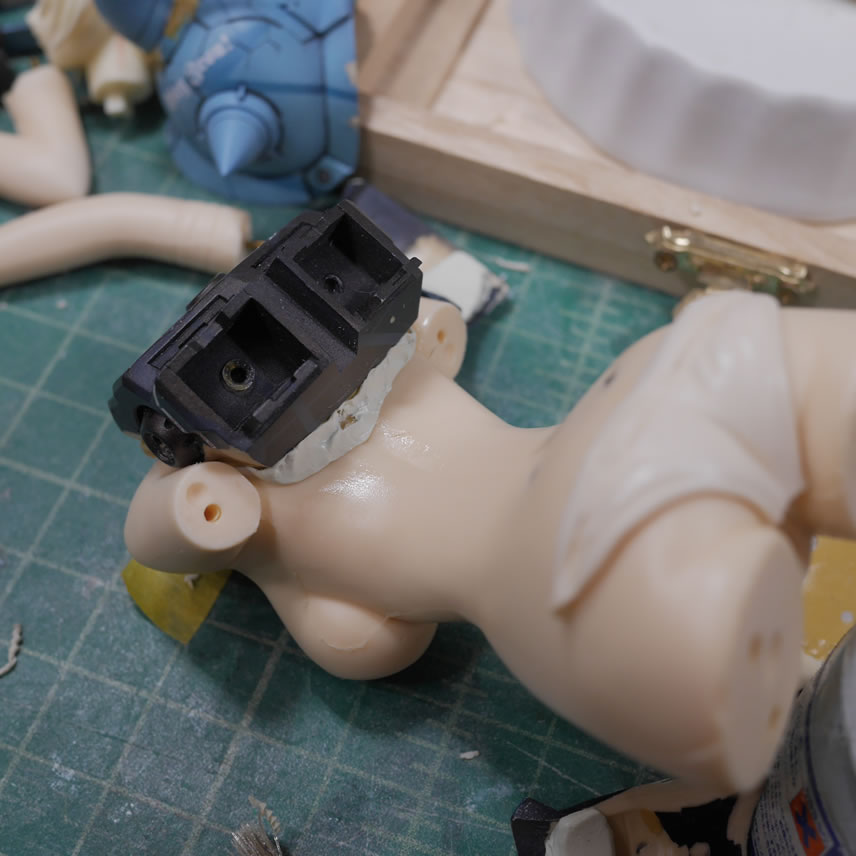
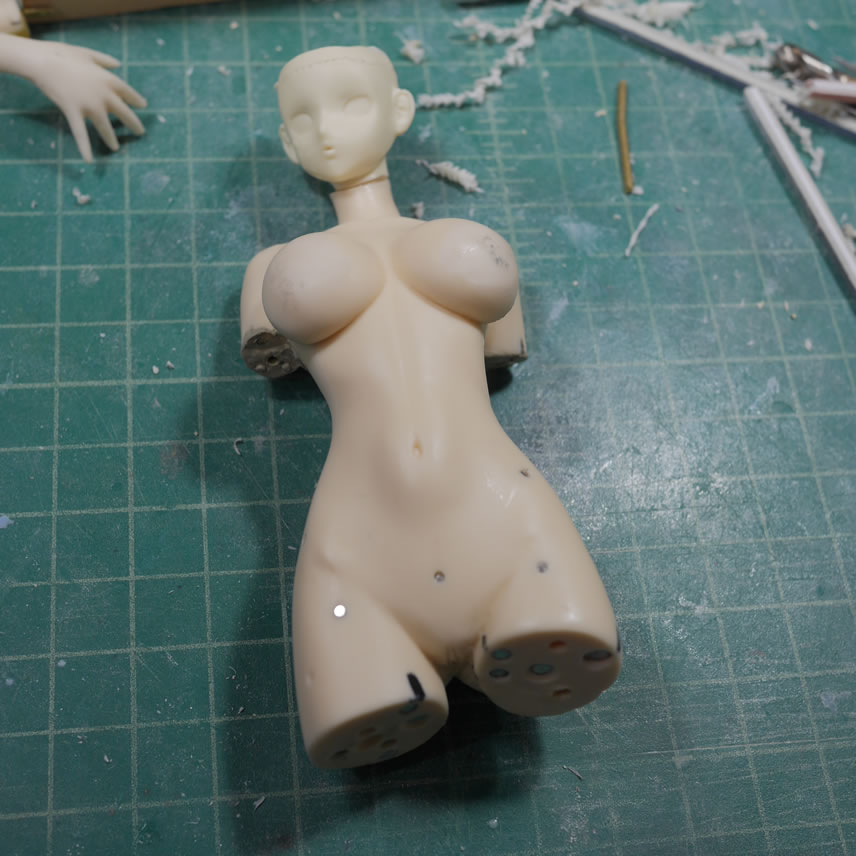
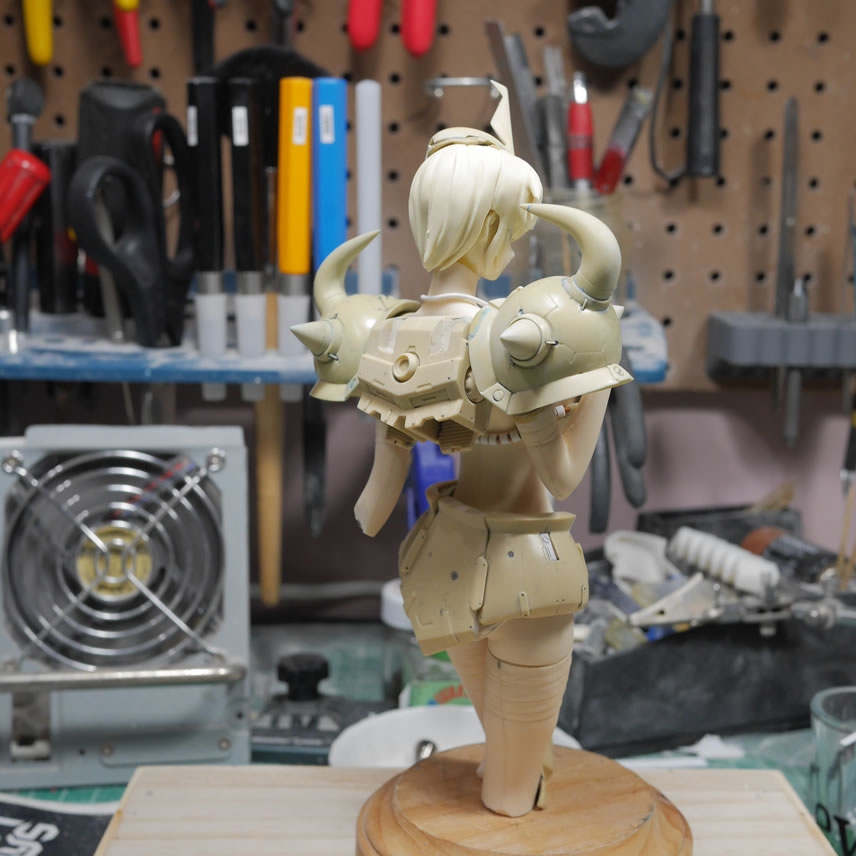
Once I have the head pieces, I can now test fit this against the body. Since they are not from the same kit, this is important to get the correct look and fit. The neck are of the head is sawed off and the head is pinned and glued to the body. Putty fills in some gaps and everything is sanded down. I think it looks fairly good. I can even test fit her goufy hat.
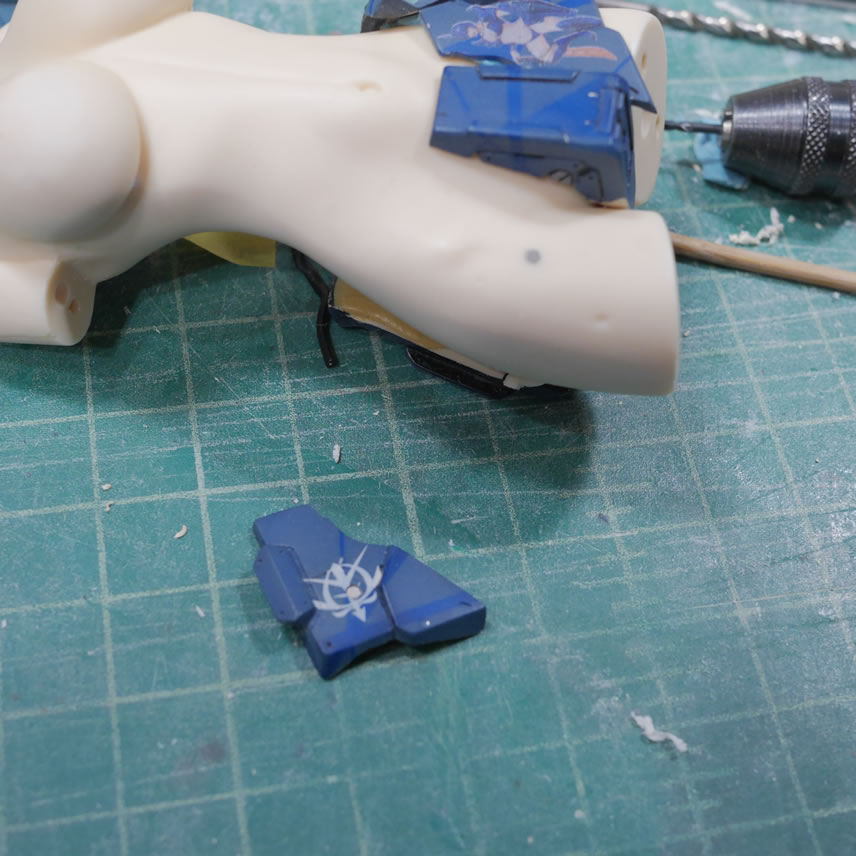
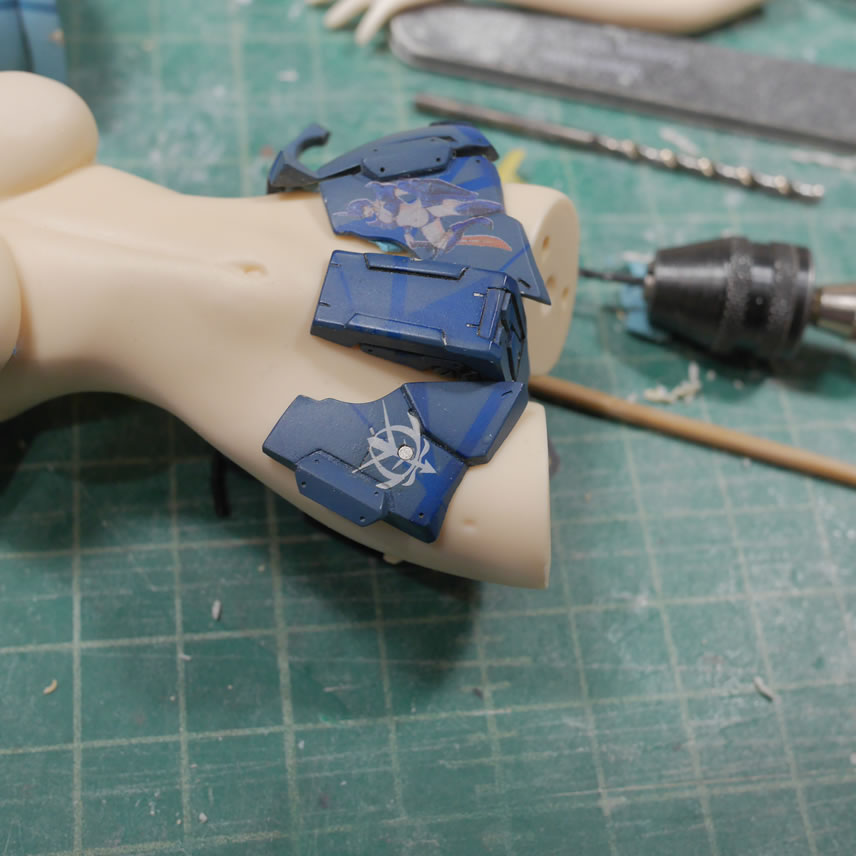
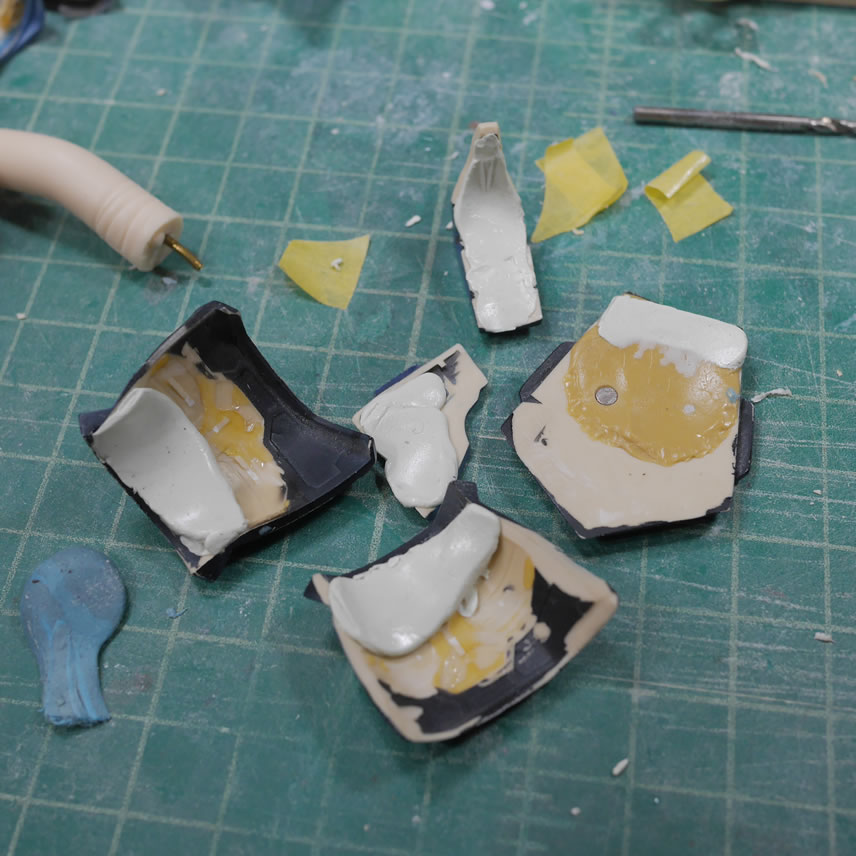
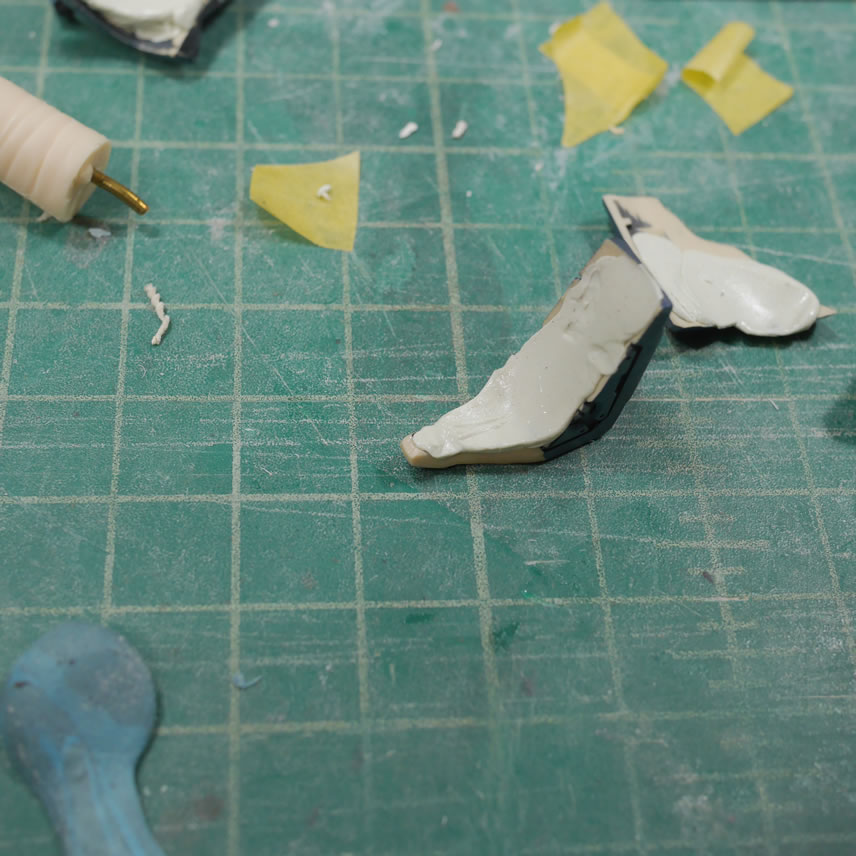
Back to her panty armor. I cut the original panties and just glued them to the armor piece. To create a smooth transition, light curing putty is used. This allows quick work in sculpting the panty armor.
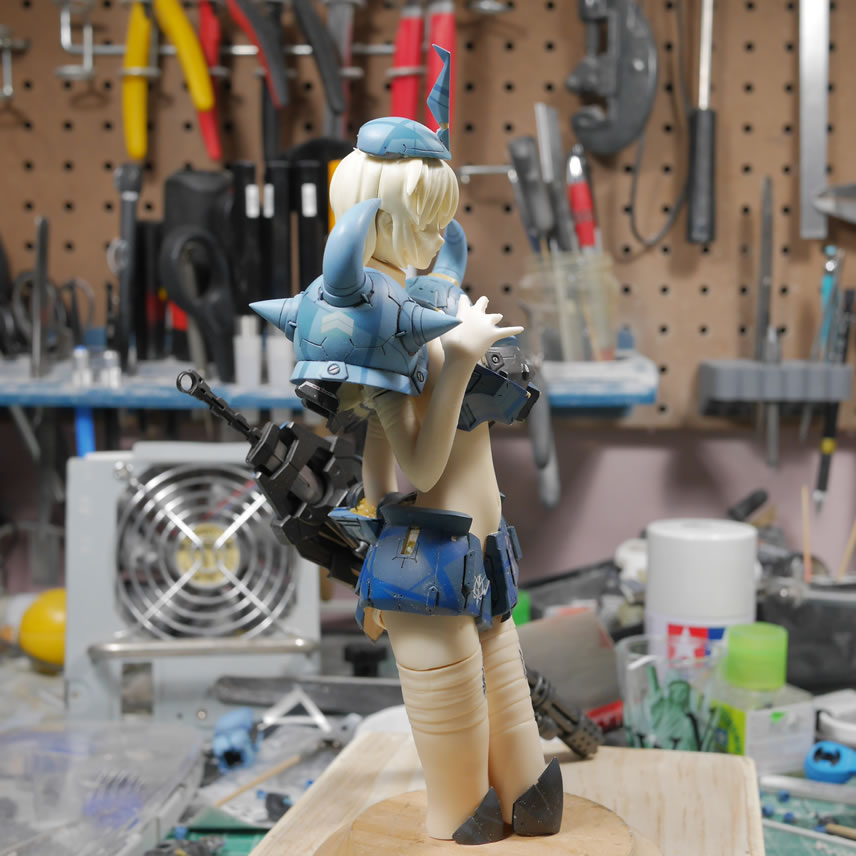
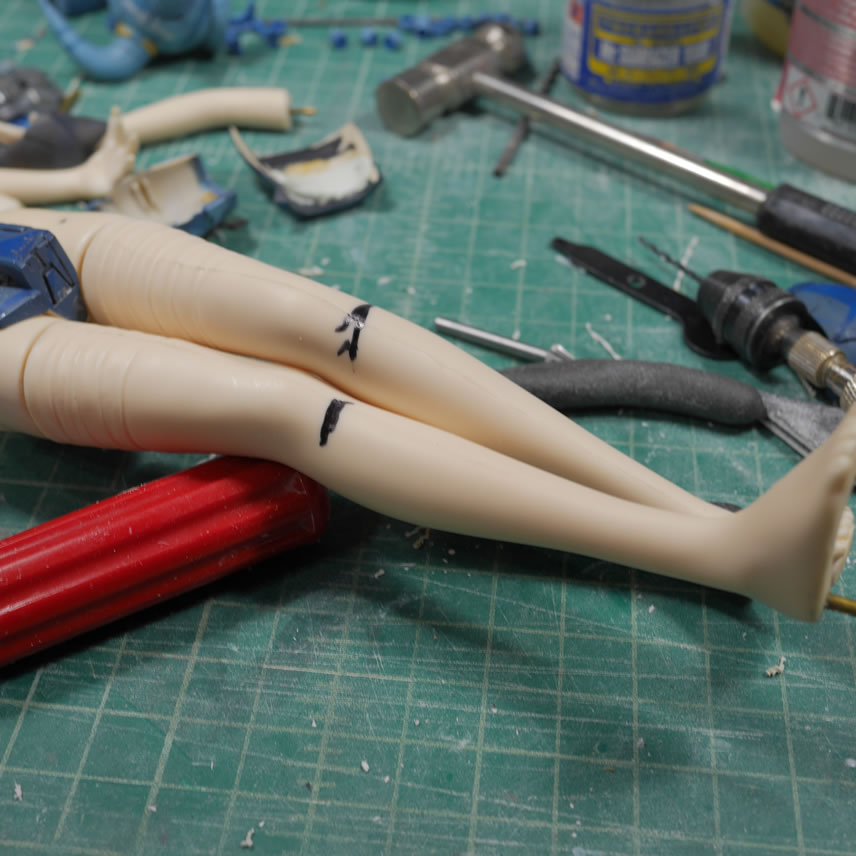
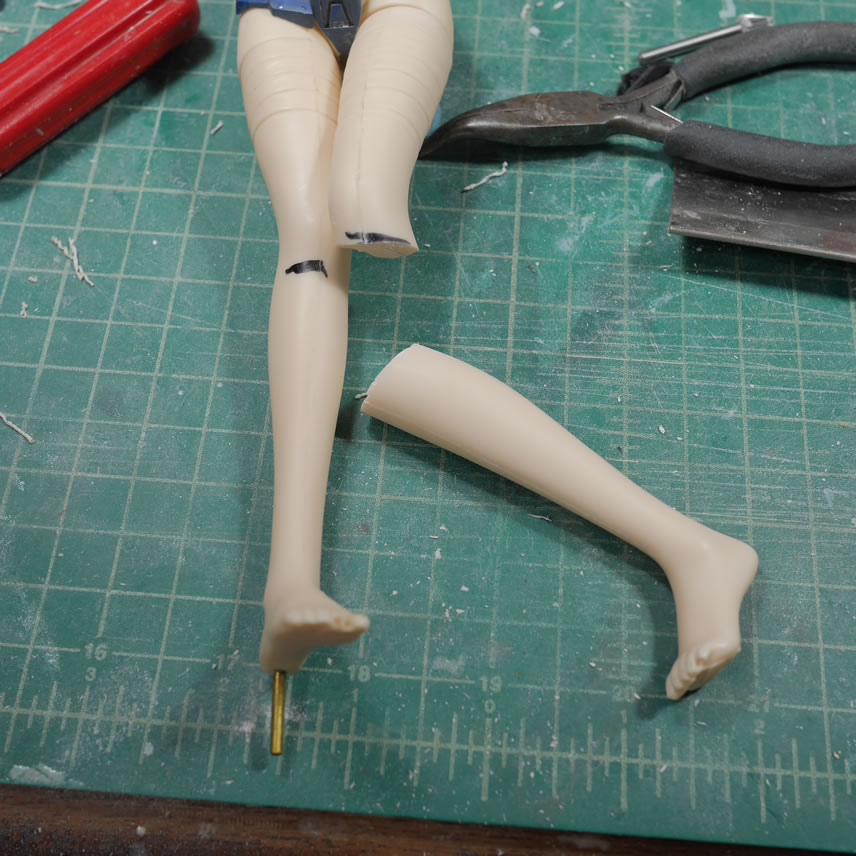
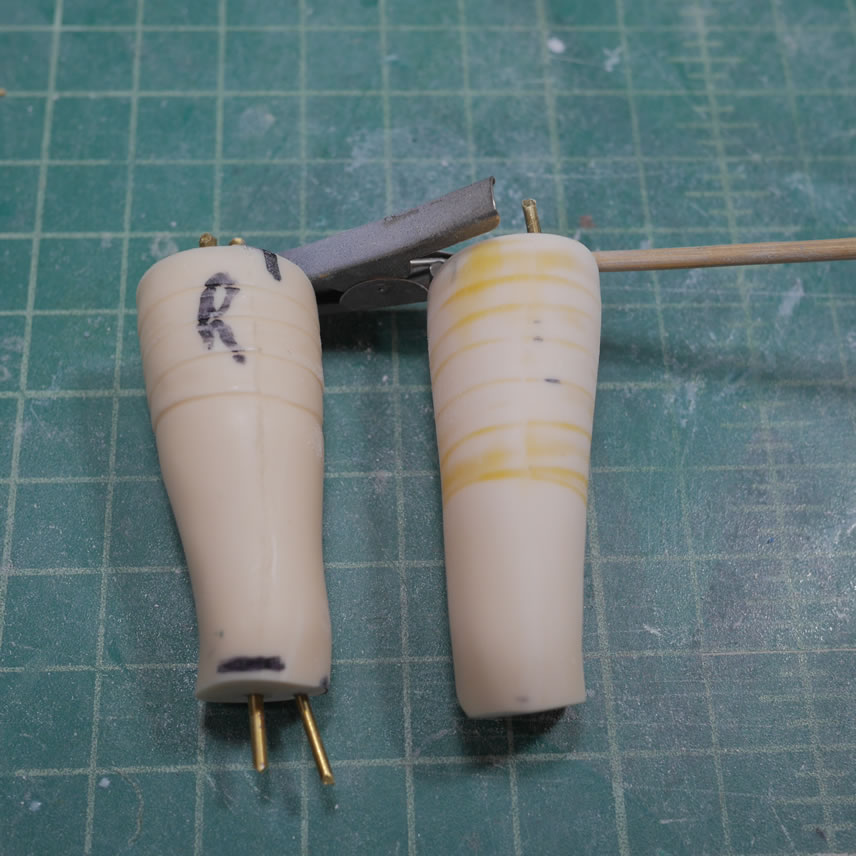
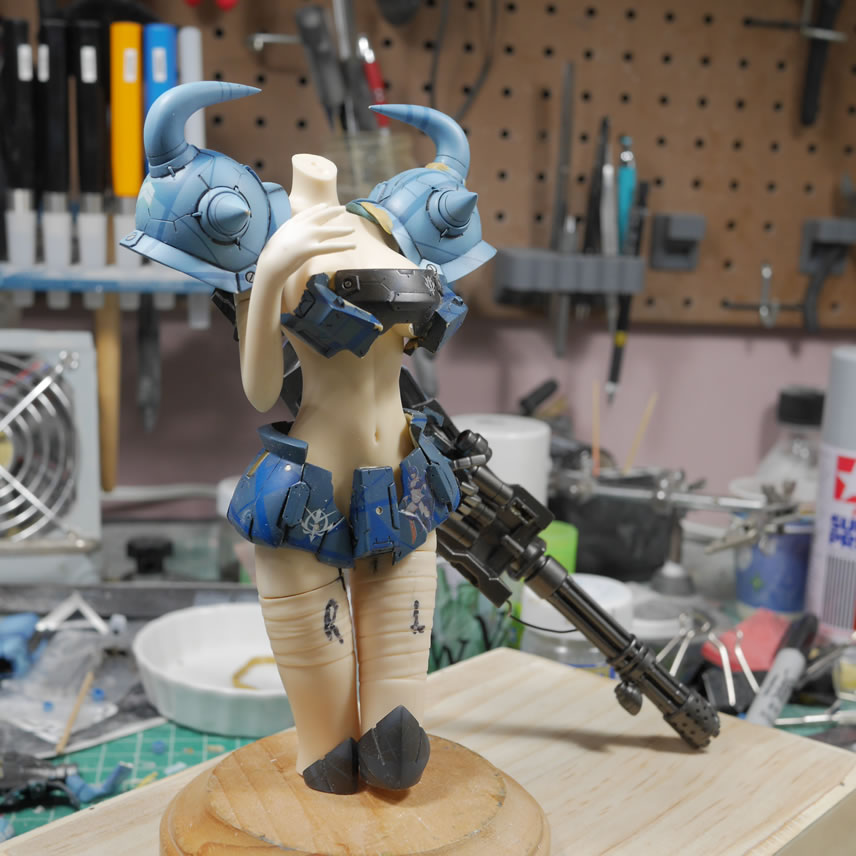
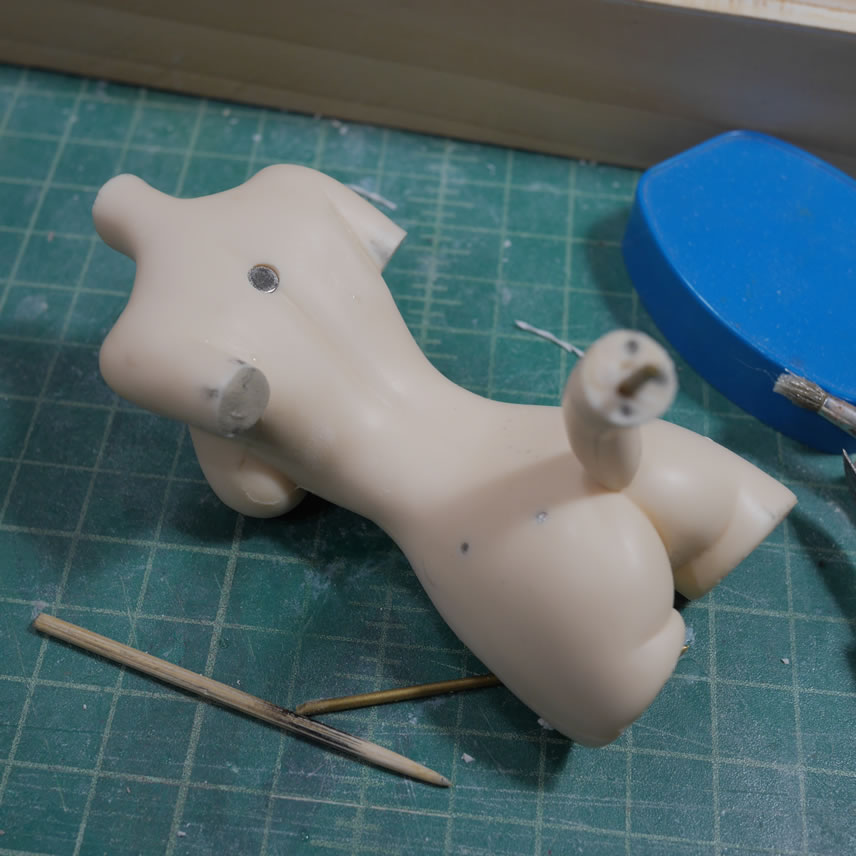
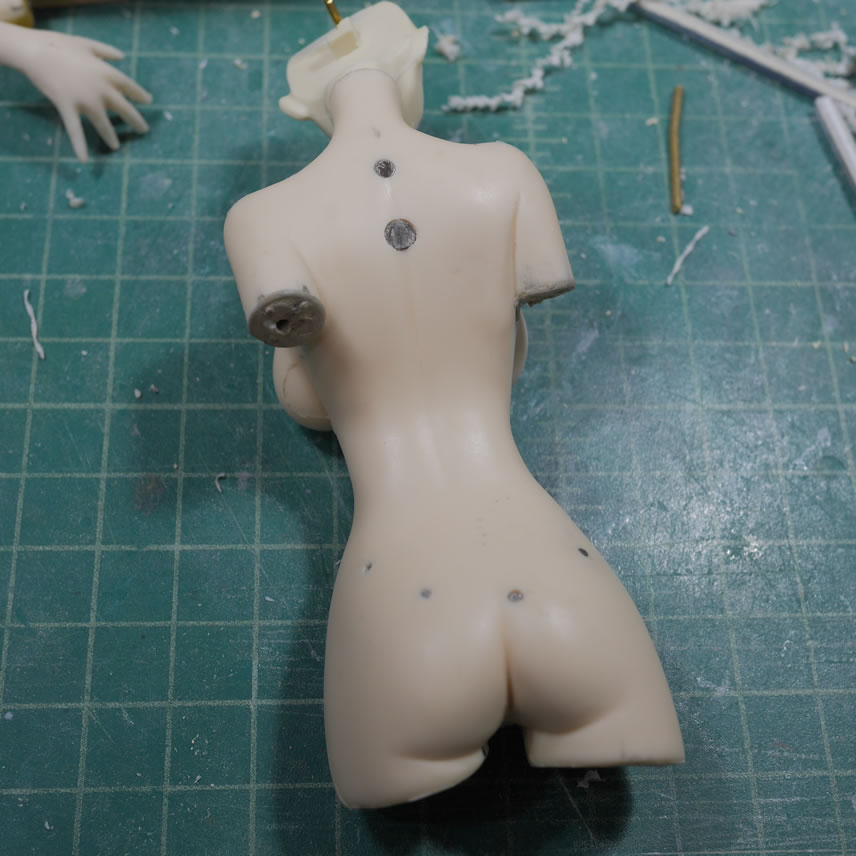
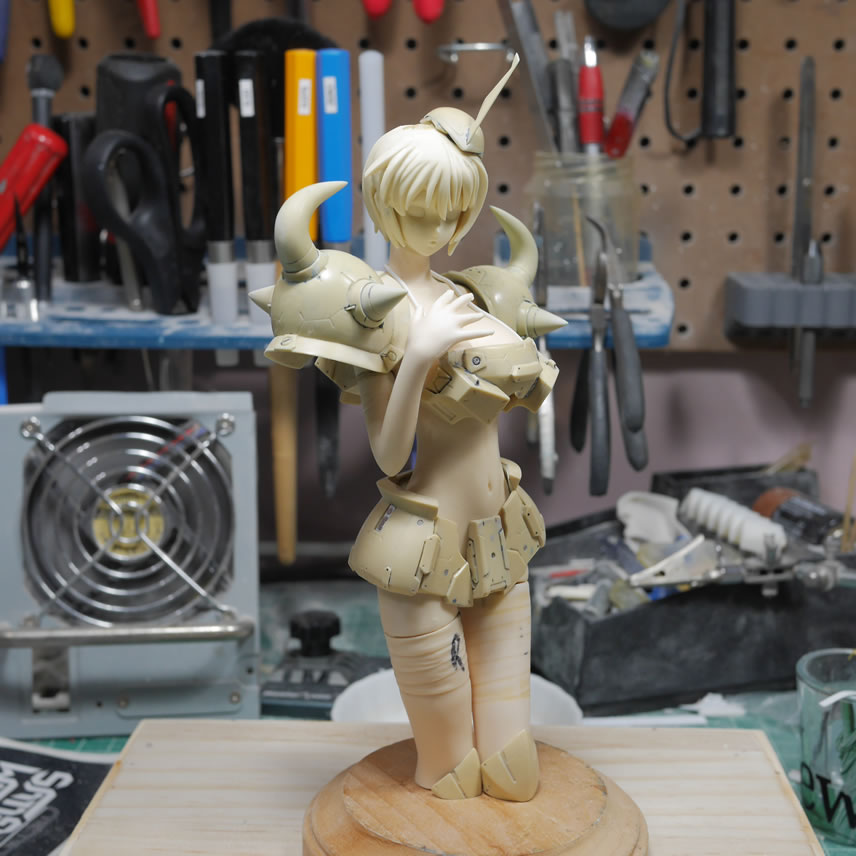
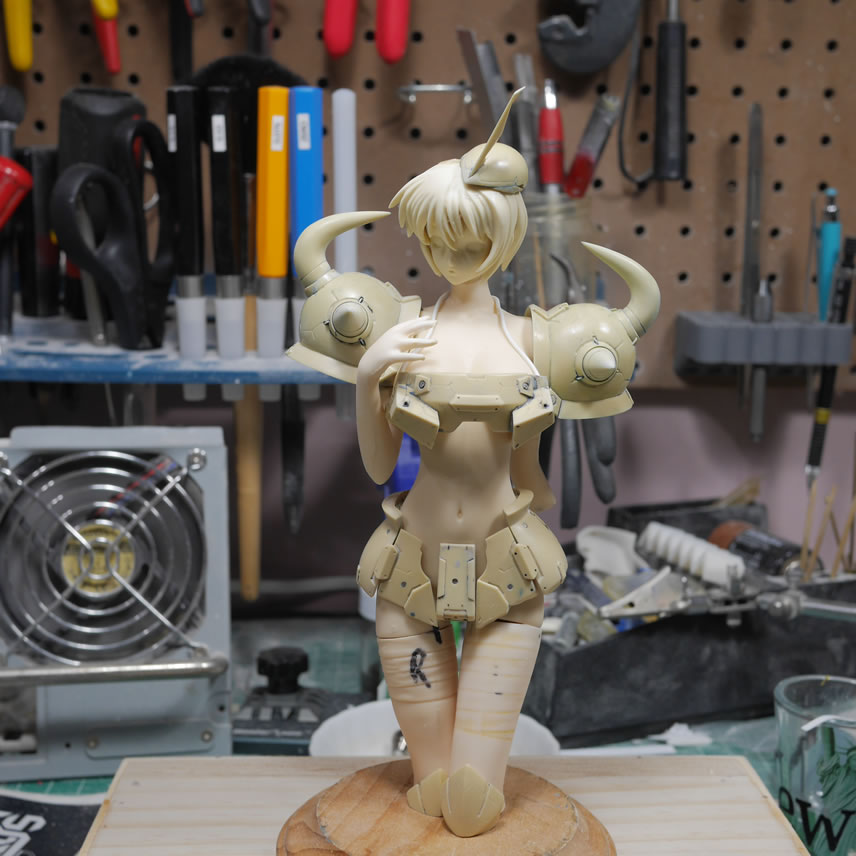
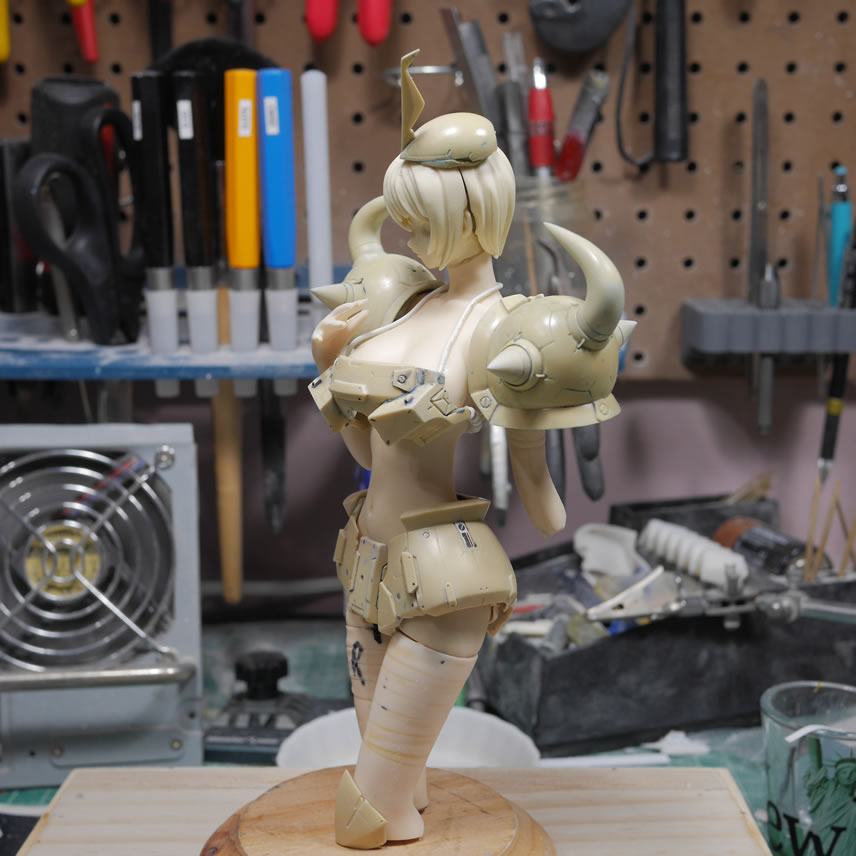
A comment on reddit got me thinking about how to deal with the legs. Up to this point, I was still trying to figure out how to mash the Gouf Custom’s leg armor to the legs and it just didn’t look all that great. Do I keep her open toed, or boot her up with giant goufy feet? The suggestion was for a bust, so off comes her legs. I made some marks and the saw came to amputate. The original kit had the legs and arms bandaged. Since I don’t need that bit of detail, the bandages are in the process of being sanded and filled with putty to smooth things out.
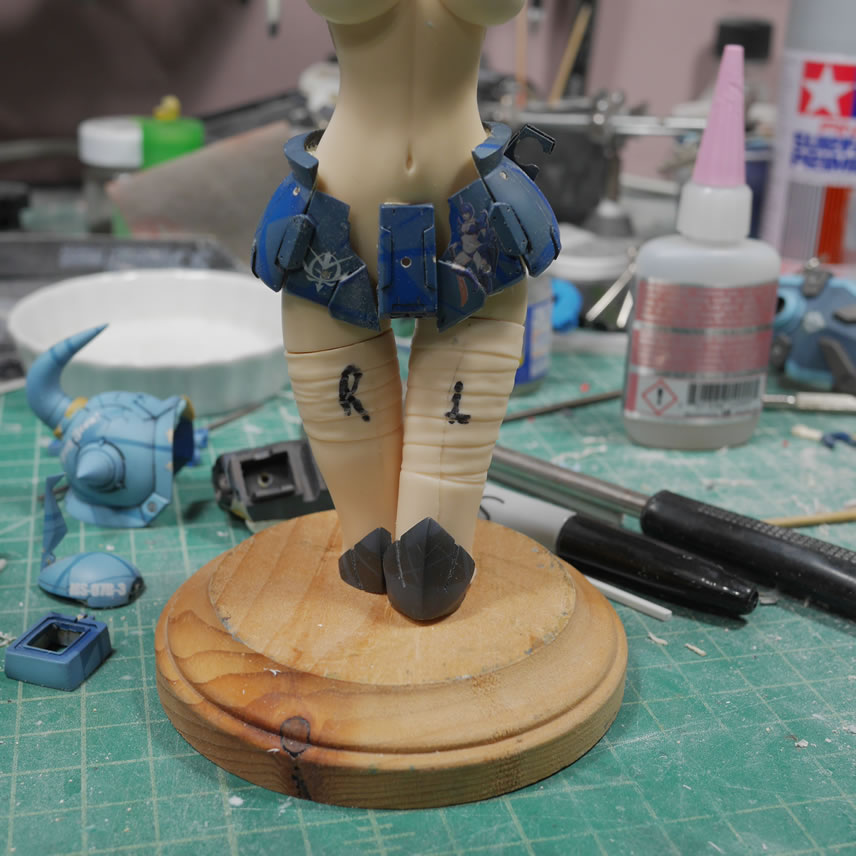
With the legs cut, I worked with the upper thigh armor to see about wrapping them around her thighs. And it just didn’t look right, so I’m abandoning that idea for something else.
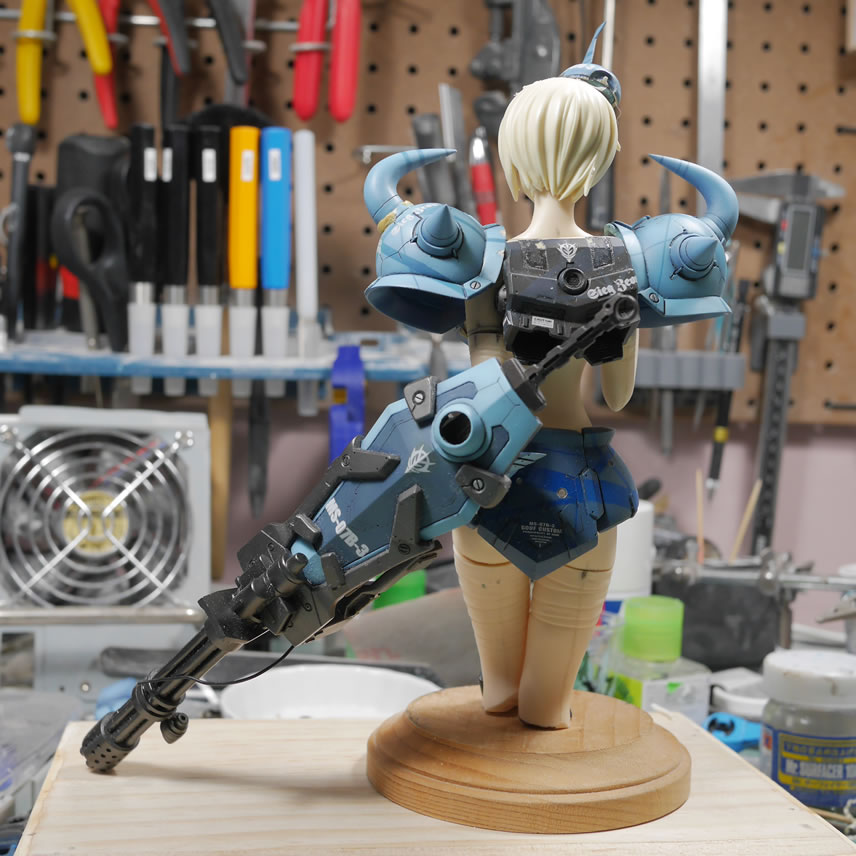
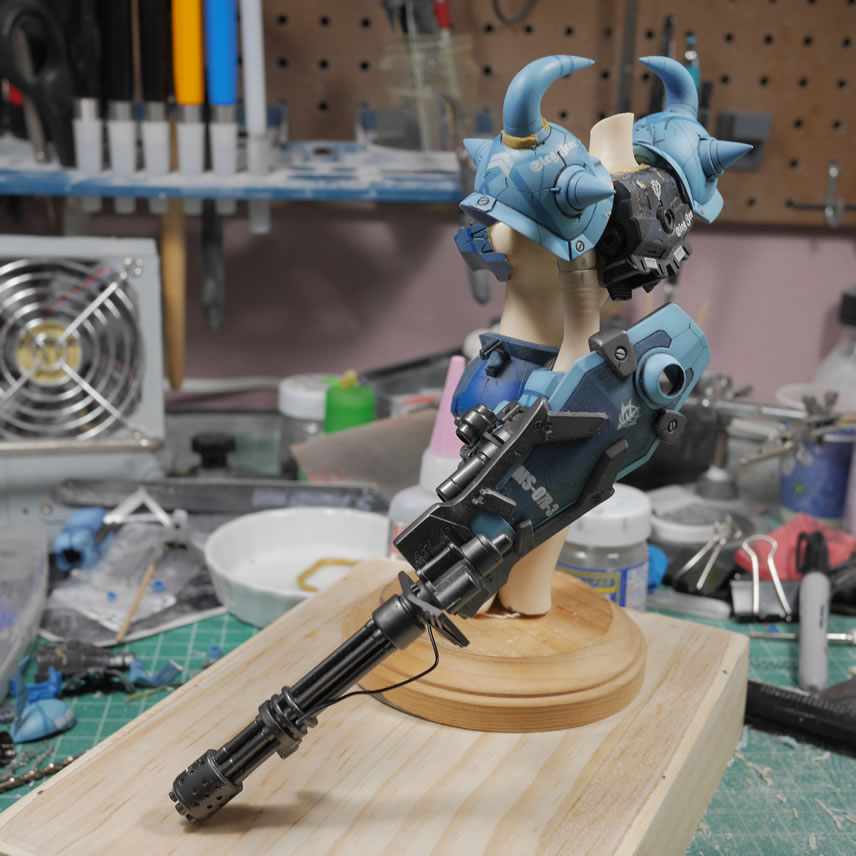
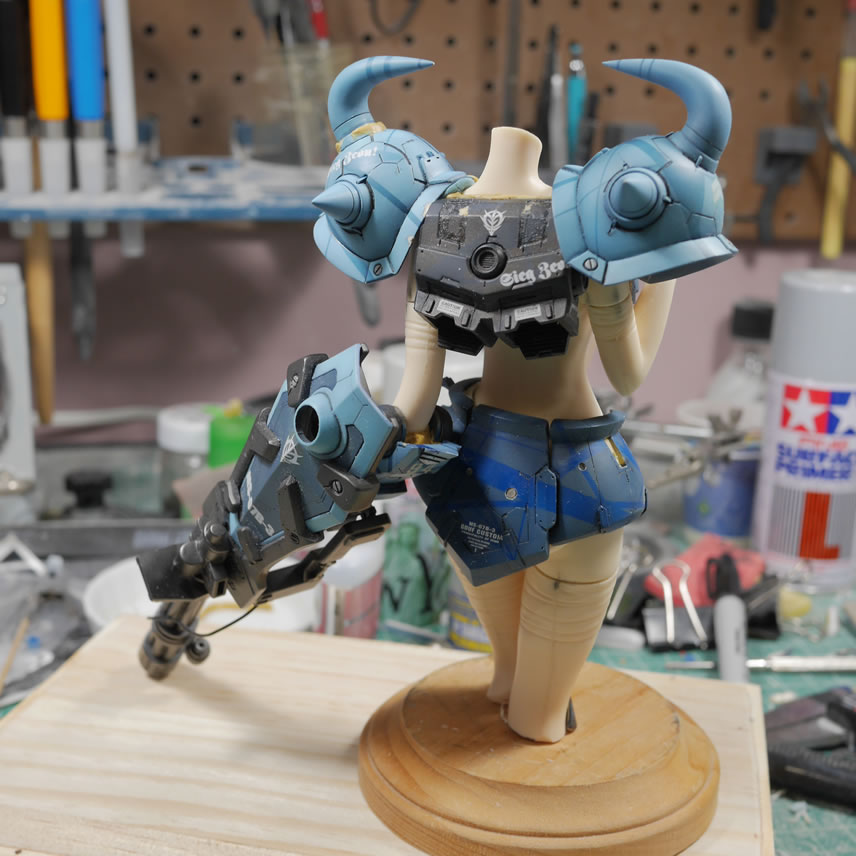
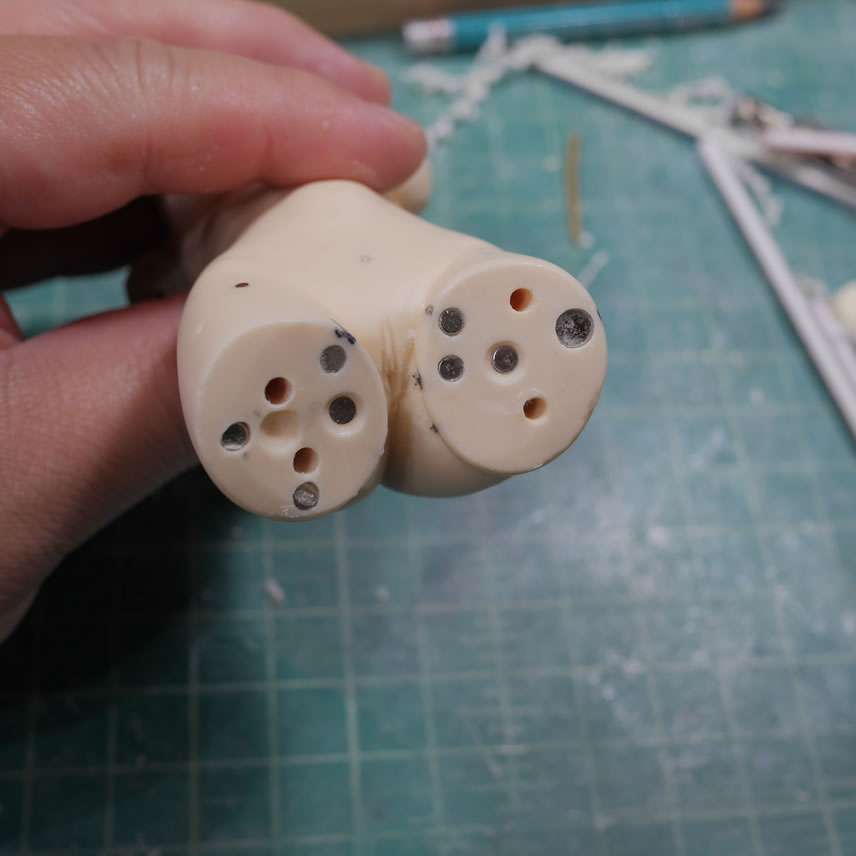
Next up is the mods to the left hand that holds the shield gatling gun. More magnets and epoxy putty to fill in gaps.
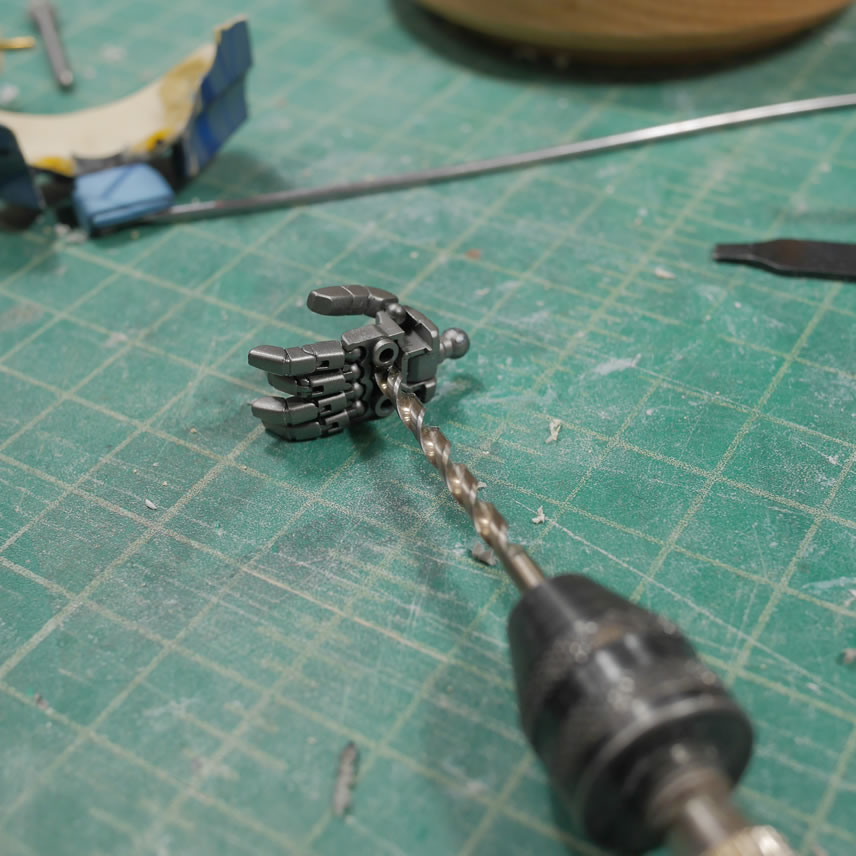
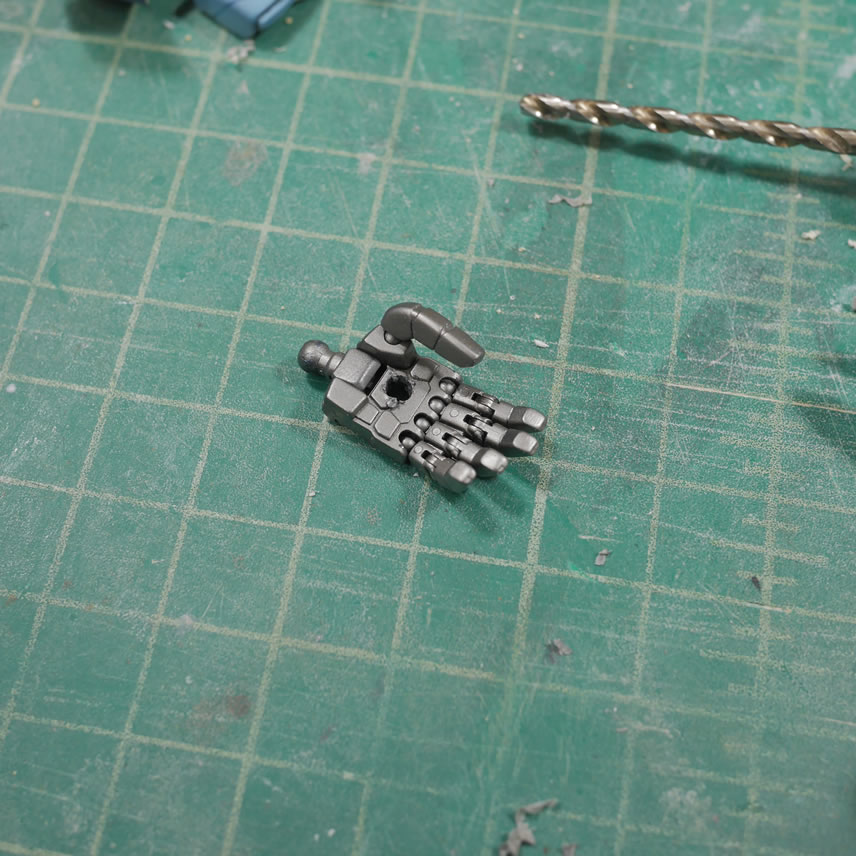
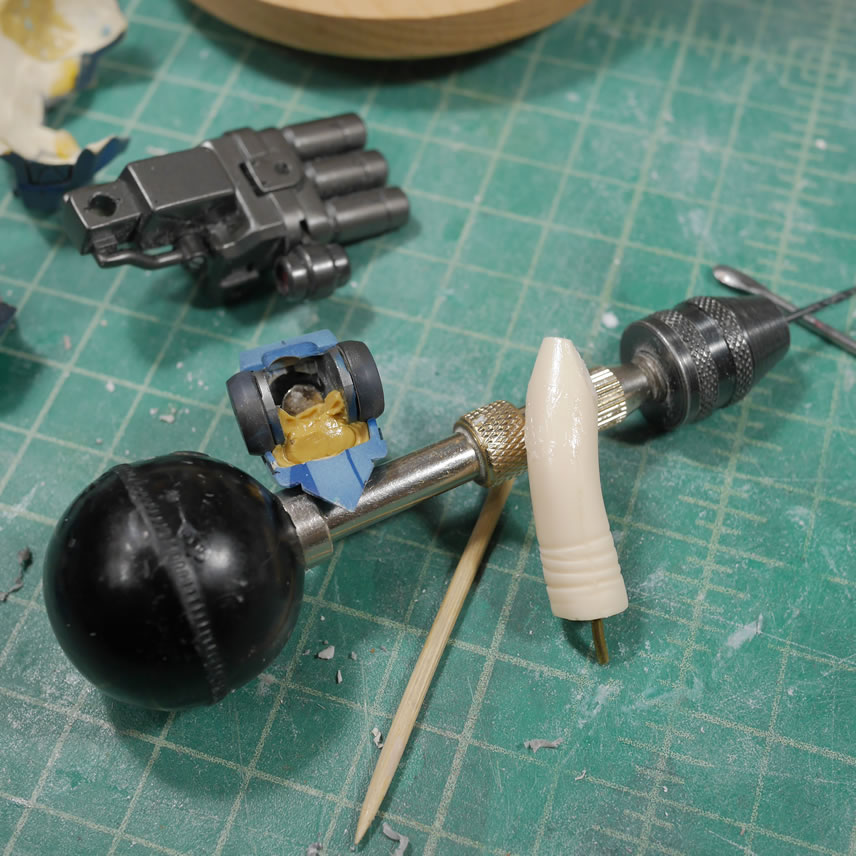
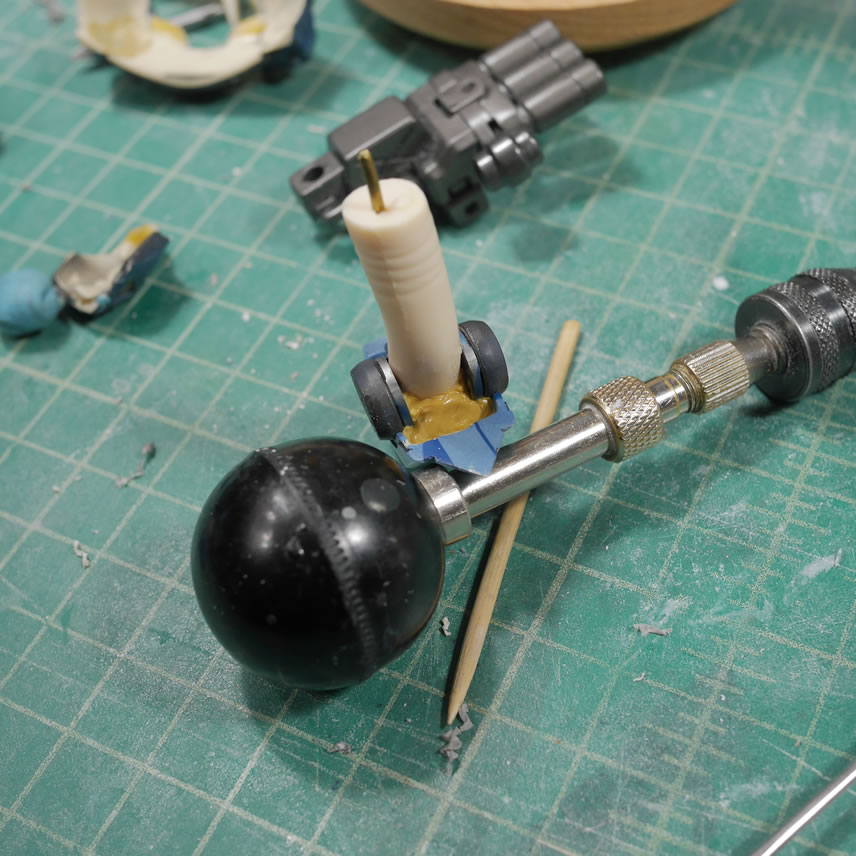
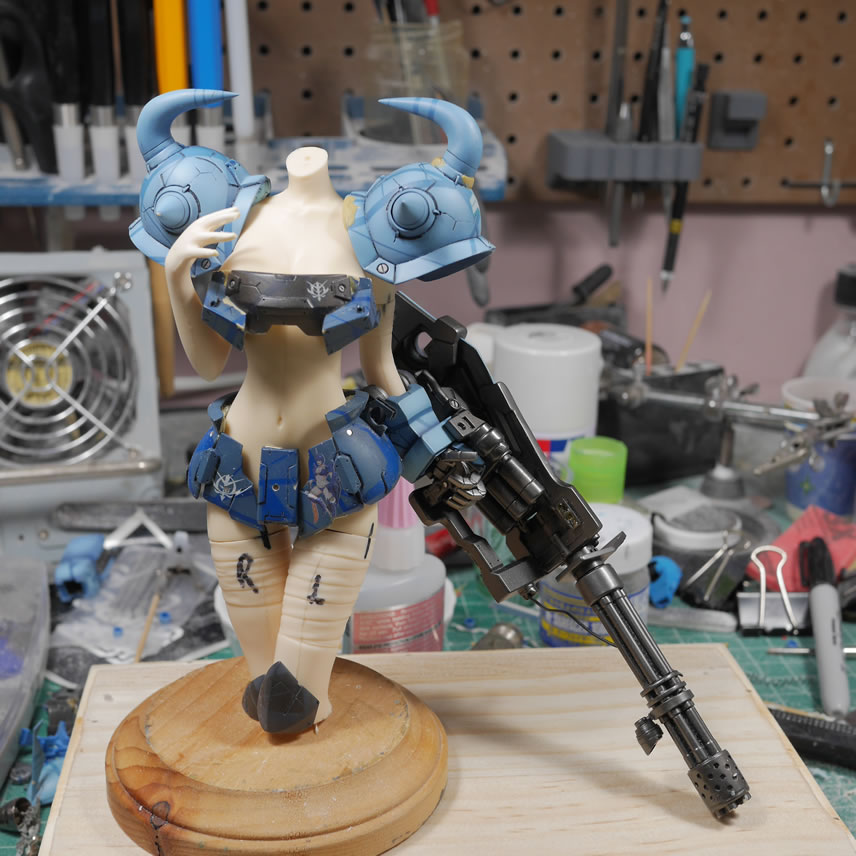
Once that is setup, I can do a quick test fit and see how well the left arm holds the shield assembly. I will definitely have to glue this area solid; but this also depends on my final pose and display assembly.
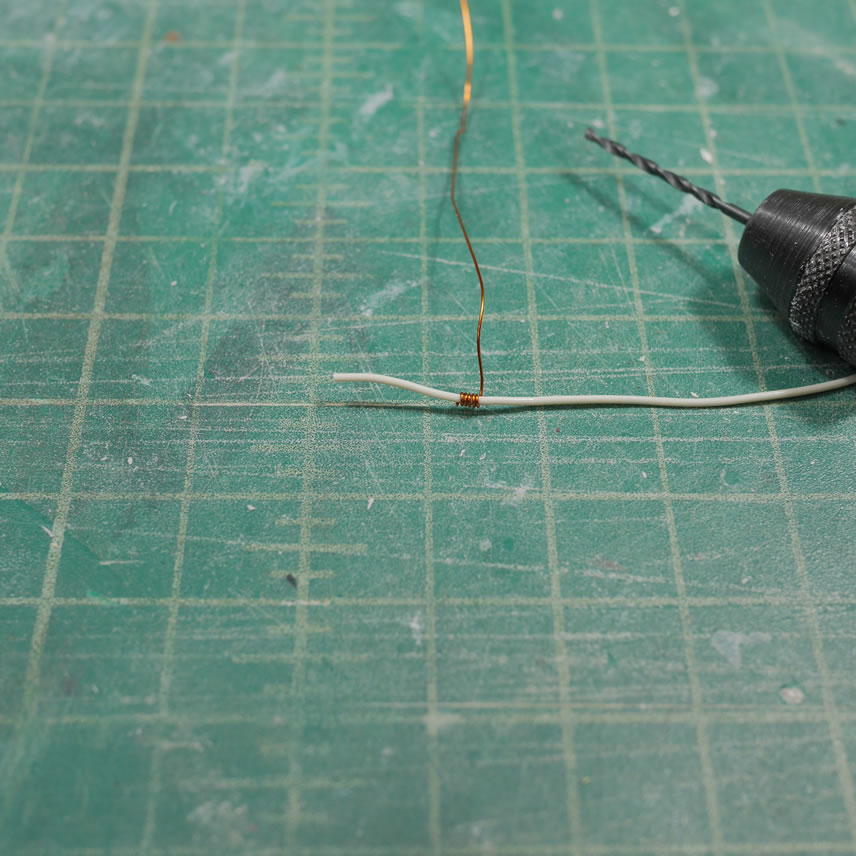
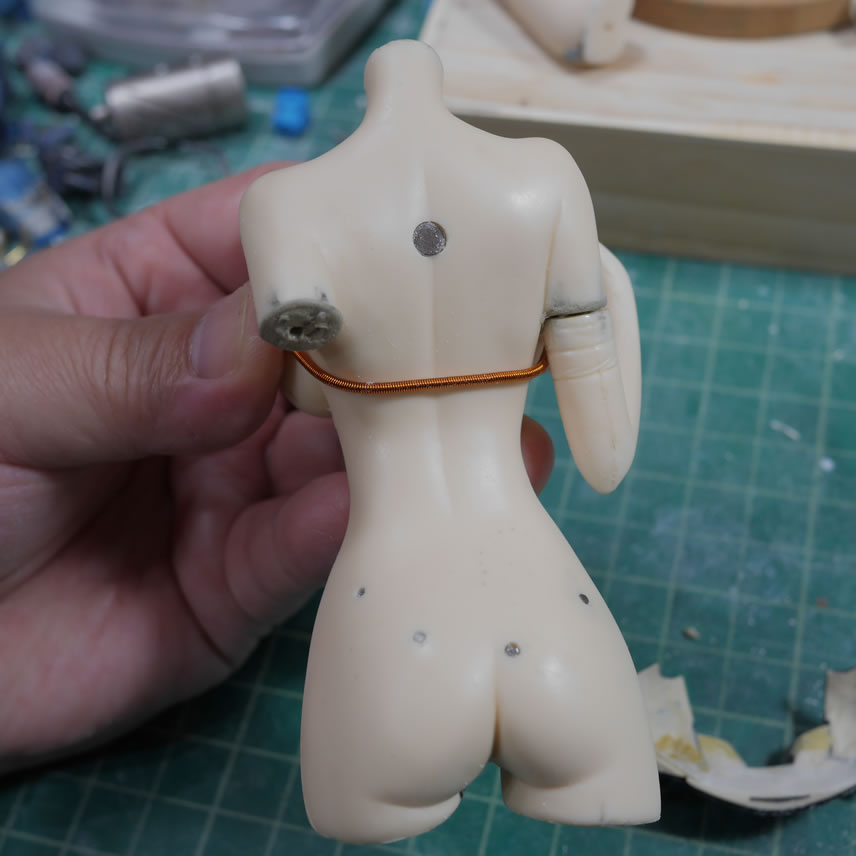
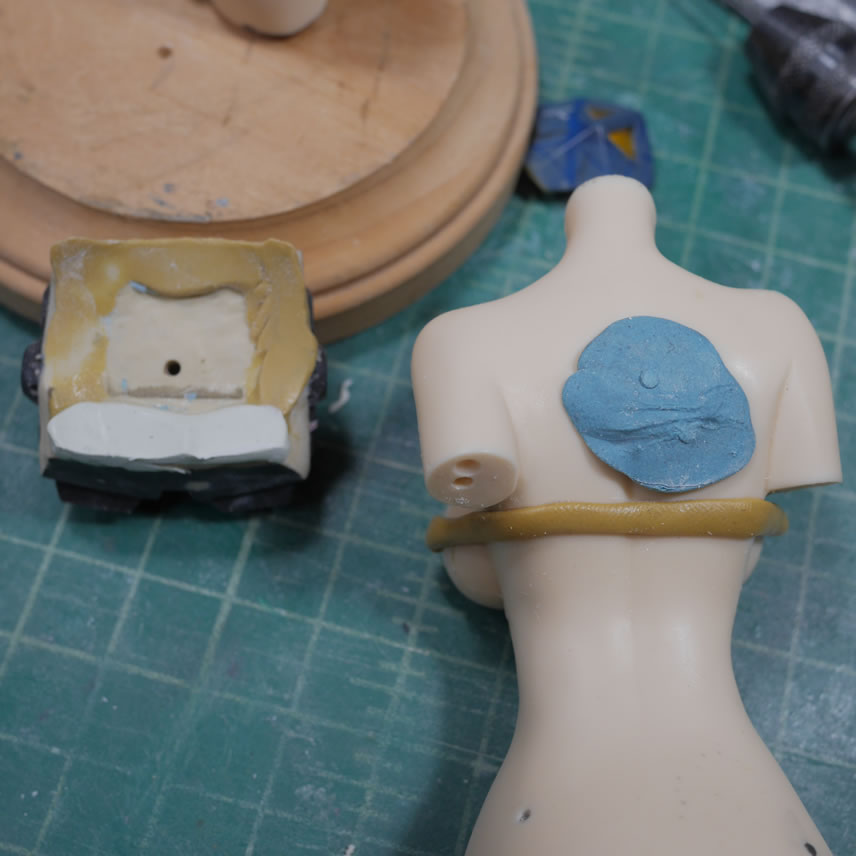
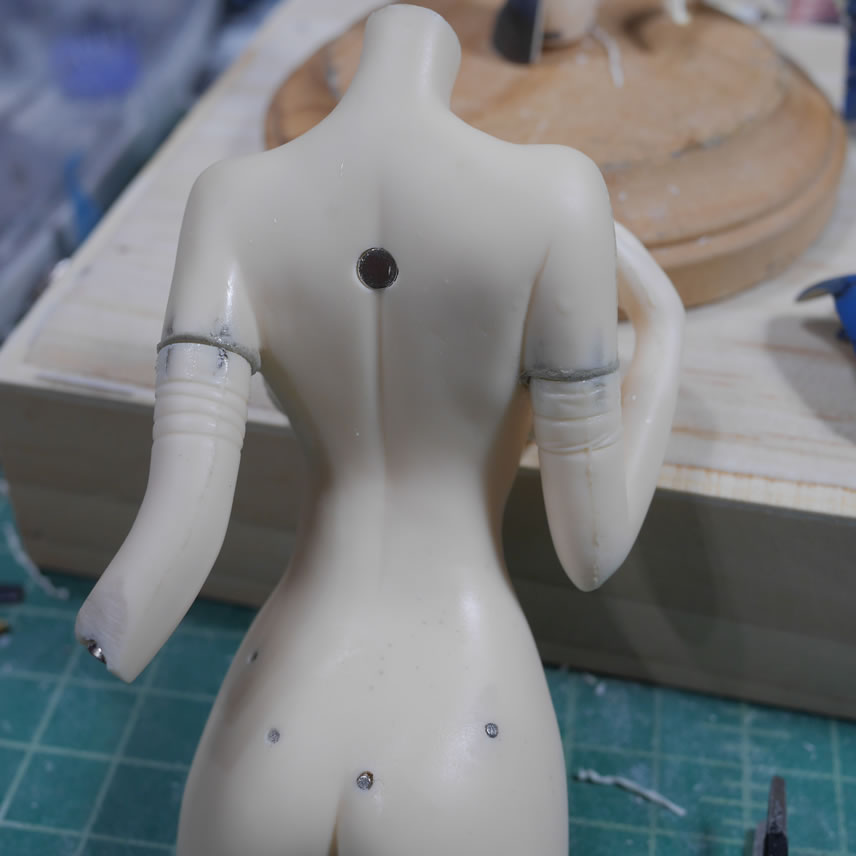
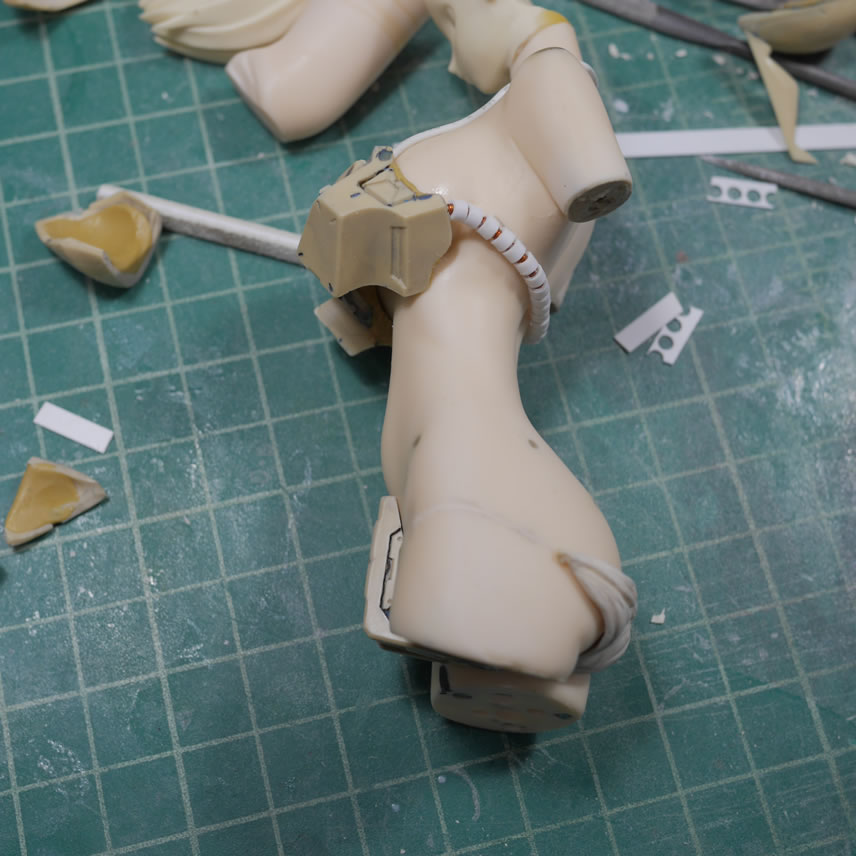
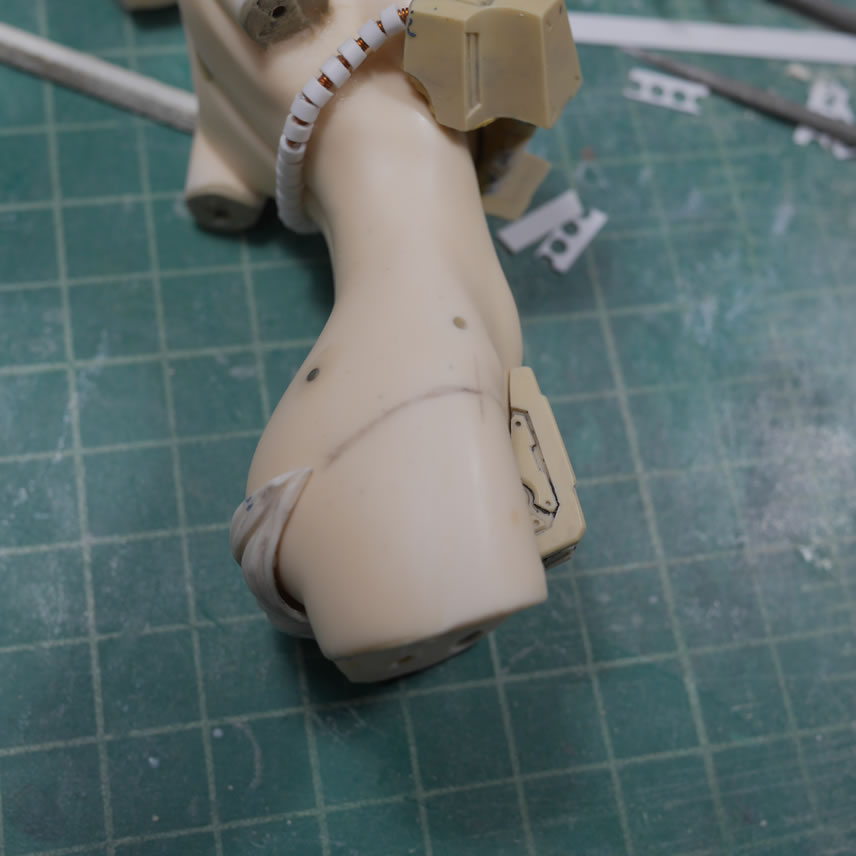
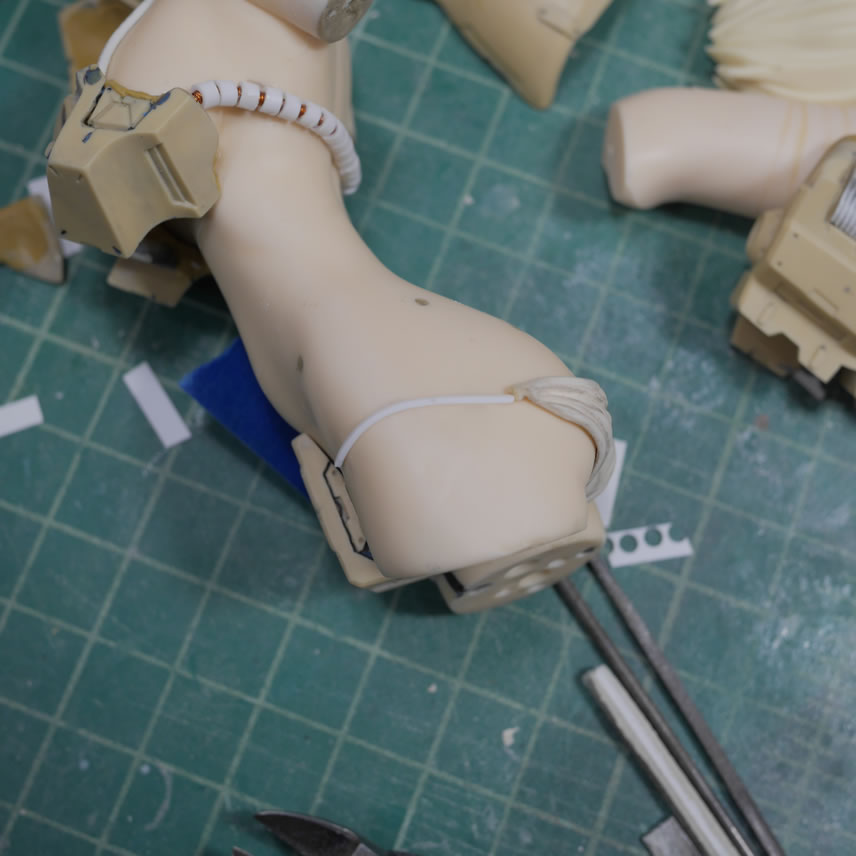
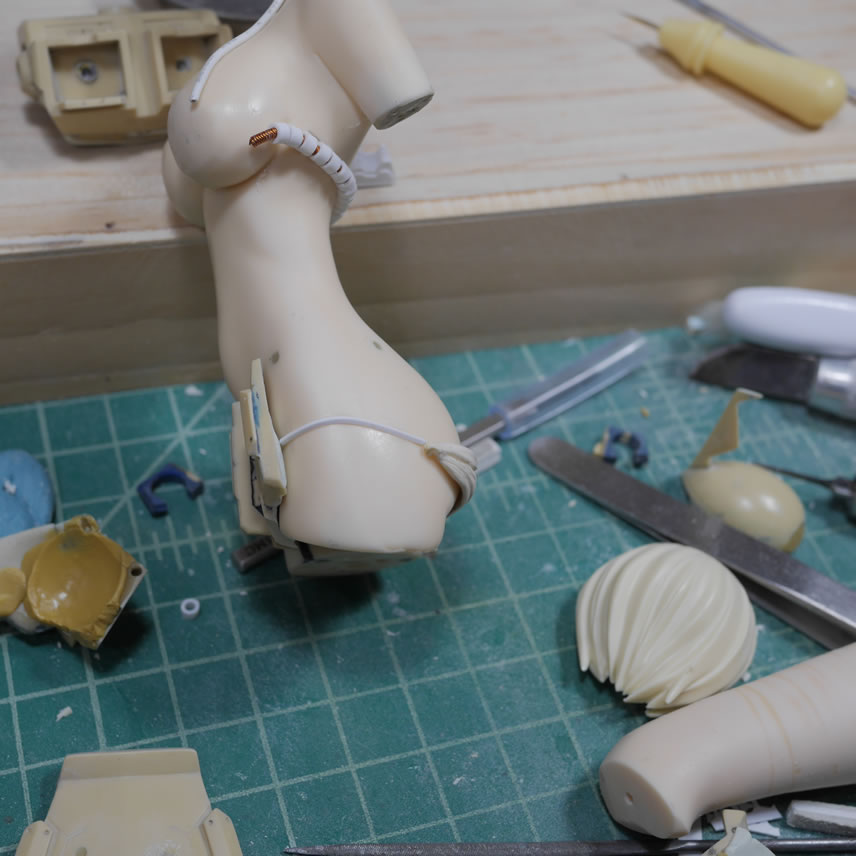
The gouf’s chest bikini top isn’t going to hold itself up. So the first idea was an epoxy putty back strap that was too delicate and too much work to sand down and sculpt. So time for another idea. A solid wire works for holding the shape. Magnet wire is wrapped around the wire.

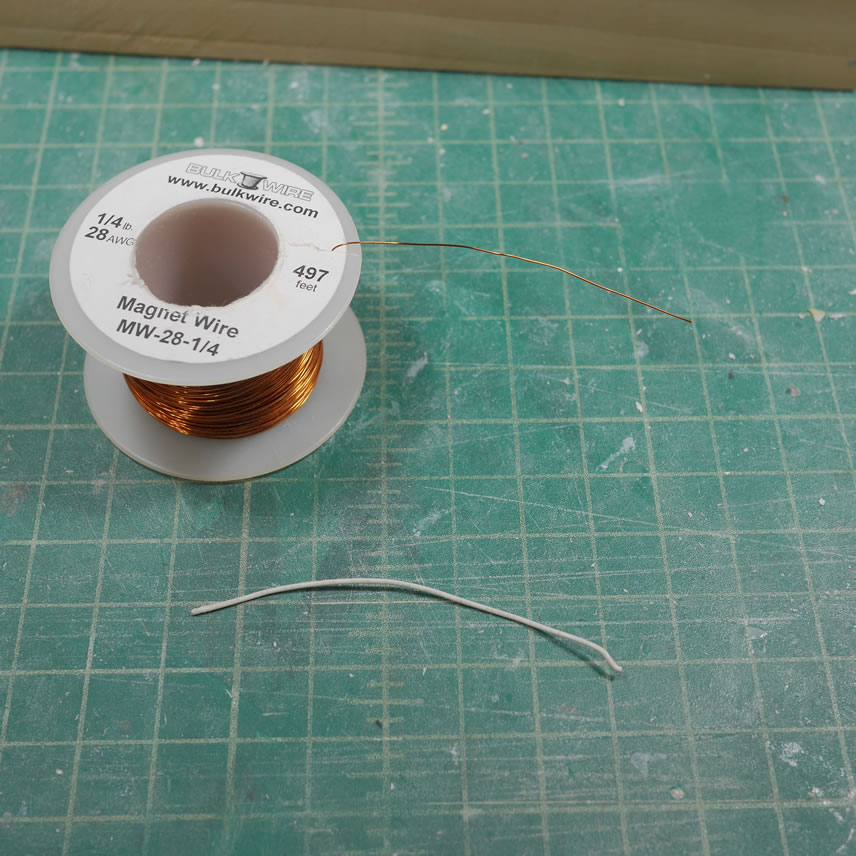
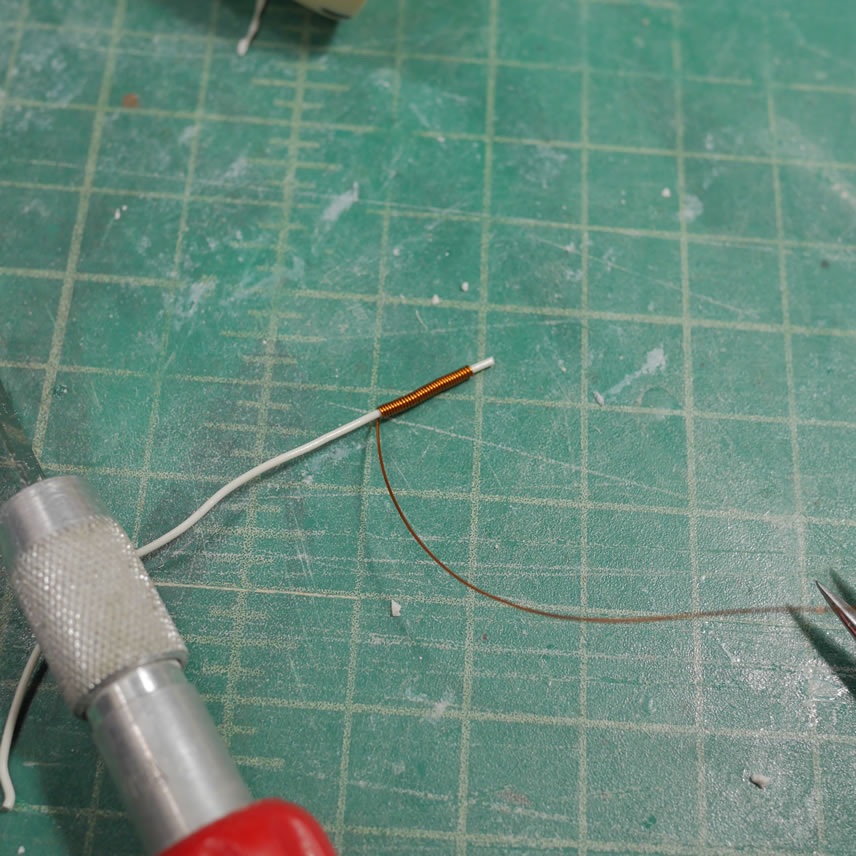
Once the wire is wrapped, a quick test fit to check clearances, we’re ready for the next step. A styrene tube is cut to recreate the gouf’s energy cables as her bikini back straps.
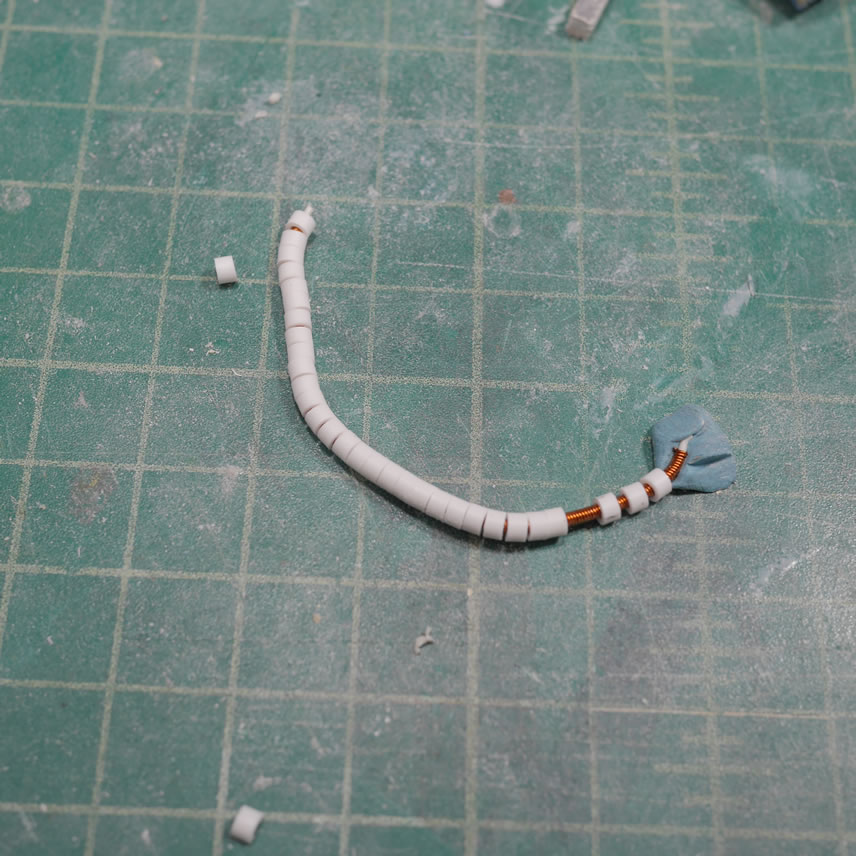
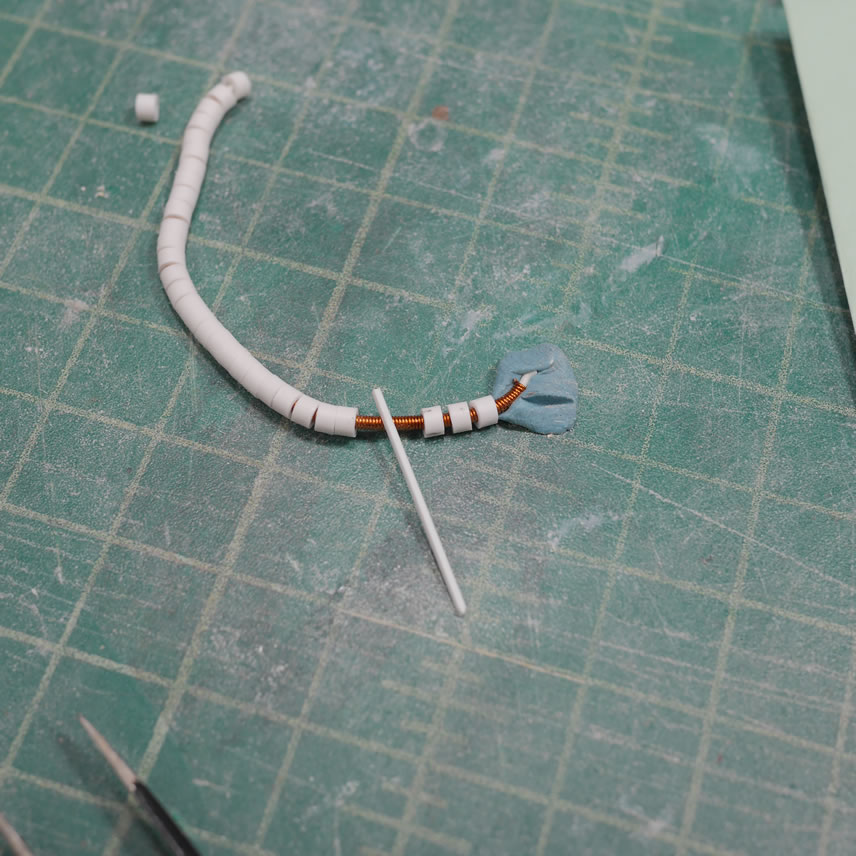
Another piece of wire is glued for the neck straps.
Moving to the backpack, I drilled a hole into the underside of the backpack. A piece of sticky tack is pressed against the back of the body and then pressing the backpack into the position I get the position for where to drill a corresponding hole for more magnets.
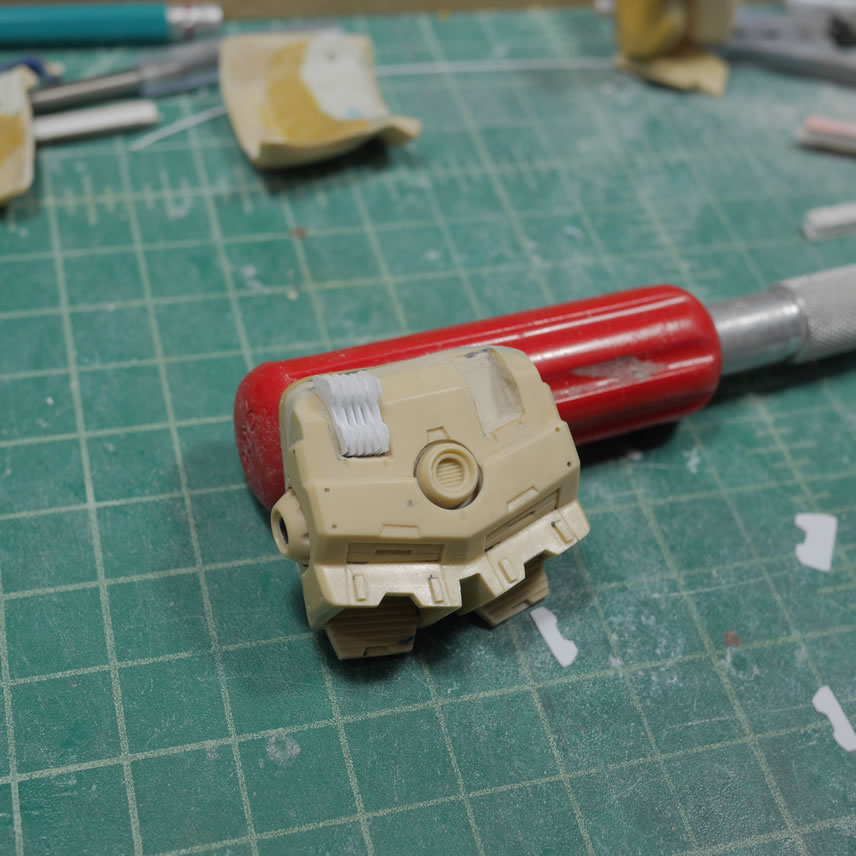
On the flip side of the backpack, I had originally had some mesh details glued into the top indented details for the backpack. Rather than reused that trick, I’m doing something a little different this time around. First step is to clear out that area. Most of the material is removed first with a drill, then some excavating dremel bits are used to clear more materials. Fine lines and final shaping is done with metal files and a 3mm BMC chisel that just effortlessly removes resin.
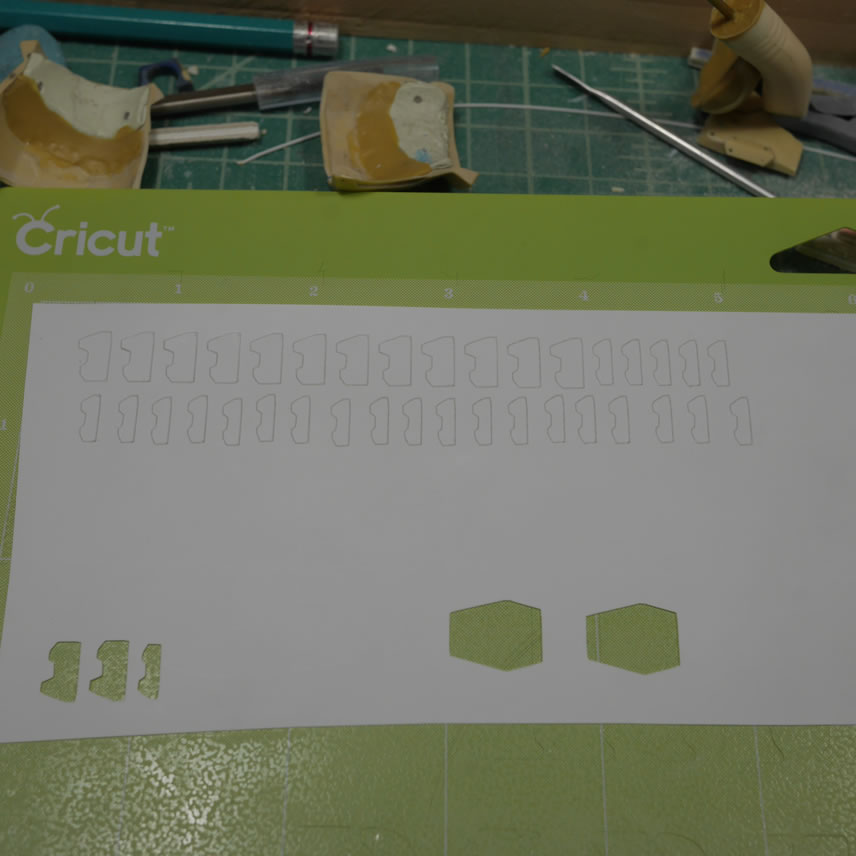
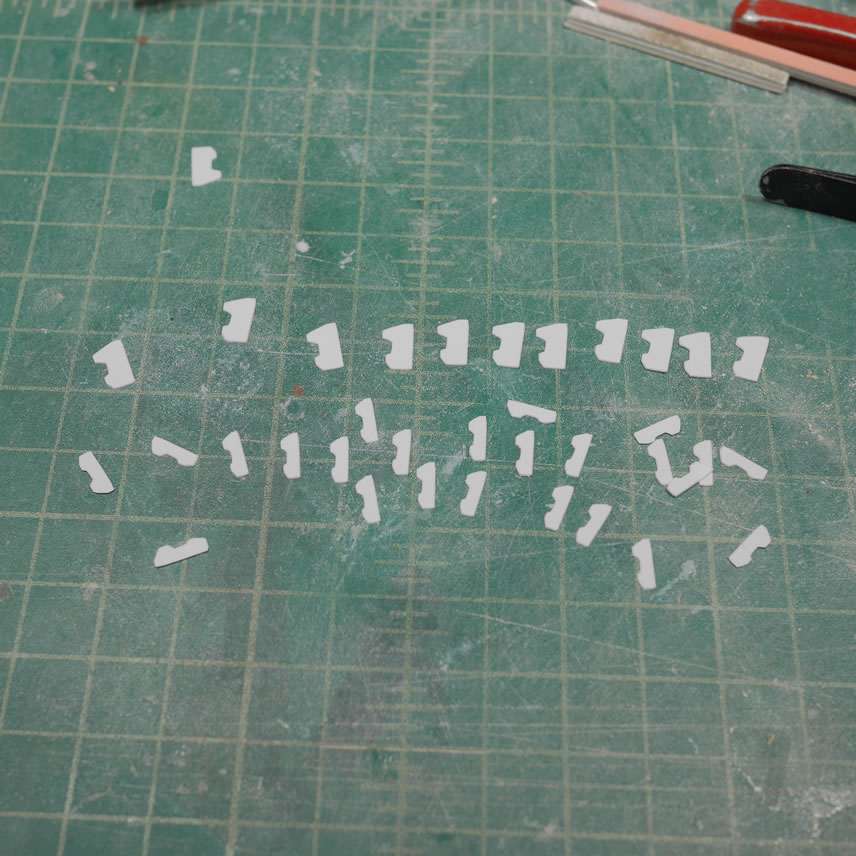
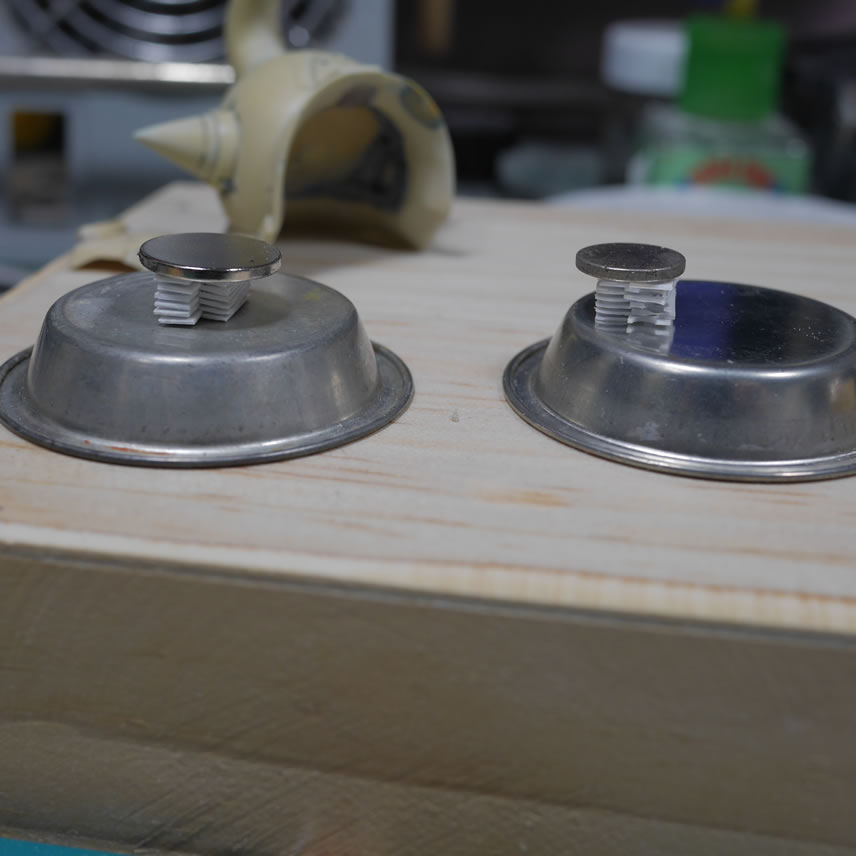
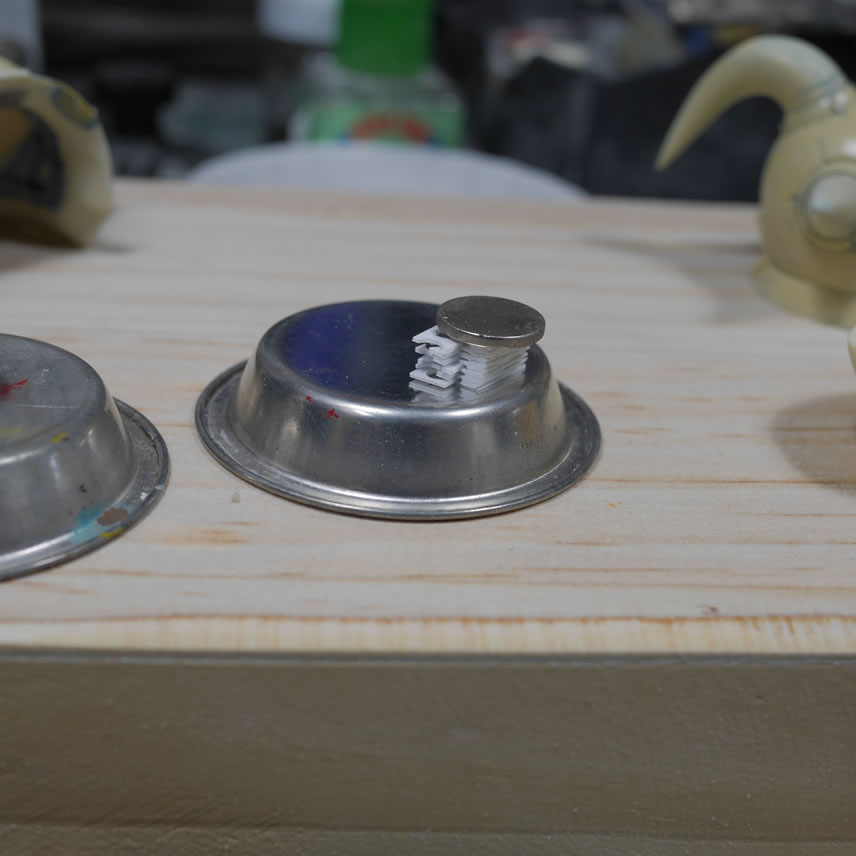
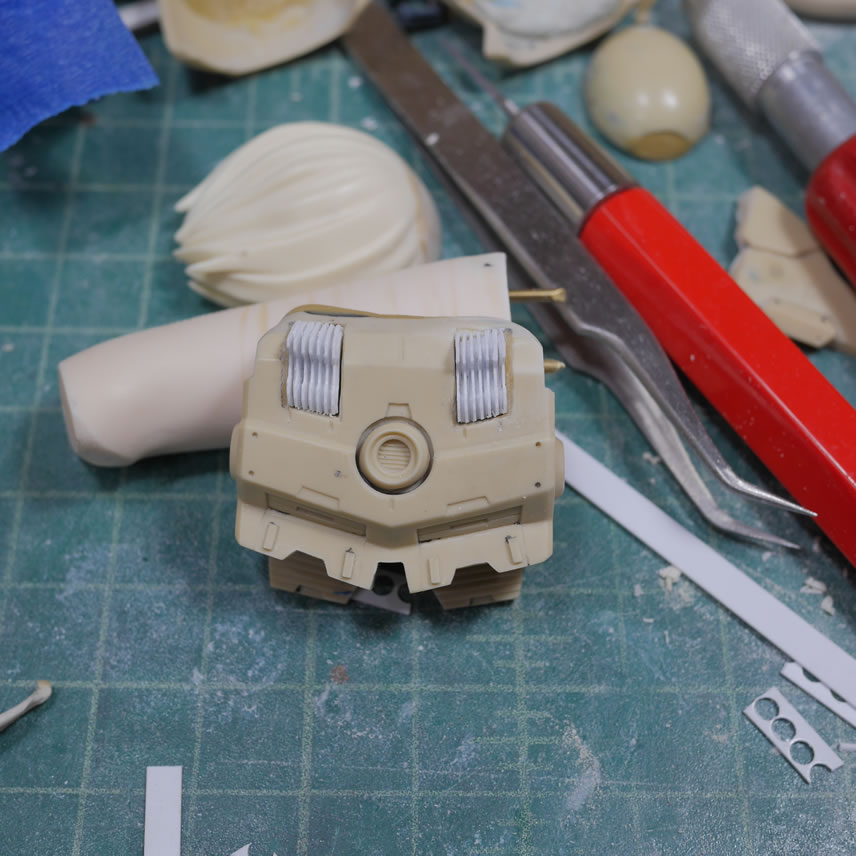
A quick design on the cricut to get vent shape drawn, a .1 mm sheet of styrene is loaded into the machine and the new vent pieces are cut and each piece is identical. Using the new cavity as a guide, the vents are built and glued together. I used some magnets and the tin paint trays to hold the parts together while the glue dried. A binder clip is too much clamp strength for the delicate piece so the magnet have the perfect amount of force to hold the pieces while the glue cures.
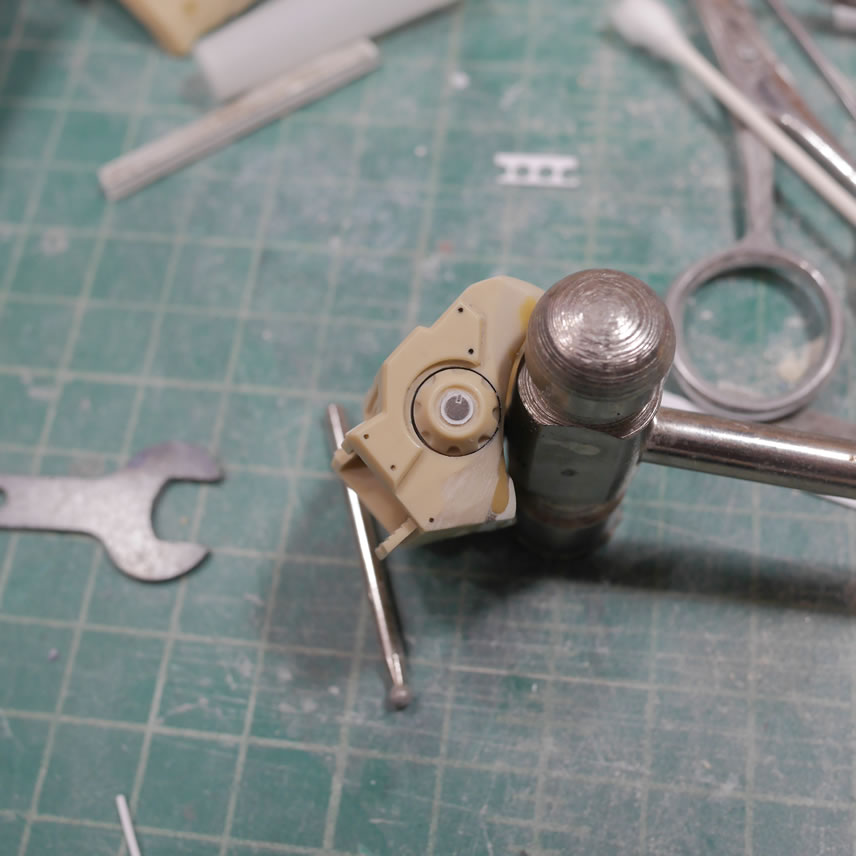
A little more sanding and refining finishes things off. I still need to refine the vent a bit, but at least the look is there. The last bit of detail is to fill in the area that used to connect the waist energy cables. Since that cable is no longer there, the empty cavity is just asking to be filled and detailed. Styrene tube are glued into position and a little photo etch detail is glued into place.
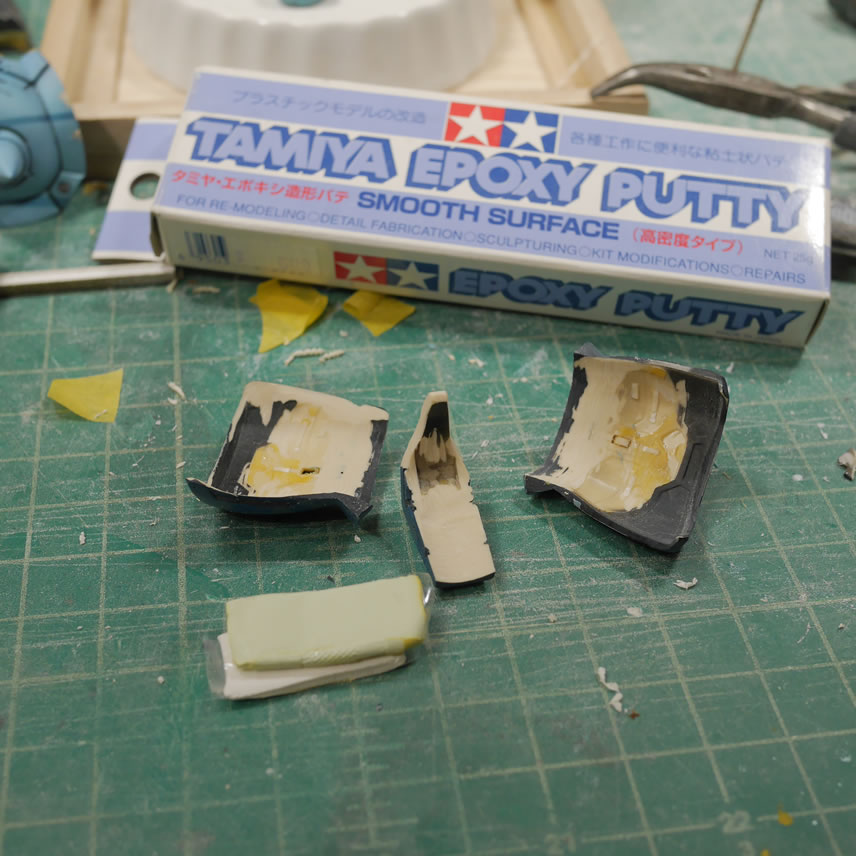
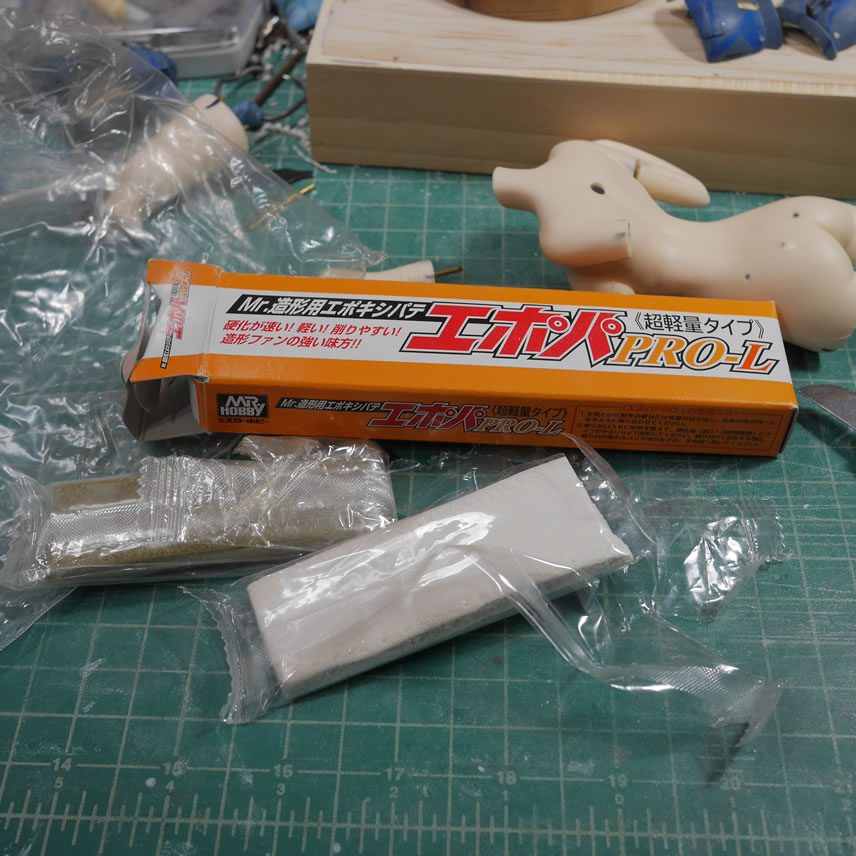
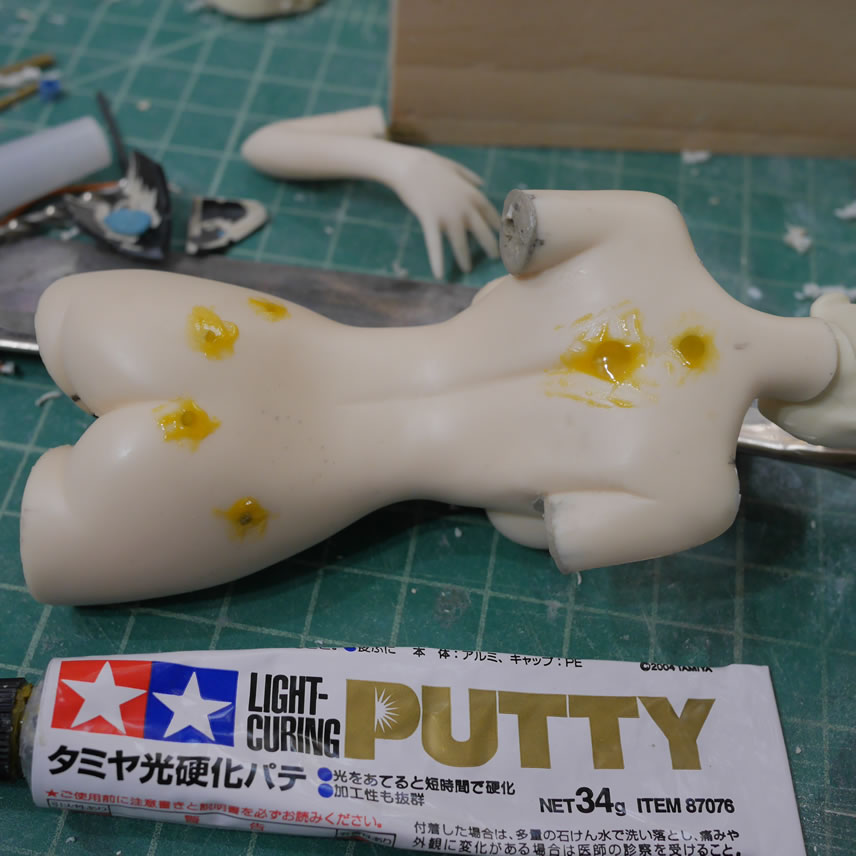
Mr Hobby’s light weight epoxy putty is used to fill in the gaps in the arms. The arms are being re-positioned from the original pose so there will be gaps. I used the light weight putty just because I haven’t used it in a while. The white part of the putty has gotten a bit dry and doesn’t mix too well. Note to others, air tight seal your moisture sensitive stuff to keep it from drying out over the years of neglect.
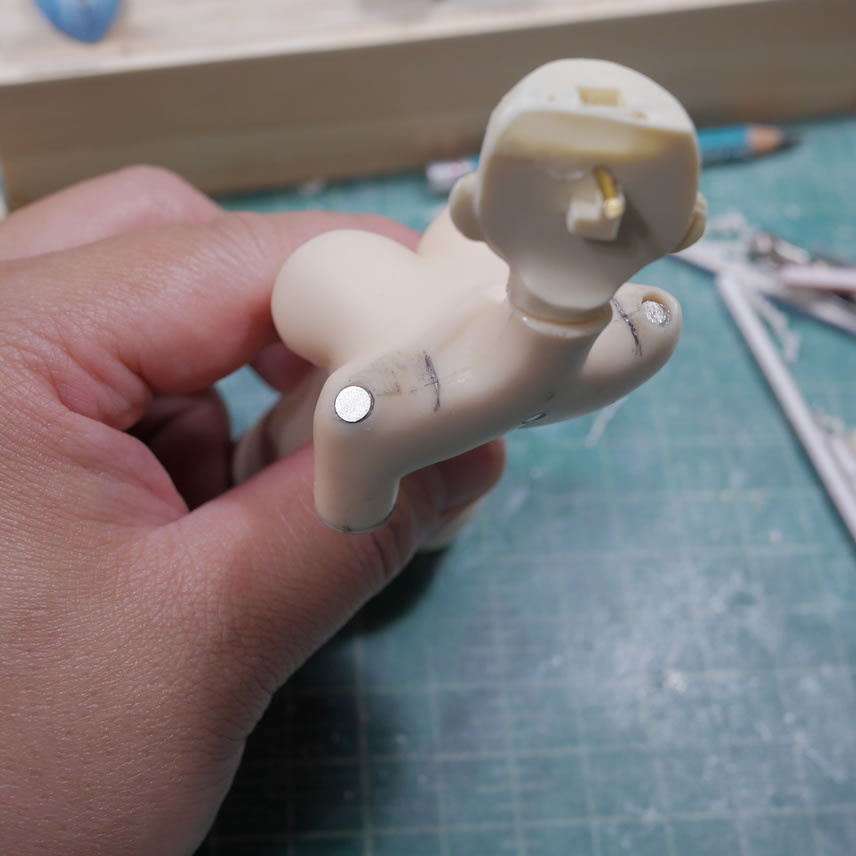
I went a little overboard with the magnets. But everything is pretty secure with the magnets augmenting the pins. Now these ares need to be puttied to hide everything.
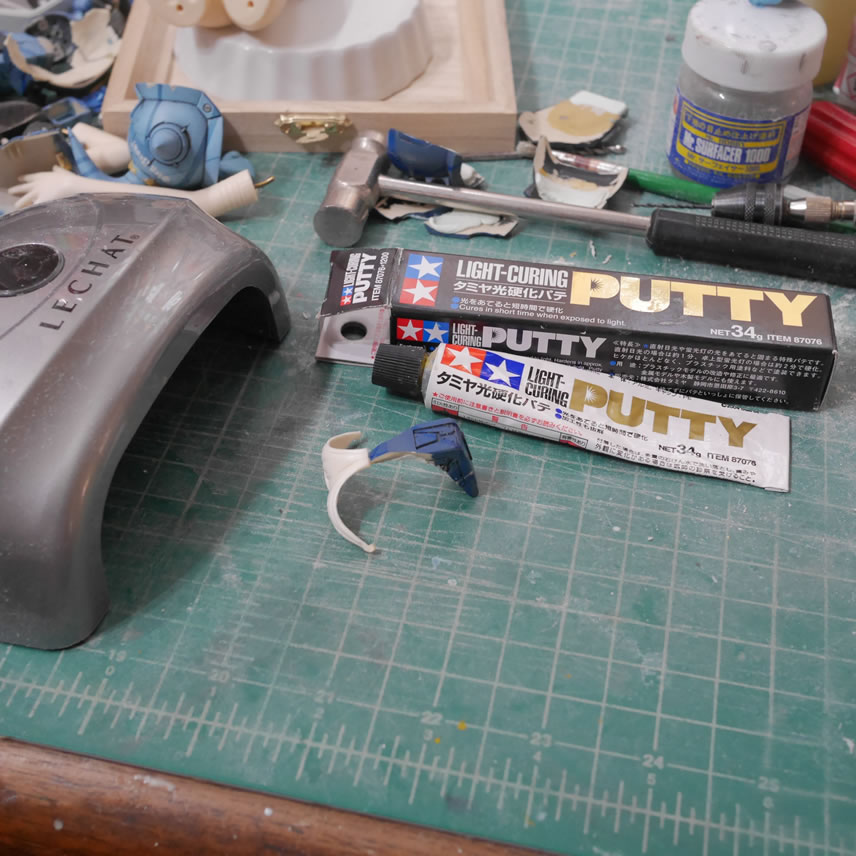
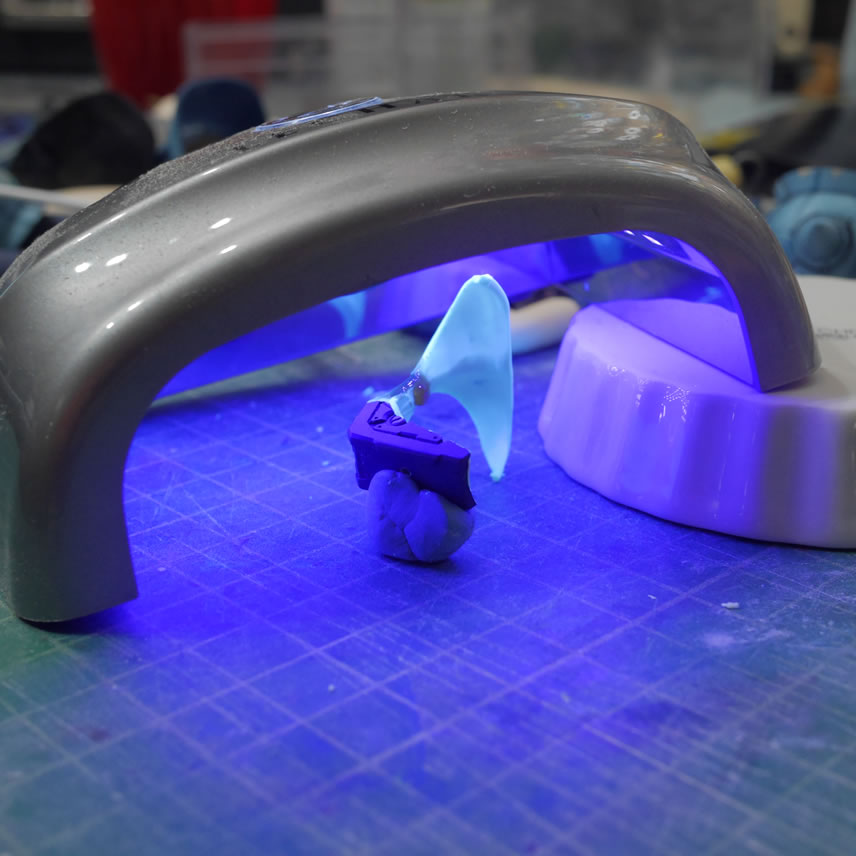
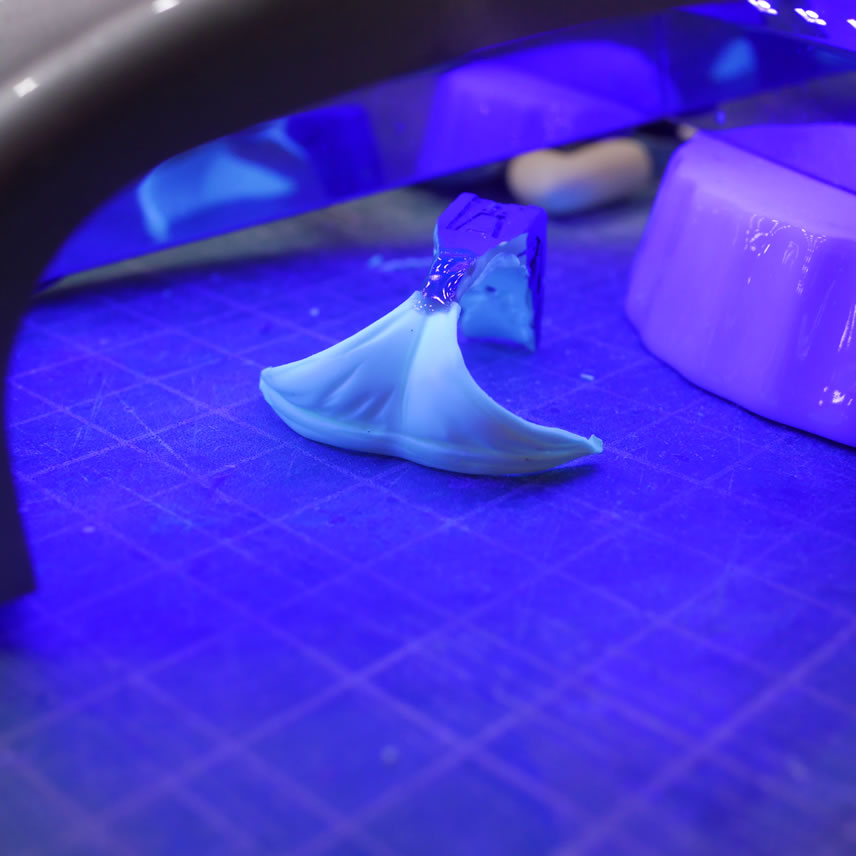
Light curing putty for quick putty work. Epoxy putty for stuff that I’m not in a hurry to work on, or if I’m getting close to being done for the day, epoxy putty. Light curing putty is perfect for continued workflow. Light curing putty cannot be used as thickly as epoxy, as light needs to penetrate the whole putty to cure it, so there are limitations with each putty type.
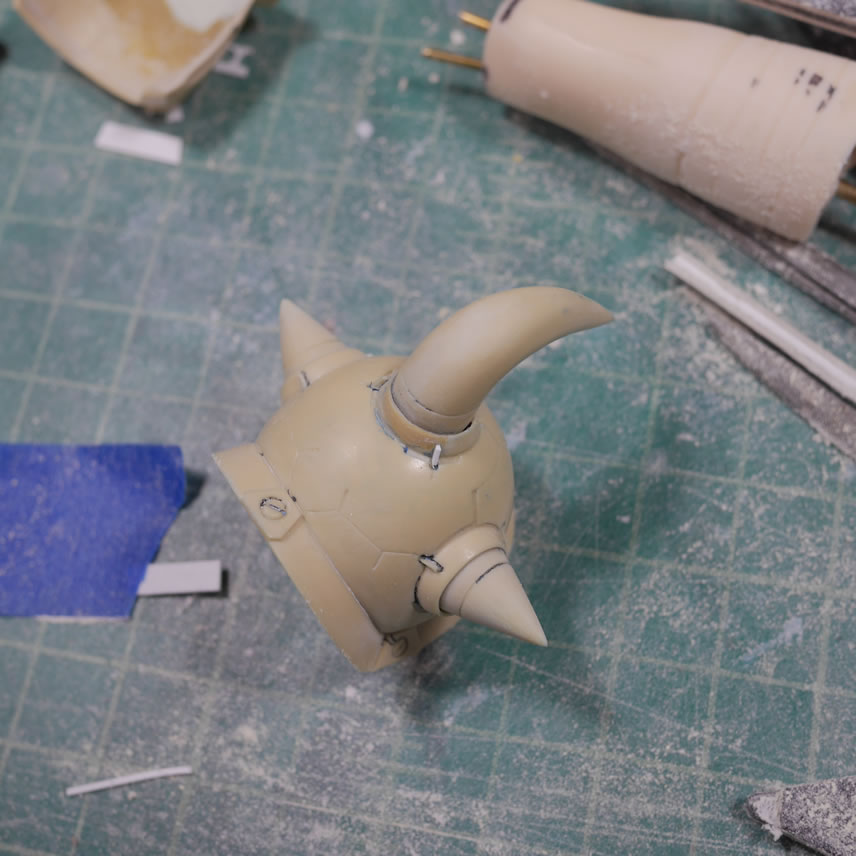
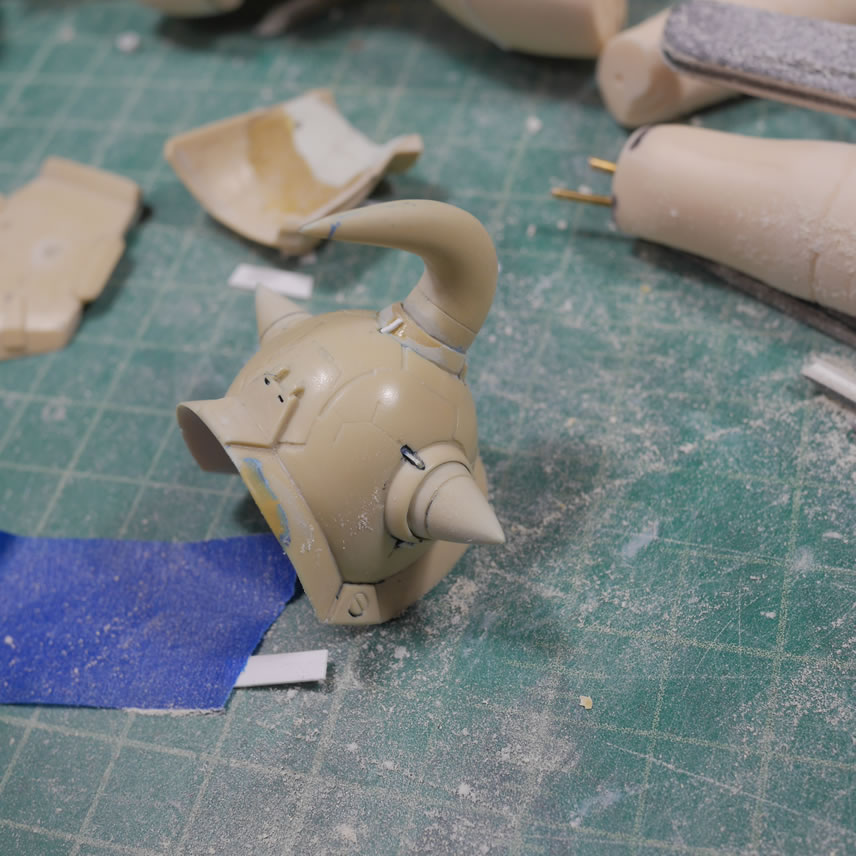
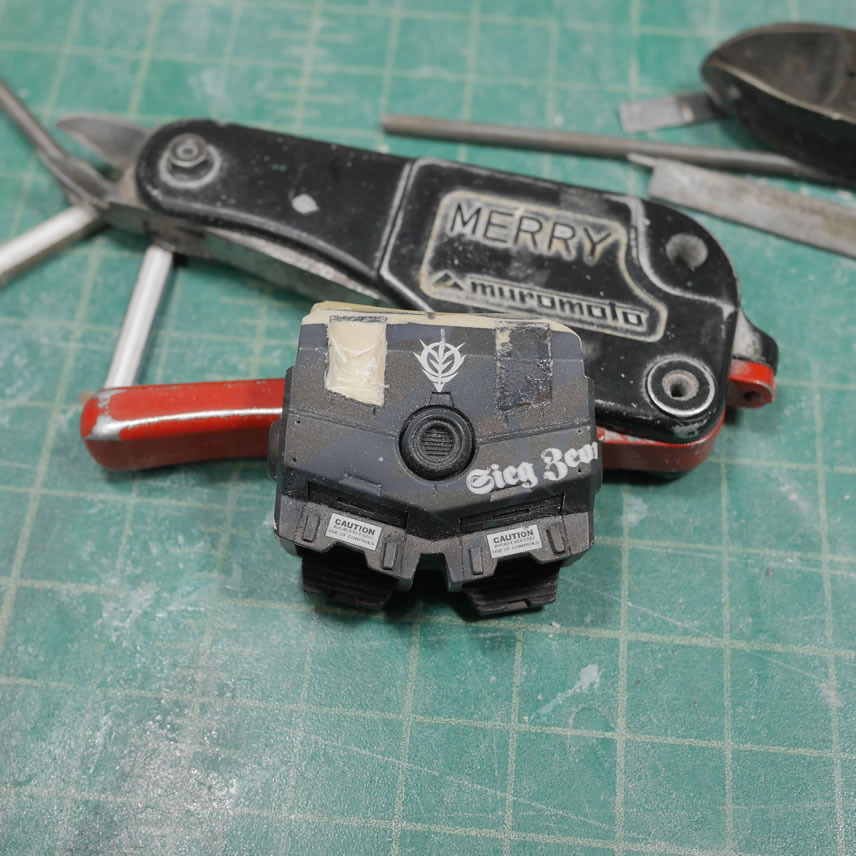
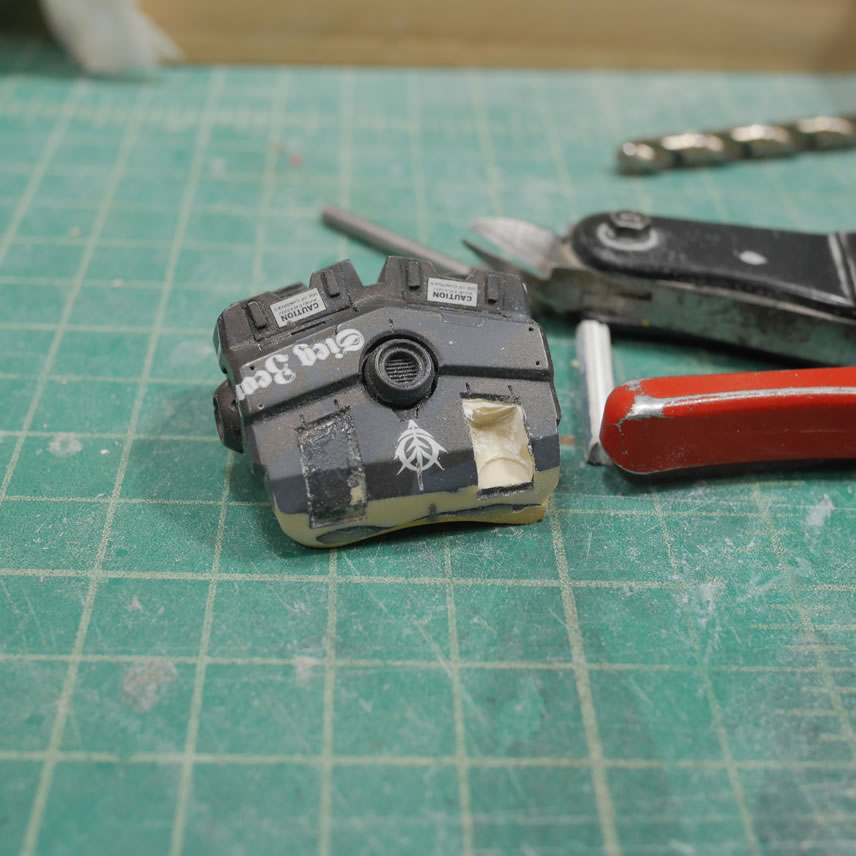
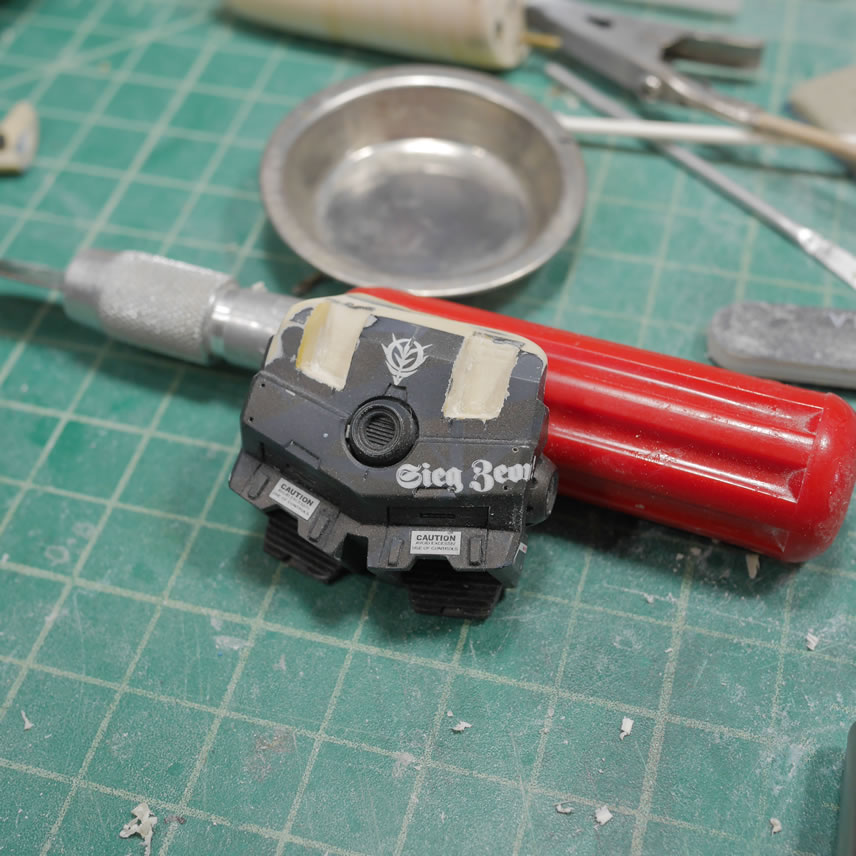
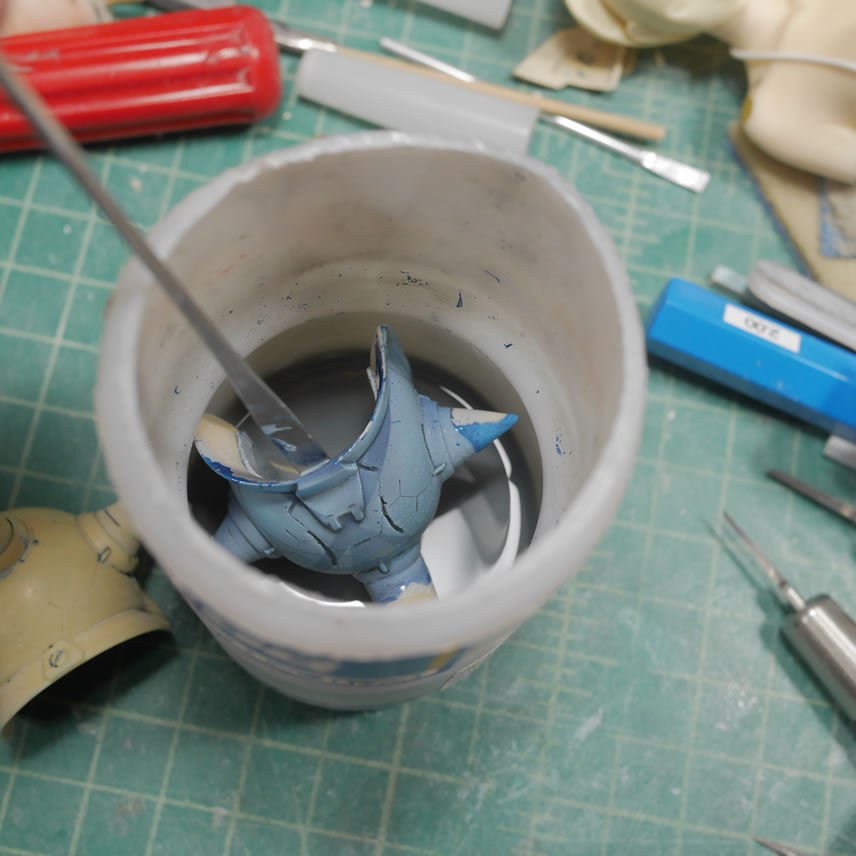
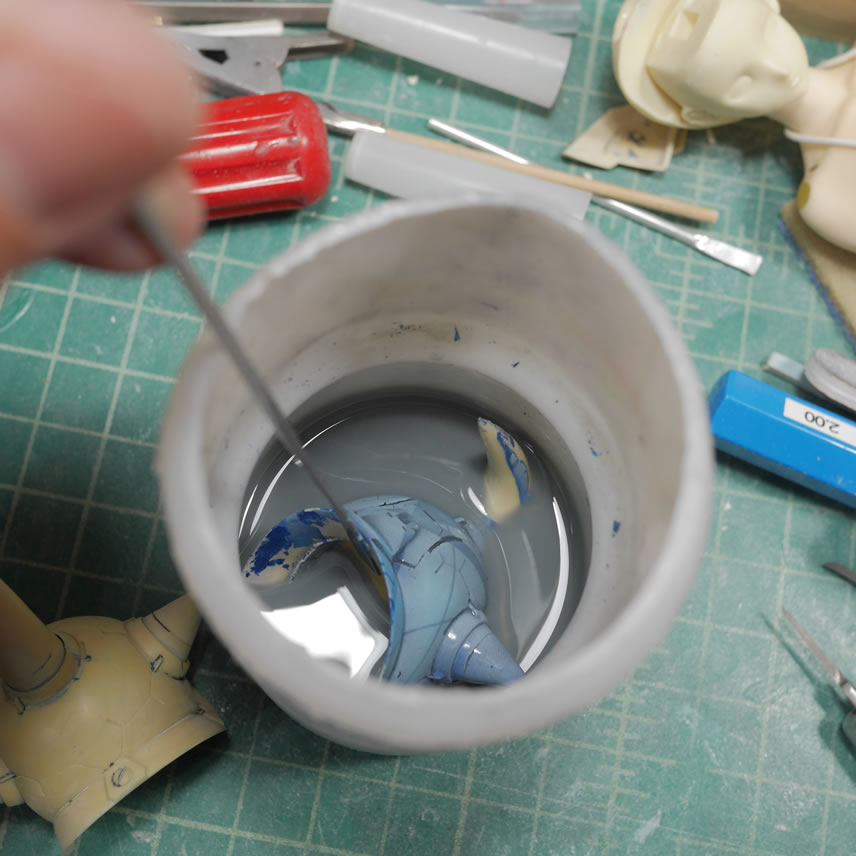
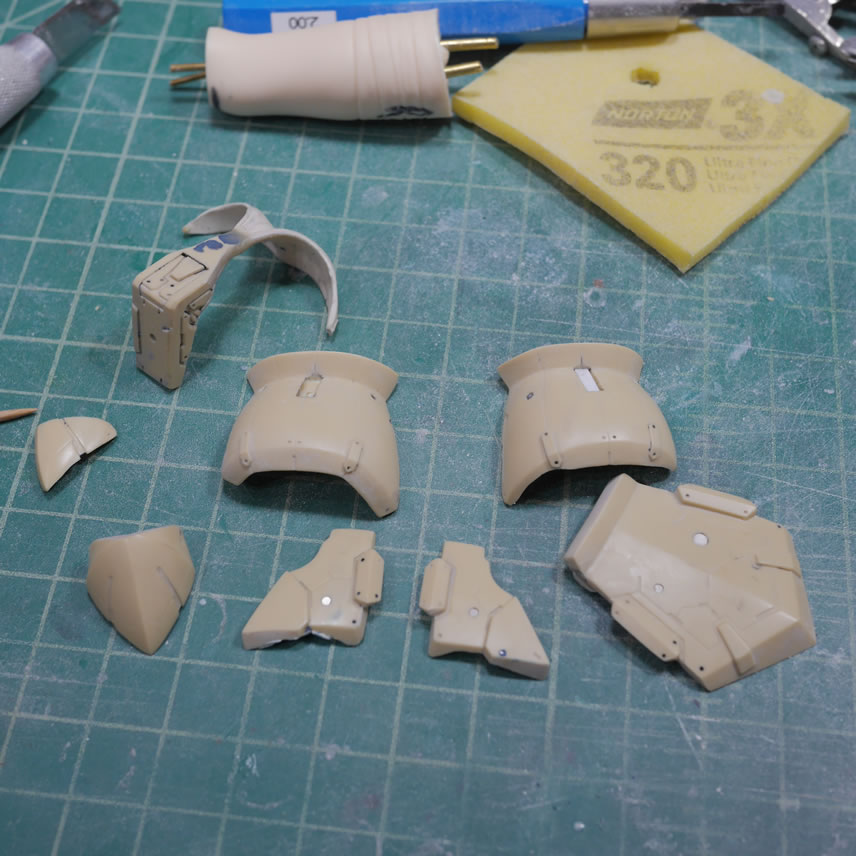
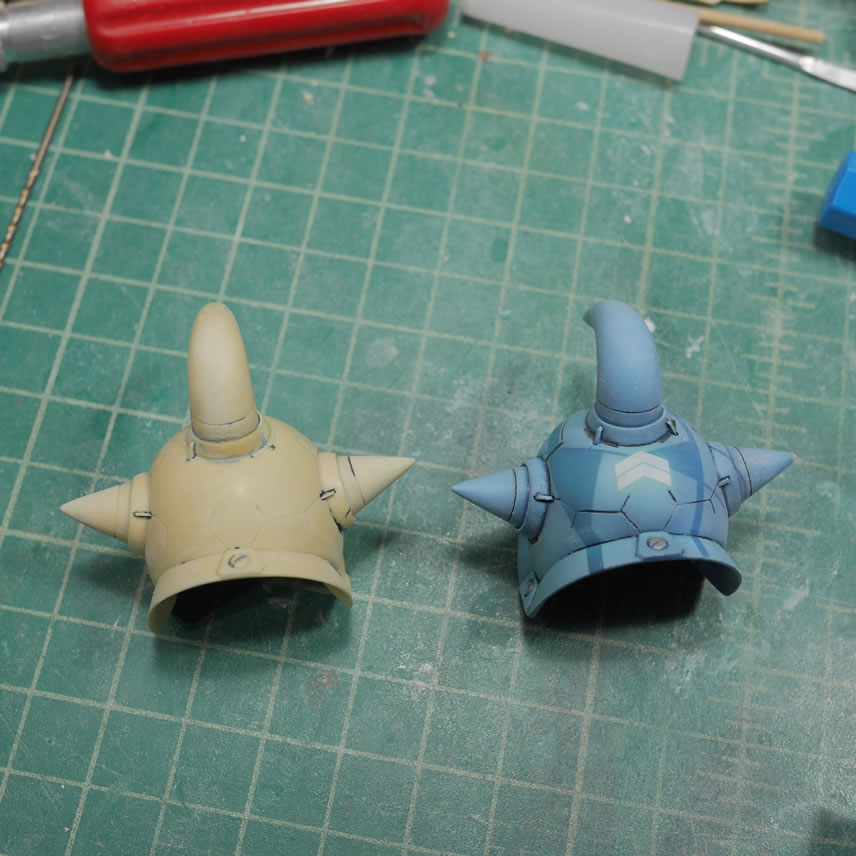
The parts are dipped in some hardware store lacquer thinner to strip the paint. During this process, the strongest resistance to the thinner were the decals, I had to scrub them a little to completely remove the decals. The last picture is a comparison for before and after.
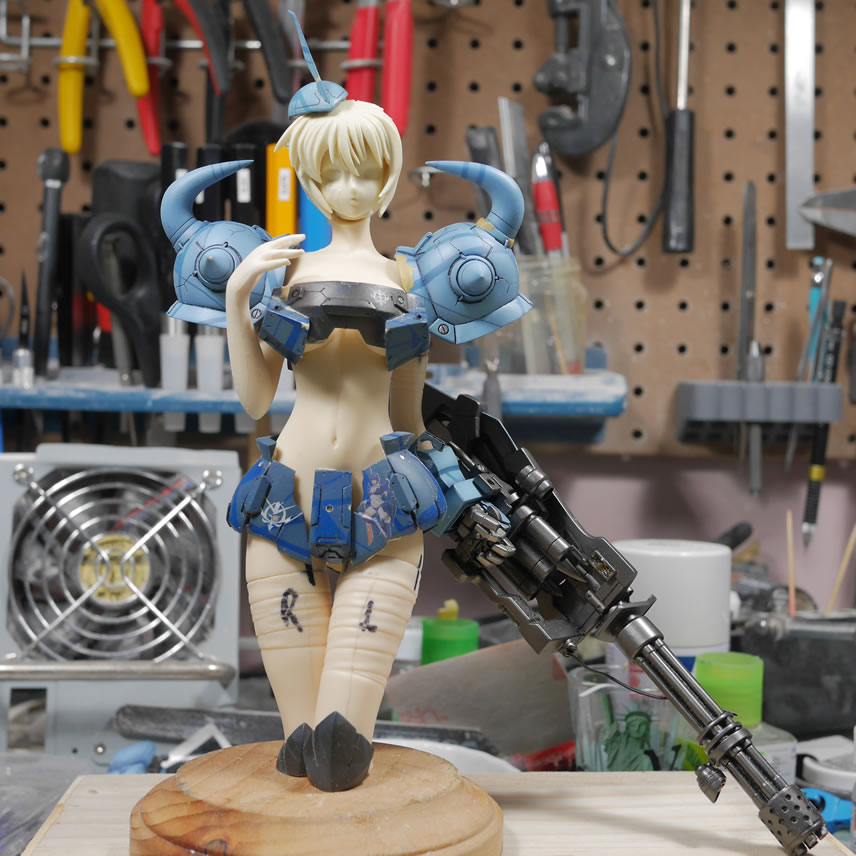
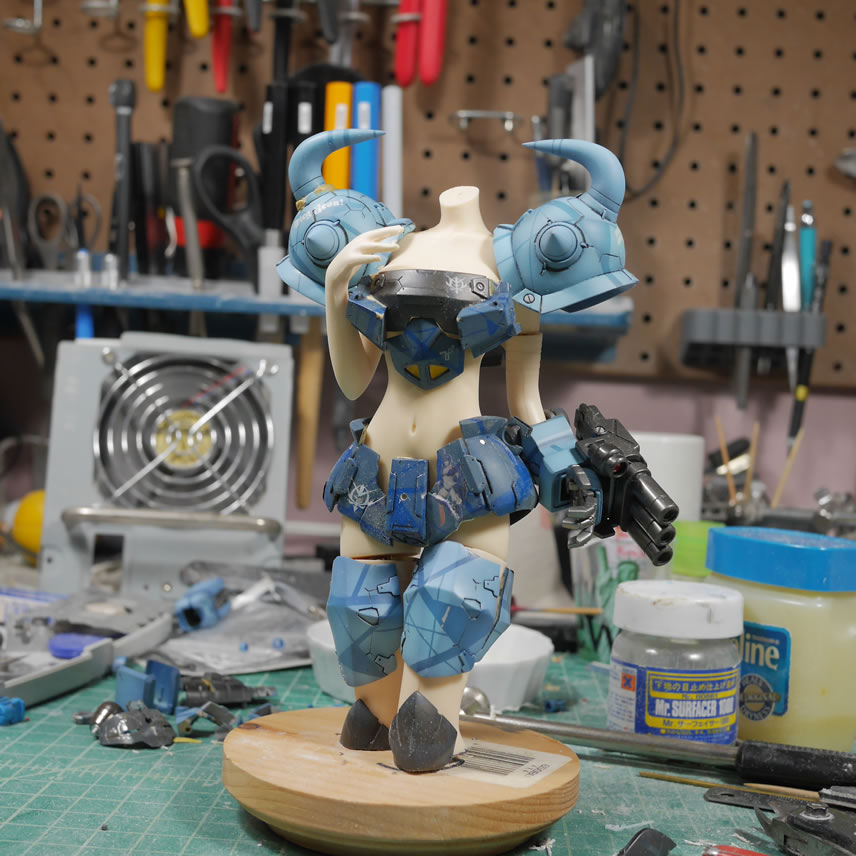
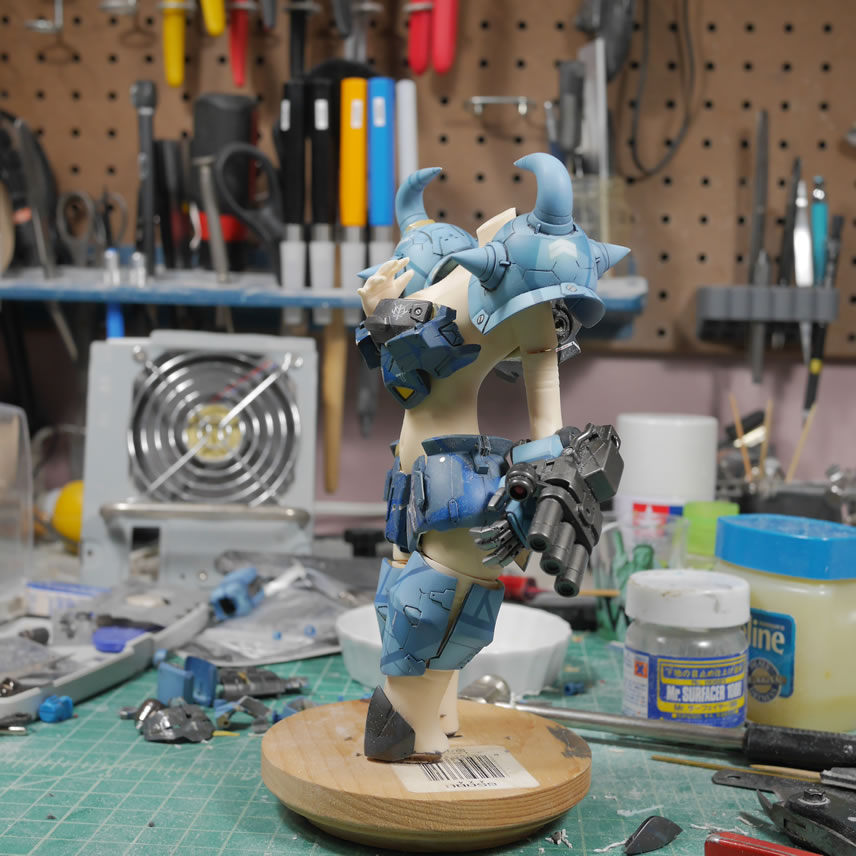
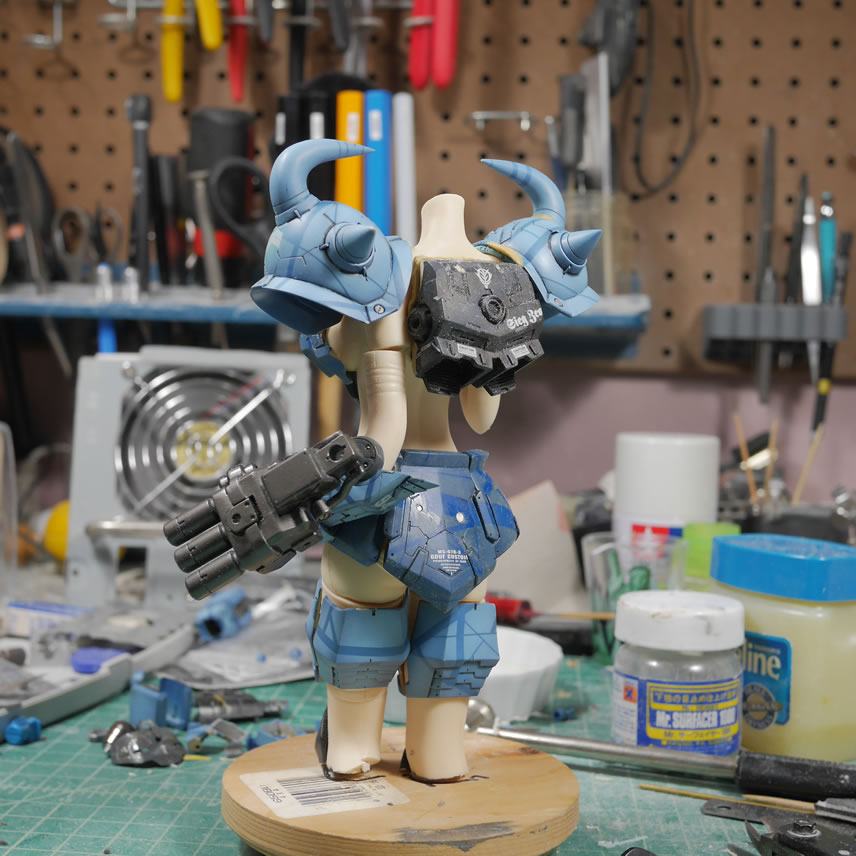
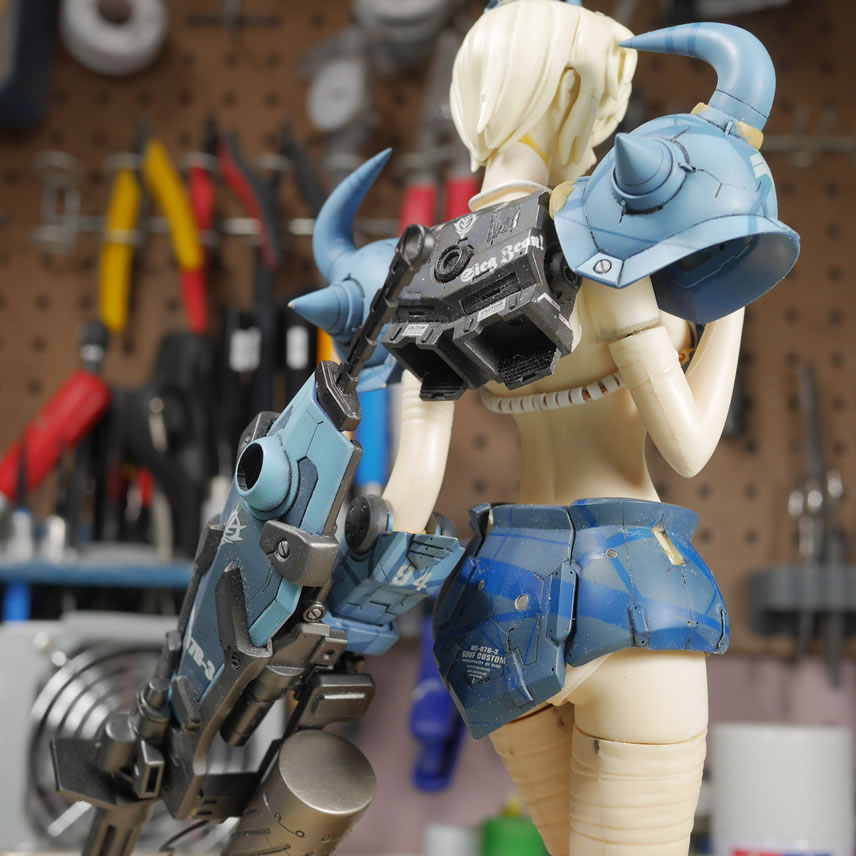
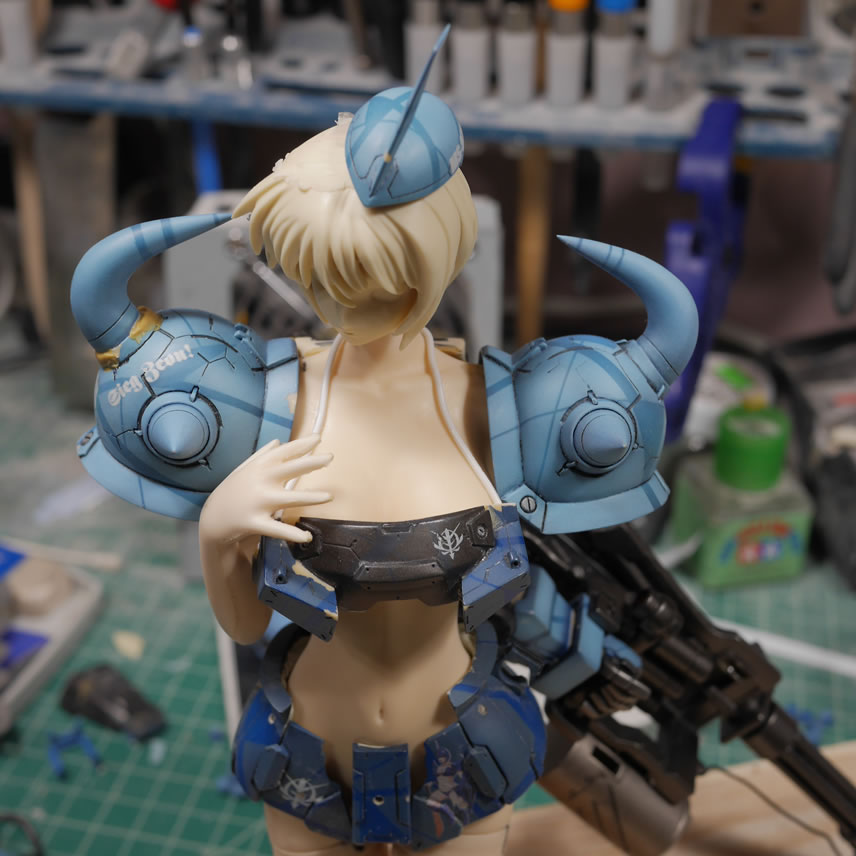
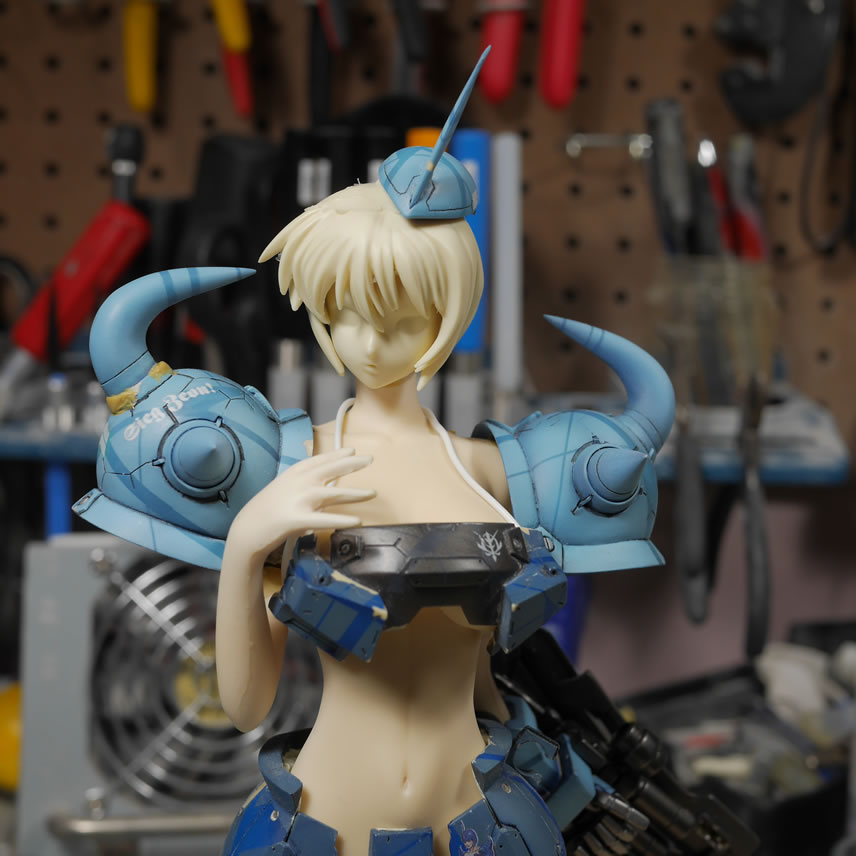
And another test fit for the monotone.
The side skirts have a holder piece for the waist energy cable. Since there is no energy cable, this needs to be removed too, and the cavity filled with a small amount of detail. A strip of styrene is cut and glued into the now empty space and on top of this, another few pieces of photoetch details is glued onto the sytrene strips with white glue mixed with a small amount of water.
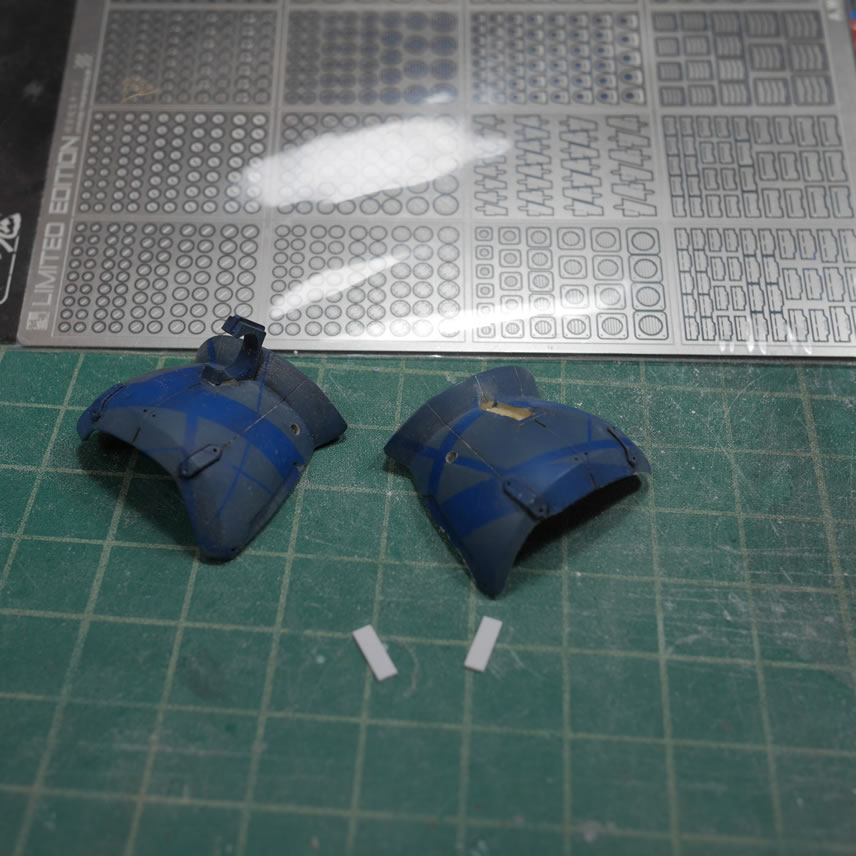
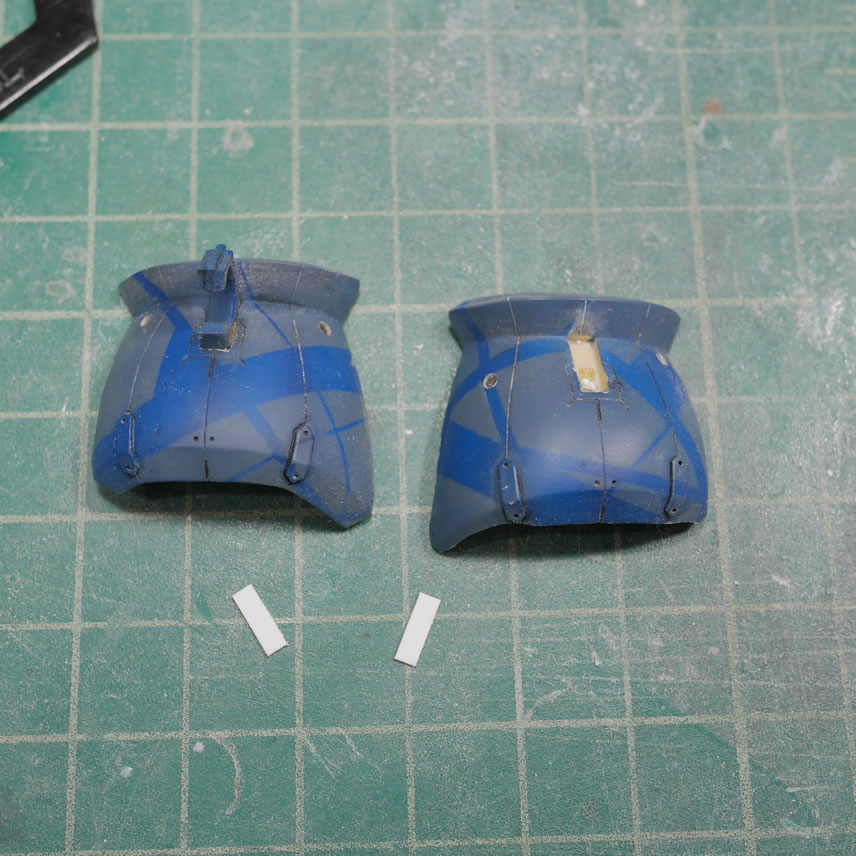
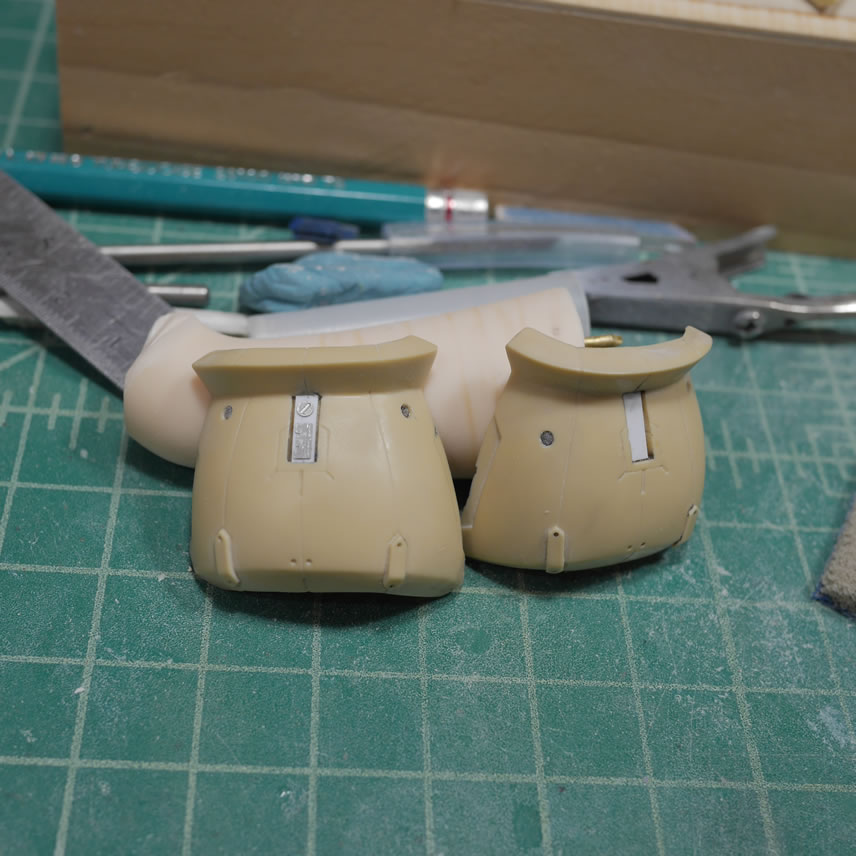
The area under the skirts can be visible if one were inclined to look. So for those creepers, I marked in the area for some panty lines. Once penciled in, a BMC scriber traces out the line removing some resin as a guide. Then files are used to cut and widen the area a little more. A thin strip of styrene is glued into place and slightly sanded to finish off the panty lines.
Once I was done with getting the chest piece shaped, putty is added back to the underside of this armor. Vasaline applied to the figure and the armor is pressed together to get a seamless transition from body to armor.
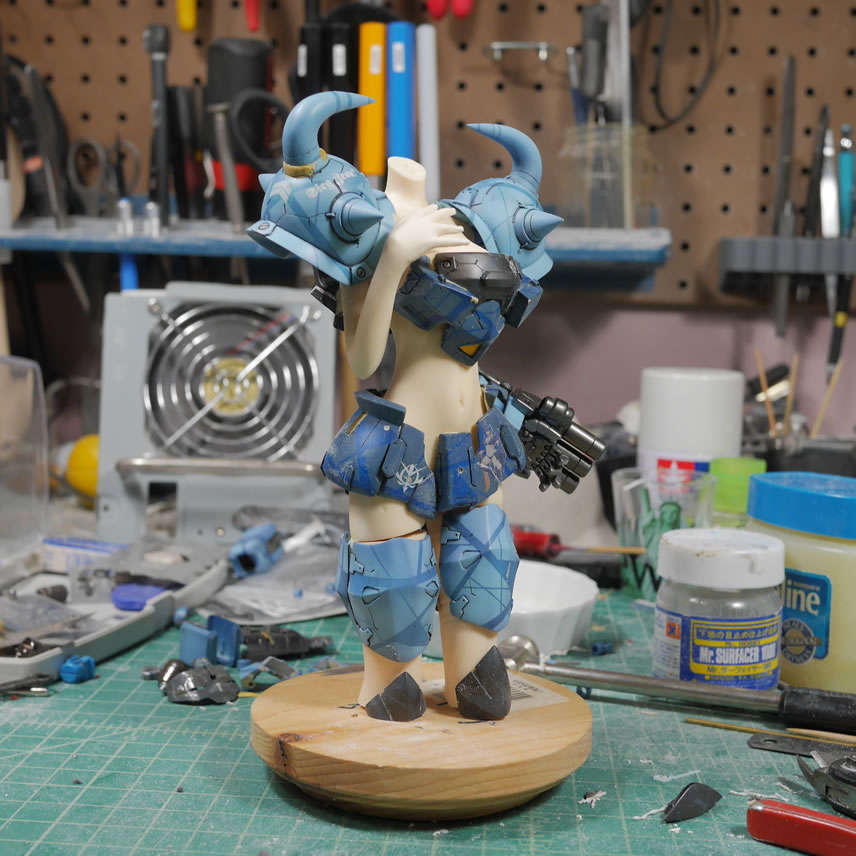
The project has progressed decently and soon I can start slinging some paint. I still have more detail work to do to finish up the body to armor transition areas, but this is a good point for a sizable update.